Community Brag Posts

Zachary's Car and Truck

Submitted by jaime19861 on Wed, 06/17/2015 - 19:28

I made this car and truck for my nephew. They were super easy to make and he loves them!

Check out the blog link for more details.

Estimated Cost
$2
I used wood scraps and only had to buy the wheels. If I would have also needed to buy the board and dowel, it still would be under $5 a vehicle.
Estimated Time Investment
An Hour or Two (0-2 Hours)
Finish Used
Non-toxic acrylic paints sealed with many coats of mineral oil.
Recommended Skill Level
Beginner

Sliding door console

We doubled the height and added another shelf! Amazing build and amazing plans! Thank you!! This was our first build. We are novice

Built from Plan(s)
Estimated Cost
250$
Estimated Time Investment
Week Long Project (20 Hours or More)
Recommended Skill Level
Starter Project

Sunroom console table

Submitted by Anonymous (not verified) on Mon, 12/27/2021 - 04:18

This was my first big project. I am a total beginner and was mot sure how it would turn out. Your plan was so easy to use. I am very happy with how it turned out and am excited for future projects.

Built from Plan(s)

Comments

Twin Fancy Farmhouse Bed - Modified

Submitted by river4250 on Thu, 05/05/2011 - 10:00

After seeing the farmhouse bed with stenciled headboard, I knew I wanted something similar for my little one. Haven't decided what I want to do with the big empty space in the middle of the headboard yet, but I went ahead and built it. I also changed up some of the decorative pieces just because I wanted her to have a one-of-a-kind bed. The blocks in the corners have little flowers in the middle, the legs at the end have slightly larger flowers on them to mimic the flowers in the blocks. I only made one major mistake on this bed, and that's the height of the headboard. For some reason it looked sooooo tall, so I stupidly decided to cut a few inches off of the legs, and now it's too short. Still mulling over what to do to fix that, but overall I love this bed!! :D It's the second thing I've built, the first being a bench.
Proud note: I built this bed completely and entirely by myself. :) If I can do it, anyone can!

Estimated Cost
$150-175
Estimated Time Investment
Weekend Project (10-20 Hours)
Recommended Skill Level
Beginner

Recycling Center from Ana's Book The Hand Built Home

Submitted by lscrandall on Mon, 07/01/2013 - 18:45

Recycle bin from Ana's Book. I mod poge glue on burlap to the top, placed on a piece of Plexiglas so I could wipe down, then stained the whole thing with an antique finish over the crackled paint. I also did an L molding around the Plexiglas to keep in place. Came out lovely! Added baskets for my veggies and done!

Built from Plan(s)
Estimated Cost
$65.00
Estimated Time Investment
Day Project (6-9 Hours)
Finish Used
Trash can, potatoes and onion bin and grocery bag holder!
Recommended Skill Level
Intermediate

Comments

Reclaimed Wood Console Table

Submitted by Ashbrouw on Mon, 06/22/2015 - 17:09

We just used pine from the framing and craft sections of Home Depot. The drawer fronts are cut from rough cut lumber from a lumber yard in town. I'd say it cost around $120 to make (Paint, lumber, screws, etc). We used thinner particle board for the backing (instead of the size listed in instructions) and hammered and glued the drawer bottoms on. Also, we used pocket holes to make the drawer frames instead of using glue and nails. We made it 2" taller than the plans said. Bought drawer handles from the Habitat For Humanity Re-Store for $1 each and spray painted with Krylon's Oil Rubbed Bronze in satin. Took us about 15 hours start to finish, but over the course of a couple of weeks as we had time to work on it. Wait time between coats of paint and poly, etc. Very happy with how it turned out and plans were straightforward and easy to follow!

Built from Plan(s)
Estimated Cost
$120
Estimated Time Investment
Weekend Project (10-20 Hours)
Finish Used
Chalk paint lightly distressed, a primer on the plywood table top before painting, Minwax Polycrylic to finish. Drawer fronts were stained with Minwax Wood Stain in Espresso. Sealed with Minwax Polyurethane.
Recommended Skill Level
Intermediate

Just my size closet

Finally got around to getting my daughter's closet organized. Made some adjustments to the plans to better fit our size needs. Everyone in the family is very happy with how it came out.

Built from Plan(s)
Estimated Cost
$75
Estimated Time Investment
Weekend Project (10-20 Hours)
Finish Used
paint
Recommended Skill Level
Beginner

Christmas tree shelf

Submitted by Anonymous (not verified) on Mon, 12/27/2021 - 12:16

I’ve made a couple of items from the website but this is one of my favorites and I’ve got a bunch of family orders for next year.

Rob Bakker
Calgary, AB

Built from Plan(s)

Comments

toy box

Simple open toy box with moulding detail.

Built from Plan(s)
Estimated Cost
$50.00
Estimated Time Investment
Afternoon Project (3-6 Hours)
Finish Used
1. One coat primer.
2. Two coats semi gloss white.
Recommended Skill Level
Intermediate

Medium Dog Kennel / End Table Combo

Submitted by kmhanrahan on Fri, 07/05/2013 - 11:54

We loved Ana's plans for the large pet kennel / end table combo but we needed a medium-sized one for our Welsh Terrier, Watson. I reduced all the dimensions, ending up with a kennel that's 18"(W) X 24:(H) X 28"(D), perfect for Watson.

To prevent Watson from using the rails as chew toys, I lined the inside of those areas with chicken wire. I also extended the table top an extra 3" to accommodate a swing-arm end table lamp (with the cord outside of the kennel, of course). We painted the kennel black to match our other end table.

This was my first time using the Kreg Jig (80+ times on this project!) and I love it!! In fact, I'm looking for more projects that require the Kreg just so I can play with it some more. :-)

Built from Plan(s)
Estimated Cost
$100
Estimated Time Investment
Weekend Project (10-20 Hours)
Finish Used
Rustoleum spray paint and black semi-gloss spray paing
Recommended Skill Level
Intermediate

Comments

kathybusche

Fri, 09/15/2017 - 18:33

I was wondering if you still happen to have the scaled down instructions for this dog kennel and would be willing to share them through email?


Kathy

Kitchen Island

Great simple plans, easy to follow.

I made a few modifications to this plan, as I was building this for my sister who wanted it a bit smaller, I used the Kreg jig to attach the side rails and shelves. However In the future I think I will be mortising the joints as the extra work is worth it in the long run to provide the extra strength.

The top is made from joined 2x6's, I used my custom made skill saw table saw to rip them so I got perfectly close joints with no gaps.

The slats for the shelves were a huge pain to finish, I opted to stain and urethane them before assembly. It took a bit more time but I think the finish came out much nicer than if I would have done it after assembly.

Built from Plan(s)
Estimated Cost
$50-80
Estimated Time Investment
Weekend Project (10-20 Hours)
Finish Used
White furniture paint, Minwax red chesnut, three coats of polyurethane
Recommended Skill Level
Intermediate

Pantry Shelves

Submitted by DIYAZMOM on Wed, 12/29/2021 - 09:03

We enclosed an unused wet bar and then I built the shelves to make it into a pantry.

Built from Plan(s)

Comments

Entryway Bench

Submitted by karahart on Wed, 05/11/2011 - 08:58

This build seems so long ago...it was over a year ago, and it's what got me on my building kick. I'm just now getting around to transferring my brag posts to the new website. It was my very first build, and one that I'm still extremely proud of. I'll forever be grateful to Ana for giving me the direction to do this so that I had the courage and confidence to know that I can do / build anything!

Estimated Cost
$65 for material + stain
Estimated Time Investment
Day Project (6-9 Hours)
Finish Used
I applied a few coats of minwax stain and then a coat of polyurethane on top.
Recommended Skill Level
Beginner

Modern Slat Top Outdoor Wood Bench

Submitted by ckaye on Sun, 07/07/2013 - 18:38

We wanted an outdoor bench for our front entrance way, this one is just what we were looking for! Thank you for the plans.

Estimated Time Investment
Day Project (6-9 Hours)
Finish Used
2" x 6" Spruce Black Stain
Recommended Skill Level
Beginner

Comments

beardjulie

Wed, 05/04/2016 - 10:01

I am really a novice. The plans say that the 1x4's should be 18-1/2" high? But the measurement of the vertical legs are 14", and the horizontal piece is 4" high, which adds to 18". It all looks flush in the photo. Could you explain what I am missing? Thank you so much!

In reply to by beardjulie

Rudystawarek

Wed, 05/04/2016 - 11:30

So from what i see in the plans Each 1x4 board is to be cut at 18" and the 2x4 is to be cut at 14-1/2". Cutting the 2x4 at 14-1/2" will insure the 1x4 and 2x4 are fluish for the end product. It doesnt seem to add up given the demensional names of the lumber hahaha however the actual width of a 2x4 (the one the will be going horizontal) is acutally 3-1/2". so then you cut you 2x4 leg piece at 14-1/2" and then lay the horizontal 2x4 on top the total height will be 18" and should be flush with your 1x4 that is cut at 18"

beardjulie

Fri, 05/27/2016 - 14:04

That is too funny! That is a dead give away that I'm new at this! Thanks you!

beardjulie

Fri, 05/27/2016 - 14:04

That is too funny! That is a dead give away that I'm new at this! Thanks you!

Bristol Chair Build

Submitted by rbgreene04 on Sun, 06/28/2015 - 21:41

I modified the plans just a tiny bit to make the dimensions match the cushions I bought. I got my cushions from Lowes for $57 per set. The other modification I made came because of some of the comments I read on the plan's comment thread. Several people seemed to be worried about the strength of the back section as the back was beveled at a 15 degree angle meaning it wouldn't make a 90 degree joint. Because my biggest fear as a woodworker is having a piece of furniture fail, especially if it fails when someone else is using it, I wanted to make the chair as strong as possible. So, I lowered the lowest back slat so that it's bottom edge would make contact with the seat frame. I also beveled the seat slat at 15 degrees, in fact I built the entire back section and then beveled it all at once. This change allowed me to put pocket holes along the width of the chair. I alternated pocket holes in the seat frame and the back support section. Of course, it is all reinforced when you connect the back section to the arm rests, as well. So far, the chair is holding up quite nicely--as is my pride as a woodworker--and has not even come close to failing. Also, counter intuitively, I put all the pocket holes on the front of the back section. I figured the cushion would cover them, and then the back is left sleek and clean in case anyone wants to admire the chair from the back.

Built from Plan(s)
Estimated Cost
about $90 (including cushions)
Estimated Time Investment
Day Project (6-9 Hours)
Finish Used
I sanded to 220 and then applied two coats of Minwax Special Walnut. After that, I sanded with 600 to make the surface as smooth as a baby's bum. Finally, I applied two coats of Cabot's Spar Varnish. I could have applied more, but, one...I hate finishing because it's sooooo tedious, and two, the chair is going to be under a covered patio in Southern California so it won't be facing extreme weather.
Recommended Skill Level
Intermediate

Comments

Pursuit of Handyness

Mon, 06/29/2015 - 14:47

I've been wanting to build this set for so long. The cushions keep stopping me. Did you buy them recently from Lowes? Do you remember which ones they were?

rbgreene04

Mon, 06/29/2015 - 21:00

Thanks, handyness! Yes, I bought them from Lowe's about a month ago. And they are still there because I always walk past them and debate if I should try to buy two and make a loveseat.

combsone

Sat, 10/17/2015 - 12:07

Hi...I was wondering if you could post your mods to the original plans as I think I would like to use those same Lowes cushions and also, use the mods to add more support to the backrest.  Are the cushions the Allen Roth ones?  Thanks!

rbgreene04

Sat, 11/28/2015 - 22:22

Hey,

Sorry I didn't see this message until now (almost December). Anyway, I added a picture of the modified plans that I drew up. Hopefully you can make sense of them and read all of the measurements I used. Oh, and yes, the cushions are the Allen Roth ones from Lowes. Please let me know if you have other questions or can't read my plans.


Thanks!

Grandy Sliding Door Console (Modified)

Submitted by NicJT86 on Wed, 01/17/2018 - 00:22

My version of the Grandy Sliding Door Console. My modifications: 

- Length 6.5 feet long (instead of 90inch). Same height and depth.

- Bought hardware from amazon, purchased hardware is larger than the plans call for. Changed face frame top from 1x4 to 1x6 to create clearance for the wheels and top overhang. 

- Wanted a deeper top so I added a 2x3 between the two top boards. I did this also for looks! It stained so nice!

- Modified the mounting spacers for the rail to allow the door to hang closer to the cabinet. 

Advice: Pay attention to the size of the hardware. 

If buying door hardware make your door close to the same thinkness as a standard interior door. This will help them hang correctly and close the space between the frame and the door. 

Lastly, use pocket holes! 

Built from Plan(s)
Estimated Cost
Door Hardware= $70
Wood= $250
Stain + paint= $30
Estimated Time Investment
Week Long Project (20 Hours or More)
Finish Used
Dark walnut stain and Black Fox paint from Sherman Williams
Recommended Skill Level
Intermediate

Farmhouse dining table with bench

Submitted by Anonymous (not verified) on Sun, 01/02/2022 - 14:20

Simple design and fun to build. I did not however use the turned legs. I made a jig and went with tapered legs.

Built from Plan(s)

Comments

Tips for Slowpokes

Submitted by melissa2 on Thu, 05/12/2011 - 14:33

You probably read a lot of amazing posts here about how people using the plans can make something in a day or a weekend. They deserve kudos for their diligence! But I don't want you to get discouraged if you don't or can't work that quickly. I want to encourage those of you who work more slowly that you can still use these plans. What slows you down? Maybe it's lack of time, health concerns, or cost. I have made and even designed furniture in the past. But prior to this, I always had someone helping out with the building process, used a kit, or the project was small enough that it didn't seem overwhelming. I made this completely by myself . . . and that's why I think you can, too. And while this project took me almost four and a half months to complete, the end result is the same--a place for me to sit and type up these tips for you!

I hope the things I learned along the way may help encourage you to just take that first step toward creating a piece of furniture.

Beginning Tips for Slowpokes:

* Bookmark and print out the plans from the Ana White website, and keep them in a safe spot that you will remember over the months to come. Check the site regularly for updates, corrections, and tips that members share.

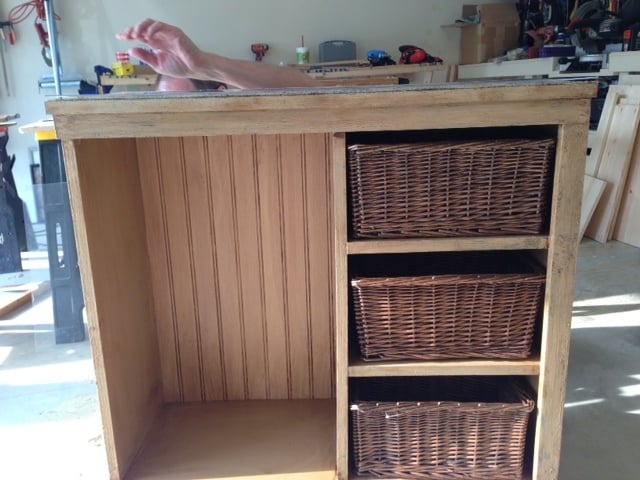
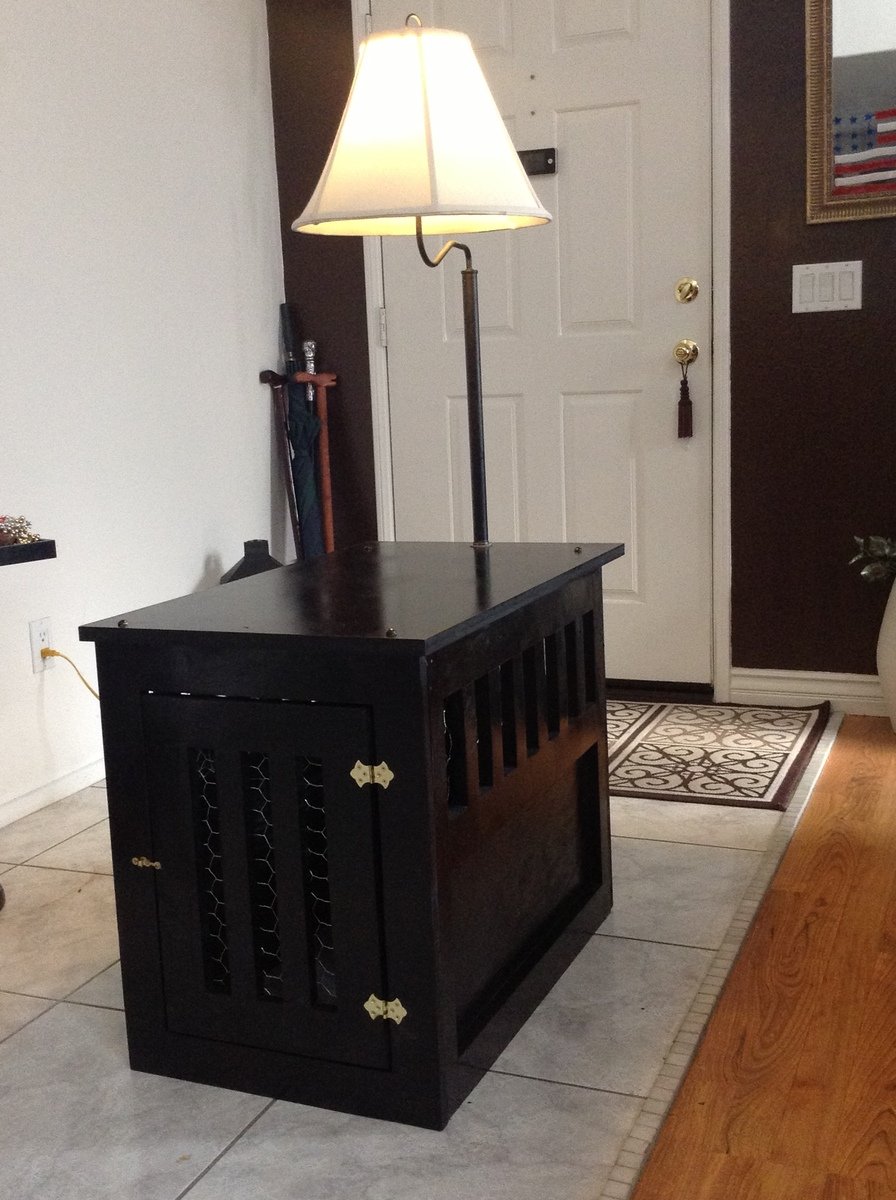
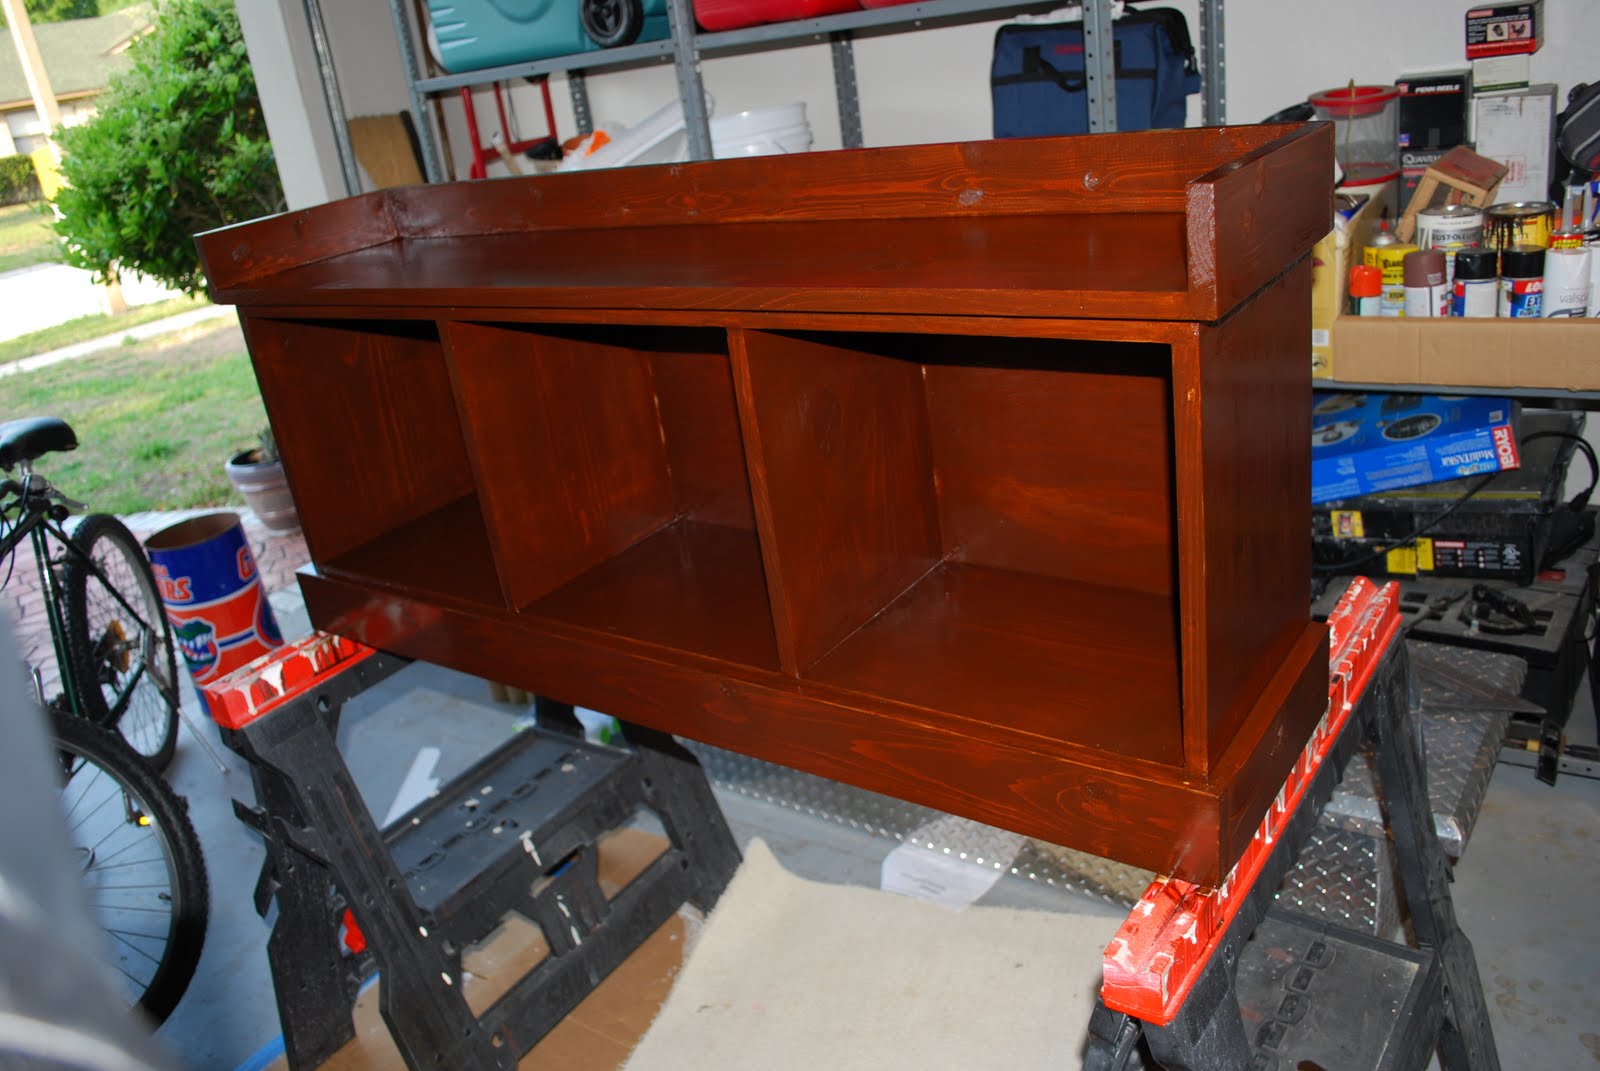
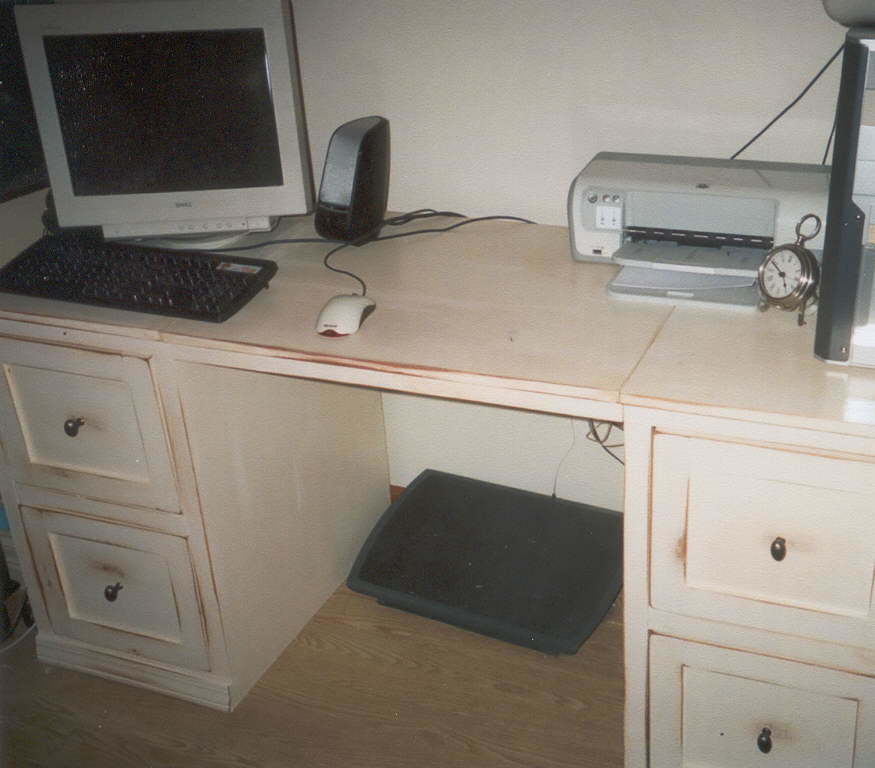
* Break up what you're doing into a bunch of smaller projects. The desk, for example, can be broken up into up to seven different projects (the center desk section, the two cabinets, and four drawers), with each being able to be completed partially or completely before moving on to the next.

* Get as many cuts done in stores as you can. You'll need to be careful here, especially if you gather pieces over time. Everyone cuts wood differently, woods have different dimensions (even when they shouldn't), and your pieces may not match up exactly. However, having pieces cut will generally make things a lot easier for you!

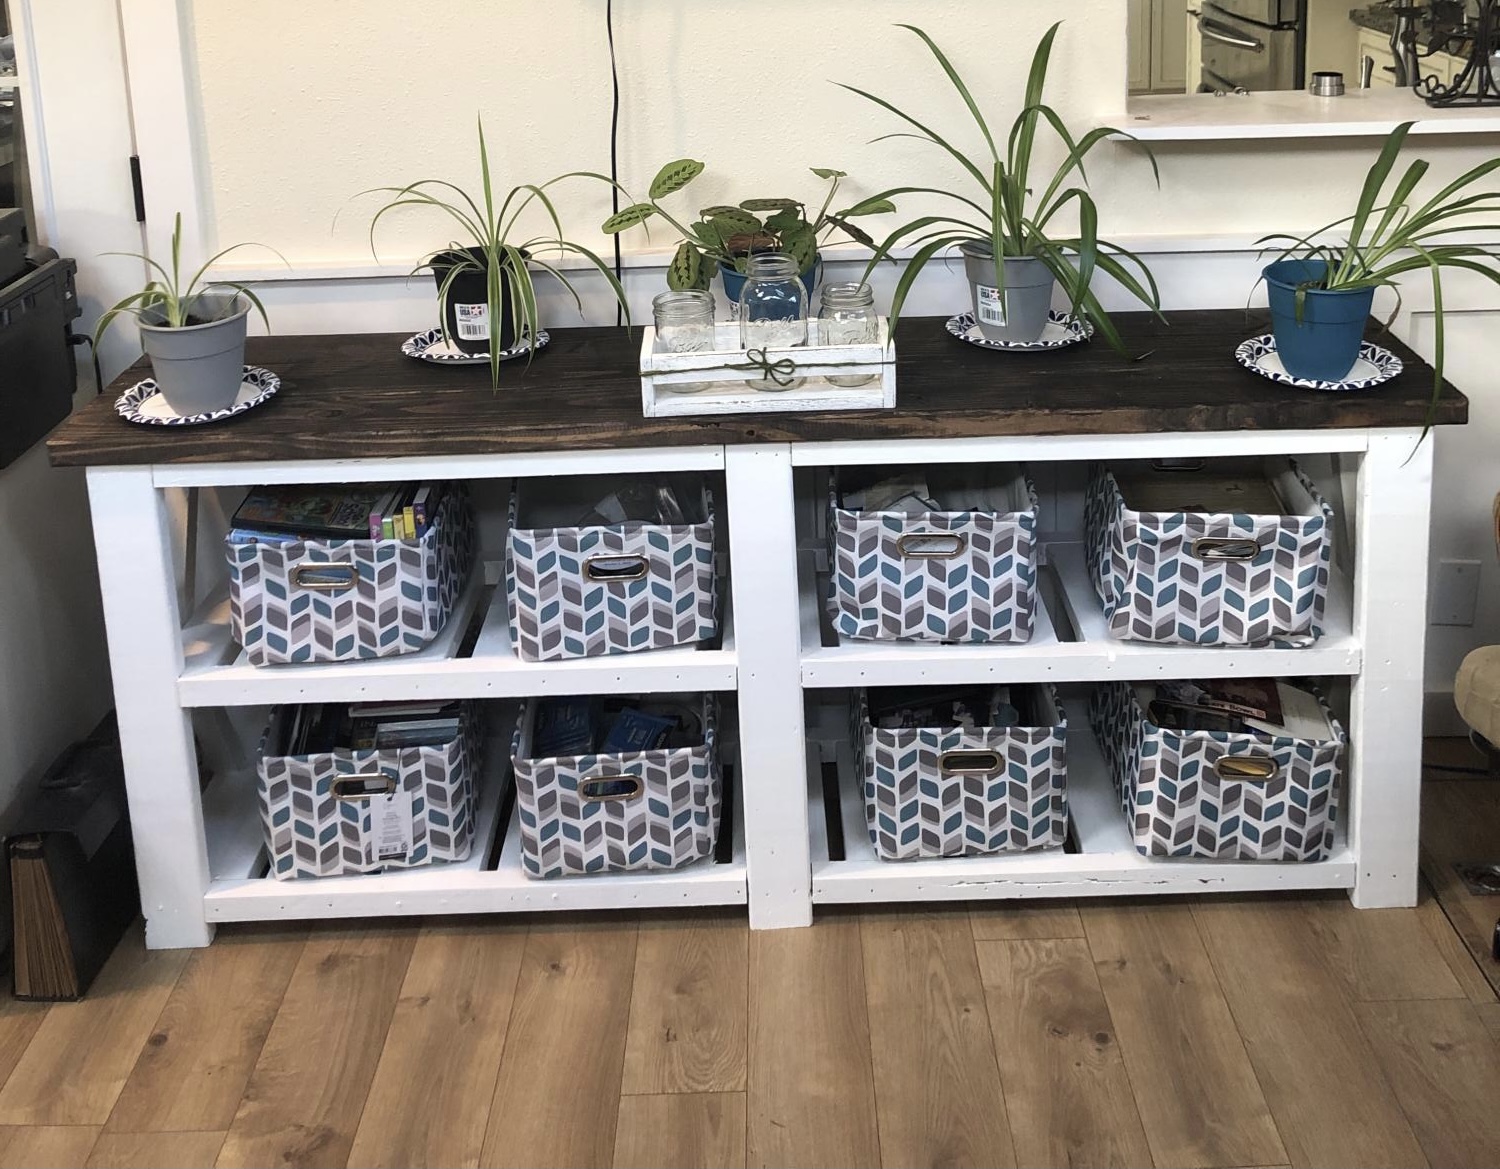
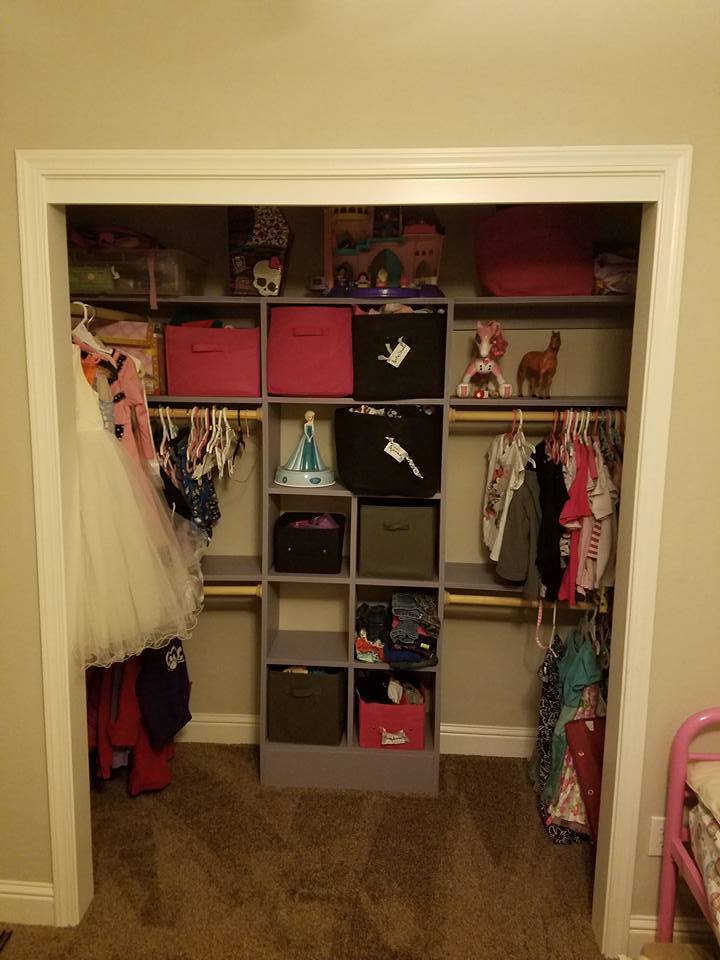
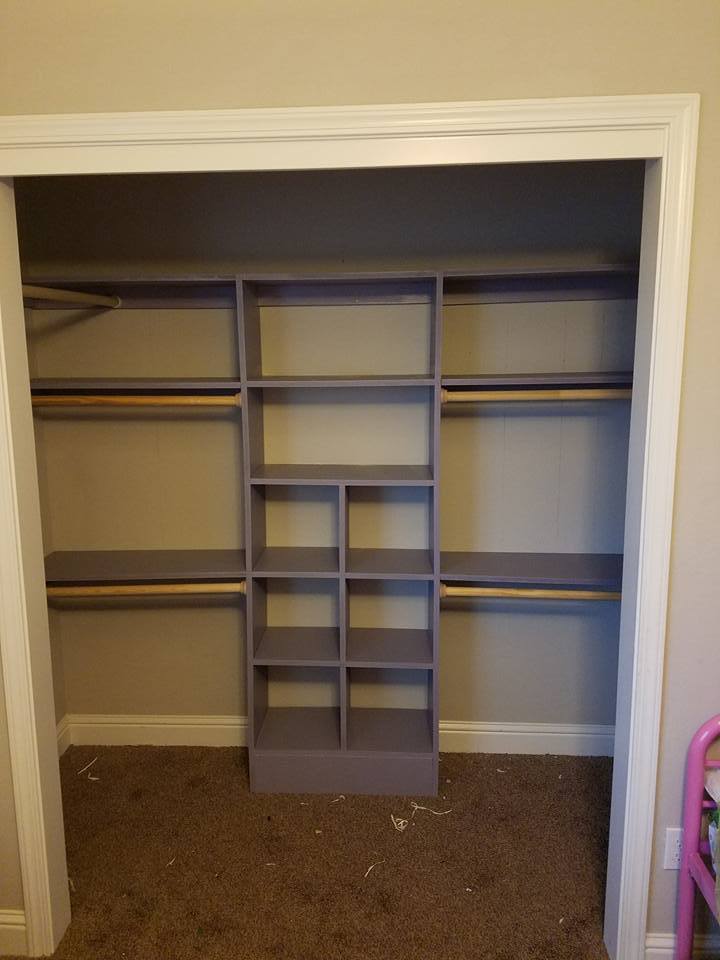
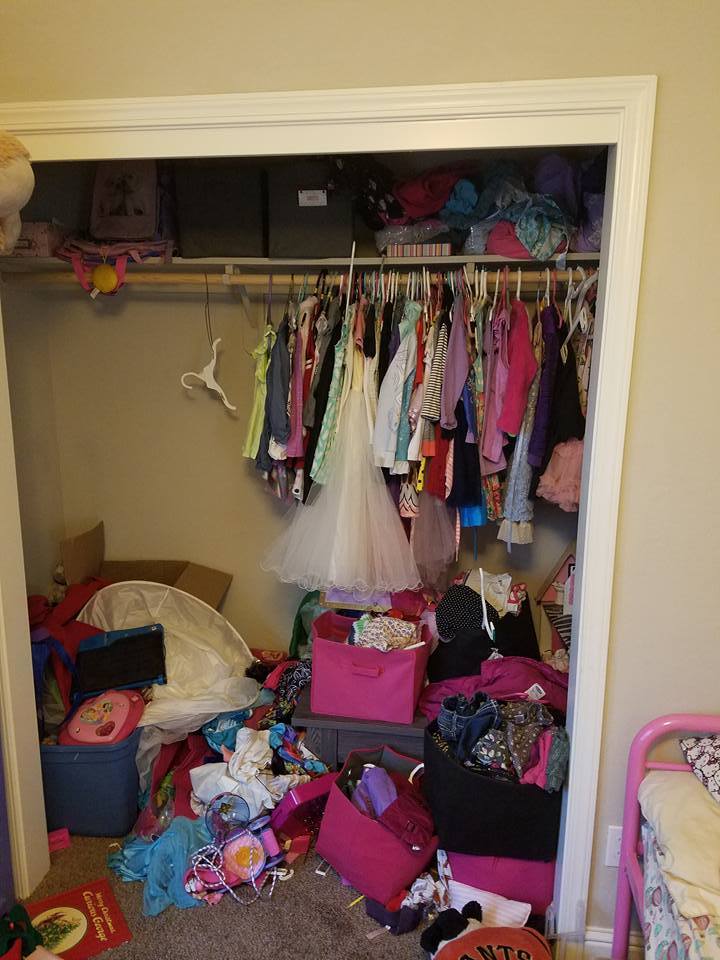
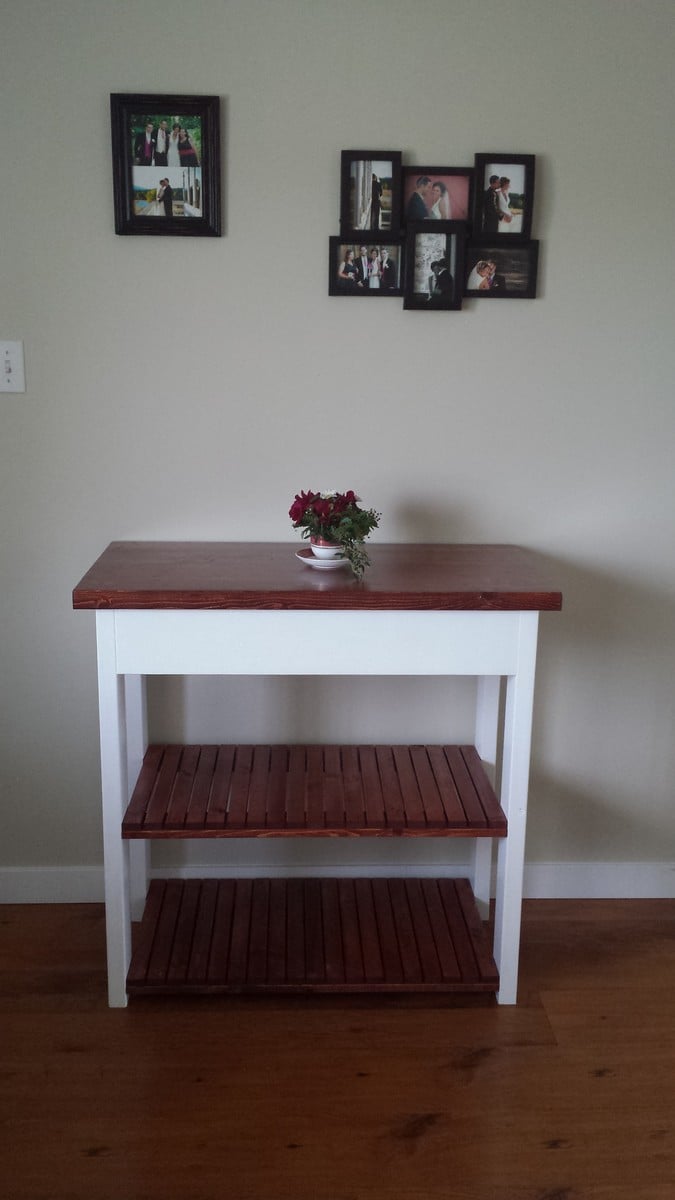
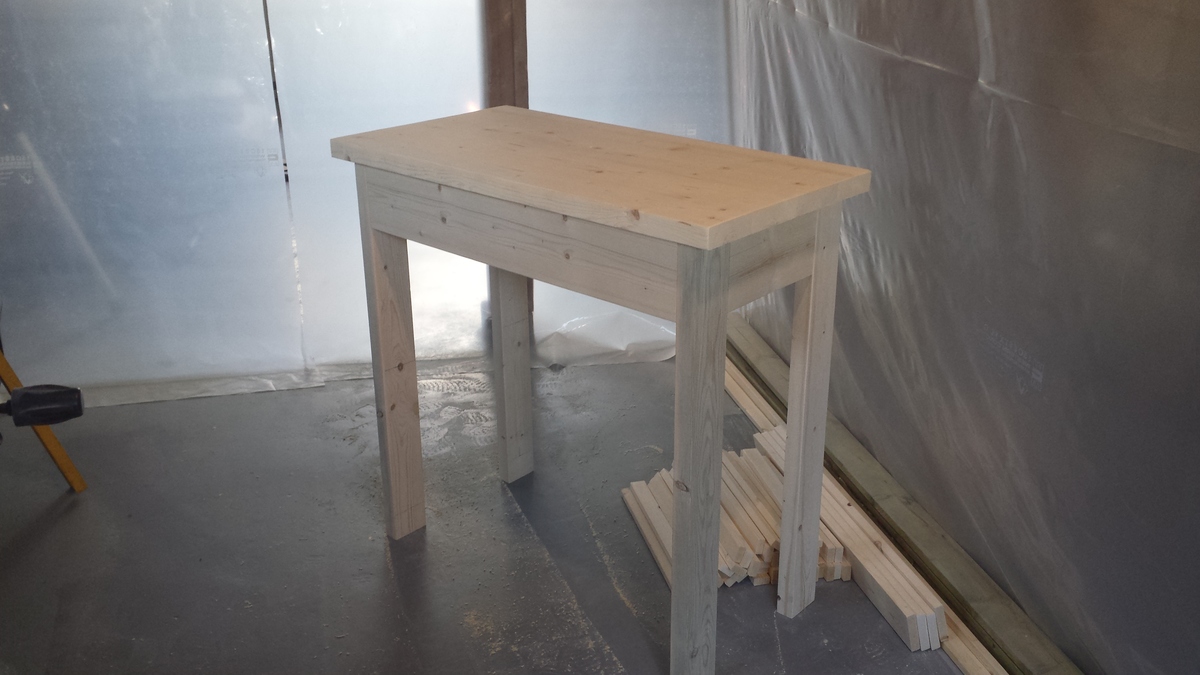
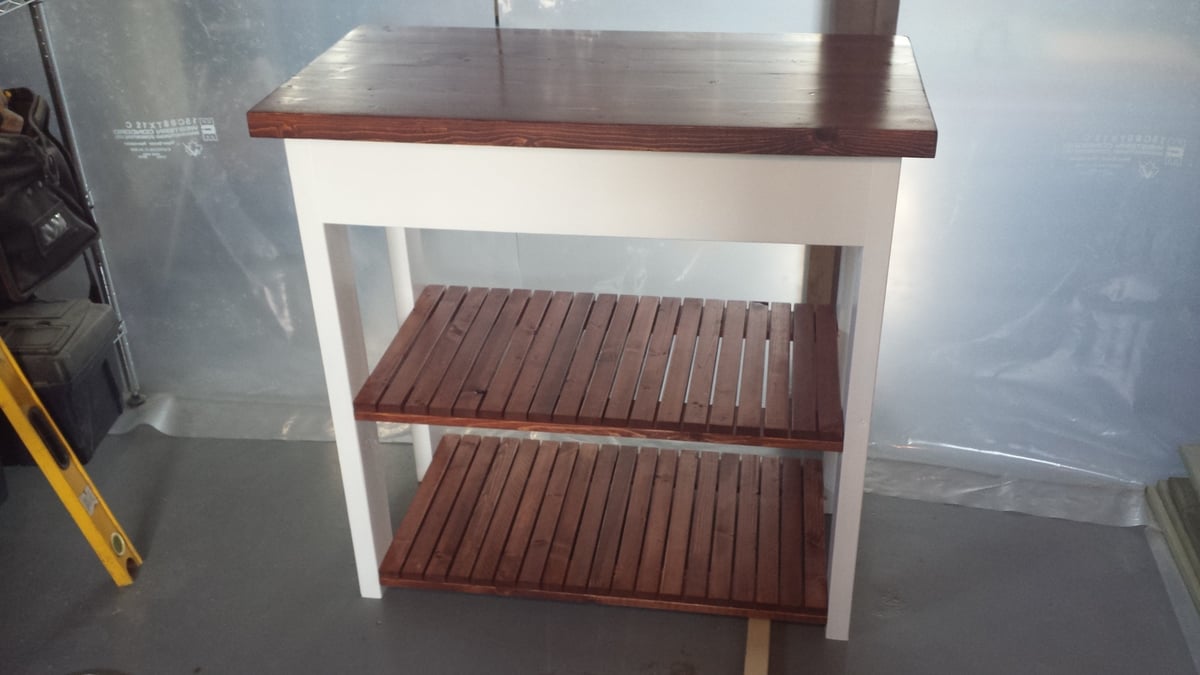
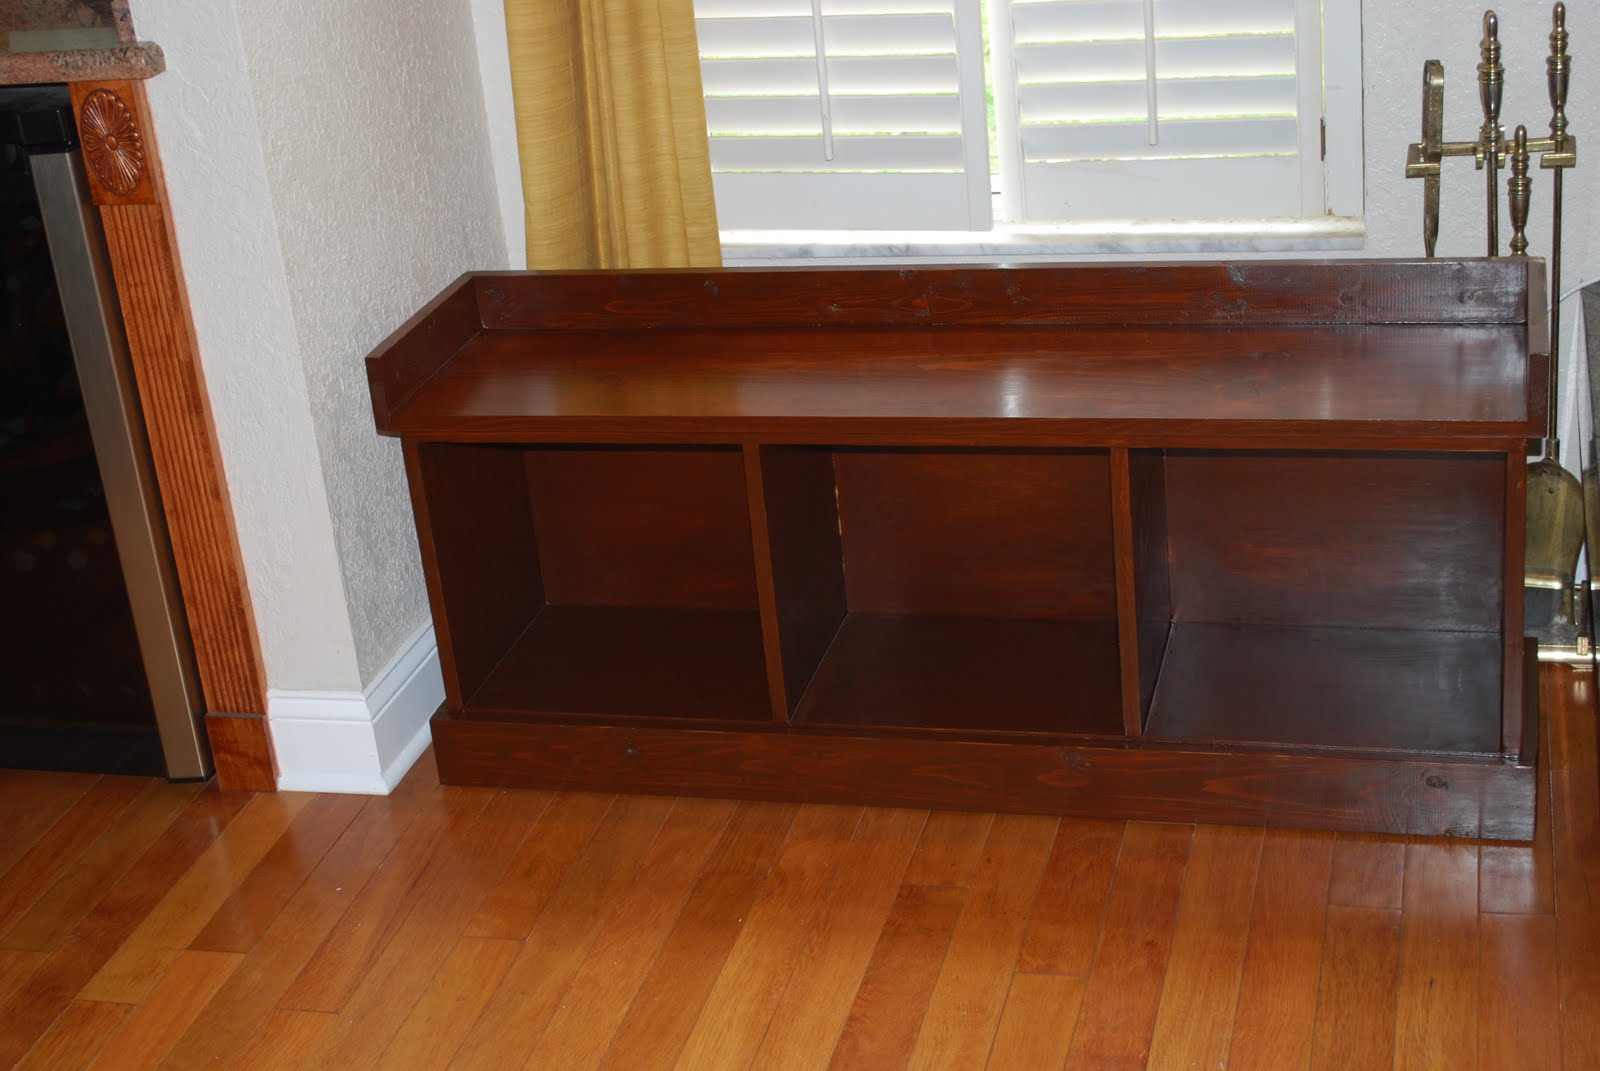
* Taking time off from building is okay! If you plan correctly, you may even be able to use partially-finished projects. I took a break before building the drawers, but still used my desk, complete with open shelving units on either side.

* Do what you can, even if it doesn't seem like anything. At times the most I felt I could do in a day was to drive three nails. But then, I was a few nails closer to being done!

Finishing for Slowpokes:

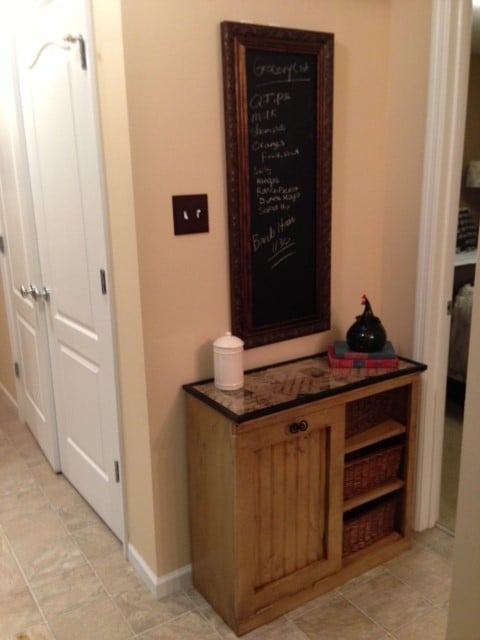
* Pick your paint (or stain) color and manufacturer wisely. Initially, I used some leftover barn red paint for the center desktop piece, expecting to get more of the same paint. After I had put on one coat, it dawned on me that the paint line had moved from one manufacturer to another. I searched around online and discovered that the paint colors changed in the move, not just the manufacturer. Oops. Some paint companies are really static with paint colors. If you plan to create the project slowly, it's really important to be able to trust that the paint you went with will be available in the future if you run out, so that you don't have to go through the trouble of color-matching. I switched to an older brand and a less-trendy color.

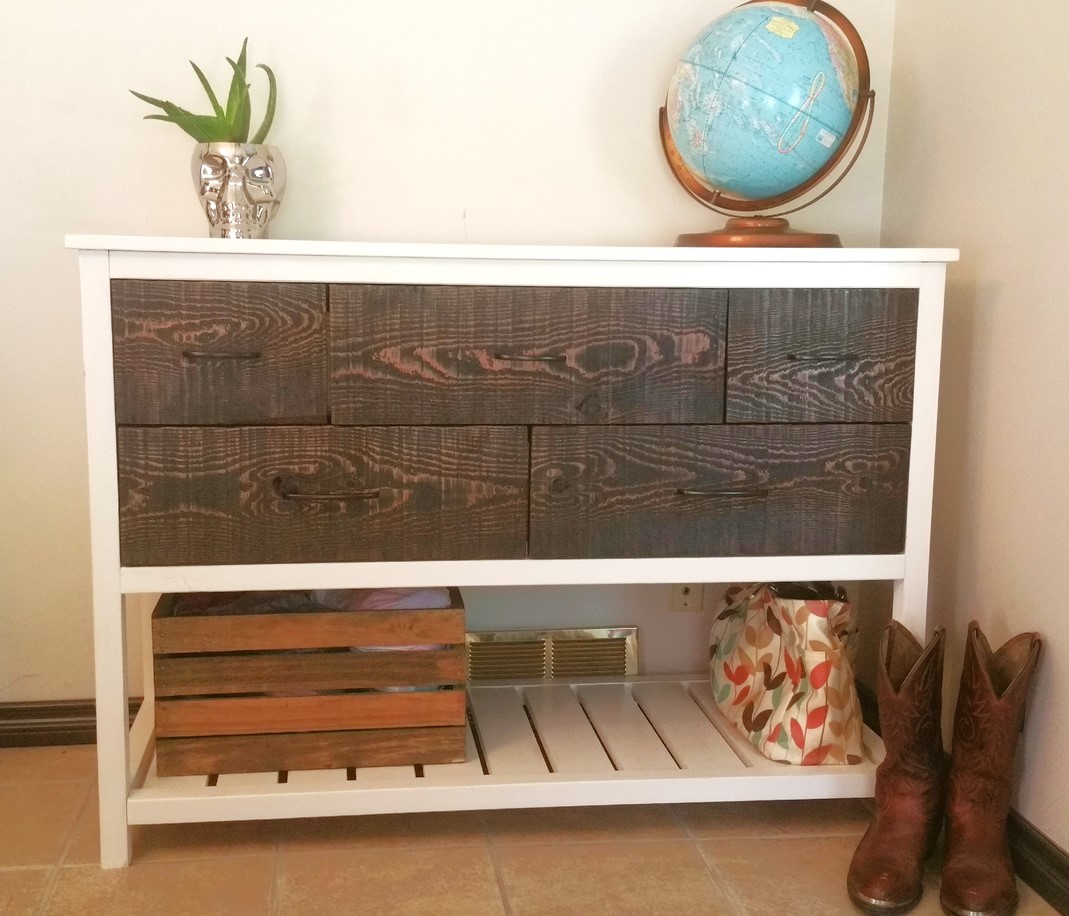
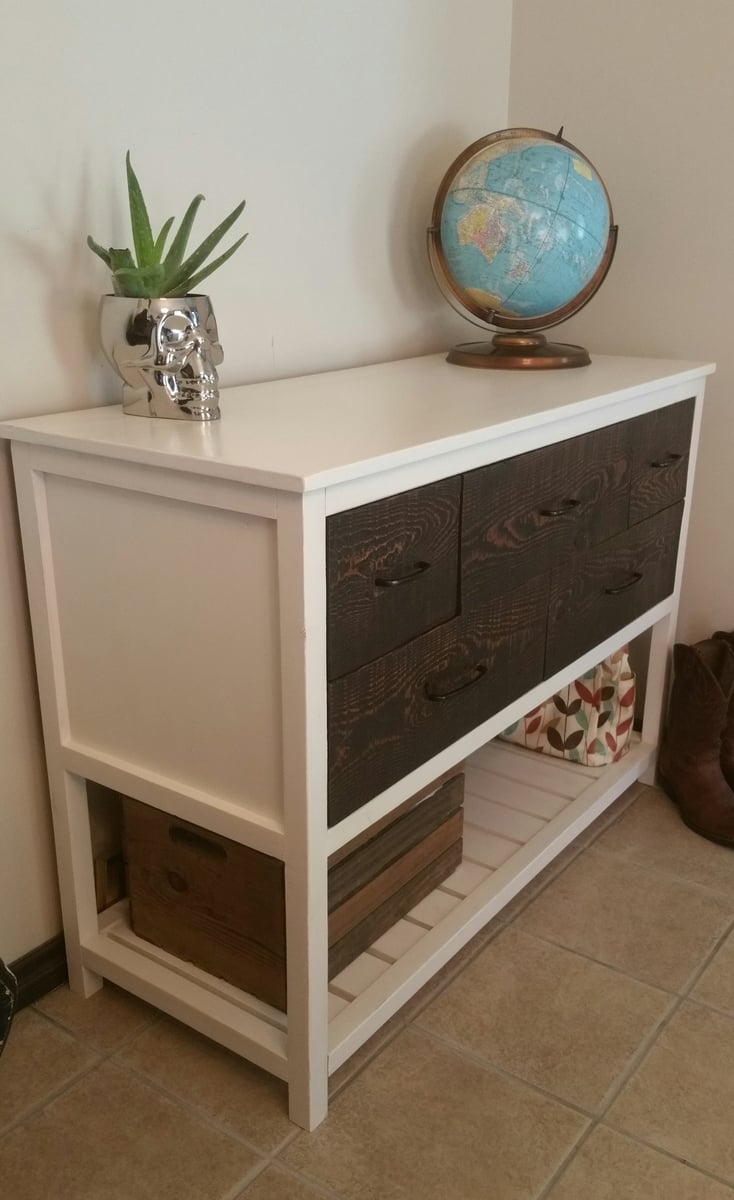
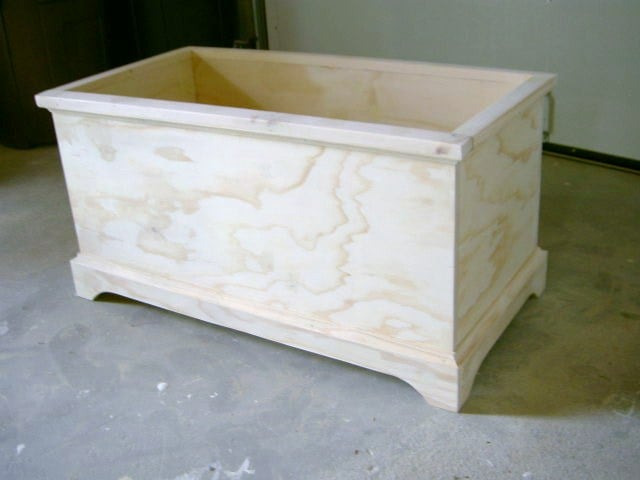
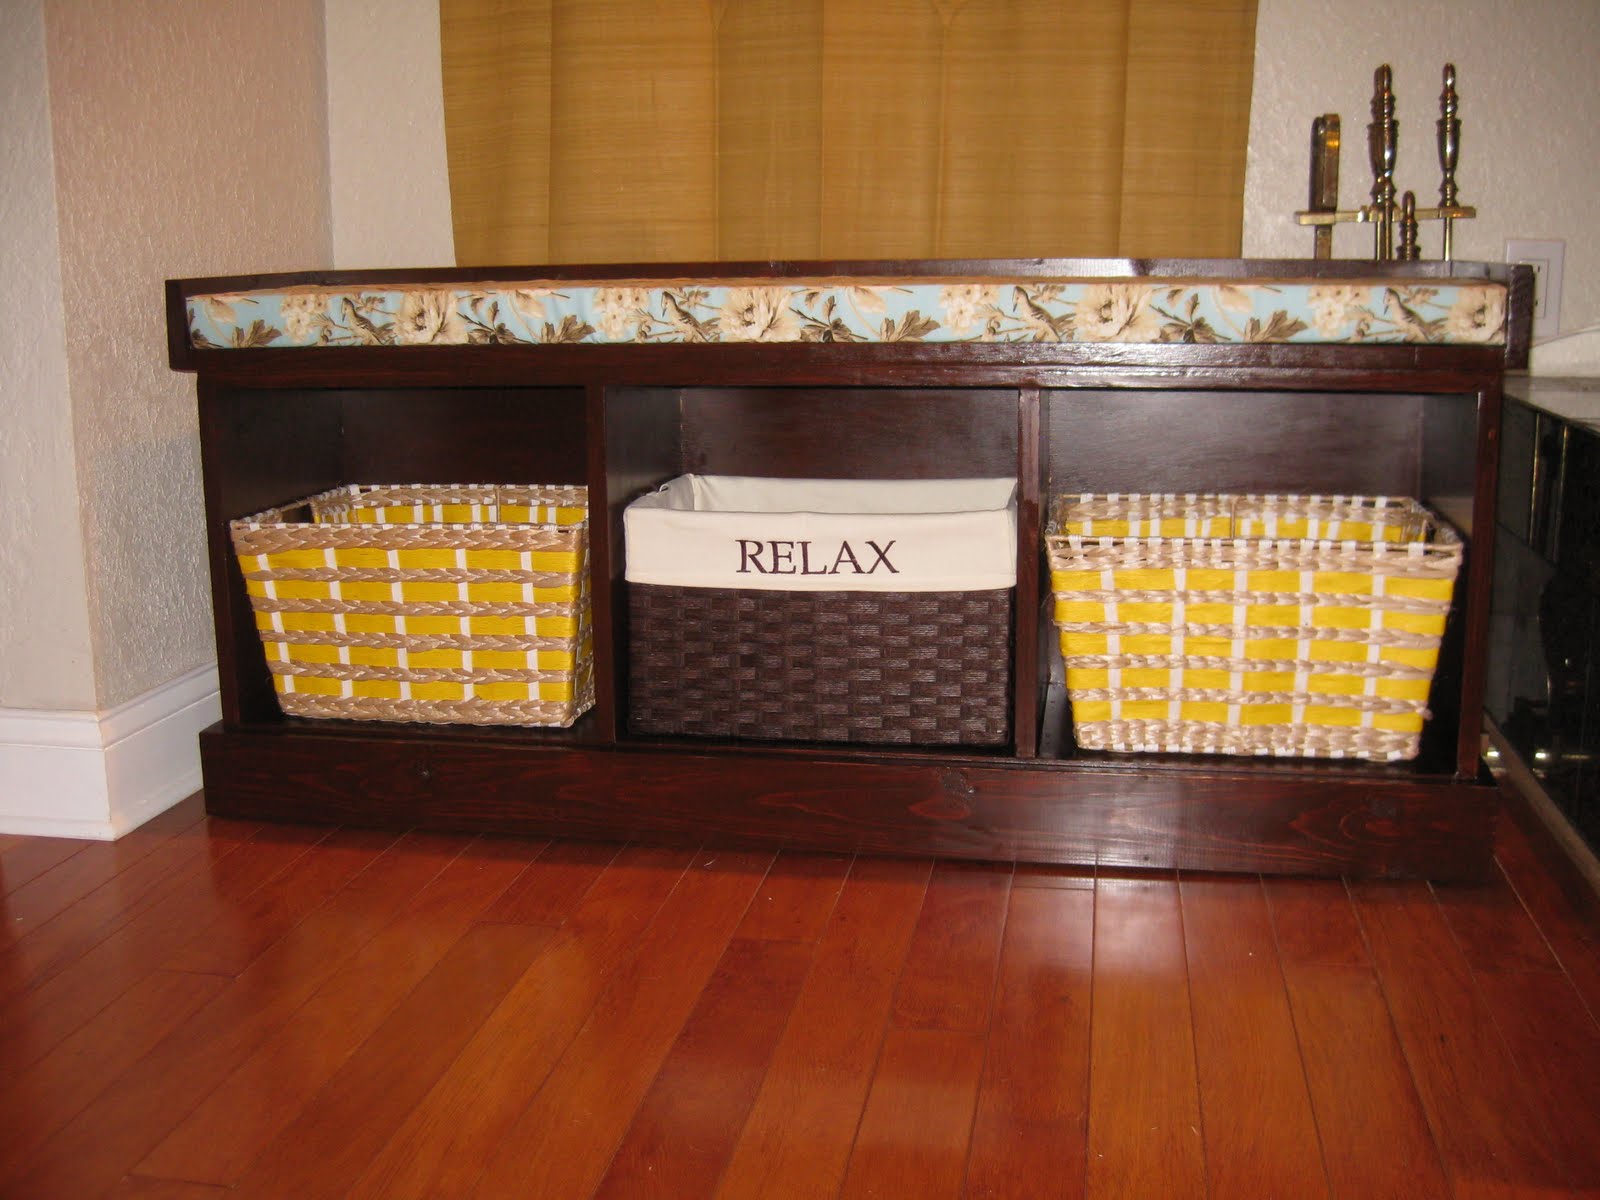
* Distressing is your friend! Creating a beautiful stained or painted finish is tough to do, and if you leave your project partially finished, you up the chances of it getting dirty, dented, or otherwise marred. Choosing a distressed finish means you don't have to be as careful, and any little mistakes will be more accepted. When I was painting one of my drawers, a big chip mysteriously fell out of the moulding. I looked at it in shock. Then I thought, "Well, it's distressed!" I could write a whole list of things that are wrong with my desk, including crooked drawer fronts and the fact that they're not flush with the cabinet. But distressing the desk makes it look like a homemade antique, and perfection isn't necessary.

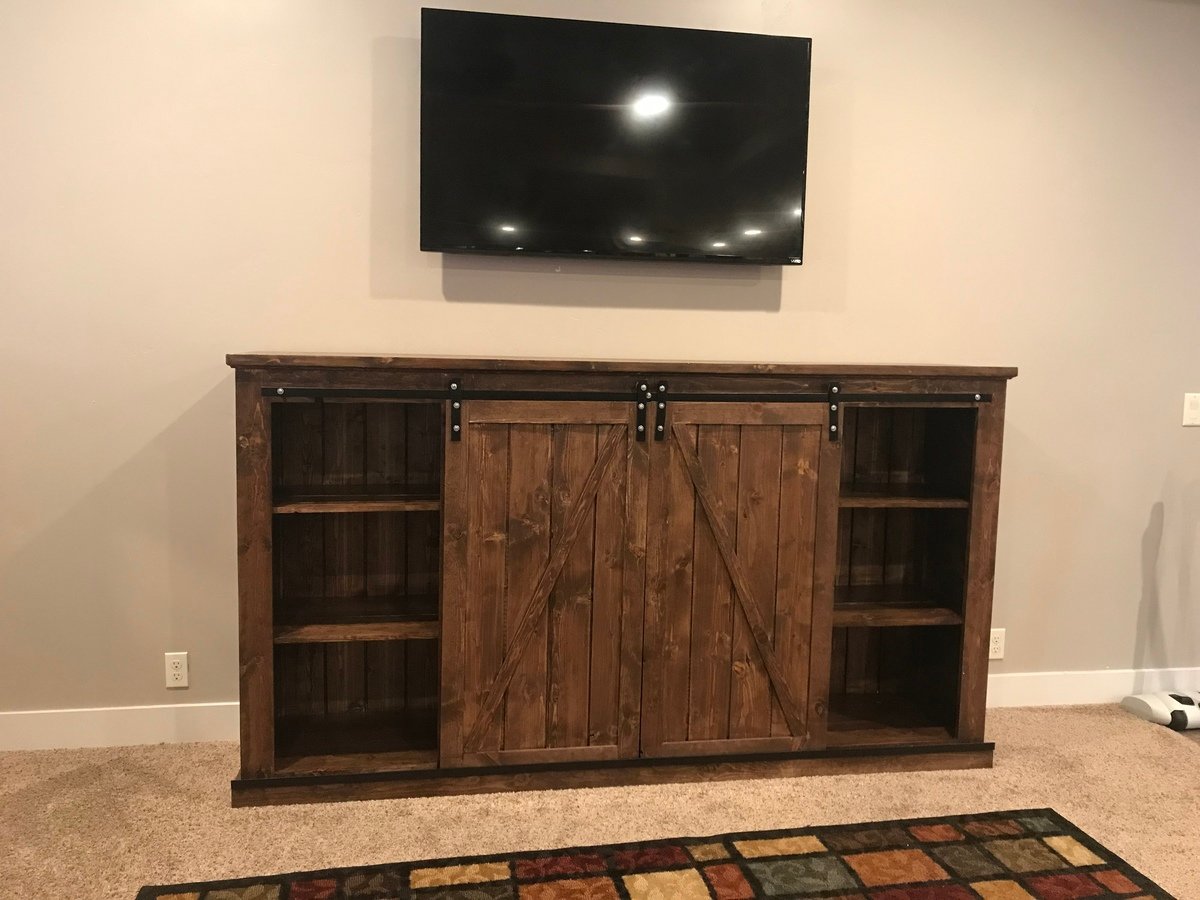
* Write down ALL your finishing steps clearly, including paint colors, brands, and type (example: matte or semi-gloss). Keep this list in a safe place along with the printed-out plans so that you can make each part of the project look the same. Some day it would be my dream to have the entire wall unit of which this desk is just a small portion of. I now have confidence that any future pieces would look at least somewhat similar to the desk!

I hope that these tips have helped encourage you to get started on your dream furniture. Just remember that no matter how long it may take to have that dream fulfilled, the end result is the same!

Estimated Cost
Over $100
Estimated Time Investment
Week Long Project (20 Hours or More)
Finish Used
1) Paint on primer, and use a roller to smooth (with all paint coats); 2) Paint on Painter's Touch by Rustoleum in "Heirloom White"; 3) Sand; 4) Paint; 5) Spatter on black craft paint; 6) Sand edges down to bare wood, and some surface areas; 7) Put water in brown craft paint, and use as a stain in sanded-off areas, wiping off excess with paper towels. Use some to make stains on other areas; 8) Hammer in random spots with a meat cleaver; 9) Varnish with one coat of semi-gloss
Recommended Skill Level
Intermediate

My Parson Chair

Submitted by LeaG on Mon, 07/08/2013 - 17:55

I loved the Parson Chair plans on this site and wanted them for my dining room! I modified the plan simply by making the chair 2" narrower and the seat back 2" taller. I also made the slipcover removable (and with fringe), so that I could change it up as I wish.

Built from Plan(s)
Estimated Cost
$75 for two
Estimated Time Investment
Afternoon Project (3-6 Hours)
Recommended Skill Level
Beginner

Farmhouse Bench

Submitted by Ktosaka on Thu, 07/02/2015 - 20:36

This bench is a shorter version of the farmhouse bench to go with our existing table. It measures 45" long, 14" wide, and 18" high. I used the leftover wood from building our Farmhouse bed so it cost next to nothing. I used leftover 1x4's for the seat and leftover 1x6 for the breadboard ends. I didn't have enough 2x4's to make the 4x4 legs, but decided that the bench was sturdy enough as is. I used my Kreg jig, so I did not notch out the legs as the plan resulting in 9" stretchers and aprons. I did add an extra 2x4 to the inside of the leg piece to add stability and a surface to screw the top to.

Estimated Cost
I only had to buy screws for this bench as it was all left over from our farmhouse bed and the finish was from the county recycle center so I only paid about $8 for the whole project.
Estimated Time Investment
Afternoon Project (3-6 Hours)
Finish Used
I started out with Minwax poly shade in antique oak, but this wasn't dark enough. I used one coat Minwax Jacobean and one coat Minwax express mahogany to get the desired color to match existing chairs. I finished it off with two coats of Minwax Wipe-on poly.
Recommended Skill Level
Beginner