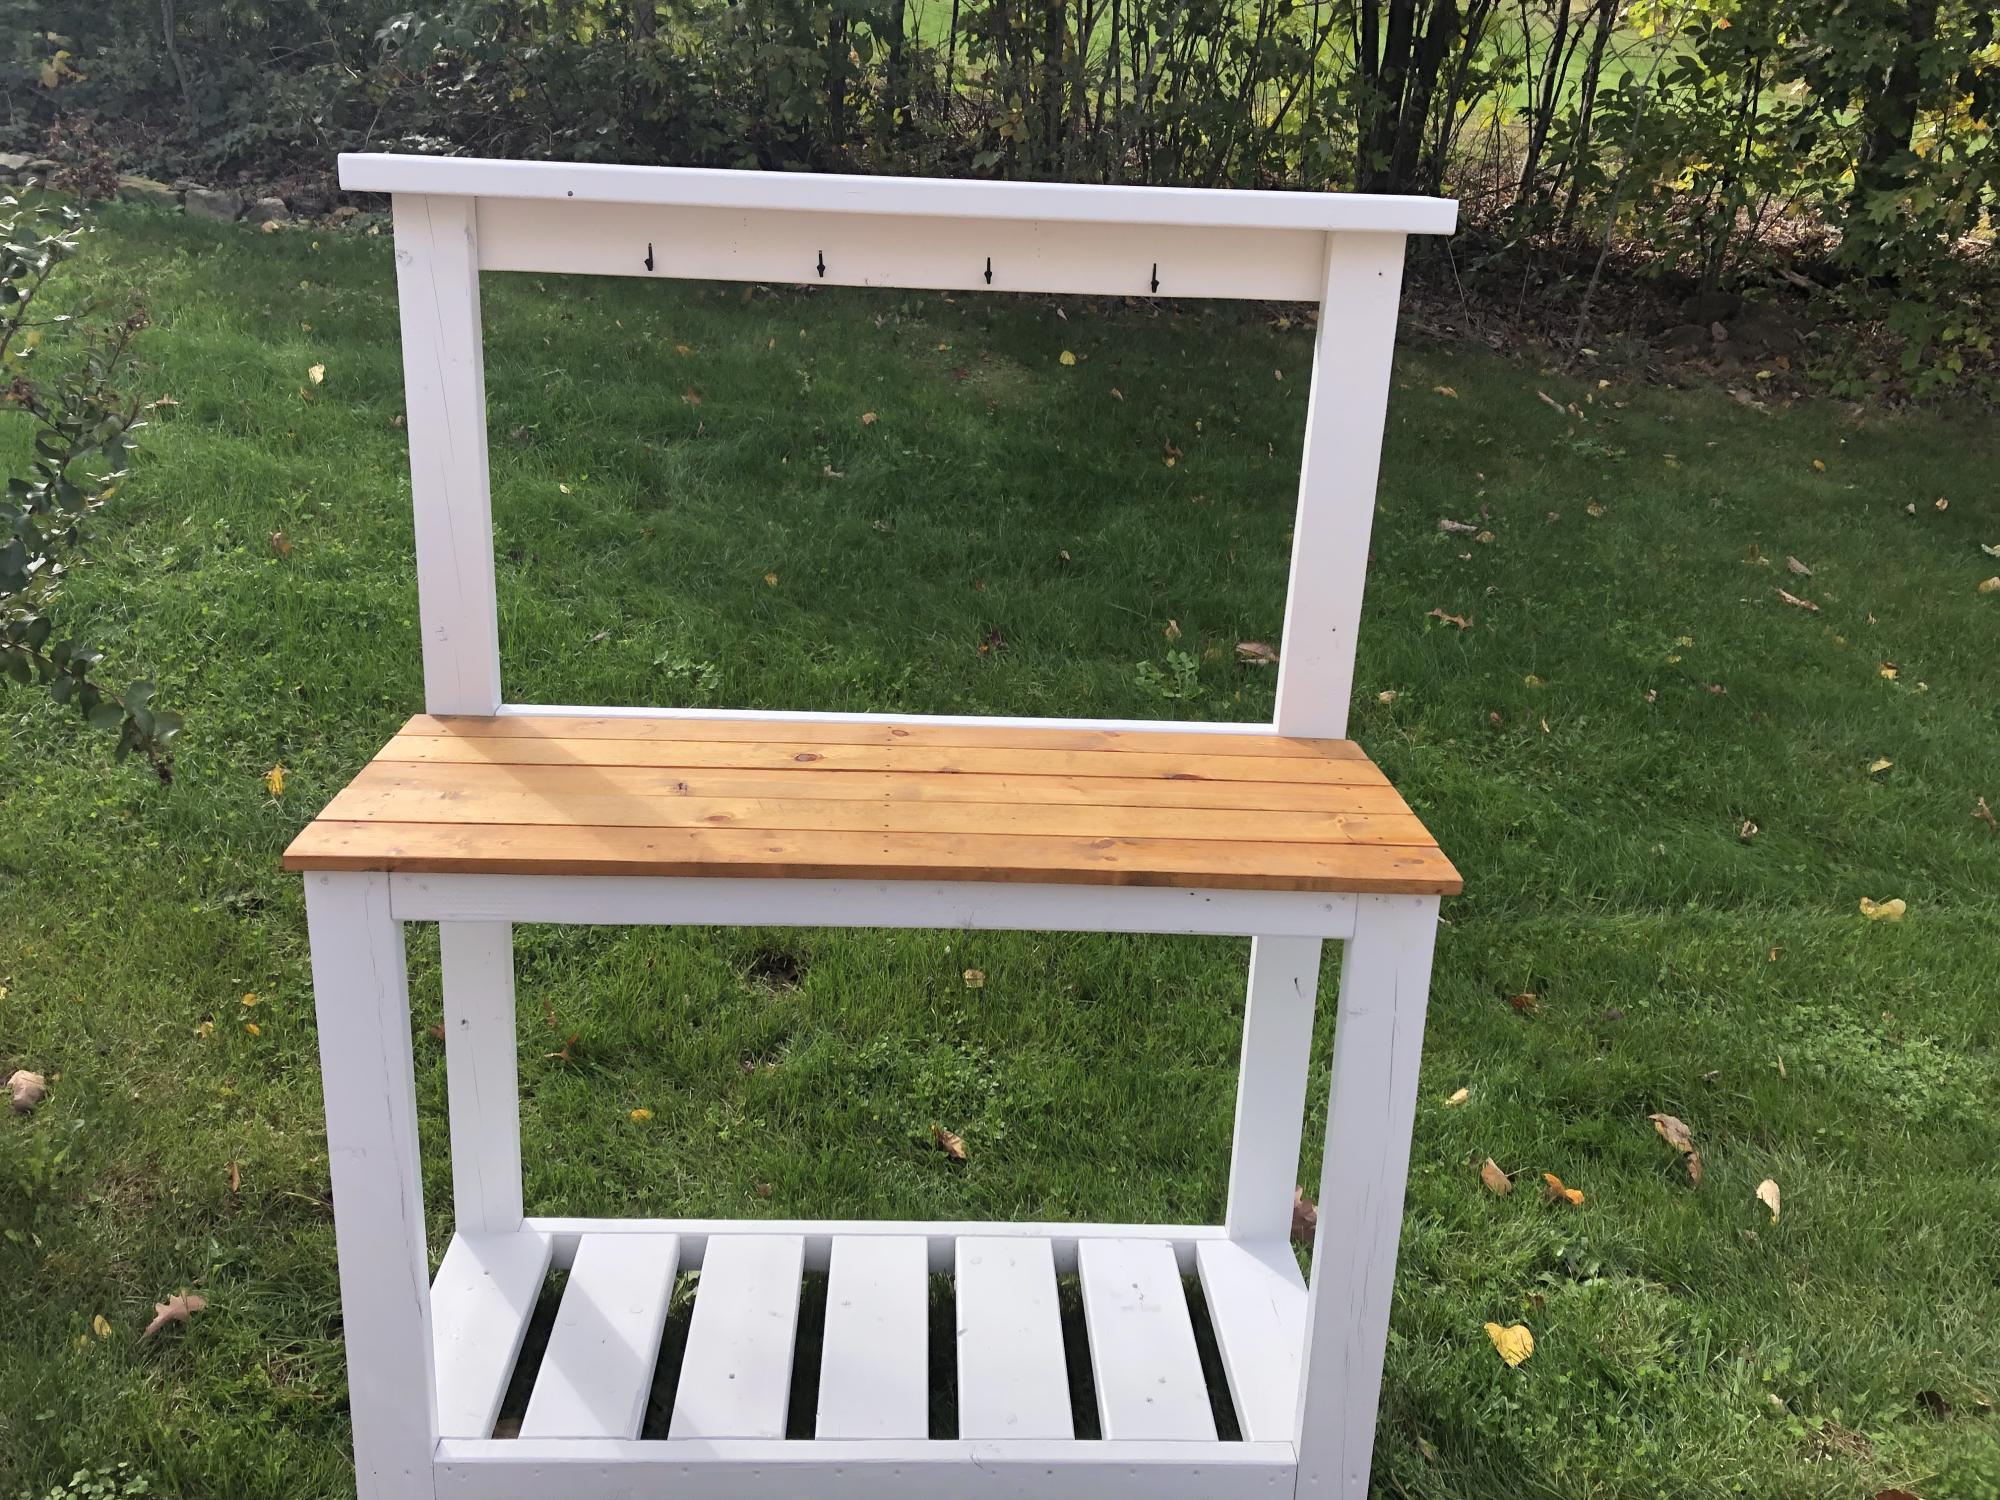
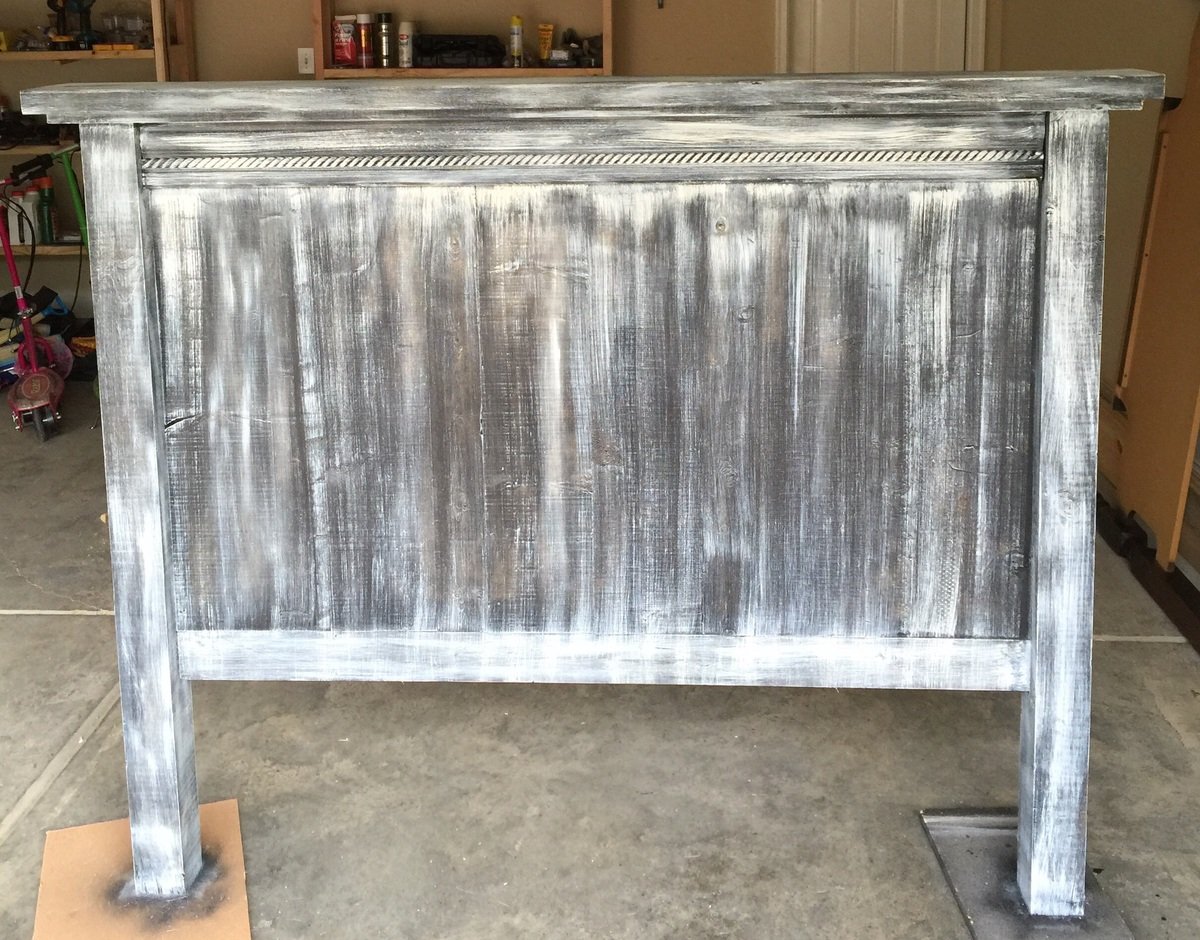
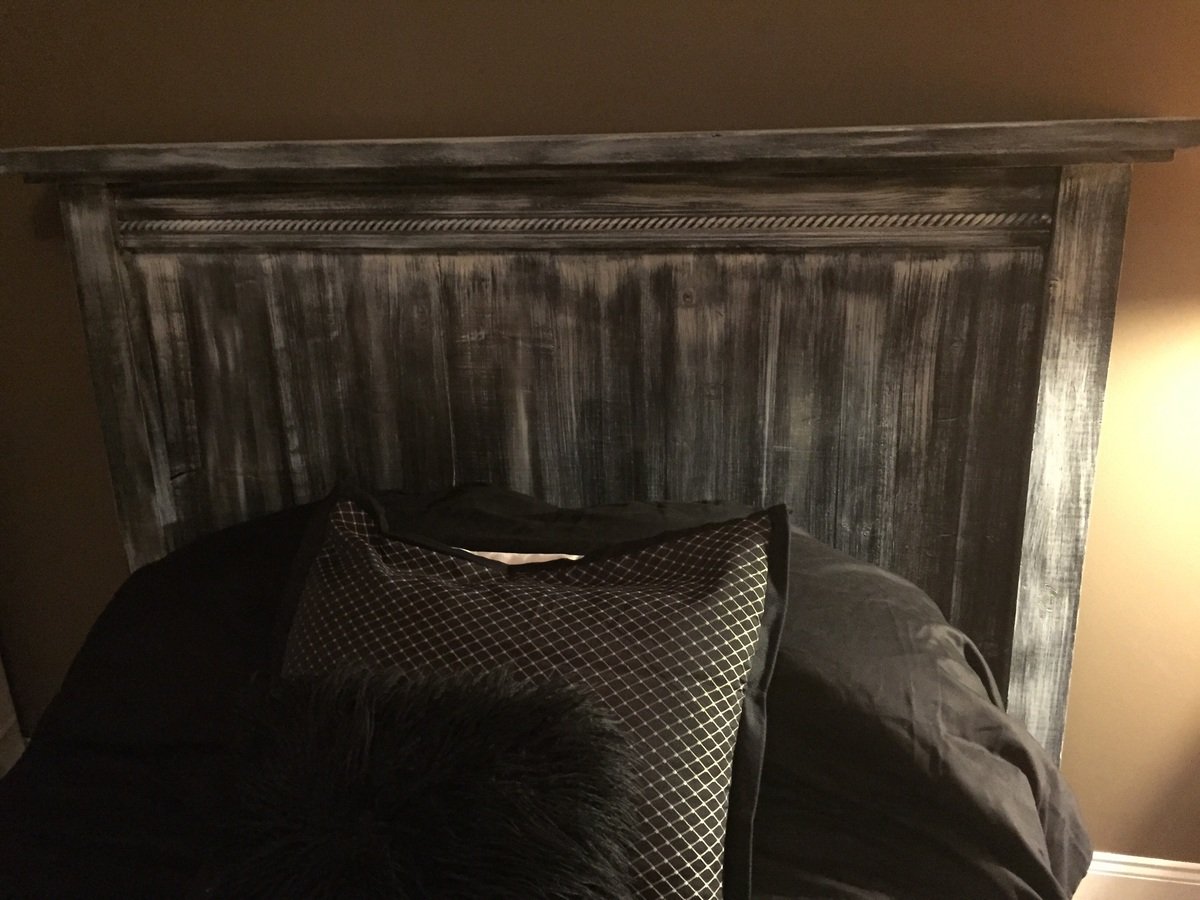
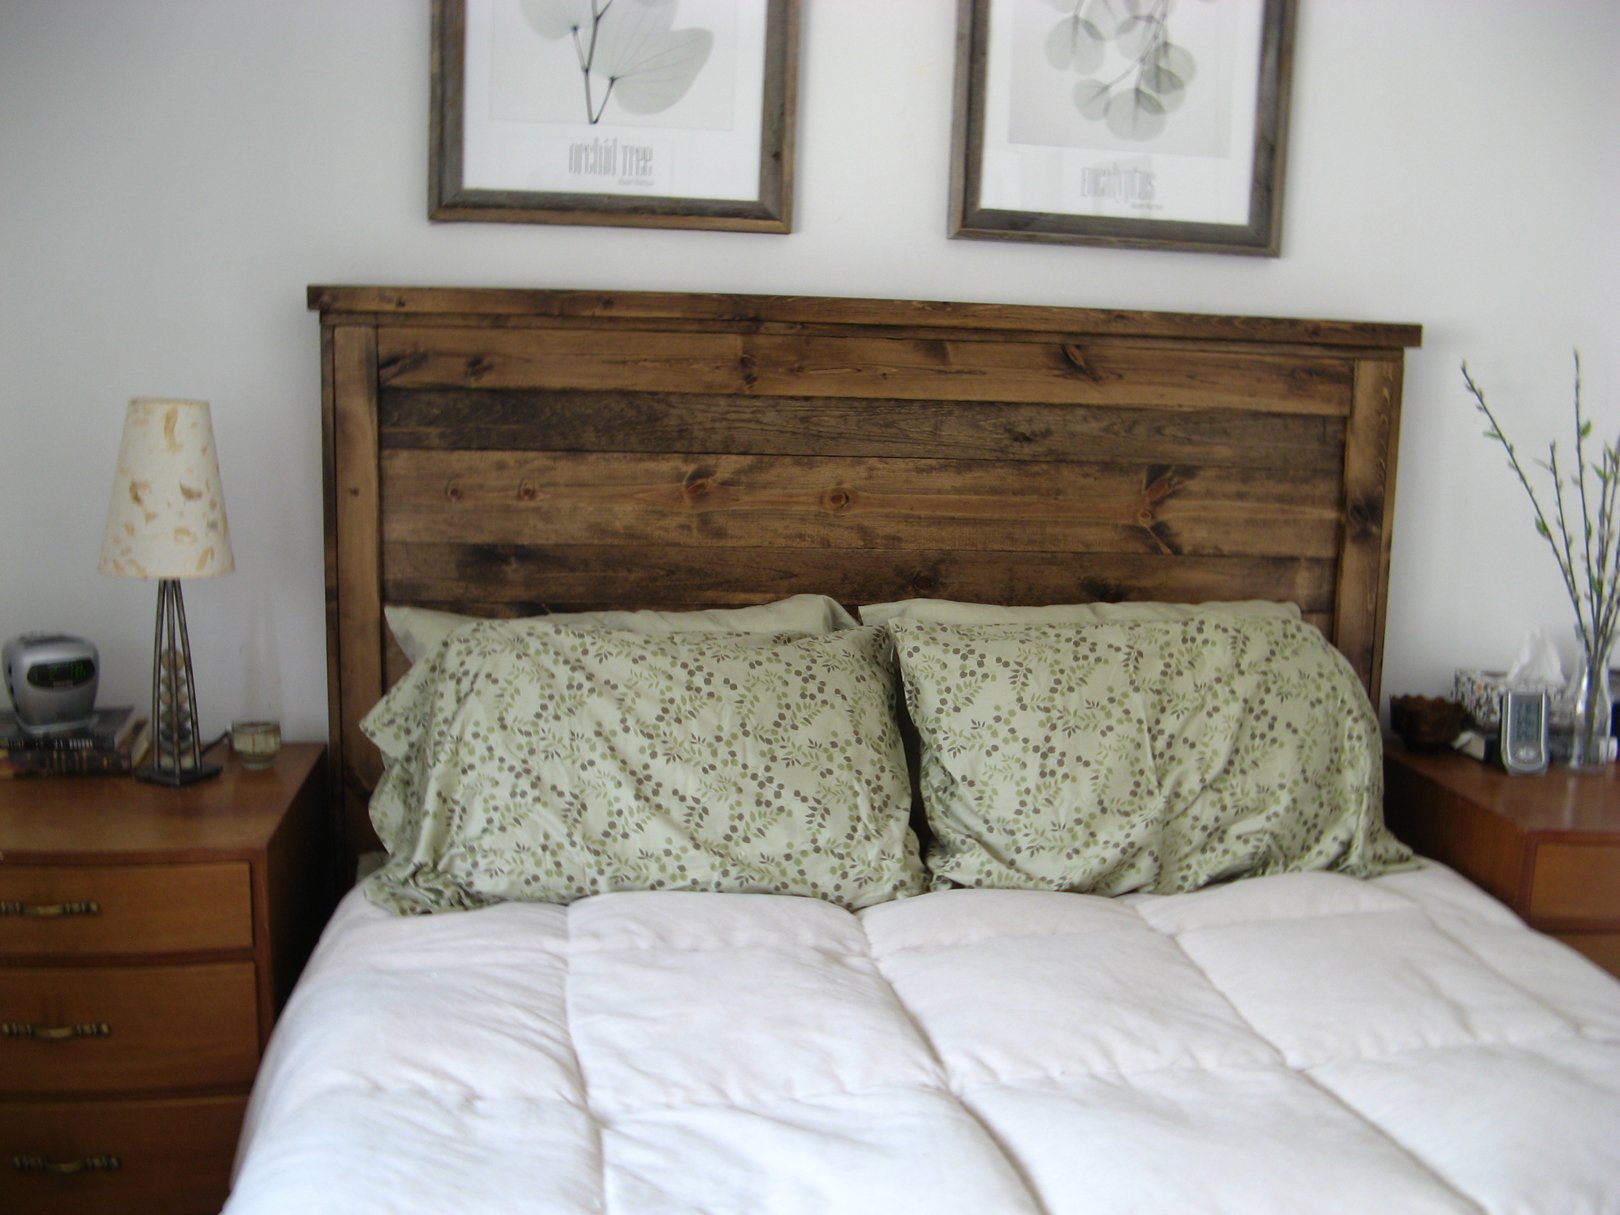
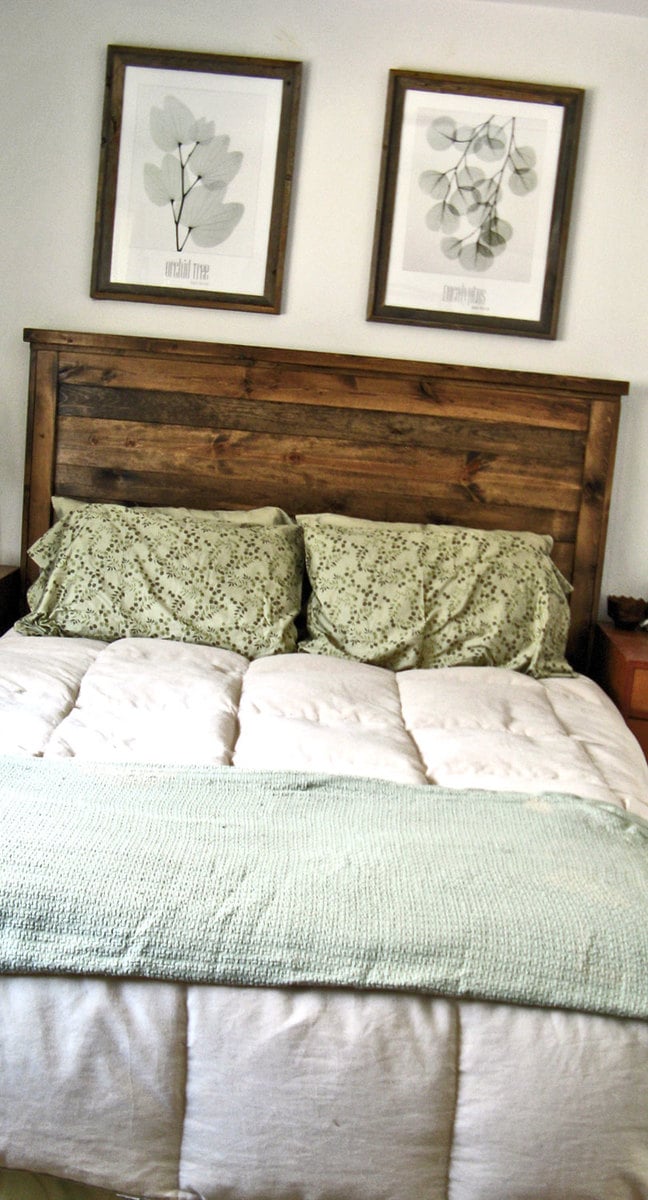
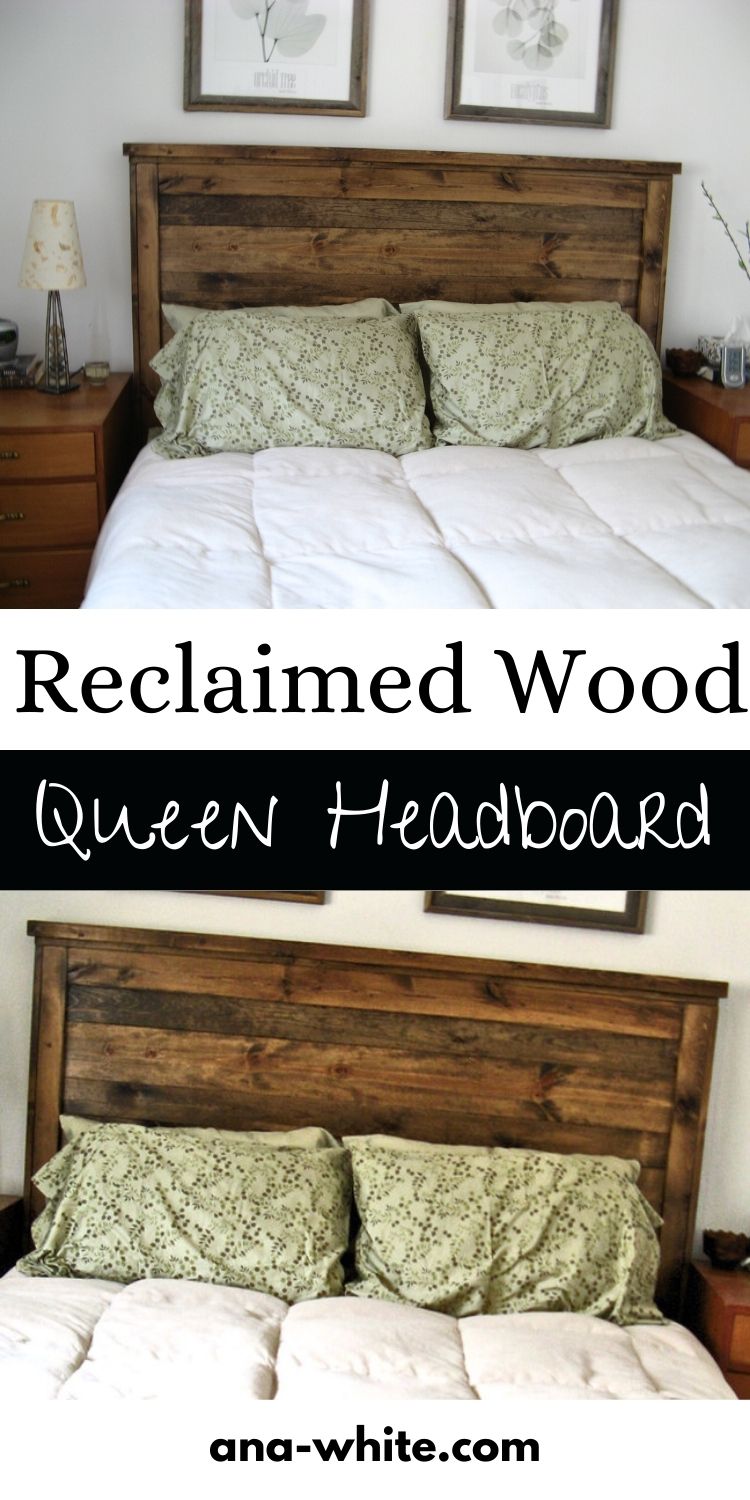
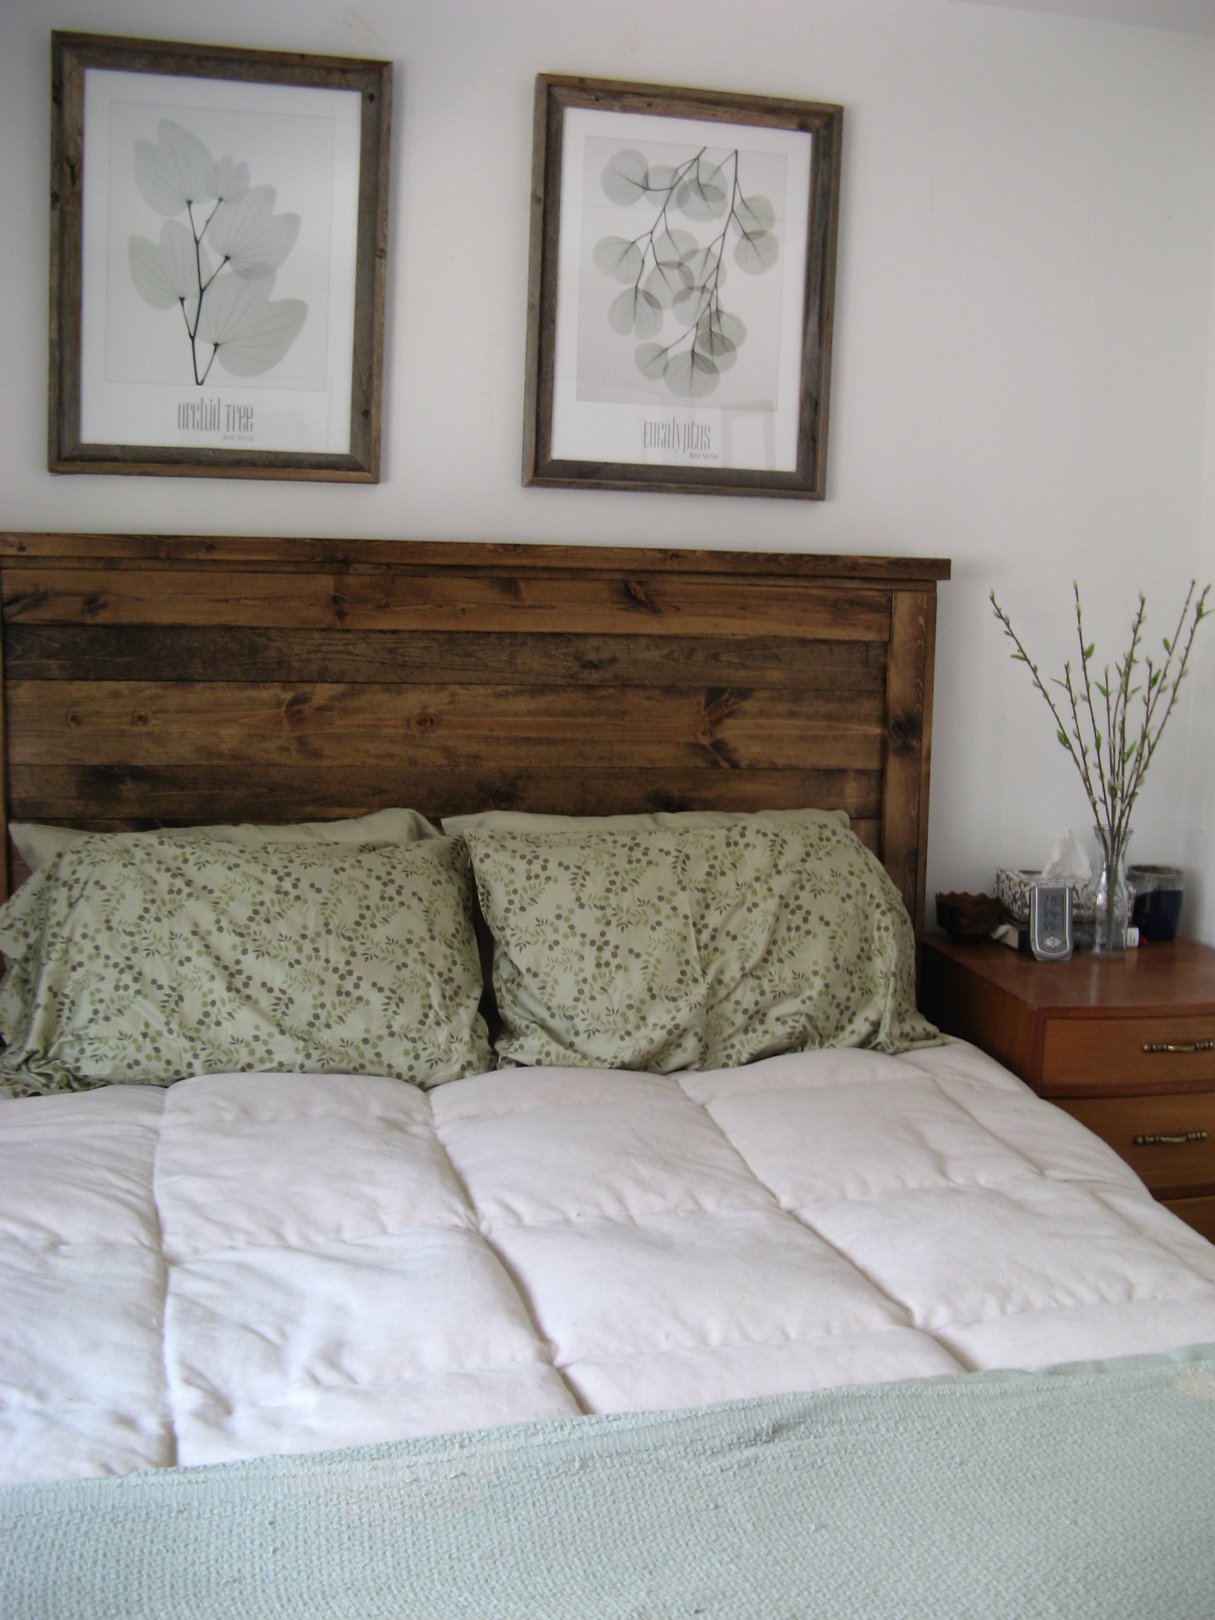
First Project- reclaimed wood look Queen headboard!
Pin For Later!

Built from Plan(s)
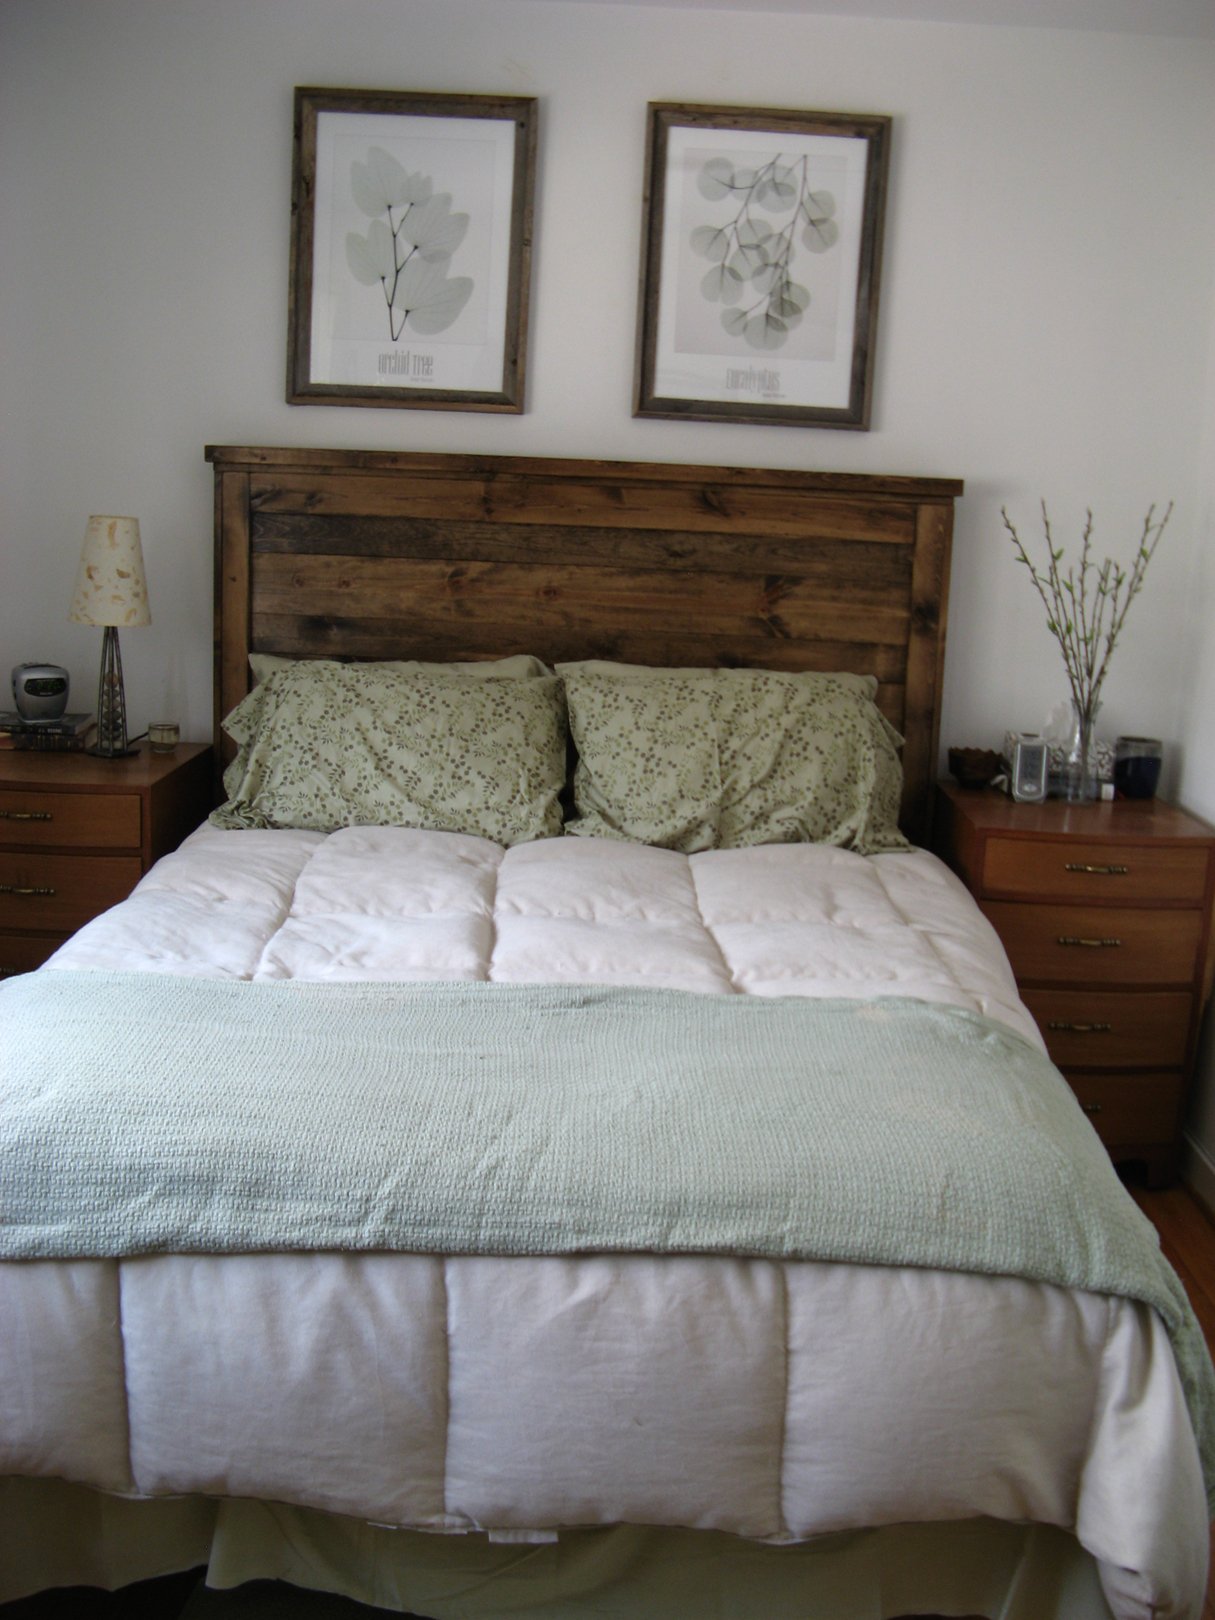
Estimated Cost
around $75
Estimated Time Investment
Afternoon Project (3-6 Hours)
Finish Used
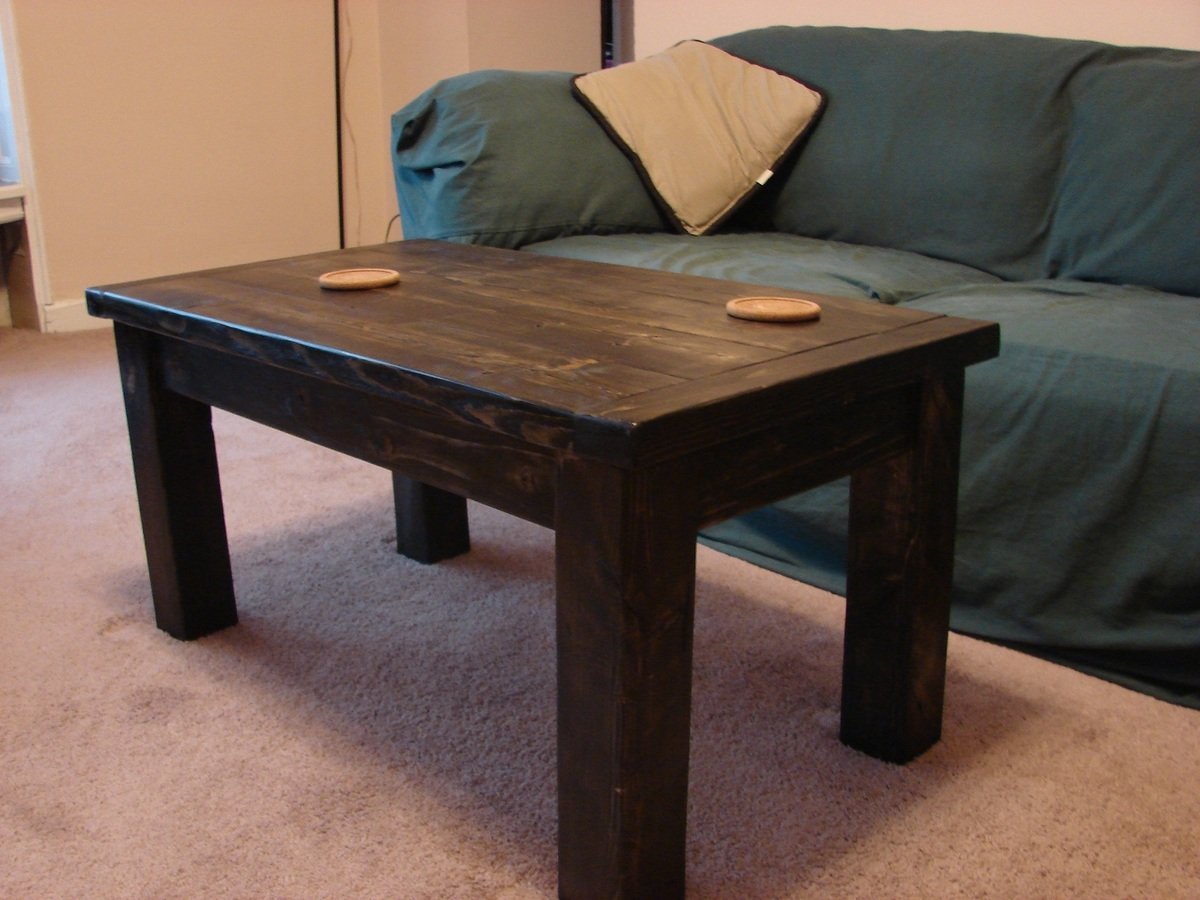
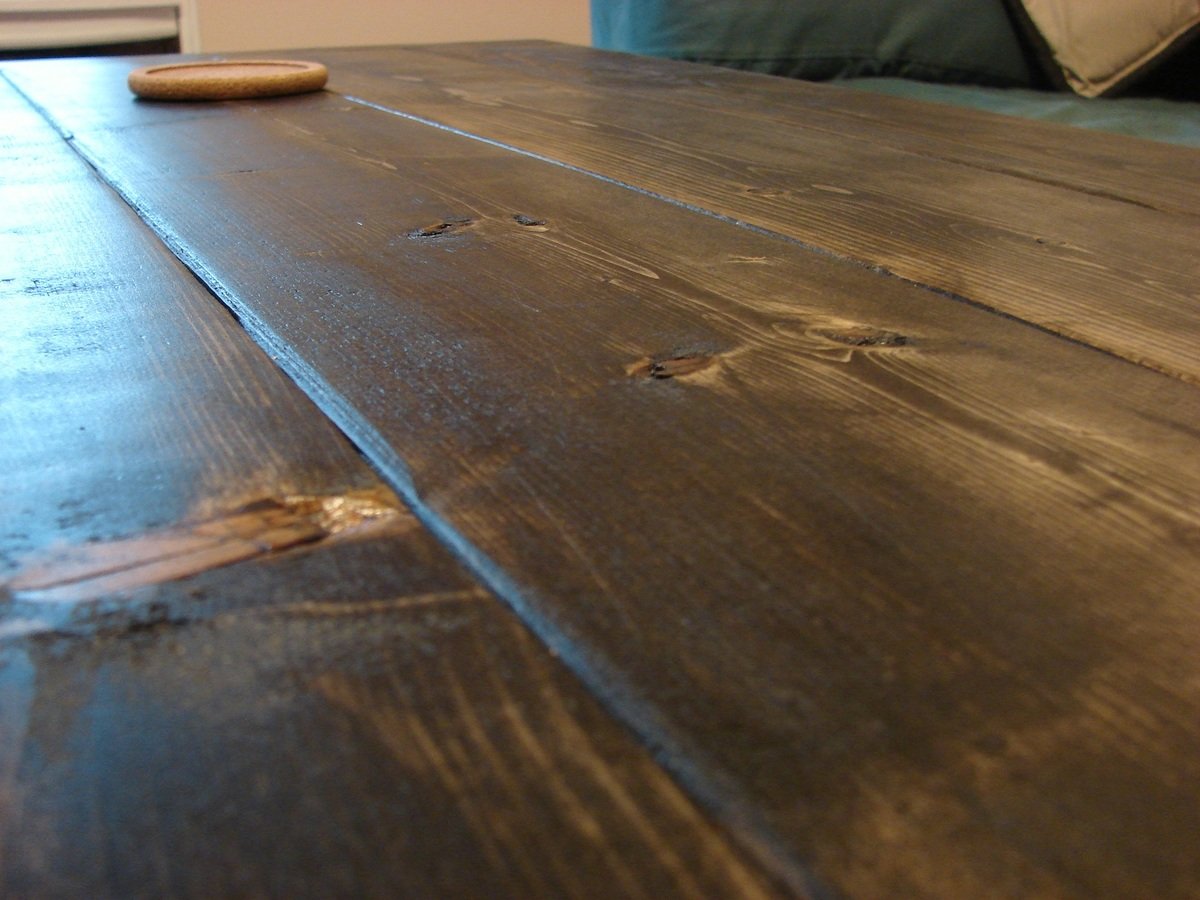
Used only one coat of Minwax Dark Walnut (really liked the rustic look), and finished with Minwax polyueruthane.
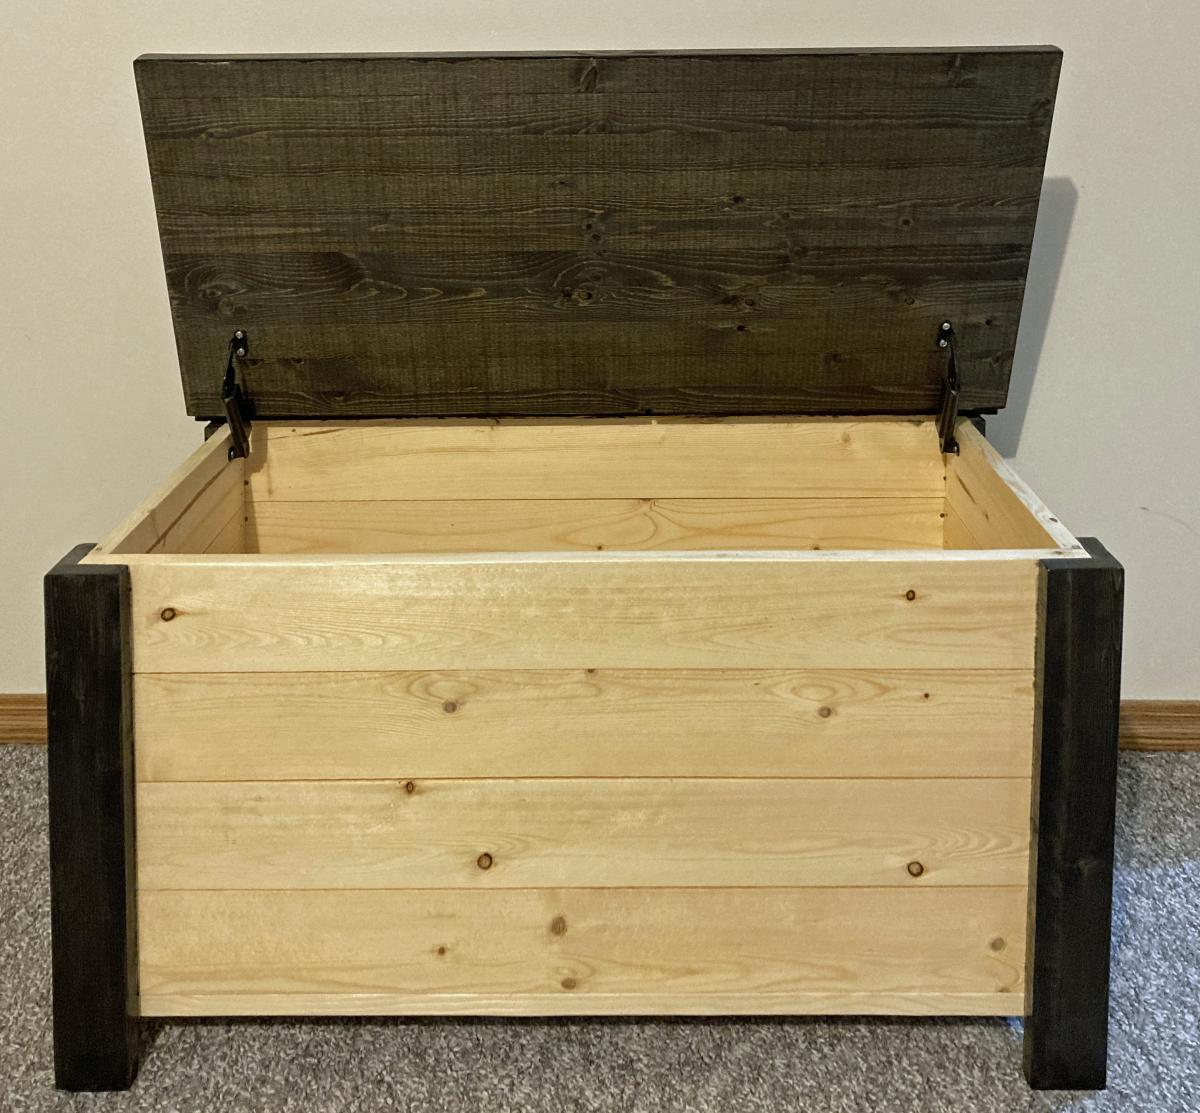
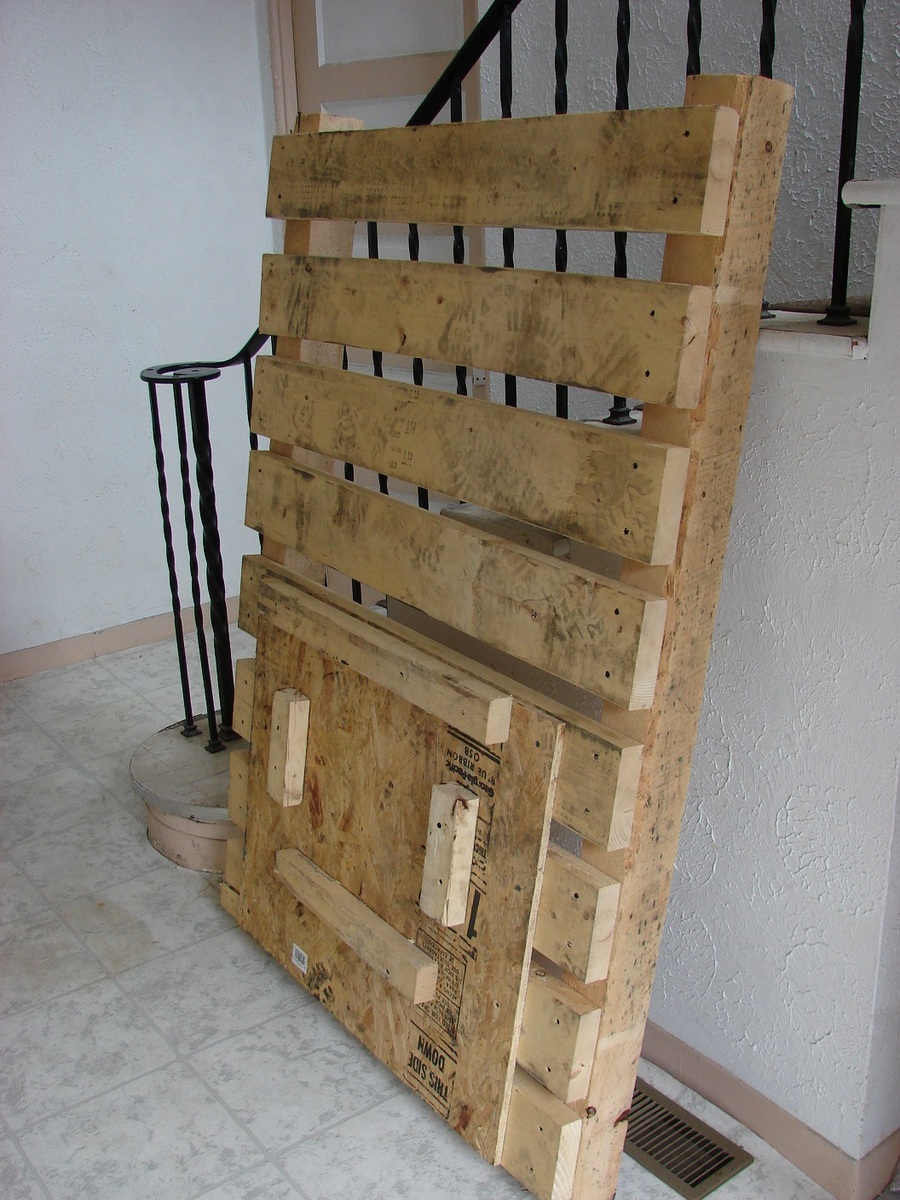
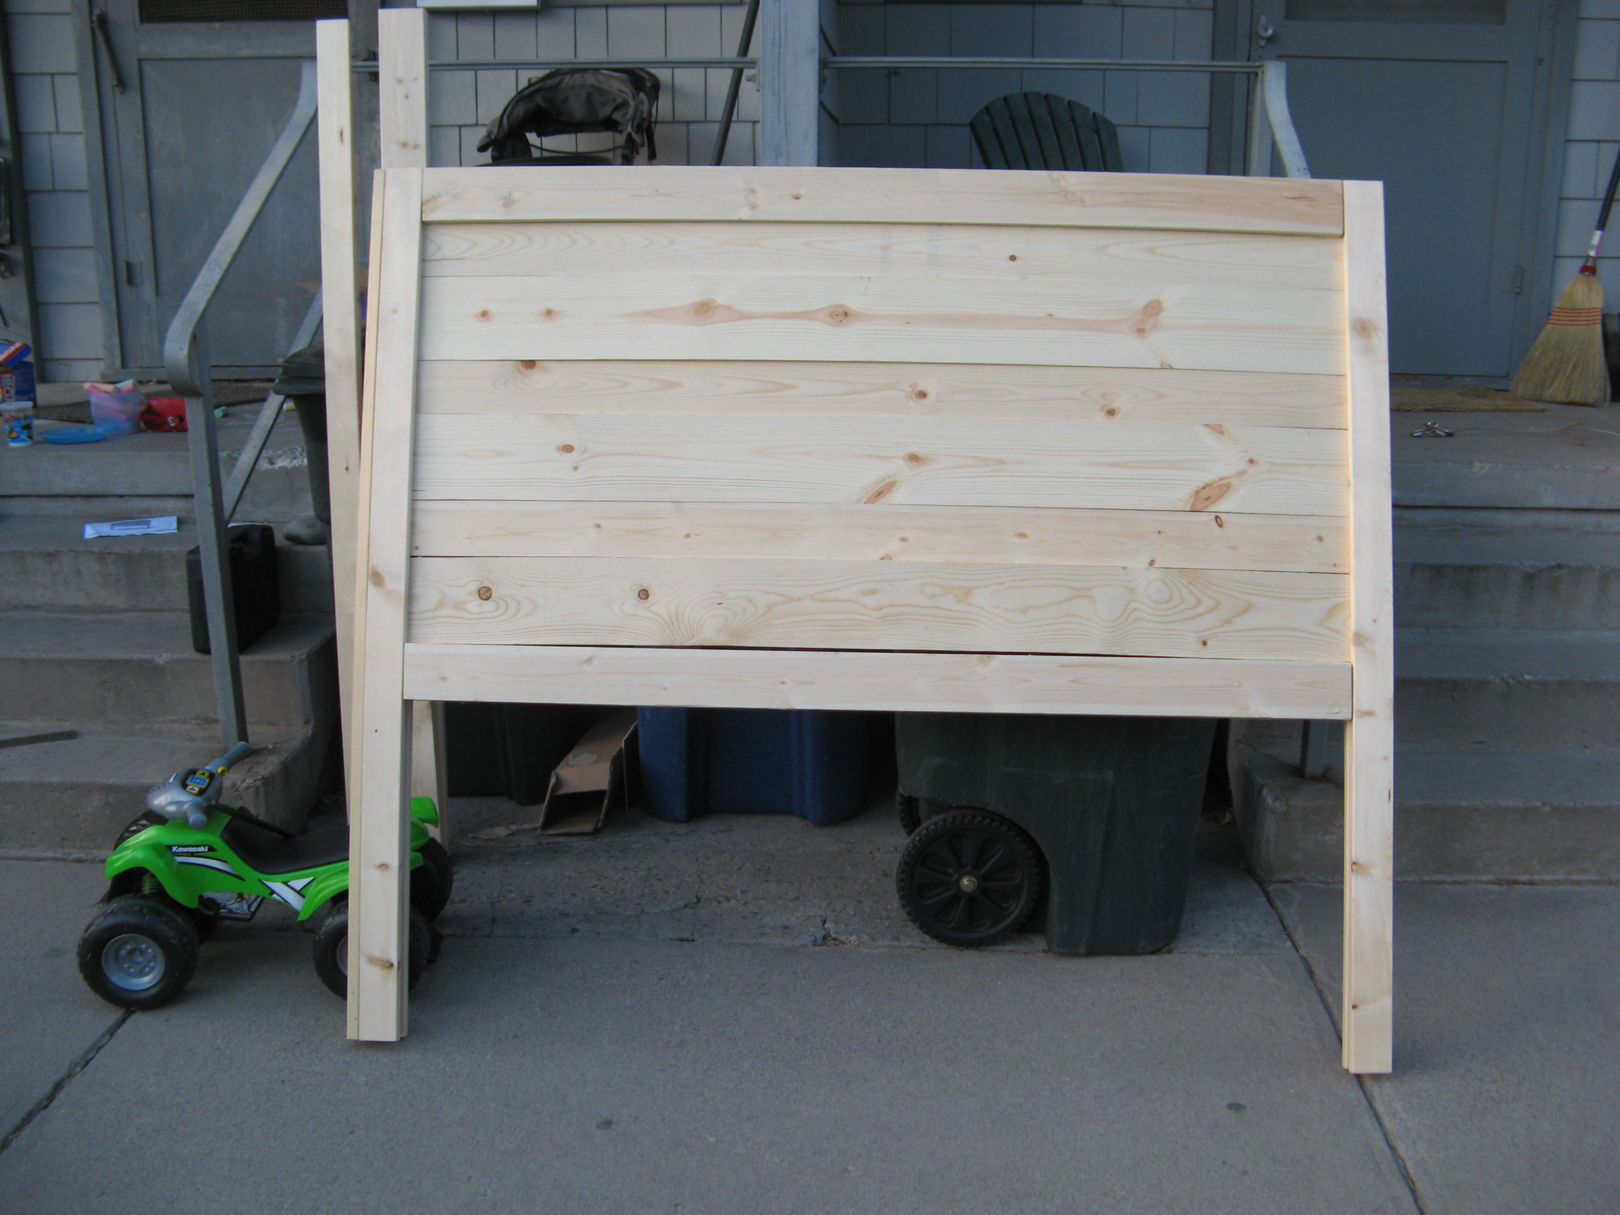
This was a quick build- did all of the cutting, & got it mostly assembled while my toddler was napping! One thing to note- we had to add some wood braces on the back in order to straighten our boards out. They looked ok at the store, but we got them home & realized they were quite warped! Sanding, staining and polyurethaning took additional time that was spread out over a few days (didn't include that in total time). This was great for a first project. I've got lots more on my to-do list now!
This was a quick build- did all of the cutting, & got it mostly assembled while my toddler was napping! One thing to note- we had to add some wood braces on the back in order to straighten our boards out. They looked ok at the store, but we got them home & realized they were quite warped! Sanding, staining and polyurethaning took additional time that was spread out over a few days (didn't include that in total time). This was great for a first project. I've got lots more on my to-do list now!
Recommended Skill Level
Beginner
Seasonal And Holiday