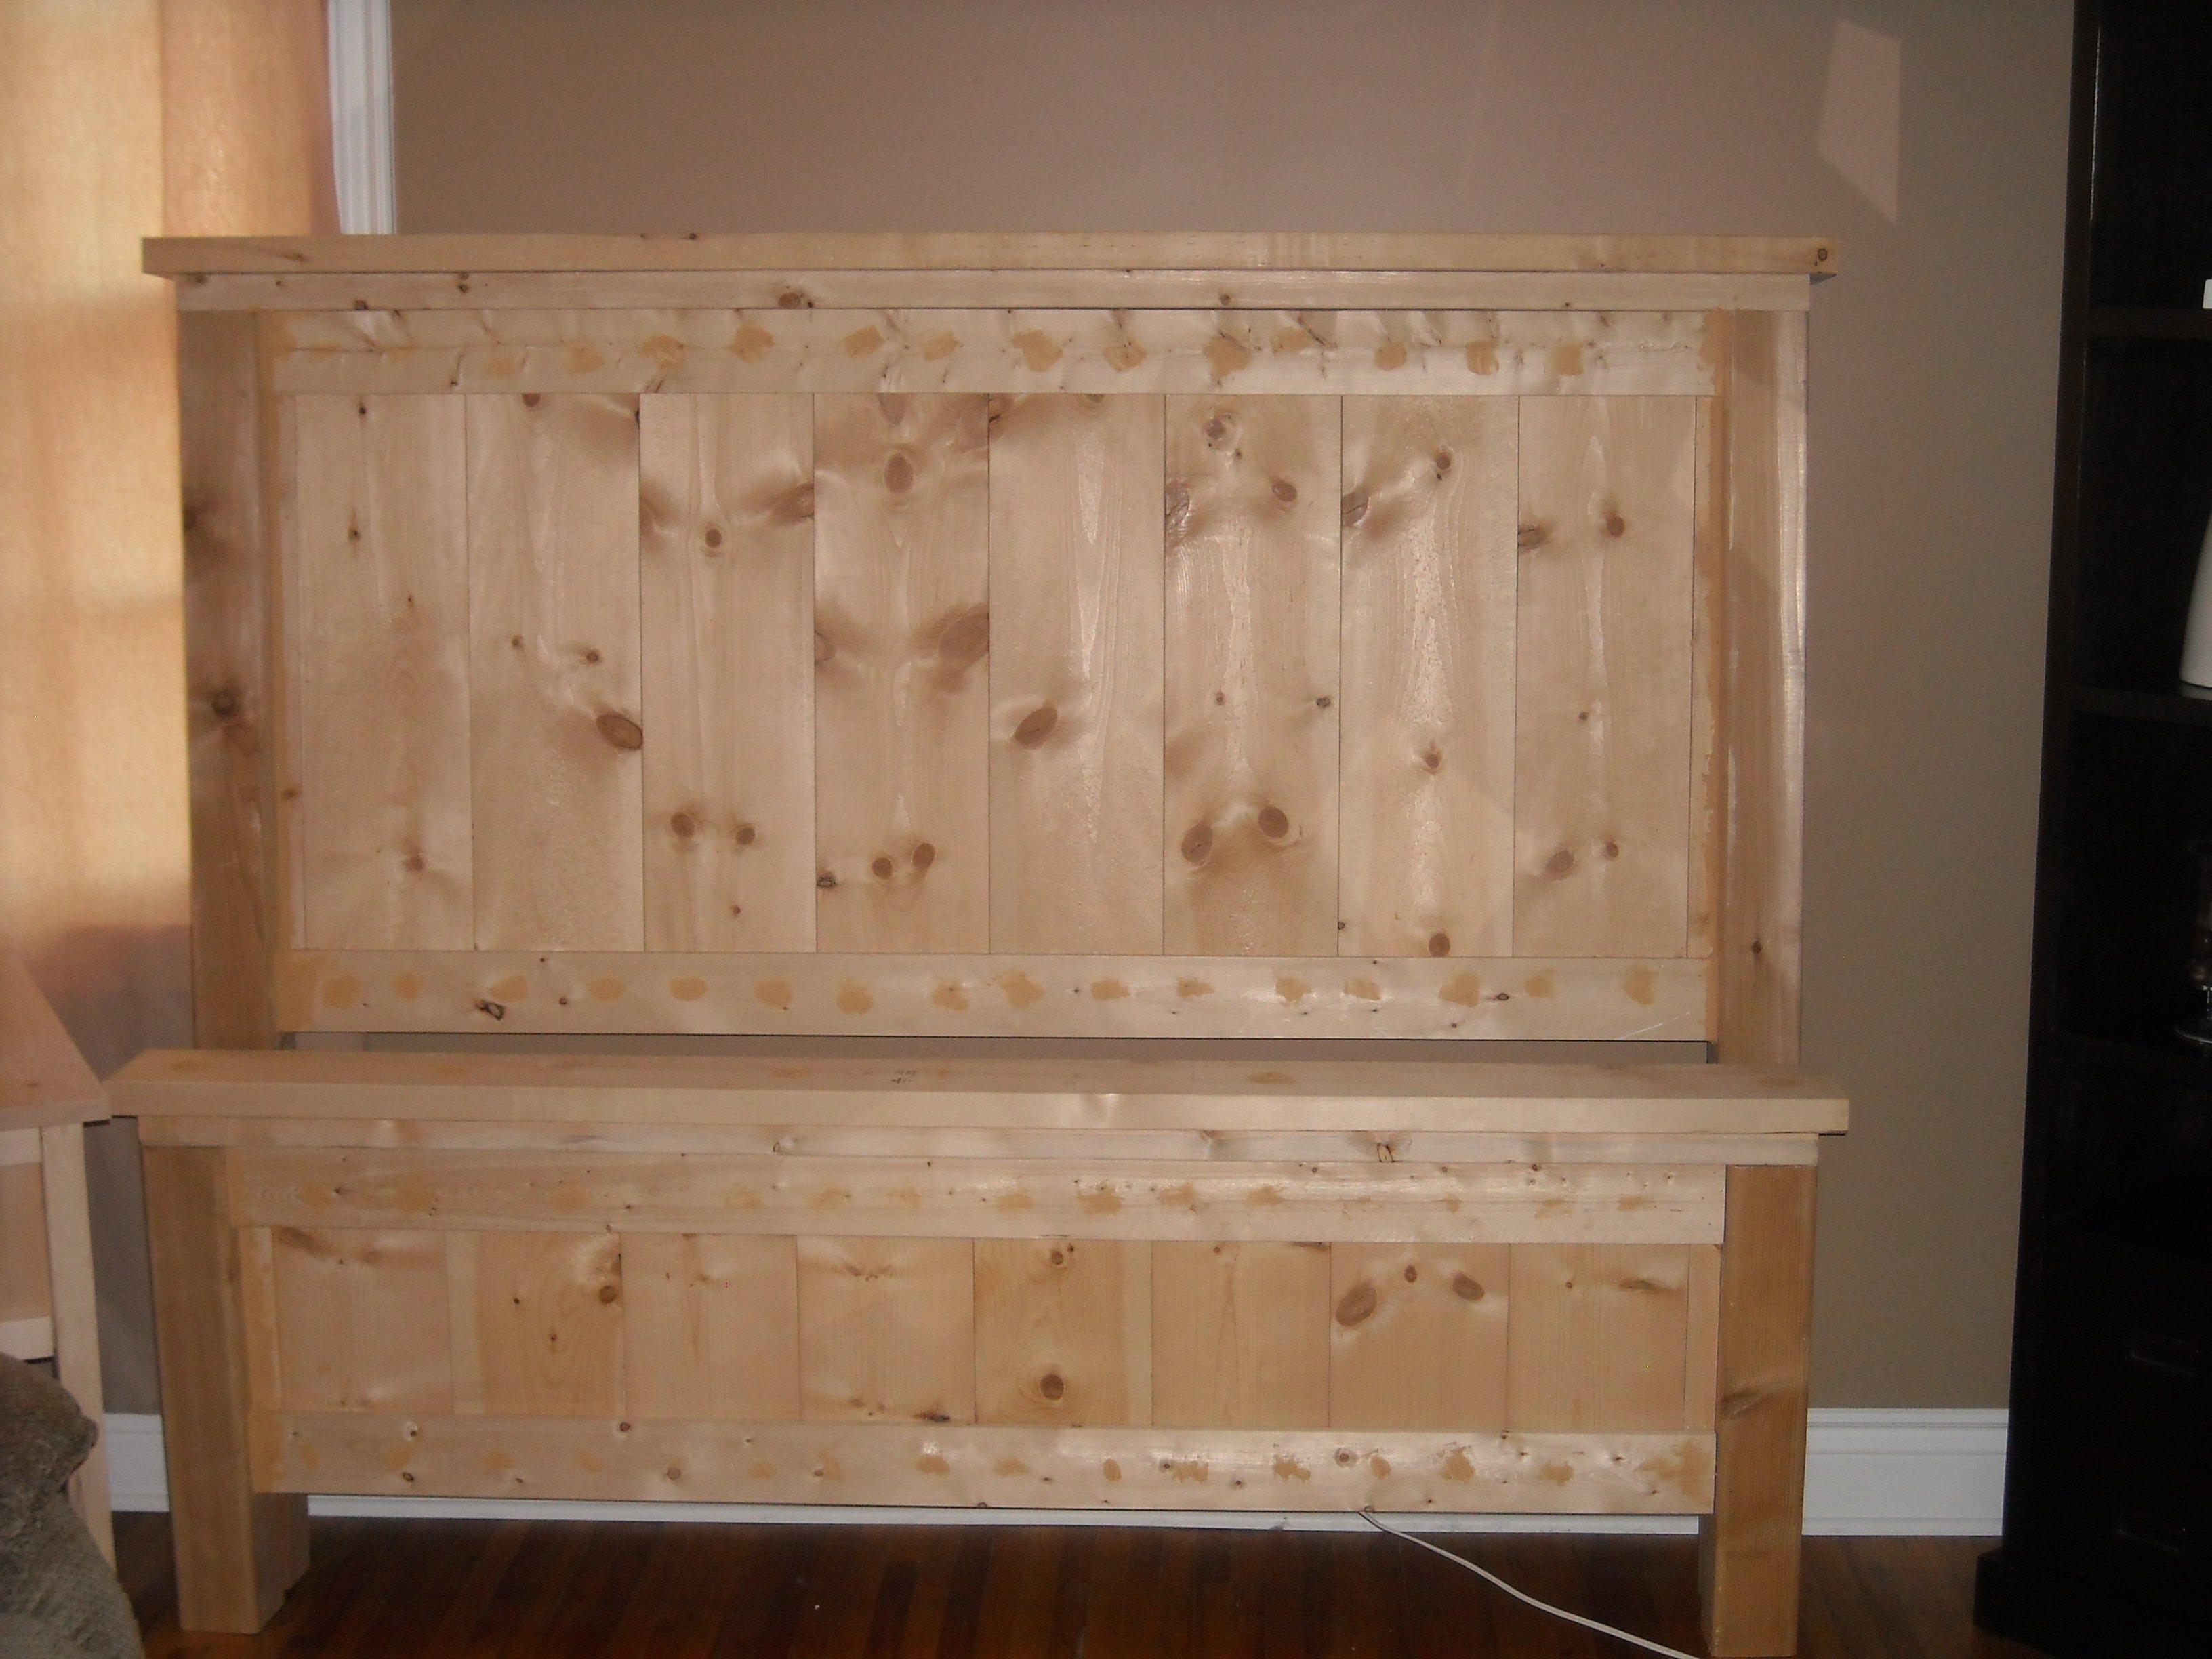
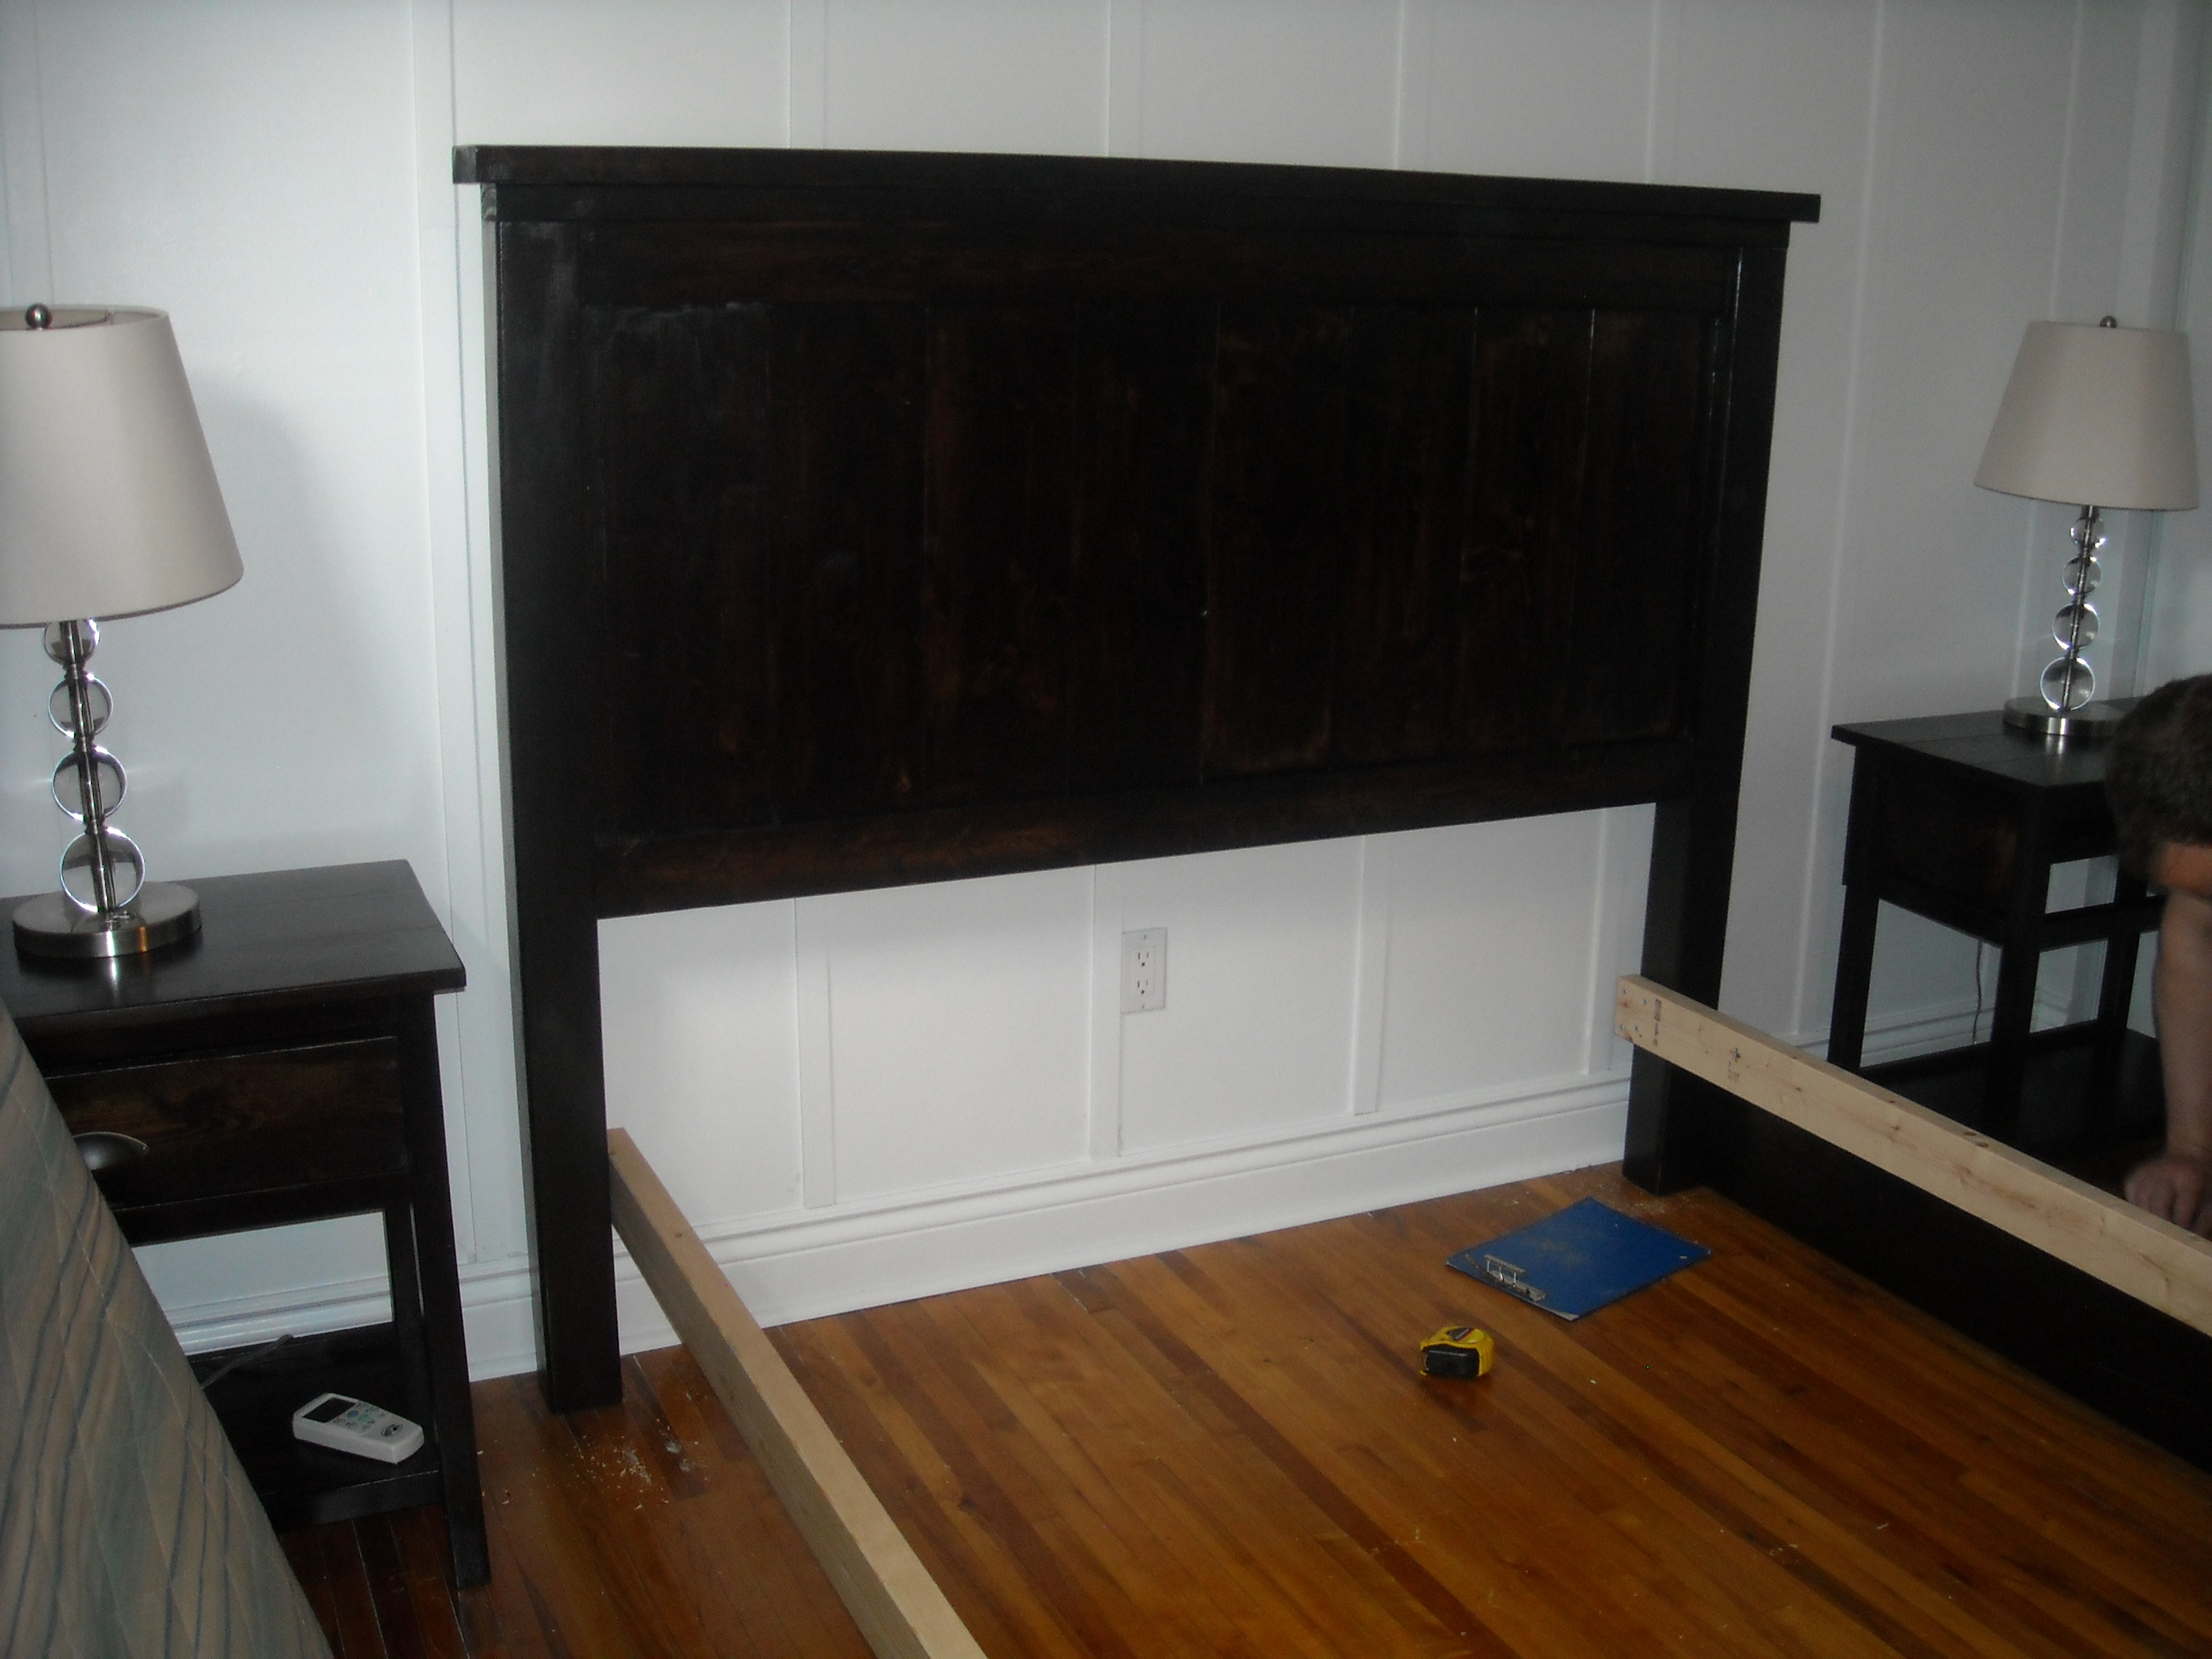
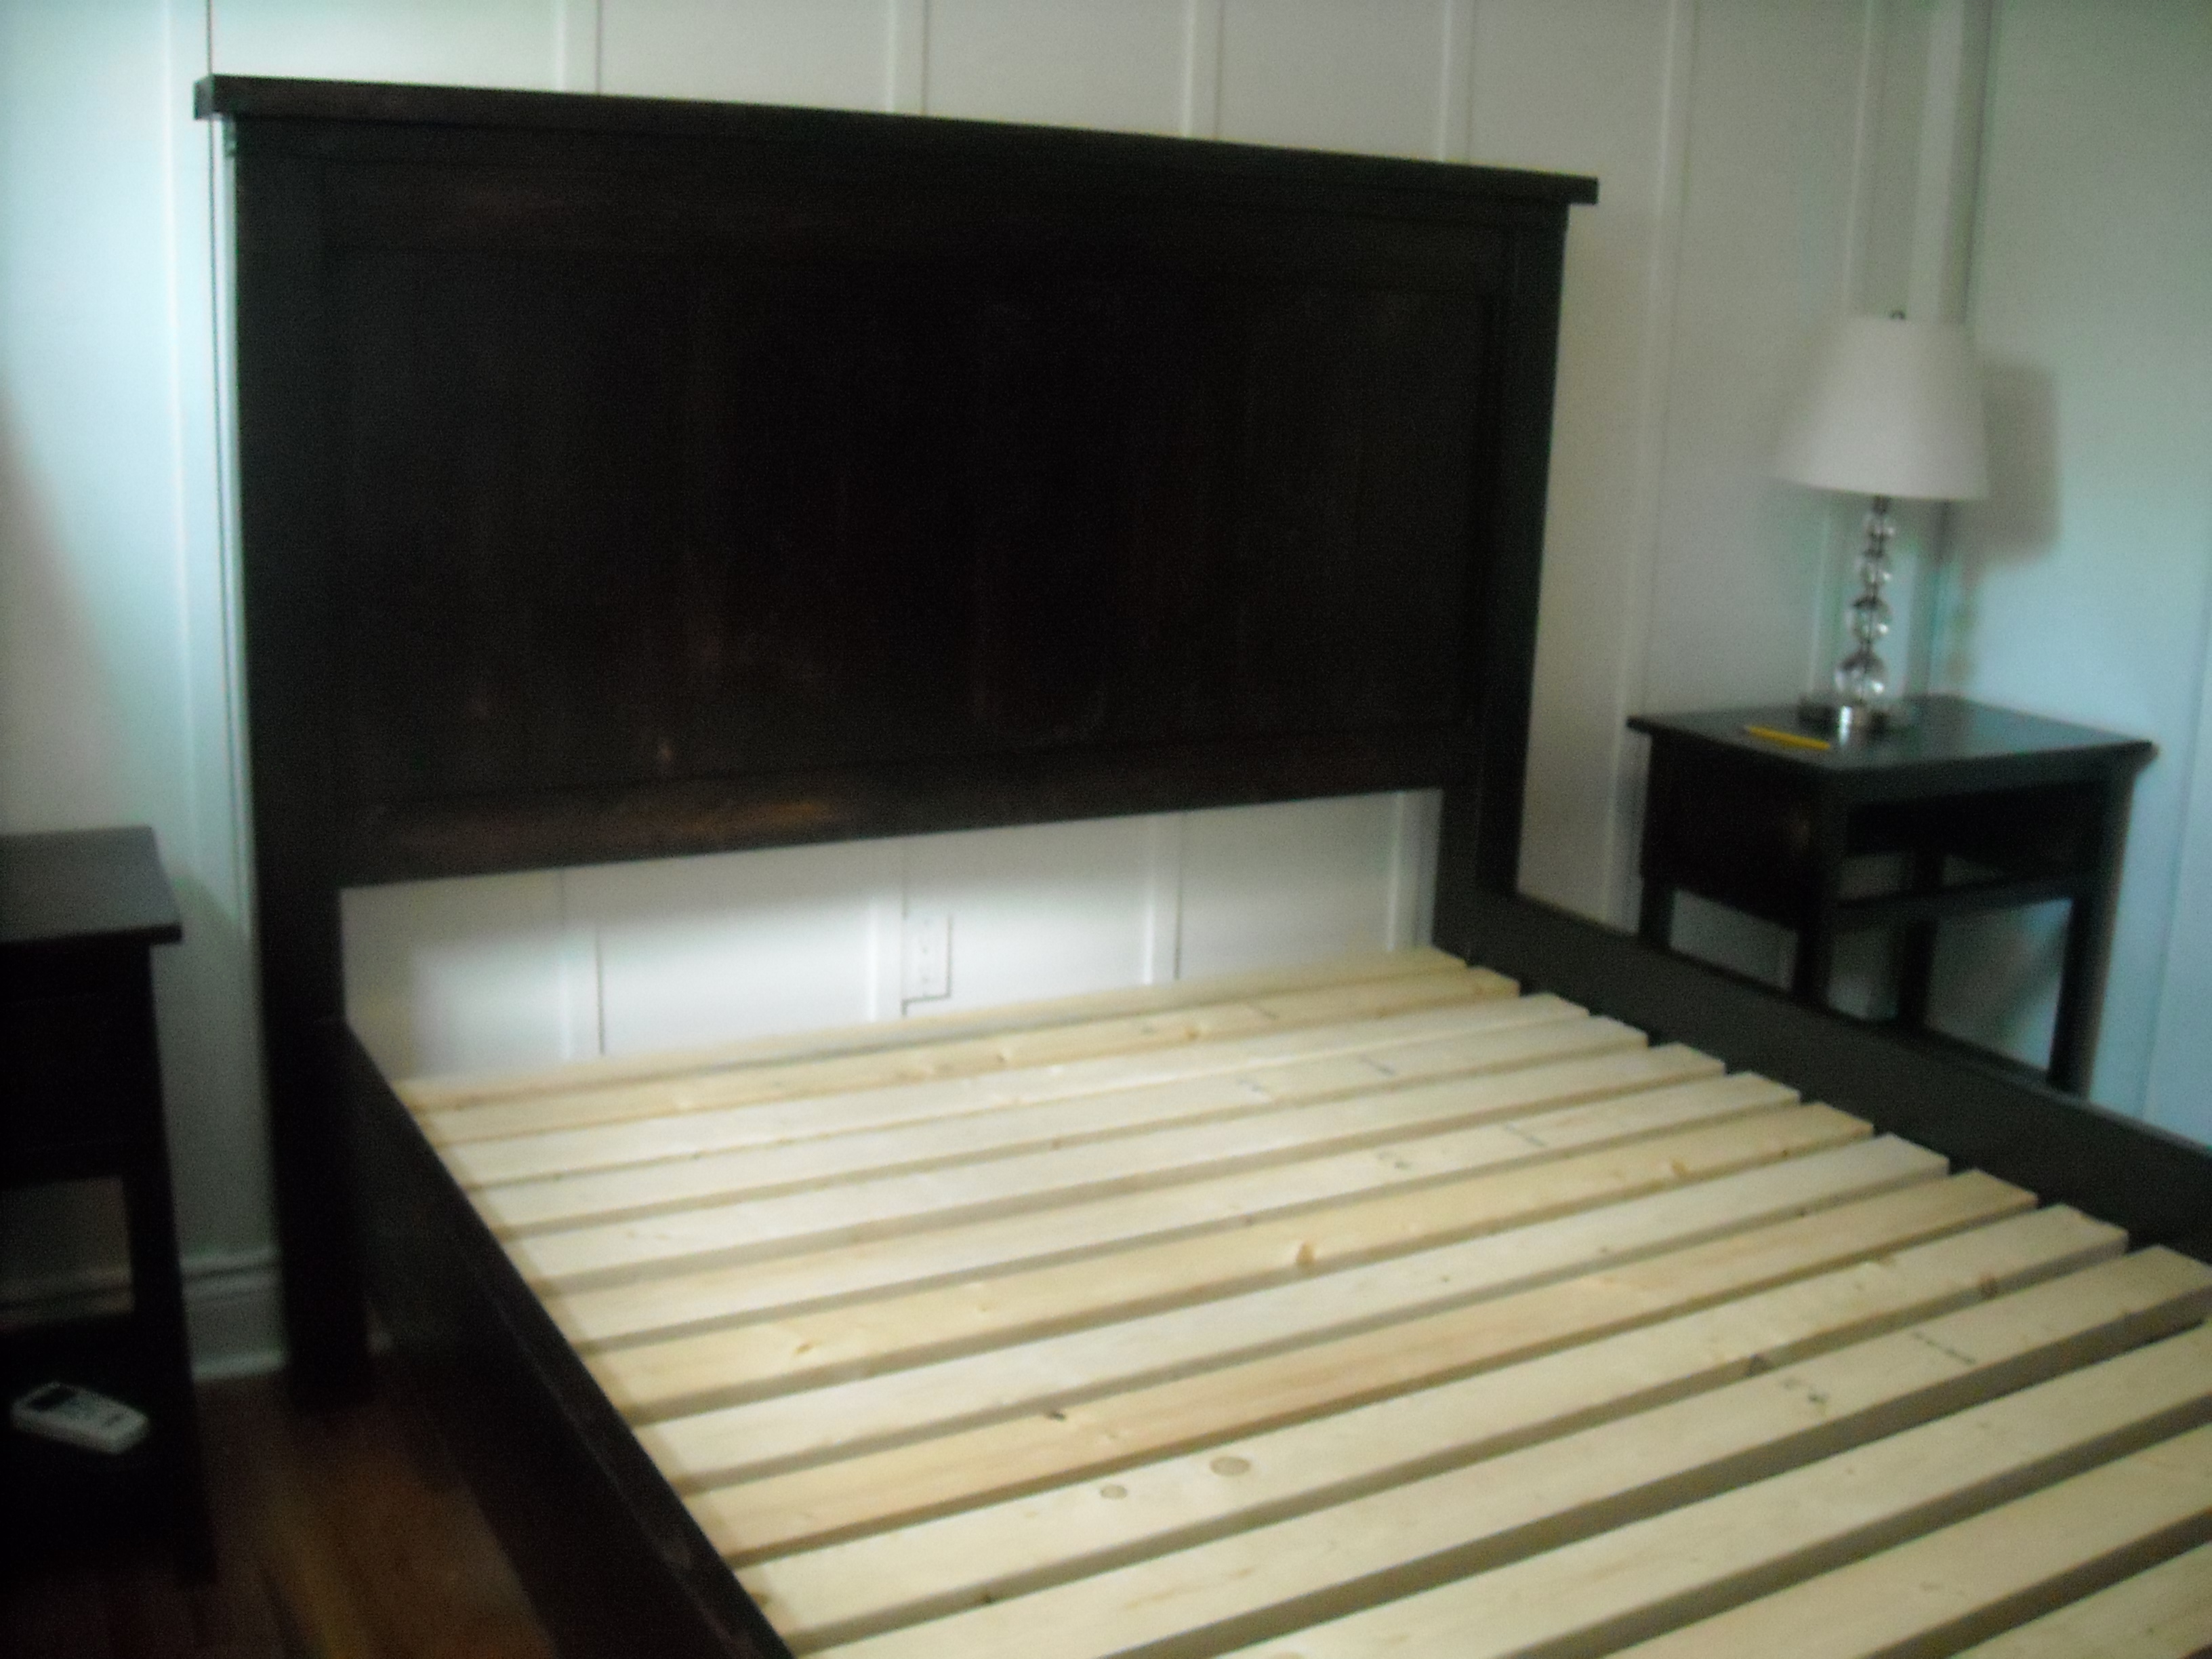
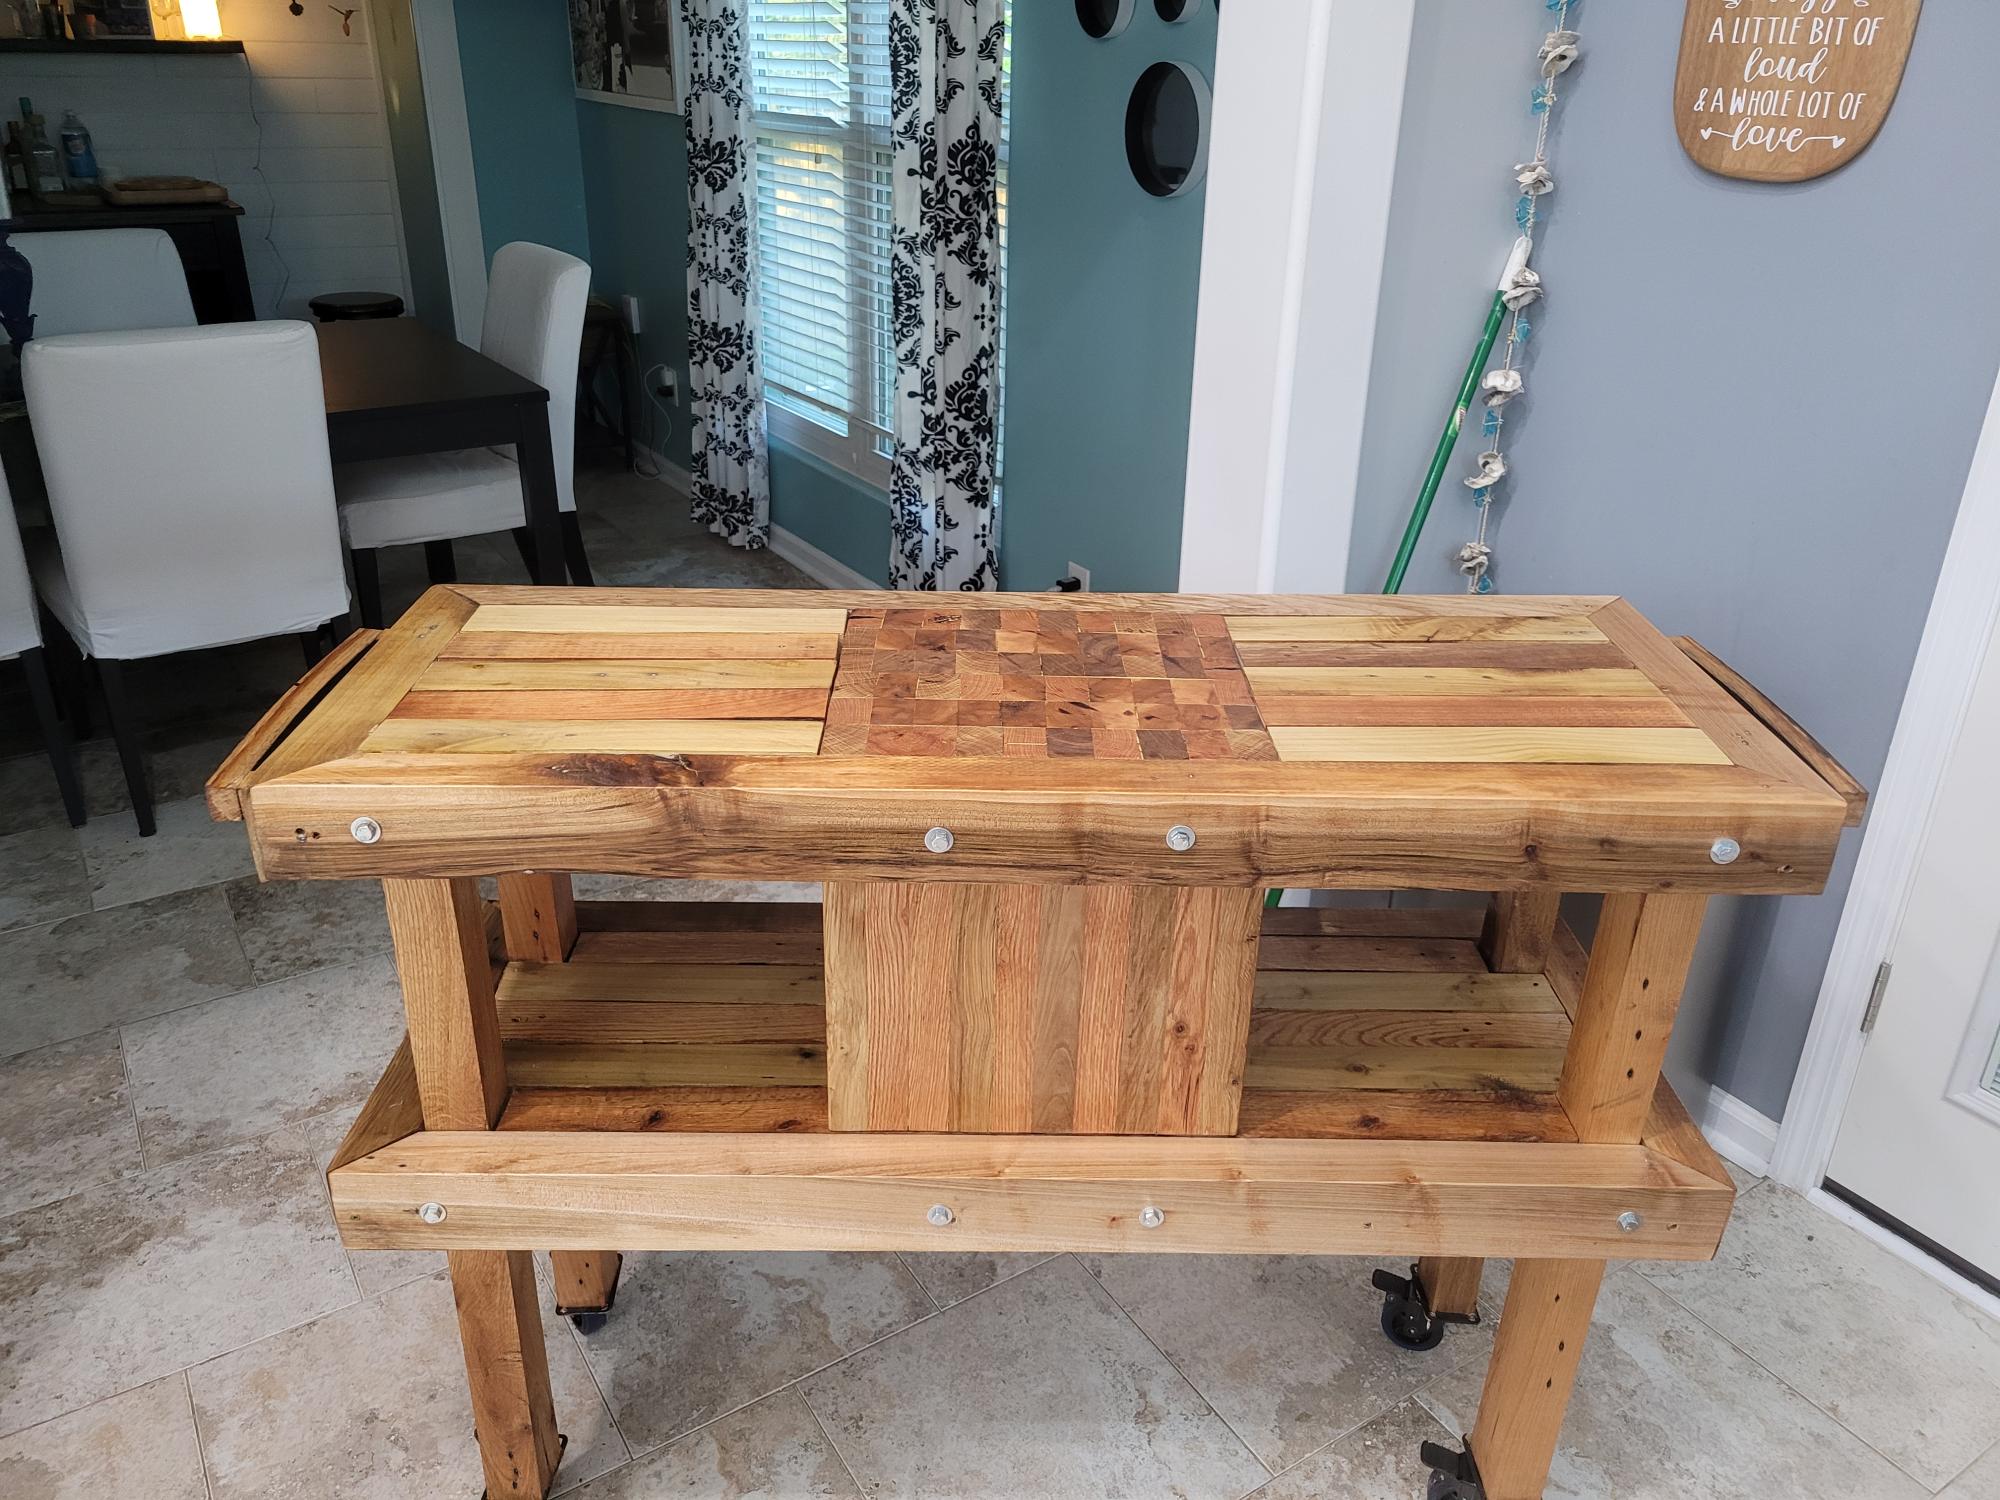
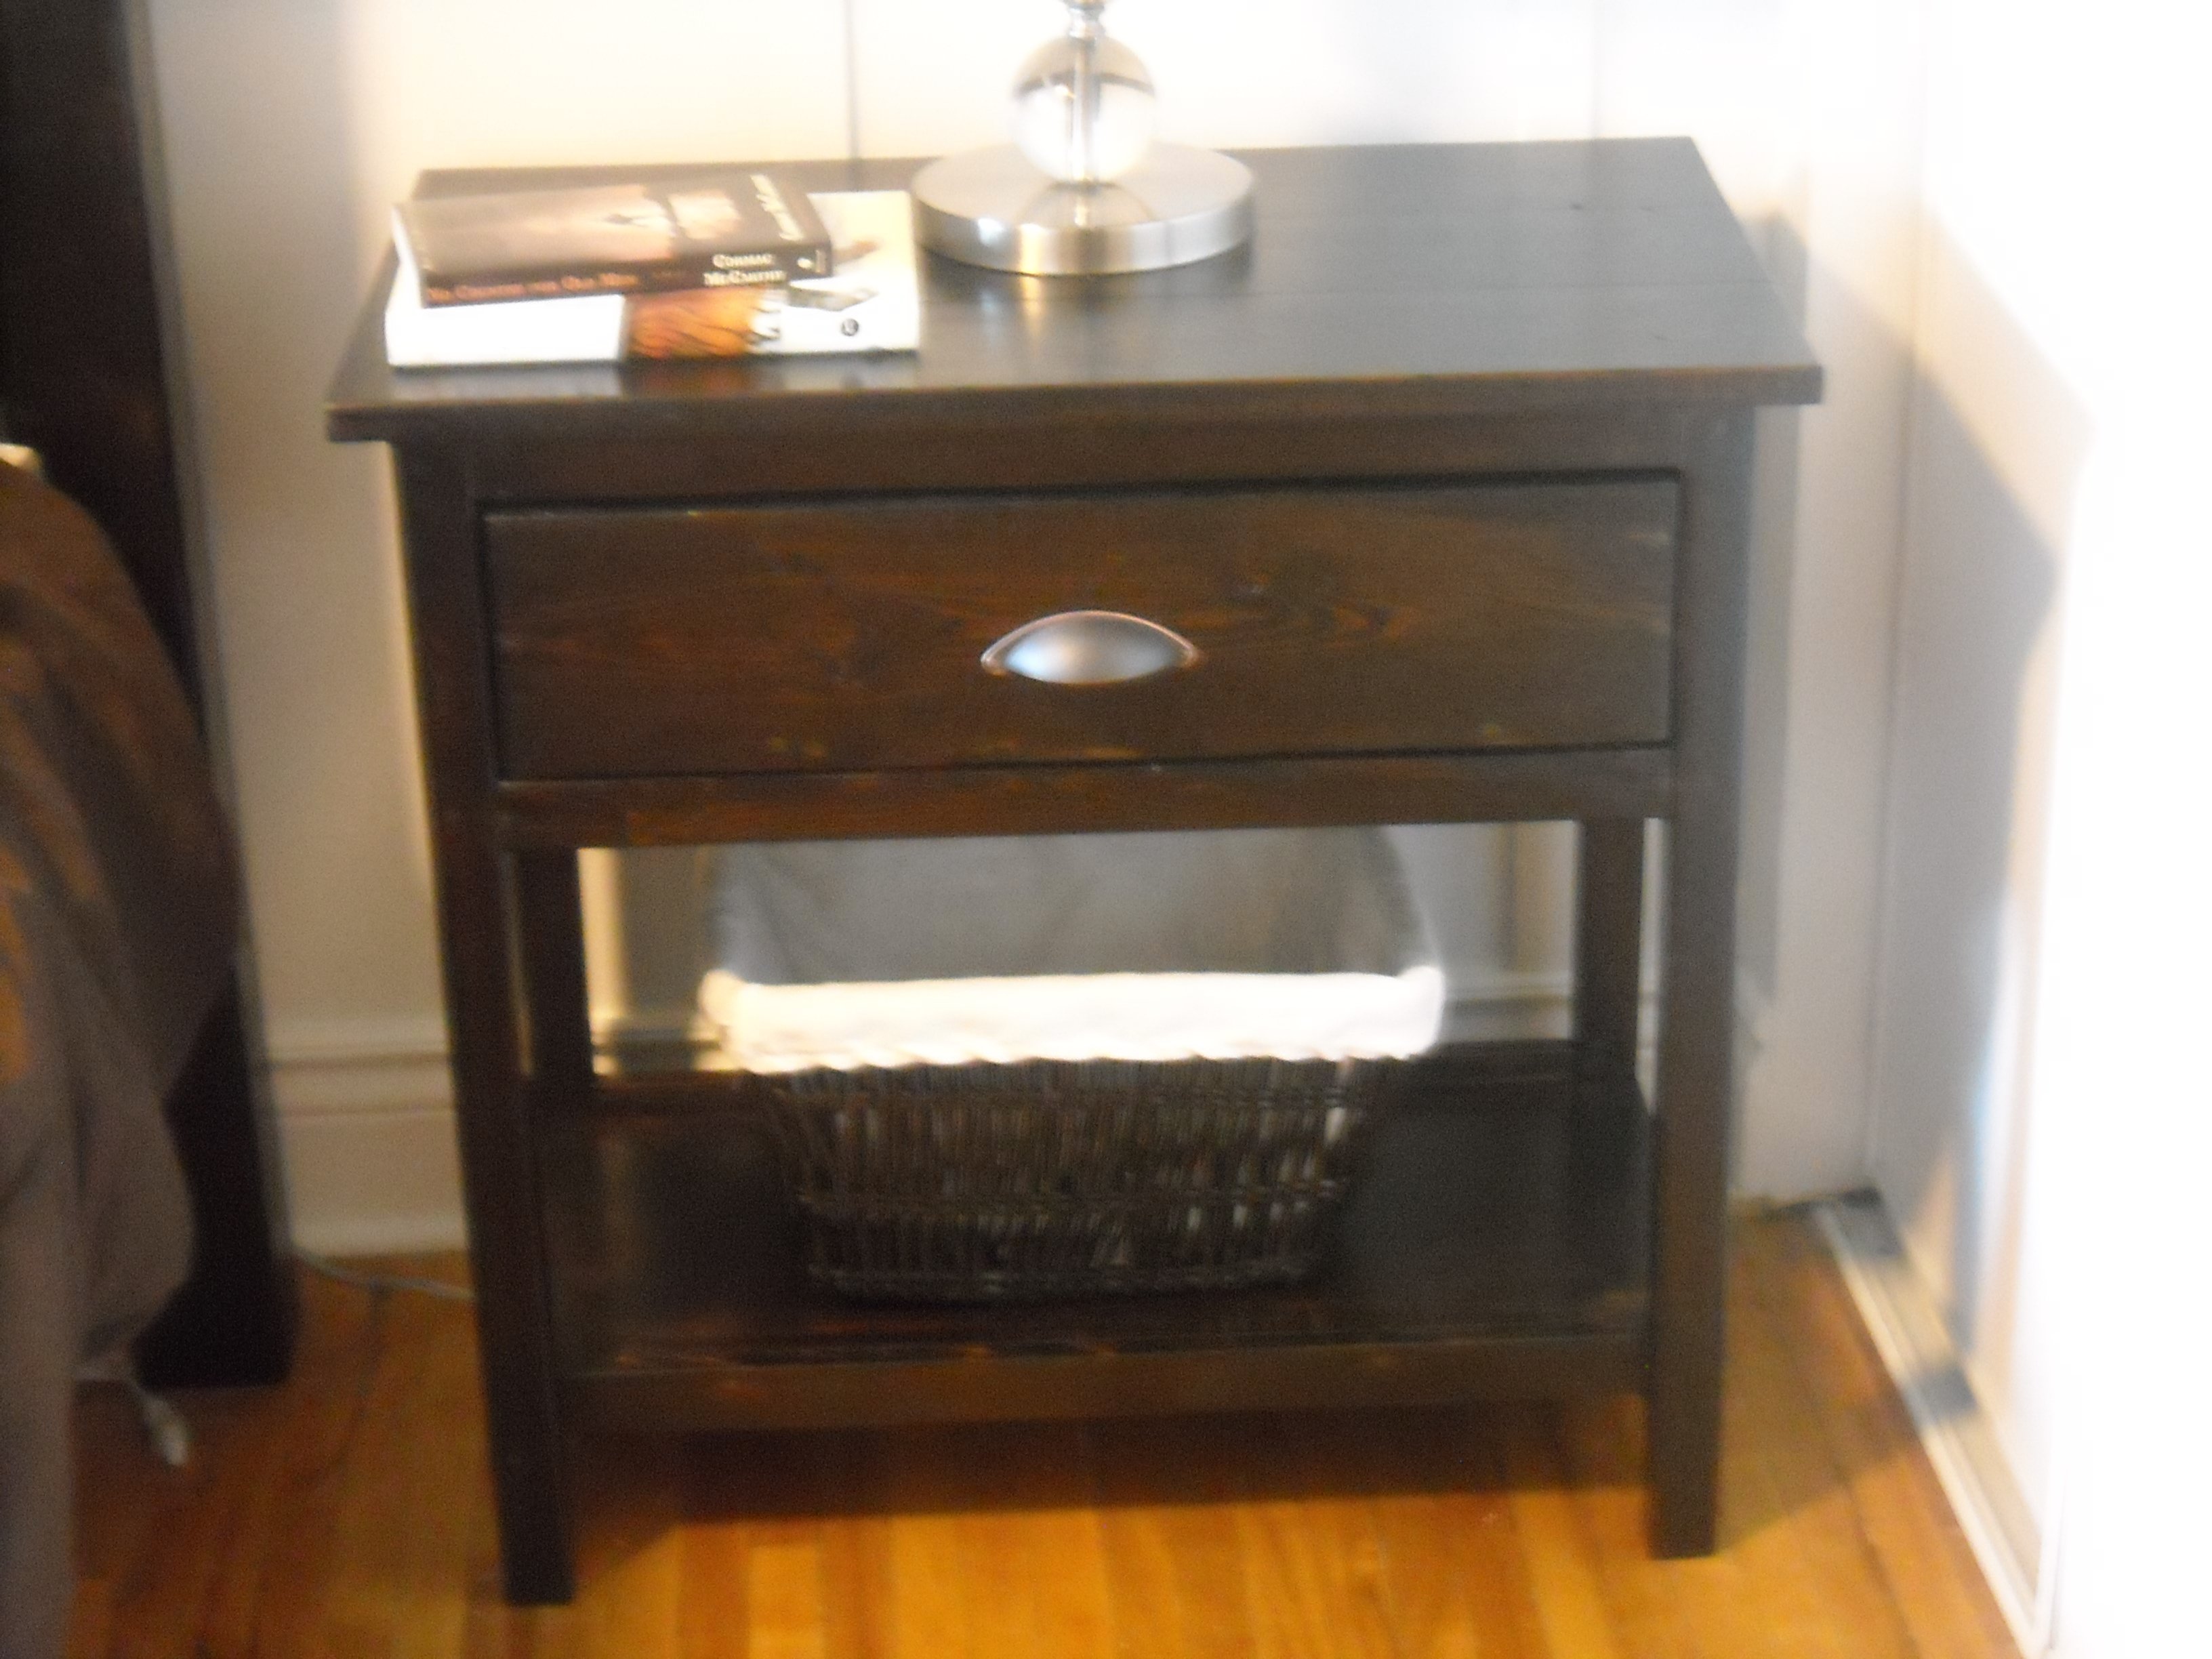
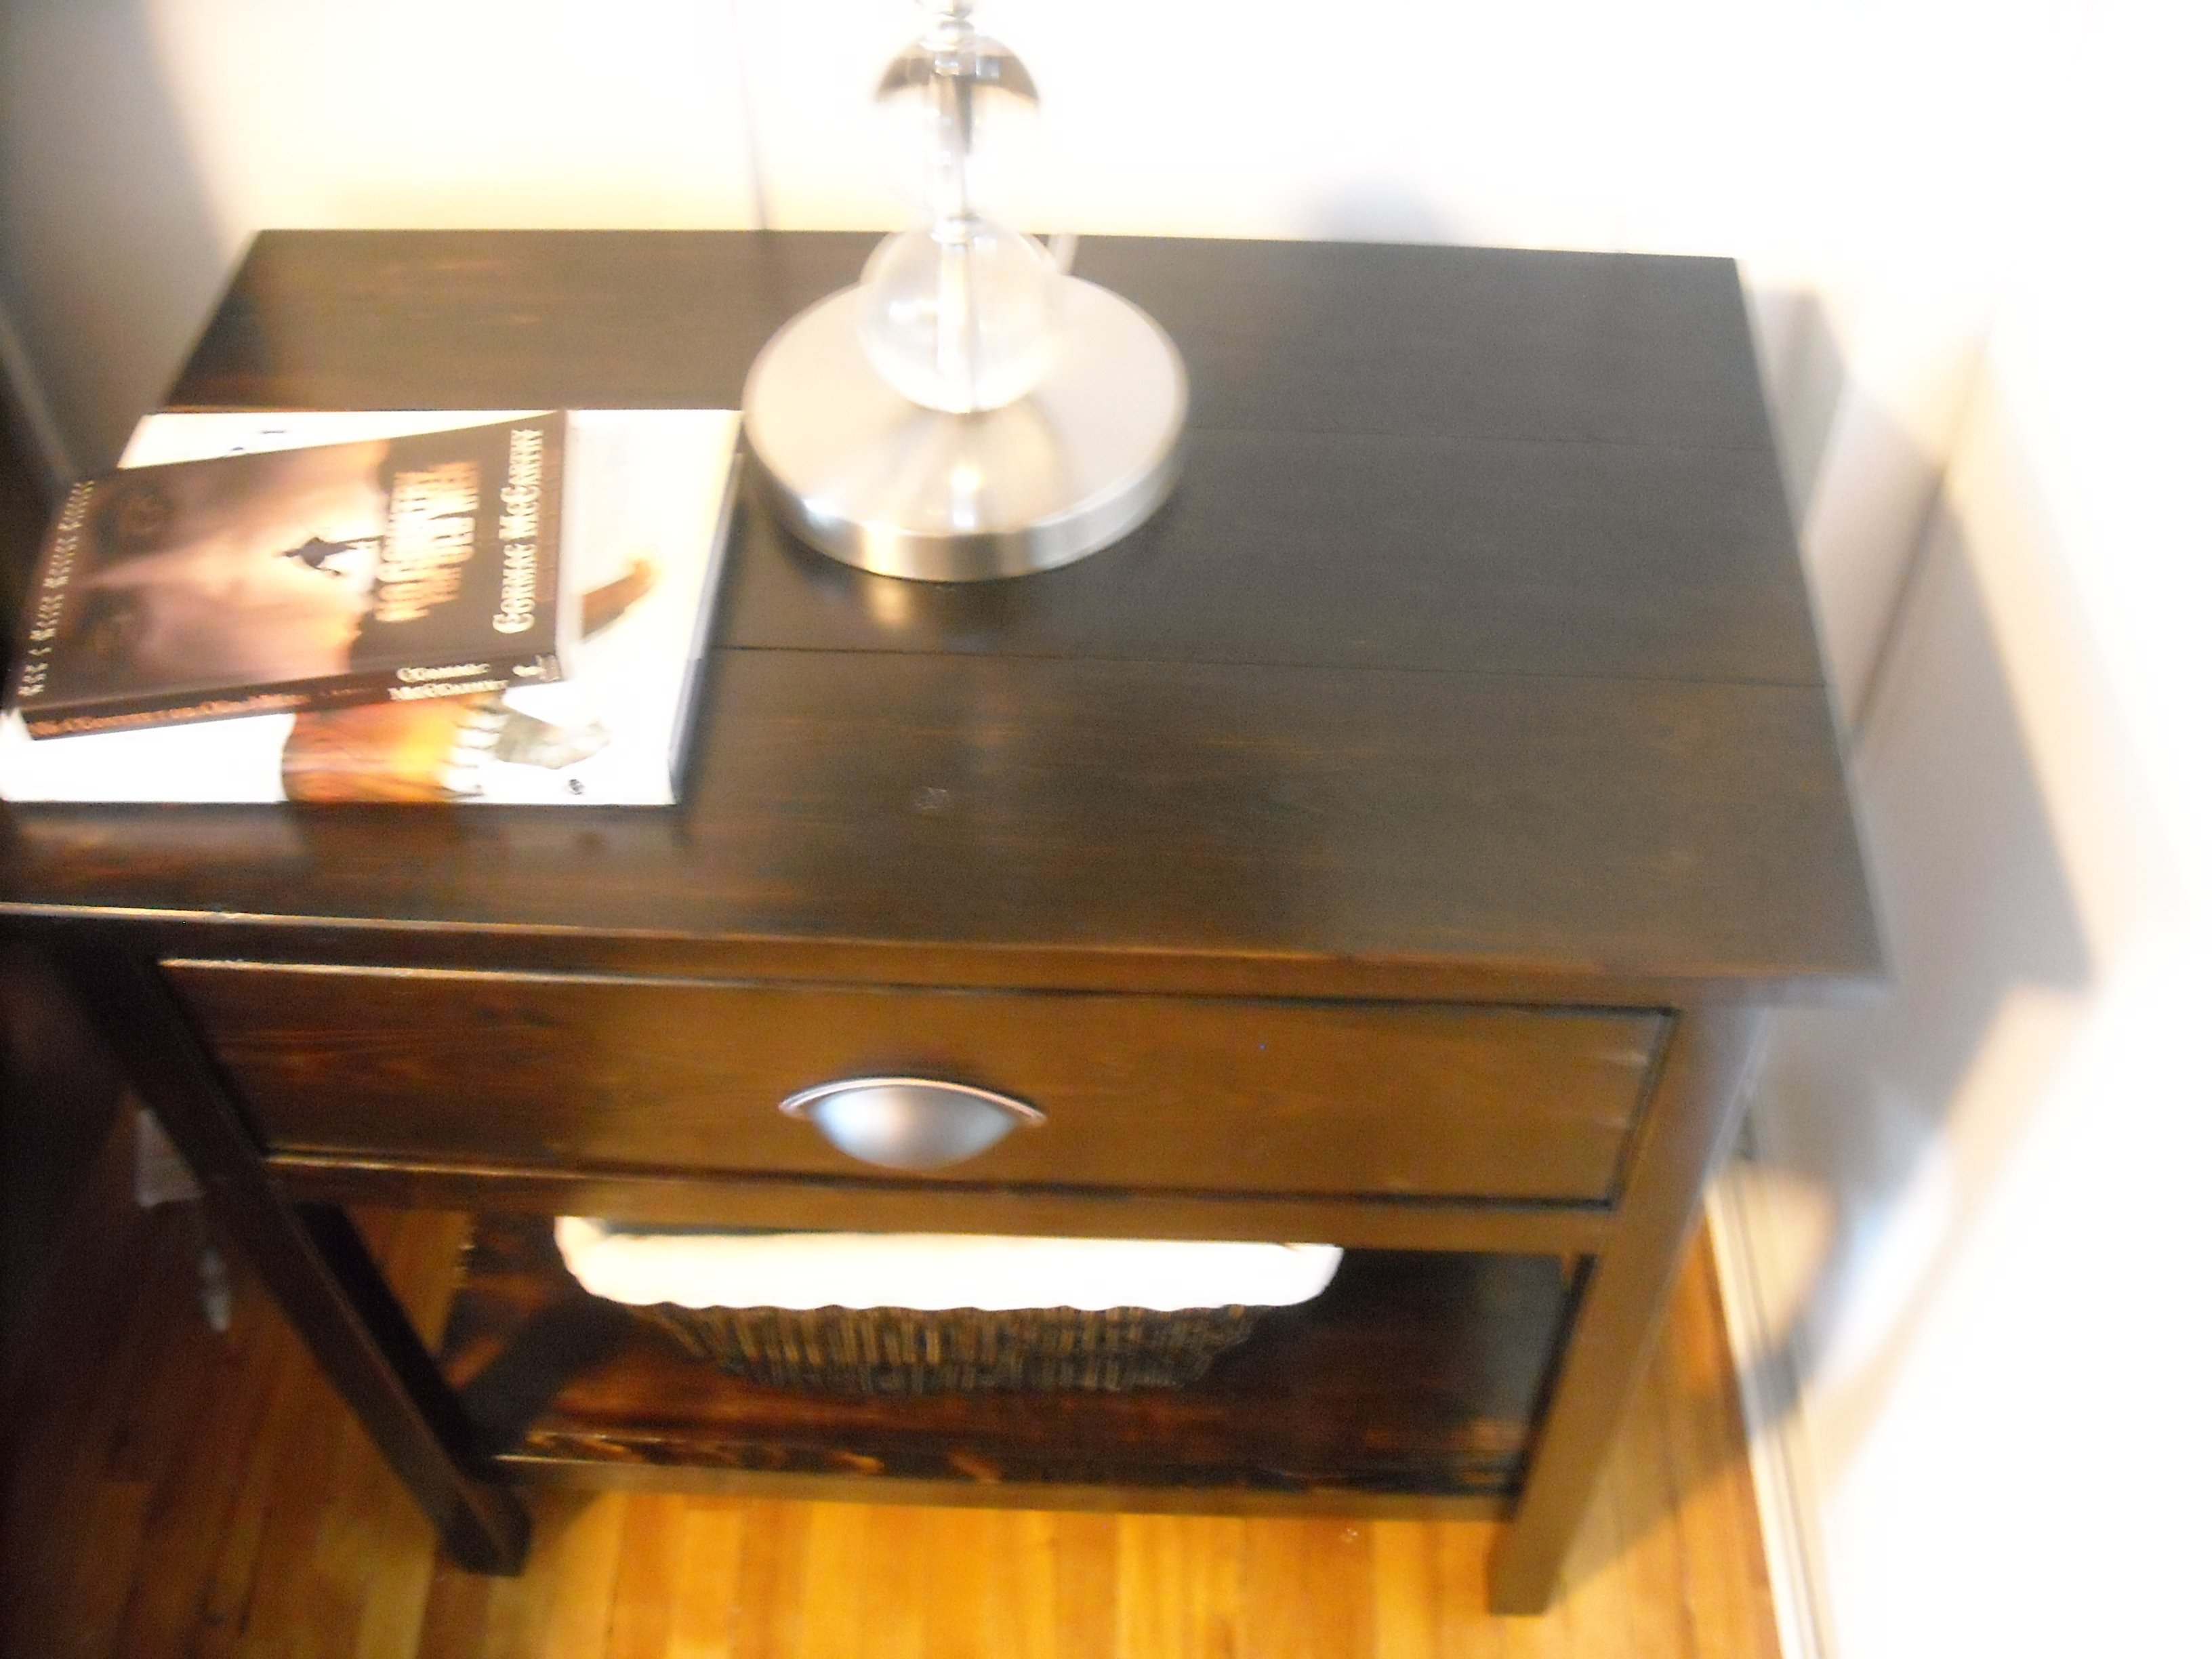
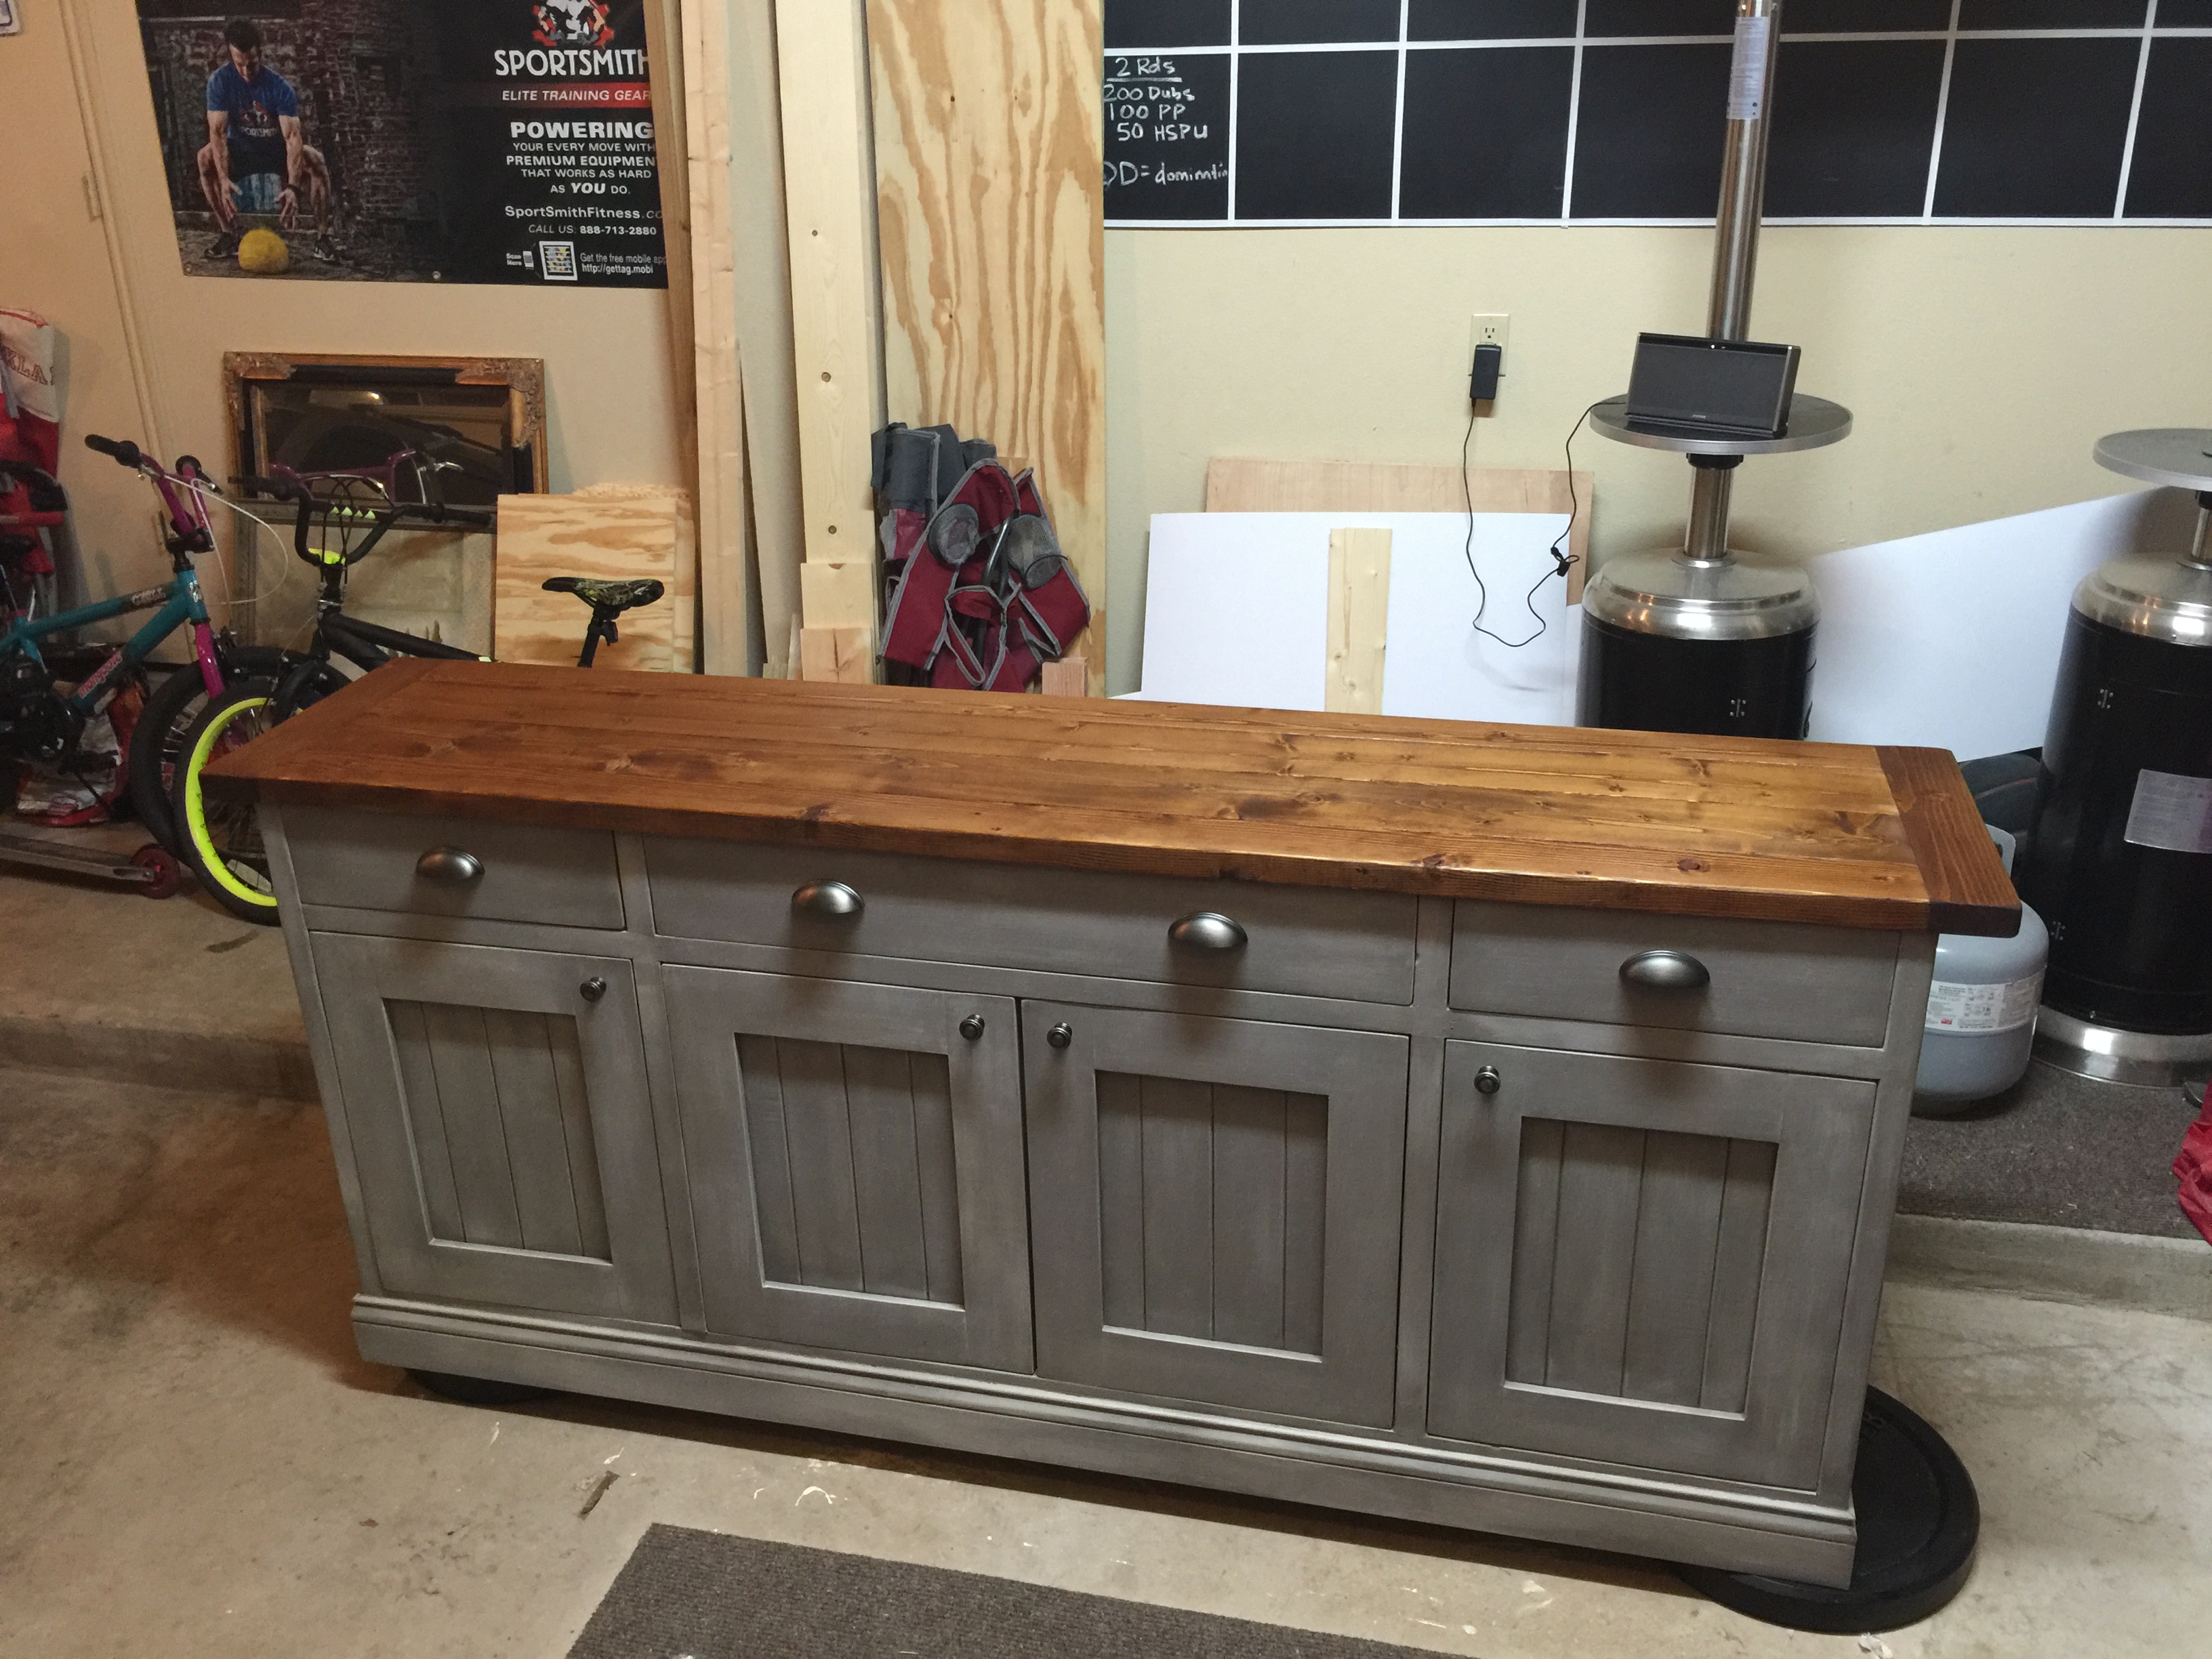
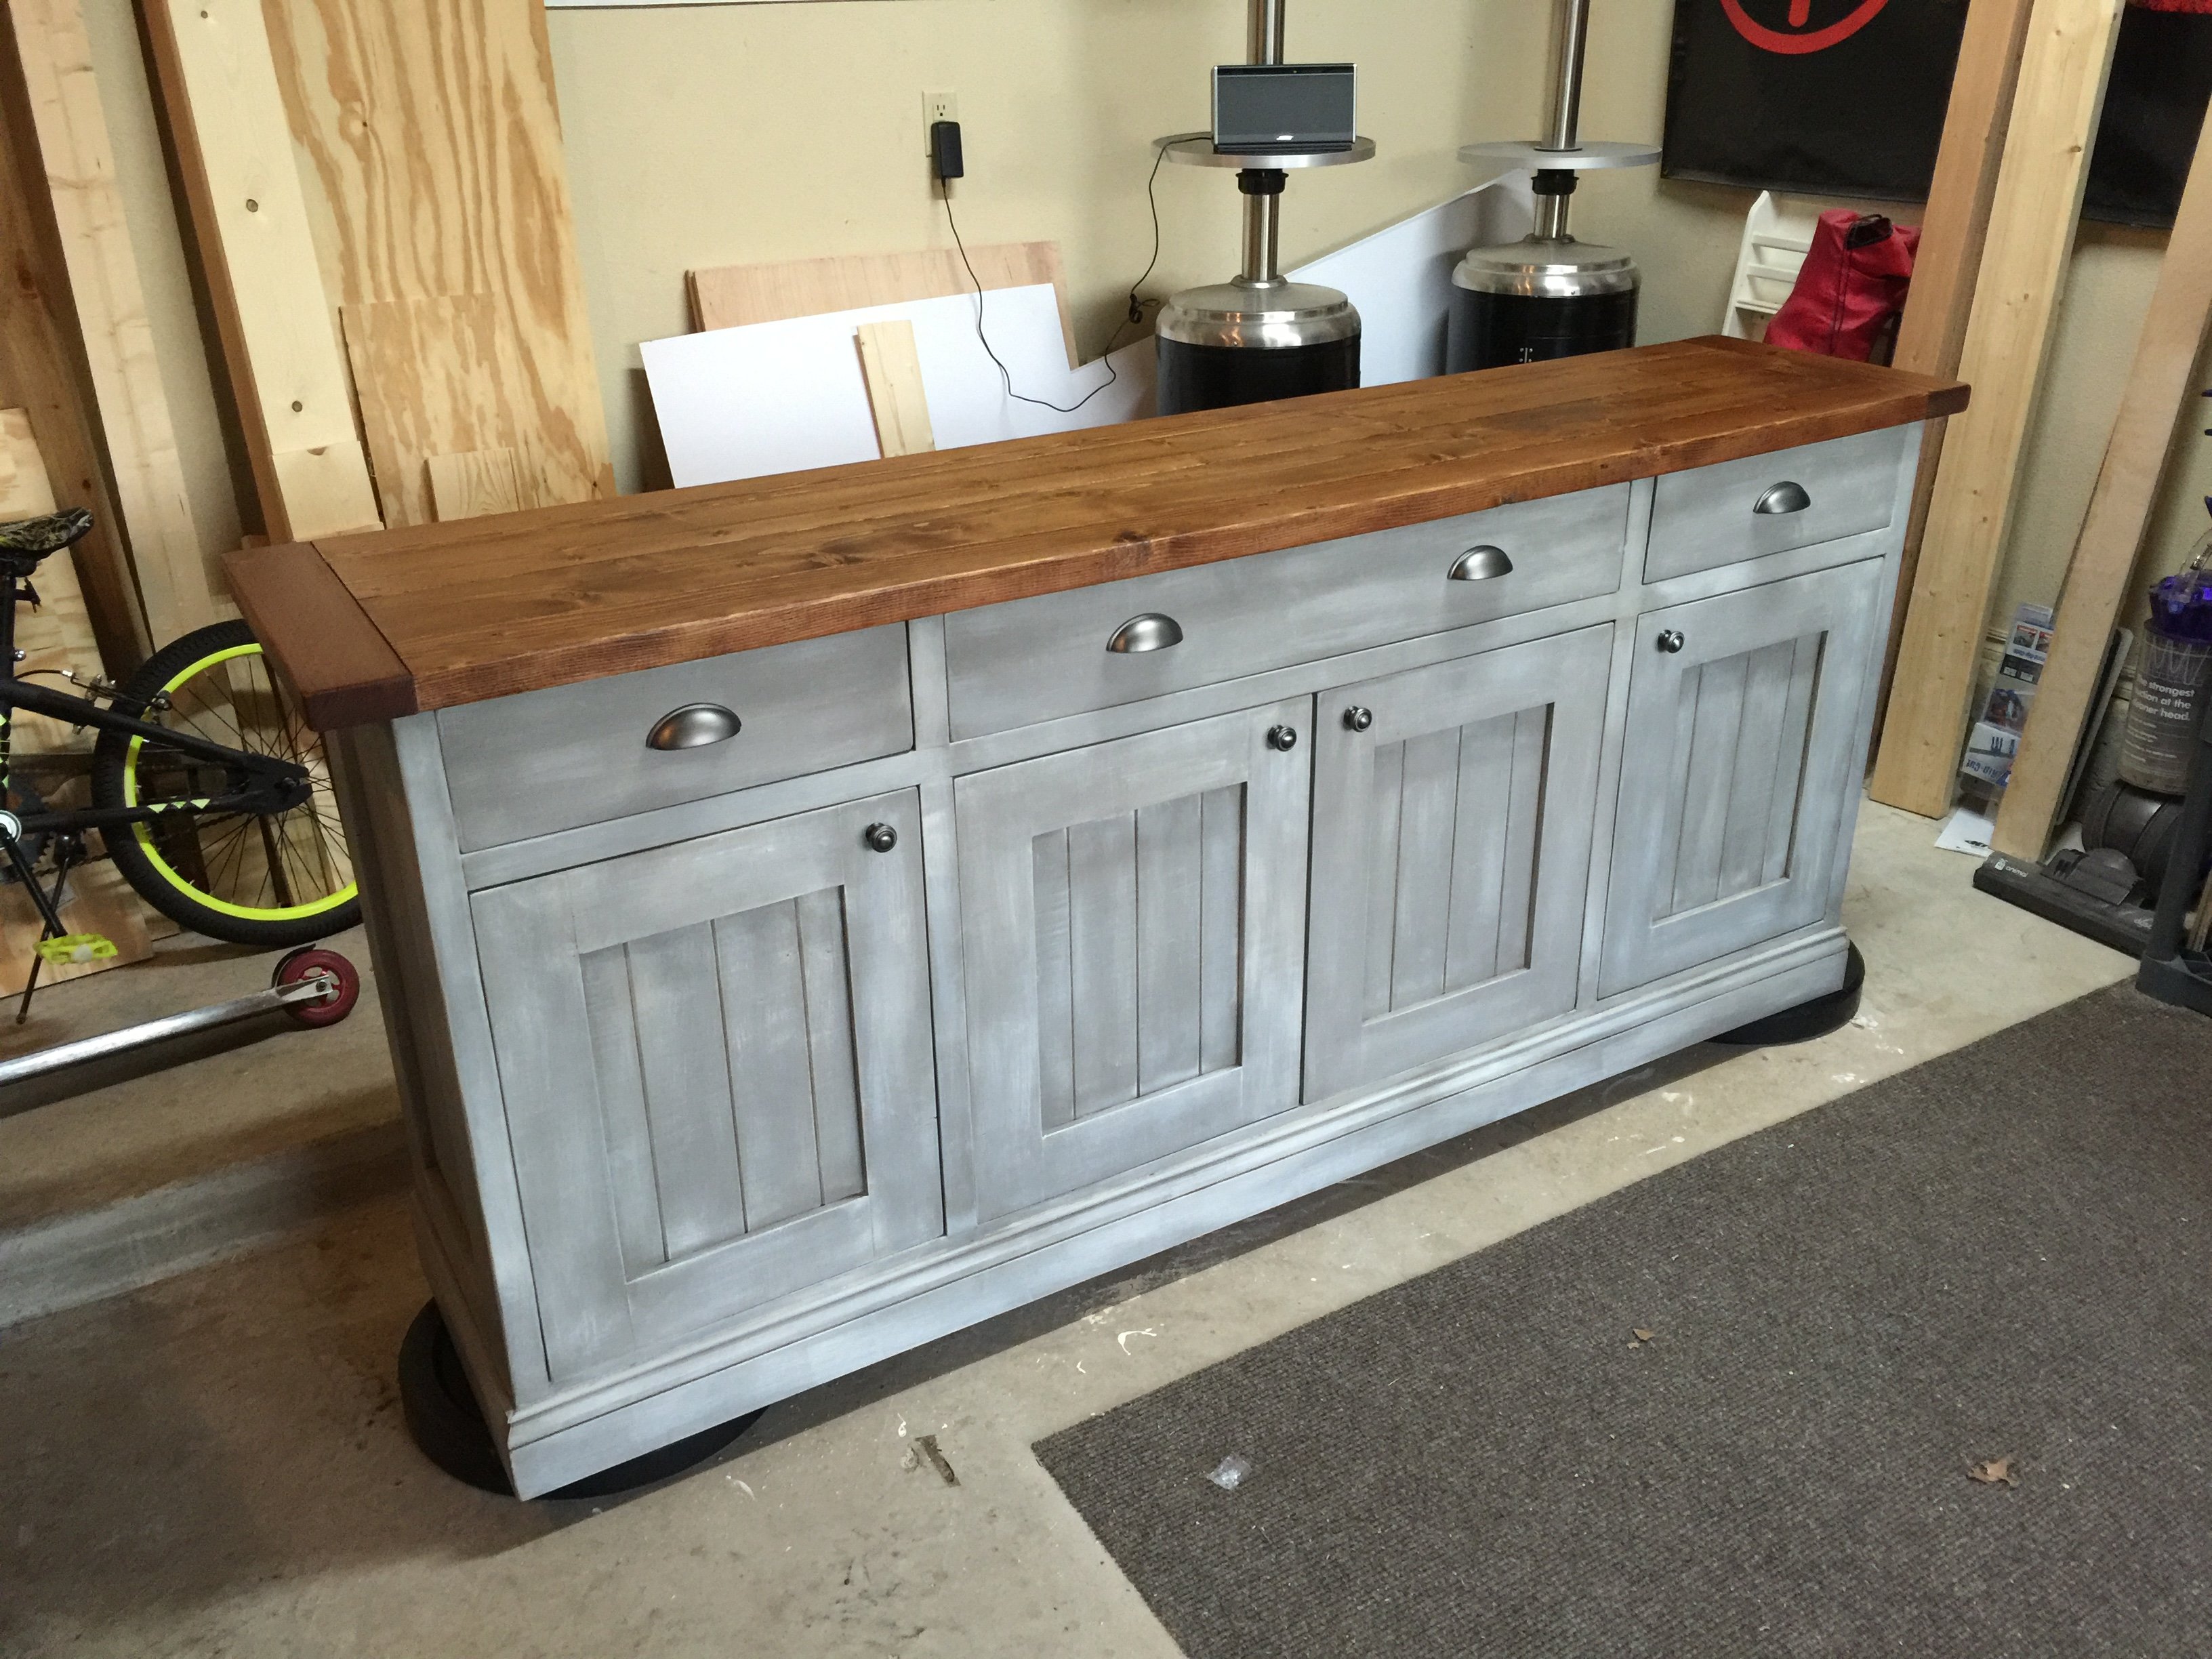
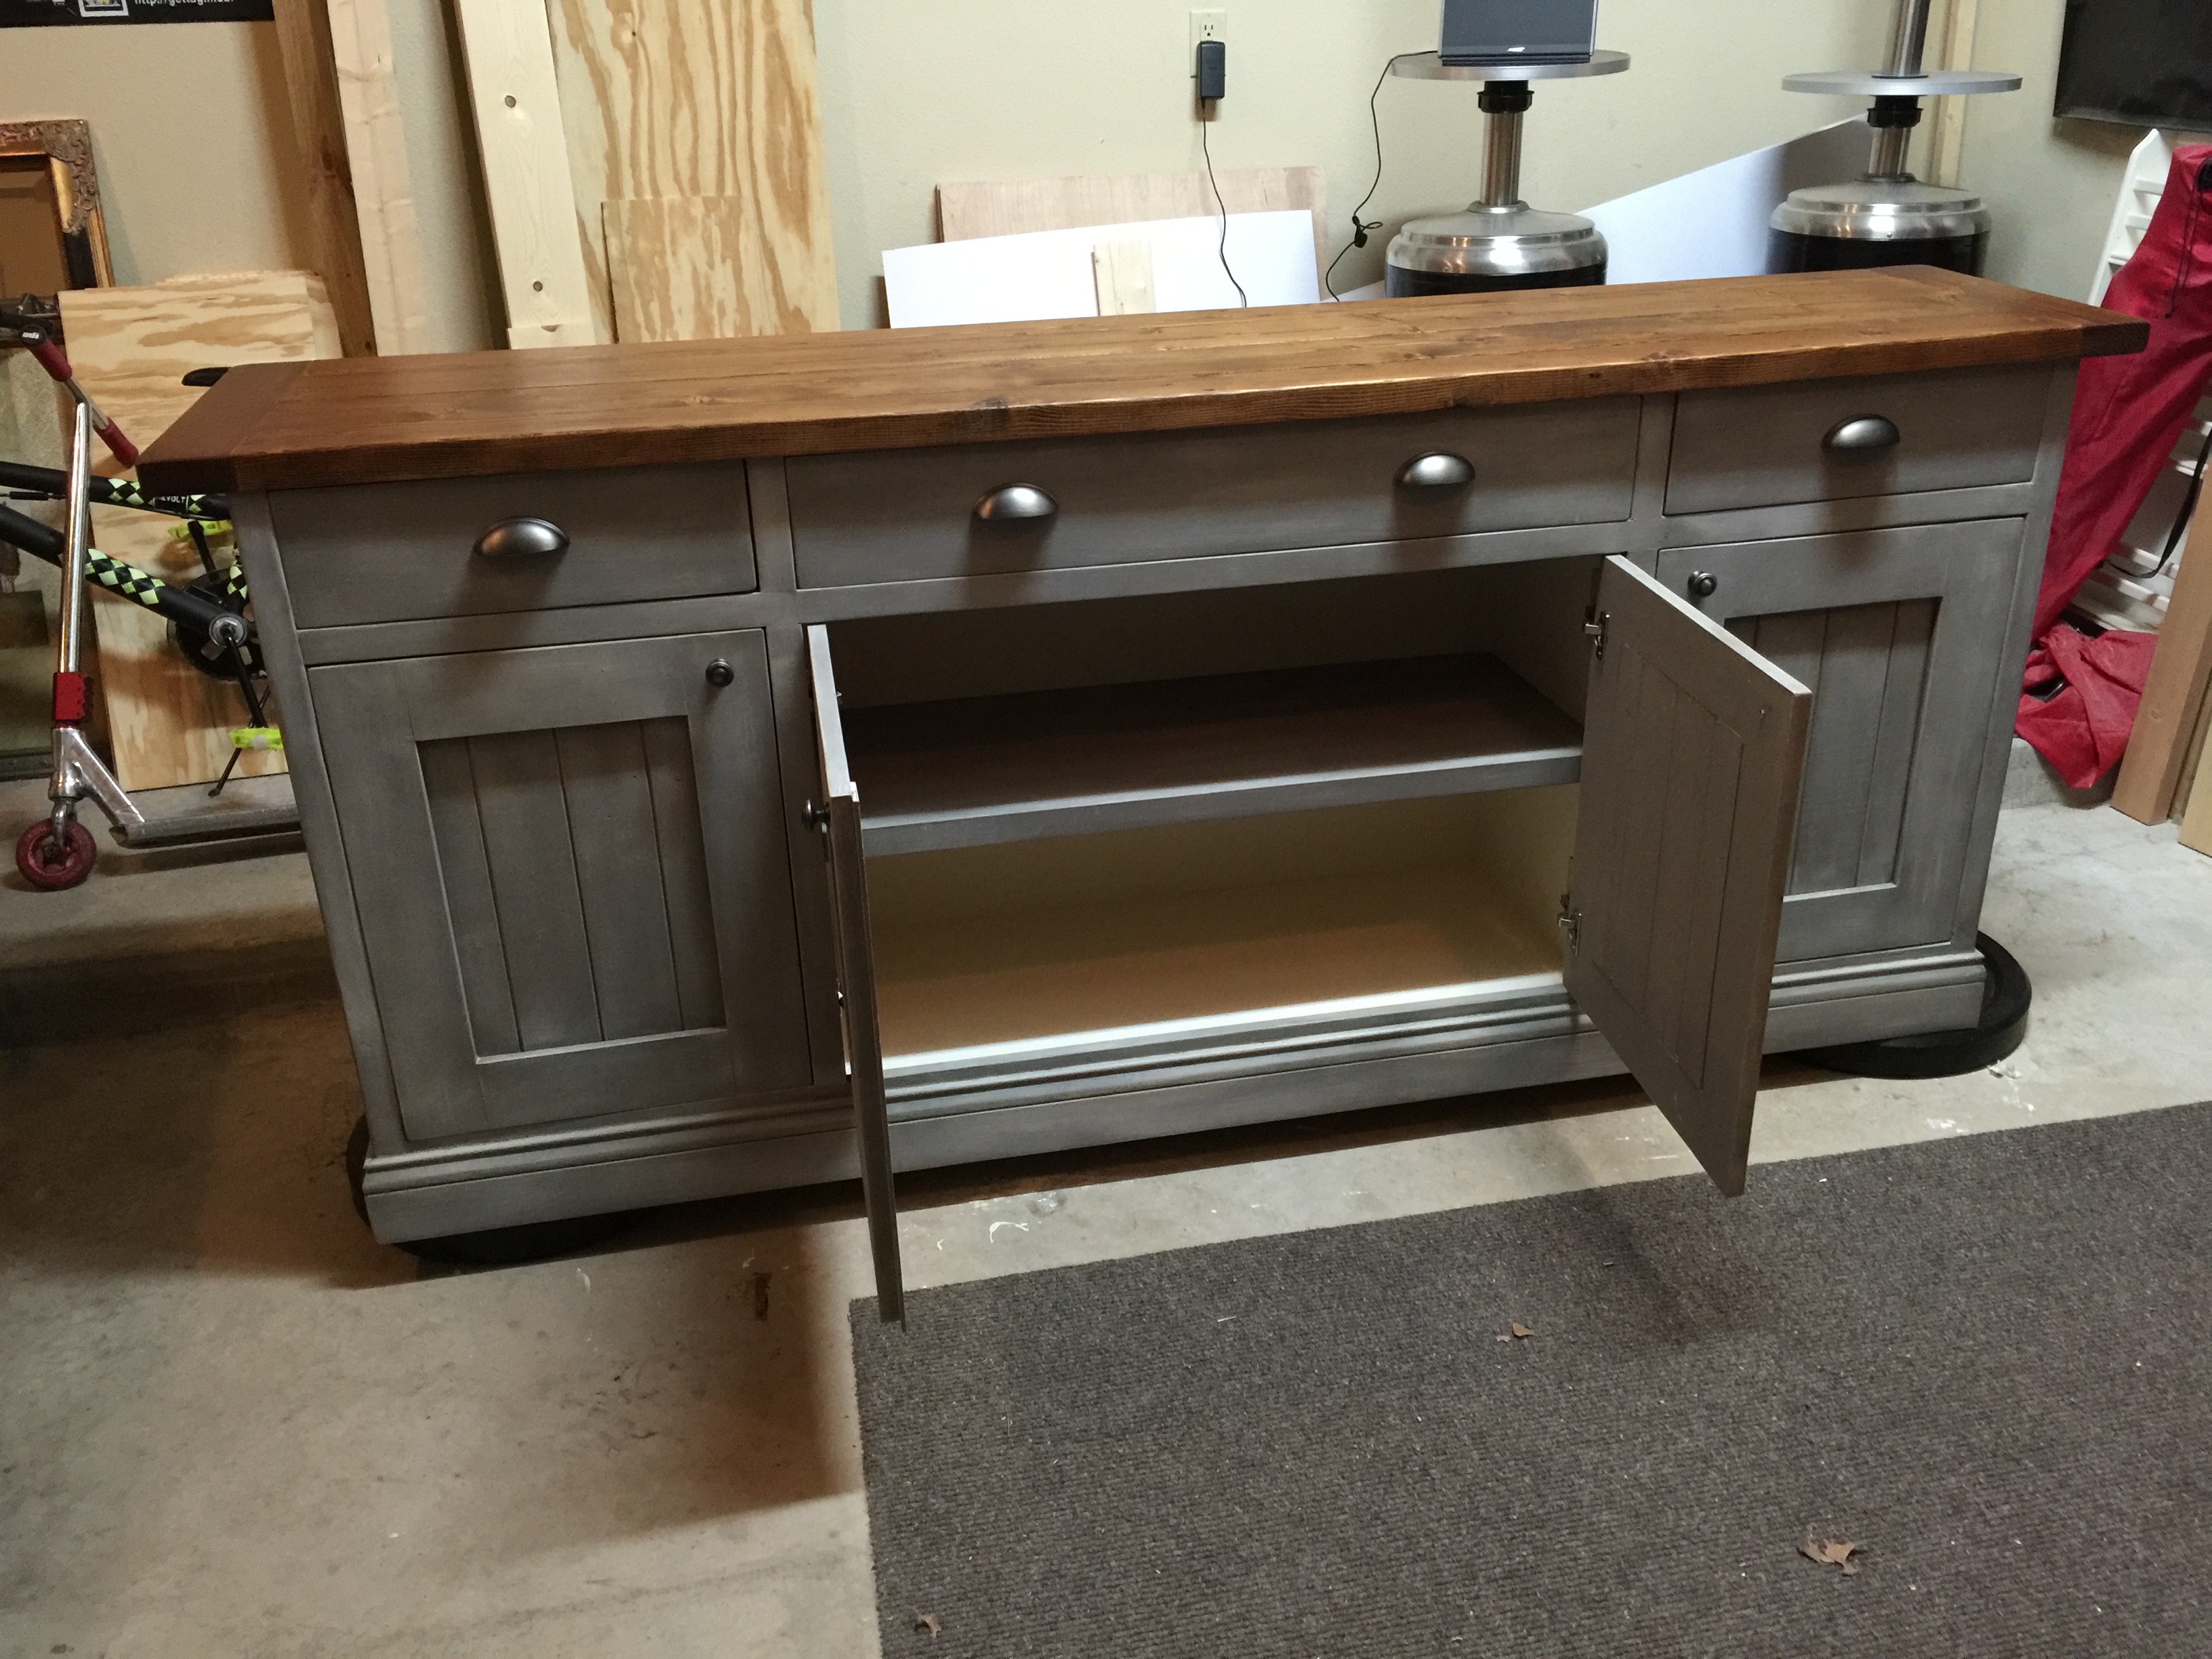
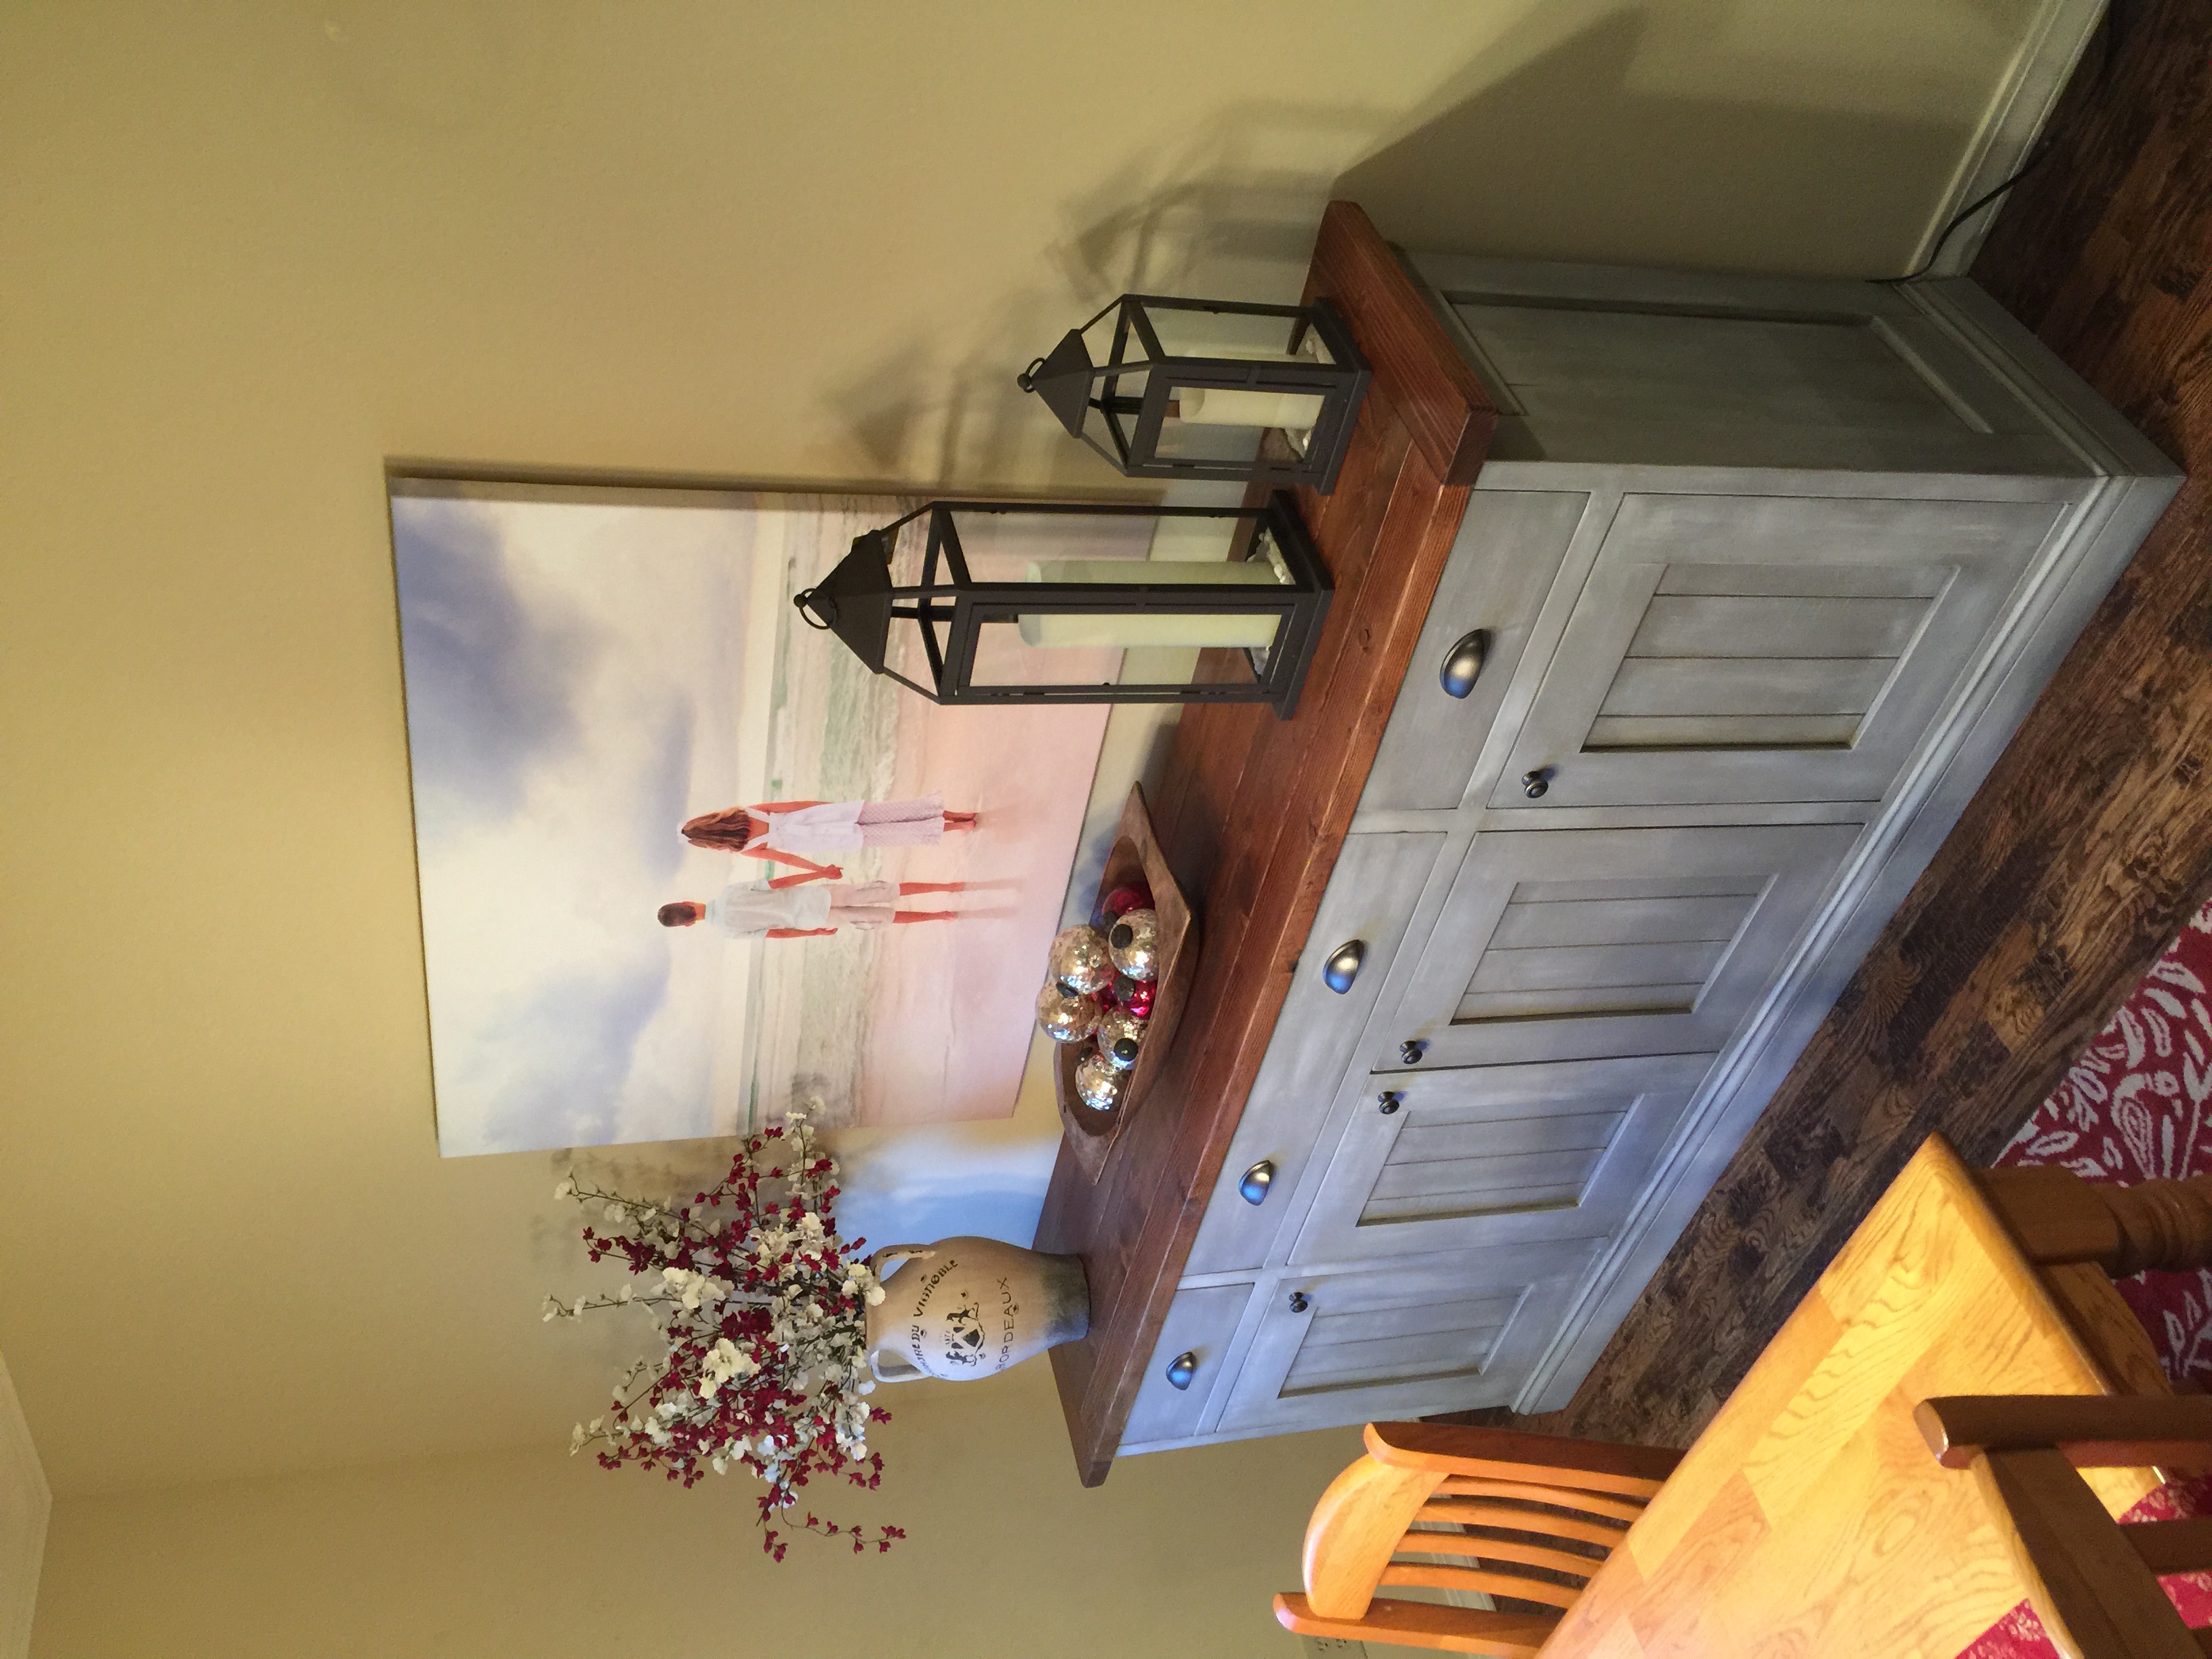
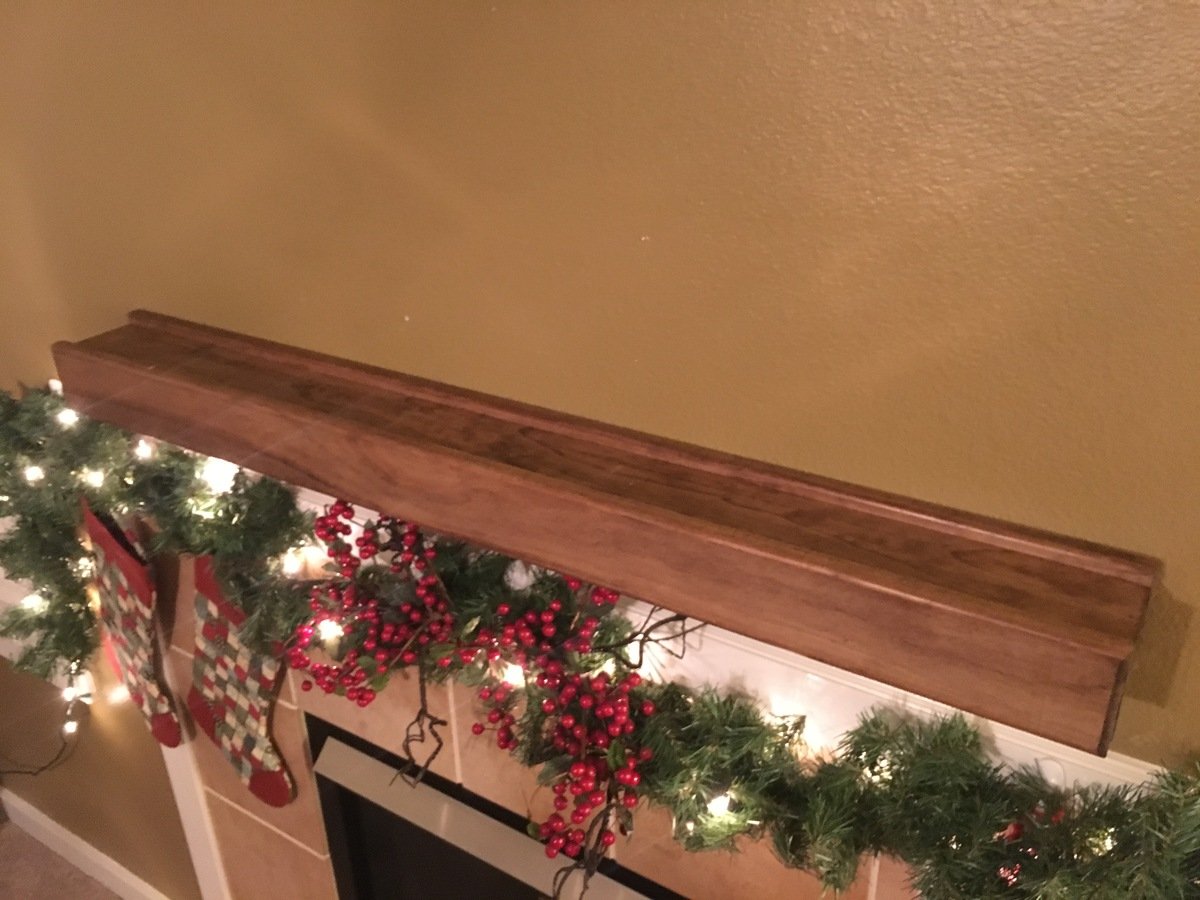
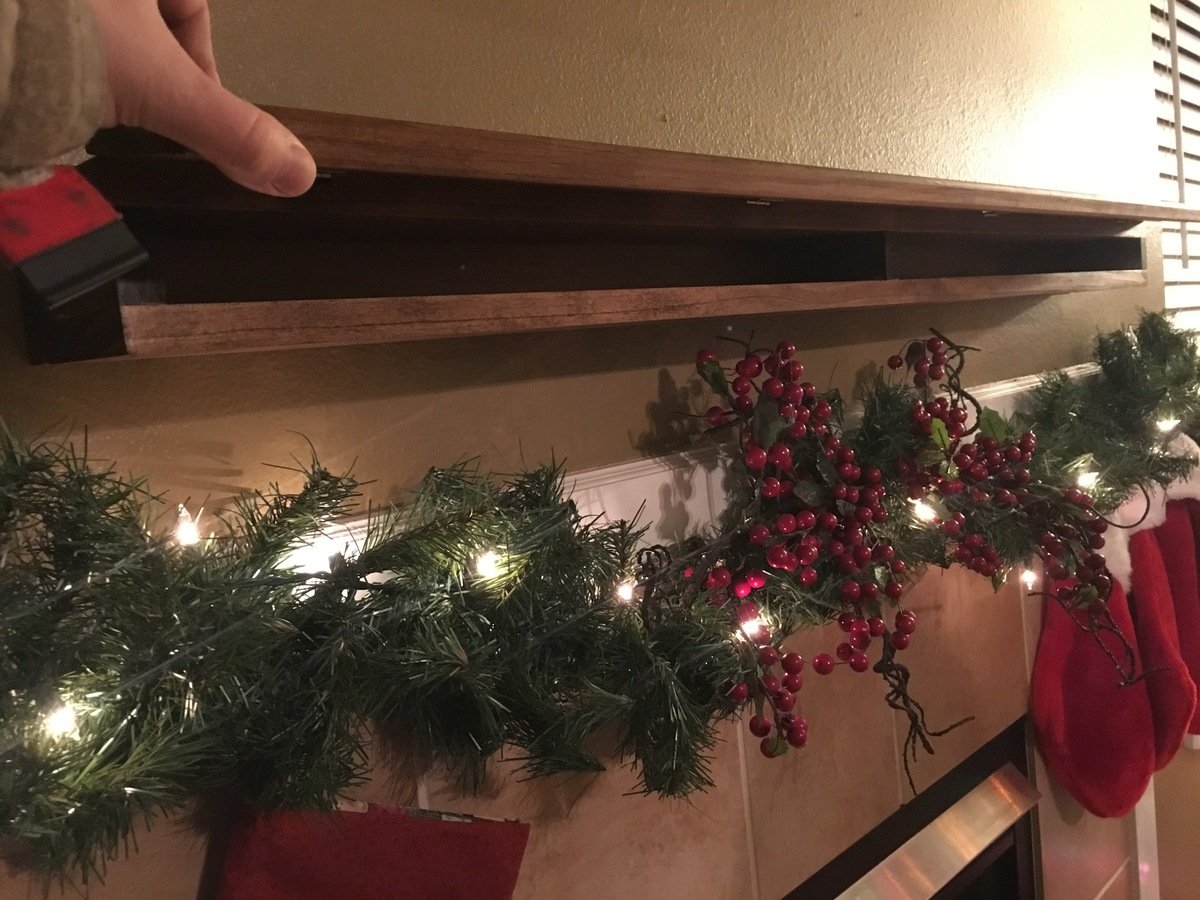
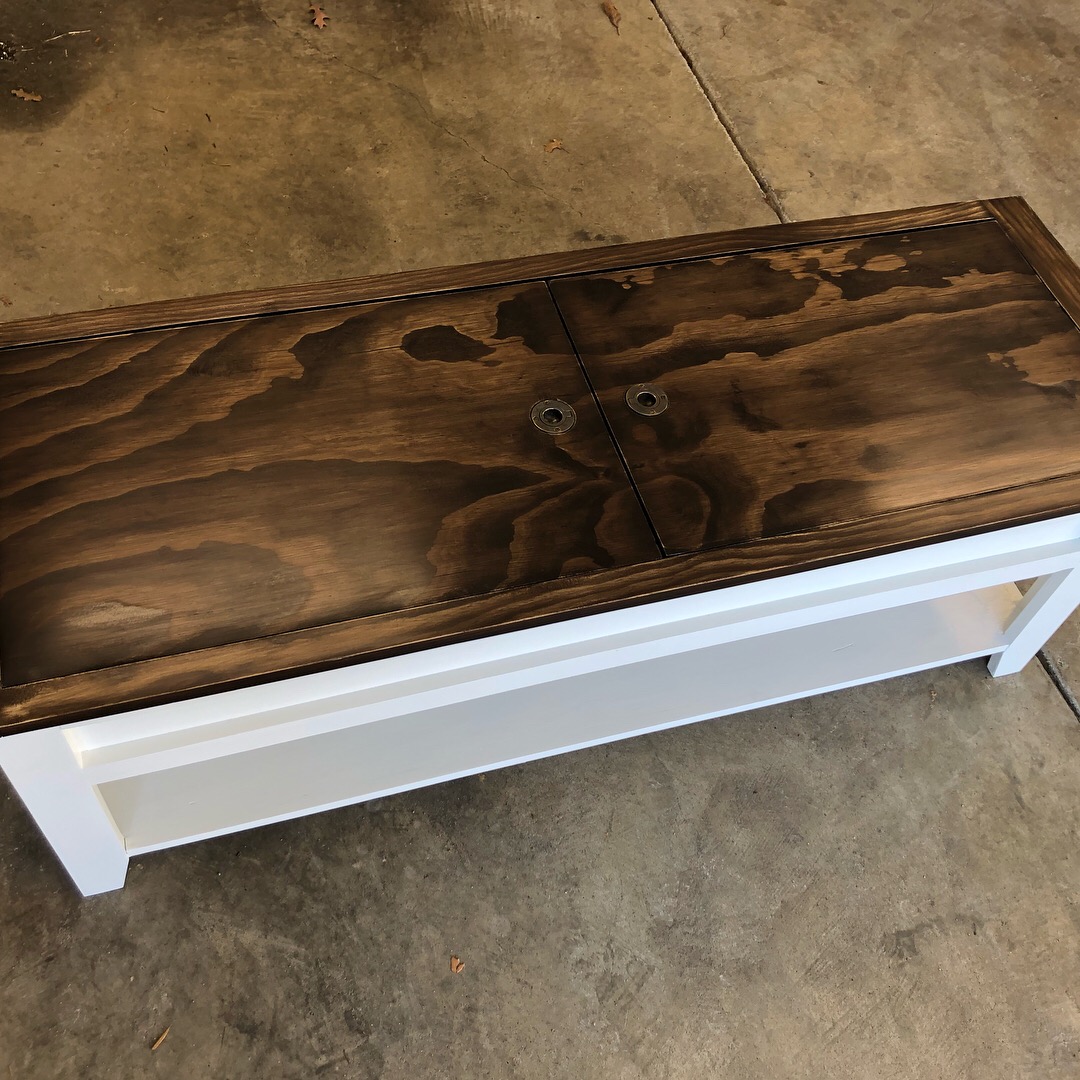
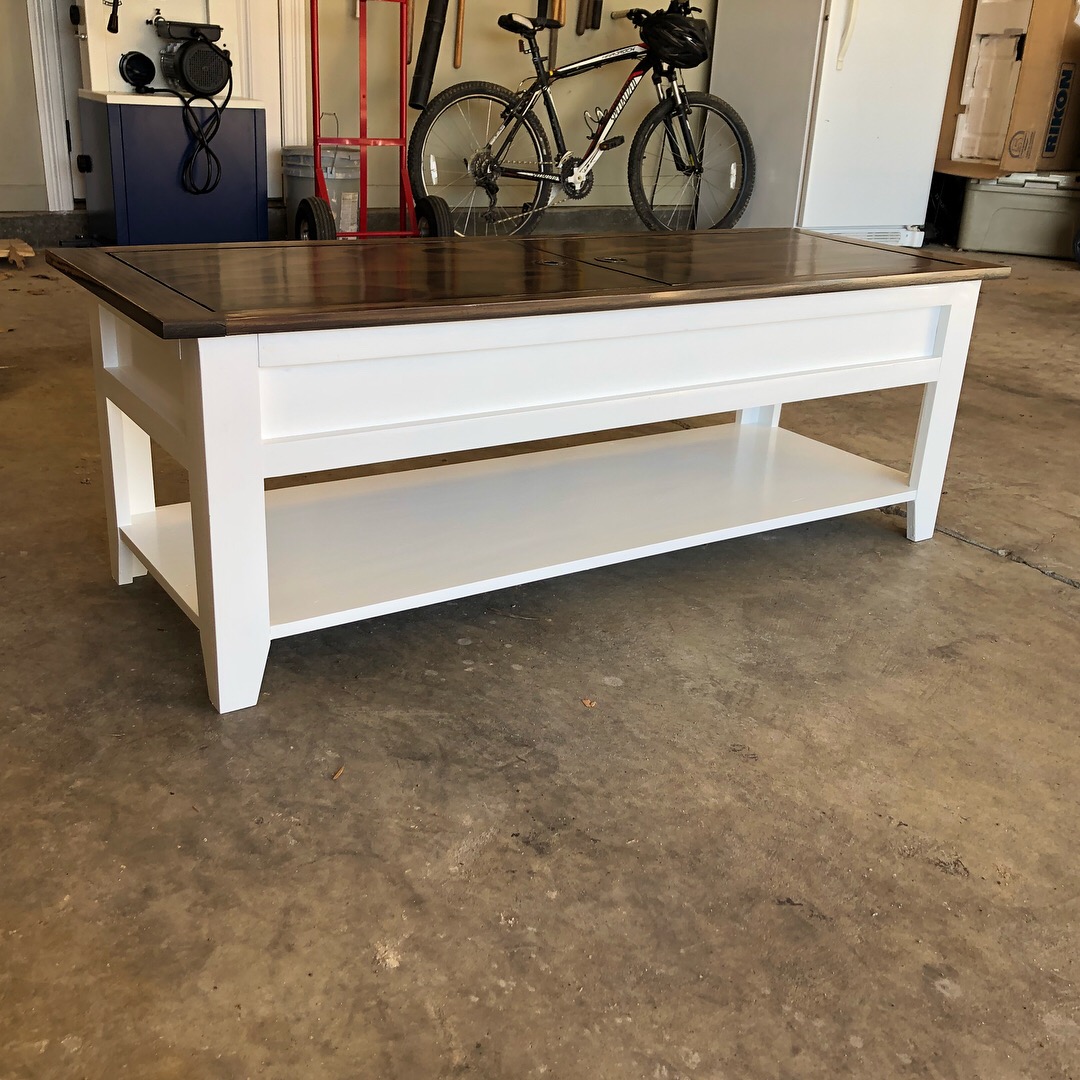
Living Room Storage Table
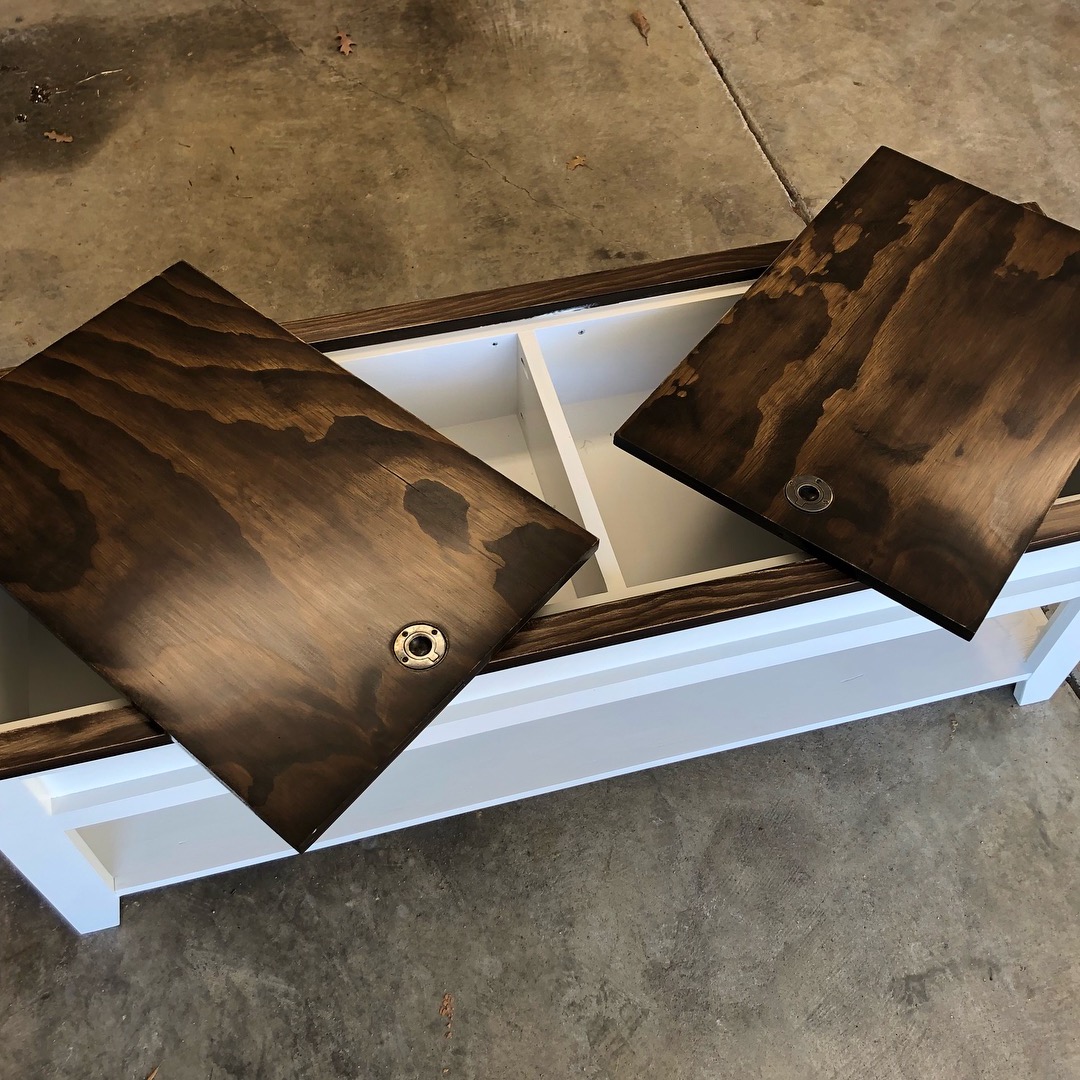
First furniture project. Storage table for my daughter and her husband.
I made this for my mom for her birthday. I just modified the measurements to accommodate the window and added some cool hardware.
Shopping for bedroom furniture, my spouse found a bed that was way more than we wanted to spend. After finding this site, and a bit of convincing he finally agreed to try building this. Now he wants to build everything! We now have a long "to do" list of plans we want to try.
We reworked the plans for the pottery barn inspired bed into a toddler sized version. Arms were added near the head to prevent our child falling out in the first year. They ended up being something of a hazard in those early days, as our child kept hitting her head. If we were to recreate it, we would make the arms go up higher or without the finished top. The bed also was not lifted off the ground in as great of a proportion to the original.
The pine is left untreated and unfinished. The only glue used was homemade milk glue.
Used 2 by 3 inch solid hardwood. Built end edge thick butcher block and added the rest. All solid hardwood and sealed
Our first project
So I needed a bigger entry way table for our new house and this one fit my style and I love it! Mine is only 5.5' long so I did have to do some remeasuring. If you also need yours to be 5.5' my measurements were 5.5' for the top 2x6 pieces then the the two bottom shelves are 55" and the 12 (6 for front 6 for back) 2x2 pieces are 26". All of the other measurements stayed the same. Also I already had everything else besides wood so just the wood cost me $75.
I started this project with the intention of building the octagon table. The person I was building it for changed their mind and asked for round instead. With the table top now being round I did not think that the supports underneath the table fit with the design so I used the leftover scraps from cutting the round top to make the altered supports you see in my photos. Turned out pretty good I think and the recipient is in love with the design. Thanks for the original plans Ana and good luck to everyone else building this table!
One for each daughter for thier bathroom. I did use a wider board on top for larger standing surface and stability.
Made few modifications. Added a 9th board to the tabletop to make it larger, horizontal aprons connecting the legs, and seat support. For stain and sealer, I used Olympic semi-transparent redwood. Overall a great project. Thank you, Anna.
My husband wasn't home this week, so I had to create something.. He's just lucky that I didn't give the kitchen a makeover! ;]
I modified and improvised with what I had lying around... I used a 1x4 for the bottom because I didn't have enough 1x2 scraps left, but then I decided to put the lettering on it because I thought it looked too plain. I like how it turned out!! :]
Fri, 08/12/2011 - 10:51
I used a word document and found a font I liked and then used that to paint the lettering on myself. :]
Fri, 08/12/2011 - 16:05
I love this mod! Lots of ribbons, only a little bit of space. Sits on your desktop too!
In reply to I love this mod! Lots of by Ana White
Fri, 08/12/2011 - 16:26
It's Just what I needed! :] Thanks for the inspiration!
We built the Farmhouse queen bed and fancy X desk for our bedroom. It was relatively easy and looks so great! The bed is made of pine and cedar. (It is really really hard to find pine 4x4 posts that aren't pressure treated around here.) We used pine for the desk. Paint color on the bed and base of the desk is Behr "Polar bear" with a coffee stain distress. The desk top is Benjamin Moore "Dash of pepper." The bed cost about $175 to build and the desk cost $30. (We used a lot of scraps for the desk.)
Thu, 09/05/2013 - 17:03
Your bed and desk are beautiful! Great job on this build, and I love the colors!
I used Ana's plans and Hillary's suggestions to build this extra large buffet. It took probably 25-30 hours if you consider the extra trips to Home Depot and Lowe's because I didn't yet have the proper tools. I used Annie Sloan's French Linen as my base coat, Old White as my dry brush coat, Annie Sloan Clear Wax throughout and Dark Wax in the crevices. This was my first big league build, so I had to recruit a skilled neighbor for assistance with the drawers and doors. My two recommendations would be to ensure the piece is square at every step, and to cut the wood as you go. Don't make all the cuts at once because there will be adjustments.
Fri, 10/30/2015 - 20:14
this is awesome! I love the colors. Especially the color for the top. What stain is that?
Thu, 11/05/2015 - 12:12
Thanks for your comment! I used Minwax Early American and a matte poly finish. My intention was to paint the top, but someone convinced me to stain it to see how it would look. I liked the stained version better.
Wed, 11/04/2015 - 09:06
I'm building this a we speak....got the sides finished this weekend. Question: Did you router the exposed front, top and side edges?
Thu, 11/05/2015 - 12:10
I think you mean along the bottom? If so, I basically purchased some baseboard moulding at Lowe's. I didn't care that it was primed because my plan was to paint it.
I made this longer using two 8’ 1x4 pine boards and added a center brace inside. I added a pack of simple hinges to the top so that the face could flip up and we could access the inside. I also routed the face and back.
Beautiful Dining Table
I made matching step stools for my kids.
This was the first table i built a couple of years ago at the age of 19, it is just a simple trestle leg table made from white oak. The dimensions are 10 feet long by 3 feet wide.
My husband built this bed for our 4 year old son and let me say its just perfect! His room is on the smaller side and this made a huge difference for him to have more play room. When my son seen it his eyes filled up with tears he was so excited! My husband built this bed on a Sunday afternoon. He torched the wood along the grain, and then over a period of a week added clear (he used 3 coats as the wood just soaked it up pretty good ). Highly reccomend this project!
Substituted the galvanized pipes for heavy grade (Type M) copper pipes for a prettier, warmer look (I'm obessed with copper accents!)
So happy to have found these plans, and proud of how it turned out! It was even better than what I was hoping/looking to build. (I can't stop staring at it! :) It looks like I paid over $1000 at some high end furniture store like West Elm, but managed to make it for under $200!!!
Thanks Ana White for these plans and all of the others on your site. You have shown both me and my 65 year old mother the confidence and joy of woodworking! (And saved us a lot of money, too!)
Plans were super easy to follow. I finished the chairs by using the Shou Sugi Ban technique. I burned the chairs and stools completely, than wire brushed them. I repeated the process a second time. I finished by adding a coat of poly which I believe gave the chairs a little more depth. They are so comfortable and plans were perfect. Thank you Ana!