Fancy X table and bench
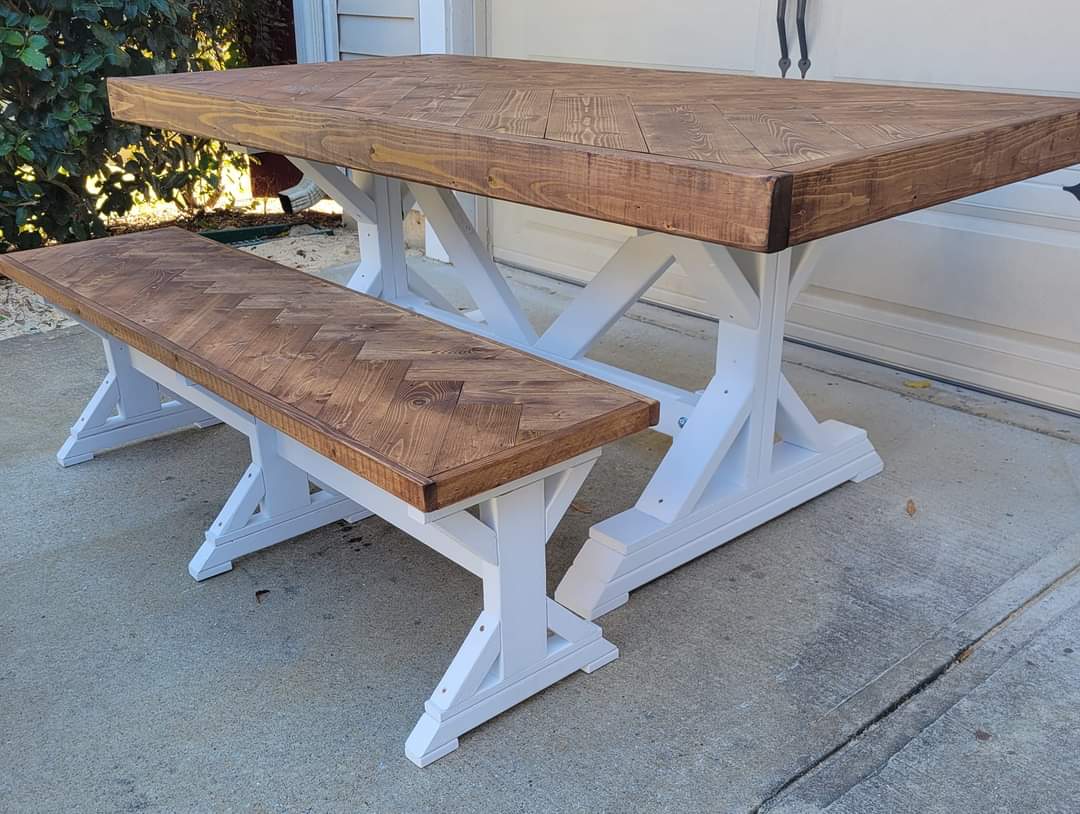
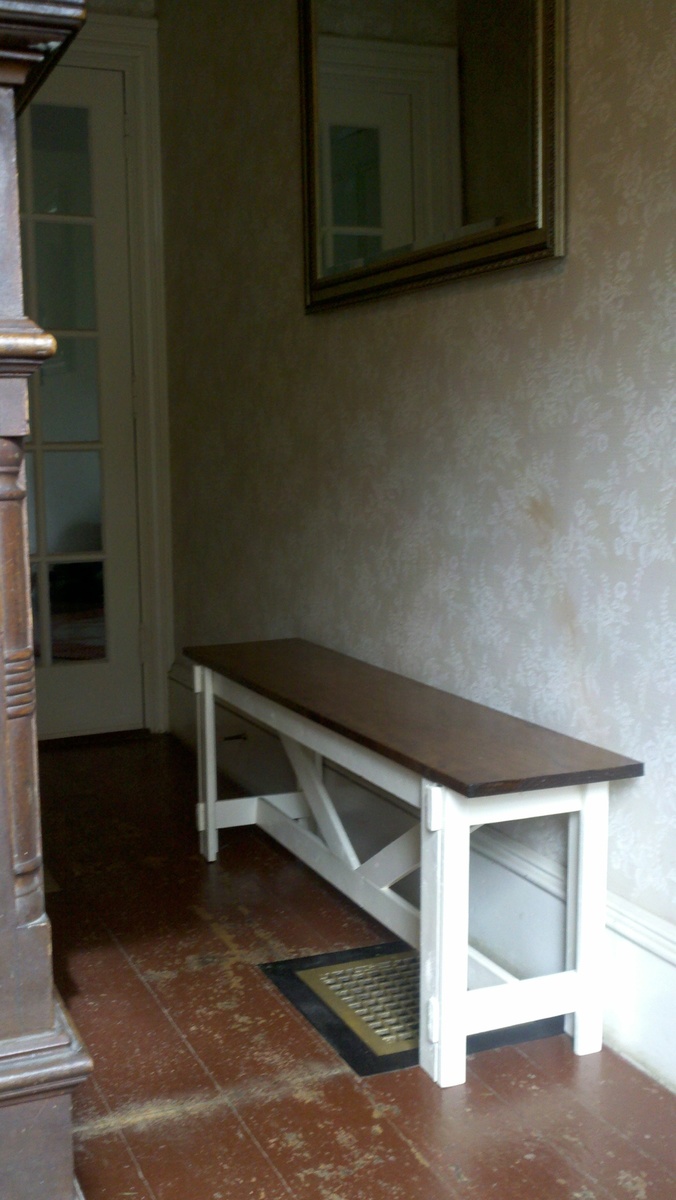
Put a fancy twist in this tabletop and bench top. We like the 45 degree angles that the top and legs both have to compliment each other. The top is stained with minwax special walnut.
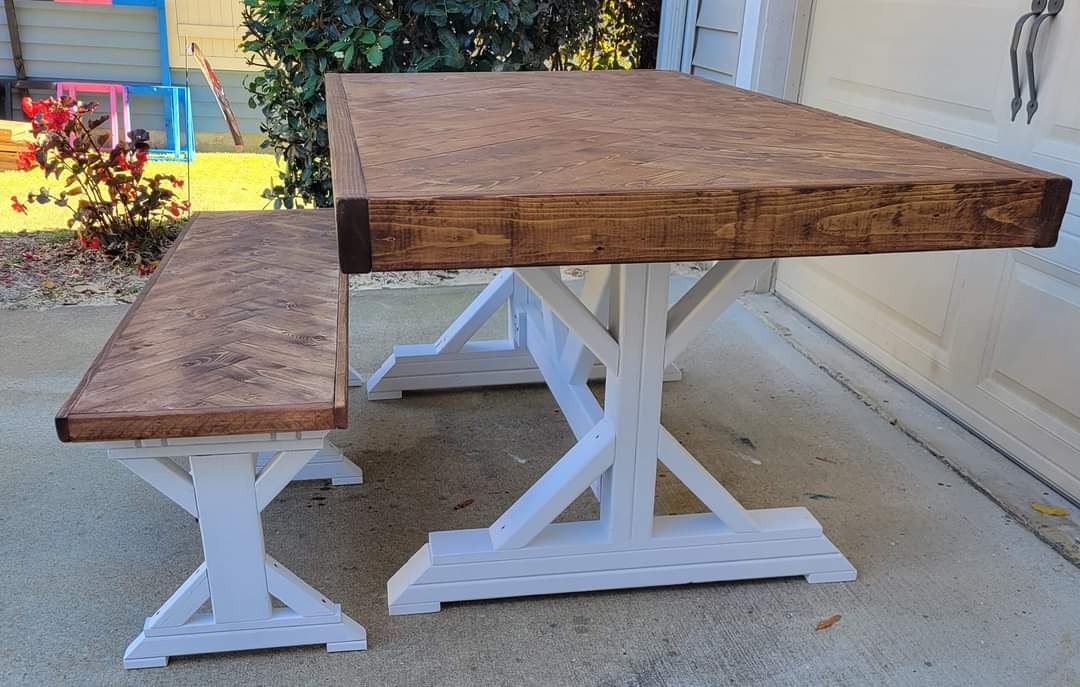
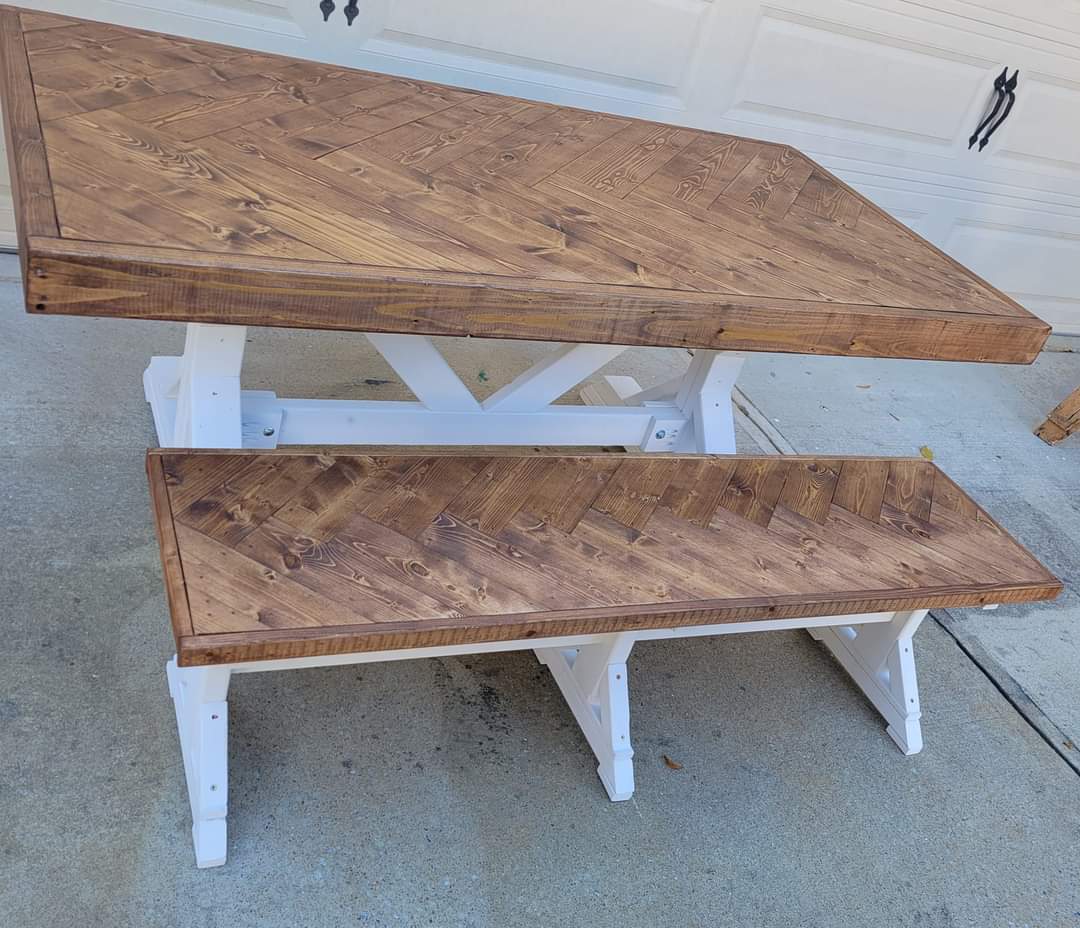

Put a fancy twist in this tabletop and bench top. We like the 45 degree angles that the top and legs both have to compliment each other. The top is stained with minwax special walnut.


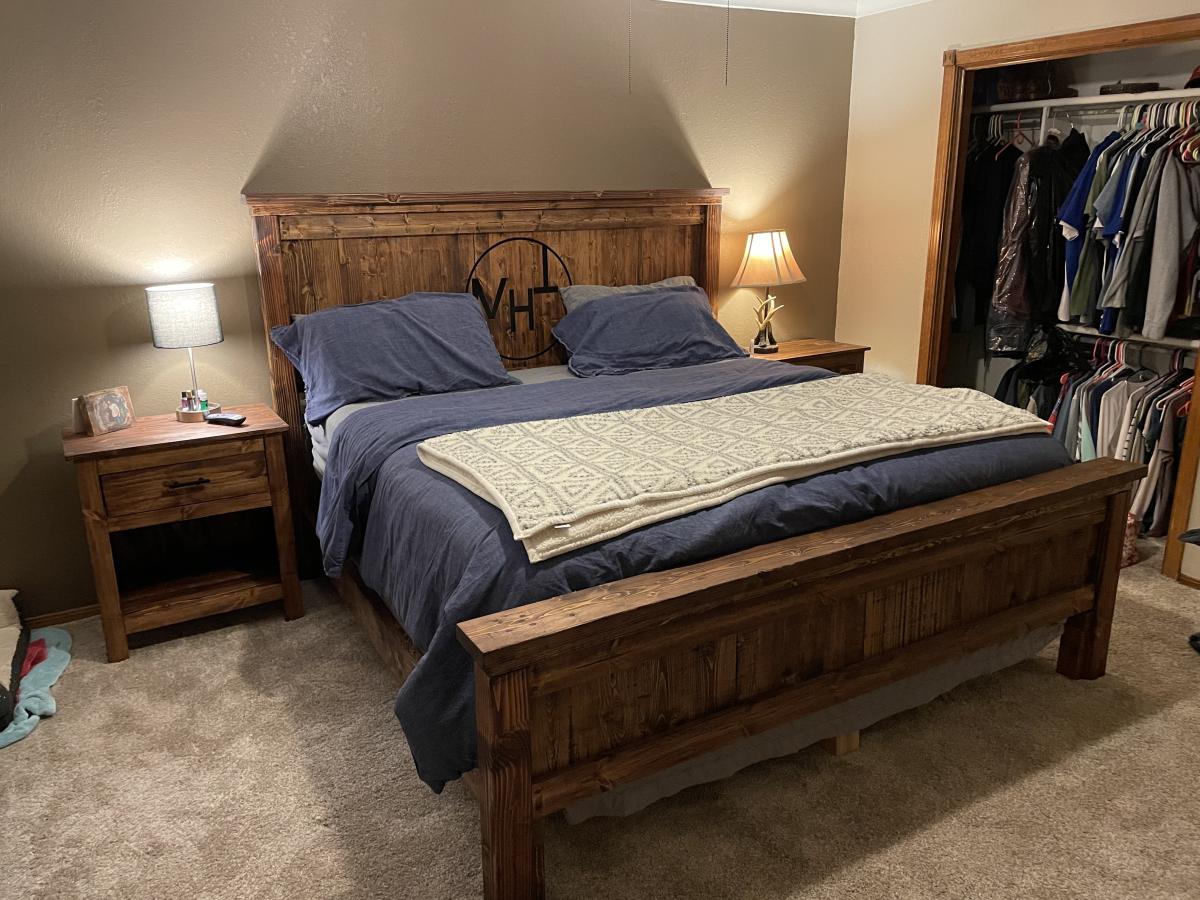
This was a great project to build, easy directions and easy to make modifications to. I built this bedroom suit for my son and his bride with their brand routered in the middle and used black epoxy to fill. Used Miniwax Honey colored stain and finished it with two coats of Danish Oil to protect it.
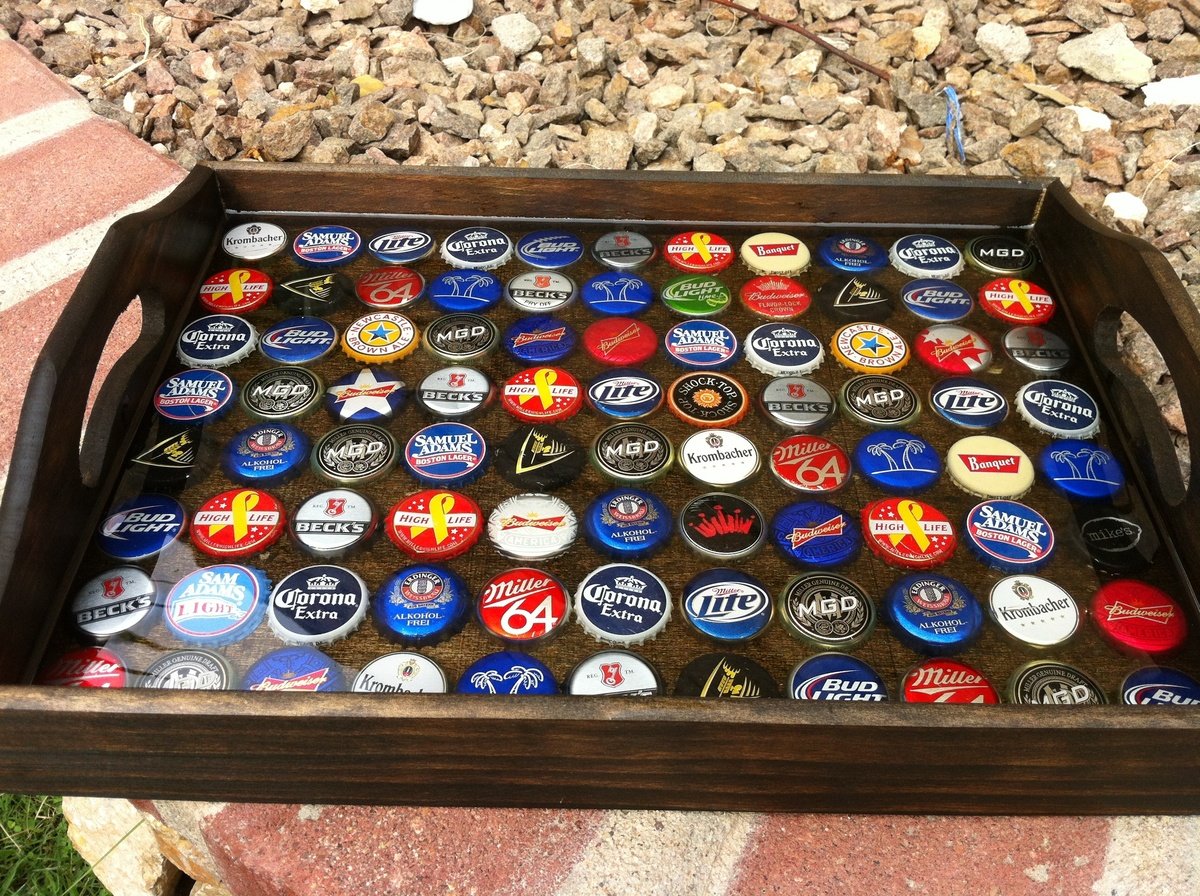
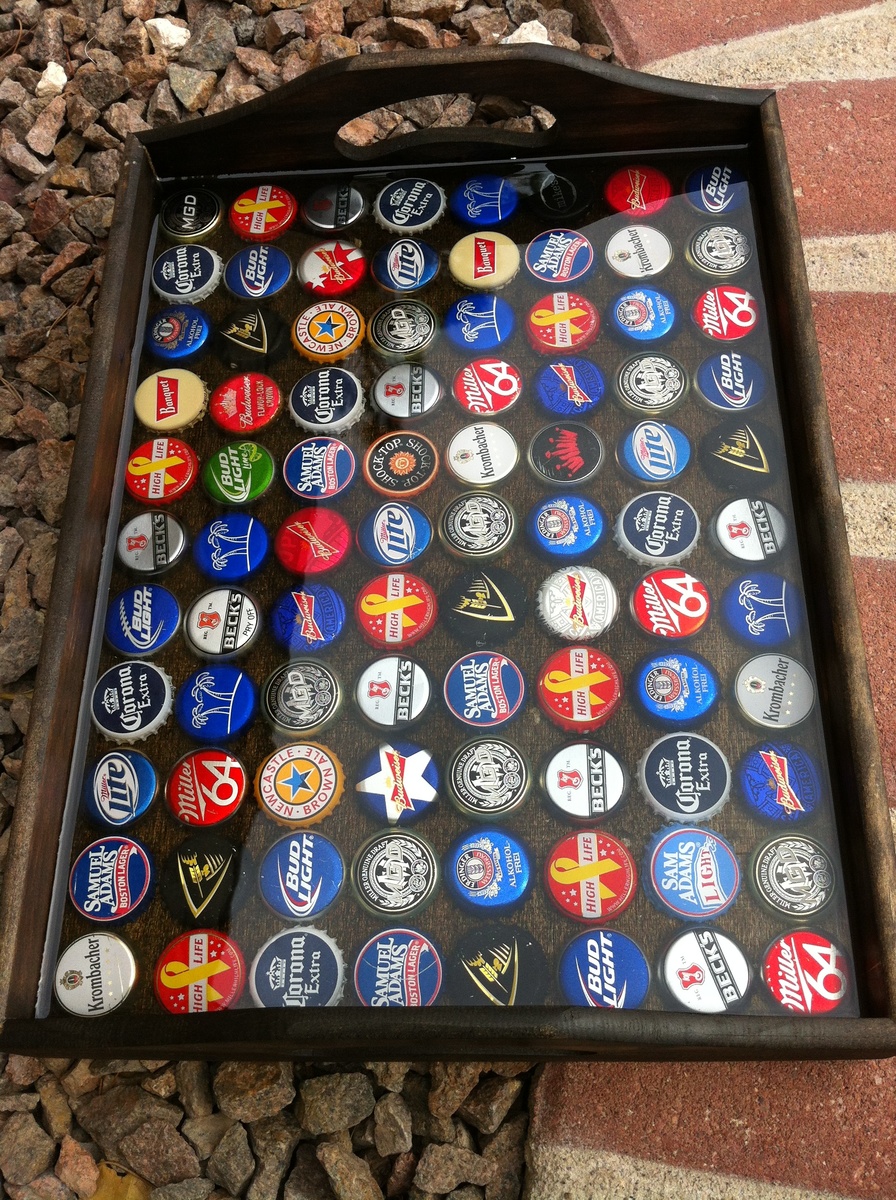
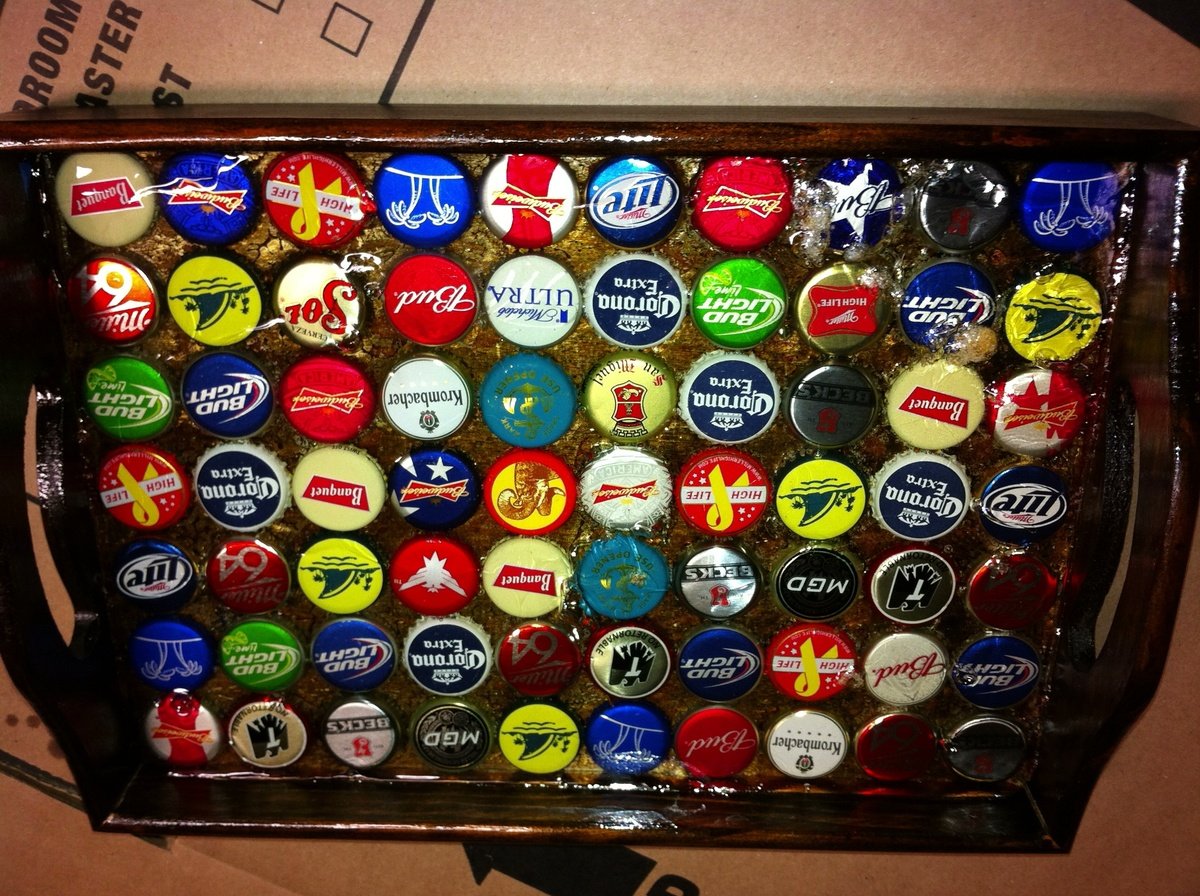
How to build a Bottle Cap Tray AND what NOT to do.
These Bottle Cap Trays are sold for 45+ Bucks online. I spend maybe 15$ on it.
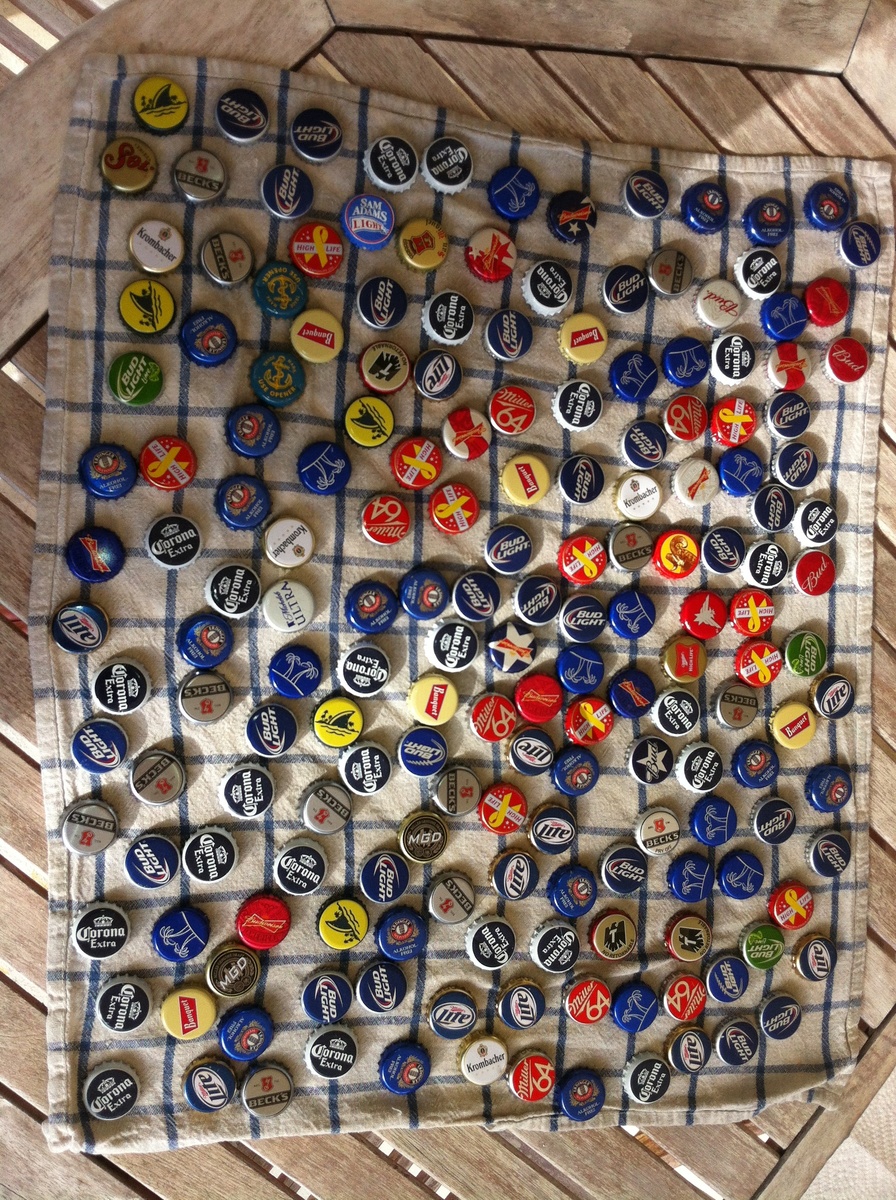
You need a lot of Friends drinking a lot of different Beers... For this tray i needed 88 Caps. I also asked Bartenders and Co-Workers to collect Caps. As more colorfull you get as better. Twist off Caps are the best behause they do not have dents.
I bought the Tray at Hobby Lobby for 3.99$ (you can also build one from a Plan from this Side) and after sanding with 220Grid i stained it to fit my Home Bar. After lay out the "Design" i removed them all and lay them in the back of the now empty tray.
2 Ways to glue the Caps to the Board:
1. Hot Glue (be carefull the Caps get very Hot)
2. I poured just a small amount of the Epoxy in there and pushed the Caps into the Ressin...
How to mix Ressin...
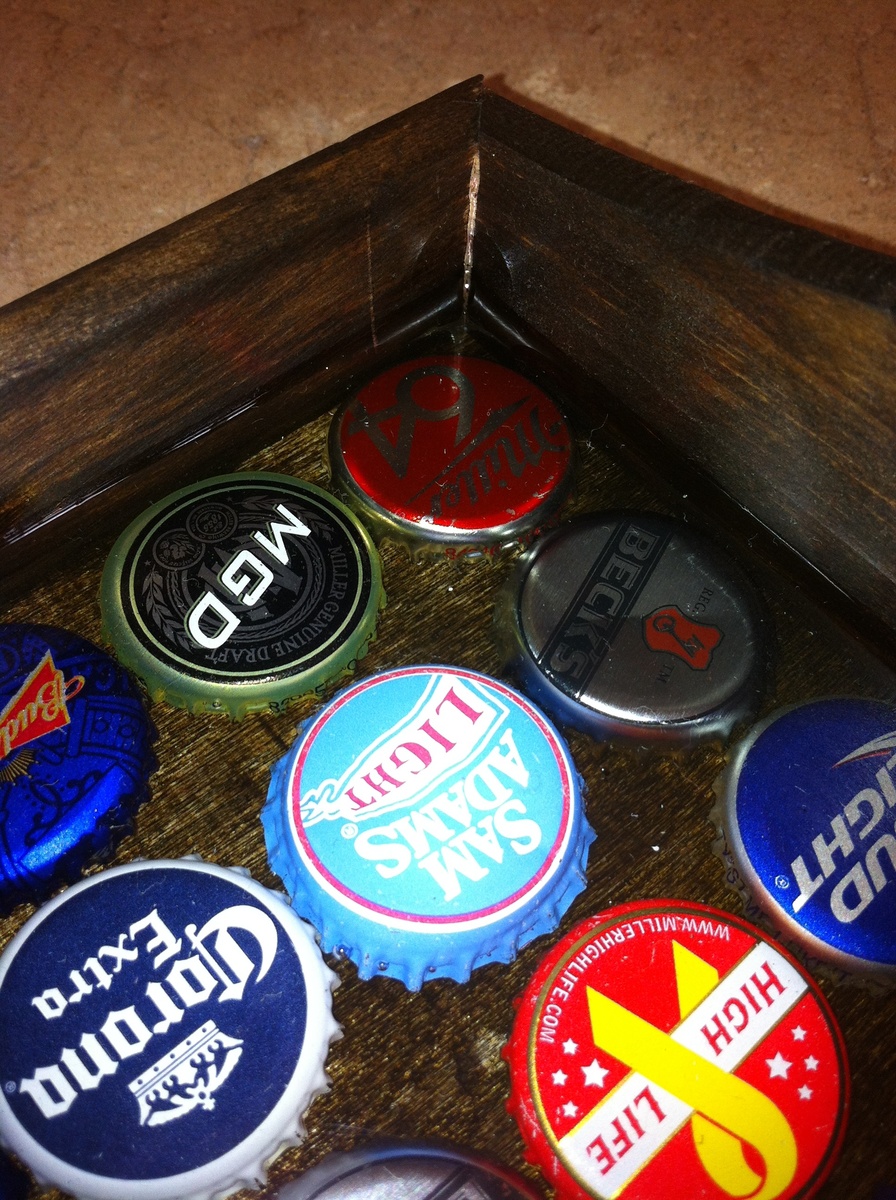
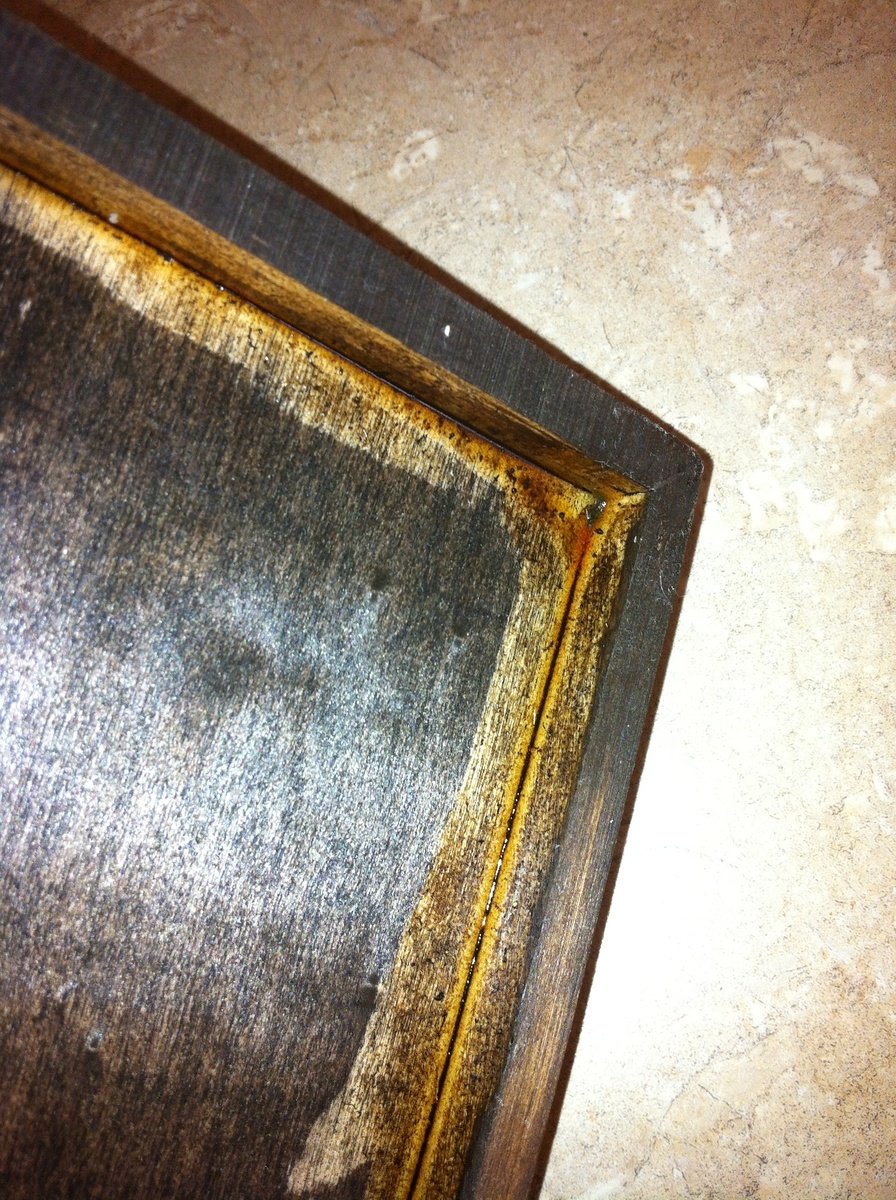
Read the Manuall!!! The first 2 Trays i poured to much and then it gets very very hot and ruin everything (see second last Picture). 2nd Glue the board to the Walls, if the Ressin runs out of the Tablet it is also a great mess!
I Used 2 small cups messured it and Mixed it in the Red Solo Cup...
Put the Tablet on an even surface (protect it) and pour a small amount into the tray... Level it and then put the Caps in there and use a torch to get rid of the Air Bubbles. I needed 3 layers to Cover all Caps. Keep it Dustfree during curing - very important .
I let it cure for 12 Hours bevor the next layer was applied. Total Curie after 72 Hours...
Sorry for Bad English - i am German...
Hope that helps to build your own Bottle Cap Tray...
And made it as colorfull as possible. I aranged them to face One Side but you also can turn them happy around.
Thanks for comments and Reading
Jann
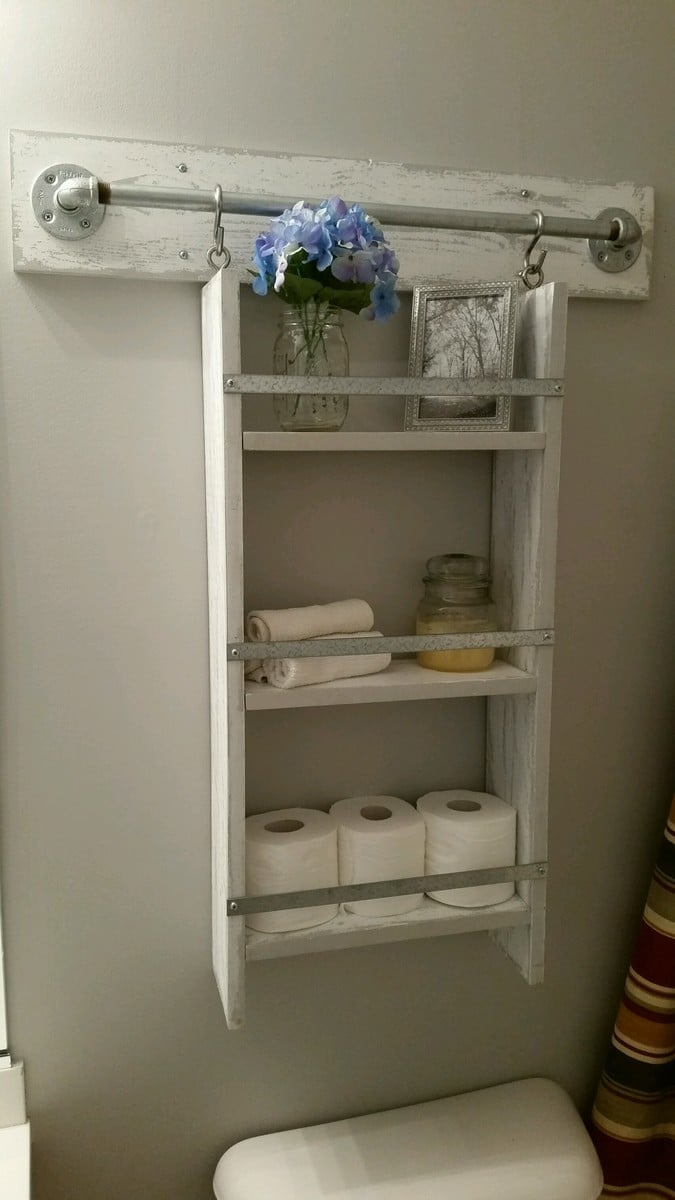
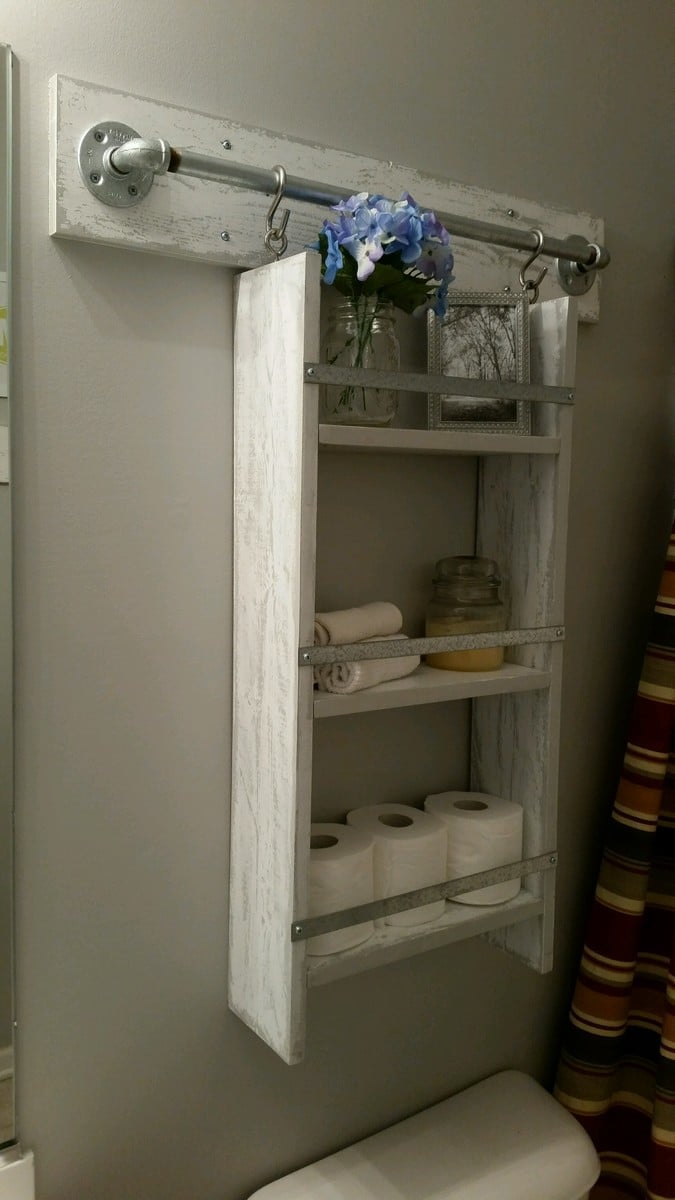
This was a very fun project to build. I pretty much followed the directions that were posted, but I used 1x6's instead of 1x4's because I wanted more storage space on the shelves. I also used 1/2" iron piping instead of 3/4" and am happy with how it turned out. Since the guest bathroom is gray, we didn't want to stain the wood and chose to do an easy to do "weathered" (directions below) look. Now all we need to do is replace the ugly shower curtain!
Wed, 03/30/2016 - 06:41
Love the weathered/distressed look you did. Can you share your technique for the paint job?
Sun, 10/30/2016 - 19:55
Love this! What is the length of the iron pipe and also the board that's mounted to the wall? Do you remember what color gray you used?
Tue, 02/07/2017 - 21:31
What is the measurements for the metal pipe and also the board itsbibe.
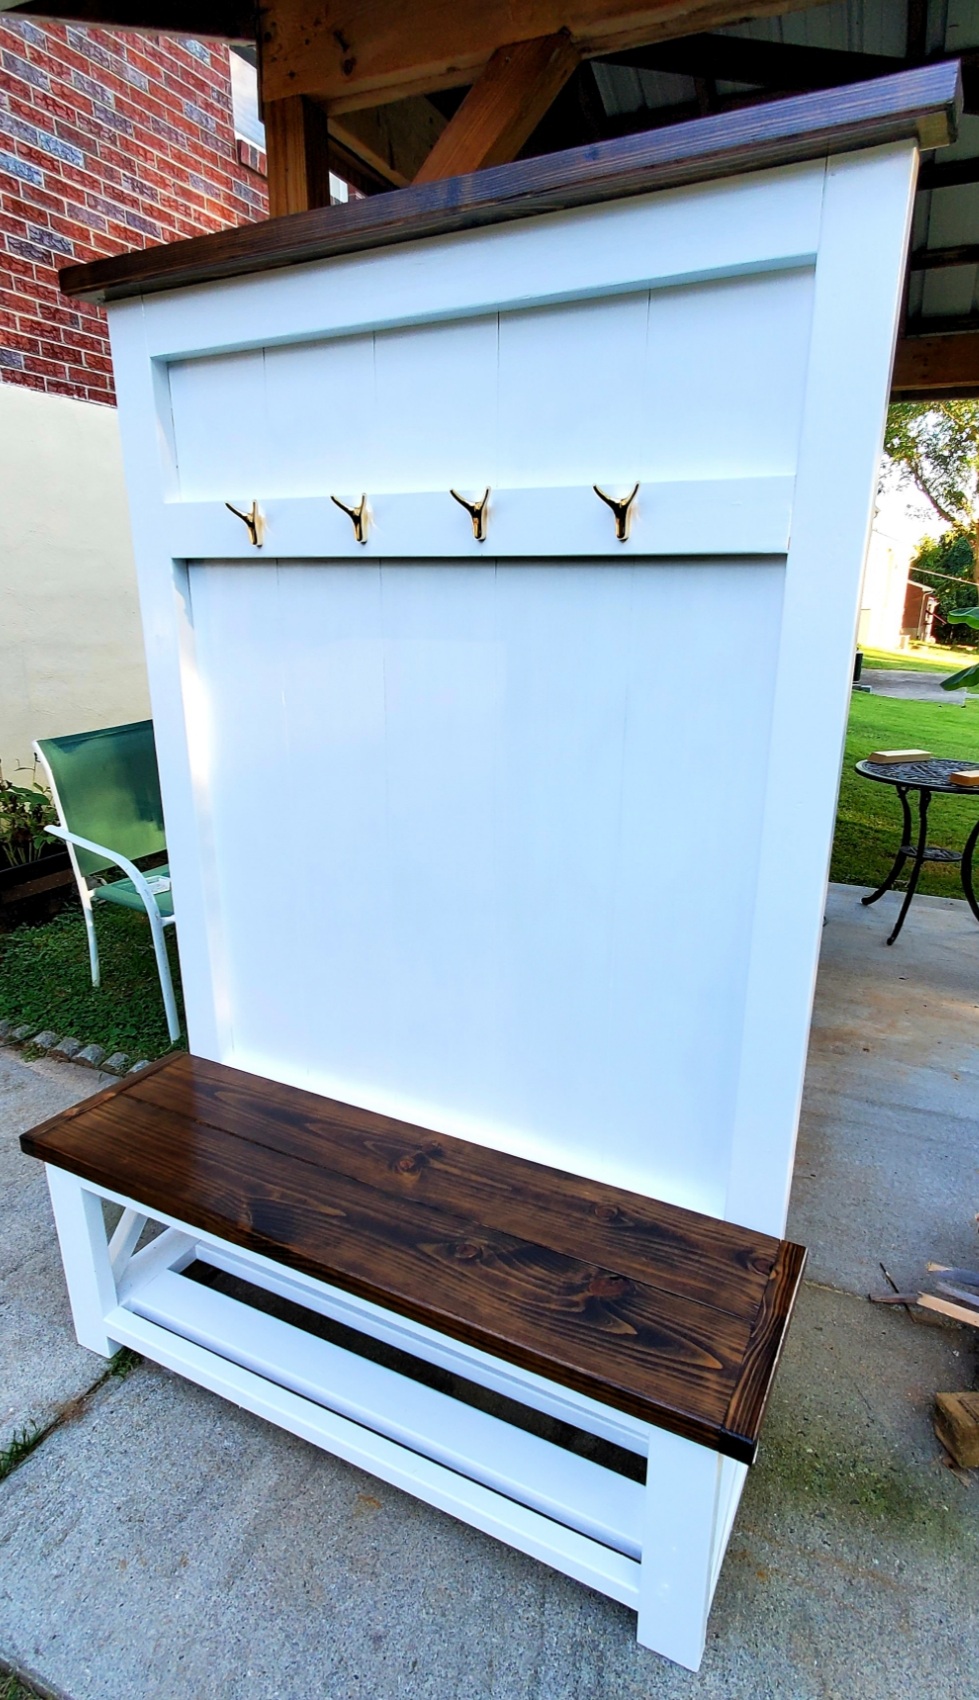
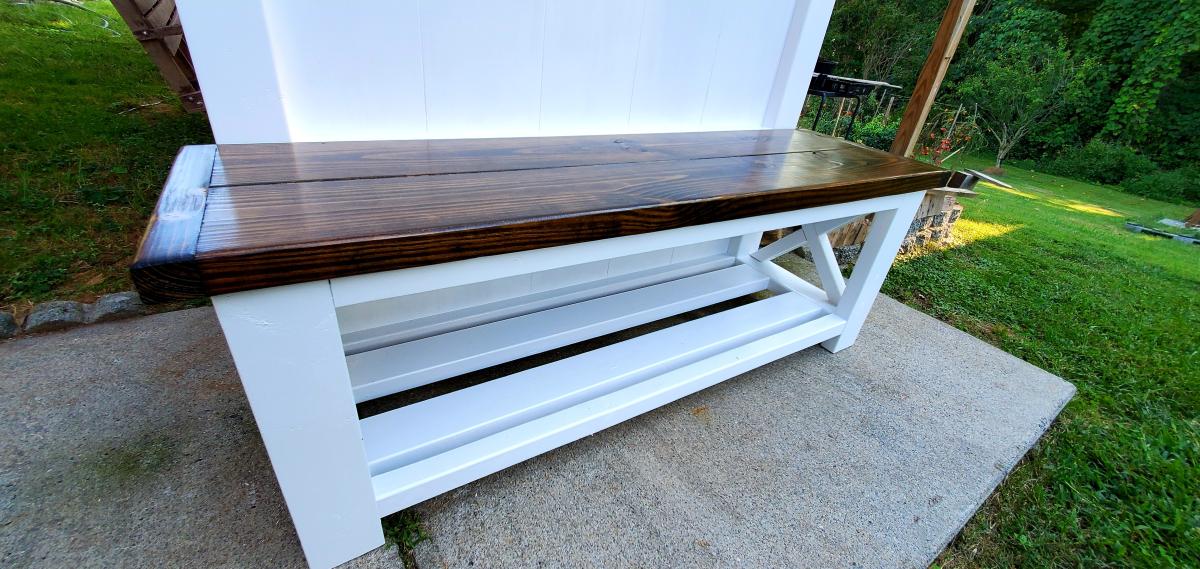
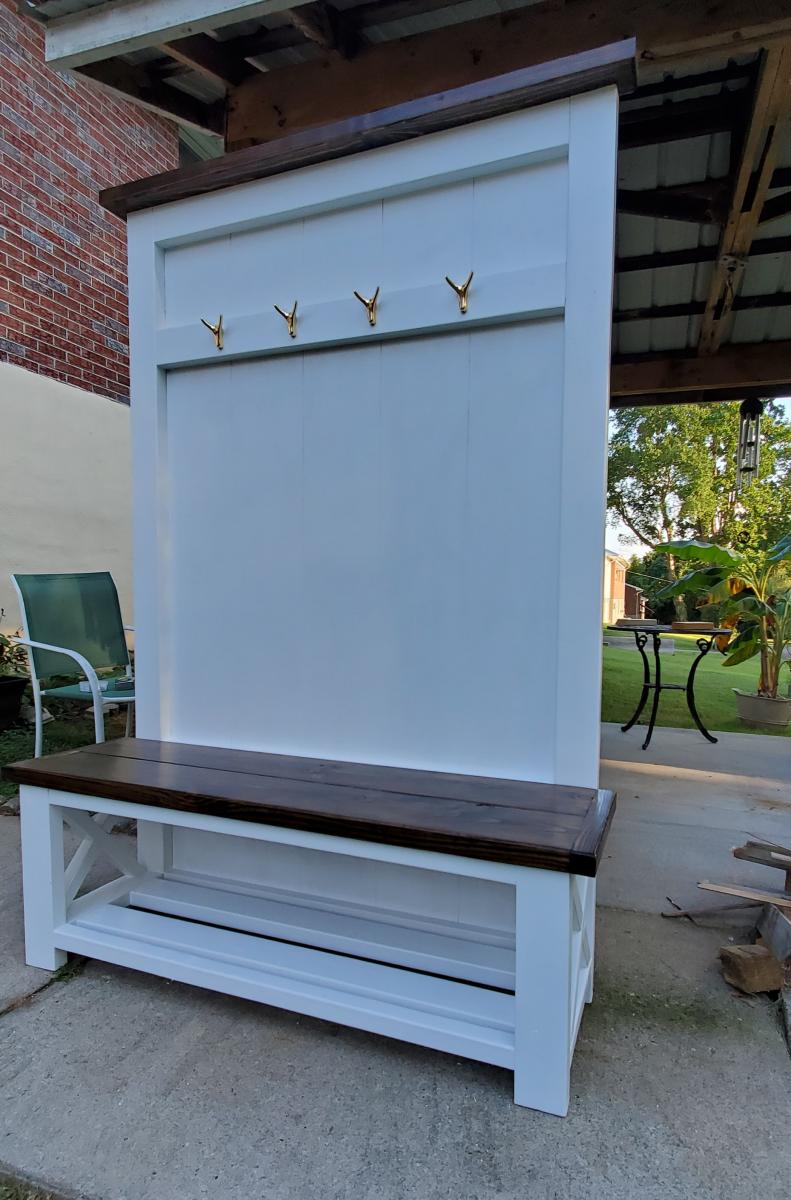
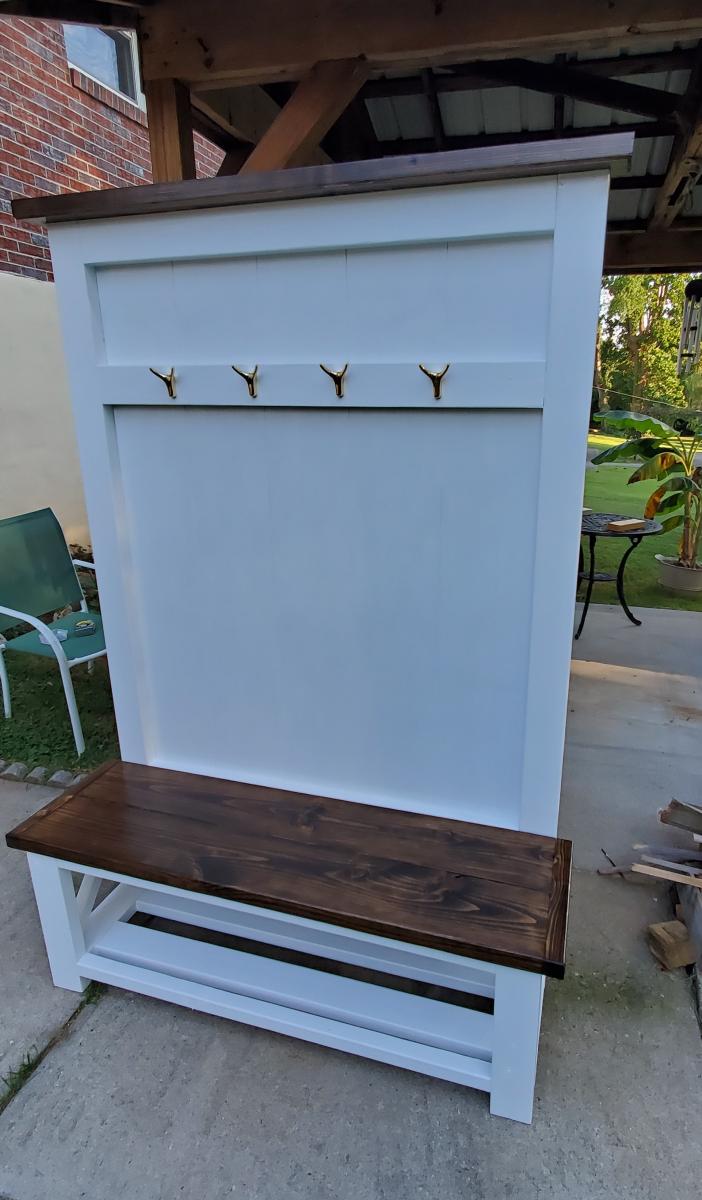
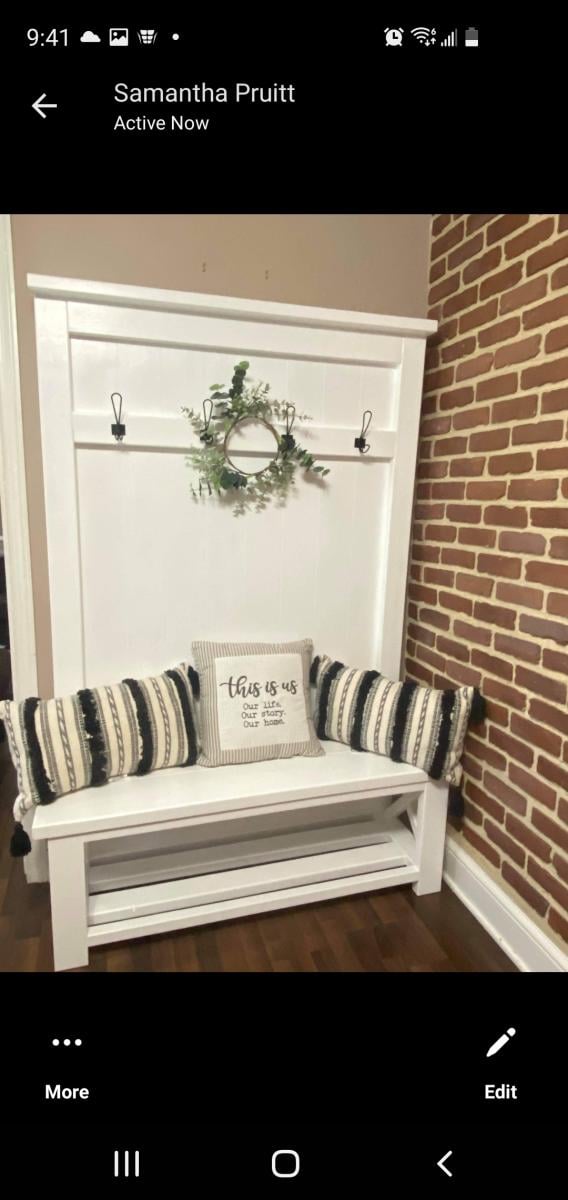
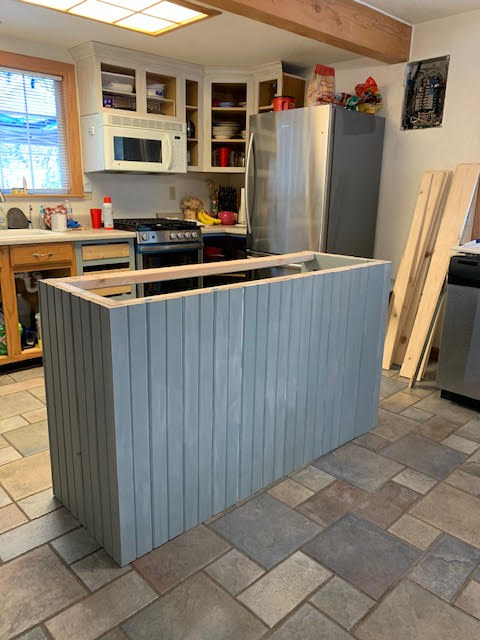
Hi, I'm Kevin, (Kevin's Woodkraft) I've made 4 of these so far and really enjoy building them. I decided to cut vertical grooves to make the back panel more like paneling but also going vertical instead of horizontal it allowed me to space the grooves perfectly symmetrical.
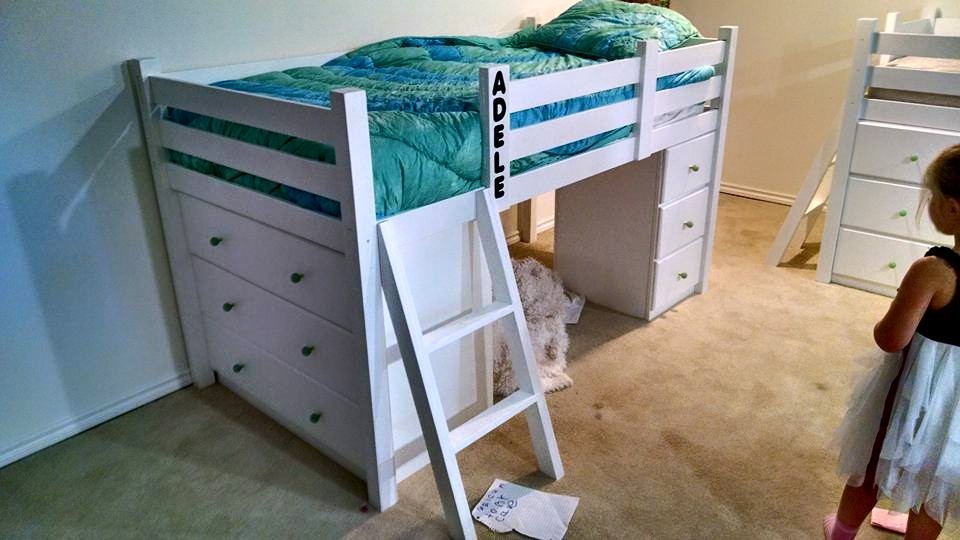
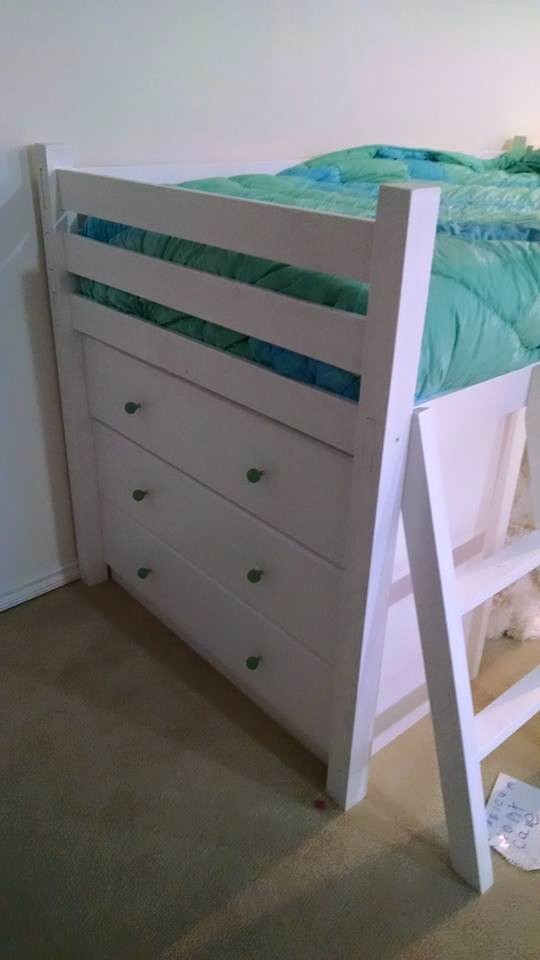
This took about a week to complete. I modify the original plan to include "built in" dressers and a night stand type of dresser. The night stand has shelves built on the side. Two beds were built of different configurations.
Fri, 12/08/2017 - 16:23
You really did an excellent job! These would be perfect for my twin daughters!
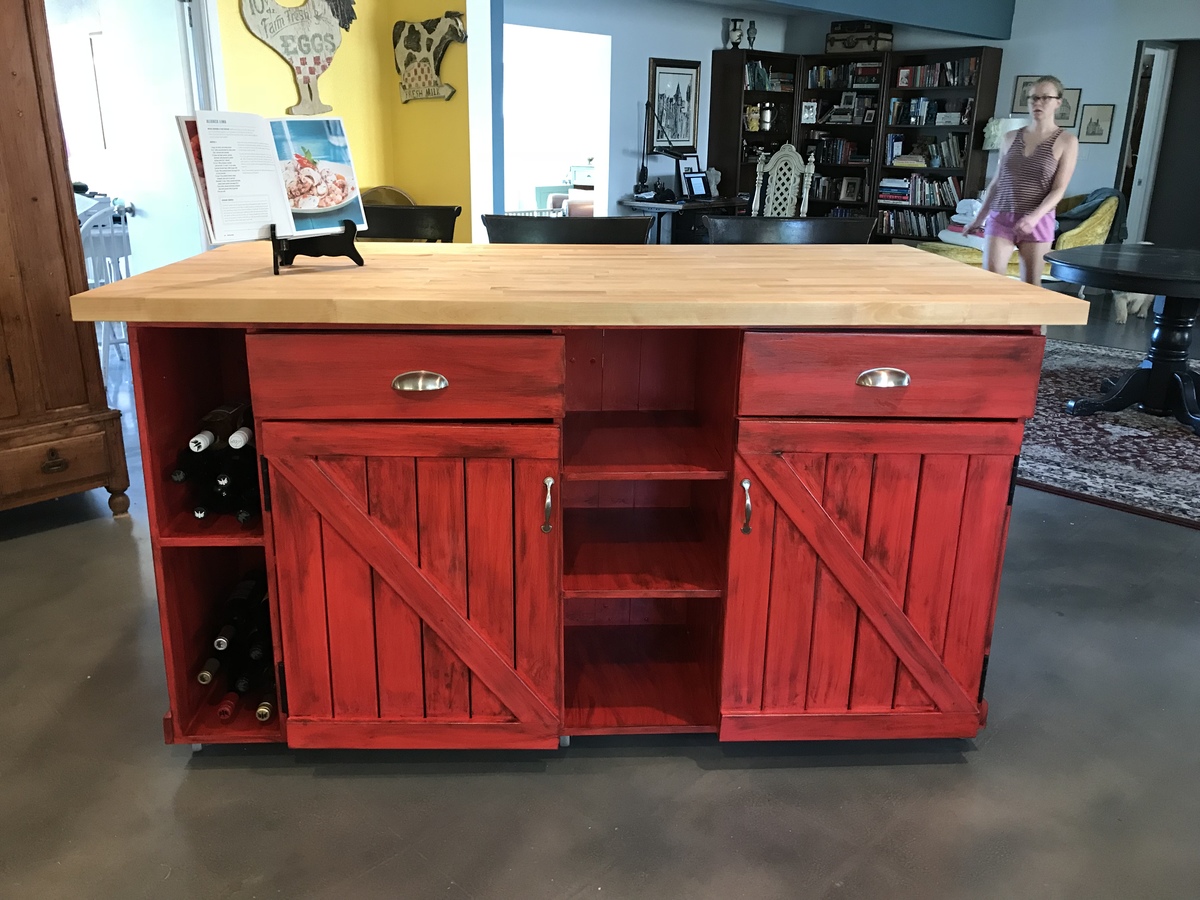
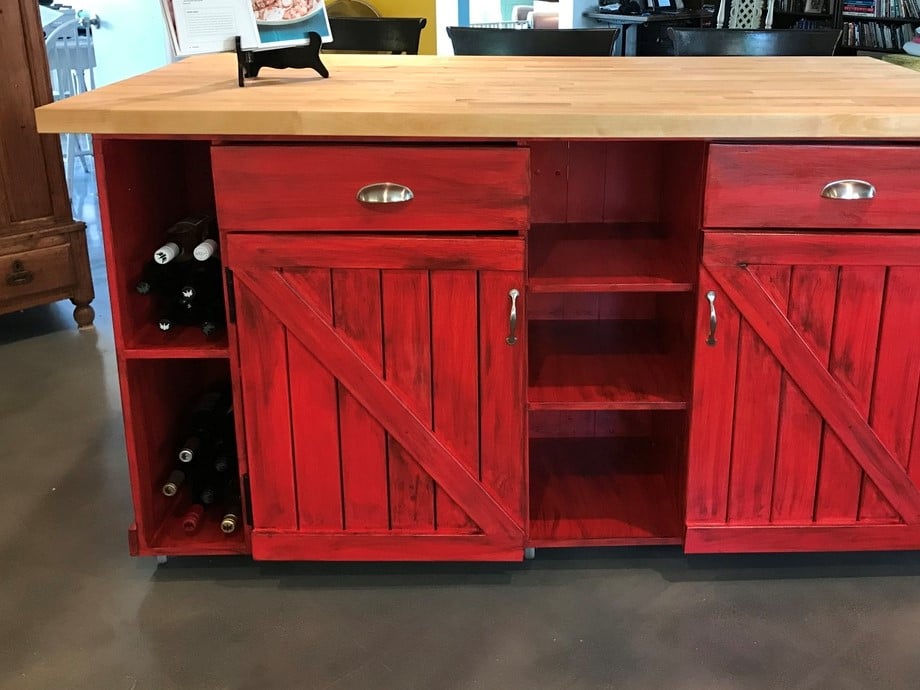
We modified the plan and made many changes along the way and here’s our finished island. We’re thrilled!

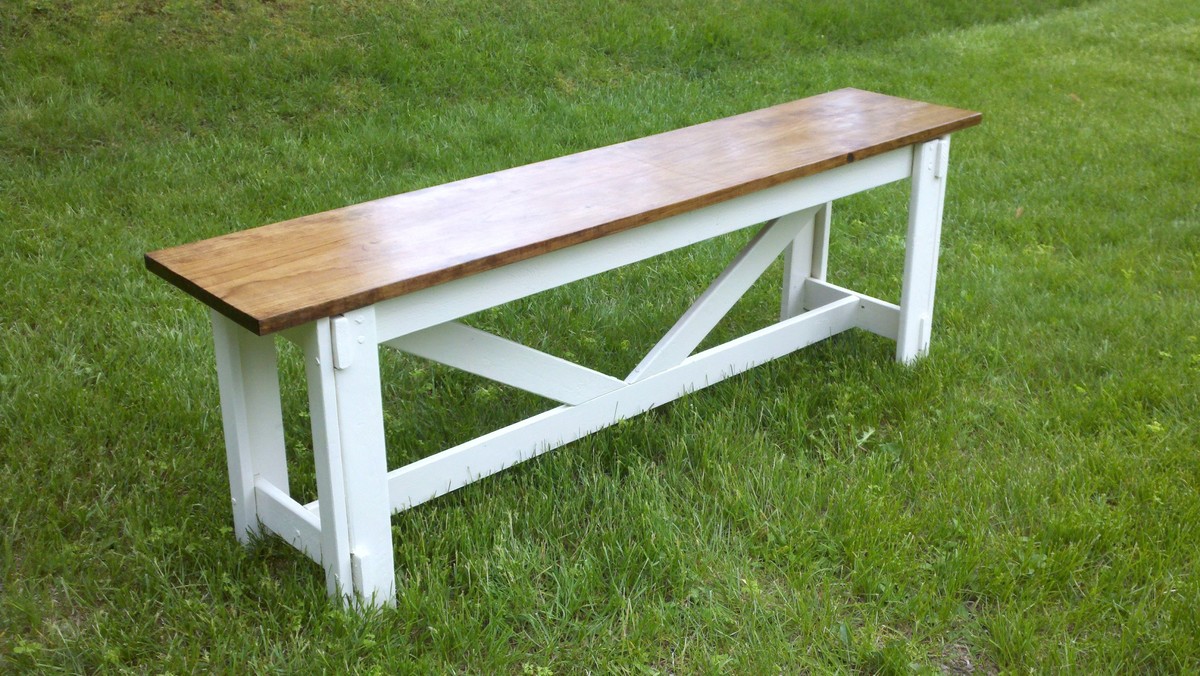
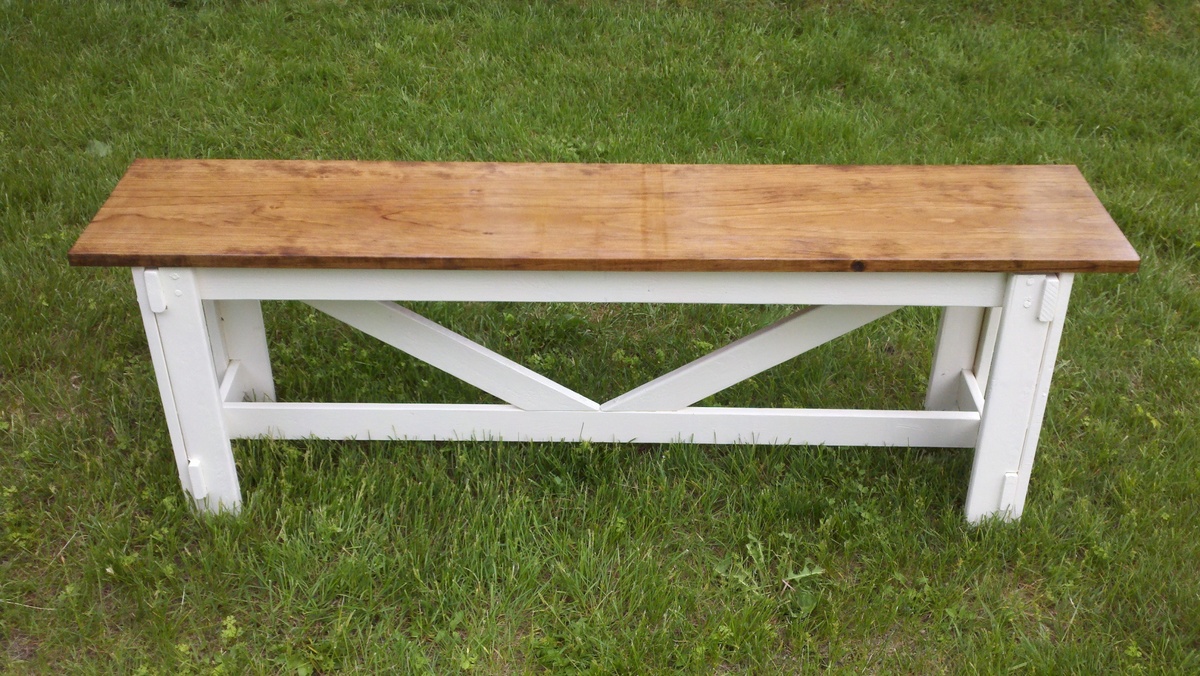
For my second project I wanted to build something a little more difficult than a shelf. The hubby showed me how to use our power tools and I was unstoppable. I chose this great bench because it fit the feel of our house and I wanted an entryway spot to sit while putting on shoes.
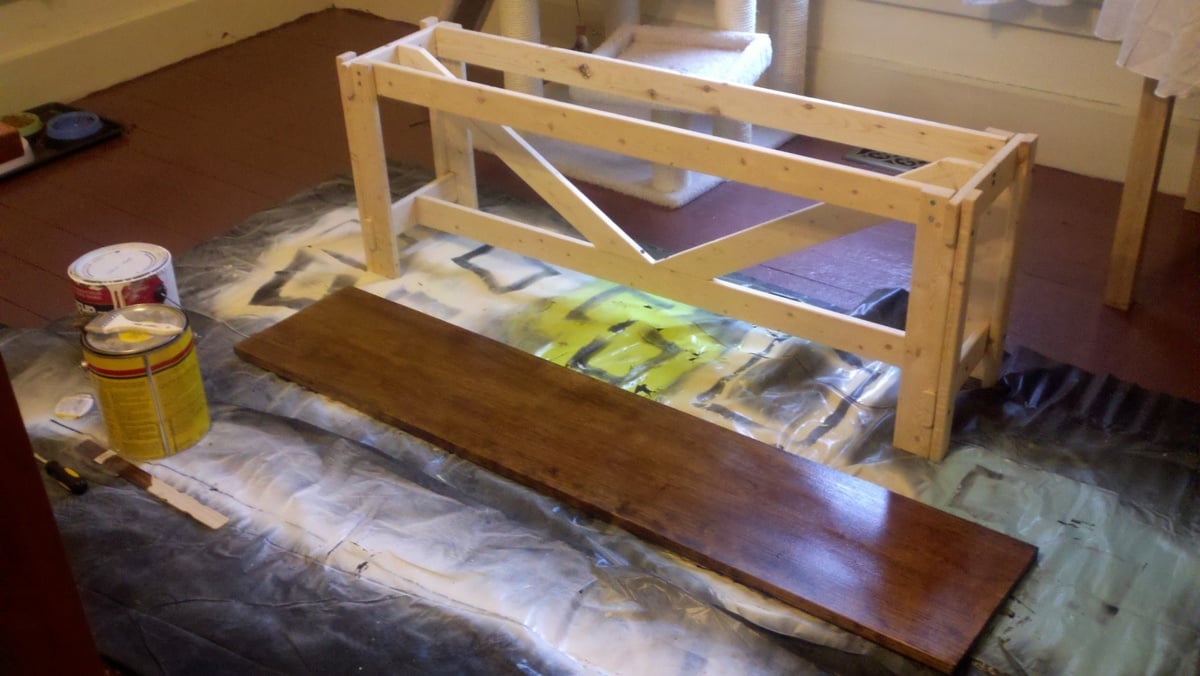
The finishing took much longer than it actually took to build the bench. I thought it would be more difficult to get the precise angle measurements to make the supports under the bench, but it was not bad at all. I can 't believe I built this pretty bench! I have the building fever now!
Mon, 06/13/2011 - 13:18
Loving the price and build! Good job on this! looks perfect where it is too!
In reply to Looks Great! by mandylynn523
Thu, 08/18/2011 - 04:33
Hello. My hubby and I are in the process of building this bench. Basically just have to put the top on and finish the staining/painting. We are doing a black bottom and stained top. I have a hard time w/angles so my husband tackled that but I have to say, he had a hard time with it as well. Glad you had an easy time of it! Can I ask how you attached the top?
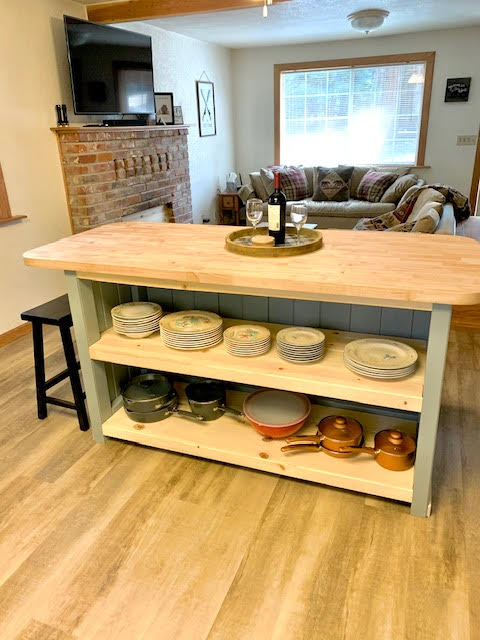
Great storage island project!
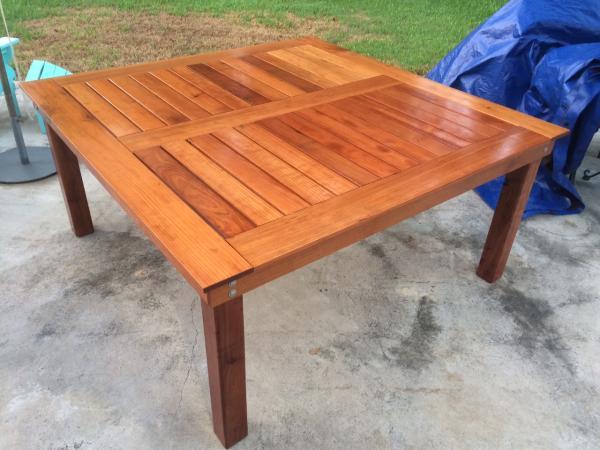
I've been thinking about this one for a while, and finally built up the courage to do it. Ana had lots of good plans and I learned so much from her other table plans, but the brag post: http://ana-white.com/2012/03/simple-square-cedar-outdoor-dining-table is the one that ultimately pushed me over the edge to start. I spent a ton of time researching wood types, Minwax types, Kreg Jig settings, etc. Finally pulled the trigger and got started. It took me several weeks start to finish, but it was usually only a few hours at a time at night after everyone had gone to bed. The most labor-intensive part was triple-coating all of the redwood. Coat, dry, flip, coat, dry, sand, repeat. Took a loooong time but the finish is absolutely gorgeous. The photos don't really show how deep red the wood really is. Actually assembling the table didn't take that long. Big thanks to Finns-Dad (user) for the inspiration and good photos - it was relatively easy to build my own plans in Illustrator from those. Now to make some matching benches...
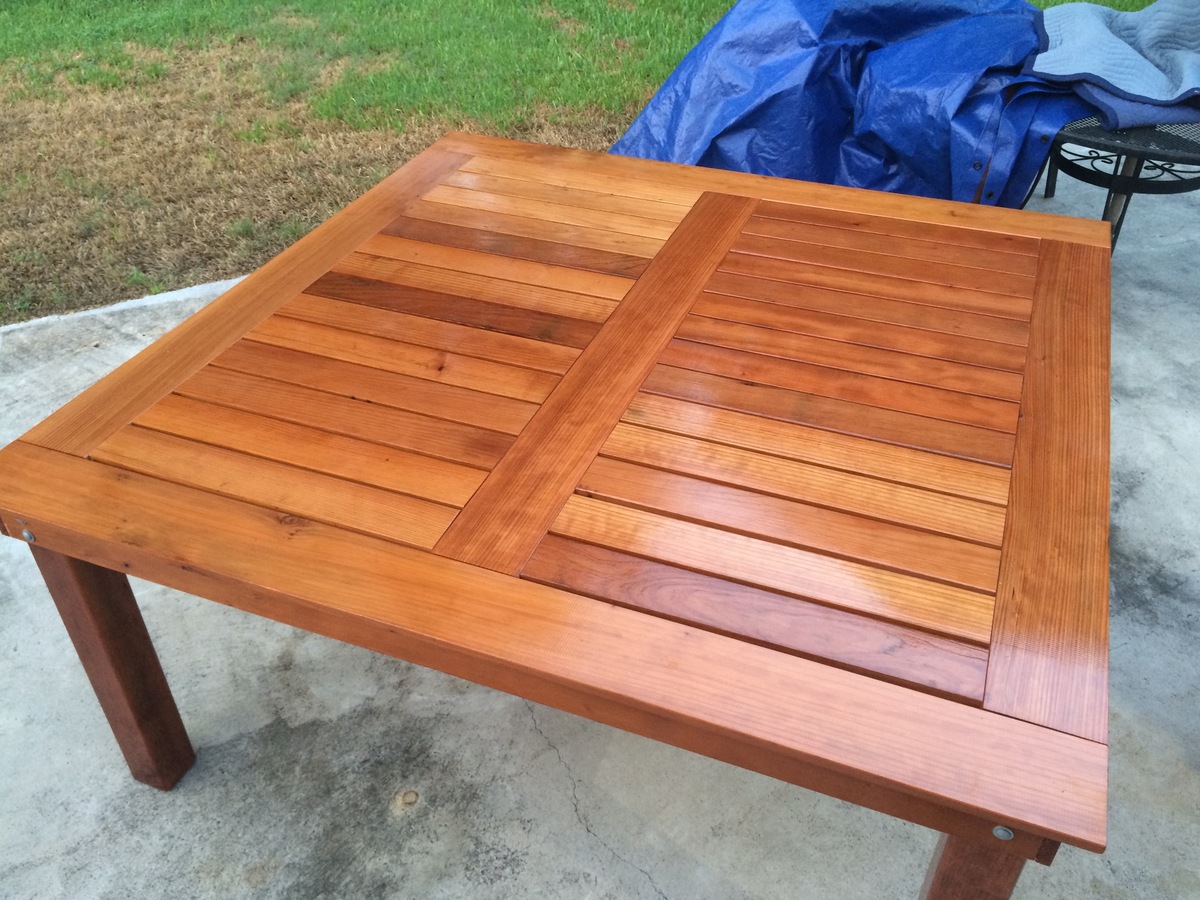
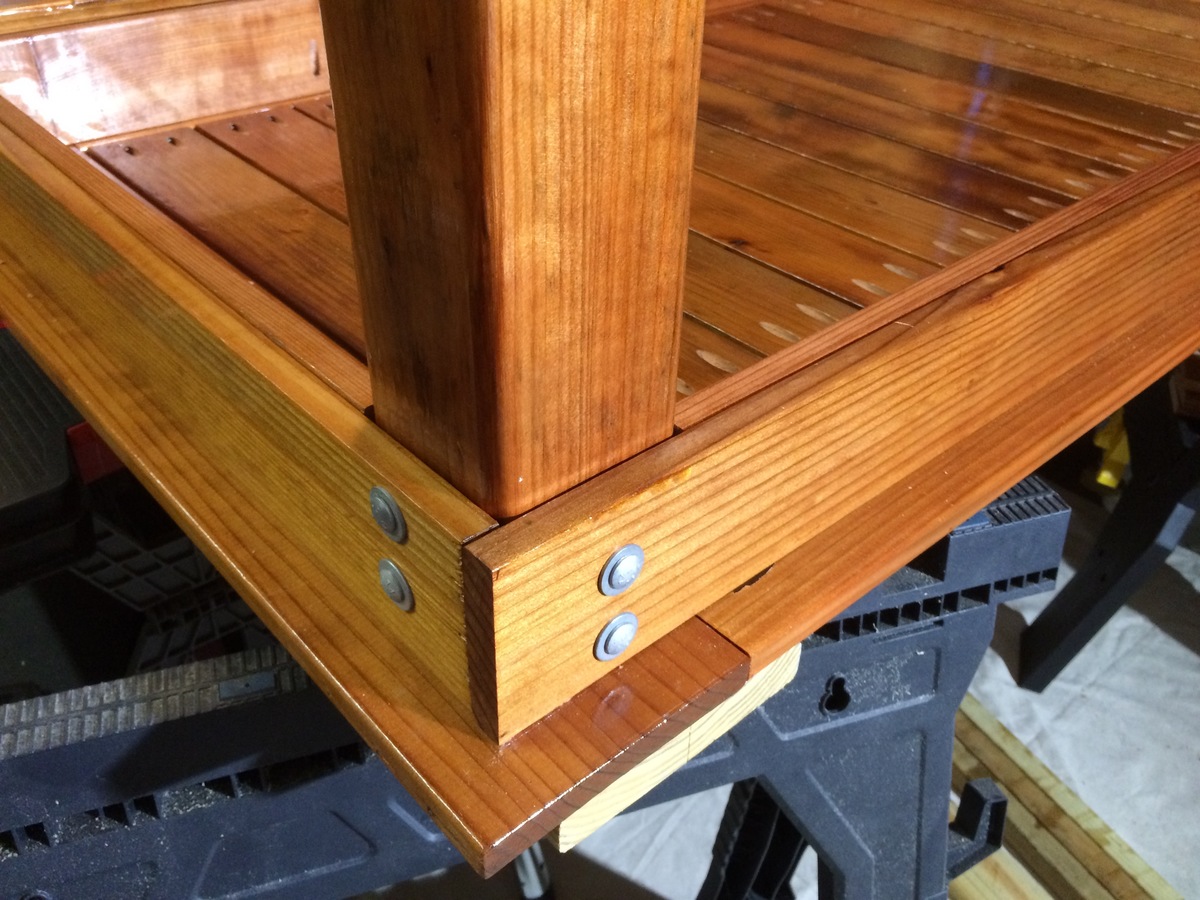
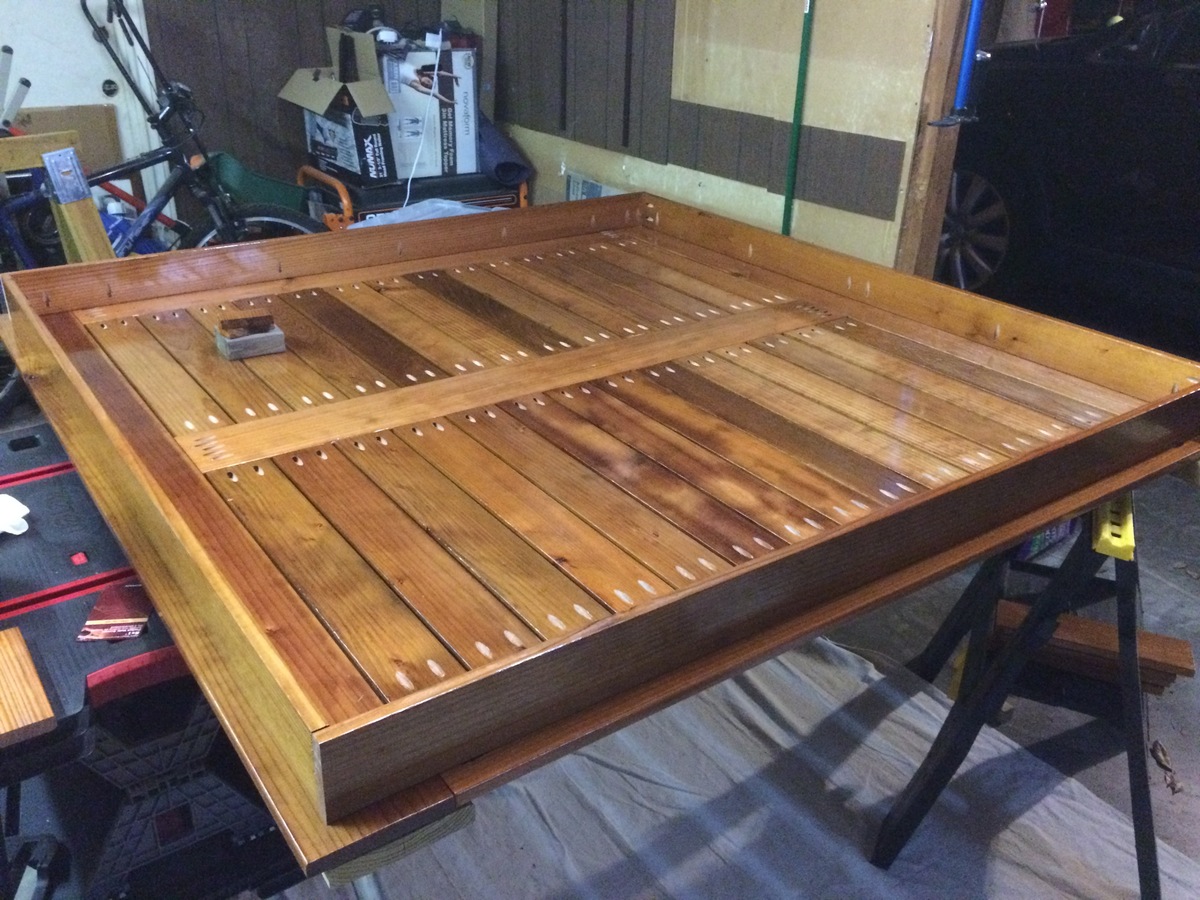
Fri, 08/26/2016 - 06:17
Hi! Sorry - didn't see this comment until now. Yes, I added 2 parallel 1x4s underneath that horizontal 1x6 for added support.
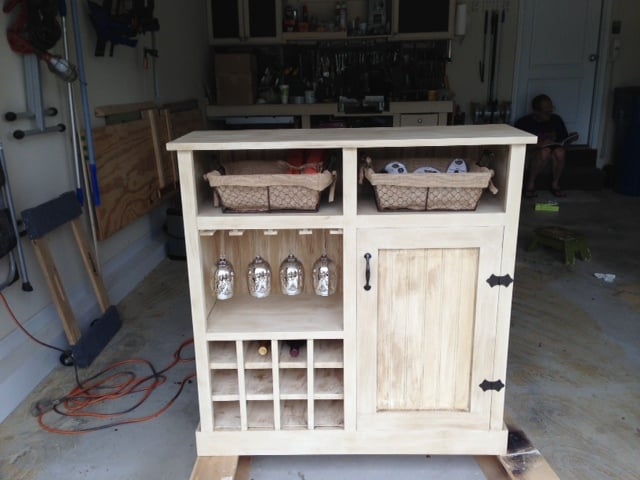
Happy Tuesday everyone! Today I am going to share a project with you that I built with the help of some plans from Ana-White.com.In a weekend we carved out a custom wine cabinet we will be donating to a local children’s charity here in St Peter’s, MO. This lovely cabinet was created from the SHANTY OPEN SHELF CONSOLE, which was designed for the Shanty sisters at Shanty-2-Chic blog site. We altered the plan to make it a wine cabinet which came out spectacular! Ana, thank's again for providing your free plans. I will be happy to upload the altered plans in a couple days so you can all enjoy them! Happy wood working!
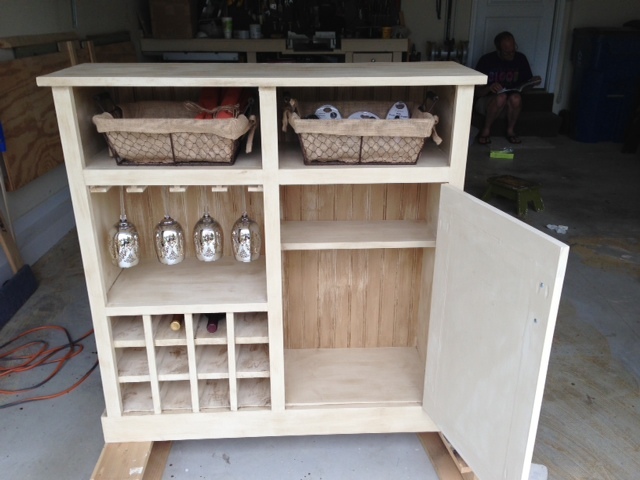
Wed, 08/07/2013 - 14:43
Thinking this would make a great Christmas Gift idea for quite a few of my friends! Can't wait for the altered plans!
Thu, 08/08/2013 - 17:55
The plans are in process - Hope to have them posted this weekend to your Ana's site!
Sun, 08/18/2013 - 08:46
Looks great! Any idea when the altered plans will be available? Itching to get this built for my SO.
Tue, 08/27/2013 - 13:51
I'm adding this to the top of my build list as soon as the modified plans are uploaded! Thanks for taking the time to add them.
Wed, 08/28/2013 - 17:10
Wine Console Altered Plans
Sorry it took me so long, our blog over at Hello...I Live Here has kept us busy with all our new visitors. But as promised here are the altered plans to help you make the wine bottle holder and stemware holder.
MAKING THE WINE BOTTLE HOLDER:
Start your project with Ana White's plans. Finish the whole thing, but only make one door. Leave the other side open and alter as follows to get your wine holders:
1. First cut 3 additional shelves 17 5/8" wide. Make sure you Kreg 3/4" holes on the right and left side of the shelves, connect to the sides with 1 1/4" PH (pocket hole screws - Kreg).
2. We spaced each of our shelves 3 1/2" apart, allowing 12 bottles to be stored in the wine case.
3. Cut in half length wise a 1x2 board. This will give you a horizontal stringer about .75" wide.
4. We customized the top shelf board to fit the distance - we did not want the board to hang down interfering with the wine storage. We trimmed this board to 3/4" to match the shelf thickness. Then glued and nailed into place.
5. Once the top board is in place, measure the distance from the bottom shelf to the top shelf to just under the top shelf board from step 4. With a pencil mark the stringer and cut to size, and install with glue and nails. This step needs to be completed 3 times 3 1/2" apart from each other. You should now have 12 square boxes making your wine storage.
6. On each shelf behind the three stringers, we placed a divider to keep the bottles from hitting one another. Each divider is 1/2" square, and 11 1/4 long, to match the shelf depth.
MAKING THE WINE STEM HOLDERS:
Now that you are done building the box for the wine holder, we can move on to the stemware holder.
1. We purchased .25 x 1.5" x 36" poplar flat wood. This will make the bottom of the T's and L's stem ware holders.
2. Then we used 1/2" square pieces of poplar to make the L and T mounts. Mount the flat poplar to the 1/2" squares making 2 L shaped pieces for the Right and Left side of the unit, then make 3 T's for the centers. You will use glue, and clamp them down tight, then nail together.
3. Hang each L shape on the Left and Right Side of the unit with finish nails. The next part is kind of trick and depends on the size of the stem bottom you will be hanging not all base bottoms are the same. Once your L's are hung, take the stem wear you will be hanging and rest it into the L shape holding the glass (do not let go of the glass it will break if dropped). Then position the T shaped molding to accommodate your stemware. Move the glass in and out of the L and T until you get your desired width for your stemware. Mark the T you are holding with a pencil , carefully sit down the stemware and mount the T shaped holder. Continue until all 3 of the T's are hung ( we used glue and nails to complete this process).
We used a bead-board backer instead of plywood to give it that French country feel.
We hope these plans help you build a piece you love! This piece of furniture brought the charity we donated it to $500 extra dollars to help their children. We at Hello...I Live Here were very proud of the job we did and that we got to help some wonderful children!
Visit us at www.helloilivehere.com or stop by our Facebook page and give us a big like once you complete your project!
Happy building ;-)
- LC
Thu, 08/29/2013 - 13:01
Thanks so much for posting the plans! My sister has been asking me to make this for her since she saw the pics a couple of weeks ago.
Side note: I'm from St. Louis, MO, so seeing you were from St. Charles caught my eye!
In reply to Thanks so much for posting by Joeboxer1013
Thu, 08/29/2013 - 16:06
No problem - we are actually in Ballwin MO - stop past our page and see the other things we do - helloilivehere.com
LC
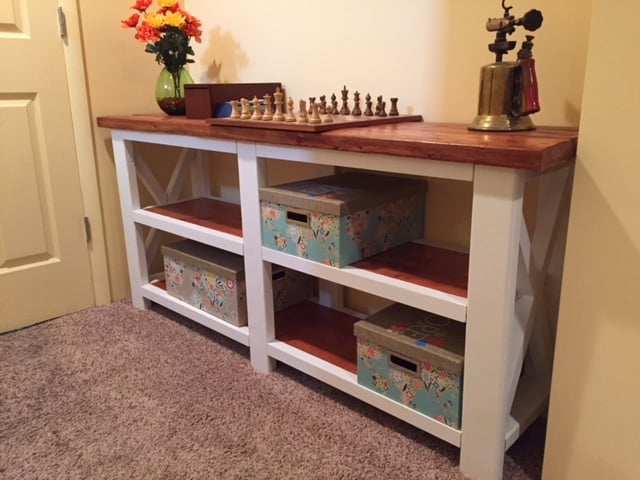
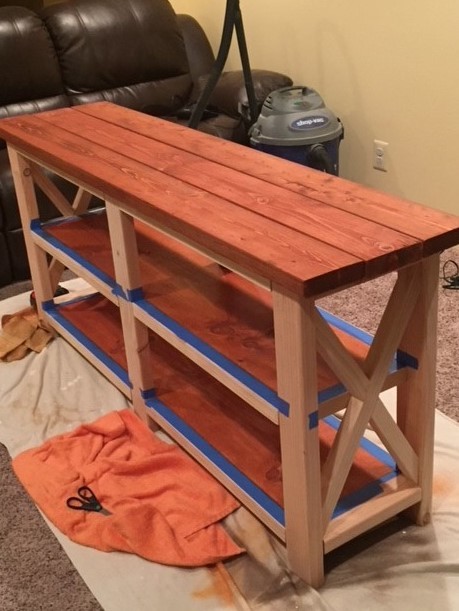
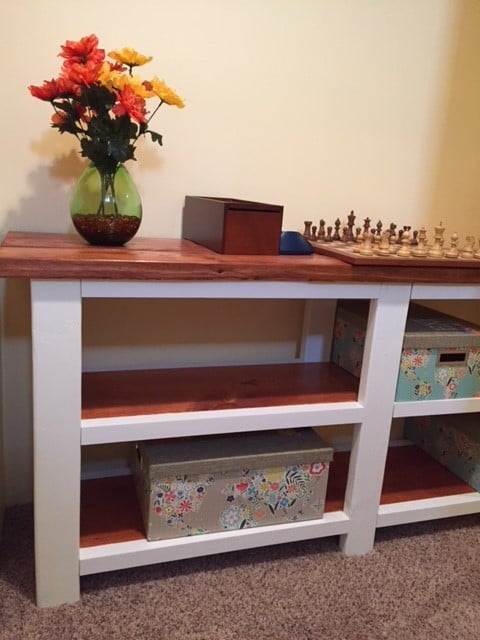
This was my first project after discovering the "Ana White" web site. After looking through the brag photos I zeroed in the Rustic X Console. I was specifically inspired by the photos from "Celeste808" and "aDIYguy". It also gave me an opportunity to try out my new Kreg Pocket jig. I hope you like the pictures.
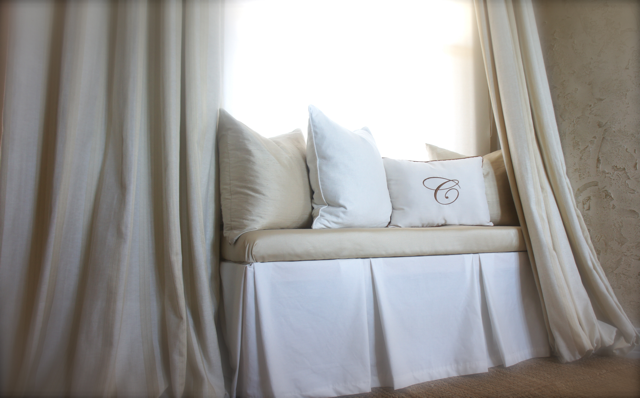
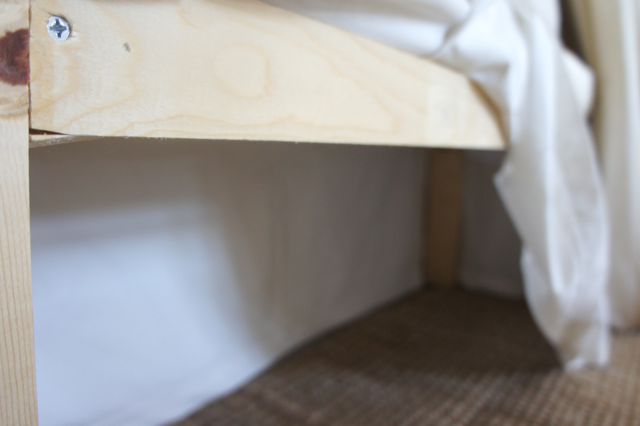
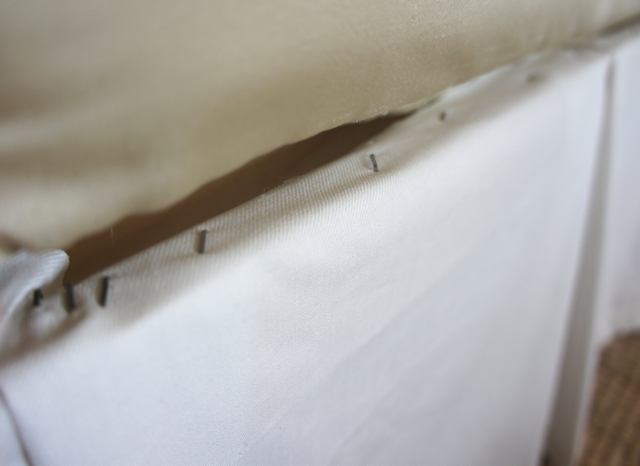
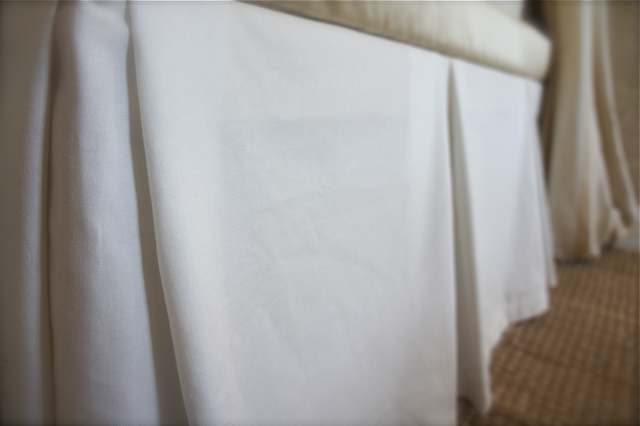
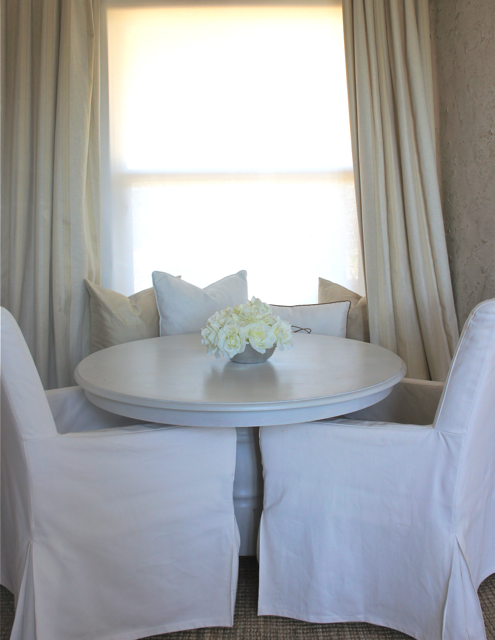
I took Ana's amazing easy upholstered bench from modern to "magnifique," with a simple pleated skirt and silk upholstered seat cushion! Now our oddly shaped breakfast nook has a built-in that doesn't look so--well--built-in! Ana was right, it truly doesn't get EASIER than this :o)
In reply to Very nice by Tsu Dho Nimh
Mon, 07/11/2011 - 08:38
What a great idea! My puppies like to hide under there, too :oP
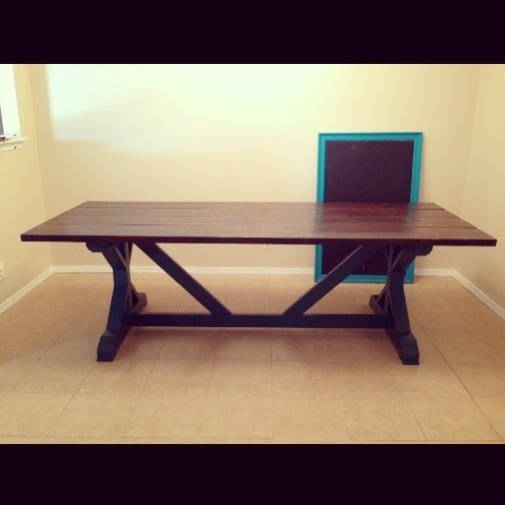
My husband tackled the Fancy Farmhouse Table and finished it in 1 weekend and it looks amazing! I could not be more thrilled with the outcome.
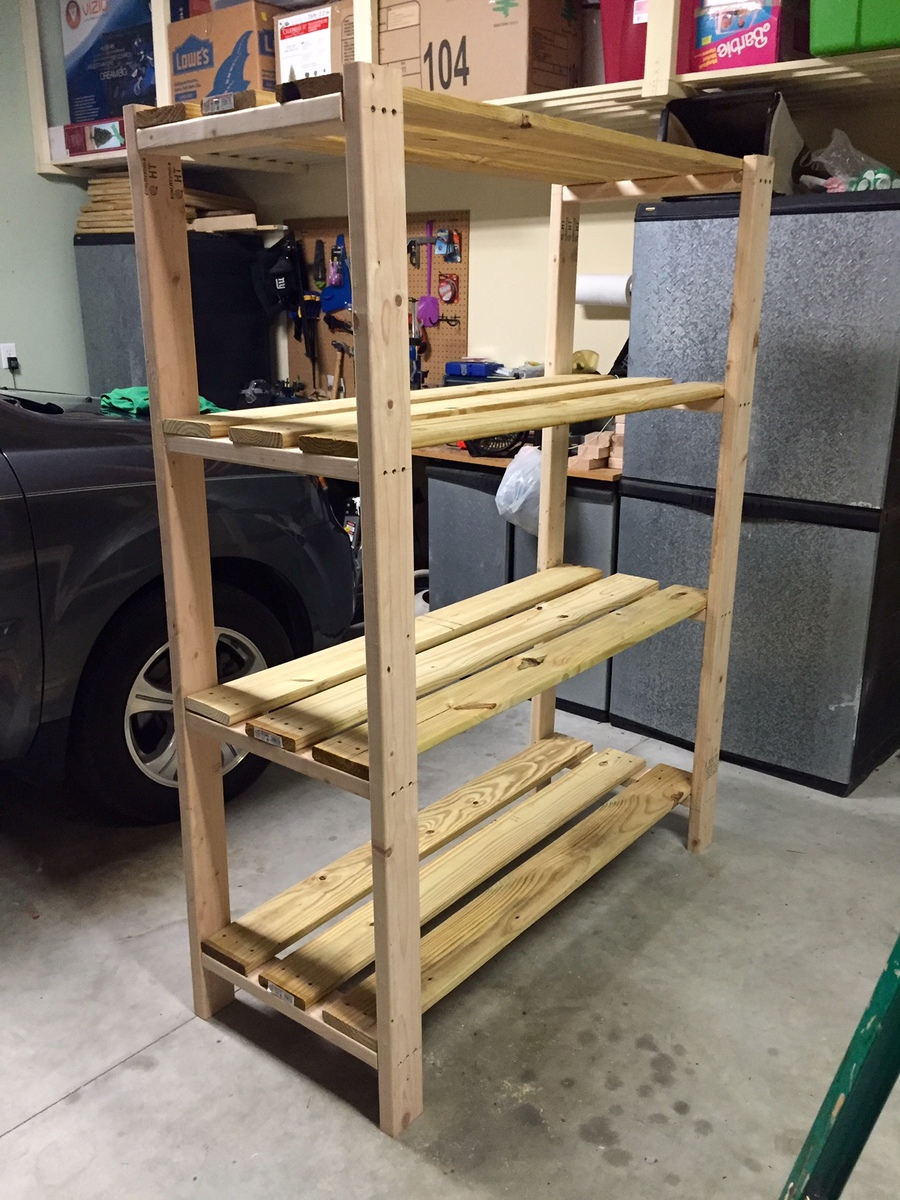
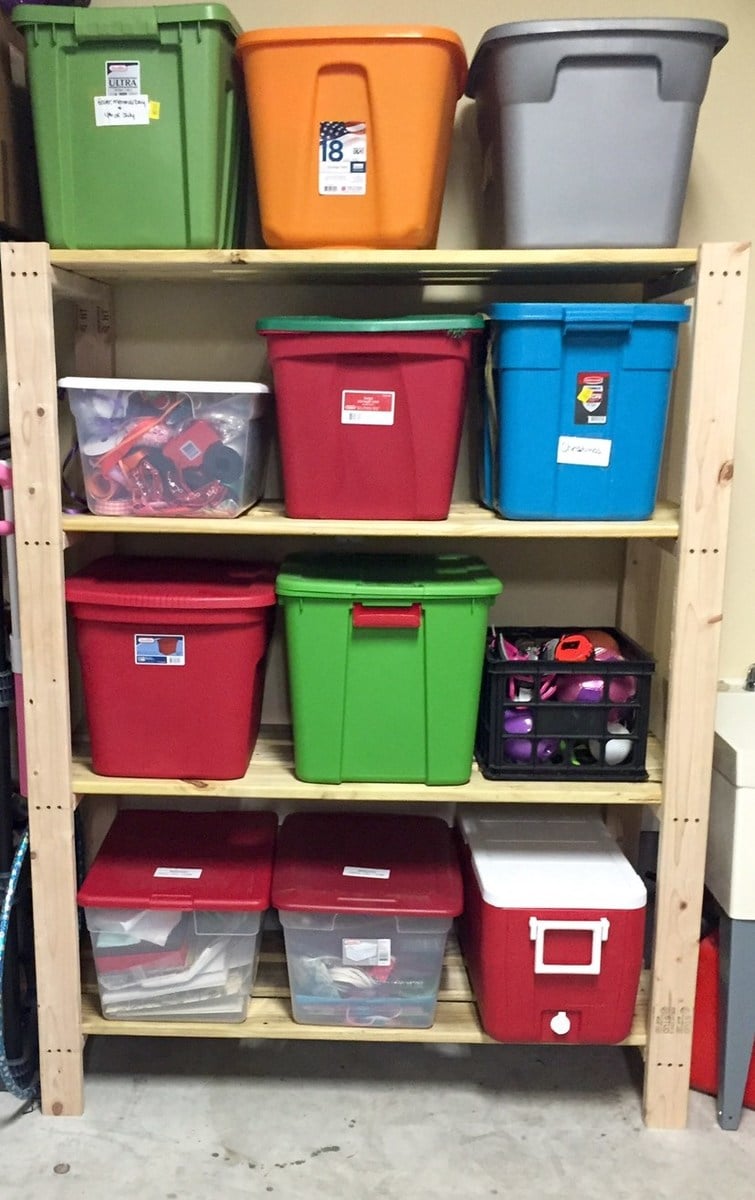
My wife was needing some extra storage in the garage for seasonal decor totes.
So, of course, I first go to Ana White's website. Voila, I found the perfect plans for the space I had to work with.
- The final product ended up being 72"Hx54"Lx21"W
- I used a counter sink bit to pre-drill screw holes so the heads would be slightly below the surface of the boards. This way the totes would not get caught on or damaged by the screws.
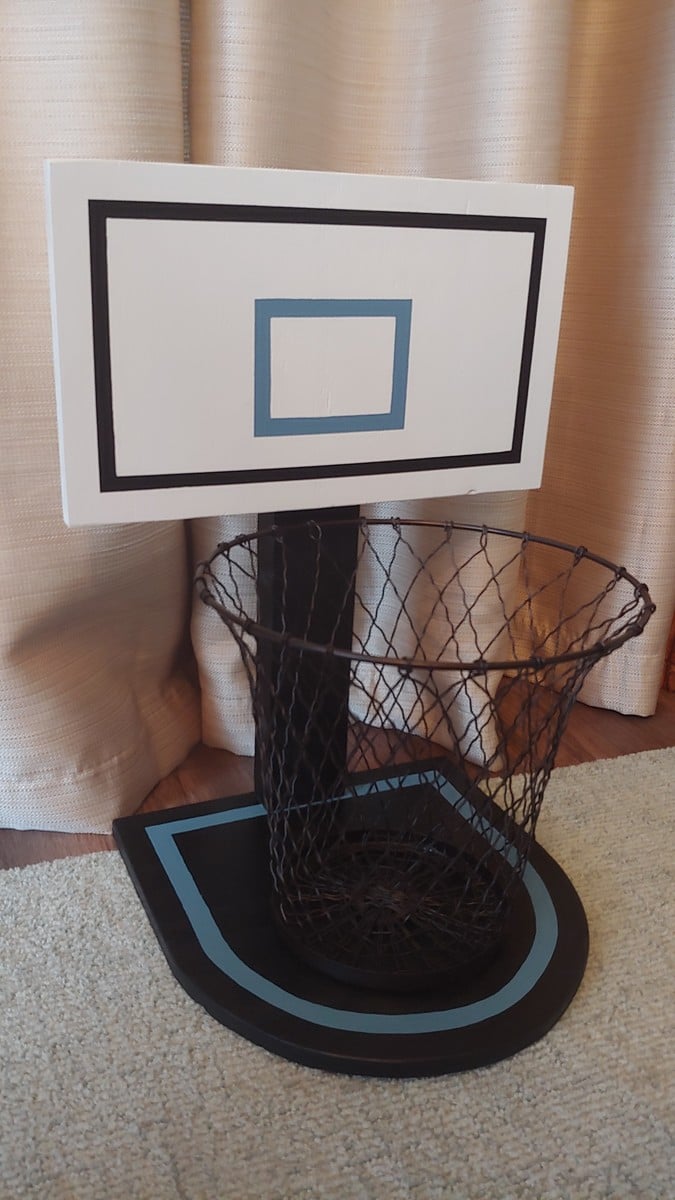
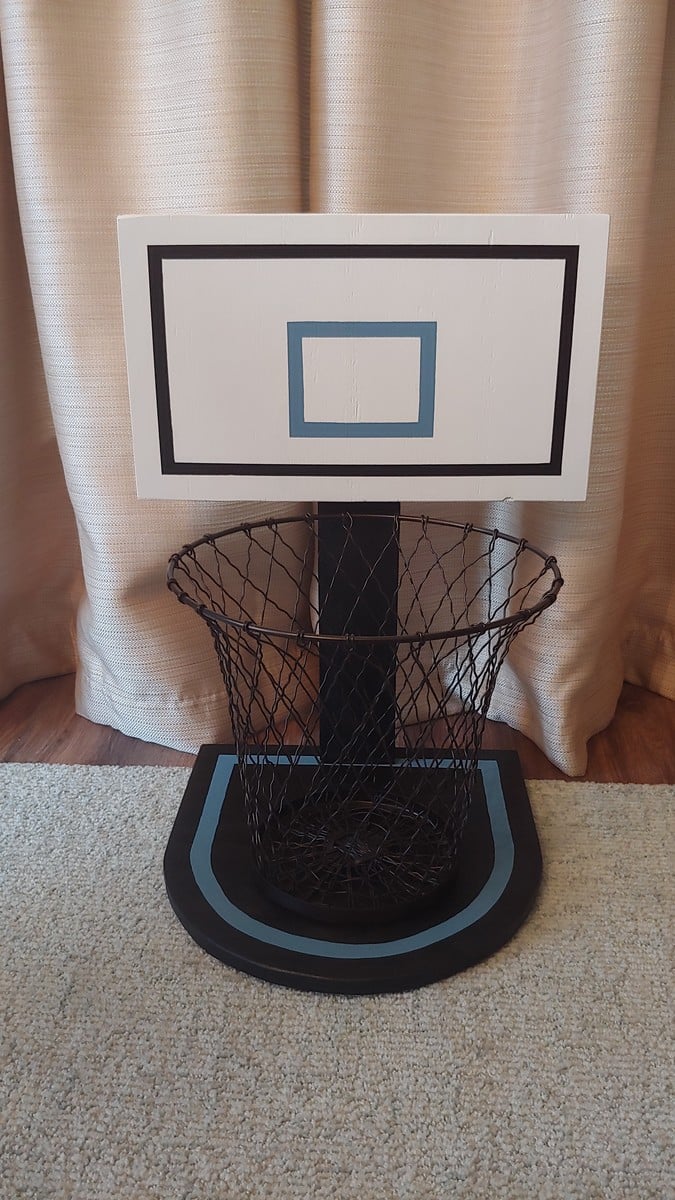
My family is doing a home made Christmas this year. I fell in love with this plan the first time I saw it. While out shopping, I happened upon this trash can on sale which reminded me of a basketball net and knew I had to build this project. We used leftover plywood which necessitated using paint to hide blemishes. The size was modified a bit to fit this trash can. I think it is really cute!
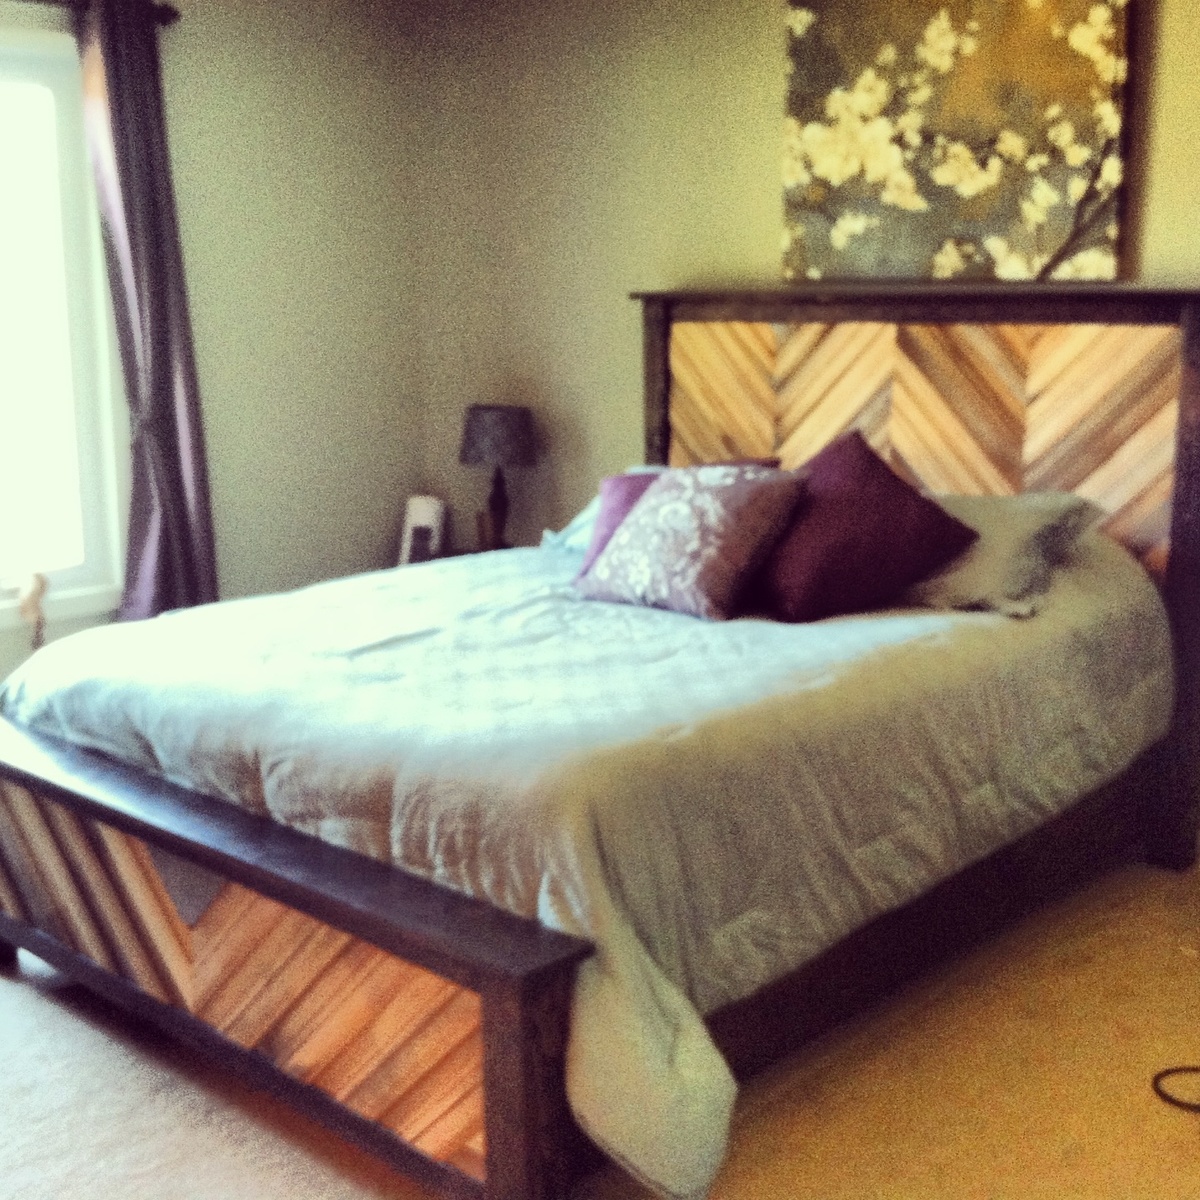
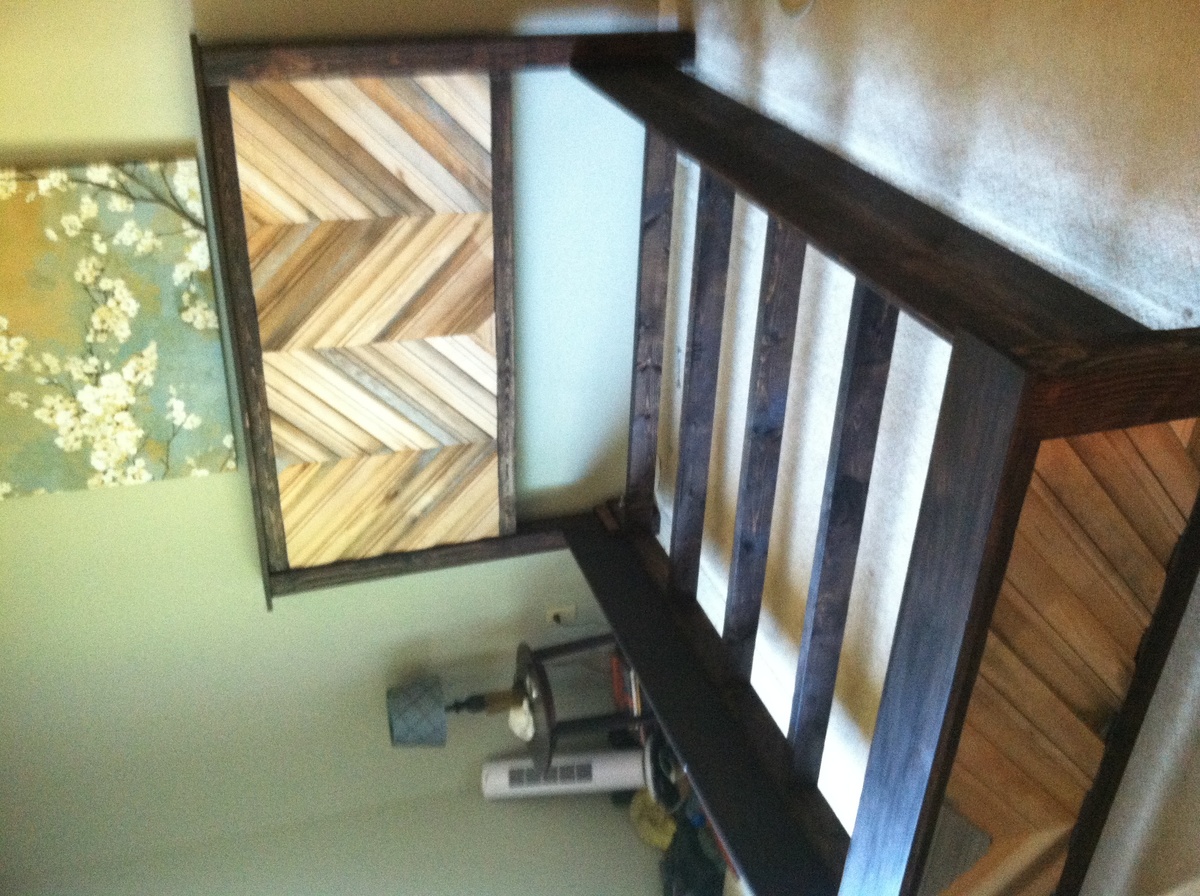
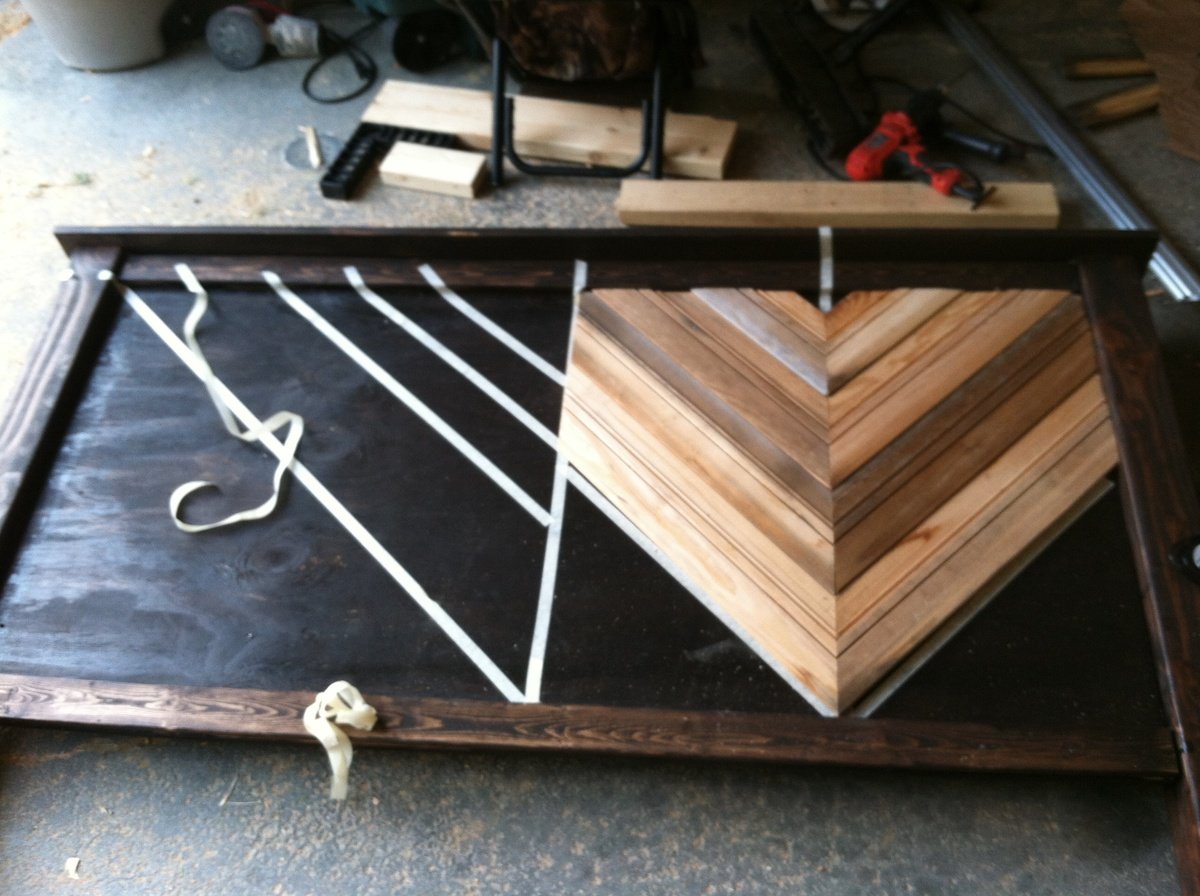
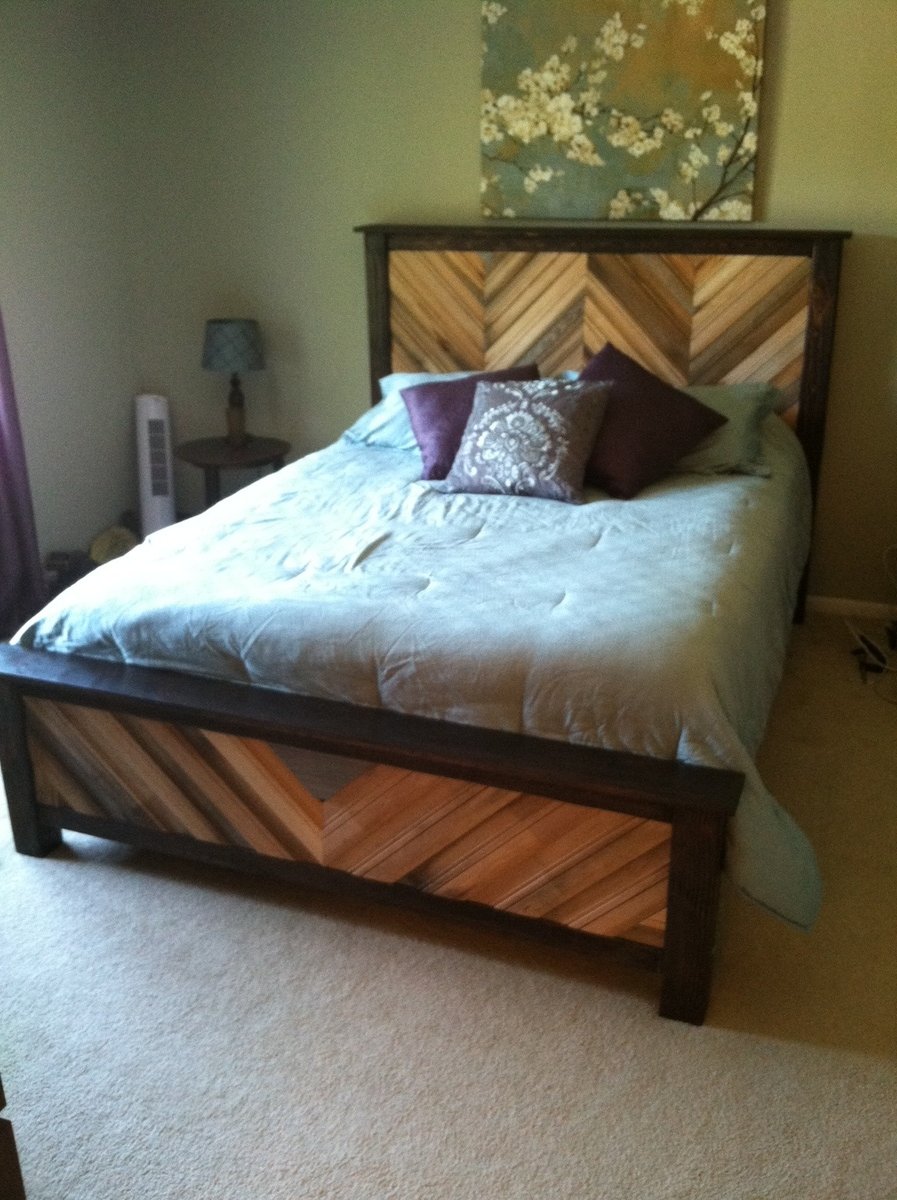
We took the general plan of the Cassidy wood shim bed but added some features of our own. Since my husband is in the military we knew we would be moving more than the average builder so we made the bed to be more durable for frequent disassemblies. Instead of screwing the frame to the head and foot board we used carriage bolts to secure the pieces.
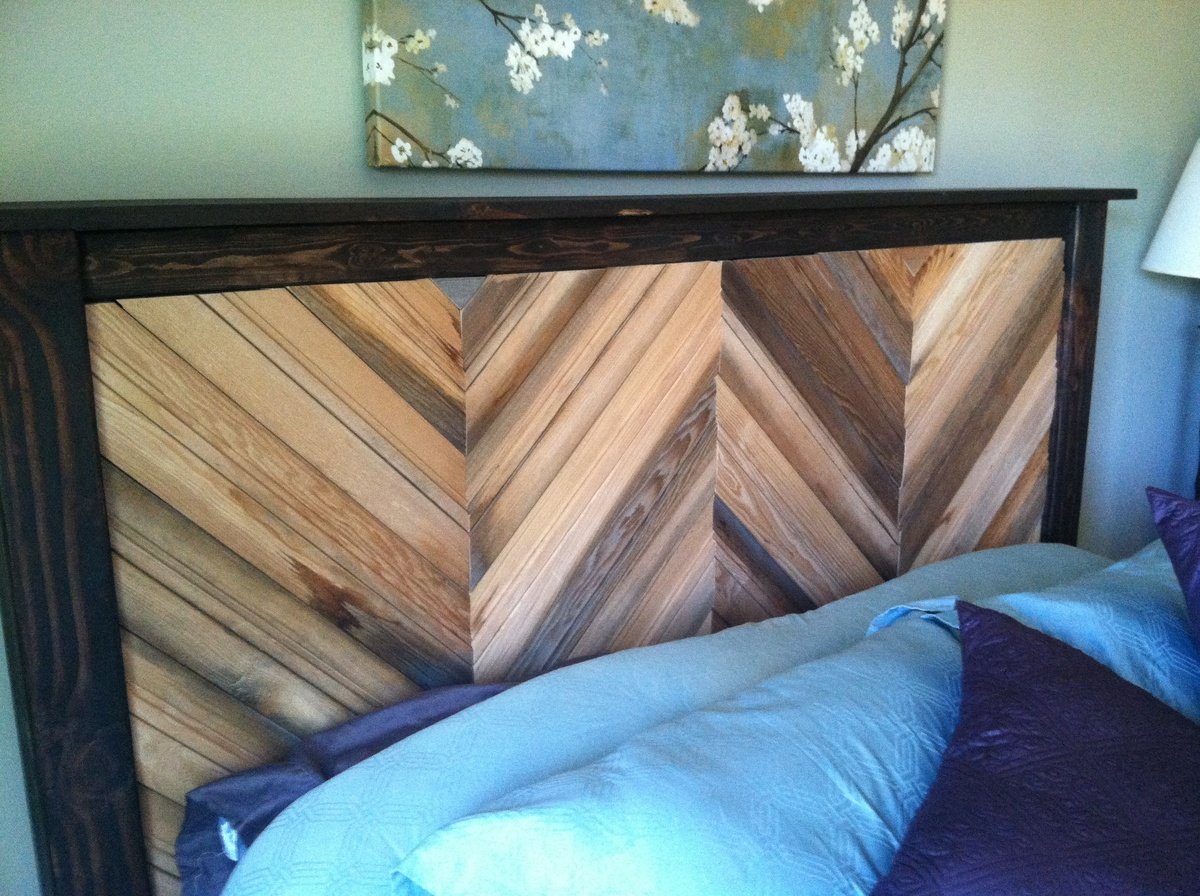
We also wanted to add a reclaimed aspect to our bedroom. We bought some reclaim cedar siding from a local estate investor and decided to do a chevron pattern. After staining the whole frame, we applied the siding to both the head and the foot board since we bought basic plywood and wanted to cover both ends. Plus, we liked the look with both ends done better. We cut the siding at 45 degree angles and then custom cut each piece to fit. This was a time consuming area since, with reclaimed wood especially, each piece is unique. We then just used liquid nails to secure the pieces.
To finish we assembled the bed and applied a paste wax.
Wed, 09/04/2013 - 21:12
This bed sure looks amazing. I made a bed from the same design just a little more like the main shim bed with a tad bit of modifying. like you guys i was military and made the bed for easy take apart with 7in lag bolts vs nailing. Good luck with future builds.
Sat, 09/14/2013 - 23:44
Wow, I'm amazed at how awesome that bed is! I love the pattern of the wood and the varying colors of it. Turned out great!!!
Tue, 05/13/2014 - 08:44
You guys did a fantastic job! My wife and i were looking to create a bed with a chevron or herring bone pattern, and this provides the perfect visual. Question about the foot board: It looks like there are varying thicknesses or some type of beading on the boards. Is there?
Thank you!
j
Sun, 11/06/2016 - 15:53
How did you place and secure the carraige bolts to the frame? I move around a bit too and would love to know how to do this. If there is anyway to upload a picture of what it looks like, that'd be great.
I had this wine refridgerator that my wife gave to me years ago for a birthday and it really needed a home since it's been sitting in the corner of our dining room for several years. After seeing some of the adaptations of the Printer Cabinet, I decided to try to modify if for my use. I put pencil to paper and came up with a two sided design that would hold the refridgerator and all of our wine/bar glasses as well as some liquor. It came out much better than I expected since this was my first real go at making any kind of cabinetry. Measure twice, cut once really works. I am eager to start my next project. Thanks for the inspiration!

I used silvered pallet wood that was constructed using the method outlined in the farmhouse bed headboard plans. In addition, I rabbeted the edges of the boards and glued them together. I took a cue from another builder and put the rear "box" legs more towards the center. It's a little high, but I love it! Thanks, Ana!

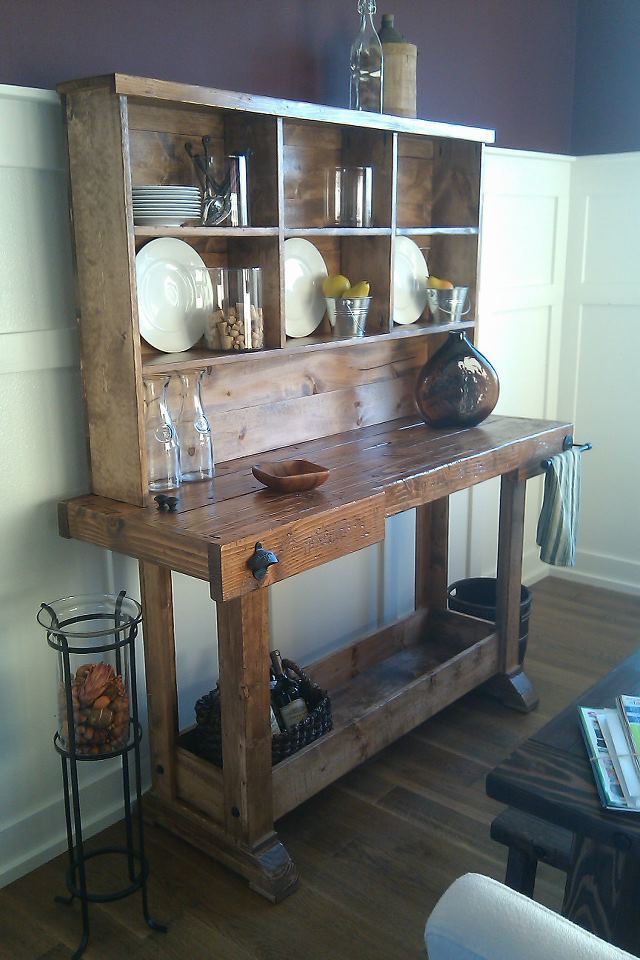
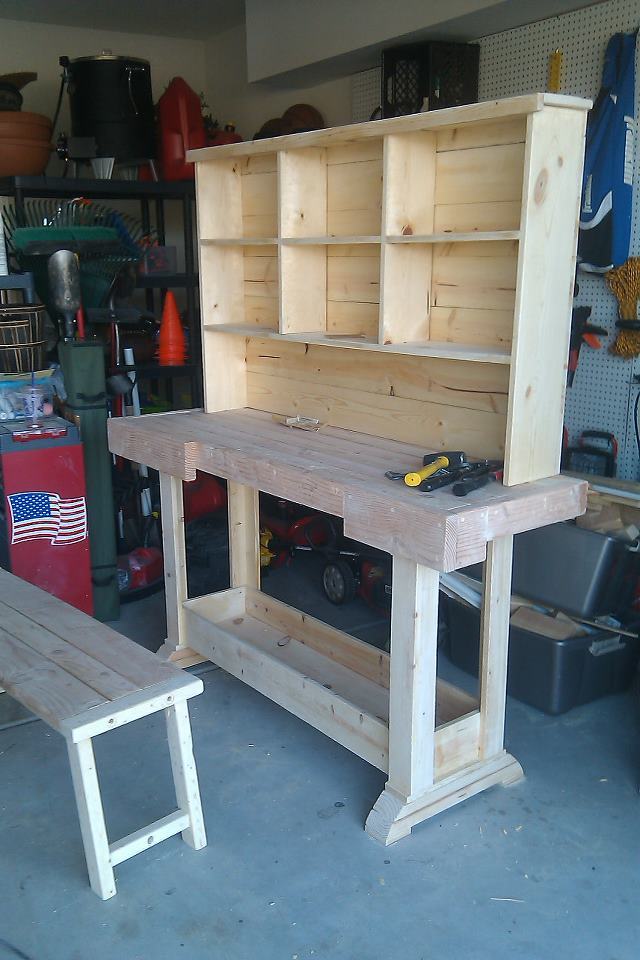
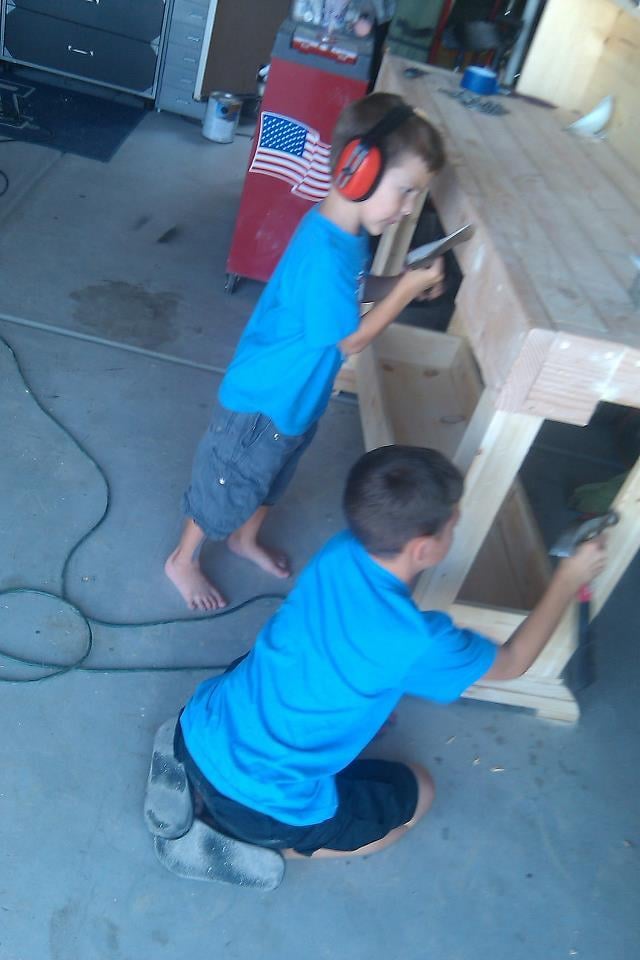
I first saw this workbench and hutch on Ana's website, but didn't commit to the project until I saw them in person, as part of a model home that had been decorated by local Pottery Barn design services. I was sold. I built this for roughly $1900.00 less than PB charges. It was an easy weekend build for a guy with less than one years' experience in this arena.
Thu, 09/15/2011 - 16:20
Nice dude! I just finished my console last weekend. Was it worth it making the matching hutch? I haven't decided if I'll do it yet.....Great job though.
Thu, 09/22/2011 - 11:23
Absolutely. It's minimal time investment, and it really seems to finish the piece off. I went with seven 1x6's (instead of a plywood backing) to give the hutch a planked look.
Sat, 09/17/2011 - 15:19
Very very nice. This has been on my build list for way toooo long. It is beautiful and inspiring! Thanks!!!
Fri, 02/24/2012 - 05:43
Great job! I'm starting this same project and just purchased the kreg jig system but I'm stuck on assembling the table legs using pocket holes. I don't want to have visible pocket holes, could you give a quick description on how you assembled the legs and attached them to the feet using pocket holes? Thanks!
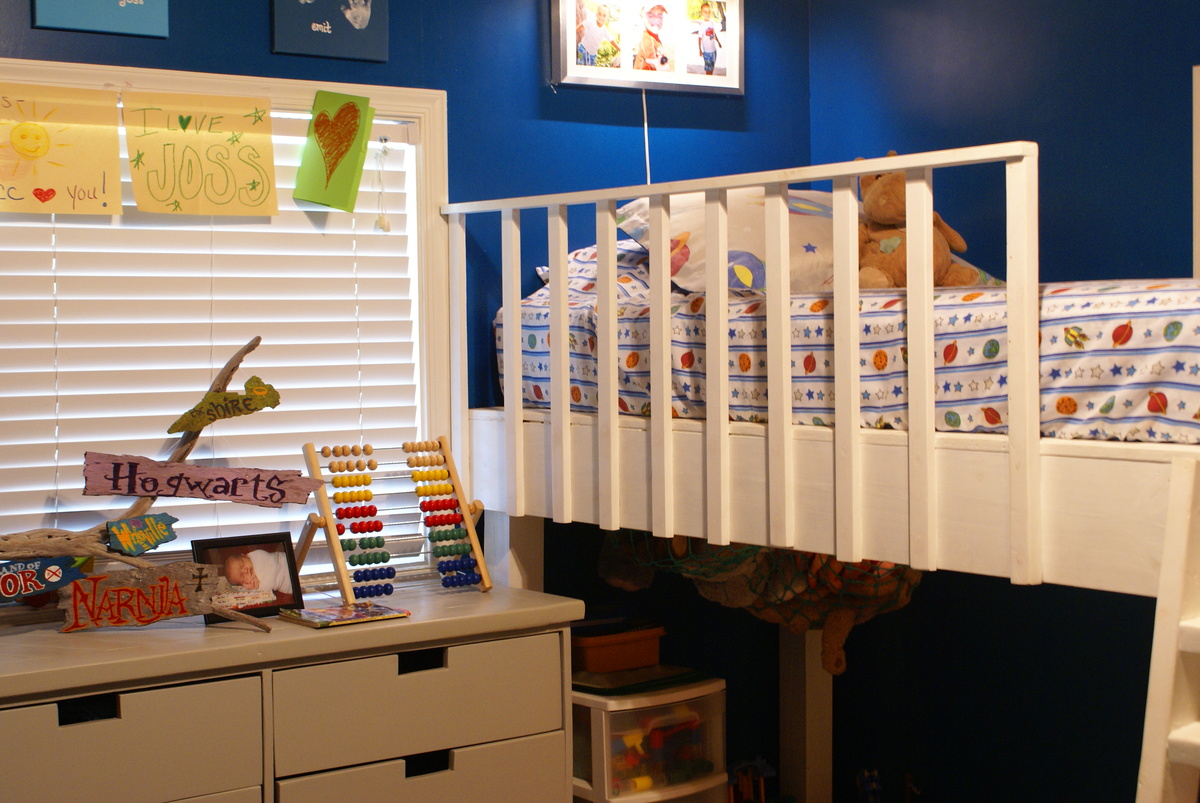
I saw the idea for this bed on Pinterest originally. It linked to a blog that had the step by step plan (http://www.thehandmadehome.net/2011/08/how-to-build-a-loft/). However, I would have never even approached the idea or project without a few of Ana's plans under my belt first. I have gained so much confidence in my building on this site, and will always be a HUGE fan here :) Thank you Ana for all the fantastic plans you continue to share!
I still want to finish out and make the under bed area more fun and creative with curtains and such, but we LOVE having the full floor in the room for our play area. My boys absolutely love their bed!!
Wed, 10/02/2013 - 13:07
I'll bet the boys are thrilled with this. It's great to have that extra play room!
I am curious, though, how the center of the loft bed is supported.
In reply to Looks great! by sgilly
Wed, 10/02/2013 - 18:38
Hey Sue, I went and found the old link to the plans for this and added it to the brag post. Or here it is also: http://www.thehandmadehome.net/2011/08/how-to-build-a-loft/ Underneath is a bunch of 2x4's spaced to support the platform, but the big 2x8's are the main strength. They are monsters! We've had a bunch of kids and adults up there for story time, and never once has it felt unstable or wobbly. Hopefully the link will help. It has way more photos that I have here.
Thu, 07/28/2016 - 15:47
I am going to attempt to make this bed in a couple of weeks for my daughters. The handmade home directions only show the rope ladder. We want to make the ladder similar to your pictures above. Could you tell me how you made yours please and thank you?
Comments
Ana White Admin
Tue, 11/16/2021 - 19:18
Another amazing build!
You've been busy, this is gorgeous all the way around!