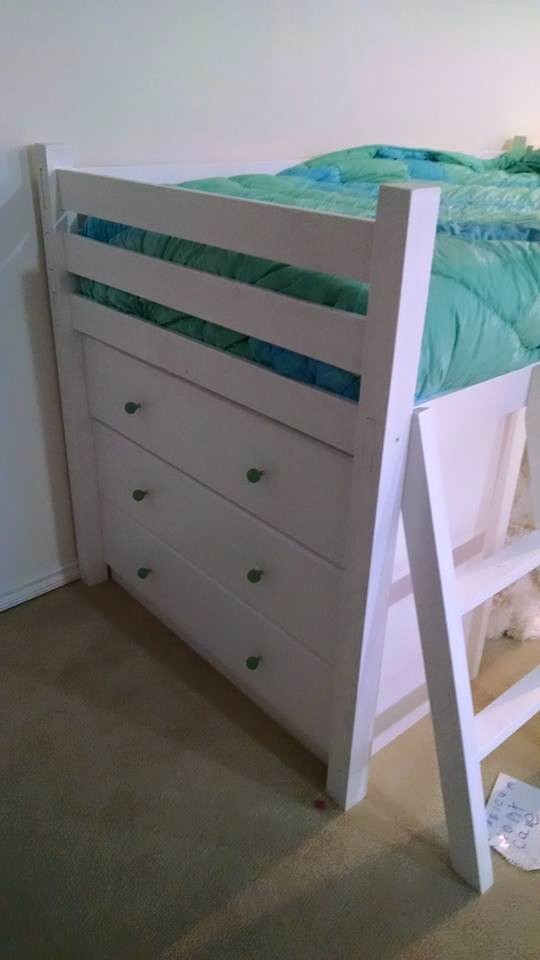
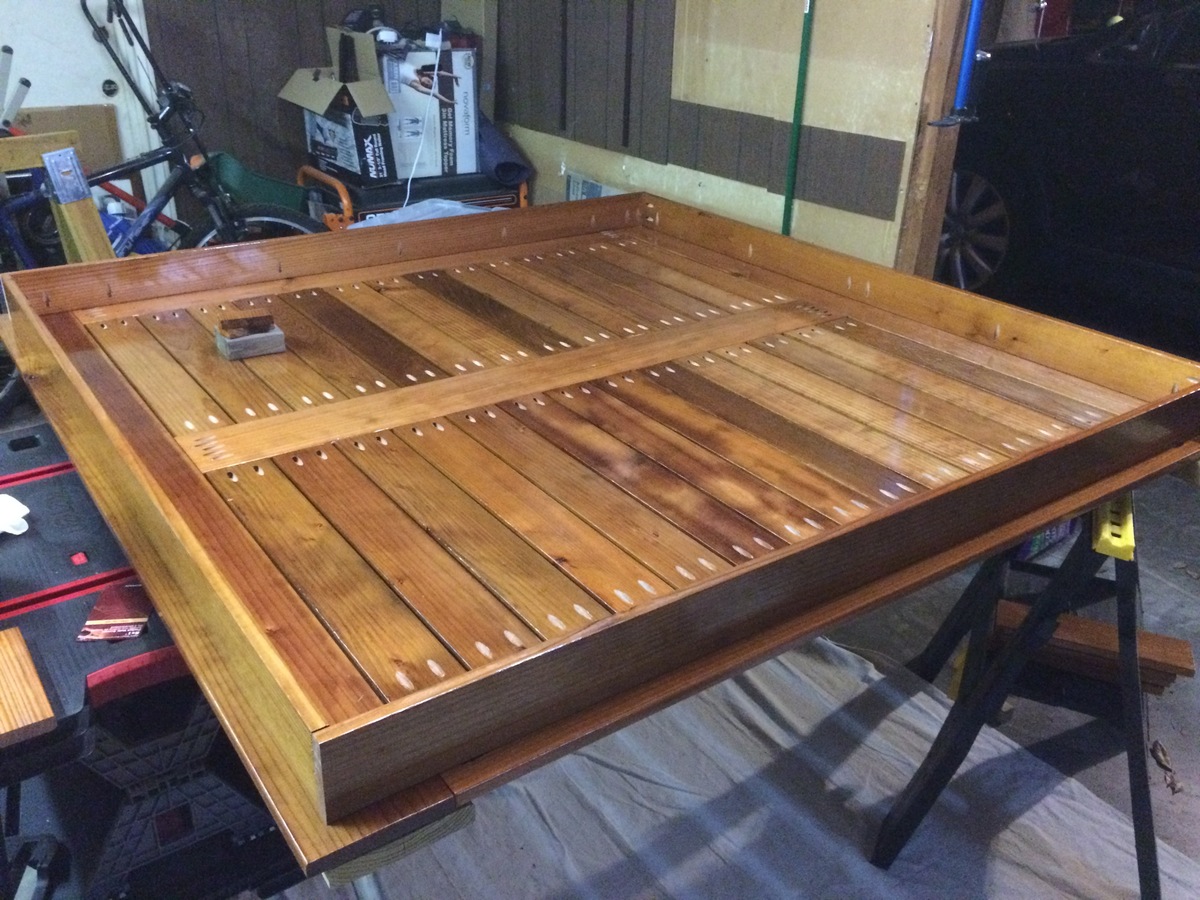
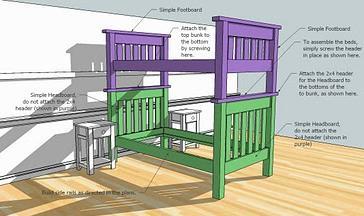
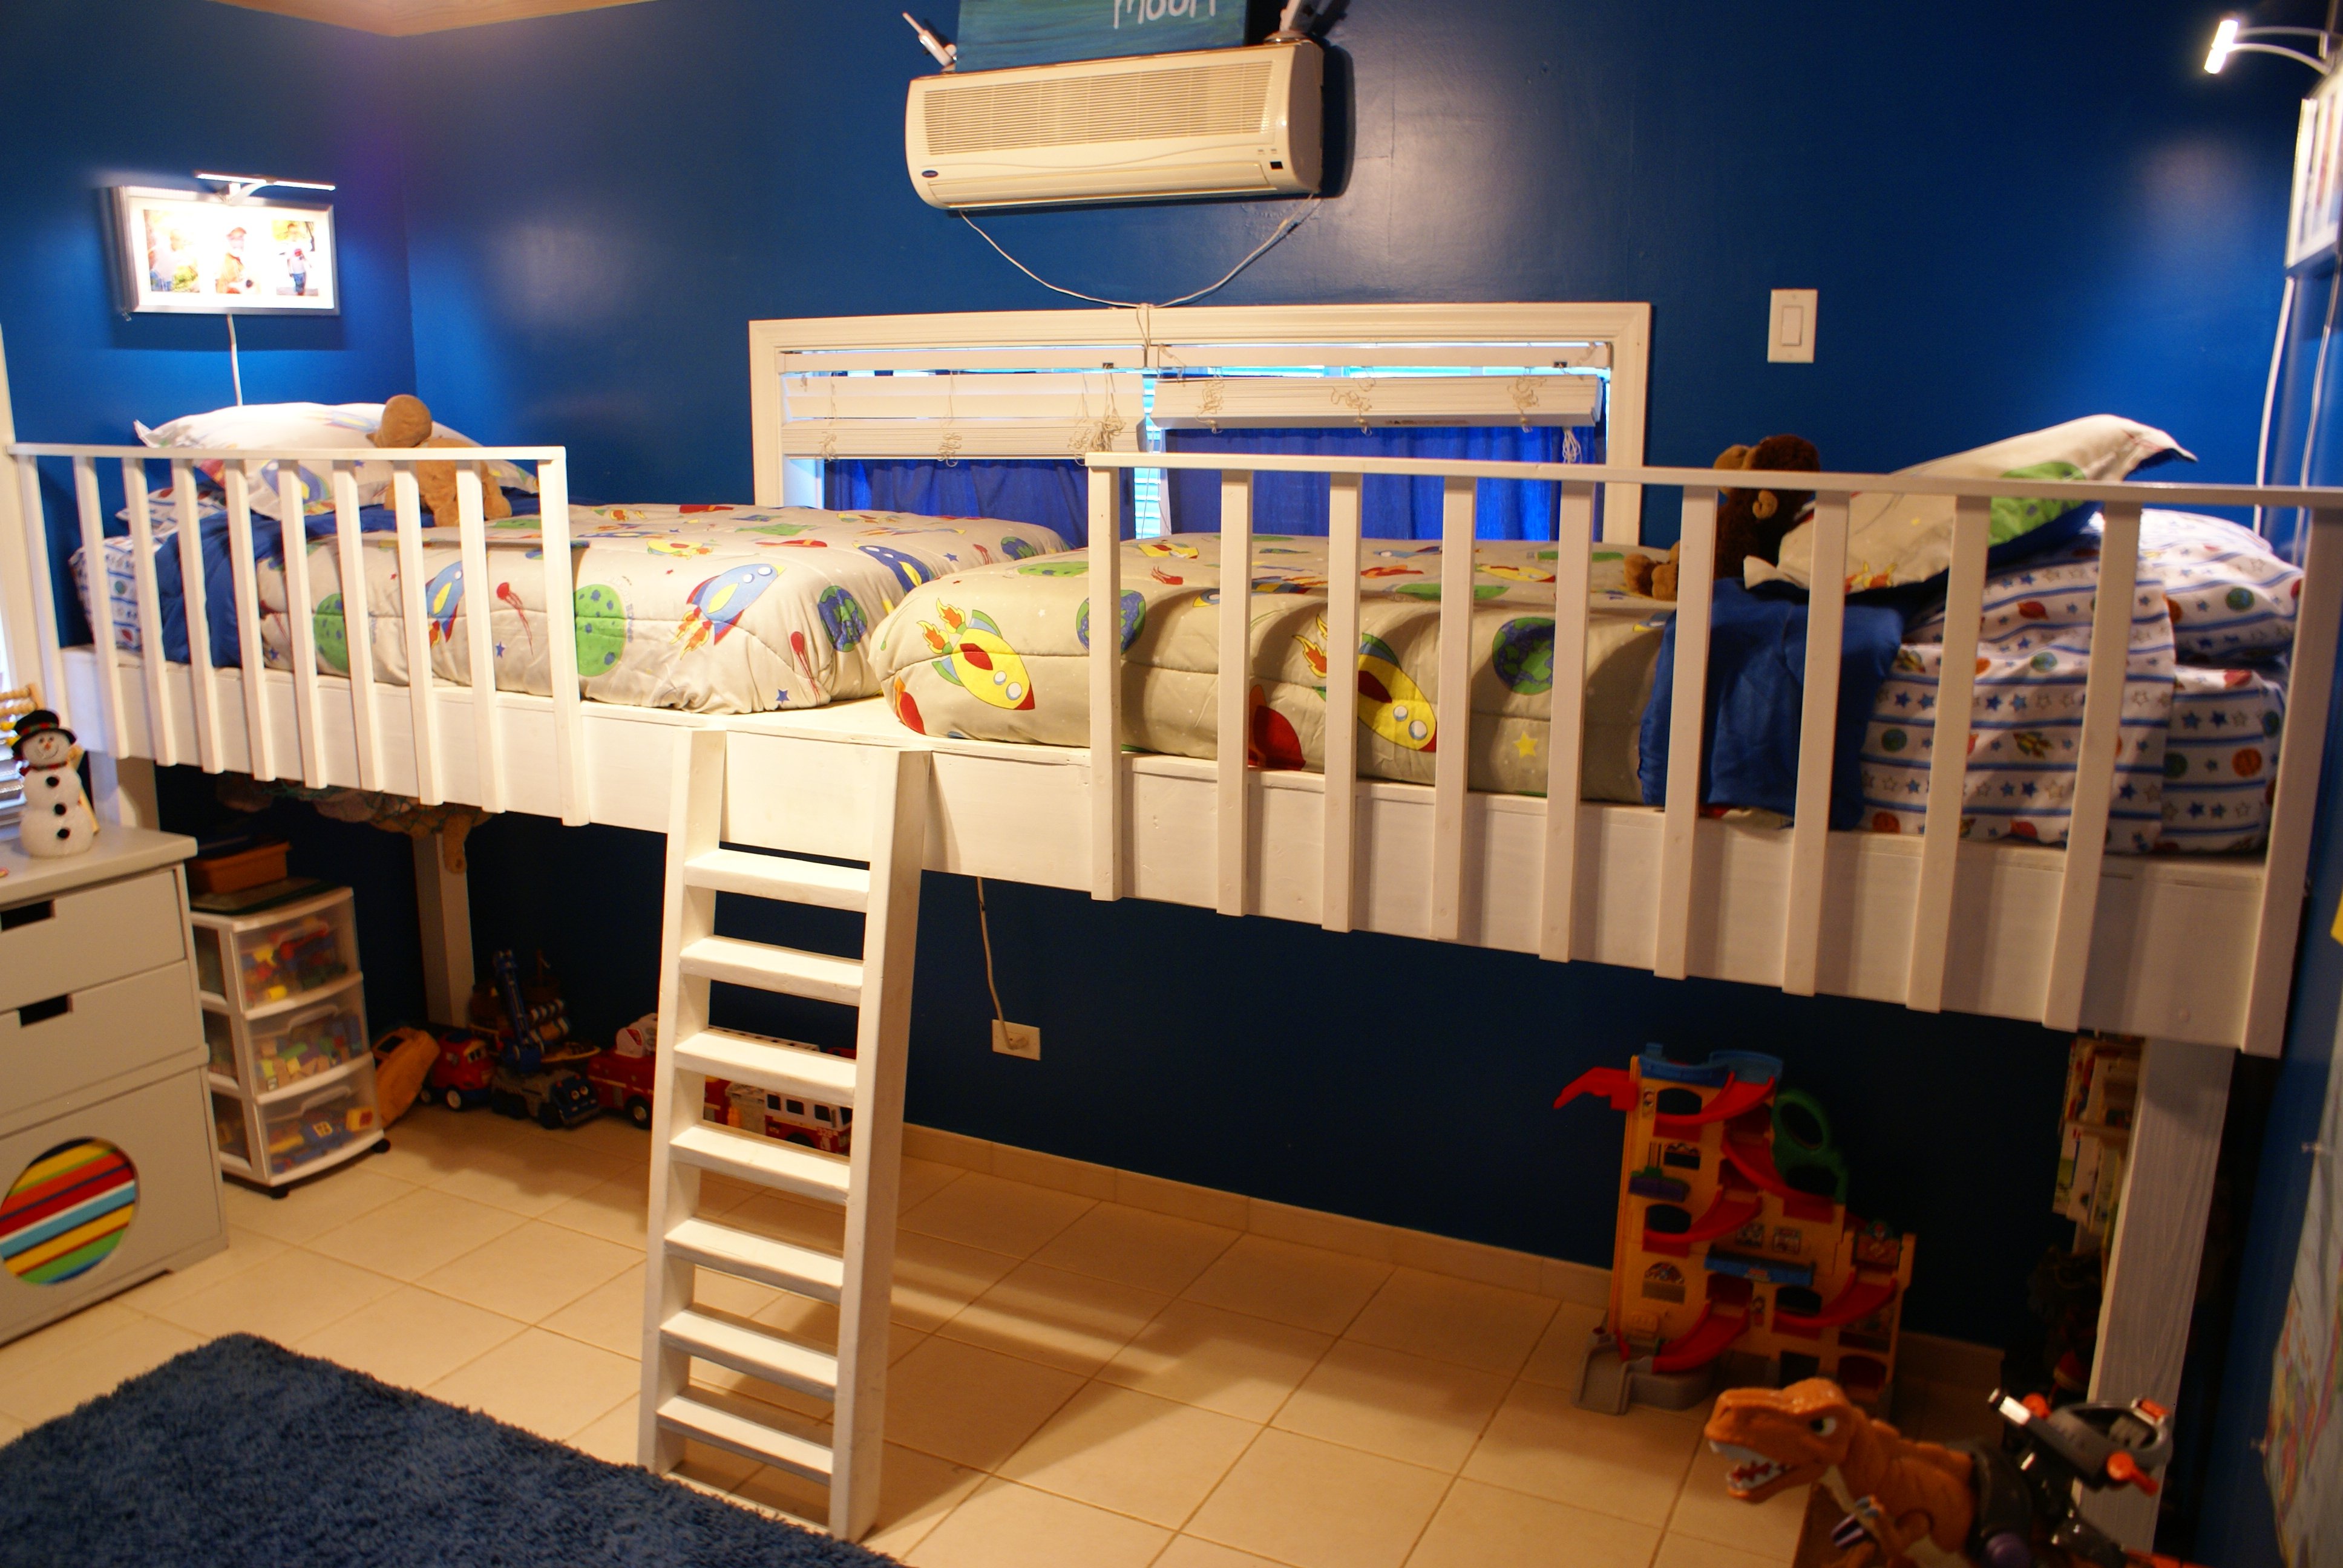
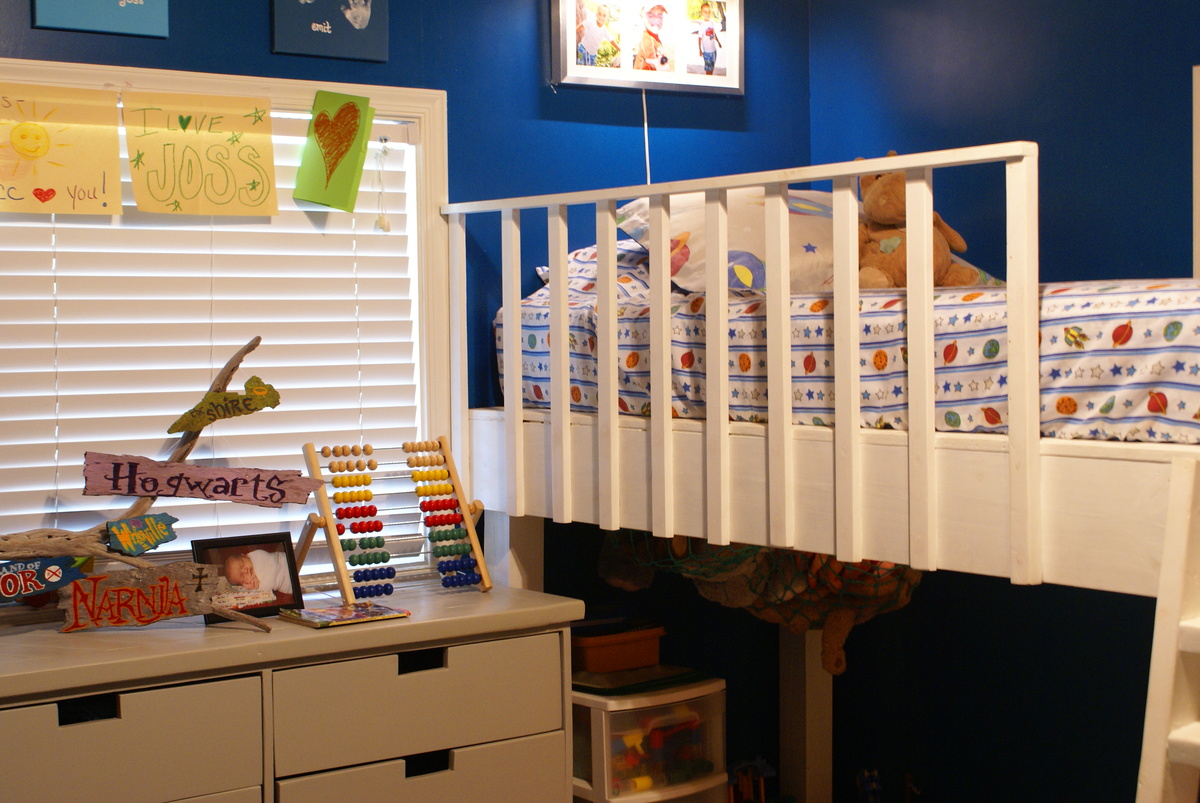
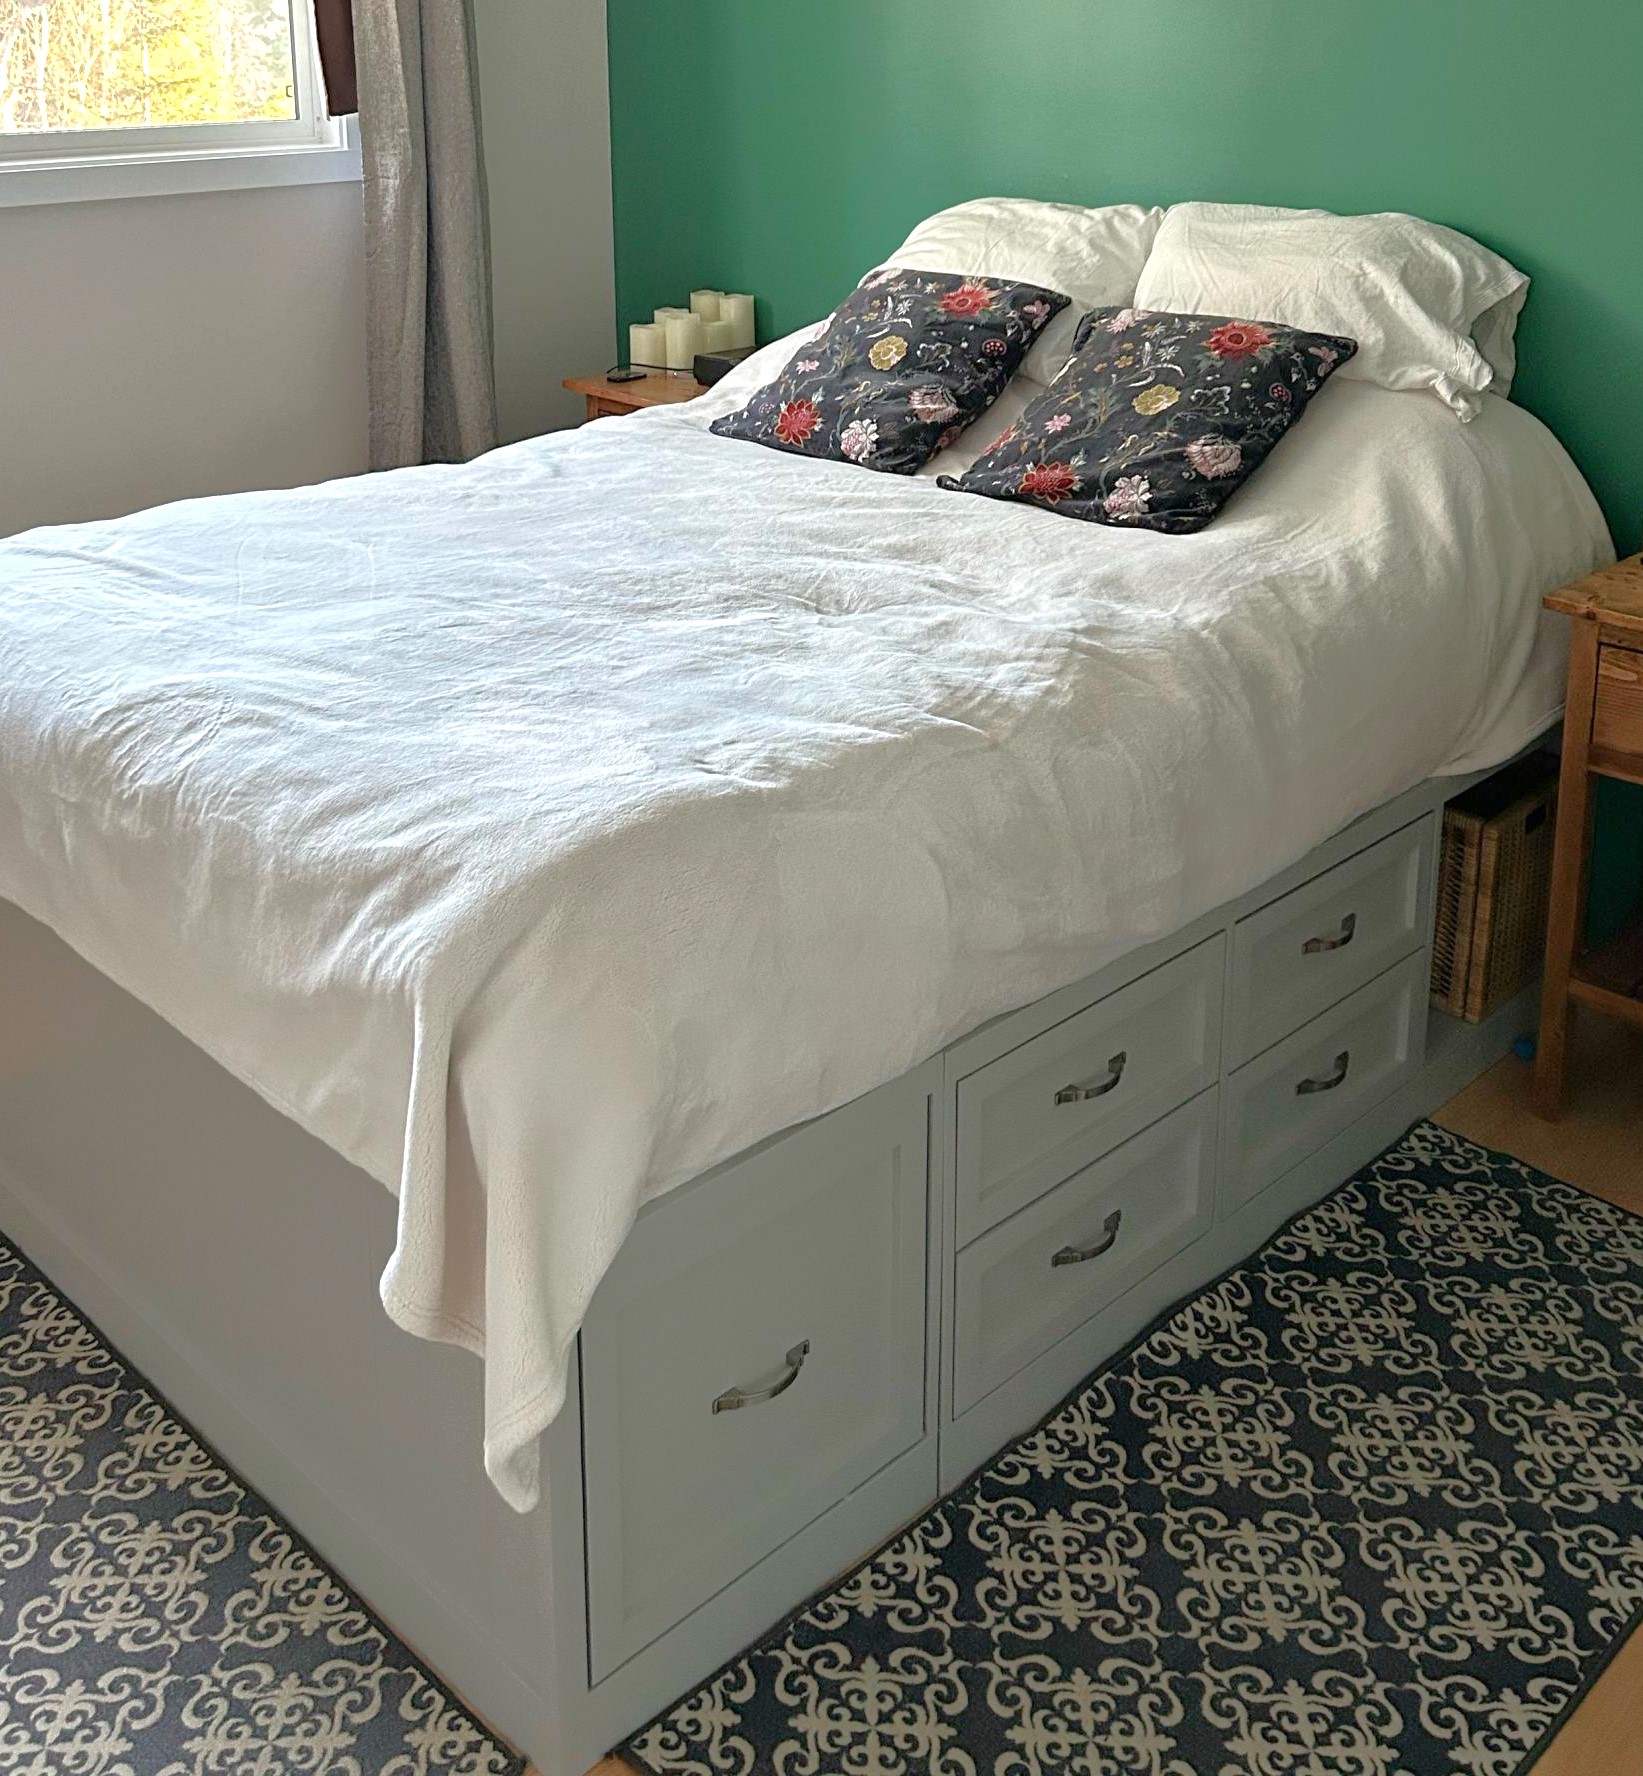
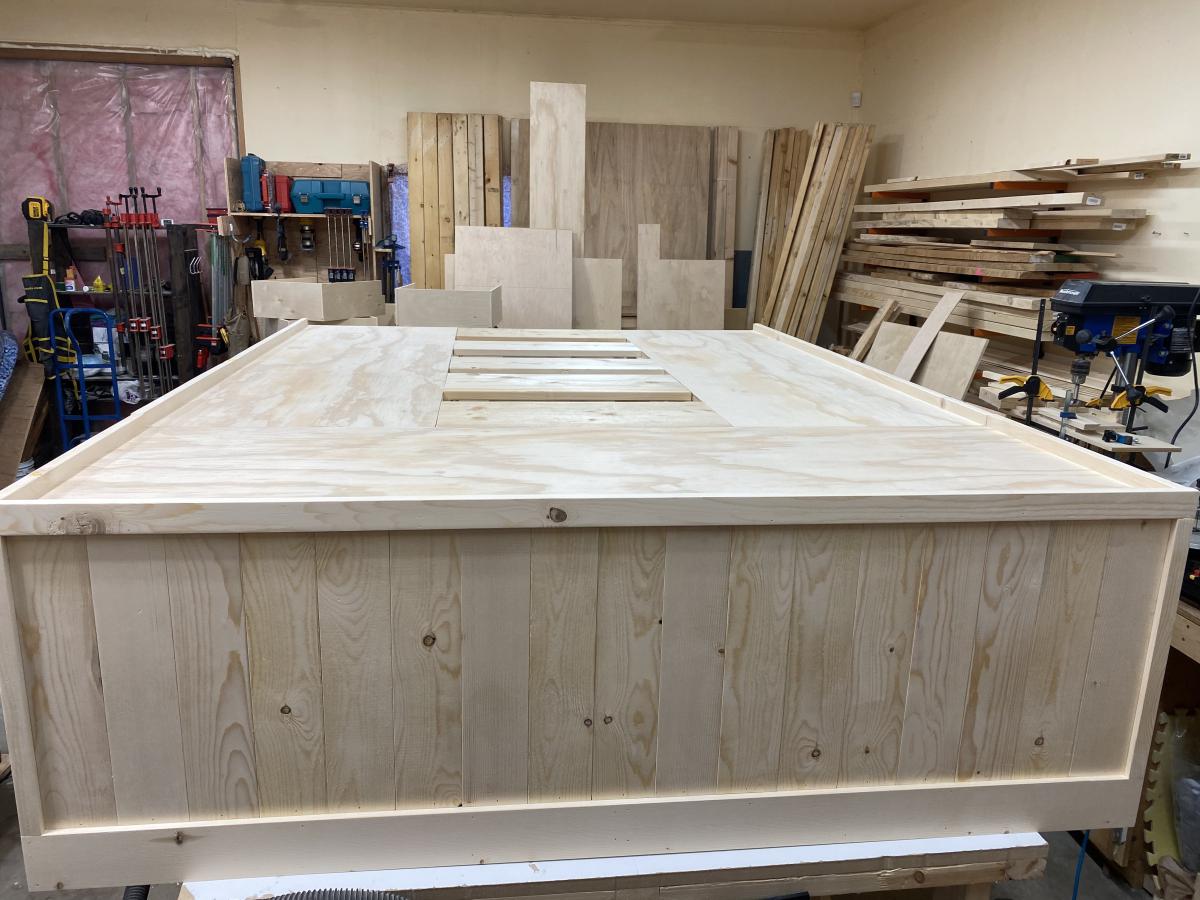
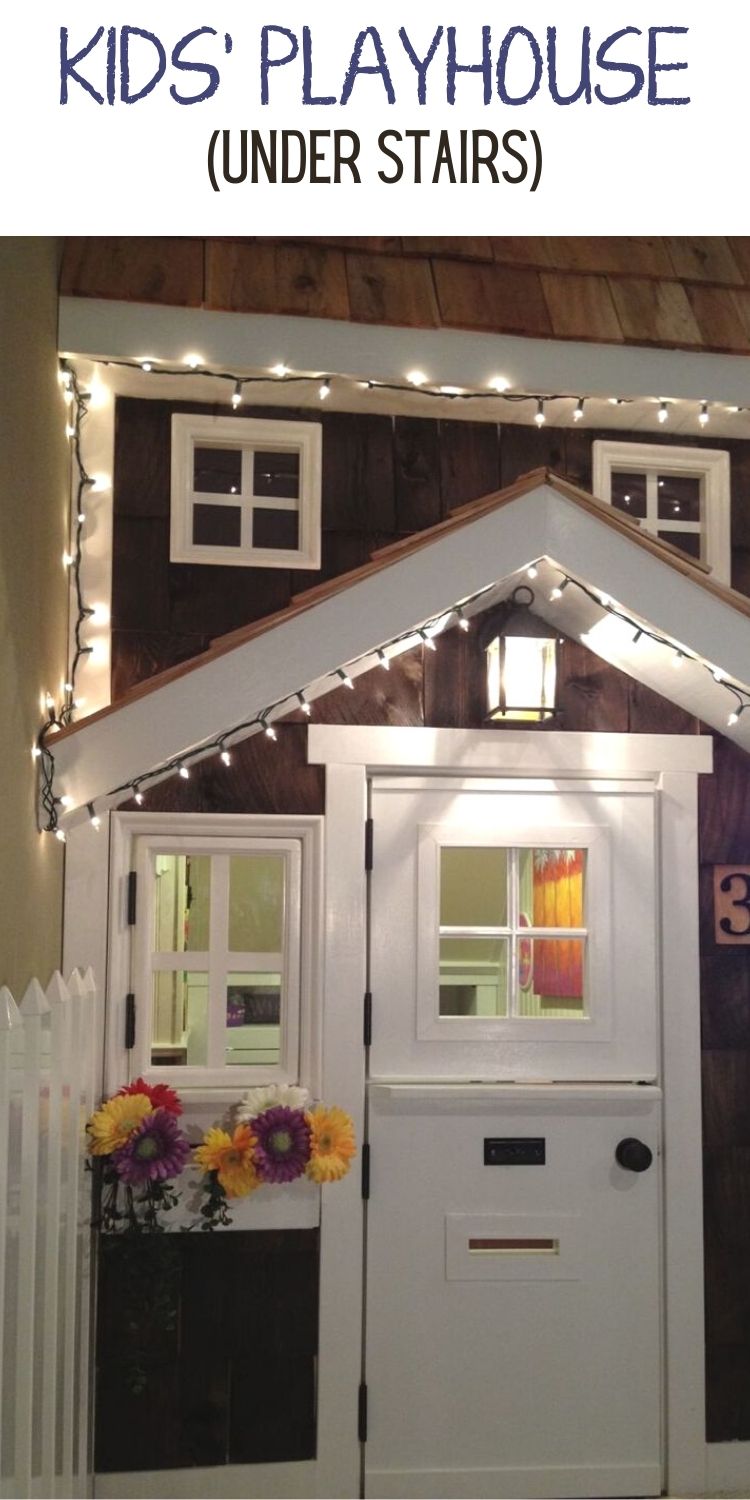
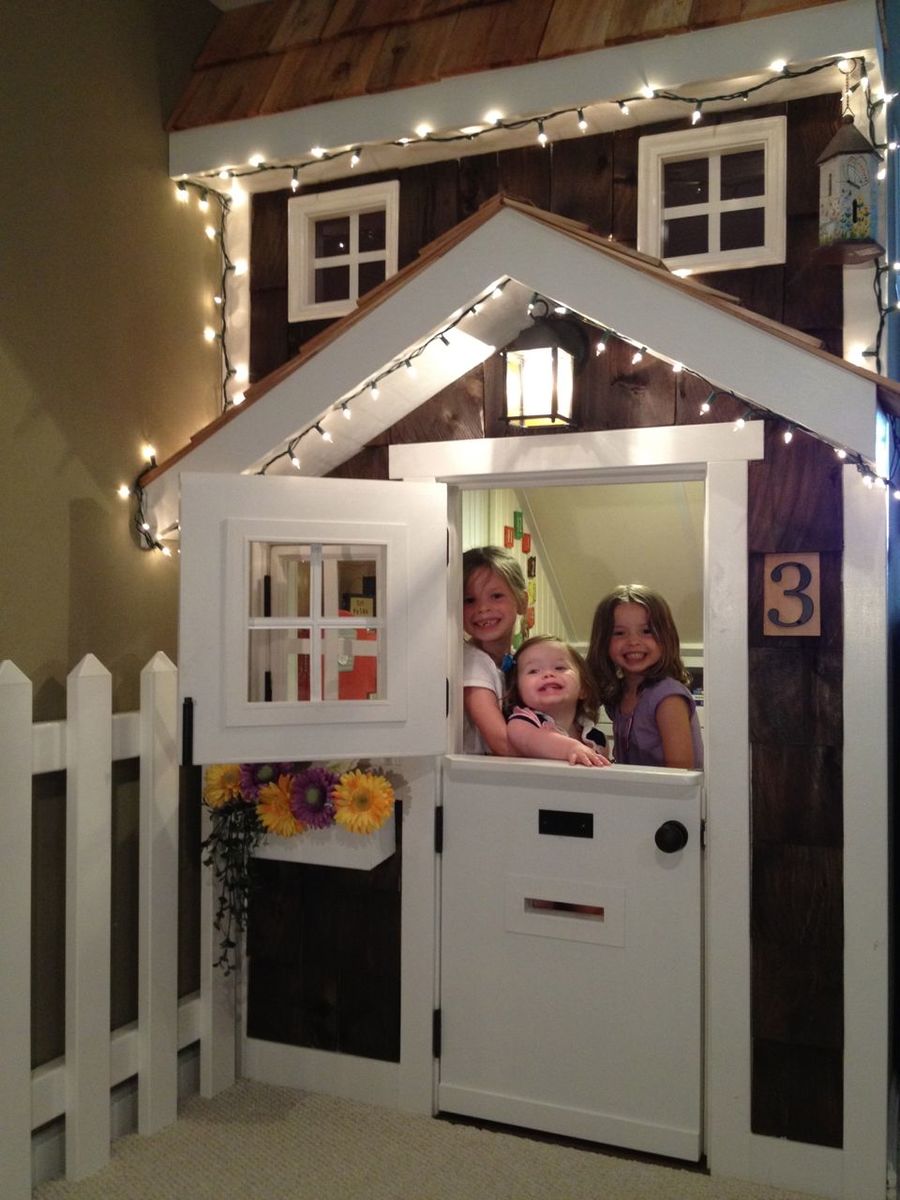
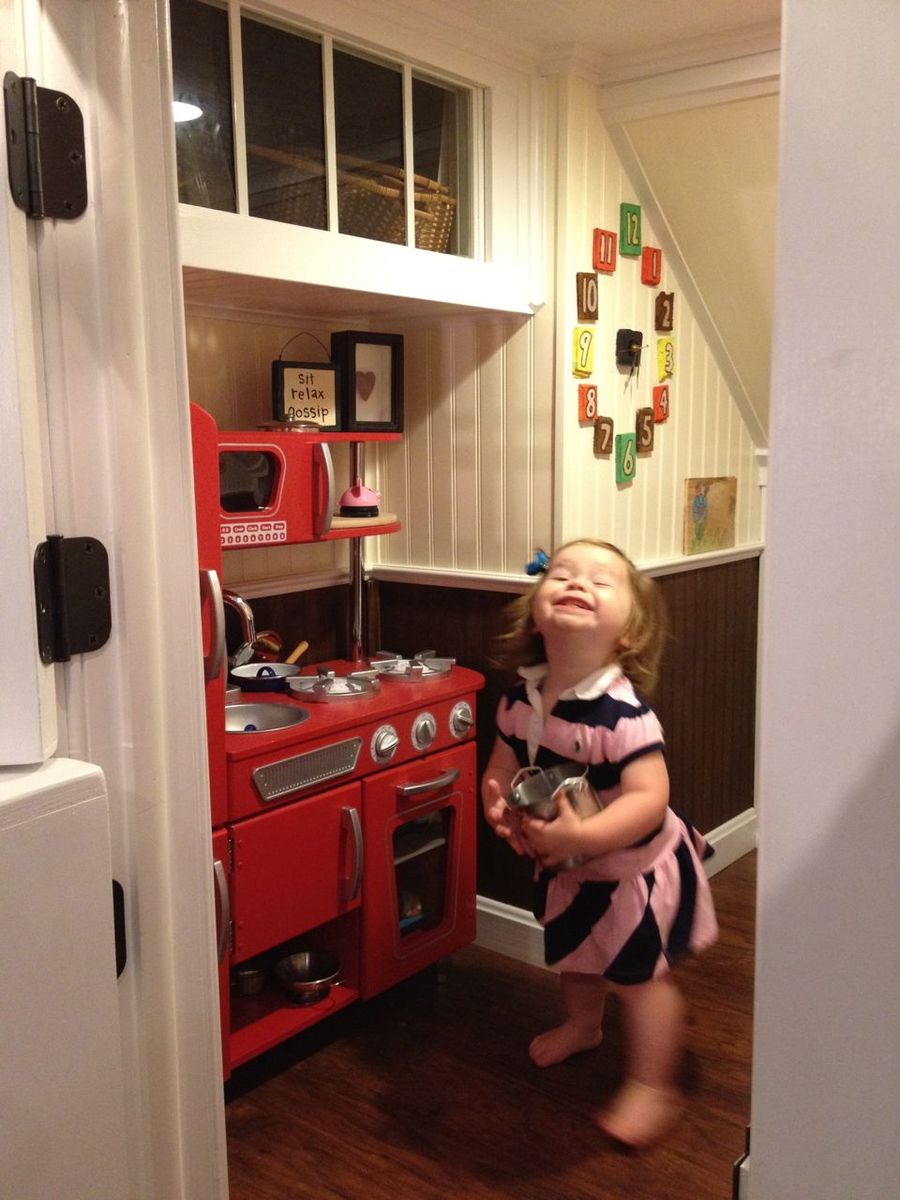
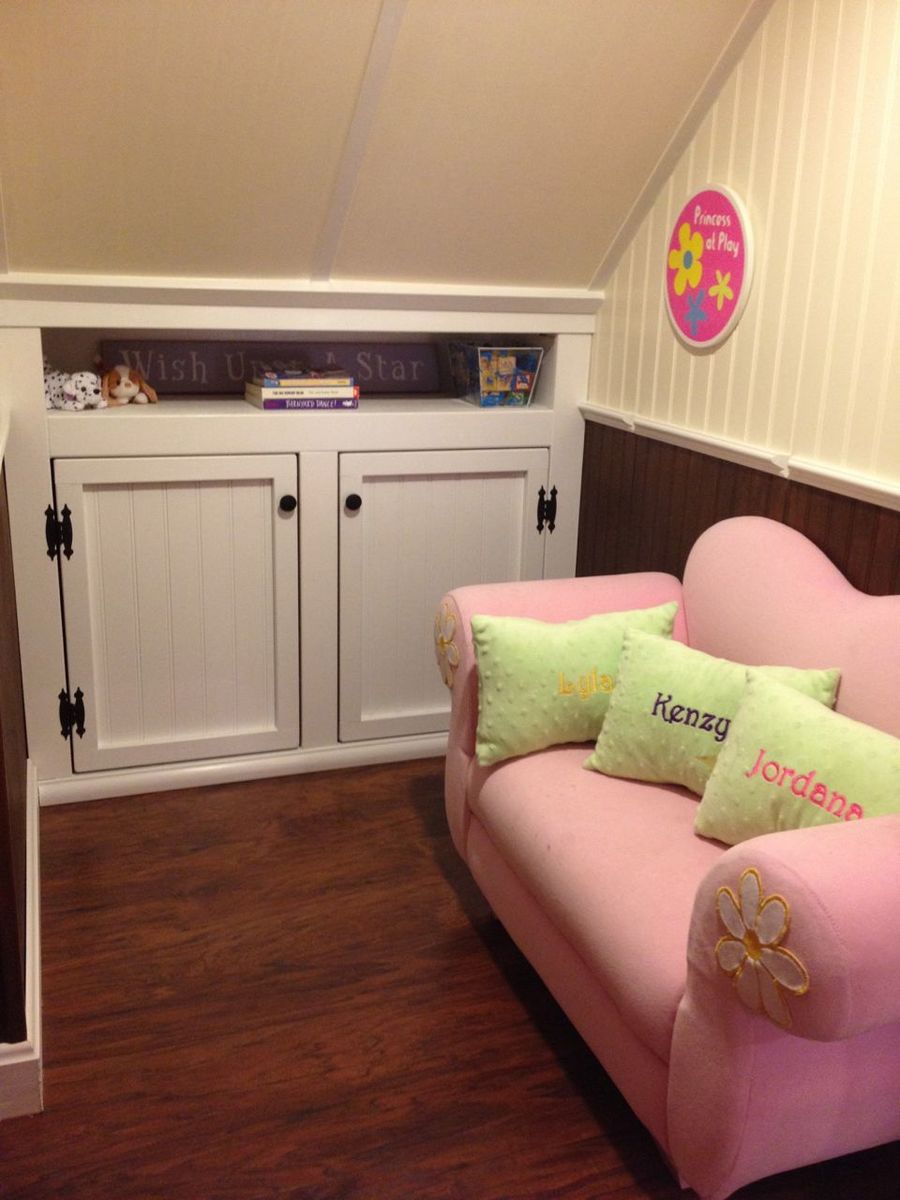
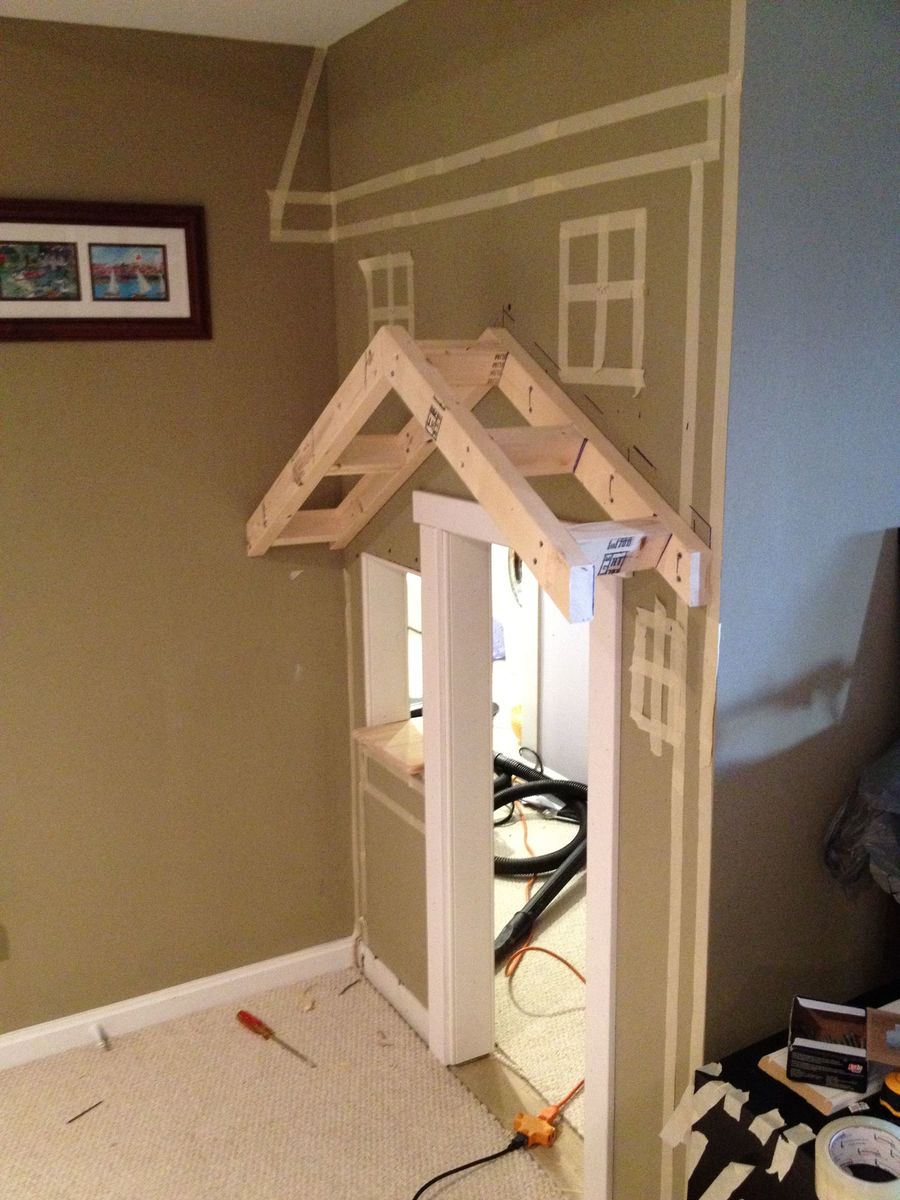
Small Loft Bed with Dressers
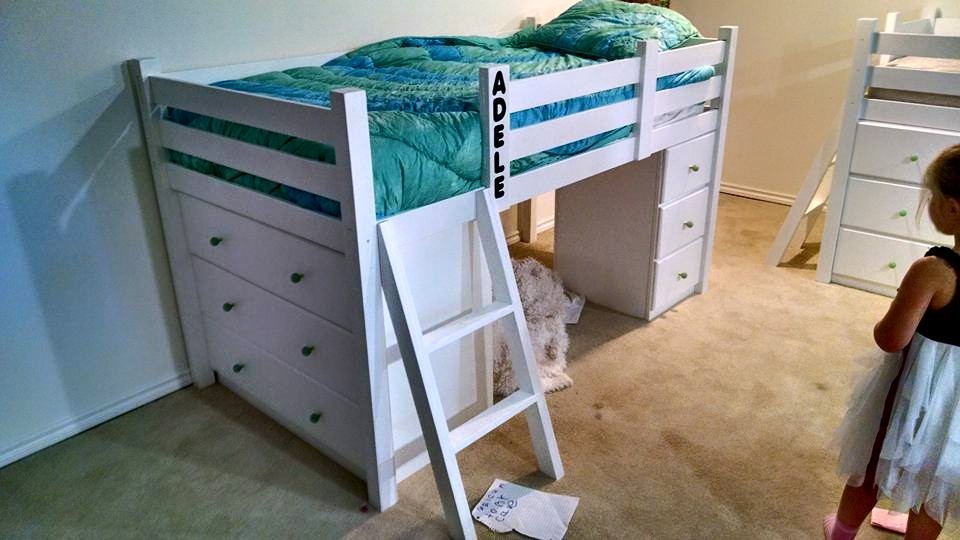
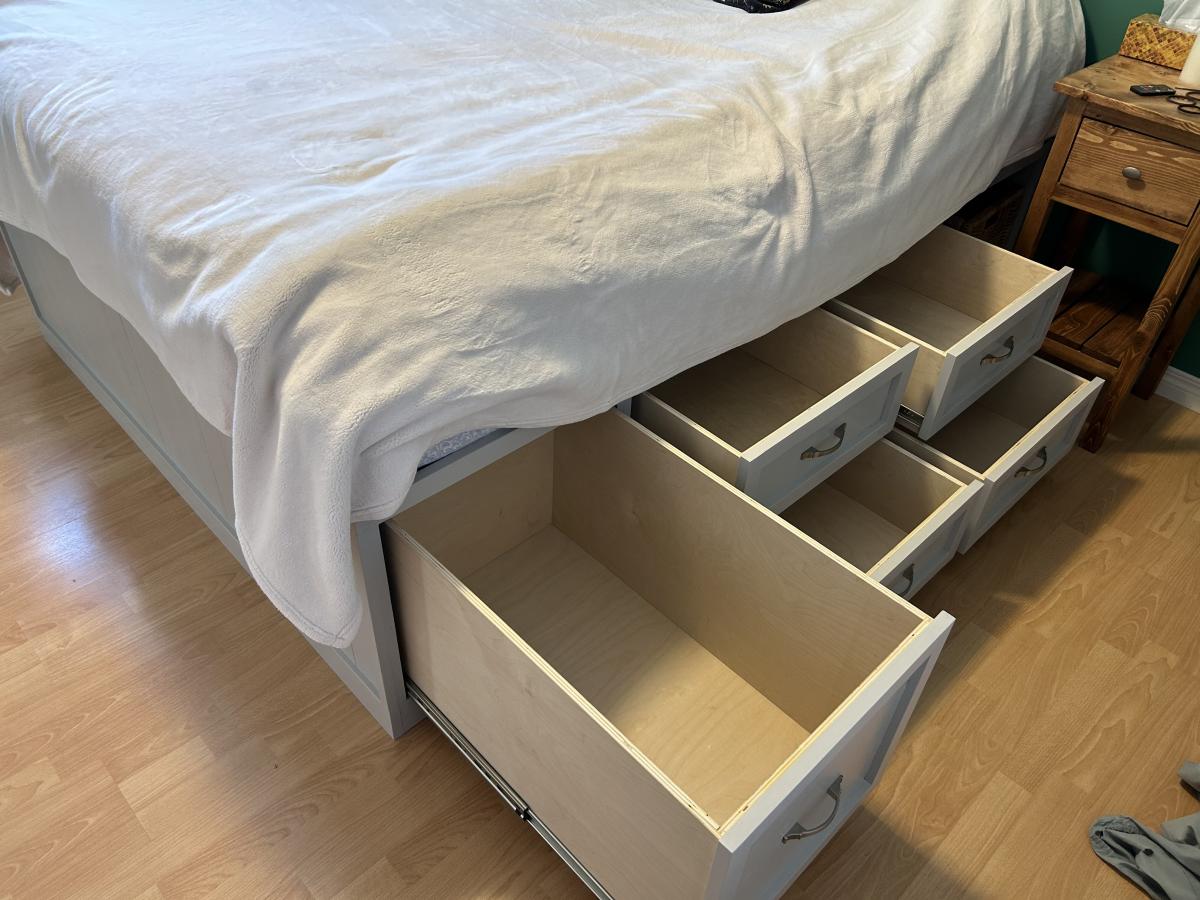
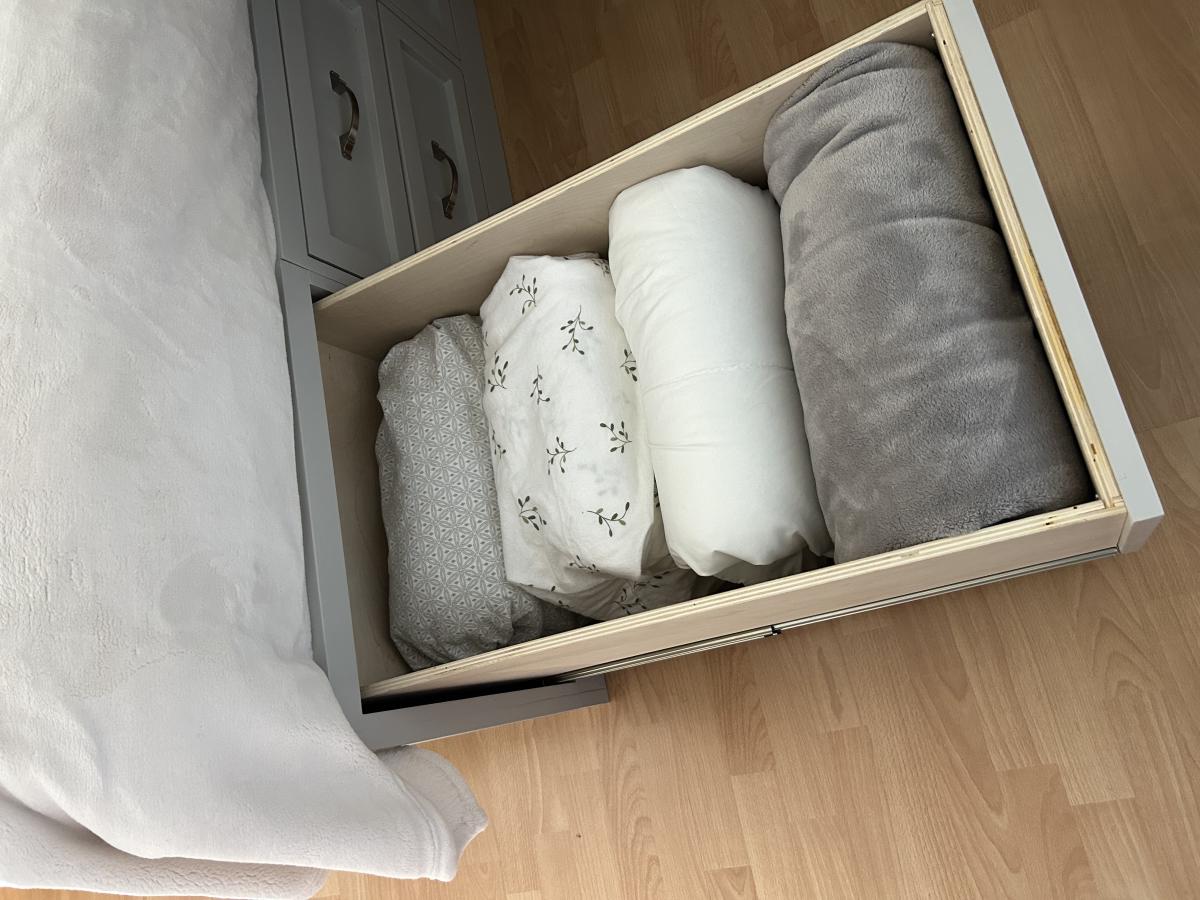
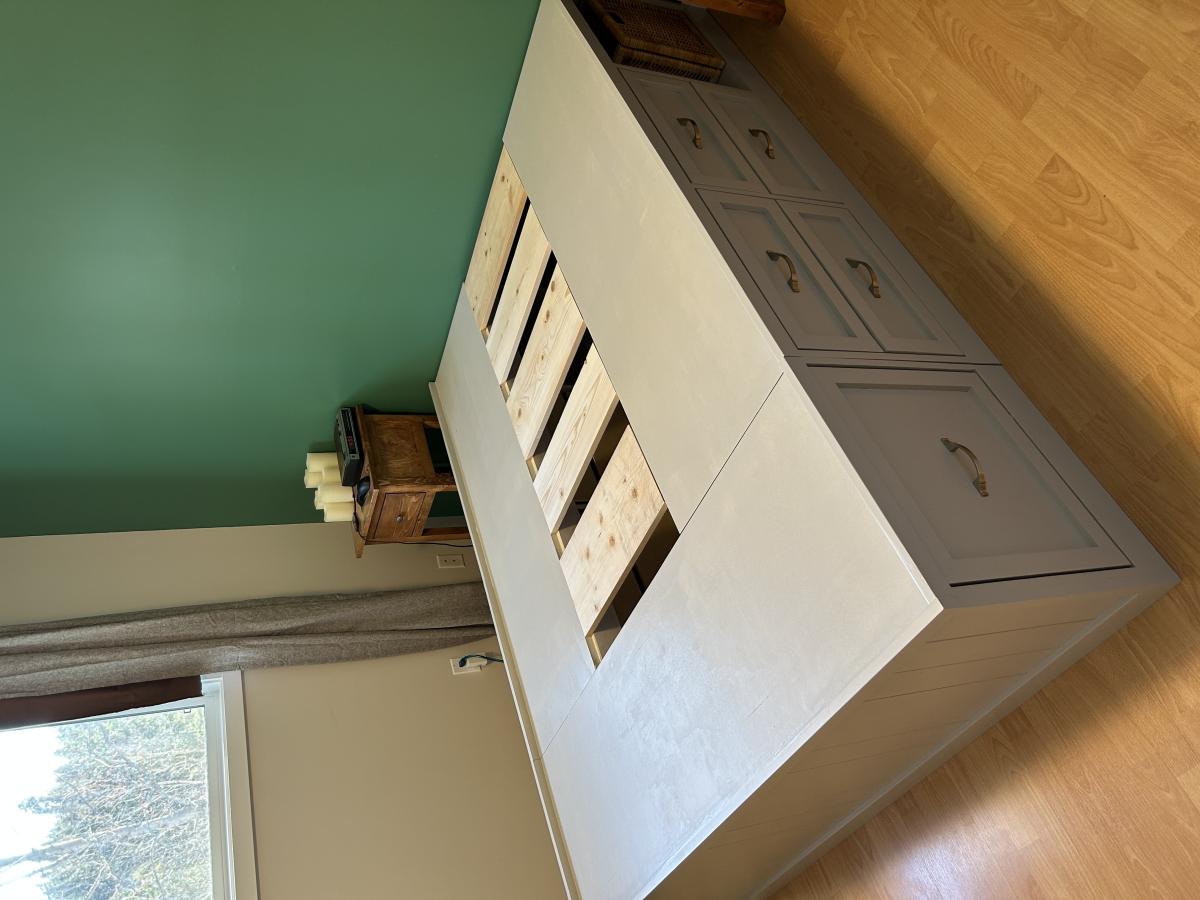
This took about a week to complete. I modify the original plan to include "built in" dressers and a night stand type of dresser. The night stand has shelves built on the side. Two beds were built of different configurations.
Built from Plan(s)
Estimated Cost
Cost about $400 per bed.
Estimated Time Investment
Week Long Project (20 Hours or More)
Finish Used
Painted with a high gloss white.
Recommended Skill Level
Intermediate


Comments
Leslie Is Ready
Fri, 12/08/2017 - 16:23
Wonderful Job!
You really did an excellent job! These would be perfect for my twin daughters!