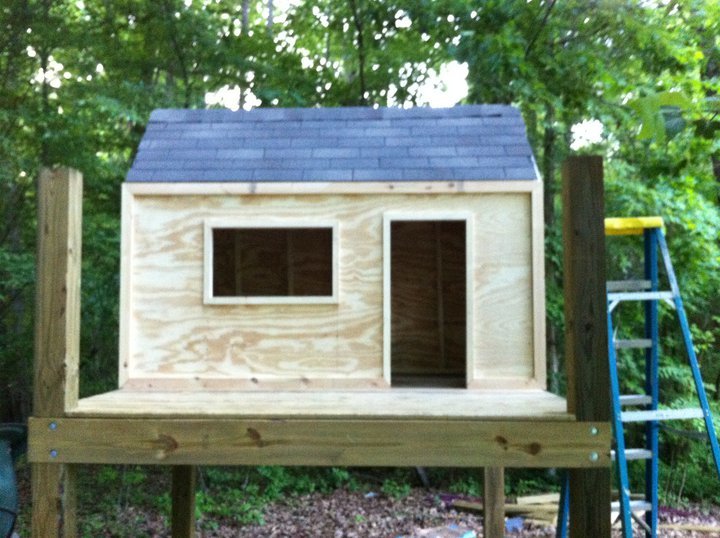
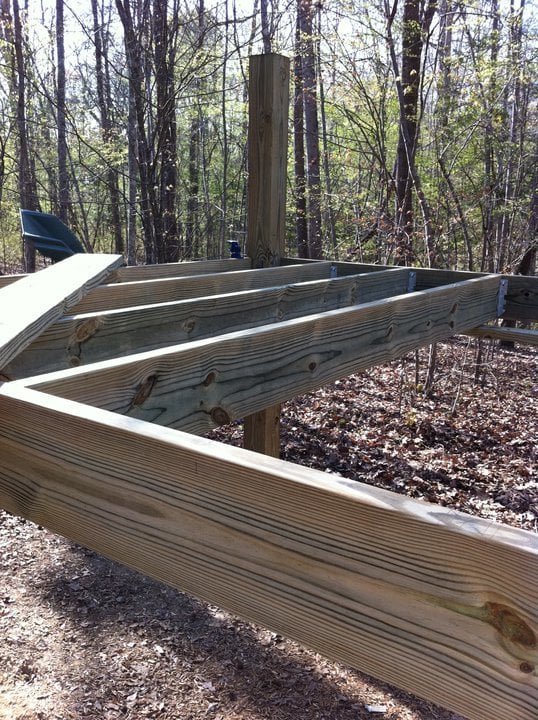
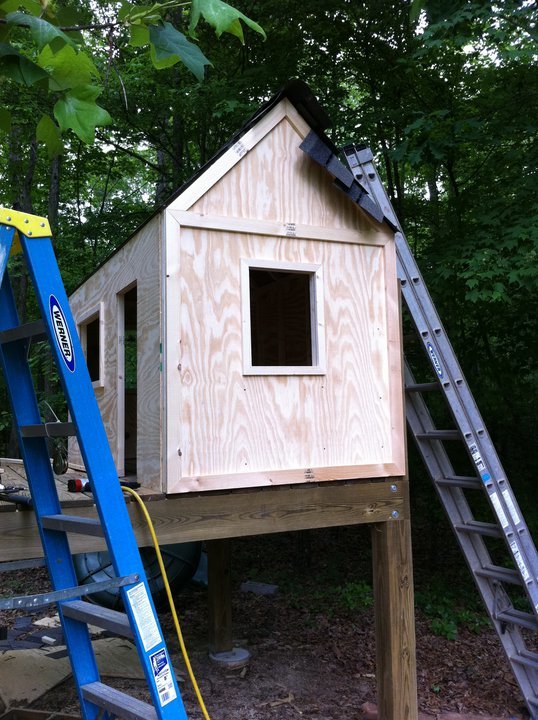
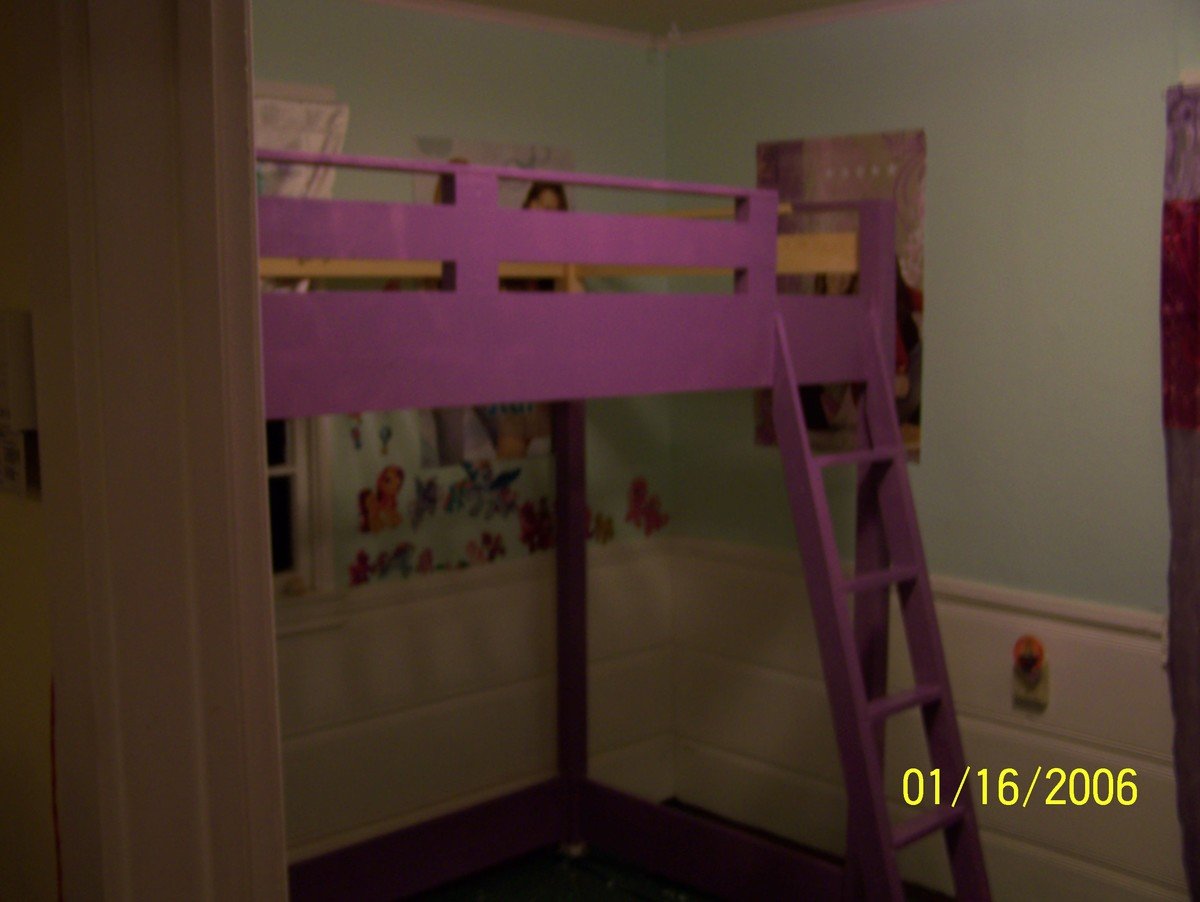
Princess Maddy's Purple people eating loft bed!!

All the scratching of my head, calls for help to my brother and ill timed mistakes were all worth it when her little face lit up with a smile.
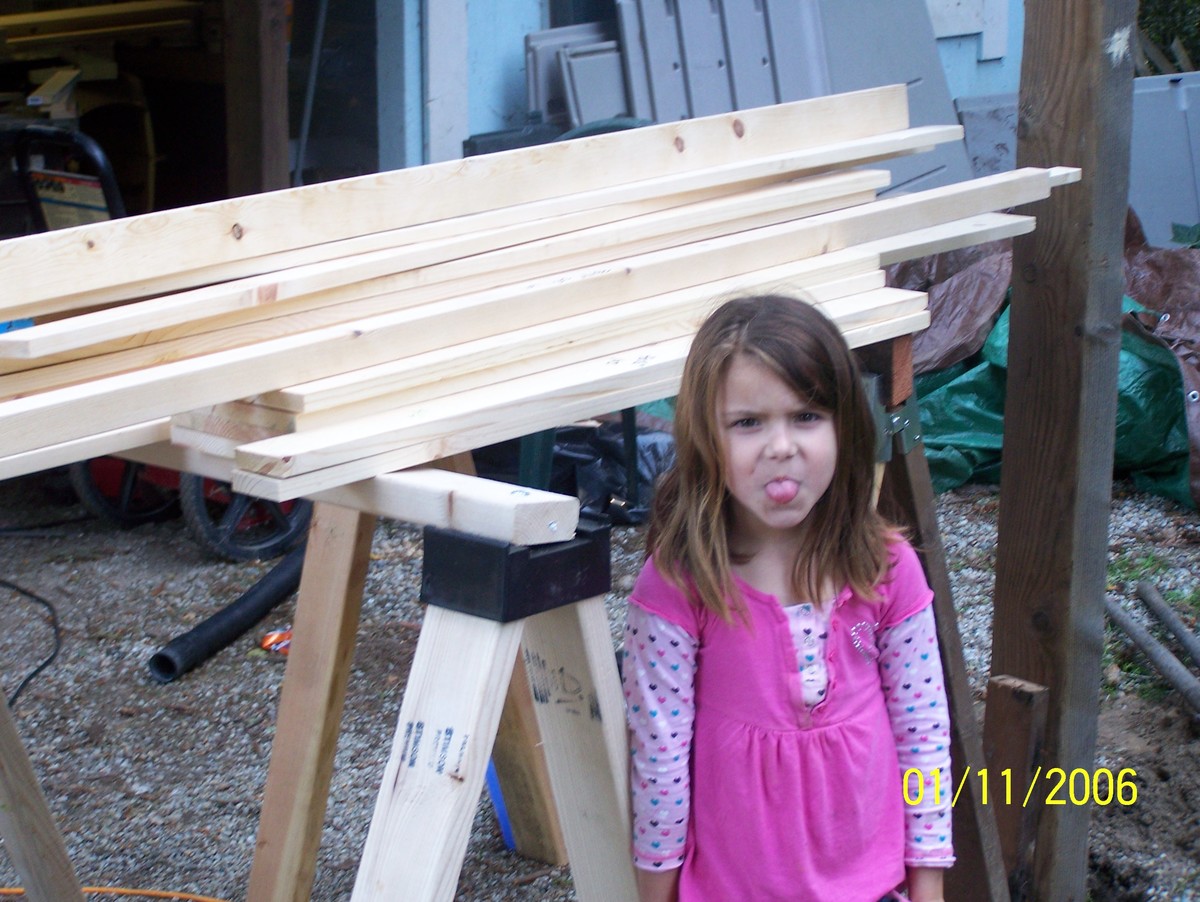
p.s. if at all possible a 12" miter saw such as my porter cable is a huge time saver!

Built from Plan(s)
Estimated Cost
$250
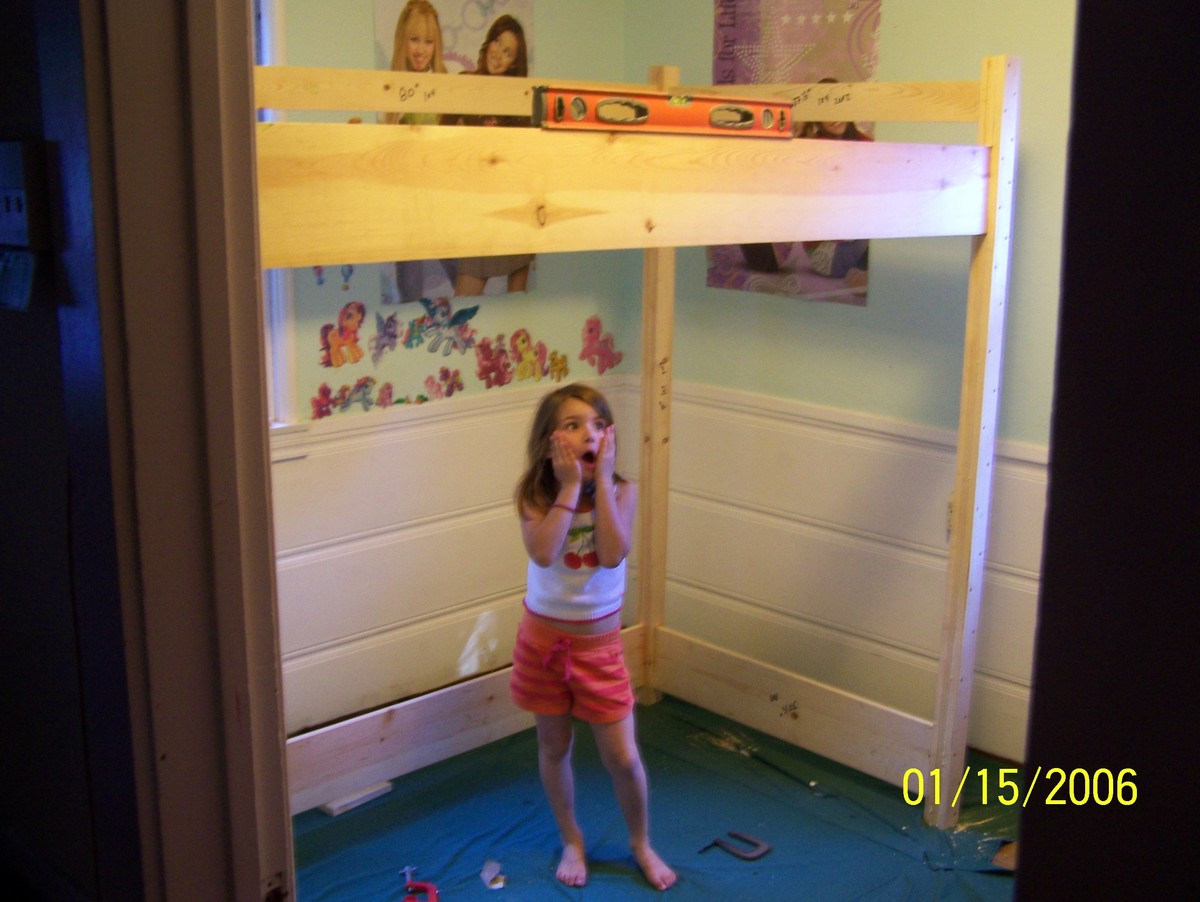
Estimated Time Investment
Week Long Project (20 Hours or More)
Finish Used
"The most purplest purple there is" with semi gloss supplied by Home Depot
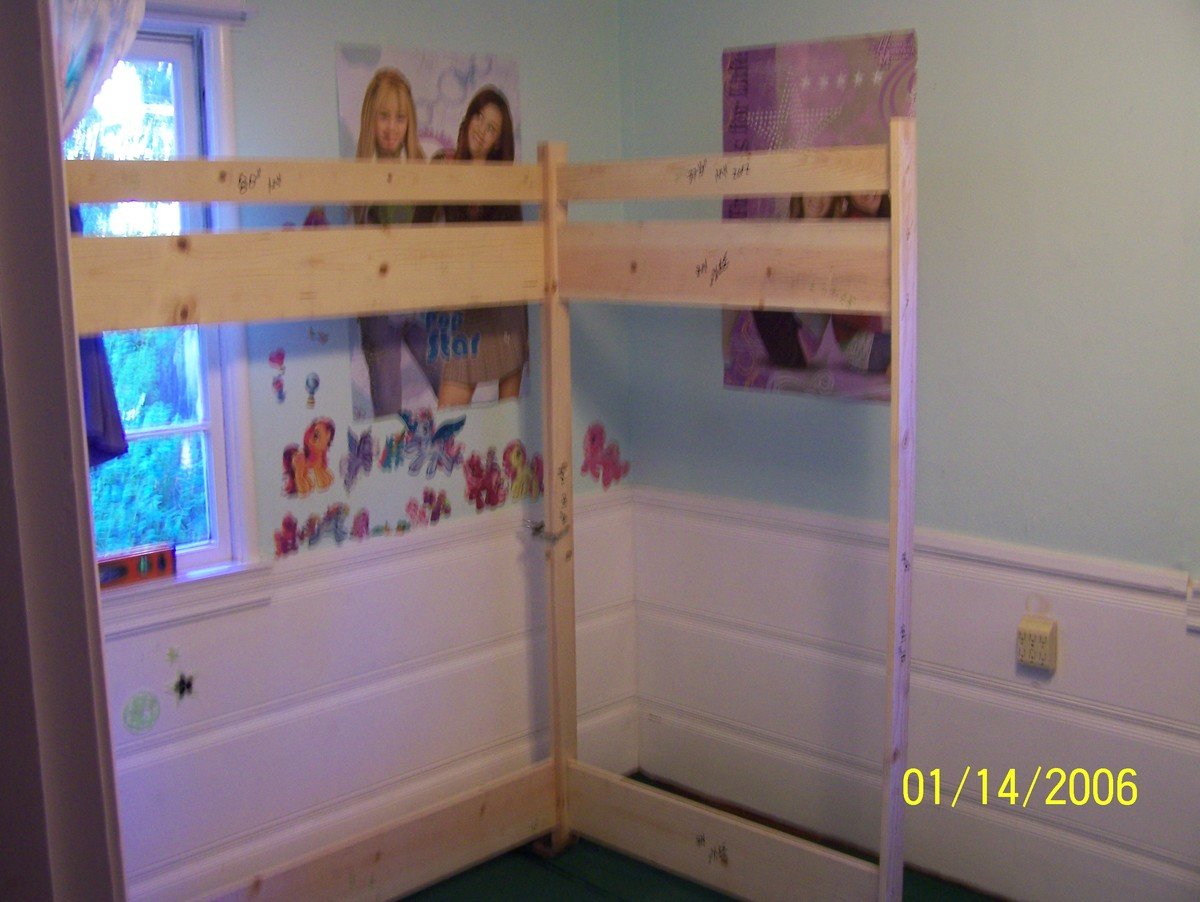
Recommended Skill Level
Intermediate