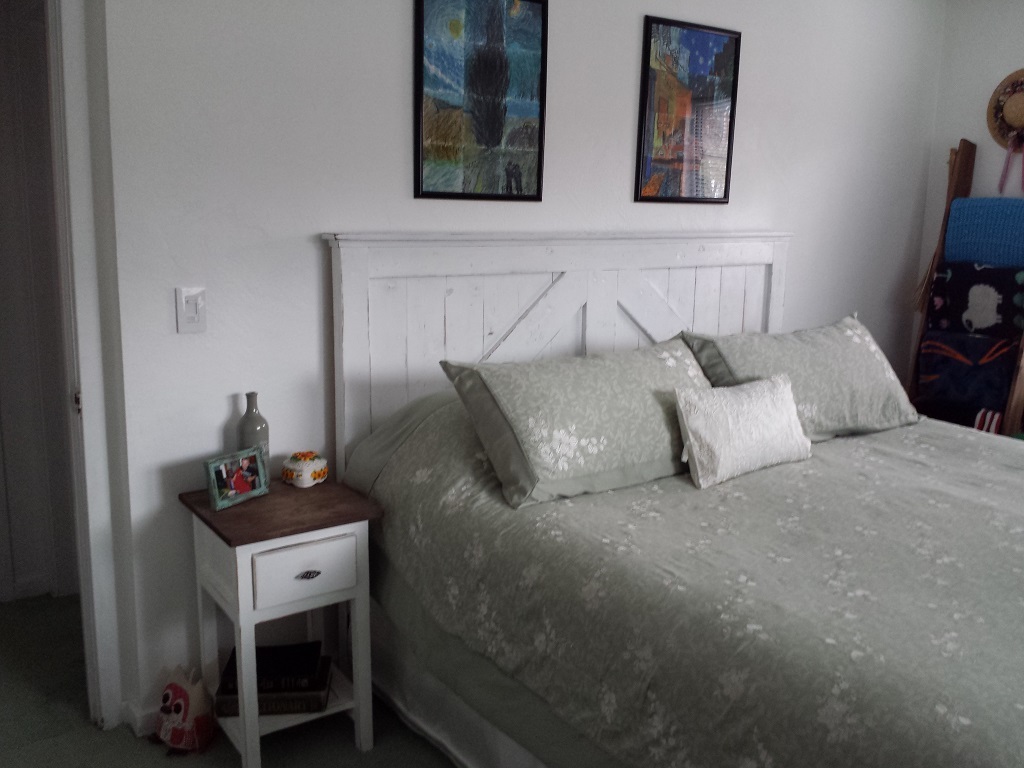
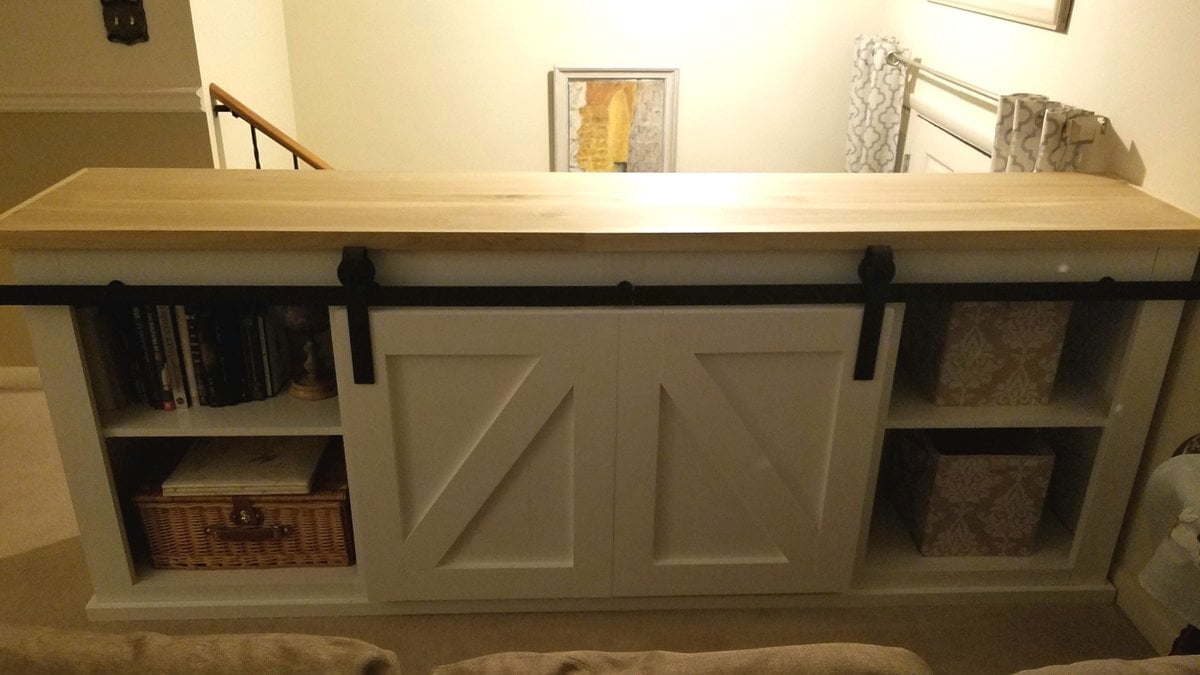
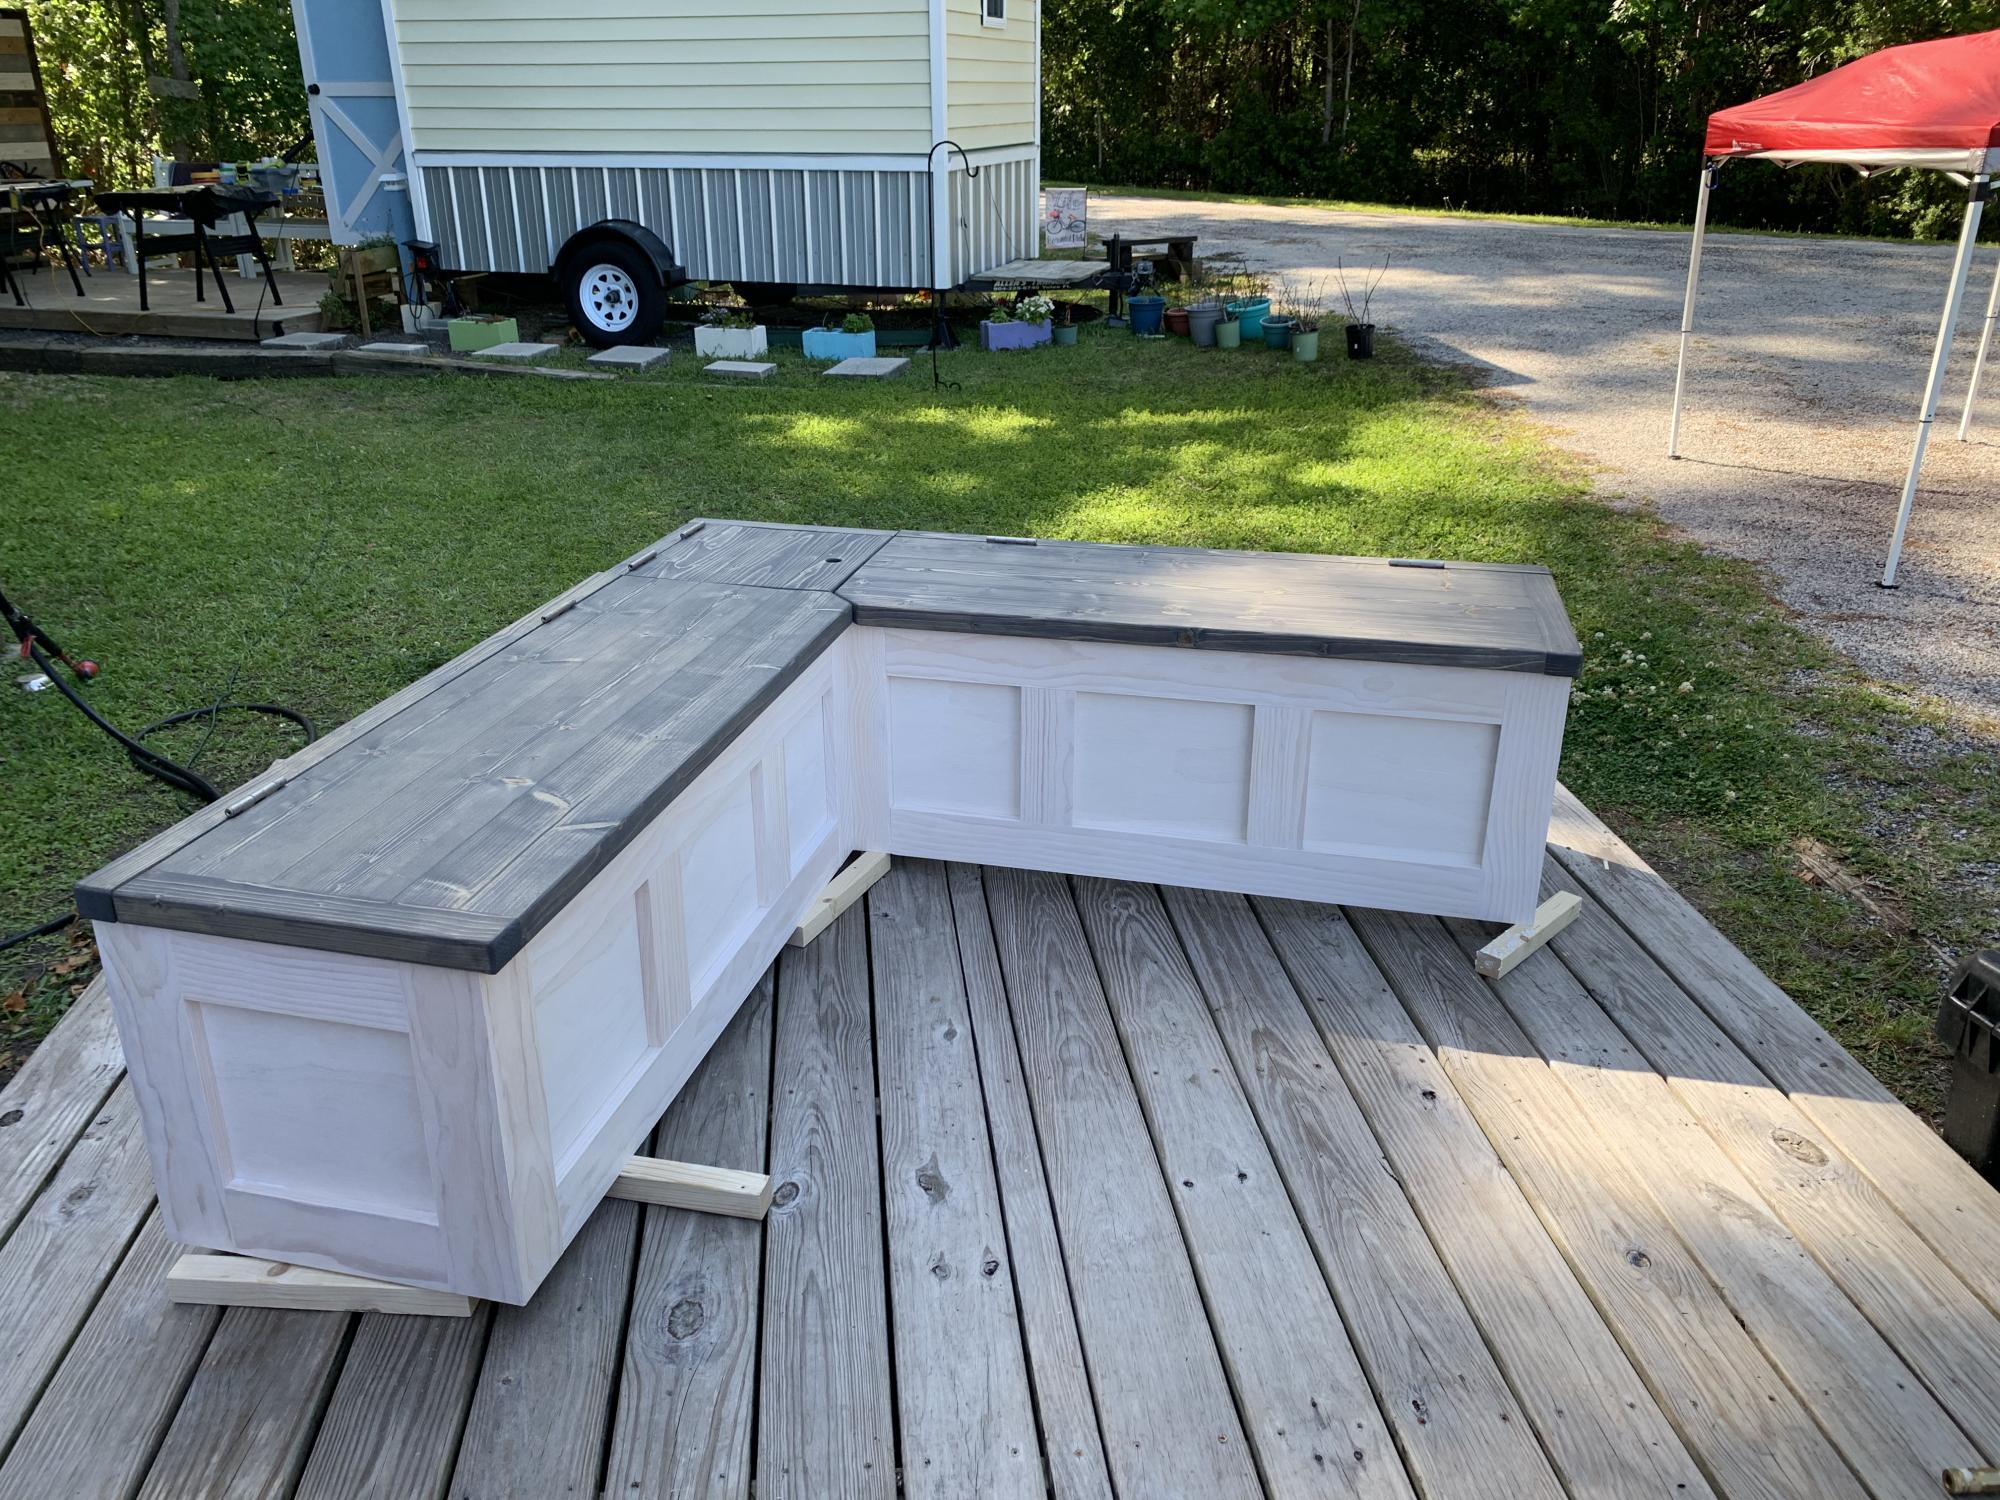
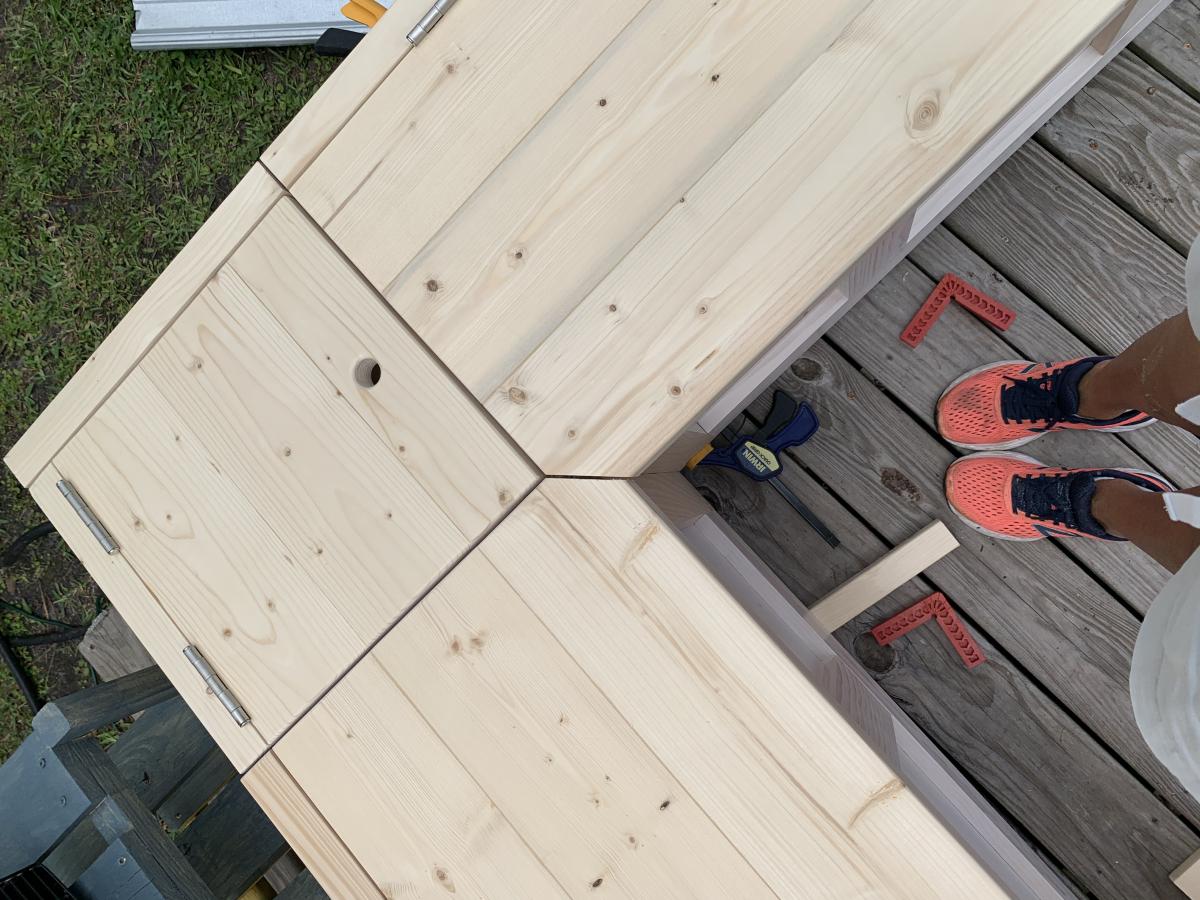
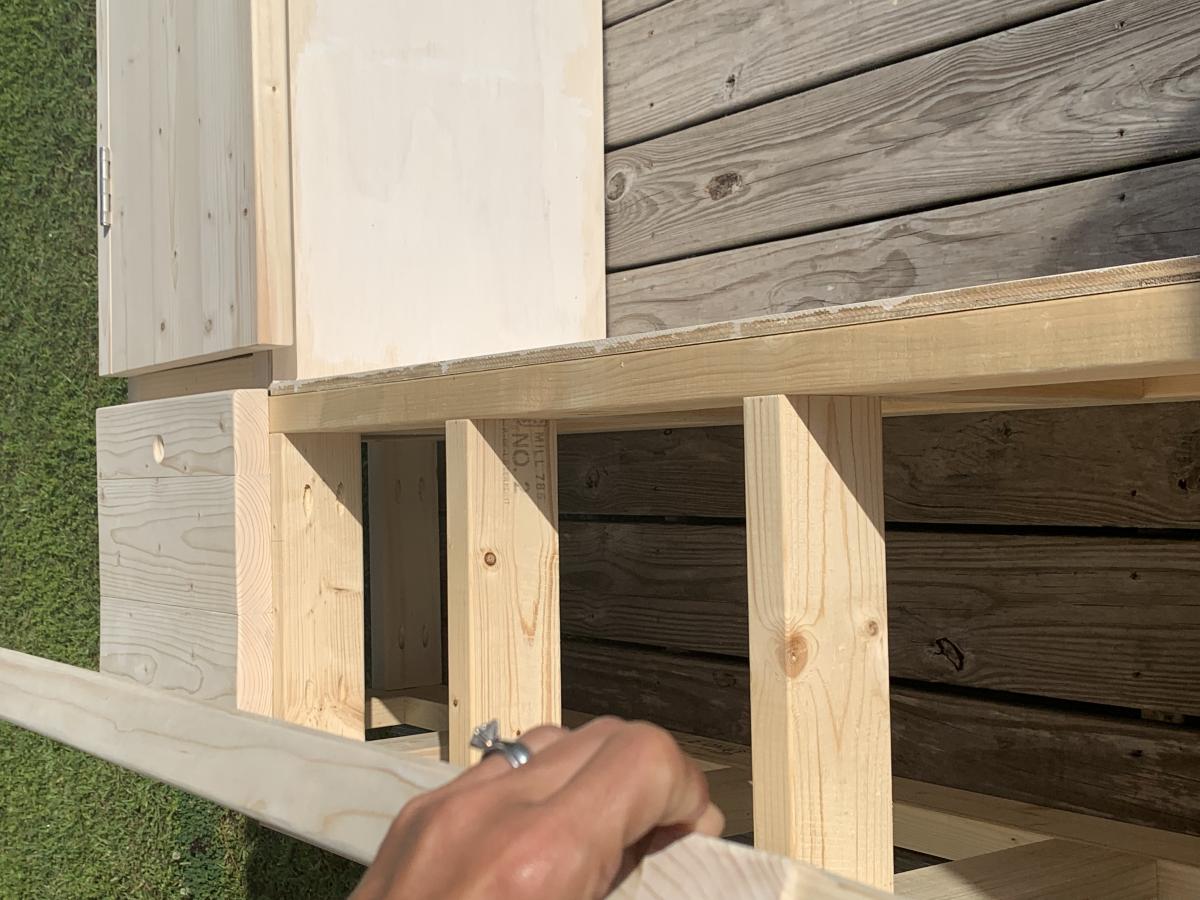
Brookstone King Size Headboard
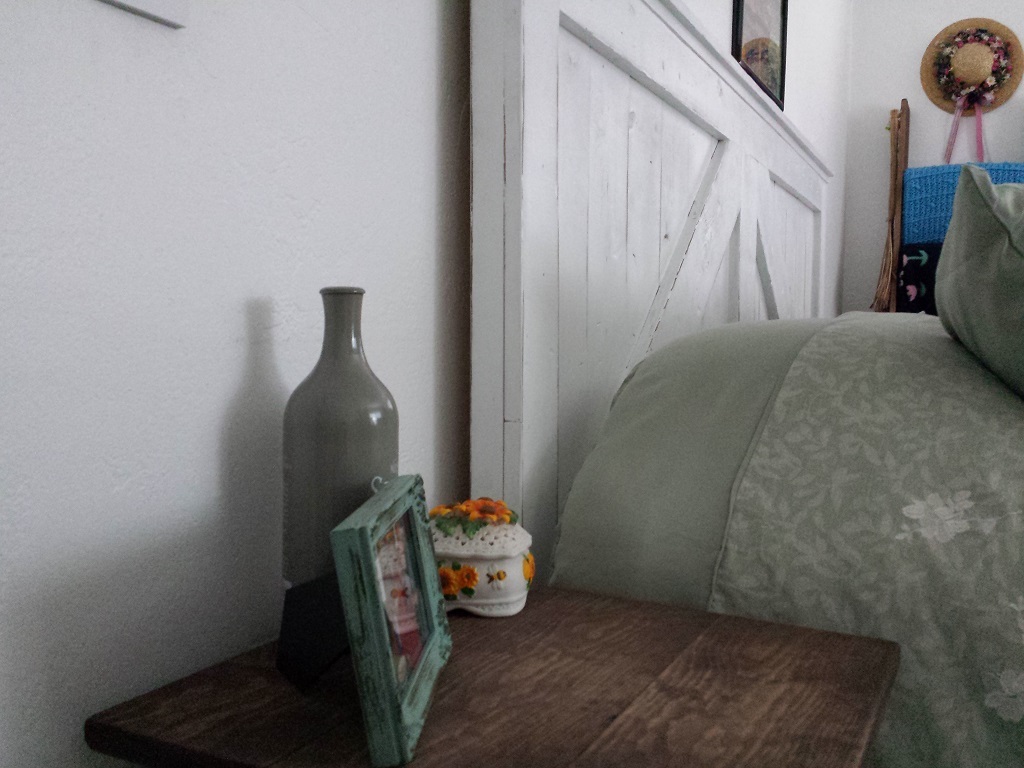
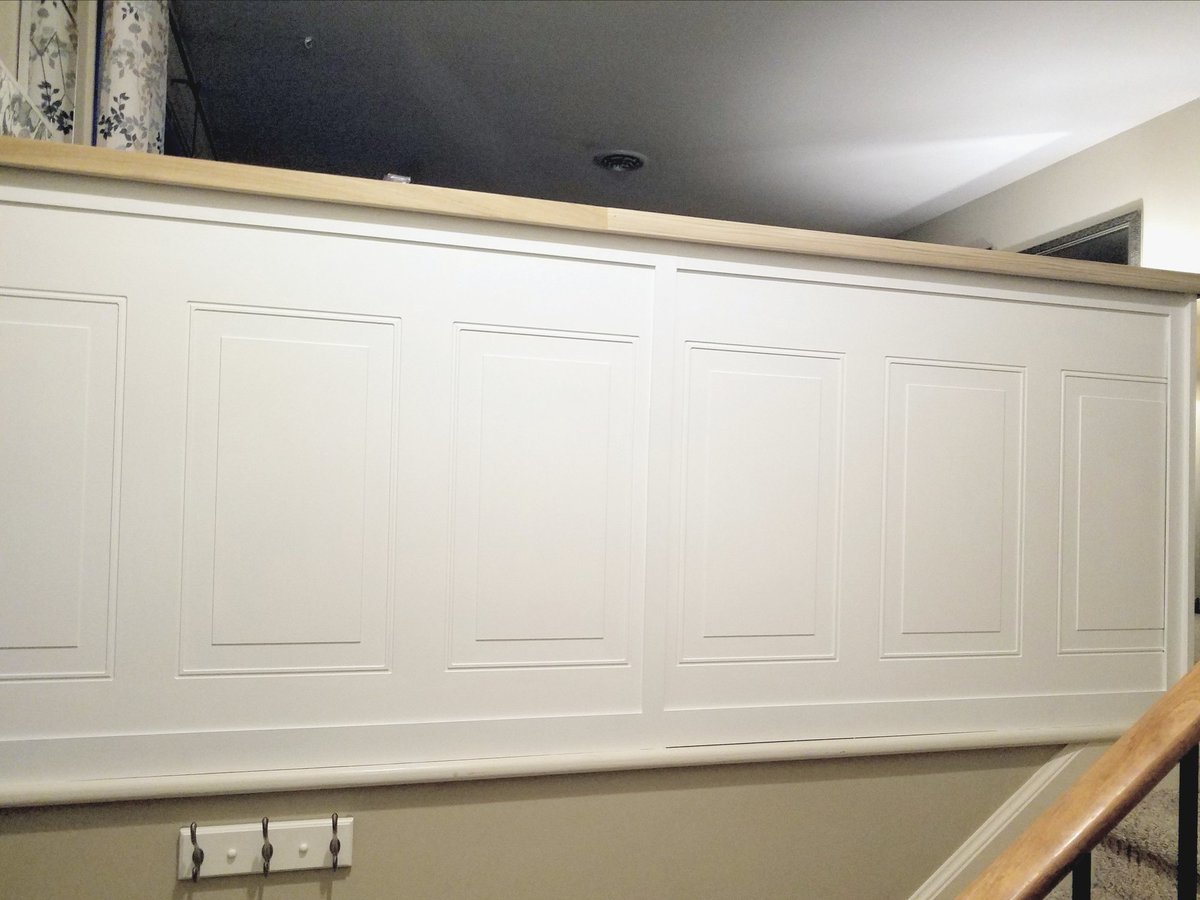
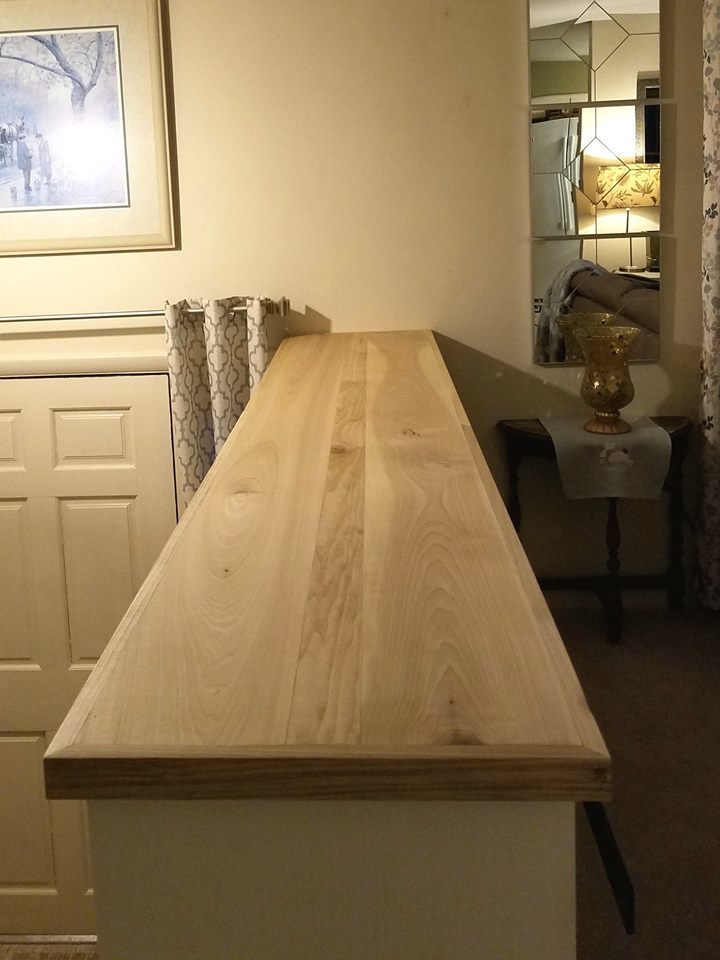
I built this headboard to coordinate with the nightstand, tv console and blanket ladder I had previously built. We recently purchased a King size bed and found ourselves in desparate need of a furniture makeover. I modified the plans to fit our bed, and wanted a beefier look so I used a combination of twelve 1x6s and three 1x4s as opposed to only using 1x4s for the panel back. I also used 1x6s for the trim as well. Legs were made of 1x4s, doubled up at the bottom for additional support. I built it so that the legs could bolt to the bedframe using lag bolts. I also wanted it to be a bit taller so I increased the height to 56" tall.
Built from Plan(s)
Estimated Cost
$150
Estimated Time Investment
Weekend Project (10-20 Hours)
Finish Used
I stained the headboard with Minwax Special Walnut and then hand painted 3 coats of Pittsburgh Paint, which is very thick. I let everything dry and then antiqued it using a combination of 120 grit sandpaper and steel wool pads.
Recommended Skill Level
Intermediate


Comments
Ana White Admin
Fri, 04/10/2015 - 12:09
Very Pretty!
Great job, thanks for sharing!
nicosekadau
Fri, 04/10/2015 - 23:19
I also wanted it to be a bit
I also wanted it to be a bit taller http://wp.me/p5ZUhY-1S
http://ref.li/paYsW
http://bit.ly/1NdOcoW
http://wp.me/p5ZUhY-1P
http://wp.me/p5ZUhY-1D