Bird Feeder on a pole!
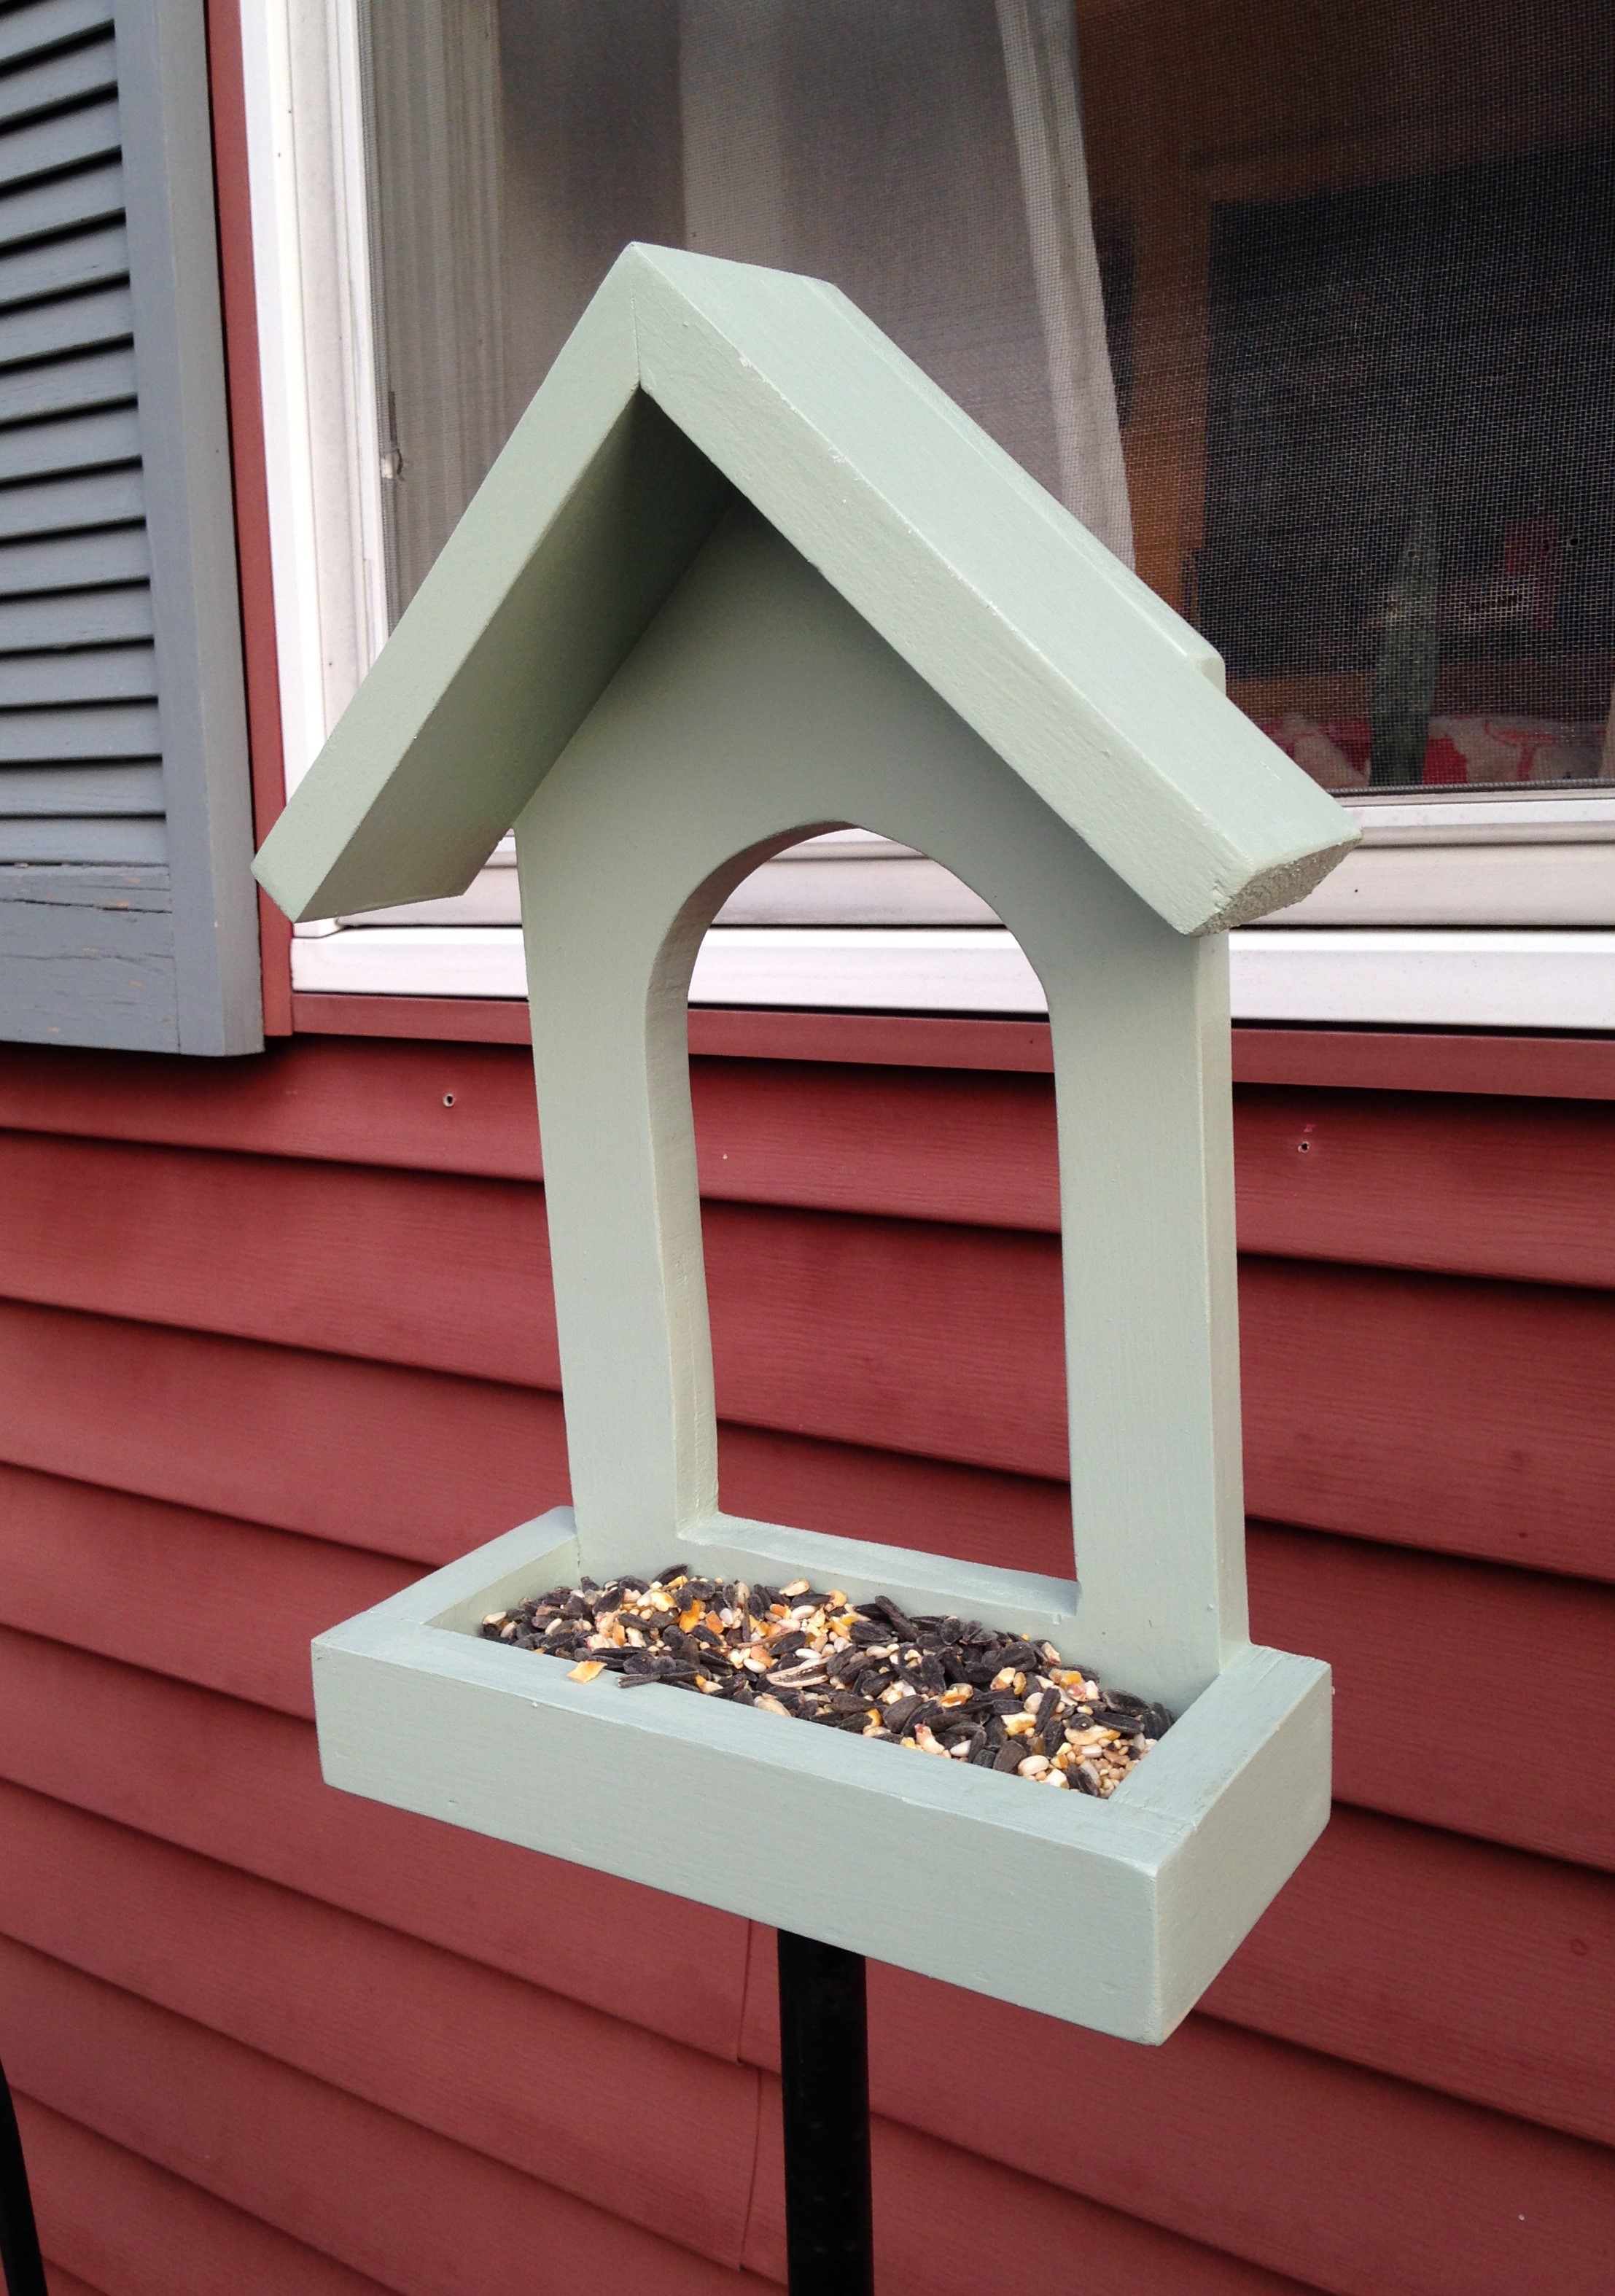
What a great little feeder! I didn't put mine in the window yet, because the screens are on for the summer. I screwed a metal flange into the bottom of the bird feed then screwed a metal pipe into the flange. Then put it in the ground under the window. I'll add the suction cups and put it in the window in the fall. I love watching the birds!
Estimated Cost
It didn't cost me anything since I used scrap wood from other projects. I also had the metal flange & pole in my basement. The 1/2" pipe flange is about $5, the metal pipe can run $12-$15 or more depending on how tall you want it. I used some exterior paint that I also had from another project.
Estimated Time Investment
An Hour or Two (0-2 Hours)
Finish Used
Exterior paint
Recommended Skill Level
Beginner