This is a fun project even for beginners. If you have an interest in building a sandbox, and have some tools, I'm sure you can make this easy enough!
I used 2" X 10" wood for my sides instead of the 1" as the plans call for. This gives extra strength and more depth. When you use 2" wood, you will have to turn your 1 X 4's the other way to match the 47½" width, because with the added width of the 2 side boards, your new width is now 49¼". It's not difficult, you just have to match your 1 X 4 X 47½ boards to the proper width. It will turn out fine, they just won't match the plans or pics of those using 1 X 8's for sides.
Sorry, I'm delivering this to my grandson's house for his birthday present, so no sand, but use landscaping cloth under this sandbox, then fill with sand.
One other thing, I'm toying with the idea of matching the angle the backrest is at and re-cut new pieces of 7½" arm rests. I think that may look a little better than the rectangle blocks.
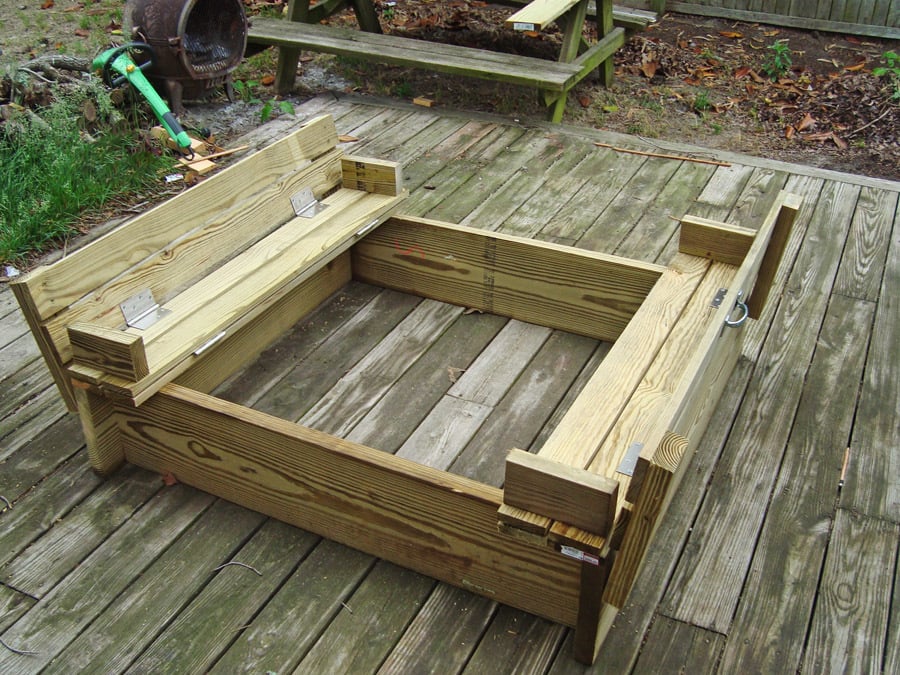
My added pics are as follows:
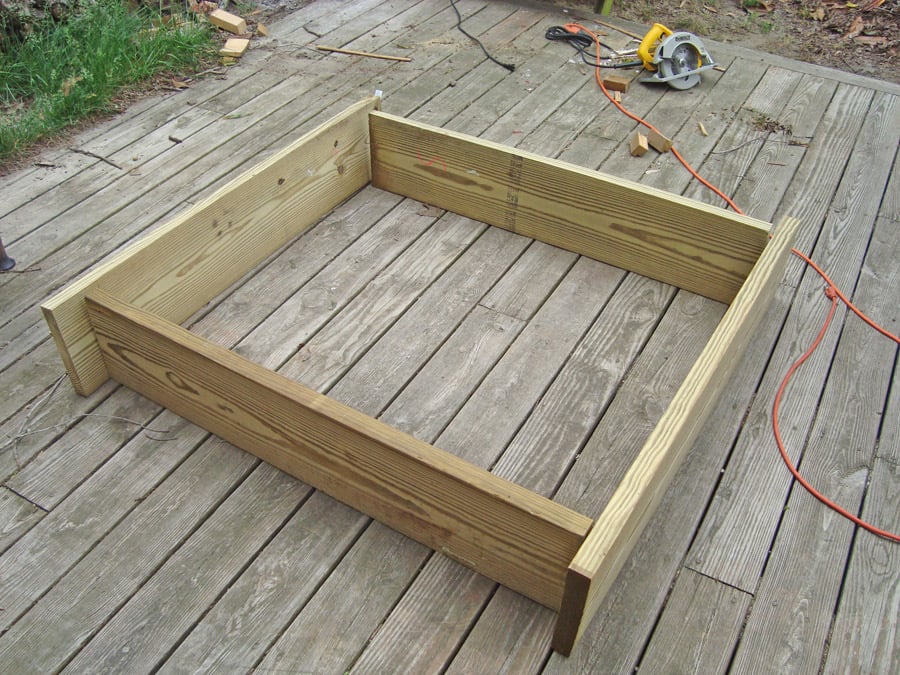
1. The side boards all cut, and sizing up the frame.
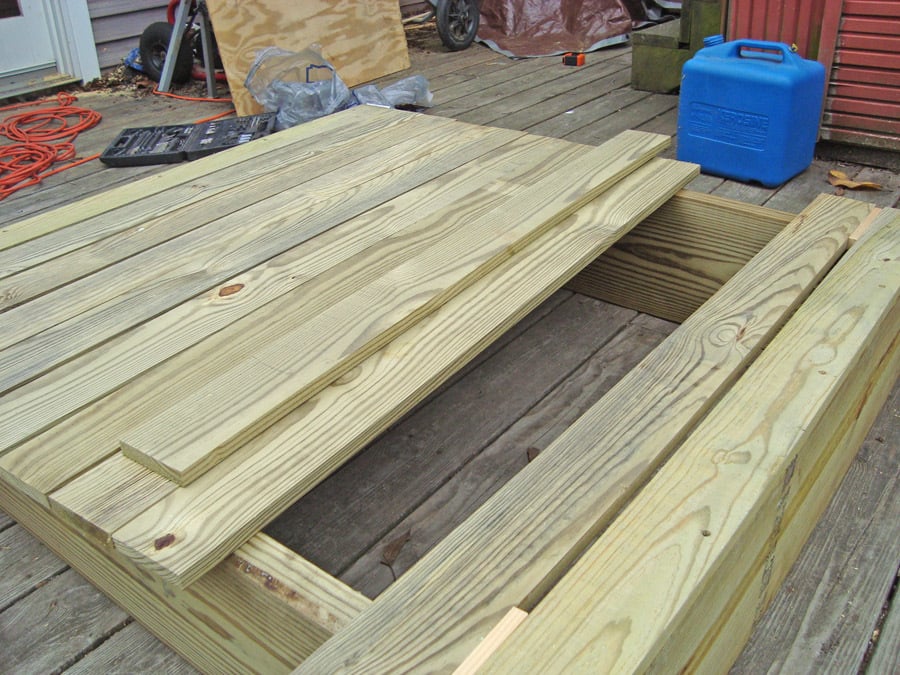
2. All other boards are cut; I laid them out for fit before screwing the pieces together.
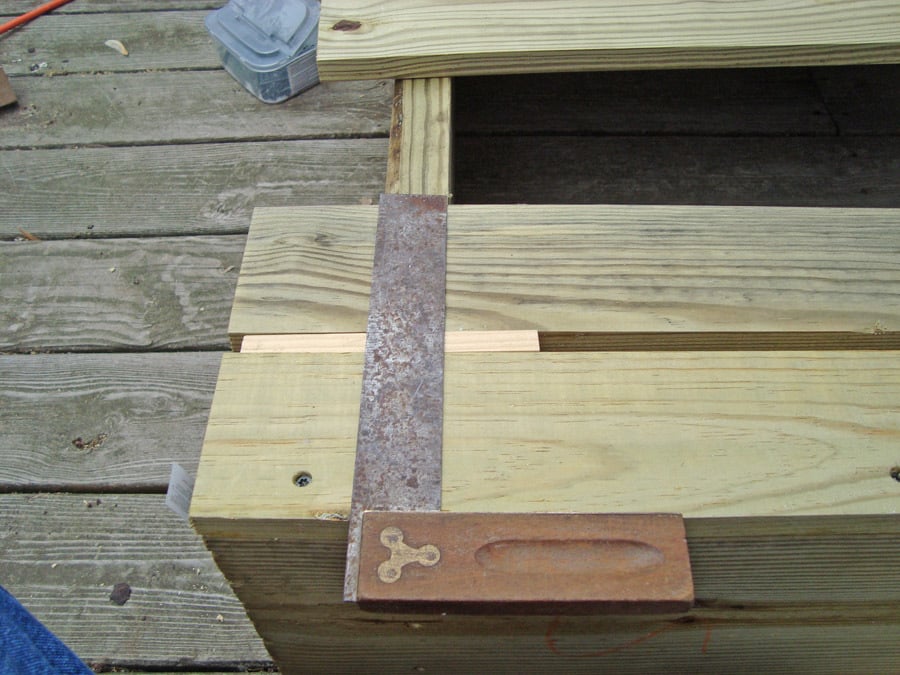
3. Using a square will help you keep everything at the correct angles. Also note in this picture and the next where I used two ½" pieces of wood I ripped to keep the ½" spacing uniform. Just rip any wood to the ½" width, make 2 pieces and butt against the next board on both sides, then screw them down. Makes it VERY easy to keep a uniform gap.
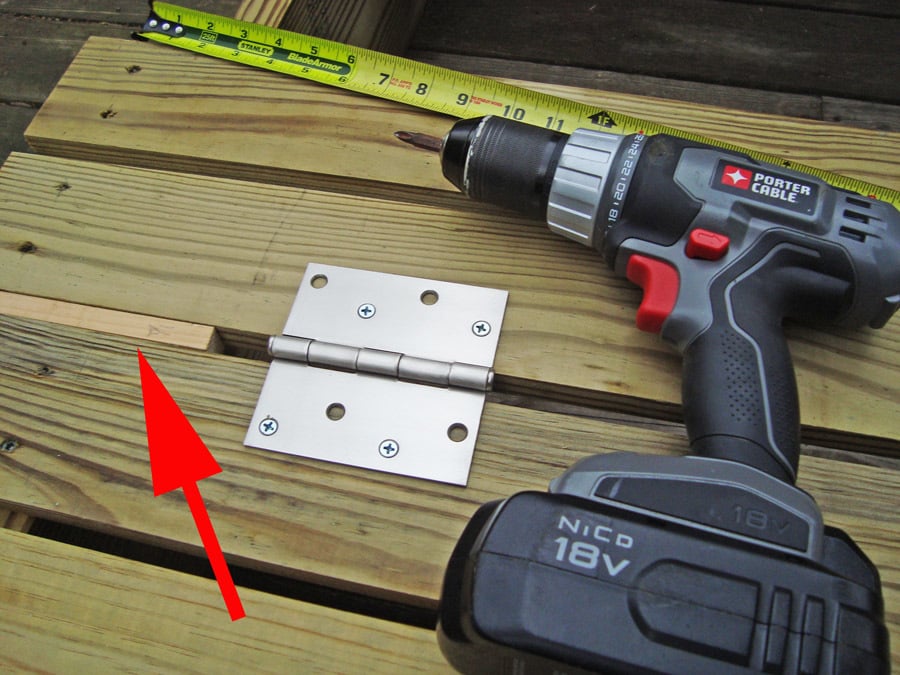
4. This picture shows me using the same "spacer" when putting the hinges in place. The red arrow points to the wood spacer.
5. The first bench is complete, and working fine!!
With the wood I used in my project, I used 2½" self tapping deck screws for the frame and attaching the 1X4's to the frame; I used 2" galvanized for attaching the 1X4's to any 2X4's; and for the hinges, I used ¾" wood screws. Using these sizes prevented the screws from coming through the other side.
I bought everything needed in this project at Lowe's and it was under $90 in costs; this is all the lumber (upgrading to 2 X 10's), hinges, screws, and handles.








Comments
freefromburdens
Sat, 02/15/2014 - 11:42
I love this. I love the price
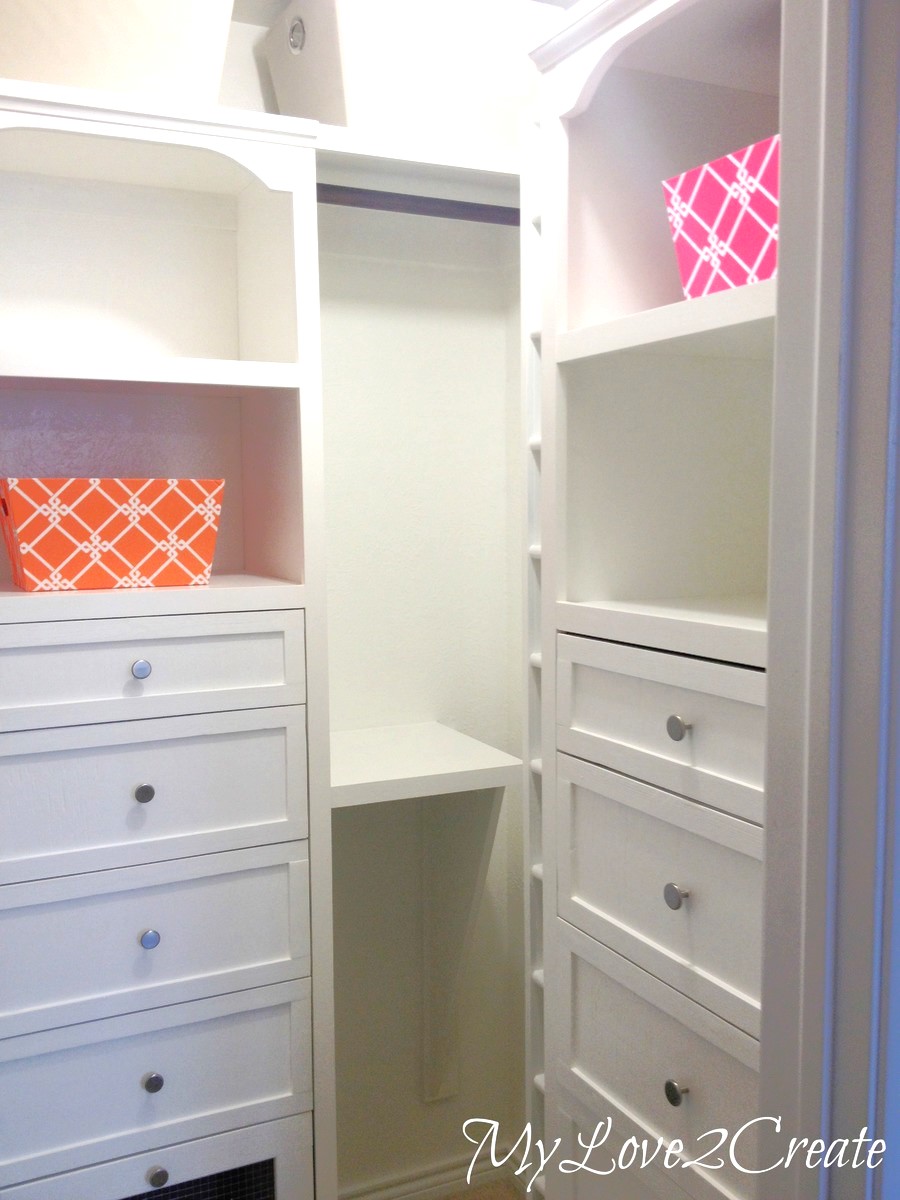
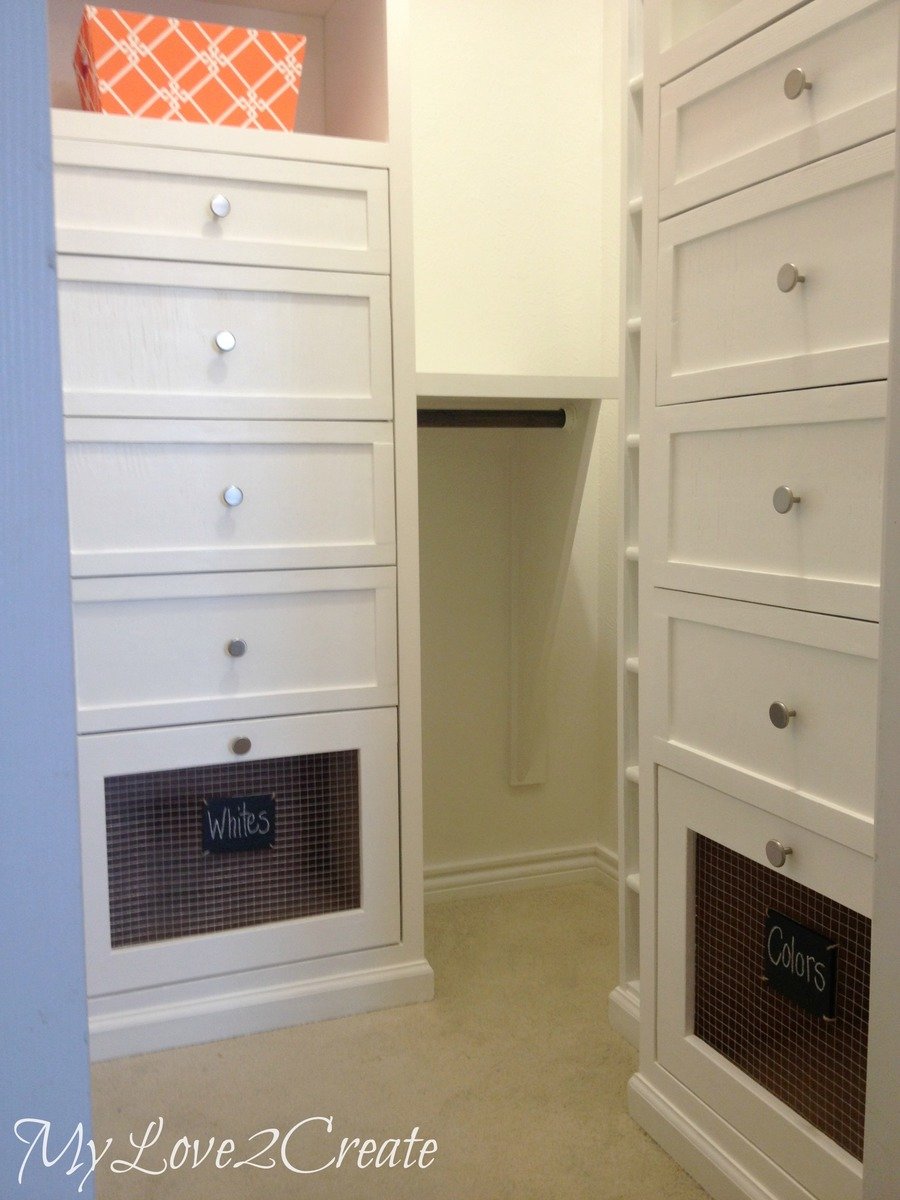
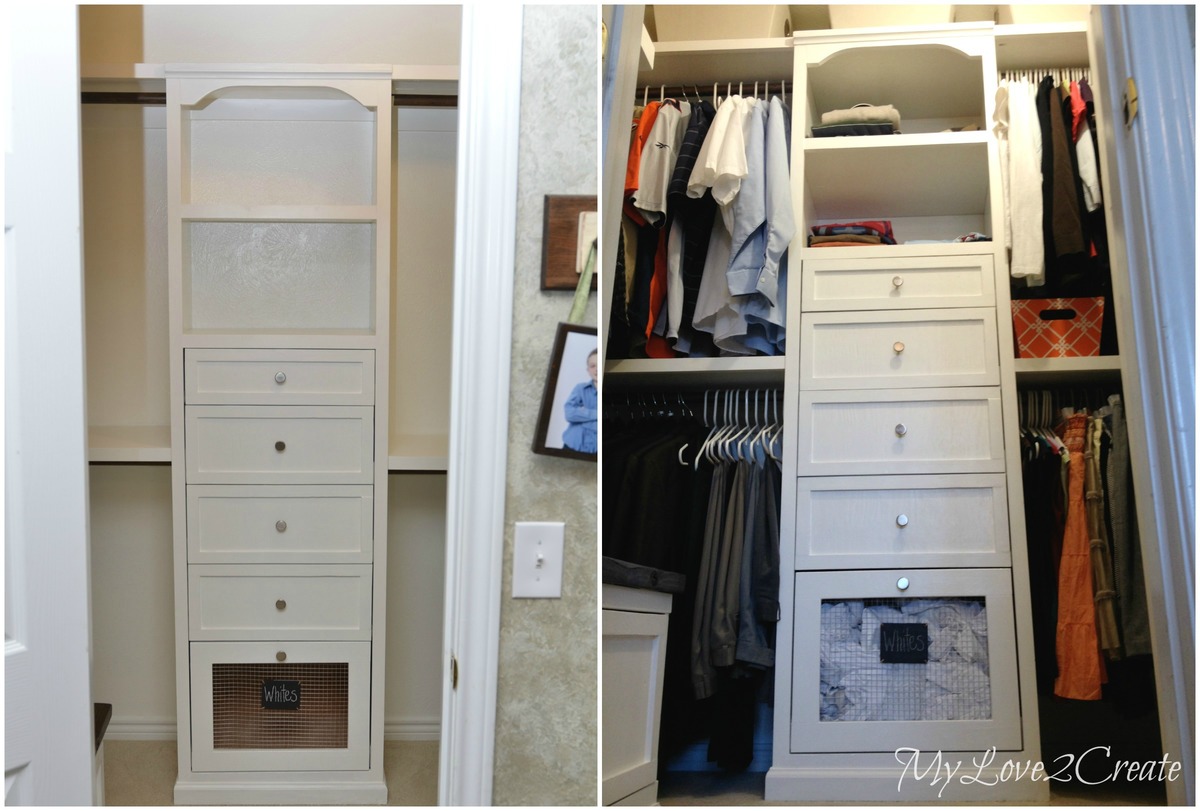
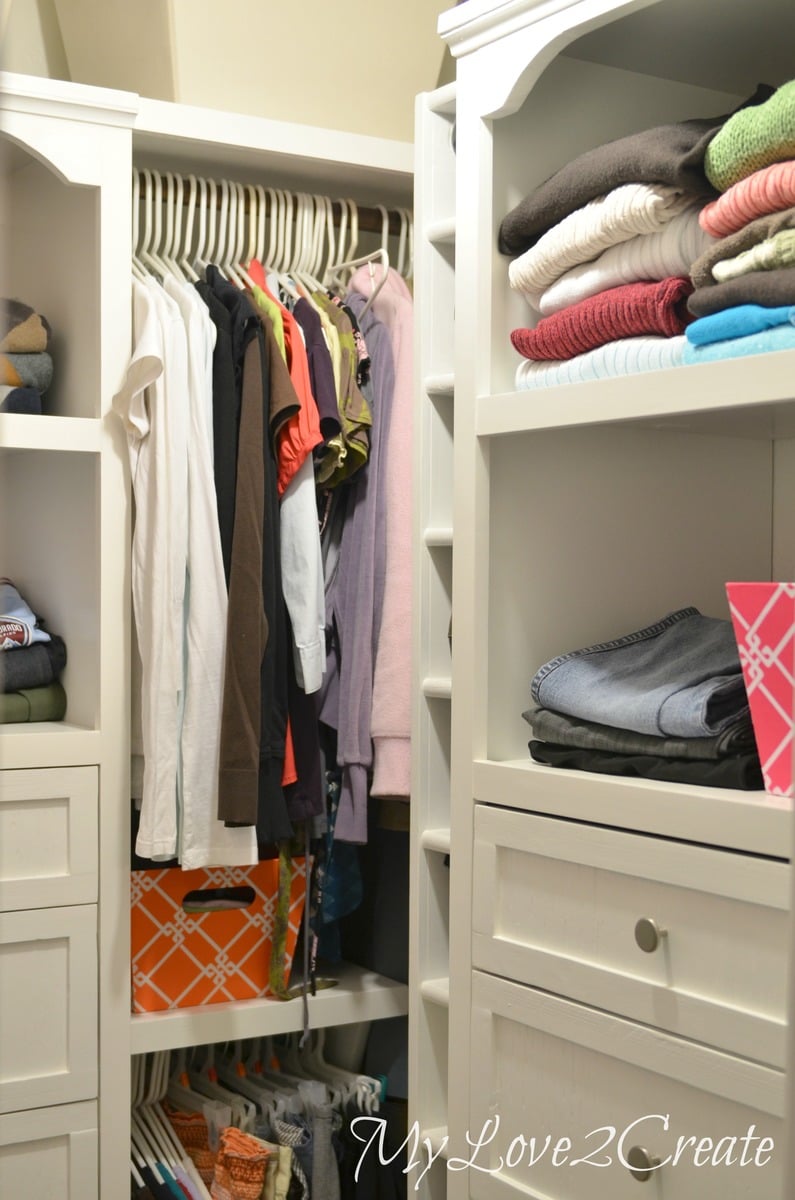
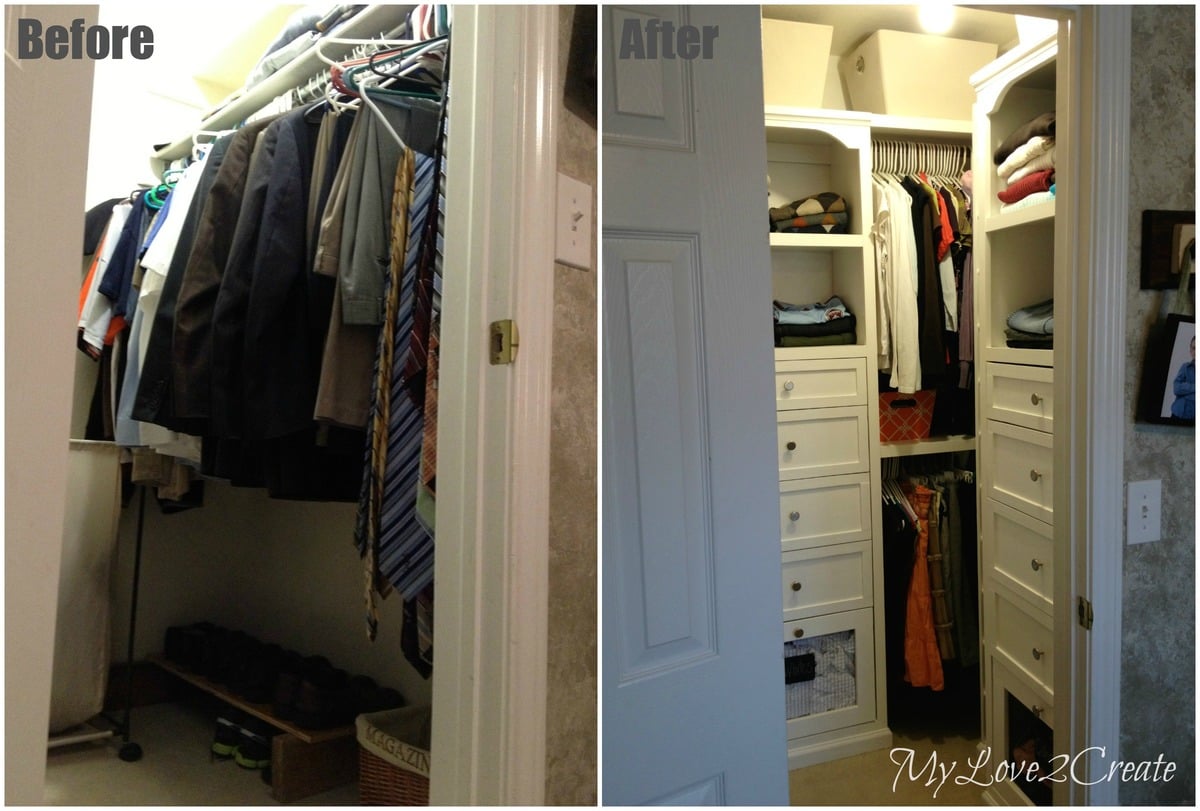
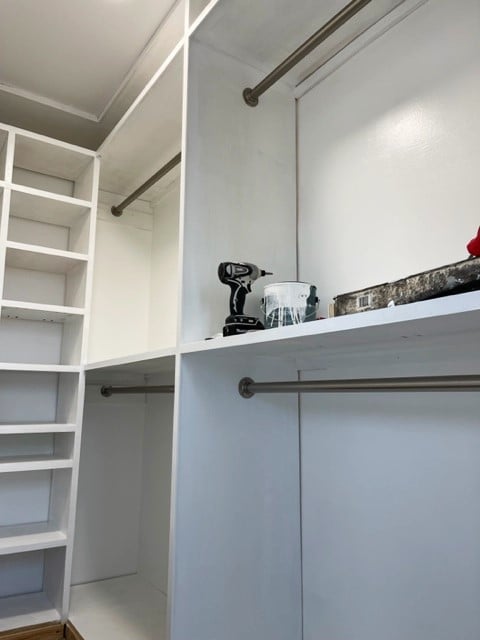
I love this. I love the price also. I redid my closet and chose not to use the towers, but after seeing yours I plan on doing my other closets using this one. While doing research on closet organizers, the price was nothing like yours. This is really good quality for $150. Great job...
In reply to I love this. I love the price by freefromburdens
dmcarwin
Sat, 02/15/2014 - 12:48
Thank you so much!!
It really was a great price, please note that without using a lot of my scraps I could not have done it, for so cheap. All of my drawers were made with scrap/reclaimed wood I had collected, and reusing wood from my old closet. The price of $150 was just for the two towers (drawers not included) and not all the other builds in my closet. I just don't want you to think that you could do it for that price if you had to buy all the wood. If you click on my blog post link I do a break down of all my costs (again not including what I had on hand) and for everything in the whole closet including the bins it was just over $300, that I personally spent. I was lucky to have so much scrap/reclaimed wood, it saved me a ton of money! Thanks again!
freefromburdens
Sat, 02/15/2014 - 15:50
Thank you for replying back.
Thank you for replying back. I went to your blog and saw the break down. Still a good price. Good job...