Community Brag Posts

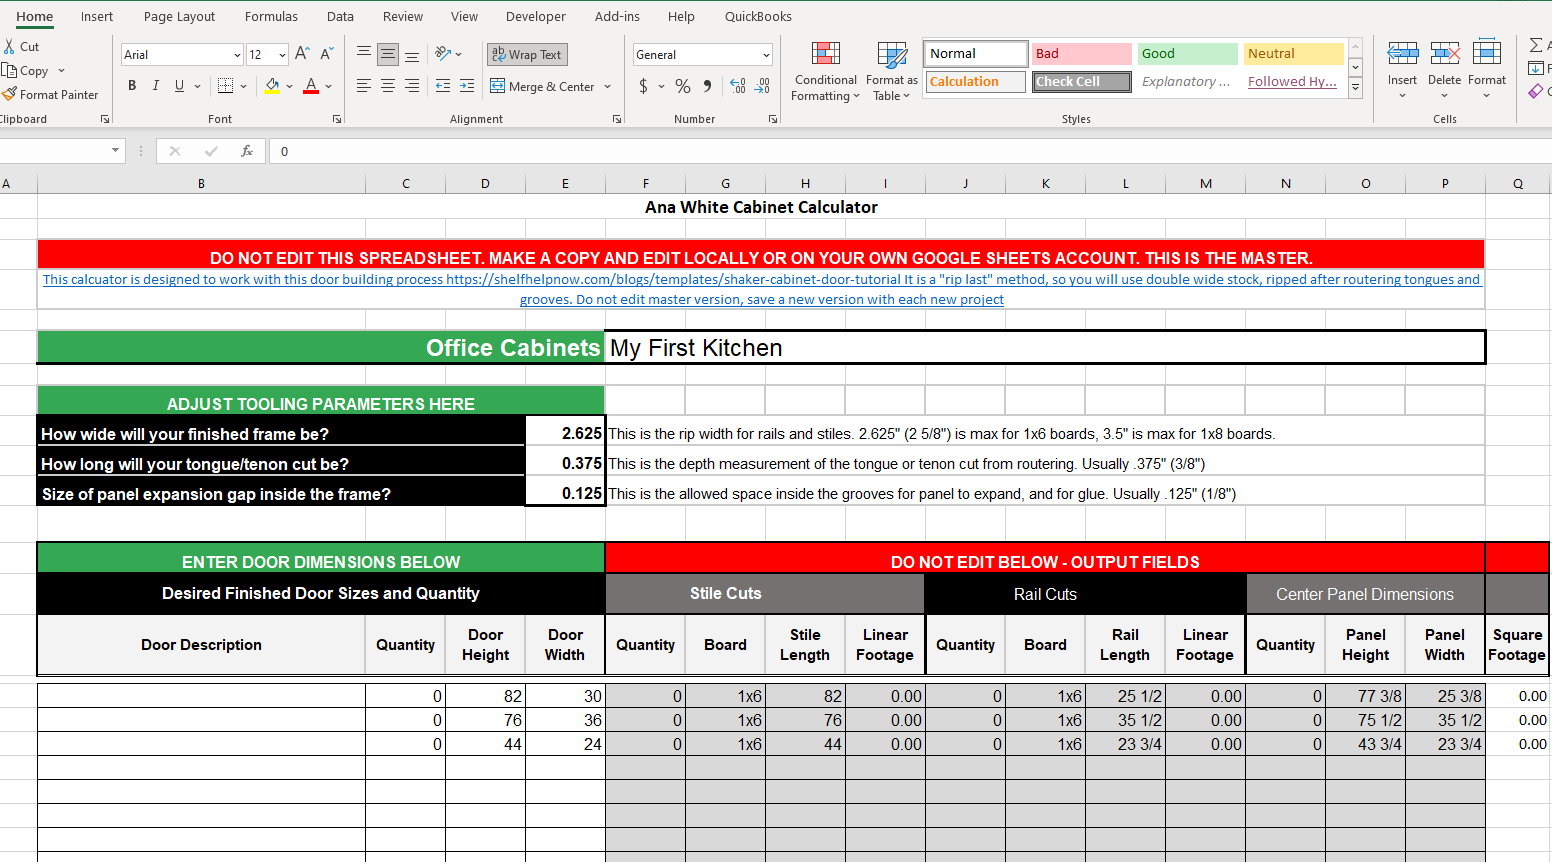
Ana White Cabinet Builder Google Sheet converted to Microsoft Excel

I was trying to use the google sheets cabinet calculator that Ana posted and found that others were accessing and editing the master at the same time. I thought perhaps a Microsoft Excel version of the calculator to download may be useful.

I wasn't able to upload to this site so I've created a Brag Post to link to it on my site.

UPDATE: Ana's website has been updated and the file is now an Excel Spreadsheet which can be downloaded.

Estimated Cost
none, just converted the functions and calculations to work in excel
Estimated Time Investment
An Hour or Two (0-2 Hours)
Recommended Skill Level
Intermediate

Braden Entryway lockers

Submitted by bowers8307 on Wed, 05/08/2013 - 12:11

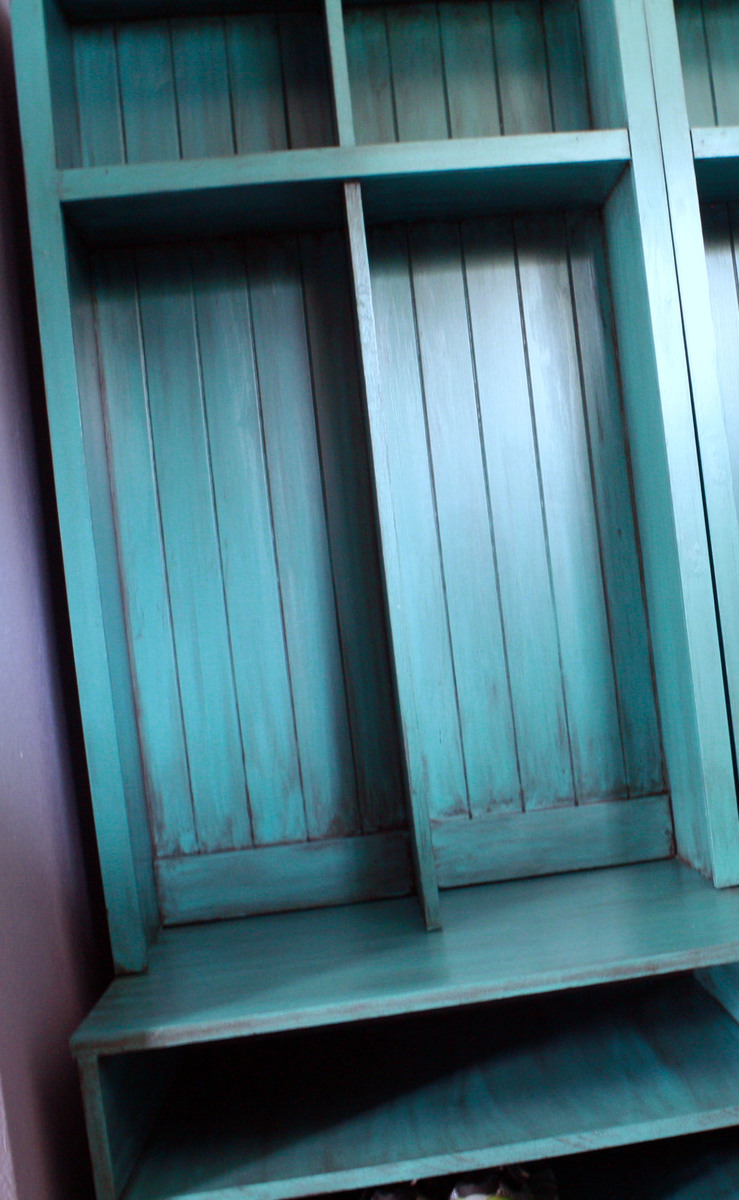
We needed some way to organize shoes, coats, book bags and the the things that need a home when you have 4 kids. I found the plans for the Braden entryway units and I loved them! I showed them to my husband who built them for me one Saturday afternoon. We decided to use piece of paneling for a wall on the back of the lockers and used MDF for the shoe bases since we wanted them to be sturdy. I painted them Valspars "Tidal Teal" and then technique glazed them with a black brown color. I LOVE THEM! They are colorful and fun and so functional. I love this site and have many other projects for my husband to build as long and I get to do the fun part, PAINTING!!

Estimated Cost
$300
Estimated Time Investment
Weekend Project (10-20 Hours)
Finish Used
Technique glazing. Valspar's Tidal Teal and black/brown technique glaze.
Recommended Skill Level
Beginner

Comments

Jen Morningstar

Sat, 06/28/2014 - 18:42

This was the first piece of wood work that I have worked on since I was 19; however, your site is so filled with such beautiful work, that I just had to make something.
Luckily we were in need of an entryway--a place to sit and tie shoes, hang coats, and have cubbies to store hats, mitts, scarves, as well as my gardening tools!
I modified your Braden Entryway Collection to fit the space I had, but I hope you agree that it turned out quite nicely, despite my novice alterations.
I'm very fond of the look and smell of bare pine, so the piece is only finished with Tung oil.
Thank you so much for such a rich site, and for an incredibly detailed 'how to,' I don't think I could have managed without it. I wish I could send a picture to you, but I have yet to figure out how to do that.

Modified garden shed for a combo dog house

Submitted by CDH906 on Mon, 05/18/2015 - 09:49

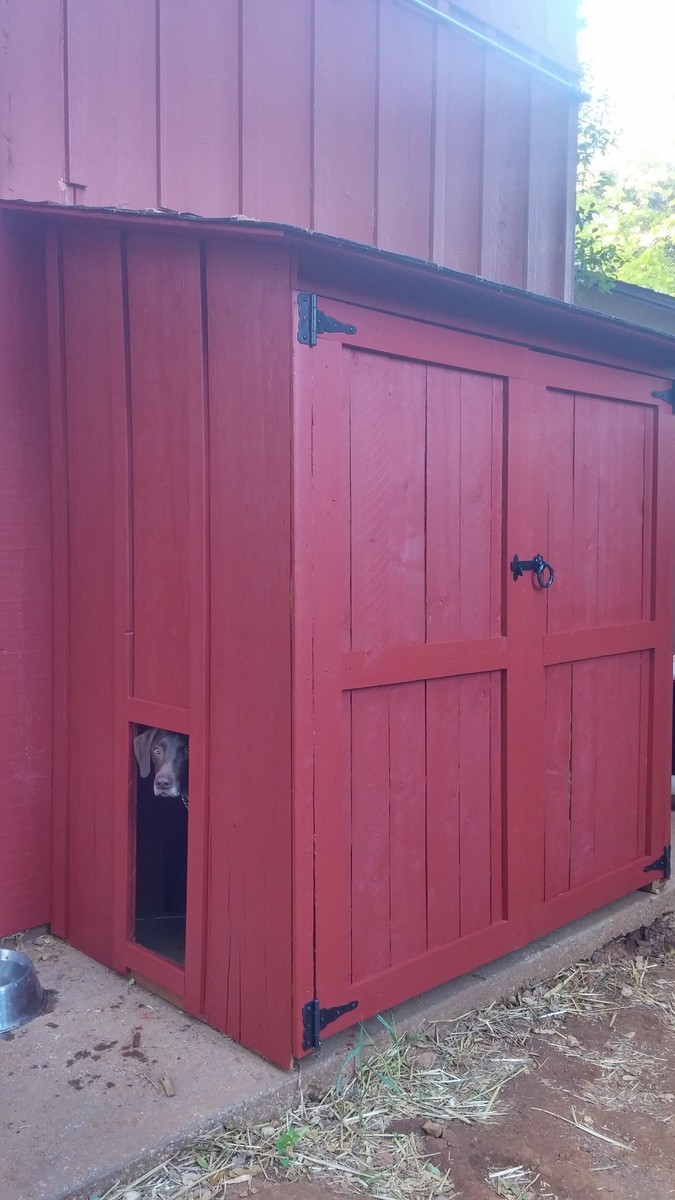
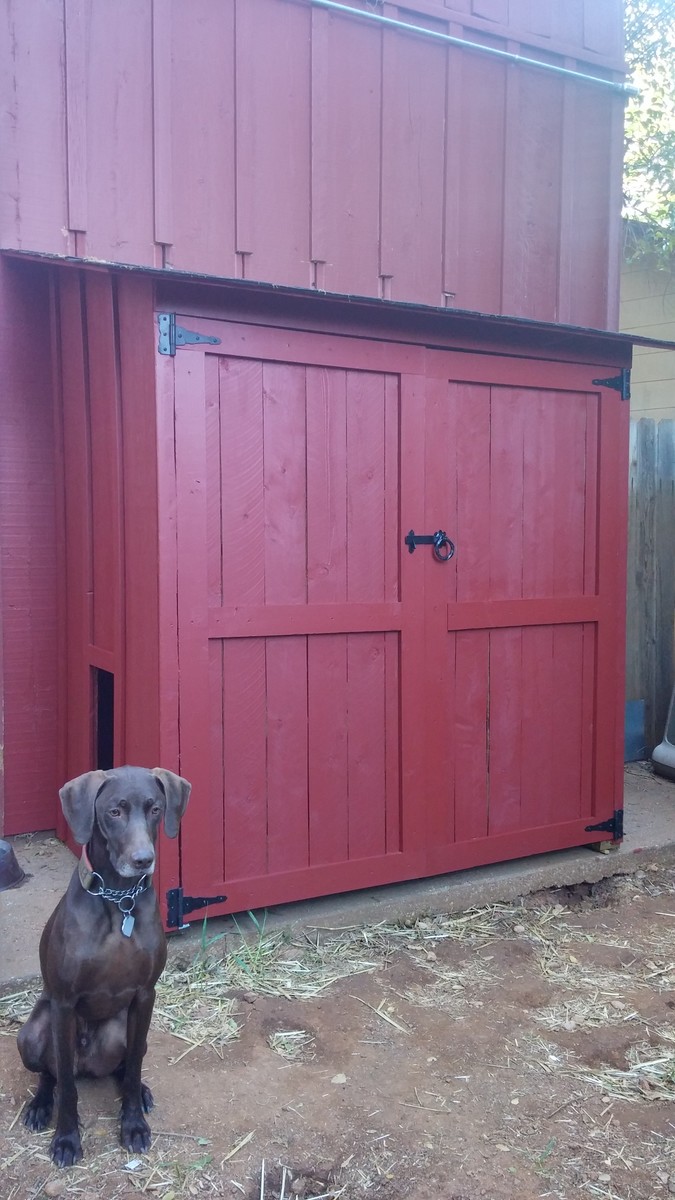
I needed a garden shed (for potting supplies) and a dog house, but I wanted it to look good. I started with Ana's plans, but screwed up a cut and was too lazy to go to the store, so I modified the plan a bit - also we didn't want a lot of venting off the roof.

OUR MODIFICATIONS:
NO BACK WALL - I did not build a back wall, as we pushed it all the way up to the house. (You need to check your codes for this if it's allowed. The way I'm integrating mine w/o breaking the exterior waterproofing of the house and it's unconditioned made mine OK)

DOG HOUSE- I cut away a hole for our dog between the battens. And as you can see - he loves it. He's got his Coolaroo dog bed inside. We also added a 'ceiling' to the lower dog house half, that divides the gardening storage from dog house. The large shelf inside that acts as a dog house ceiling, and above are my un-used pots, hand tools etc. (no worries no chemicals with the puppy)

PAINTED EXTERIOR- I painted it red to match the house, and will also be putting garden pavers in front of the doors.

ROOF- We did put an underlayment down on the roof before the asphalt shingles.

LESSON LEARNED- If your dog is a Mama's boy like mine, he may try to climb a ladder to remove you from a roof which he has determined is not OK for you to be up there.

*One concern is - most sidewalks slope away from the house, so we had to shim the sill plate so front of the shed doesn't lean outward causing the doors to pull open constantly. As you can see from the photo I still need to flash at the roof where we cut back our houses' battens.

COST- We live in CA - and this project was more expensive than anticipated, our lumber/roof shingle costs were around $270 alone, and keep in mind we didn't build a back panel. I have very little scrap left over too. When I was nearly done the hinges were an additional $15 a piece, $10 for the latch. And we had the primer and paint in the garage. Underlayment for roof, I already had in the garage too.

TIM-: I started this project on a weekend, but it ended up taking longer; probably because I didn't block out the weekend just for this project. I spread it over the course of a month, so hours wise it probably wasn't as bad as it felt... You do need two people though, and that's where I ran into some trouble, I kept trying to work on it when my husband wasn't home. Probably 24hrs, 3 easy going days. Could probably be done in a weekend if you were dedicated and didn't get distracted (or screw up a cut like I did, which sent me to the drawing board to fix my mistake)
Built from Plan(s)
Estimated Cost
$350
Estimated Time Investment
Week Long Project (20 Hours or More)

Finish Used
Exterior house primer and paint
Recommended Skill Level
Intermediate

Comments

Ana White

Mon, 05/18/2015 - 11:52

Great mods, love how you incorporated the dog house! Thank you for sharing!

Wooden Play Parking Garage

Submitted by DMax2010 on Fri, 06/21/2013 - 14:23

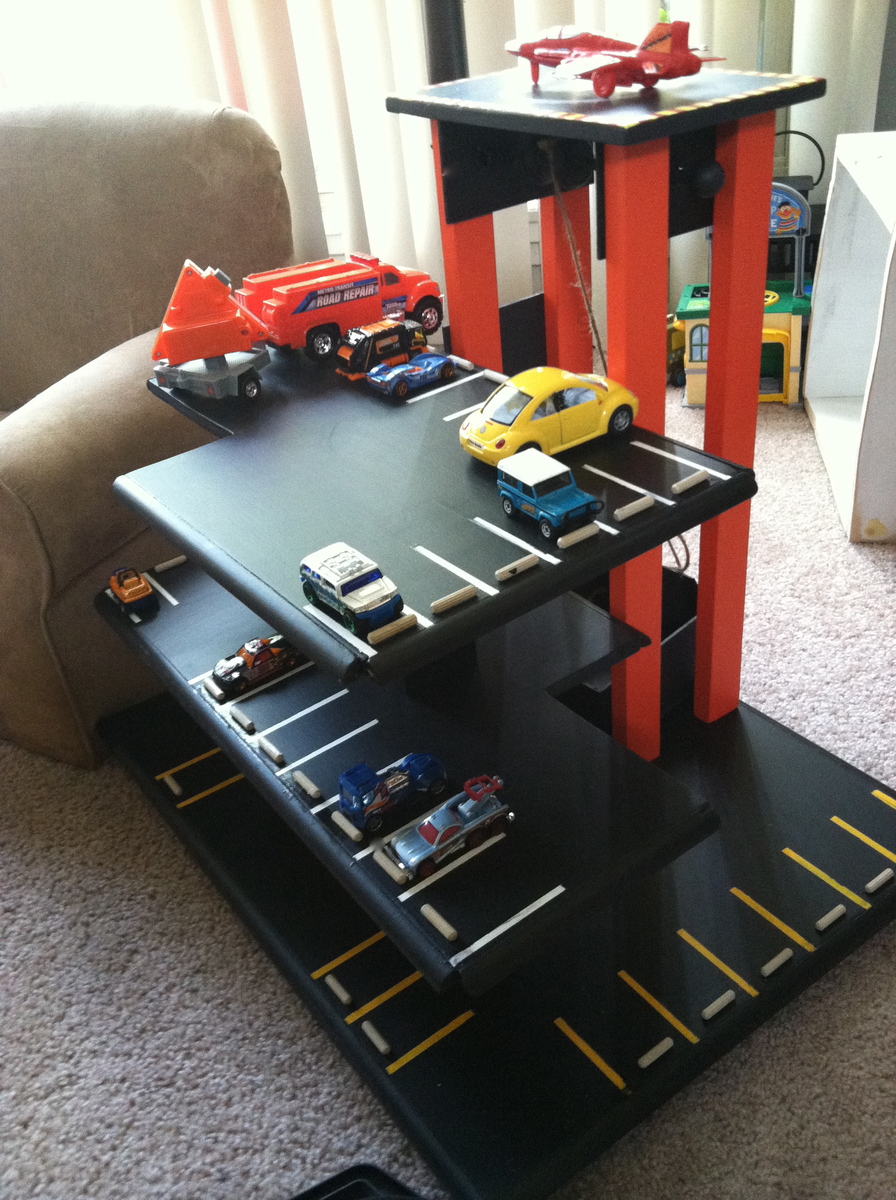
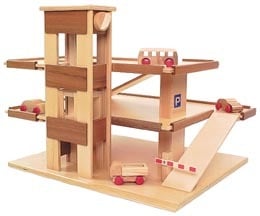
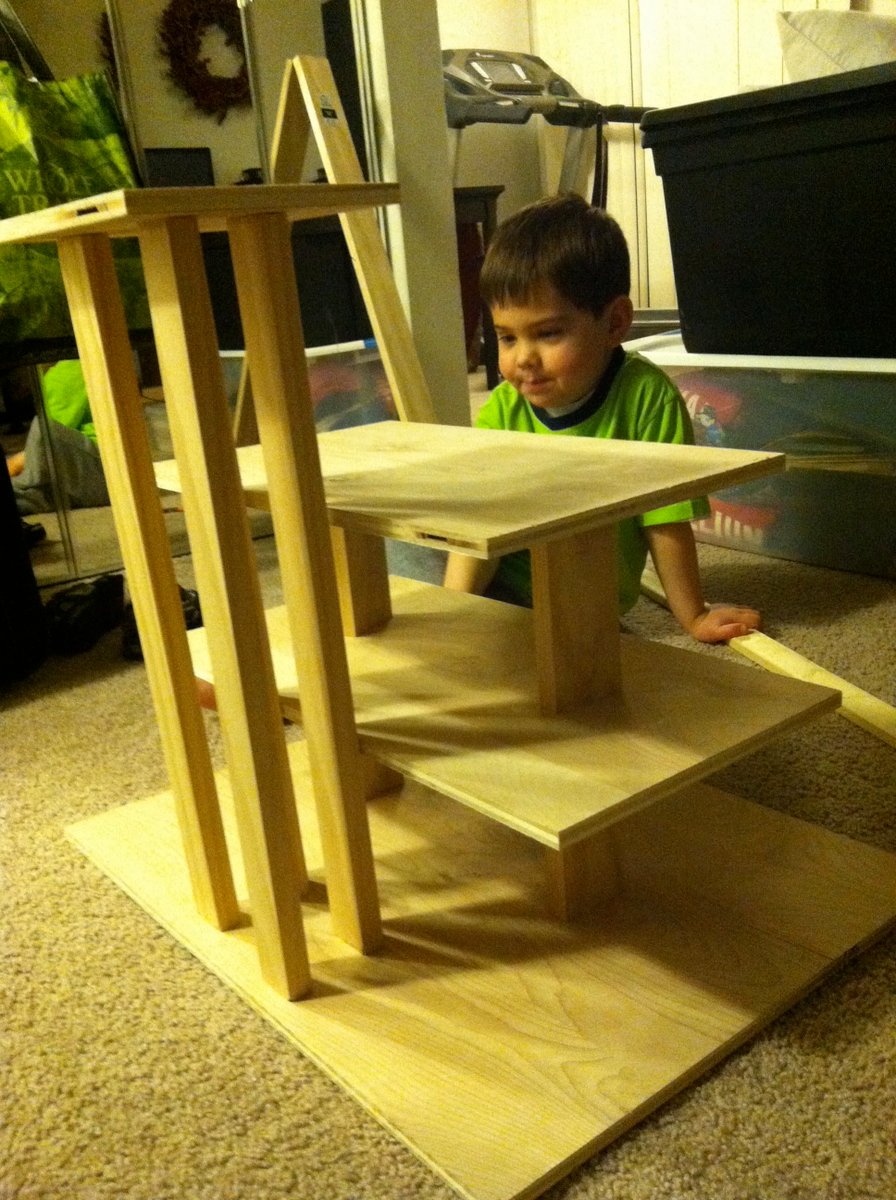
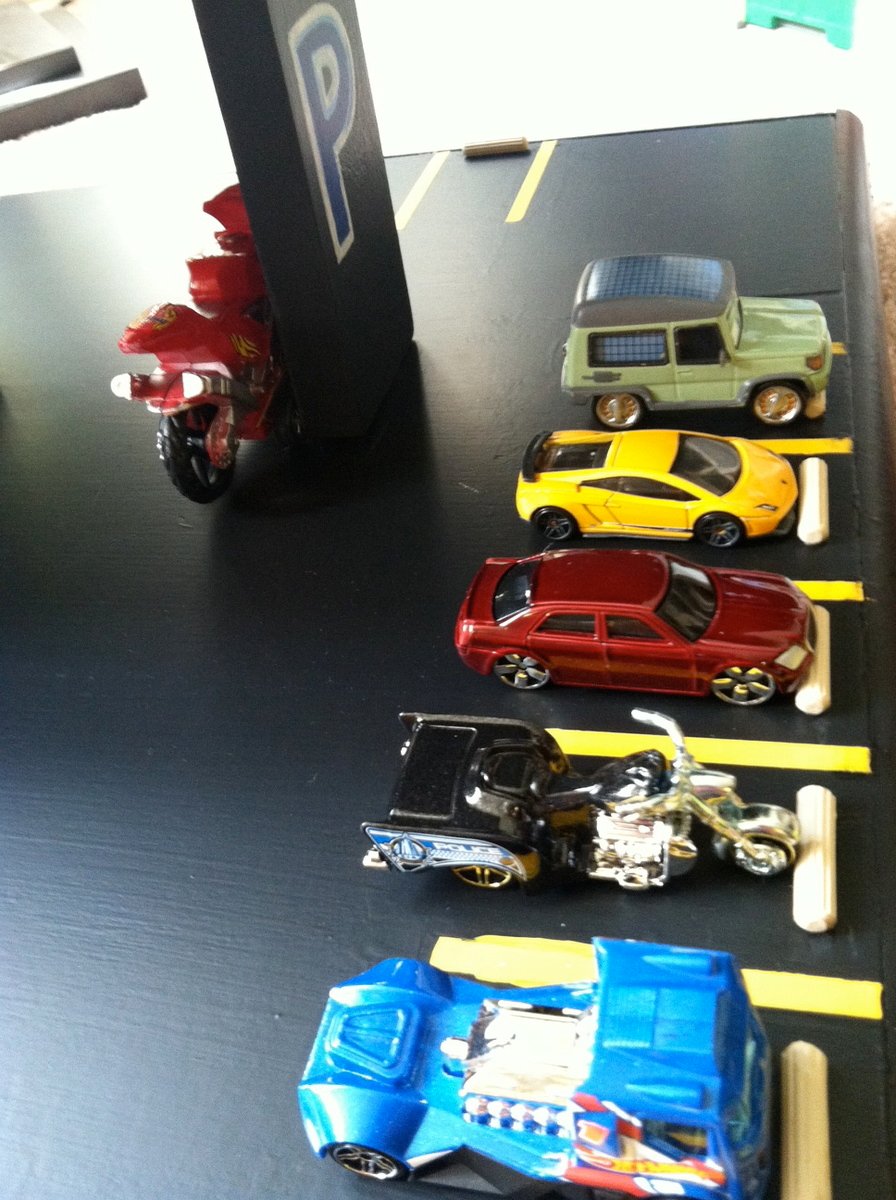
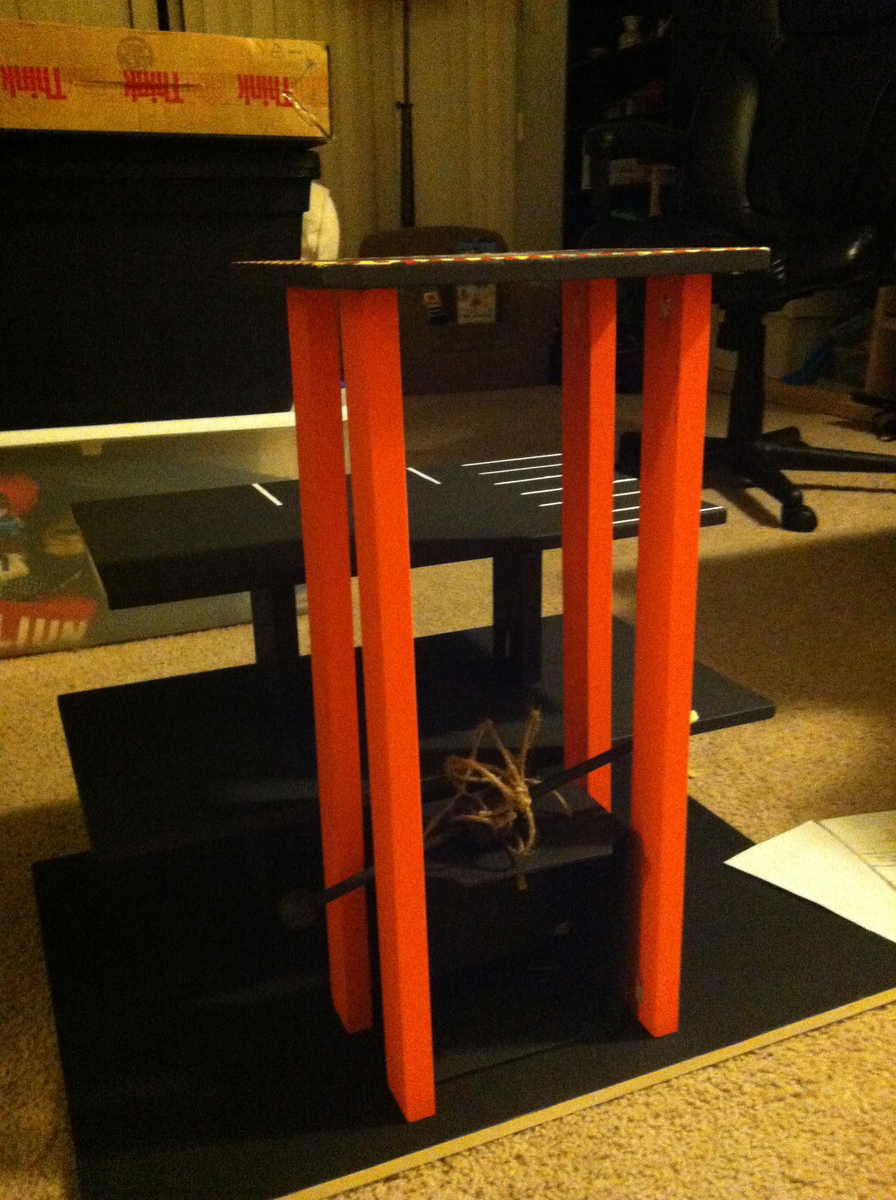
I was looking for a wooden parking garage plan for my little guy, but couldn't find one! I looked a bunch of the dollhouse plans for inspiration and found a wooden toy garage online that I based my plans on. I still need to add the ramps and a few more parking spots, but my son loves it! It has an elevator (need to refine it) and helicopter landing zone!
Estimated Time Investment
Weekend Project (10-20 Hours)
Finish Used
Chalkboard paint for parking levels, regular orange craft paint for the elevator
Recommended Skill Level
Beginner

Comments

DMax2010

Sat, 06/29/2013 - 09:53

My son loves little cars and parking garages, so it was fun to do.

terdickison

Mon, 07/01/2013 - 11:26

I love this! I want one. Better hide this screen before the kid sees it and gets some ideas :)

snoopy369

Tue, 02/25/2014 - 10:05

Hi, curious if you ever finished the project. I'm planning to do something similar next week and would love to see the finished project (and plans if you made them!)

Green Adirondack Chairs

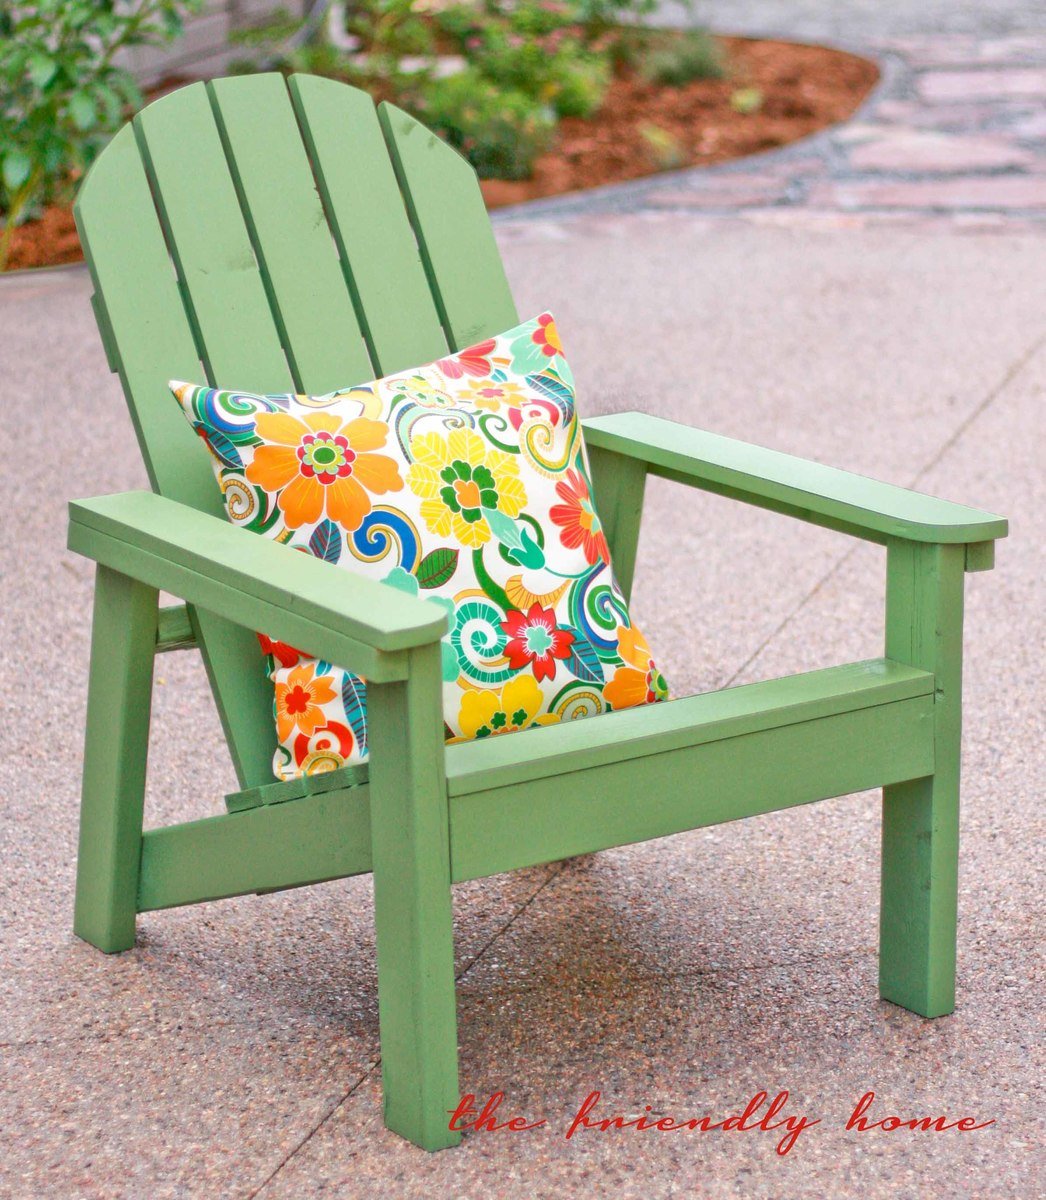
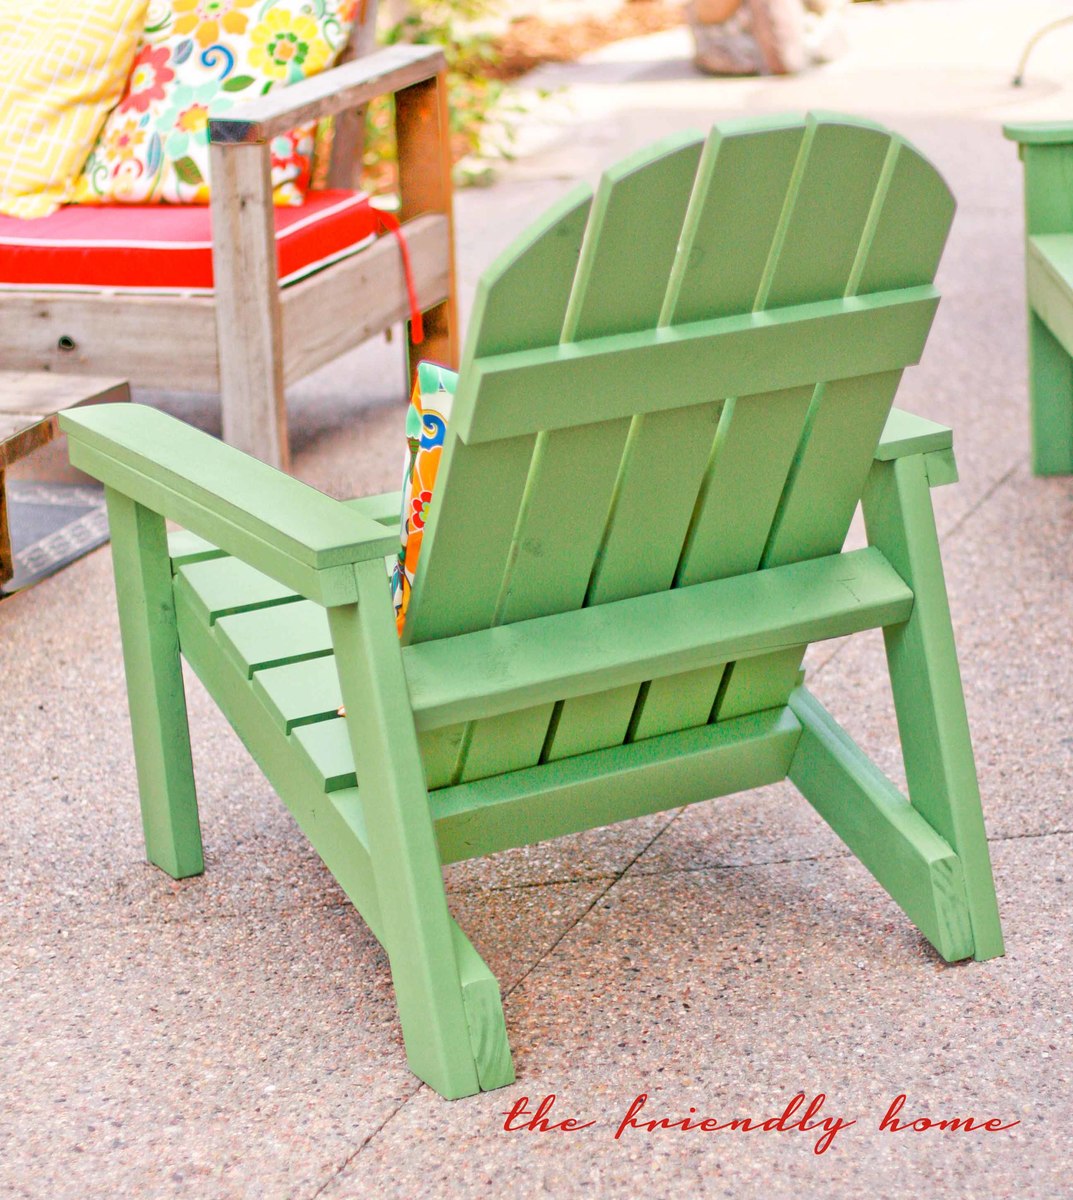
These are great chairs! Easy to build, comfy to sit in. Check out my blog post for more info.

Estimated Cost
$32 per chair for lumber, plus finishing and hardware
Estimated Time Investment
Day Project (6-9 Hours)
Finish Used
Exterior latex paint + primer in one, color matched to Sherwin Williams Dill
Recommended Skill Level
Beginner

Comments

WorkShopWendy

Thu, 06/27/2013 - 20:23

Hi Hillary, Great job. These are great chairs aren't they, and sturdy. I work at Home Depot and I hosted the Do it Herself work shop for them. Very easy to build and inexpensive. I really like the color you chose, very cheery.

keribeth

Fri, 06/28/2013 - 15:58

I'll be making four of these this week in turquoise to match the little ones I made for the kids. Yours is an inspiration!

Seasonal And Holiday

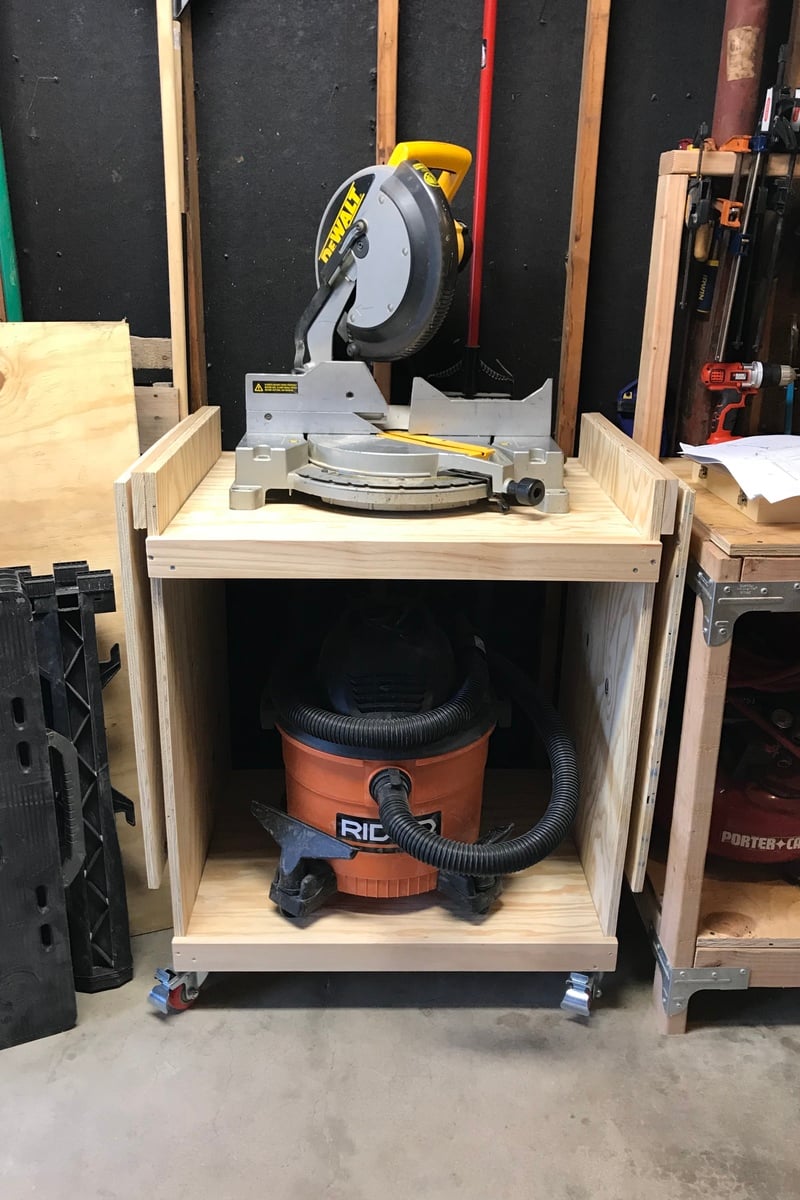
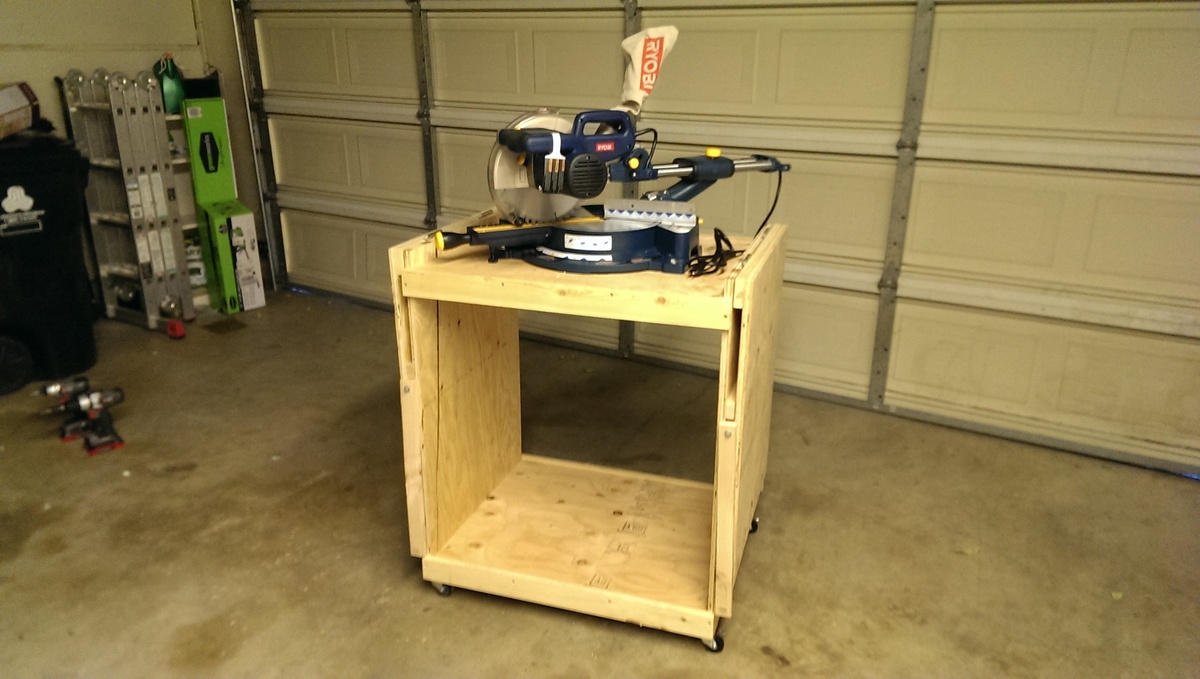
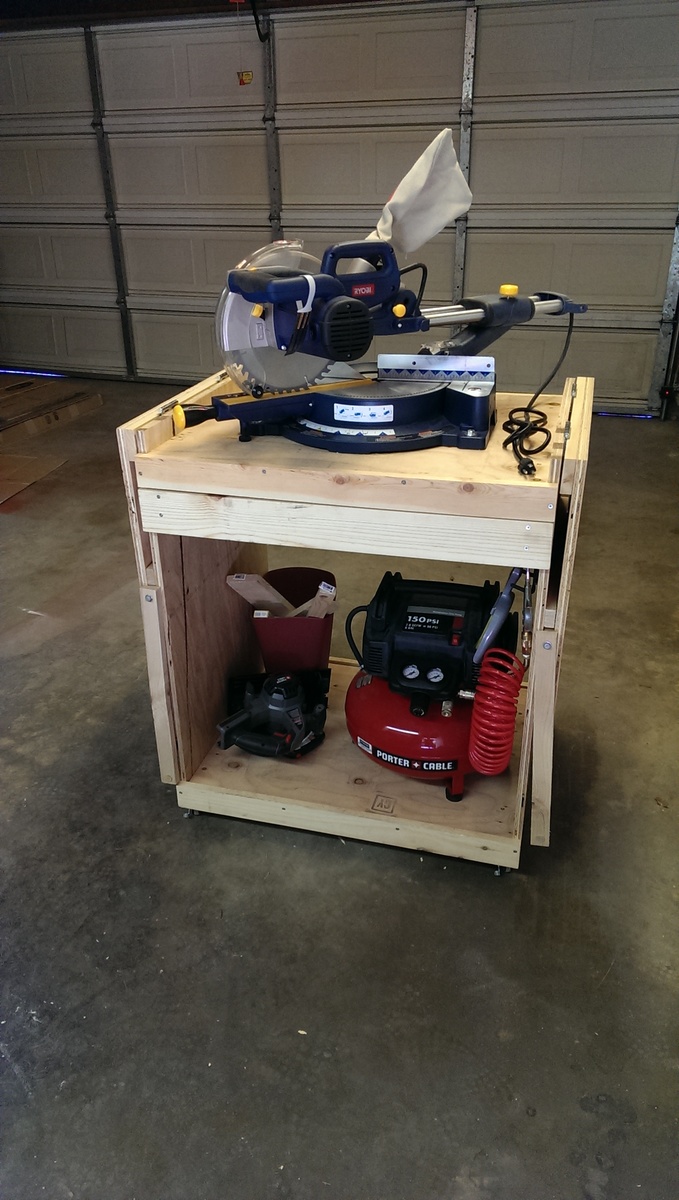
Modified miter saw cart

I love having this new addition! Freed up space in my small shop and now it’s more functional and organized. I followed the plans with modifications in the leaves using scrap 1x’s (which I may decide later to change to 2x4s but I had 1x’s on hand) instead of the brackets and then the extra 1x’s holding on the leaves so they would fall flat to the sides. Love it!

Built from Plan(s)
Estimated Cost
Under $75 (don’t remember exactly)
Estimated Time Investment
Weekend Project (10-20 Hours)
Finish Used
Didn’t finish
Recommended Skill Level
Beginner

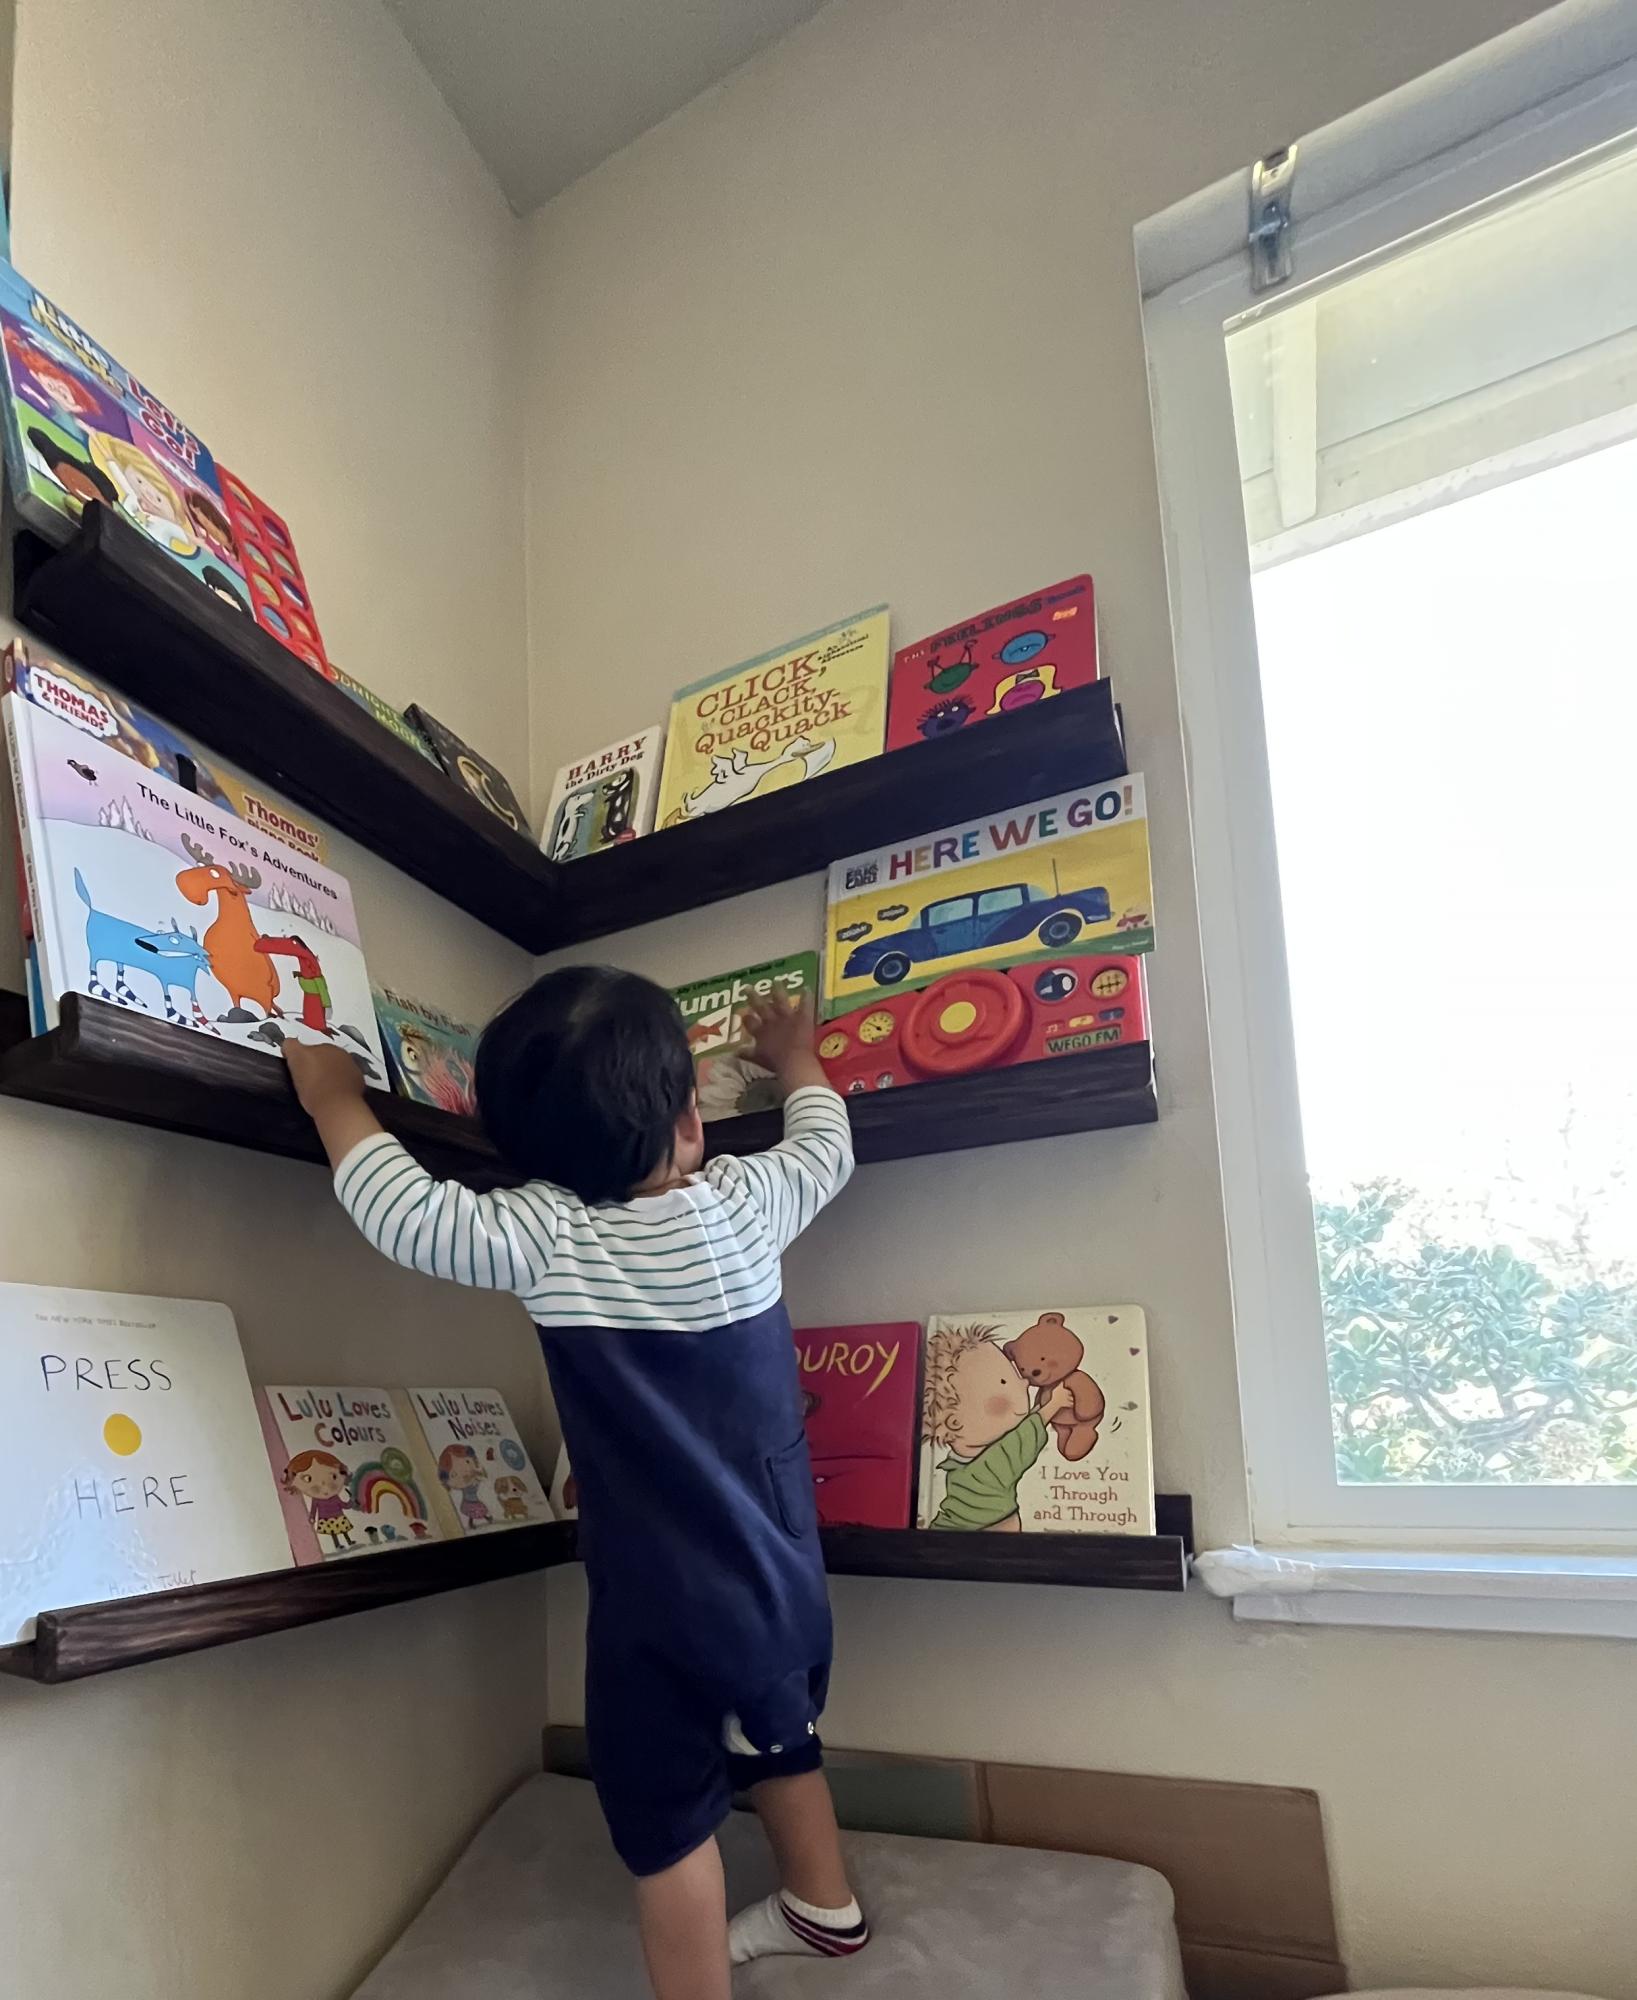
Book ledges

Submitted by Anonymous (not verified) on Mon, 04/04/2022 - 14:54

I took your plans for the beginner book ledges and modified them for our 90 degree space. I had to learn about mitre and bevel cuts so that was fun.

I also learnt that when the wood is slightly warped it pays to be attentive to the eventual install and how stress will flow through the work.

Built from Plan(s)

Comments

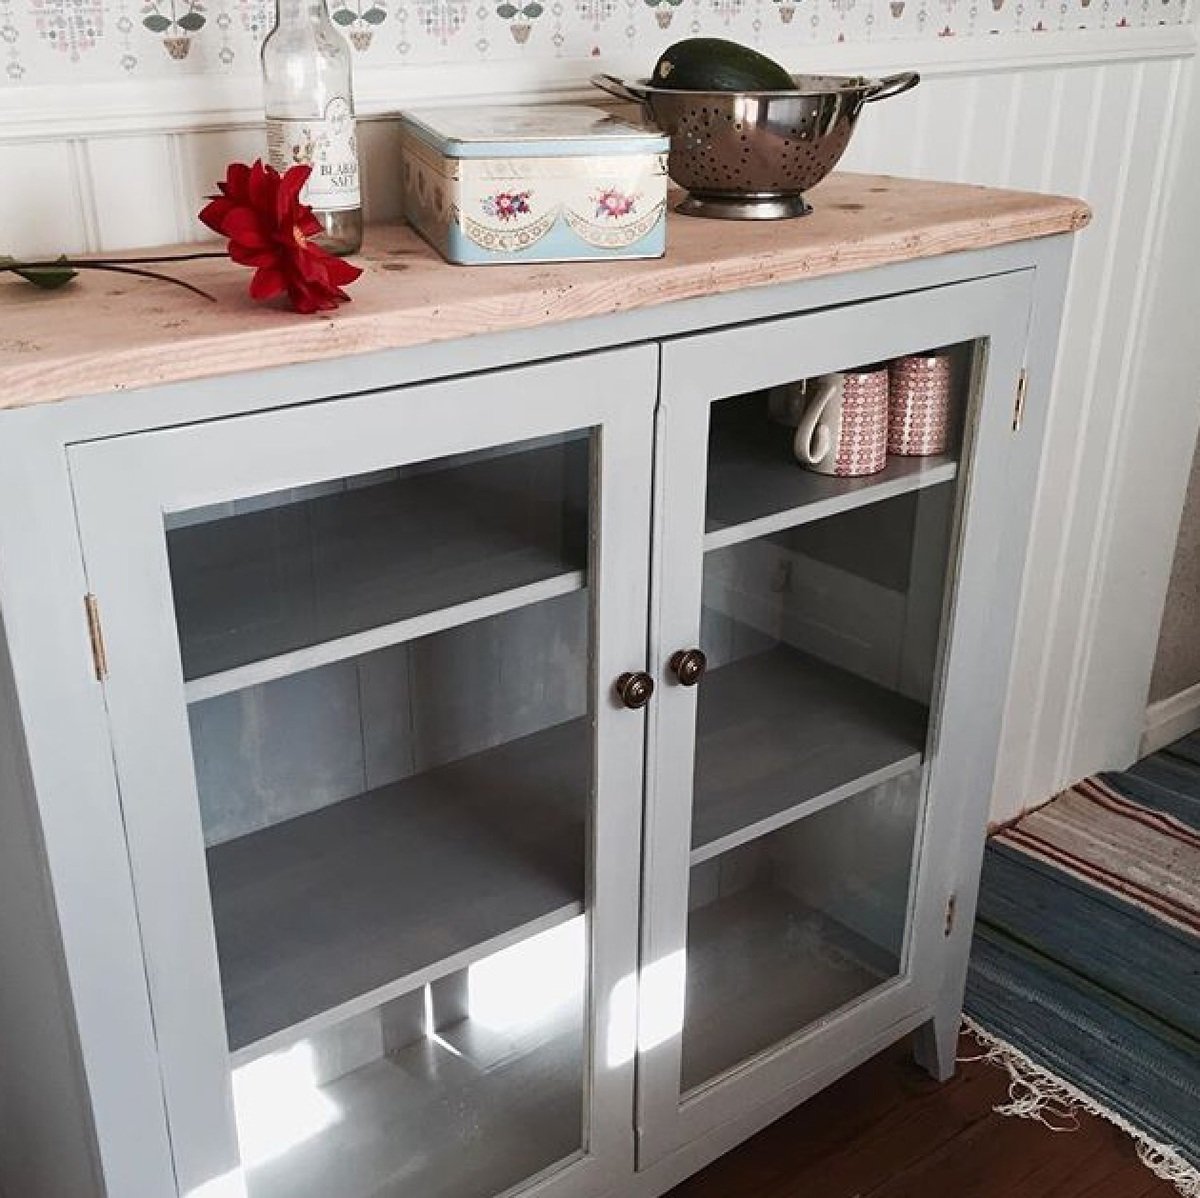
Cupboard

Submitted by Olof on Thu, 08/13/2015 - 22:01

Spend some time on pintrest and made this nice Cupboard hard to find the right plan but its my first furniture so freebasing and a few misstake later.

Built from Plan(s)
Estimated Cost
150$
Estimated Time Investment
Week Long Project (20 Hours or More)
Recommended Skill Level
Intermediate

Comments

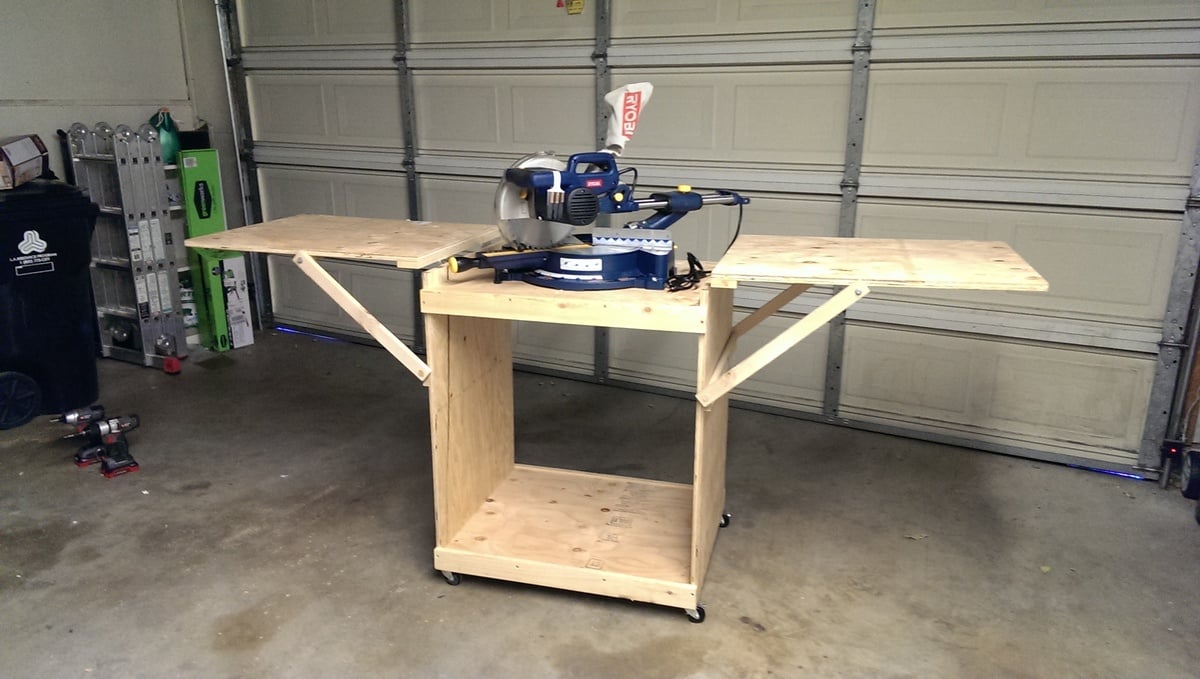
Miter Saw Cart

Submitted by Nermell on Wed, 07/31/2013 - 16:51

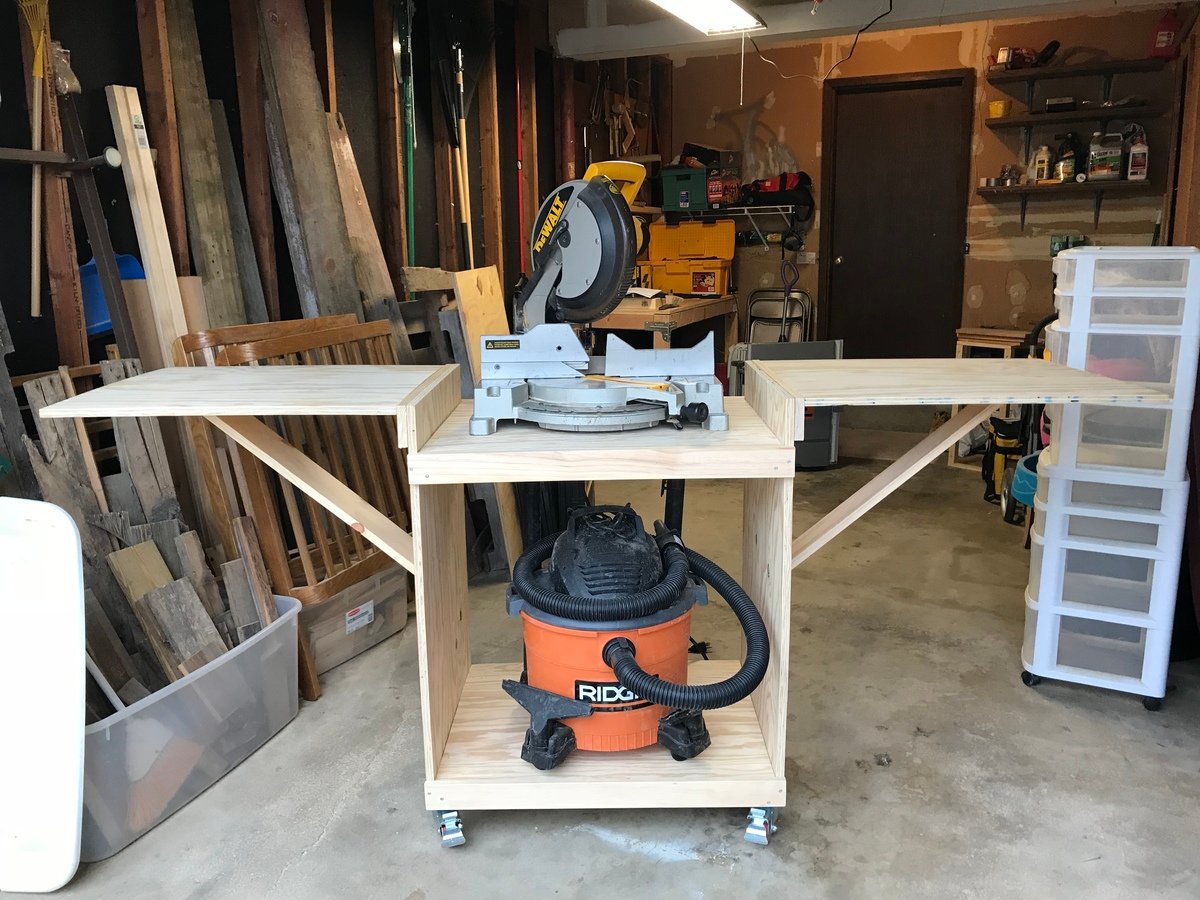
As a complete beginner in wood working (unless you count a year of woodshop over a decade ago), I decided that building a cart for the miter saw I just bought would be a great first project. So what did I do with that brand new miter saw? I left it in the box and made all of the cuts with a circular saw. Not sure what I was thinking there...

I mostly followed the excellent plan provided here but used wooden arms to prop up the wings in order to save on cost. I got the idea from the folding sling chair plan. It took quite a few screw ups and adjustments of the lower support bar before getting one of the wings level but I got it eventually.

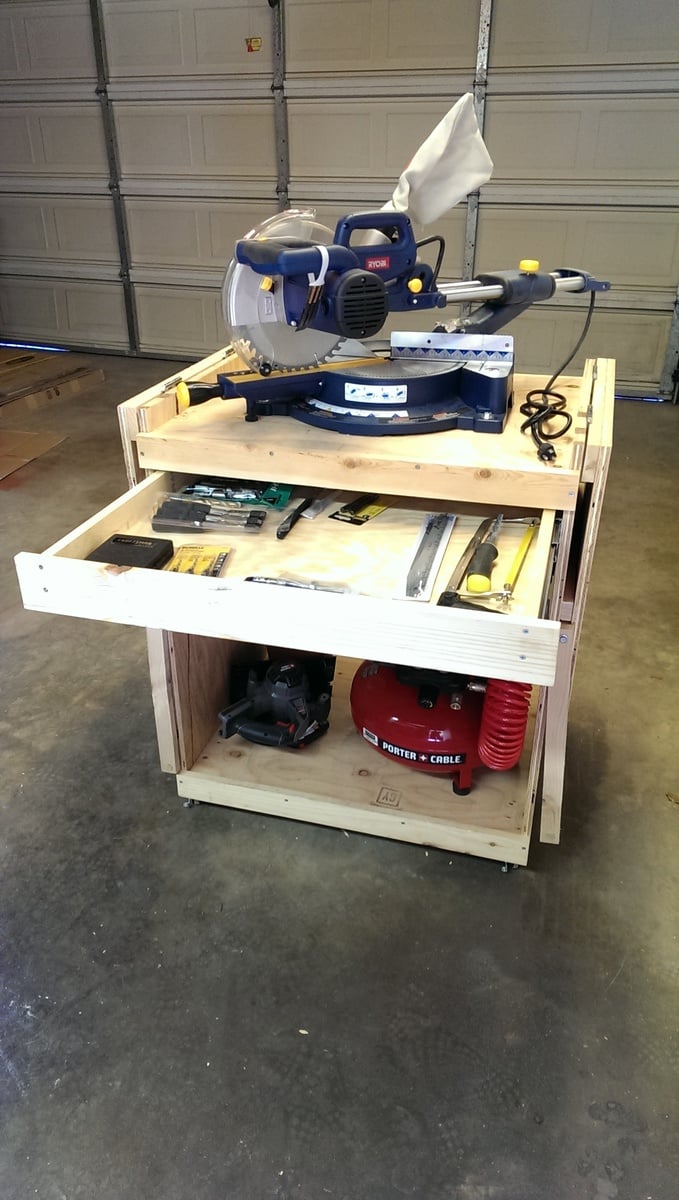
Update 8/20/13: The miter saw has been a joy to use with the cart and the big flip up wings provide a ton of really convenient work space in addition to stabilizing 8 ft boards for cutting. I added a sliding drawer and some utility hooks for additional storage.

Built from Plan(s)
Estimated Cost
$70-80
Estimated Time Investment
Weekend Project (10-20 Hours)
Finish Used
none
Recommended Skill Level
Starter Project

Comments

davidmauer15

Thu, 08/01/2013 - 08:10

I originally just had a 2x2 and two blocks to hold up the wings on the cart. They kept falling out, so I replaced them with hinged arms, which were a pain to fit and install, but they work well. Your approach has the same advantage of hinging the support arms: the wood can't fall out and it looks way simpler to install than my system.

One hint if you try Nermell's approach: Flip the cart upside down when you fit and install the support arms. I did all kinds of complex sketches and measurements, then realized it was just faster to lean the support bracket at roughly 45 degrees, then I installed the two block (one on the side, one on the wing) to hold the bracket in place. Flip the cart over, and your wing will sit at a perfect 90 degrees to the sides of the miter saw cart.

Board and Batten

Submitted by kelli224 on Sat, 08/06/2011 - 10:51

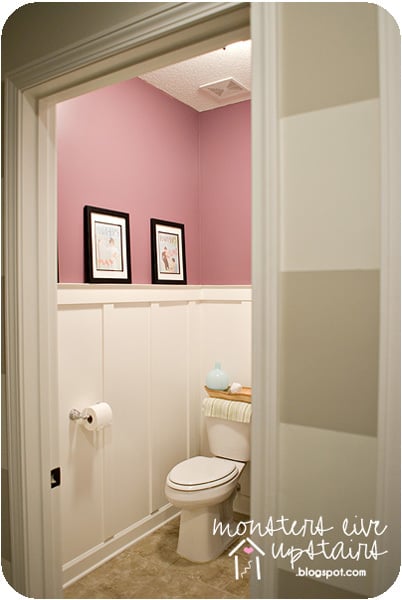
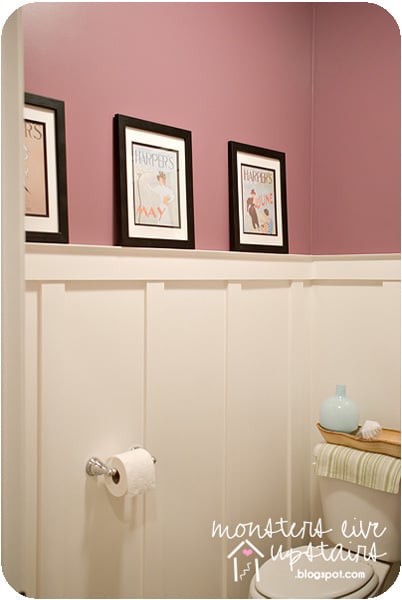
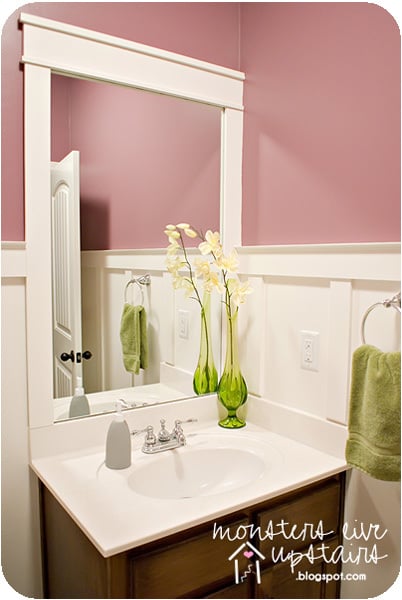
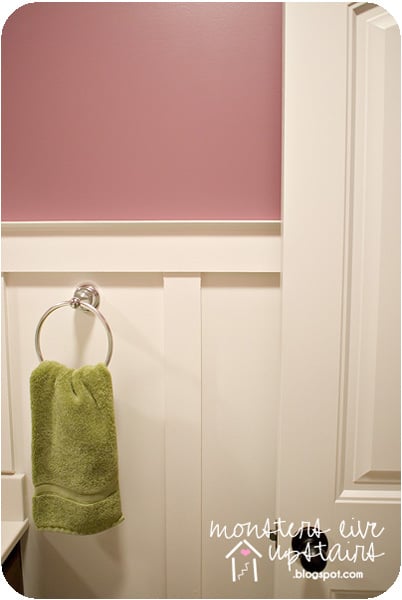
Board and batten makes such a huge difference in any room for very little money and I knew this is just what we needed for our very small but very tall half bathroom. We did have to modify our boards at the bottom and cut them at an angle to meet our baseboards but it is still perfect. Such an easy way to dramatically change a room.

Estimated Cost
$60
Estimated Time Investment
Afternoon Project (3-6 Hours)
Finish Used
Just a semi-gloss white to match the rest of our trim and doors in the house. The walls are Sherwin Williams Plum Dandy
Recommended Skill Level
Starter Project

Comments

Ana White

Sat, 08/06/2011 - 13:41

What a beautiful transformation! I went to your blog and loved how you've put aside a little money each month to improve your home. Beautiful photos too!

kelli224

Sat, 08/06/2011 - 13:57

Thank you, Ana! We wouldn't be able to stay on that budget if it wasn't for you and all of your ideas! You've really changed how things are done at our house. We no longer "have to buy it right now"...but take our time to see if we can do it on our own and make it ours. That is a very powerful thing!

debandtom25

Fri, 08/12/2011 - 04:41

My husband and I just had to build a few walls to cover in a new furnace and duct work. Neither of us wanted to deal with the mud, tape, and sanding that would surely follow. So I suggested that we do a paneling like yours. I used furring strips vs. typical pine or moulding. It looks great!

kboarderchick85

Thu, 08/18/2011 - 13:47

I loved the bathroom so I checked out your blog, We have a mudroom followed by a small bathroom and then a small laundry room. I love your mud room area and the stripes, we are totally going to use your ideas to spruce our place up!

Full Size Storage Bed

My daughter wanted her room redone for her tenth birthday. We decided to go big with Ana's storage bed plans. I had so much fun building this and really learned a lot. It took me three months to find enough spare time to finish it, but it was worth the wait.

Estimated Cost
$200+
Estimated Time Investment
Week Long Project (20 Hours or More)
Finish Used
Dutch Boy Refresh paint in Mocha White over no VOC primer. I rolled it on with a smooth roller.
Recommended Skill Level
Beginner

Comments

Misty Tillema

Mon, 11/07/2011 - 19:24

You did a really great job building the storage bed. I am in the process of building this same bed for my teenage son, only I'm not building the towers. Finding enough time to actually get a project finished is nearly impossible when you only have a few hours here and there! Your daughter will love all the extra storage space as she gets older.

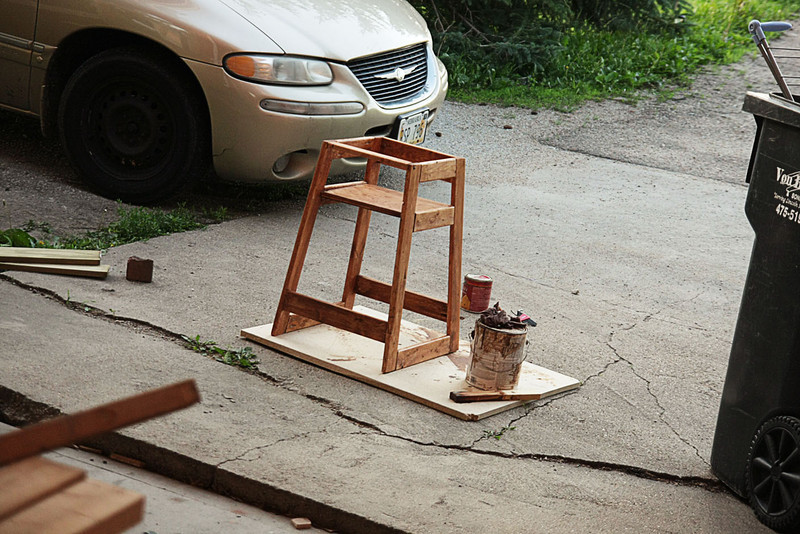
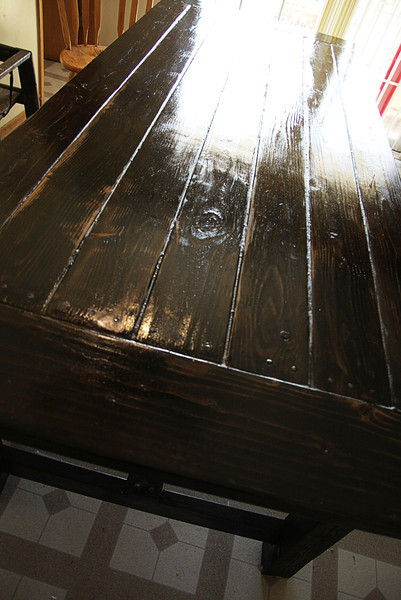
Farmhouse table, bench and high chair

Submitted by niecey on Mon, 12/12/2011 - 13:58

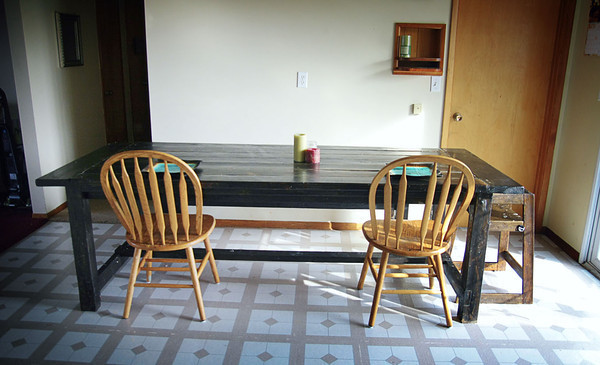
I love our table and bench (and high chair). It's working well for our family and I had a lot of fun building and finishing it. Thanks for the plans, Ana!

I don't think I made any modifications to the table or bench, but I used 1x3s for the high chair instead of 1x2s.

Estimated Cost
$100
Estimated Time Investment
Weekend Project (10-20 Hours)
Finish Used
I like the natural stain over ebony look like I used in the mom's lego table, so I went for the same finish here. With lots of coats of gloss over the table surface.
Recommended Skill Level
Beginner

Comments

Yvonne green (not verified)

Sat, 09/01/2012 - 19:57

Like to know how to build a farmhouse dinner table. Do u have plans for one or know where I can get one at. I love the country look and that what I looking for. Thank you

Outdoor Sofa and Chair with Slanted Back

Submitted by Anonymous (not verified) on Sun, 07/16/2023 - 10:22

OK, I think this build may be my biggest project yet! It is definitely the heaviest. With the strong winds we can get here in Florida we needed substantial outdoor furniture.
I did make some modifications along the way measurement-wise so the sofa would fit my front porch better. All in all, this took 2 full days. I built the sofa first, stained it the next day and then decided (due to trying to get stain in all the nooks and crannies) to stain the chair pieces first before putting it together.
I am so happy with the results and so far, almost a year later, this furniture looks great and hasn't moved an inch in any of the thunderstorms we've had! Thank you Ana!!

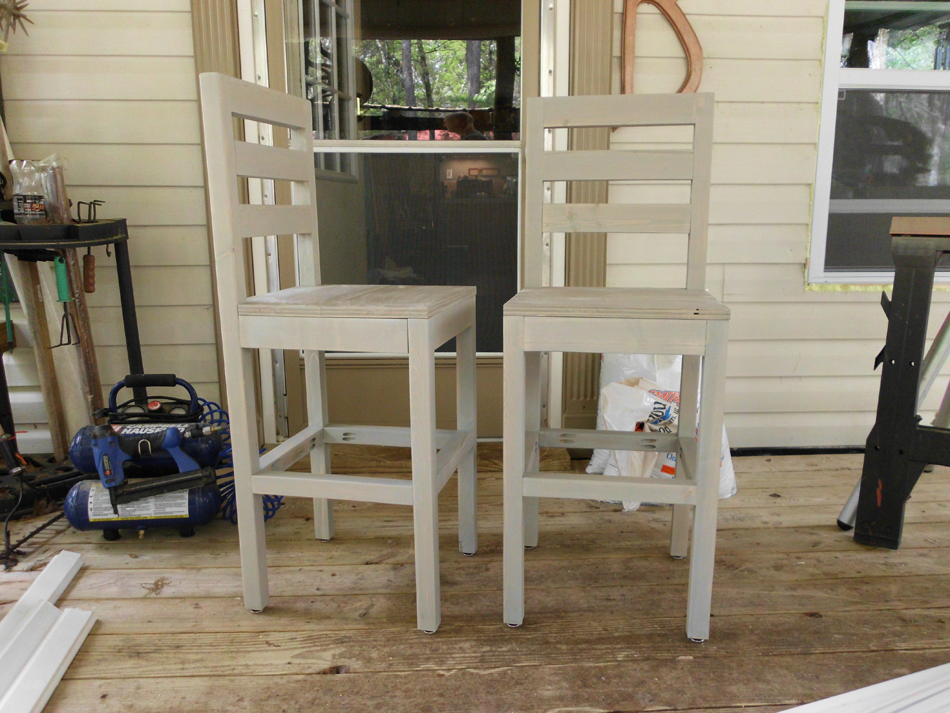
Bar Stool

I liked the lines of the Extra Tall Bar Stools and I changed the plan to fit my needs. I made them 24" to the top of the seat and both stools are constructed entirely out of 2x4s (except the seat, of course!).

Built from Plan(s)
Estimated Cost
Less than $25
Estimated Time Investment
Day Project (6-9 Hours)
Finish Used
I used Rust-Oleum's Ultimate Wood Stain in Sunbleached and Ultimate Polyurethane in Matte.
Recommended Skill Level
Beginner

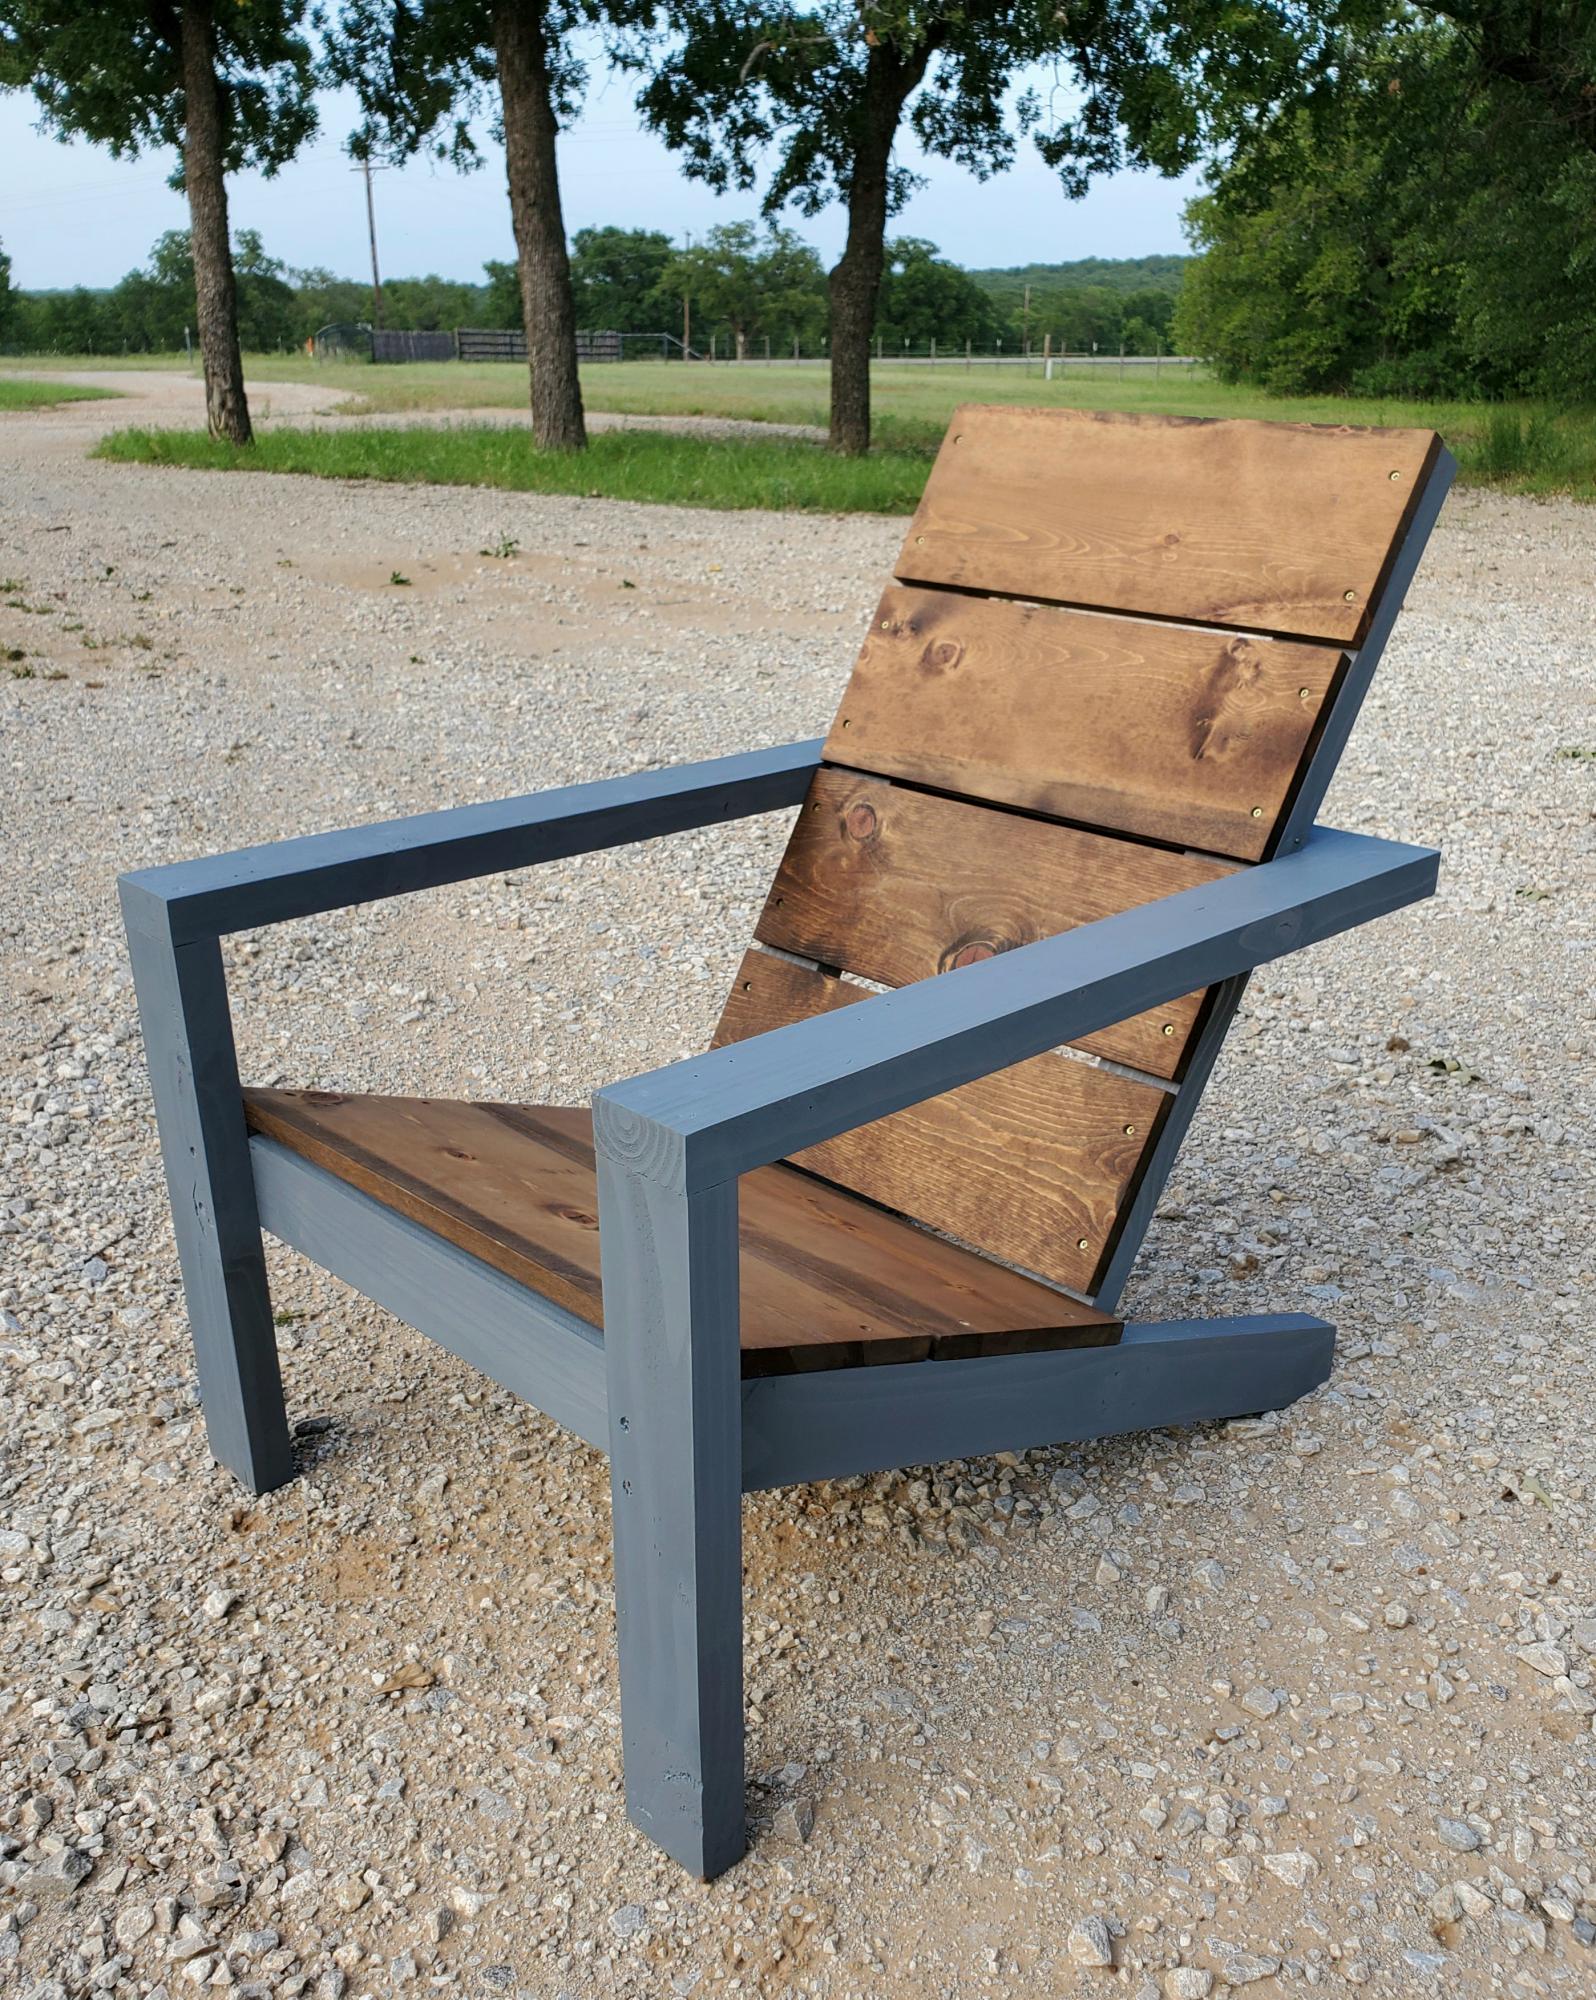
Essential Adirondack chair

Submitted by str1523 on Mon, 05/25/2020 - 10:23

Like this chair! Changed the 3 1x10's on the back to 4 1x8's ripped down to 6 ¹⁵/¹⁶

Estimated Cost
40
Estimated Time Investment
An Hour or Two (0-2 Hours)

Comments

2x4 Outdoor sectional

Submitted by Anonymous (not verified) on Mon, 06/01/2020 - 12:00

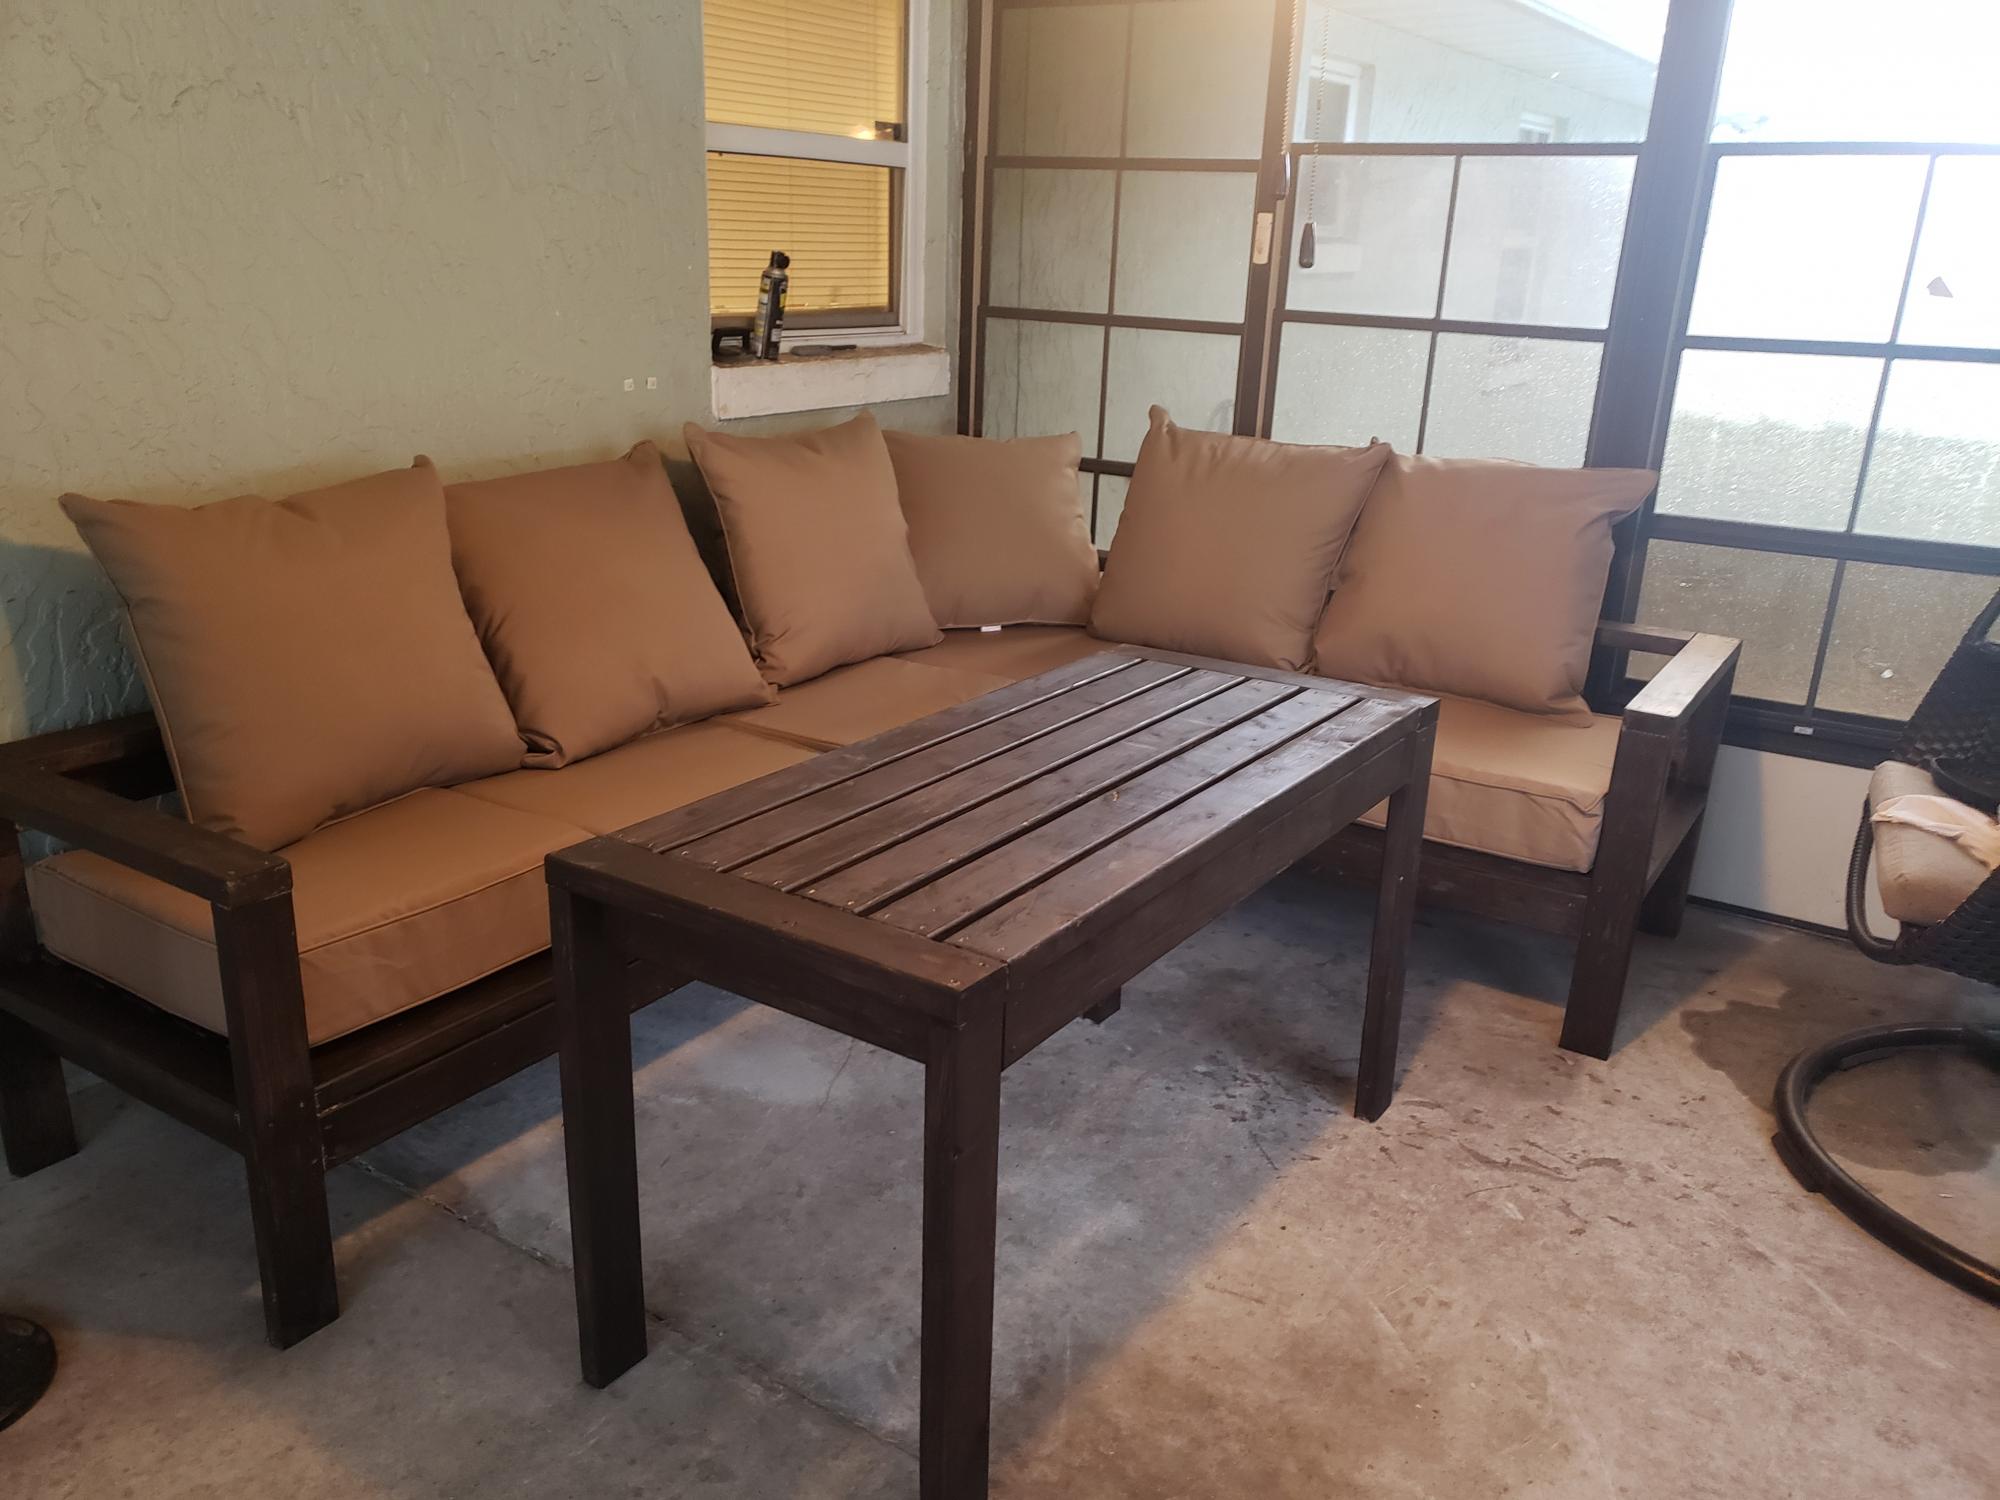
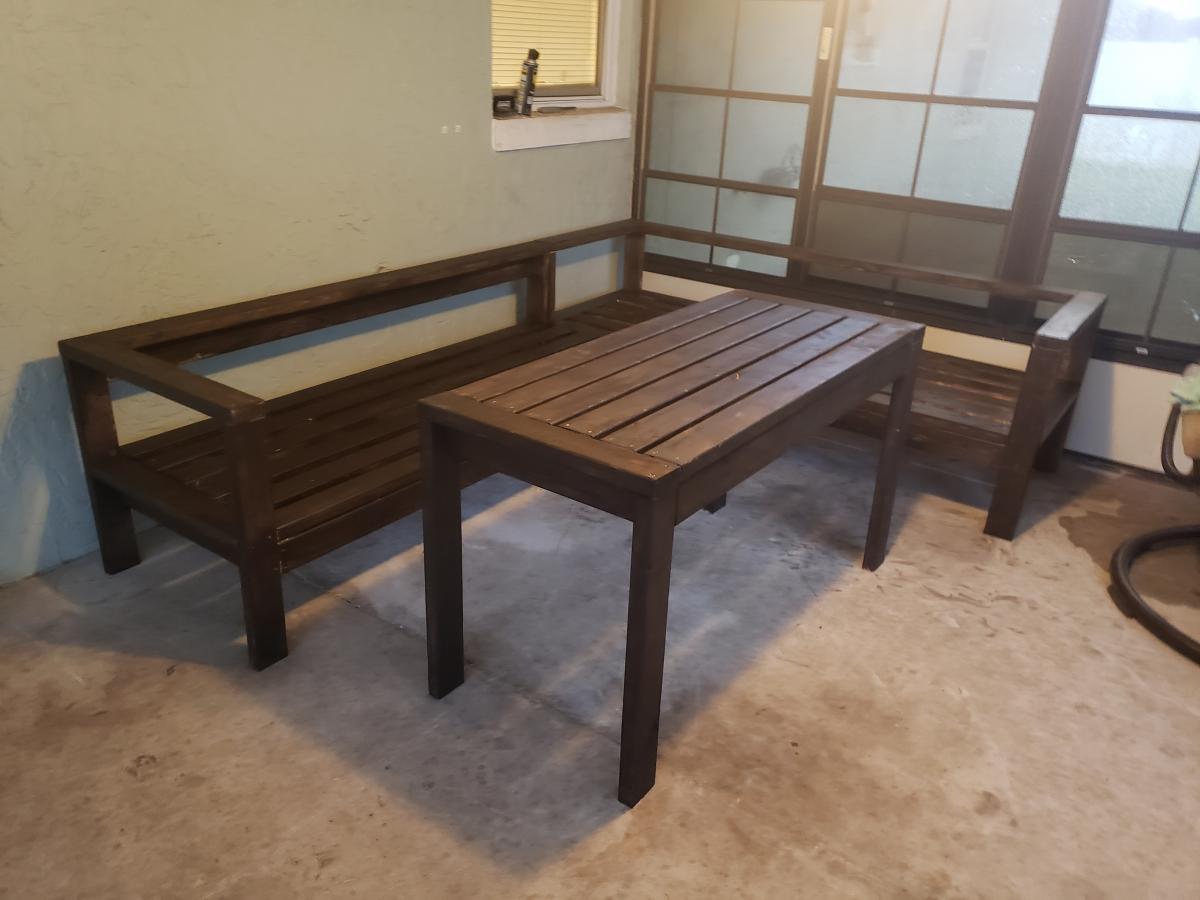
I stumbled upon this page and instantly fell in love. I made the 2x4 outdoor sectional this week with a few tweeks to make it work for us. My husband does a lot of computer work on our patio so we did the tall table to make it work. I plan to add a shelf at the bottom and touch up on my staining but for my first project I'm impressed. With the instructions and lists given this was a breeze of a project!

Estimated Cost
160$ before cushions
Estimated Time Investment
Weekend Project (10-20 Hours)
Finish Used
Semi transparent stain
Recommended Skill Level
Beginner

Wooden Sandbox with Convertible Bench / Cover

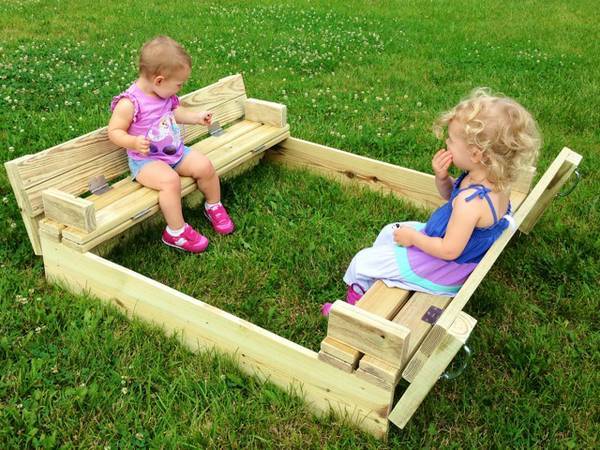
I make and sell kids picnic tables on craigslist and a buyer asked about making one of these. I took it on and found the plans on here very easy! I now list these on craigslist also and hope to sell more before the summer is over.

Built from Plan(s)
Estimated Cost
~$100
Estimated Time Investment
Afternoon Project (3-6 Hours)
Finish Used
none, until PT has dried
Recommended Skill Level
Beginner

Comments

Pie Chest

Submitted by Cveith3 on Sat, 12/24/2016 - 16:35

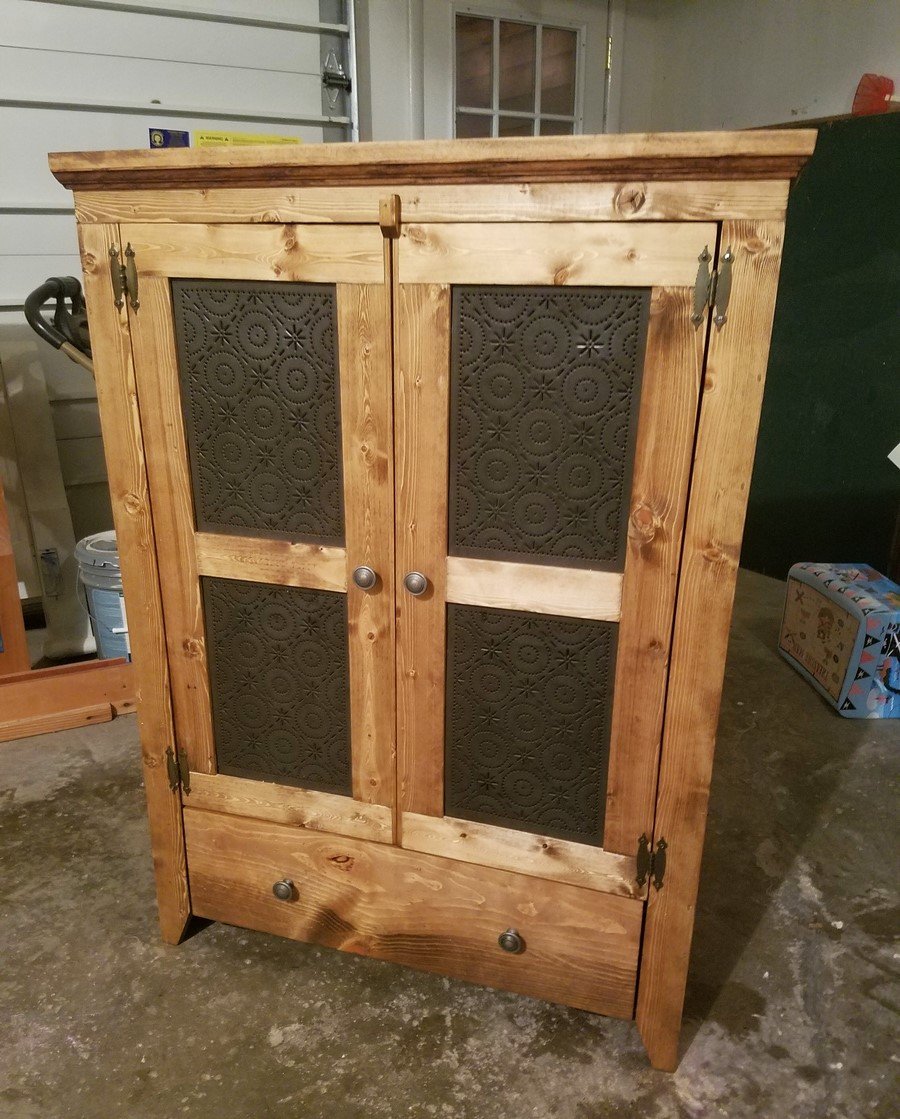
This project was built for my mother as christmas gift.  Very easy to do, I based it off of Patrick's jelly cupboard plans and ana whites pie Chest idea.  I modified mine  to allow for a drawer/door at the bottom.


http://www.ana-white.com/2015/10/DIY_furniture/pie-safe


http://www.ana-white.com/2011/12/plans/patrick039s-jelly-cupbard

Built from Plan(s)
Estimated Cost
$125
Estimated Time Investment
Weekend Project (10-20 Hours)
Finish Used
WATCO Danish oil
Dark Walnut
Recommended Skill Level
Beginner