Outdoor bistro table and tall backed stools
![](/sites/default/files/3154817563_1352752680.jpg)
I build the bar table with an x-base and created some stools using part of the plan. We really wanted backs on the stools so I made them up!
I love this bin so much I built a large one and a small one. The small one is for the bathroom. The large on is for the kitchen. This is actually a rather easy build. I used mdf. I grooved the front panel on the large bin to add character. This was built from Ana White's Wood Tilt Out Trash or Recycling Cabinet Plan.
Thu, 09/11/2014 - 10:17
Can you give me a few more details about your grooved front panel...
did you just run the panel thru a table saw?
Tue, 01/24/2017 - 16:03
I know its been awhile, however the one you have both normal trash and a recycle bin in.. is that the same dimensions as the ana-white build for a single?
I assume the trash cans are just flipped side ways to hold 2 instead of 1?
looks great, thank you!
Made for my grand daughter. It was too cold in the shop to use carpenters glue, so I used medium thick, gap filling CA (cyanoacrylate)glue, and brad nails instead of screws.
Followed the DIY changing table plan!
This is my very first project. Never used a saw before until a few weeks ago. I am really happy with the way it turned out.
I shortened the plan and modified the second shelf. I was planning on an "X" brace for both sides but got carried away and realized it wasn't going to work on the one side. I like the end result and don't mind that its missing.
I would have finished it sooner but was a bit intimidated by the angled cuts. My miter saw only cuts 45.
Mon, 11/26/2012 - 18:17
Wow you did an awesome job on this! Congrats! Looks very professional. The modified second shelf is a great touch, I think it looks perfect without an X on that side. BTW love the shells and captain's wheel too. :)
Second Ana White build!
Mon, 08/08/2016 - 16:16
You did a lovely job on this, I think it's my favourite of all of them. Where did you find those knobs? Is there a special technique you used for painting and glazing? It looks like it might not be even everywhere but have a more random pattern to it.
I built this table for my wife for Christmas.
I used Ana Whites plan and modified to fit my our space and outdoor pillows.
Solid garden lounger and side table to match our garden chairs and table.
This was my first handmade diy furniture project ever. It turned out much better than I anticipated. The lumber store that I used did not offer knotty pine in 2x6 dimensions so I improvised with 2x4s. This project was a little time consuming due to the fact that I am a complete novice and I had to gather all of the necessary tools and learn how to use them. Everything considered I am very happy with the result and I really enjoyed this project.
Sat, 09/06/2014 - 17:24
Congrats on an awesome project! You did a beautiful job and the finish is gorgeous!
I made this computer desk for my college age daughter out of a 150 year old door that we got from her grandfather's homestead. I think it turned out fantastic. I need to add a glass top to complete.
This bench is freaking huge but I love how it turned out. A lot of pocket holes for the back so it took a lot of putty to cover those up but that’s to be expected. Proud of this one.
Here is the Easy Kitchen Island all finished. I learned to use my k-reg with this project. To attach the top I instead used corner blocks in each corner of the bottom unit and screwed the top in place. I found this made the piece more sturdy. for the 1x2's I used furring strips which are not very nice however I painstakingly picked through a large pile till I found ones that were straight and without knots. I then had to sand them like crazy. Saved a ton of money but worked very hard. This project actually took 19 - 1x2's rather than what the plan called for. When complete this piece was very heavy...I love it and have found the perfect home for it.
Thanks again Ana!
Janet
This piece came out beautifully! Took all of 6 hours to complete it. I used pine on this project.
I changed the back of this chair to use some lumber I already had. These are very comfortable. I see more in my future.
After my daughter started escaping from her crib I knew it was time to build her a new bed. I didn't think she was quite ready for a full size yet so I thought a toddler size would work for at least the next year.
I started with the Traditional Toddler Bed plans and scaled down the size of the Rustic Headboard and incorporated that. The biggest thing I learned in the process was to measure your mattress first! I don't think I realized the size variation in crib mattresses and ended up having to recut my slats and rails to accommodate my larger mattress. Also, our mattress is 5 inches deep, which means that the safety rails only extend about an inch over the top of the bed. This seems to be fine for my daughter and she hasn't fallen out - yet - but I think if you have a very restless sleeper or just want to play it safe, you might want to add an extra inch or two to the height of the guardrails.
I also used a 2 x 6 for the foot rail as this allowed the legs to be inset further and gave it a more solid look on the bottom.
I loved this table so much but needed it to be a lot larger. It's 9 2x6s wide X 54in.There are also 4 1x12s as the bottom shelf. I used the steel wool and vinegar as a finish and had to paint on some black tea also to get it to change color and then finished it with a few coats of poly. This table fits so great in my space I am super happy I found this site!
Weekend project worked out well. Also made the tall bar stools also found on Ana White! Topped with a granite countertop. In the middle, I went with a double trash can sliding cabinet.
First woodworking project. Made some mistakes but learned in the process. Satisfied with how it turned out considering it was my first project. Using it as a printer table for my home office.
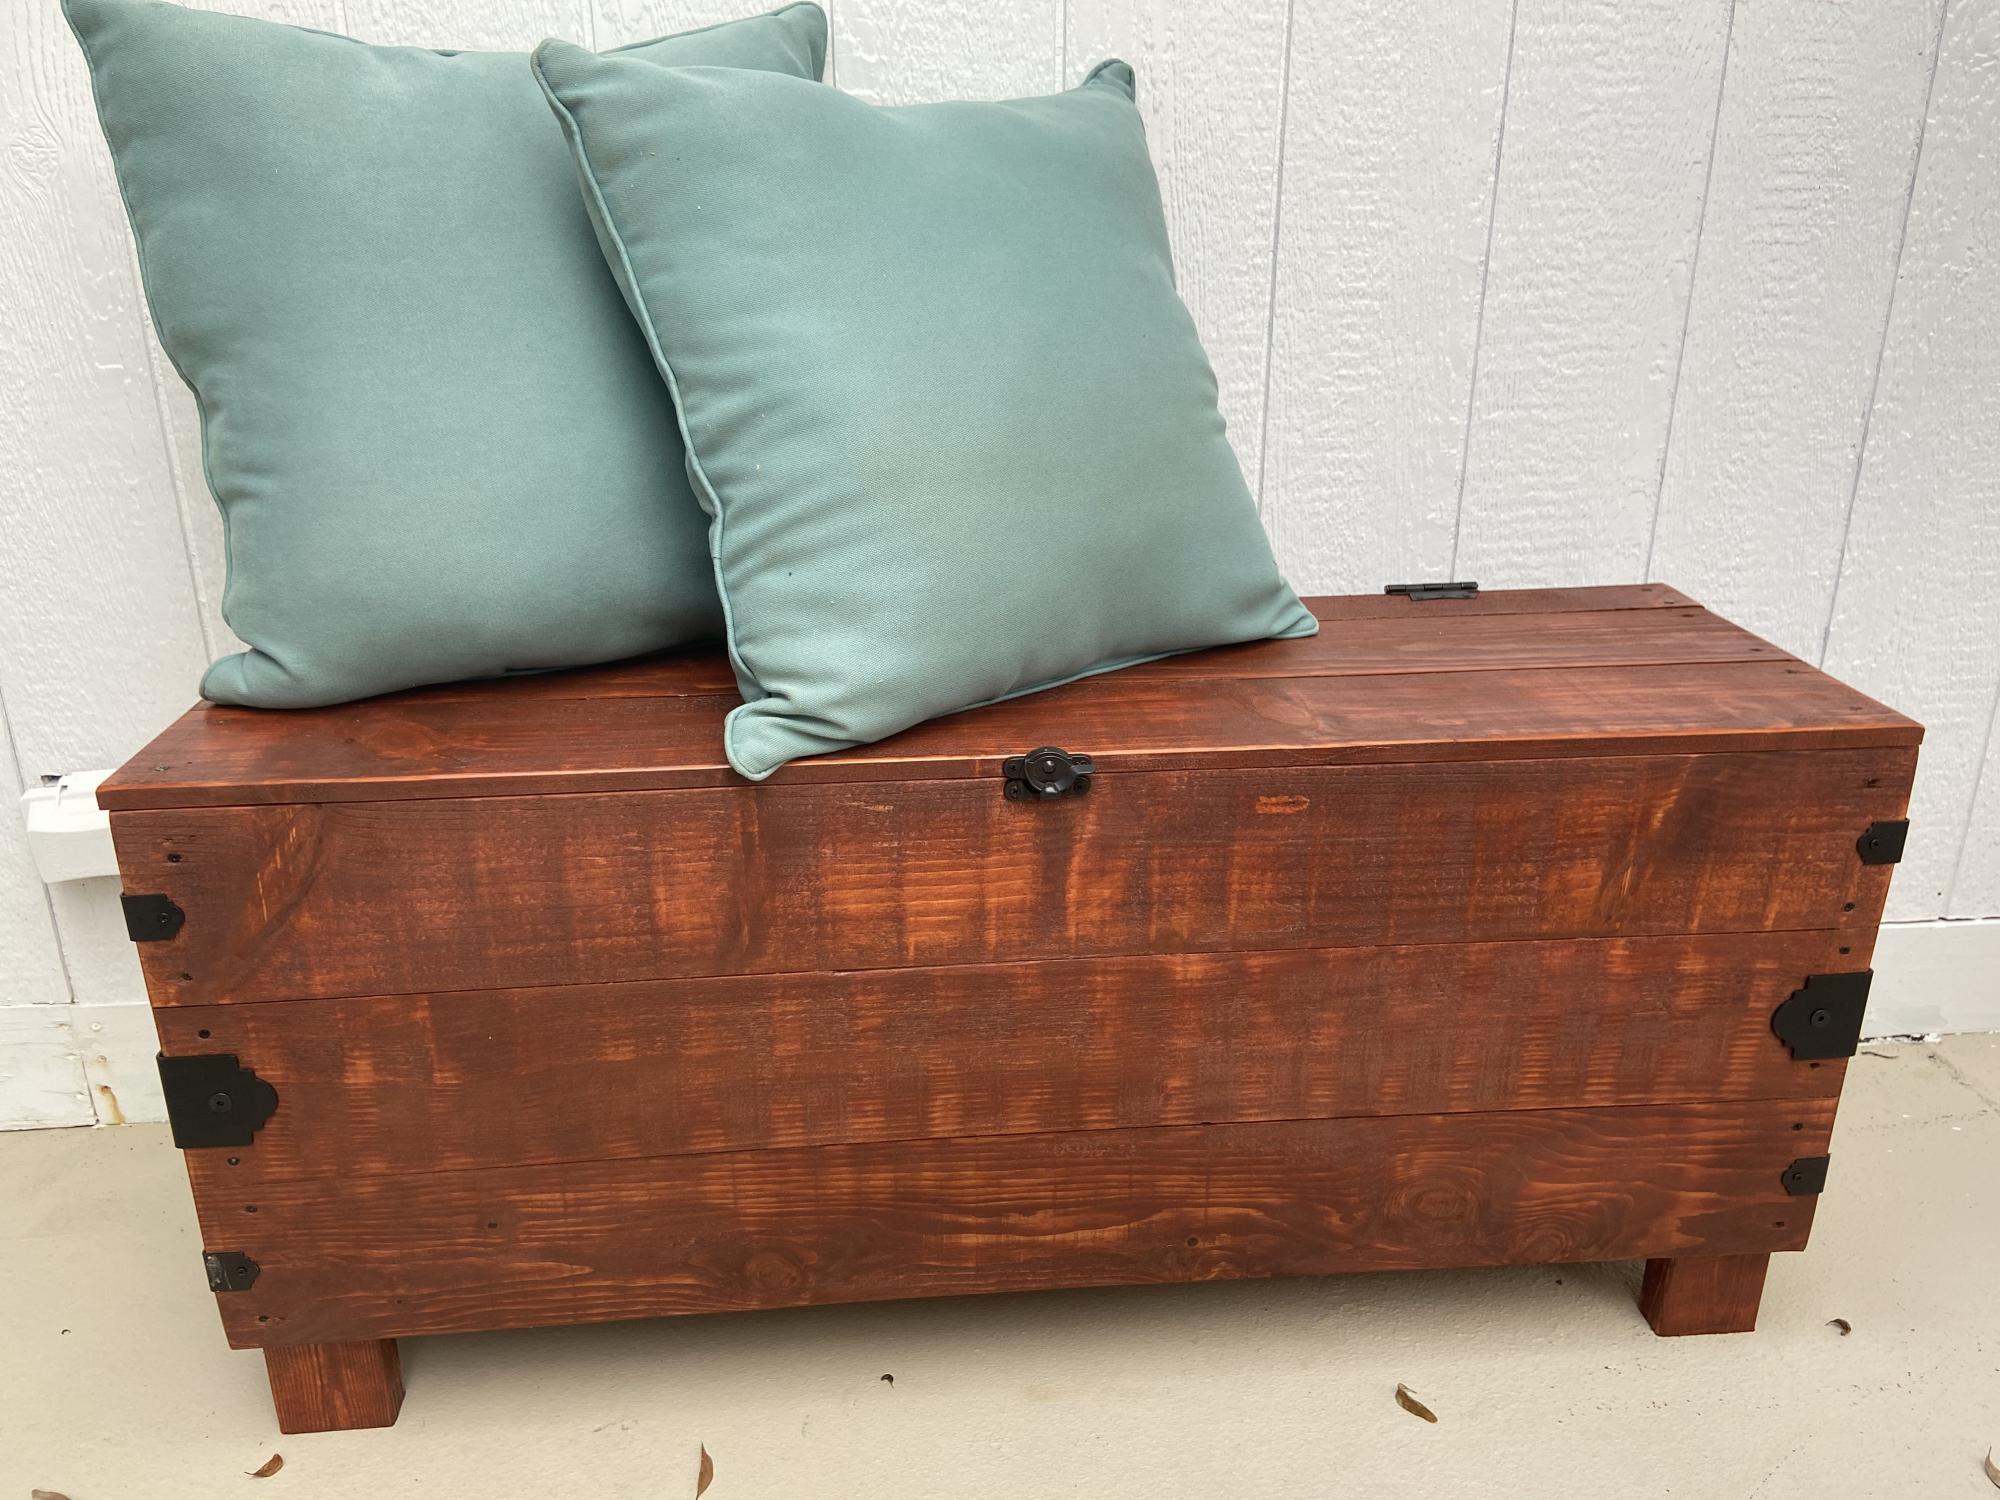
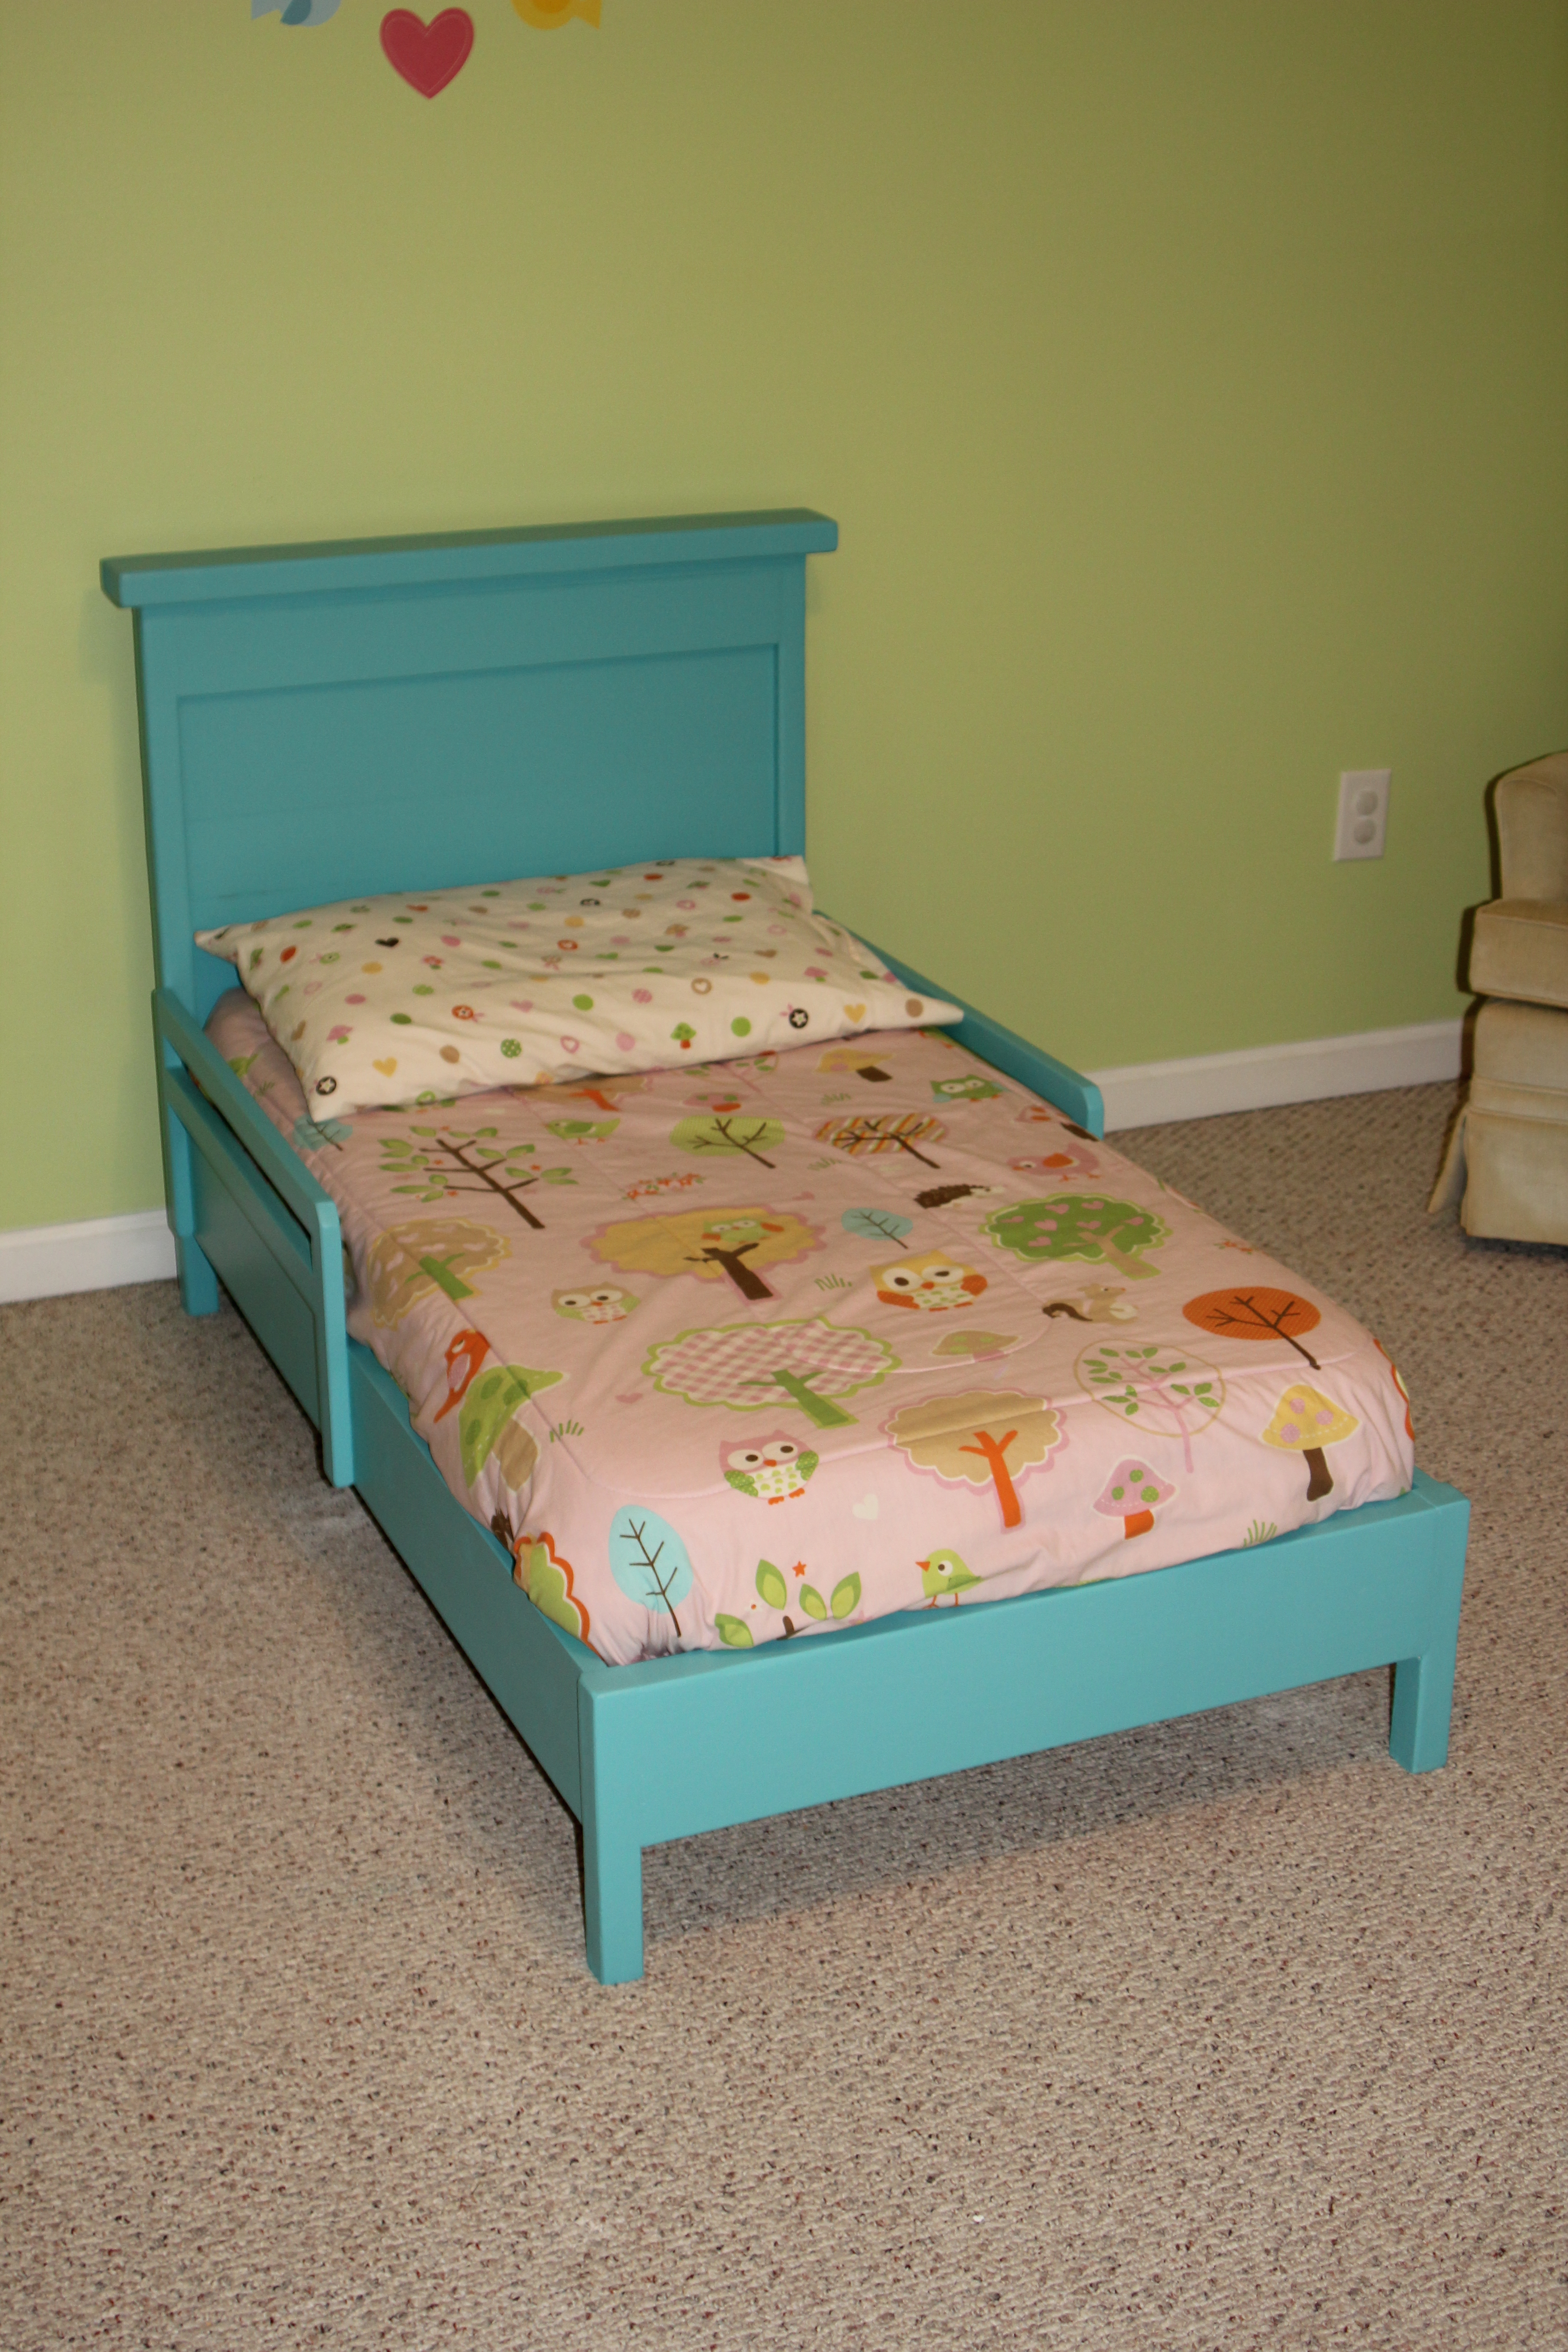
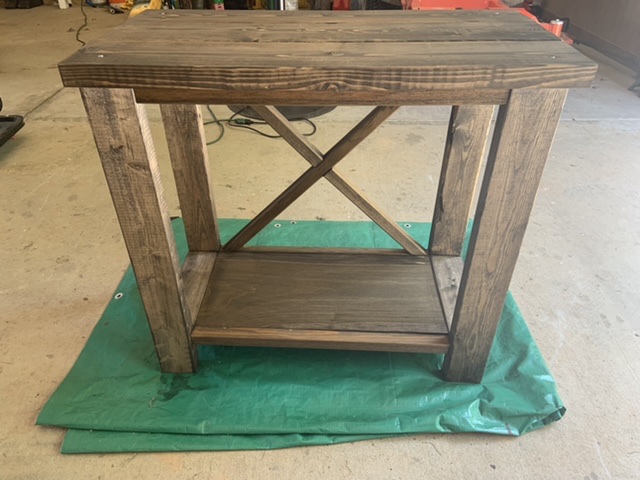
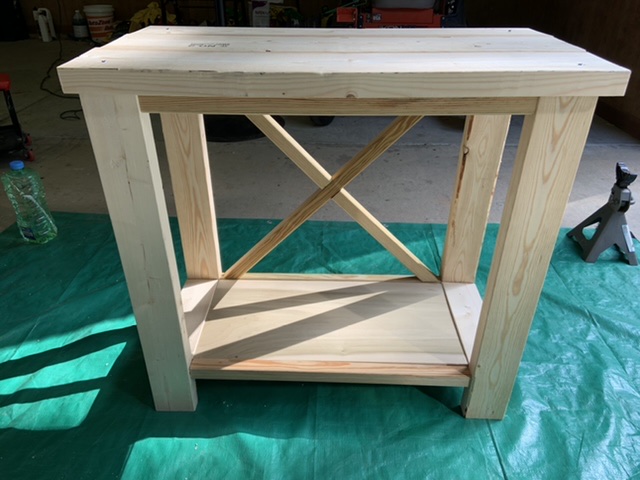
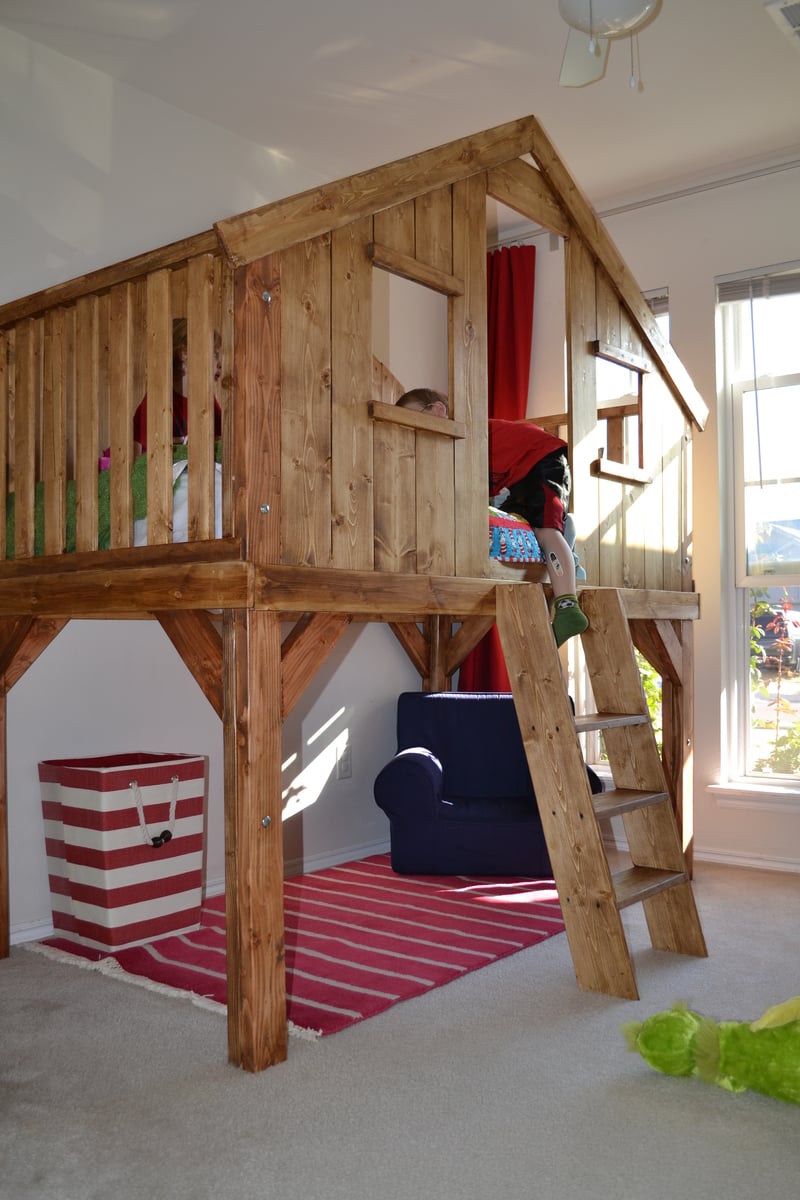
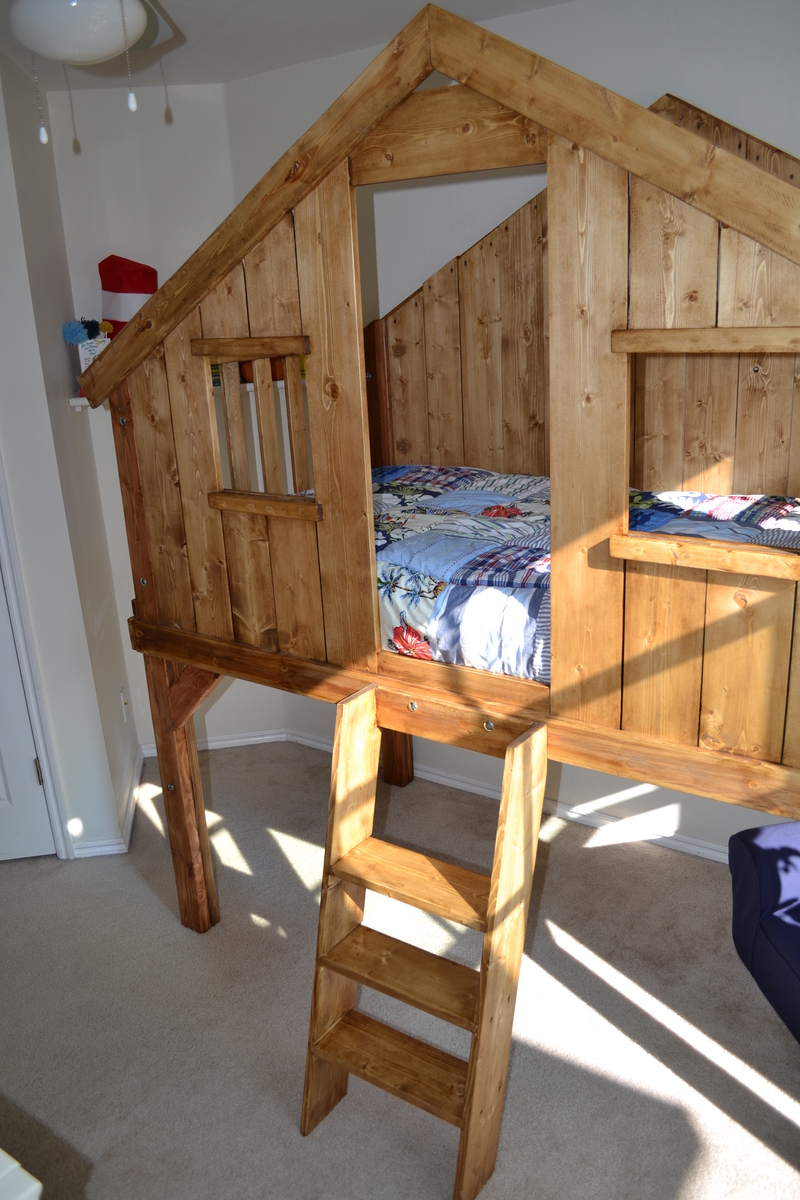
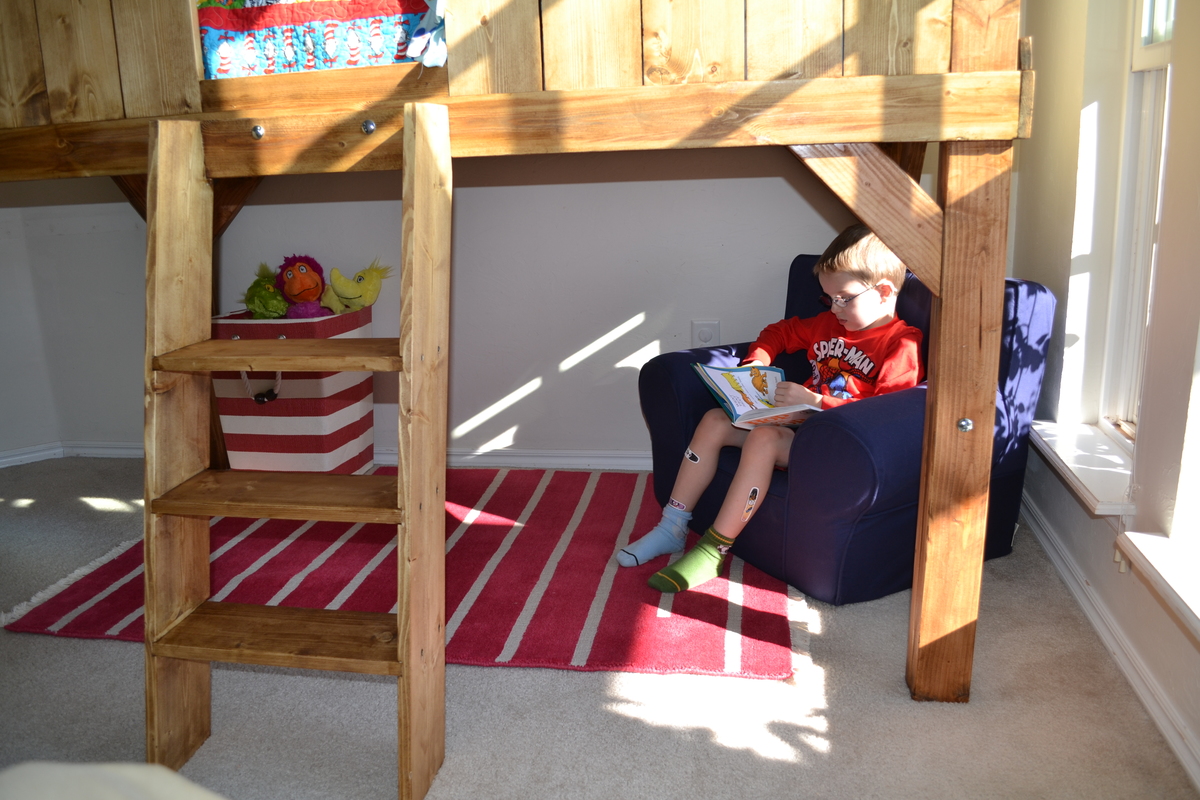
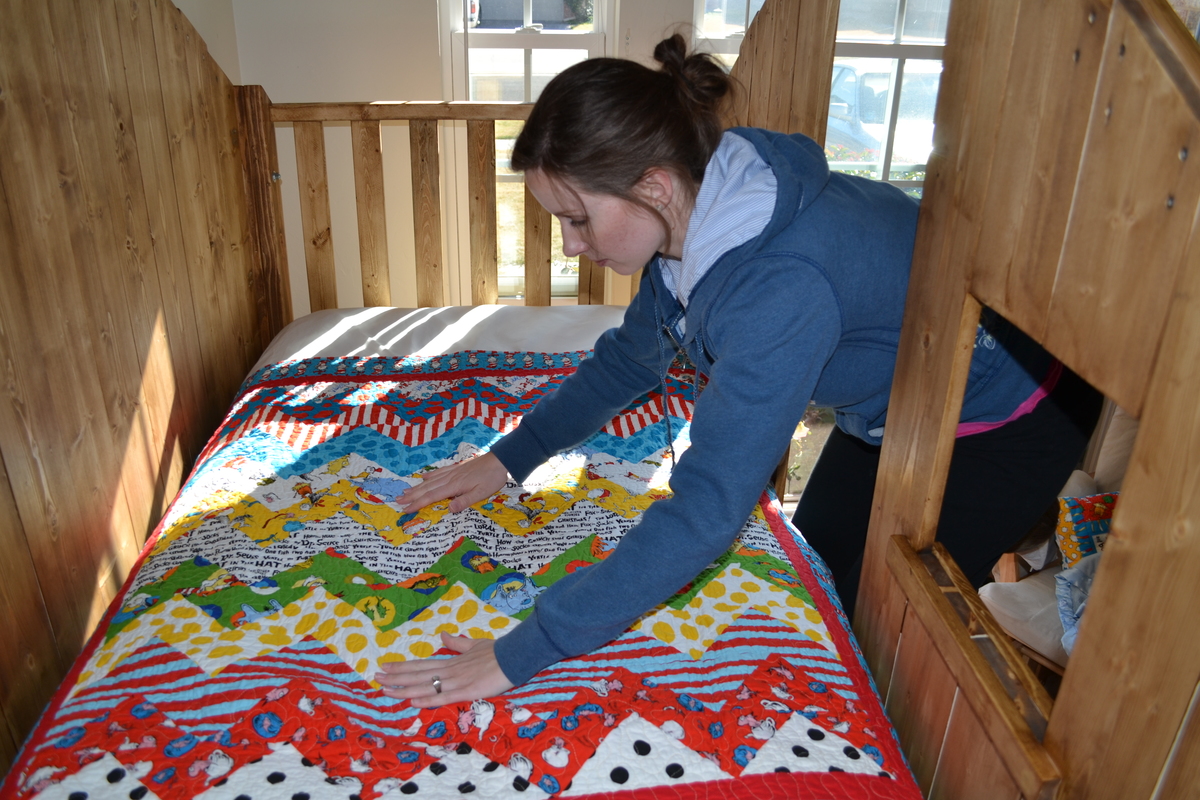
So we wanted to build a simple twin size bed for our 5 year old son. That quickly expanded into my wife wanting me to build this PB replica (which happens to be her favorite kids bed). My response was "honey, you really don't understand my lack of ability." She insisted and after a couple of weeks the bed is done! Using Ana's plans made this not only doable but much easier than I thought (this was my first build).
We changed the design very slightly because the original was a few inches too tall (we have a ceiling fan that would have hit the top). We simply shortened the top half of the bed by 3 inches. At the suggestion of a friend (who's mitre and table saws we used for the cuts) we used dado instead of pocket holes for the stairs. We also used a lot of countersinking instead of pocket holes (for example to attach the vertical slats on the side walls).
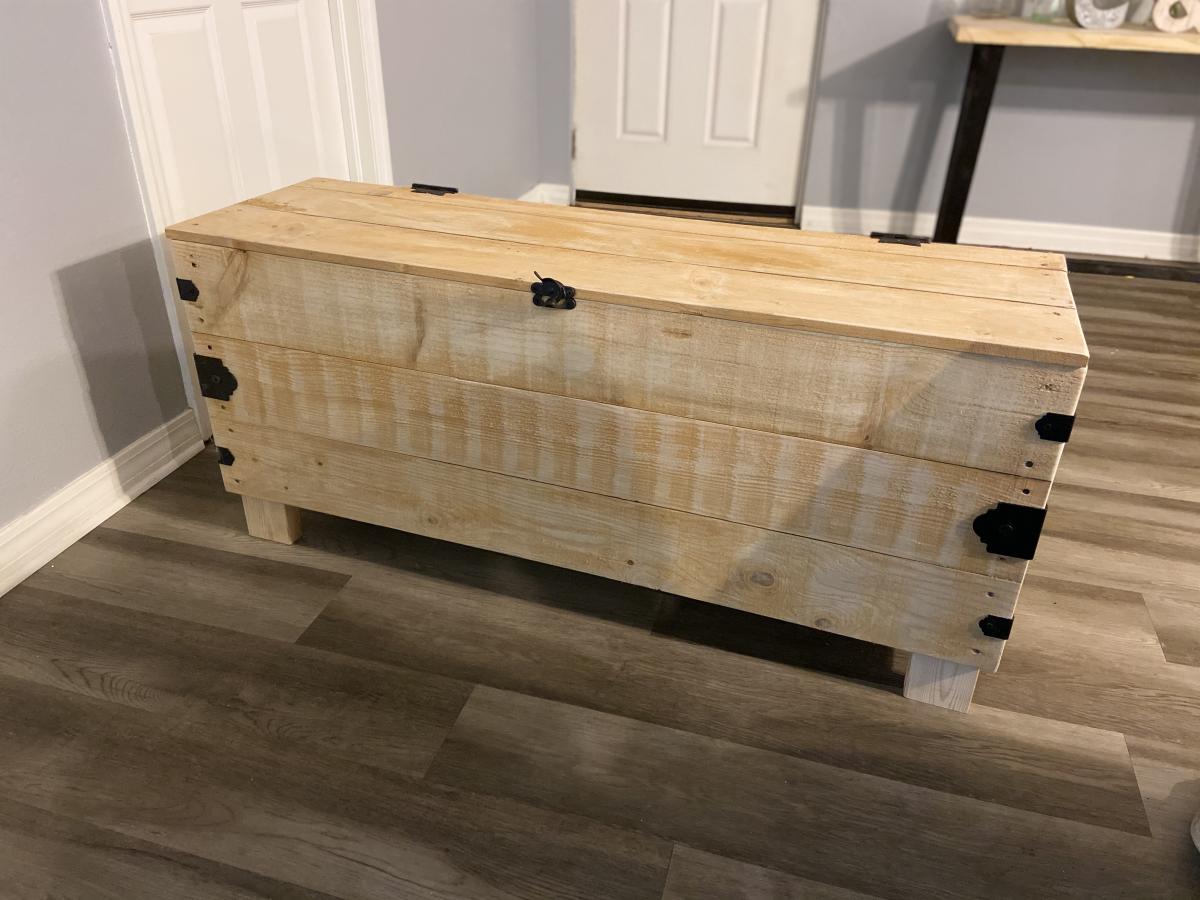
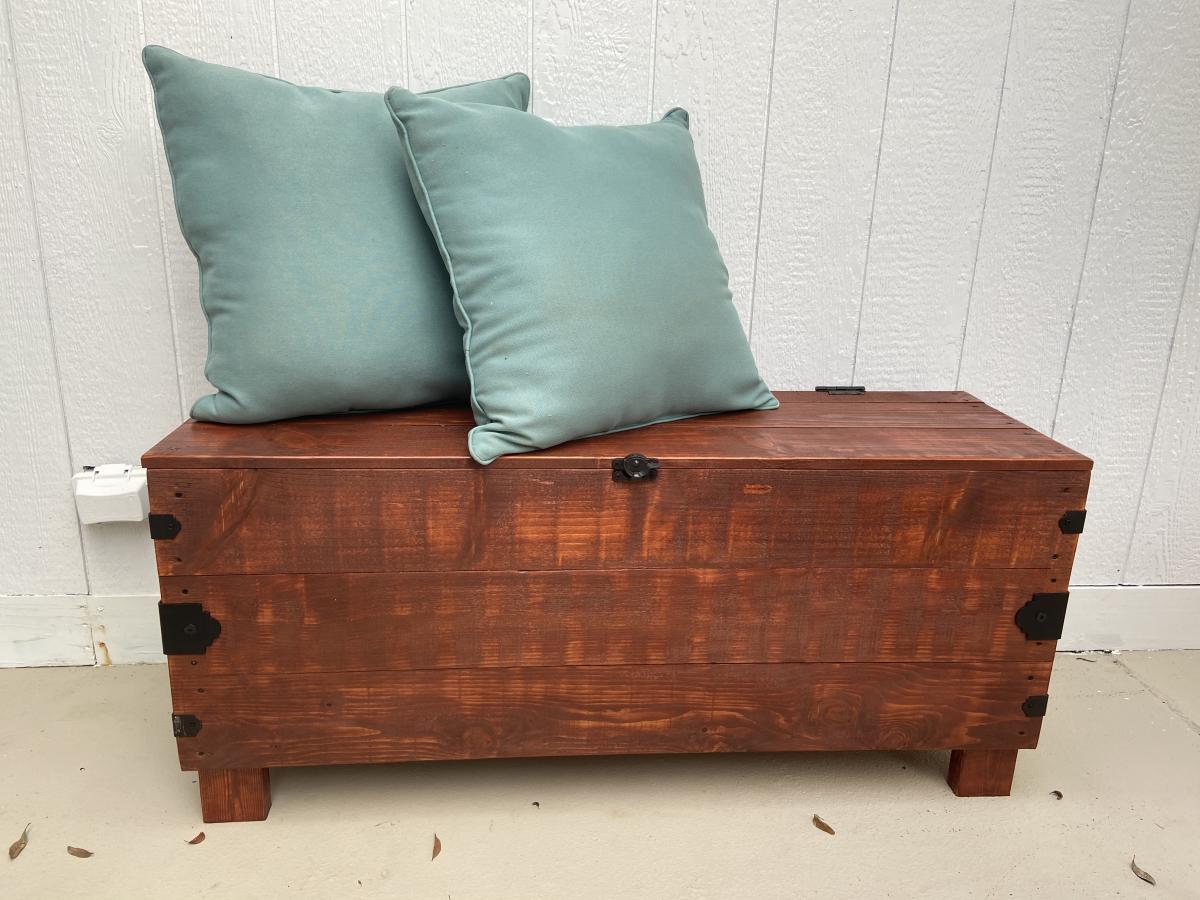
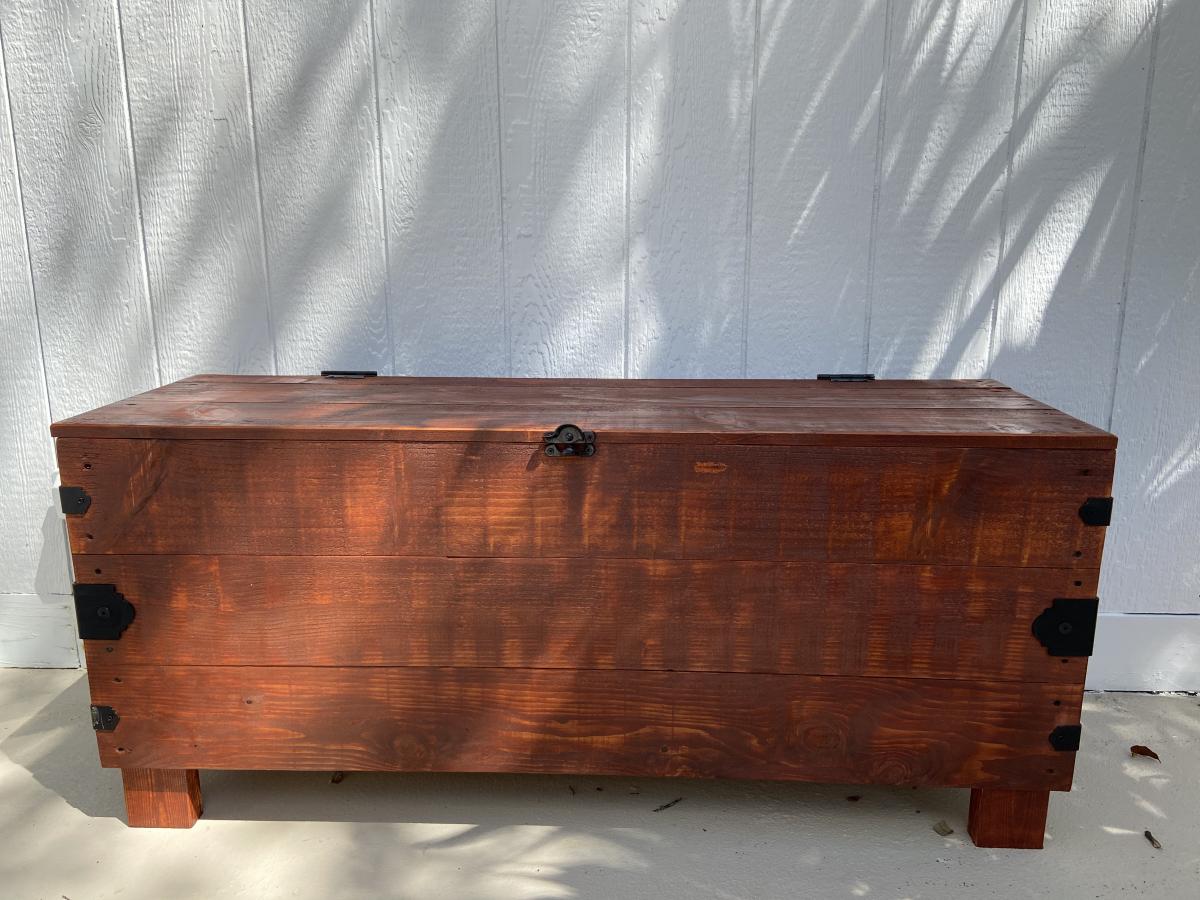
We bought the cheapest wood we could get at Home Depot. All the wood and stain and materials cost about $250-300 (I still haven't checked the receipts exactly). However, I was told (quite sternly) that I severely overpaid for the wood by not going to a lumber yard. We used a Minwax oil-based stain (mission oak). We only did one coat.
Now that we're done with this we can't wait to get started on the next project (right after I get my dissertation going).
Fri, 11/30/2012 - 07:07
It turned out amazing! woodworking is addictive isn't it?
Fri, 12/07/2012 - 18:22
I've been wanting to build this for our youngest son. He will be three before we make it and the fact that it is enclosed makes me comfortable with having him in a lofted bed, but it also looks like changing the bedding would be really challenging. Seeing your picture smoothing the quilt begs the question, how hard is it?
Nice work on the bed-what a first project!
Tue, 12/31/2019 - 08:41
Did you use the same angles at the top of the bed but remove 3” from the bottom of the cut? Would love to shorten this too but not great at making that type of adjustment without stated plans for it. Thanks for your help. [email protected]
Great little shelf for a kids room. Love it.
Comments
spiceylg
Tue, 11/13/2012 - 05:39
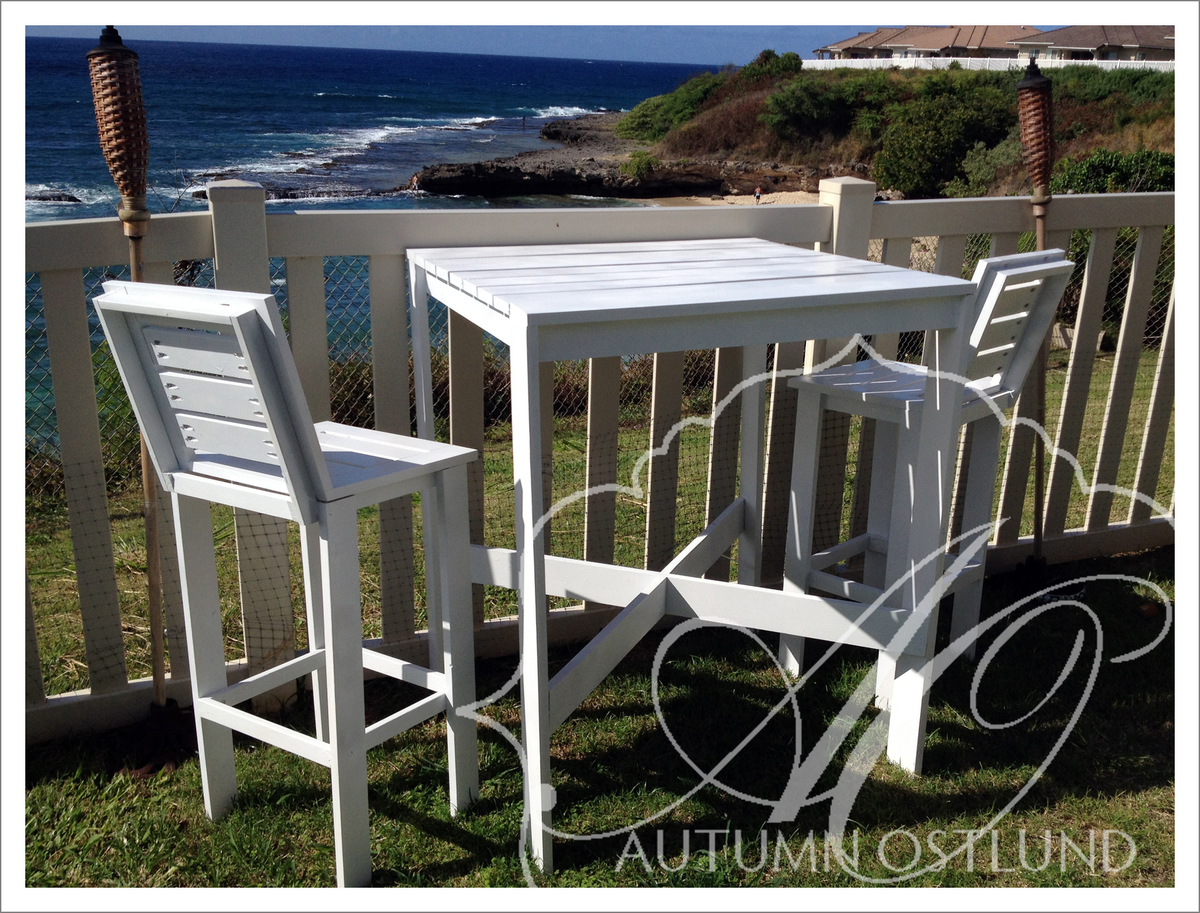
Wow
That build came out really nice, but the scenic background, wow!!!!
Jake
Wed, 11/14/2012 - 18:16
Your a Beginner??
Hard to believe that you are a beginner. Fantastic work. Keep it up and the whole home will be furnished.
dallynd
Sat, 04/13/2013 - 13:47
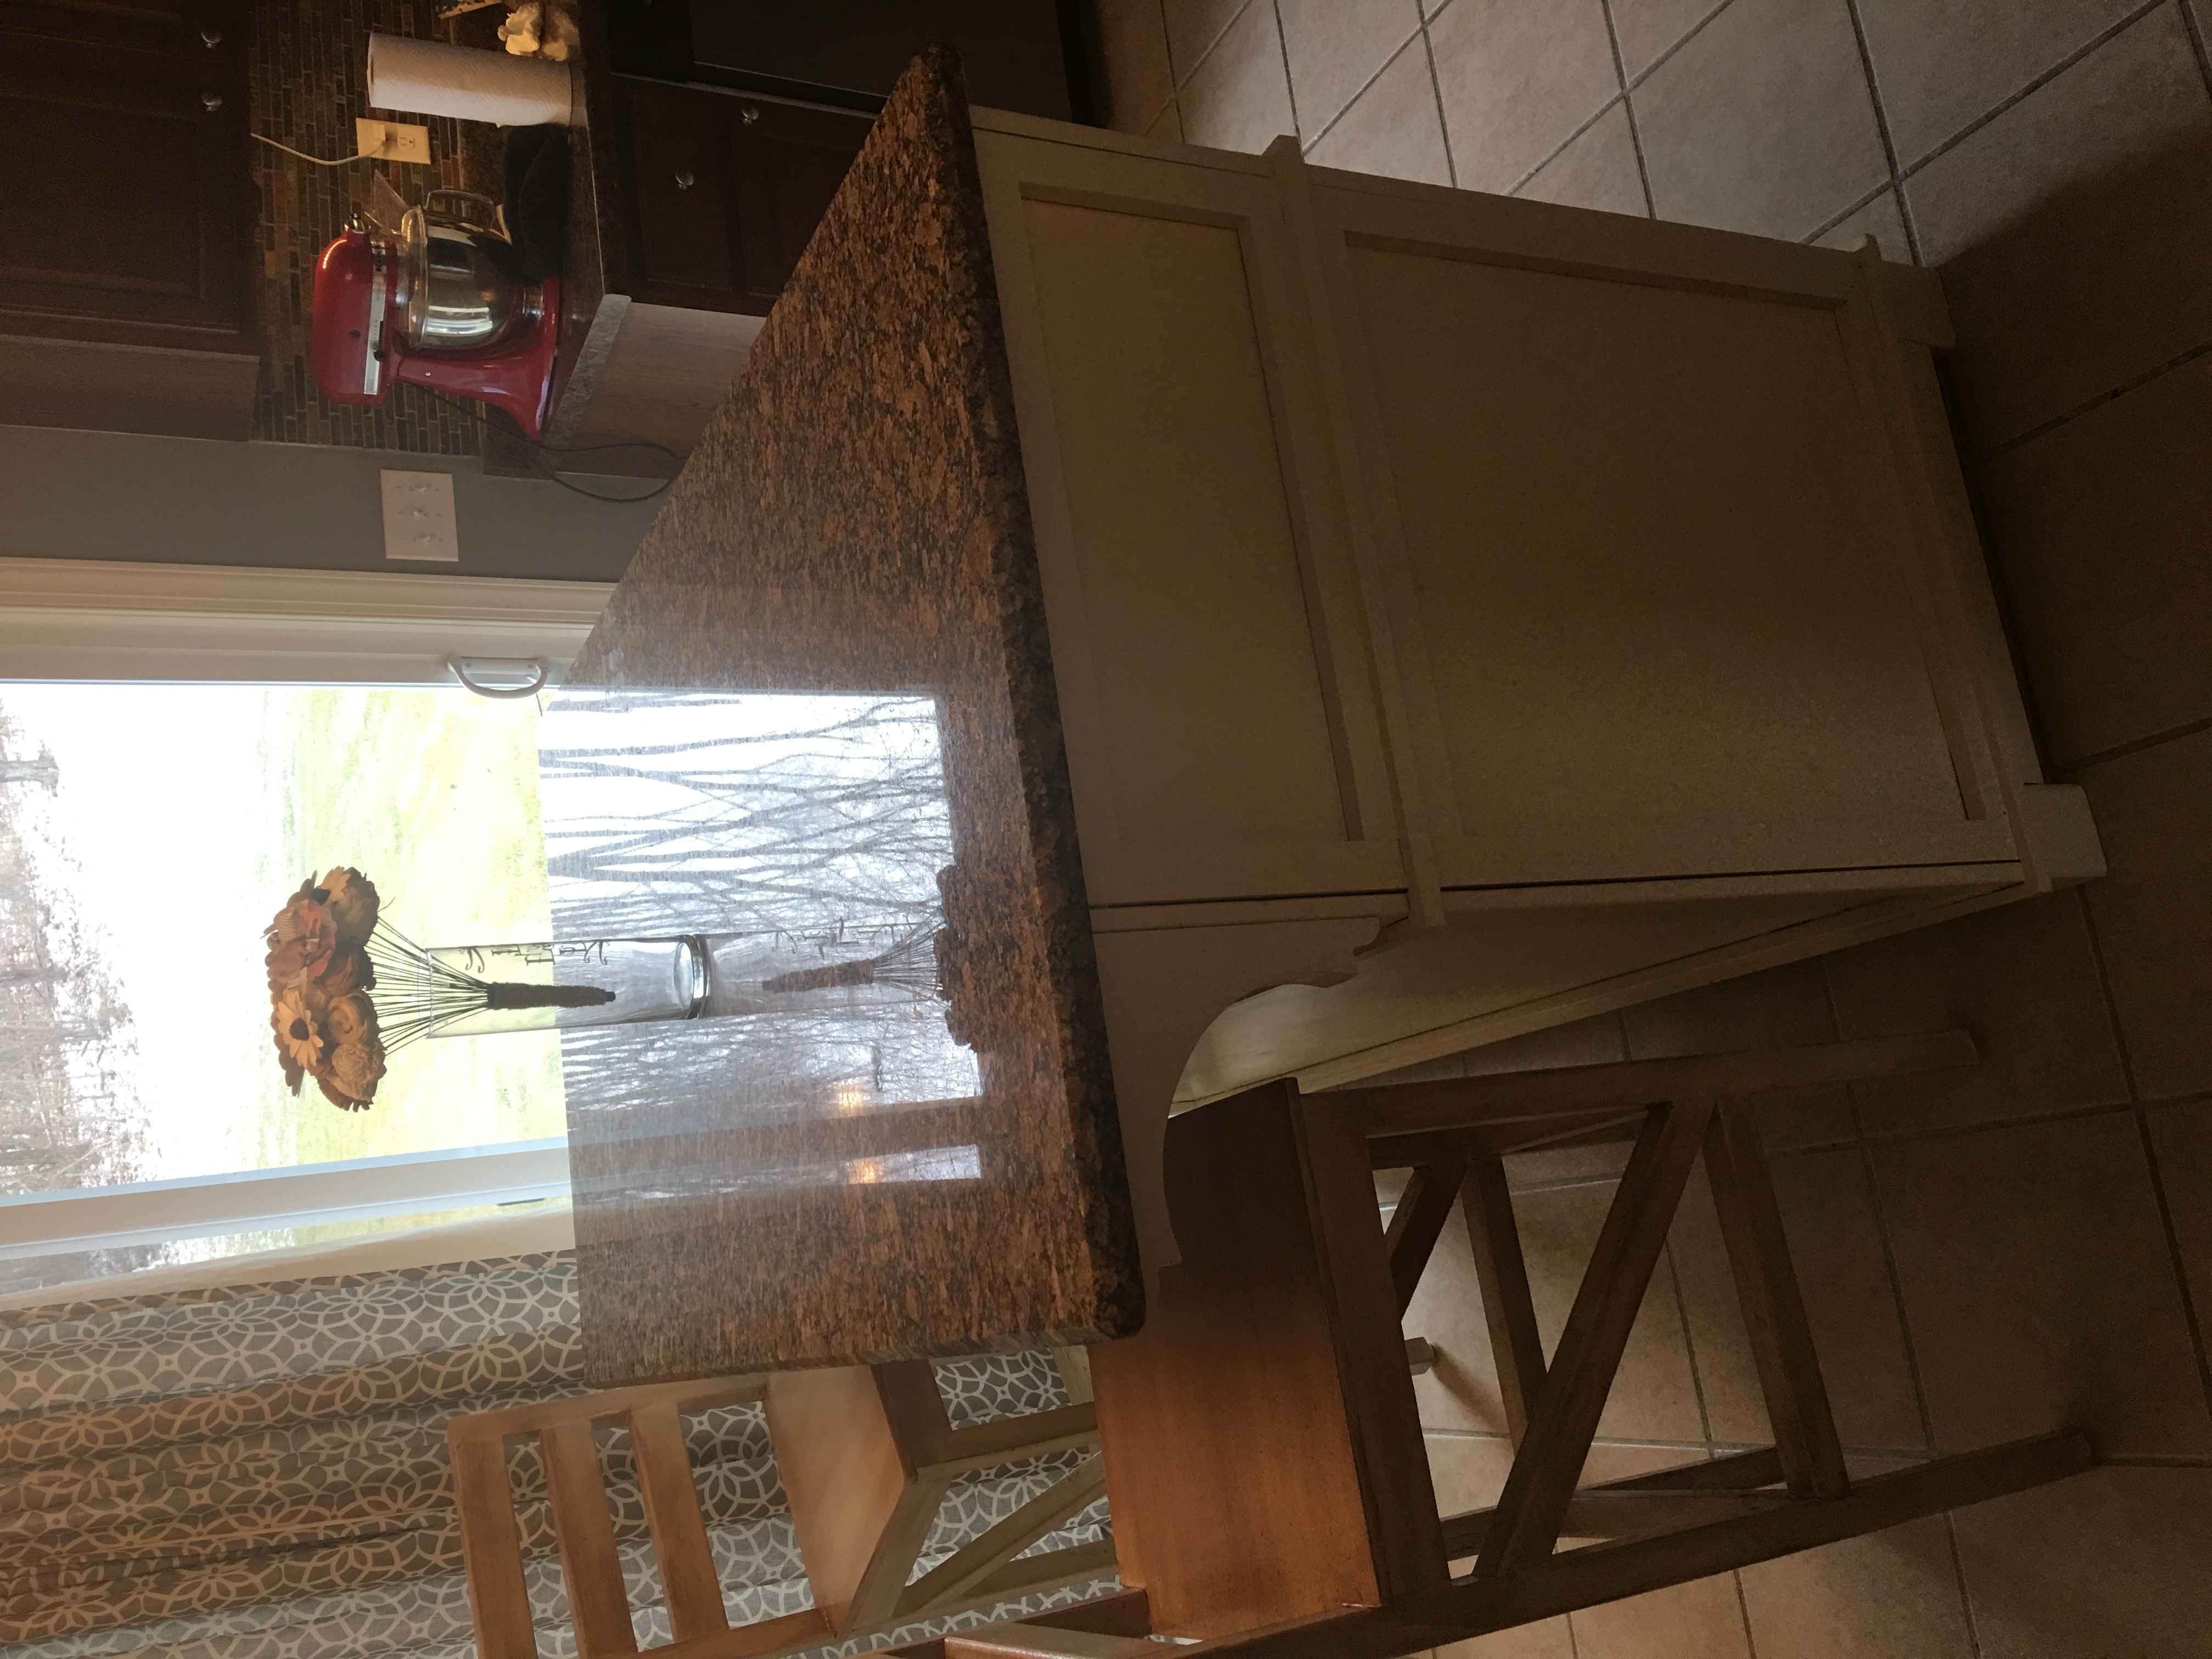
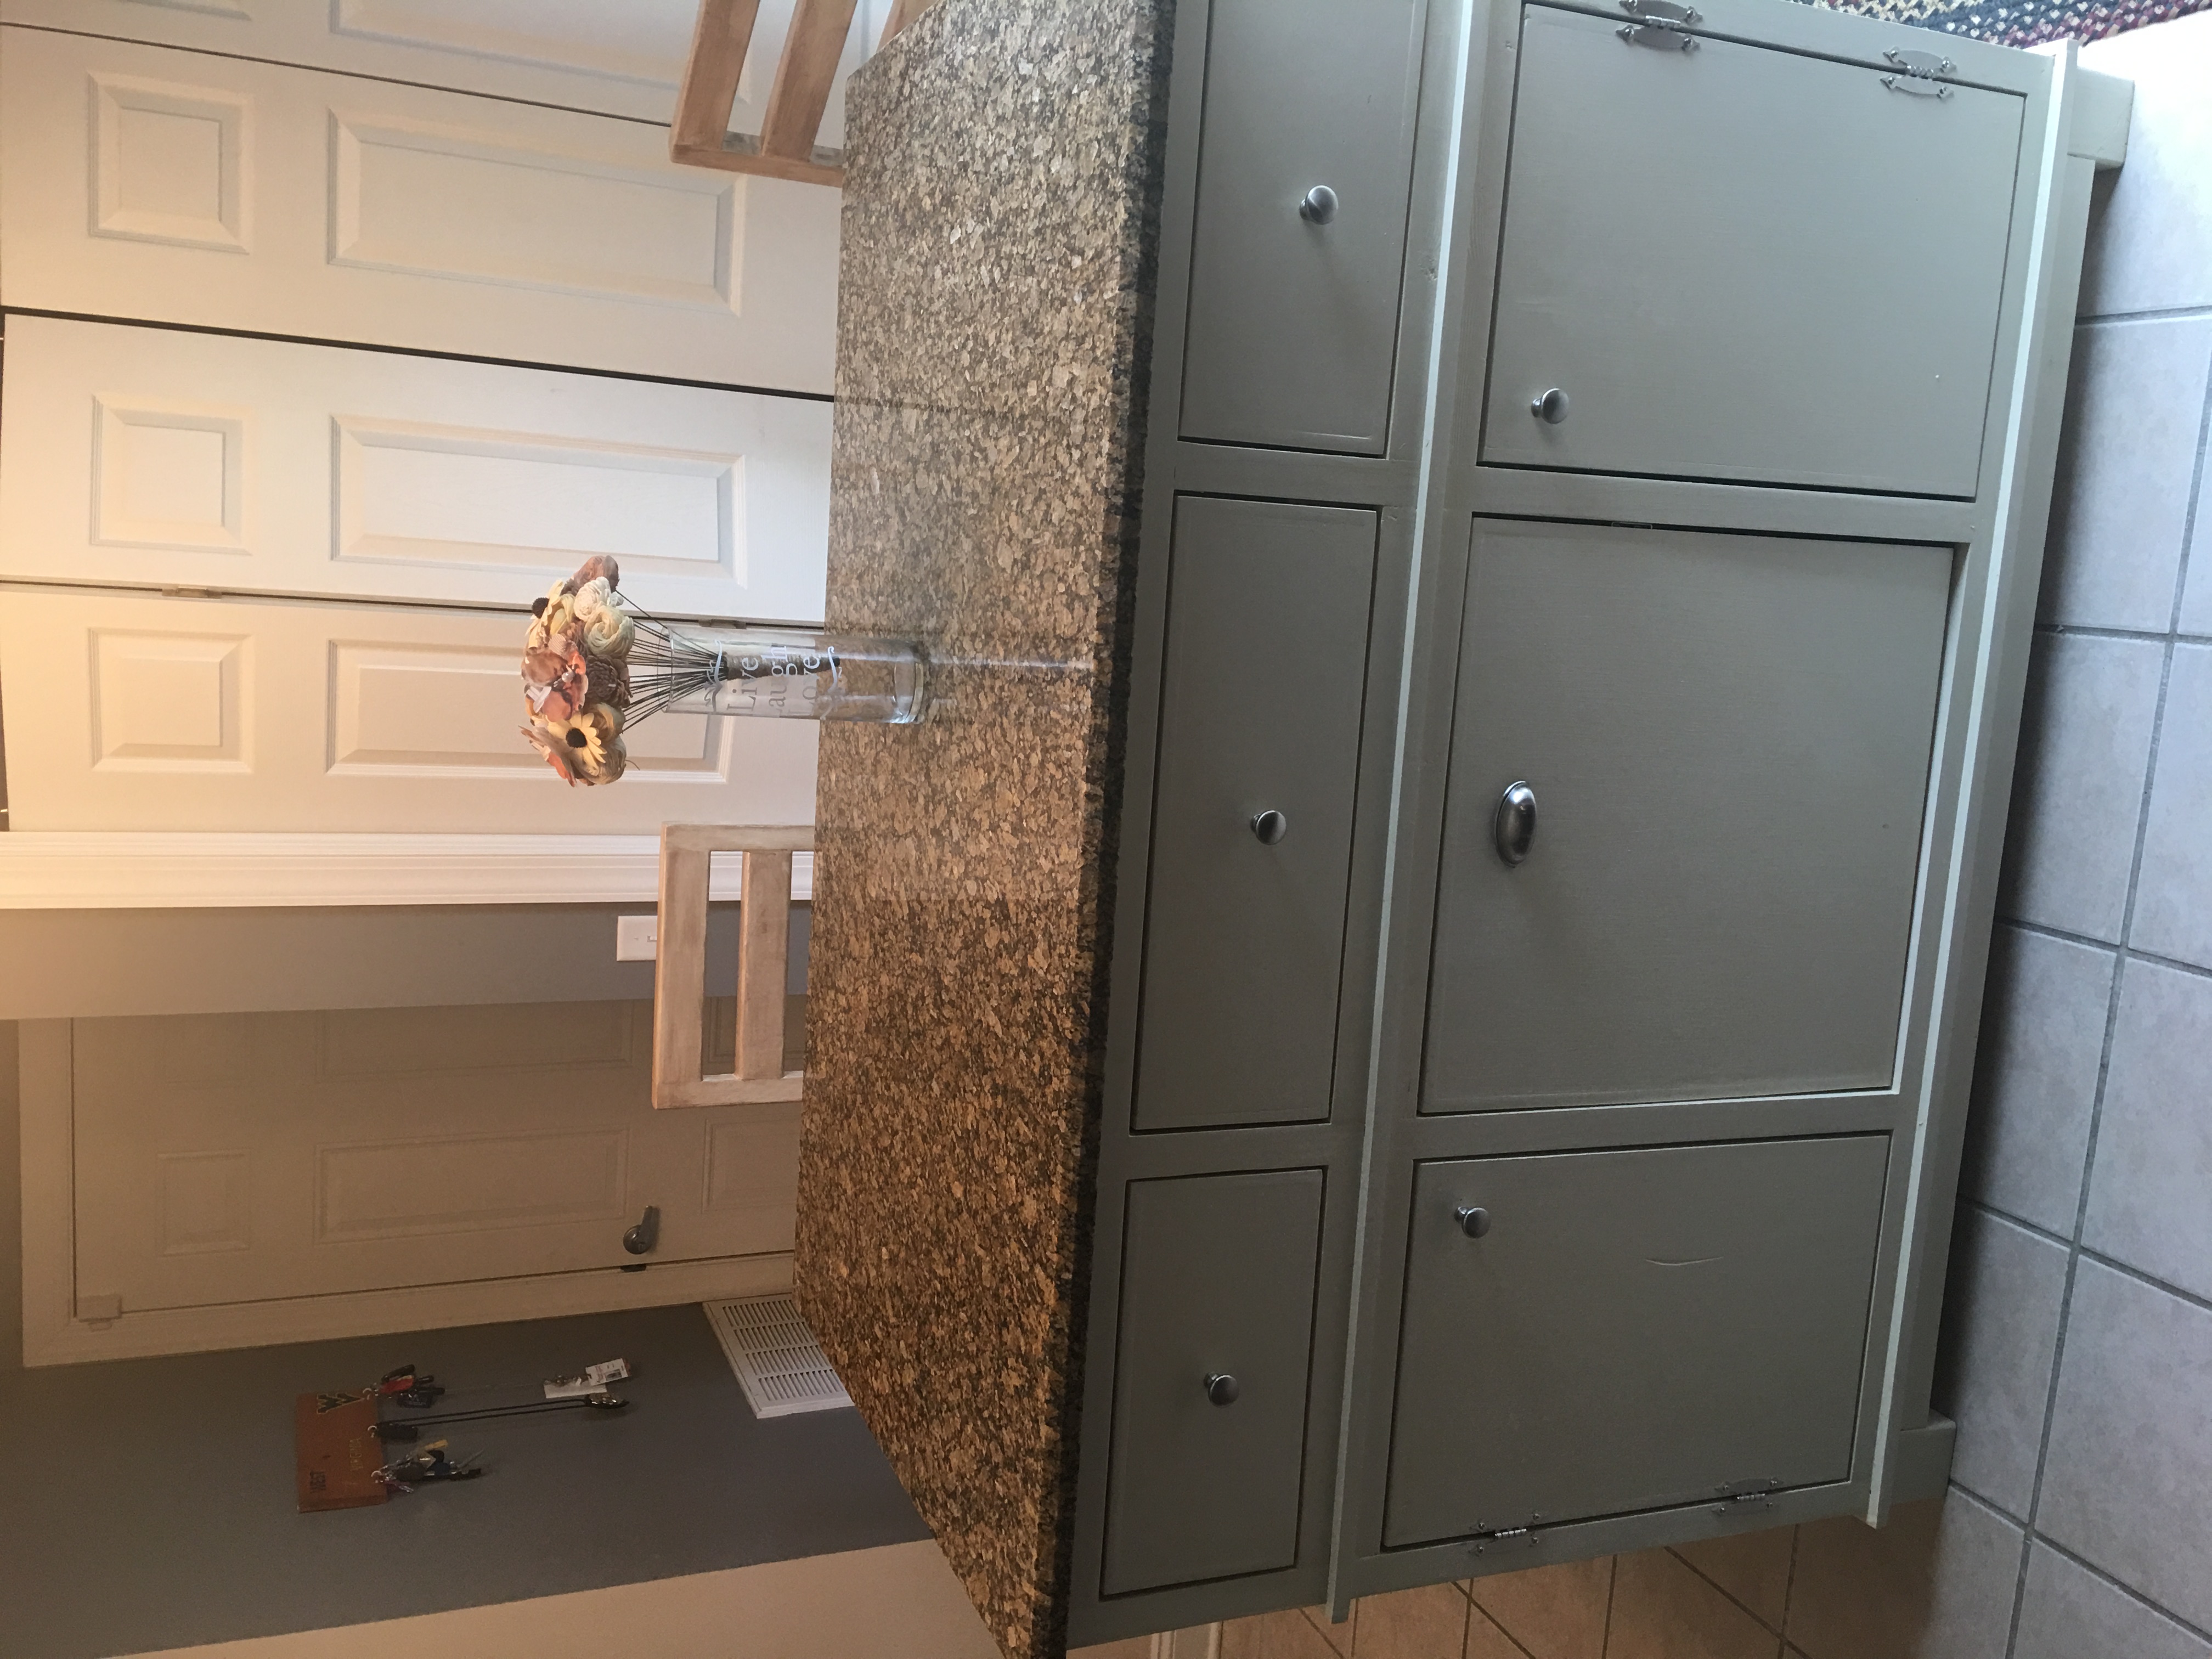
Stools with backs.
I'd love some information on the backs. My husband has a bad back and it's a necessity, but I'm a beginner and not sure how you did it/