Community Brag Posts

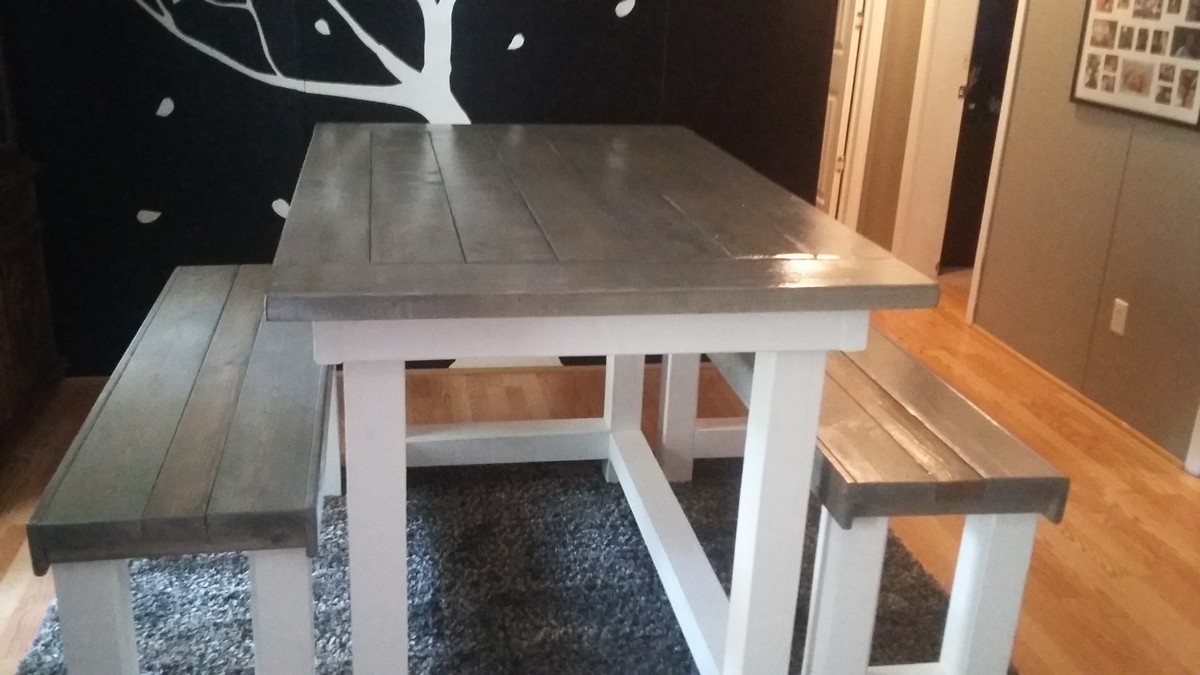
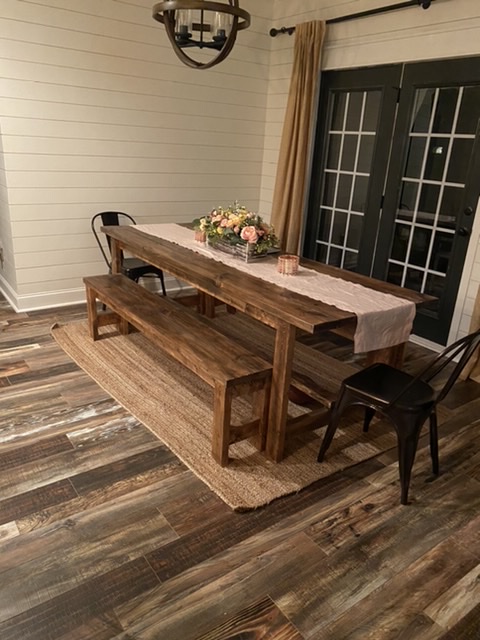
4x4 Farmhouse Table with Video

Submitted by petesveen on Sun, 04/06/2014 - 14:55

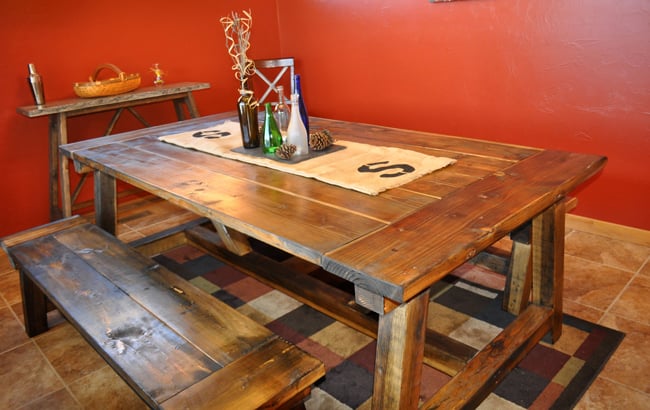
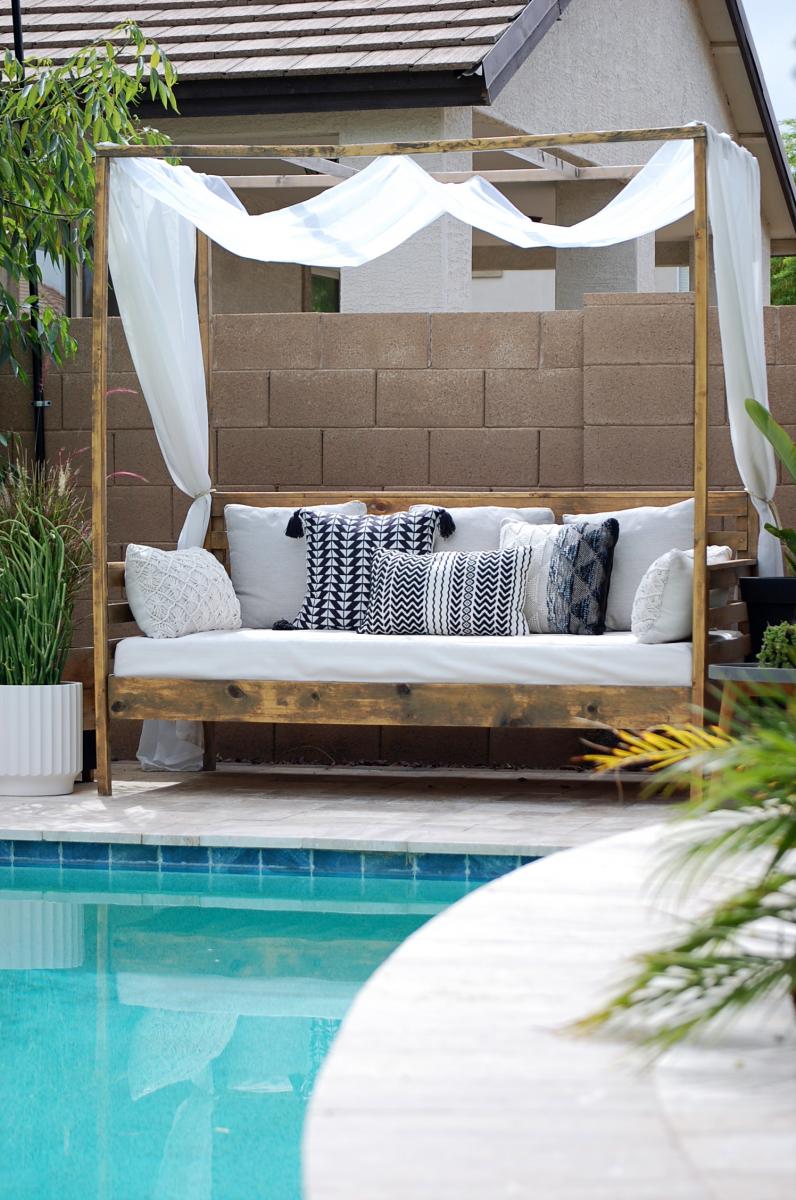
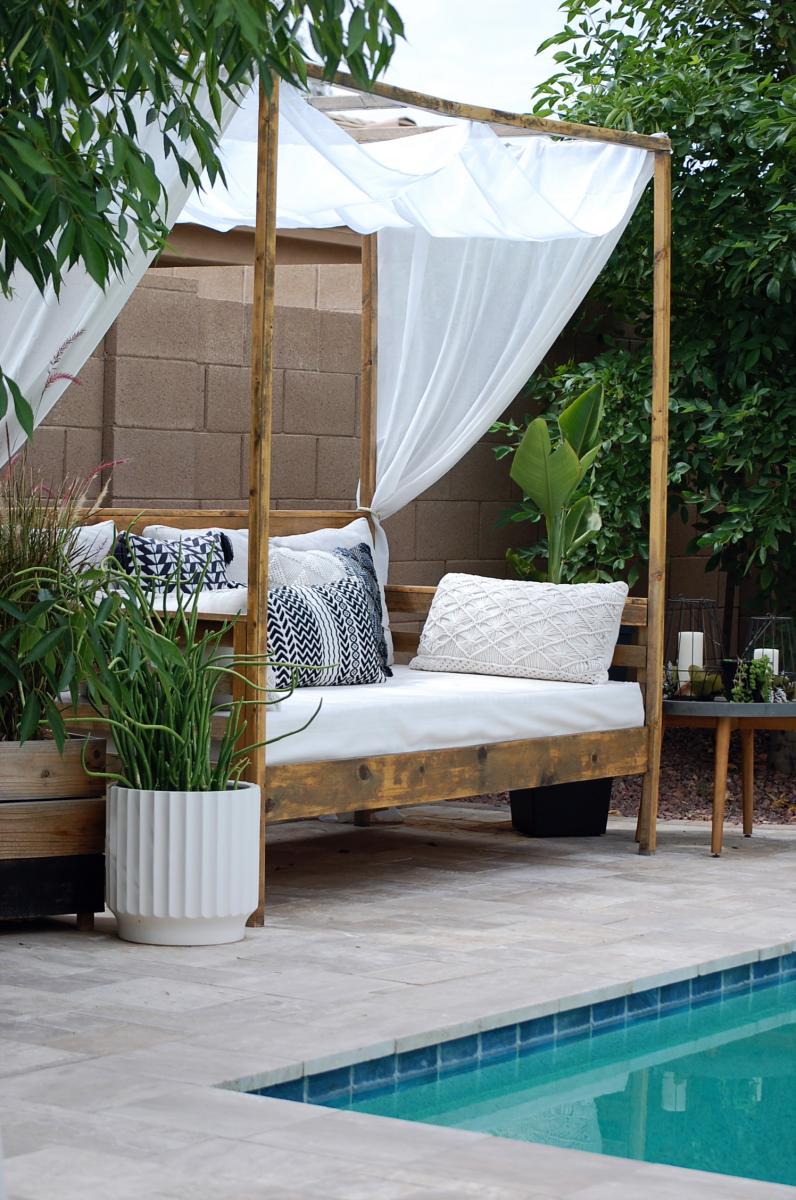
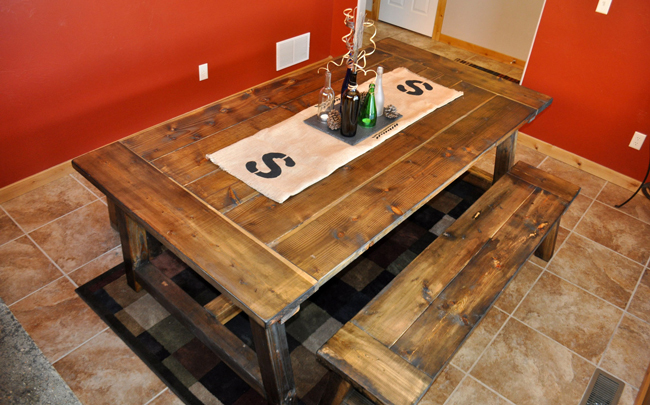
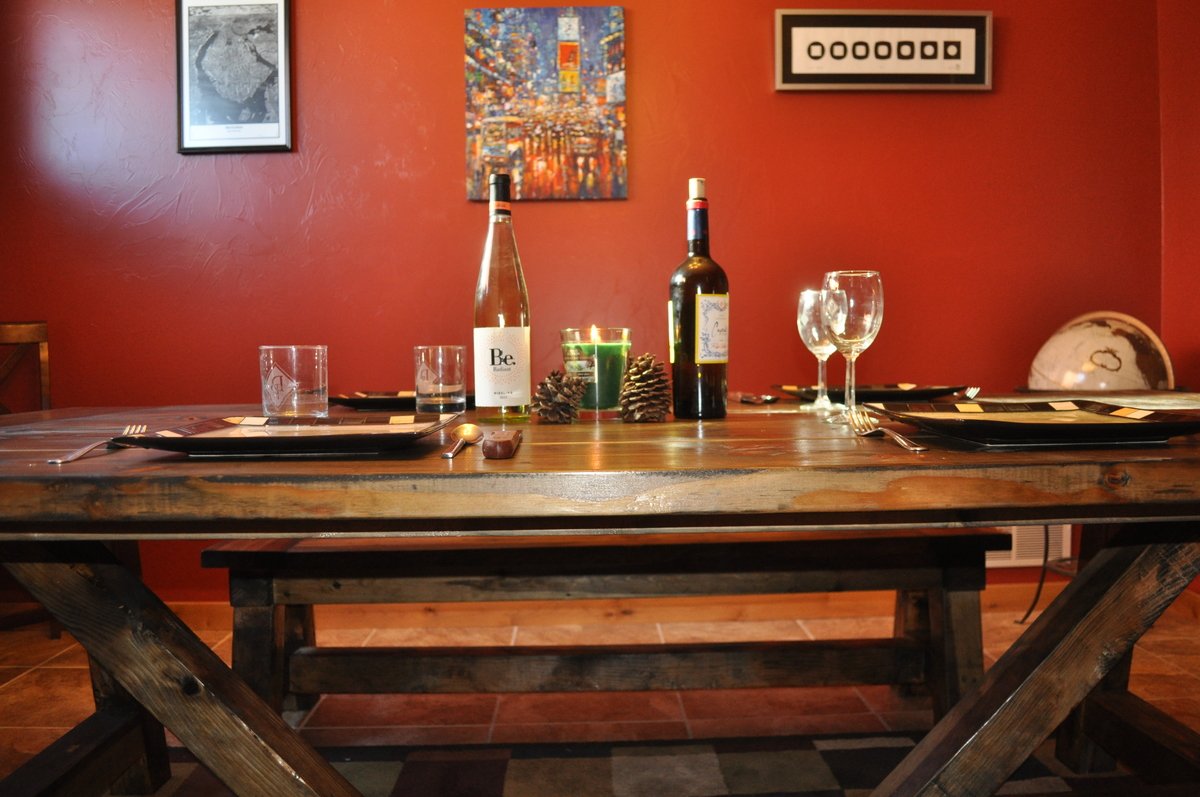
When I saw Ana's plans for this table I had to build it. I did modify the size to make the table top a little wider and longer. The extra width is great for putting more food or a center piece in the middle of the table.

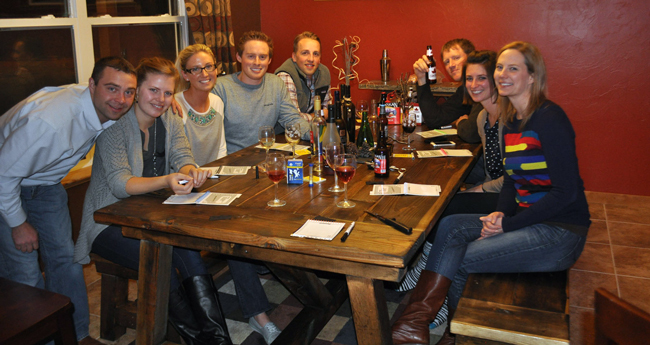
I thought the build was pretty simple and everyone who visits our house loves the table. It is definitely a conversational piece.

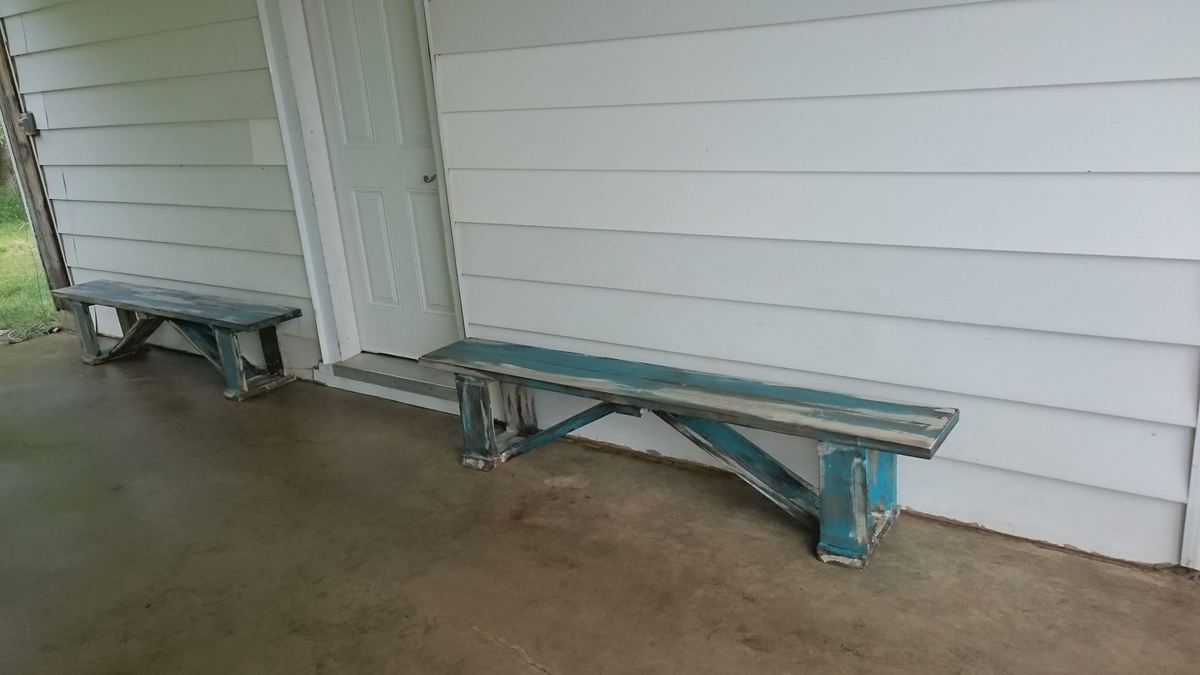
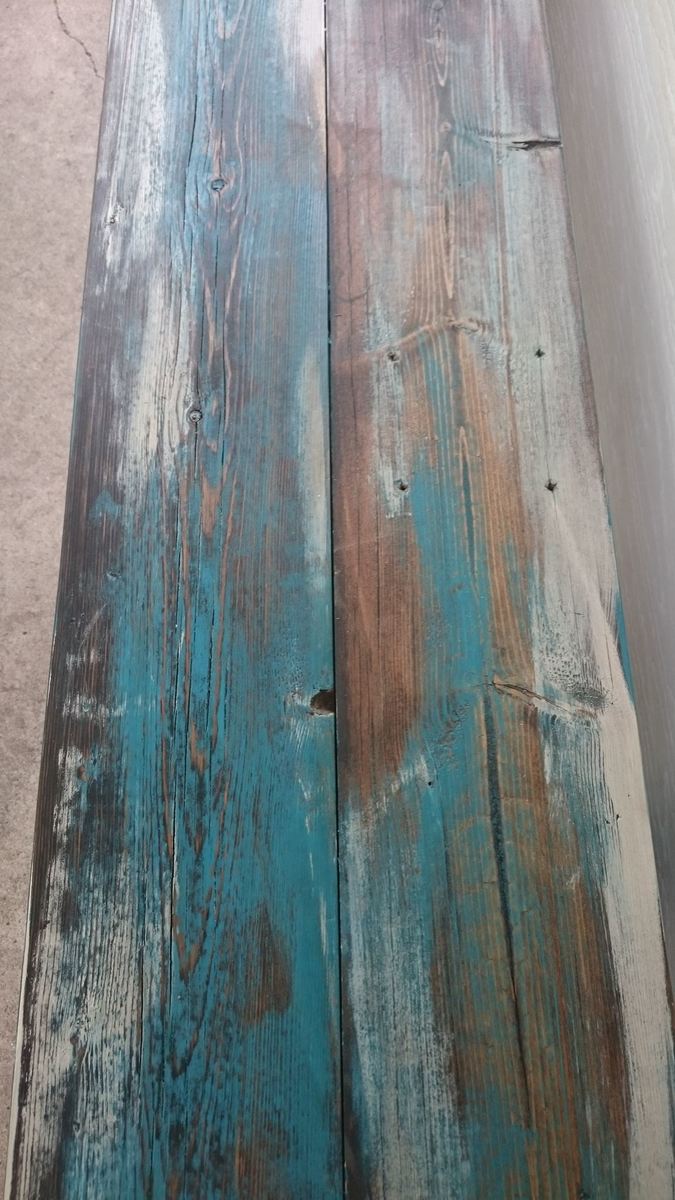
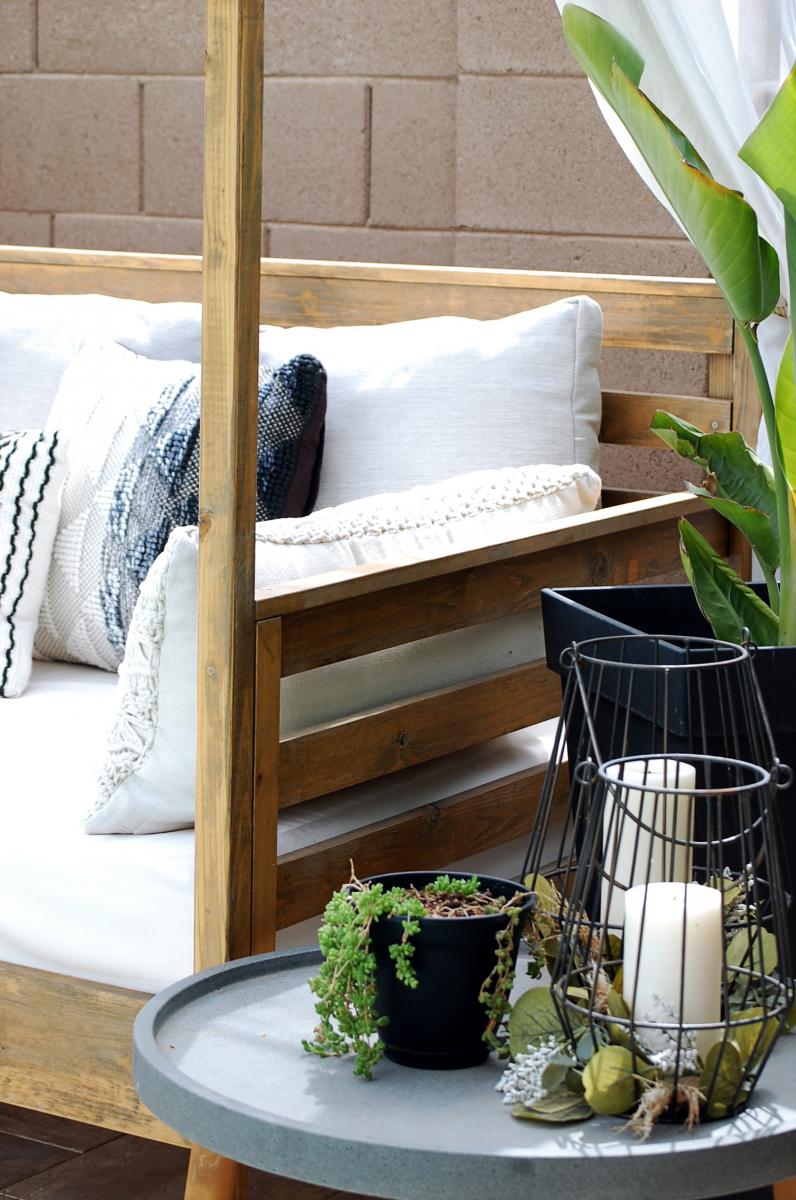
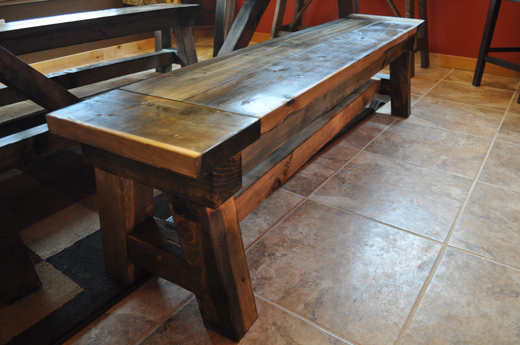
The table and benches are heavy duty and will be able to passed on for many generations. I love the rustic look and so the steel wool/vinegar stain was my finish of choice.

I decided to document the entire build and created the most in-depth farmhouse table video tutorial online. The goal with the video is to show how easy it is to build the table using Ana's plans!

Estimated Cost
$200
Estimated Time Investment
Weekend Project (10-20 Hours)
Finish Used
Steel Wool and Vinegar Mixture. I then used an oil based Polyurethane from Minwax to protect the wood.
Recommended Skill Level
Beginner

Weathered Gray

Submitted by Anonymous (not verified) on Sun, 07/03/2016 - 17:52

40 inch tall weathered Gray table

Estimated Time Investment
Weekend Project (10-20 Hours)
Recommended Skill Level
Intermediate

Outdoor Chair

Submitted by Chanda_B on Tue, 04/28/2020 - 10:49

Adjusted the height of the back to better support back cushion.

Angled back and seat boards for relaxed fit.

Used pine boards for side of chair.

Estimated Cost
$50
Estimated Time Investment
Day Project (6-9 Hours)
Finish Used
Varathane Stain + Poly (Red Mahogany)

To be added: Spar Urethane (Satin)
Recommended Skill Level
Beginner

Wall Shelving System

Submitted by Anonymous (not verified) on Tue, 12/19/2023 - 17:17

This was a rewarding build as it was not complex but really adds to our music room. We built it to fit guitar cases under nearth. Basically like bulding 3 ladders and inserting shelves in between the rungs.

Doug and Tina Case

Sleeping Tent

Submitted by Robinwood on Fri, 06/15/2012 - 19:11

My grandson has special needs and getting him out of his parent's bed has been difficult. His dad had put up a temporary "blanket" tent in the room and has successfully moved him into sleeping in the tent; but the next step is moving him to his room.

This tent is perfect - I added some pockets on the side for his books and a few bed toys and put an "S" hook at the top to hang his lanterns. I made it longer, so his dad could get in with him if needed.

As usual, love this site - always can find just the right plans.

Built from Plan(s)
Estimated Time Investment
Afternoon Project (3-6 Hours)
Recommended Skill Level
Starter Project

Comments

rustic homemaker

Submitted by Anonymous (not verified) on Wed, 07/06/2016 - 09:20

simple build looks great inside and out

Estimated Cost
$20
Estimated Time Investment
Afternoon Project (3-6 Hours)
Finish Used
teal behr and white with brown stain
paint splotches of paint , sand, stain
Recommended Skill Level
Beginner

Outdoor Chaise Lounge

We decided to put my husband to work during a hot Oklahoma summer! After about a month's worth of procrastination, he finally built the chair! It was very detailed but easy to follow. I was the one who stained it (in the dark - so don't judge) and got the cushion from Garden Ridge.

Estimated Time Investment
Day Project (6-9 Hours)
Finish Used
Minwax Cherry outdoor wood stain and sealant
Recommended Skill Level
Beginner

Altered Apothecary Media Console

Submitted by vlilly on Sat, 04/12/2014 - 08:34

I had the wood to make this for about 2 weeks. Started on Tuesday and finished Thursday evening! I wanted the look to be different from the Apothecary look so I made the doors a little different!

Built from Plan(s)
Estimated Time Investment
Weekend Project (10-20 Hours)
Finish Used
Stained all wood with Rustoleum "Carrington" stain, then painted over the bottom part with Rustoleum "Heirloom White" Spray paint. Distressed through the white so the dark stain could peek through.
Recommended Skill Level
Beginner

Comments

jeanniemn

Mon, 04/14/2014 - 17:16

I love this! I just finished putting the frame together but wasn't loving the original door look. Can you tell me how you did the beadboard doors? And what hinges? Thanks!

vlilly

Sat, 04/19/2014 - 08:02

Sure! I just bought a 4'x8' sheet of beadboard from Lowes. I have about half left over. They sometimes have half sheets but didn't when I went. I had them to rough cut it into 20" strips to fit in my car. It came white but I painted over it with Rustoleum Heirloom White spray paint. I bought 2 12ft boards for the frames, I think they were 1/2"x2".. only around $8 per piece and they are stocked vertically at lowes near the beadboard (at the store near me at least!) I cut the beadboard at home and then cut the frame board to fit. I used glue and a brad nailer with 5/8" nails to attach them to the beadboard. My doors had to overlap the plywood since I had the extra shelf that was flush with the rest of the cabinet.. I couldn't inset my doors like she did at Shanty-2-Chic. I bought the same hinges she used, the brand is Liberty and I found them at Home Depot. $5 something for a 2 pack. They are awesome! The doors aren't heavy duty but we didn't need them to be. You could always add a layer of MDF or Lauan if you wanted them to be more sturdy!

I hope this helps.. I'll be glad to answer more questions!

jeanniemn

Thu, 05/01/2014 - 18:28

Thanks!! We are almost done but are stumped by the hinges (I bought the Liberty ones too). Any tips on those? I think we are just over-thinking it, it can't be that hard!!

jeanniemn

Thu, 05/01/2014 - 18:42

Thanks!! We are almost done but are stumped by the hinges (I bought the Liberty ones too). Any tips on those? I think we are just over-thinking it, it can't be that hard!!

pde00311

Fri, 05/02/2014 - 06:53

...has completely stumped me before, and buying the wrong type has halted one of my first projects. Make sure you pick the right hinge for how you want your doors to align. From my experience, HD sells mostly "overlay" and "3/8 offset" hinges, with a small selection of "inset" hinges. These links are to a different hinge manufacturers, but the little pictures/explanations have helped me figure out what type of hinge I need to buy:

http://www.rockler.com/how-to/understanding-hinges

http://www.menards.com/main/store/20090519001/items/media/Millwork/Belw…

(and vlilly, I love the distressed finish on the console above).

Family friendly table

I made this table in one weekend by myself. The plans were very simple. I made the benches to go along with it, at the same time. My family has enjoyed many meals so far at this table. I used Danish wood oil in black walnut and a couple coats of polycyclic. I made it a few months ago, and it is super sturdy. So happy with how it turned out- thanks Ana for a great plan

Estimated Cost
150
Estimated Time Investment
Weekend Project (10-20 Hours)
Finish Used
Black walnut danish wood oil

Ultimate Shoe Cabinet

Submitted by CherylMack on Sun, 06/24/2012 - 21:34

This was our very first project made from the plan Shoe Shrine Shelves submitted by Anna White with a few variations. The middle, short cabinet was made from left over pieces using the same dimensions as the taller shelves. The width was determined using the mirror dimensions. The mirror was my husbands genius idea! It was an old mirror just sitting around in our garage, he sanded it down, primed with Kilz and painted Antique White to match. He also suggested the trim stripes on the front (painted Pure Black for contrast) to give the cabinet some unique character! This piece can really be designed many different ways to suit your specific needs. I LOVE it and can't wait for our next project! Thanks so very much Anna!!!

Estimated Cost
$450-500
Estimated Time Investment
Weekend Project (10-20 Hours)
Finish Used
Antique White (overall)
Pure Black (accent pieces)
Recommended Skill Level
Intermediate

Comments

shanemoma

Thu, 06/28/2012 - 16:14

Wow...this is totally amazing. This is definitely going on my list of projects!! Great job.

truss shelf/bookcase

Submitted by mritek77 on Mon, 04/14/2014 - 22:34

This was a pretty simple project as long as you make accurate cuts. Making accurately angled cut allows for tight joint also love the pocket screws. I did add a top brace for stability, seemed a little unstable without them. I pocket screwed them on from the backside, so they can't be seen from front. Than went with a two tone paint/stain.

Built from Plan(s)
Estimated Time Investment
Weekend Project (10-20 Hours)
Recommended Skill Level
Beginner

Alex's Toy Storage

Submitted by bobrombach on Tue, 07/12/2016 - 08:55

Super fun, and easy, to build this toy storage bin from Ana's plan. I took your advice, Ana, and made the top rail a little taller than a 1x4 and it's working great! I also used a prefinished (white) wainscotting panel for the back. I really like the way that turned out.

I bought the prefinished (white) letters at Hobby Lobby. 

This bin is a fun, and functional, addition to our home.

Thanks again for the great resources, Ana!

Built from Plan(s)
Estimated Cost
$40
Estimated Time Investment
Afternoon Project (3-6 Hours)
Finish Used
Gloss paint and high gloss acrylic finish. Tip - don't apply finish in high humidity! Yuck... took forever to dry.
Recommended Skill Level
Beginner

Cake table for wedding.

Submitted by sherrik on Wed, 05/06/2020 - 21:23

I had seen this and contemplated making it several times. When my daughter got engaged and we planned an on farm wedding, I knew this would be the perfect cake table. My niece helped me with the build. The stain and milk paint finish on the legs worked perfectly and crackled and chipped as desired. Only thing I didn’t like was the the silicone to fill the cracks didn’t last well. Boards were picked out of the pile at Menards. It still looks great two years later and my daughter bought a bigger house so she now has room for it in her dining area.

Built from Plan(s)
Estimated Time Investment
Weekend Project (10-20 Hours)
Finish Used
Table base was gel stain with 2 coats milk paint over the top of stain

Tabletop was liquid stain followed by three coats poly.
Recommended Skill Level
Beginner

Comments

Bathroom Storage Wall Shelf

Submitted by Anonymous (not verified) on Sun, 12/31/2023 - 13:35

Martina Bath Wall Storage
I proudly made this for my wife for Christmas 🎅🏻. She has been asking for something above the toilet. I enjoyed making the curved pieces on the sides. With the left over coping, I added a piece below the shelf. The most challenging part was squaring everything up. This was my first project like this so I definitely learned a lot along the way. Picking stains is an art upon itself.

Rob Shannon

Rustic Head Board

My wife wanted to get a new rustic style head board in the Pottery Barn style. Thanks to your site and plans I saved around $800. My wife even made a comparison picture with my head board and two from Pottery Barn. This was my fist major project and ever since I built this, people just come to me with ideas of things to build. Now she wants a matching foot board. I love your site and it's the first place I look anytime I have a project in mind.

Estimated Cost
$80 - $100
Estimated Time Investment
Weekend Project (10-20 Hours)
Finish Used
Antique walnut stain with a semi gloss polyurethane.
Recommended Skill Level
Beginner

Comments

Debi_G (not verified)

Sun, 07/01/2012 - 06:37

Looks great! The comparison picture is fantastic. I made this headboard last summer and we love it too.

Inspired by the Homemaker

Submitted by mariog2912 on Thu, 04/17/2014 - 05:33

I was inspired to try woodworking after seeing plans for this toybox. After that, my imagination is running wild with projects. I've added a few other pics of projects that I've finished. Thanks, Ana. Just wanted you to know that you continue to inspire!

Built from Plan(s)
Estimated Time Investment
Week Long Project (20 Hours or More)
Finish Used
MinWax Golden Stain, 4 coats of water-based Poly.
Recommended Skill Level
Beginner

Comments

rosejr

Thu, 06/12/2014 - 08:13

Looks great. What type of wood did you use for the top? Project panel per the plan? I am getting ready to build this toy box and would like to stain mine, but have concerns about staining project panel.

Back