Secretary/Storage cabinet
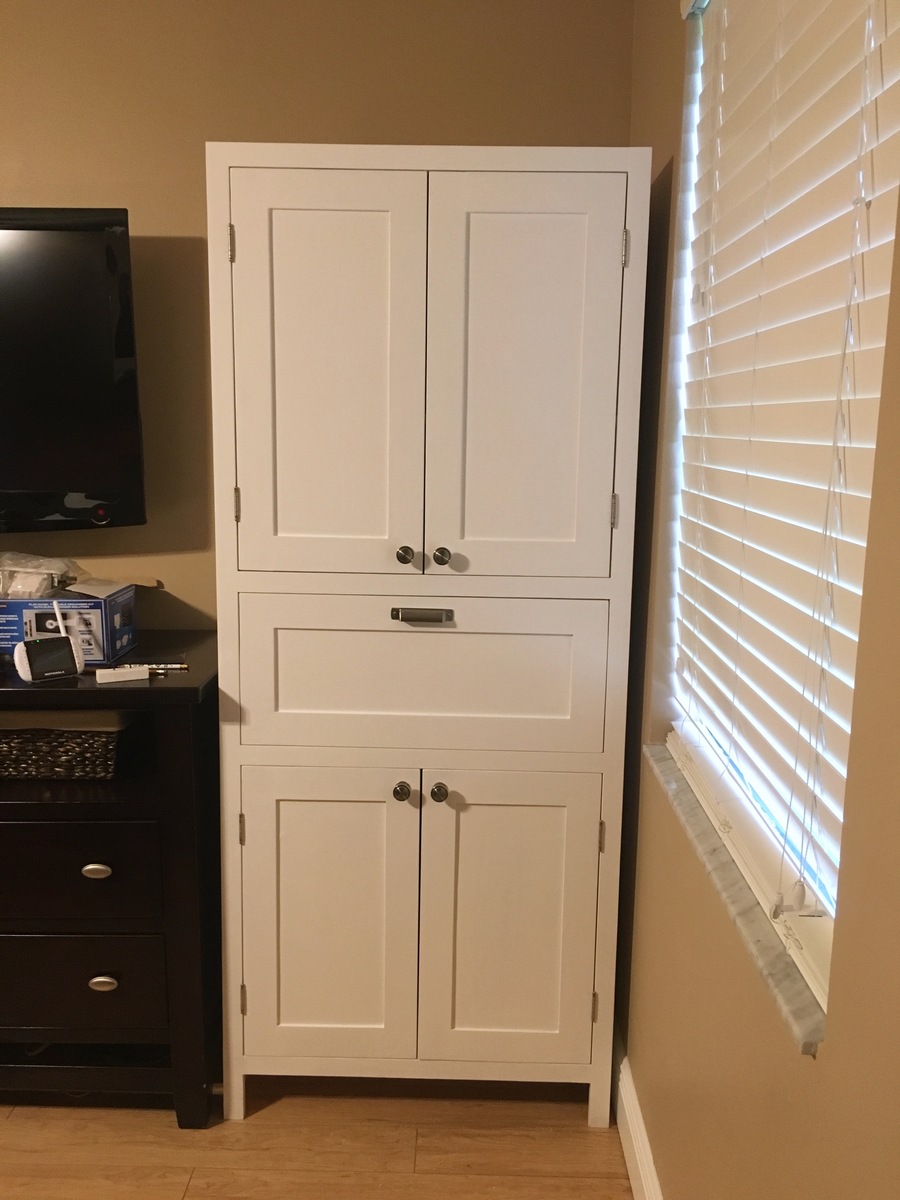
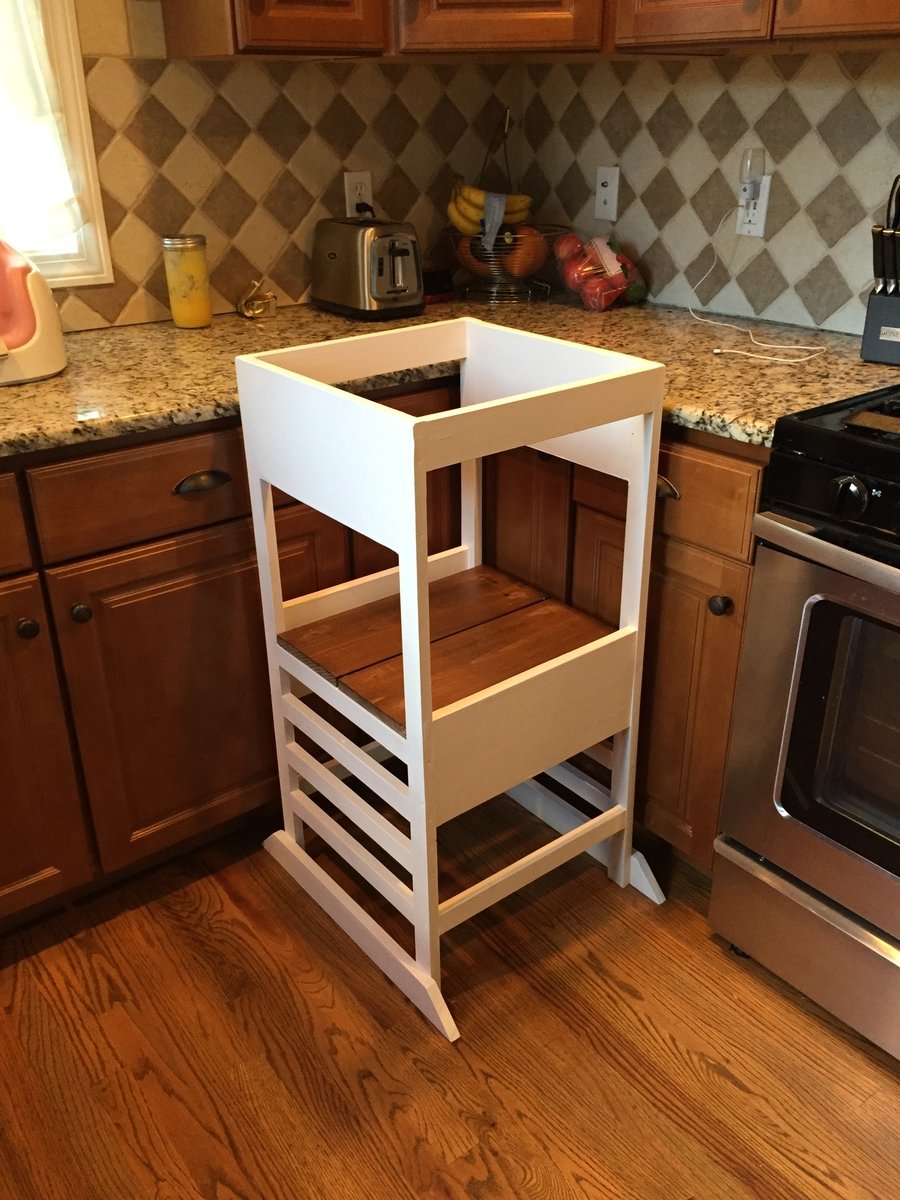
Inspired by the Tall Secretary with mail slots but with my own twist/needs incorporated in it. Finished with pure white satin paint.
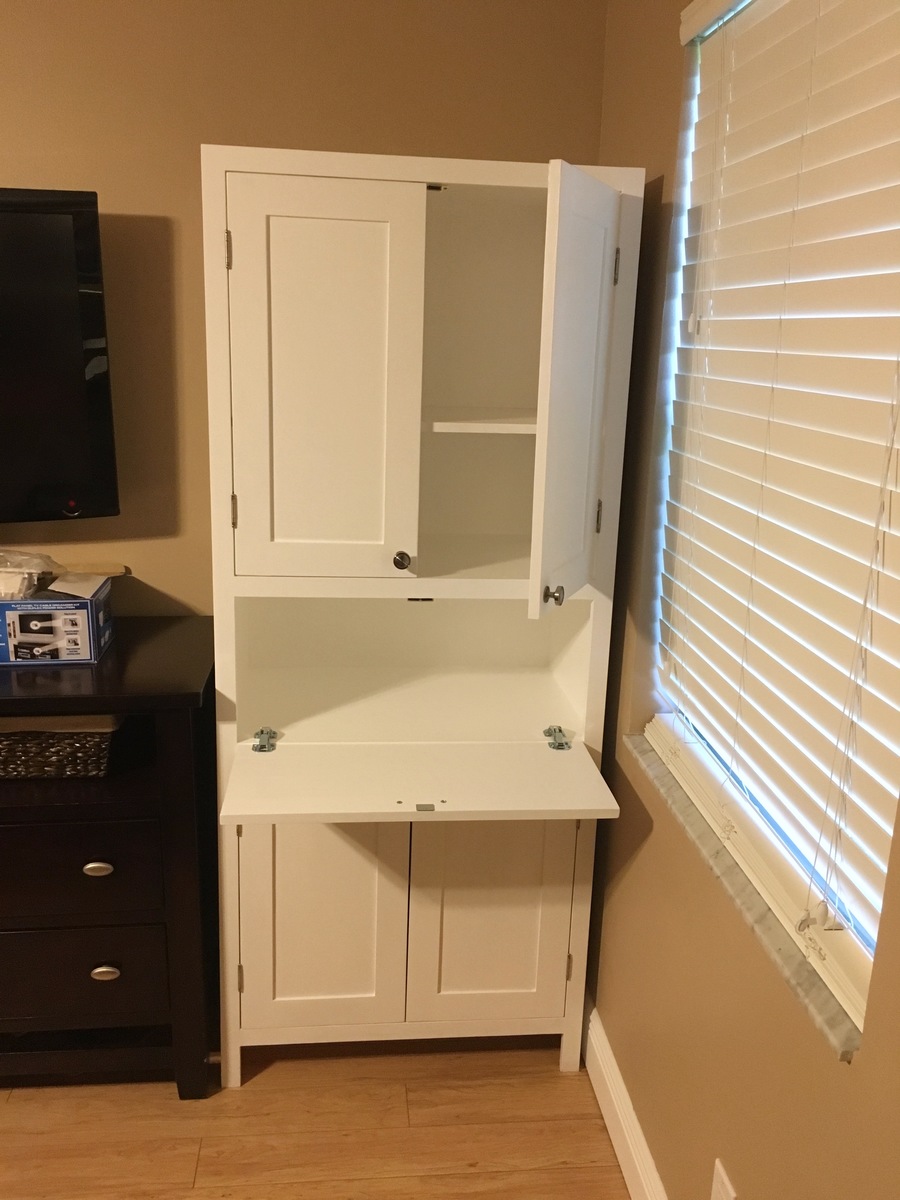

Inspired by the Tall Secretary with mail slots but with my own twist/needs incorporated in it. Finished with pure white satin paint.

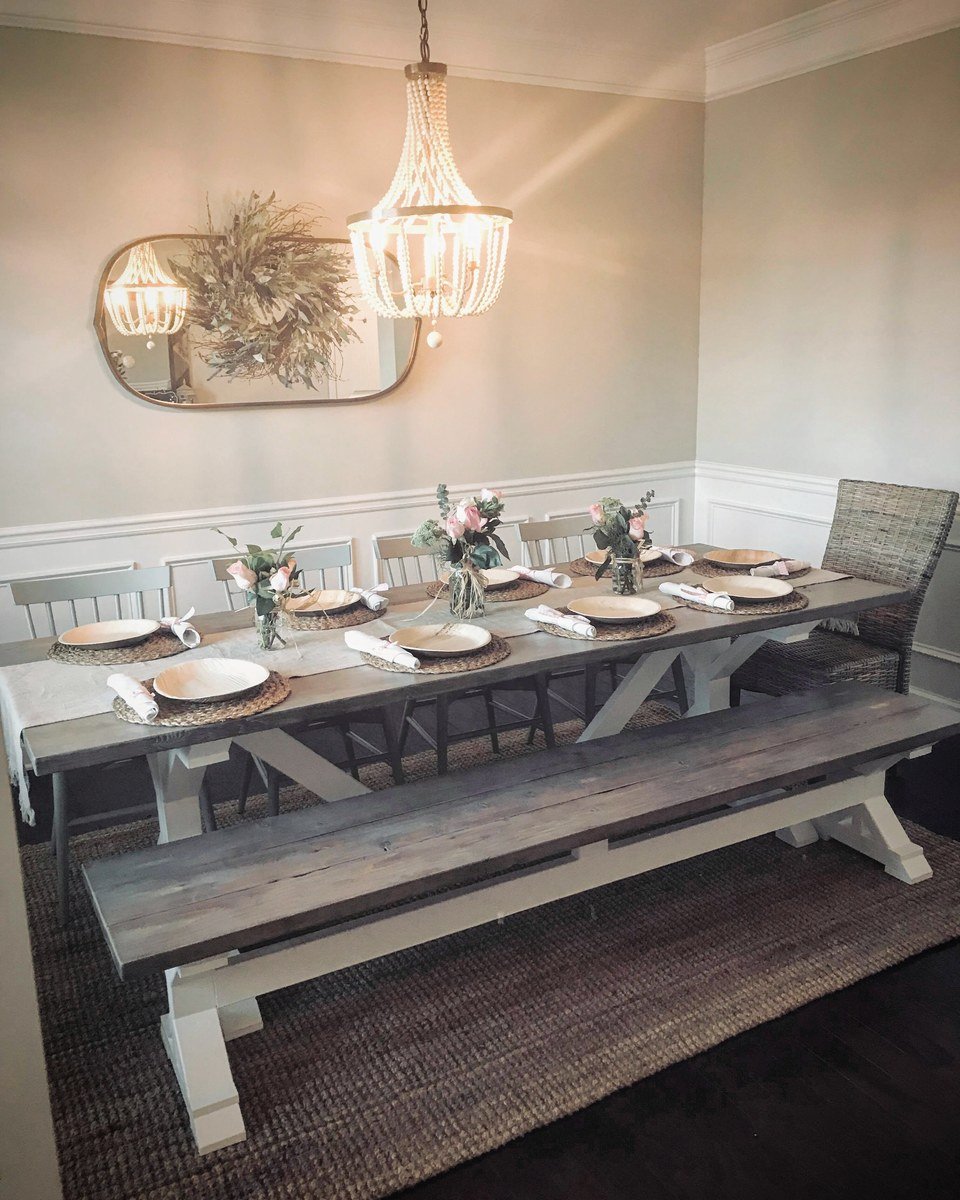
Love this table!
Sat, 01/05/2019 - 14:27
WOW! This is gorgeous! What a beautiful setting! Thank you for building and sharing!
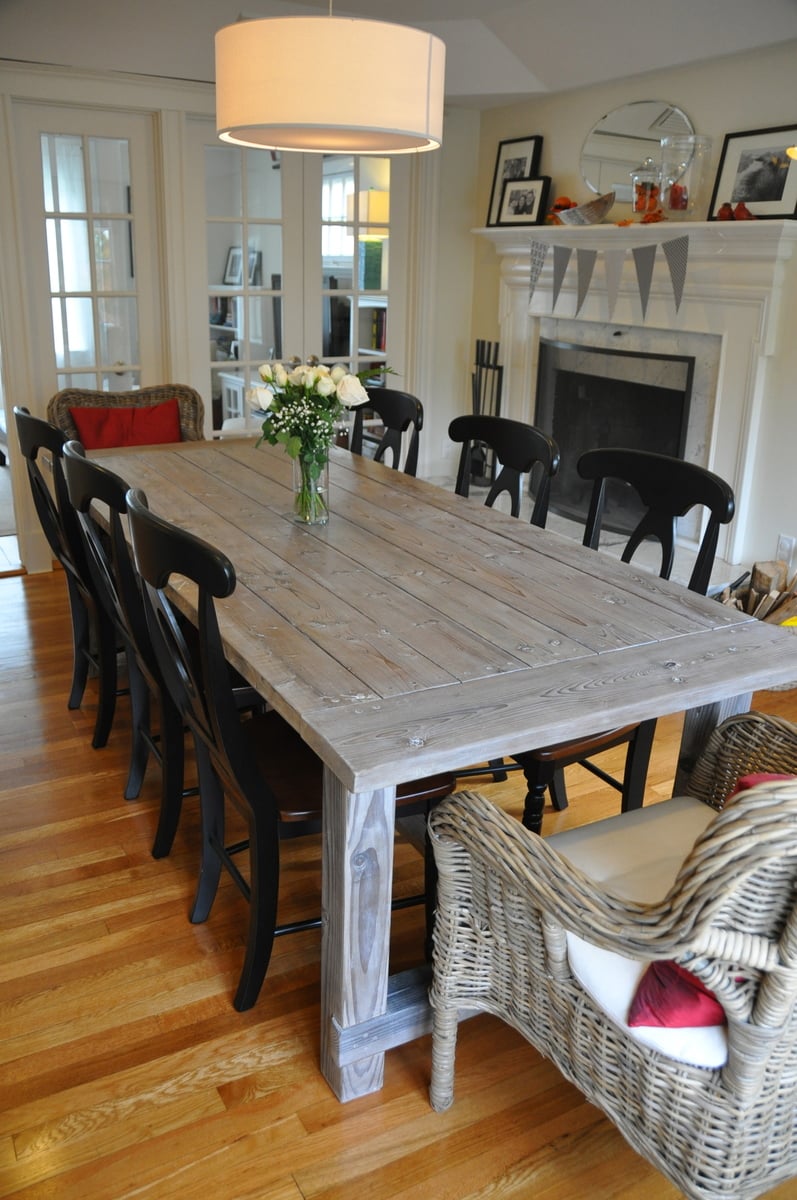
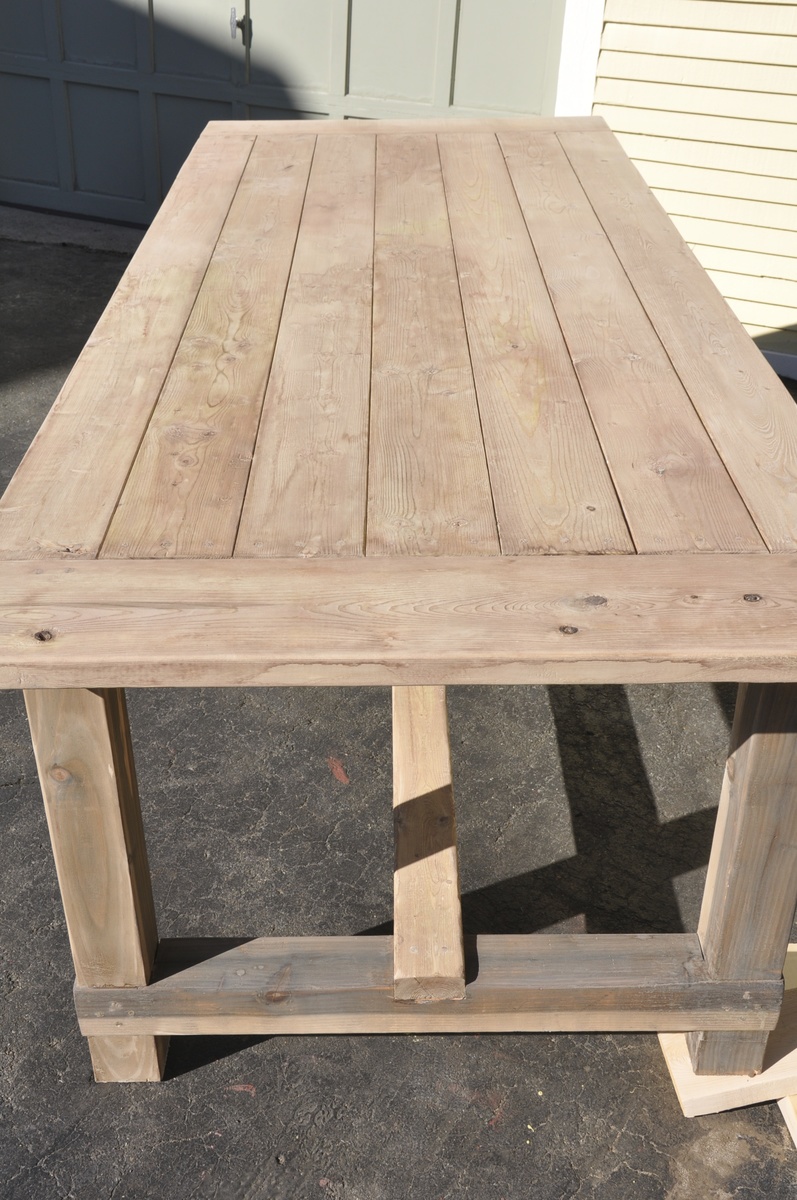
This was my first build and I learned A LOT and watched A LOT of youtube diy videos. The main take-away from this project is not to build in the freezing cold if the finished project is for inside. I finished this project in below freezing temperatures and I noticed that the wood expanded (increasing slightly the gap between the finished boards on the top) when it was brought inside.
I built this from the original farmhouse table plans with no kreg jig although I did buy and use a pocket kreg jig to make the extensions. The main modifications were using 4x4s such as were used in the Country Living magazine spread that inspired this build and also making modifications to allow the addition of 15" extensions at each end of the table's bread boards.
My first challenge was figuring out how to build with the 4x4 legs instead of the 2 2x4s screwed together. In order to accomplish this i had to use a chisel to create the corner lip that the table top frame would sit on. I added photos of this so I hope it will help someone. Chiseling these 4 corners (one on each post) only took an hour or two and was so worth it for the look of the 4x4s. Just measure carefully and work carefully with a sharp chisel. I actually removed half the wood by sawing off the corner at a 45 degree angle. Remember when cutting your boards for the table ends that a 4x4 has different dimensions than 2 2x4s screwed together. Compensate for this in your cuts.
Another challenge was hiding the screws on the table legs and table top. I was leaving the finish natural so didn't want to use wood fill. I accomplished this by getting a countersink bit and then buying wooden dowels the same diameter. For these screw holes, after finishing screwing, I put a dab of wood glue in the countersink hole, inserted the dowel as far as it would go, used a fine hand saw to cut off the dowel flush with the table and then used a hammer to make sure the dowel was in tight and flush.
I had trouble figuring out how to attach the table top frame to the table legs with the long screws from the plans so I included a picture of this step. Its really easy but I was not able to use three screws as the plan calls for. I used two instead and it has been very solid. I used the long screws as proscribed.
Finally, I wanted to build extensions (2 2x8 boards kreg jigged together) so I could increase seating up to a max. of 12 persons, so I needed to cut out 2x2 gaps on the table ends. I also included a picture of these in place. To make room for the 2 2x2s that extend under the bread boards and table top to brace the extensions, I left out one of the 2x2 cross beams at each end of the underside of the table (the boards that the table top boards screw into).
I hope this is helpful to you!
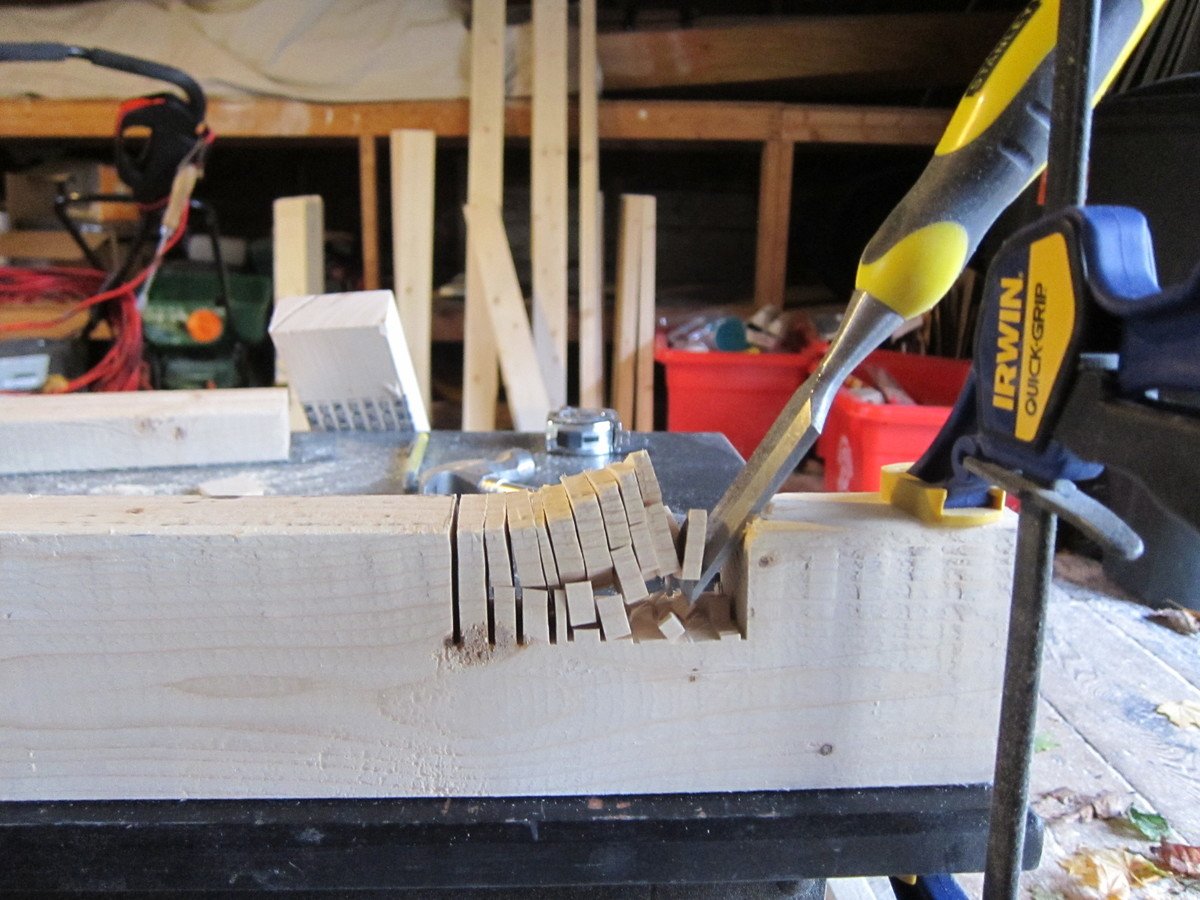
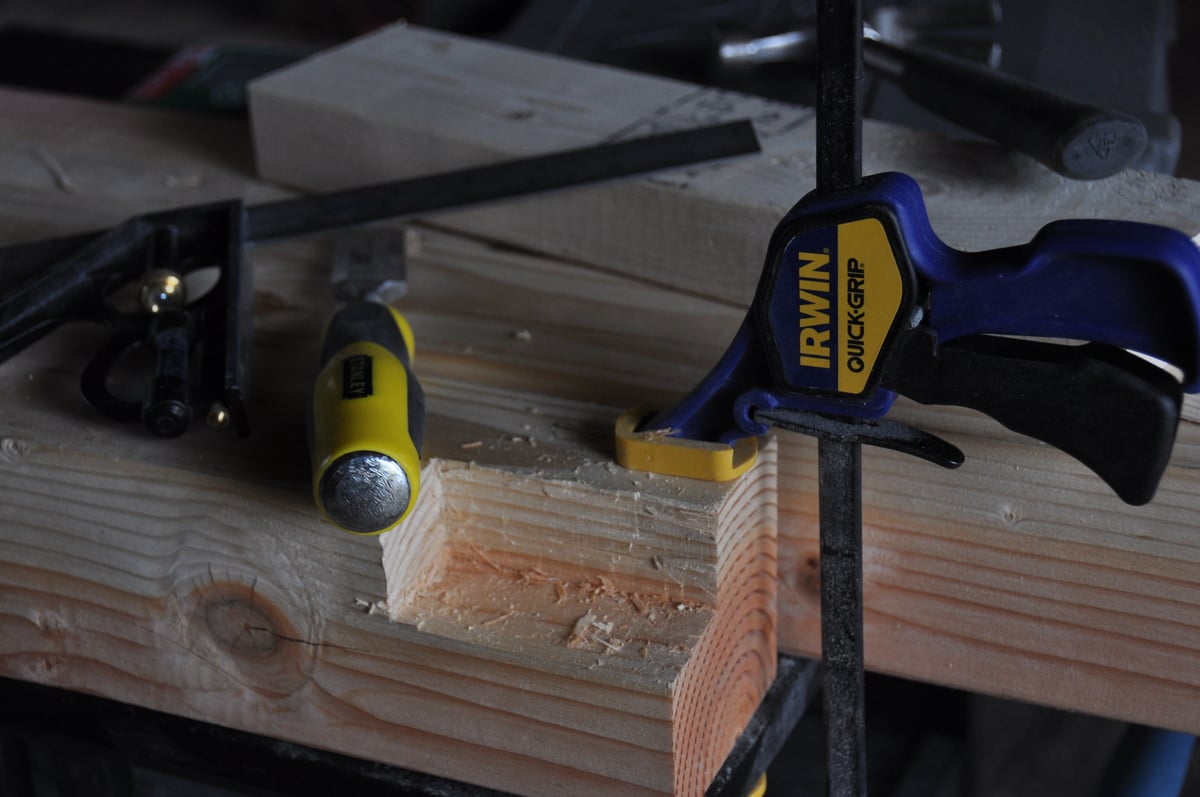
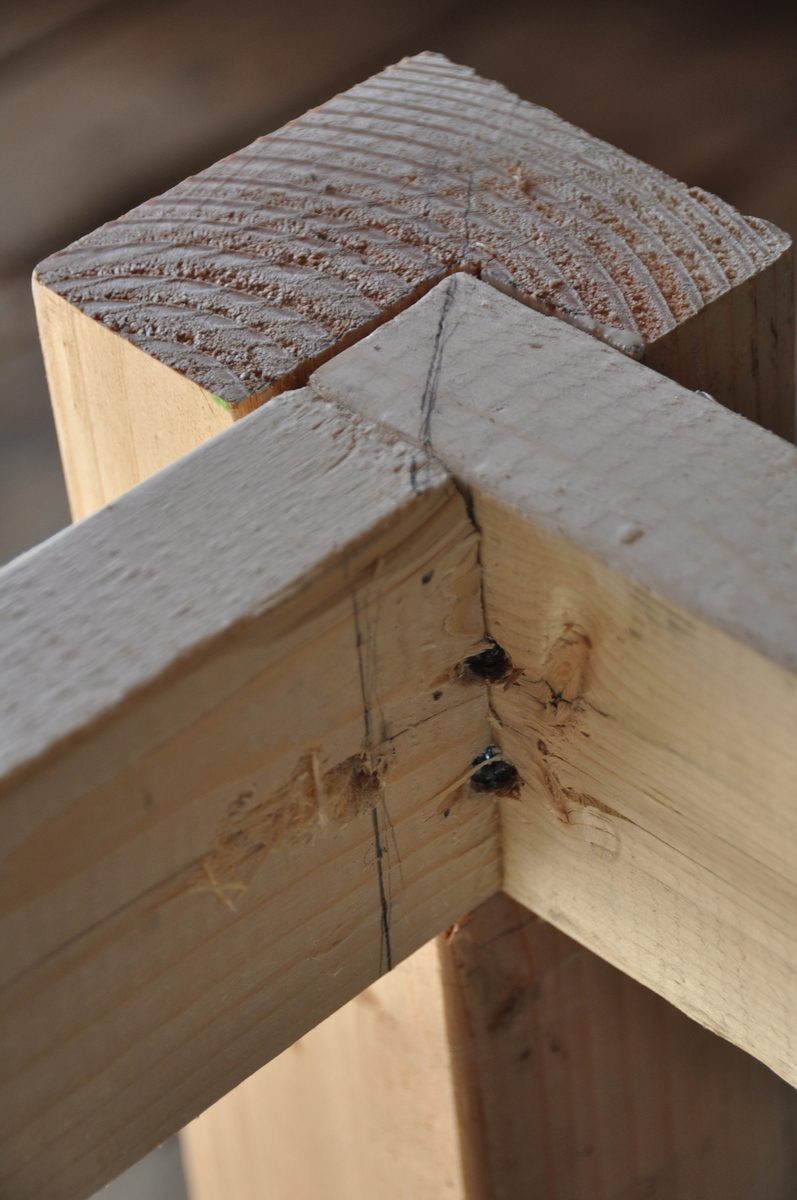
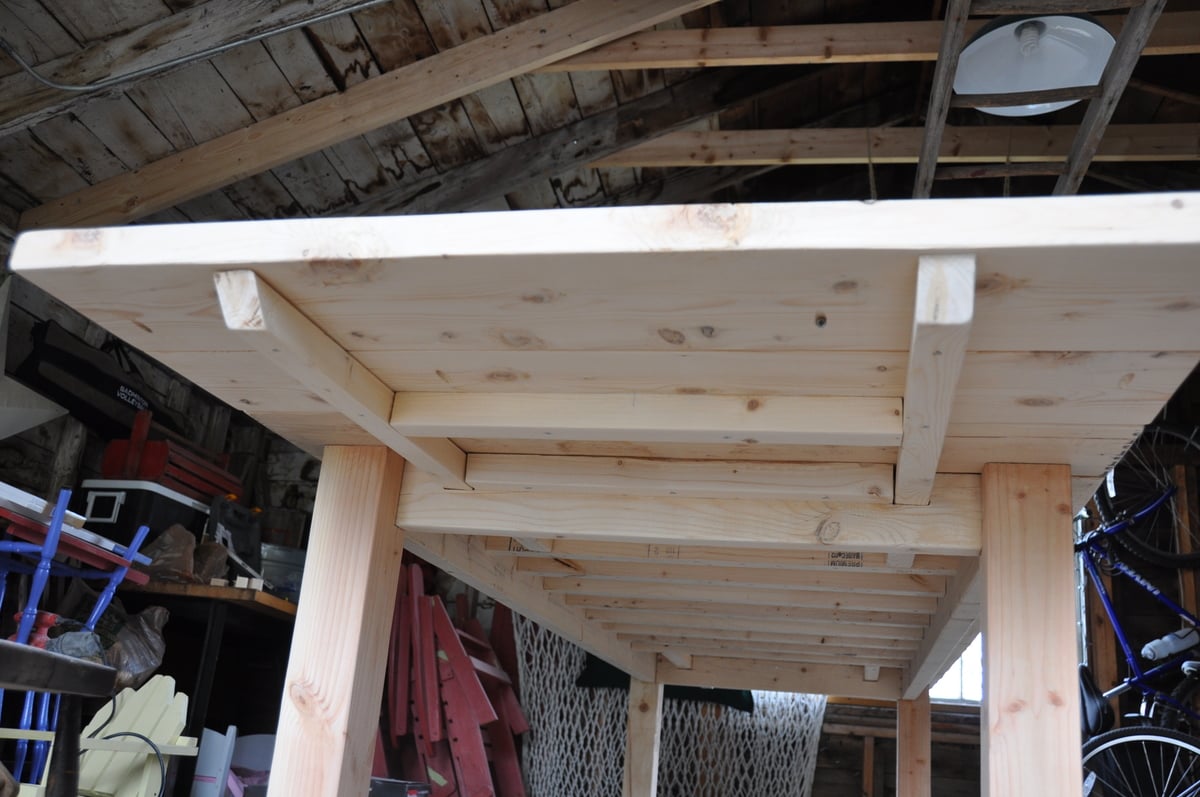
Mon, 02/10/2014 - 11:55
Great job on the table! I love...I had visions of this table before I saw it. I wanted to use the 4x4's for the legs as well, the same finish. I am concerned now about the 4x4's because I am an amateur and I think that may throw too many wrenches into my plan. I started with the bench, finished in 3 hours I have patted myself on the back. Plotting on a Kreg jig right now.
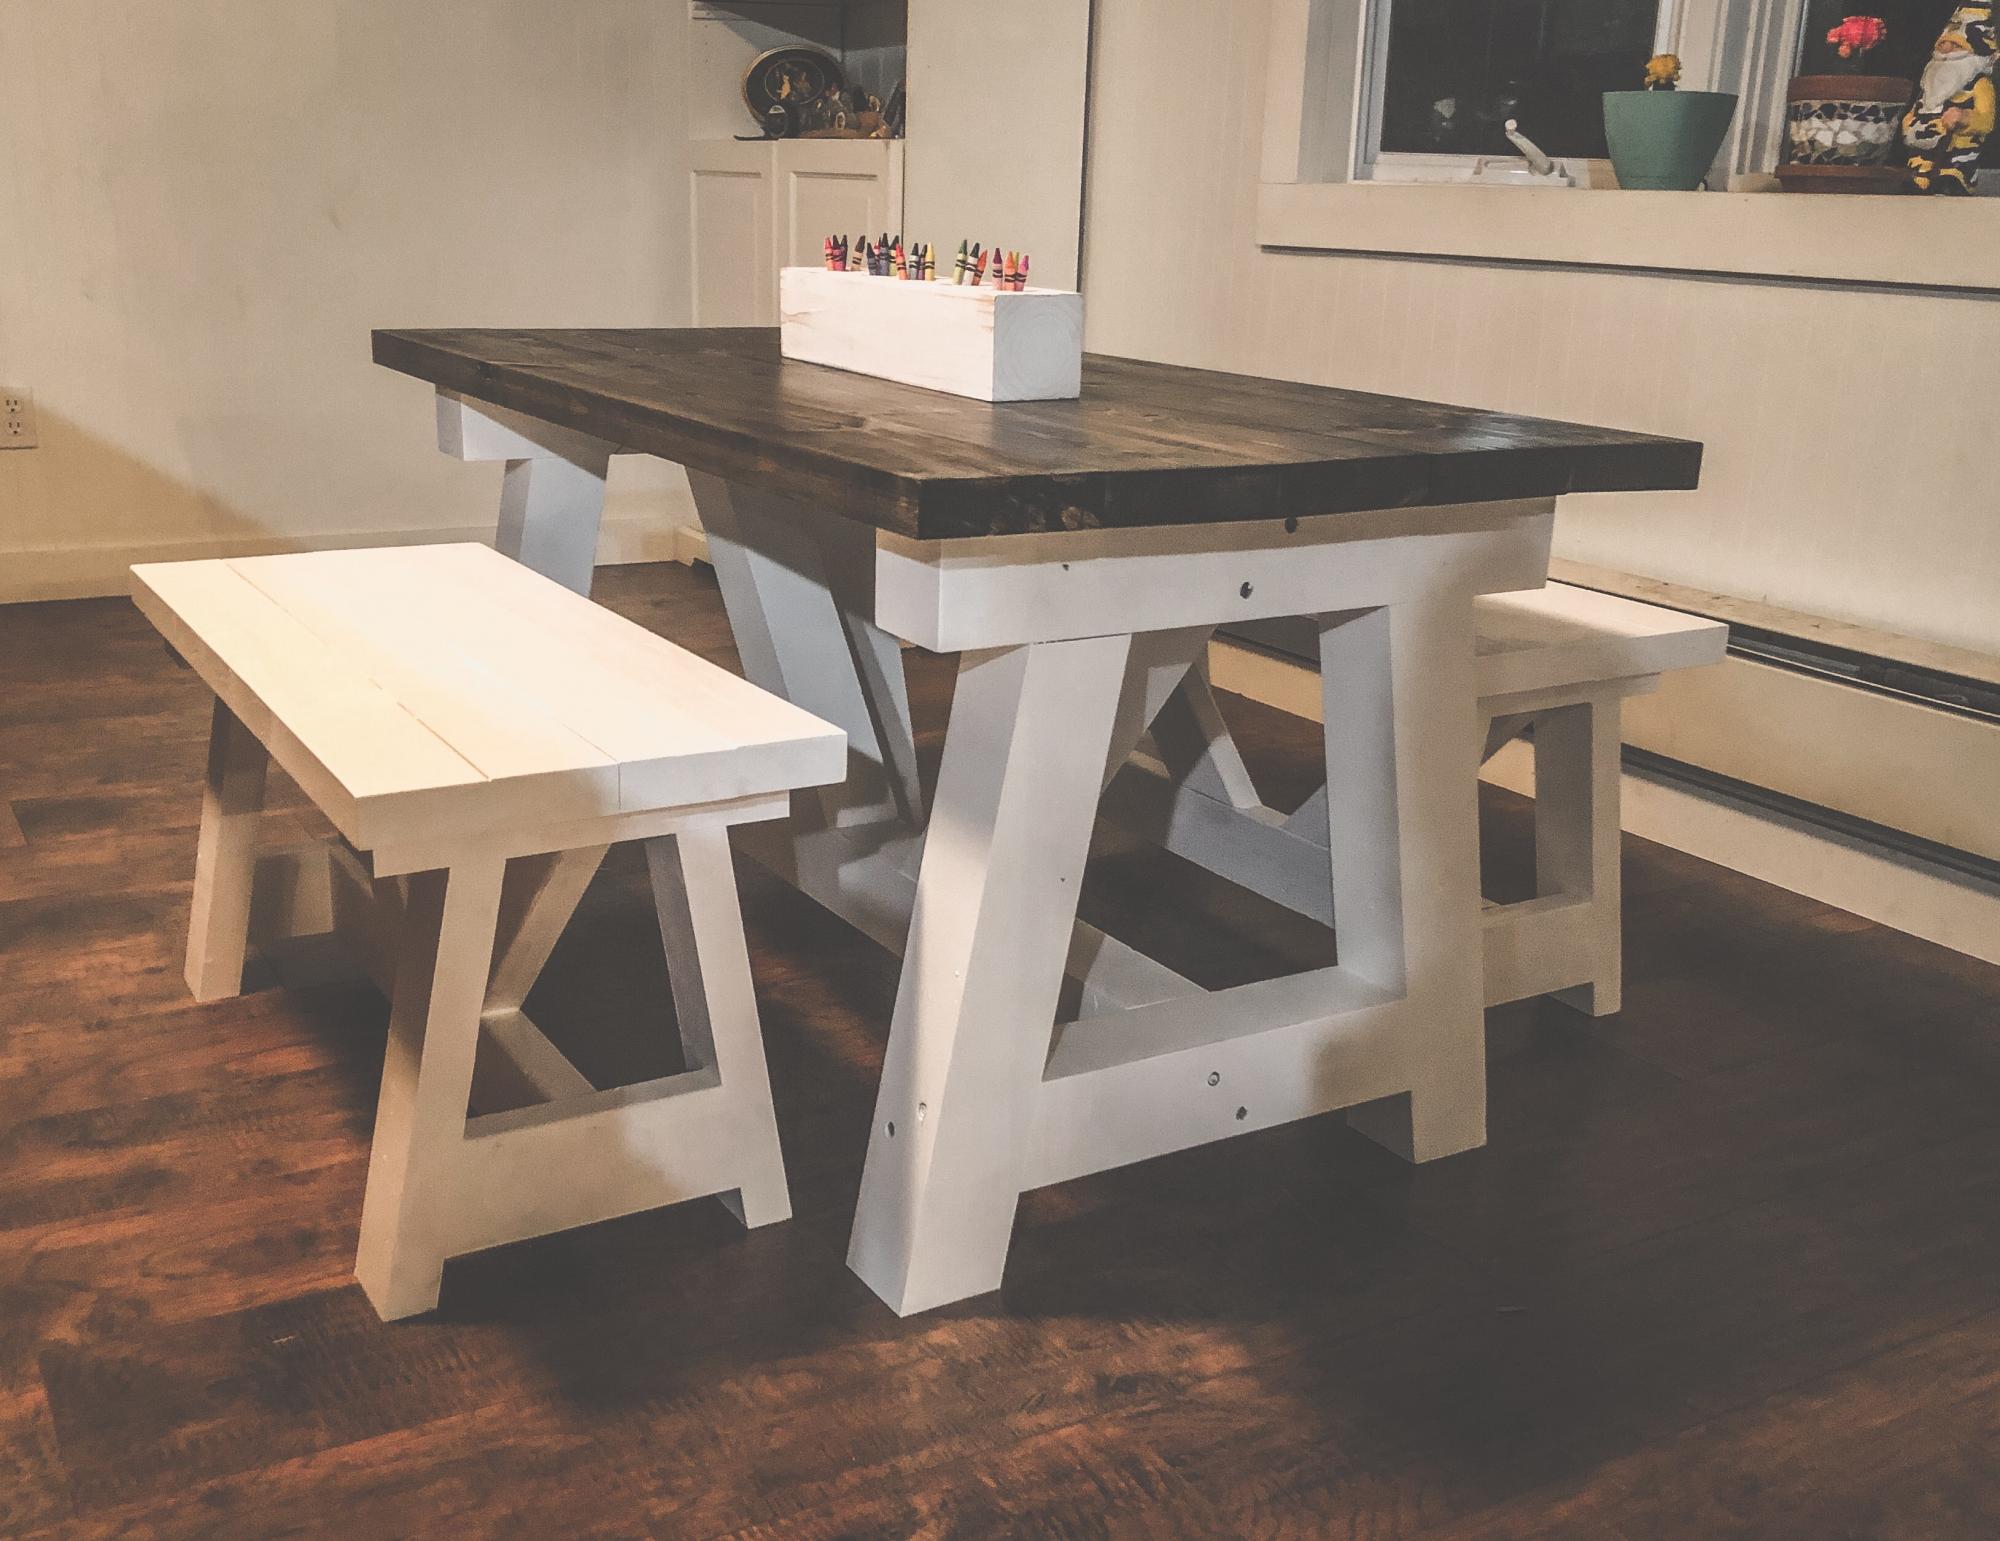
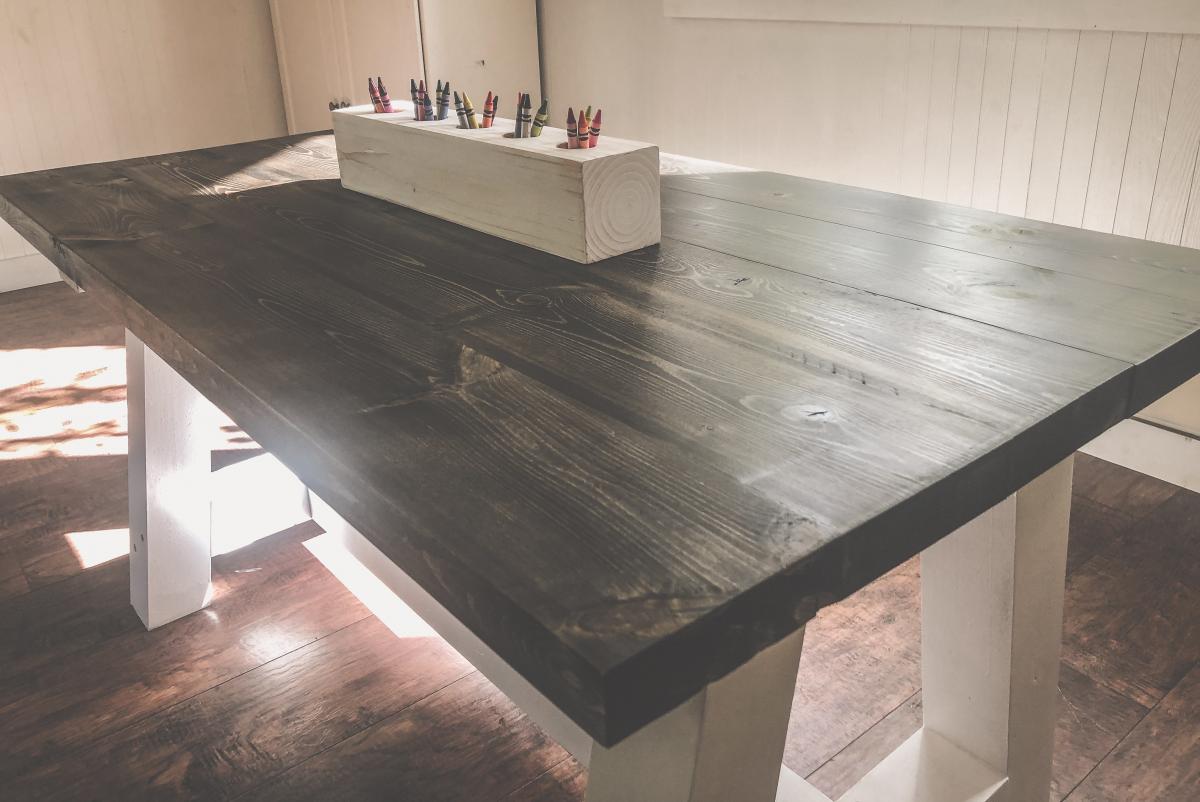
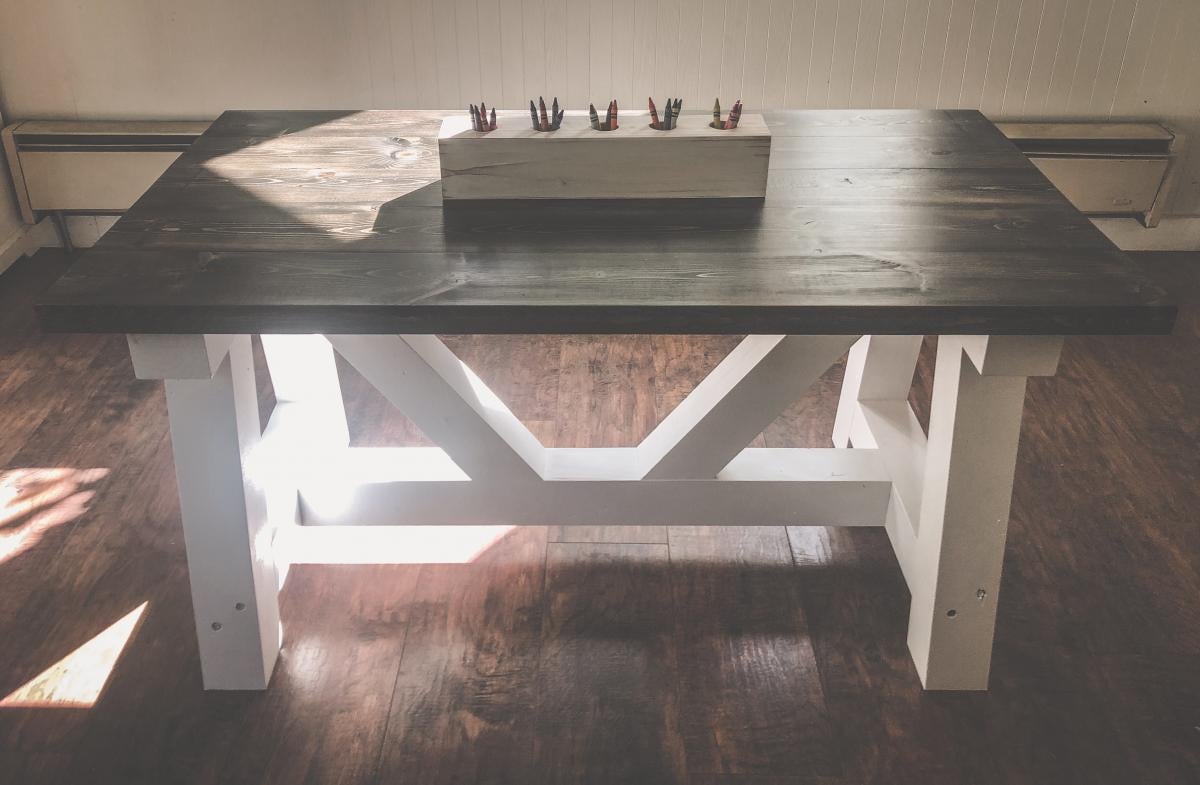
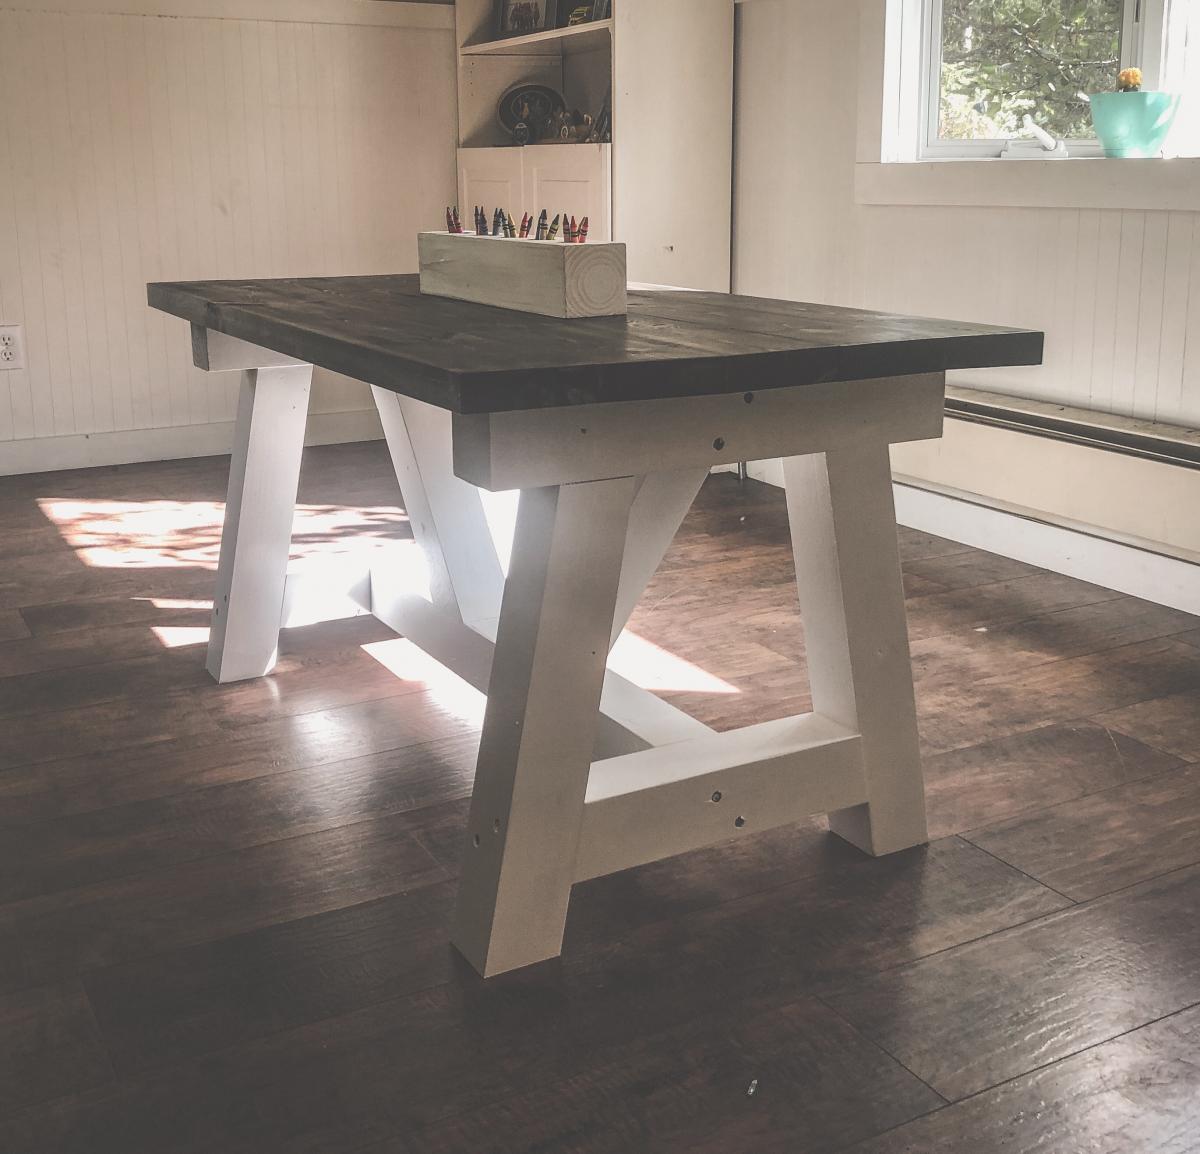
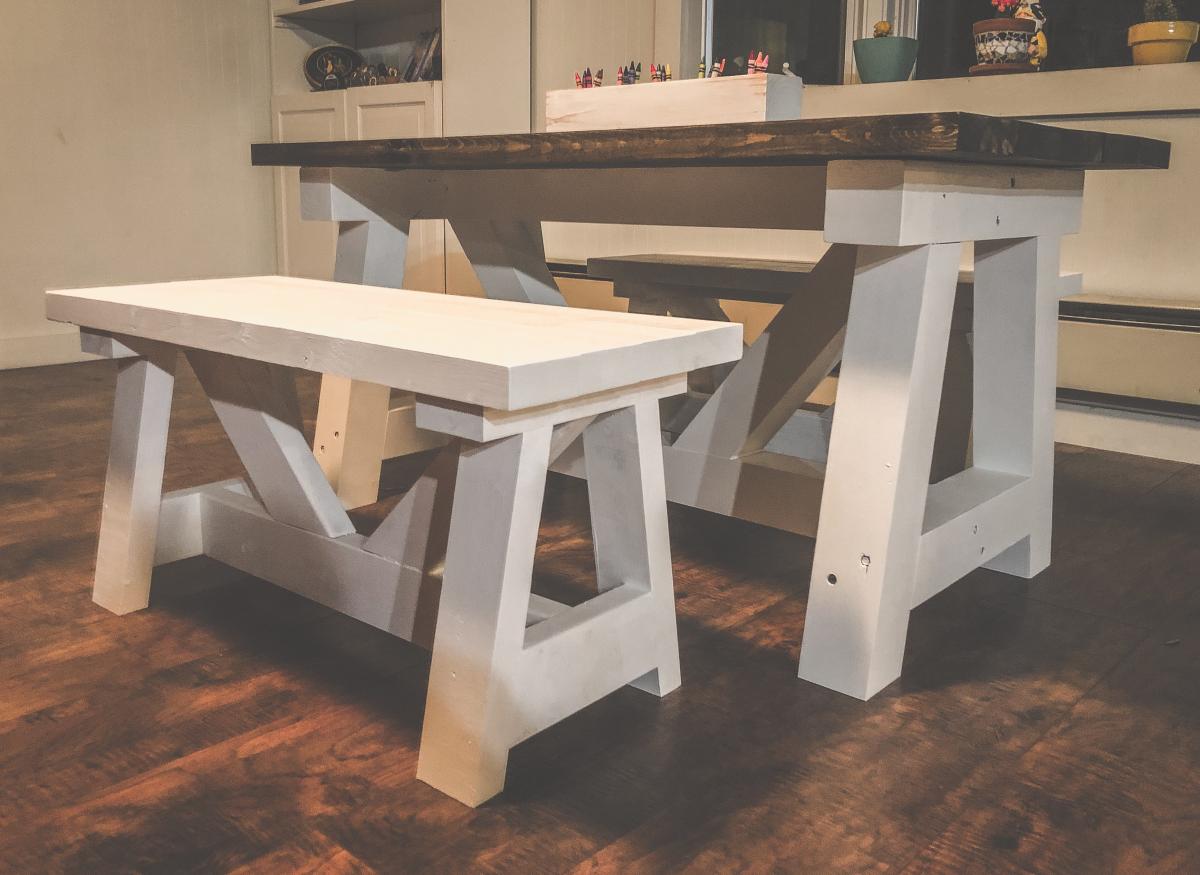
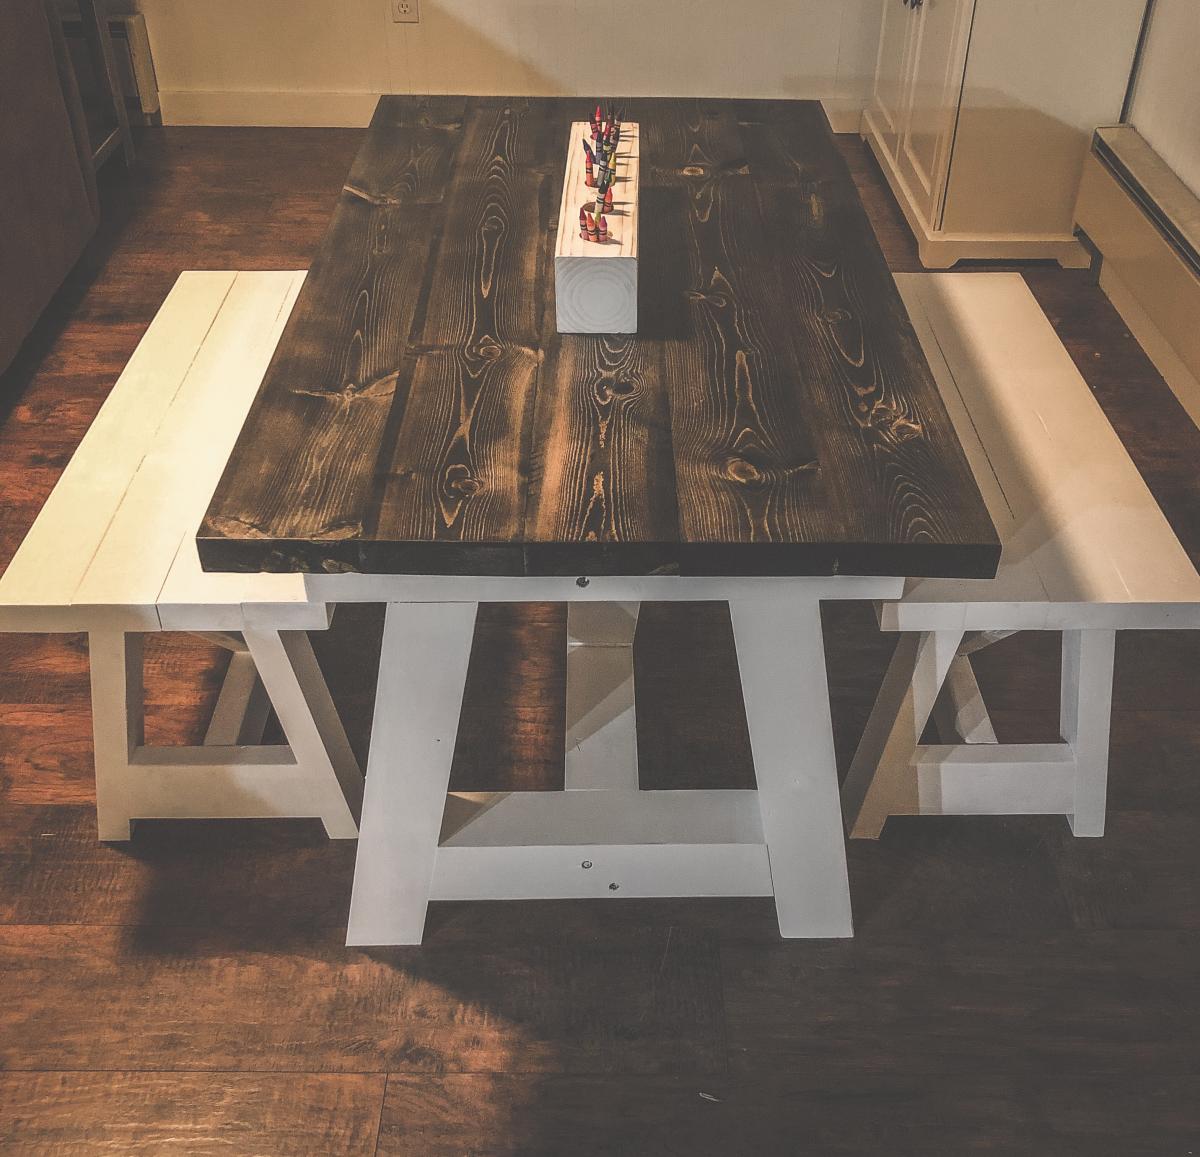
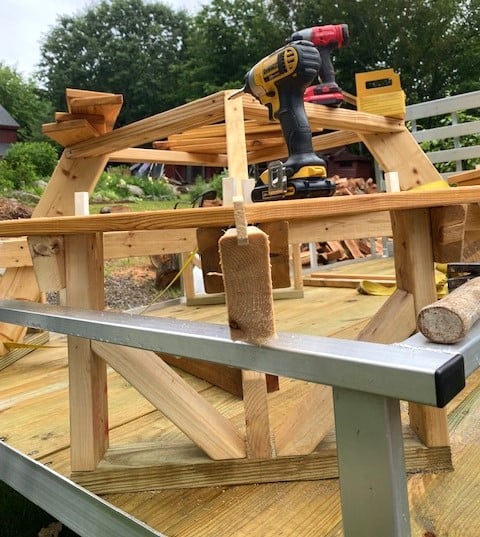
A friend asked for a kid sized farmhouse table and I knew immediately what plans I wanted to modify! The 4x4 truss table is my favorite go to table because it is extremely solid, easy to build and looks so nice! I know this table will hold up to the wear and tear of 4 kids for years! I also modified the 2x4 truss benches to match. They are the same style but not as chunky as the 4x4 truss bench plans.
Dimensions for table are 24”h x 24”w x 48”L
benches 16”h x 13.5”w x 33”L
I downloaded the plans for the octagonal table. I have made several and used a few different woods, made a few minor design changes as well as creating a routine and using a jig or two. This jig fits in between the two boards that form the seat support frame. I used a large paint stick and a scrap piece of 2 x 4. Using a table saw, I cut a groove in the 2" edge, approximately 1/2" deep, this took two passes (pass it through, turn it and pass again), a slight adjustment and another two passes. Insert the paint stick and seat all the way down. Place jig between seat support frame, might be a little snug or use a clamp to hold in place. Adjust so just the paint stick sticks up enough to separate seat boards. With seat boards against the jig, it forms the perfect angle/guide to match cuts. I also used 1/2" spacers to create consistent spacing. Love the various plans you make available as well as your videos.


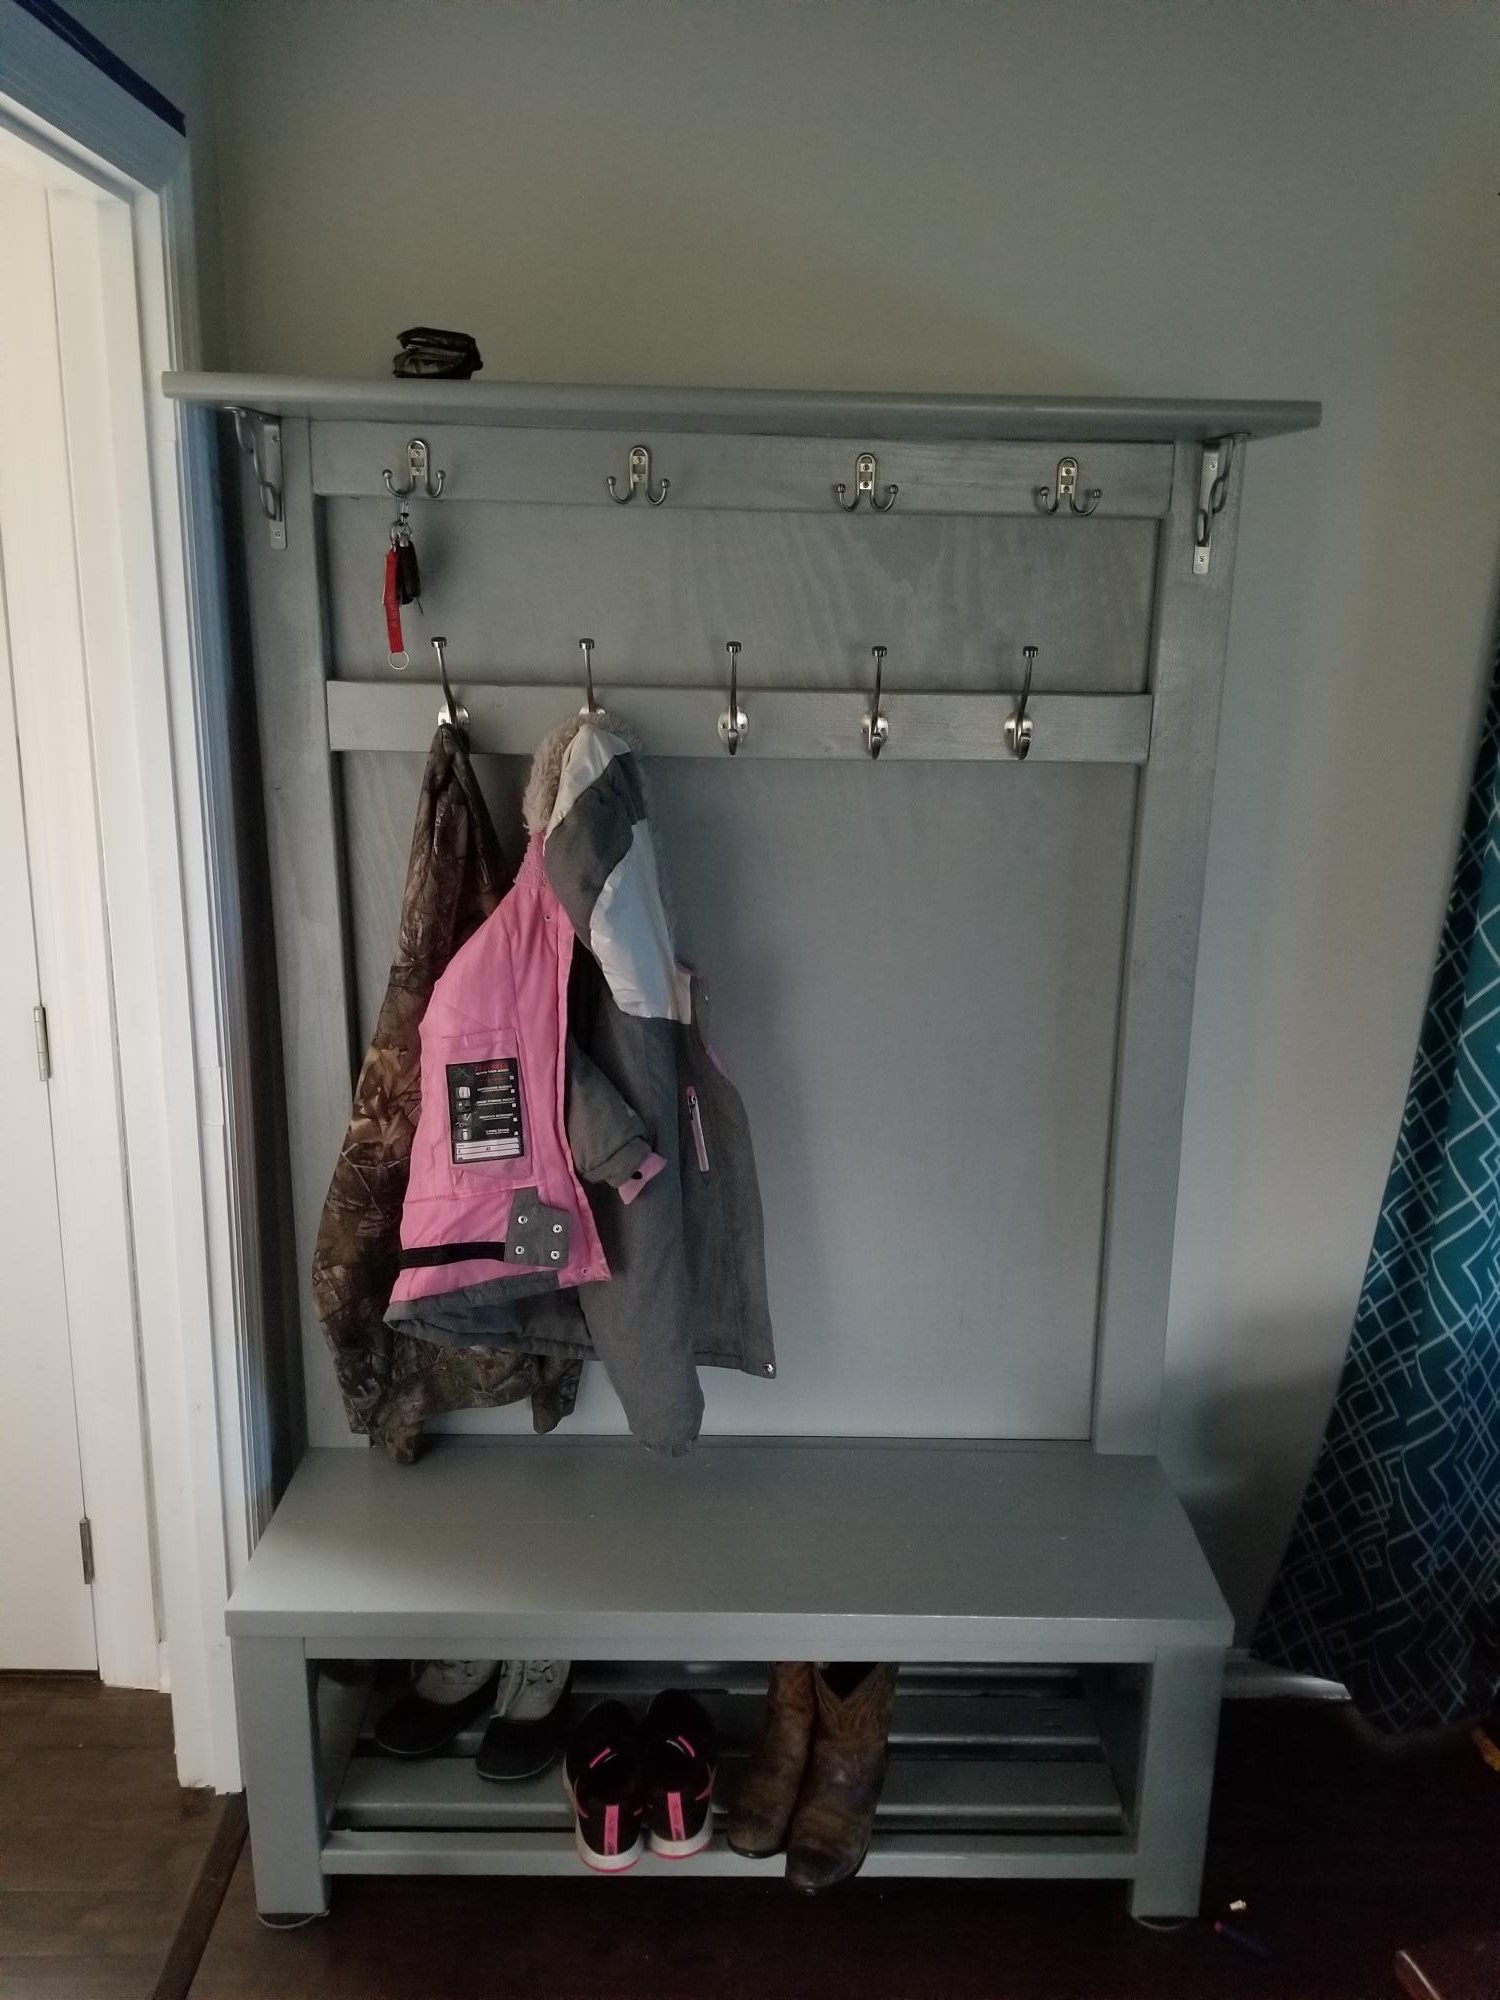
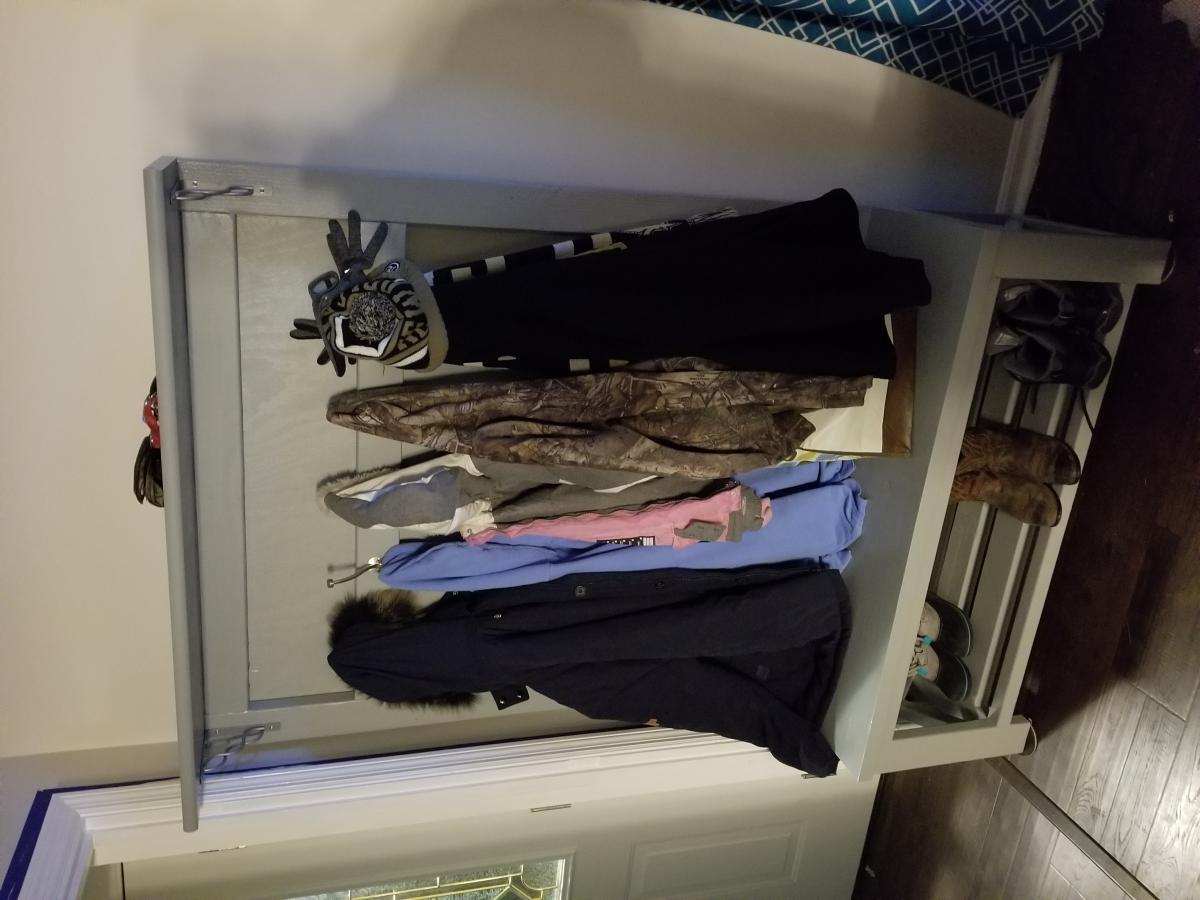
These plans were awesome! Thank you so much for sharing!! I added a few hooks on top for my keys and found this top board at Lowe's for $10, no I have a place to lay my wallet and phone. I tweaked mine to fit my needs but again, this plan was amazing, that KS for sharing! I look forward to making more of your projects.
Note: I chose this project as a weekend long project because I applied paint and it did take much longer for the paint to dry in this cold weather. The build was approximately 1 day.
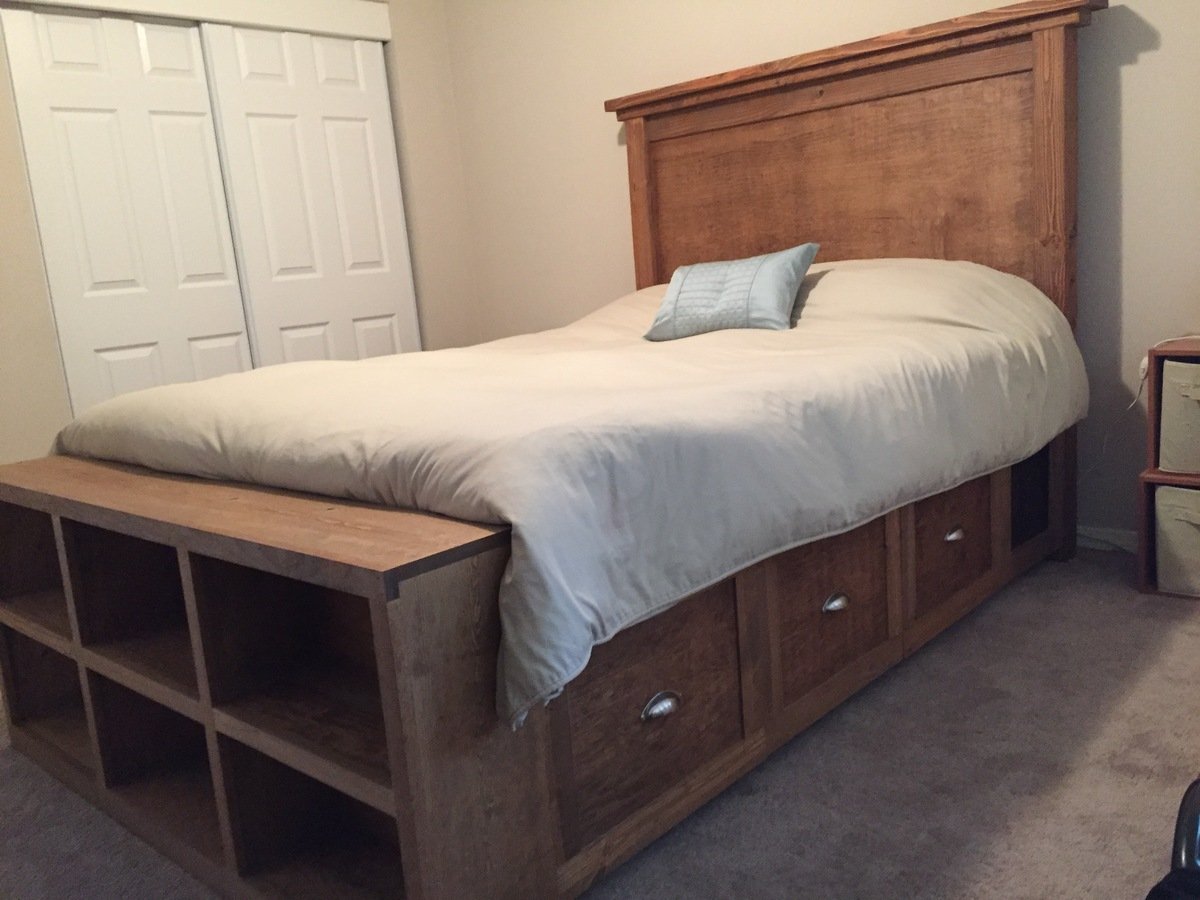
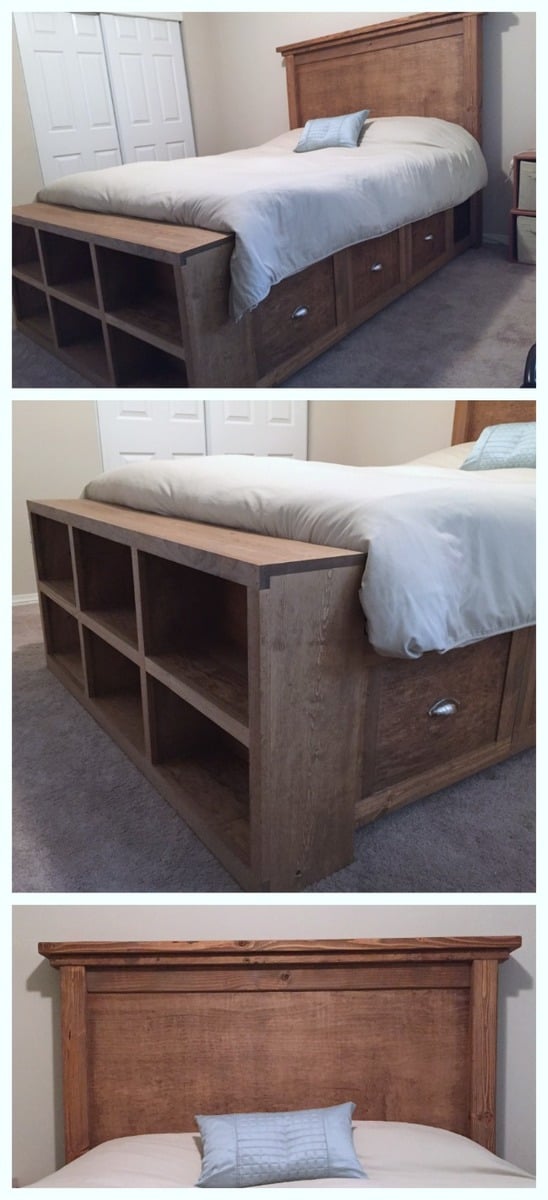
I altered the plans just a bit so that I could make use of the drawer closest to the headboard, while using bedside tables as well (not the ugly ones in the pictures, but some that only exist in my mind as of now). With the plan as is, I didn't think that first drawer would be able to open if you have a nightstand. So I left about a 17" gap that can be used as an open shelf for storage, and still had room for 3 drawers. I also wanted to include a bookshelf as the footboard to make it multifunctional. We have a ton of books and no place to store them (fear not, a large bookshelf/media center is coming soon!) I also altered the top of the headboard just a bit to give it more texture and visual appeal (hopefully, but beauty is in the eye of the beholder so I've been told). Lastly, I did not put the 1/4" plywood backing on the drawer carcasses. They were pretty sturdy as is, and only got more sturdy as they were attached to the headboard and footboard; I'm not worried about racking at all. Leaving the back off also allows me to pull the drawers out and access some hidden storage in between the two drawer carcasses.
I wanted a simple finish, so I rubbed it with dark walnut Danish oil. Super simple finish and I think it'll hold up as the bed is not like a desk that needs poly or something.
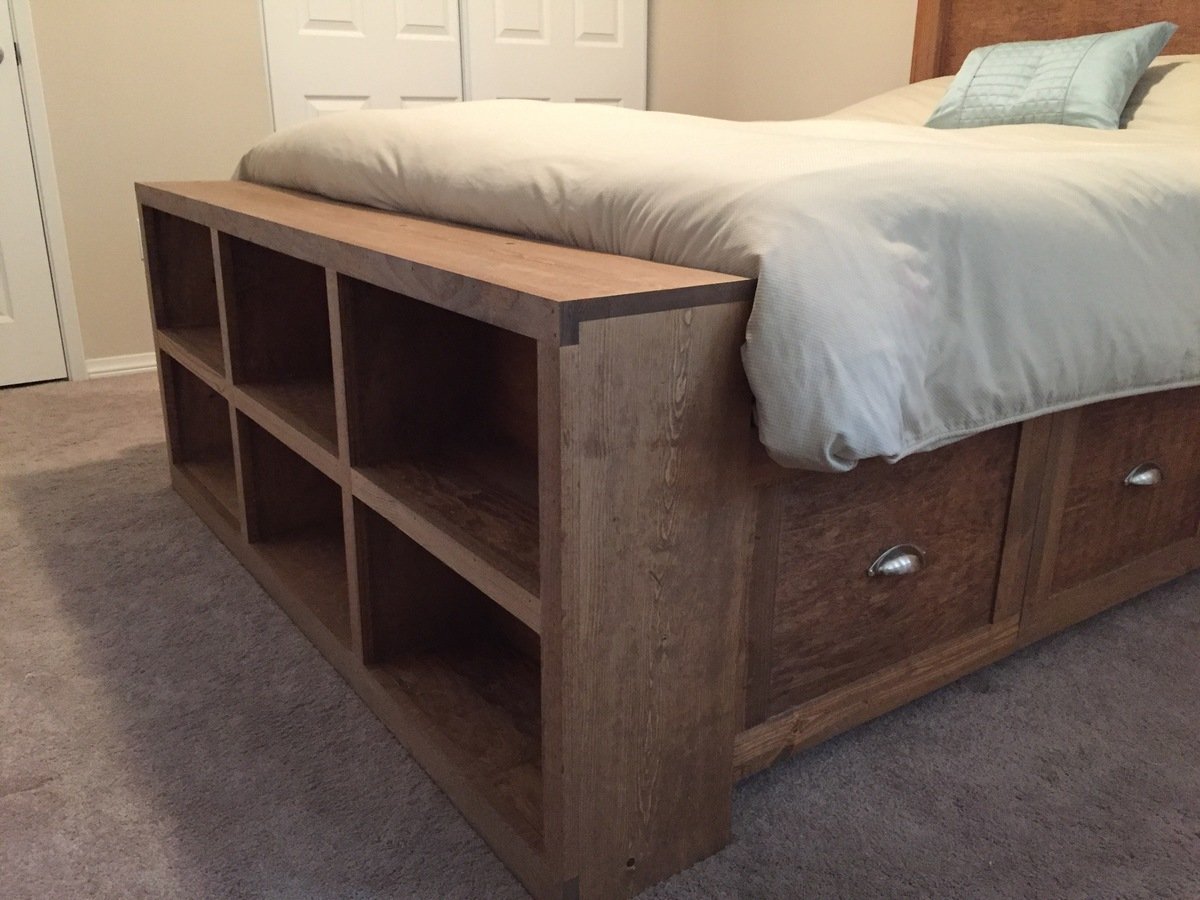
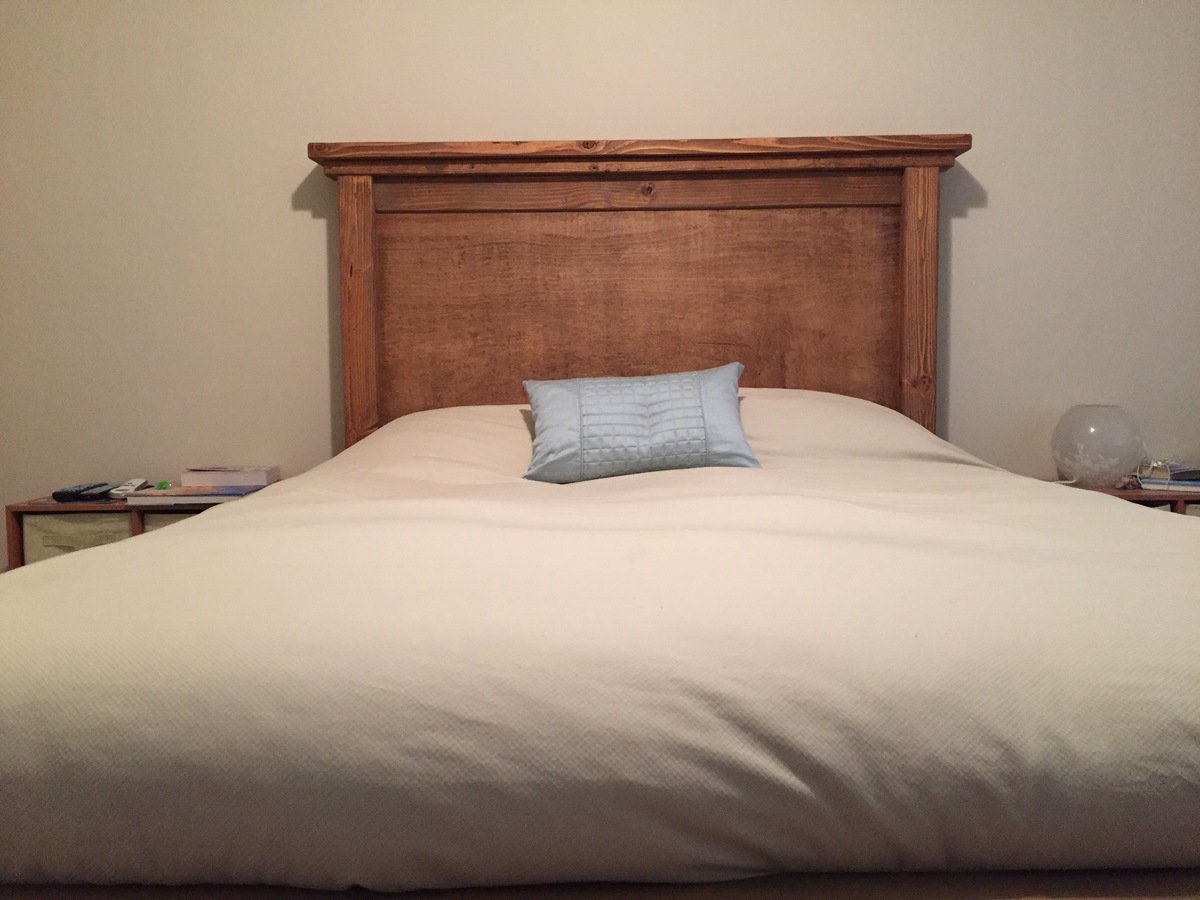

Sun, 08/28/2016 - 19:50
This bed turned out amazing. I love the modifications and agree the first drawer will be more usable.
Thu, 05/28/2020 - 06:11
Could you please tell me how you attached the footboard on this one? I thought about using some bolts and counter sinking them from inside the self. How did you do it?
This was a fun build. I enjoyed making it . This was my first attempt at a bed and I am very happy with it. The bed was a knock off of a major retailer. The plans were fairly straight orward. I did make a few changes to the plans but it was a good guide to follow.
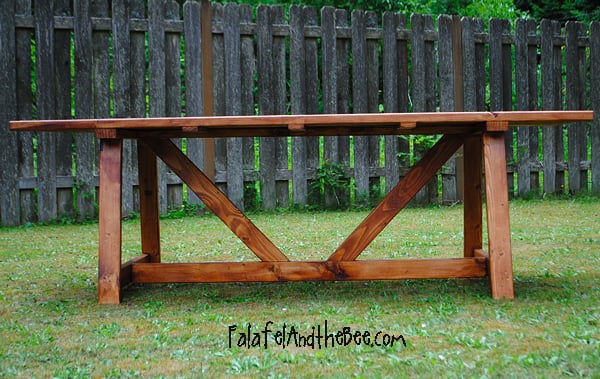
This is my second large wood project...and both from this blog! The plans were fabulously easy. This was the first time I used my miter saw, and it was a great way to break it in.
This was my first project. I used wainscoting for the door backing. I was happy with it for a first project.
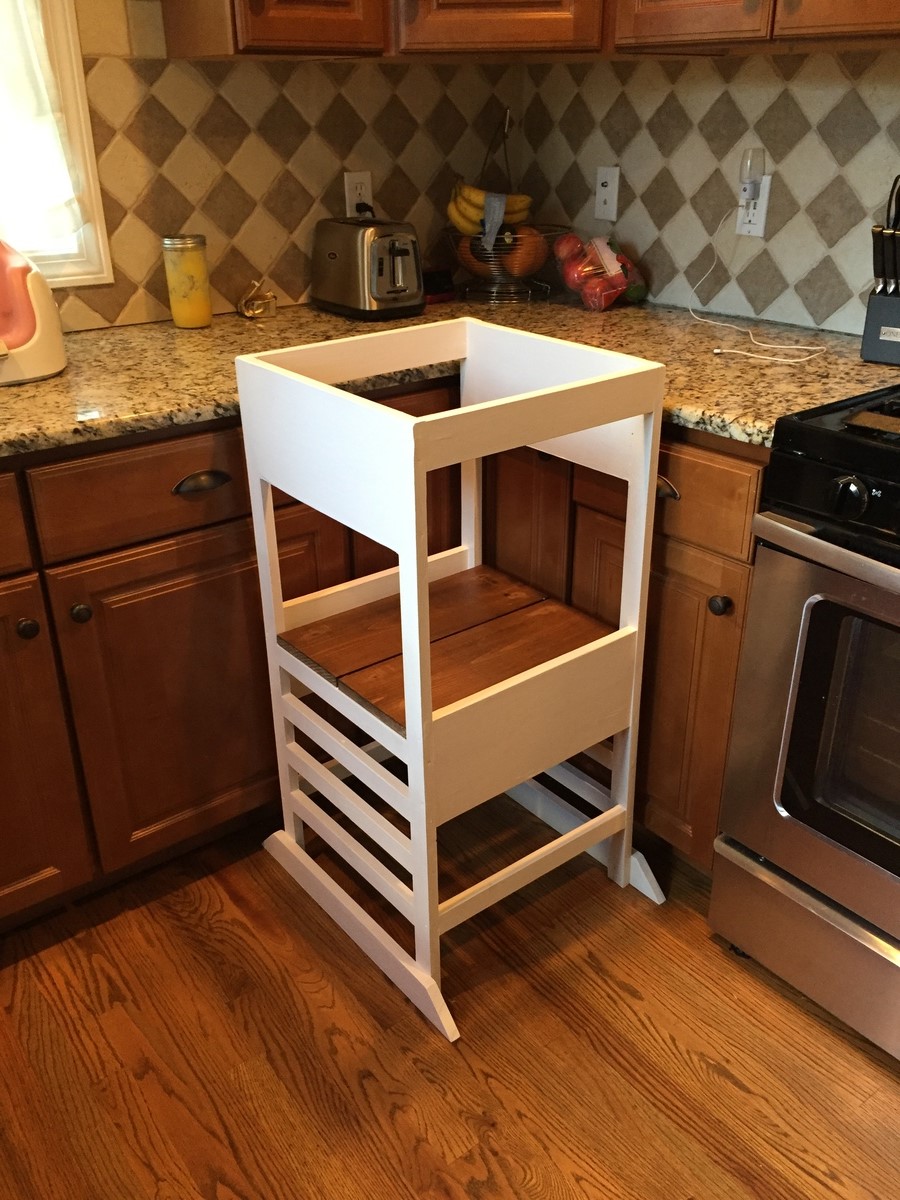
Built one for my niece, my daughter's is next!
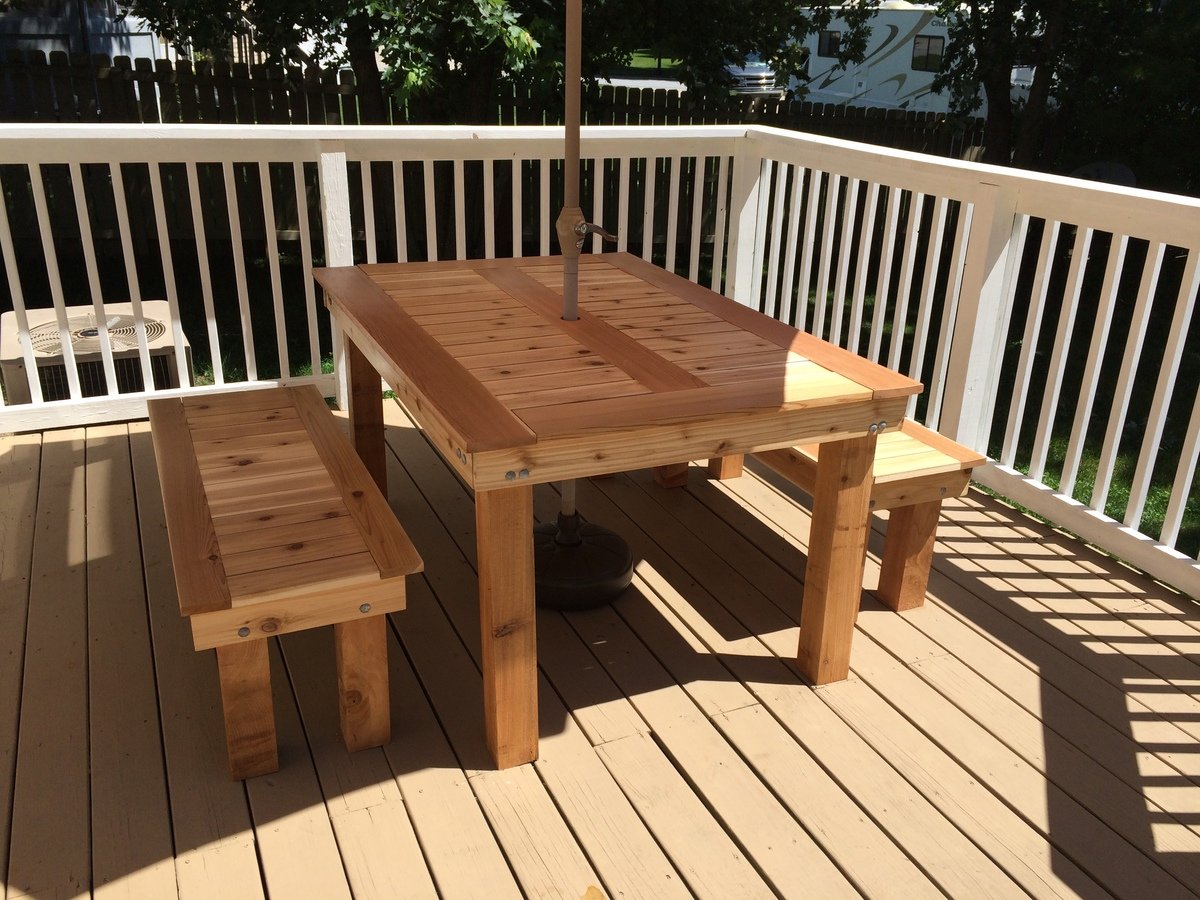
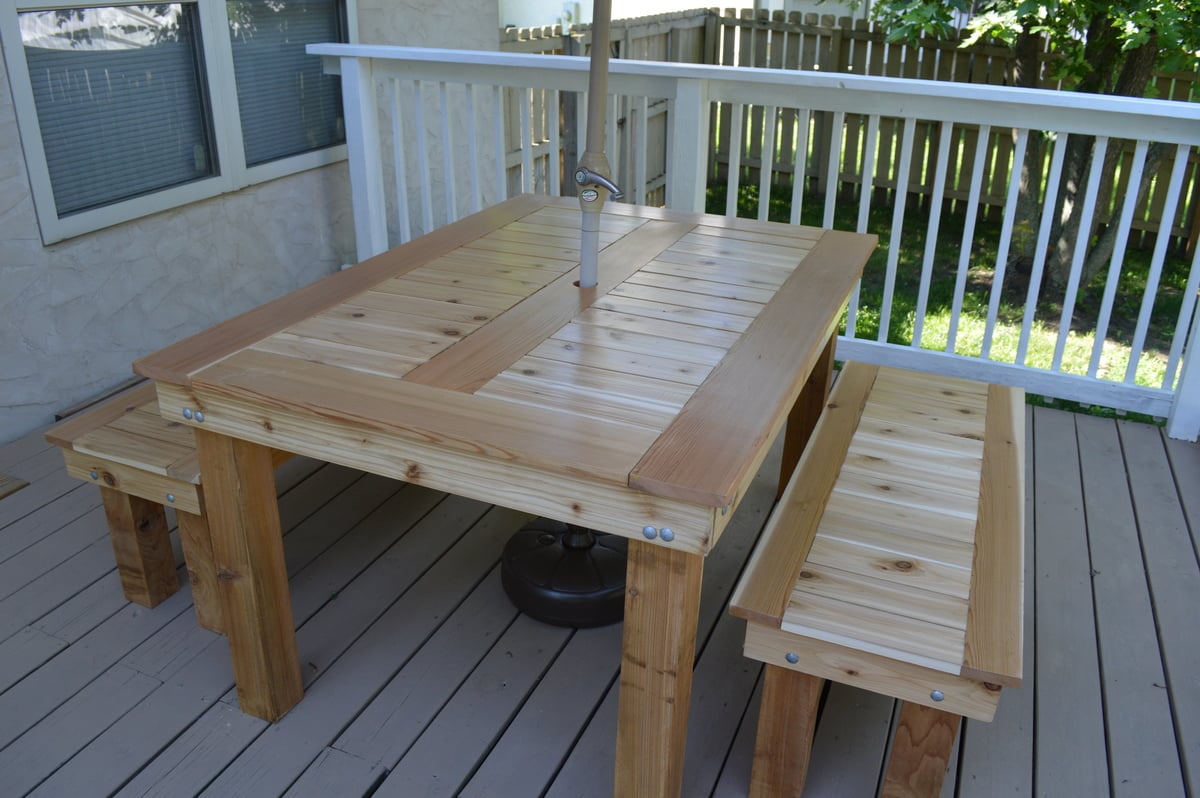
My wife and I loved the version that Finns-Dad made but we wanted it to be rectangular. The top is 1x6s around the edges with 1x4s in between. The frame is 1x4s. The bench tops are all 1x4s with 4x4 legs. There are 3/8 inch lag bolts in the legs. We did 4 coats of the urethane.
This was my first major project, and while there are many things that I would do differently if given the opportunity, we're still very pleased with it.
Thu, 01/01/2015 - 09:04
I really like the changes you made to this table, it looks really nice.
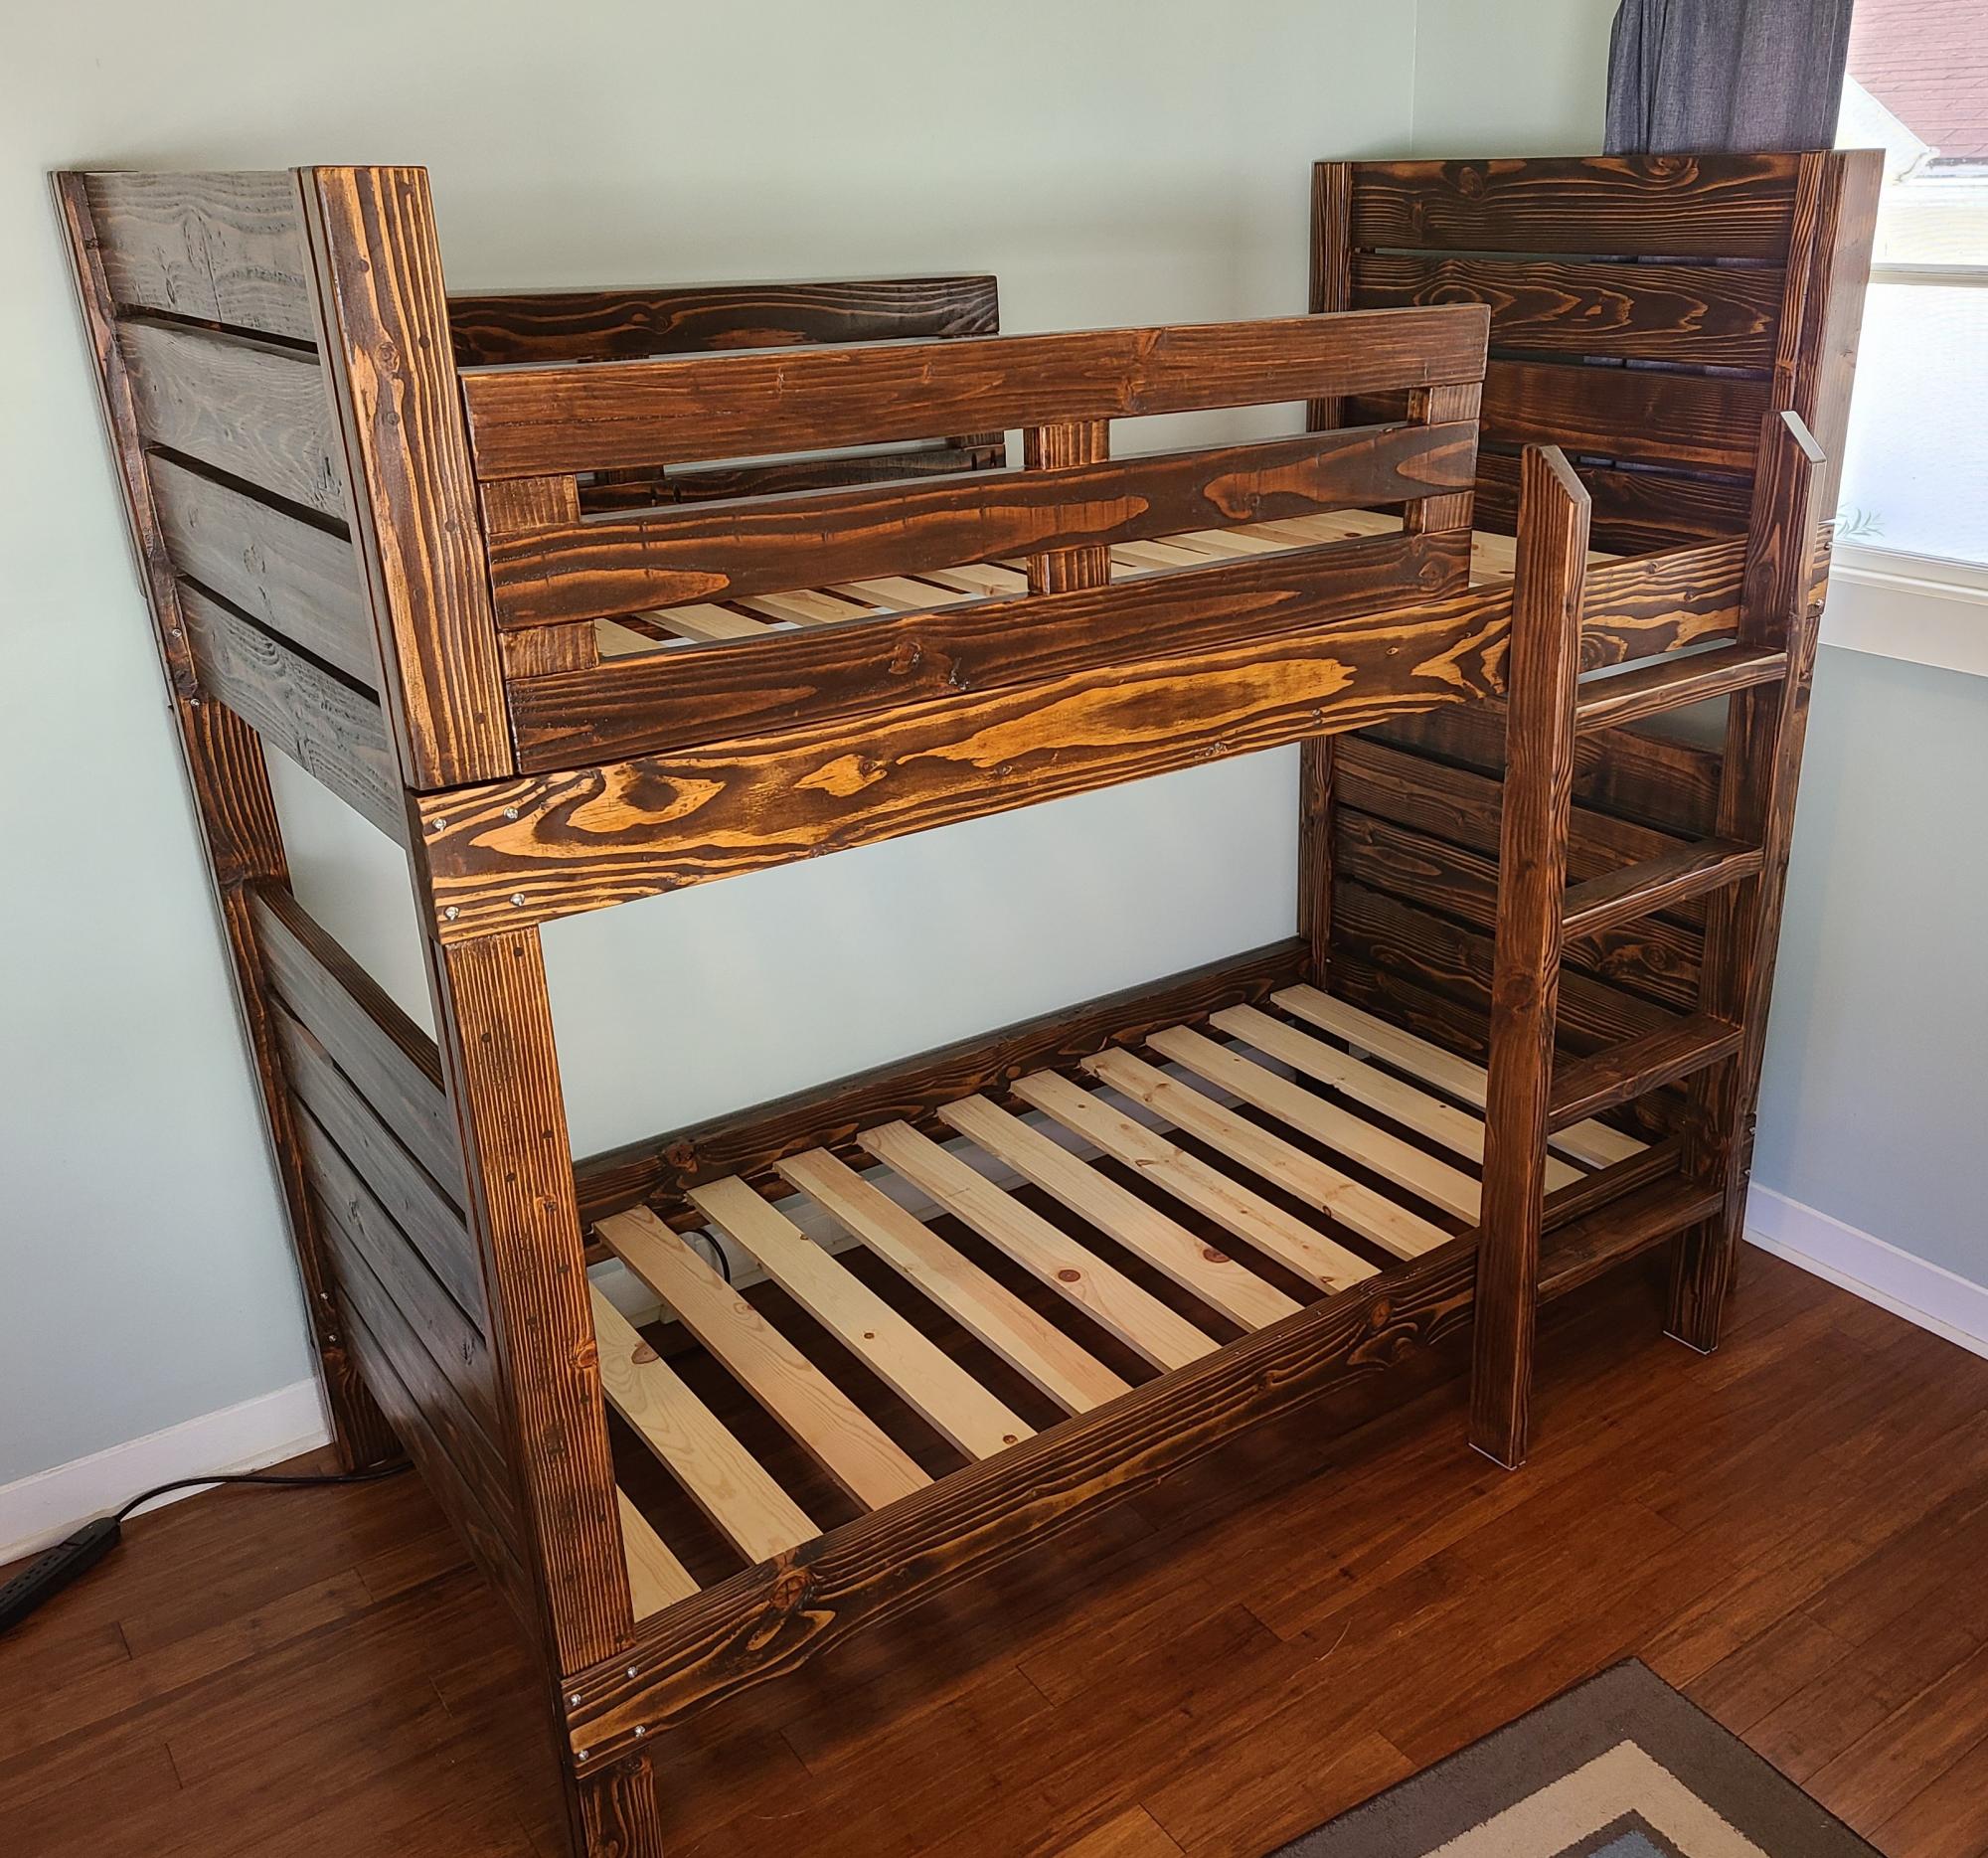
This was my largest project to date. Took me a LOT longer than I thought it would (big chunks of 4 weekends, plus sneaking in some time during the week), but enjoyed the process. The devil is in the details as always. The raw dog 2x6's took me hours upon hours to sand down to an acceptable state of smoothness. For the ladder, I kinda winged it and made it straight. My kids' room is really small, so every extra bit of square footage matters. My oldest is 5 and is fine going up and down. My youngest is 3 and hasn't quite figured it out yet, but that's probably for the best anyway. I also winged it a bit on the guardrails. I used pocket screws wherever possible in the joinery. I was planning on painting this since I knew staining/sealing would be a pain. But in the end, I'm glad I took the time (even though I was hating life during the staining). The kids are thrilled with the results. And I am VERY grateful for the plans you provided Ana! Thank you!
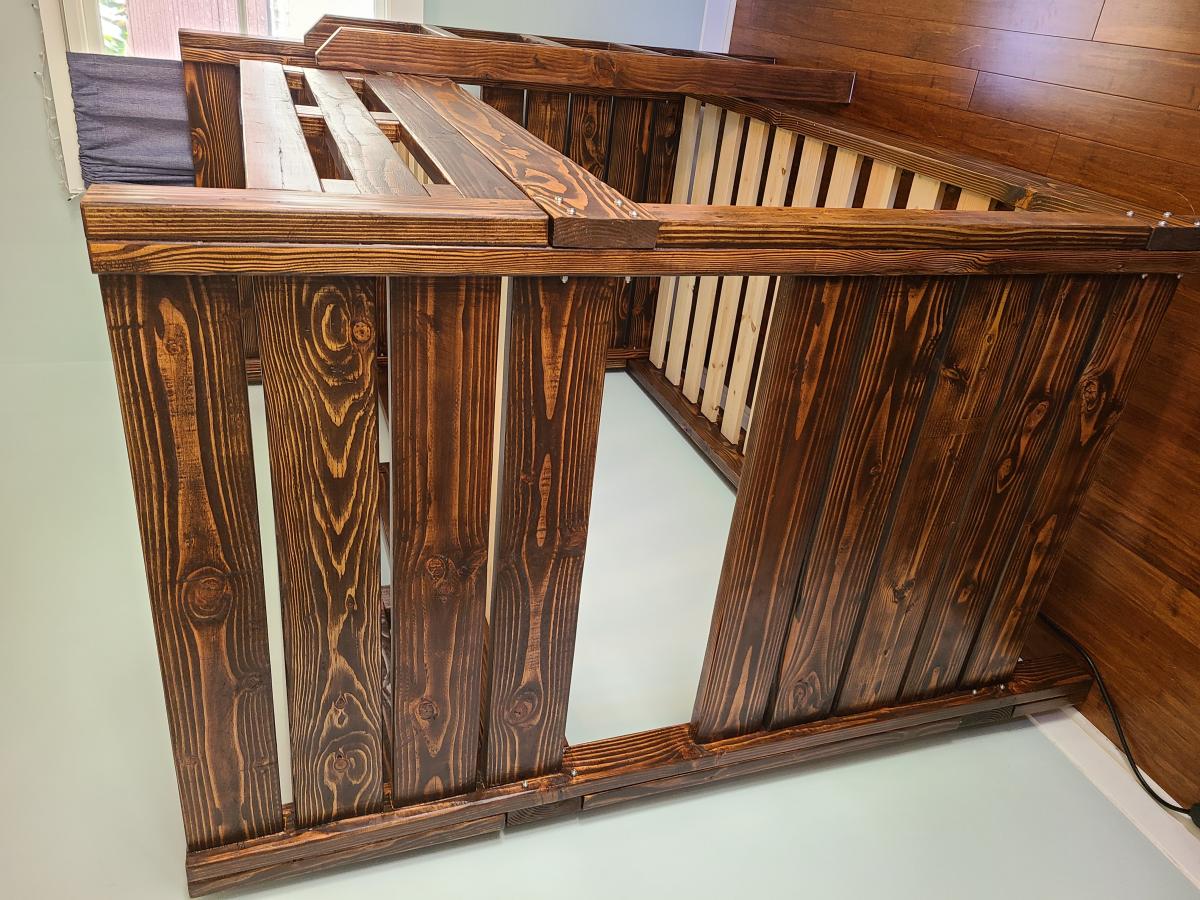
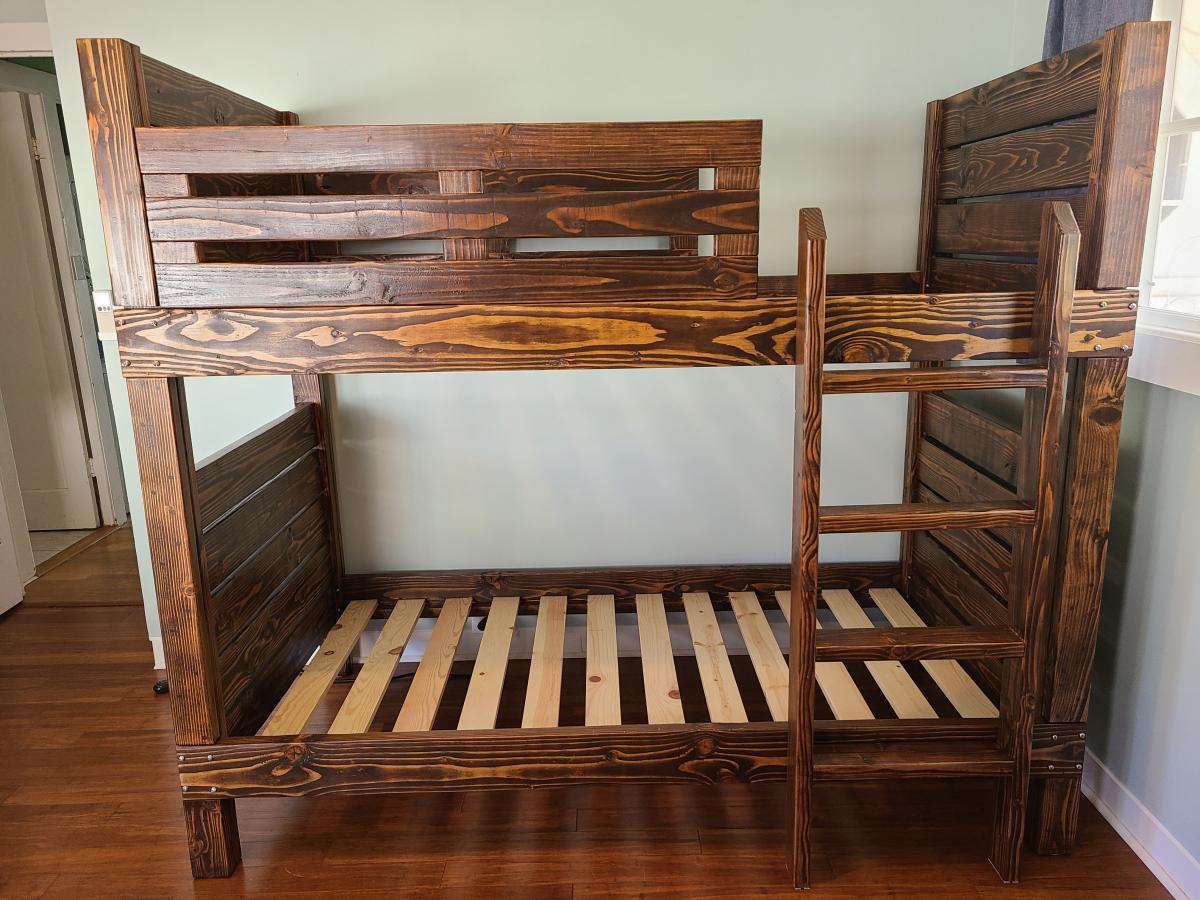
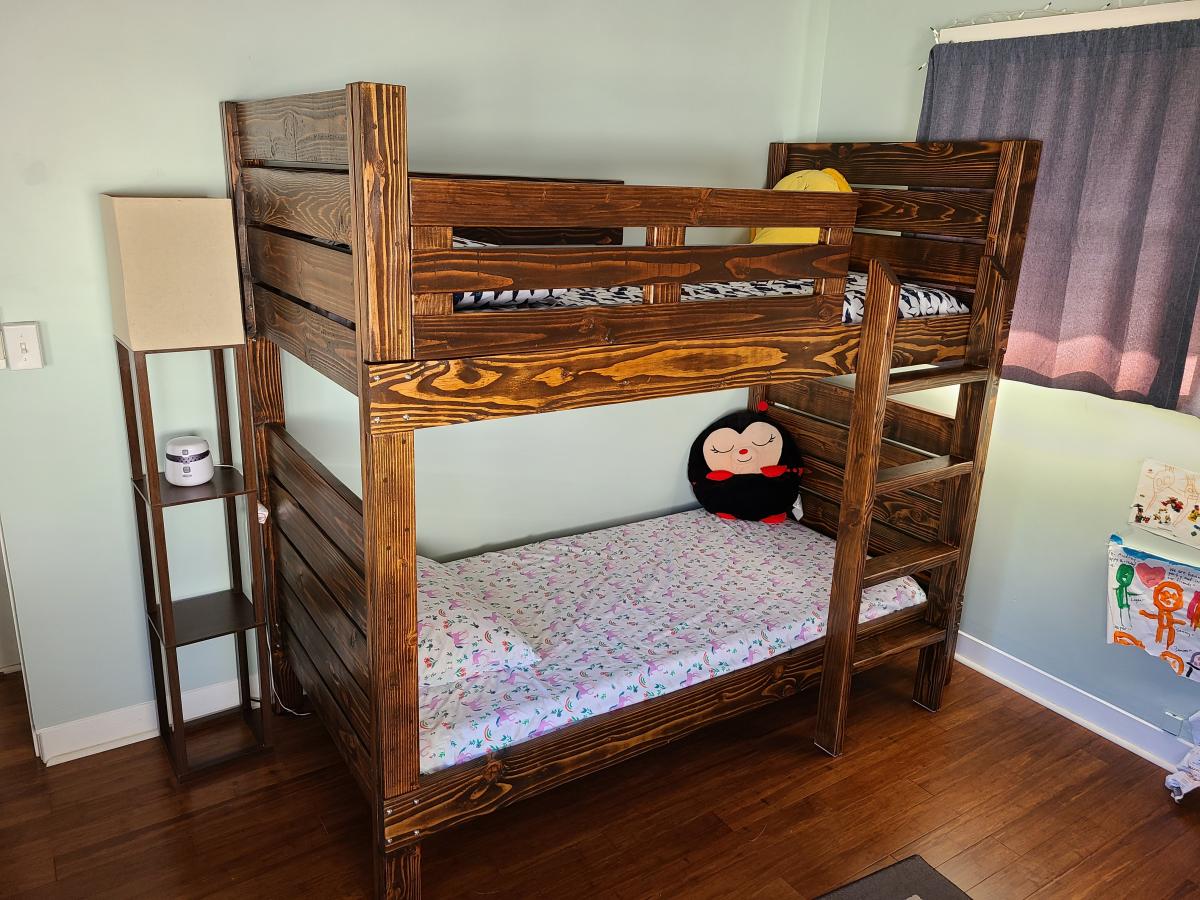

This was mine and my husbands first project ever! And it turned out even better than expected….now we are hooked! Next the loft bed!
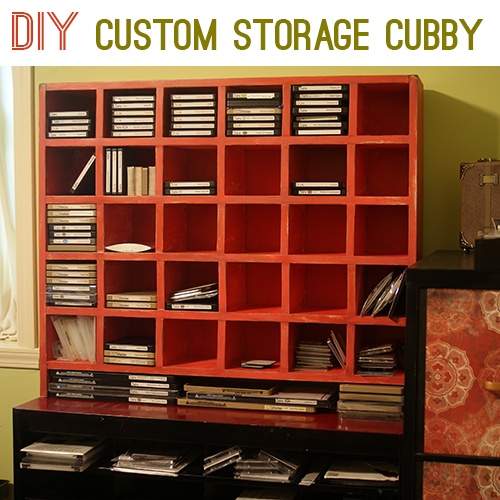
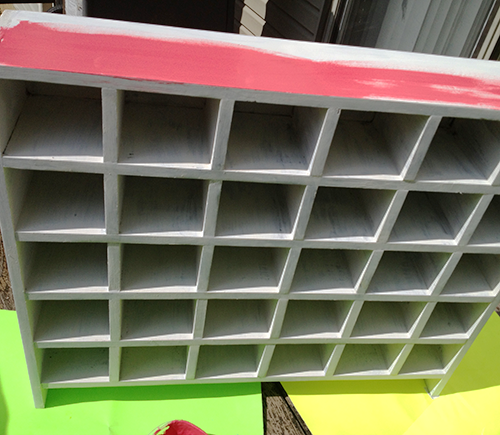
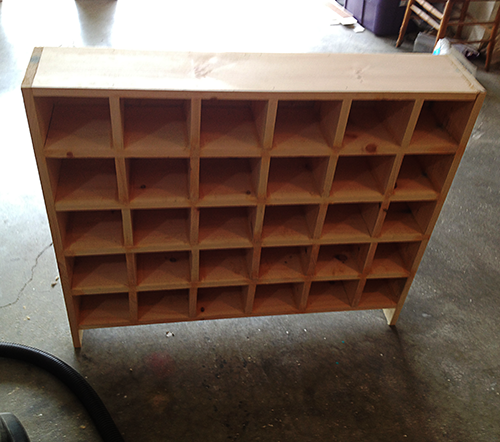
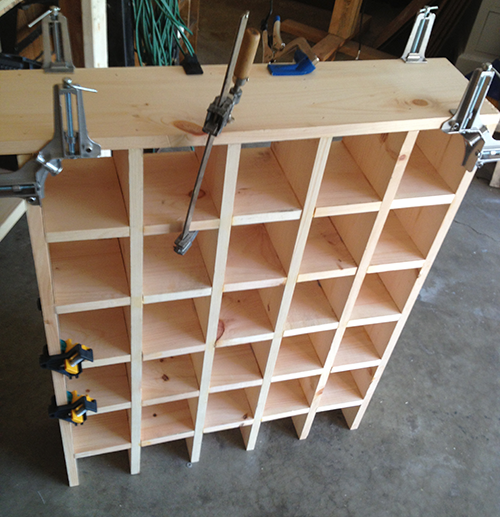
I used 1x8 instead of 1x6s and added an extra column to fit the exact space I wanted my cubby. It is perfect for storage of my Sizzix dies! The more corner clamps you have, the faster this will go.
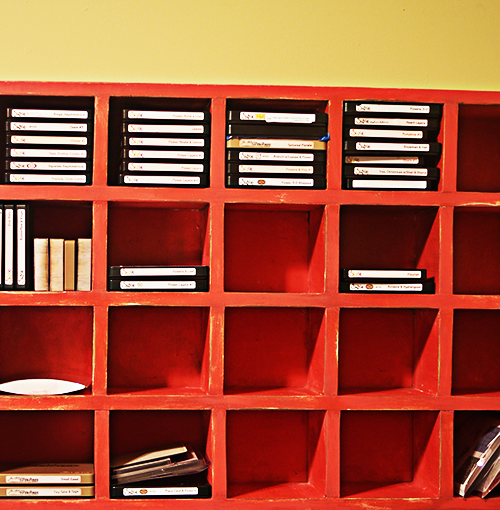
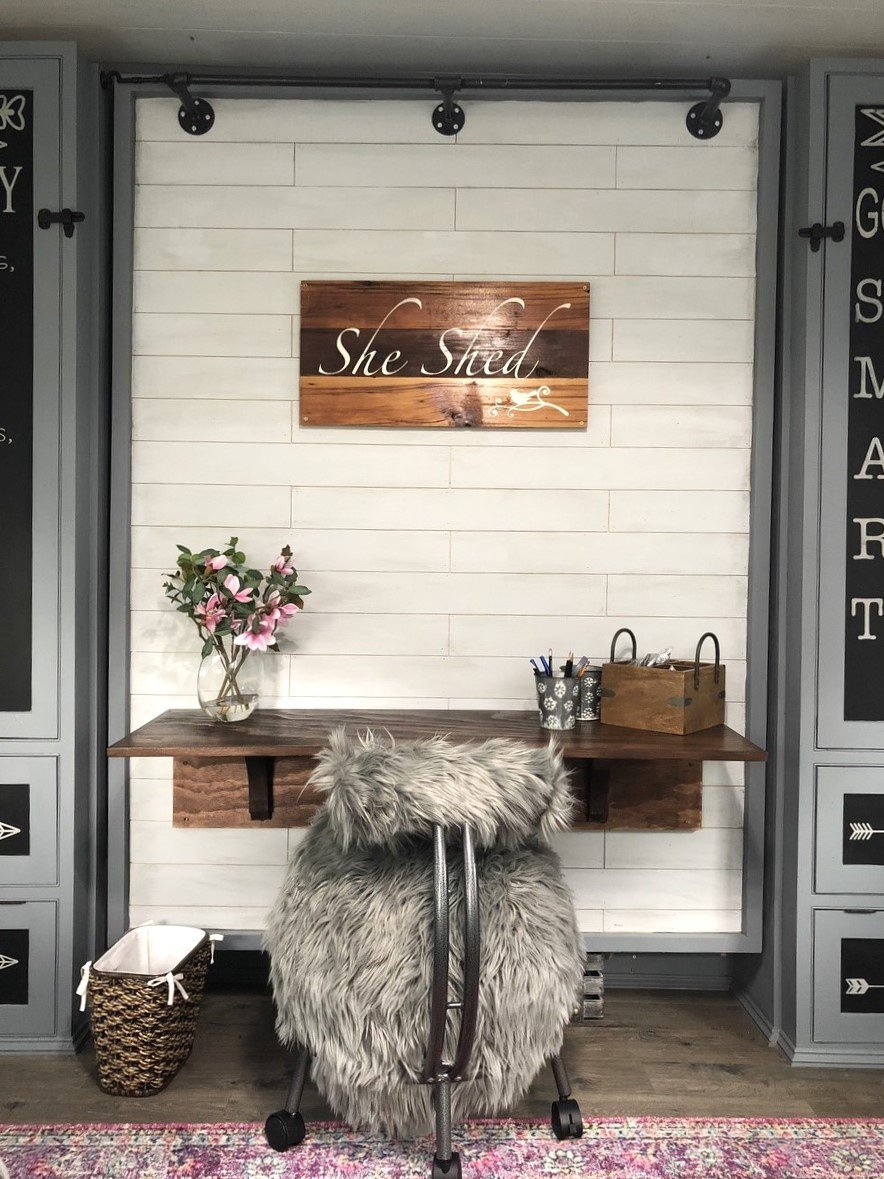
I needed an office and also a guest room so i built a she shed and all the furniture.
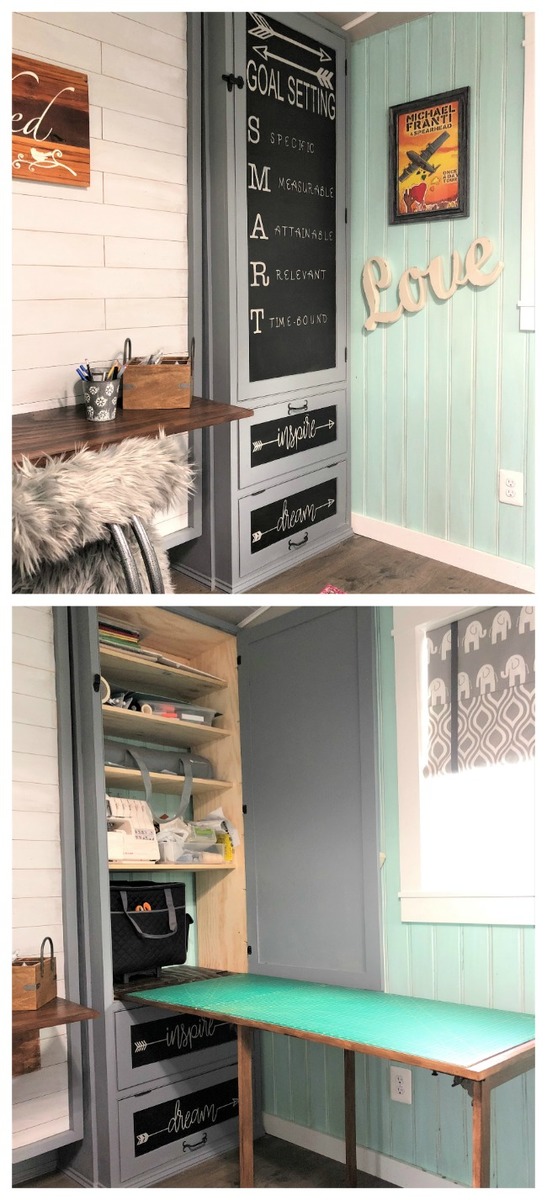
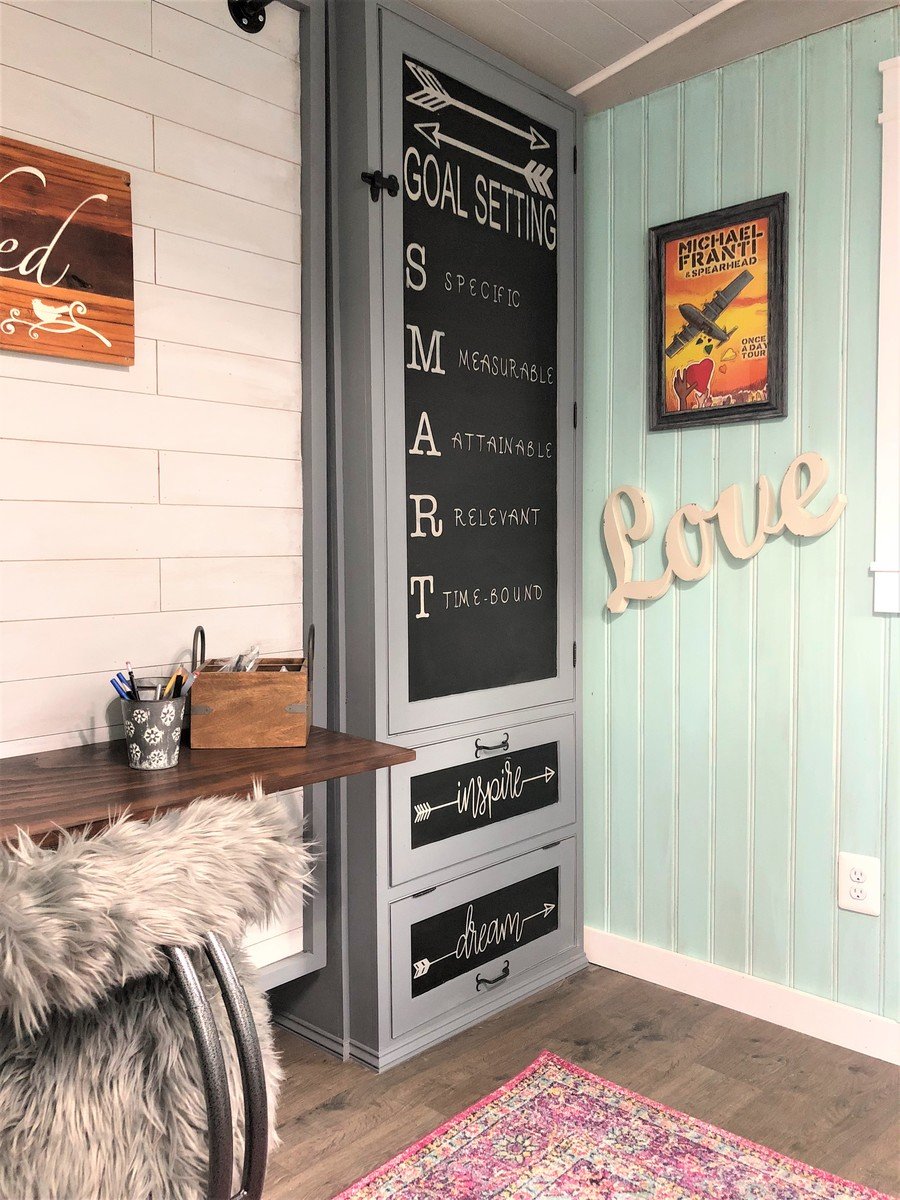
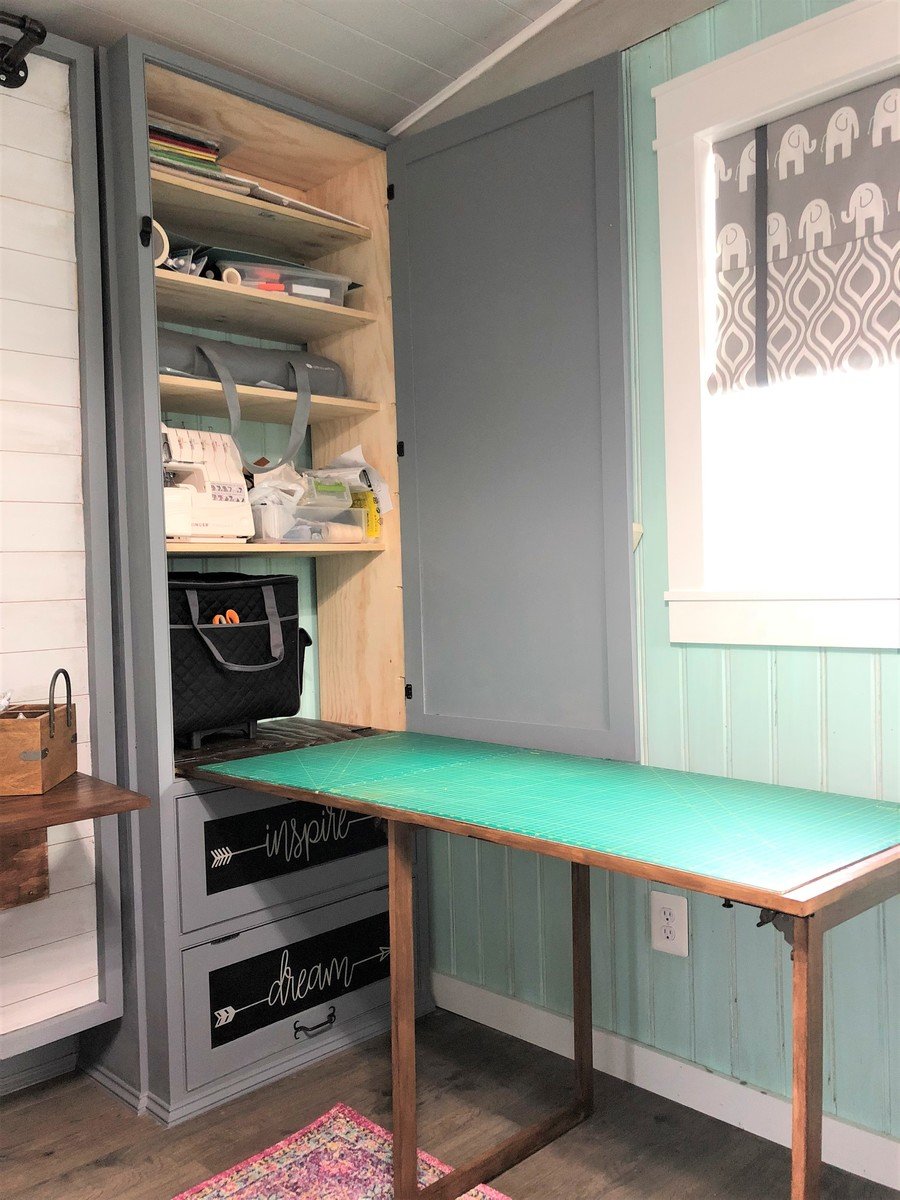
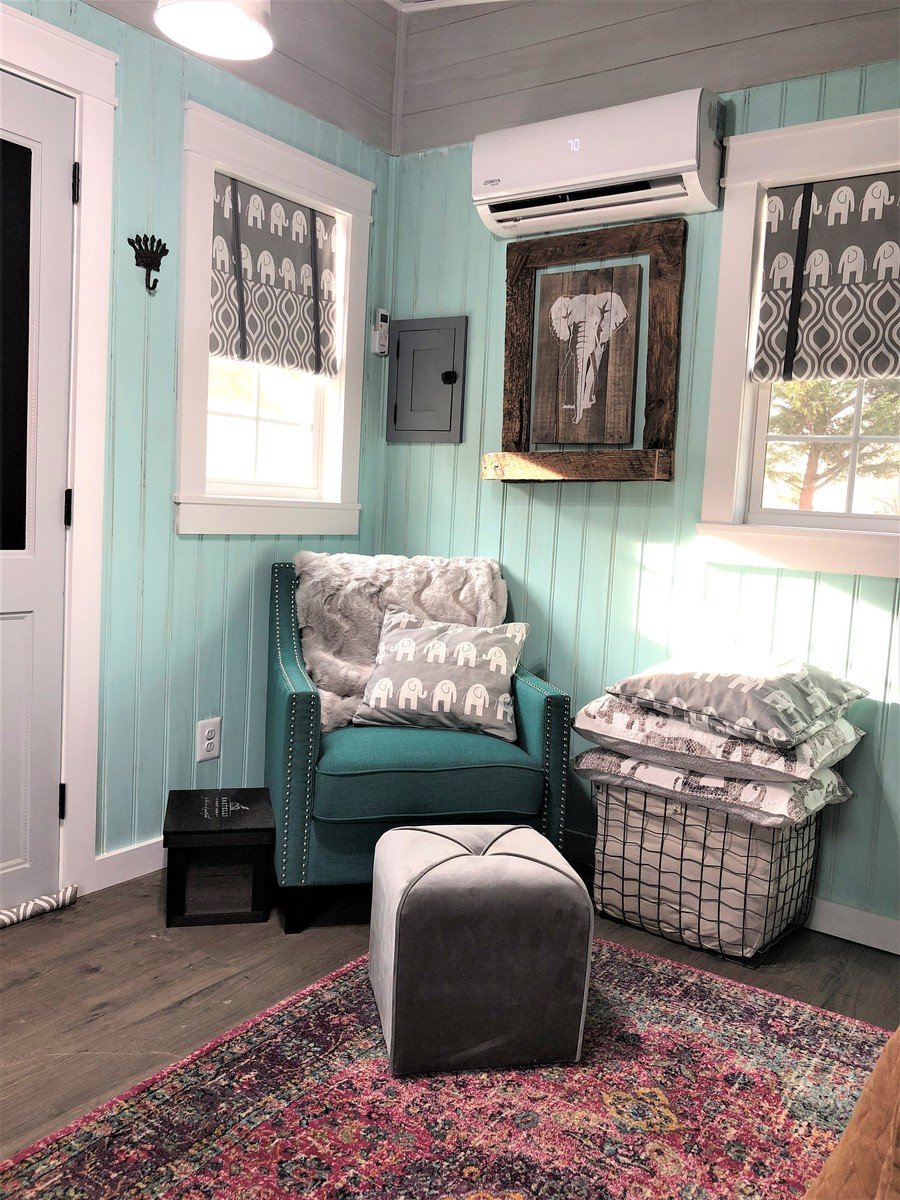
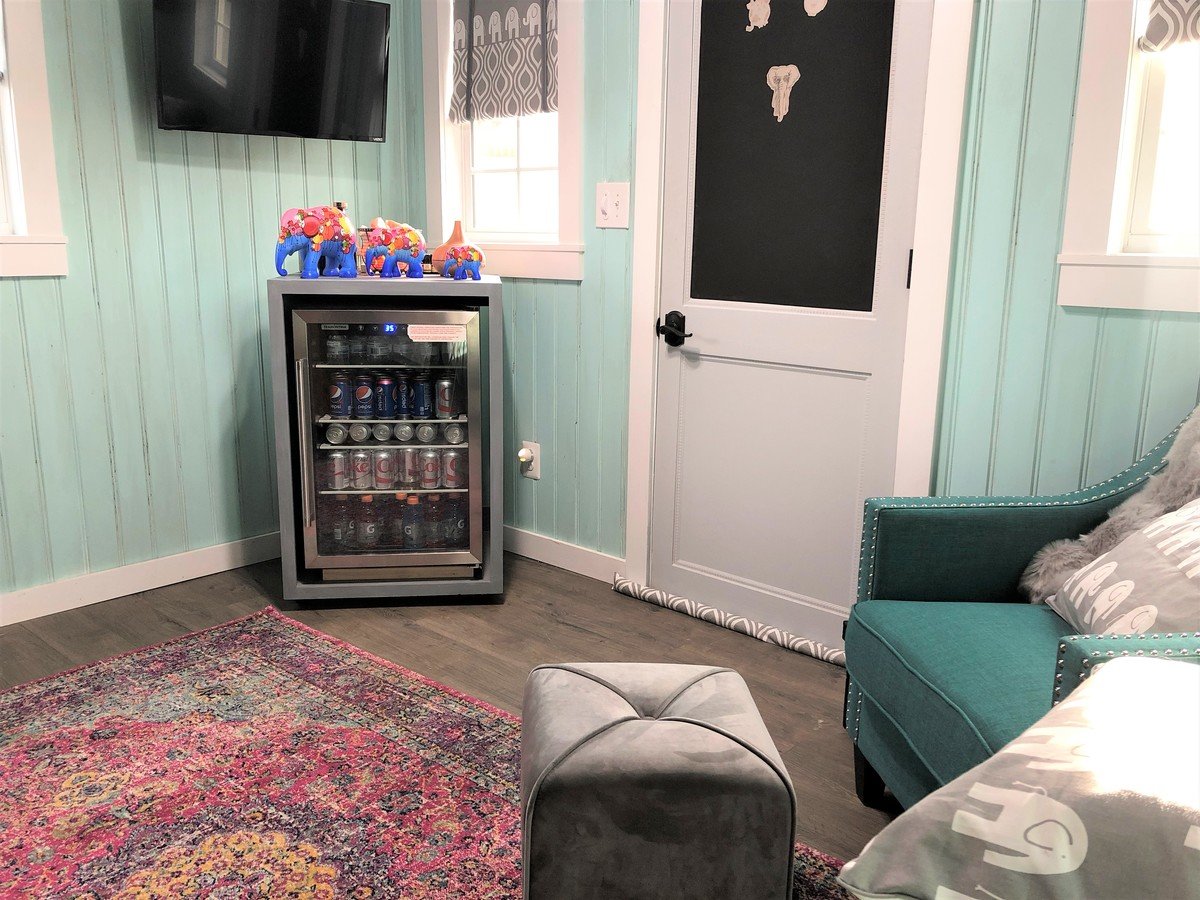
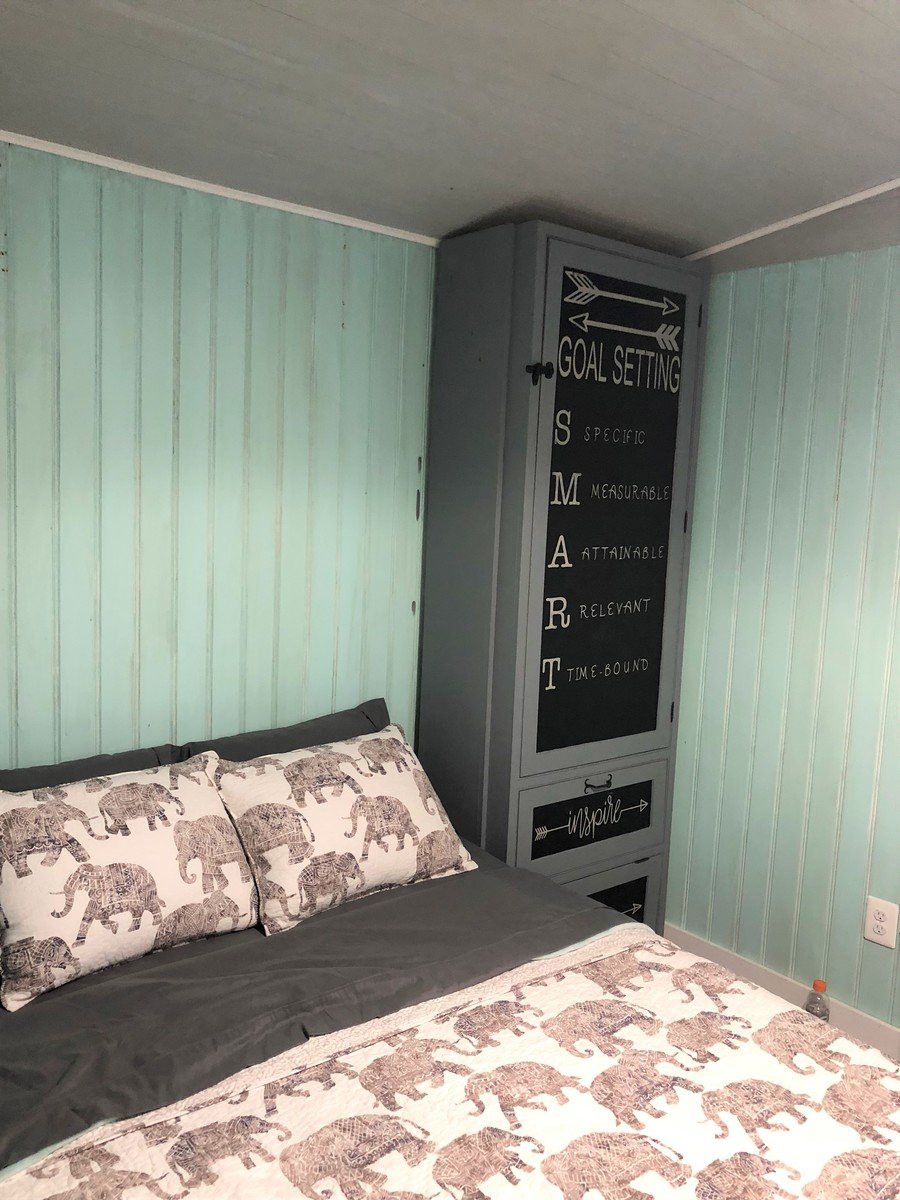
Thu, 01/25/2018 - 06:27
I love your murphy bed idea and would love to have plans for it. I too am looking for a guest bedroom and craft area and I know this would work in my space.
Mon, 02/05/2018 - 16:20
I didnt really have a plan when I was building my Murphy bed, I can do a sketchup plan for you if you would like. I used boat chair swivels instead of hinges and there is a YouTube video on how to do this.
Chris
Thu, 06/24/2021 - 23:11
Hi Chris! I would love to have a copy of the sketch up of this. I have a small she shed/guest cottage I would live to duplicate this in. Thanks in advance.
Mon, 11/08/2021 - 14:18
Hi Chris!
I know I'm coming late to this party but I just found your shed and I adore it. You did an amazing job and I cannot express how impressed I am! I would also like a sketchup plan of both the murphy bed and the adjoining side cabinets. Great job!
Thu, 06/06/2019 - 10:59
I absolutely love everything about this she shed!! I would be interested in a sketch up of the murphy bed as well as the cabinets next to it. I would at least like to know what the dimensions of it all is. You did an amazing job! It's so beautiful!
Tue, 06/25/2019 - 15:14
Me too!! I built a horizontal Murphy bed so I have that part done but I would like to see the plans for the cabinets on either side with the pull out desk!
so very cute!
Thu, 05/14/2020 - 05:53
I would love the plans for all of this please! This is exactly what I have been looking for! Thank you!
Sun, 09/20/2020 - 00:13
Hi Chris
Can you advise how I can receive a copy of the sketchup? I love the entire setup from the bed to the additional shelving.
Thu, 06/20/2024 - 08:24
Hi Chris,
I would also like to receive the plans you did for this project! Thank you!
Thu, 06/20/2024 - 08:24
Hi Chris,
I would also like to receive the plans you did for this project! Thank you!
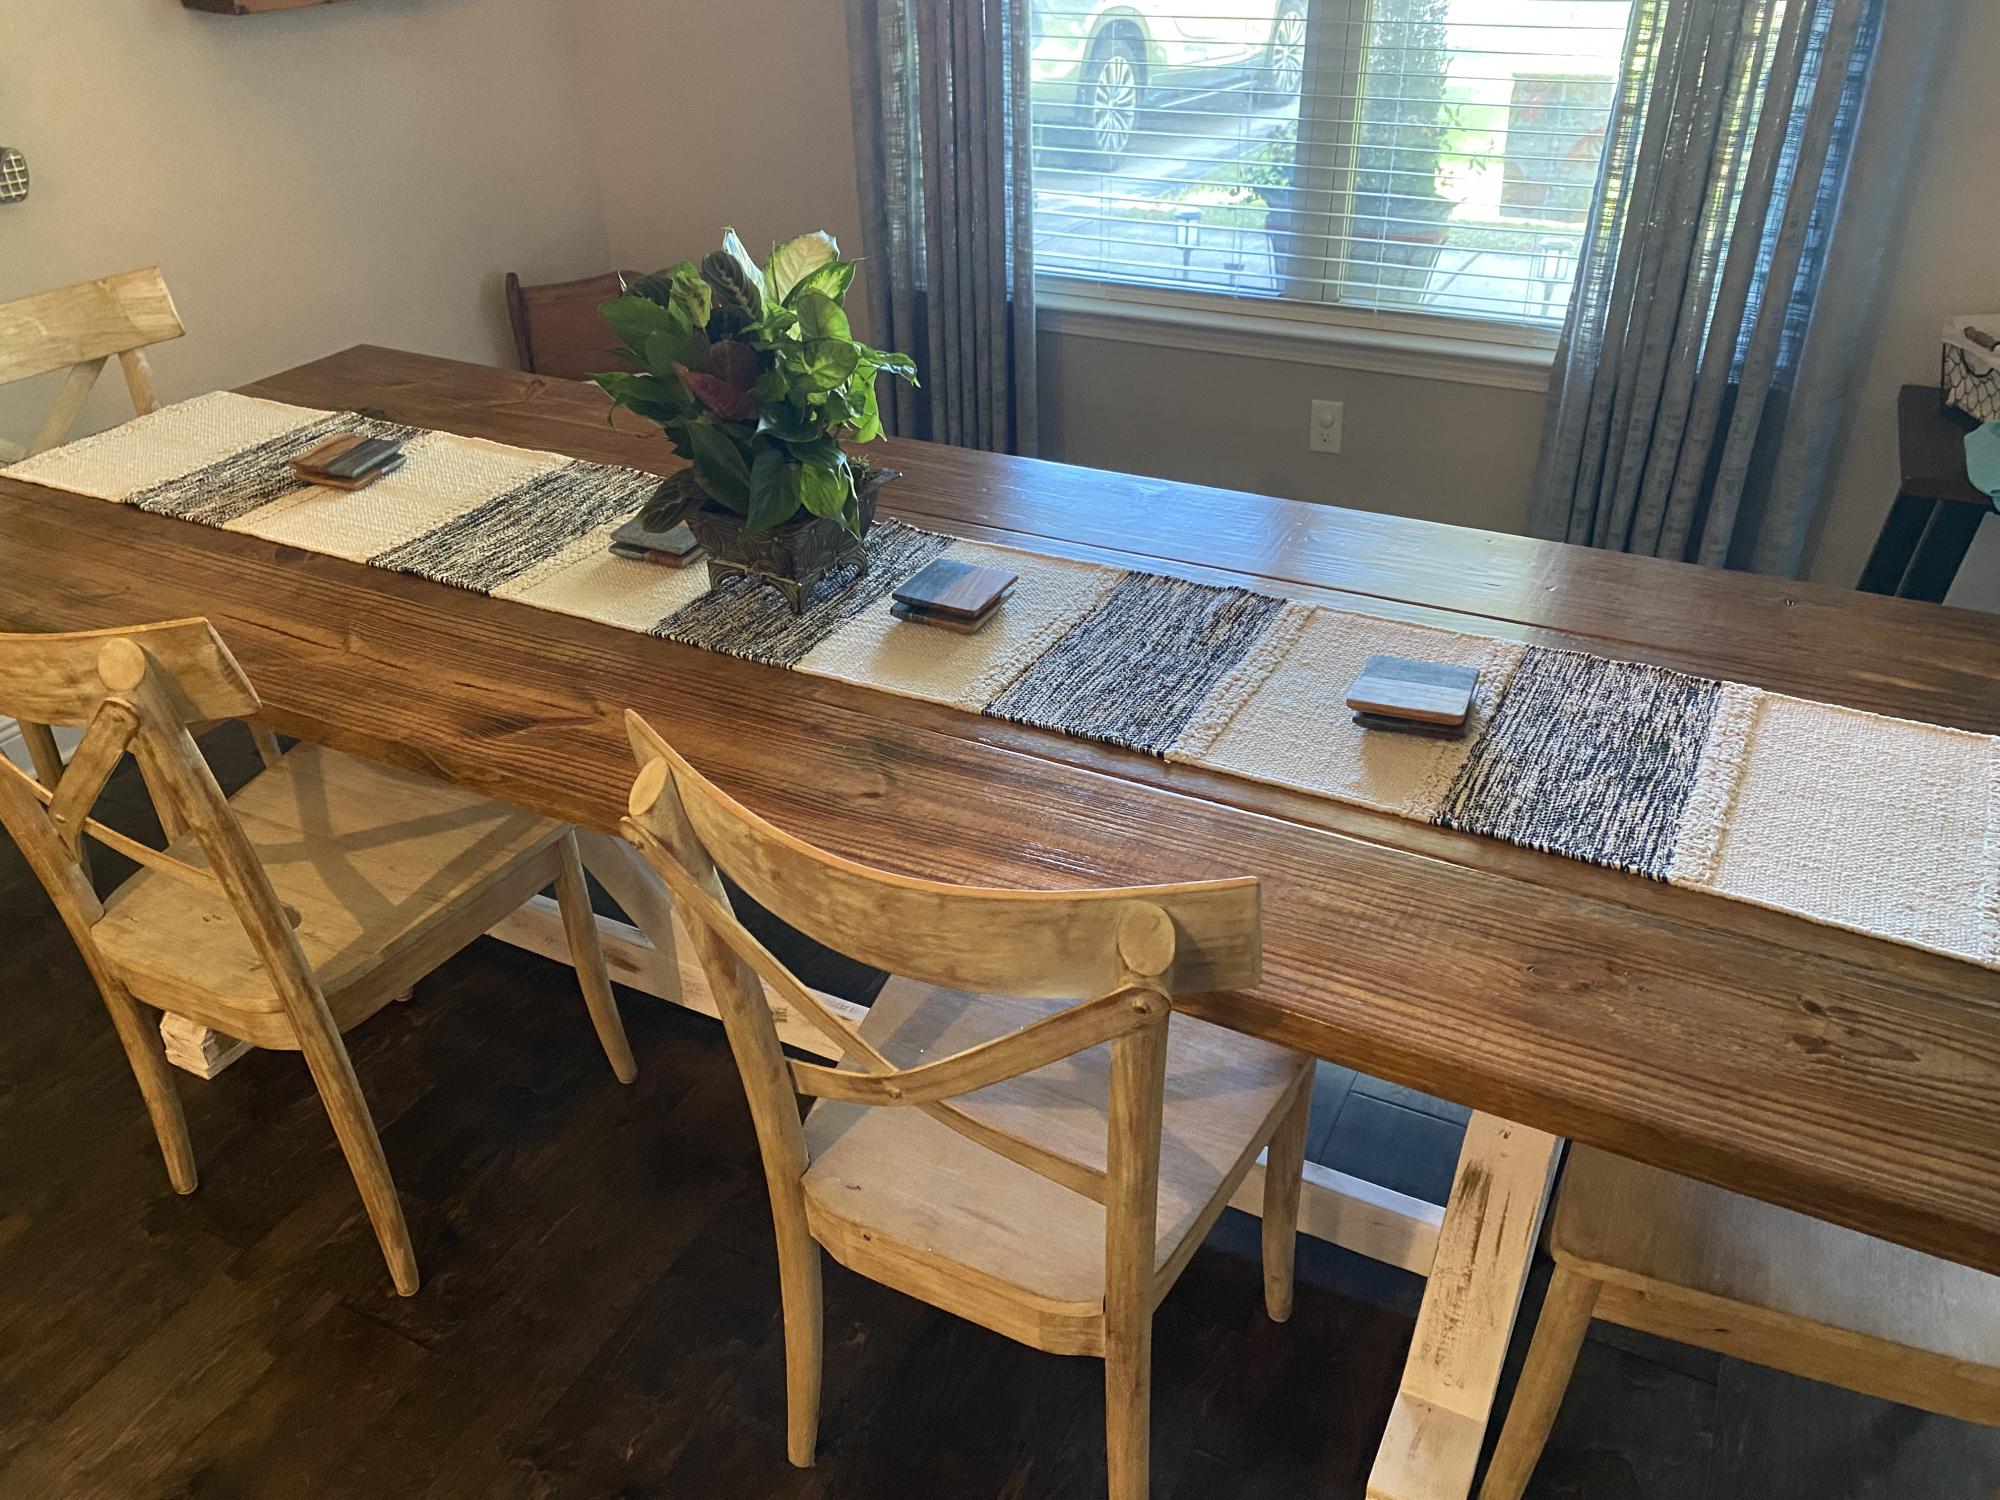
Built this table and bench for my wife. She wanted to host Thanksgiving dinner and needed a bigger table. I used the 96” plan, building the bench first and the table second. 3 coats of Danish oil dark walnut, and 2 coats of poly. I get a lot of compliments about this table. The bench is remarkably comfortable and sturdy. And yes, my wife was very pleased, plus I finished on time for dinner.
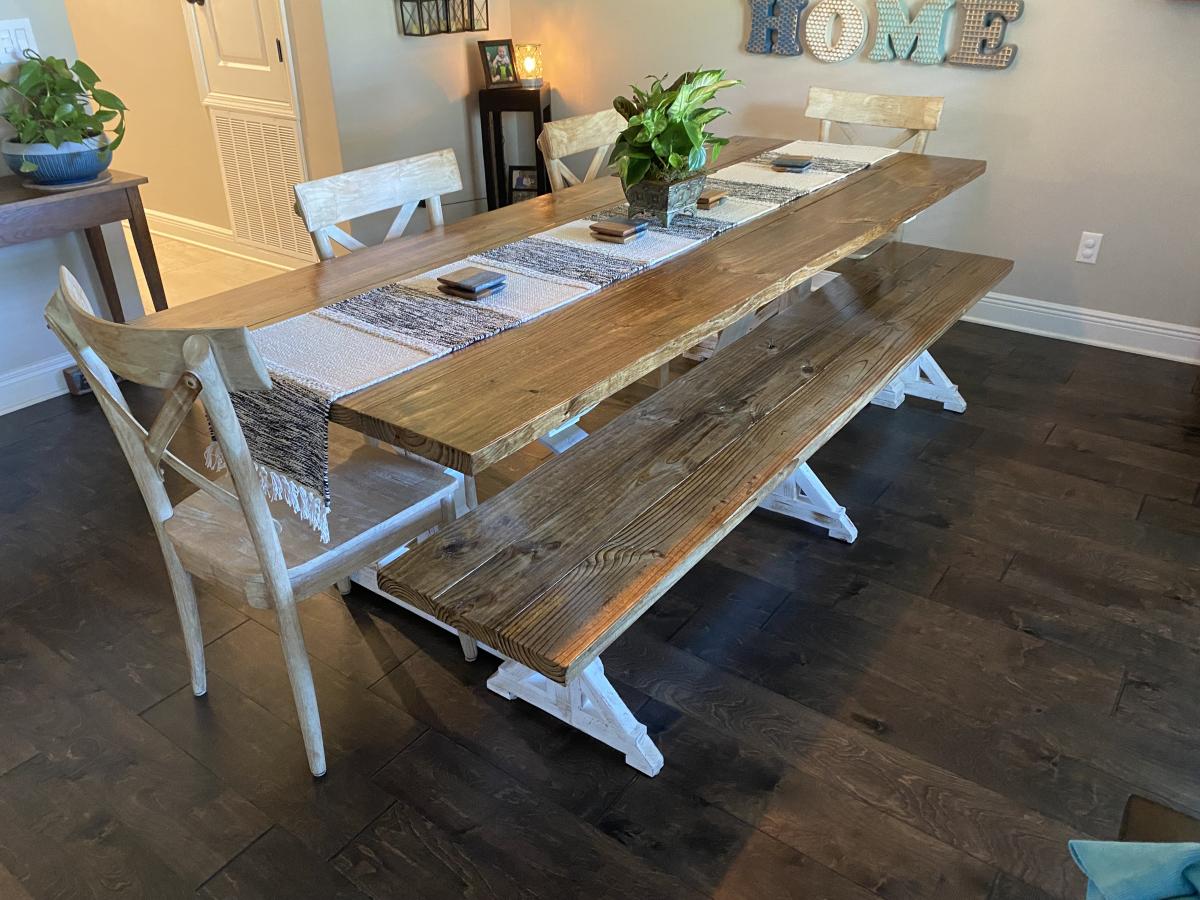
Mon, 01/17/2022 - 13:49
Thank you. The set up gratitude goes to my wife. She inspires me to complete these builds. And thank you to Ana White for these awesome build plans. I’m running out of house for all the builds so far.
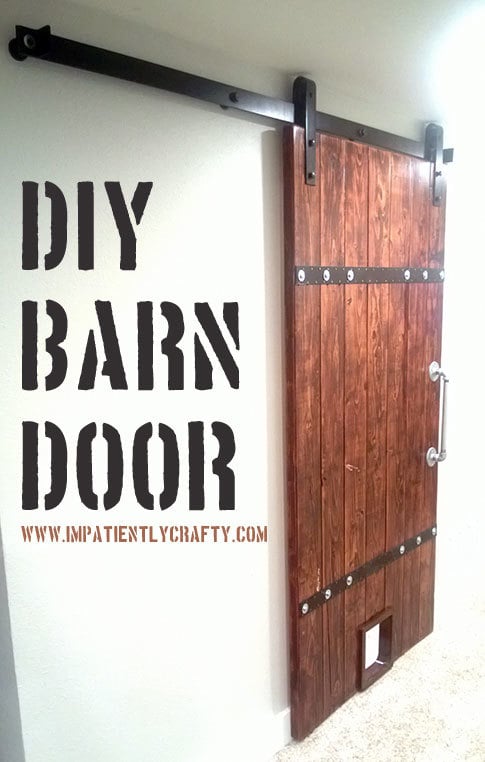
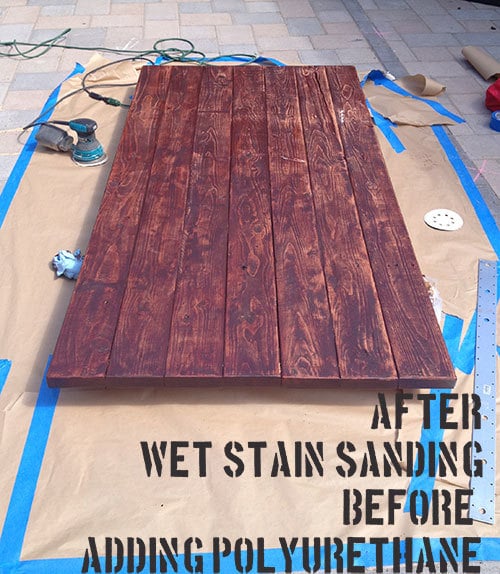
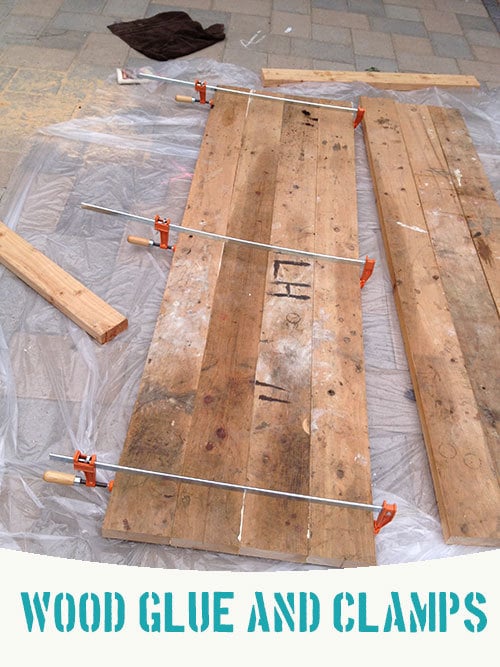
I made his Barn door out of the wood that was left in our garage when we moved in. Using (7) 2x6 boards and adding stain sanding and hardware, it became a super functional industrial rustic (is that a design style LOL) door! (I added a cat door to for our cat ;))
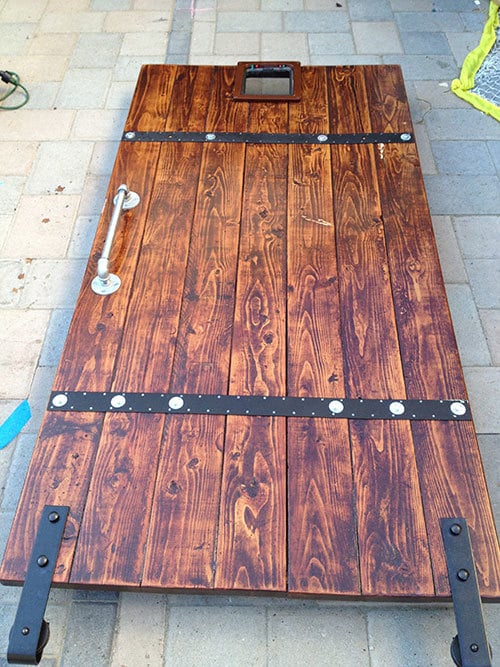
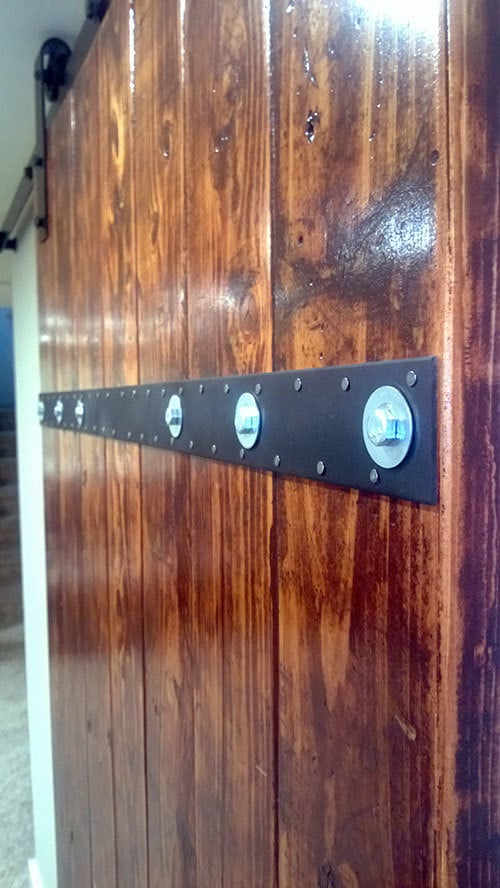
In reply to I love the strapping. This by Pam the Goatherd
Thu, 08/01/2013 - 11:08
Thank you! I was just super happy that I didn't have to cut the strap ties lol. now if our cat would just get used to using the cat door.....
In reply to I love the strapping. This by Pam the Goatherd
Thu, 08/01/2013 - 11:08
Thank you! I was just super happy that I didn't have to cut the strap ties lol. now if our cat would just get used to using the cat door.....

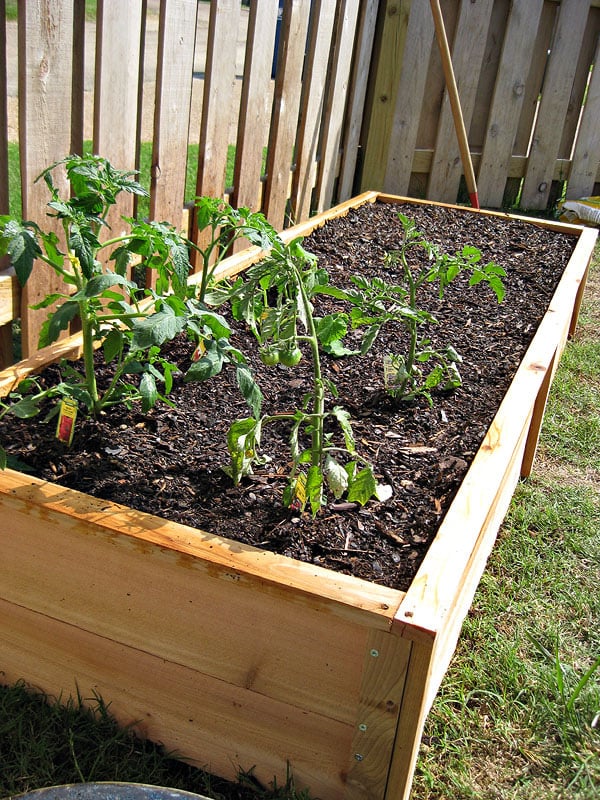
Since moving and finding Knock Off Wood, we decided now would be a good idea to try some gardening (again...after failed attempts!) These beds are so simple but beautiful out in the yard and for the first time I actually have vegetables growing. We used the cedar fence posts just as Ana suggested.

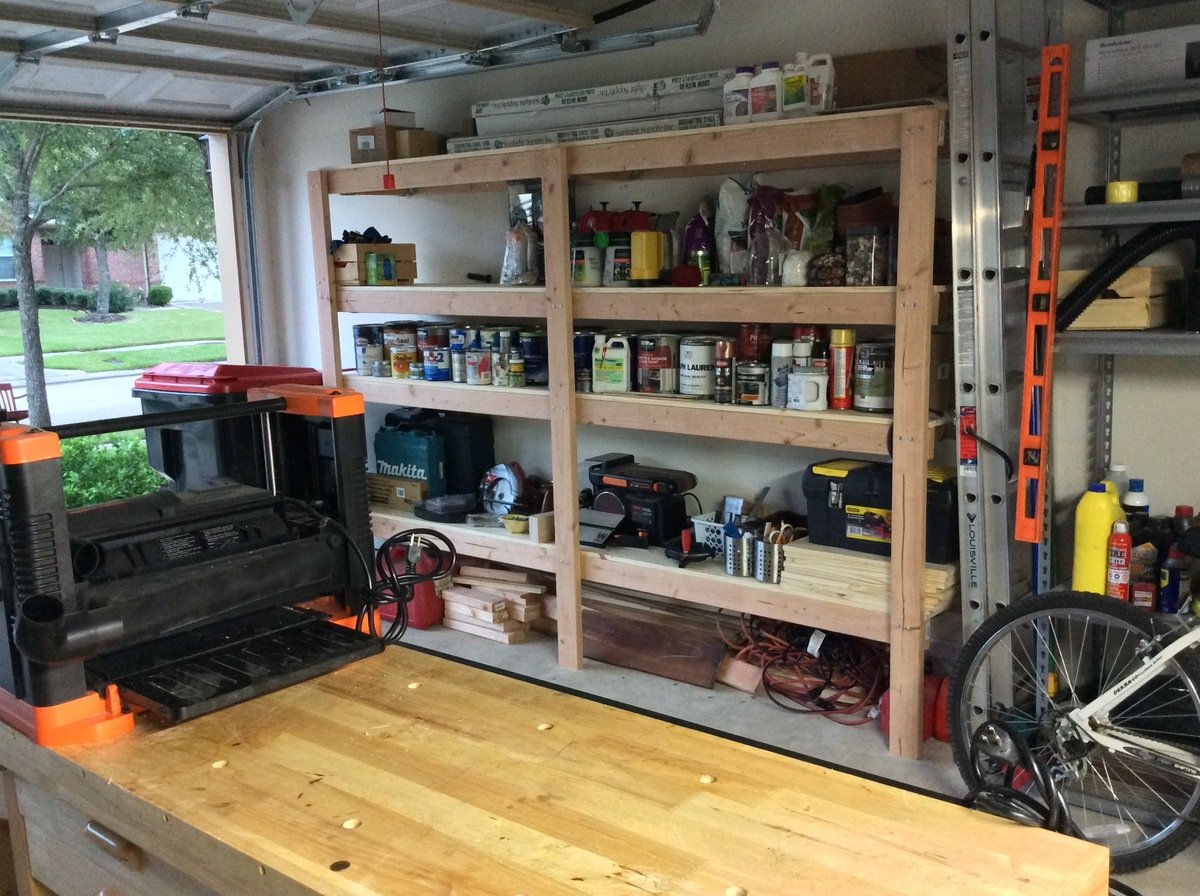
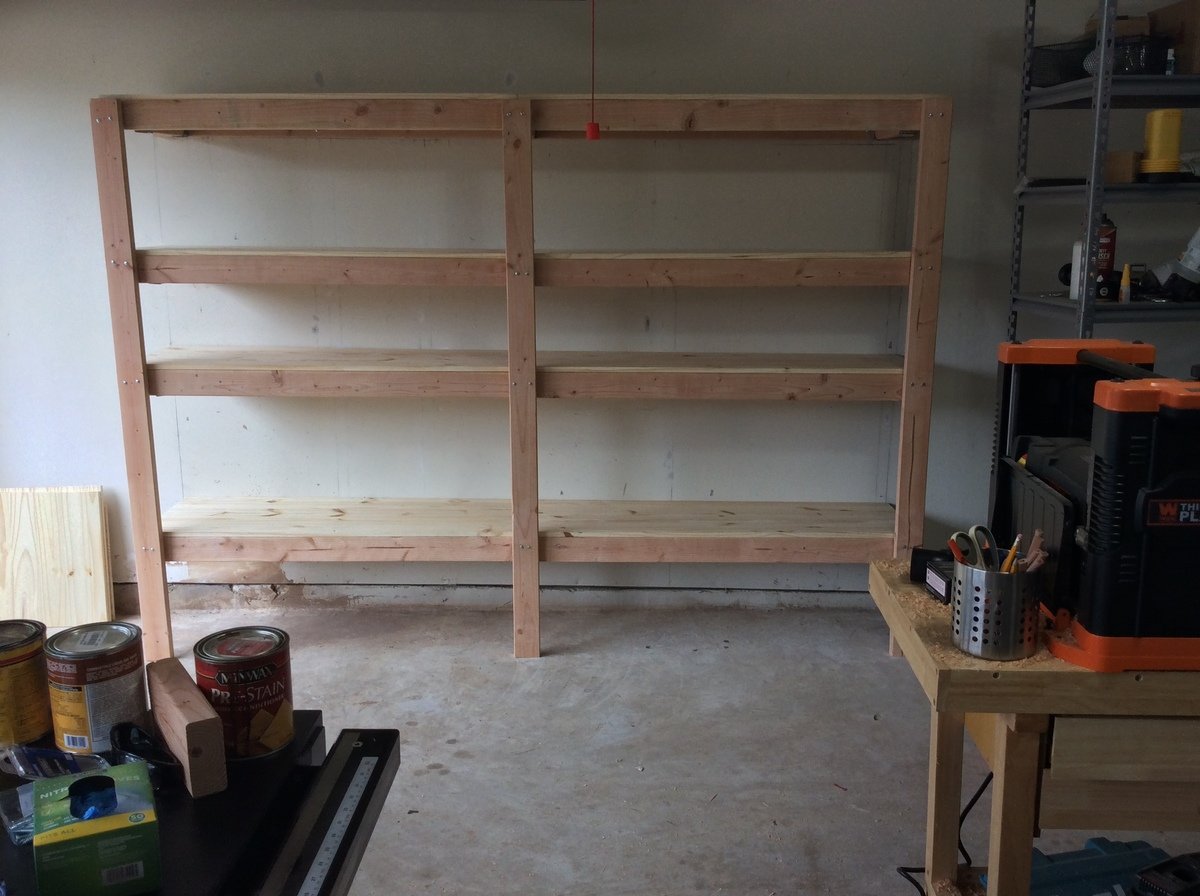
This was a pretty easy project, but I had to adjust the vertical legs to accommodate the sloping garage floor. I drew a horizontal line for the top edge then measured to the floor at the spacing I wanted the vertical legs. I used these measurements to cut the three vertical legs. It’s level and straight, even though my garage is sloped.

"I don’t consider ourselves experts at all and your plan was so easy to follow. We can’t wait to introduce our chicks when they’re old enough to transfer outside."
