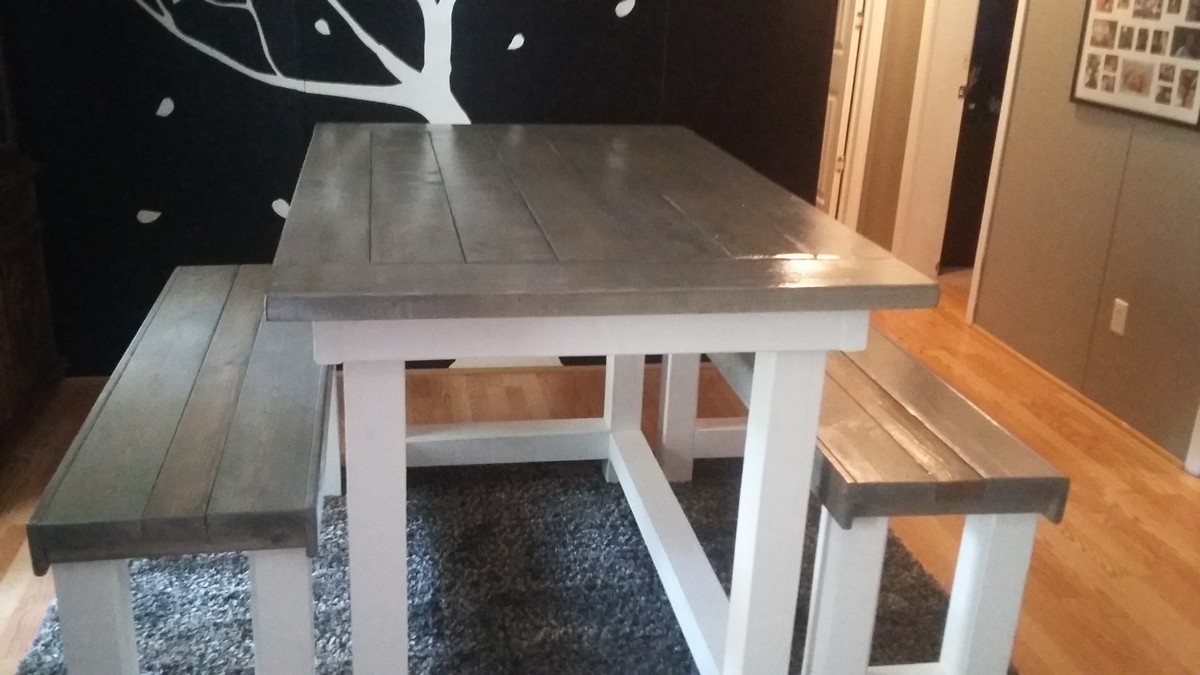
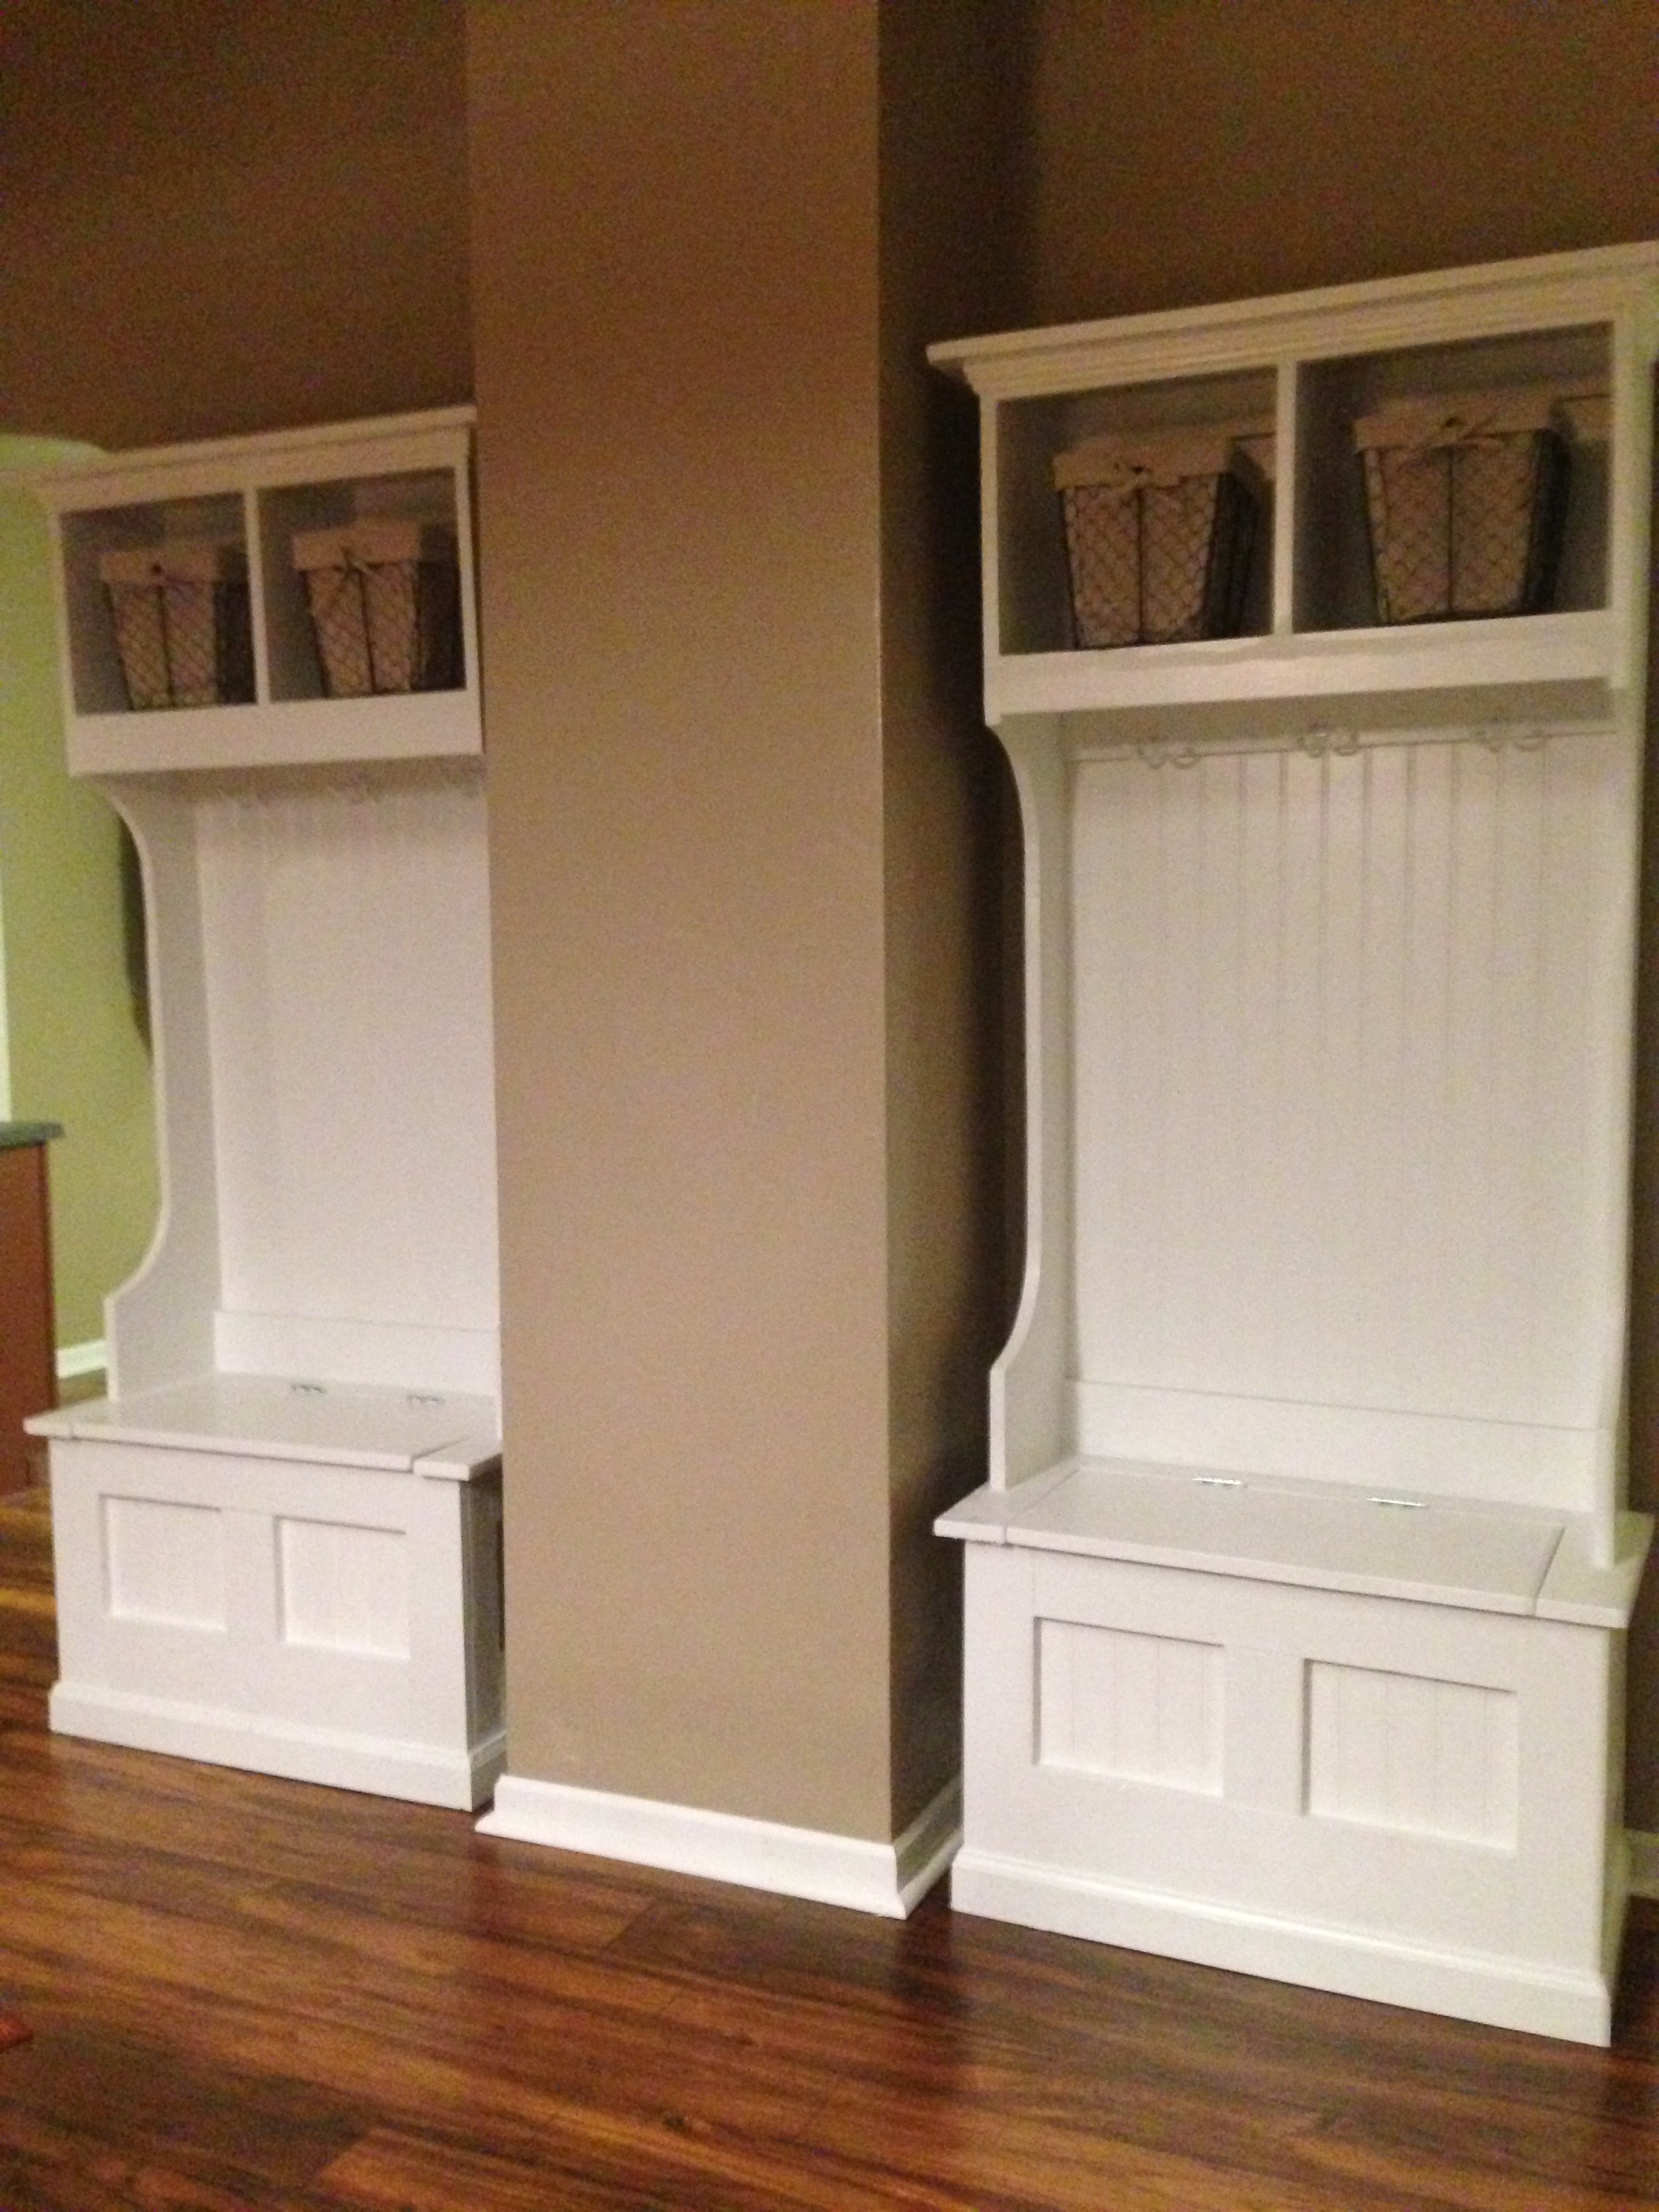
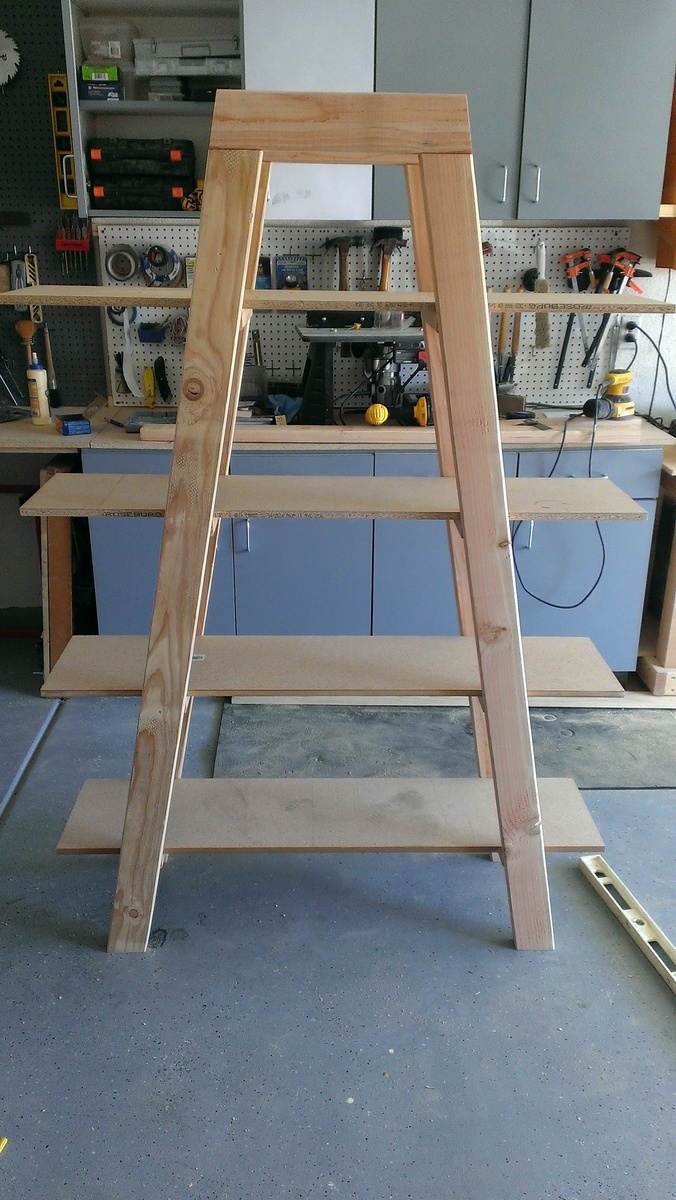
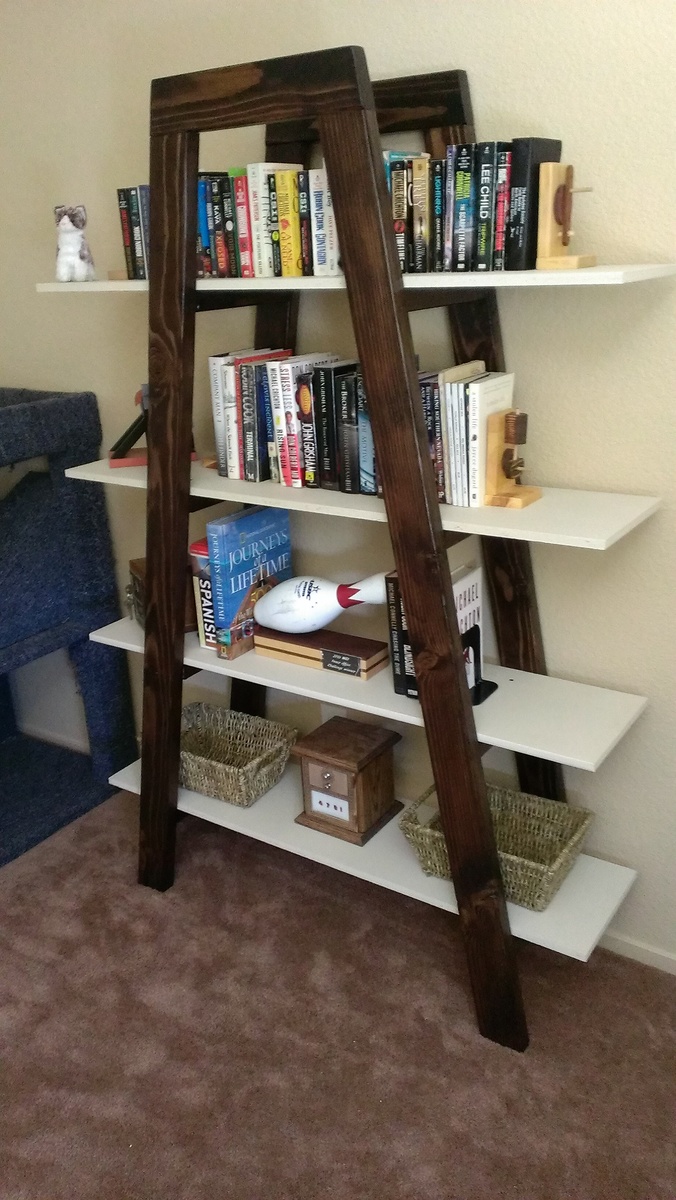
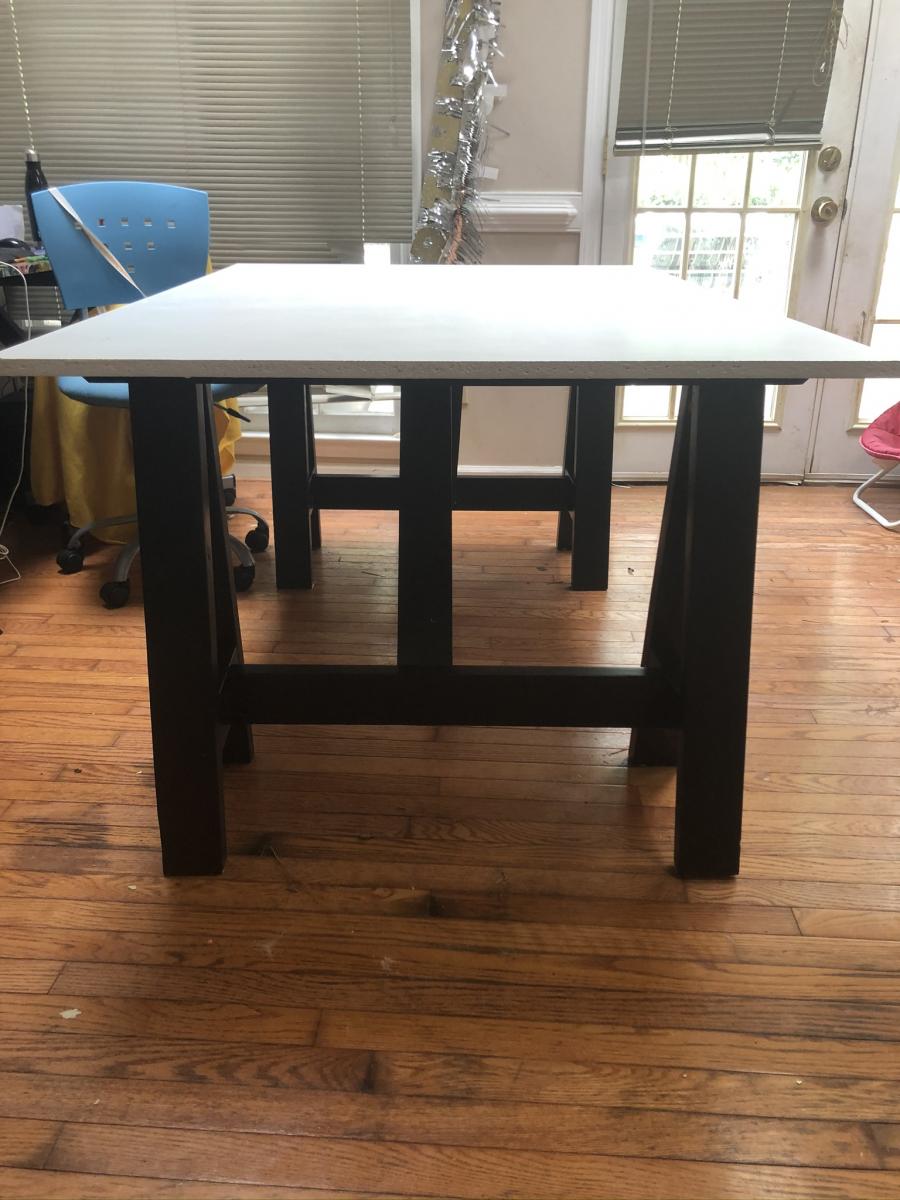
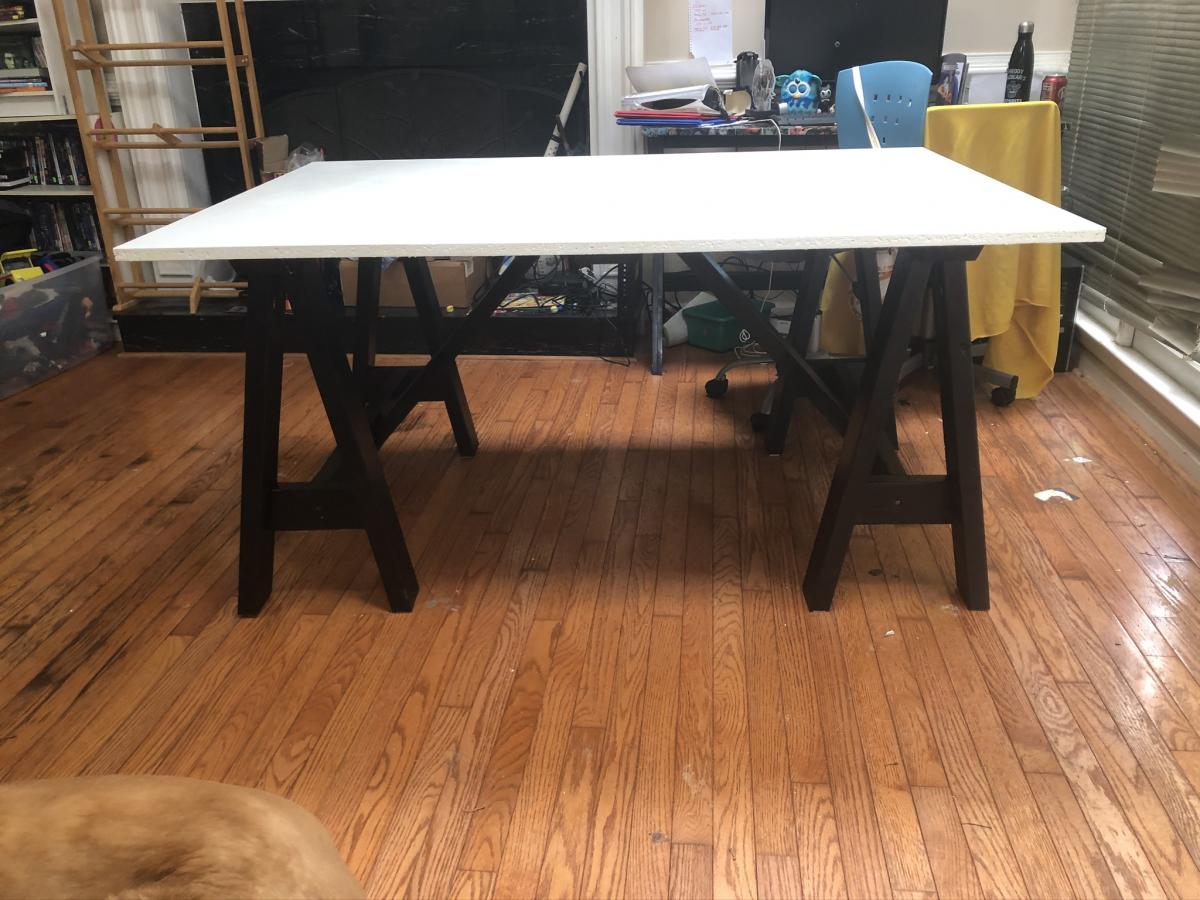
Sawhorse Table
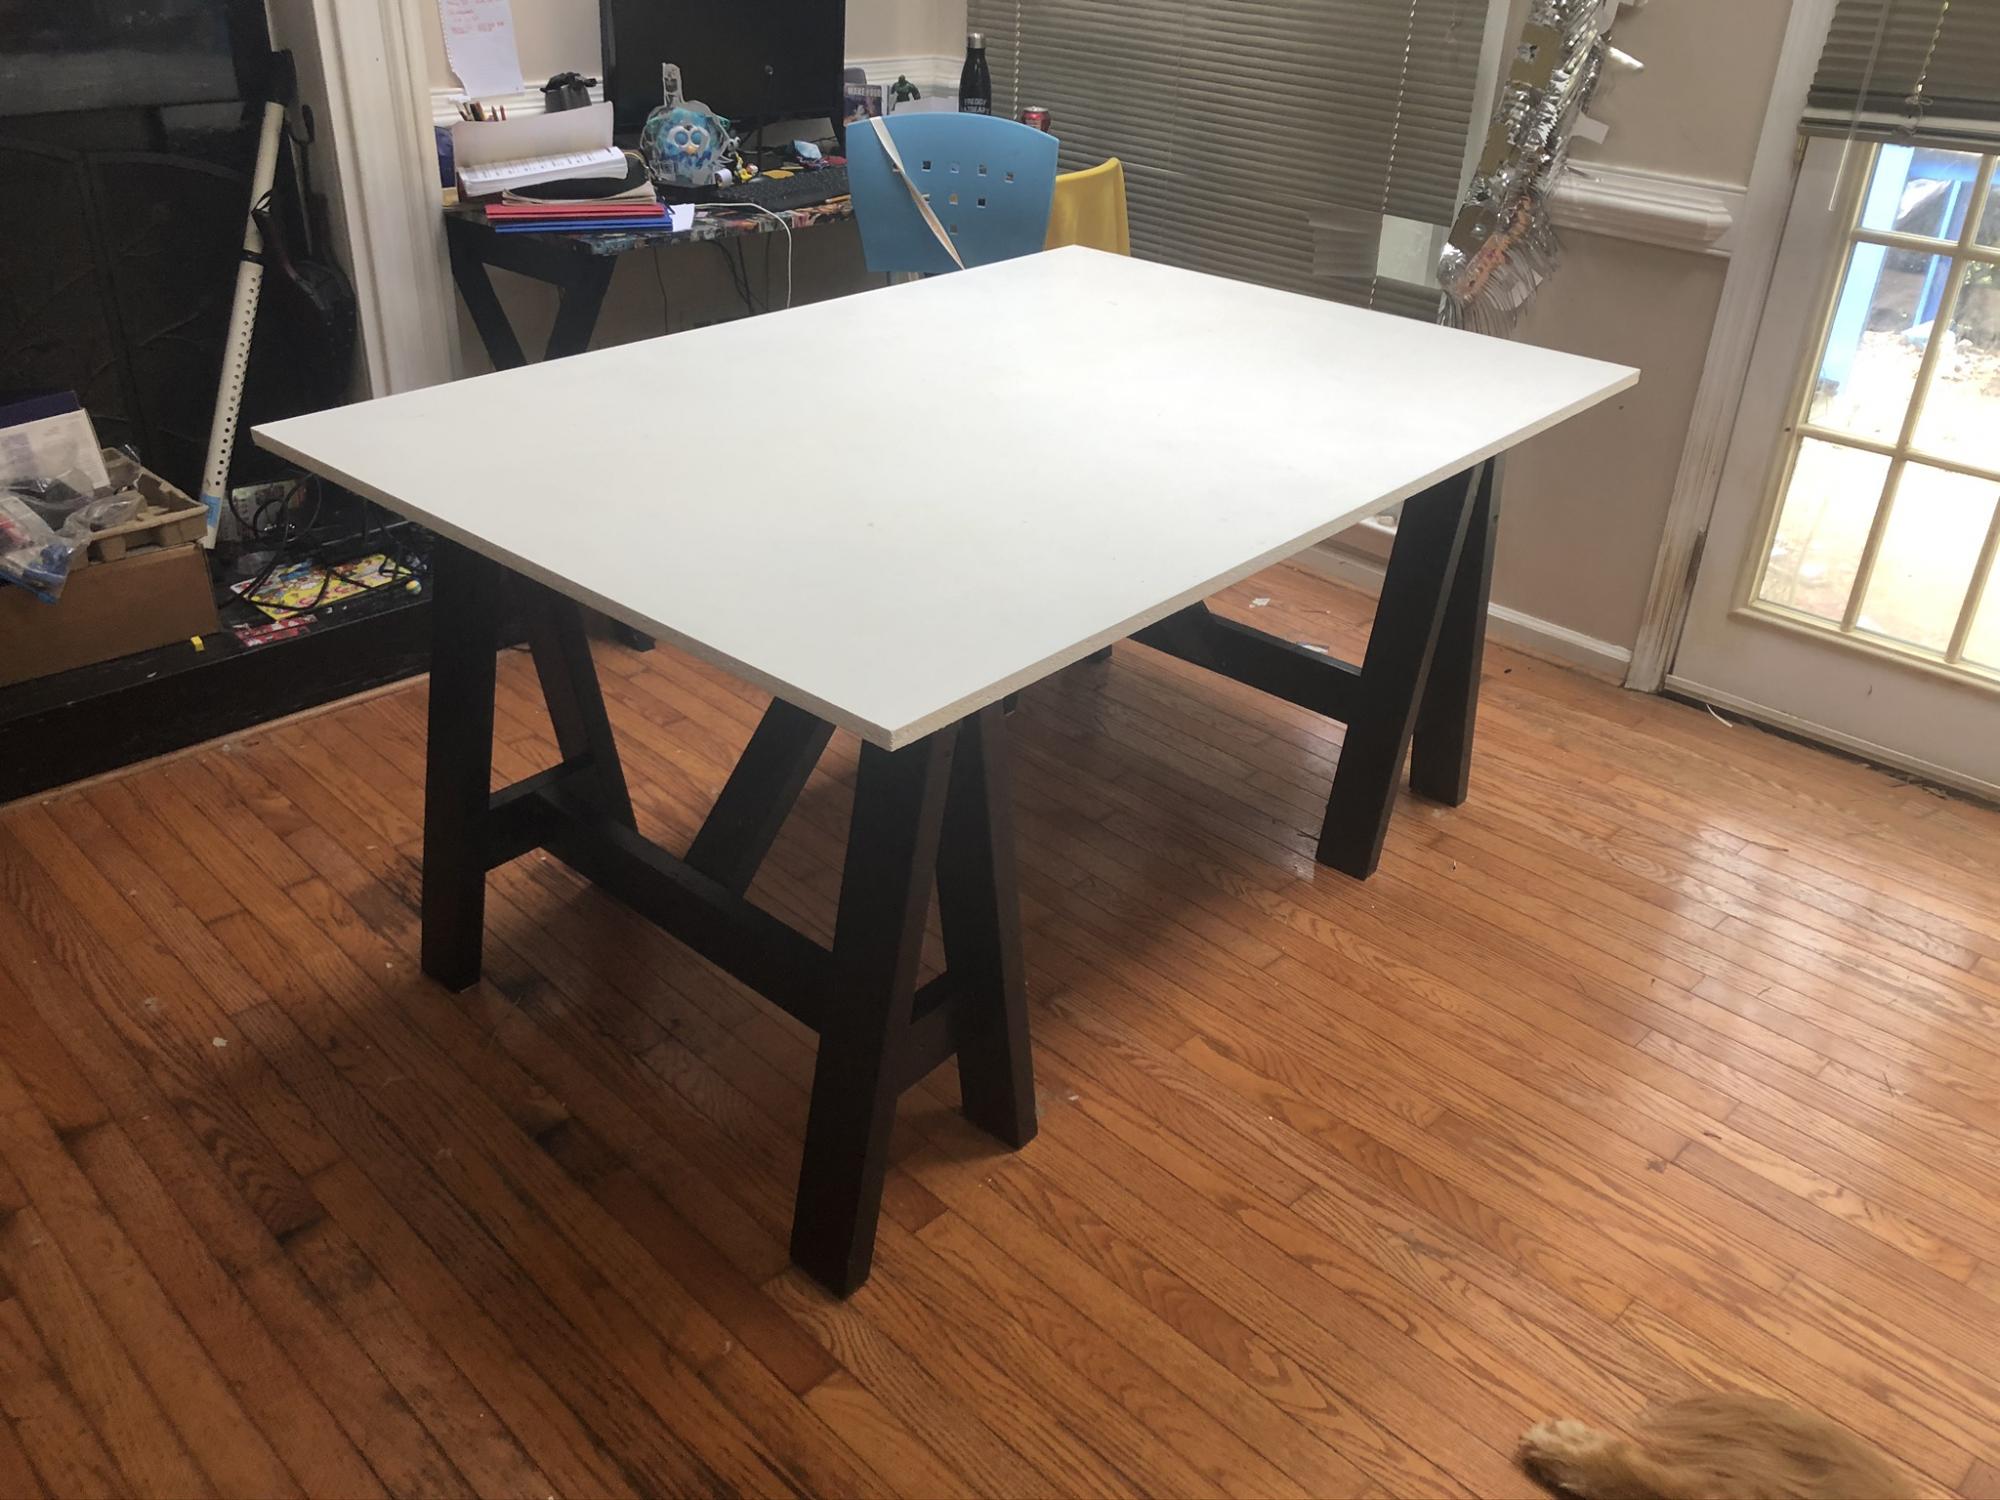
I made this table for my two boys to do their homework on so I modified it a little to make it shorter.
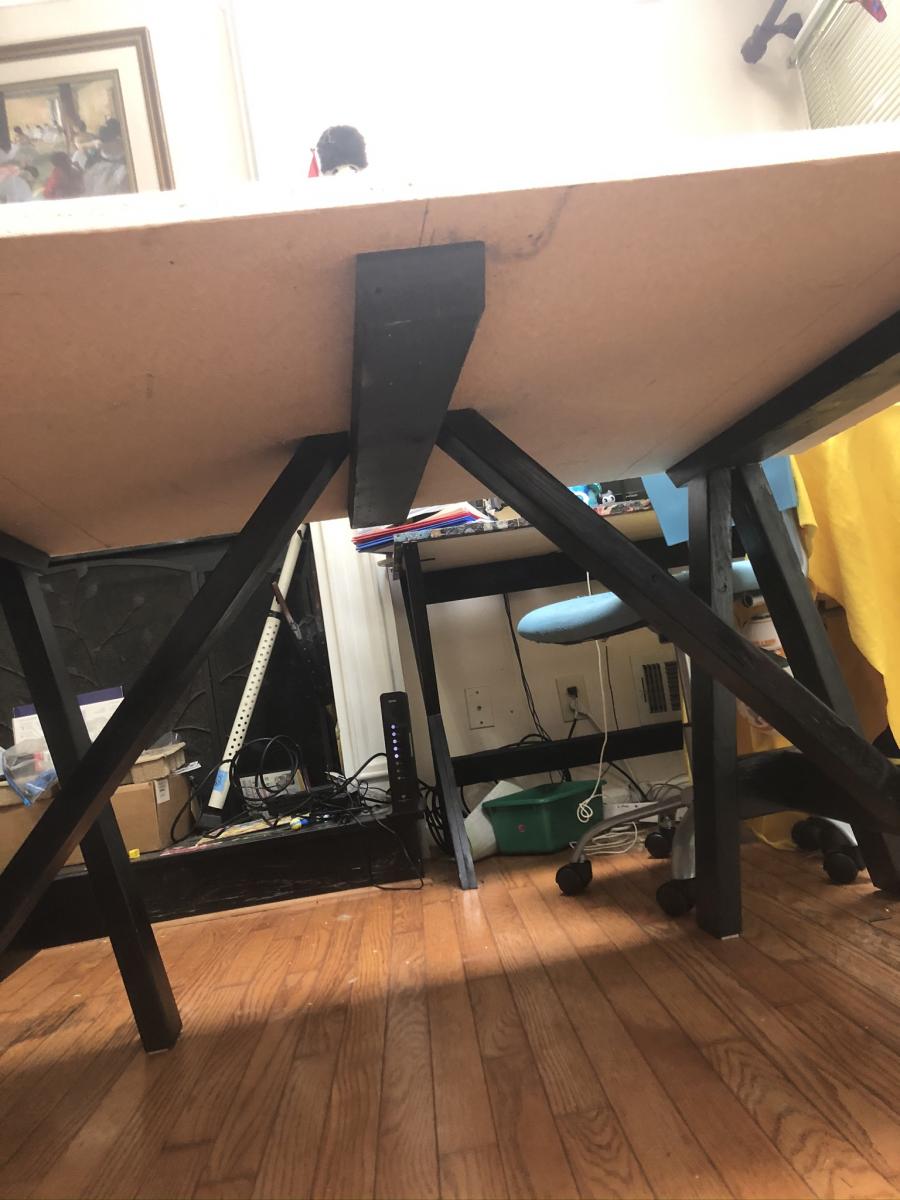
I used reclaimed 2x4's for the base and MDF for the table top.

Built from Plan(s)
Estimated Cost
$40
Estimated Time Investment
Day Project (6-9 Hours)
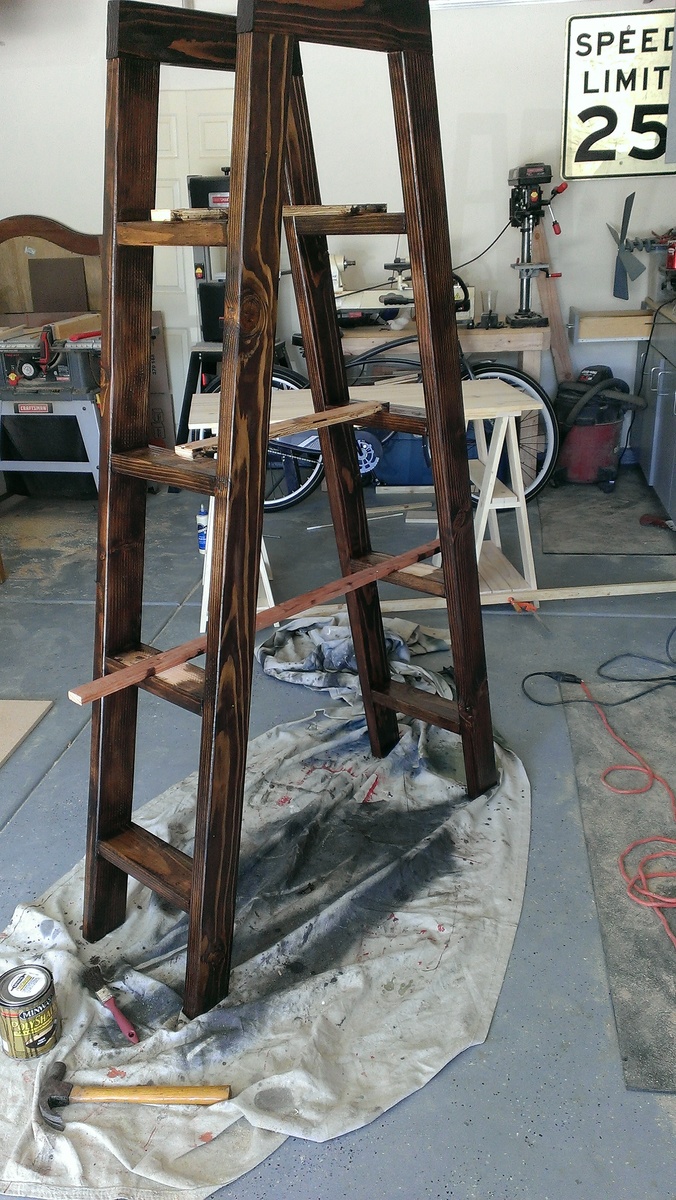
Finish Used
black stain, white paint, polycrylic
Recommended Skill Level
Beginner