Community Brag Posts

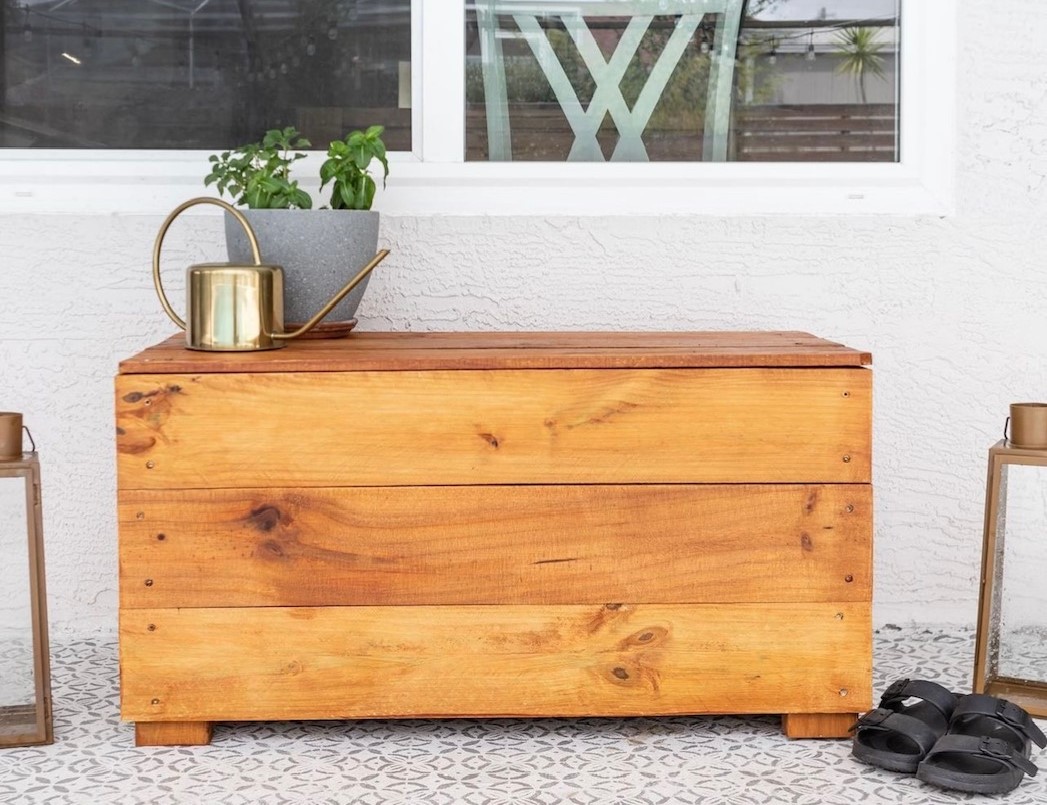
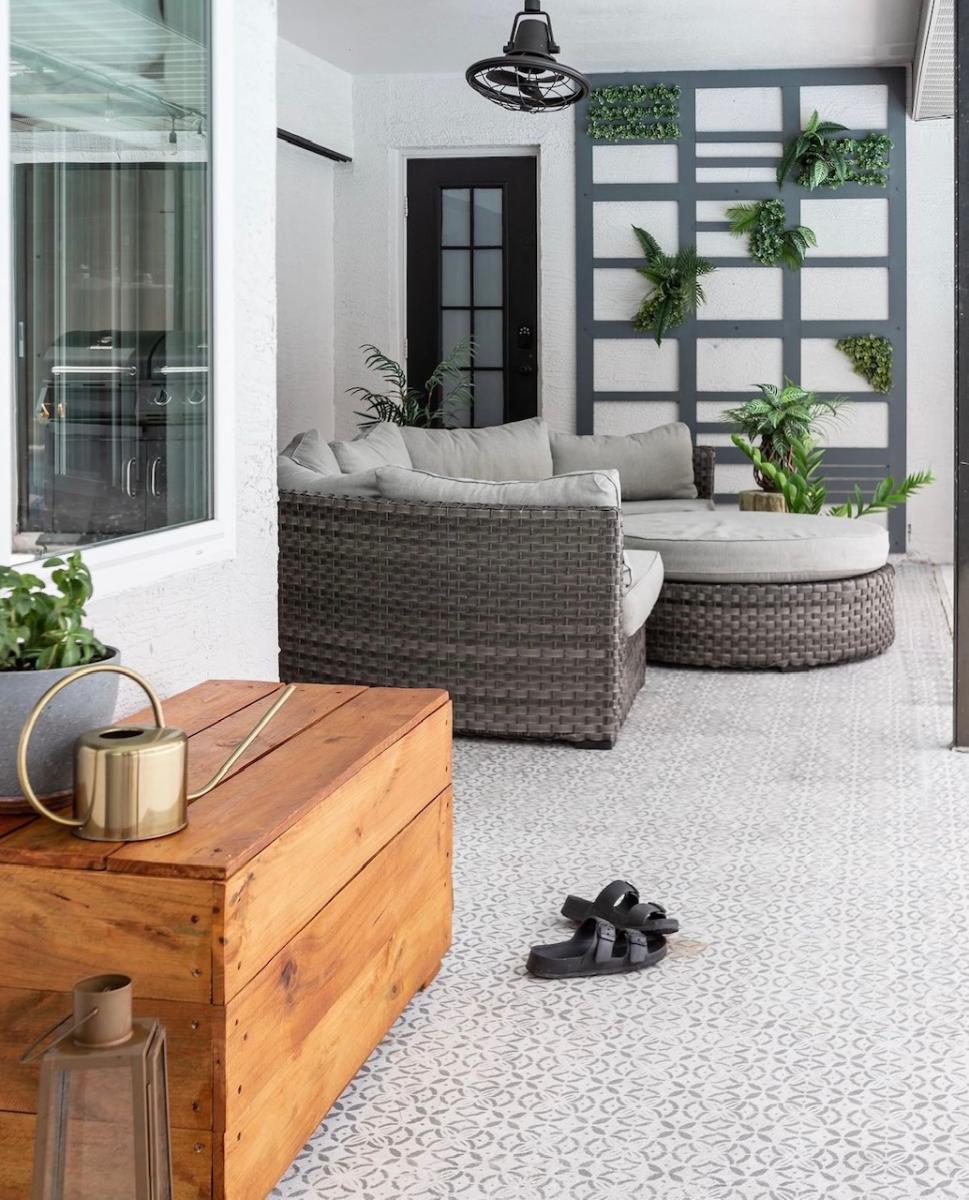
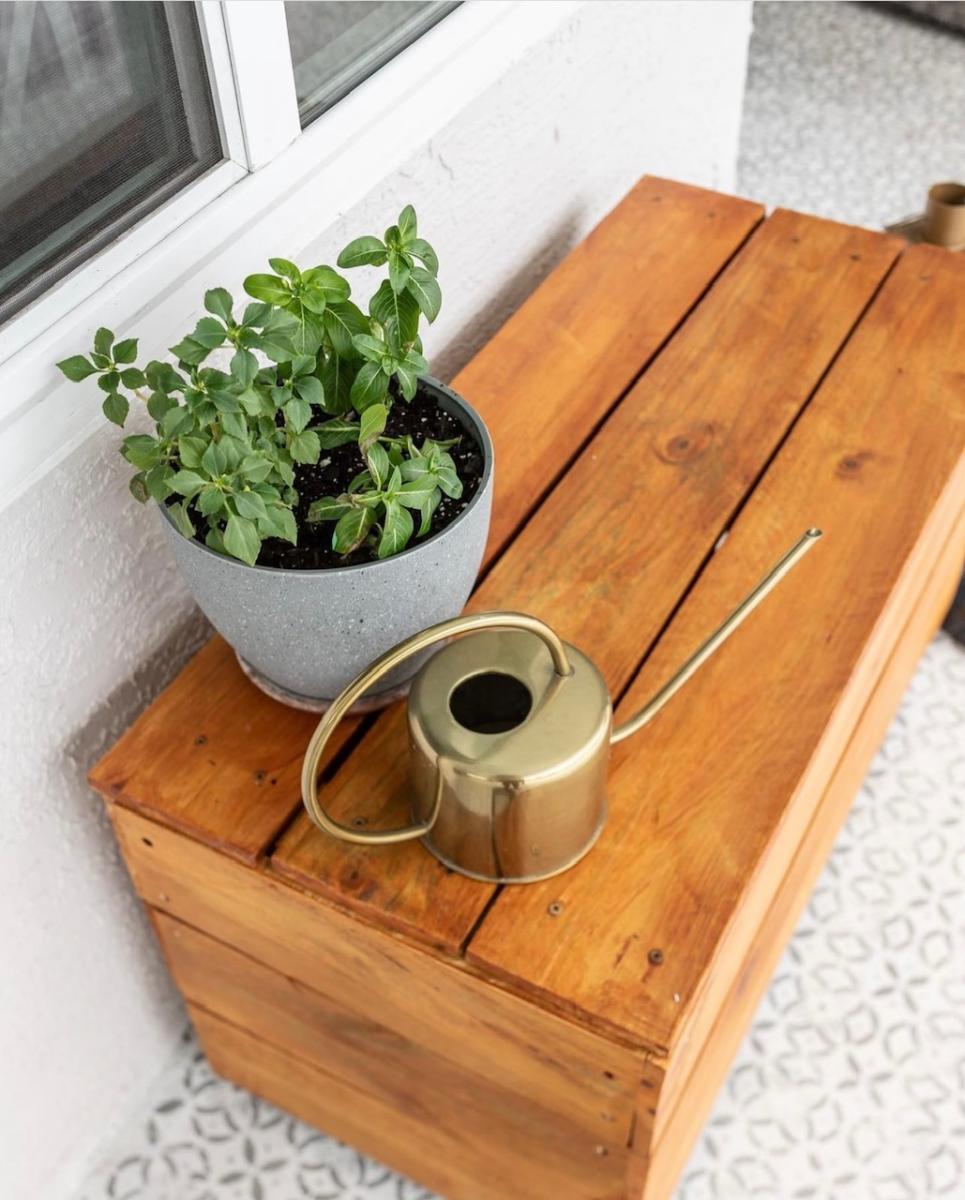
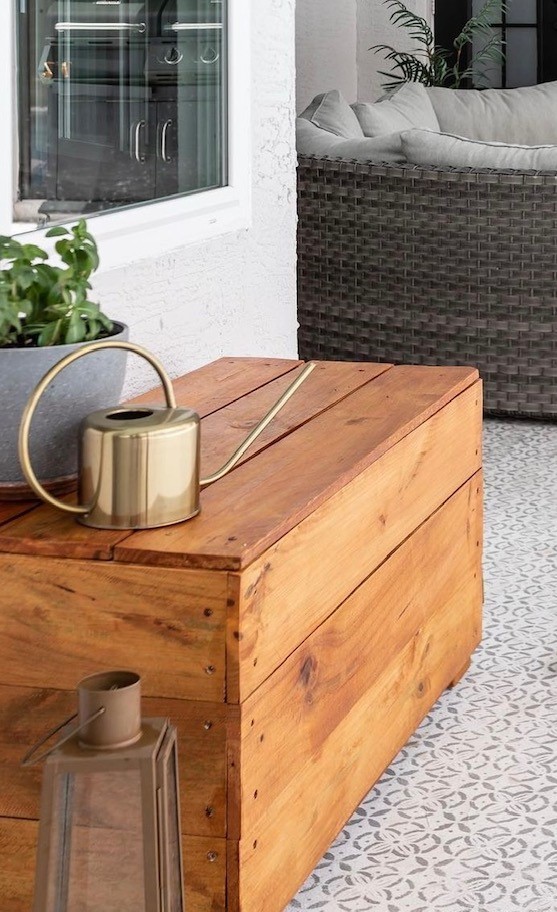
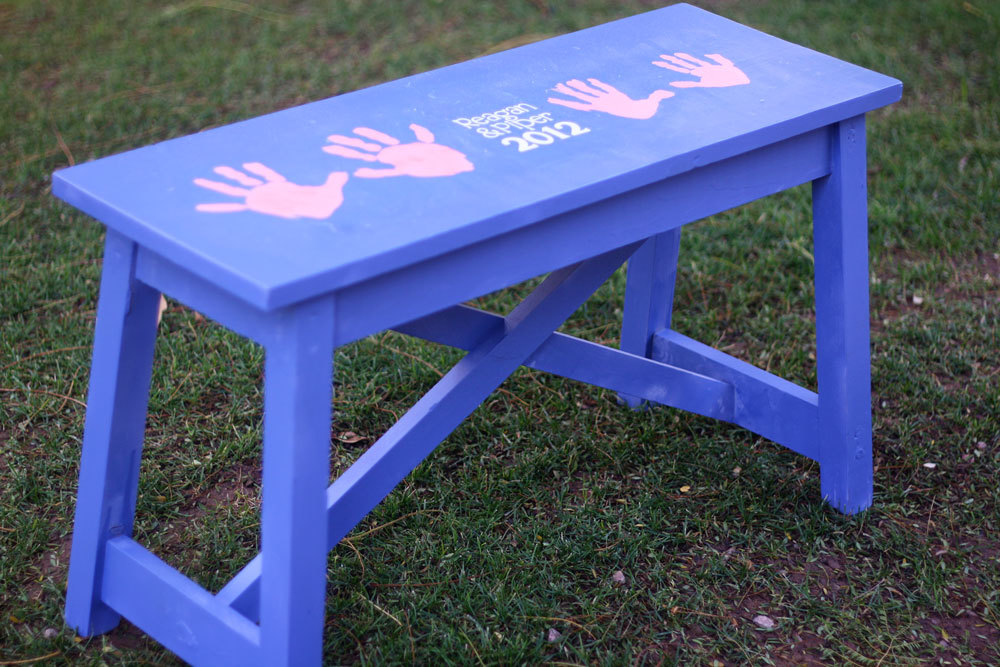
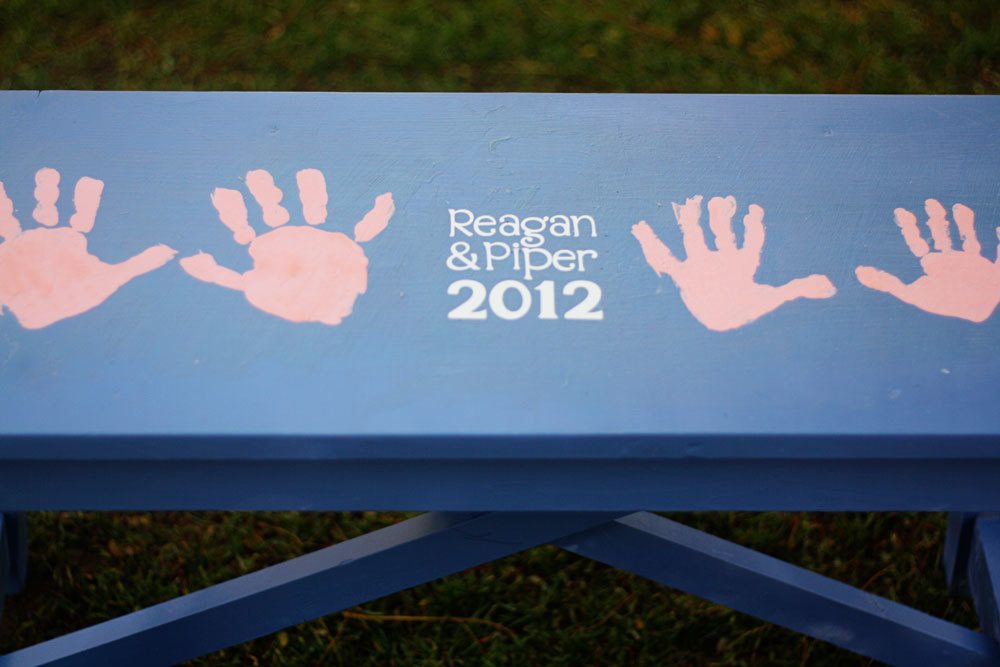
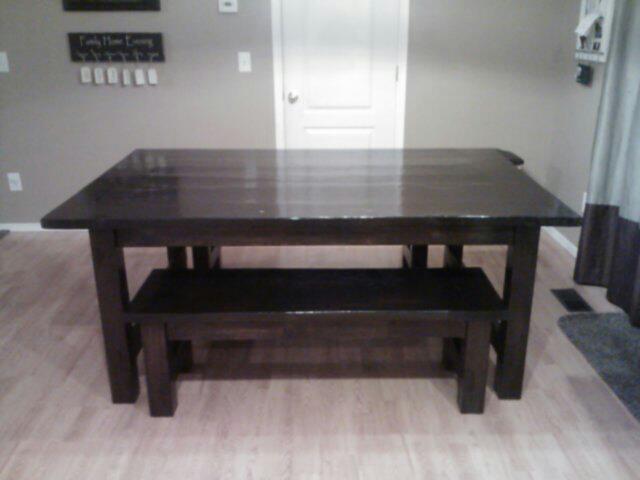
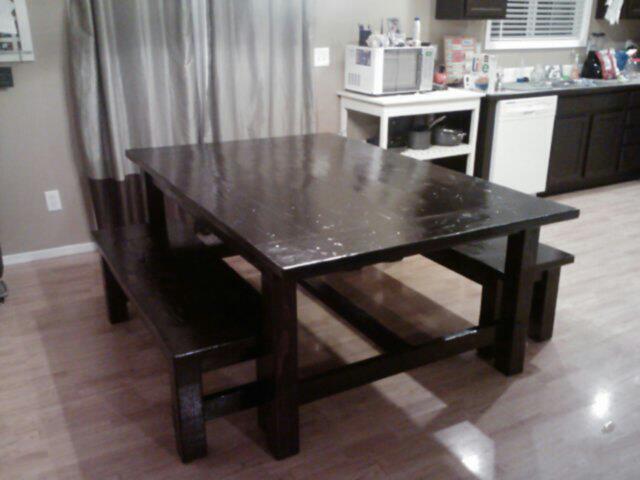
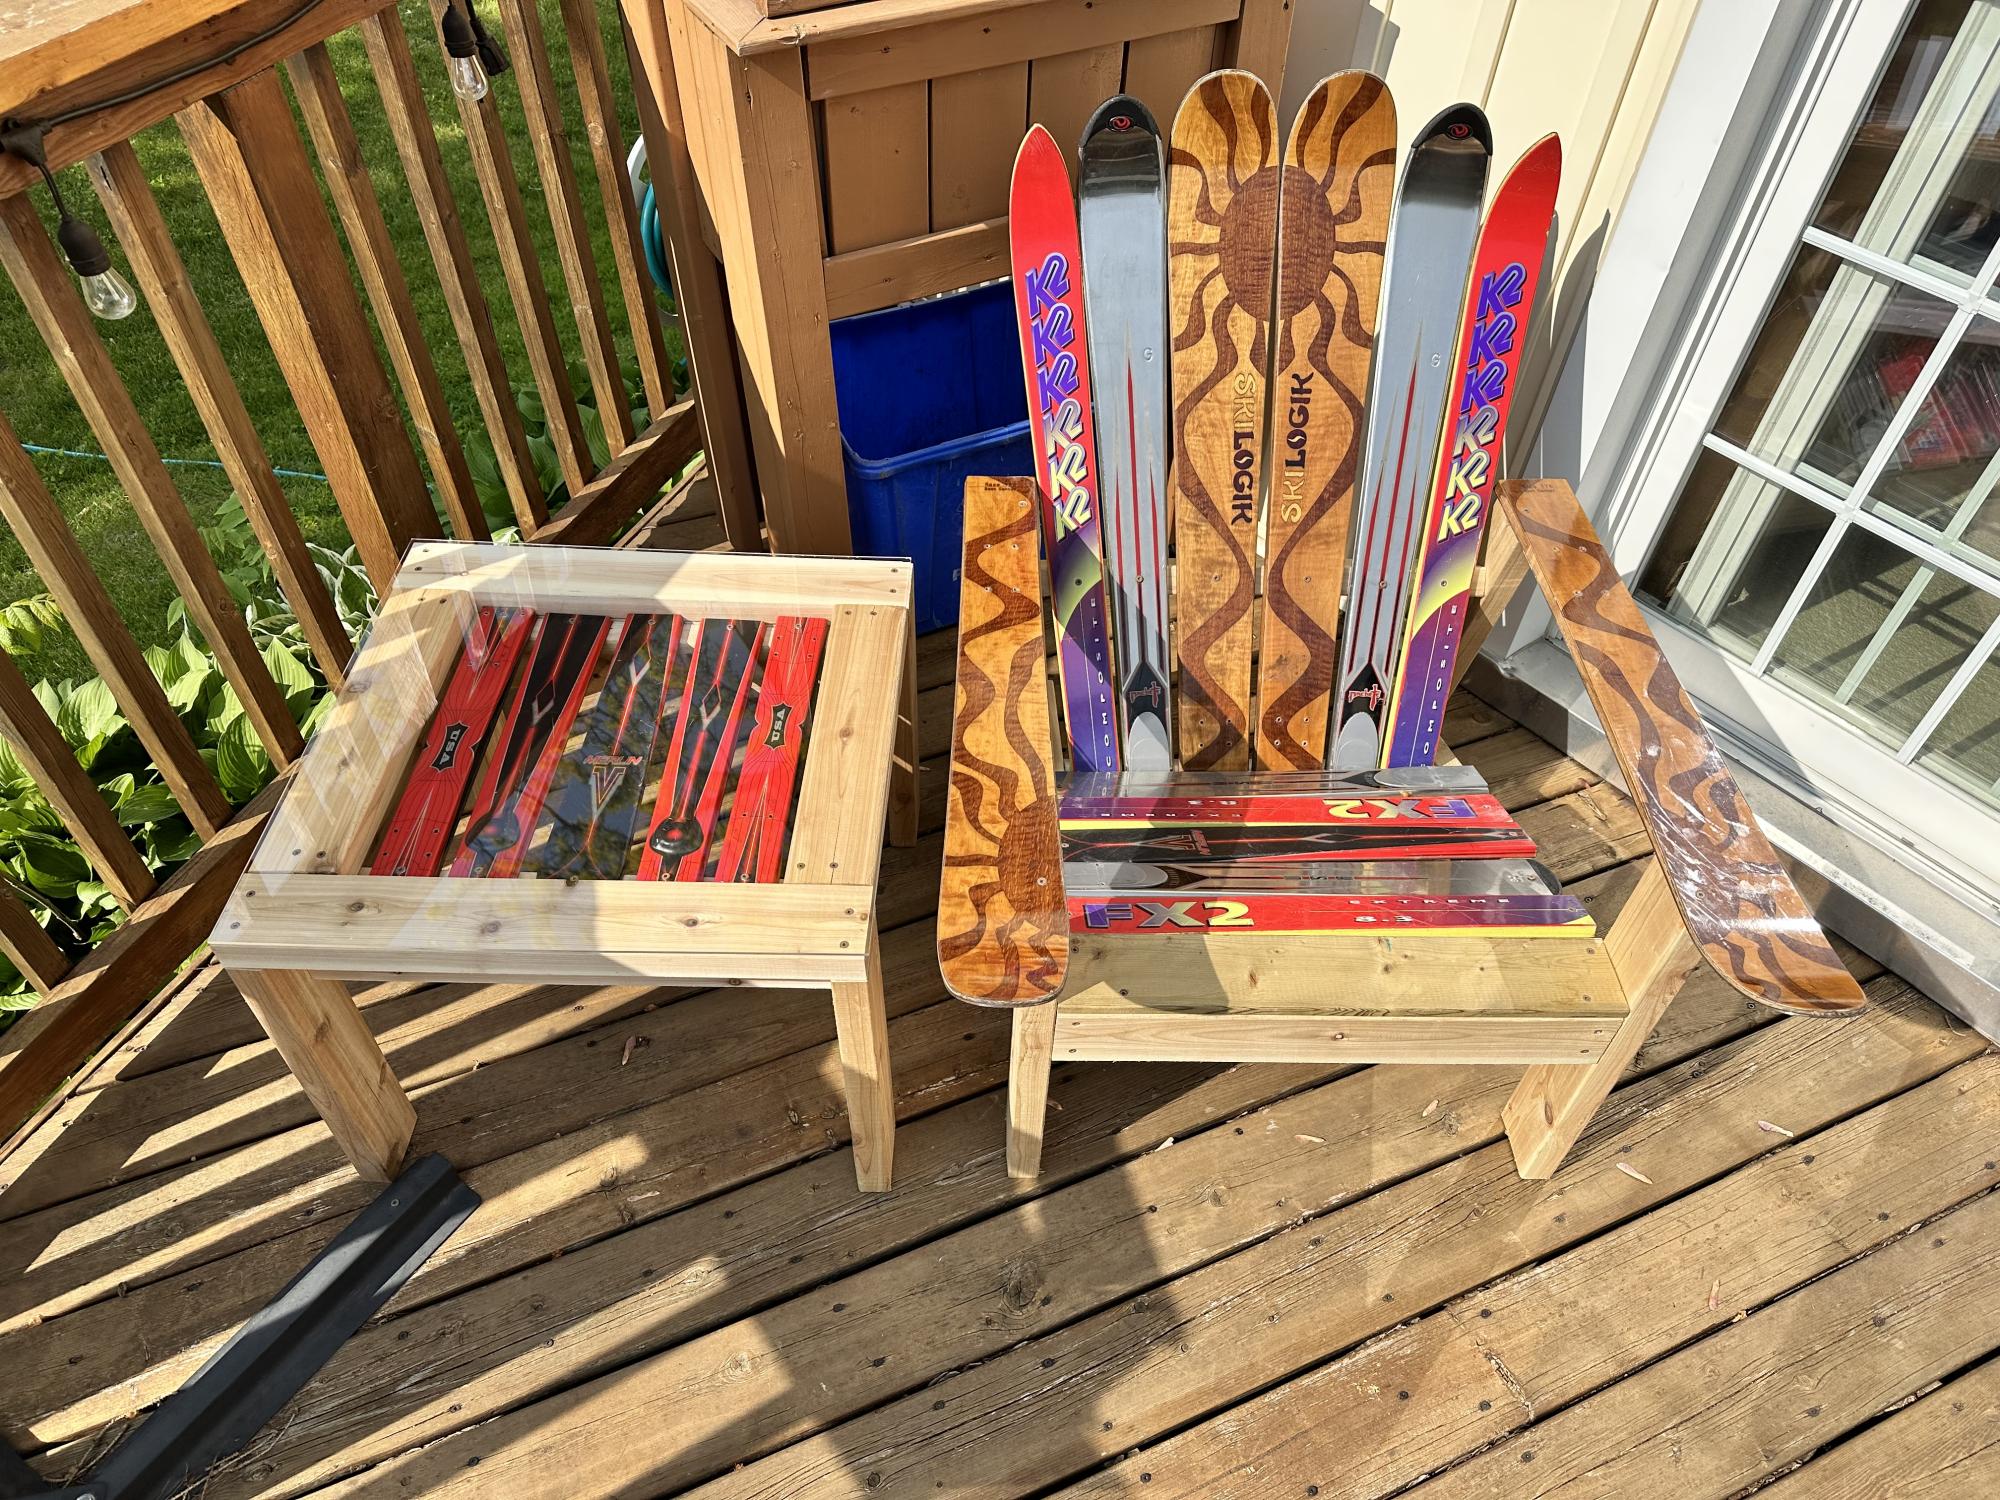
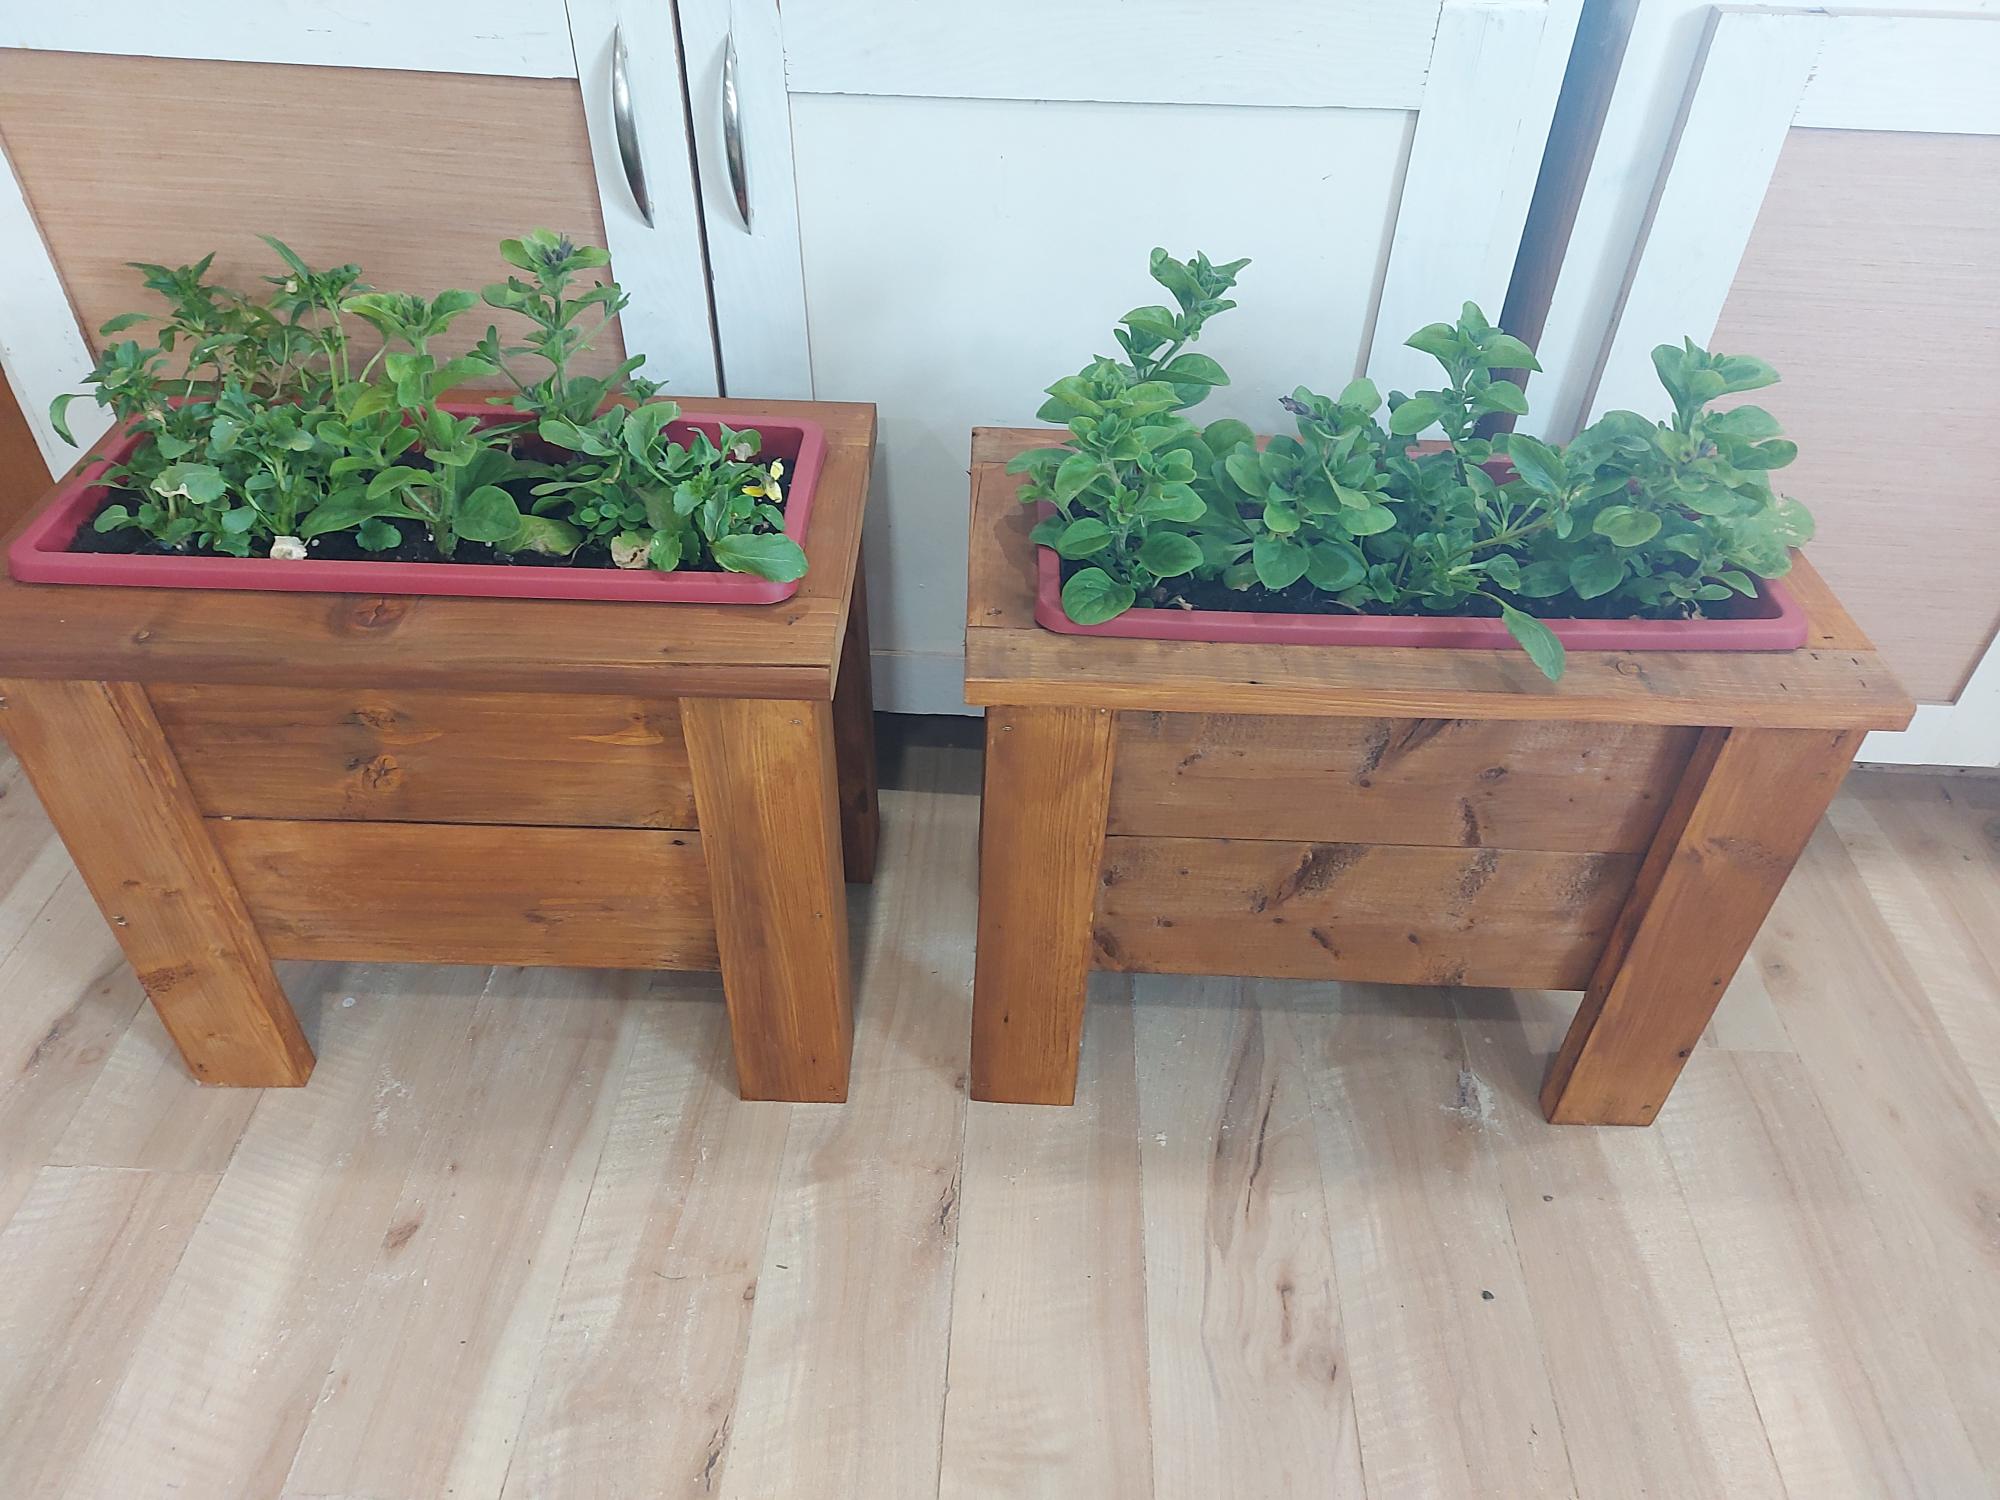
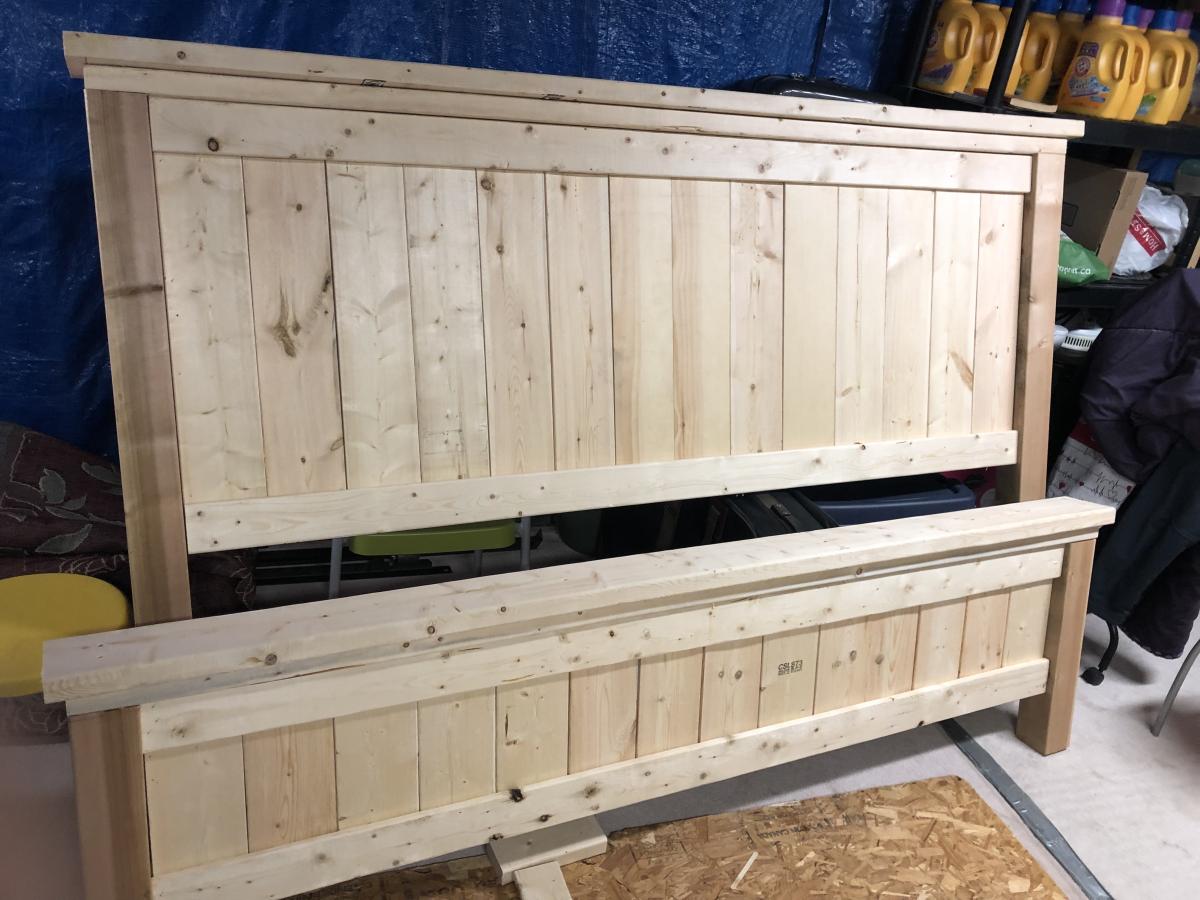
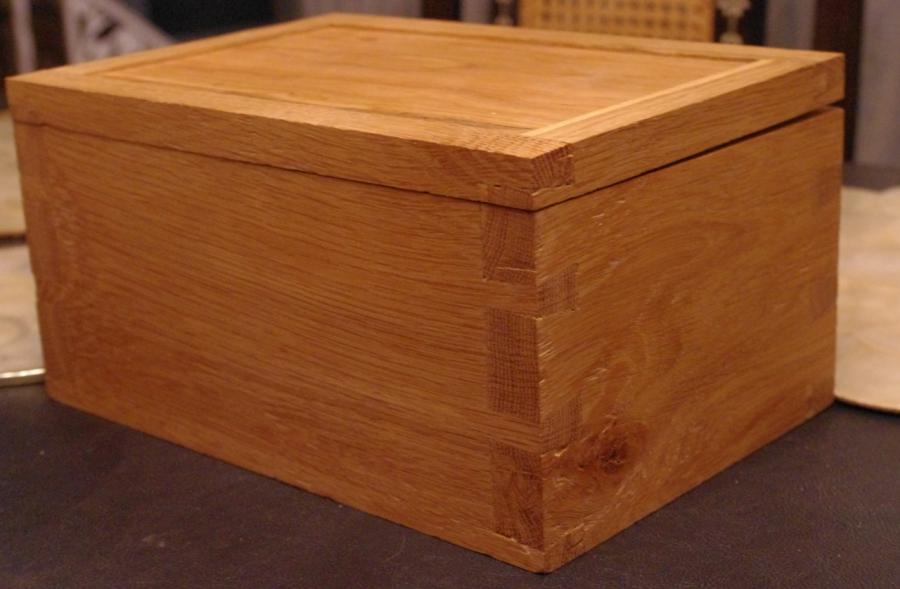
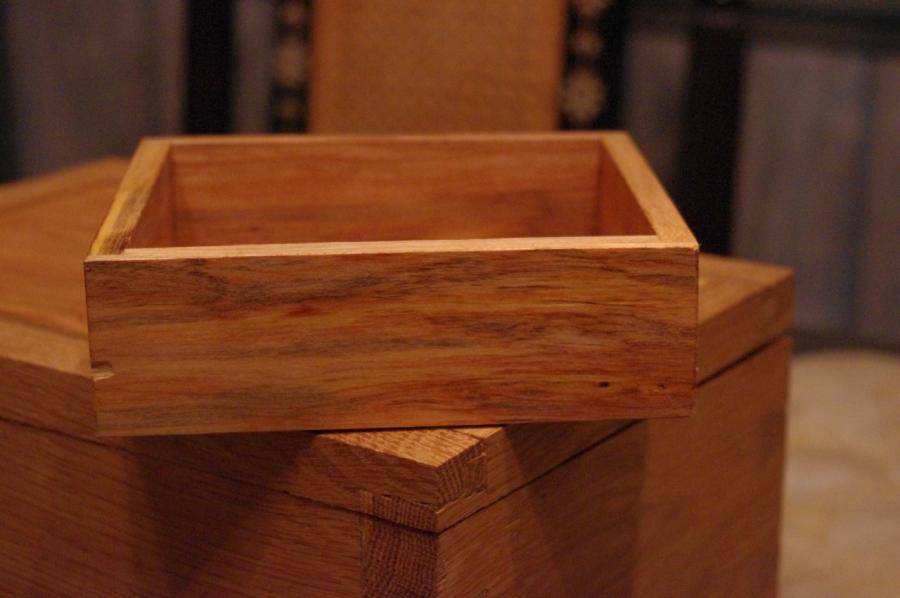
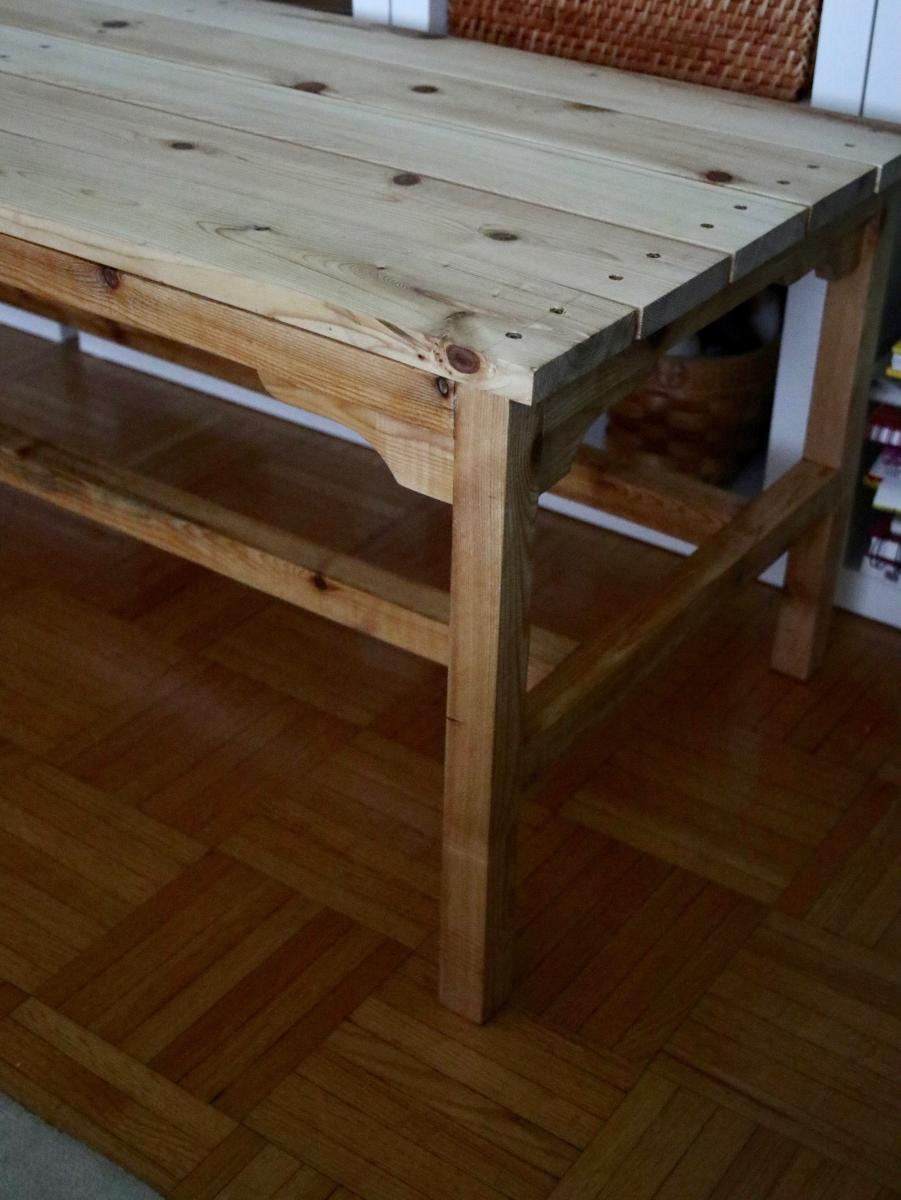
Cedar bench for my Mom (aka coffee table)

Submitted by Anonymous (not verified) on Tue, 10/01/2019 - 17:46

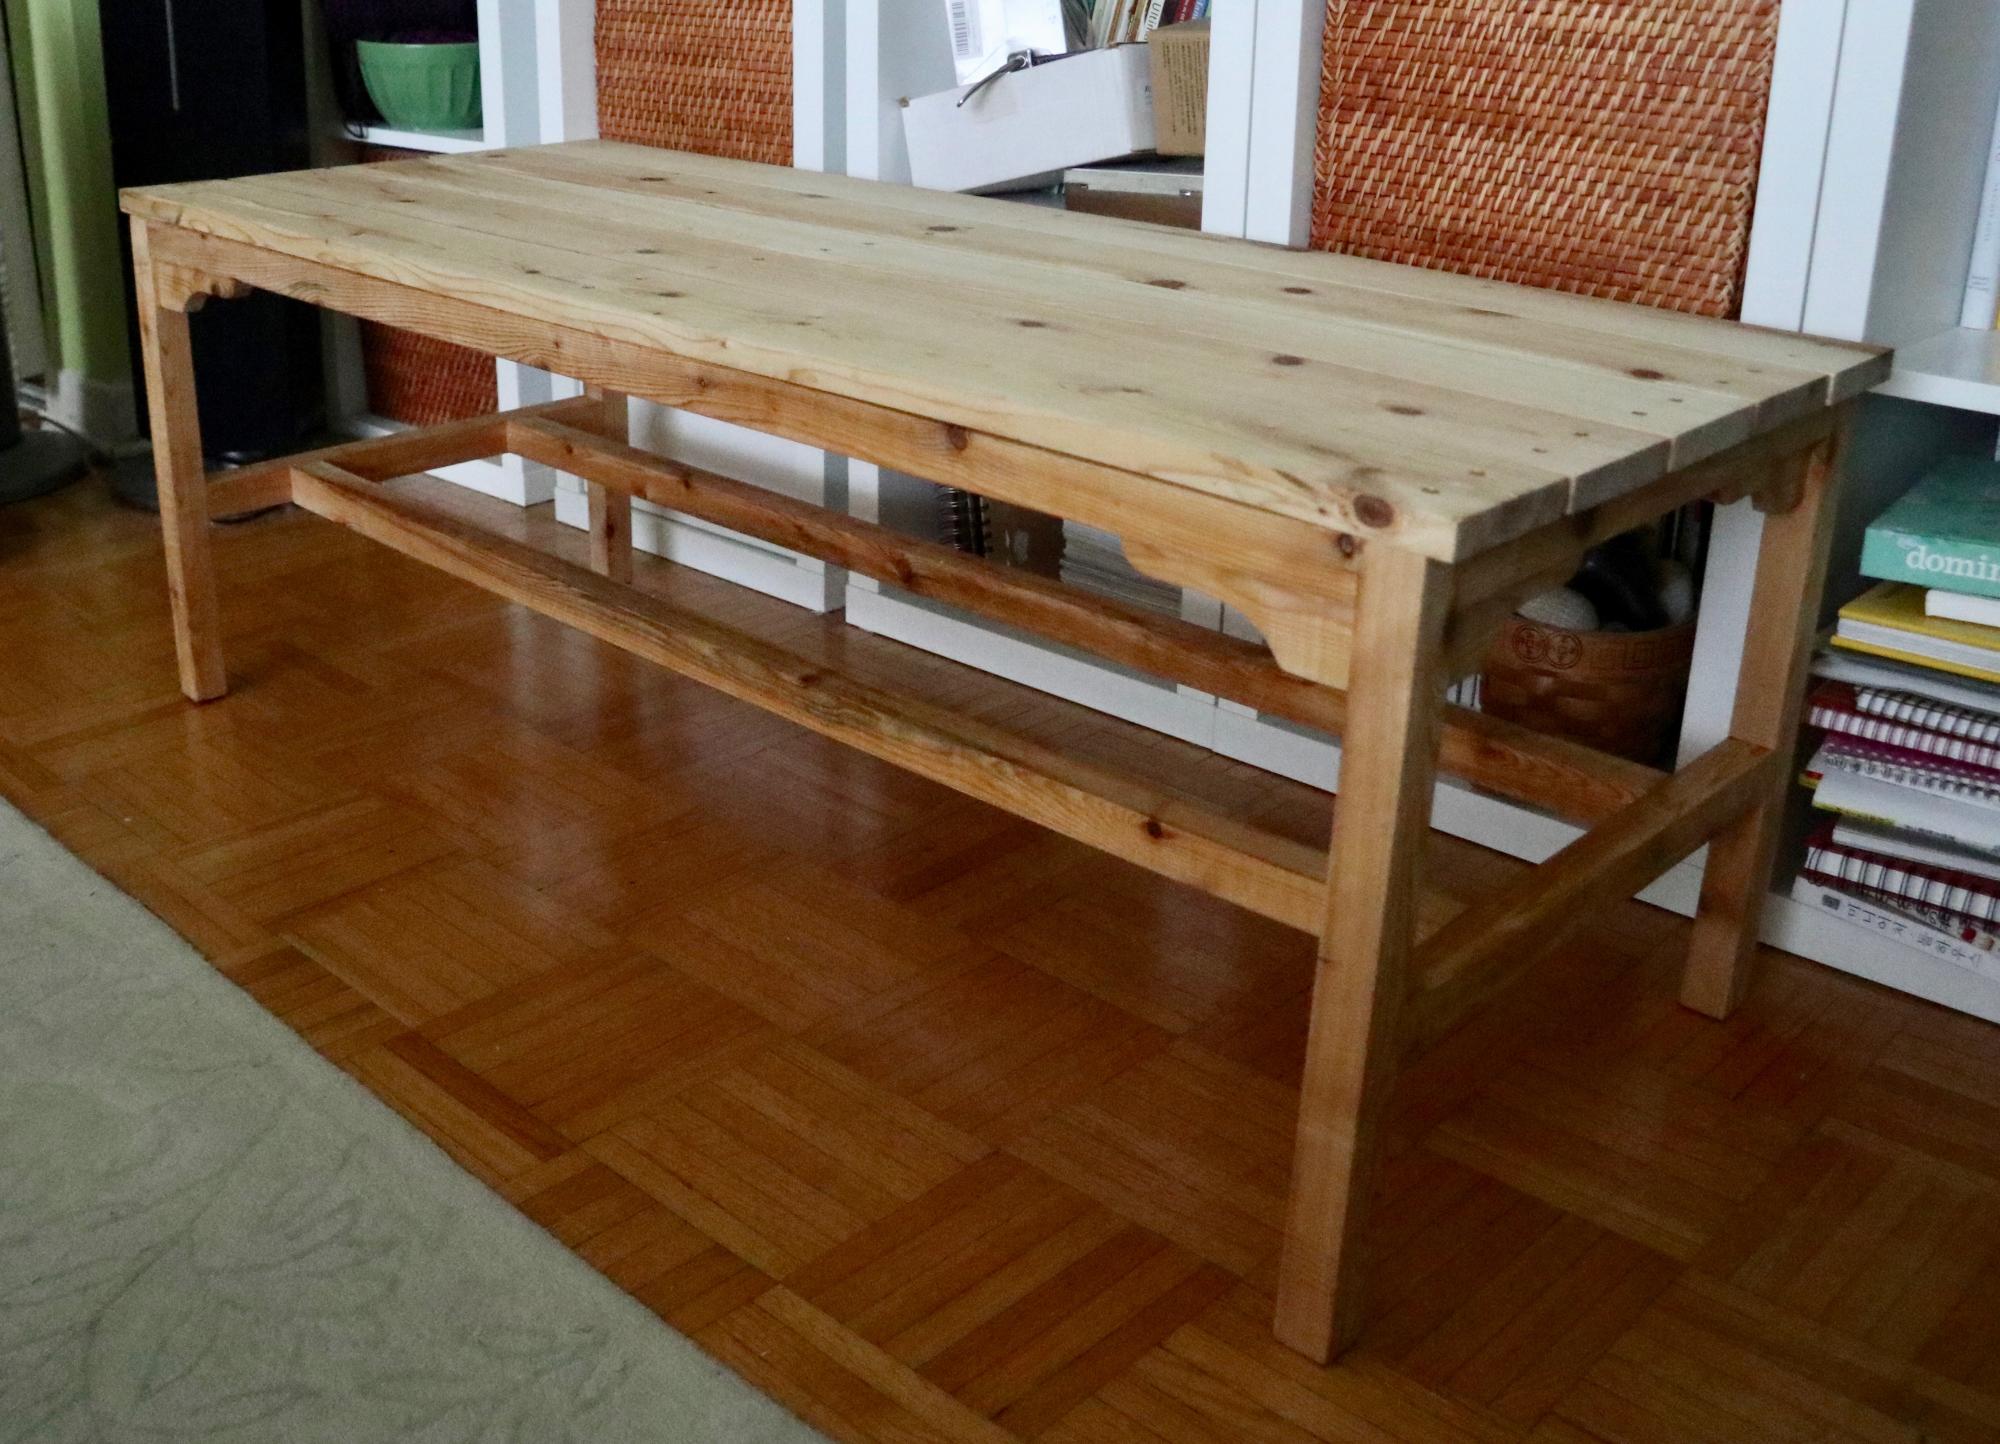
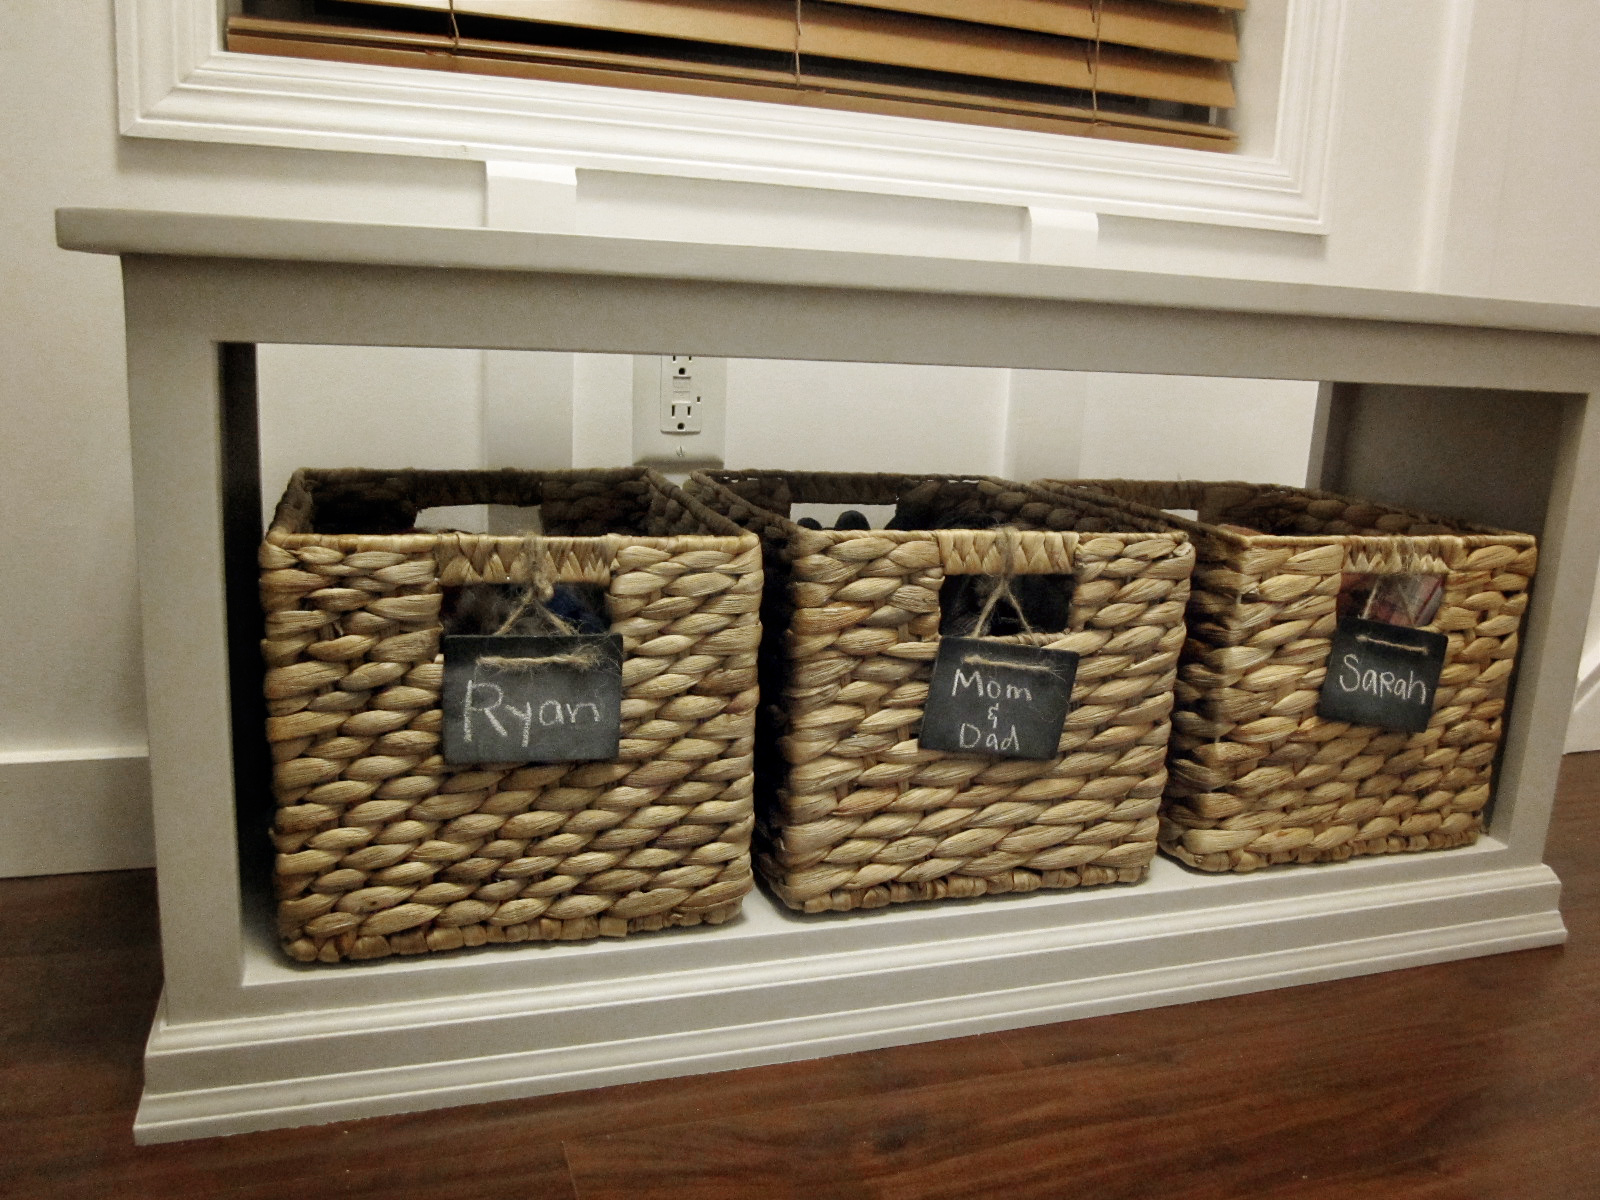
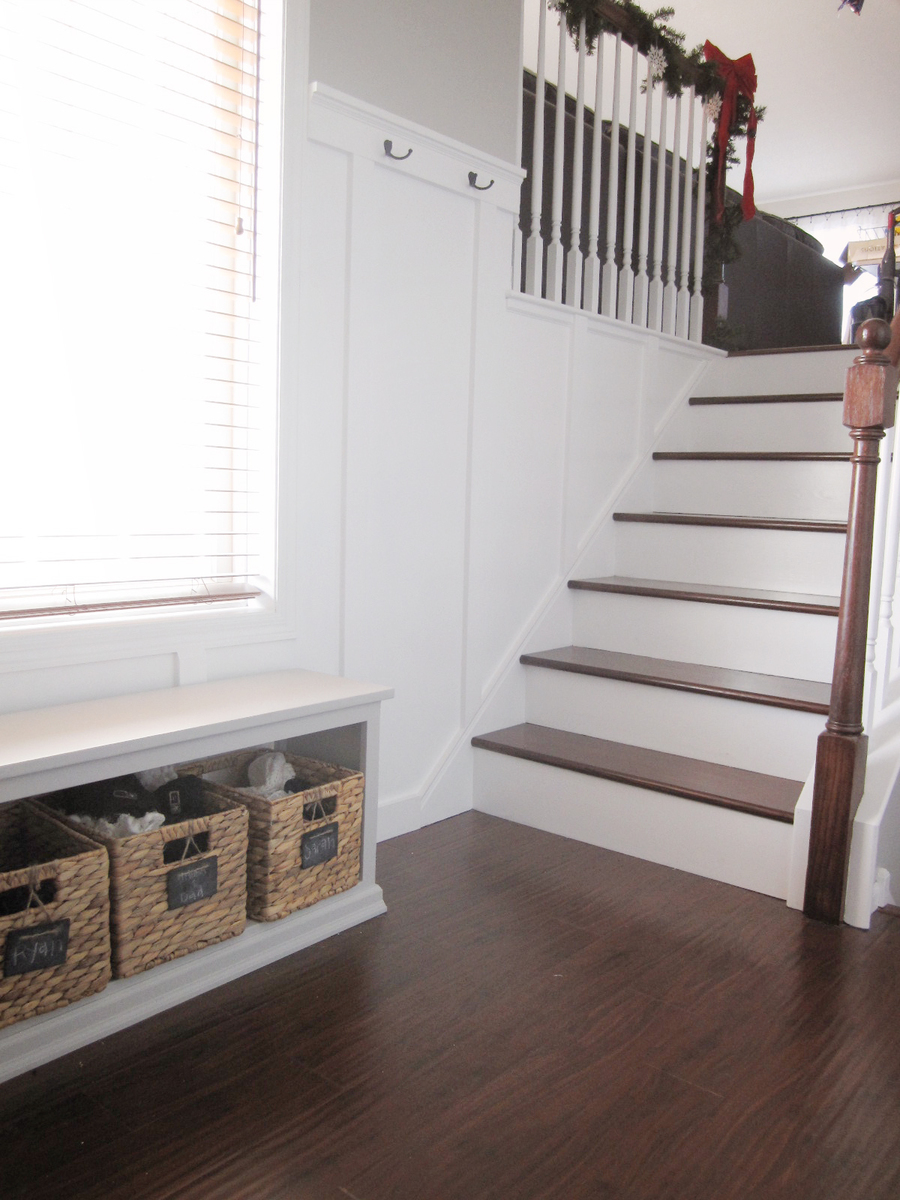
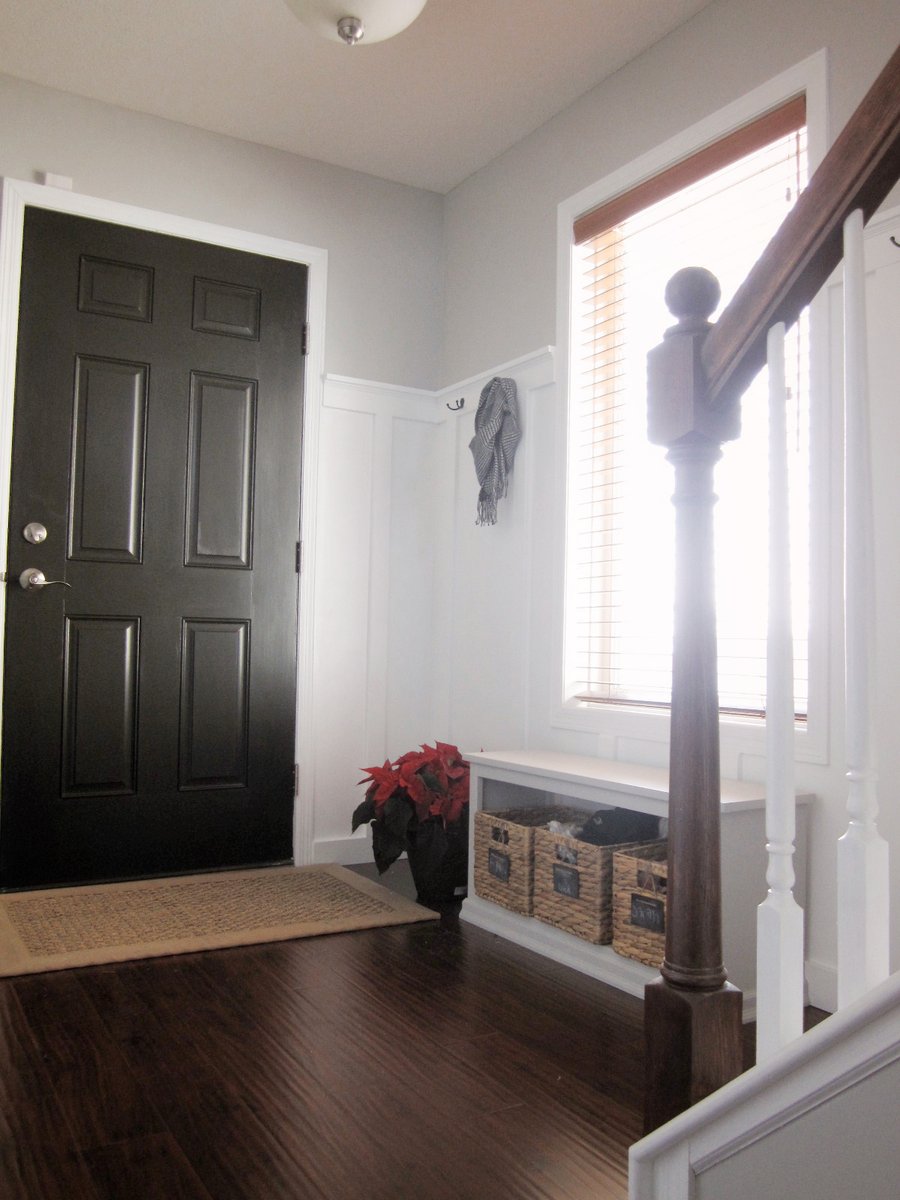
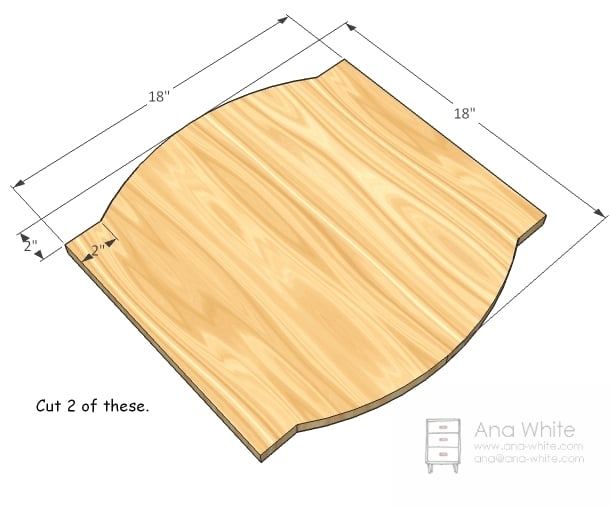
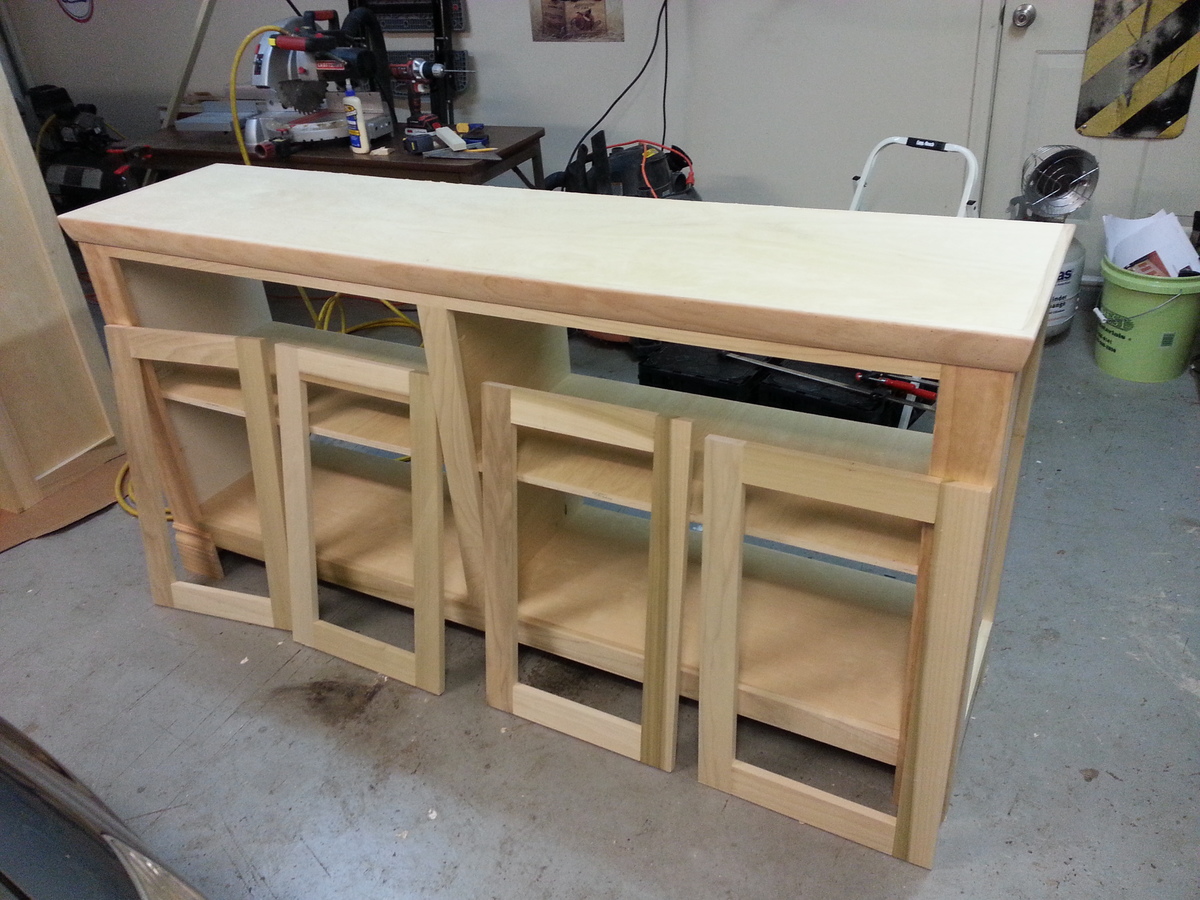
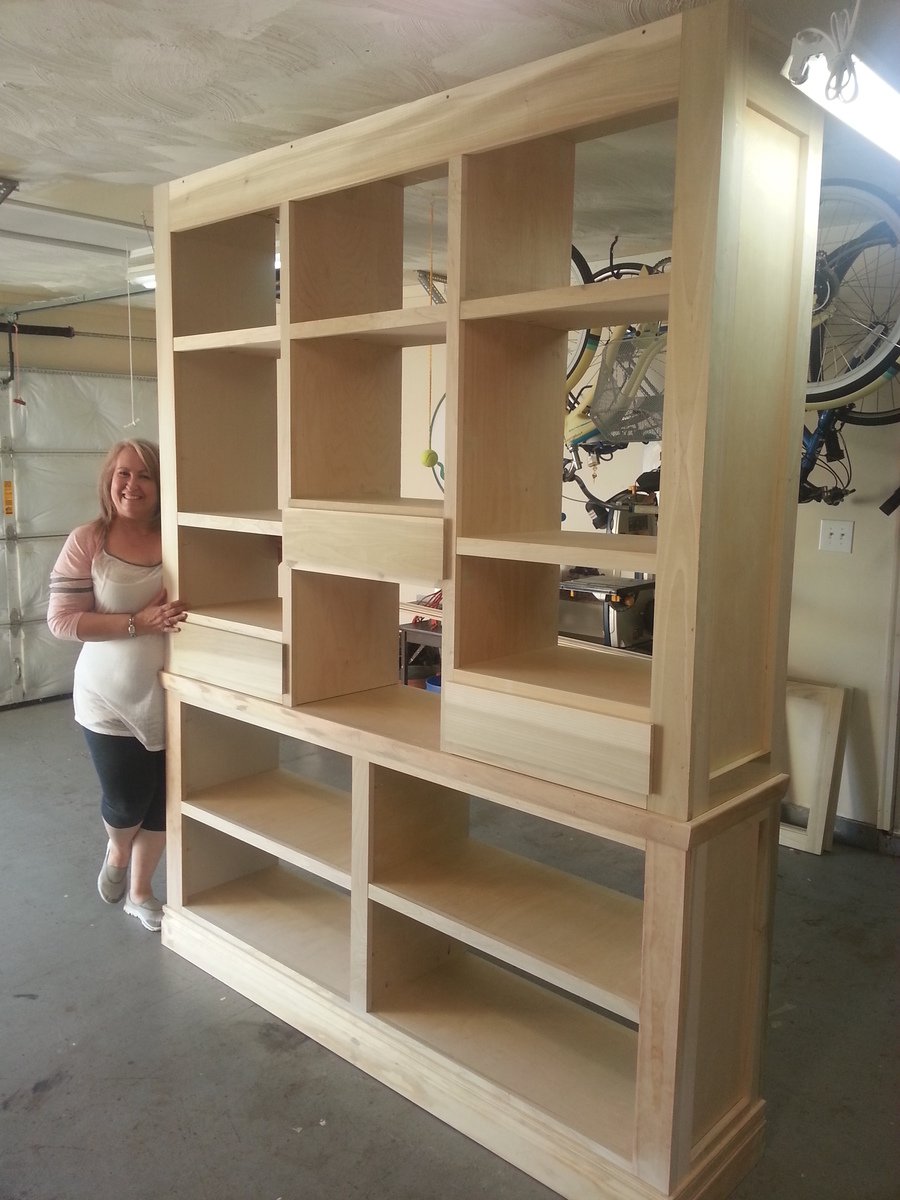
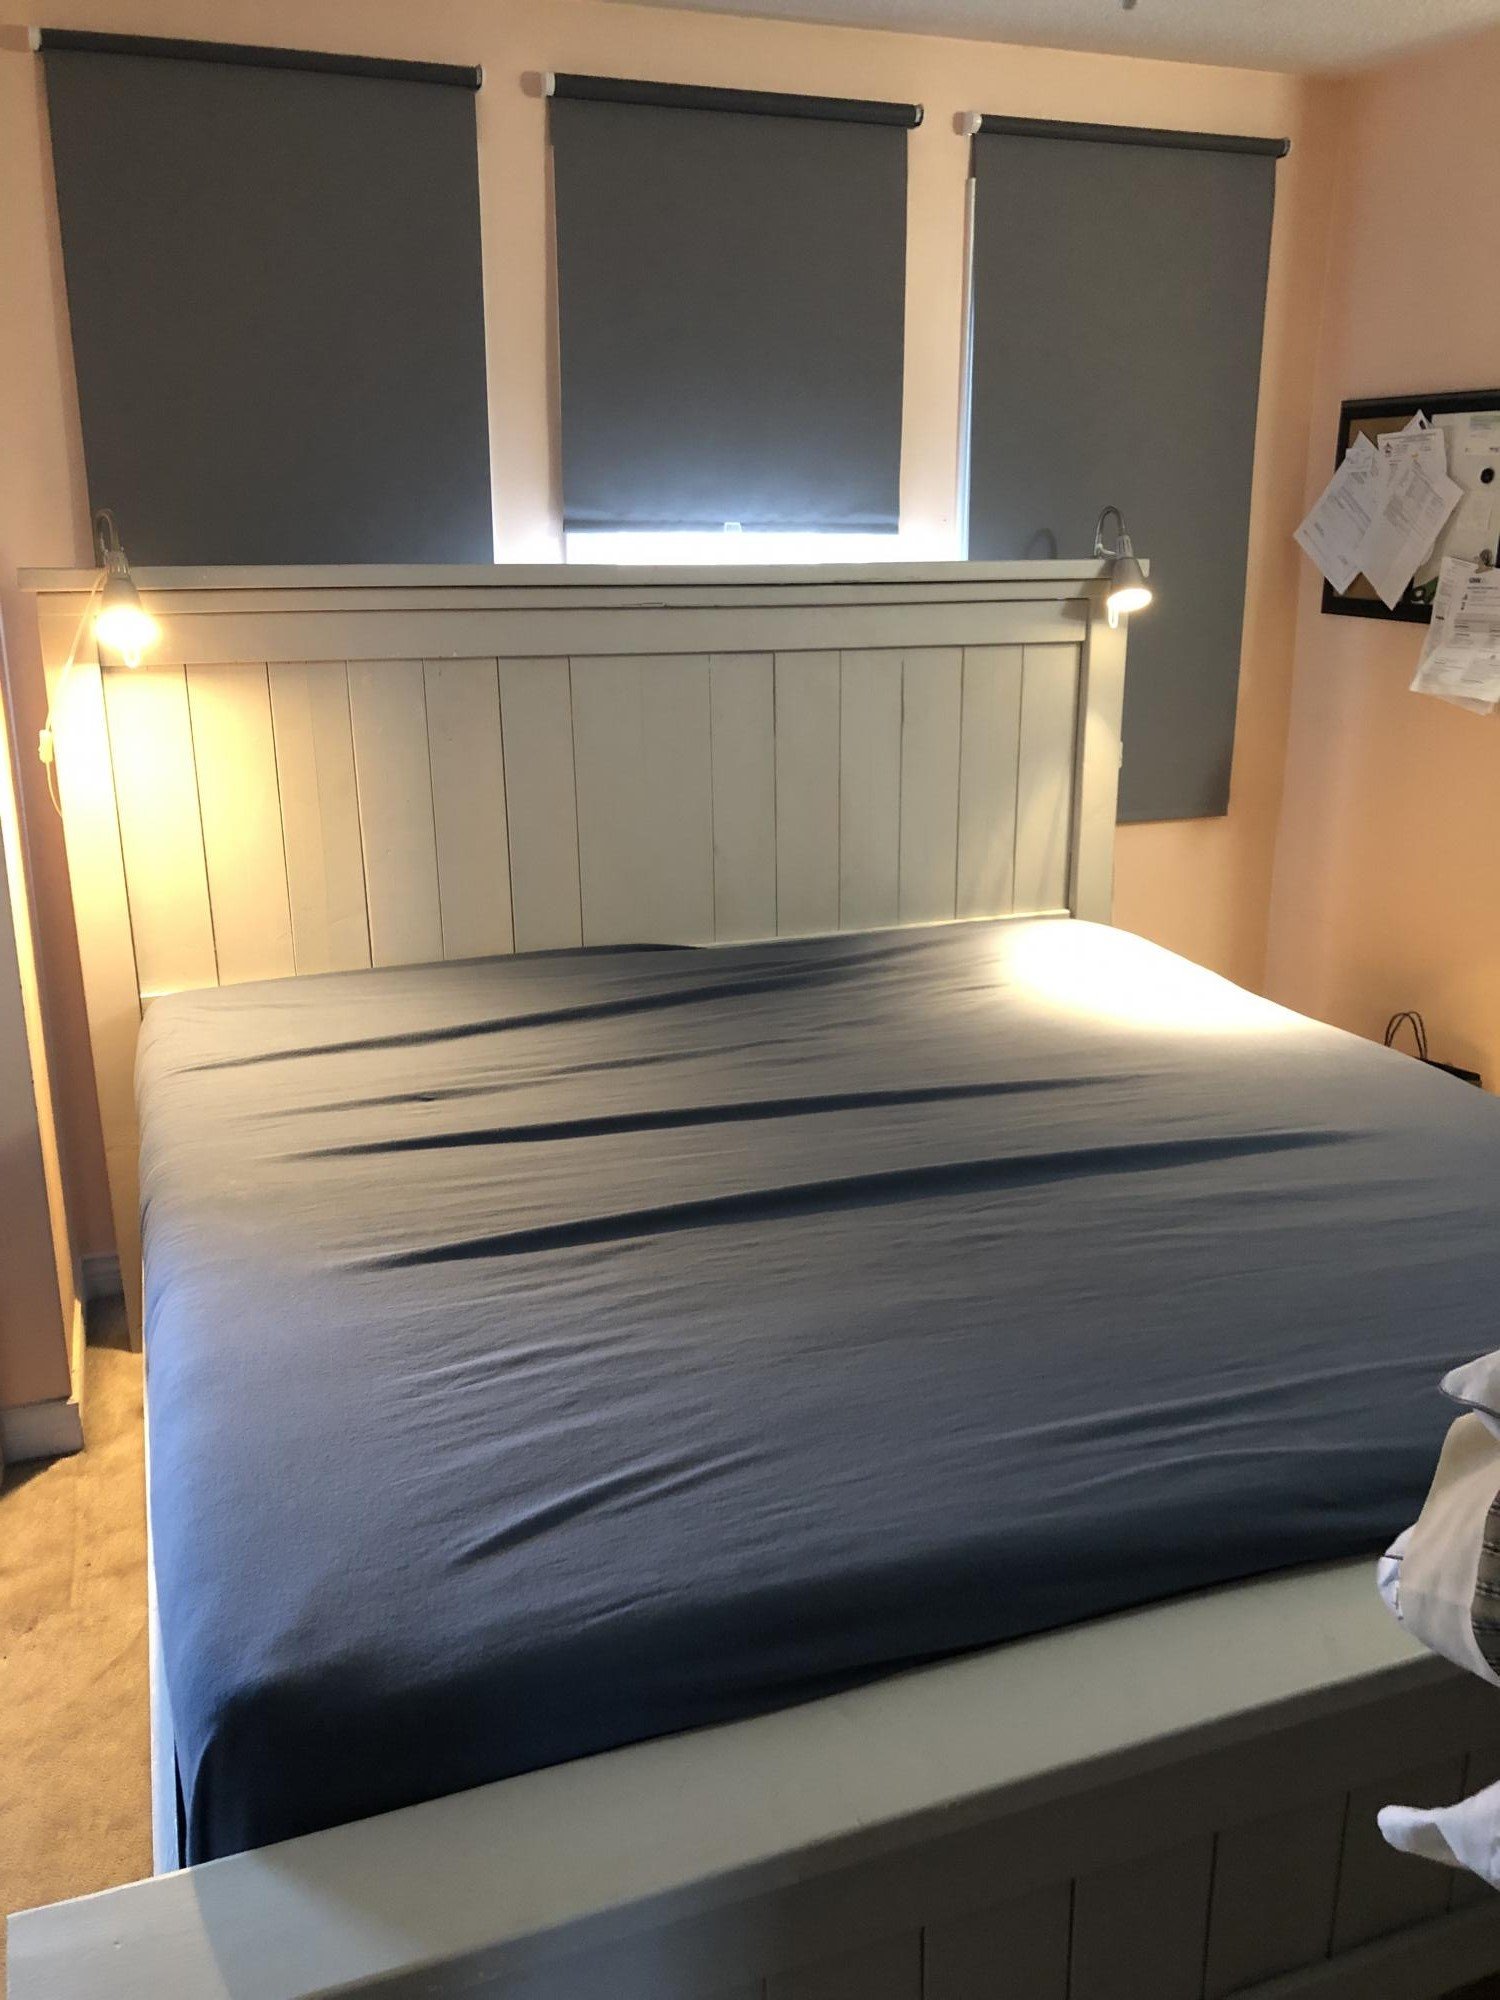
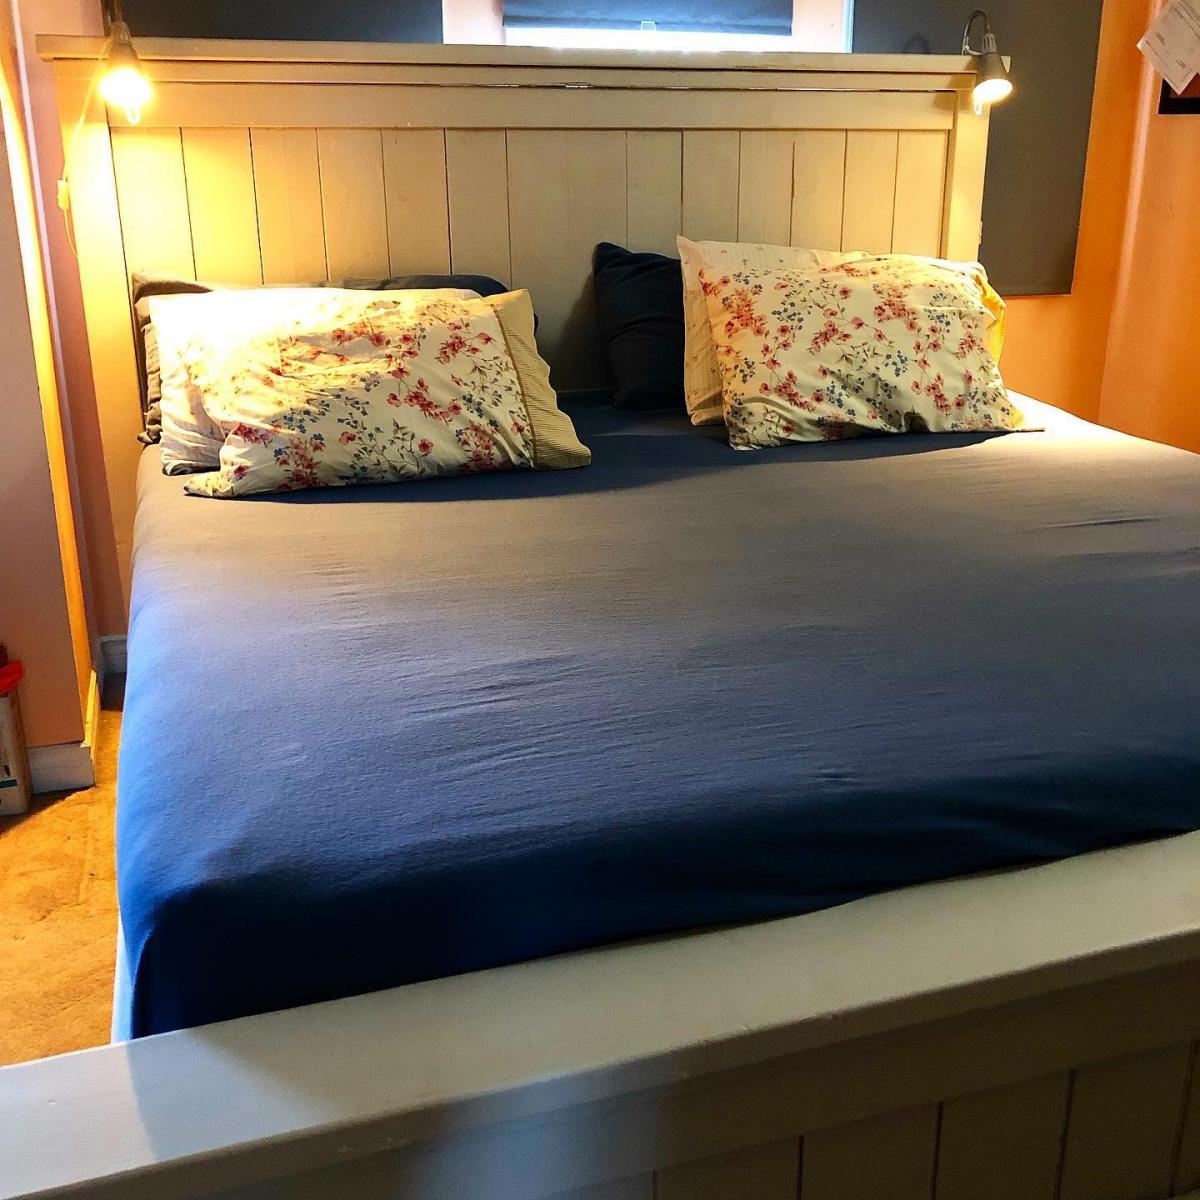
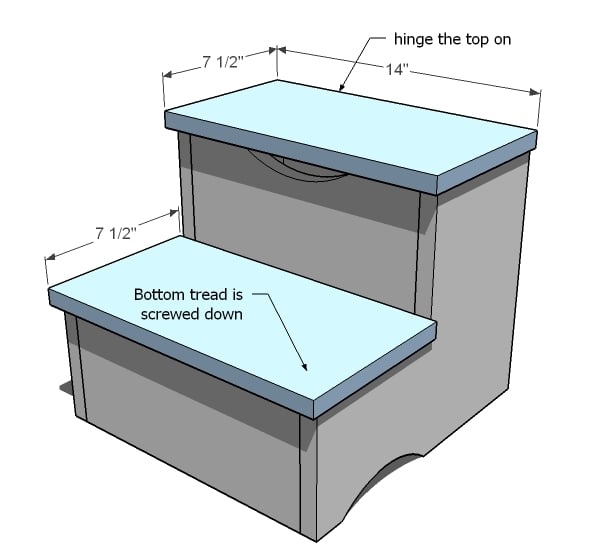
Have loved watching Ana's youtube channel for a few years now and finally got the nerve to try and make some thing. I have always made doll furniture so I thought that I would try and make 1:1 scale furniture. I loved that video she did on the no-pour concrete paver outdoor coffee table and thought that the plans would make a wonderful bench. It took me a couple of weekends but I did it. Added some little accent pieces to the corners cause the bench did seem a bit wobbly. But it still turned out well and I love it. You get such a great high off of making and completing a furniture build. Gave it to my Mom for christmas. She loves it. Only one problem is that everyone who sees it says that it's a lovely coffee table. lol

Estimated Cost
$46.00CDN
Estimated Time Investment
Week Long Project (20 Hours or More)
Finish Used
Boiled Linseed Oil
Recommended Skill Level
Beginner

Modern Outdoor Storage Bench by Crazy Life with Littles

It’s a miracle I was able to finish this outdoor storage bench considering my kids are on summer break 😂

💡Tip: can’t find cedar pickets at your local stores? Just stain them. No one will ever know 😉 sealed with Thompson’s WaterSeal

by Crazy Life with Littles on Instagram

Seasonal And Holiday

Small Rustic X Bench

Submitted by Cassie1686 on Sat, 01/14/2012 - 16:15

I personalized this bench for a gift for my mom's birthday. I stamped both of my girls handprints on top and added their names and date. Turned out so cute :)

Built from Plan(s)
Estimated Cost
$25
Estimated Time Investment
Afternoon Project (3-6 Hours)
Recommended Skill Level
Beginner

Comments

Farmhouse Table

Oh Goodness. This was a HUGE project for us. It was our 2nd Ana White build (the 1st can be seen in the pictures, the kitchen island with the microwave on top). We changed the overall dimensions to fit our kitchen. And we built two matching benches. The hardest part was kreg jigging. We did SO MANY pocket holes and it was our first time using a kreg jig on a LARGE project. We also trimmed up the sides of each of the table top boards so they fit closer together. We really really LOVE this table. And my kids are putting their own special touches on it daily. Thanks for the plans!!

Estimated Cost
$250
Estimated Time Investment
Week Long Project (20 Hours or More)
Finish Used
Rustoleum Kona Stain & Minwax Polyurethane Glossy.
Recommended Skill Level
Intermediate

Sliding Barn Door Console

Submitted by Anonymous (not verified) on Tue, 02/16/2016 - 12:14

We wanted to build this piece for so long, but couldn't find 1/2" metal anywhere. Mind you, we live in a pretty small town. We finally just decided to use 1/8" Metal, which works just fine in my opinion. We followed the rest of the tutorial, but I find that they don't go over how to install the metal at all. That needs a tutorial all on its own. We improvised with what we had here in our small town. We ideally wanted to find old metal, but that didn't happen. So we bought new steel, spray painted it & then beat it up so it looked more vintage. 

I'd say hanging the barn doors & the track is the longest part for sure. 

Built from Plan(s)
Estimated Cost
300 ( We live in Canada, so everything is much more expensive here )
Estimated Time Investment
Day Project (6-9 Hours)
Finish Used
Top is stained in our Beachwood ( colors mixed from the Minwax stains ) Bottom is painted in pure white. Hardware is black & beaten up
Matte Polyurethane finish.
Recommended Skill Level
Intermediate

Comments

2 X 4 Adirondack Chairs and Tables with a Twist

Submitted by Anonymous (not verified) on Wed, 05/31/2023 - 15:59

I had a bunch of my old skis that I had used as a display wall in my chalet that I needed to do something with, and this was a perfect solution!

Comments

Vintage Step Stools

Submitted by nmnguyen7 on Wed, 01/18/2012 - 12:11

This was our first build. My husband and I really enjoyed working on these! The build went very quickly and the plans were well-detailed. The painting was the most time-consuming part!

Built from Plan(s)
Estimated Cost
$30 for the two
Estimated Time Investment
Afternoon Project (3-6 Hours)
Finish Used
We used oops paints from Home Depot, a pink and a blue that just happened to coordinate with each other very well!
Recommended Skill Level
Starter Project

Rustic X Side Table

Submitted by worrow on Wed, 12/04/2013 - 12:27

We loved the one from Ana's site and had to have it.

Printed off instructions and purchased material.
Didn't take long to build.

I love it

Built from Plan(s)
Estimated Cost
$45
Estimated Time Investment
Afternoon Project (3-6 Hours)
Finish Used
Minwax walnut stain.
Minwax satin polyurethane
Recommended Skill Level
Beginner

King Minimalistic Platform Bed

We built this bed actually from a few different styes from this website. We didn't really like the cut out that much - but we loved how low to the ground it was. So we combined the farmhouse bed, with this bed with a west elm bed to come up with this style. I can be happy to say we've sold over 40 of these beds from Double - Kings! We use 2x3" slats for the base. Super strong! Our frame is made out of 2x12's and then the headboard is attached to the base. This is our personal bed & we're so in love with it!

Built from Plan(s)
Estimated Cost
230.00 CA
Estimated Time Investment
Afternoon Project (3-6 Hours)
Finish Used
We stained this bed in a Early American / Dark Walnut Mix & varnished this bed in Semi Gloss.
Recommended Skill Level
Beginner

Farmhouse Dining Table

Submitted by Anonymous (not verified) on Wed, 10/02/2019 - 10:58

Here is our beautiful truss beam dining table that we built with 100% solid ash hardwood using mortise and tenon joinery and finished in Early American stain! ❤️

Built from Plan(s)
Estimated Cost
400
Estimated Time Investment
Week Long Project (20 Hours or More)
Finish Used
Early American stain by Varathane
Recommended Skill Level
Intermediate

Garage Organizer

Submitted by Anonymous (not verified) on Wed, 06/07/2023 - 10:48

My husband needed a solution for the garage. I showed him your video and he went right to work. We both love it! Thanks for the inspiration and all you do, Ana!

Comments

Vintage Magazine Rack

Submitted by melissa2 on Tue, 01/24/2012 - 10:55

One thing great about the plans on Ana White's site is that you can change them. Plans that don't seem applicable to your needs can be changed around to fit them. For example, this is the children's magazine rack, repurposed as storage for magazines. (Magazines used to sit around in piles around the house as they came in--what a mess!)

After finishing the building and painting, but prior to antiquing, I added 1910 magazine logos and the prices the magazines sold for during that year, to create the feel of it being an antique magazine rack one might find at a period newsstand. These were found using Google Images. When you look, think about the general genres of magazines you subscribe to, or even use vintage logos from your favorites. I chose to do a variety (the last one is a now out-of-print children's magazine). I didn't have any carbon paper, so I used a heavily-inked newspaper ad as "carbon paper." Painting the text with a tiny brush was very tedious, so I put water-based craft paint onto a watercolor marker's tip and "colored." It seemed like I had more control of the paint that way. The close-up photo shows the titles and prices of the magazines on the crossbars.

This type of project of course cannot be sold, since it uses company names and logos. But it's a fun way to conveniently display your personal magazine collection!

So, remember, you can repurpose a plan on the site for something that fits your own needs! In the near future I hope to show how to convert the Kid's Storage Step Stool plan into a storage bed step for adults.

Tip: The moulding called for is likely too tall for a manual miter box (it was for mine). I ended up cutting the moulding blunt and then doing a lot of sanding to make it match as closely as possible. It doesn't look as nice this way, but it was the only way I could cut it. And as for the "Estimated Time Investment" listed, I am a slow builder, so don't let that dissuade you!

Built from Plan(s)
Estimated Cost
$30 (if you have most building and finishing supplies other than the wood)
Estimated Time Investment
Week Long Project (20 Hours or More)
Finish Used
~ Paint and roll on heirloom white satin Rustoleum water-based paint--or primer. ~ Paint and roll on a second coat. ~ Sand with light sandpaper. ~ Paint and then roll on a third and final coat. ~ Next, put the text on, as explained in the post. ~ Spatter on black paint lightly. ~ Sand edges (and some surfaces) with rough sandpaper. I also sanded the lettering with light sandpaper to wear it down. ~ In any areas sanded bare, put in water-down brown paint to mimic aged wood. Use a paper towel to wipe off the excess. ~ Hammer with a meat cleaver in some areas. ~ Varnish with one coat of satin varnish.
Recommended Skill Level
Beginner

Stable for Nativity Scene

Submitted by arkep on Fri, 12/06/2013 - 18:51

I had been thinking about making something to go with the nativity scene that I made a few years ago, and was so excited to see the plans for this stable this morning. It's less historically accurate, but much easier to build than a cave. =) I had cedar fence picket scraps laying around, so this project didn't cost me anything extra.

Built from Plan(s)
Estimated Cost
$0--made from scraps
Estimated Time Investment
An Hour or Two (0-2 Hours)
Finish Used
none--just sanded
Recommended Skill Level
Intermediate

My diy Bathroom remodel.

Submitted by Anonymous (not verified) on Wed, 10/02/2019 - 20:32

I got a water leak behind the shower walls. And I started calling for Bathroom remodel quotes..but the pricing quote wasn't not even close to what I had I'm in my budget.so I decided to watching YouTube videos..and I got my design inspiration from the Pinterest app ...and I decided to start my own Diy Bathroom remodel. The rest is history.

Estimated Cost
2500.00
Estimated Time Investment
Week Long Project (20 Hours or More)
Recommended Skill Level
Beginner

Comments

Planter Box

Submitted by Anonymous (not verified) on Mon, 06/12/2023 - 10:59

Made these to fit Dollarstore pots. These plans were so easy to follow and adjust for pot size. I used scrap wood and sealed them with a stain sealant. I love your plans!

Denise
New Brunswick, Canada

Comments

Entryway Bench

Submitted by kristilmay on Mon, 01/30/2012 - 13:16

I picked this bench because our entryway isn't very big and this was small enough that I didn't have to make any alterations to the size.

Estimated Cost
$30
Estimated Time Investment
Afternoon Project (3-6 Hours)
Finish Used
Paint- Filtered Shade (Valspar)
Recommended Skill Level
Starter Project

Comments

kristilmay

Wed, 02/01/2012 - 09:00

Thanks for the compliment on our floors!! My husband and I just installed them a few months ago. I love them but I'm always a little embarrassed to say this, because I'm a bit of a wood snob, but it's laminate. Kensington Manor 12mm Imperial Teak Handscraped, from Lumber Liquidator. We bought it when it was on sale for $1.99 a square foot. Can't beat that!

Guest (not verified)

Fri, 02/03/2012 - 20:09

This is beautiful! where did you get your baskets?

Rocketship Toddler Bed

Submitted by davec on Thu, 12/12/2013 - 12:55

Did this in January 2013.

Slight alteration of the Traditional Wood Toddler bed:
http://ana-white.com/2011/10/traditional-wood-toddler-bed

Made the rear posts taller so I could cutoff the triangle shape for the rockets. The front is the same with no real headboard just some support and used a custom upholstered padded headboard there for the view from the cockpit. The sides are cut out of thin plywood and screwed onto the bad (eliminated rails). The rocket engines are upholstered circles I cut.

The main bed is cheap, easy, and quick to build. Designing the rockets, and painting and polying the whole thing are what takes most of the time (along with trying to get everything to dry in my garage in the middle of winter). The fabric, stencils, and paint probably cost as much as the wood.

I thought I had more pics and I probably still have my scribbles for measurements and cuts (if for some reason someone wants them).

Estimated Cost
70
Estimated Time Investment
Weekend Project (10-20 Hours)
Finish Used
water based paints and Poly
Recommended Skill Level
Beginner

Comments

A place for all my wife's Fiestaware

My wife wanted a built in shelving unit for all of her Fiestaware.  I couldn't find anything that worked so I looked for large hutches instead.  I found a nice design on Ana White and saw some other modifications from other posters - came up with what you see here.  Turned out well.  I never worked with Blum hinges before so that was a learning experience.

Built from Plan(s)
Estimated Cost
The glass was the most expensive component at $260 for 4 panes. Total cost was around $600.
Estimated Time Investment
Week Long Project (20 Hours or More)
Finish Used
Olympic One Paint and Primer in One - Semi-gloss with Snowstorm Tint. Door glass pattern is called Wicker.
Recommended Skill Level
Intermediate

Farmhouse King Size Bed

Submitted by Anonymous (not verified) on Thu, 10/03/2019 - 15:56

Finally replaced our old queen size bed frame. It took me 2 weekends to finish the project. We bought a Nova Comfort memory foam.

Estimated Cost
C$150.00
Estimated Time Investment
Weekend Project (10-20 Hours)
Finish Used
Behr light grey paint
Recommended Skill Level
Starter Project

Comments

Ana White

Tue, 11/05/2019 - 10:38

Thank you for entering your bed!

We are so excited to let you know your entry won a random draw $100 gift card.  We will email you all the details as well!

Thanks again! Ana

Hall shelf Unit

Submitted by Anonymous (not verified) on Fri, 06/16/2023 - 17:56

I actually used a partial plan from a previous Ana-white photo and plan. I used some nautical hooks to finish it off.

Comments

Gentleman's Valet

This is a gentleman's valet that I build for my sister in law's boyfriend as a Christmas present. It was also a good opportunity to try out my hand tool skills, since I cut all of the joinery by hand.

Estimated Cost
20
Estimated Time Investment
Day Project (6-9 Hours)
Finish Used
Boiled linseeed oil
Recommended Skill Level
Intermediate

Comments

JoanneS

Sun, 02/05/2012 - 09:20

Wow, this is gorgeous! Love the rich finish and the dove tail details, and the sliding top tray is so neat. Everyone in the family is going to want one! :) Joanne

viola

Sun, 02/05/2012 - 12:25

This would make a great gift for my husband and all the men in my family...

claydowling

Sun, 02/05/2012 - 19:12

Kristen you should try it yourself. You'd need to buy a joinery saw, but I just picked up a decent dovetail saw for $13, and a set of good chisels, but for $26 you can get a good set of 4.

My joinery isn't brilliant, but it's functional and doesn't look terrible. I'm pretty sure you could start knocking out some strong joints pretty quickly.

The upside is that it's faster than setting up power tools to make these joints. Hand cut dovetails will always be faster than machine cut, unless you're building a dozen boxes.

kristen

Mon, 02/06/2012 - 10:48

From here, your dovetail joints look great! I've always just skimmed past instructions for dovetails thinking I'd never put the time into constructing them. Perhaps I will investigate for future projects. The glue and nail option just goes quicker right now, with the list that looks like it just might take forever in this house!

claydowling

Mon, 02/06/2012 - 08:35

Those are very tight joints. Slightly too tight in fact. There was a small amount of hairline splitting on the side I didn't show, that I had to fill with glue and sawdust to keep from spreading.

My dovetails aren't bad, just slow for me to cut right now, especially cleaning out the waste. I bought parts for a small bow saw that should make that easier, once I get the thing built.

claydowling

Tue, 02/07/2012 - 08:35

The short answer is that I built a box, then built another box to go inside of it. A plan with dimensions wouldn't be a very good idea, because I sized this to match the $7 board I'd found at the hardwood dealer. Your lumber dealer almost certainly carries differently sized boards.

I'll think about a tutorial or video though. Box making is fun, rewarding, and can be profitable. Especially since most cabinets are just different variations on the box.

Justine

Tue, 02/07/2012 - 09:21

Alright, I will give it a try this weekend. Will let you know how it went! Thank you so much

claydowling

Tue, 02/07/2012 - 10:44

If you get any results, post some pics. If not here, feel free to put up a link on my blog. Always good to share ideas and results.

Kat Roberts

Thu, 02/09/2012 - 19:17

Your work is gorgeous! I'm definitely stealing this idea for my husband's birthday as well as all the men in my family, who all have birthdays this spring. :) Only thing is, I'm using tools, my hand tool skills are no where near as good as yours.

Also, I appreciate the tips you've posted on other project plans, they really help clarify some of the smaller details overlooked by the designers for beginners like me.
Hope to see some more projects from you soon!

claydowling

Thu, 02/09/2012 - 20:06

Hand tool skills actually develop pretty quickly, and one of the reasons it's gaining popularity. You can use scrap wood to learn how to make joints. The first ones will be rough but with even a little bit of practice they'll improve.

The tools are also getting cheaper. I just bought a decent dovetail saw for $13 from Tools For Working Wood, and $26 will buy you a decent set of chisels from Narex.

Christopher Schwarz and Logan Cabinet Shoppe are two good sources for hand tools articles, including videos. There are also good books on the subject. My first text was Hand Tool Essentials, but I'm told there are others worth looking into for first books.

claydowling

Fri, 02/10/2012 - 07:30

The Essential Woodworker is the alternate starting text I was thinking of. I haven't read it yet, but heard it recommended by a few sources as a good place to learn about hand tool woodworking. I just ordered a copy for myself. Amazon sells it too, but for considerably more, and I've heard unpleasant things about the binding on the copies available on Amazon.

If the book turns out to be any good I'll post a review on my blog.

Kat Roberts

Fri, 04/20/2012 - 21:48

Please do!
Thank you for the tips and information, I'll definitely be starting on hand woodworking soon. I love the results of hand vs. machine woodworking, it's just sleeker and has more of a homemade quality.

claydowling

Sat, 04/21/2012 - 04:56

I did finally buy the book, and I've reviewed it at http://claydowling.com/articles/02242012-1350/getting-started-woodworki…

There's also a new video coming out (or maybe it is out), that I wrote about: http://claydowling.com/articles/04022012-0947/learning-use-hand-tools I've ordered my copy, but I won't have it in hand until next month. I grabbed is specifically for the information on block planes. I own them, but I've had the least consistent results from them of all my tools.

Guest (not verified)

Mon, 04/02/2012 - 18:27

Thank you for posting . I always learn something from you.