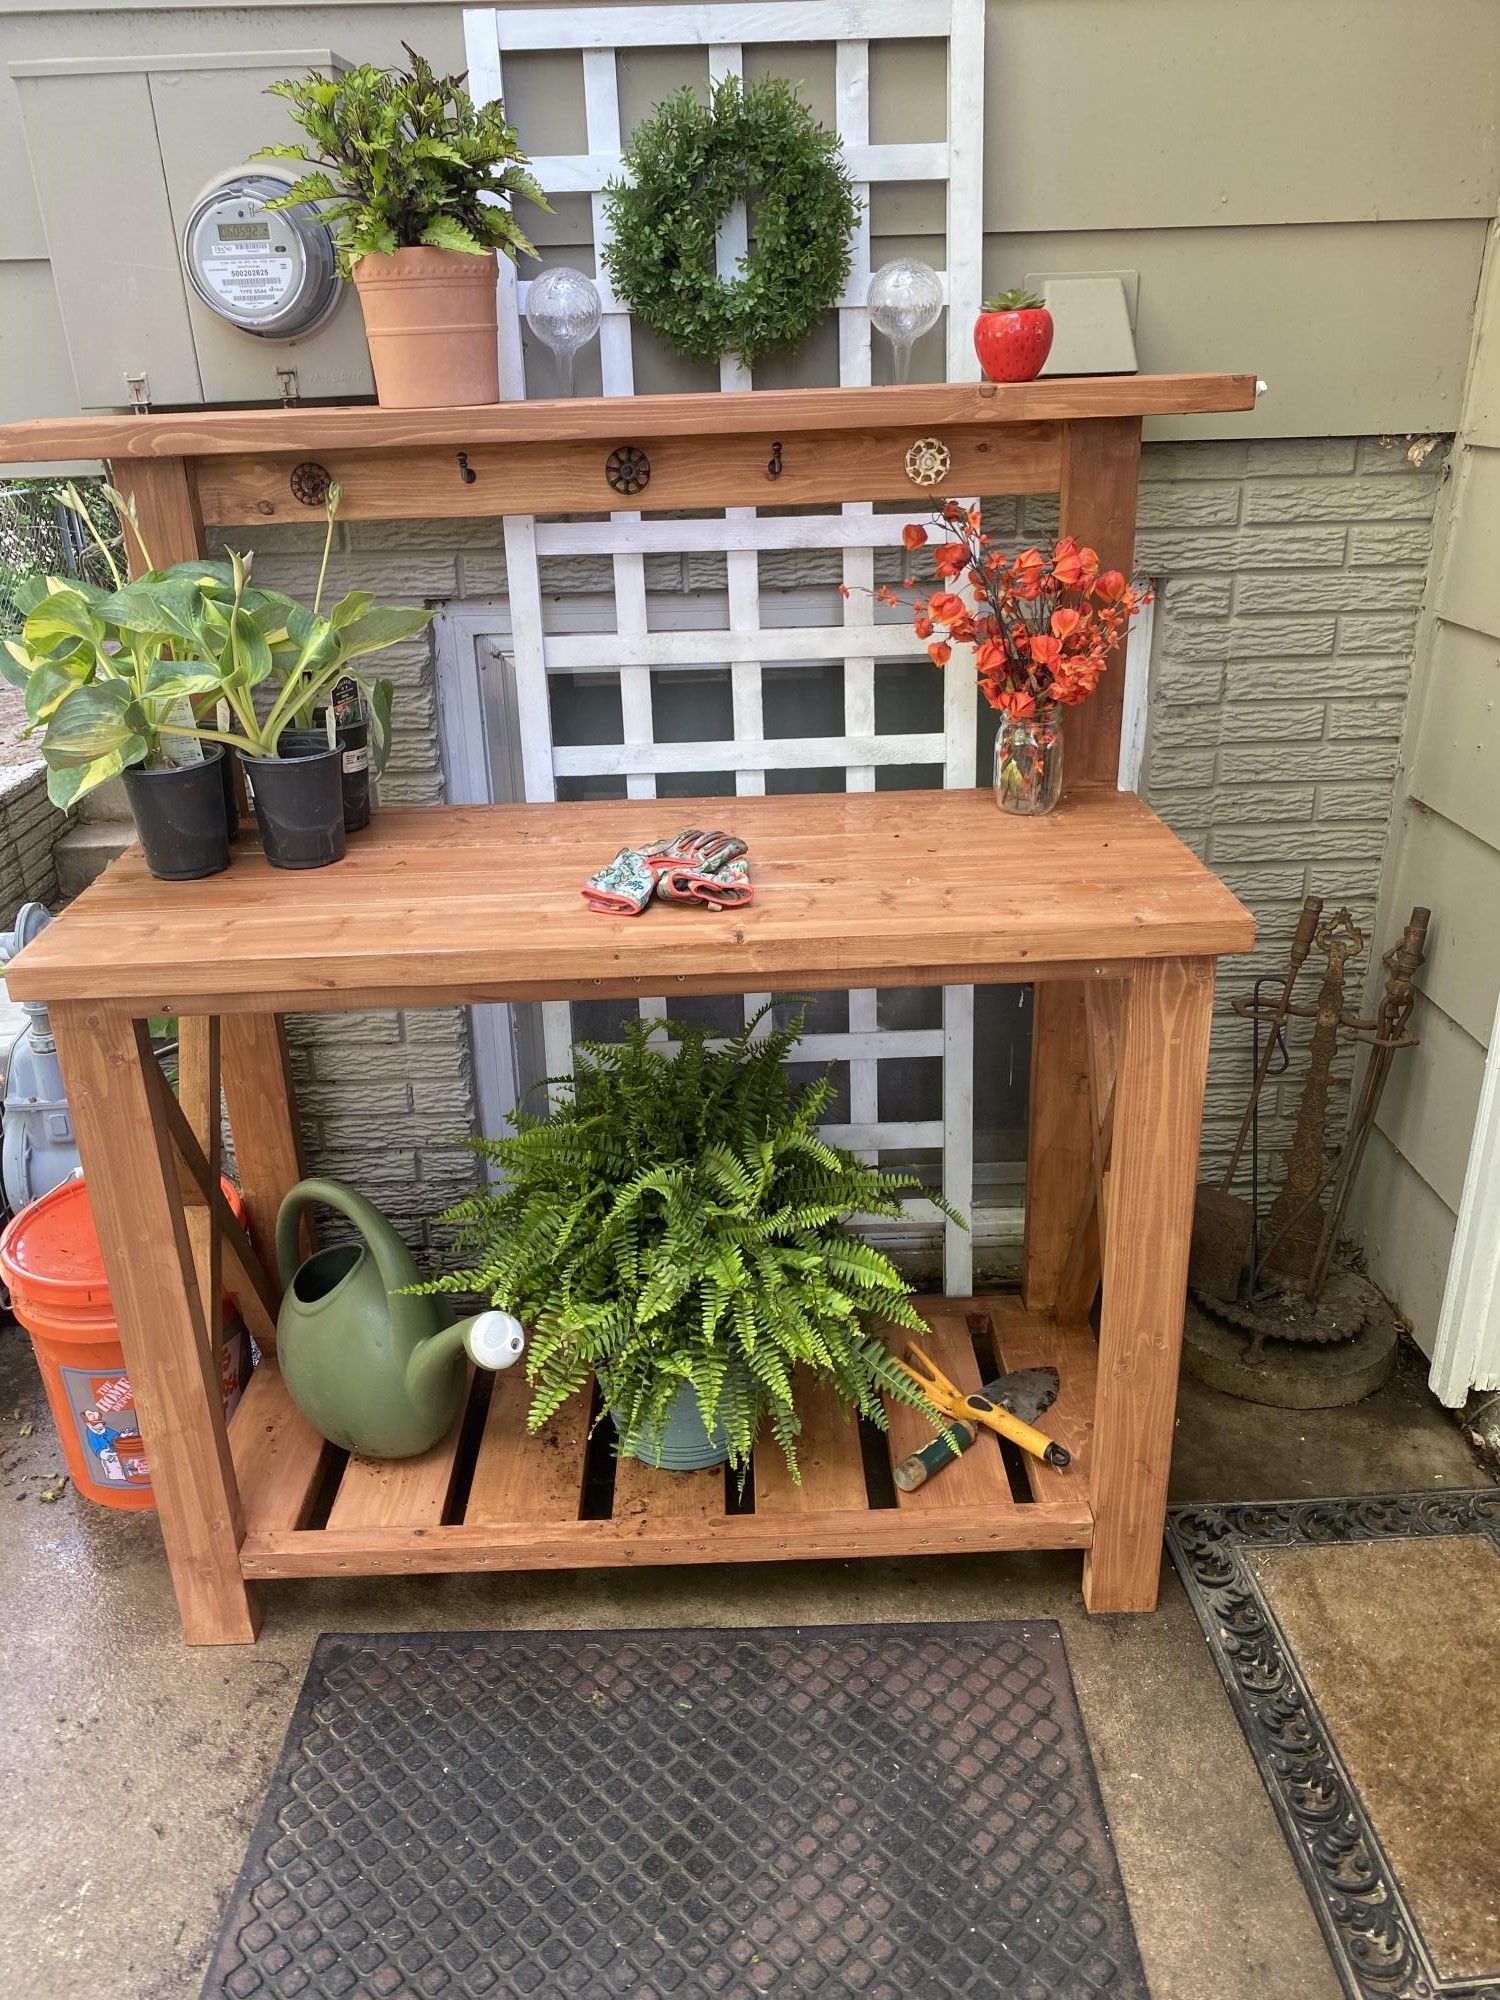
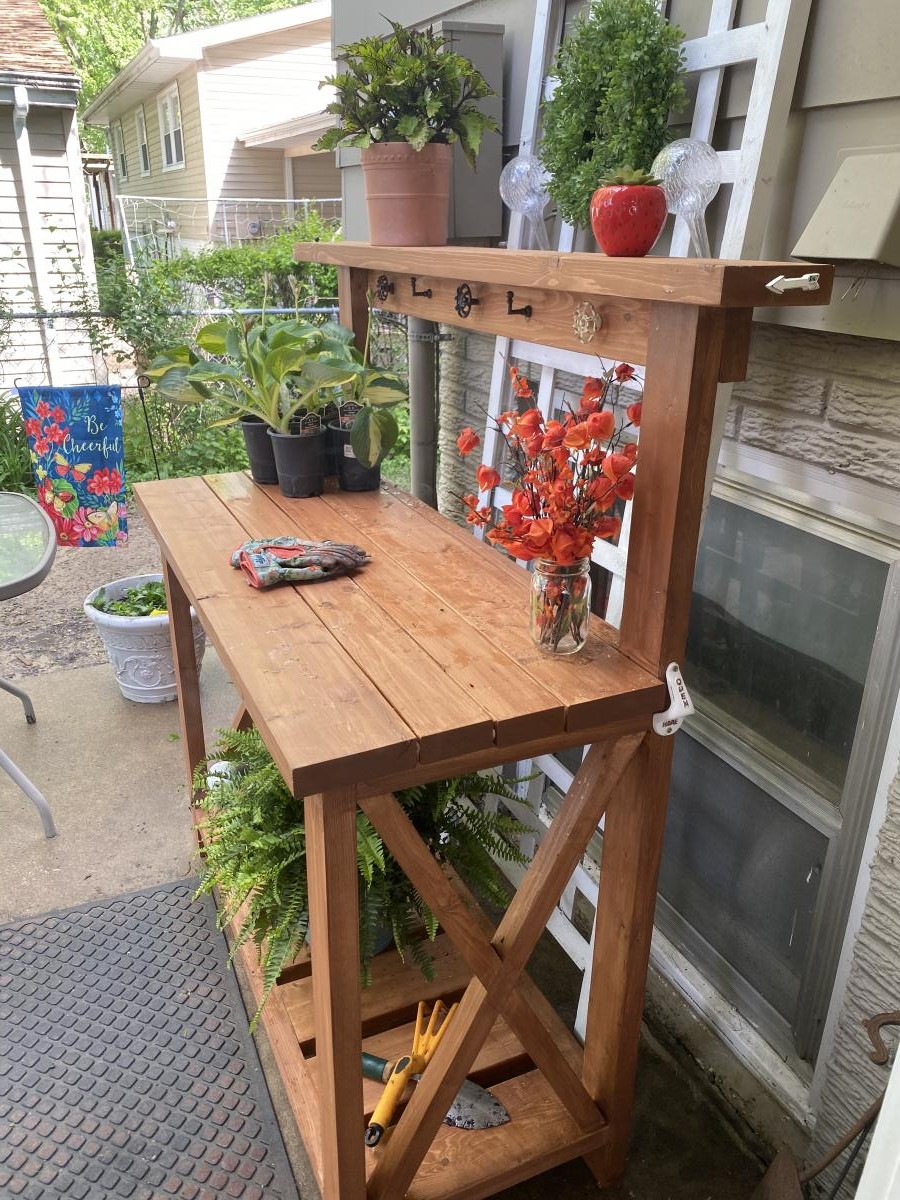
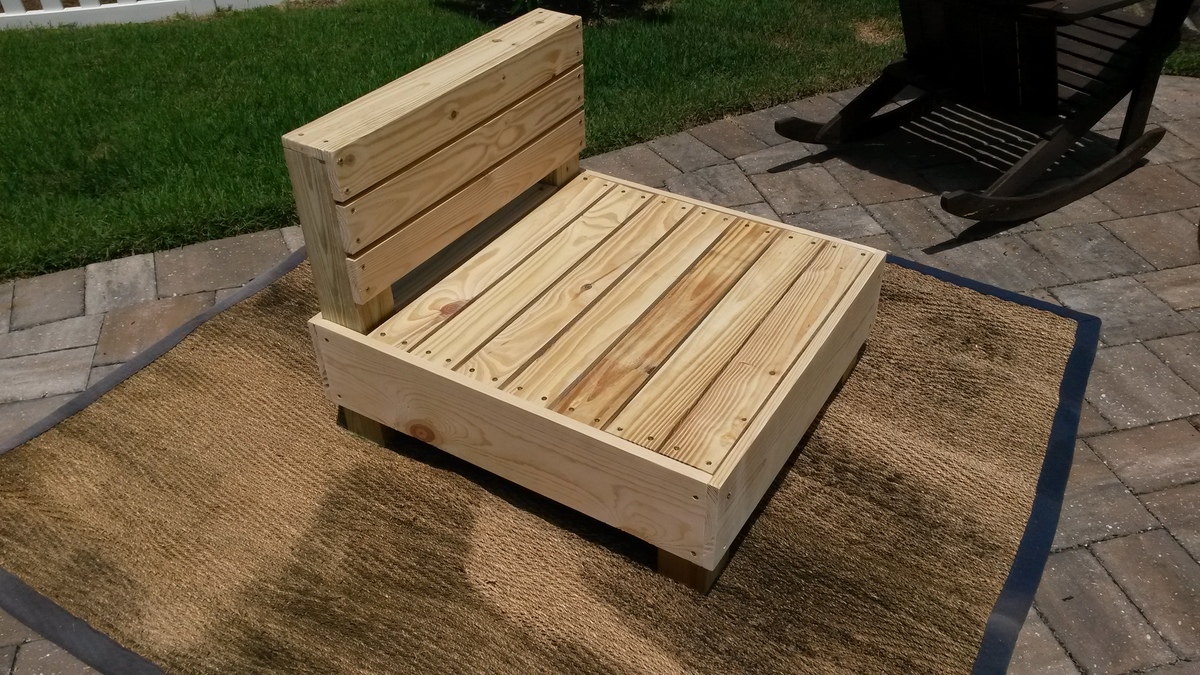
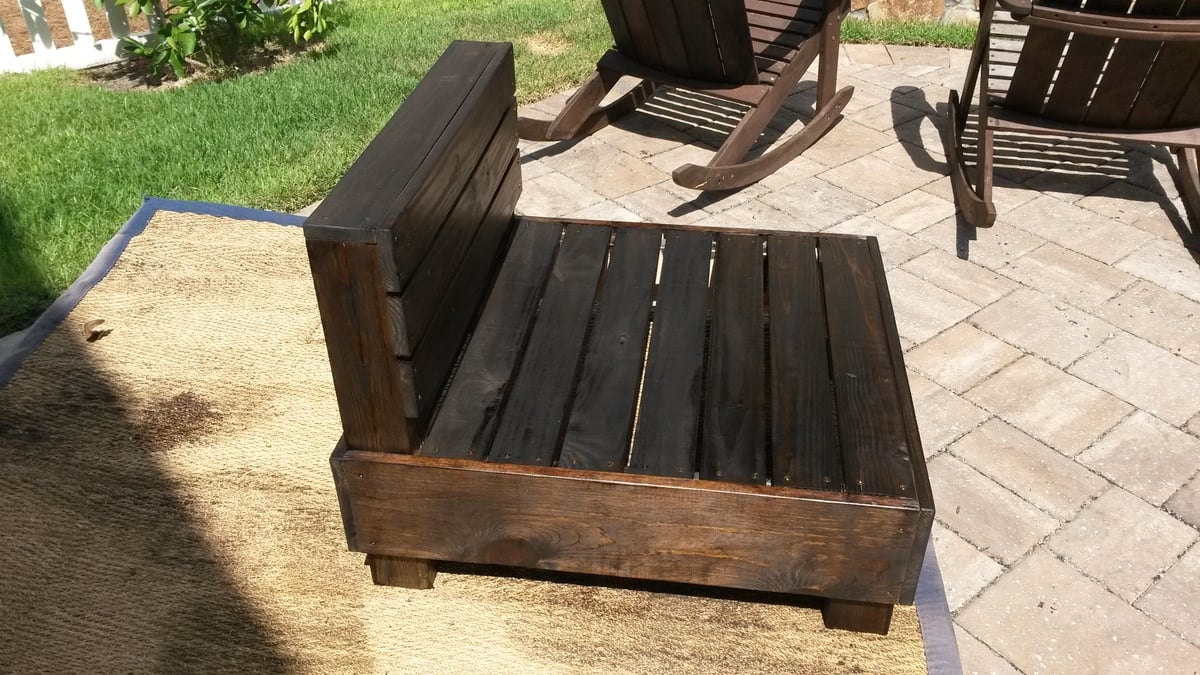
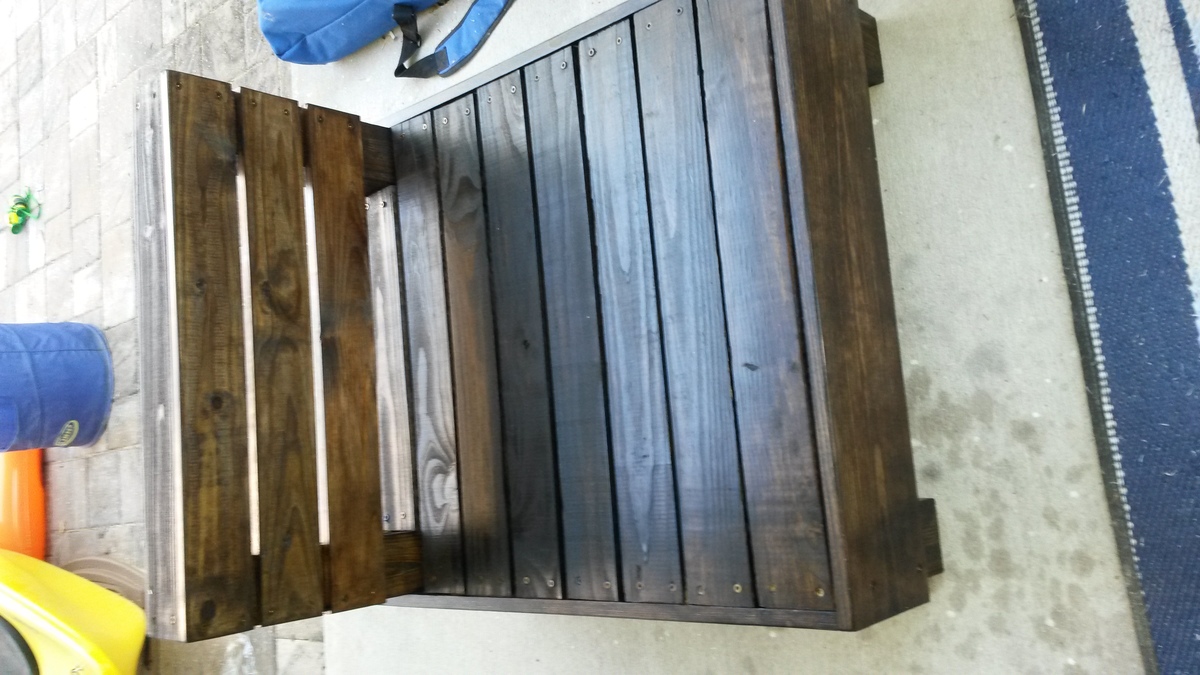
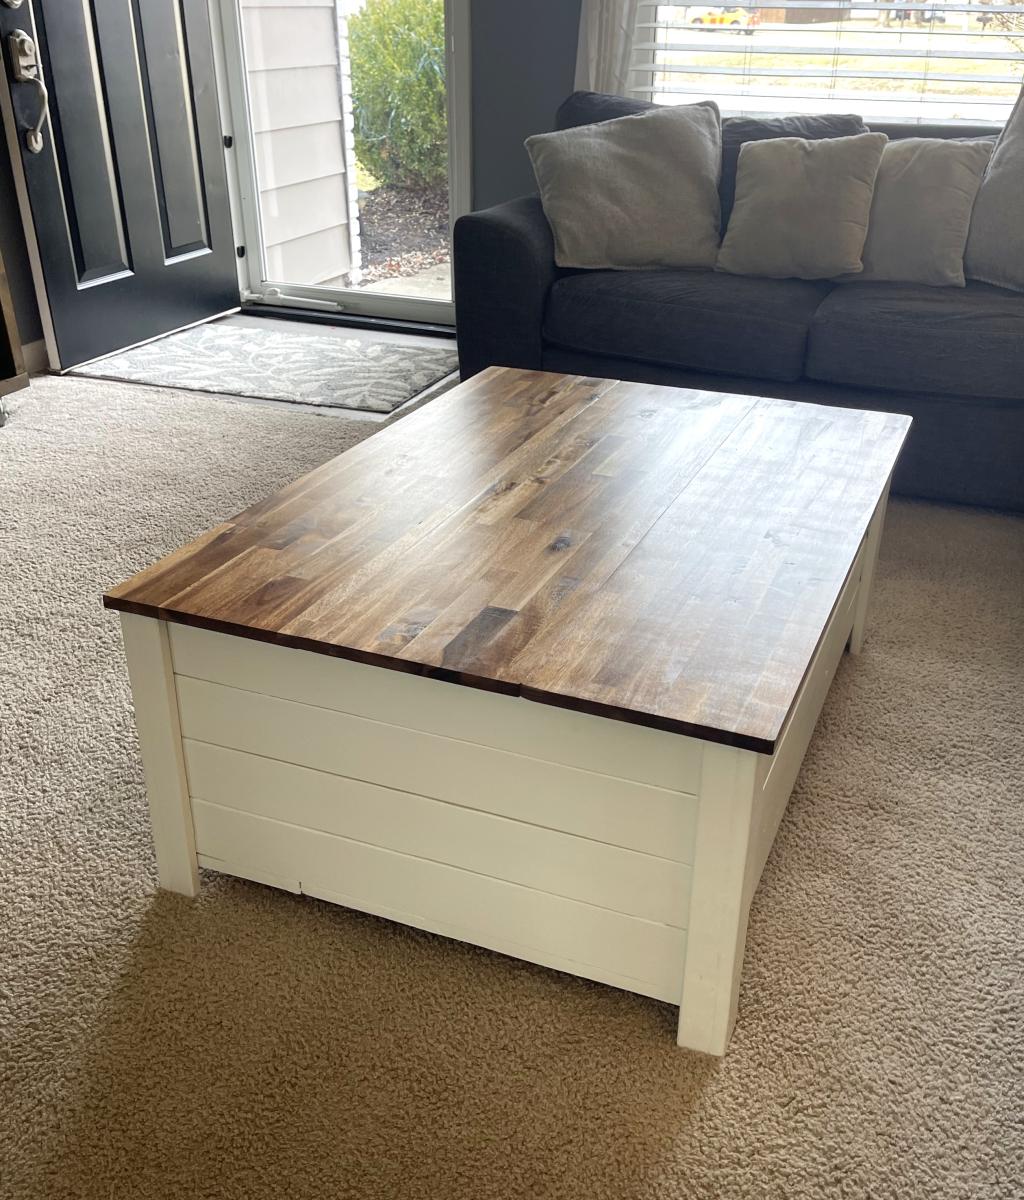
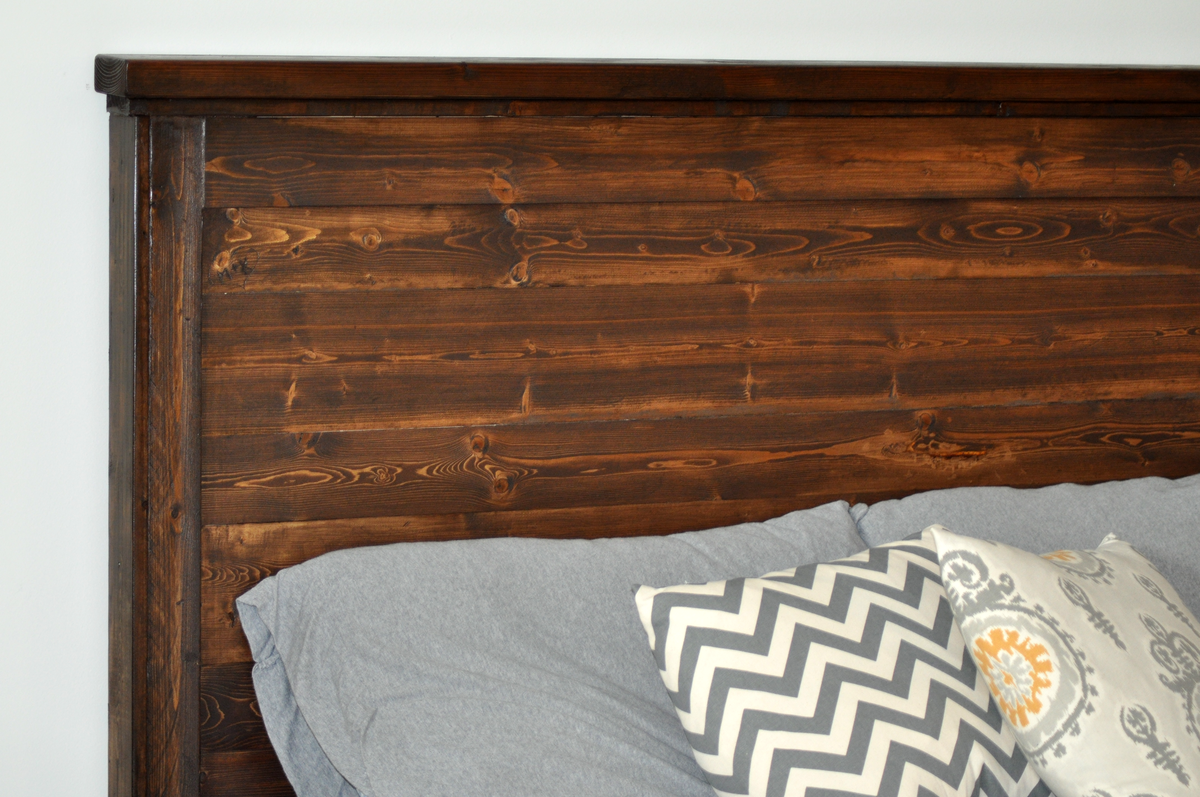
Front porch bench

Second project. I built this bench for my front porch. This was a practice project to get comfortable with pocket screws before I attempt a large table for my back patio.
Built from Plan(s)
Estimated Cost
$75
Estimated Time Investment
Weekend Project (10-20 Hours)
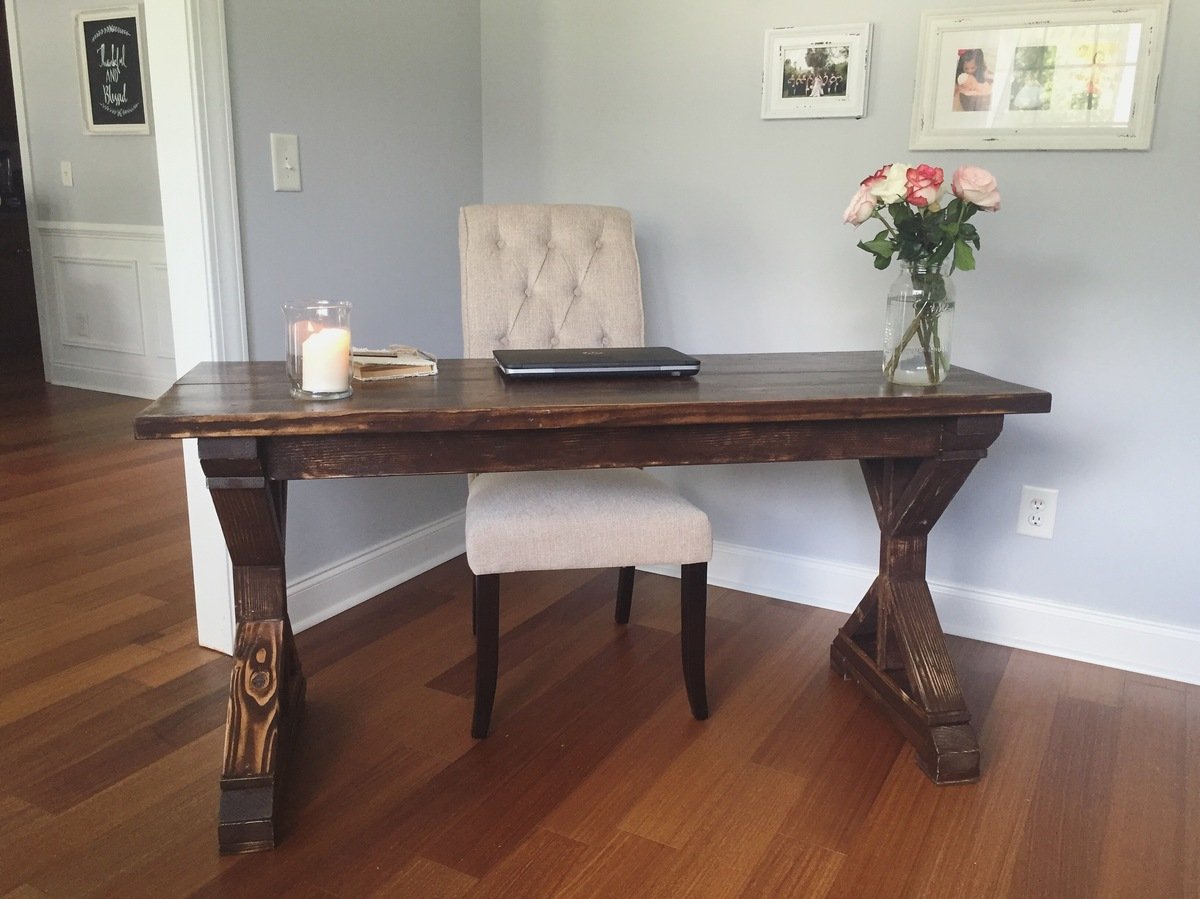
Finish Used
Rust-olem Wood Stain Kona, Cabot Semi-gloss Spar Varnish
Recommended Skill Level
Beginner


Comments
sabull01
Thu, 07/10/2014 - 07:19
*
*