Entryway Bench
My husband and I used your instructions and made this bench! We are further furnishing our home, and we love it! We went with a weathered gray stain to match some other furniture we have.
Loved the twin sized cabin bed but my grandson is a few years away from needing a big boy bed. Husband scaled down the plans and this is what we came up with.
Hi Y'all
I start using the king size bed plan from Ana.
It turns out great. I change a couple things on the build.
1. Our mattress are 12" high. The mattress frame support from the plan are made for less thinner mattress.
2. I made a nicer insert frame for the Head- and footboard.
3. We stained in a two color tone.
4. Every comer is routed out. See the top board on the Head- and Footboard.
I had a grate time to build it.
Keep building
Volker
Sat, 01/30/2021 - 11:57
Great build, love the two tone finish! Thanks for sharing!
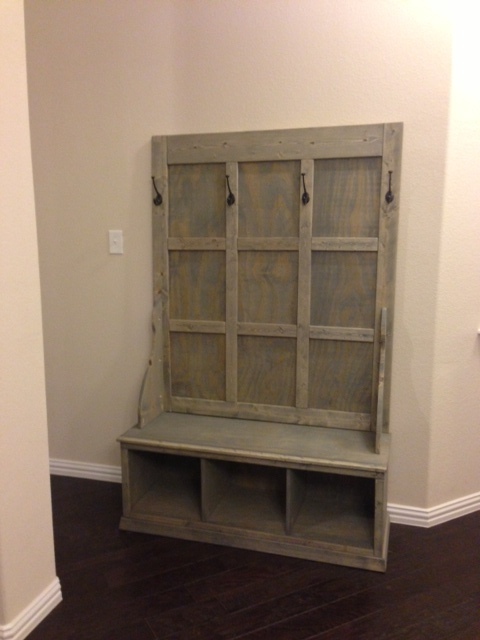
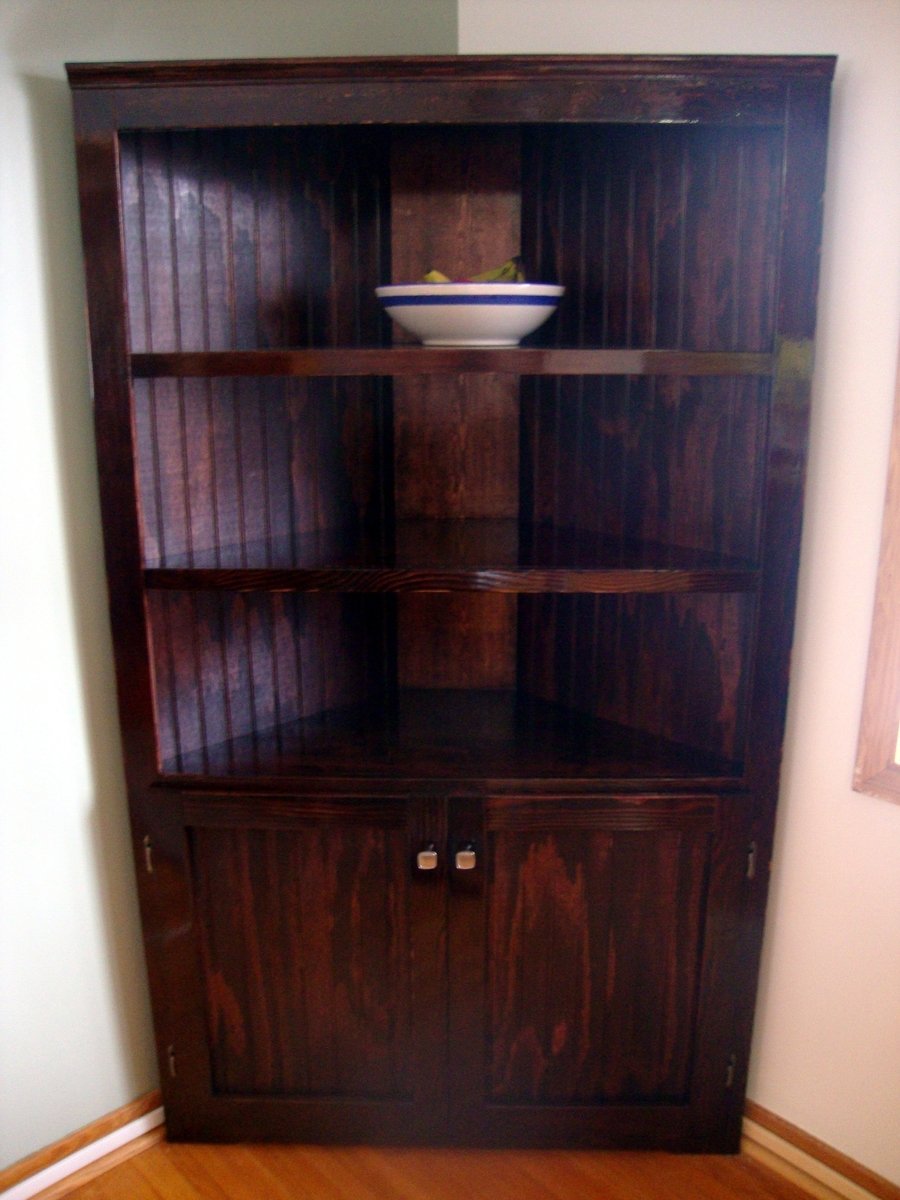
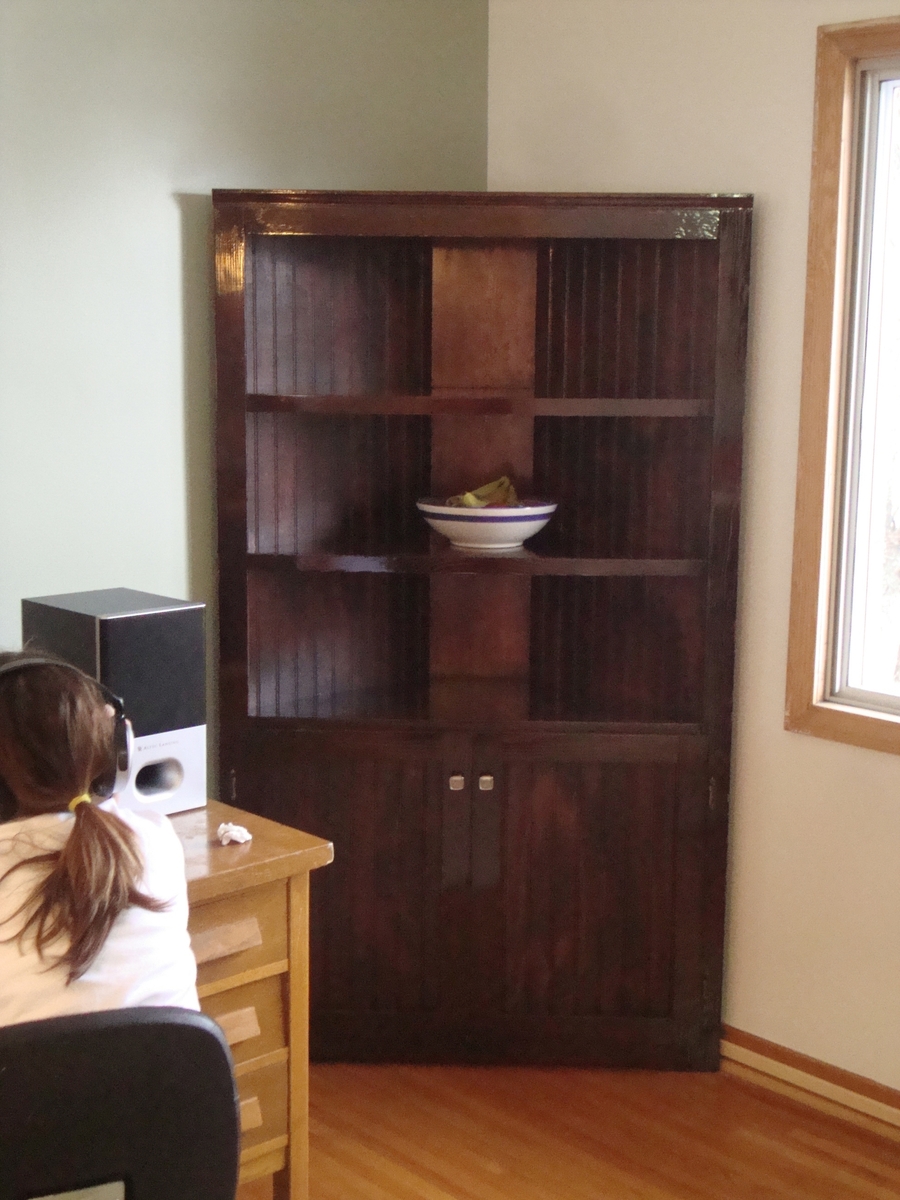
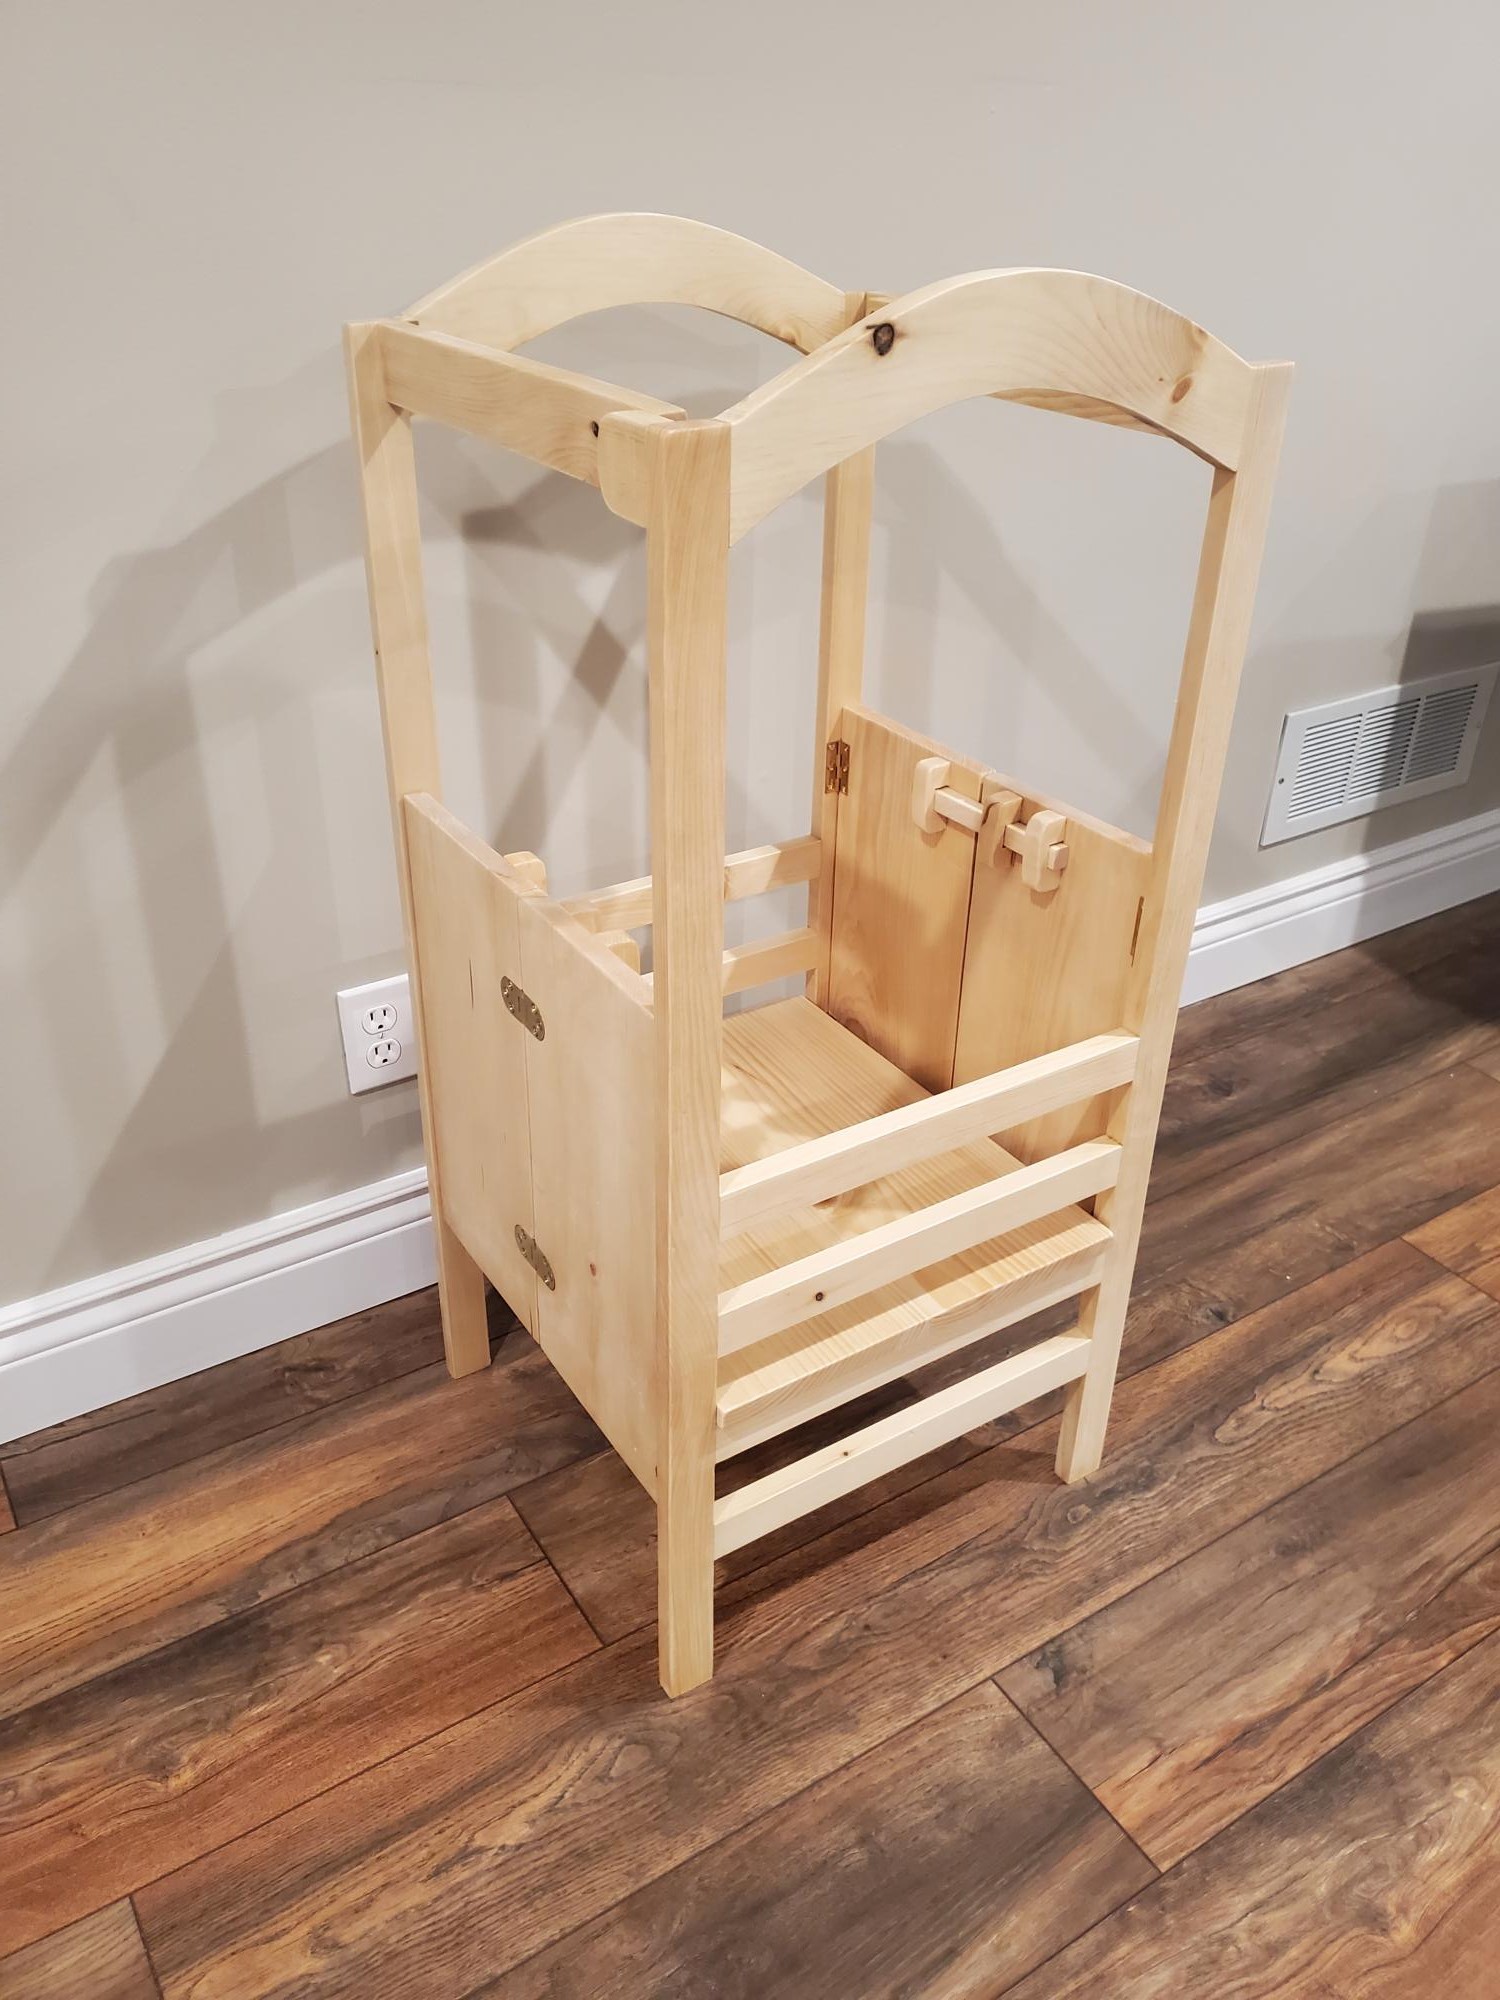
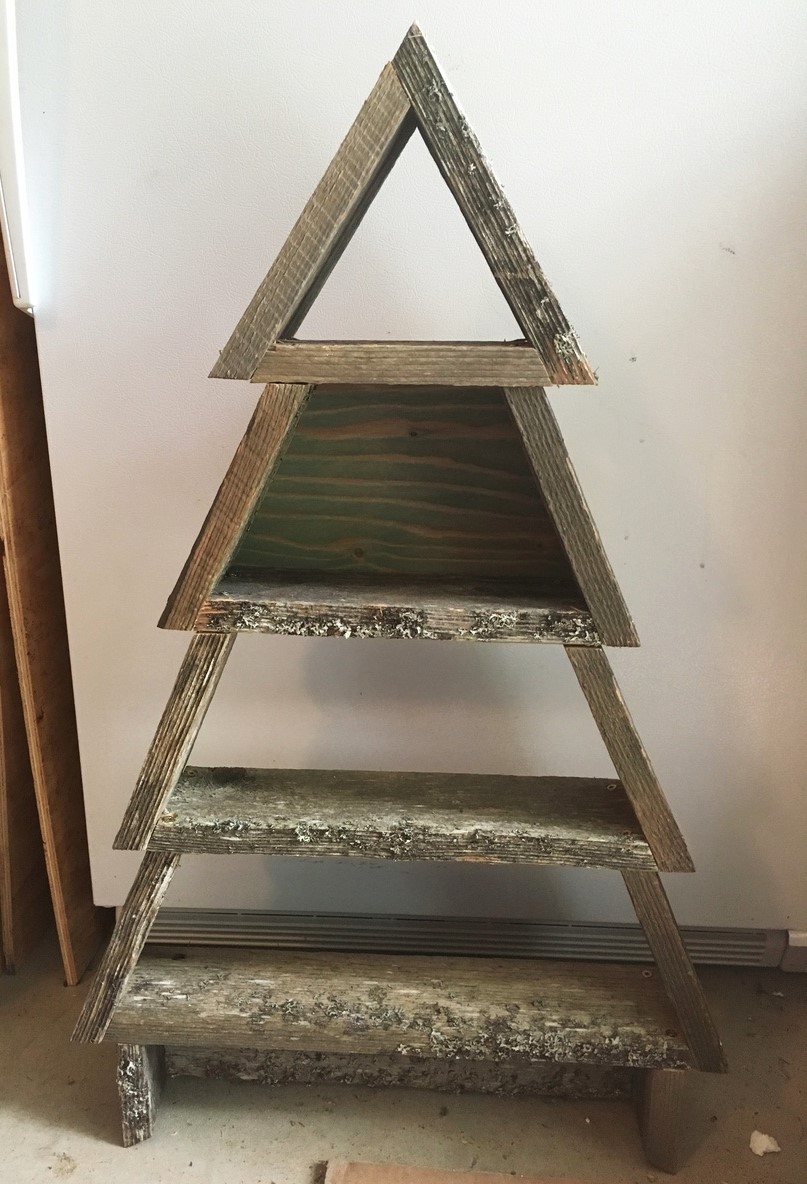
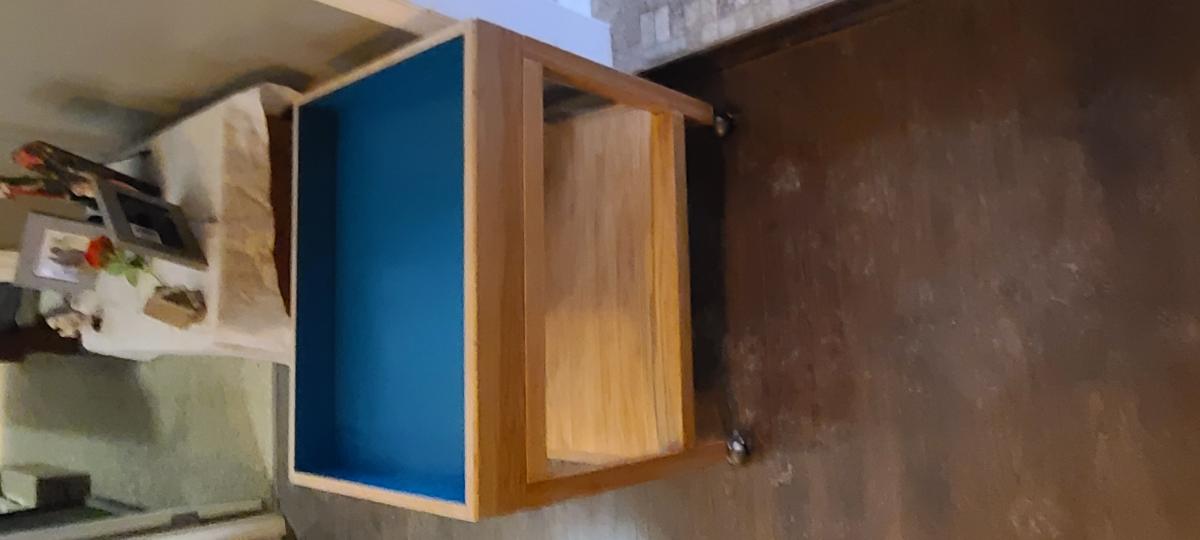
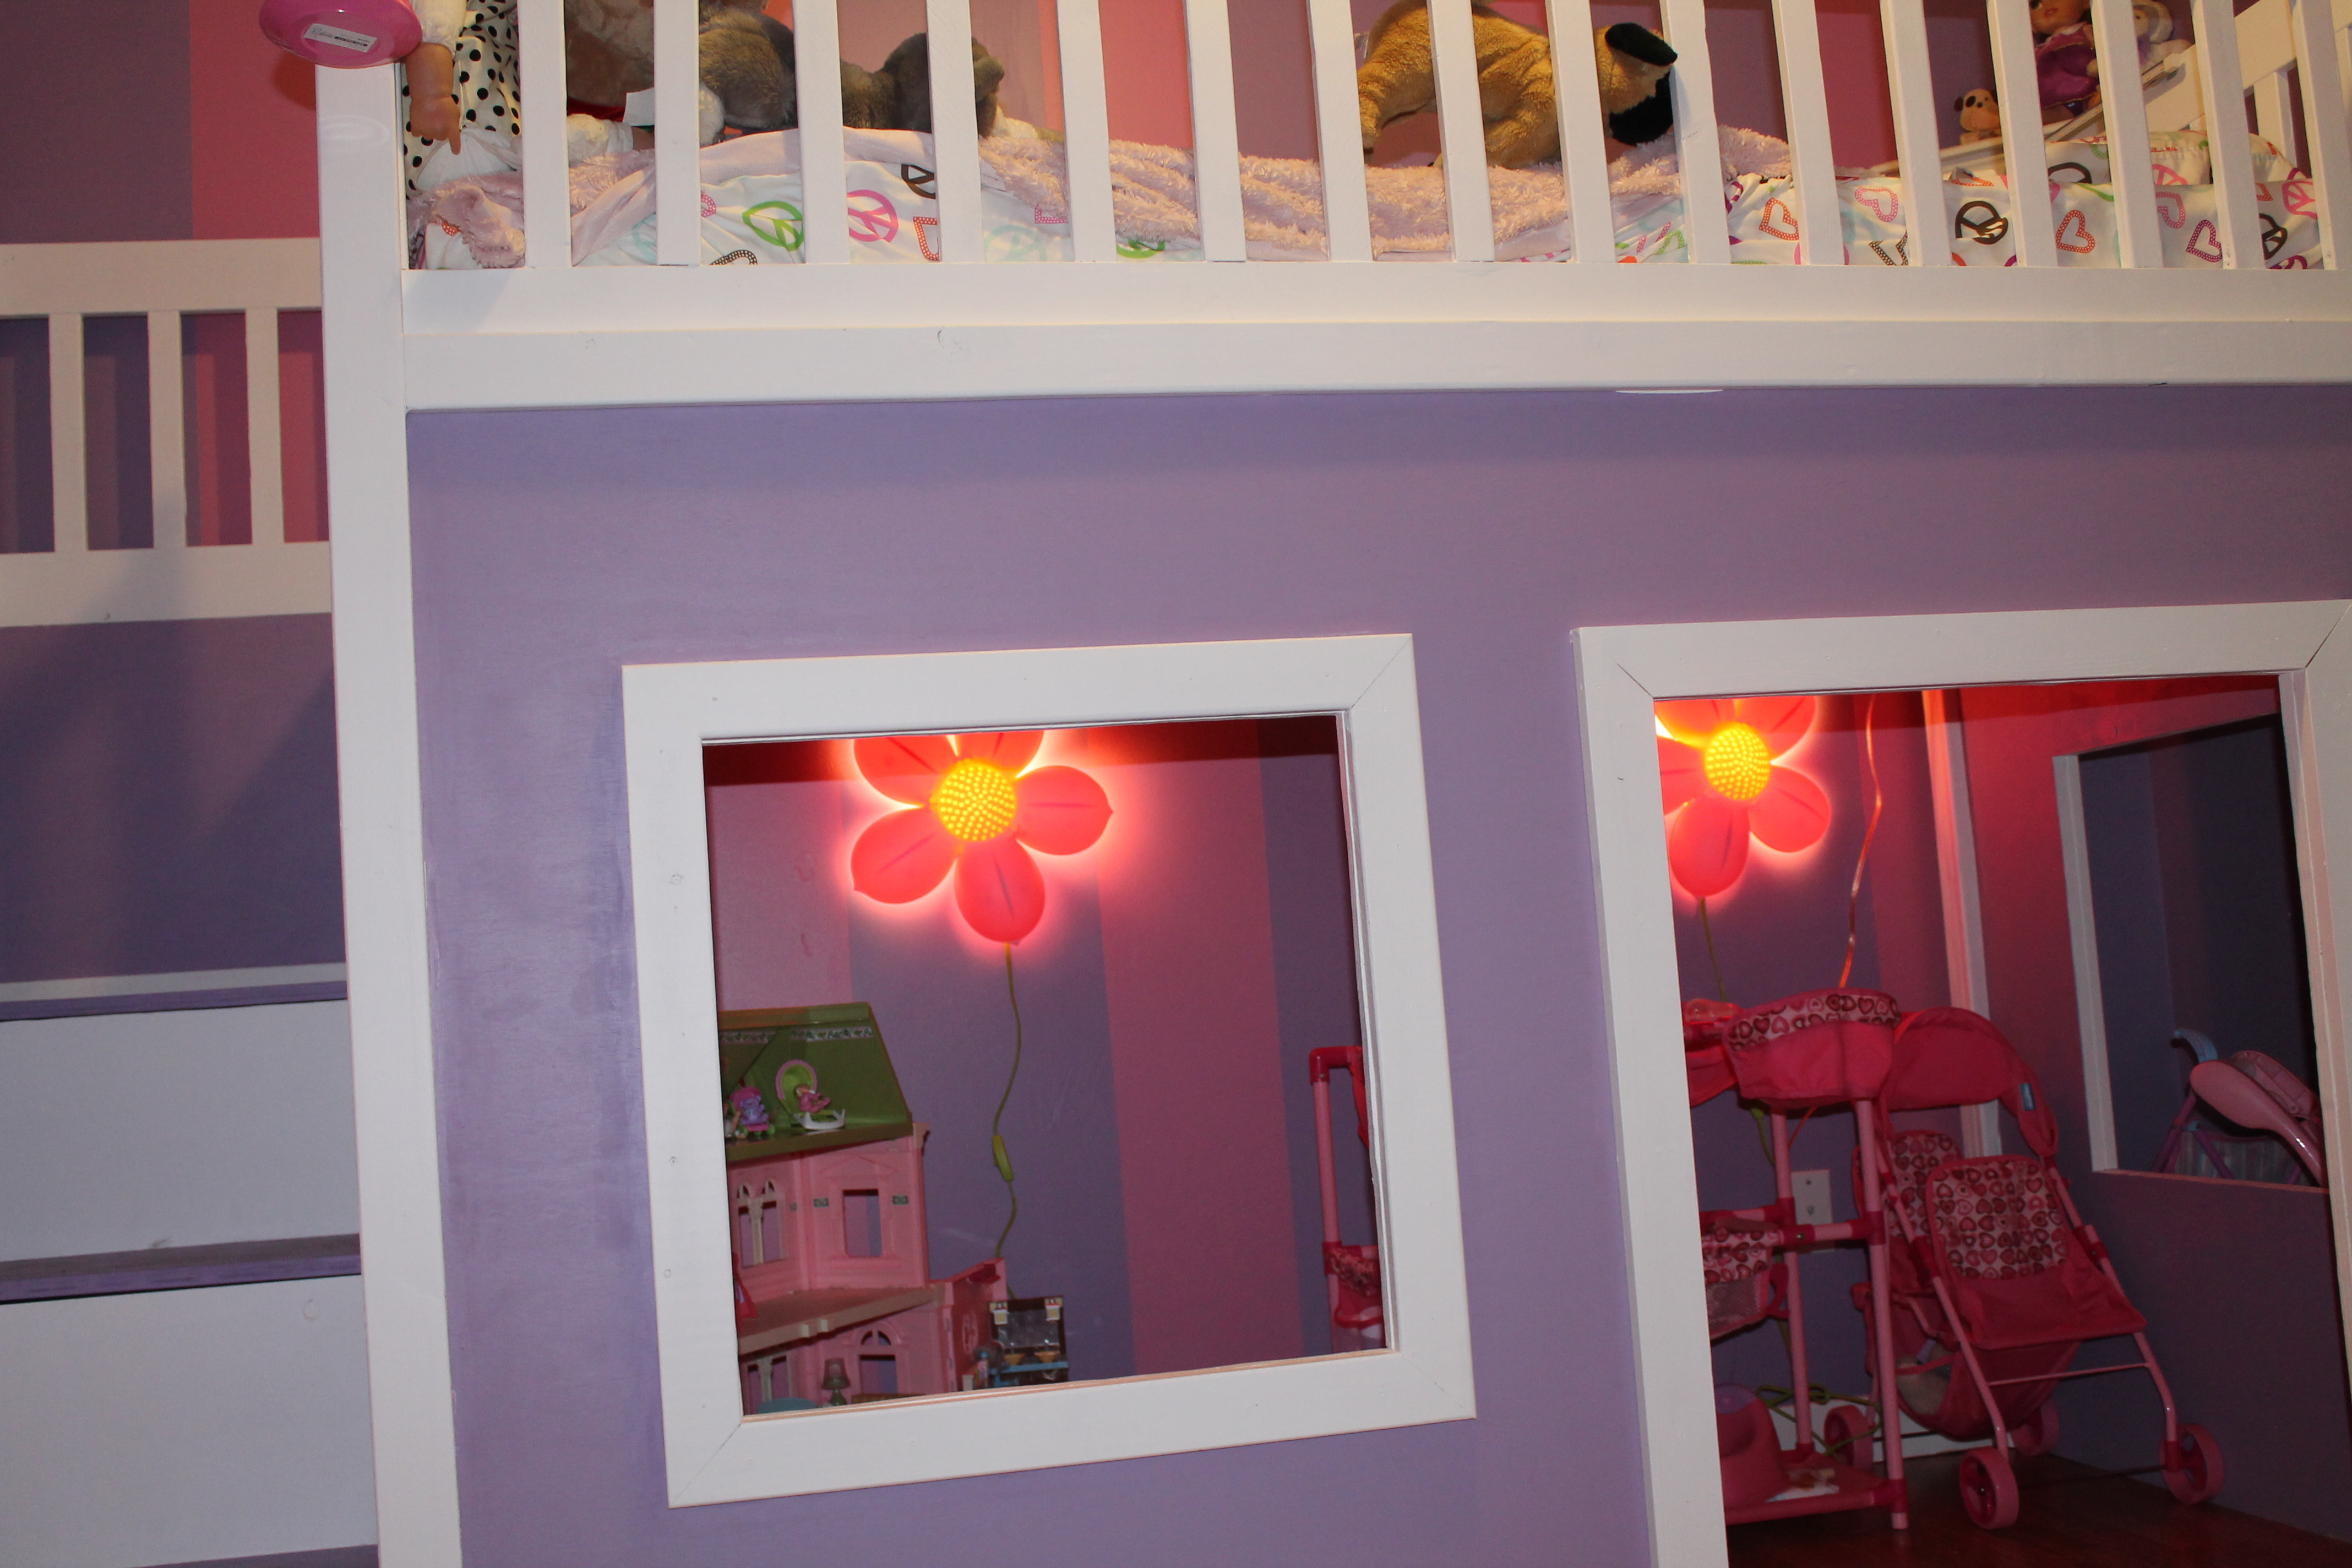
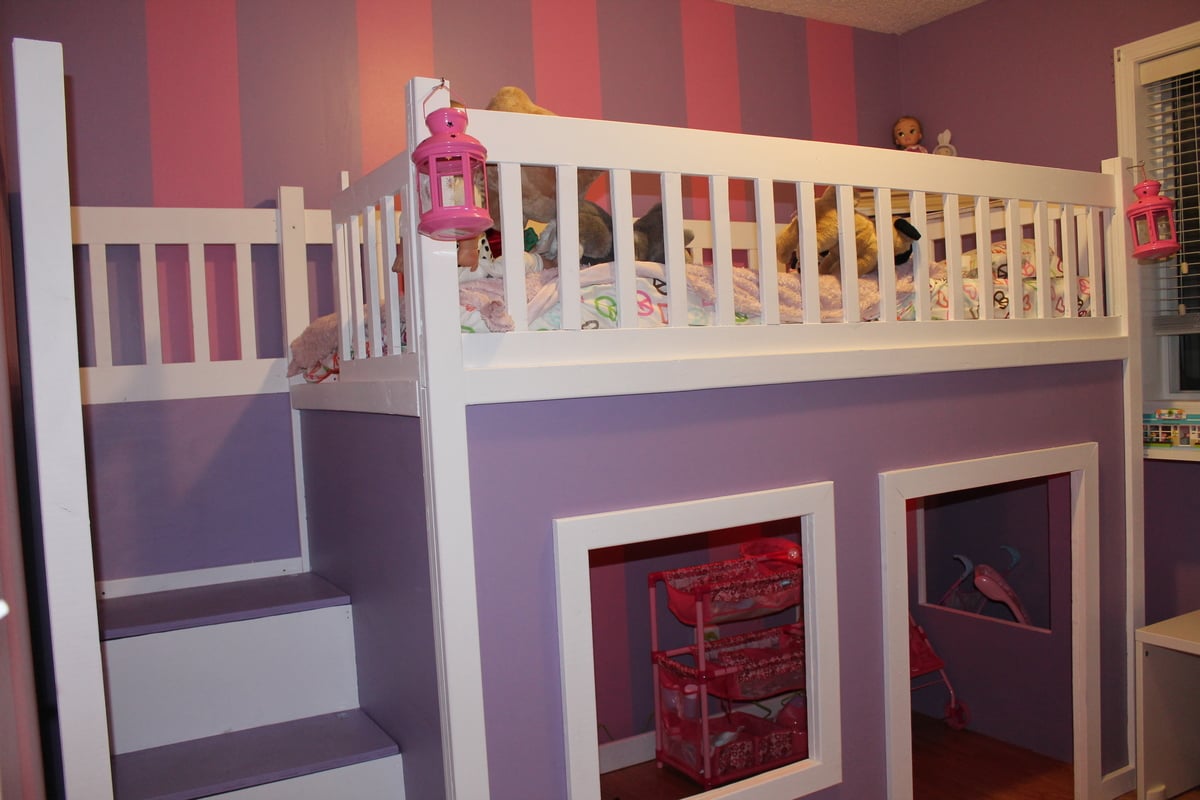
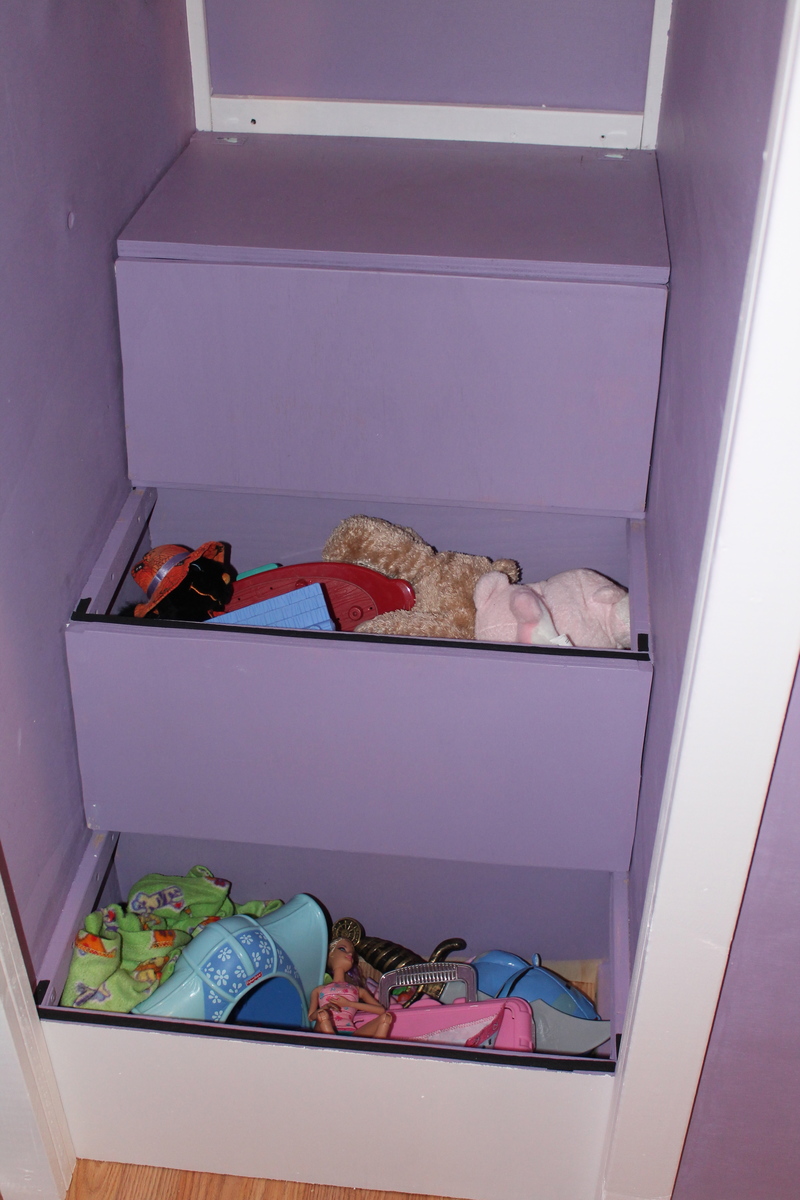
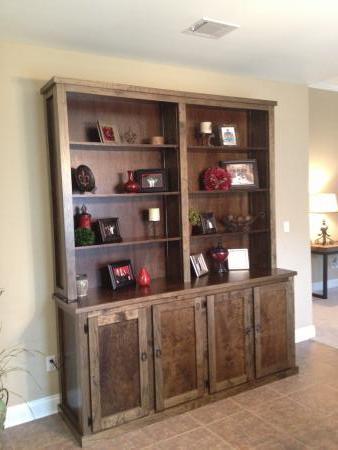
I built this larger than the specs given because I wanted it to hold more. 12in shelves with an 8in back just seemed way too small. That would hold a plant or a bowl (as seen in the other brags). This can hold a plant *and* a bowl. If your space can accomodate it, I suggest making this larger.
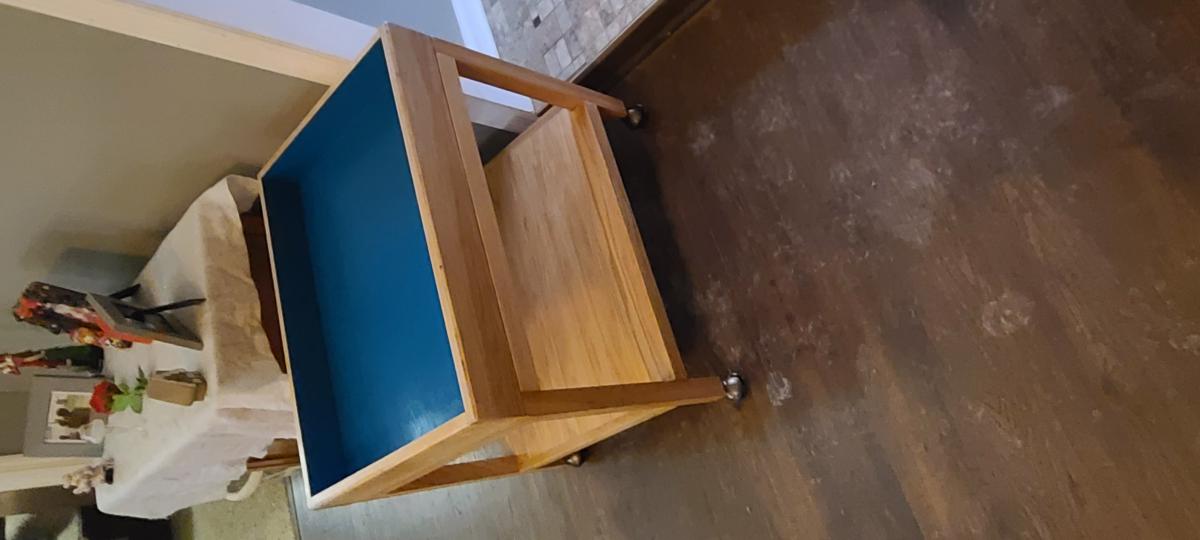
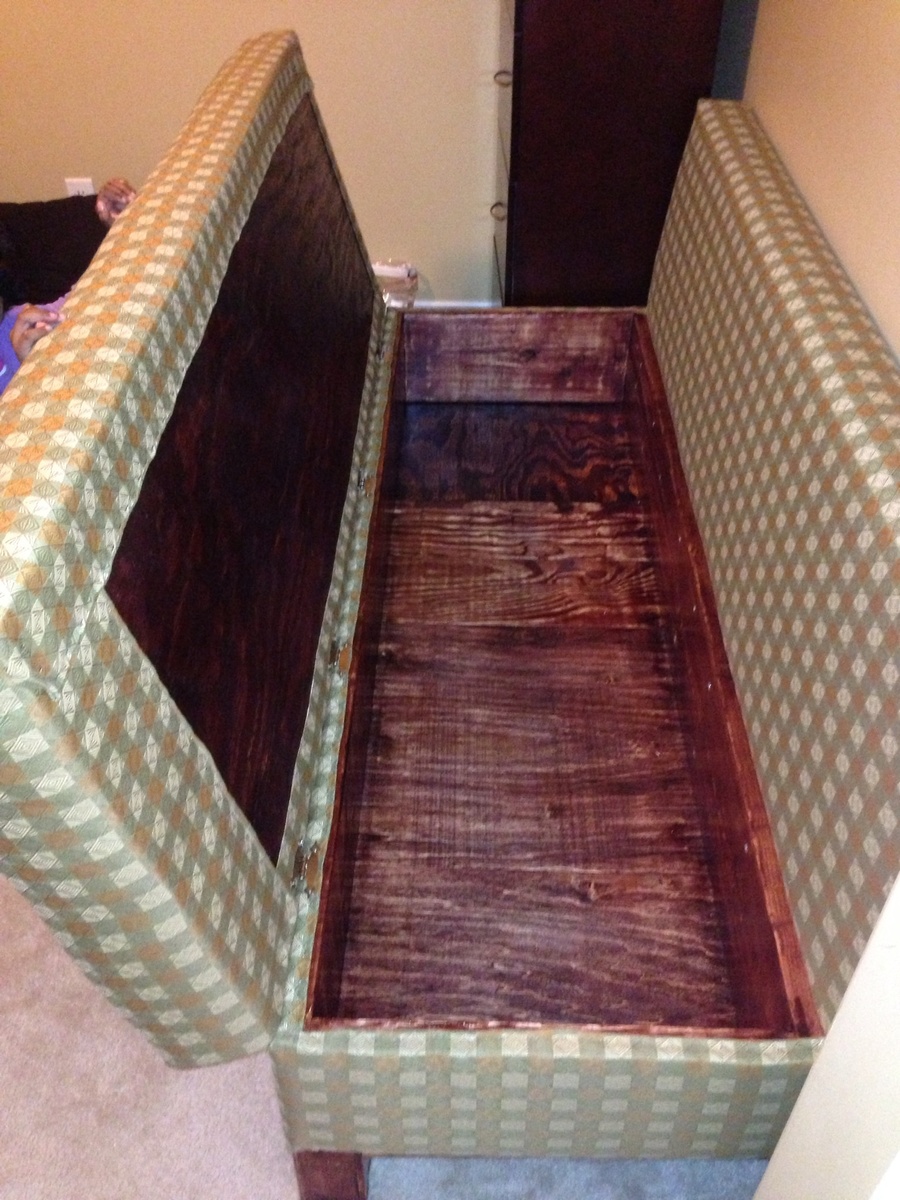
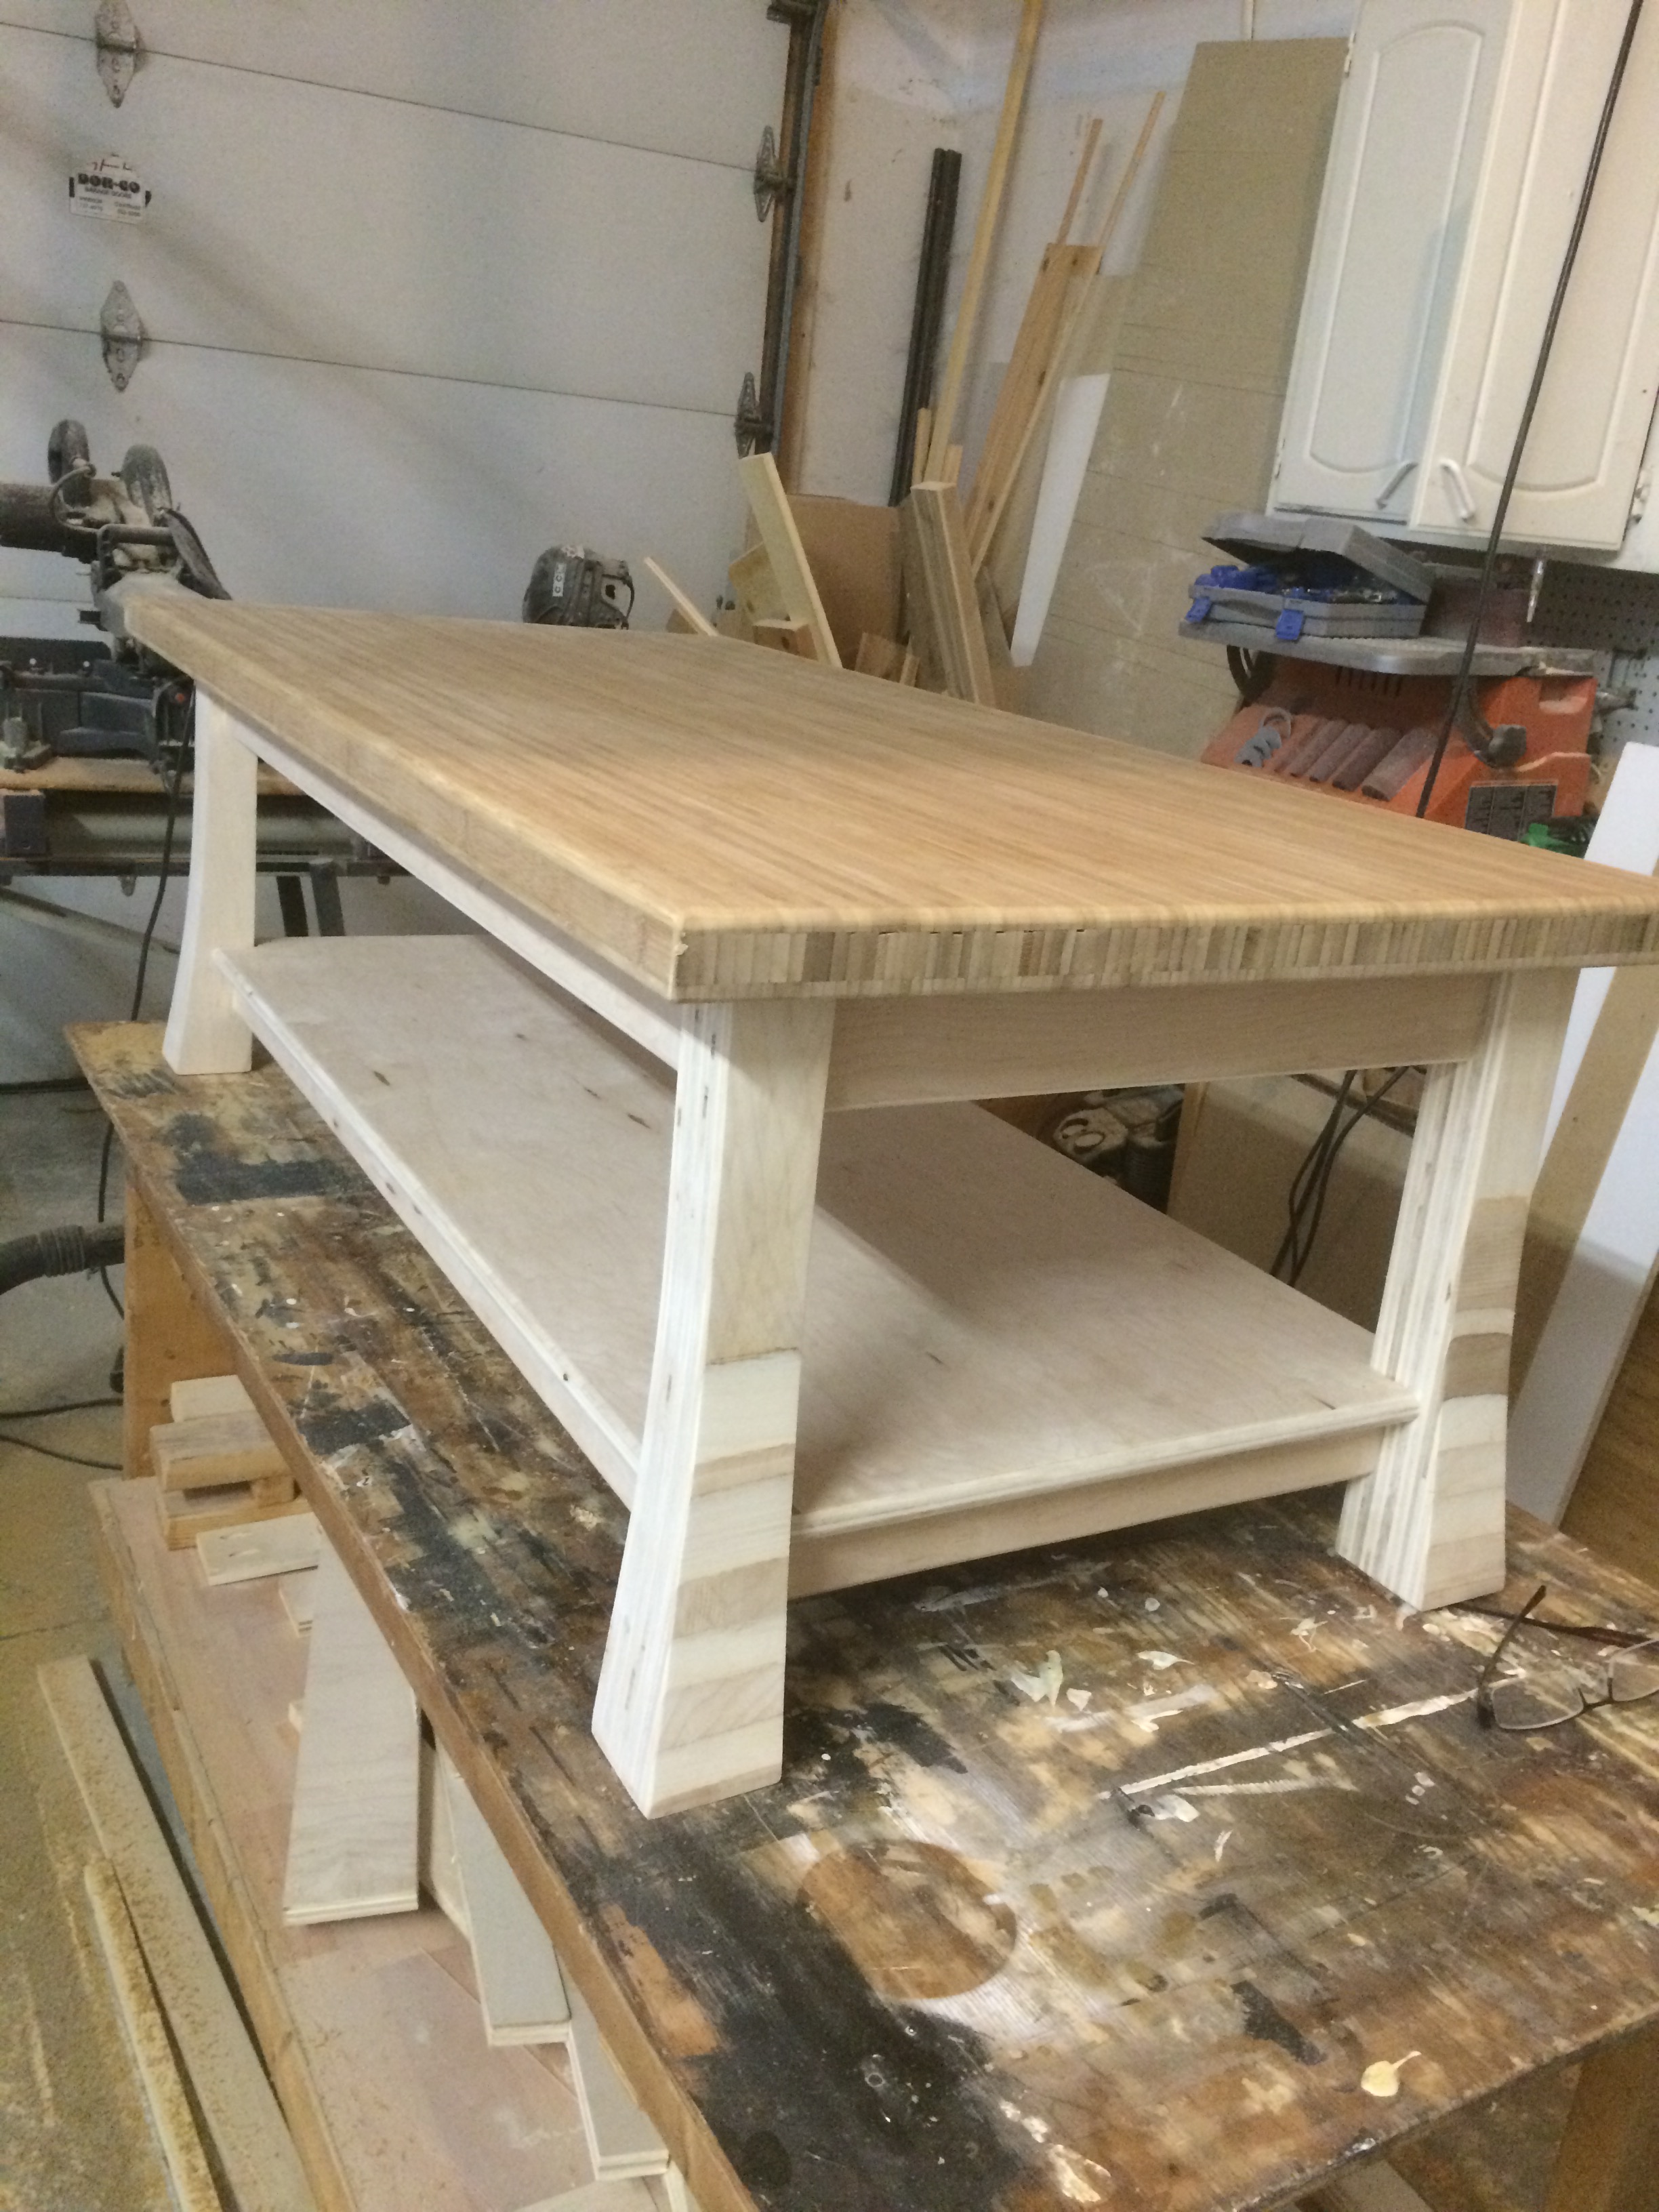
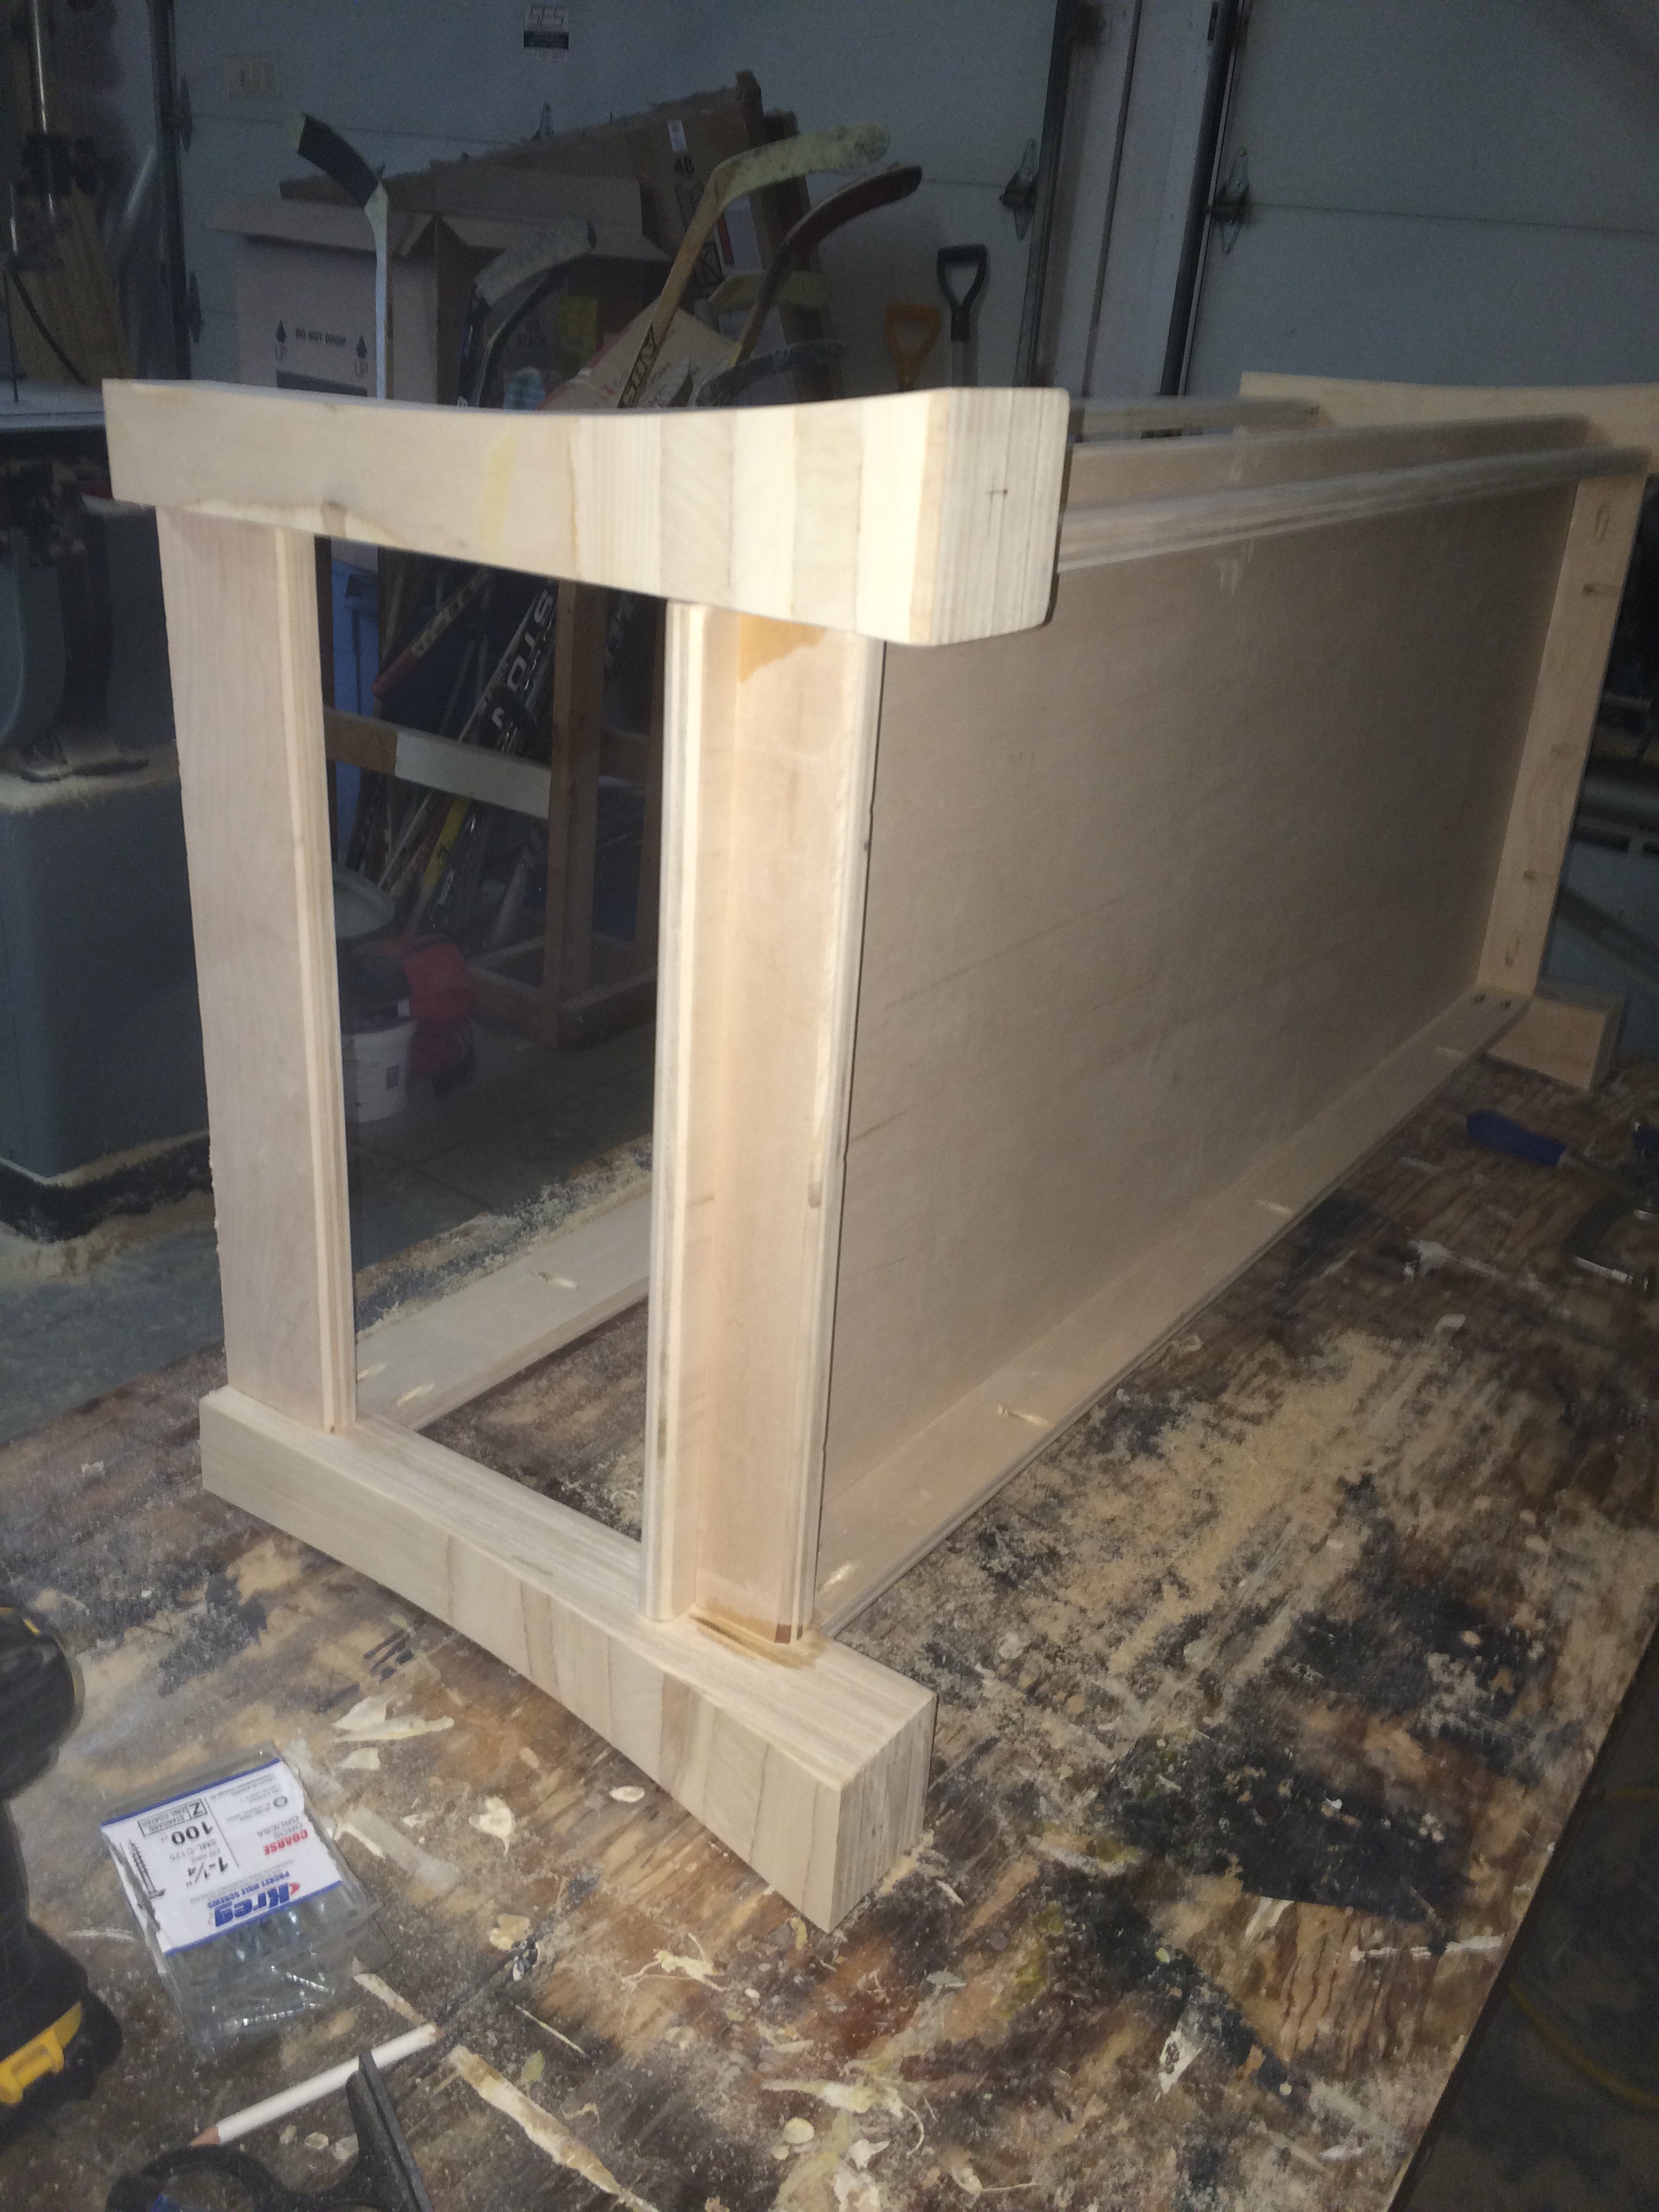
This has shelves 16in deep and the back is 10in wide. This resulted in a front profile of about 42in across and a side depth of about 30in. I also added two cross members (?) over the shelves to give it a more finished look
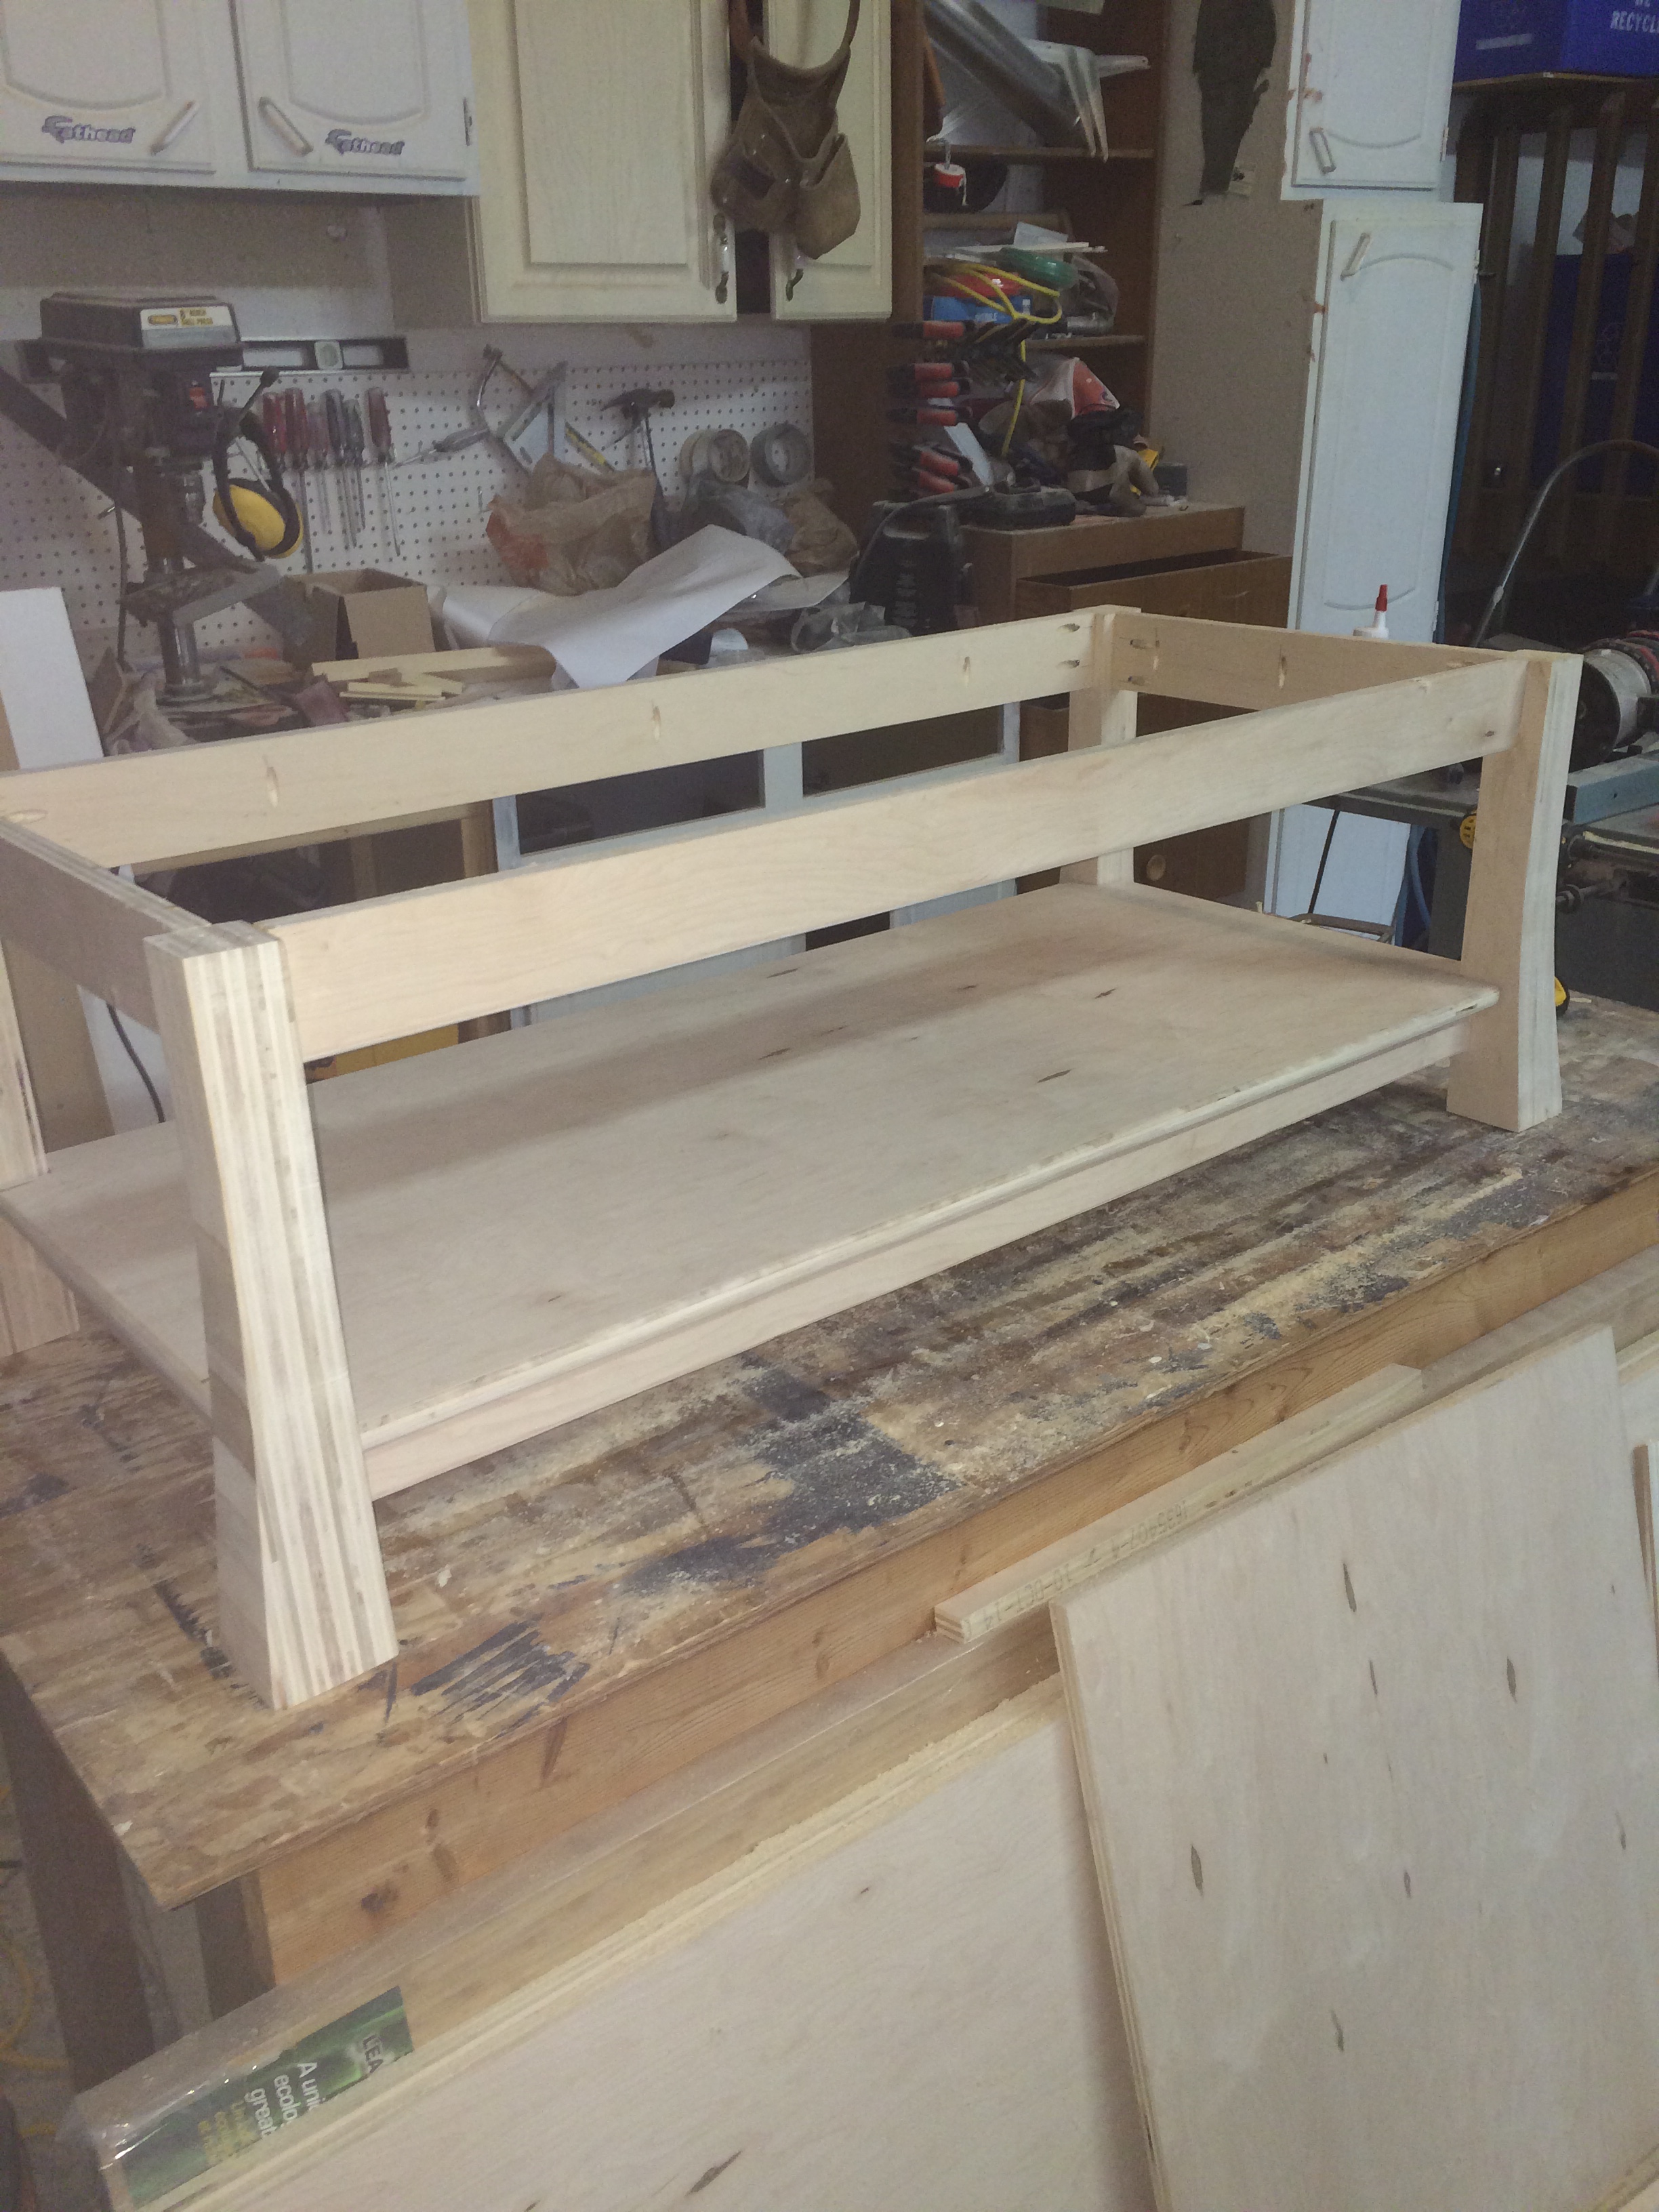
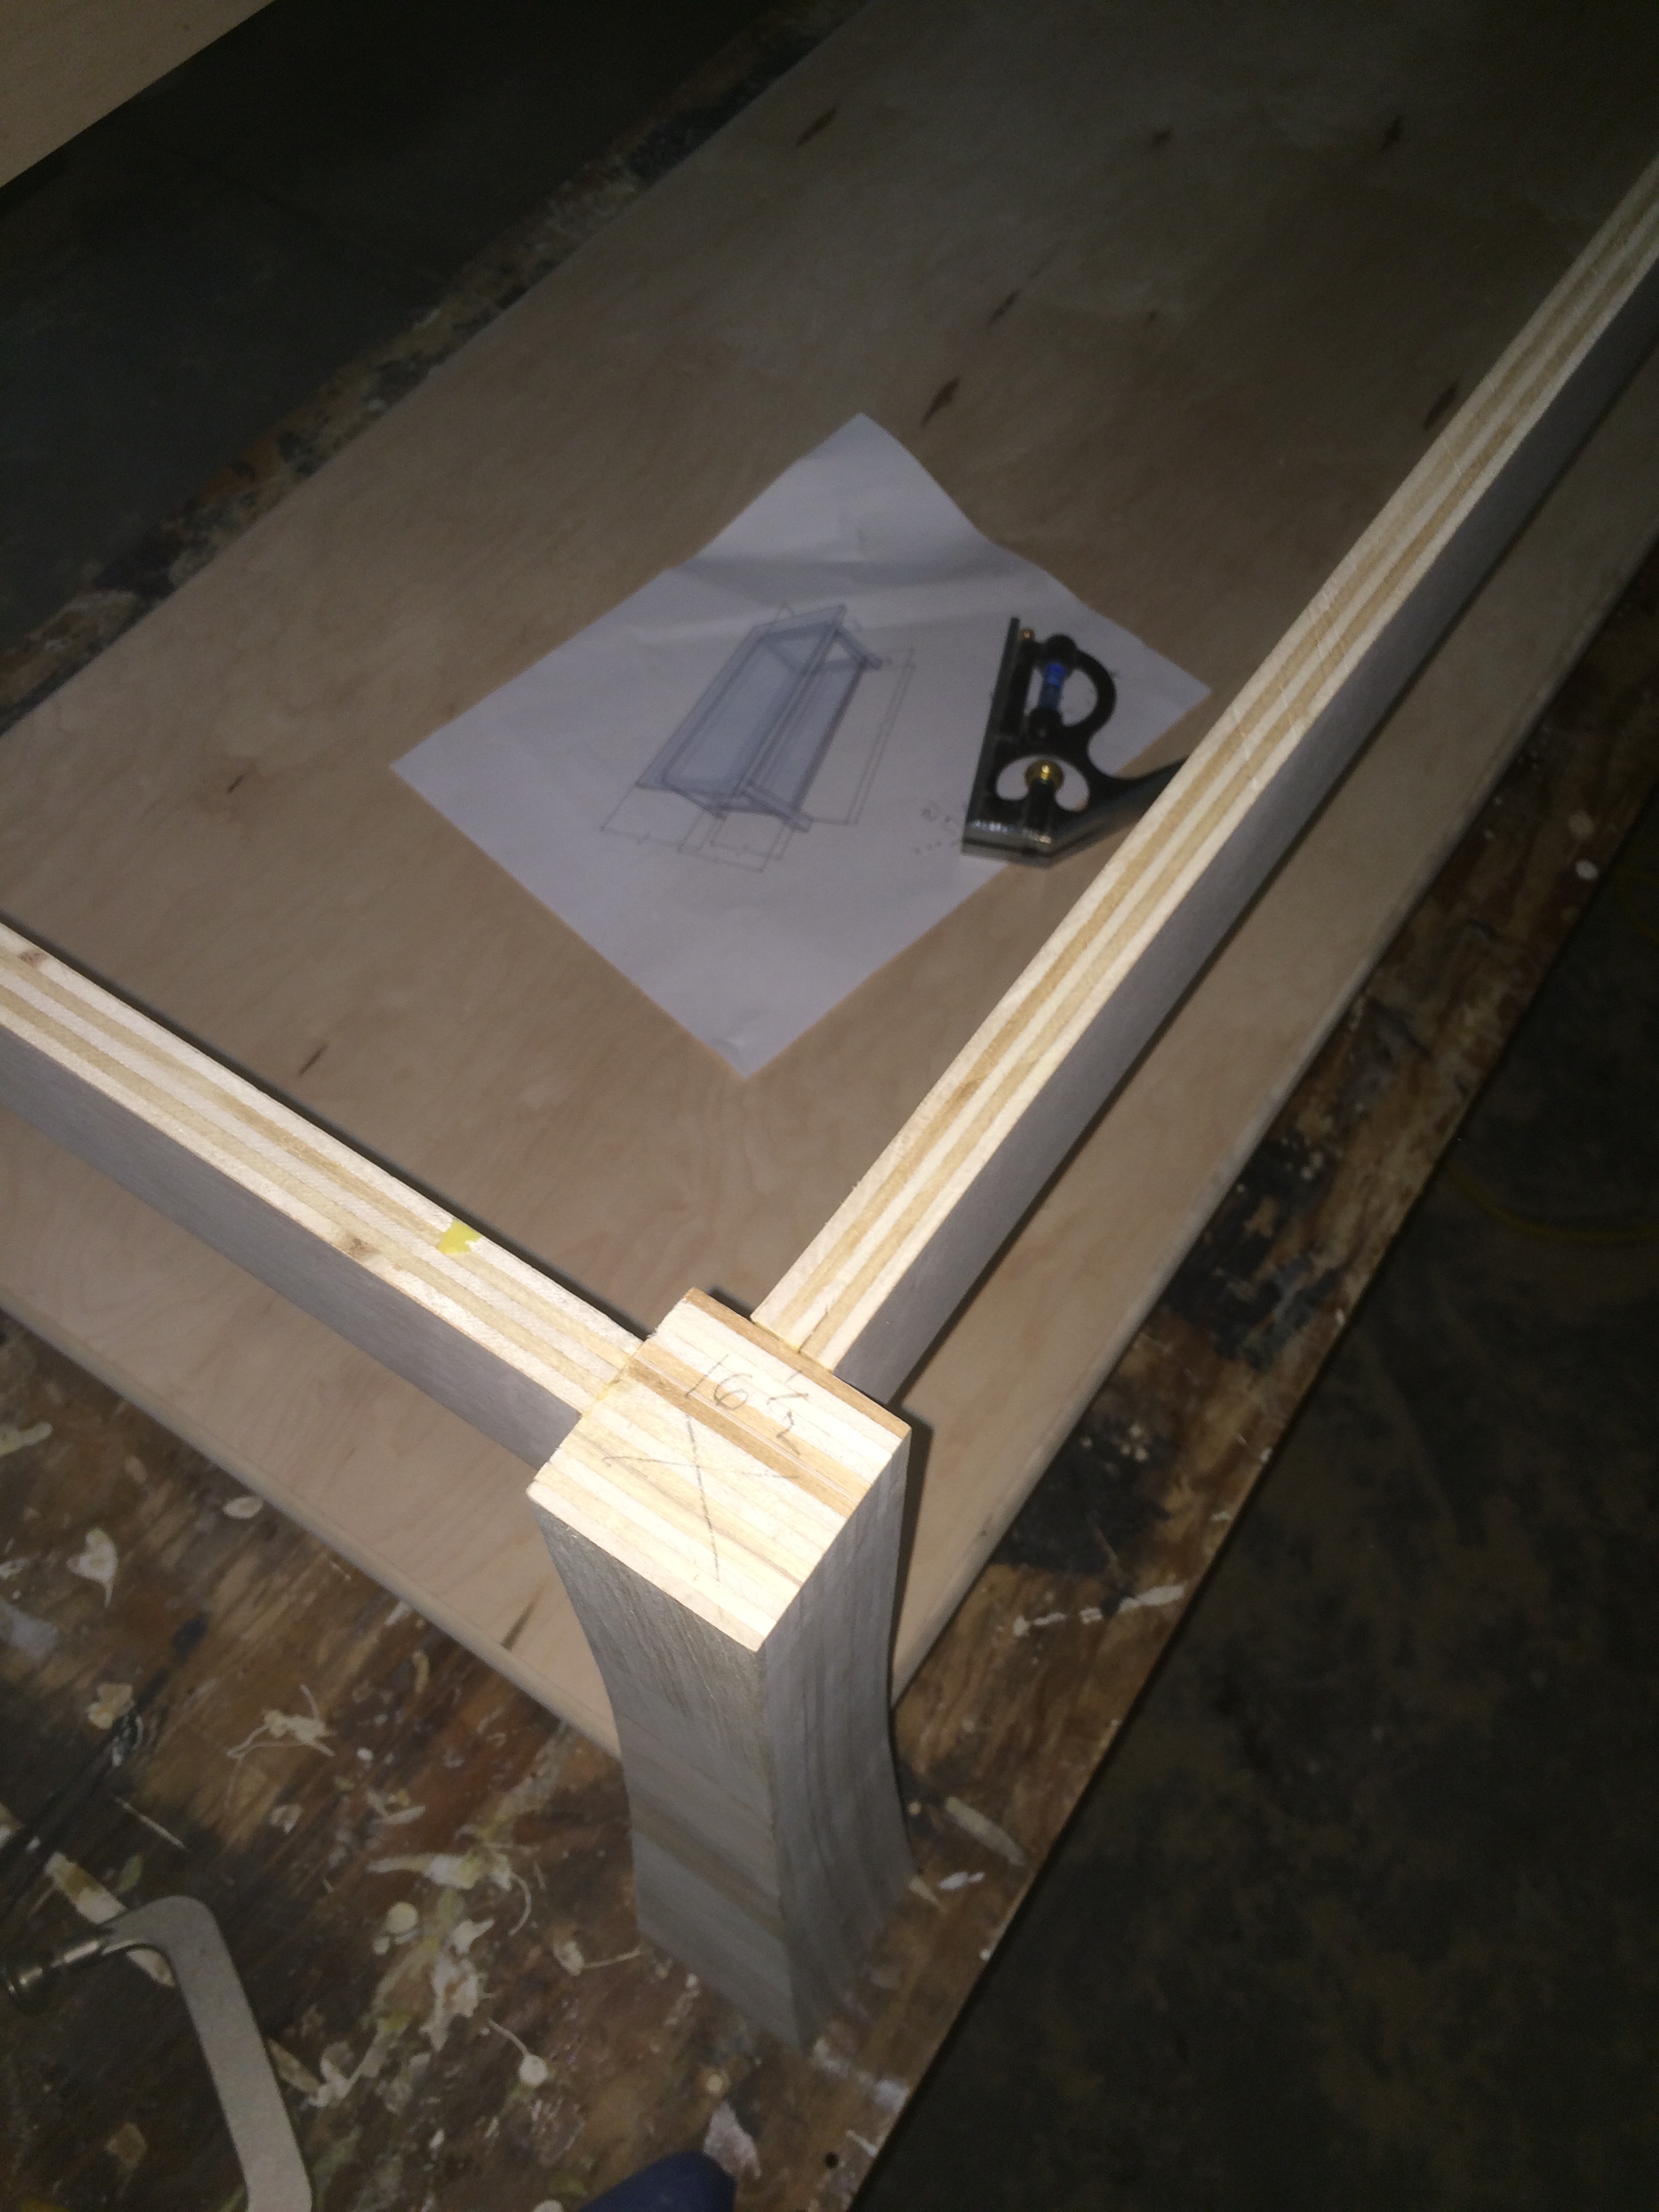
Attach the back to the shelves first and then measure the rest from there. The materials list is modified as follows: back = 1x10x6ft, shelves = 2 x 3/4in by 16in by 8ft (will be enough to make all 6 shelves).
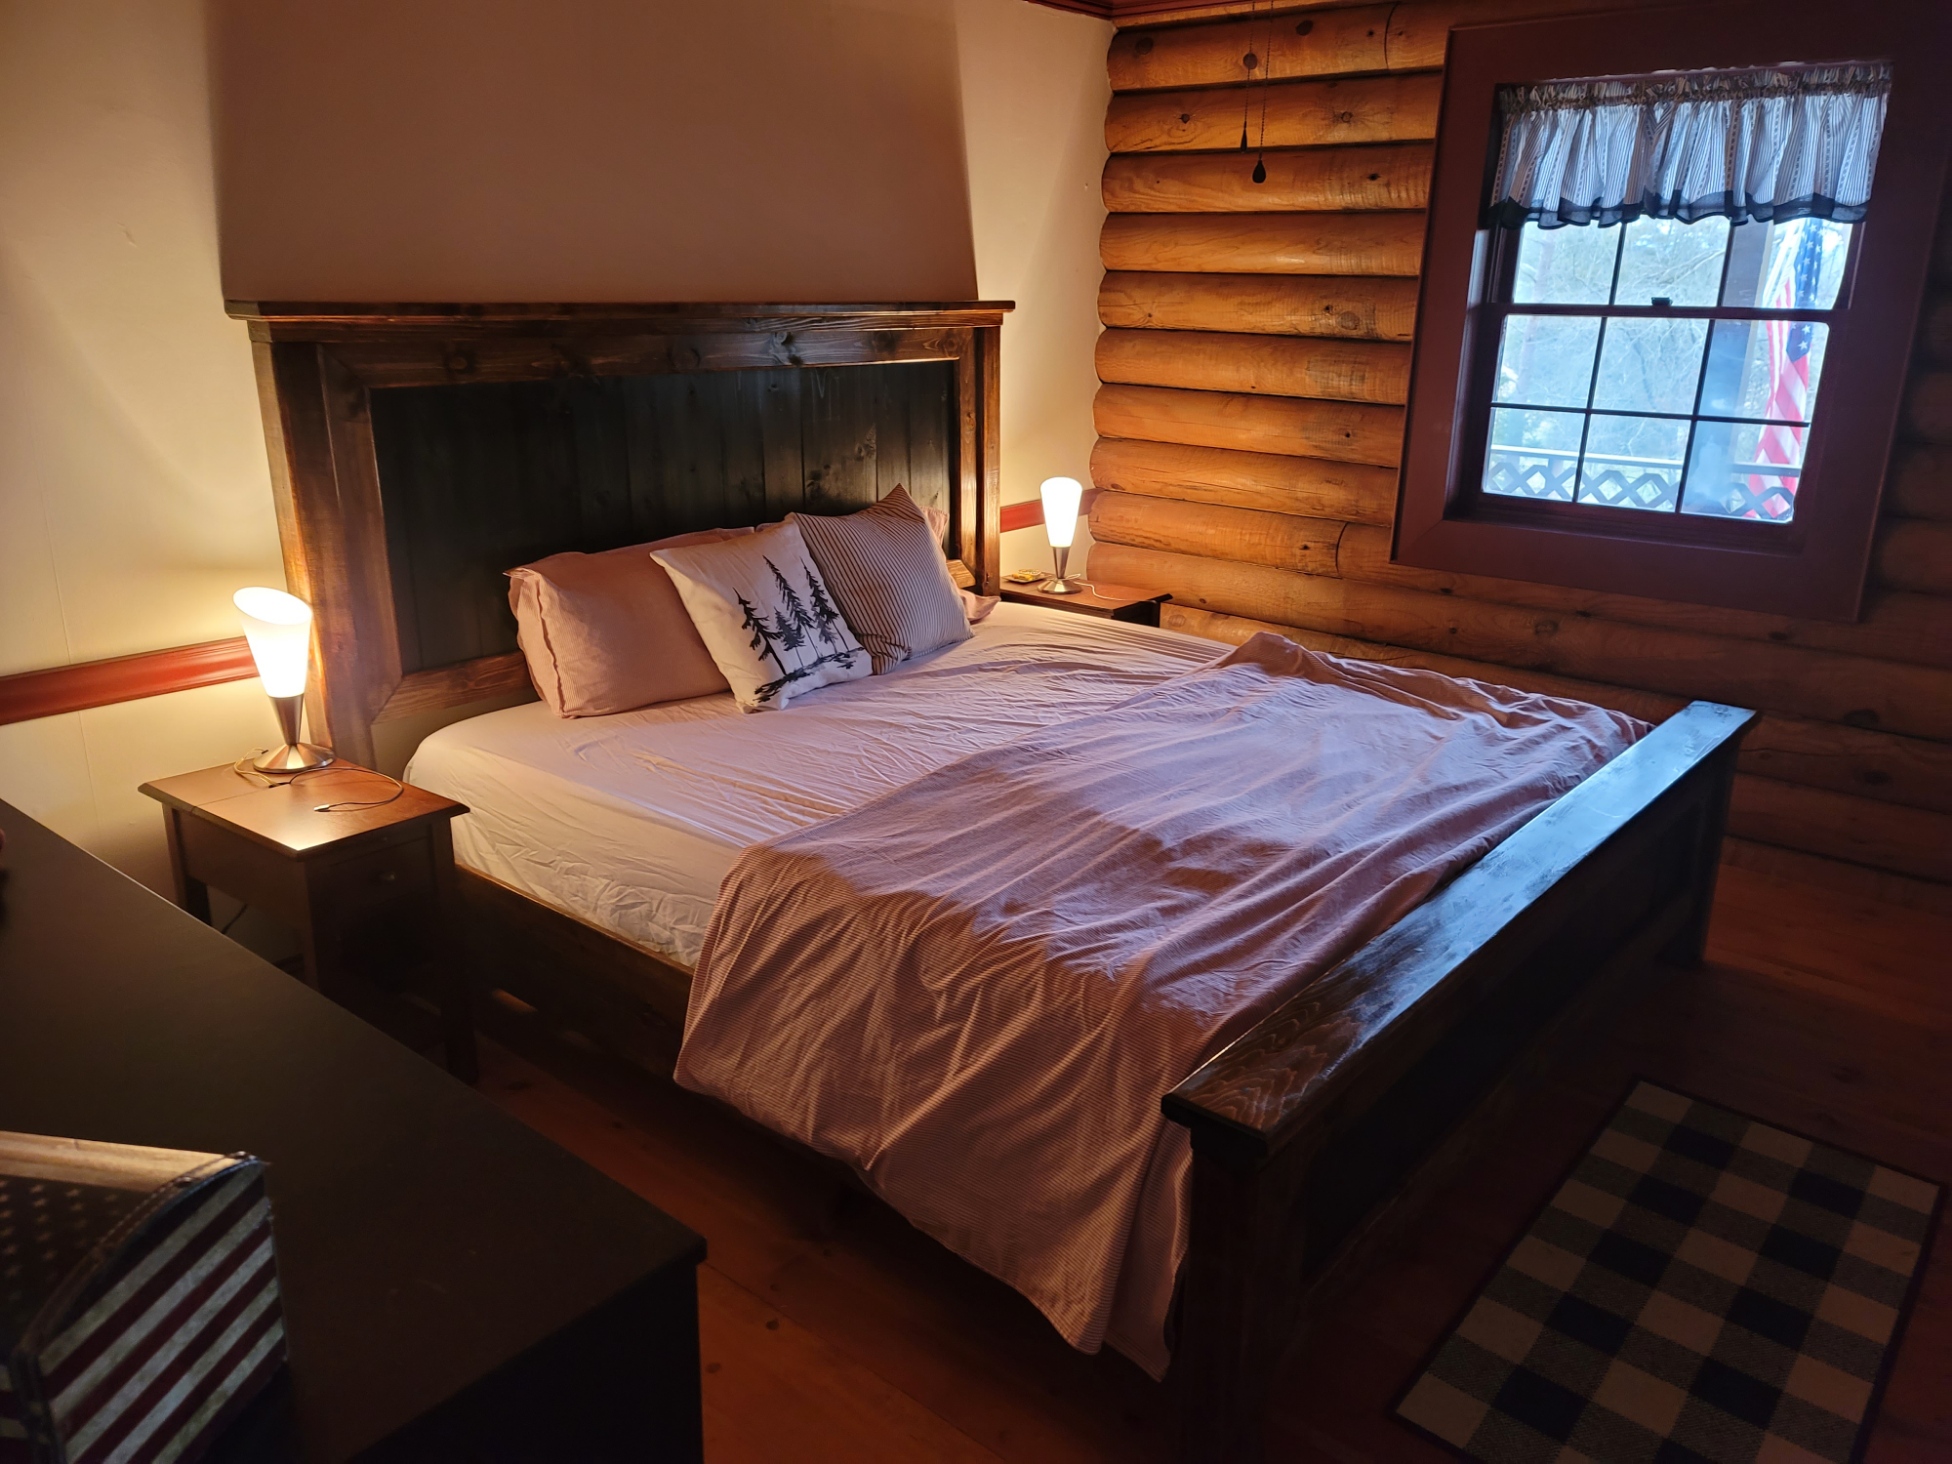
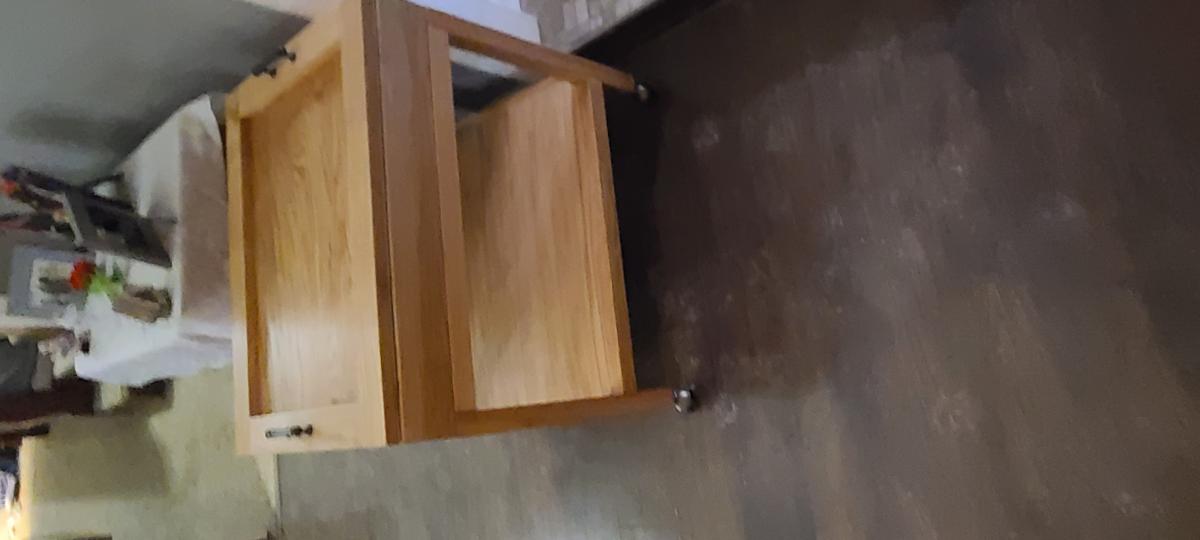
Pine back and shelves but I went with fir for the front frame/doors because the fir was much straighter and less prone to warping. It was my first time using a pocket hole jig. You gotta love that thing. The only other tool we used was a jig saw and a nice long straight edge (and a chop saw - helps with accuracy when building the frames).
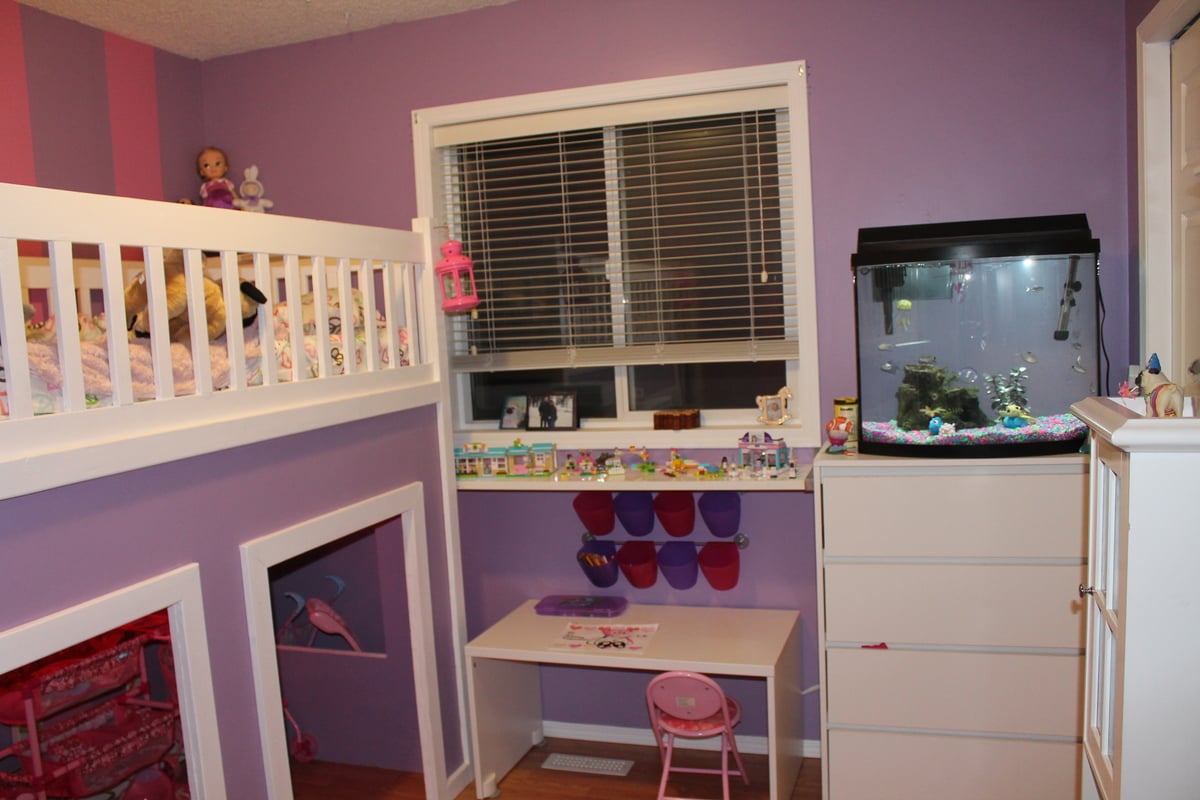
Total cost of project was around $300 but considering we couldn't find anything like this in any store, and it fit our needs perfectly, it was well worth the time, cost and effort. The pictures don't do it justice.
Thank you Ana! It was just what we were looking for.
Built from the storage bed collection as one of my sons Christmas presents. He loved it so much he cried. This is the first project that I have built and I think that it went rather well. I can honestly say I am now hooked.
Hello everyone
Just wanted to thank everyone for there great cabin beds and anna white for the amazing plans. My husband and I found them super easy to follow and create. I highly reccomend some stairs our little guy is still only 20 months hes a little short getting in and out... currently the step stools working great.
We had a blast making it !
My variation of the "Littlest tower help" plans I found here on Ana white. I loved the design of the original but wanted it to be able to easily store away when not in use. Thanks for looking, Eric
I have this wood I saved from a gate I took down for my parents. It had been up for 20 years, and the wood had taken a beating from the weather, but I couldn't throw it away. I made this Xmas tree shelf for my daughter for Christmas. I really liked the look of the raw, weathered wood. I didn't even take the lichen off. Luckily she loves the weathered look, too.
Super fun project for a beginner. I almost want to do it over now that I have a pocket hole jig. Love Ana White plans, easy to follow.
Well now that I've been off for a couple weeks during the holidays and starting to build the kids all want something. So I made them some boxes.
The 2-drawer was the most time consuming. Made from 1 Cedar picket fence.
The others 2 where just from scraps left over from other projects.
Sat, 01/03/2015 - 17:10
Love all the boxes you built for your family, great job! Those octagon shaped pulls are awesome!
This is a hybrid between the Hailey daybed and the Hailey platform bed. My son is in love with this bed! Used aluminum diamond plate for the headboard.
I had a therapist that uses sand therapy asked to build this. It's all made of oak.
This is my 3rd project from this site and I am very ecstatic with the result. Though I am from a family of carpenters ( father and brother are carpenters) I am an amateur at this. I followed the plan with a little modification for 24 X 72 foam padding. Additionally I added batting to the top and side of the foam pad to add extra cushion.
Thanks for the plans. Our daughter loves this bed and I am so proud of my husband for building it.
Absolutely love the finish on this table.
Inspired by Ana White's Farmhouse Counter Stools. I contoured the seat tops and added supports just below the the seat. I used dowels and glue for joinery rather than using pocket screws.
My husband and I just bought our first home and in the kitchen there was a large wall that needed a large piece of furniture. To purchase something like what we needed in a store would have been outrageous! I found a piece of furniture that I loved and that would be the perfect fit for that wall on your website. I printed it out and gave it to my dad, who is pretty crafty himself and asked if he could make it for us. He looked at it and said sure. We made a few adjustments to your design. This is how it turned out. I love it and it looks perfect in our home!! Thanks for sharing your ideas!!
For some time I've wanted to build a sturdy coffee table for our family room. I've also been experimenting with and bulidng lots of furniture for the kids rooms with low cost, paint grade, maple veneer plywood. I love the ease of working with this material and results have been great. I never thought that raw edged plywood furniture would have a place outside of the kid's bedrooms until I saw this slab of bamboo counter top at our local big box store and I got the idea for this piece. Although I still would'nt consider this "fine furniture", I think it turned out pretty cool. The design is my own, and it's the first time I've tried flaring legs in two directions which was real easy to do with a bandsaw. I have the plan drawn up in sketchup if anyone is interested.
Fri, 01/09/2015 - 13:33
What a cool project! Love the bamboo top! To do your table legs, did you glue the plywood pieces into a block and then cut with the band saw? Beautiful job!
Fri, 01/09/2015 - 14:11
Hey Thanks for the comment. Yes the legs are just 4 pcs. of 3/4" plywood glued together then cut out on the band saw.
Comments
Miaya39047
Tue, 02/19/2013 - 19:26
Beautiful!
Beautiful!