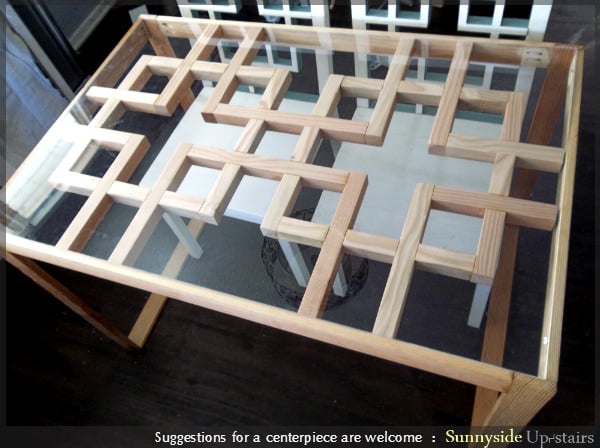
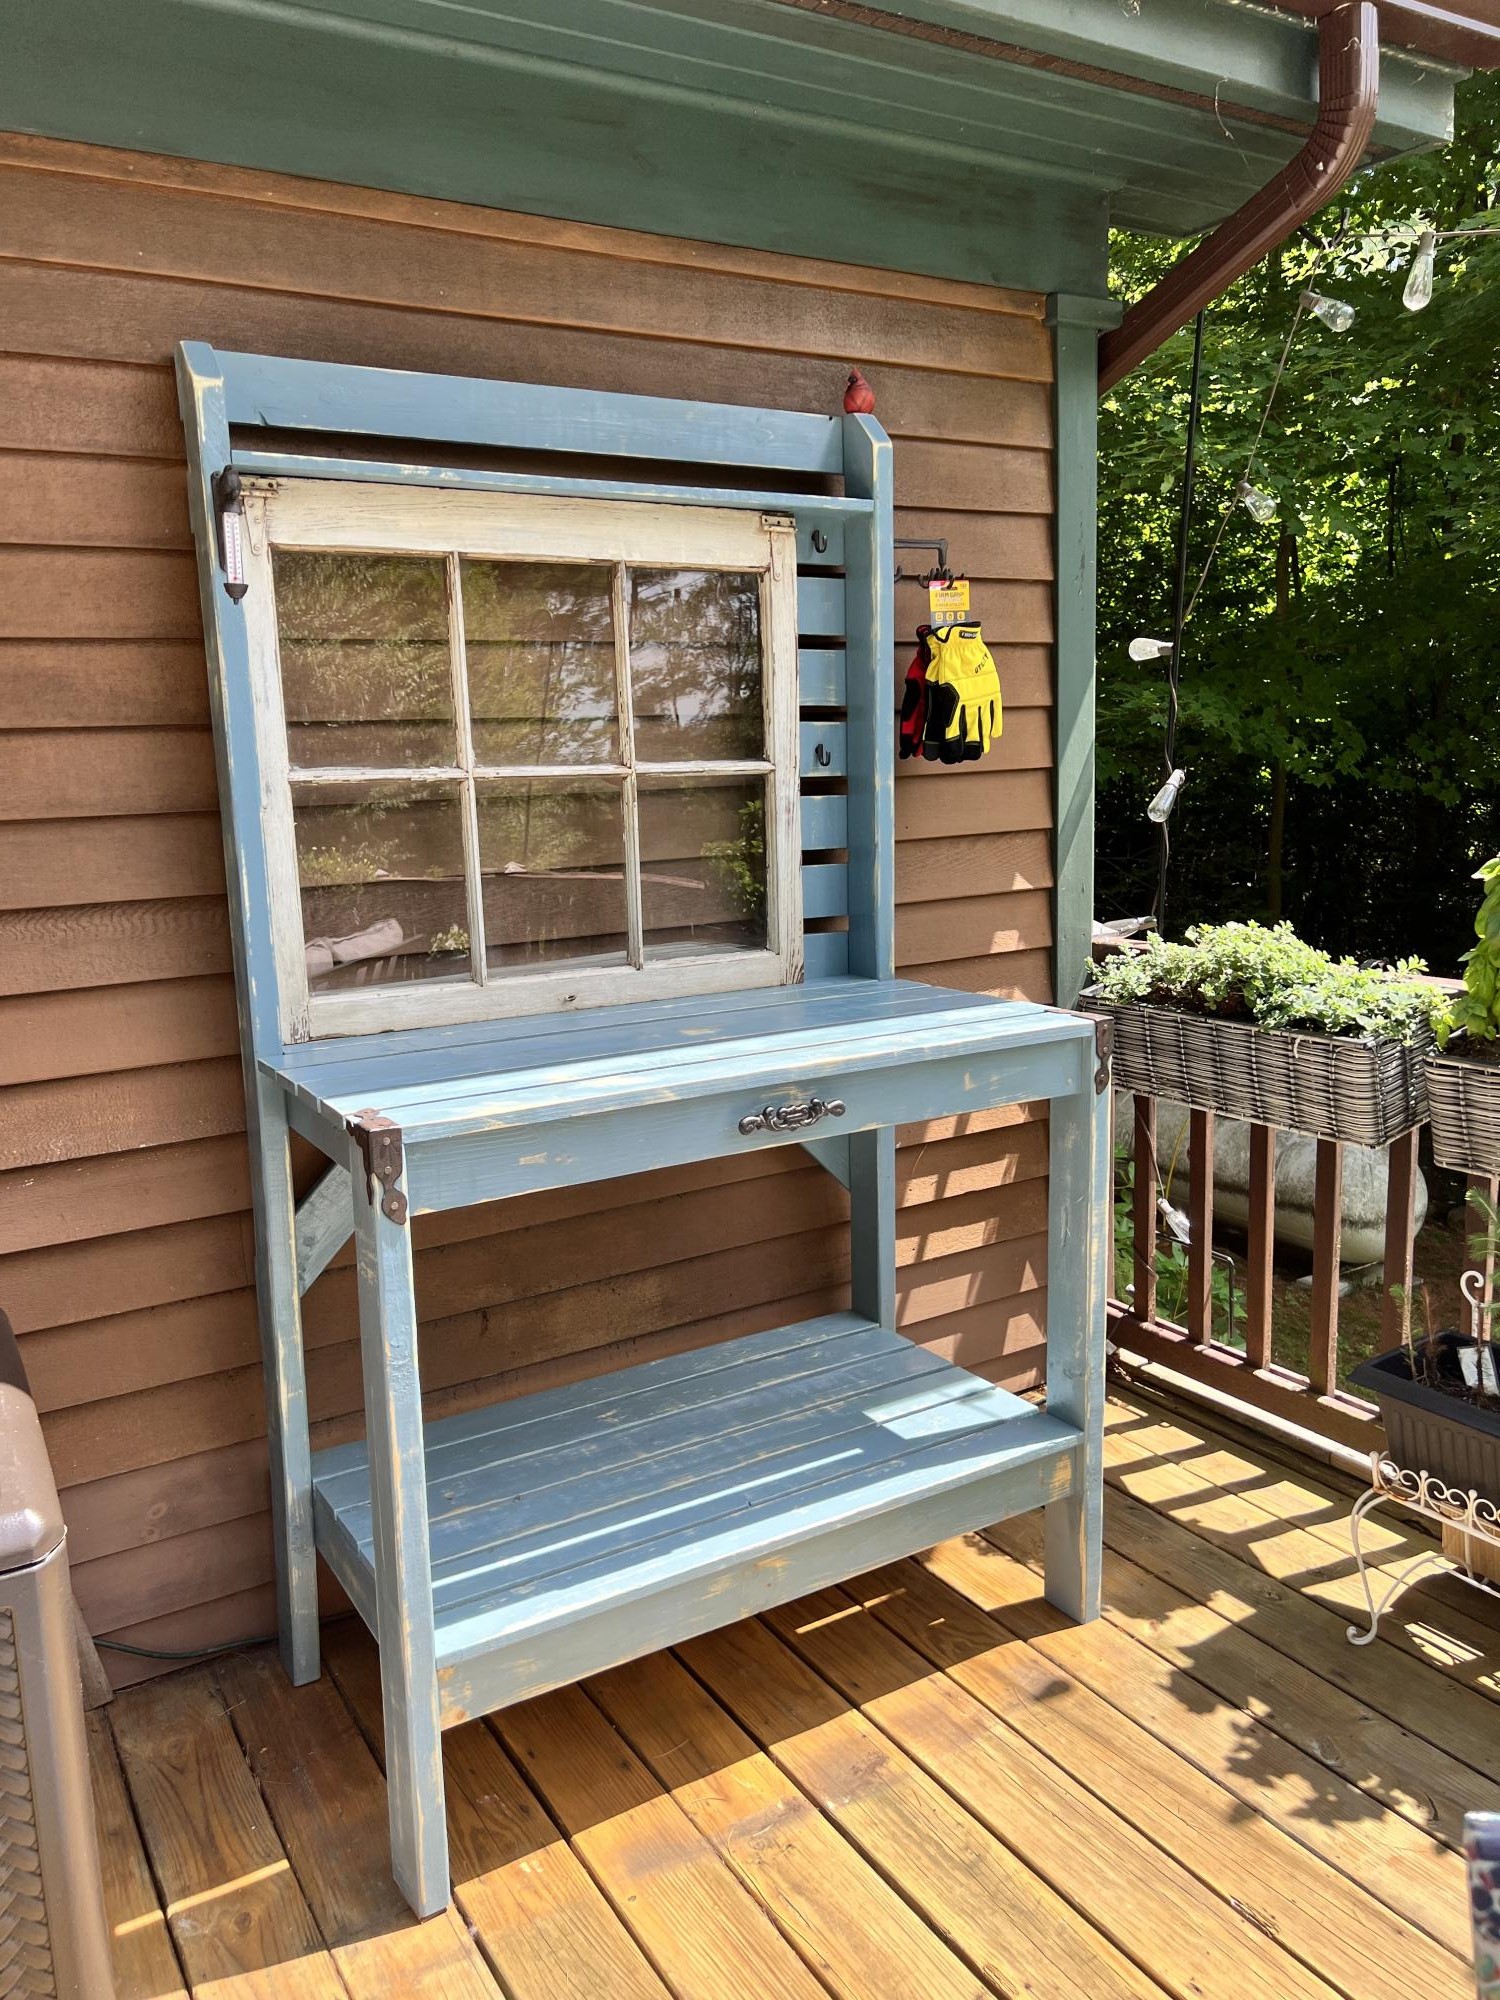
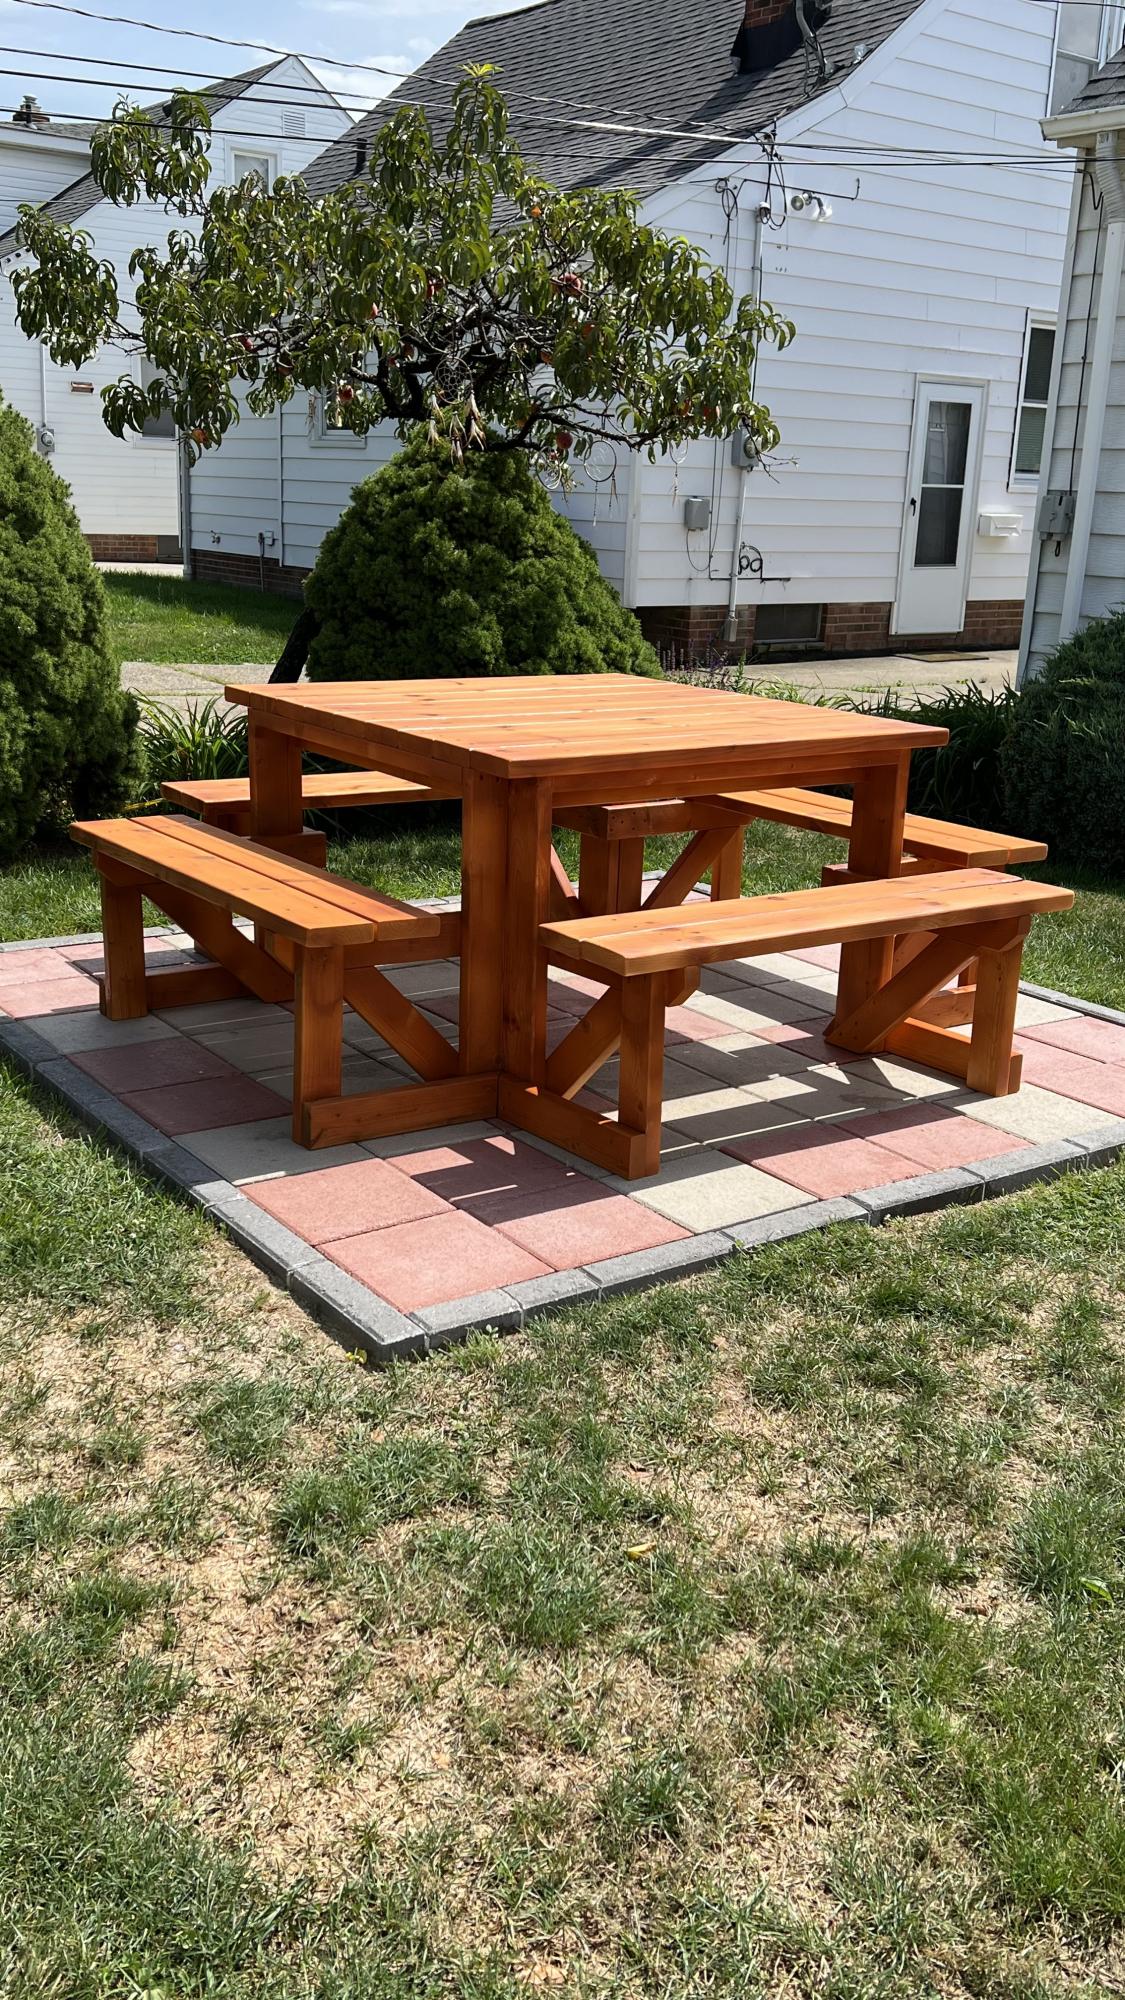
2x4 Outdoor Coffee Table
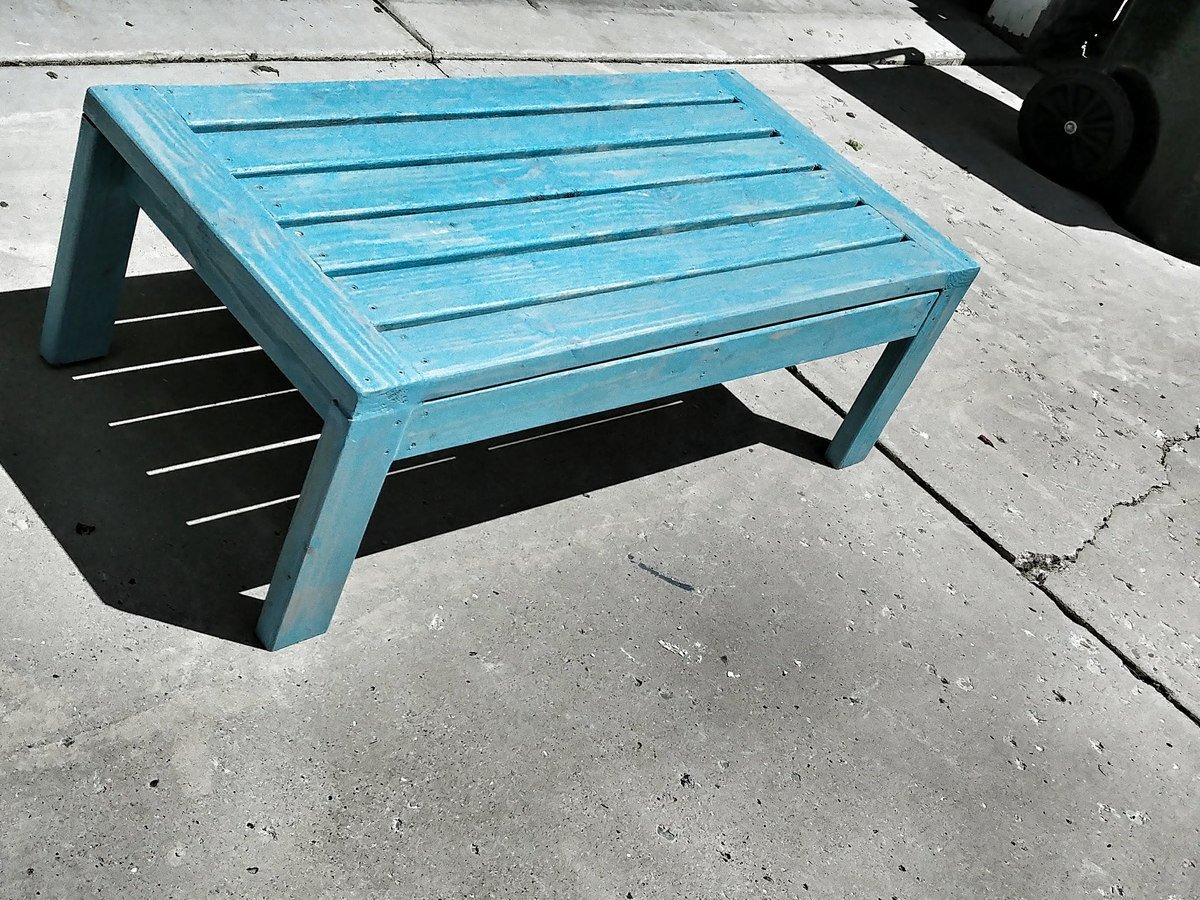
Helped to complete the patio
Built from Plan(s)
Estimated Time Investment
Day Project (6-9 Hours)
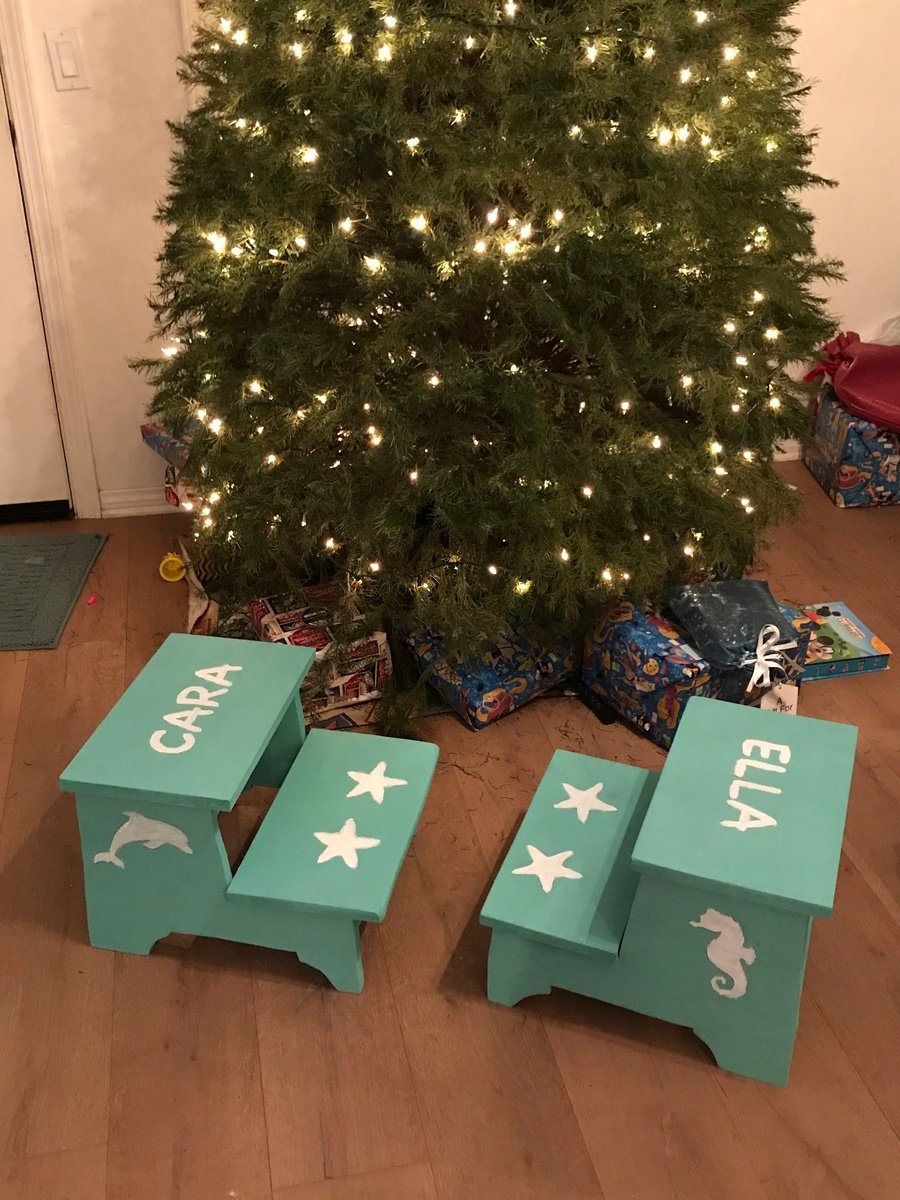
Finish Used
Rust-Oleum weathered turquoise stain
Recommended Skill Level
Beginner


Comments
Ana White
Tue, 10/30/2018 - 10:59
What a beautiful color!
What a beautiful color!