Community Brag Posts

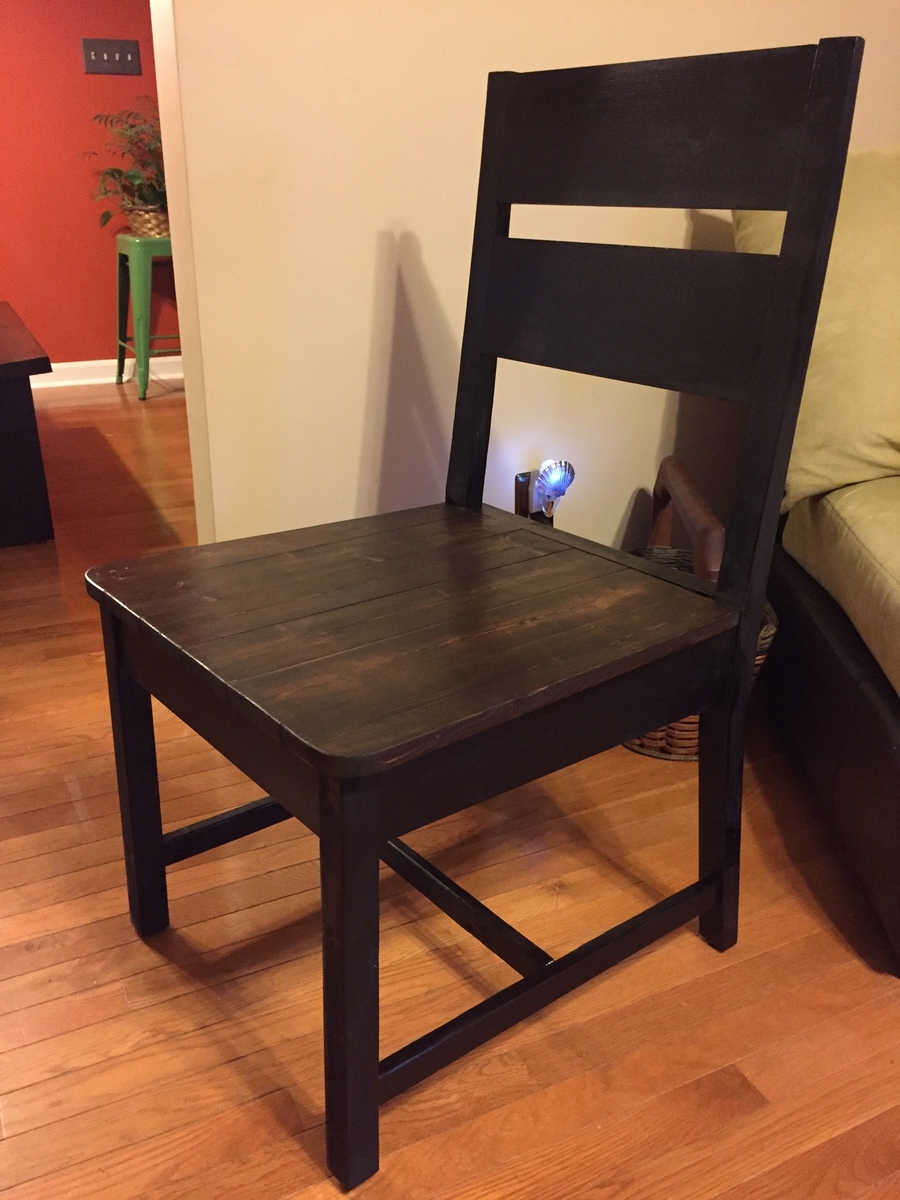
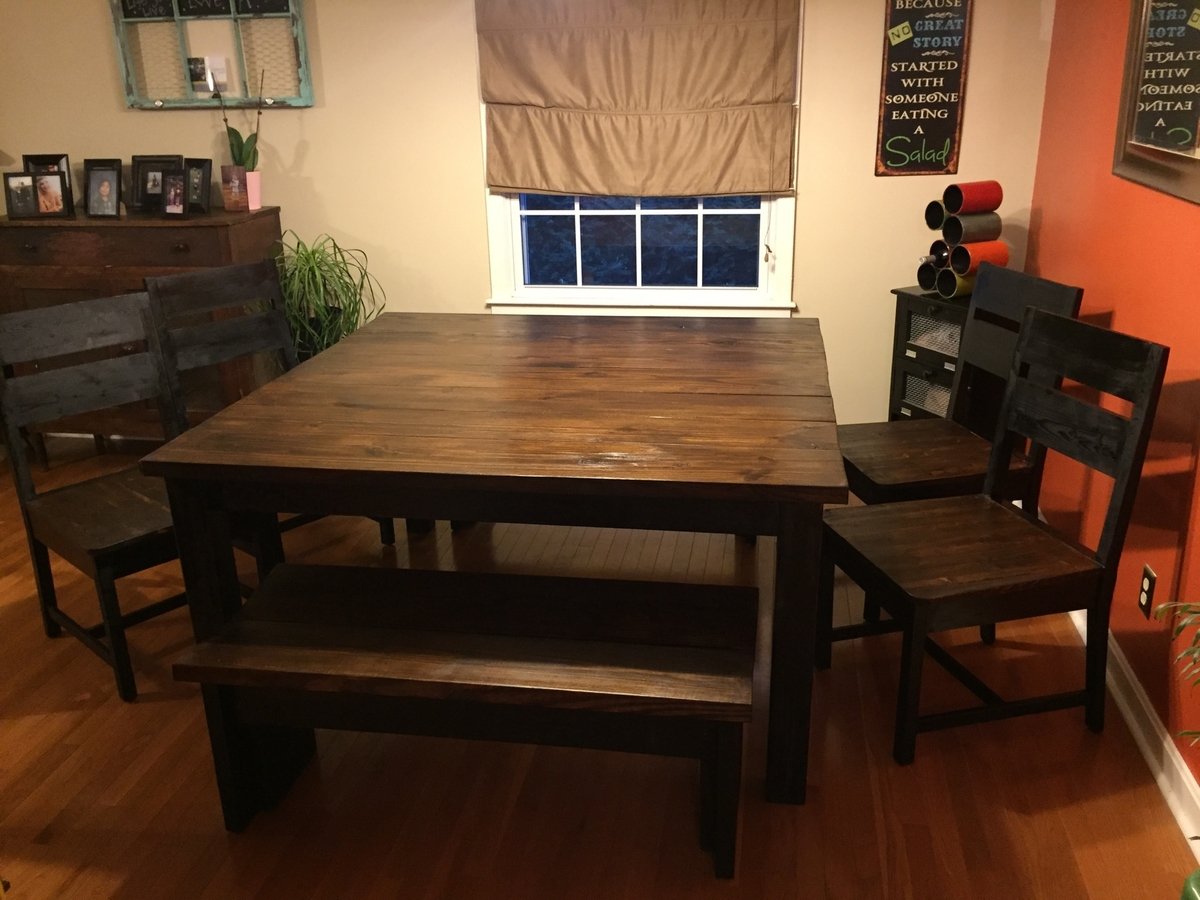
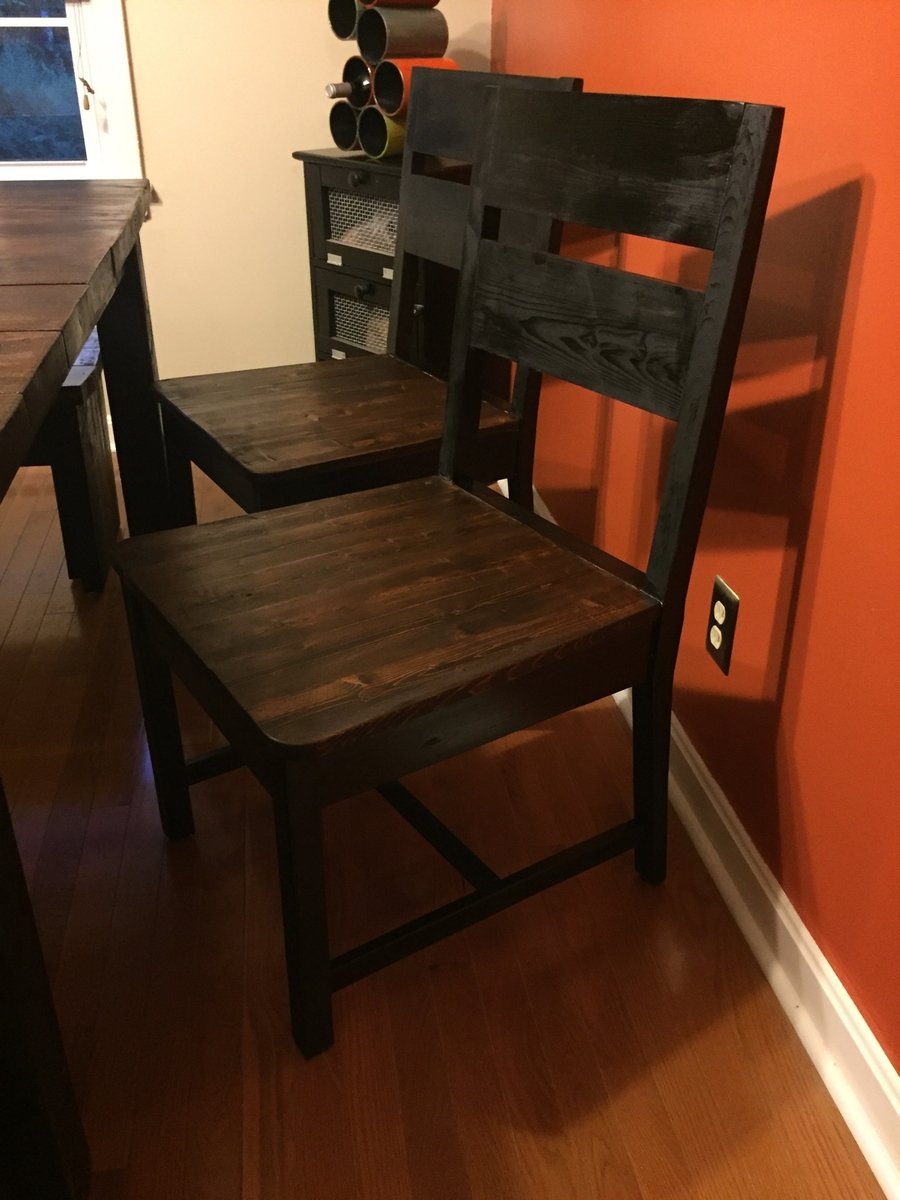
Dining room set (with Classic Chairs made Simple)

Submitted by Anonymous (not verified) on Mon, 07/18/2016 - 10:16

This was my first attempt at making furniture...but it turned out GREAT!  My fiance was about to buy a VERY similar dining room set for $1300 before I stopped her and insisted that I could build it myself, finish it to match our kitchen/dining room, and save a TON of money!

Built from Plan(s)
Estimated Cost
$350 total
Estimated Time Investment
Week Long Project (20 Hours or More)
Finish Used
Minwax Expresso Stain plus 2 coats of Minwax Polycrylic on table top and seats
Minwax Classic Black Polyshades on frame
Recommended Skill Level
Beginner

Comments

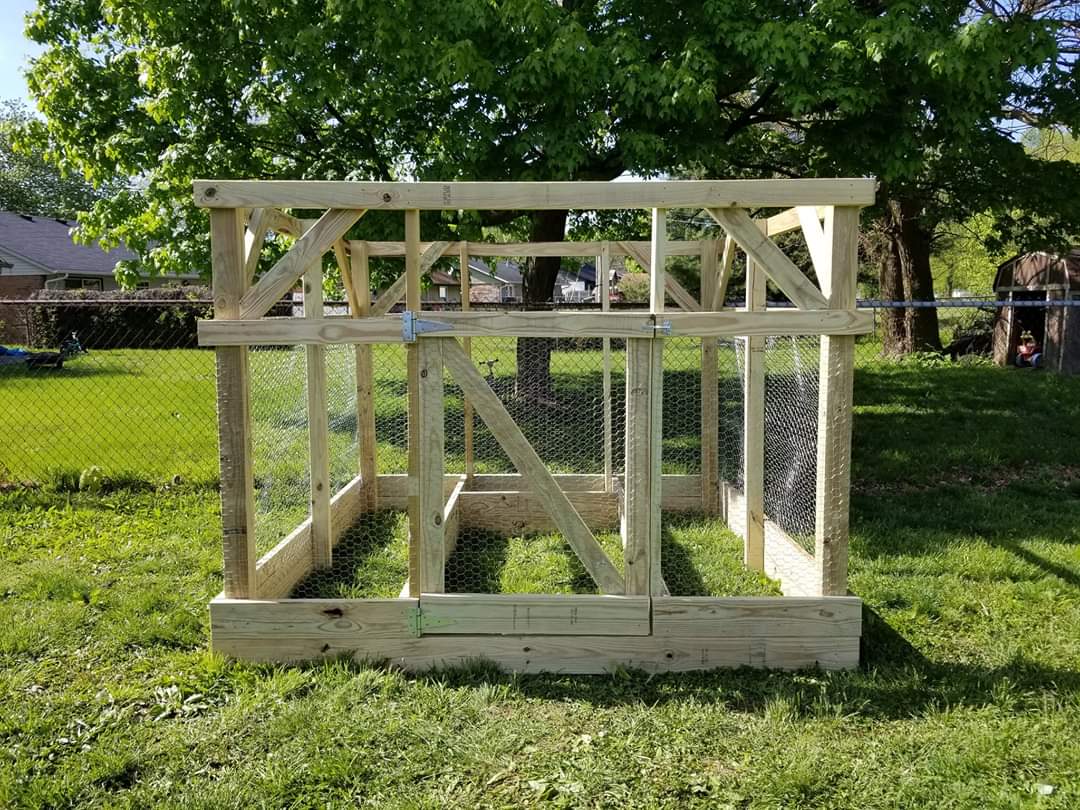
Our garden enclosure!

We decided that we wanted a raised garden and found the plans here on Ana's site that we really liked. The plans were really easy to follow and it only took about a day and half for our kids and myself to build for my wife. Only issue I had was the door... that is getting it square but I figured it our later after looking at it long enough. The two 2 x 4's the door sits in between were not level. So I have got to adjust them and the door in the coming days to correct it. Other than that we absolutely love it! Thank you for providing the plans to all these projects. This is the second thing that I have made from this site. I will be making another post later on regarding the other project! I might add I have never done anything like this ever and honestly I think it turned out great :-)

Built from Plan(s)
Estimated Cost
$250
Estimated Time Investment
Day Project (6-9 Hours)
Recommended Skill Level
Intermediate

DIY Phone Stands

Submitted by Anonymous (not verified) on Mon, 01/08/2024 - 10:05

Quick and easy phone holders

Fireman Joe

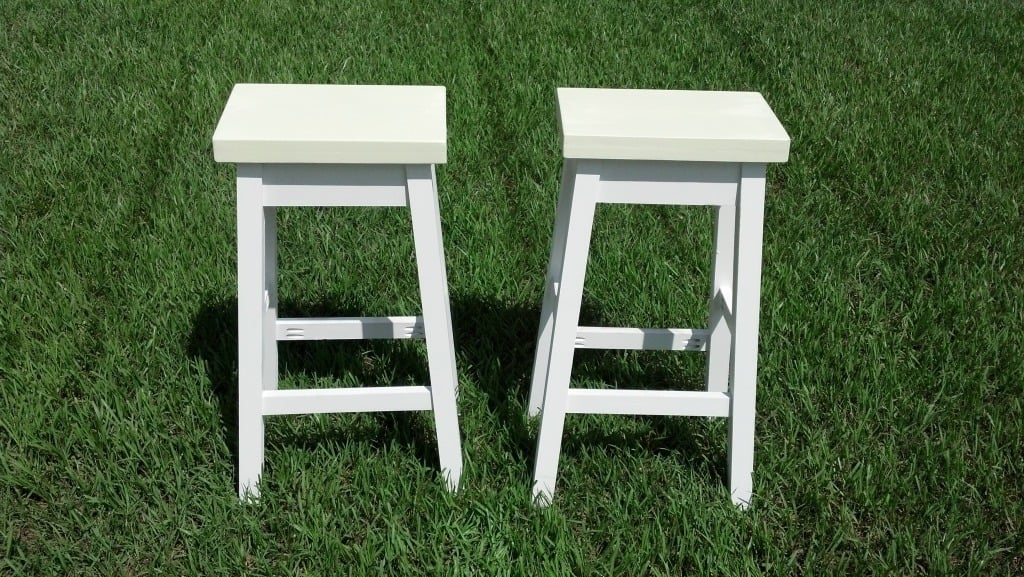
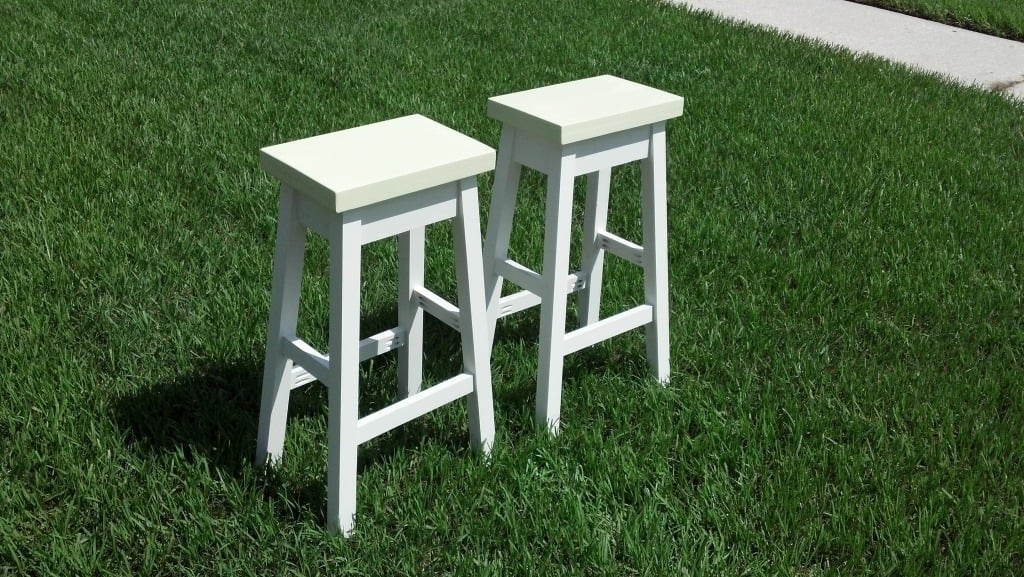
Bar Stool

Submitted by beansurfin on Thu, 07/05/2012 - 17:15

My wife and I needed bar stools for the kitchen and could not find ones we liked. Also, finding ones that were the height we wanted was a challenge. So, after seeing the plans for the Simplest Stool we decided to make them. It was really quite simple with the plans given. Even the angle cuts were not that bad. Thanks for the plans for this awesome stool.

Built from Plan(s)
Estimated Cost
<$50
Estimated Time Investment
Afternoon Project (3-6 Hours)
Finish Used
Painted with urethane top coat
Recommended Skill Level
Beginner

Comments

Jeromy (not verified)

Wed, 01/02/2013 - 10:35

Hi there
My wife loves your design so guess I'll be donning the old tool belt soon...!
Are there any plans of these to get me going?

Jeromy (not verified)

Wed, 01/02/2013 - 10:37

Hi there
My wife loves your design so guess I'll be donning the old tool belt soon .......!
Are there any plans of these to get me going?

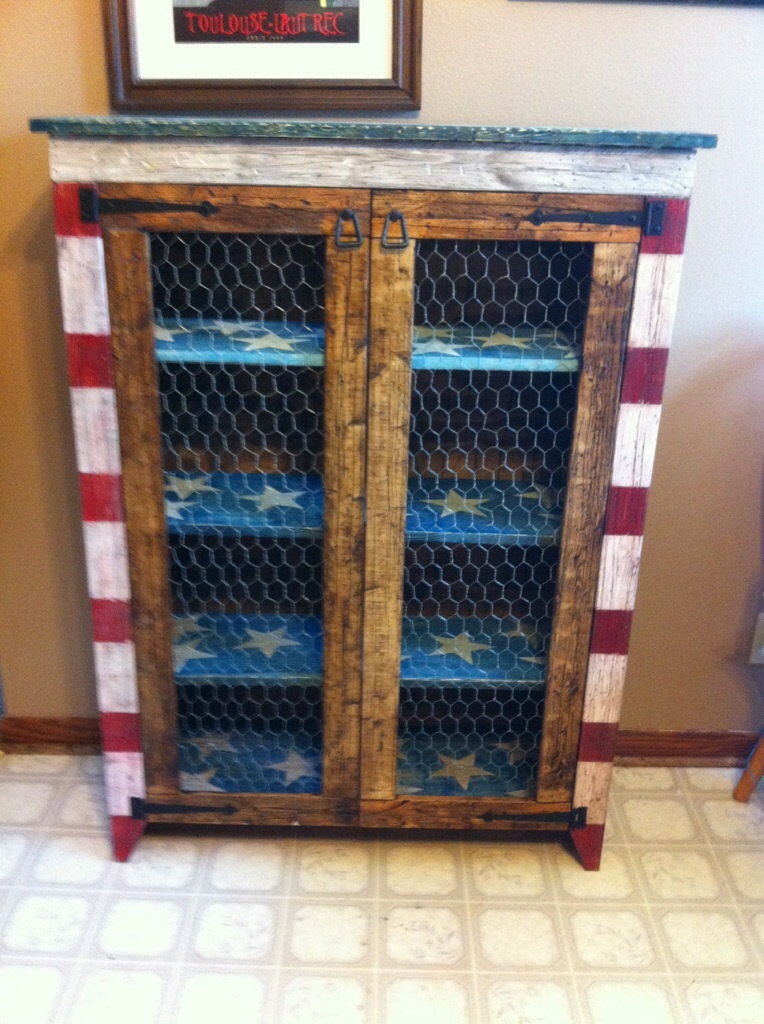
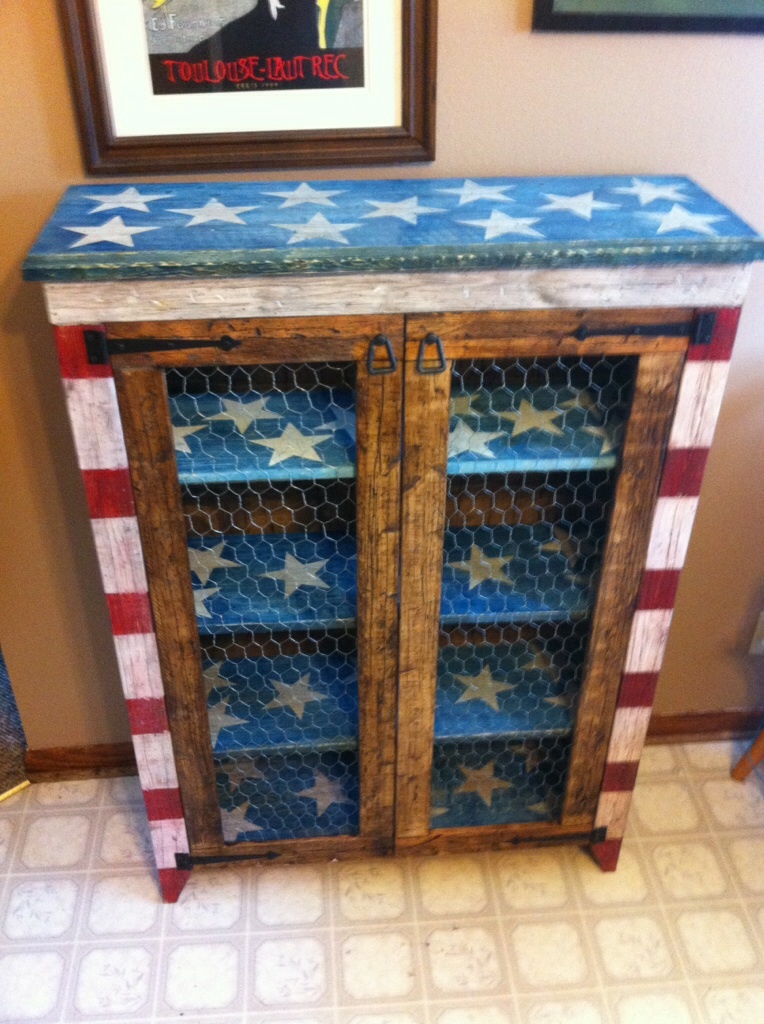
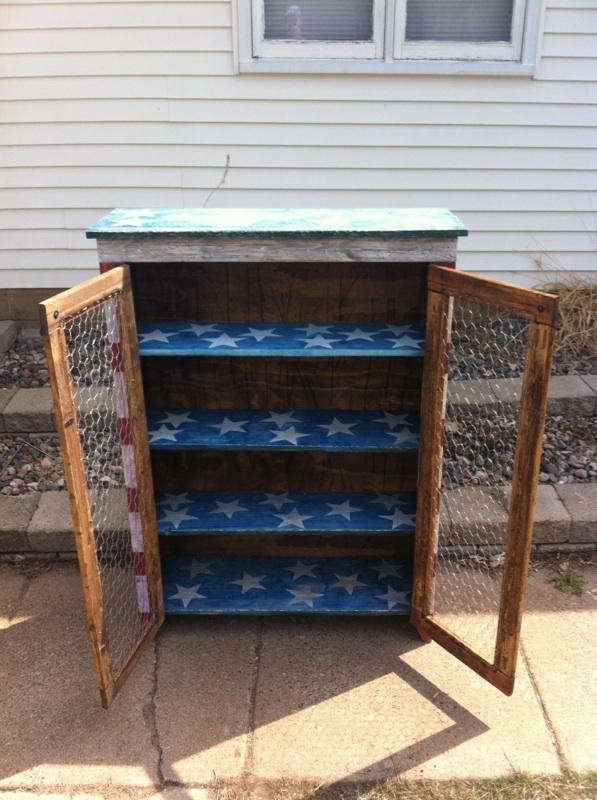
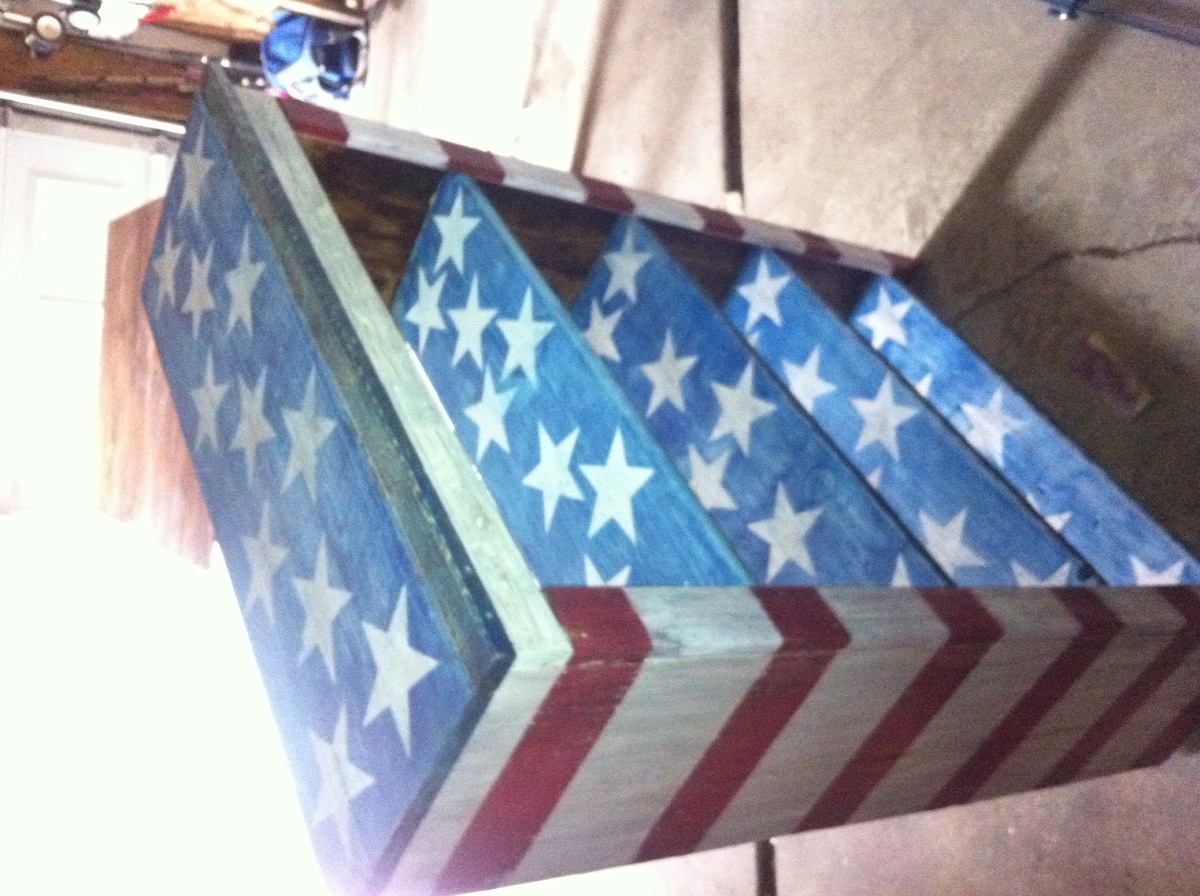
Jelly cabinet

Submitted by Chefwiener on Mon, 04/21/2014 - 18:31

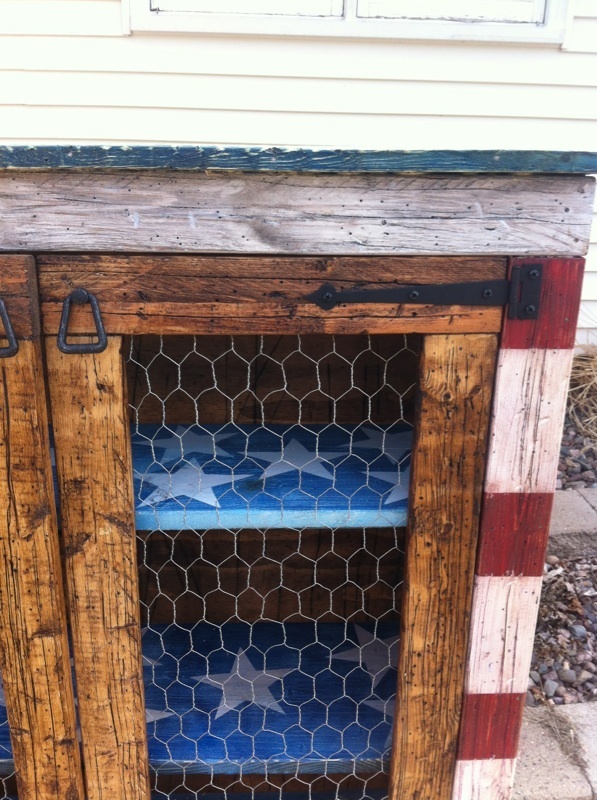
My patriotic pie safe

Built from Plan(s)
Estimated Cost
$45
Estimated Time Investment
Weekend Project (10-20 Hours)
Finish Used
Vinegar and steel wool and stray paint
Recommended Skill Level
Intermediate

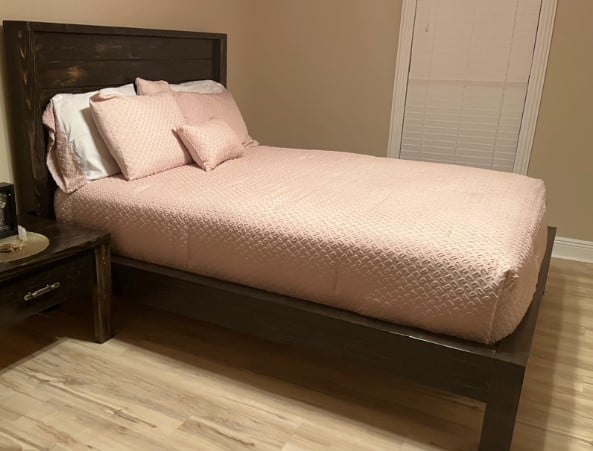
Queen Farmhouse Bed

Submitted by Anonymous (not verified) on Fri, 07/22/2016 - 07:51

This bed is even more beautiful in person. I'm so pleased with it and the clear plans that Ana writes up. See my blog for a few more pictures.

Built from Plan(s)
Estimated Cost
$150
Estimated Time Investment
Weekend Project (10-20 Hours)
Finish Used
Walnut Stain
Recommended Skill Level
Beginner

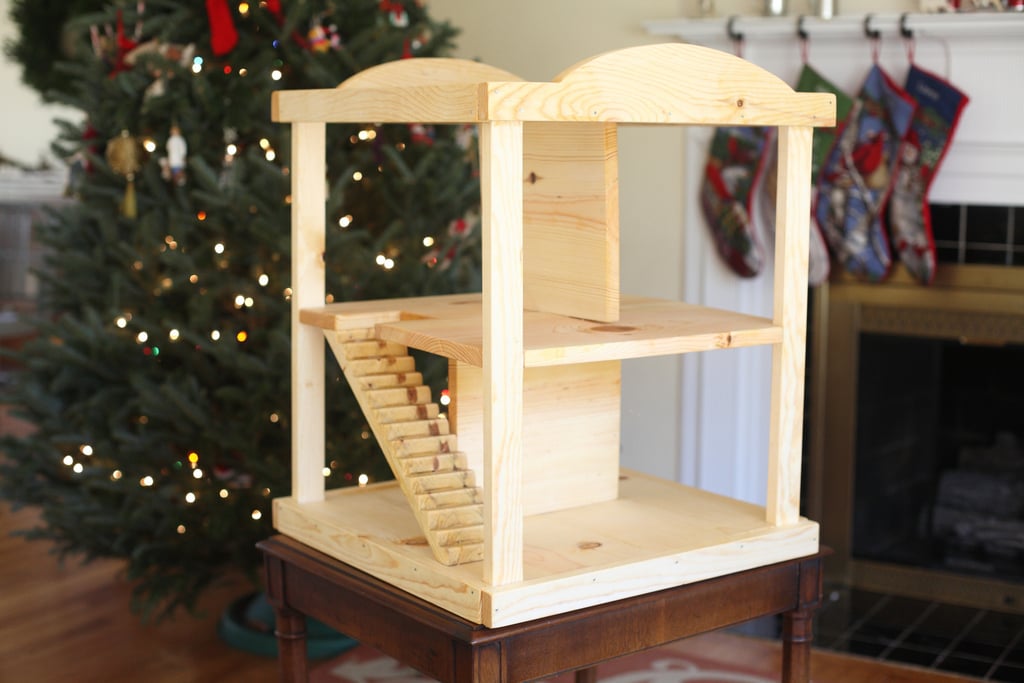
Dollhouse

Submitted by keribeth on Sat, 07/07/2012 - 05:46

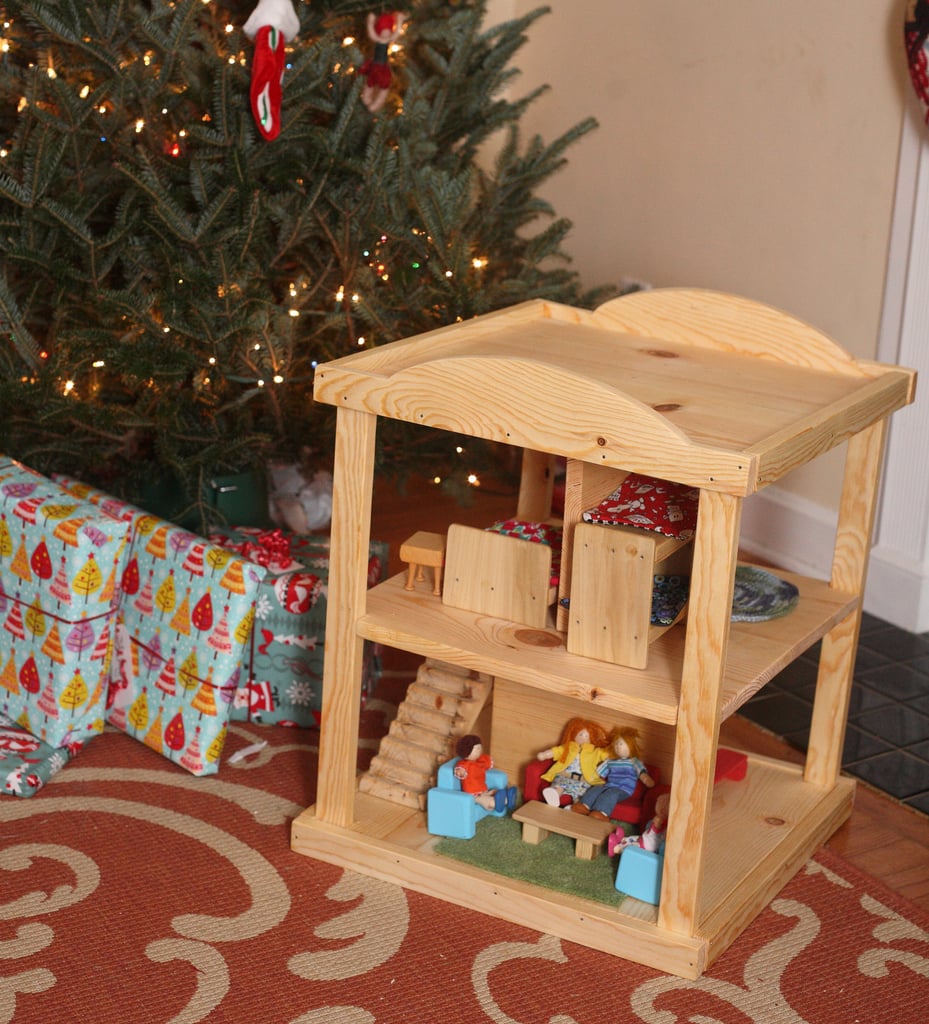
I combined my favorite elements from three of Ana's dollhouse plans to make this dollhouse for my kids. My favorite part is the stairs, which I cut from a 2x4 with a miter saw. I made this project from start to finish in one day while the grandparents took the kids, and it was ready for Christmas morning! I made simple furniture for it, too, which you can see in the second picture.

Estimated Cost
~$20 (I used some scraps)
Estimated Time Investment
Day Project (6-9 Hours)
Finish Used
linseed oil
Recommended Skill Level
Intermediate

Comments

Jerika

Wed, 02/11/2015 - 06:35

Is there any way you could email me the plans you used for the furniture? or just individual pictures of the furniture? [email protected] (you may wanna copy and paste that people always get it wrong, haha).
I LOVE THIS

MissM

Wed, 07/10/2019 - 04:08

I know this is an oldie but if you have the finals plans I would love to see them!

What a great open dollhouse!

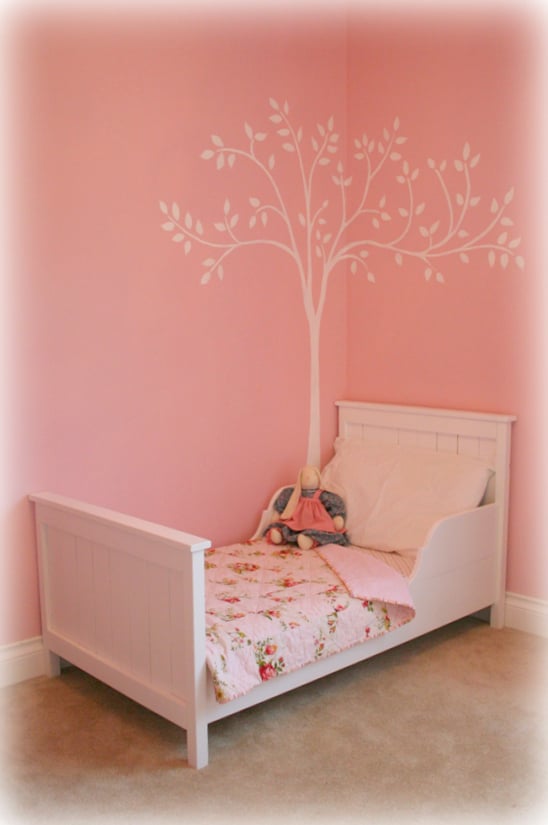
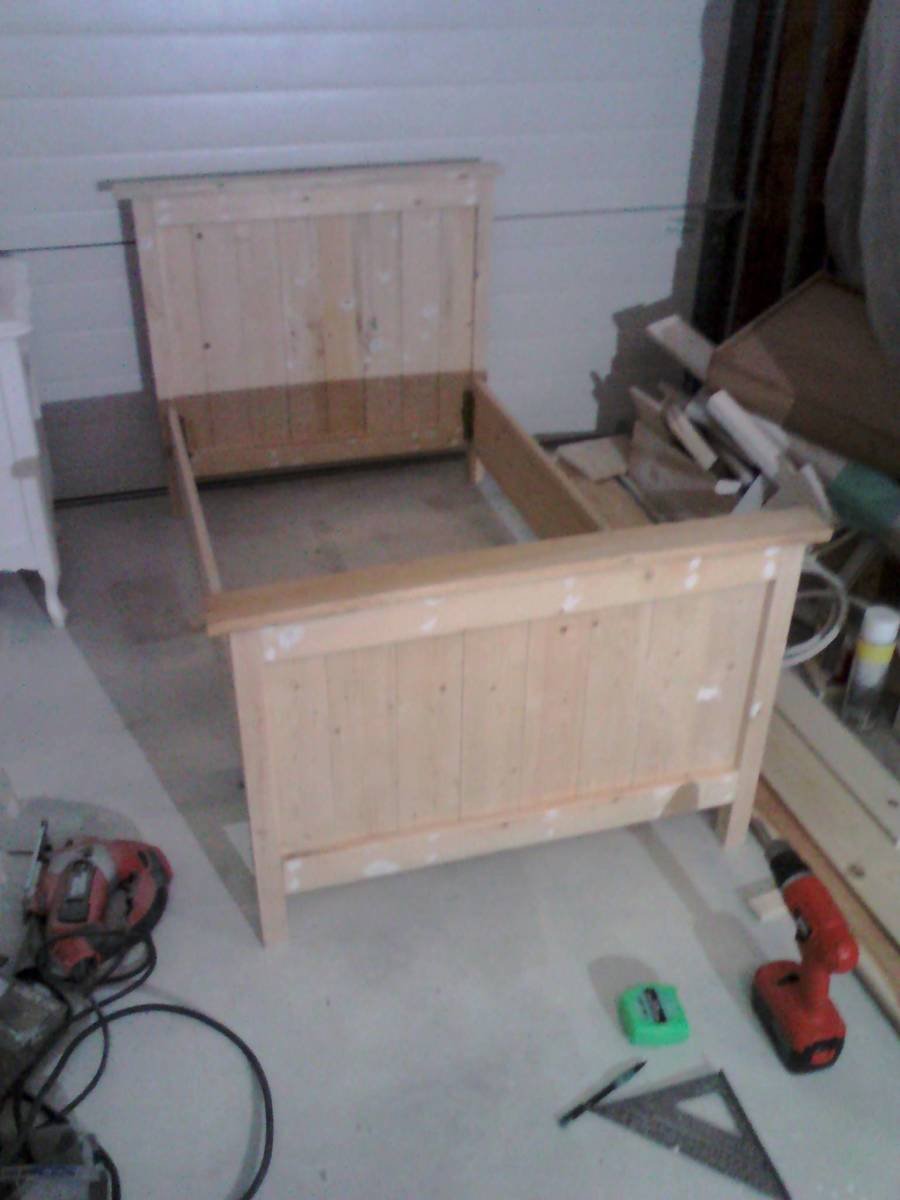
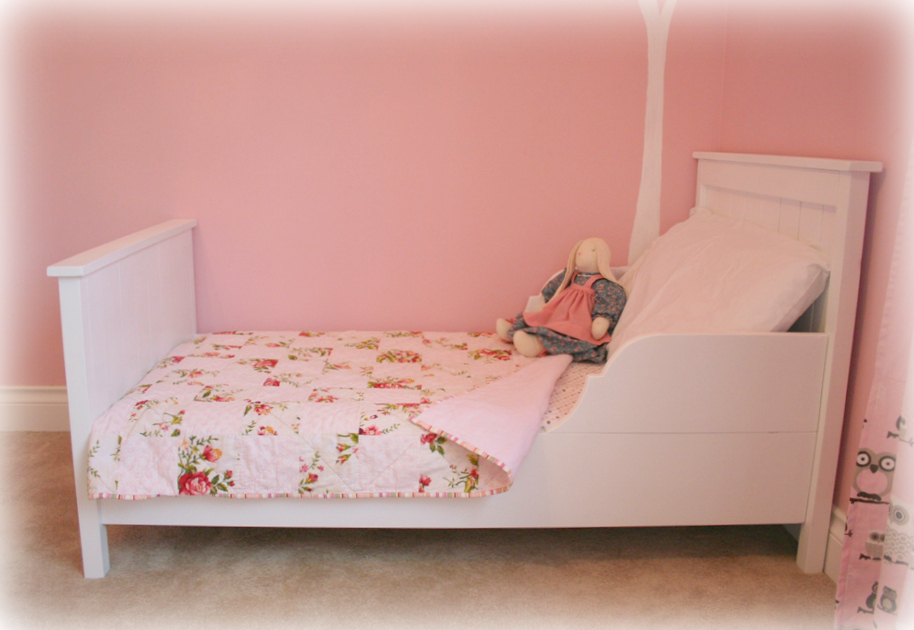
Our Farmhouse/Lydia Toddler Bed

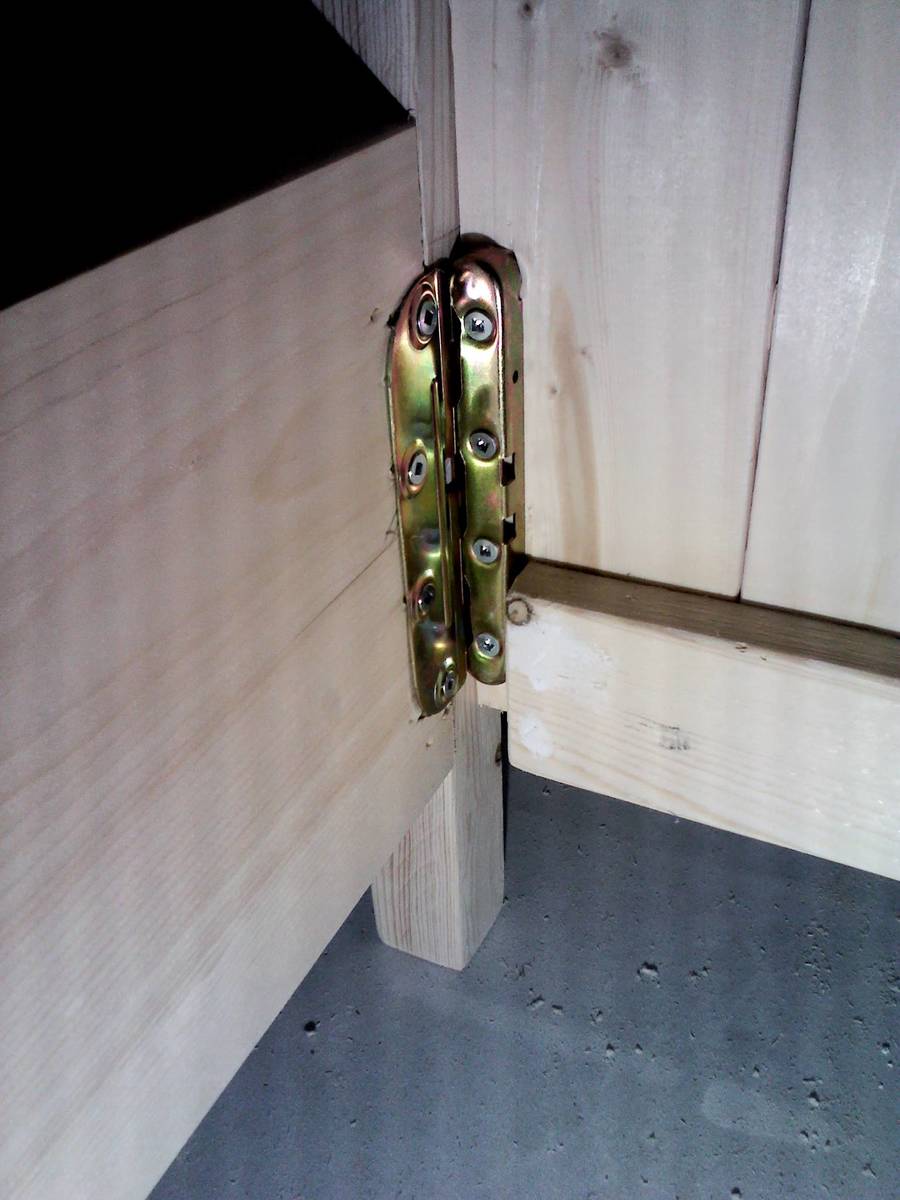
I fell in love with the Farmhouse Toddler bed, but decided to stray a little from the plan and made a couple changes. I chose to use 2x2 lumber for the legs and purchased mortise-free bedlocks from Lee Valley Tools so I could disassemble the bed to make moving it easier.

I lengthened the height of the headboard so it was flush with the bottom of the bed and also lowered the entire bed so it's only 4-1/2" off the ground.

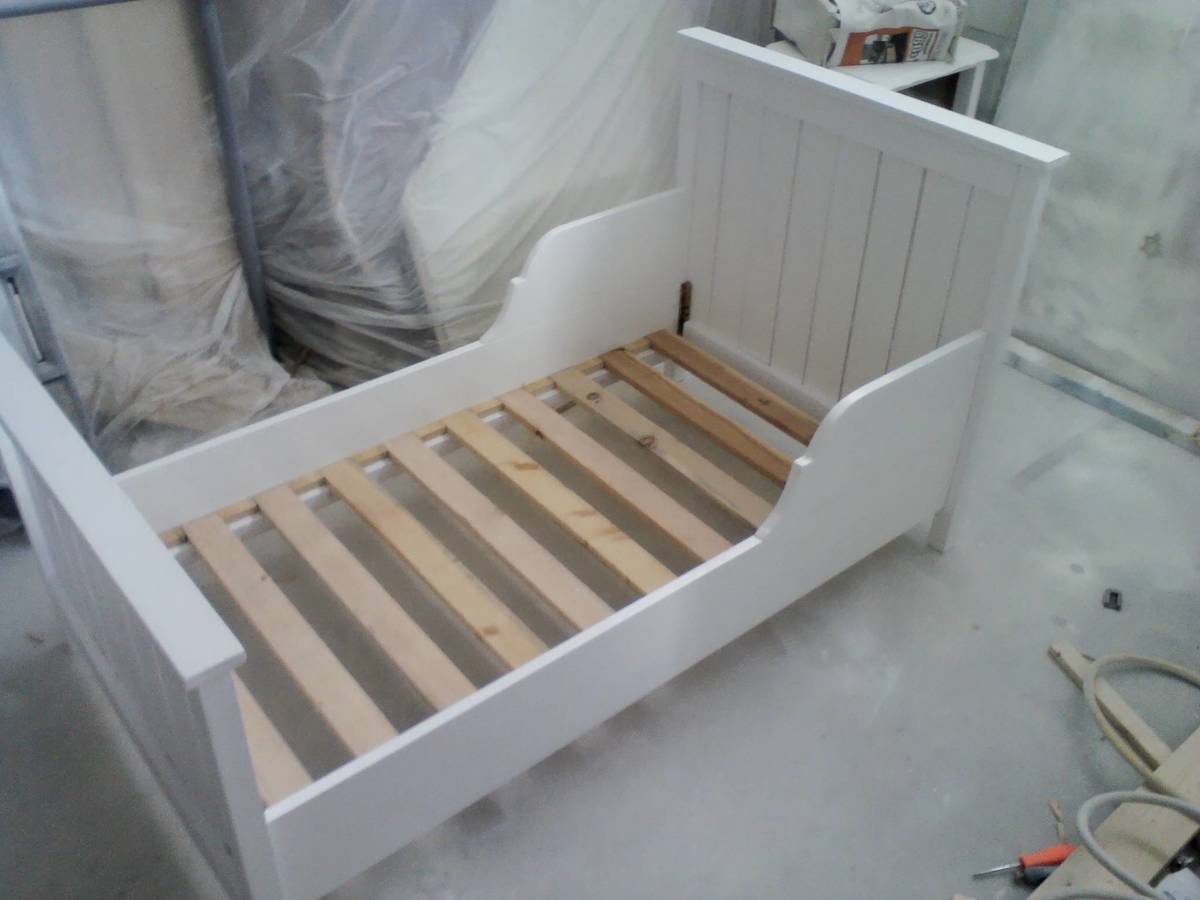
Rather than attach the wood mattress slats, I cut and nailed small wood "spacers" that the slats sit between. This keeps the slats from shifting, but makes them quick and easy to remove to disassemble the bed.

I loved the look of the curved rails on the Lydia Toddler bed but extended them a bit further than the original plan.

The mattress we have was a different size than the orignal plan was based off, so I ended up using all 1x4 lumber and then just trimmed off about half an inch on each side before attaching to the legs with pocket hold screws.

I'm thrilled with this little bed and so far our daughter seems to enjoy it as well.
Finish Used
Primer, white latex paint, polycrylic clear coat
Recommended Skill Level
Beginner

Fancy X Farmhouse Table

This was a fun one to build. I love how it turned out. Most importantly this wife loved it! I used the miter saw to create a curved love on the feet, this was really easy to do just took a couple practice boards then I had it. I dont remember how much I had in the money I had in the wood but I was a lot cheaper to build rather than buy. 

Table top stain is Espresso 

BAse paint is some cream color I dont remember sorry.


Built from Plan(s)
Estimated Cost
$100
Estimated Time Investment
Weekend Project (10-20 Hours)
Finish Used
Minwax Espresso Stain
Cream paint
Recommended Skill Level
Intermediate

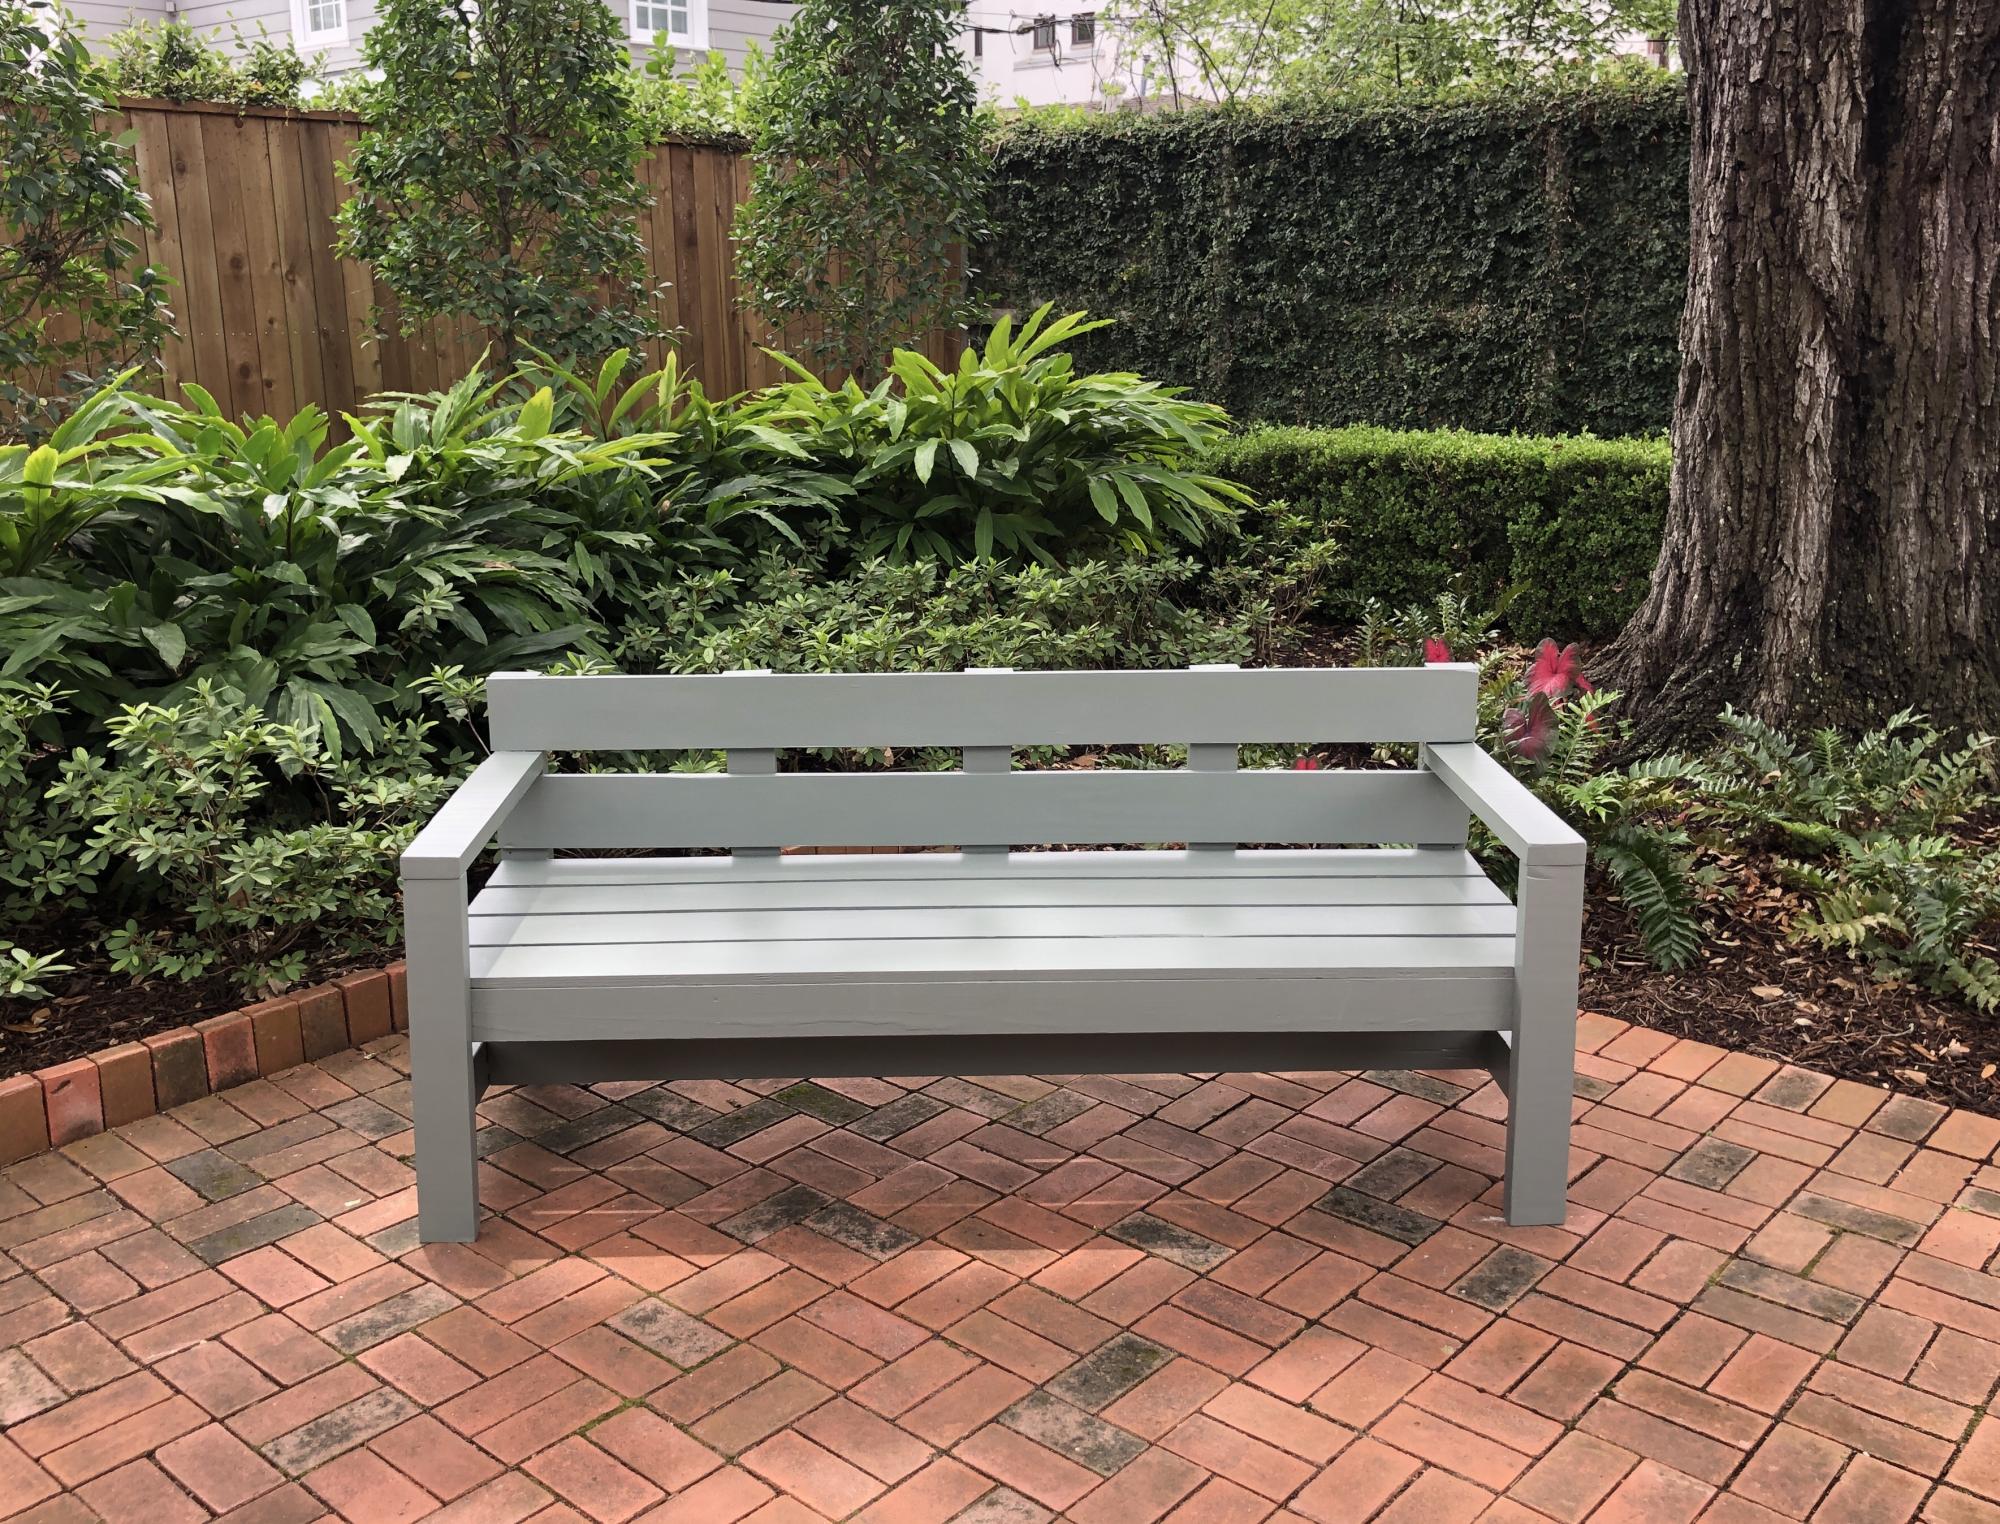
Modern Park Bench

Submitted by Tim PIZZ on Sat, 05/16/2020 - 06:17

This was one of my first projects. I just used a circular saw but a mitre saw would be better. I’ll look for one soon. It was rewarding, fun and we love how it looks on our back patio.

Built from Plan(s)
Estimated Cost
$200
Estimated Time Investment
Weekend Project (10-20 Hours)
Finish Used
I primed the pieces with Sherwin-Williams exterior latex primer before assembly then painted with Sherwin-Williams Resiliance exterior latex. We chose “Retreat” as our color.
Recommended Skill Level
Beginner

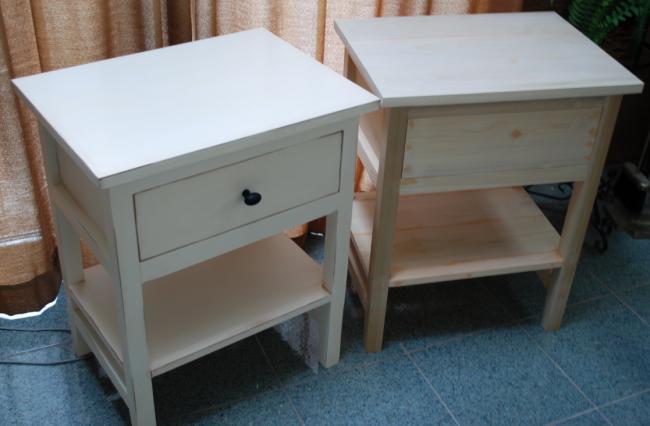
Farmhouse bedside tables

Took 2 weekends to build 2 of them, they have a gently distressed finish.

Built from Plan(s)
Estimated Cost
$80.00
Estimated Time Investment
Week Long Project (20 Hours or More)
Finish Used
Paint cottage white, distressed with stain and waxed
Recommended Skill Level
Intermediate

Comments

JoshC

Mon, 07/09/2012 - 16:00

I really like the farmhouse style furnature and the finish you used turned out really good.

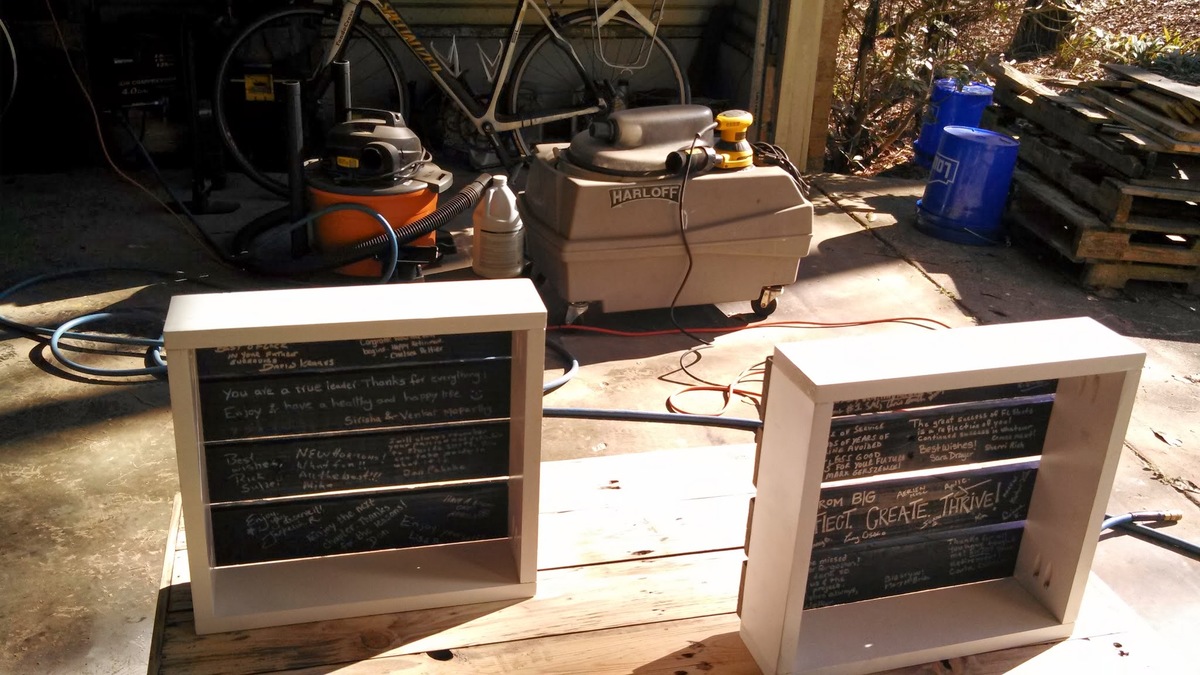
Personalized Little Crate Group Gift

Submitted by pondrider on Fri, 04/25/2014 - 09:55

With inspiration from Ana’s Little Crates, I prepared crates frames and slats separately so employees of a retiree may write on the slats. Once the writing was complete the slats were attached to the frames and presented as a personalized gift with examples of hanging or tabletop use.

Thanks

Estimated Time Investment
An Hour or Two (0-2 Hours)
Finish Used
Frame – White enamel paint
Slats – Black Latex
Writing – Sharpie, next time I may use Jell Pens.
Recommended Skill Level
Beginner

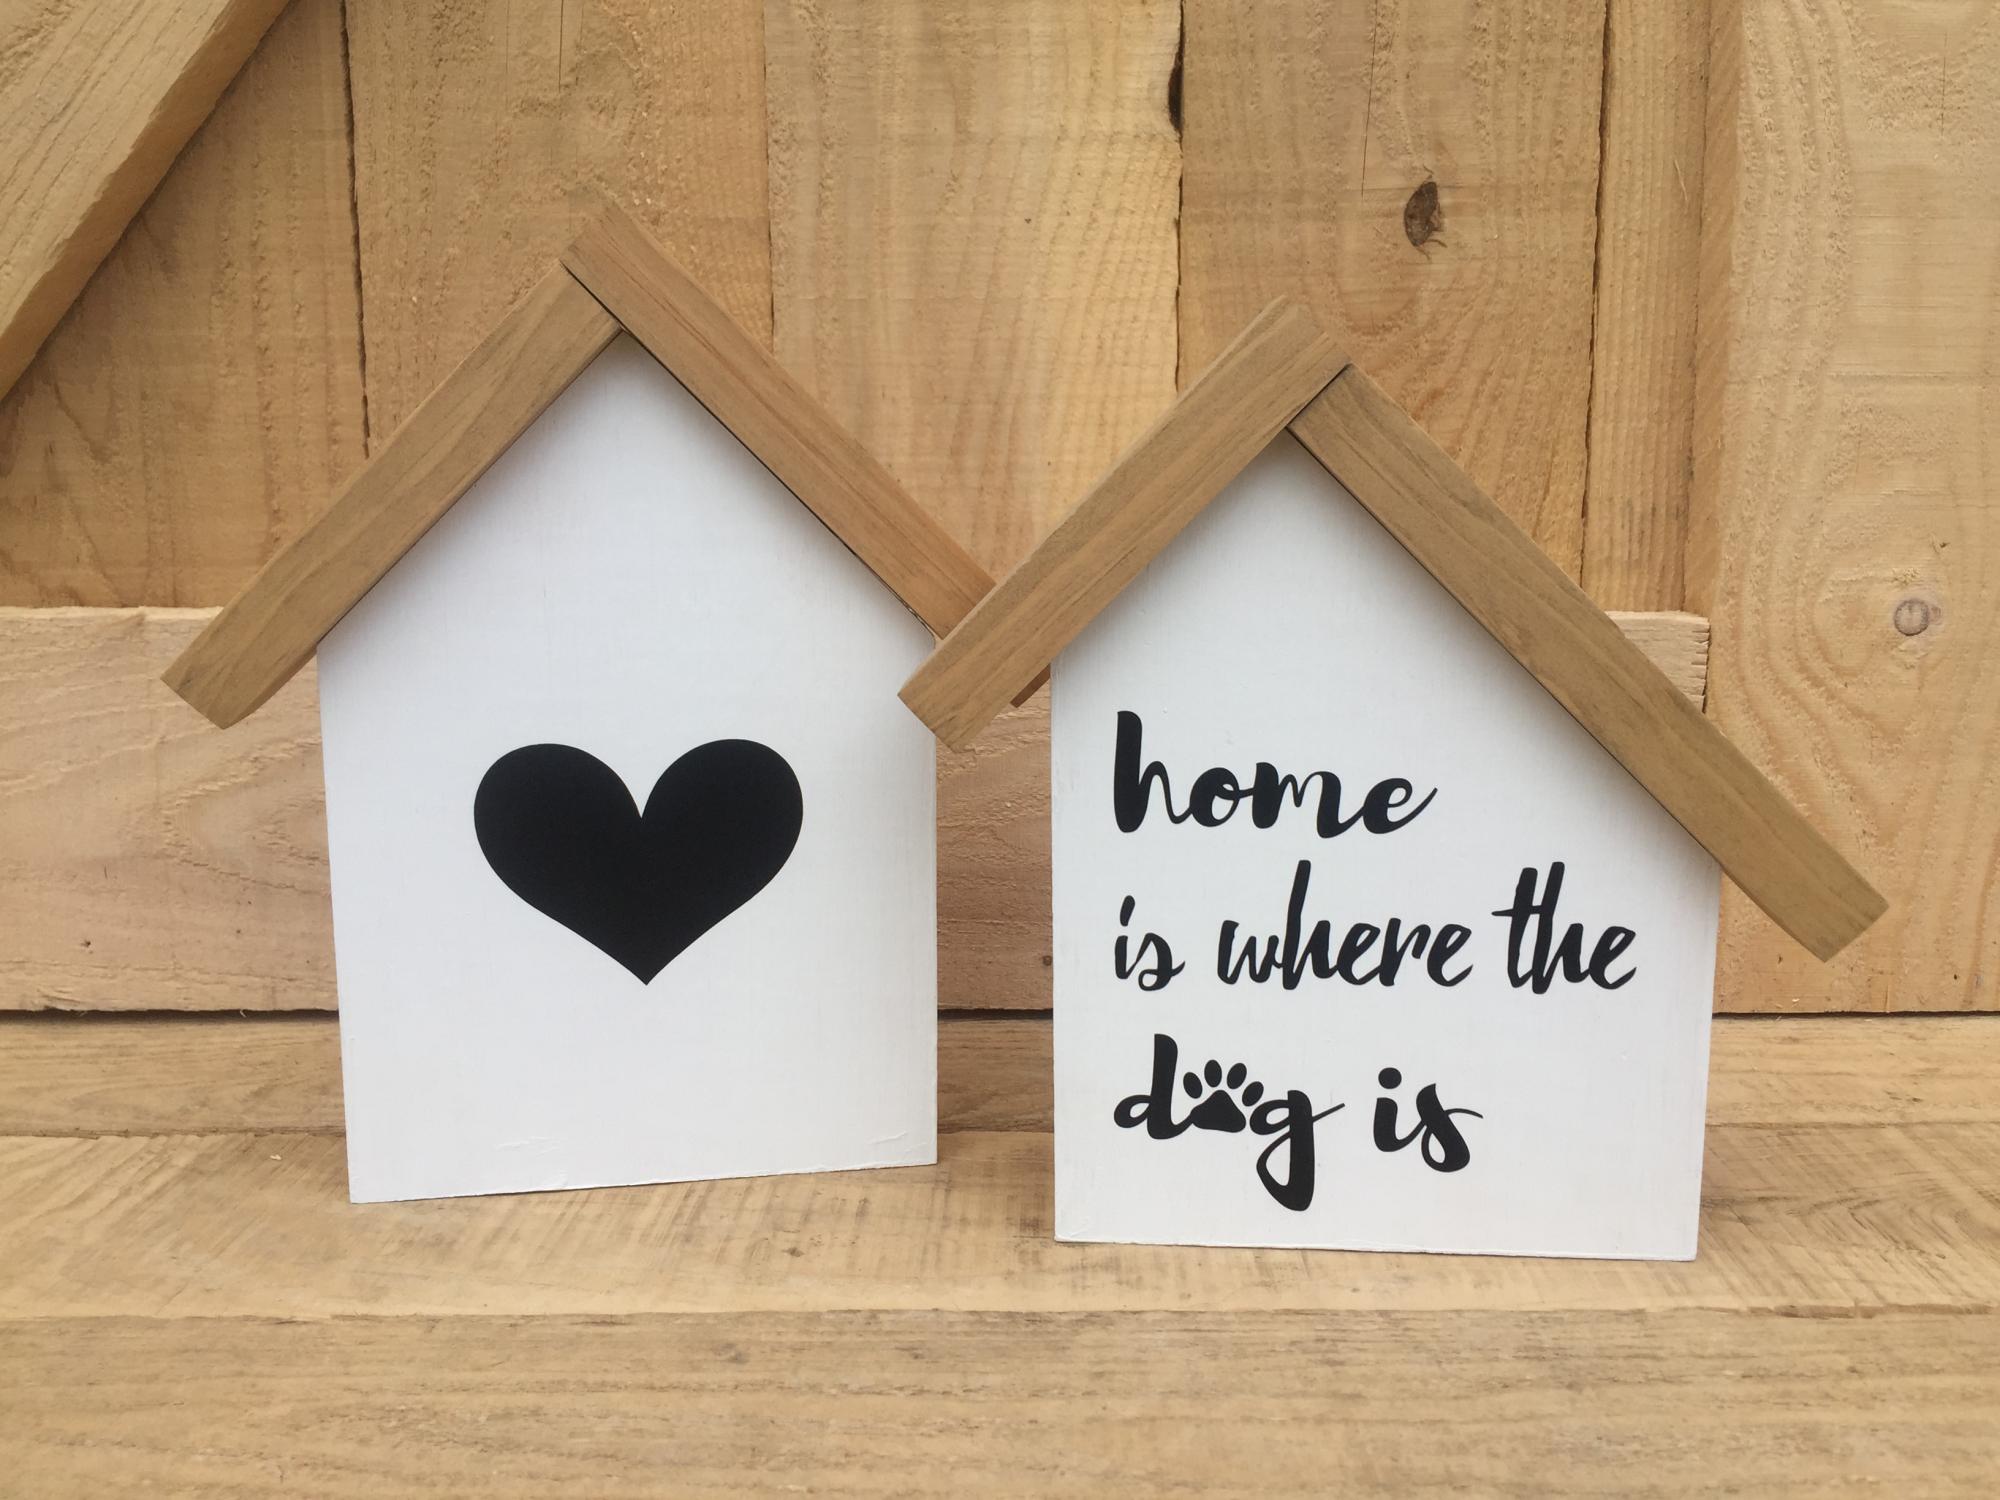
Scrapwood wooden houses

Submitted by Kate_14 on Mon, 05/18/2020 - 13:49

I built these cute little houses with scrap wood. They are easy to customize!

I used 1x6 boards for the house and 1x2 boards for the roof. I attached the roof with bradnails.

Estimated Cost
0$
Estimated Time Investment
Afternoon Project (3-6 Hours)
Finish Used
Paint and stain
Recommended Skill Level
Starter Project

After school storage

I loved the idea of the charging cubbies and the storage area in this plan!
I needed something a little shorter, for my three younger boys to be able to reach the hooks, though. I modified the plans a bit for this. I also opted out on the drawers and just left the cubbies open. With my boys, the more simple something is to use, the more likely they will make the effort ;)

I added a 2x4 to the back for hooks. I wanted the wall color to show through the back, so I didn't use a back piece.

Estimated Time Investment
Afternoon Project (3-6 Hours)
Finish Used
valspar black and natural wood with satin poly
Recommended Skill Level
Beginner

Comments

kimara

Thu, 08/30/2012 - 22:28

I am very new to building. I was looking all over the site for something exactly like this. Is there any way you could post your demensions? I know I should be able to figure something out, but yours looks perfect. I love it! Great job and thanks for sharing your project!

In reply to by kimara

little stuf

Fri, 08/31/2012 - 09:07

Kimara,
I'm so glad you like this! It has worked out perfect! Even my four year old uses his hooks!

The dimensions had to be specific for myself. Otherwise, it wouldn't have worked in the game room.

31 1/2"(L) x 12 3/4"(W) x 51"(H)

Let me know if you have anymore questions...

God Bless :)

miked54610

Mon, 08/19/2019 - 03:43

You have shared a nice idea to use this storage and make it more useful after school. The topic of this post is very interesting and I am enjoying while reading it. SEO Dubai is a leading company providing services related to marketing to the clients from all over the world.
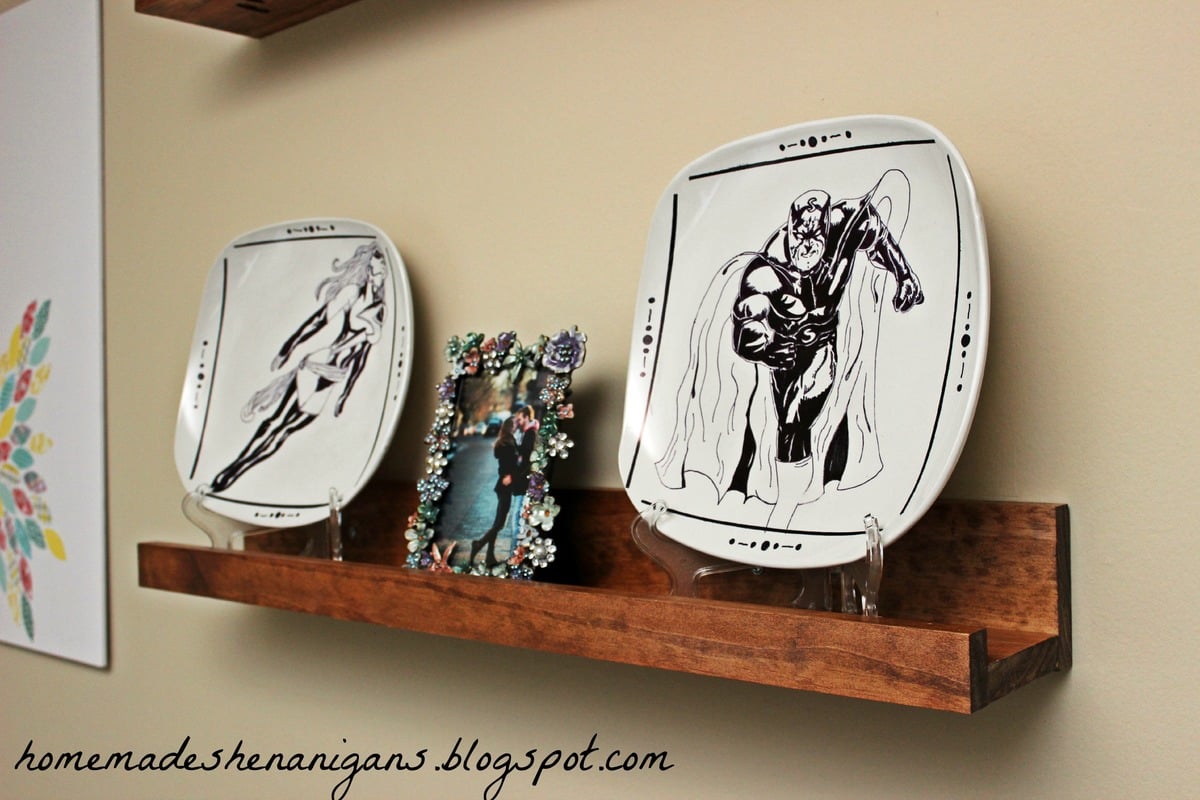
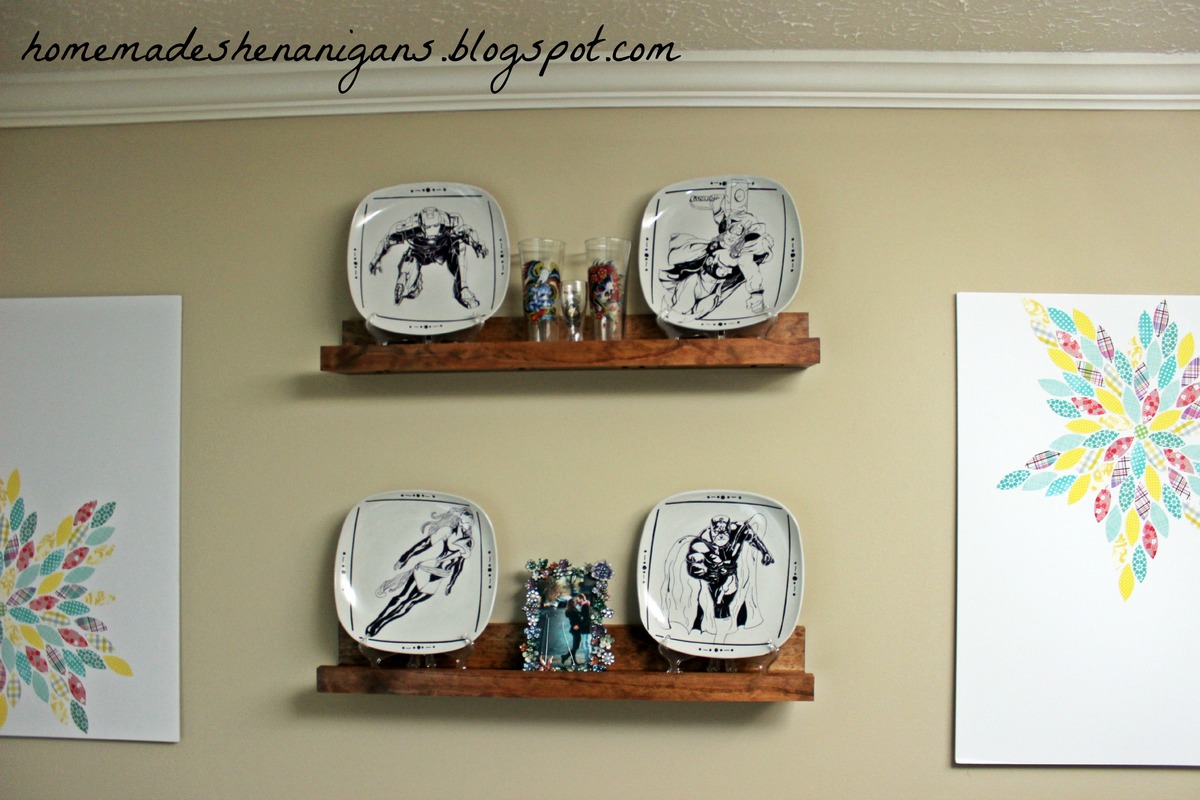
Dining Room Shelves

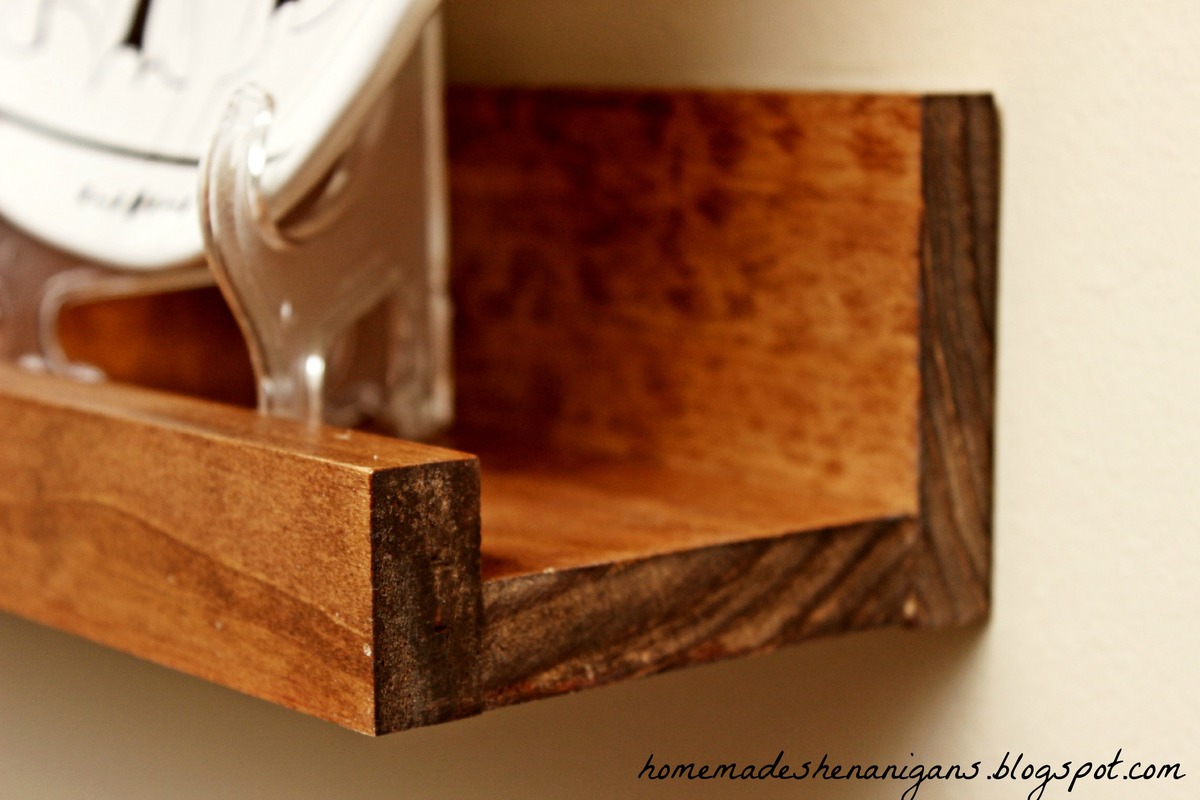
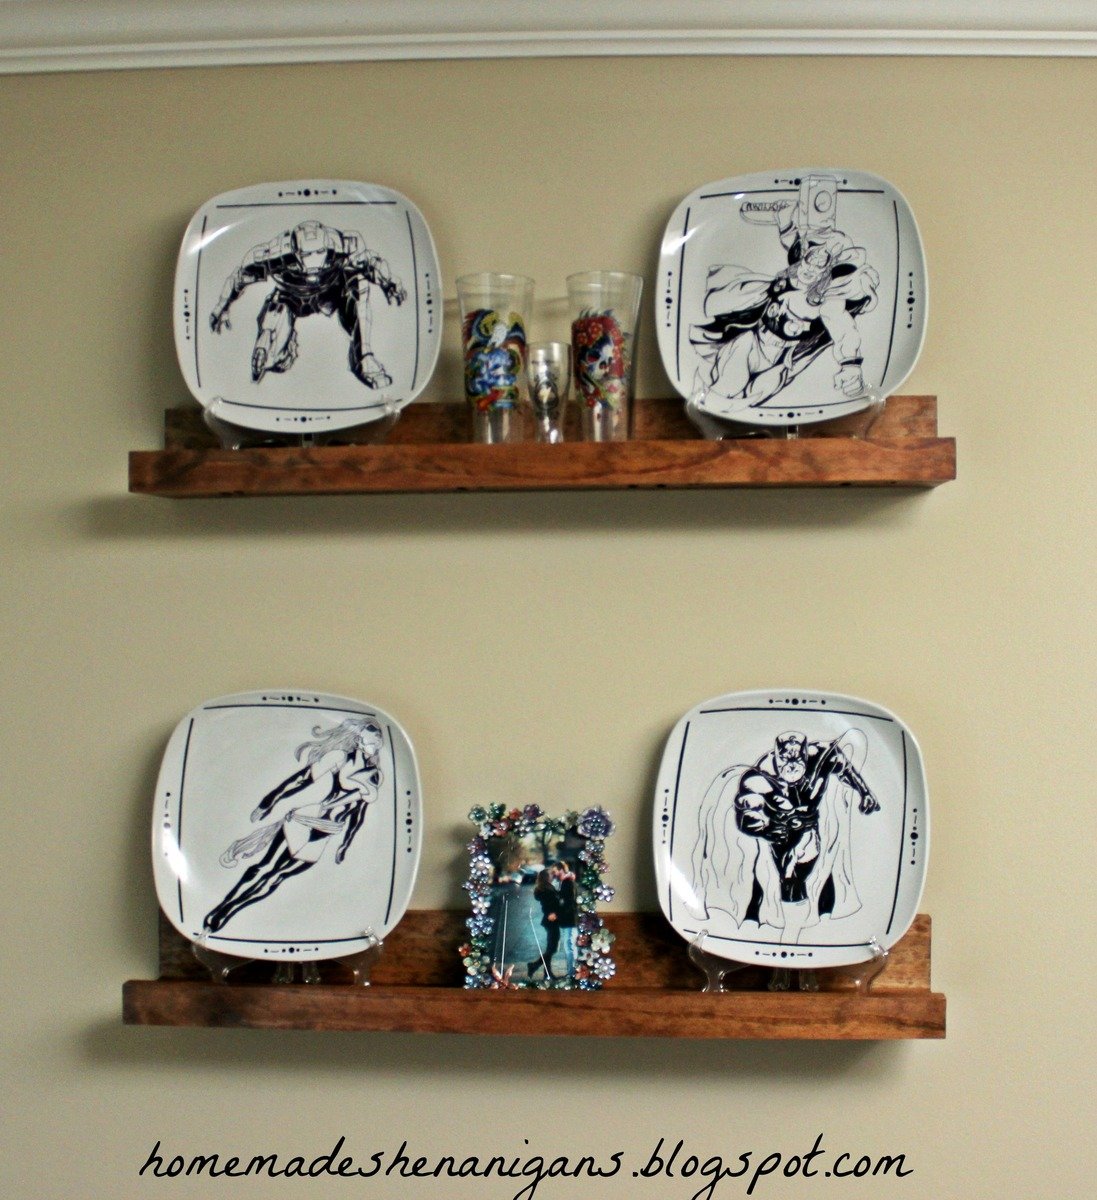
My shelves are about 2.5 ft long. I wanted a display area in my dining room to show off some plates I had made for my boyfriend a while back.

Built from Plan(s)
Estimated Cost
$30.00
Estimated Time Investment
Afternoon Project (3-6 Hours)
Finish Used
One coat Rustoleum Dark Walnut stain with one coat Miniwax Gunstock stain on top. Two coats of polyurethane.
Recommended Skill Level
Starter Project

My first build

Submitted by Angmic74 on Wed, 05/20/2020 - 23:31

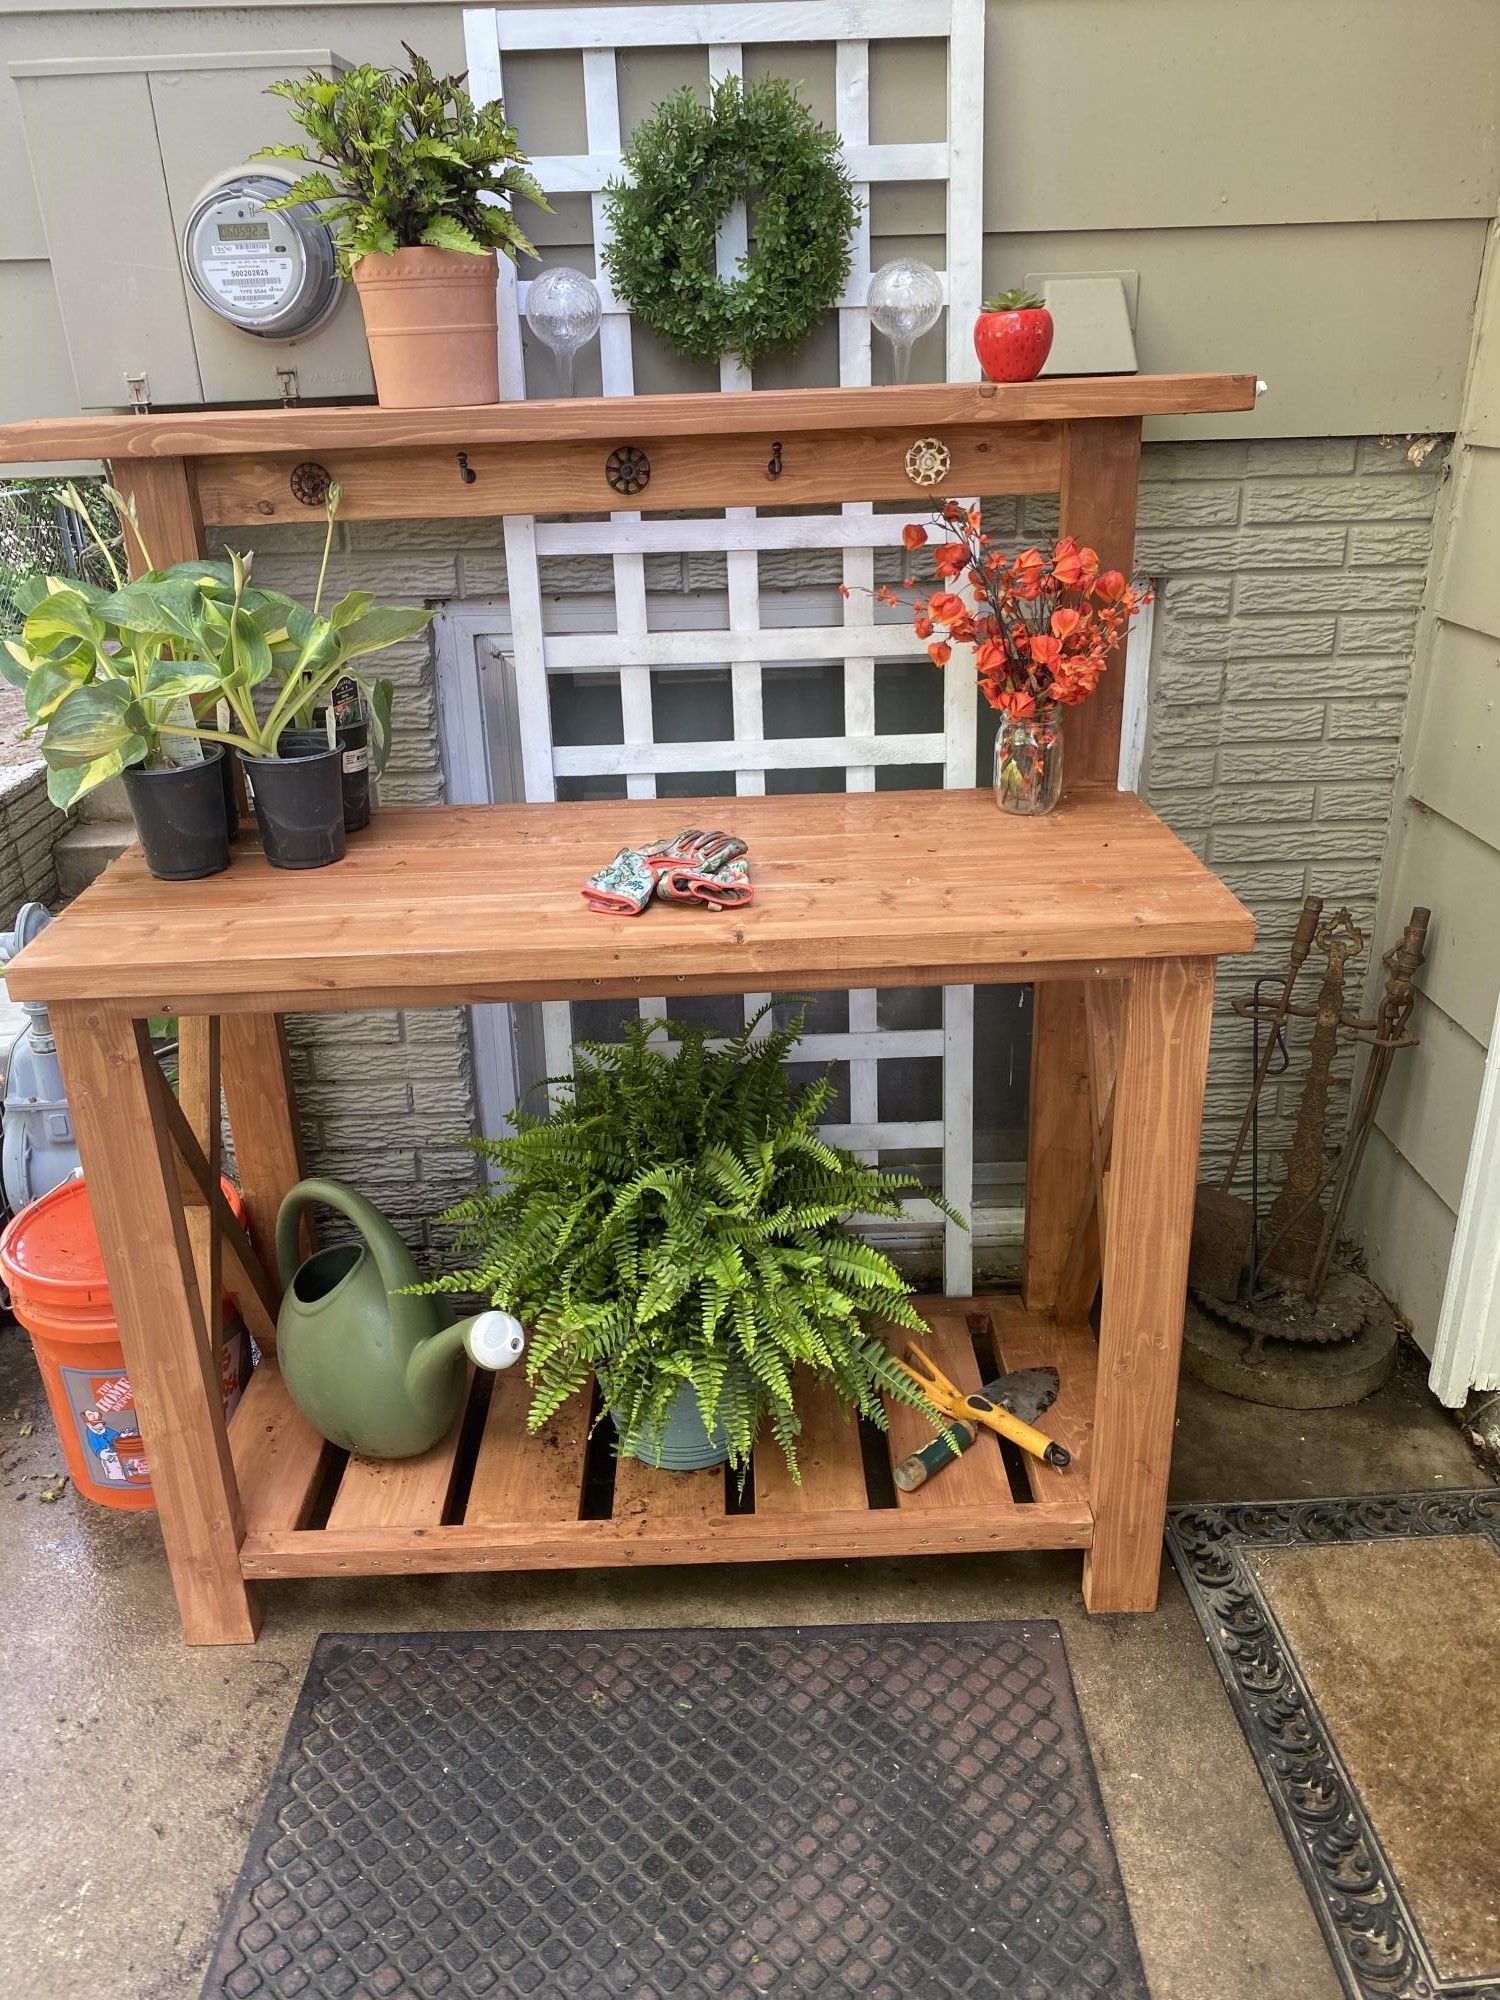
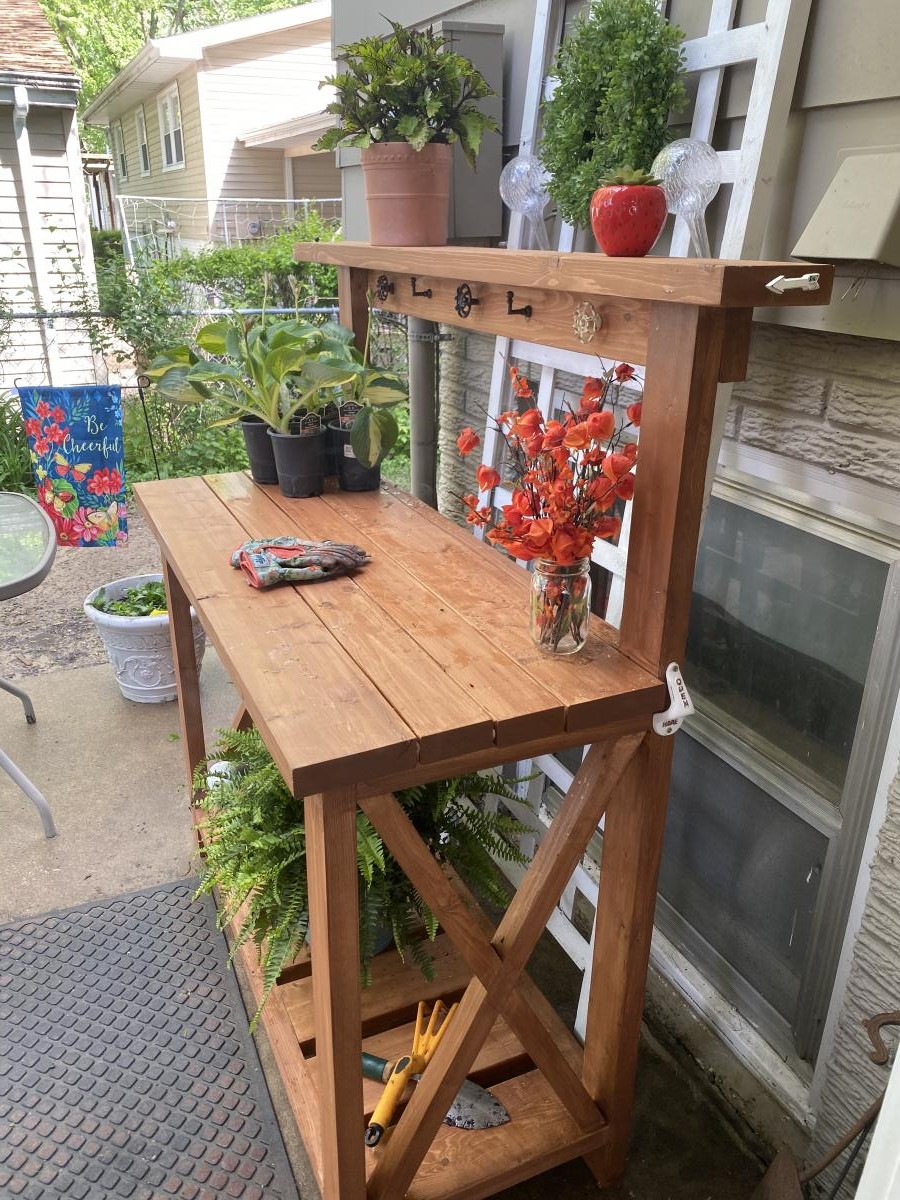
Ana- I can’t thank you enough this was my very first build-EVER. With guidance from my hubby, I was able to build this beautiful pottery bench/ bar. Definitely wish I would have stained some pieces prior to assembling but live and learn. I’m officially hooked on helping in the shop and doing some of my “honey do’s” myself!

Built from Plan(s)

Comments

Outdoor patio chair

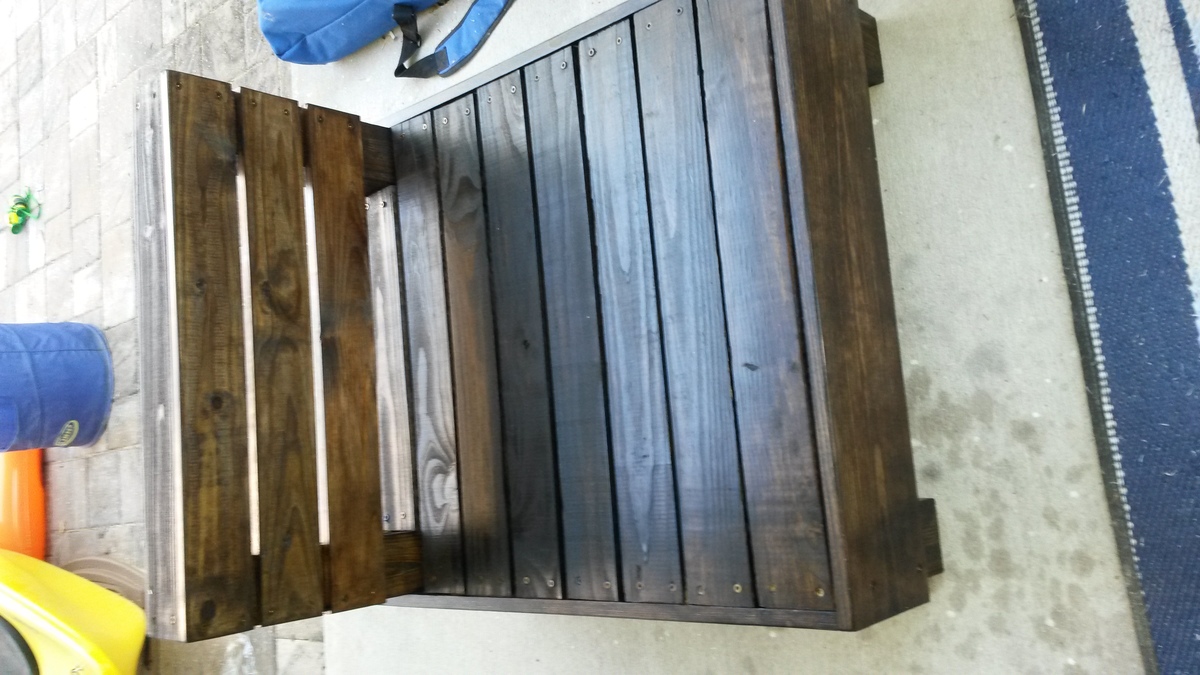
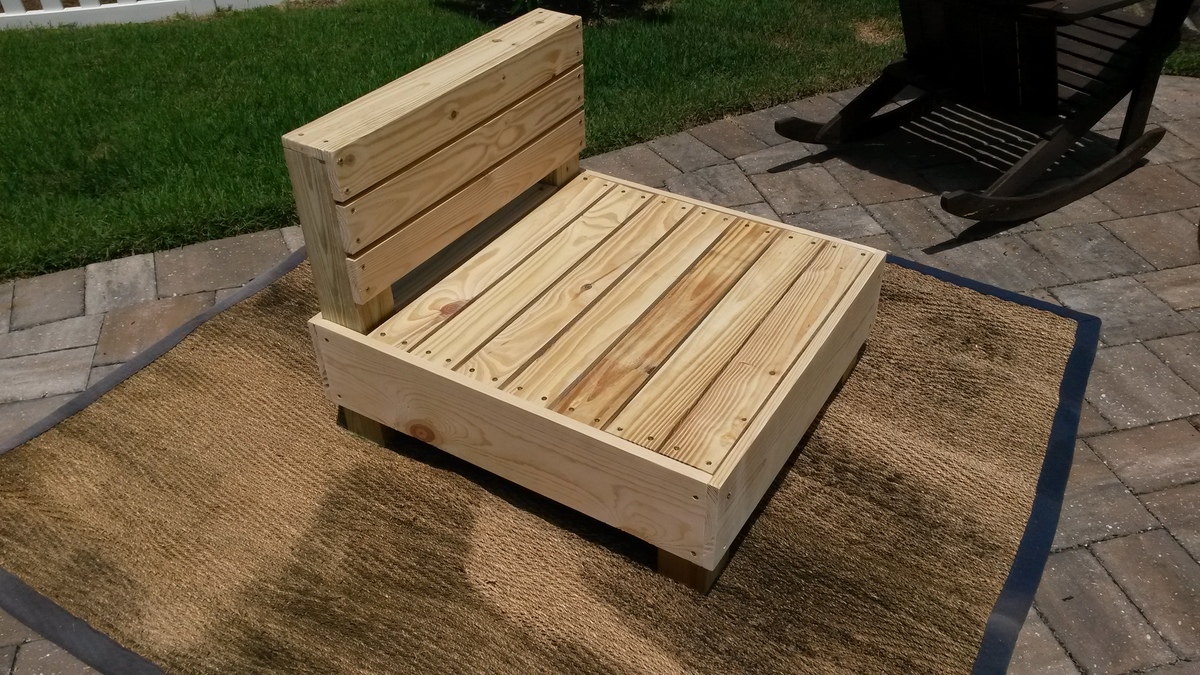
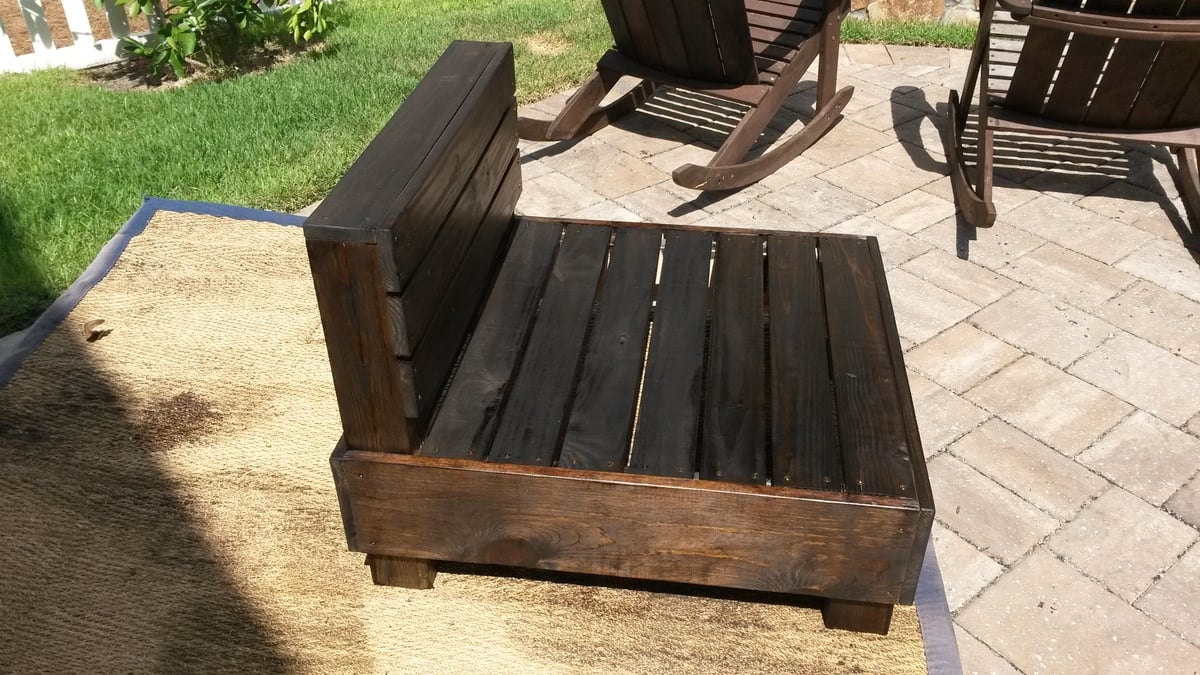
This is one of two chairs that I recently built to replace some outdoor furniture that only lasted 2 years in the Florida sun.  Rather than buying a new set, I figured I could just rebuild them using wood which would last a lot longer.  I built these off the measurements of the chairs I was replacing, and also had to keep the dimensions the same since they came with custom cushions that I wanted to re-use.   They are approx. 15" high at the seat, 31" deep and 28" wide


I used 4 PT 4x4's for the support in the corners, 4 - 1x10 common board for the outside edges and 12 1x4's.  I used decking screws and stained it with a dark walnut followed by a coat of poly.


They are on the heavy side, but came out great and will definitely last longer than 2 years!

Estimated Cost
Approx. $60 per chair
Estimated Time Investment
Afternoon Project (3-6 Hours)
Finish Used
Dark Walnut with one coat of clear poly. (it is under a covered patio, so I thought just one coat would be enough)
Recommended Skill Level
Beginner
Back