Community Brag Posts

Simple Outhouse

Submitted by Anonymous (not verified) on Thu, 06/18/2020 - 13:45

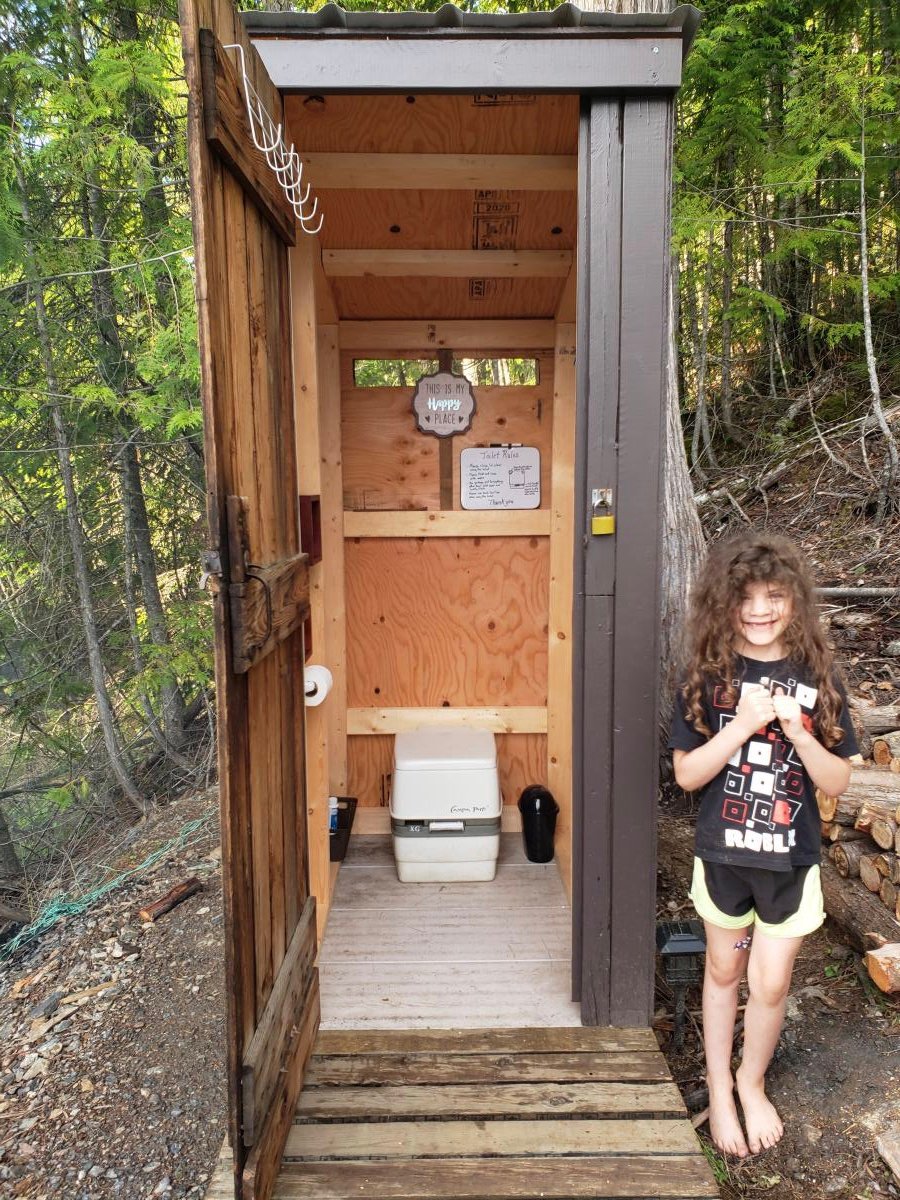
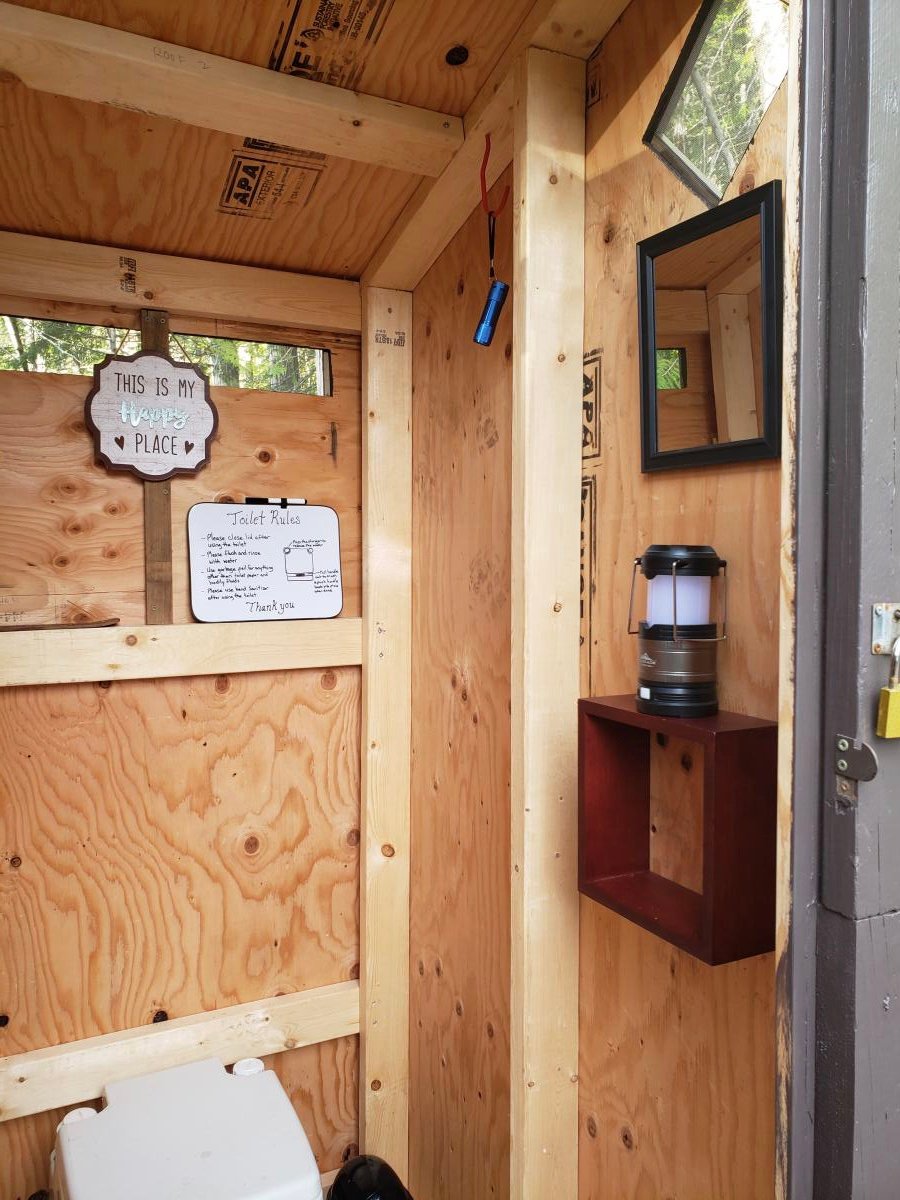
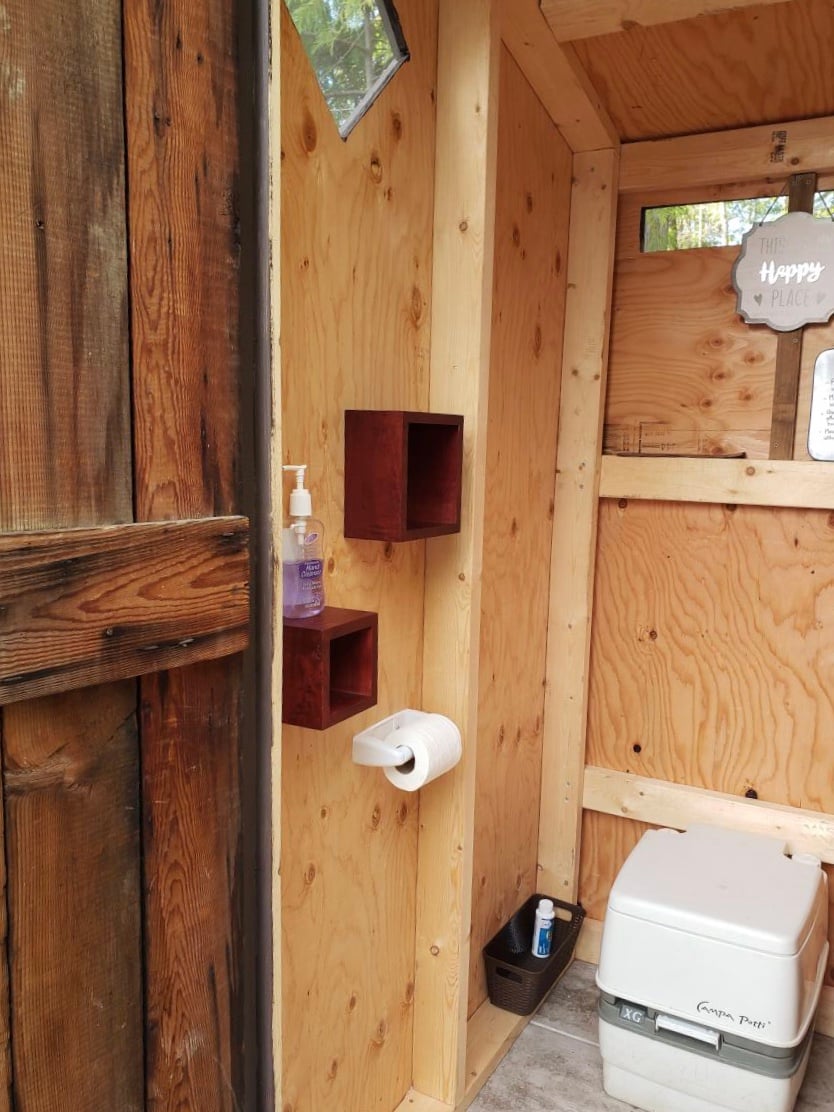
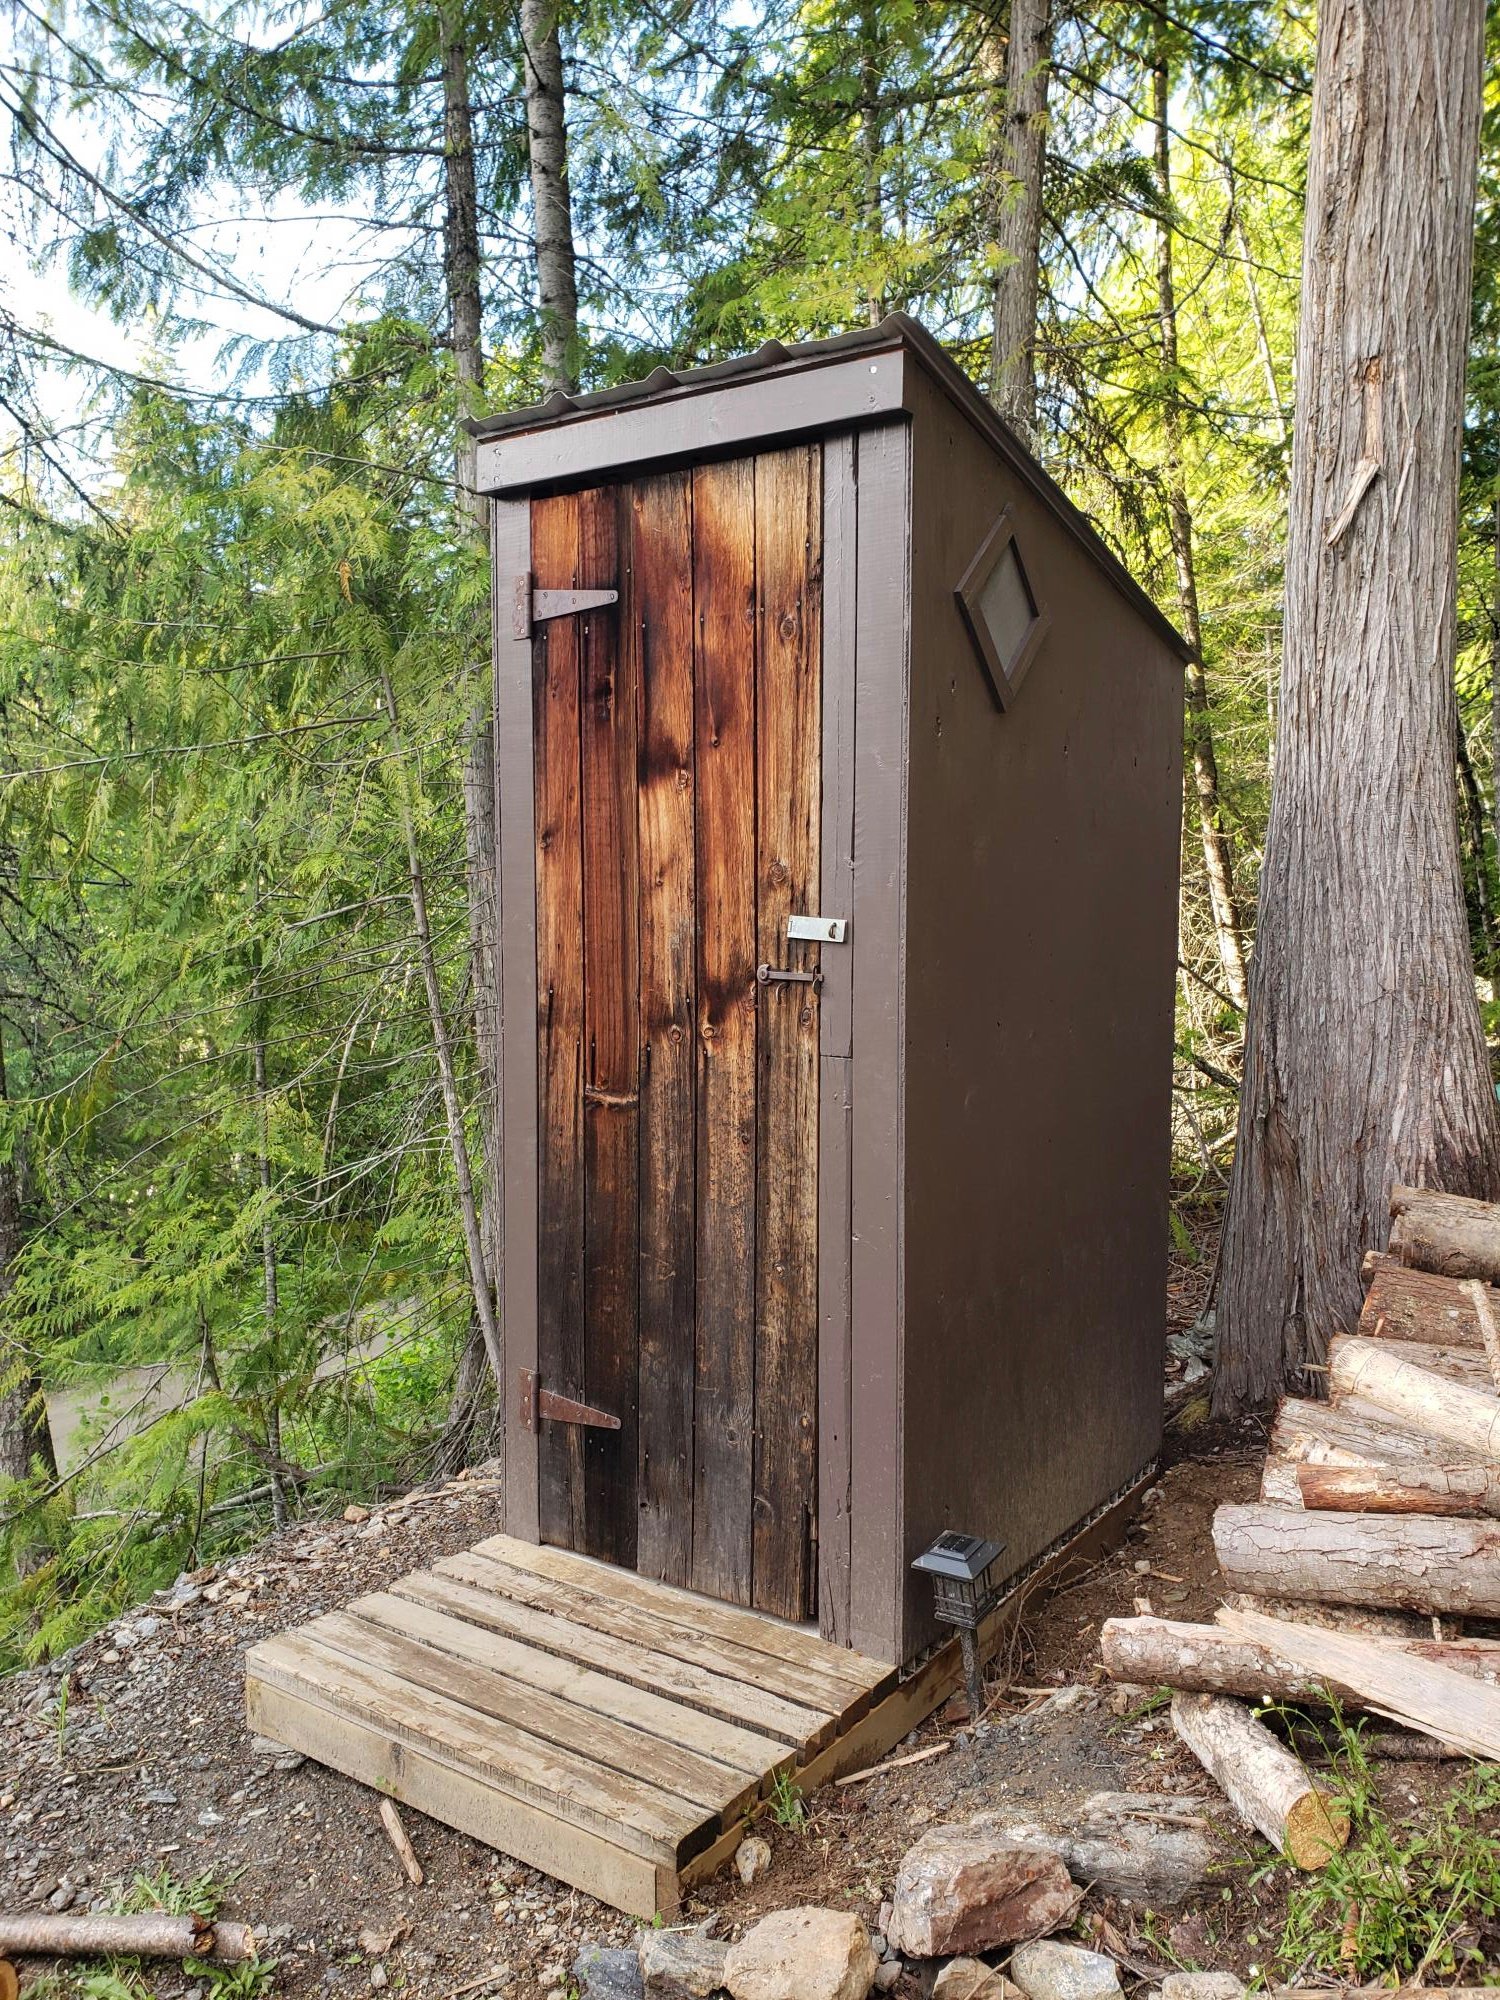
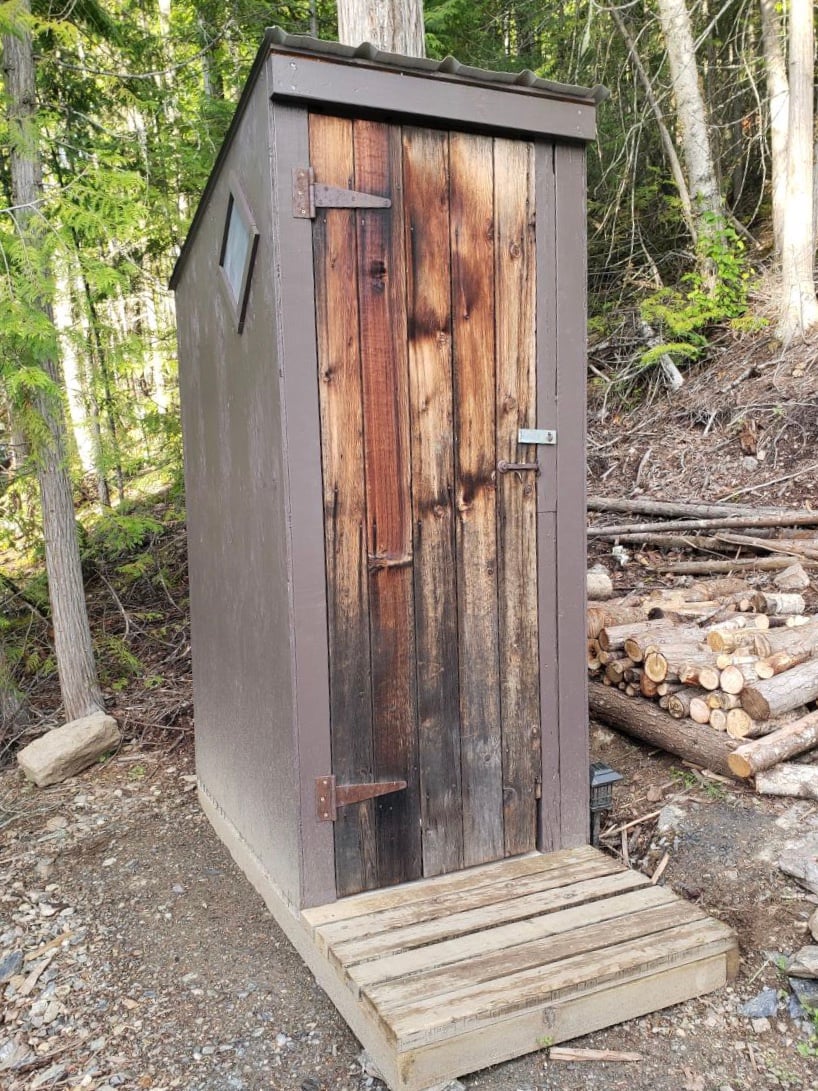
We used the plans from the Simple Outhouse to make a space to hold our porta potty. The door is a repurposed barn door and I think it looks amazing! These plans were perfect for us as we were able to build it in panels and reassemble on our property by the lake. Some screened windows to allow for ventilation and light were the finishing touches. Thanks Anna for the simple to follow plans!

Built from Plan(s)
Estimated Cost
$200 Canadian
Estimated Time Investment
Weekend Project (10-20 Hours)
Finish Used
We used pressure treated wood for the base and deck. For inside, we repurposed some scraps of composite decking. Painted with exterior latex "driftwood".

Kentwood Twin Bed

Submitted by pcarroll on Thu, 06/05/2014 - 14:10

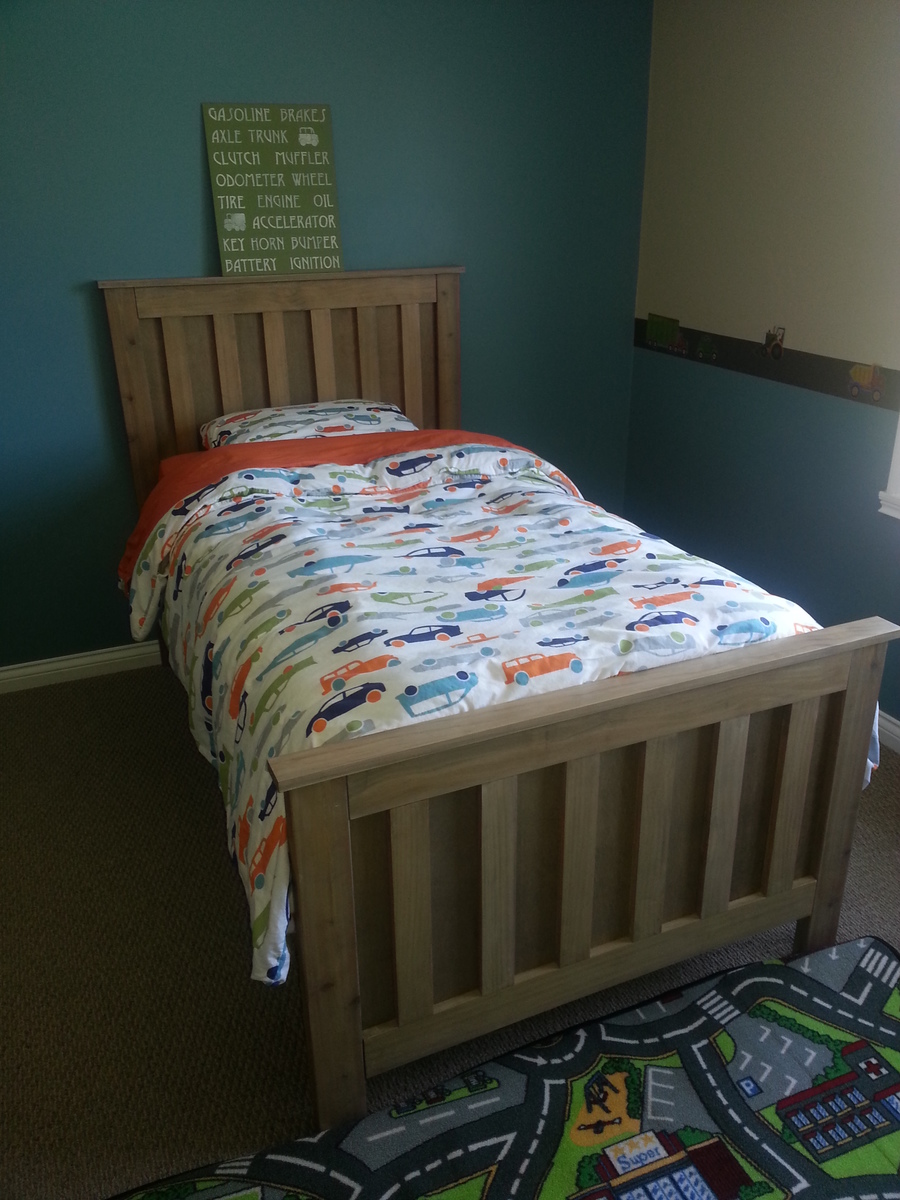
Two year old is being evicted from the baby room by the baby and we decided to build him a big boy bed using the Kentwood Twin Plan. Used only pine and the mattress is supported by slats. The bed looks great and is incredibly solid. Thank you for the plan, Ana.

Built from Plan(s)
Estimated Cost
$100 (bought some stain/poly that I'll use on other things)
Estimated Time Investment
Weekend Project (10-20 Hours)
Finish Used
Largely followed the copycat Restoration Hardware finish instructions on this site. Pre-Stain, Special Walnut, Weathered Oak, White Pickling, then Special Walnut. I applied one coat of poly with a brush, followed by a second coat of rubbed on poly, which I thought gave it more depth.
Recommended Skill Level
Beginner

Truss Shelves: Cheap Garage Storage

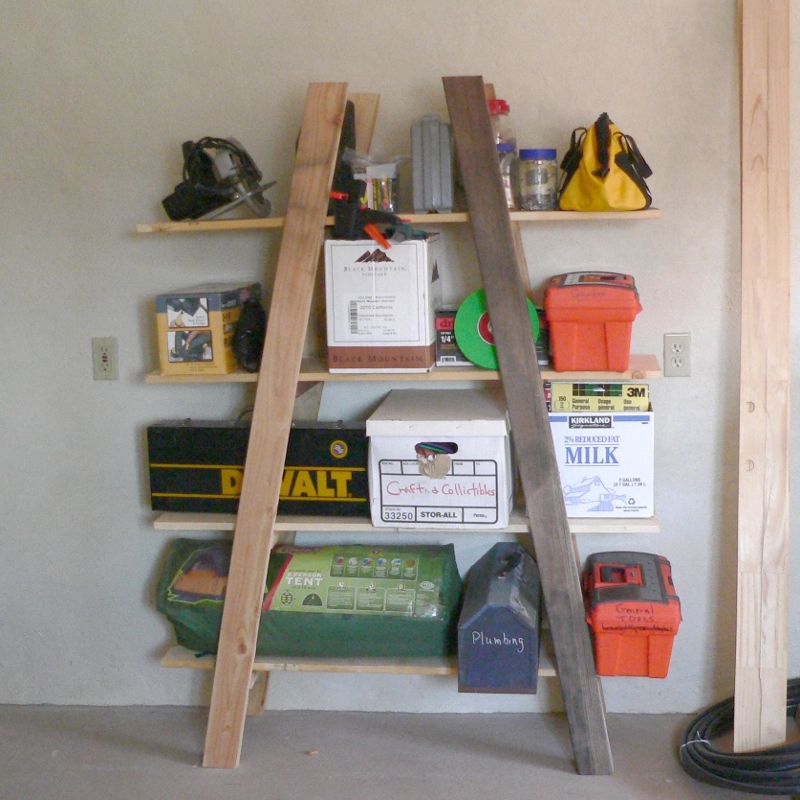
Made of old fence rail (the dark pieces) and cheap 2x4s and 1x12s .

This is not as stable as I hoped, but for an afternoon's project that got all those tools off the workshop floor, it's not bad. I will add a diagonal brace at the back later. Much later.

NOTE: My engineer friend notes that 2 braces at the rear, below the bottom shelf and below the top shelf, would minimize side-to-side wobbling, and 2 braces front to back, both under the bottom shelf, would minimize the front-to-back wobbling, They could be a scrap of plywood, a 1x6 or wider scrap. Just nail them in two or more places on each of the ladders and they make the structure more rigid. Screw them in if you want a shelf unit you can disassemble.

TIPS:
If you are using pockethole screws, start the screws in all the holes before you put the crosspieces on. Stop when you see the tip of the screw come through the first piece.

Clamp scrap 2x4 to the uprights to hold the crosspieces in place as you drill.

To get the shelves in place, lean the ladders against each other and attach the bottom and top boards on one side. Than pull the other ladder out as far as it needs to go and screw that side of the shelves in place.

Don't try this without clamps.

It could have been cheaper if I had used all reclaimed fence 2x4s, and if my errand runner had bought cheaper 1x12s. He bought top-grade when #2 would have worked for half the price,
Estimated Cost
$ 30
Estimated Time Investment
Afternoon Project (3-6 Hours)
Finish Used
None
Recommended Skill Level
Intermediate

Simple Outdoor Bench and Table

Submitted by Rose988 on Sun, 06/08/2014 - 19:50

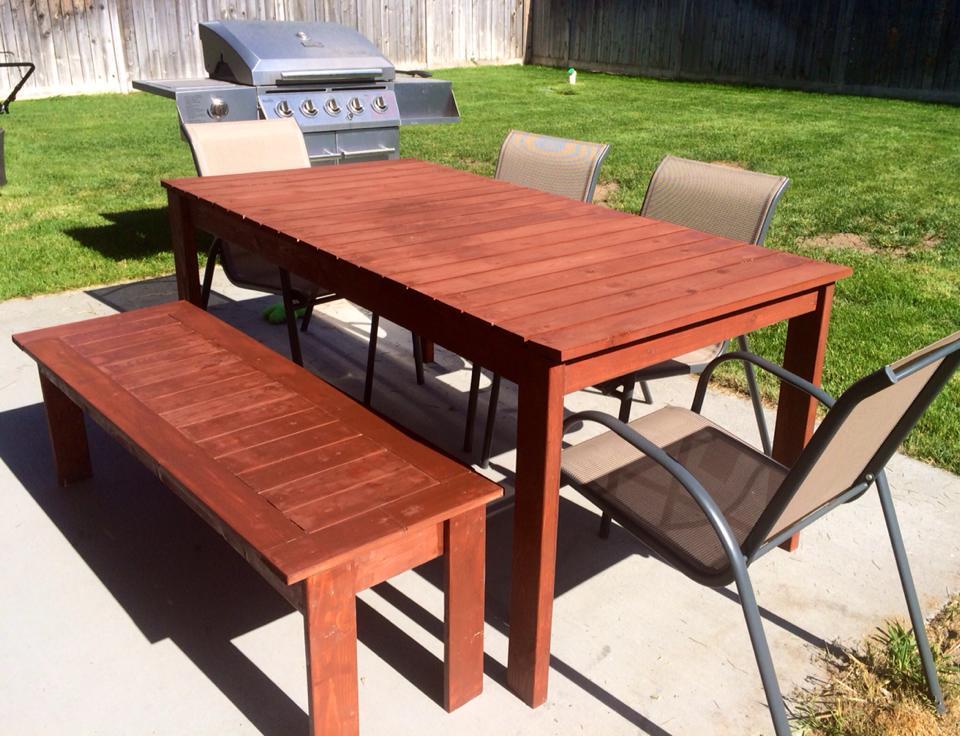
This was my first project, my wife and I started with the table, which took us a little while but ended up being pretty simple. Unfortunately we do not own a saw but discovered that Lowes will happily cut the wood for you. After we completed the table we started working on the bench, which is where we ran into a slight problem. Some how our frame boards ended up being two short, so as a fix we did not put any spaces in between the seat slats and used four 7 inch pieces we had left over to complete the full frame. We also altered the plan to make our bench a little longer than the original its 57 inches instead of 52.

Estimated Time Investment
Weekend Project (10-20 Hours)
Finish Used
Lowes Stain: Brick Red
Recommended Skill Level
Starter Project

Leaning Bathroom Ladder Shelf

Submitted by Anm343 on Fri, 09/09/2016 - 11:46

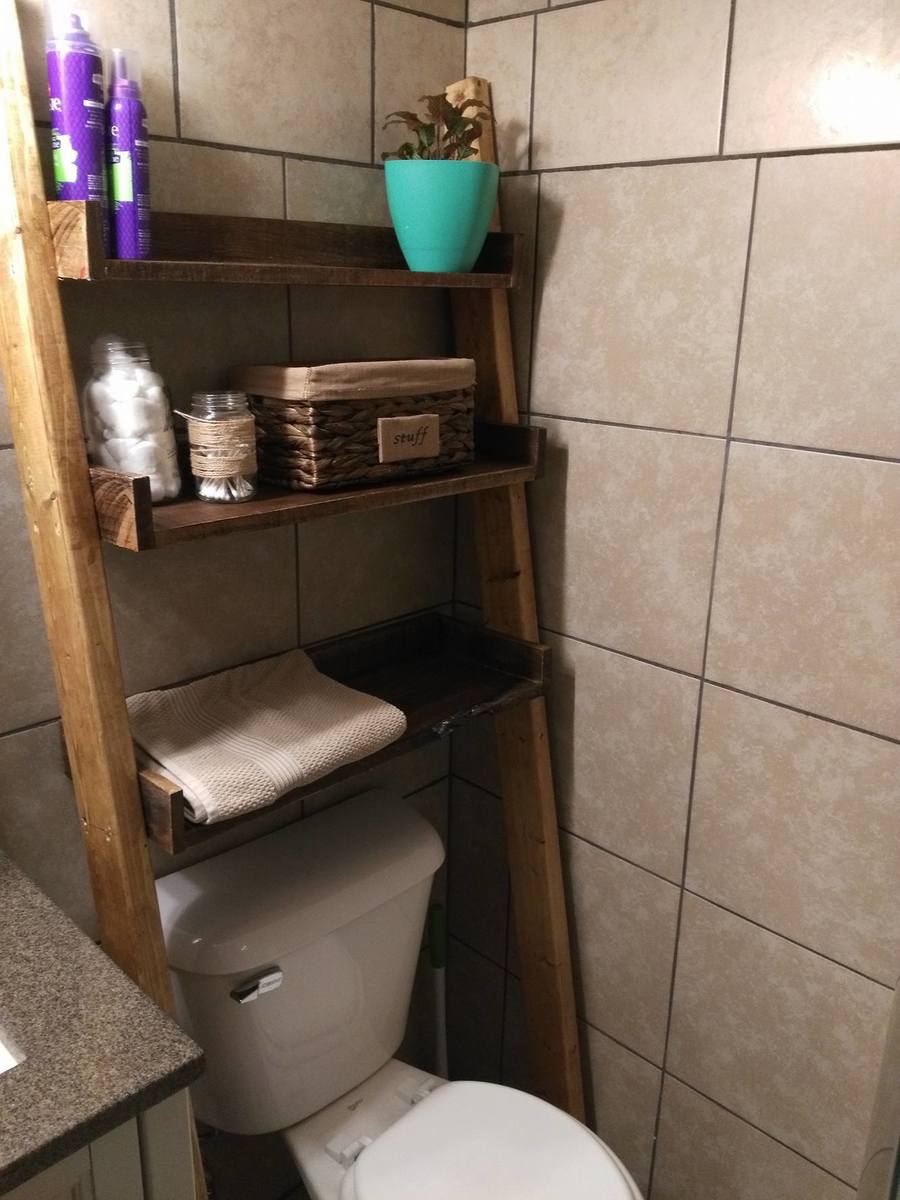
This leaning shelf was the perfect solution to my tiny (and tiled) bathroom. I didn't want to have to put screw holes in the walls and have been searching for a project. 

I made the shelves out of reclamed barn wood which made the project a little bit harder to get perfect square and level but it was worth it. The legs are 2x4s. The hardest part was definitely making sure the shelves were level on the legs. Lots of clamps helped! 


Estimated Cost
20 dollars
Estimated Time Investment
Afternoon Project (3-6 Hours)
Finish Used
Early American and Rust-Oleum Triple Thick Poly in Clear Matte
Recommended Skill Level
Beginner

Umbrella Stand (in PVC)

Submitted by lewg on Tue, 06/10/2014 - 18:29

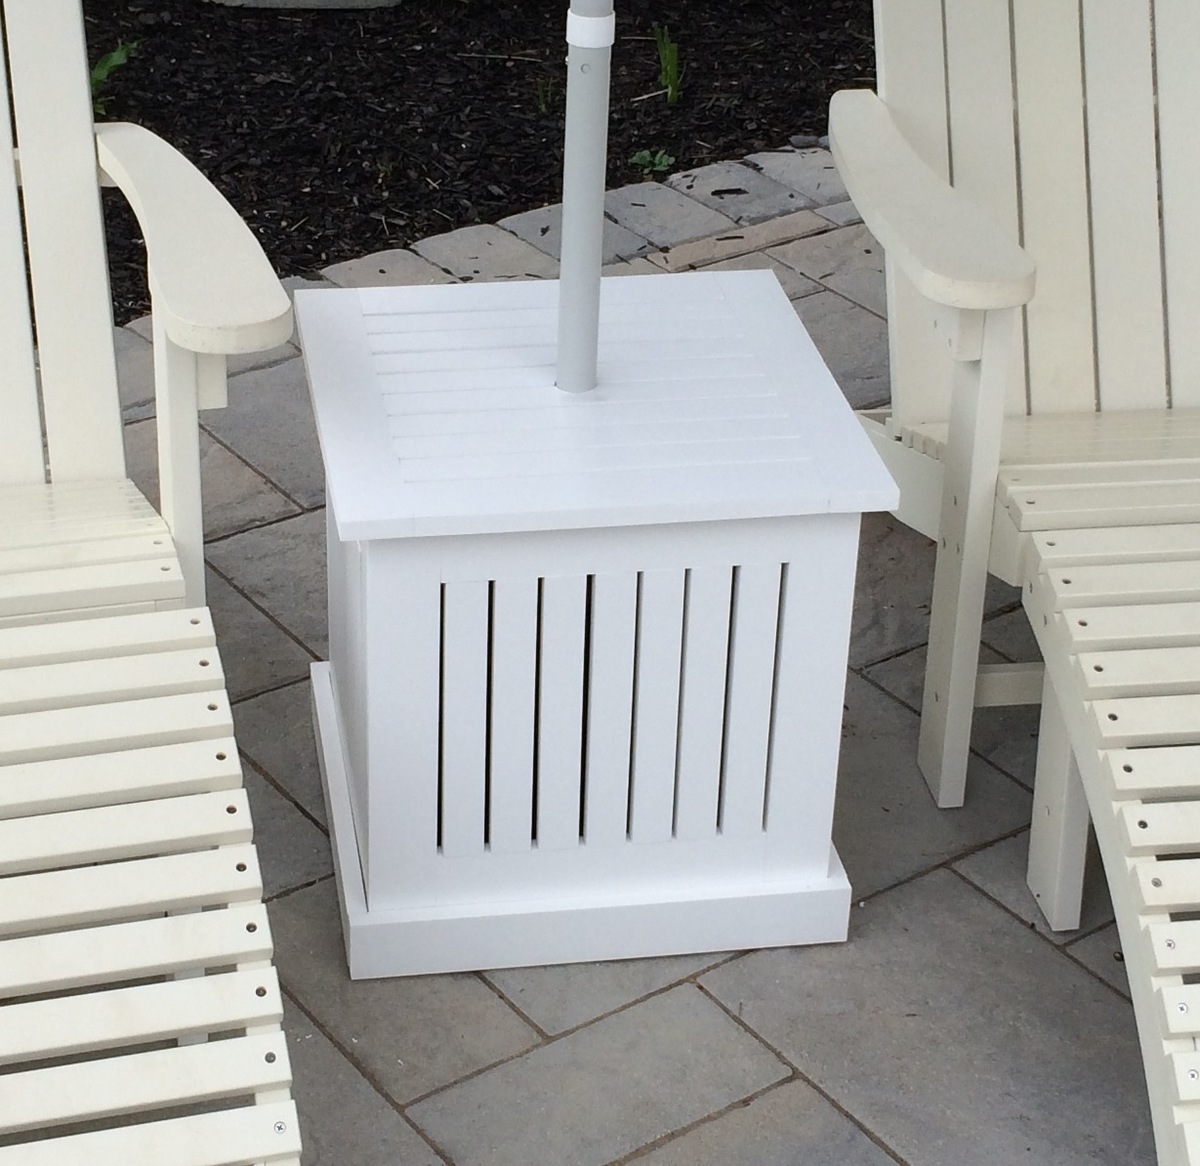
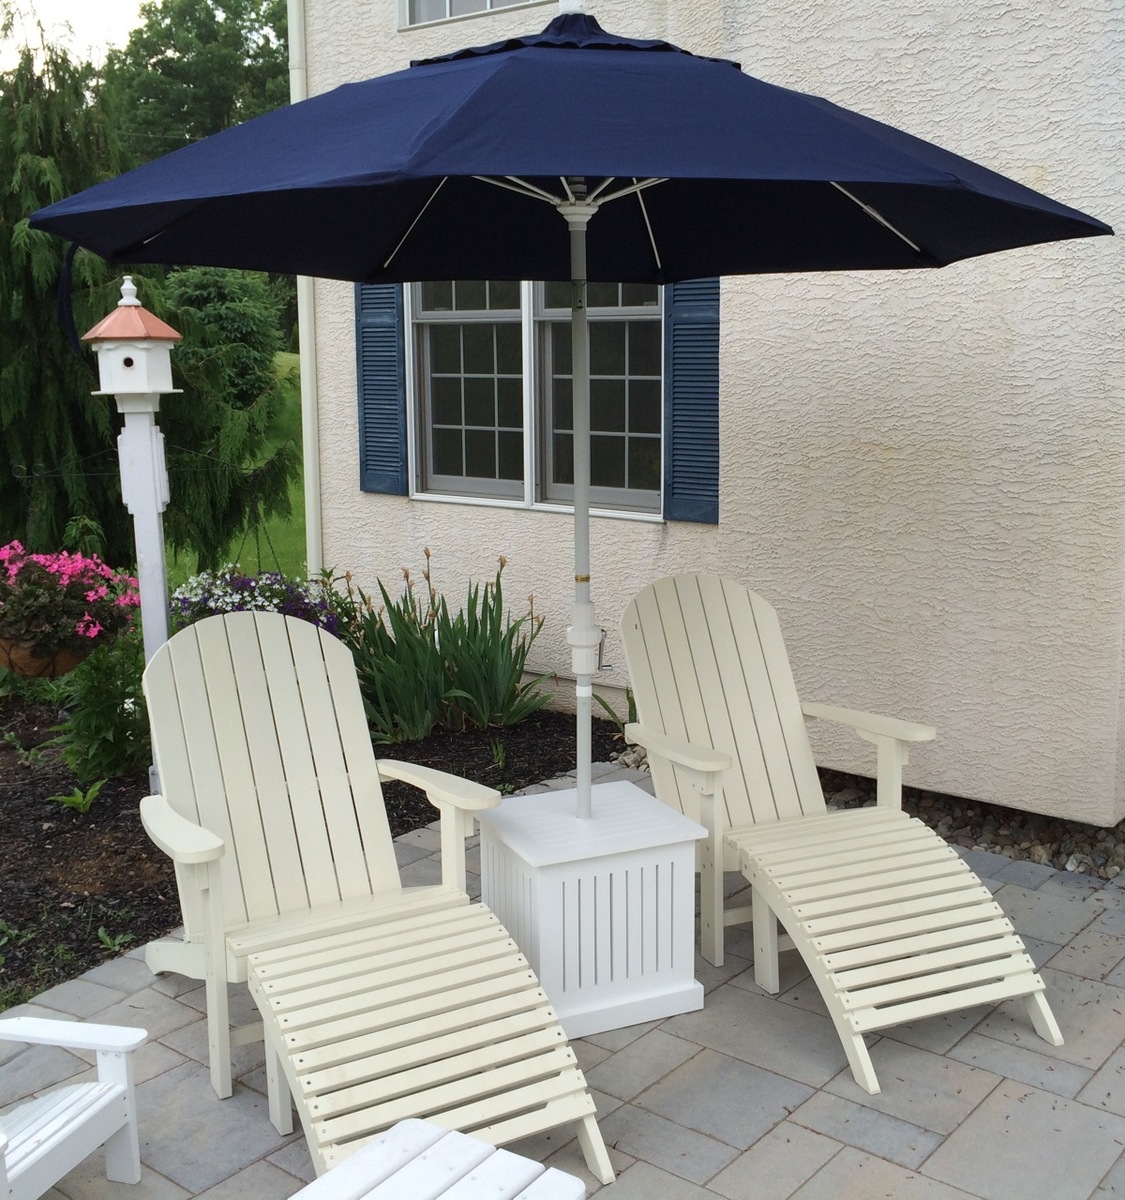
Great plans, Ana! I swapped out the wood for PVC trim, and used stainless steel screws to hopefully make this thing weatherproof.

Built from Plan(s)
Estimated Cost
$80
Estimated Time Investment
Day Project (6-9 Hours)
Finish Used
None. The PVC comes white, and I wanted a white table!
Recommended Skill Level
Intermediate
Seasonal And Holiday

Papa’s Treehouse

Submitted by Anonymous (not verified) on Thu, 06/25/2020 - 02:53

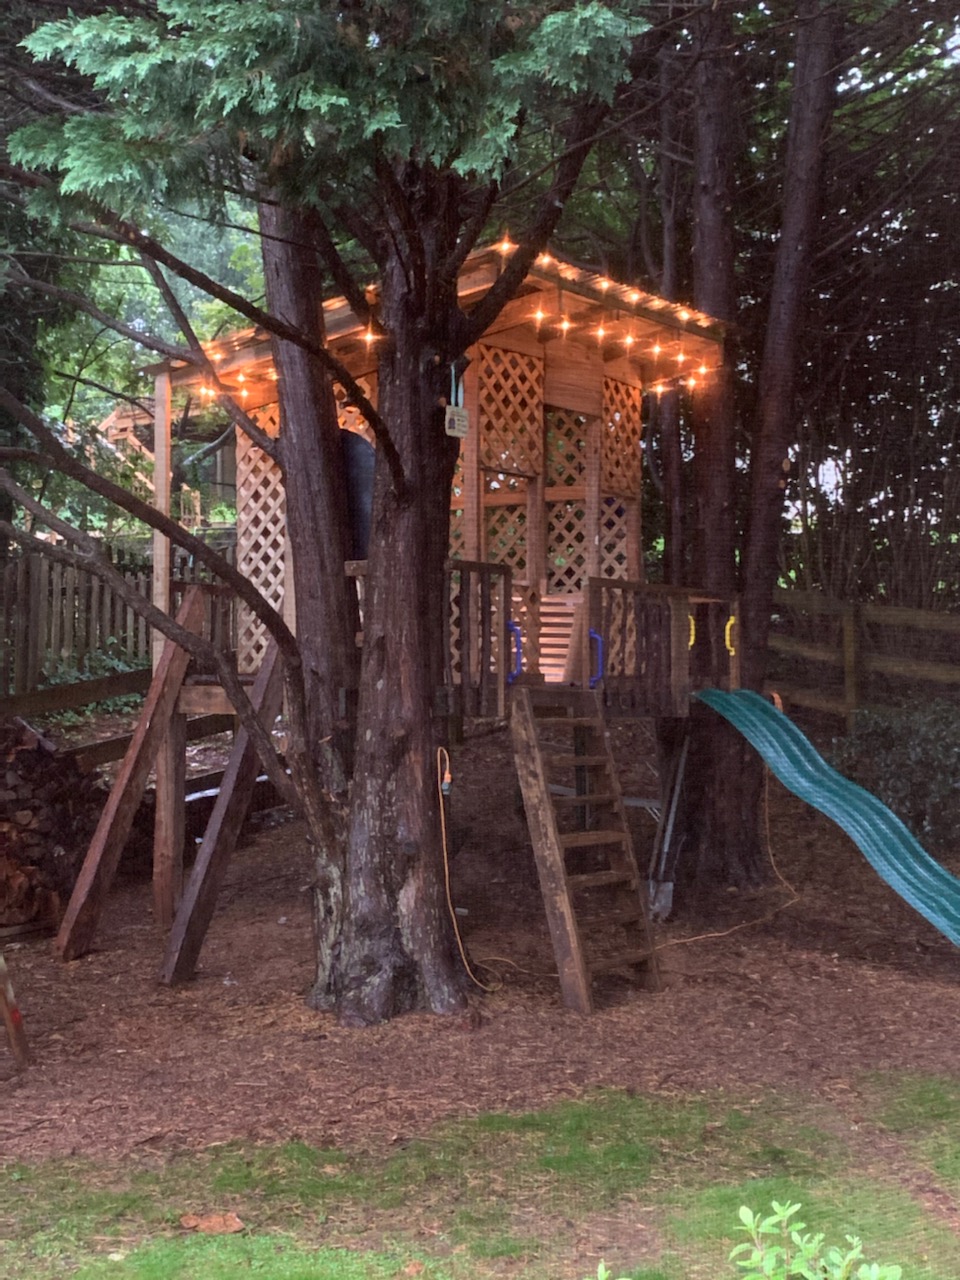
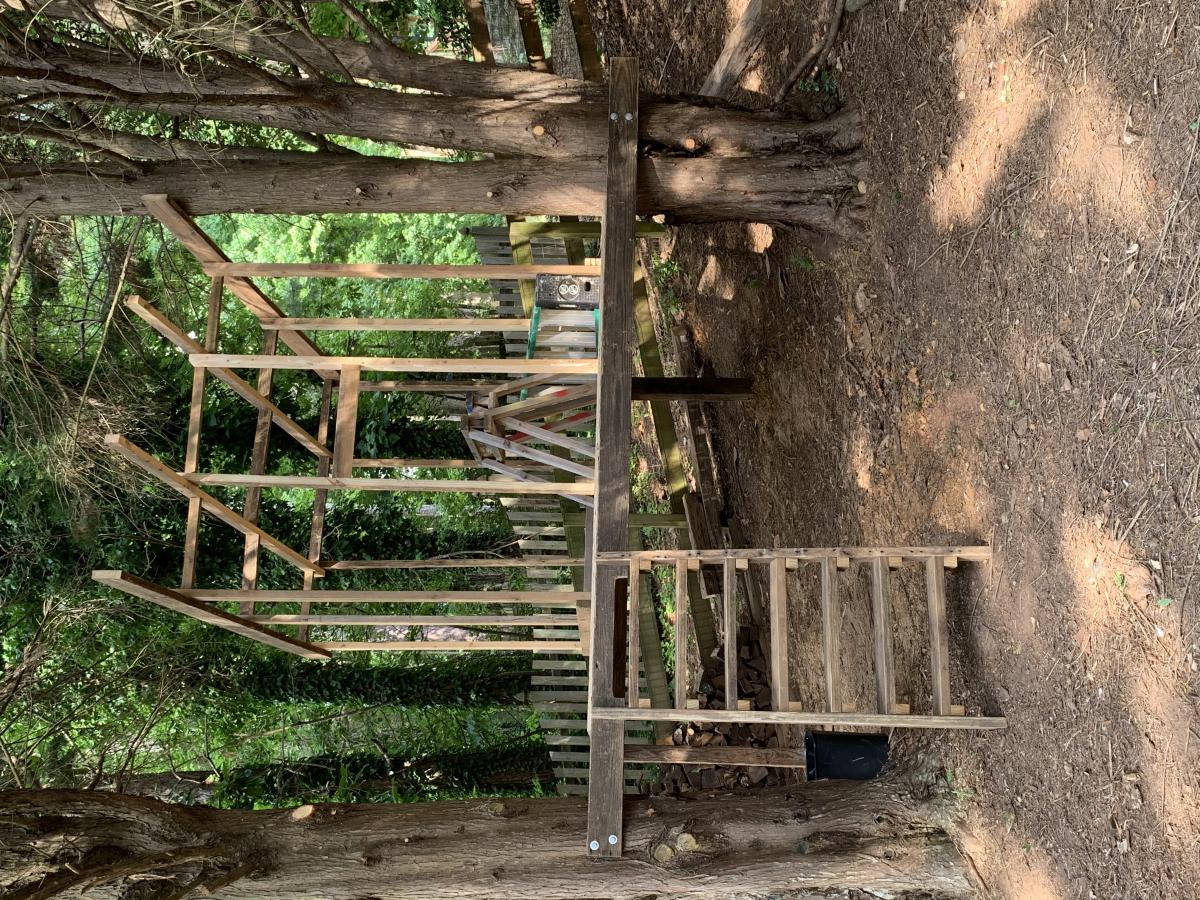
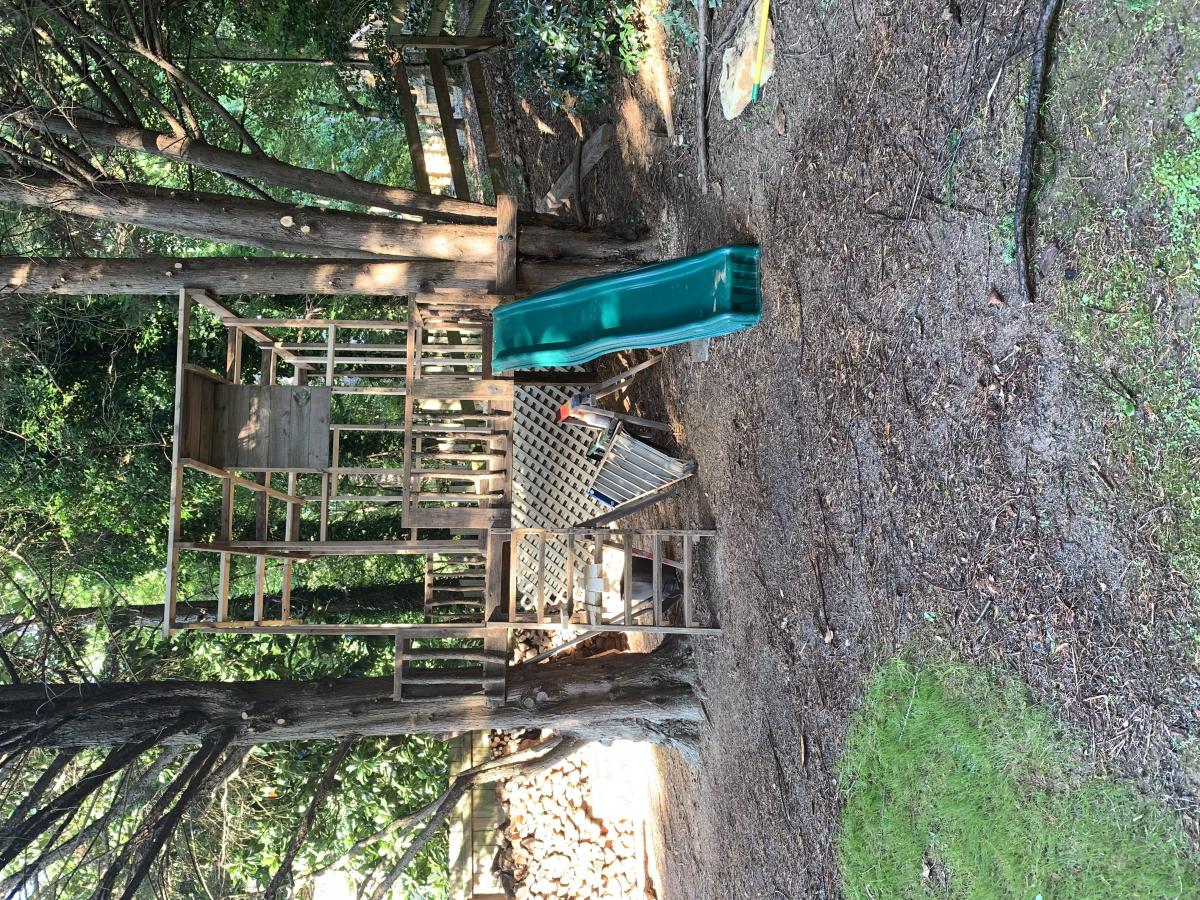
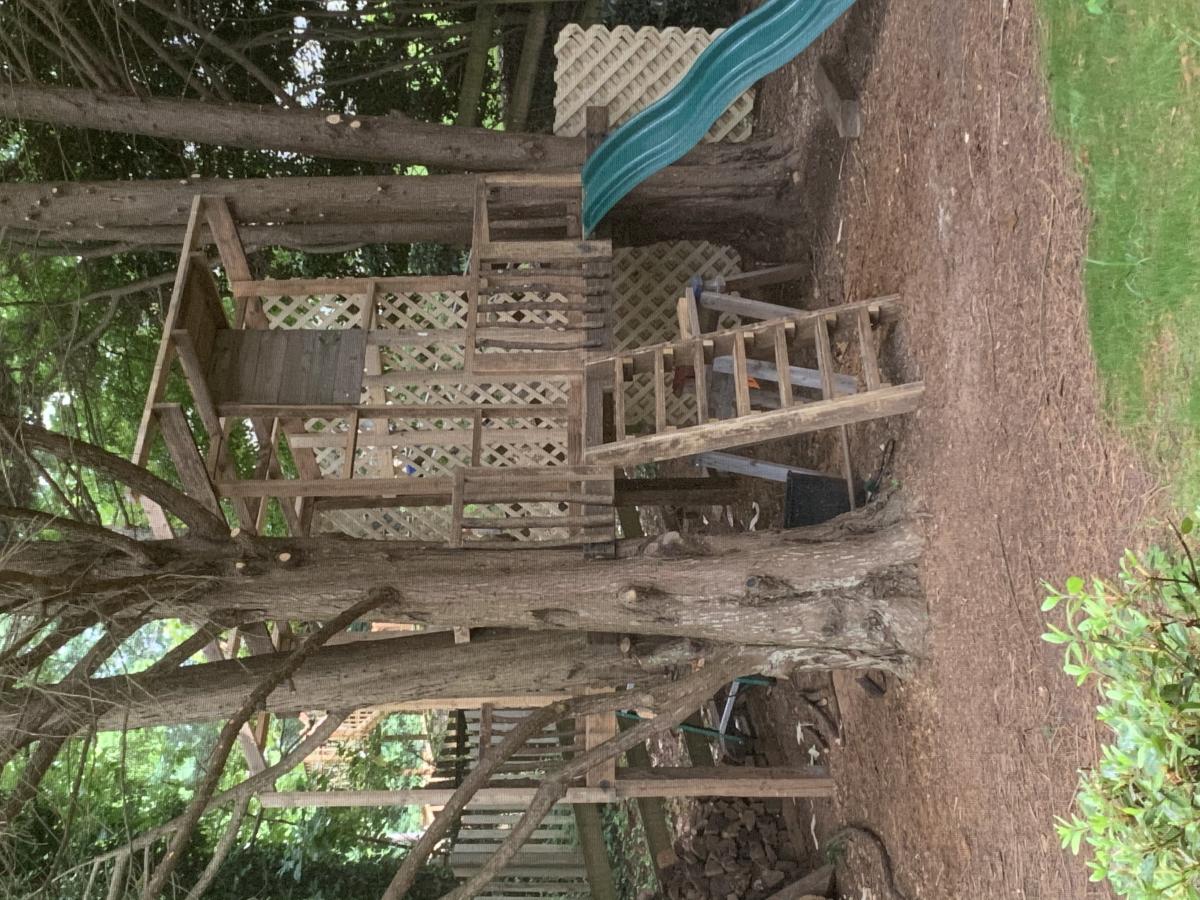
Have 3 granddaughters; 3, 2 and 6 months, so far 😉 Saw your treehouse video and made a modified version of your triangle platform using the trees I had available. Kinda went over the top a bit, but give you all the credit. Repurposed mostly old deck PT wood and rough hewn beams from neighbors.
Thanks!
Bill Magyar
Duluth GA

Estimated Time Investment
Week Long Project (20 Hours or More)
Finish Used
PT Wood patina and tea/vinegar aging solution on new.
Recommended Skill Level
Advanced

Sand Box

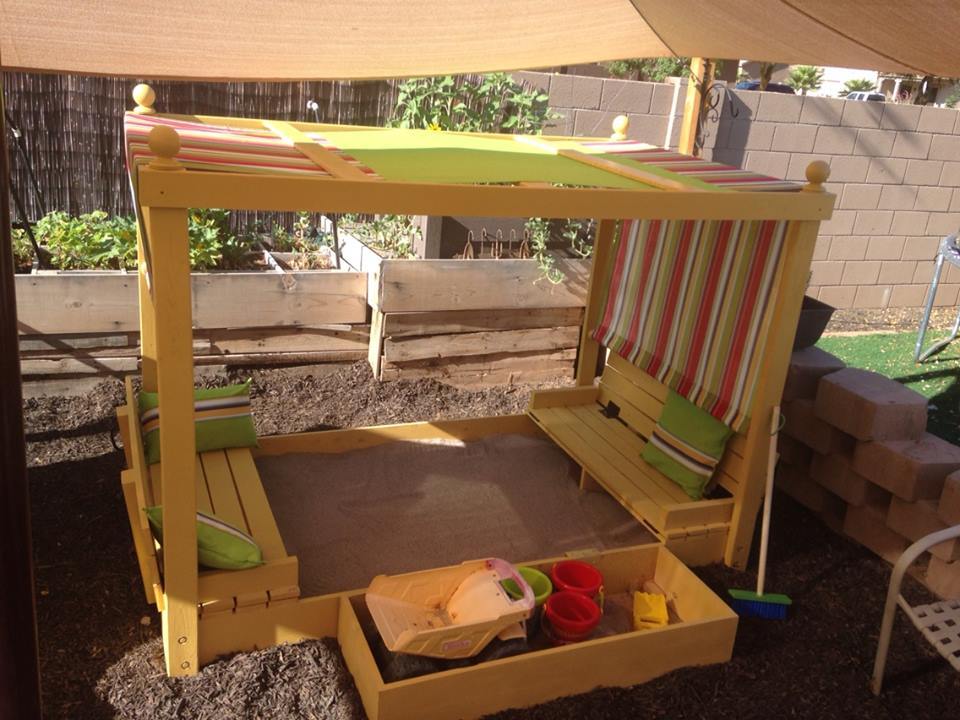
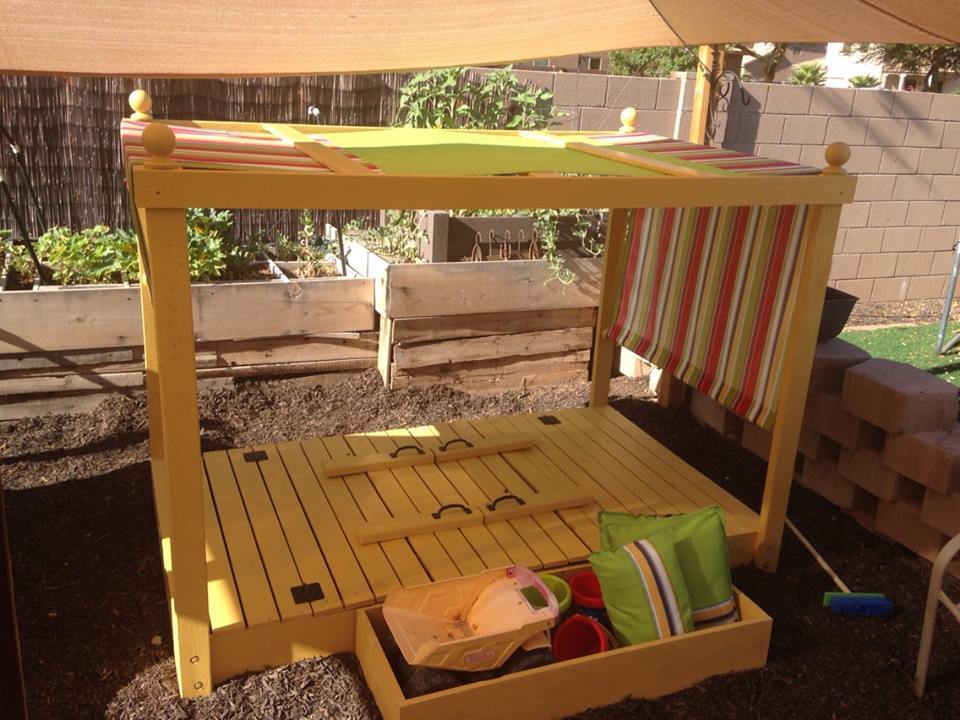
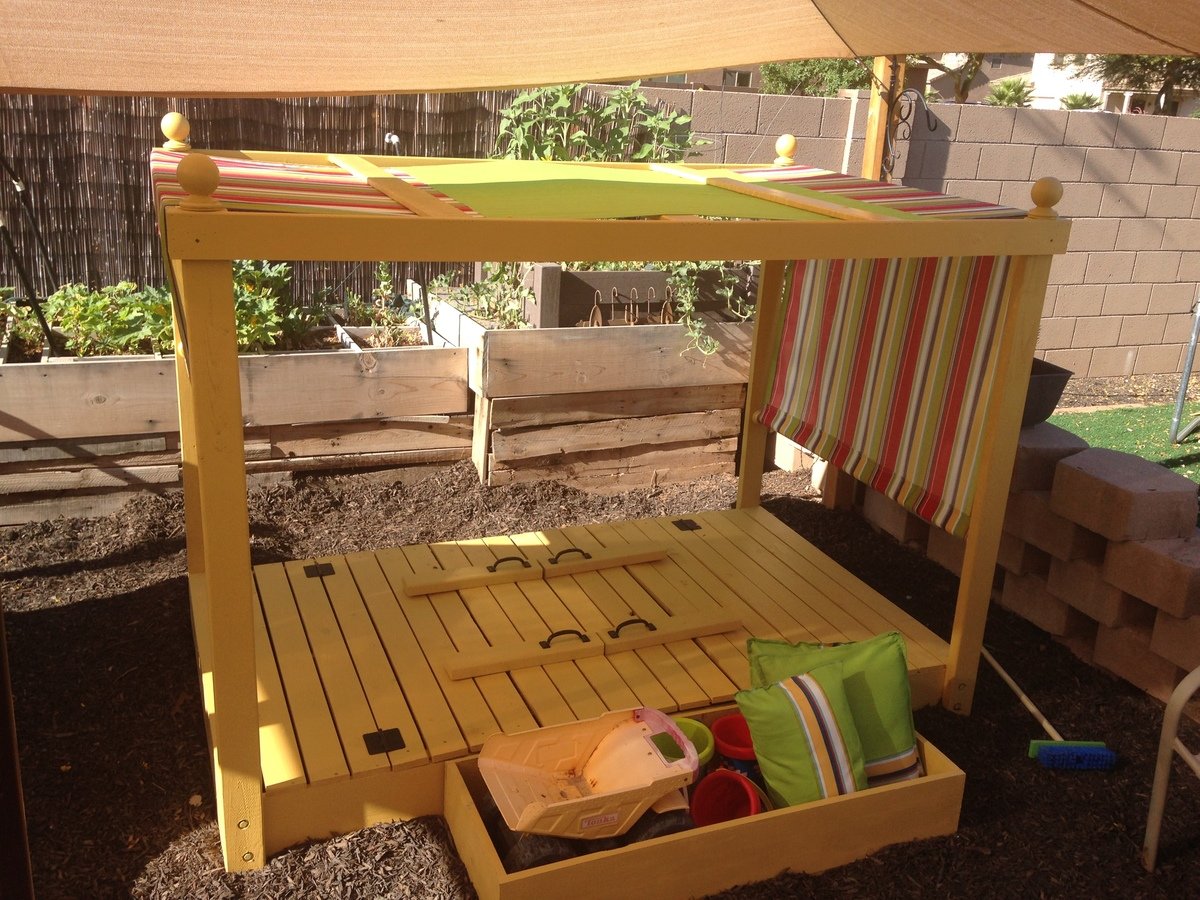
We adjusted the plan and created a 4x7 sand box with toy box and canopy. We are in love with the way this has turned out!

Estimated Cost
300
Estimated Time Investment
Weekend Project (10-20 Hours)
Recommended Skill Level
Intermediate

Comments

DIY Attached Garage Shelves

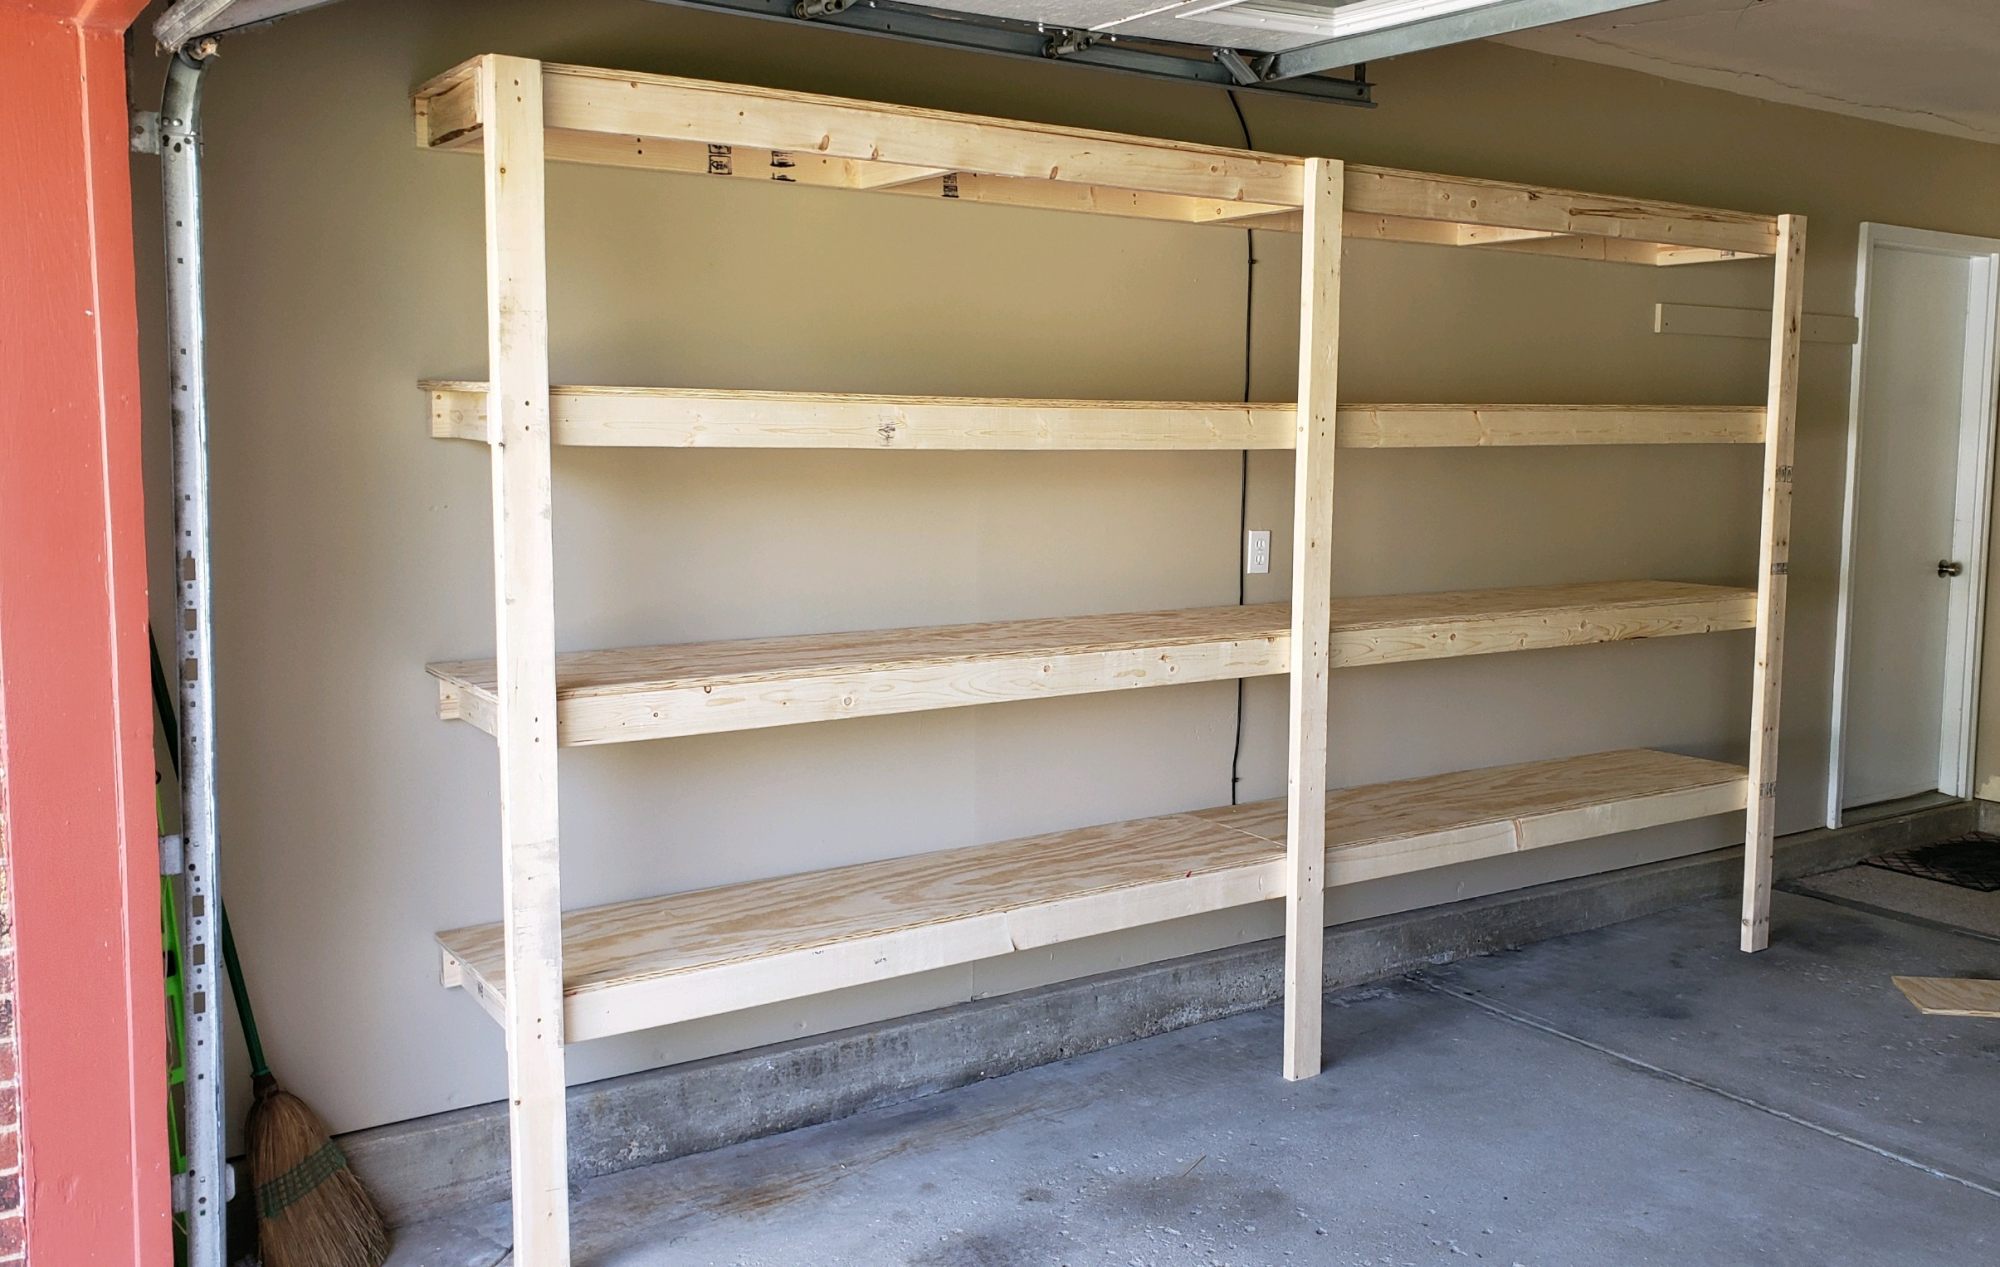
Thanks to Ana's plans for the attached garage shelves, we've managed to change 12' of garage space into 60! A quick trip to the local Home Depot and following the included instructions, these SUPER easy shelves were perfect for our needs. Thanks, Ana!

Estimated Cost
$160
Estimated Time Investment
Day Project (6-9 Hours)
Recommended Skill Level
Beginner

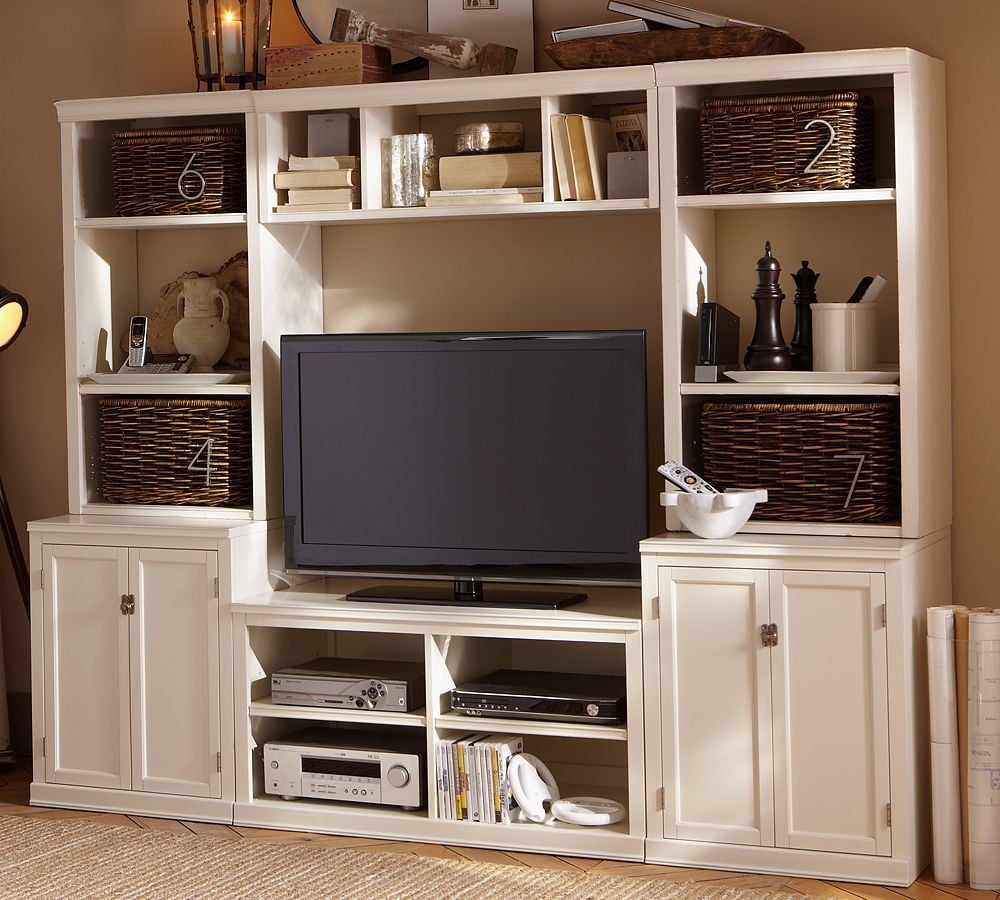
DIY Media Wall

Submitted by Anonymous (not verified) on Tue, 04/16/2024 - 18:47

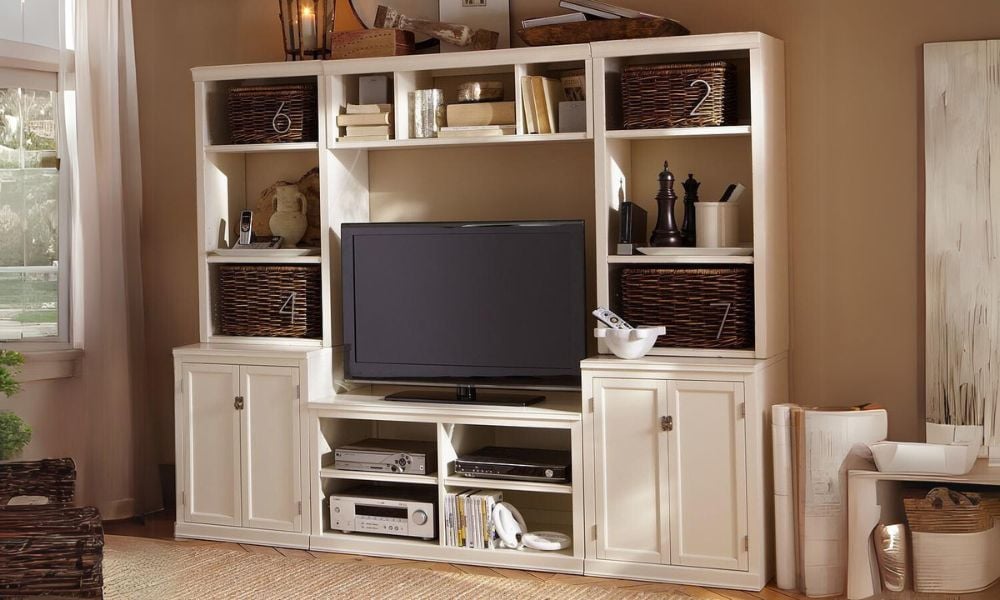
My husband and I have started our first DIY project! I was on PB website and found the Logan Media suite and fell in love their was just one problem I can't afford to pay 2,000 or more for an entertainment center. So I drew out the plans for it and went to my husband with the idea and he was all for it!! He really likes to build outside of work he enjoys it and we have a lot of fun together as couple. Were not completely finished yet and I will update this blog once were done but for now this is what we got.

West Elm Knock Off Coffee Table

Submitted by Mike F on Sun, 09/18/2016 - 07:02

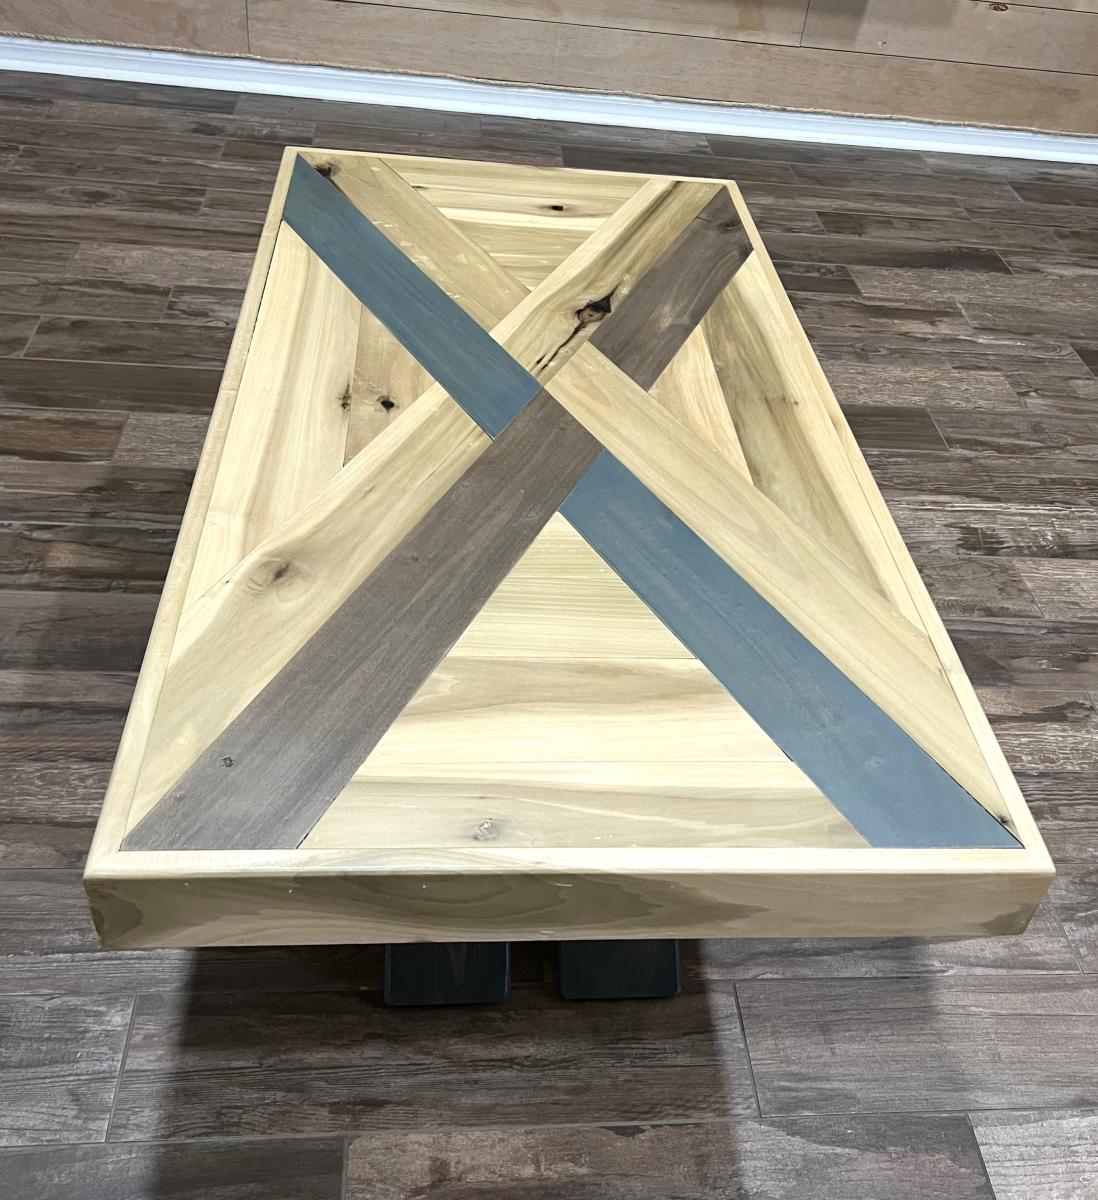
This was the first West Elm Knock off I attempted.  This was the first coffee table my sister requested.  This was also my first experience welding.  All in all it turned out pretty amazing.  She wanted one with a lifting table.  I bought the lift off of Amazon for around $60.  The wood is all Poplar and she used a mixture of stains to get the look she wanted.  I also added a hinge to the back other half of the table top so you can lift it to add more stuff inside the table.  I do not have any plans for this project as well i mostly just looked at the website and used the dimensions they had posted.

Estimated Cost
$150-$200
Estimated Time Investment
Week Long Project (20 Hours or More)
Recommended Skill Level
Advanced

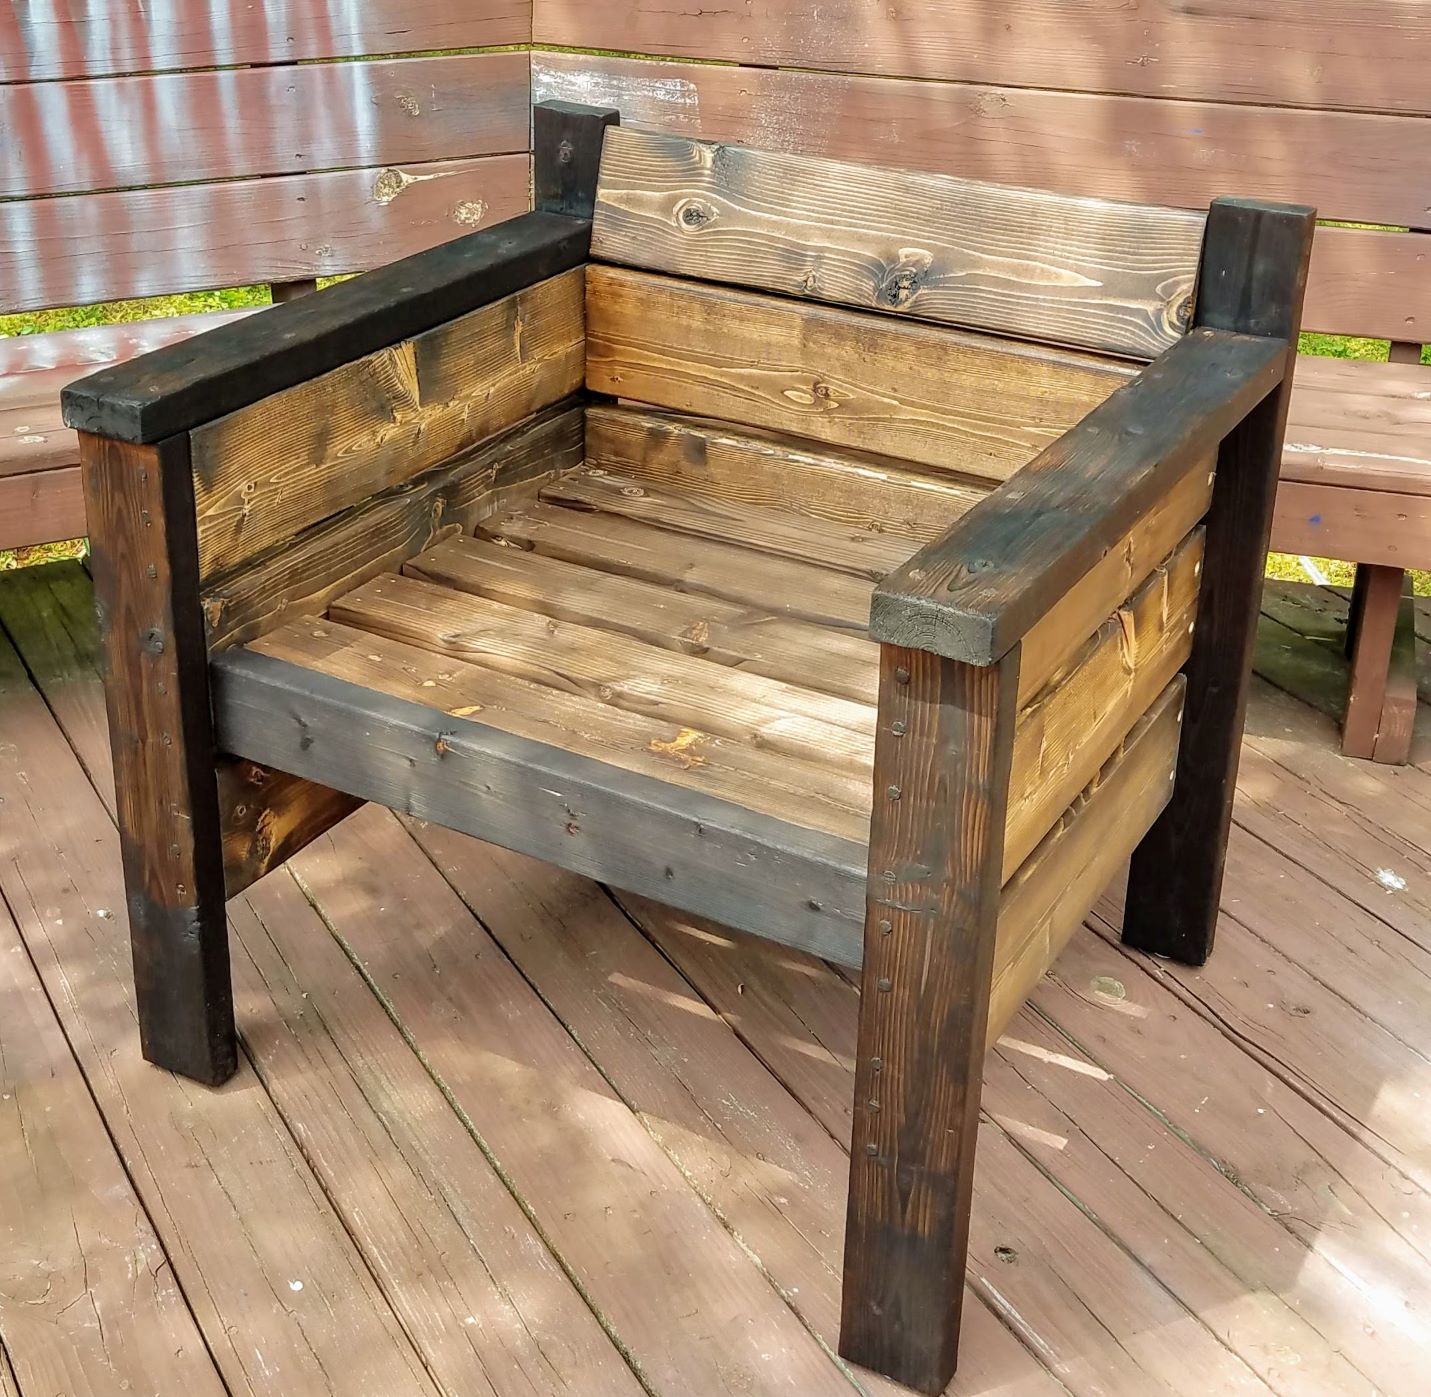
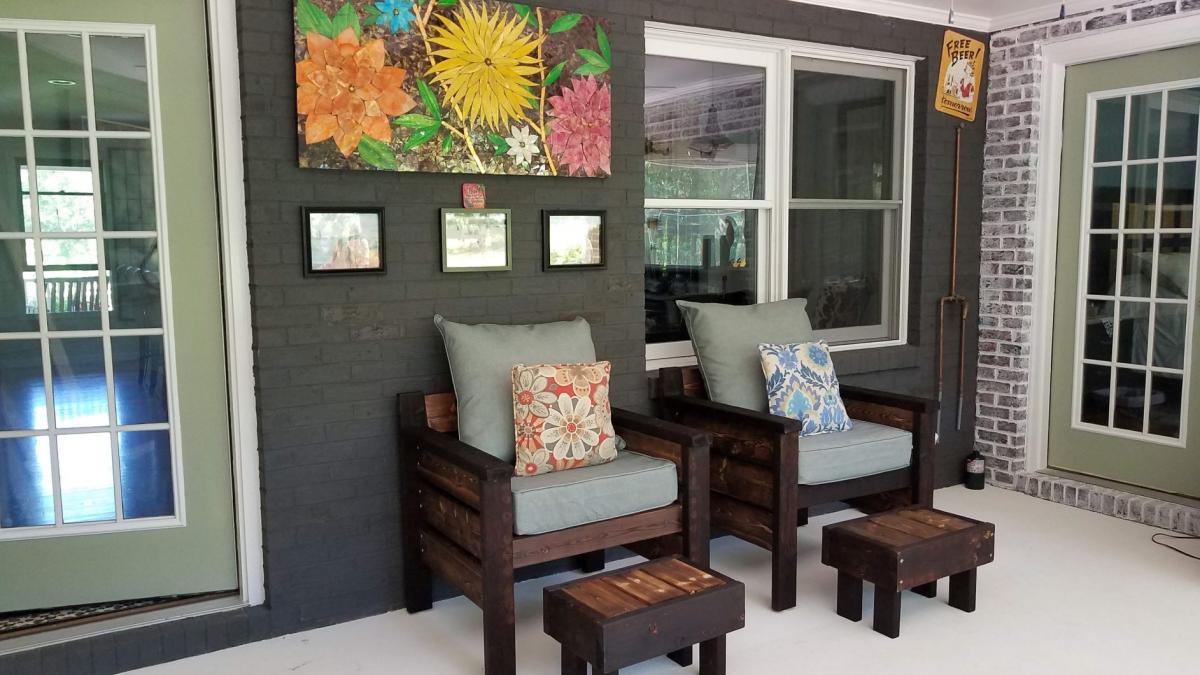
Modern Outdoor Chairs with modifications

Submitted by oconnorcyn on Wed, 07/01/2020 - 15:06

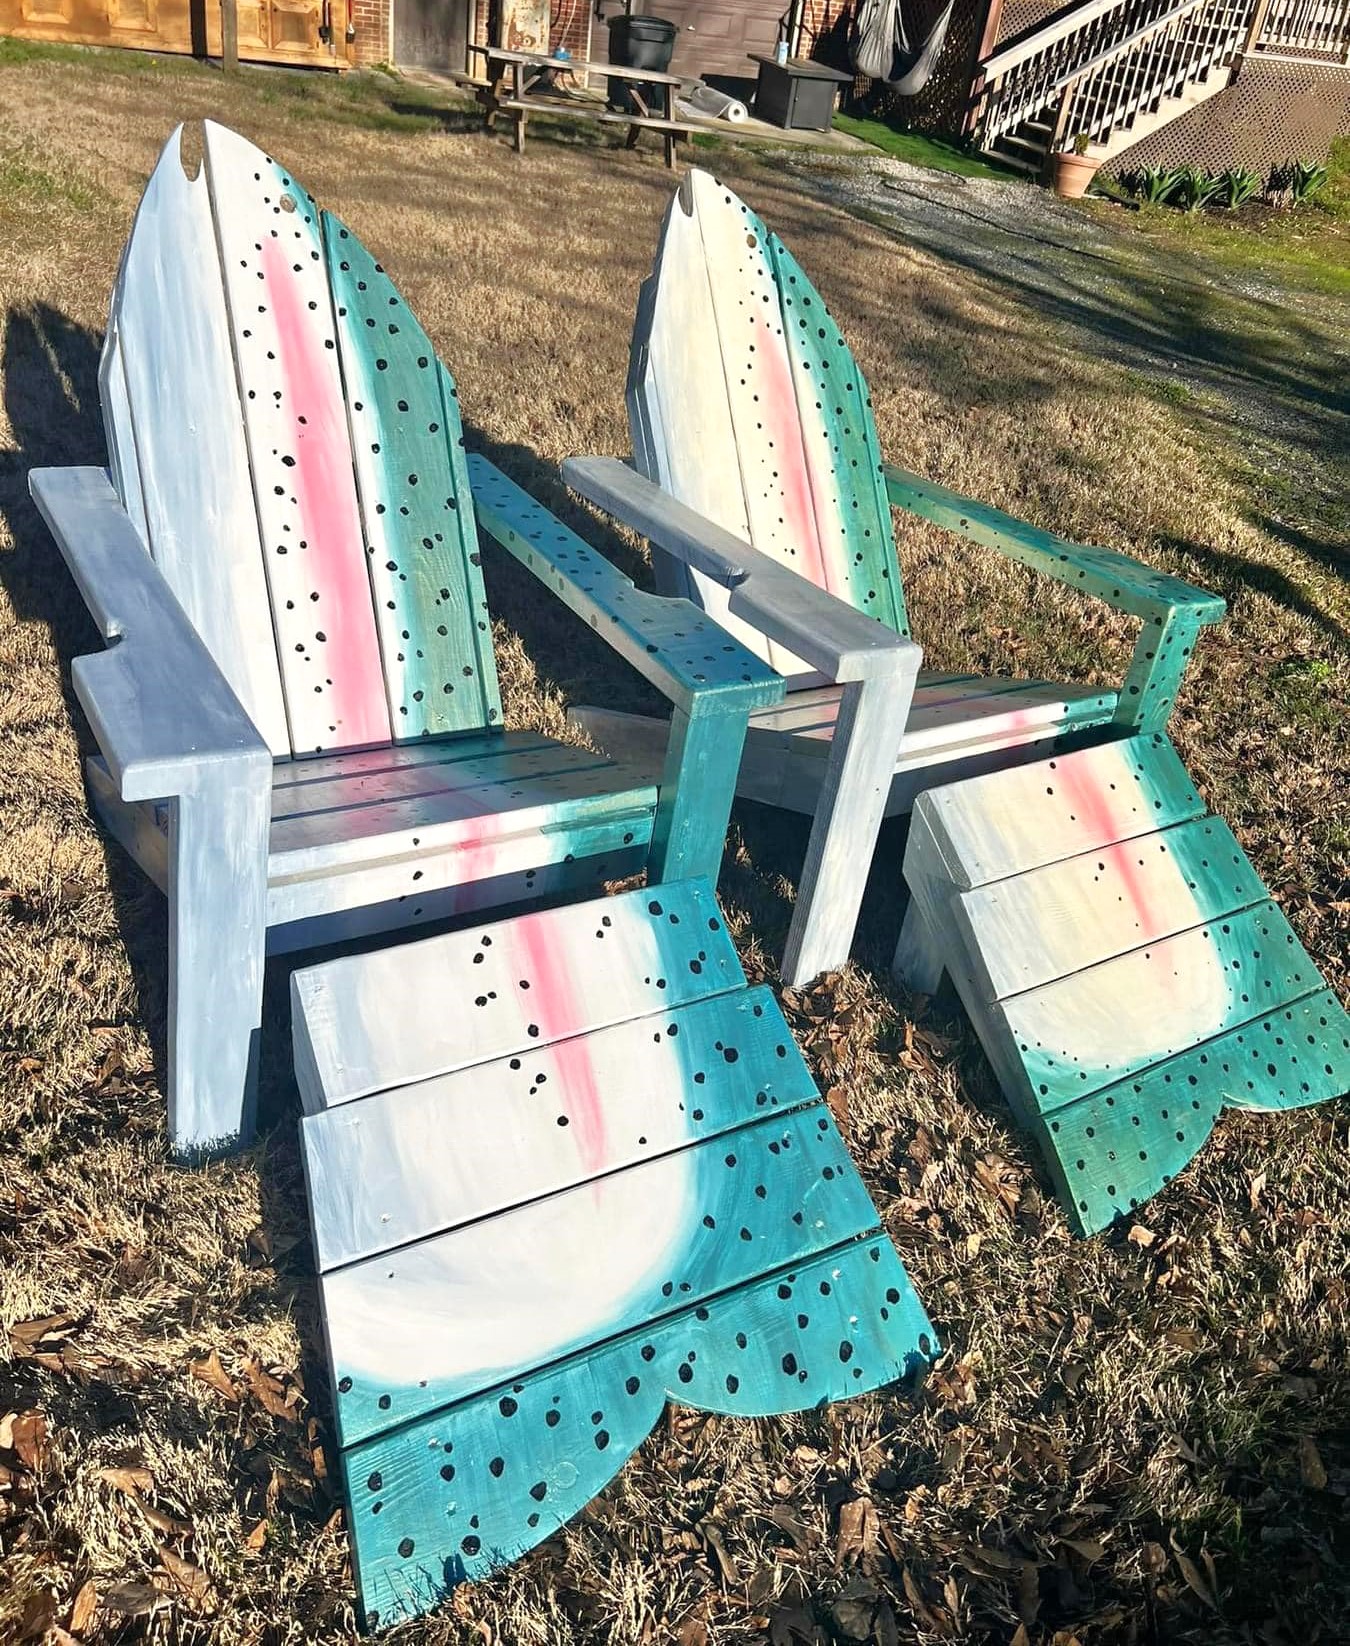
After renovating our screen porch at the onset of Covid, I searched online for an indoor patio furniture. As you probably guessed , with my limited budget, I couldn't find "affordable" and "quality" in one product . ALAS! Ana White's website and her Modern Chair Plans appears in my search. After reviewing her easy to use plans, my husband and I were confident we could tackle the project. With a few modifications, we are very pleased with results. Modifications: Added one additional 2 x 6 providing a higher backrest ; increased the chair height 3"(for us, making it easier to get in and out of the chair); and, used dowel rods to fill screw holes. Also with the extra leftover material, my husband made ottomans that under the chair for easy storage.

We love the results and use them daily! Thank you Ana for sharing your plans!

Estimated Cost
$40 per chair
Estimated Time Investment
Week Long Project (20 Hours or More)
Finish Used
Chair frame: Color / Shou sugi ban: wood-burning techniques
Chair slats: Espresso color stain
Chairs were sealed with Danish Oil (medium for frame / natural for slats). Chairs will be used in a screen porch protected from the weather.
Recommended Skill Level
Beginner

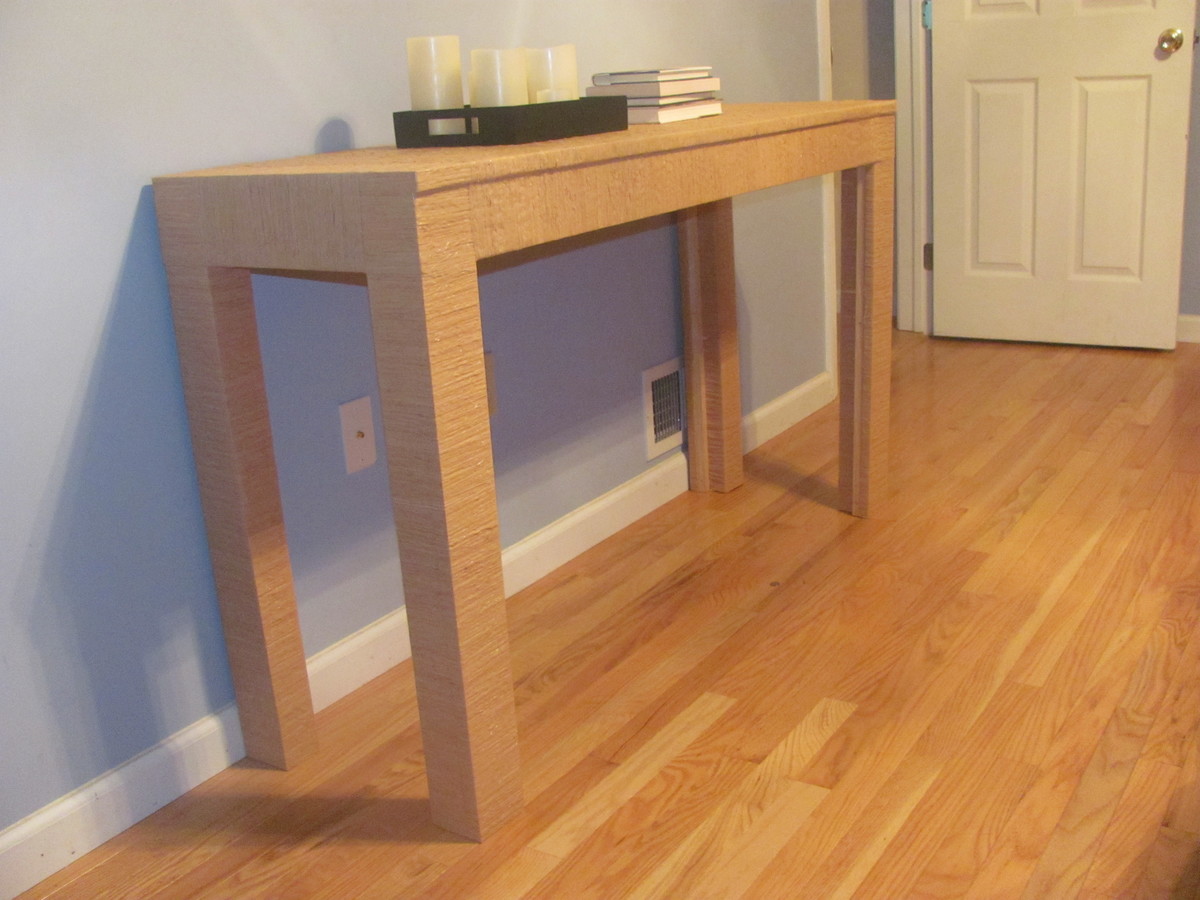
Parson Console Table

Submitted by lee12477 on Mon, 08/27/2012 - 16:18

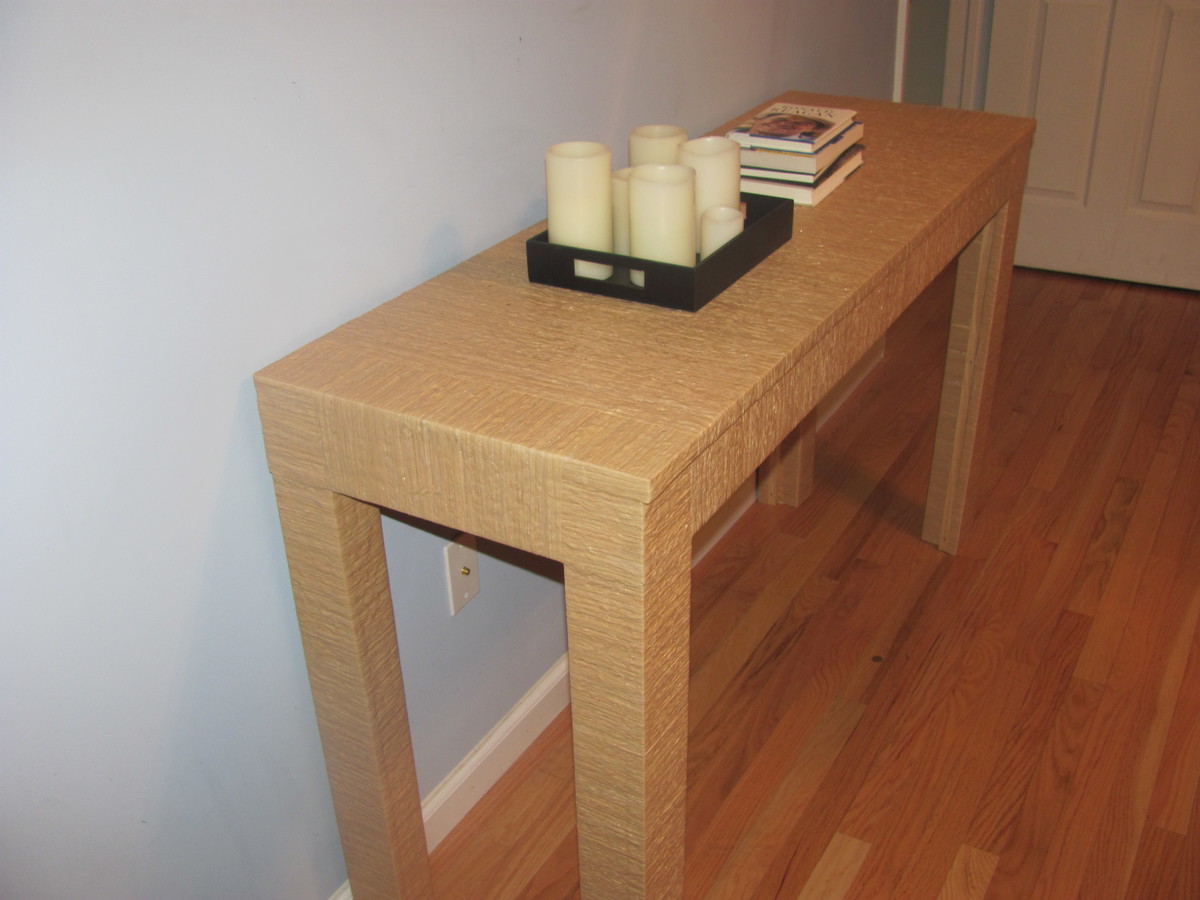
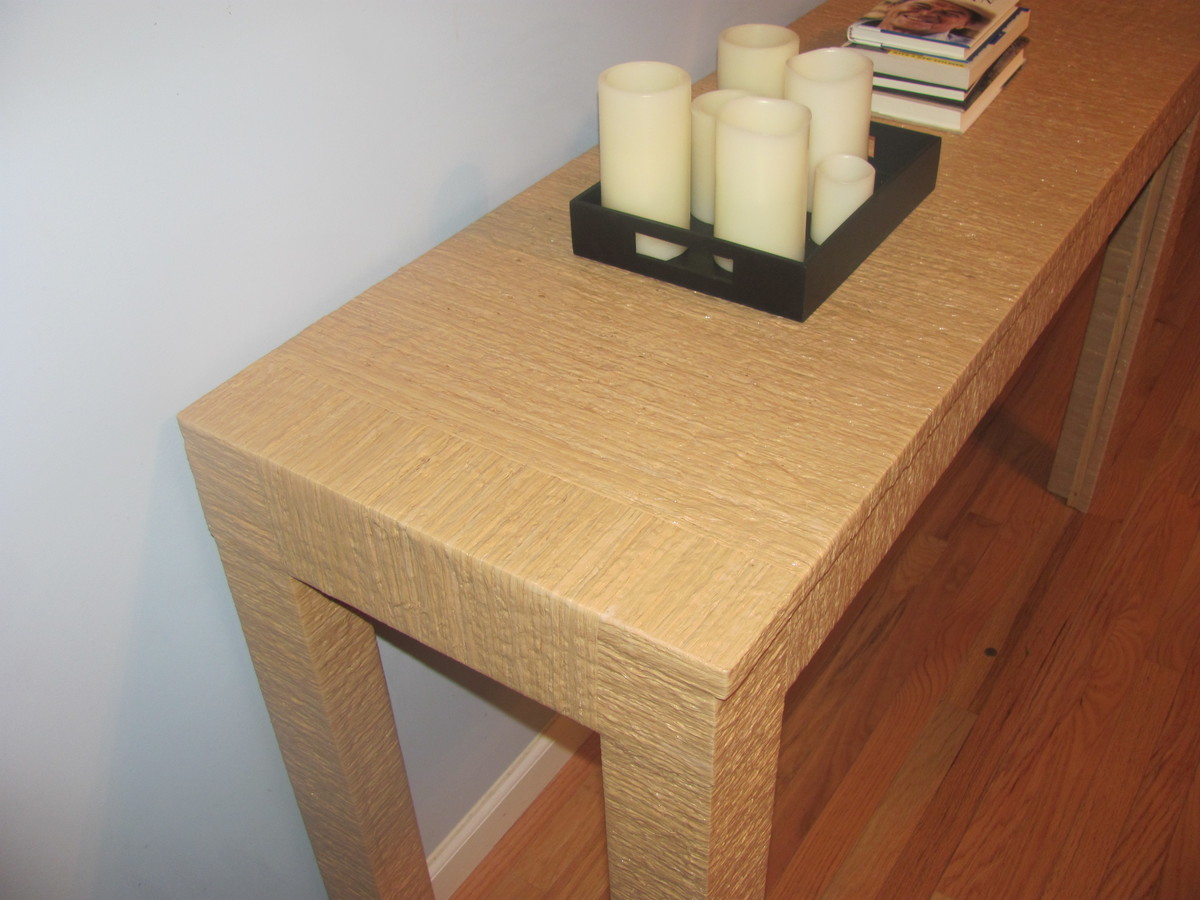
Thank you so much for the plan. I created a console table by adjusting the dimensions (finished table is 54 x 18 x 30) and omitted drawers. Used Modge Podge to adhere raffia to table (this was the most time consuming part of the project). Finished with a clear coat of polyurethane. Based this project on a table I originally saw in the HGTV Green Home 2010 master bedroom. http://hgtv.sndimg.com/HGTV/2010/03/03/GH2010-105_03-master-bedroom-wid…

Built from Plan(s)
Recommended Skill Level
Beginner

Comments

simplyelle

Sat, 06/22/2013 - 13:45

I'd been wondering on how to attack the covering of my desk with fabric. I'd toyed with the idea of Modge Podge but was not quite sure on its adhering capabilities. Around here, it gets so humid that the adhesive on my 3D Command strips melts and things fall off the walls. How has it held up thus far? I'm attempting to cover mine in upholstery fabric.

Back