Community Brag Posts
Simple Chairs with some color
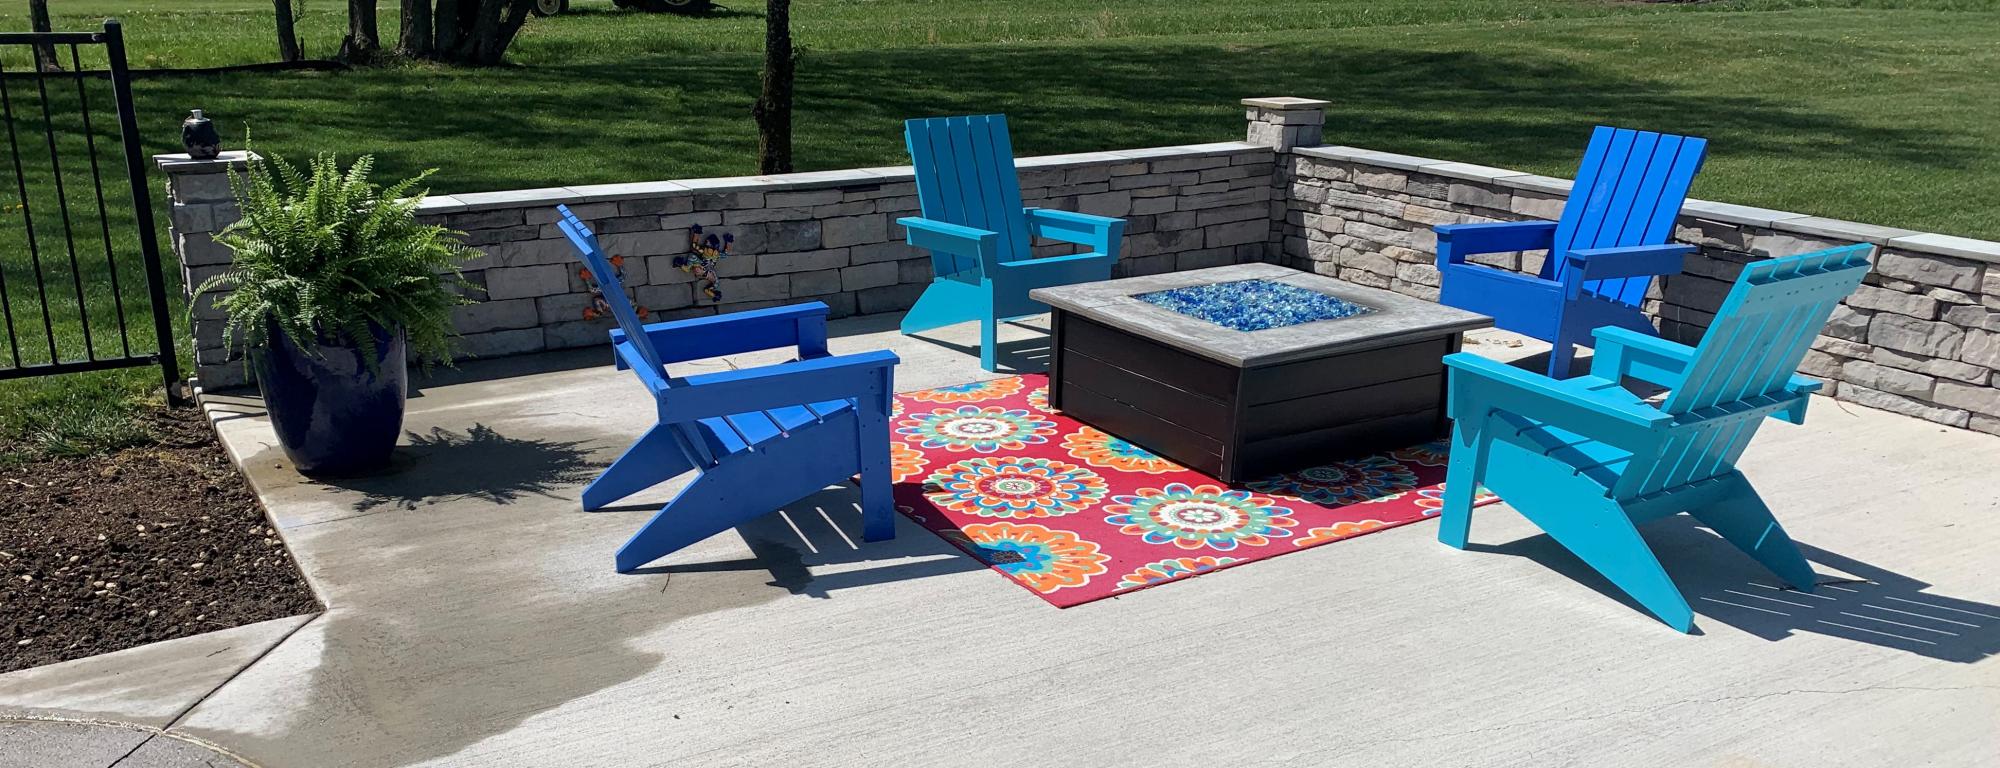
My son and I conquered this project over the winter. Cut all the pcs and the assembled 4 chairs for less than $150.
Comments
Our Daughter's Playhouse
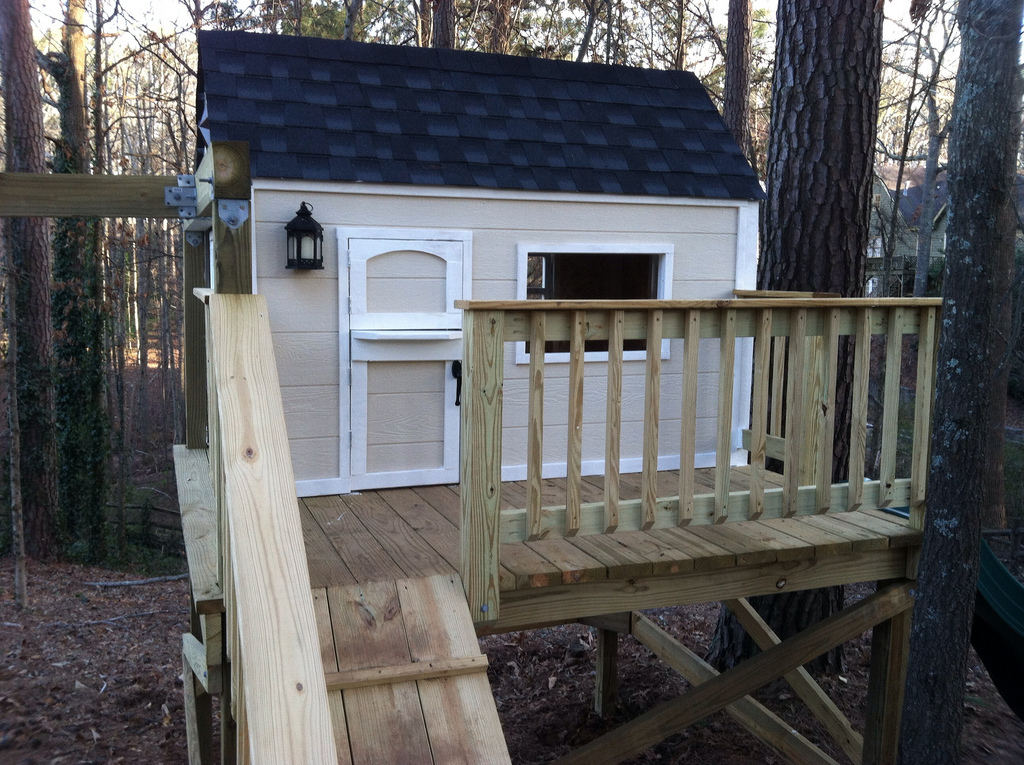
We built this in early 2013. We ended up turning the house 90 degrees on the deck, because the slide worked best off the backside of the deck due to the various heights around the deck. The sloped back yard caused some challenges, but in the end it's a very sturdy deck with the cross beams attached. Thanks for posting these plans online for us, our 3 daughters are loving the playhouse and swingset! Here are some more pics of the project: http://www.flickr.com/photos/11031534@N00/sets/72157633009259873/
Comments
Fri, 03/22/2013 - 16:39
This is great!
Love this - my grandson's back yard is too small to build something like this; which is why we had to settle for his loft bed airport/clubhouse.
Thu, 06/27/2013 - 05:24
Question overload (hope you don't mind):
I'm planning on building two A-Frames and no playhouse, so my questions are focused there.
Did you do any modifications to swing portion of the plans?
Is it sturdy enough for an adult to swing on as well?
It looks like you put the posts in the ground, did you cement them in too?
How high off the ground is the bottom of the support beam for the swing?
Is there any issue side-to-side swaying?
Provincial Colonial Hybrid (Mortise and Tenon) end table
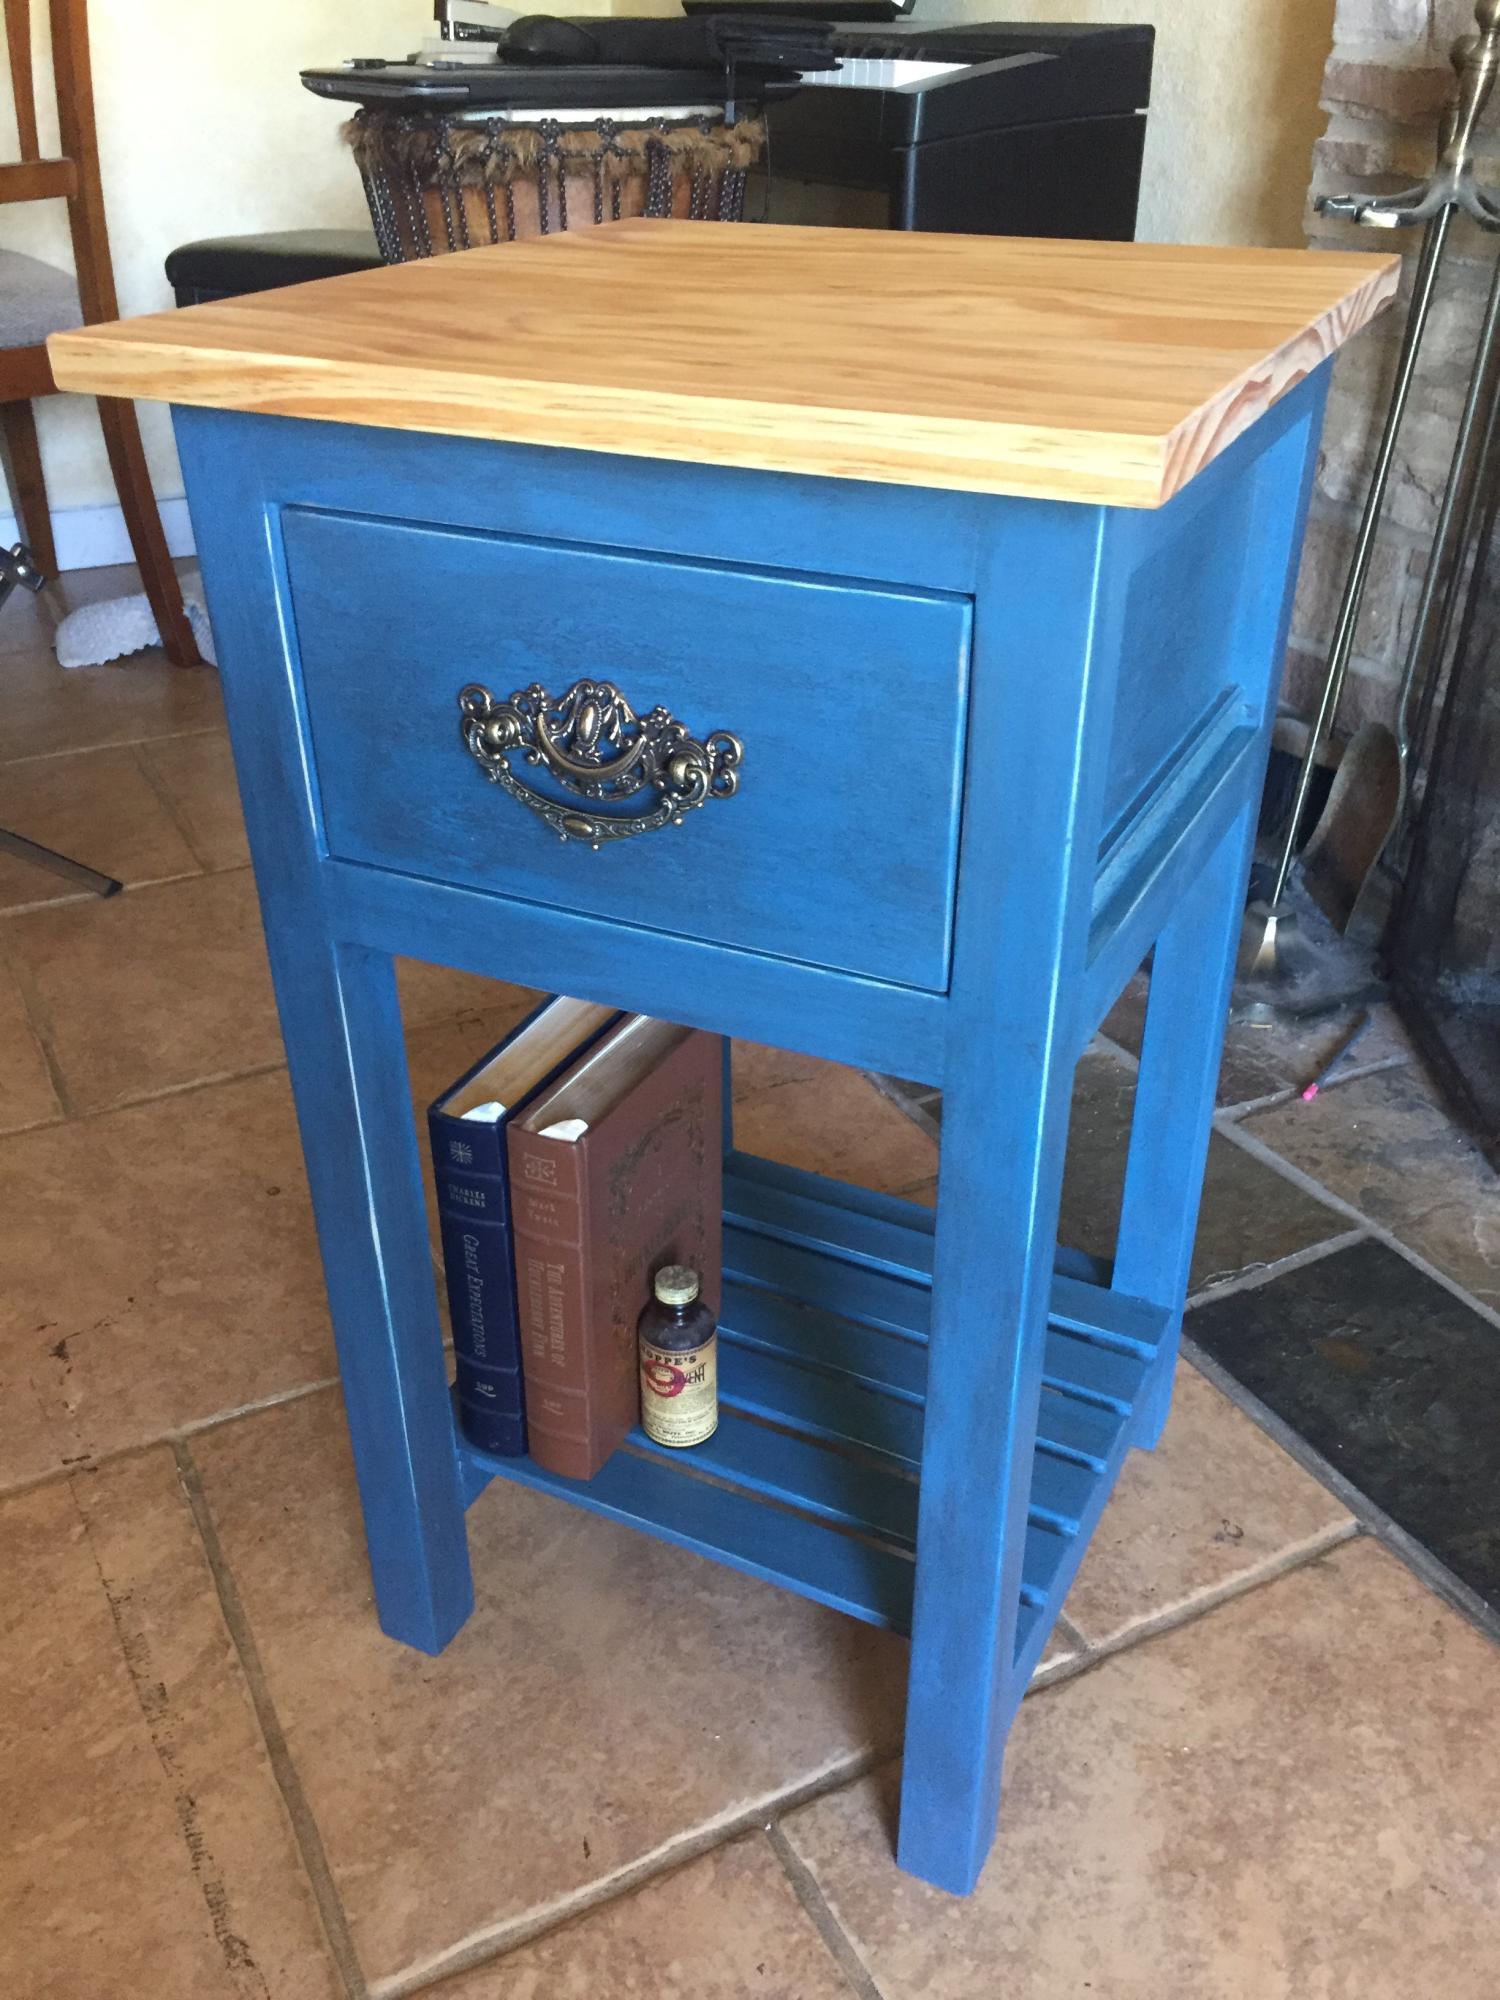
I built this for my girlfriend who specifically likes french provincial finishes but colonial farmhouse structure. There is absolutely no metal/screws in this build, frame assembled with mortise and tenon joinery and drawer is assembled with splines. I finished traditionally with a danish oil treatment for the top, and the frame/drawer was painted with Aubusson Blue chalk paint, corners sanded, then graphite washed, then waxed with a traditional paste wax and hand buffed. This is the first time I've built without pocket screws or modern finishes and I am hooked! It did take me four times as long though, so it's not for every project. Just the ones that are for someone special ;)
Select pine: $110
Danish oil: $8
Paint/graphite wash/paste wax: $74 (plenty left for other projects)
Drawer pull (Rockler): $15
Farmhouse Queen bed
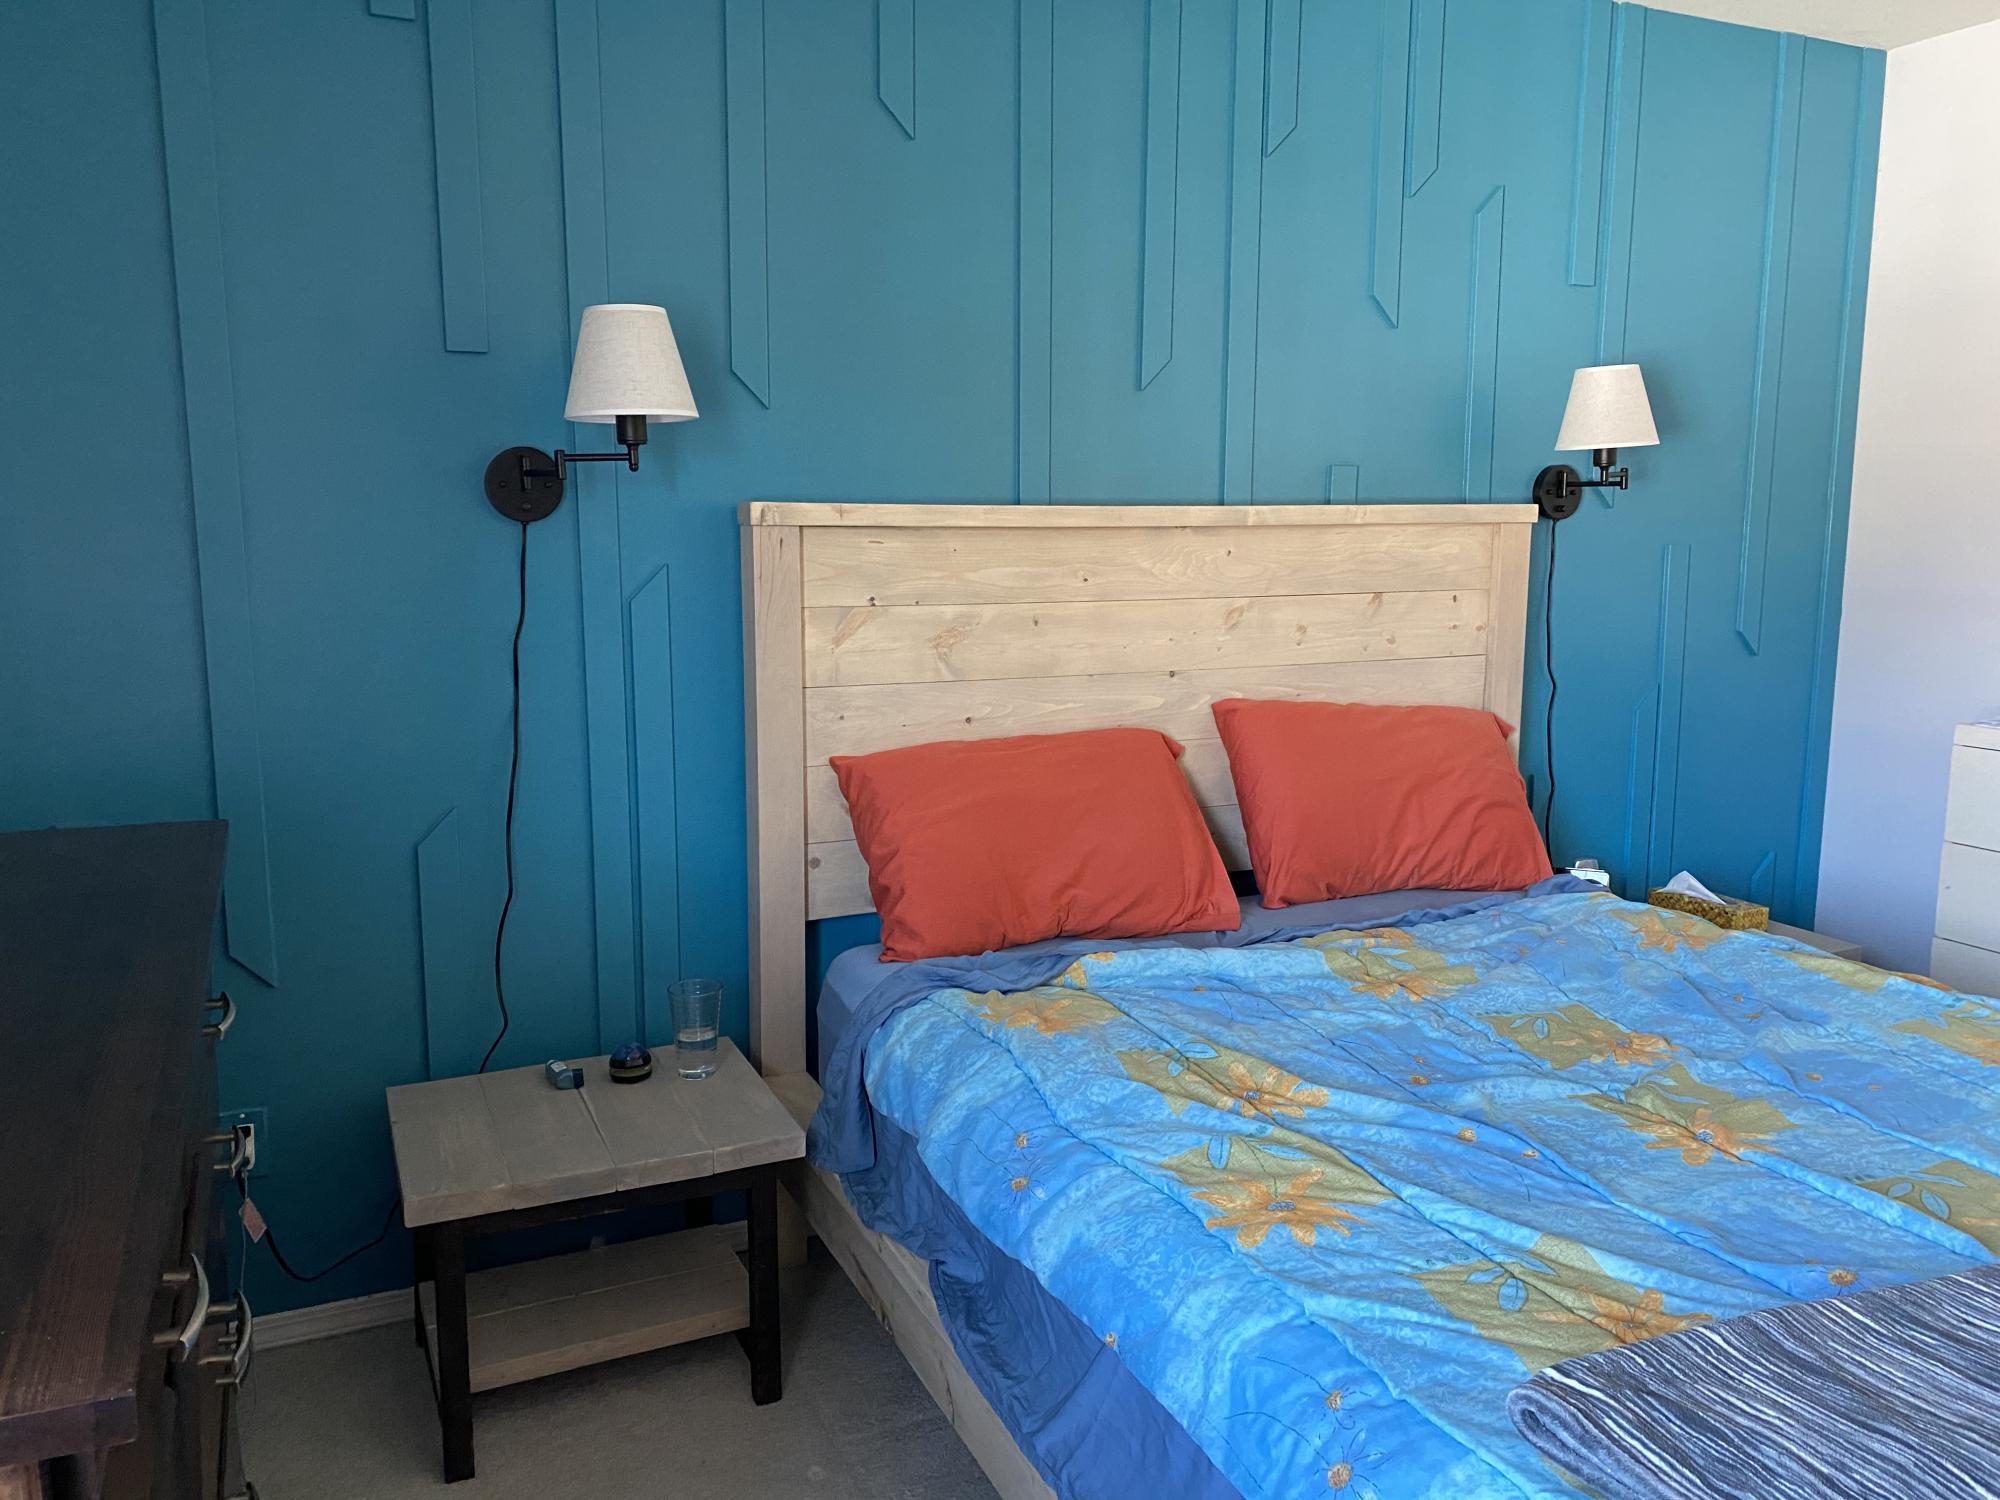
Built this farmhouse Queen bed as an anniversary gift to my husband 🥰
Comments
Little e's Train Table
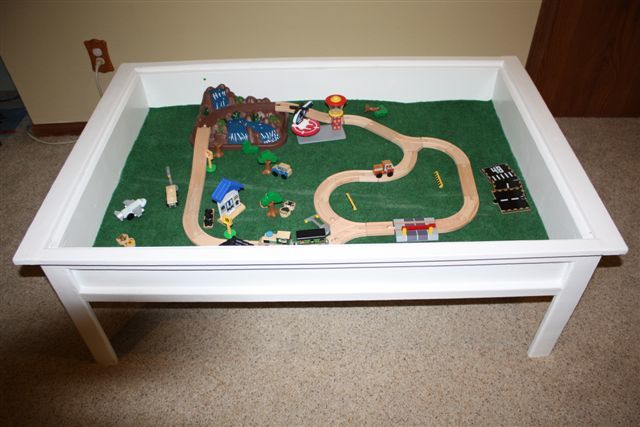
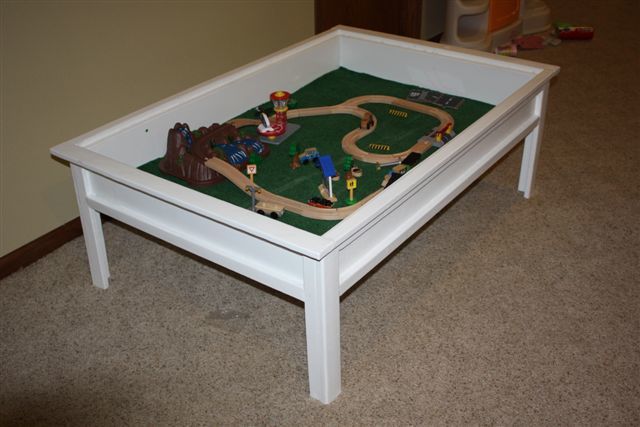
I made this train/activity table for my niece's 2nd birthday. I did omit the bottom shelf to allow more leg room when sitting/kneeling on the floor. The one BIG issue I encountered was that I cut the top inset to fit perfectly. Then I painted it.... the pieces no longer fit due to the extra paint thickness. UGGGGG! So, I had to go back to sanding to get that nice fit again.
I put in a scrap of indoor/outdoor carpeting for "grass" for the train set to sit on. This is not glued in, so it can be removed if they decide to use it for something other than the train. I painted it using cabinet paint to give it a little extra protection against scratches and scuffs since it will be used by a two year old. I painted the inset white on one side, but I put chalkboard paint on the other side. This way, it's like three tables in one! An activity table, chalkboard table, and a train table! She loves it!
I need to get a picture of it with the top on so you can see the white and chalkboard sides. It was a really fun build!
I may build the smaller Lego version for my own house - not to play with Legos, but to keep the dog's tail from knocking over any beverages I set down! It also would be a nice place to store the laptop when not in use.

Dollhouse Bookcase
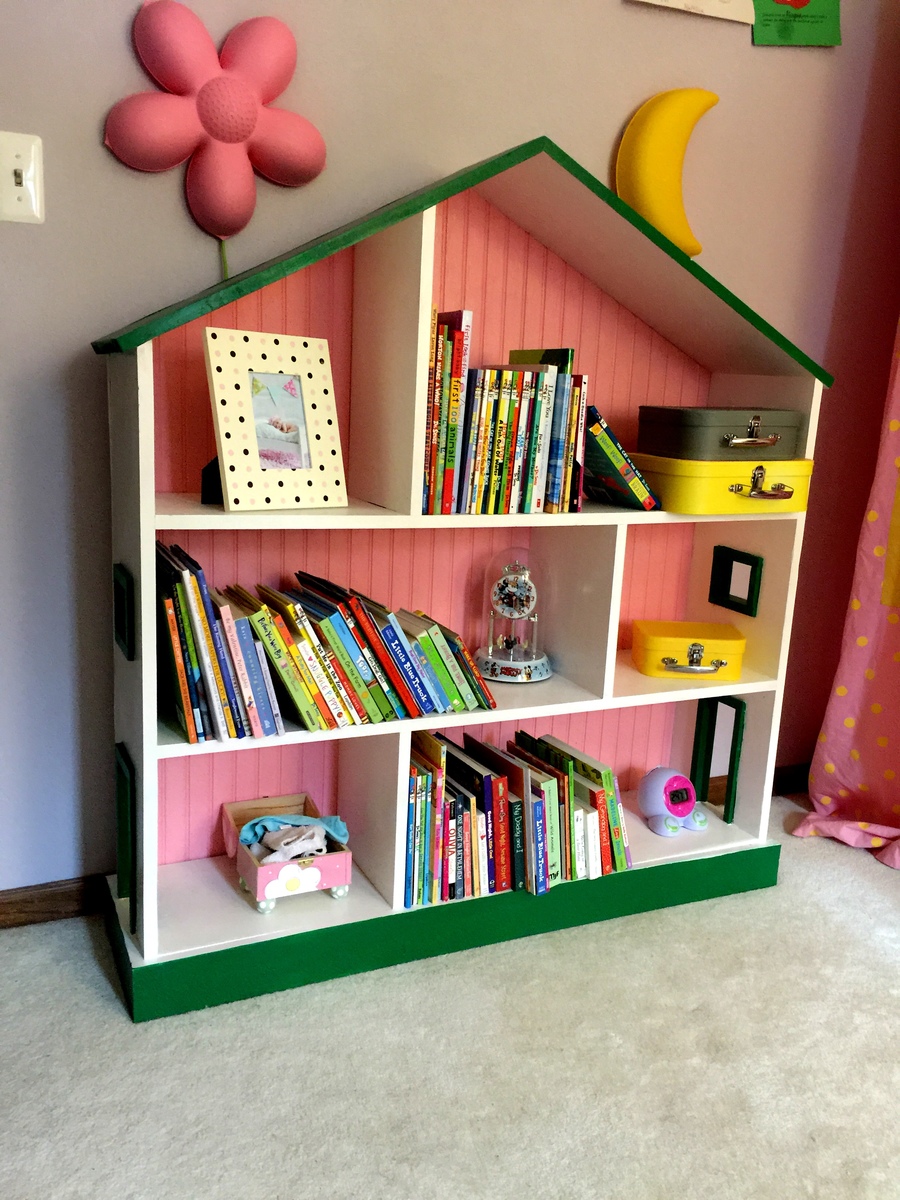
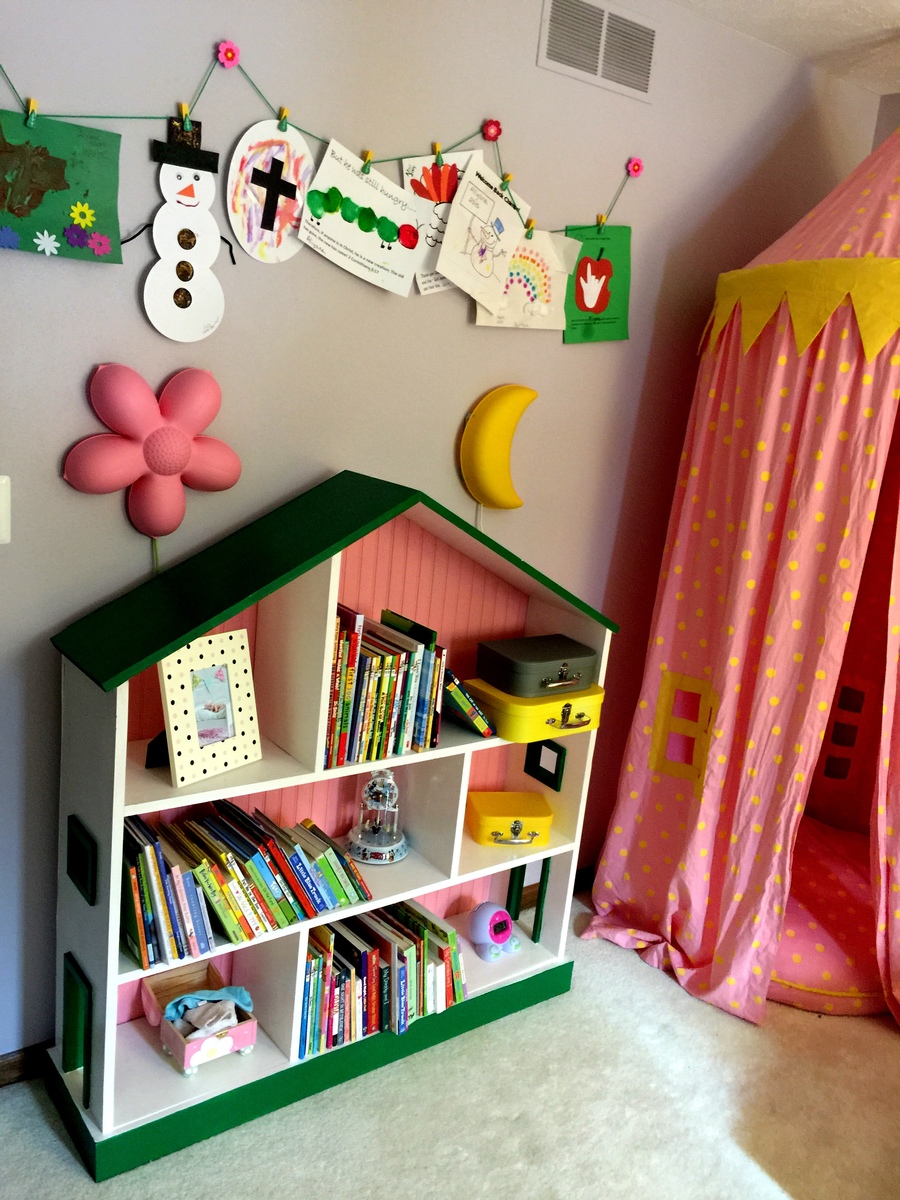
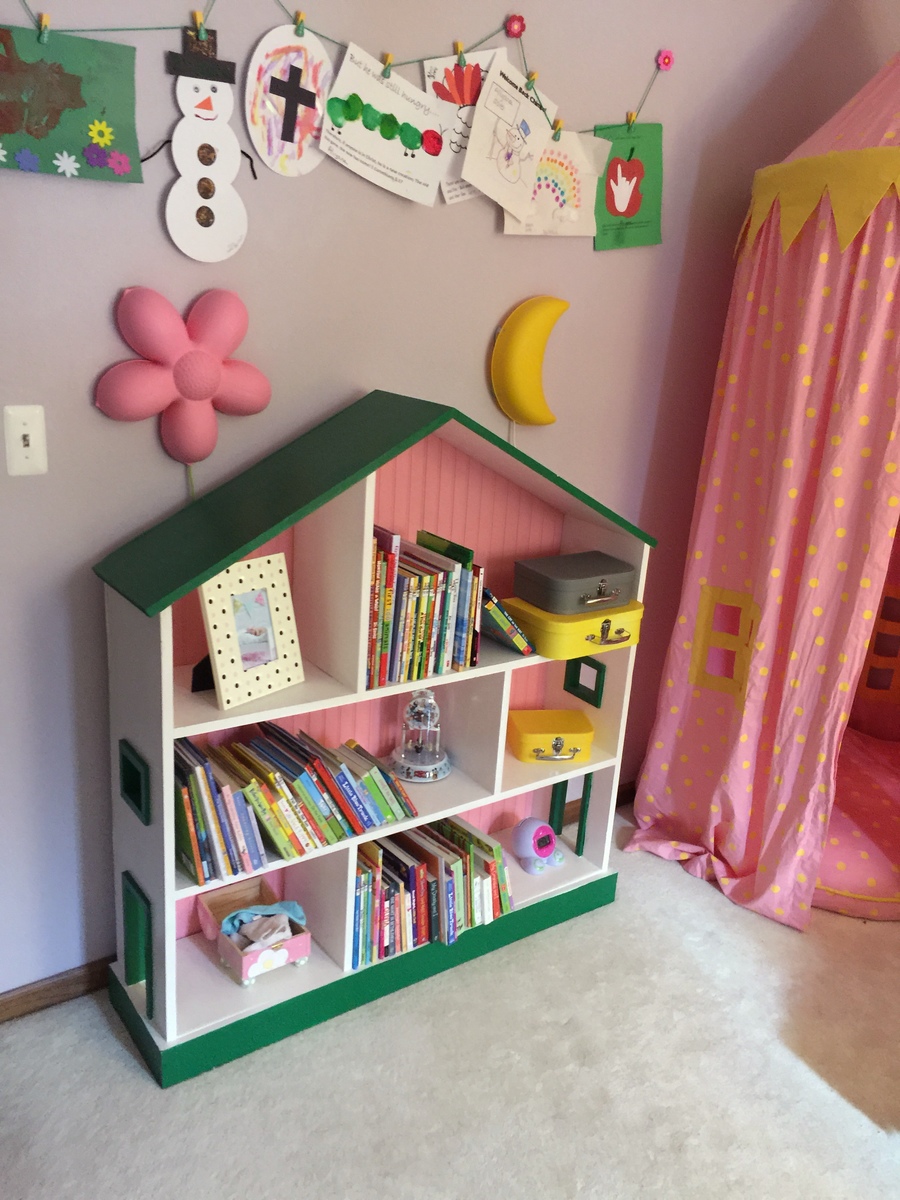
With another baby on the way in a few months, we decided to move our 2+ year old daughter across the hall into her first big girl room. I built big sister the Kendal Extra Wide Dresser, Traditional Wood Toddler Bed, Letter A Shelf and a Dollhouse Bookcase and matched the colors with her new comforter, lamps and princess canopy tent from the Land of Nod outlet.
This project was actually an afterthought. I built the other three projects, painted the room, installed all the accessories, and then we discovered that there was nowhere to put her books. Because I had been spending so much time building, after reading the plans, I really expected this bookshelf project to go smoothly with my Kreg Jig. However, different aspects of this project took some extra time. For instance, joining the A-frame of the roof took some trial and error with pocket holes, nails, screws and a lot of wood filler. Also, for the side windows and doors, cutting straight lines with the jigsaw, cutting, building and joining the 1 x 2 trim pieces, joining the trim pieces to the bookshelf, and then painting the trim took a lot of time and trial and error (again, thank goodness for wood filler). Notwithstanding, at the end of the day, the shelf is great, our daughter loves it, and it really completes the room.

Comments
Tue, 02/24/2015 - 12:58
Thank you Ana!
Thank you Ana! Your website has helped fill up our new home and inspired a really fun hobby over the past few years. When I get a chance, I will bragpost some of my more recent creations.
Herb Garden Raised Bed
Easy weekend project.
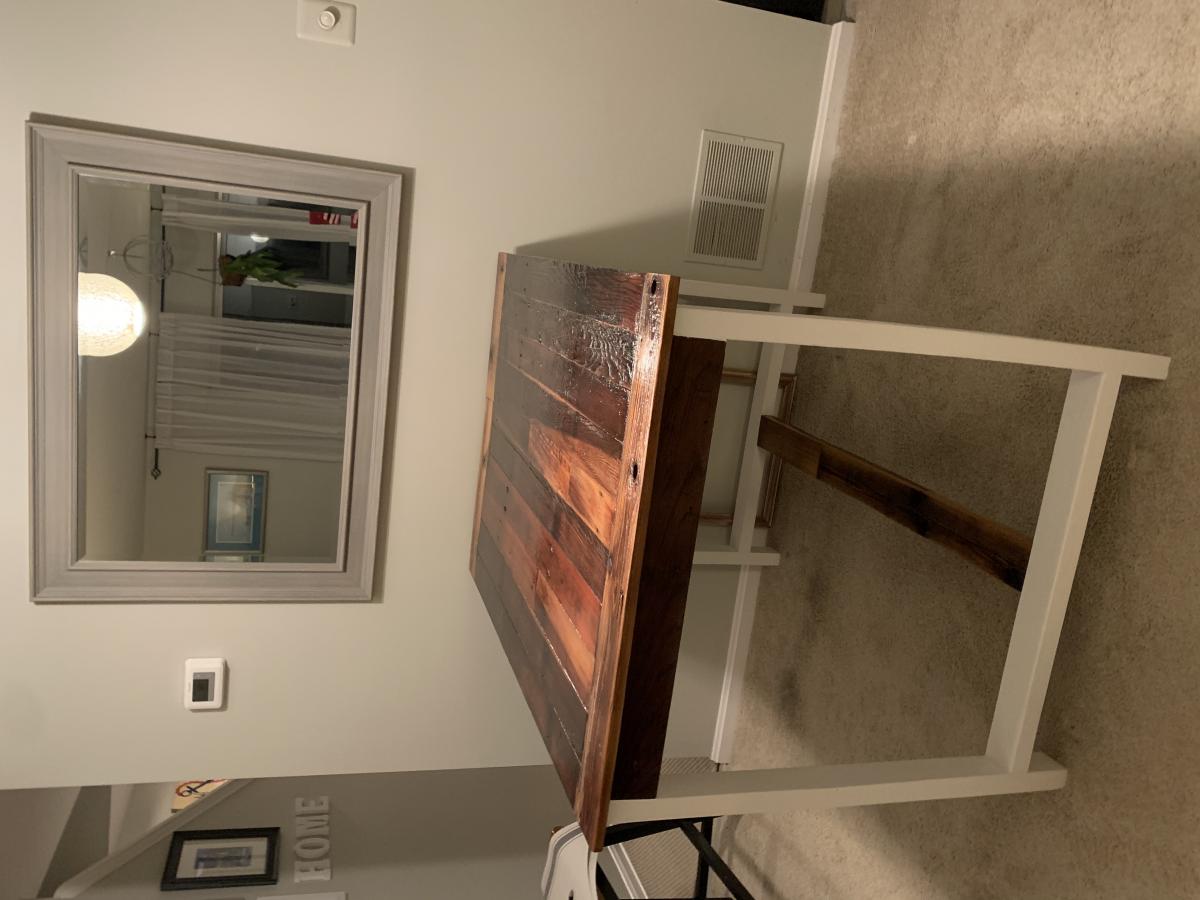
Barn-wood dining room table
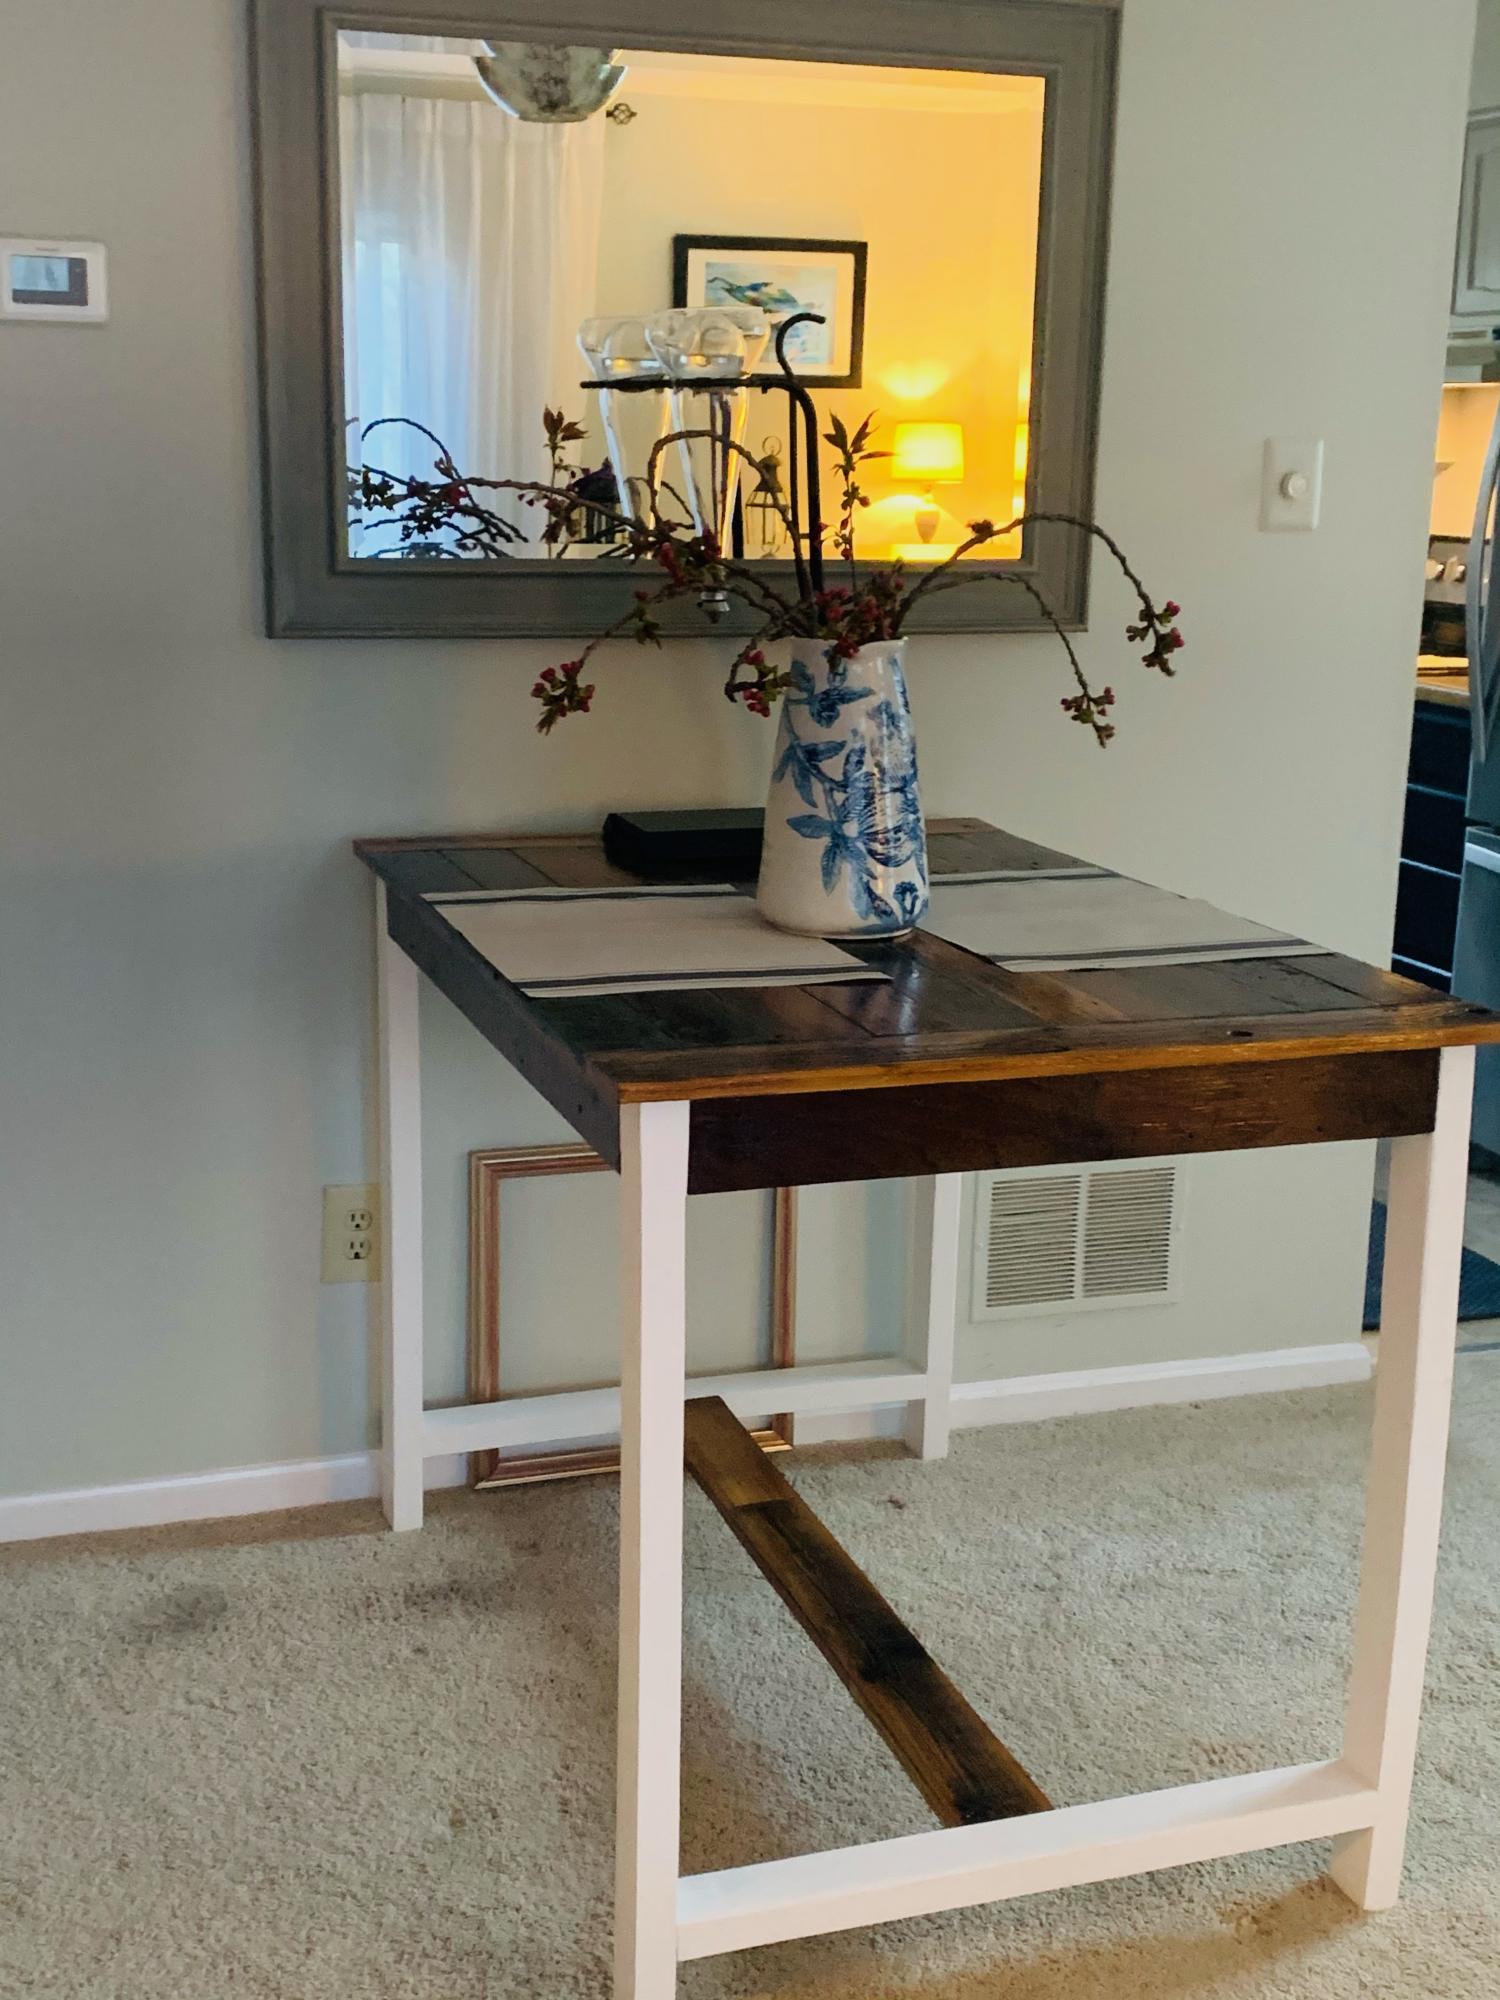
I used the outdoor bar plans to build this table. I have limited space in a living/dining room and had to fit the measurements to the space I have and the size of the pre-existing tabletop.
Comments
modified Adirondack chair
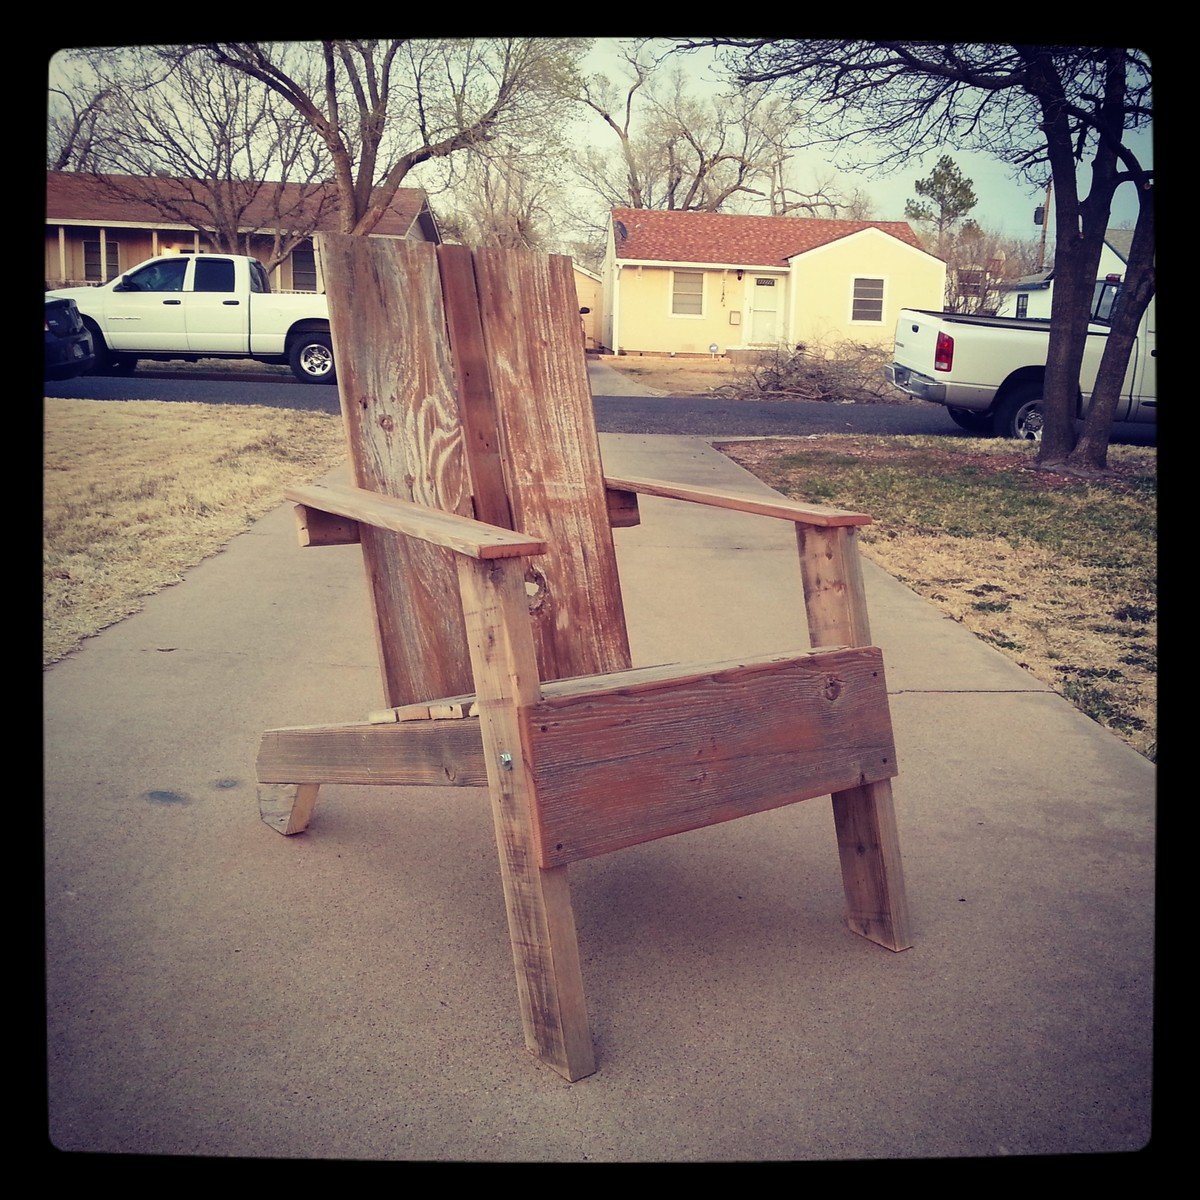
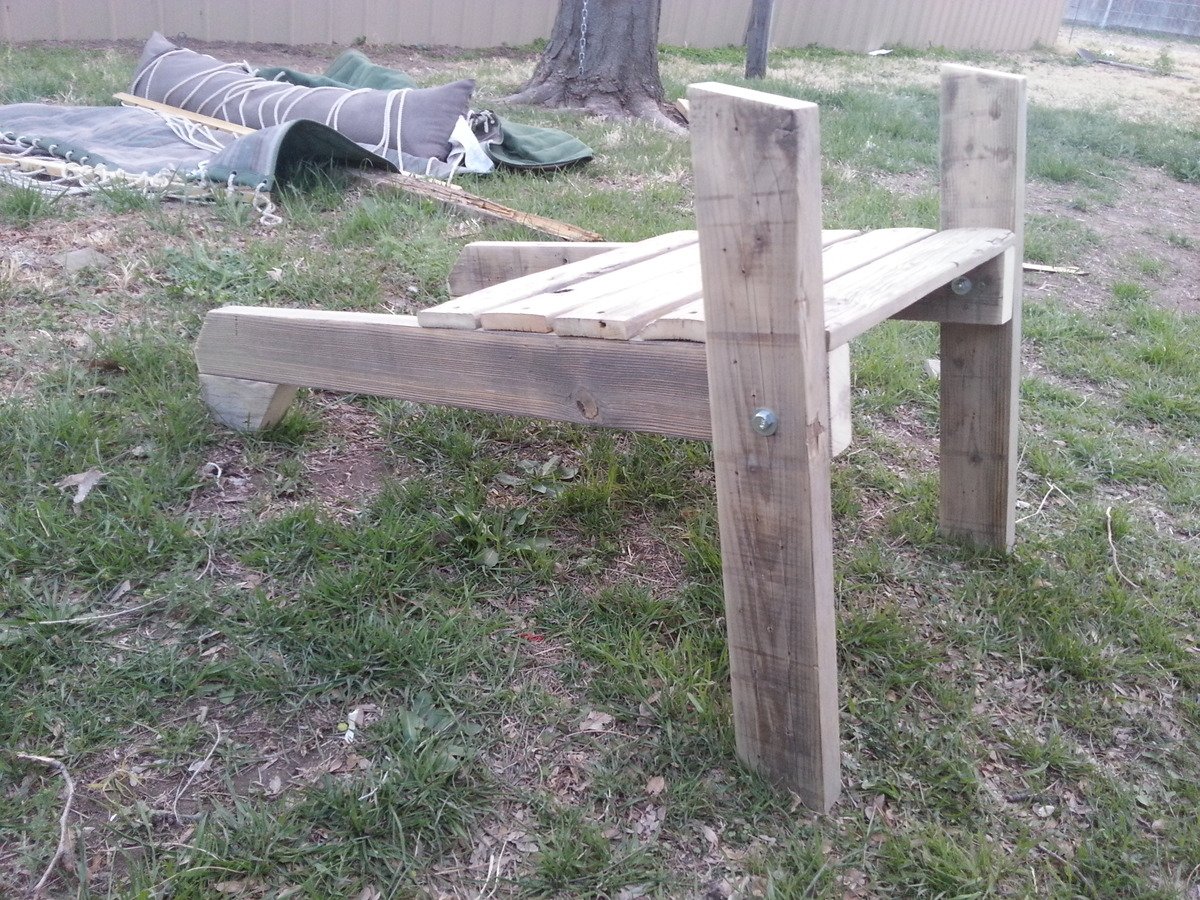
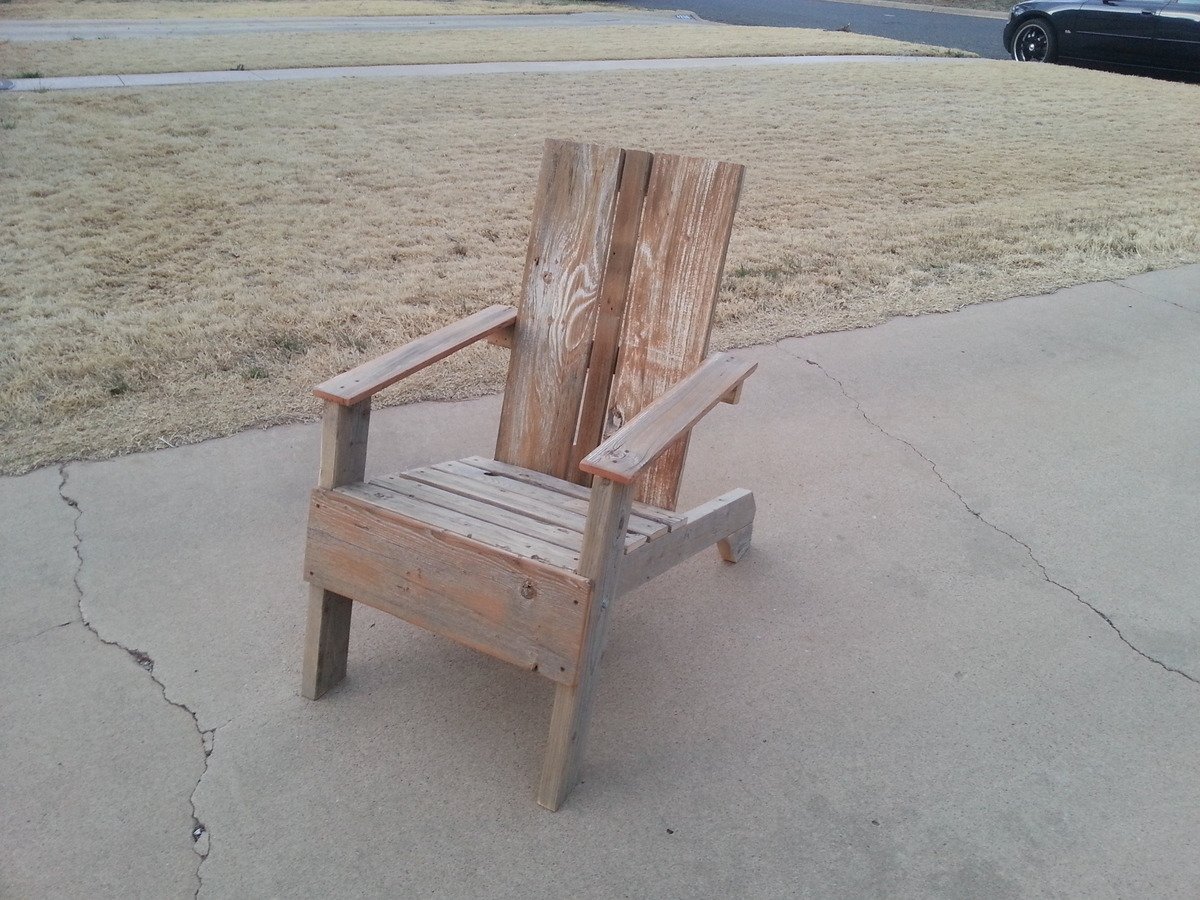
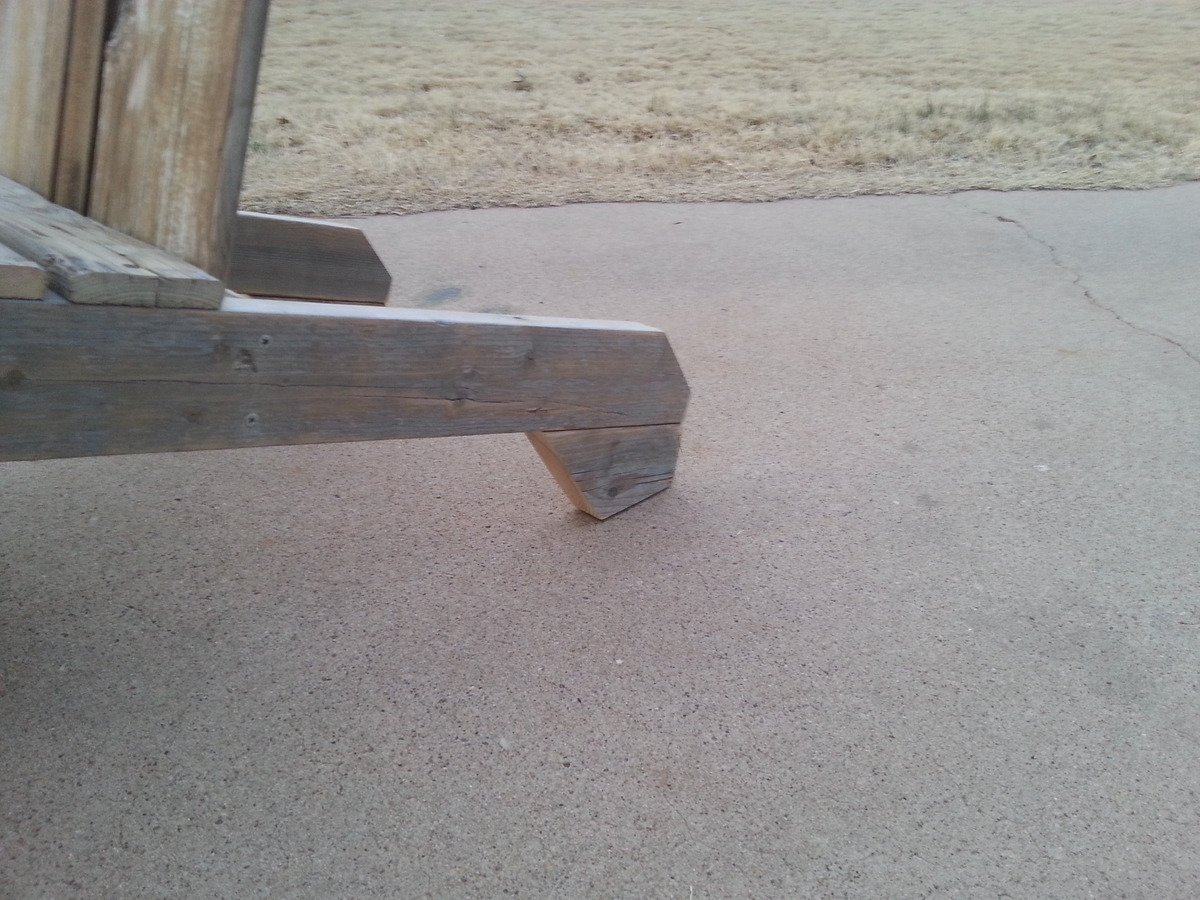
I've always wanted an Adirondack chair so I was excited to find these plans. I wanted a more rustic chair so I used fence pickets and 2 x 4' s that I had. to add some height to the back, I added some little feet to the ends of the legs with my Kreg jig. I love that thing. The markings on the wood are from the natural patina of the 60 year old redwood planks I used. Now I just need to make 3 more and a table for the back yard.
Full over Full Bunk
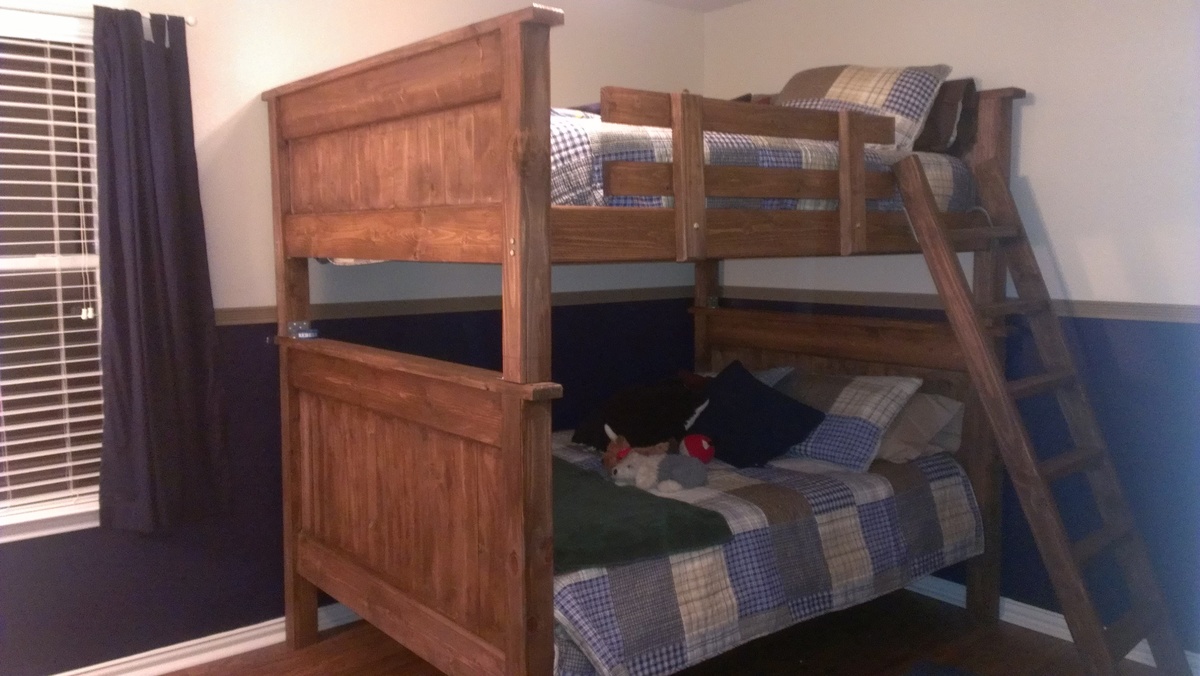
Used the Farmhouse Style bed plan and stacked them, two headboards for the bottom bed, two footboards for the top bunk bed
Comments
Wed, 04/13/2016 - 14:30
Do you have pans on this
I would like to build something like this for my boys and was wondering if you still have the plans and cut list for this job.
Adirondack chair with small foot rest
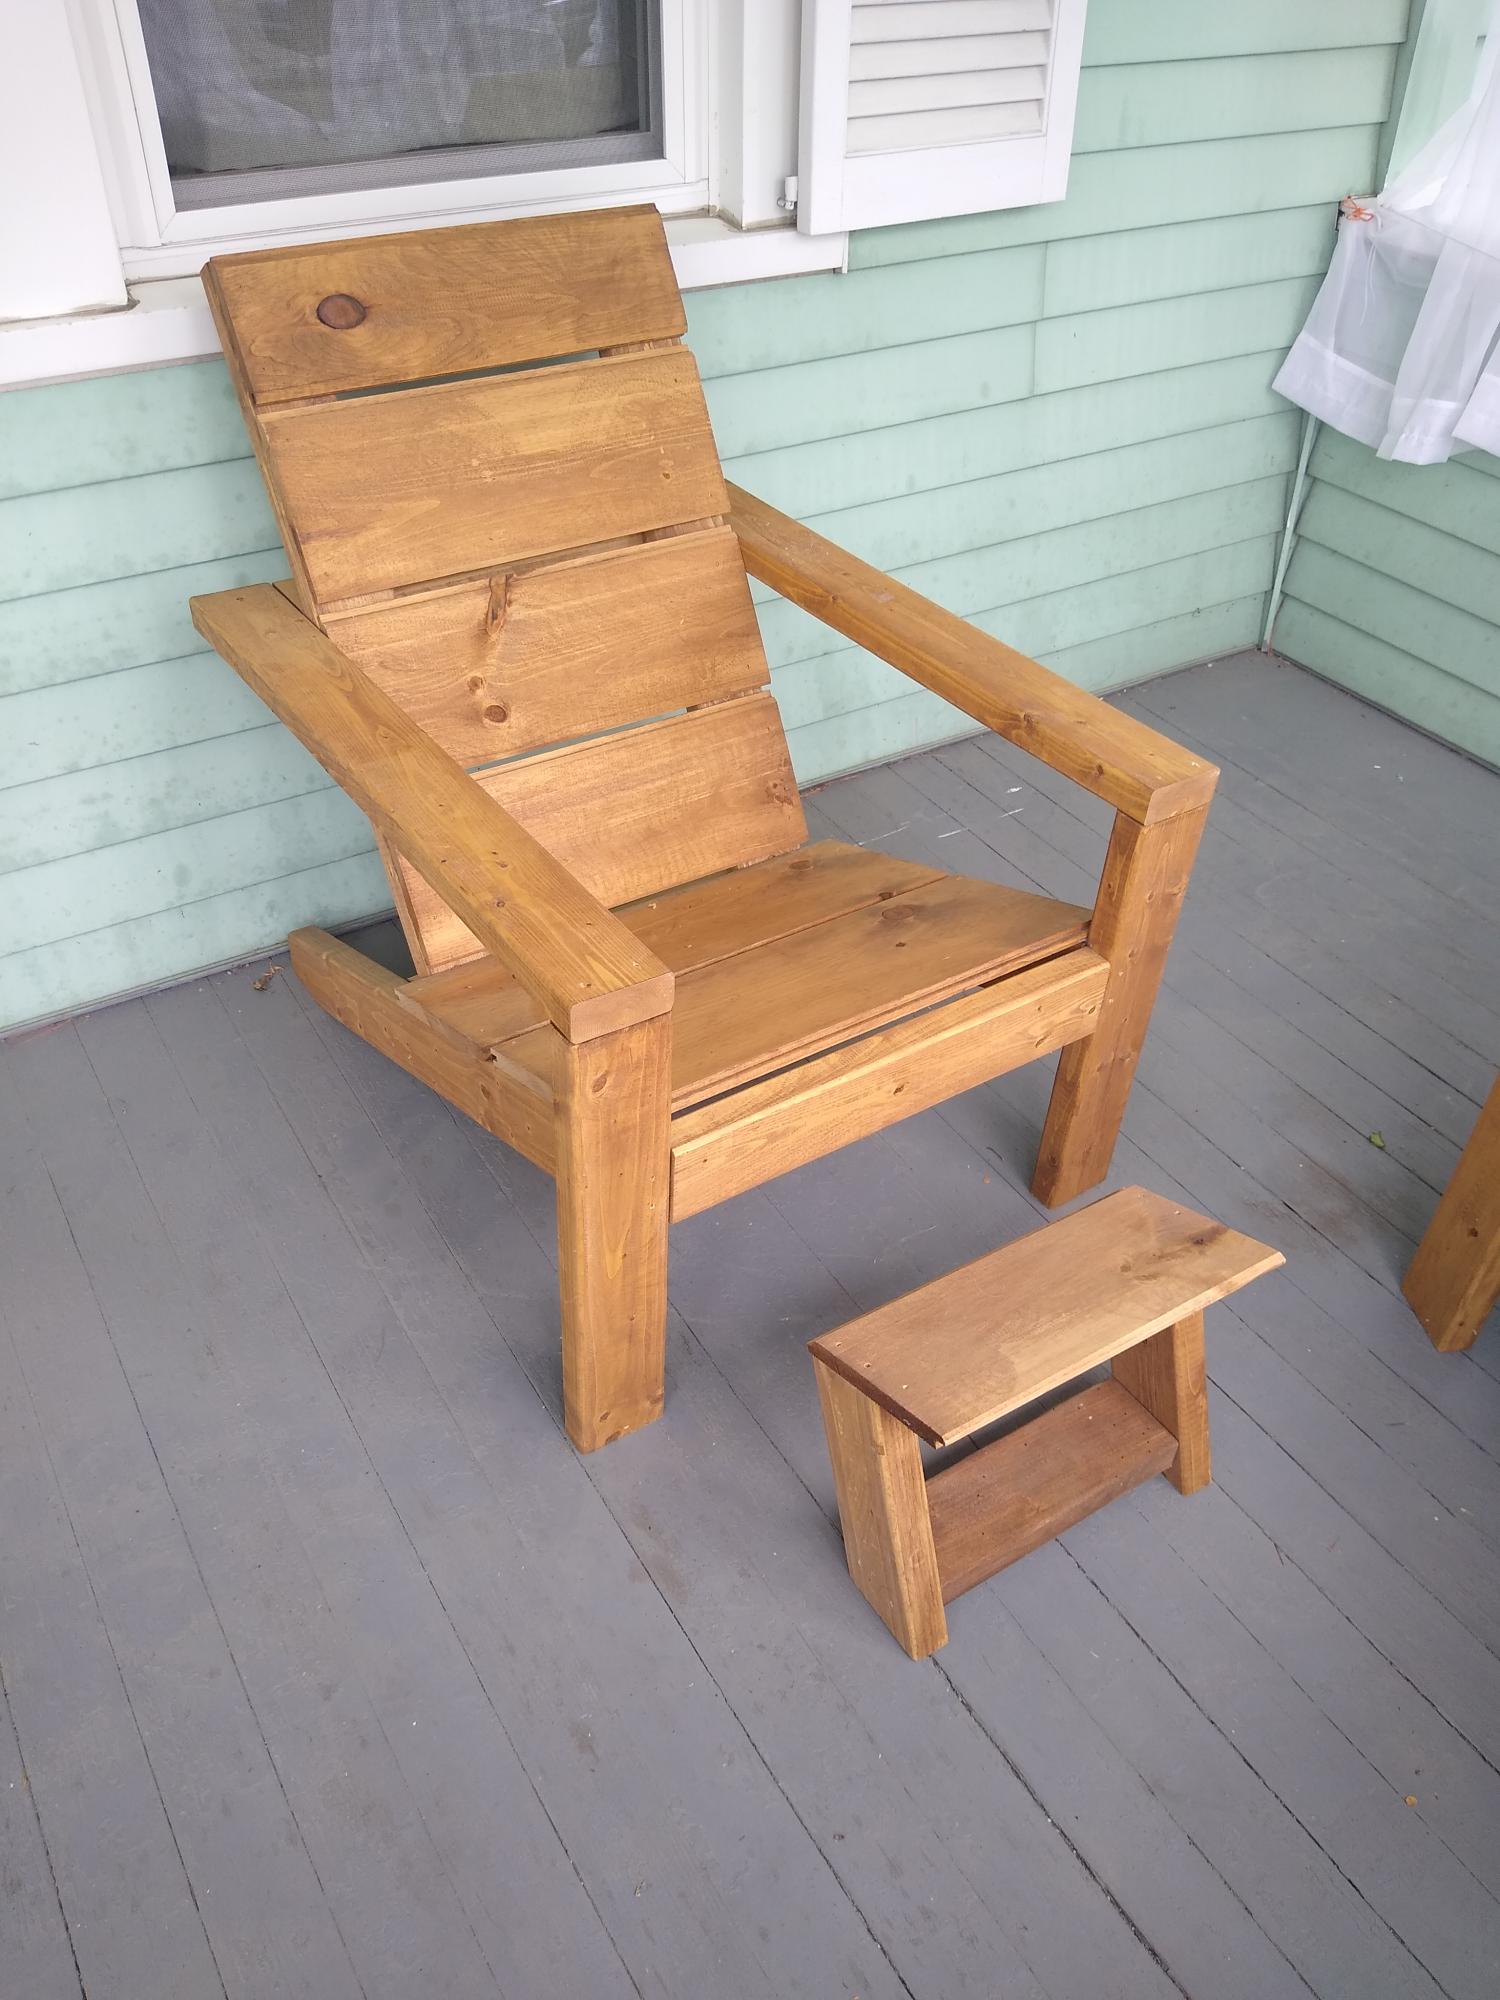
I LOVE the chairs, not only am I making them for me but I am helping my friends make them as well. The plan is so easy to follow (once you figure out how to cut the stringers). I needed a foot rest so I made this one with the scrap. The angle is from the stringer and I just used the scrap that I had left over from making the chairs, no more cutting needed. Thanks!
Spa bench - with upholstered top!
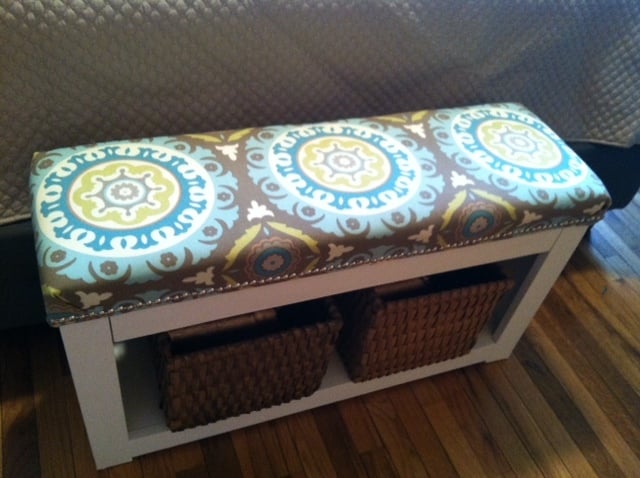
I LOVED creating this bench! It was quick and easy.
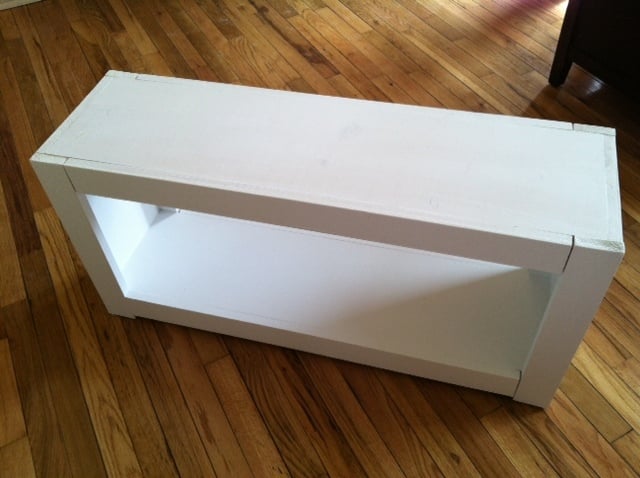
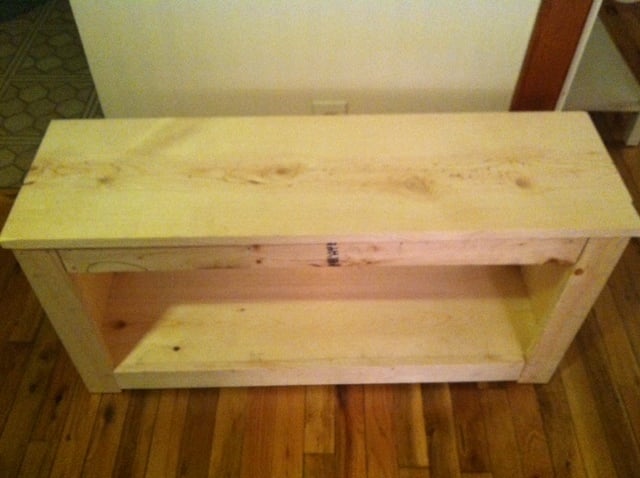
I really wanted an upholstered top with nailhead trim so even though the plans didn't call for it, I did it anyway :) I left off the top piece after building the rest of the bench, and upholstered it with 2" foam and batting. I used outdoor fabric because my dogs may be using the bench to get on/off the bed, and I figured it would be easier to keep clean! Luckily, my local Jo-Ann store just put out a plethora of outdoor fabrics, and they were 50% off (as was the foam!). After the upholstering was finished, I used nailhead trim because I LOVE the look. Then, I attached the top by turning it upside down and setting the bench upside down on top of it, and nailing the two together.
I decided to paint the bench white instead of staining, and I'm so glad I did. I feel that it gives the piece a certain sophistication, and it goes perfectly in the bedroom.
100% happy with this piece!
Comments
Mon, 04/01/2013 - 09:03
Thank you!
Thanks so much! I am super happy with how it turned out. Have fun creating!
Mon, 09/16/2013 - 06:58
Wow!!
I am totally obsessed with Ana's plans and was planning on building the Spa Bench - saw yours upholstered and am now going to try that!! Did you still use the 1x12 as the top piece that you upholstered? I think by your other pictures I see the overhang - so I will give it a shot!! You did an amazing job on yours!
Mon, 09/23/2013 - 06:02
Thank you!
Hello lovinit9! Yes, I followed Ana's plans. The only thing I did differently was that I upholstered the top before I attached it to the bench. Then I attached it by nailing it from beneath (the inside of the bench, nails going upwards). After it was all together, I then put on the nailhead trim. I hope that helps and good luck to you!
Slatted double vanity - FINALLY finished!
I was a bit over my head with this one but I am so far very happy with the project. It is not quite finished. The marble was installed last week and we are awating the plumber to come back to hook up the sinks. I will install the second slatted shelf once the plumbing is in. Will post finished pictures soon. The mirror is made from 6x6 posts from the lumber yard. We had a friend cut them to size using a band saw. We made the mirror frame based on a picture I found on Houzz.com. The mirror glass was something I picked up off of craigslist for next to nothing and removed from the original frame. It is HEAVY (~200lbs) and attached to the wall with metal brackets. We purchased the sinks/faucets on ebay.
Comments
Mon, 02/16/2015 - 13:14
Wonderful! Love it! Thanks
Wonderful! Love it! Thanks for showing us the steps too!
In reply to Wonderful! Love it! Thanks by Ana White
Tue, 03/31/2015 - 14:18
Thank you Ana! It's finally
Thank you Ana! It's finally done, yay!
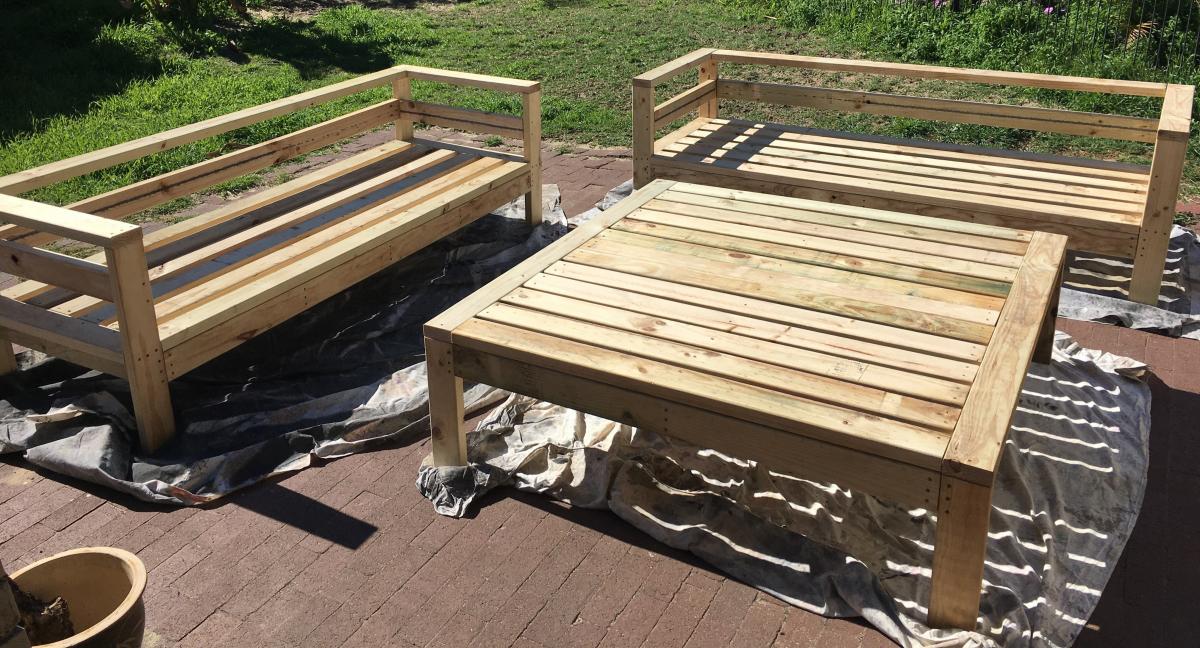
The 3 Seater Outdoor Setting with Table
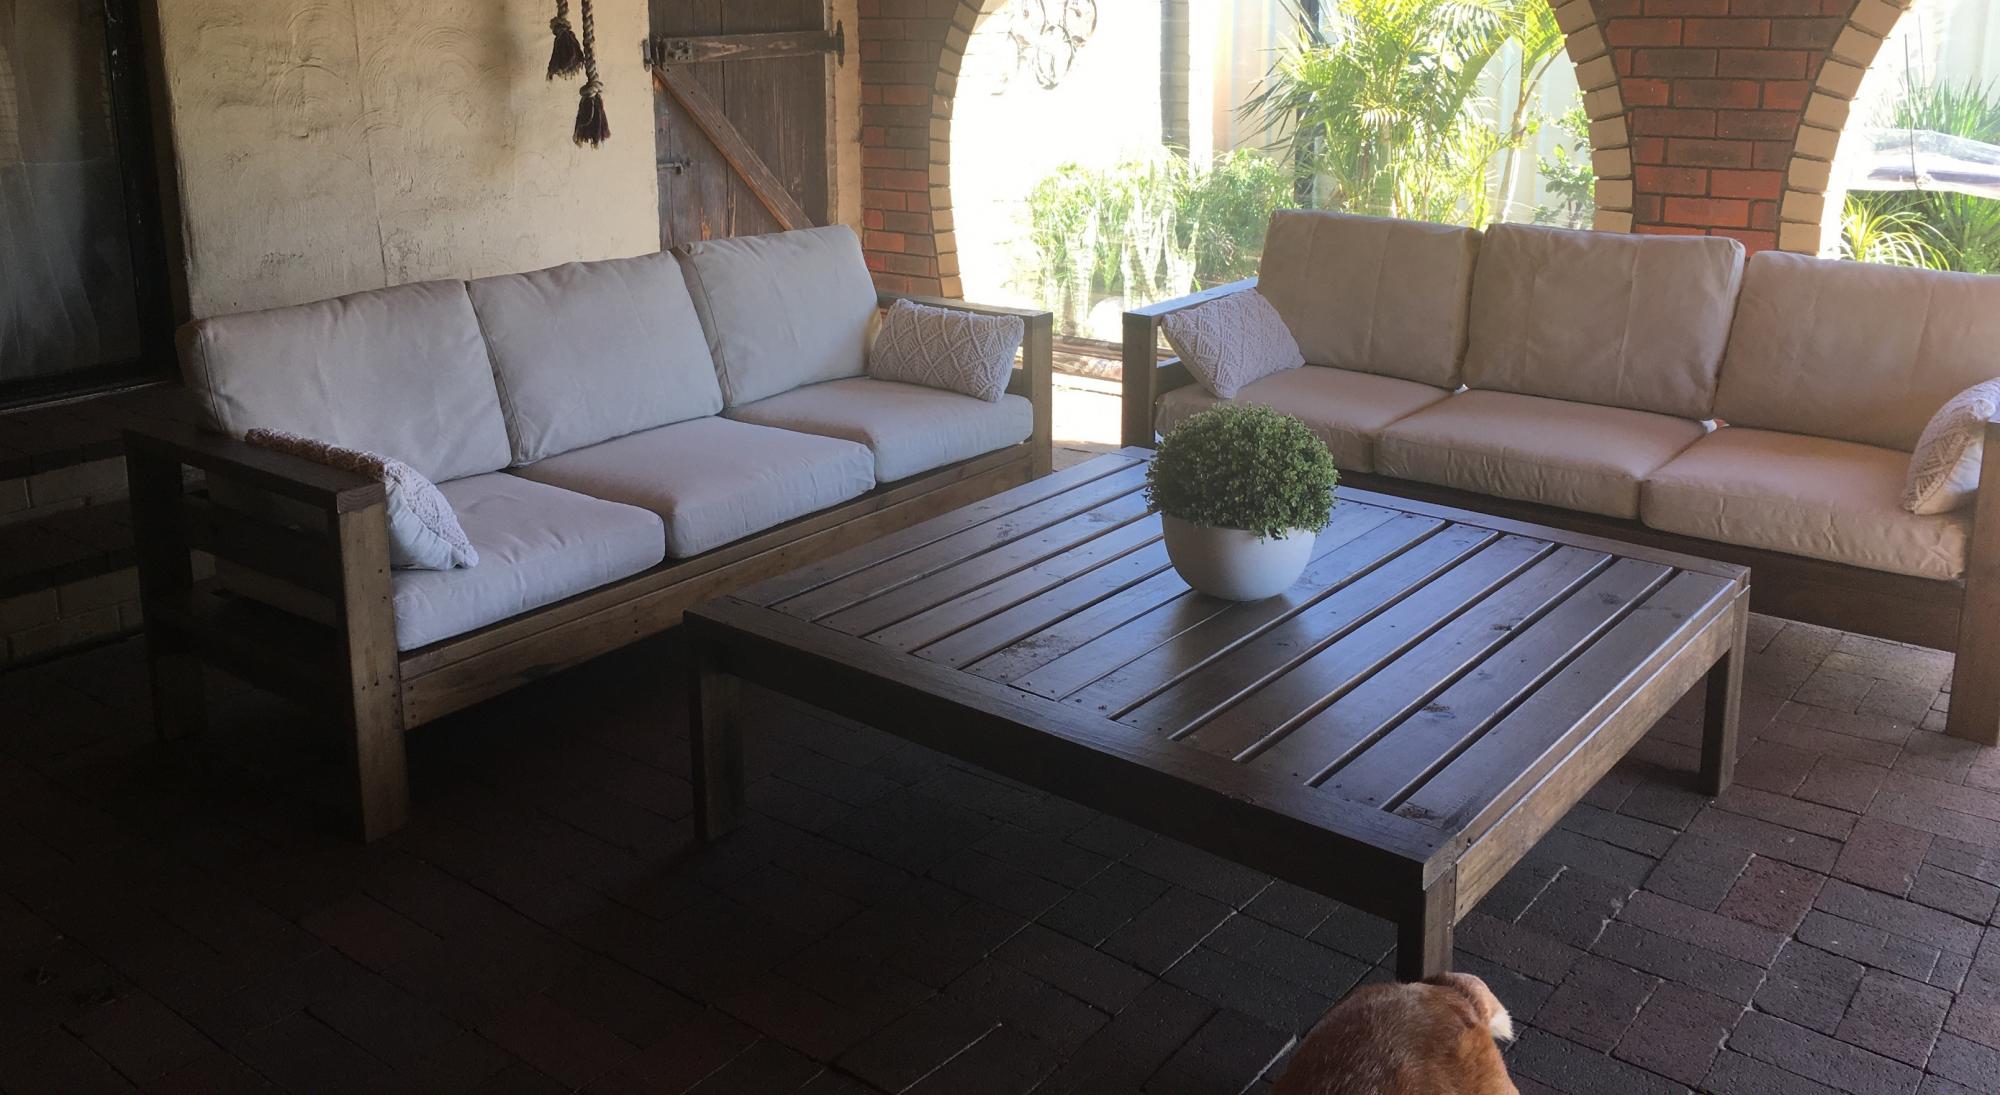
Hi Everyone
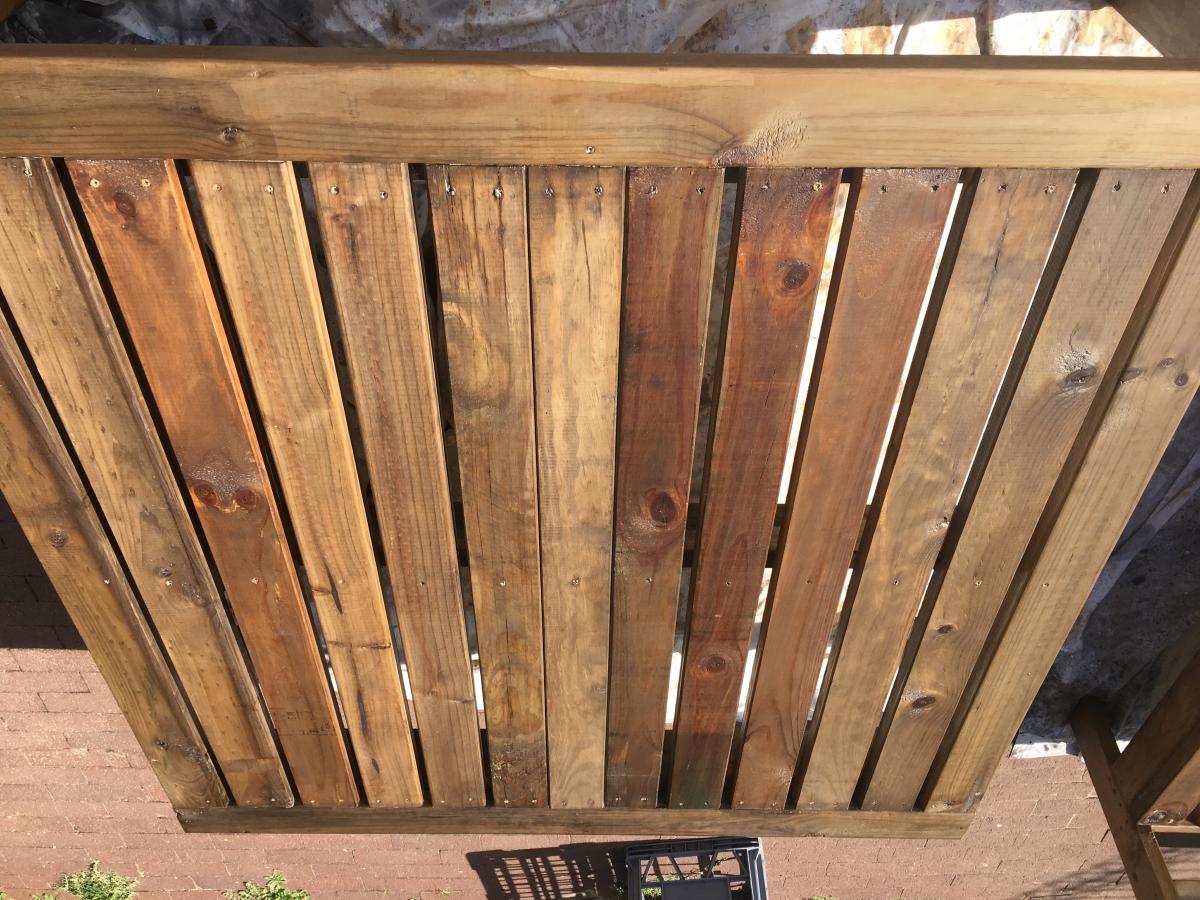
Ana, I love your work, so much, that I used your plans and adapted them to make this outdoor 3 seater setting and table, with cushions bought from Ikea. It's been a year and a half since built and is still holding up strong. I'm sure it will last a lifetime. Longer than the cushions will.
Thanks all
Jo
Comments
Fri, 05/14/2021 - 11:17
Love this set up!
Thanks for sharing, it looks like a great space to hang out!
Providence Benches, made a little bigger and painted RED.
We made the providence benches a little bigger to fit our space perfectly and painted them RED for pop. Soooooo many compliments from our neighbors!
Lily-Mae's Changing Table

Made whith Pine, Changing Table fitting with Kendal wide dresser.

Comments
Coffee table bench
This design was straight forward and easy to modify - made the bench deeper and shorter, and added a shelf.
Awesome Adirondack chairs!!!
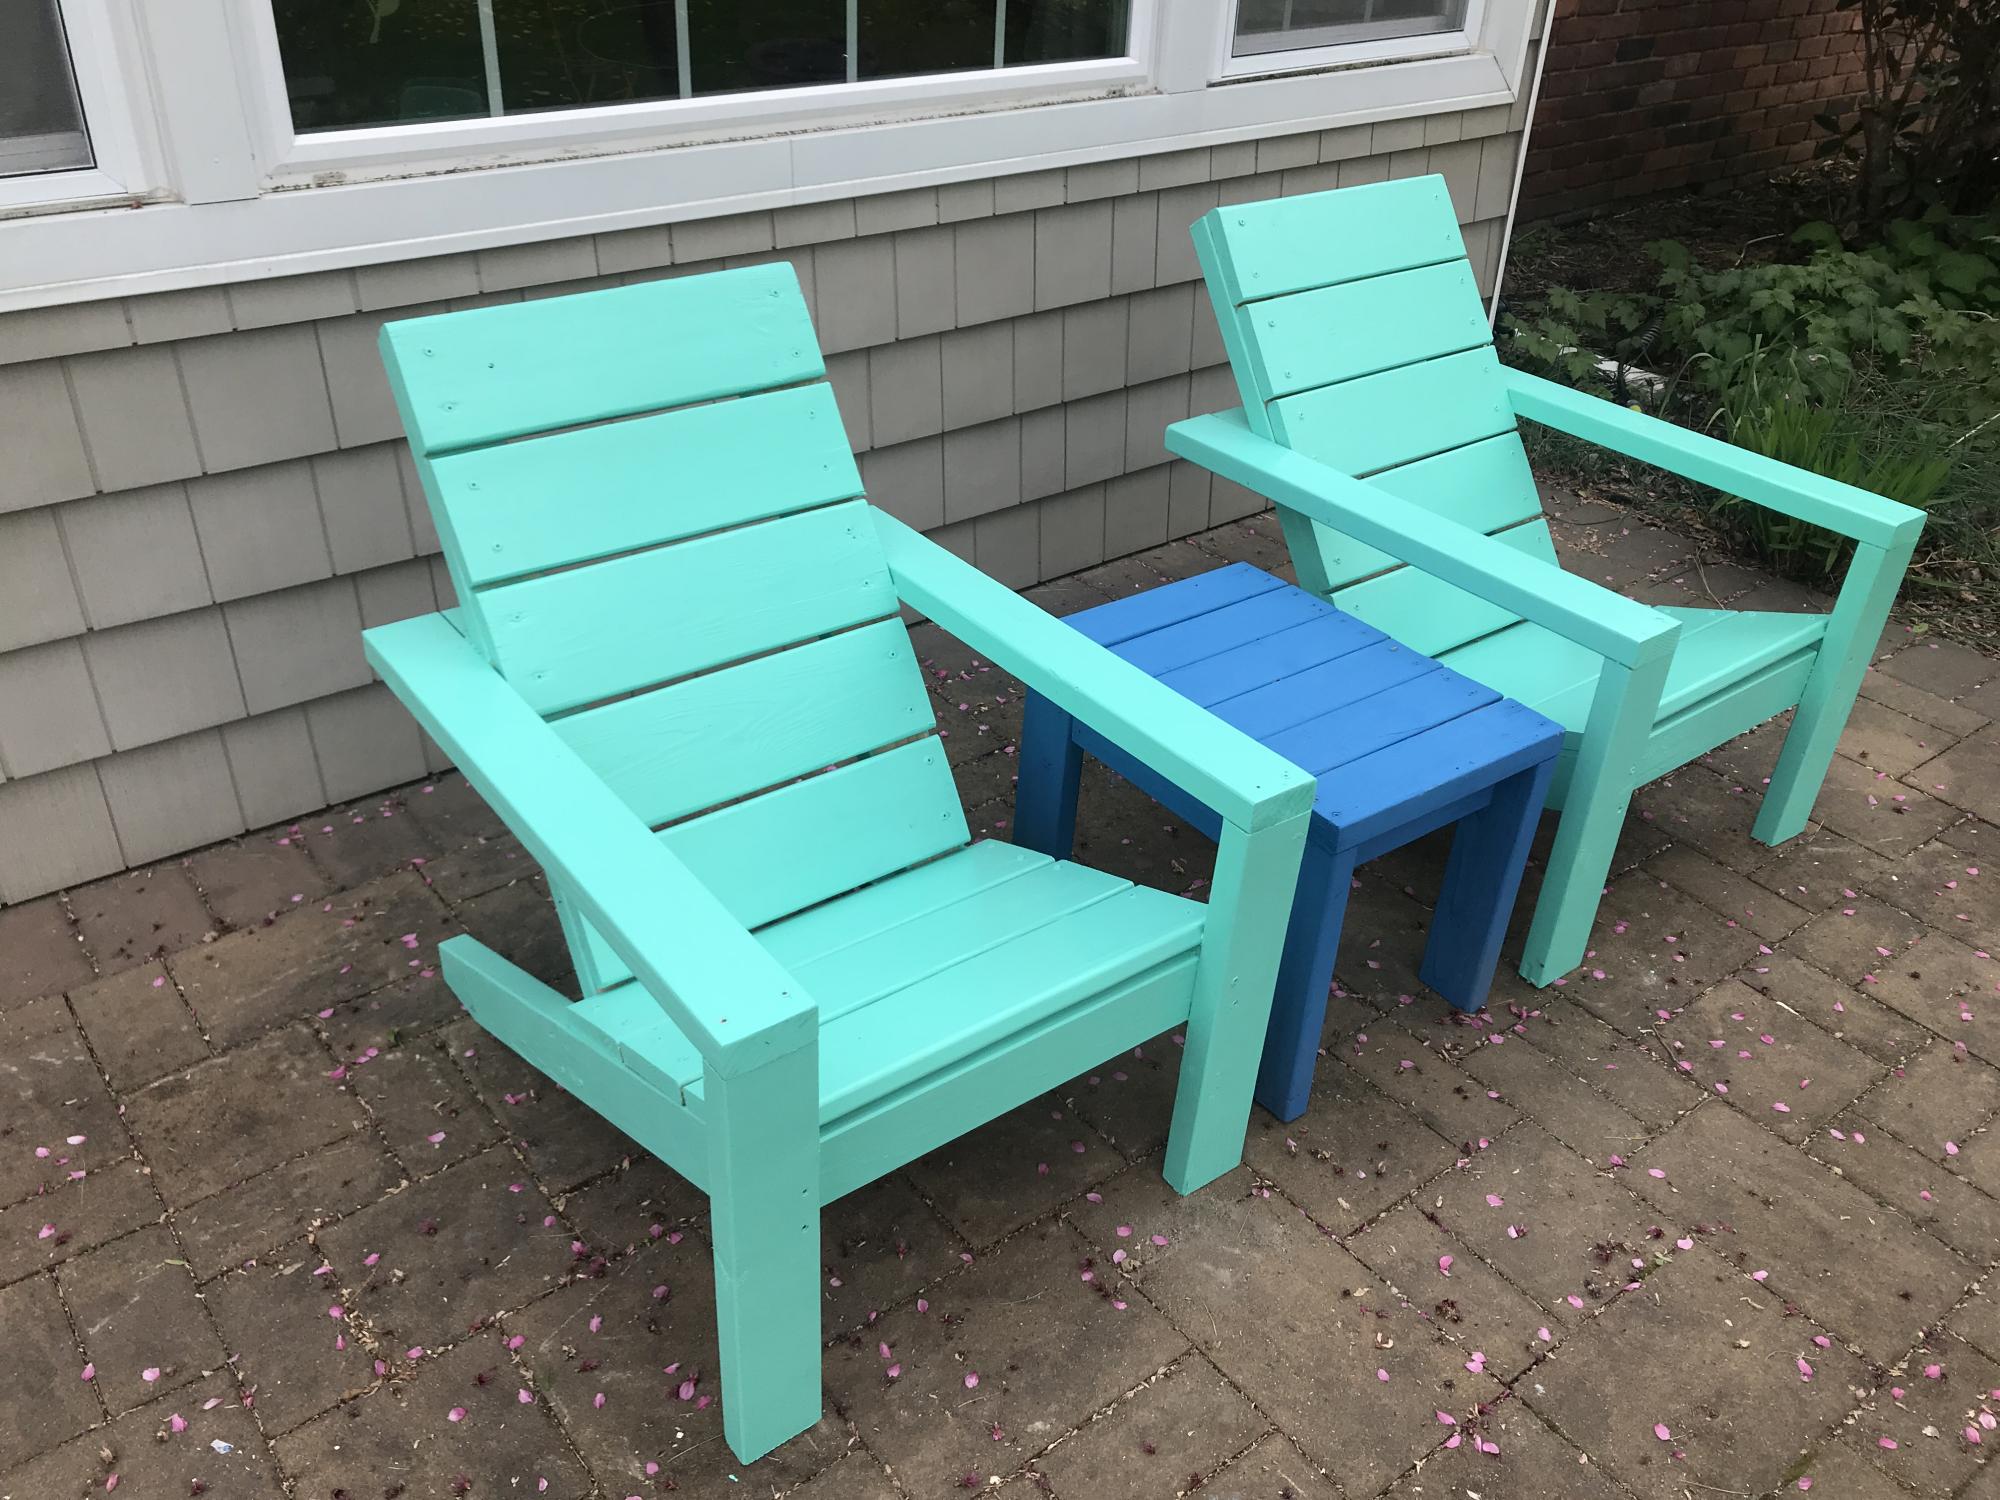
I'm a mom of two kids and new to wood working. The video instruction and the plan were so comprehensive! Thank you Ana, you inspired me to do more wood projects. I feel so accomplished and got so many comments on my new chairs. They are really really comfortable. My husband, who has a stiff back, loves the chair as it is also comfortable for him.
Comments
Mon, 05/24/2021 - 09:25
Fantastic!
I am so happy you built them, and love the color choice! Happy building:)
Wed, 03/16/2022 - 11:54
Love it - what is the finish/paint?
Love it! Can you tell me what you used for the finish? Stain or paint and what brand? How is the finish holding up?
