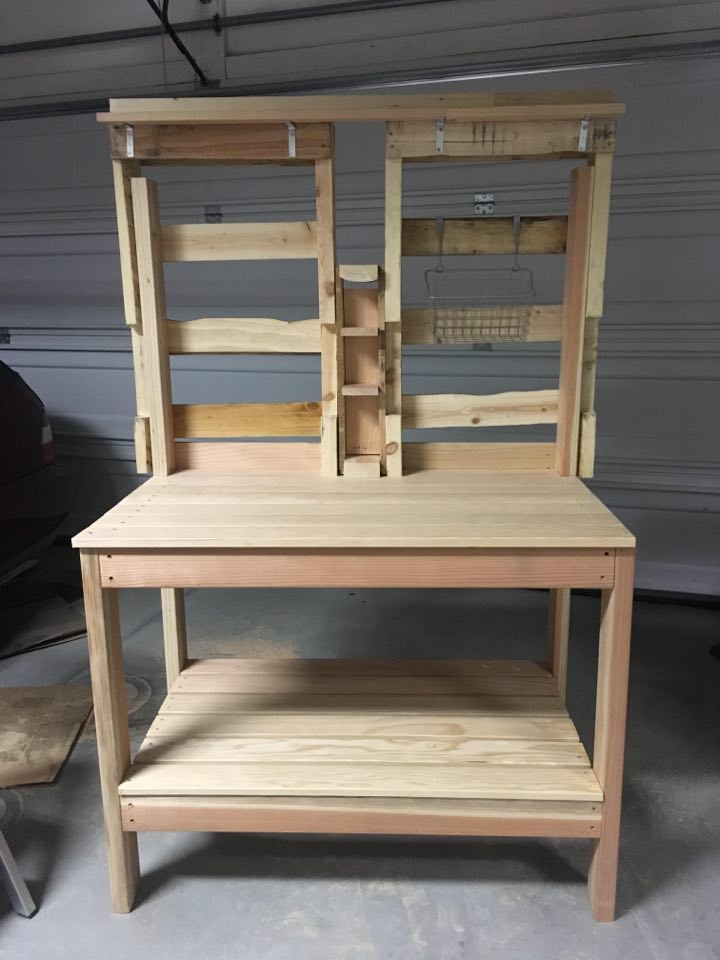
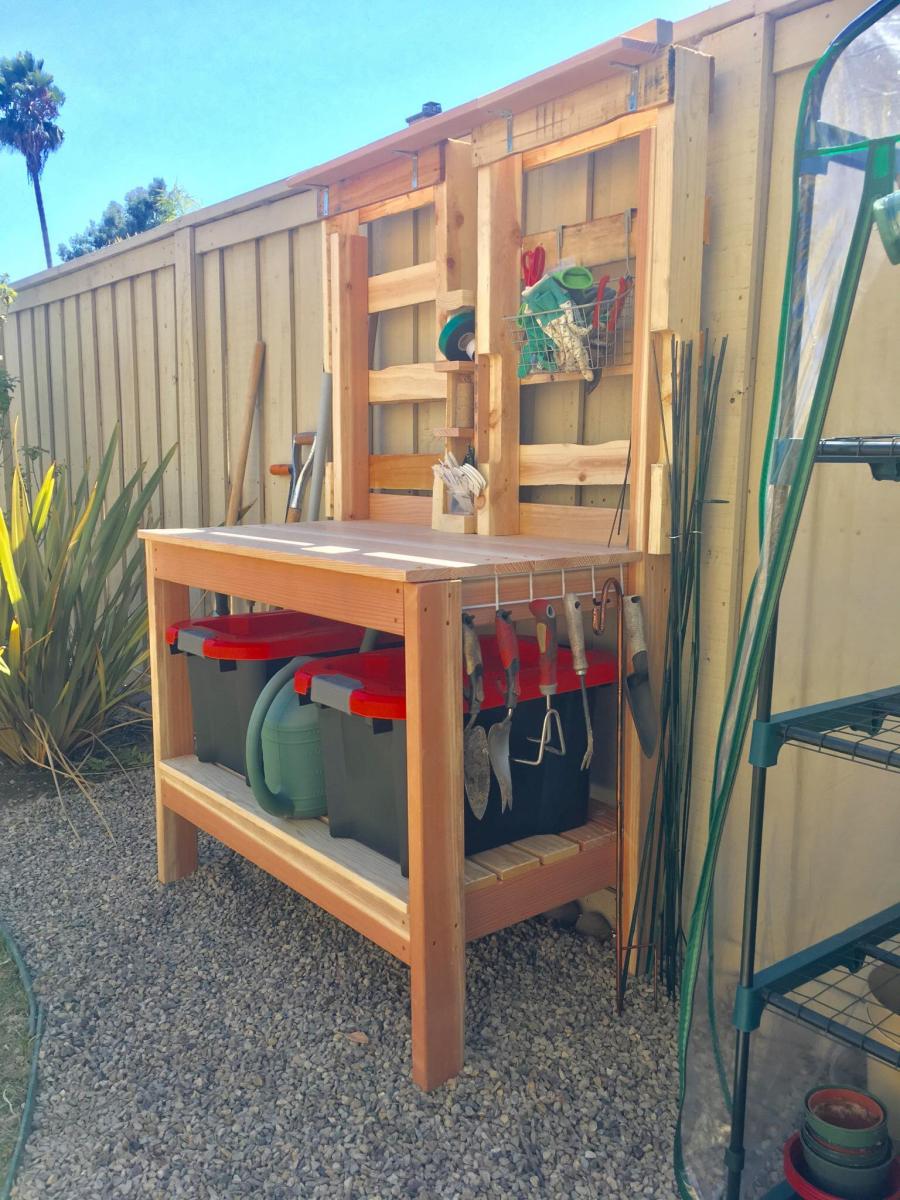
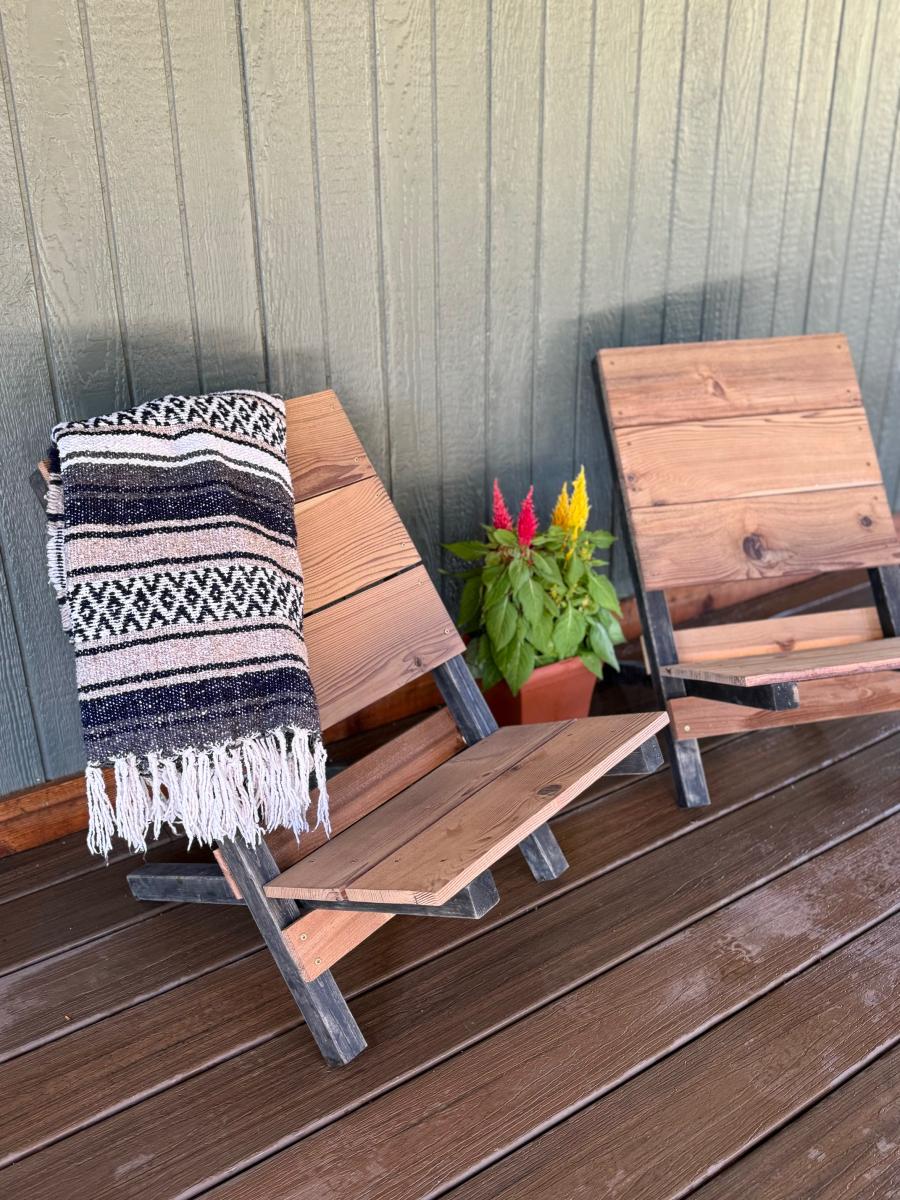
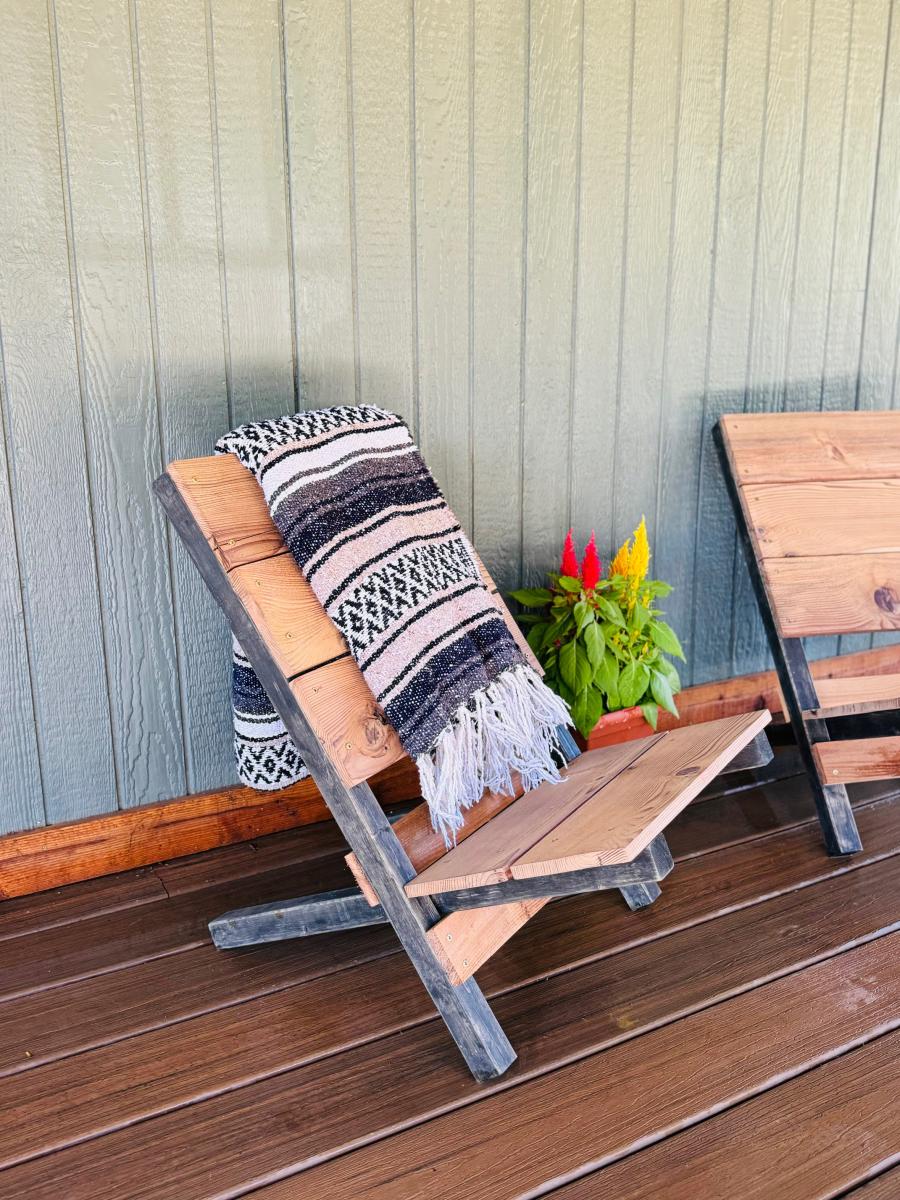
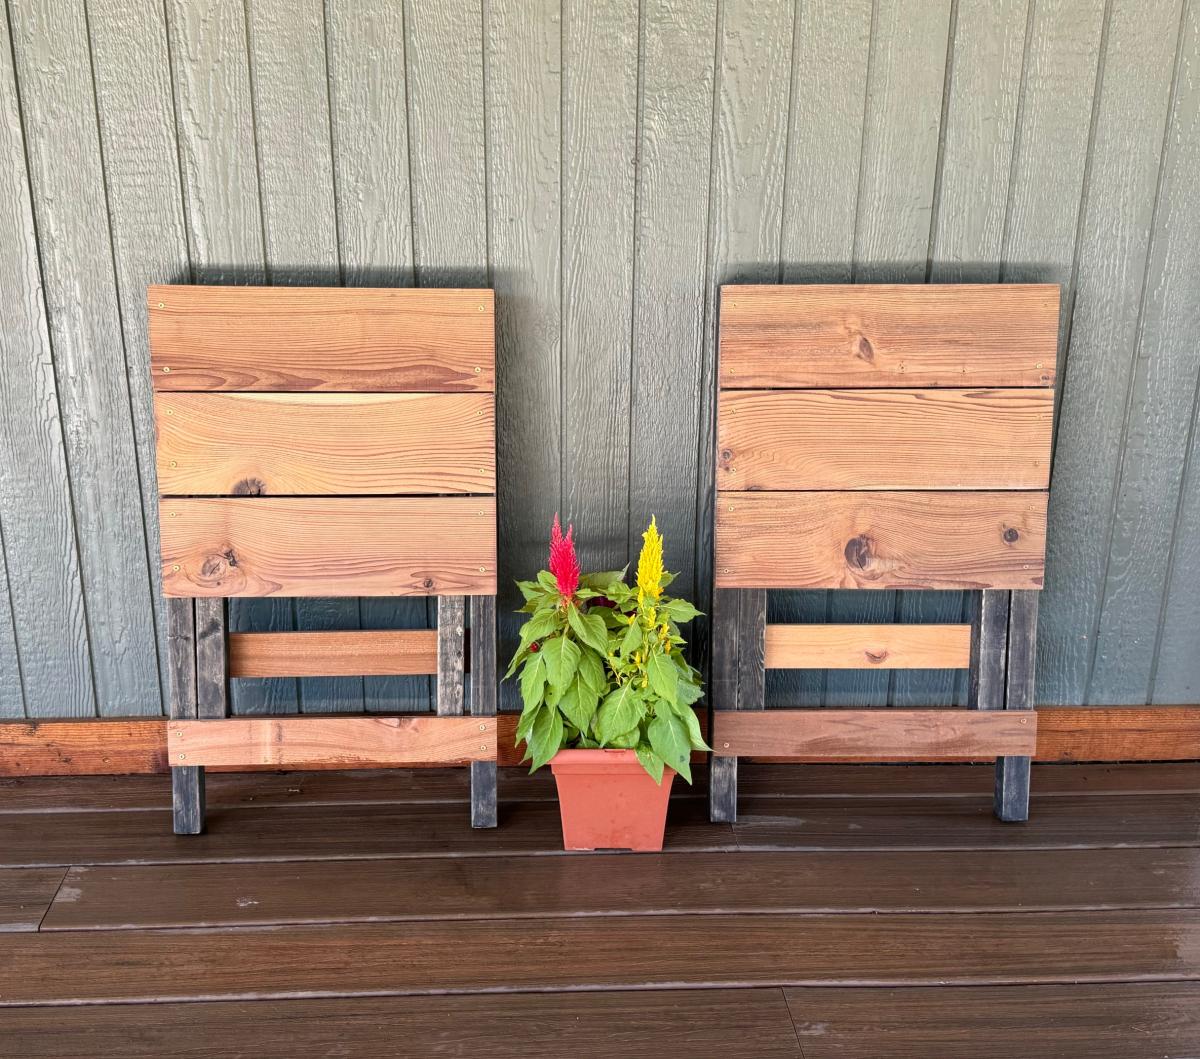
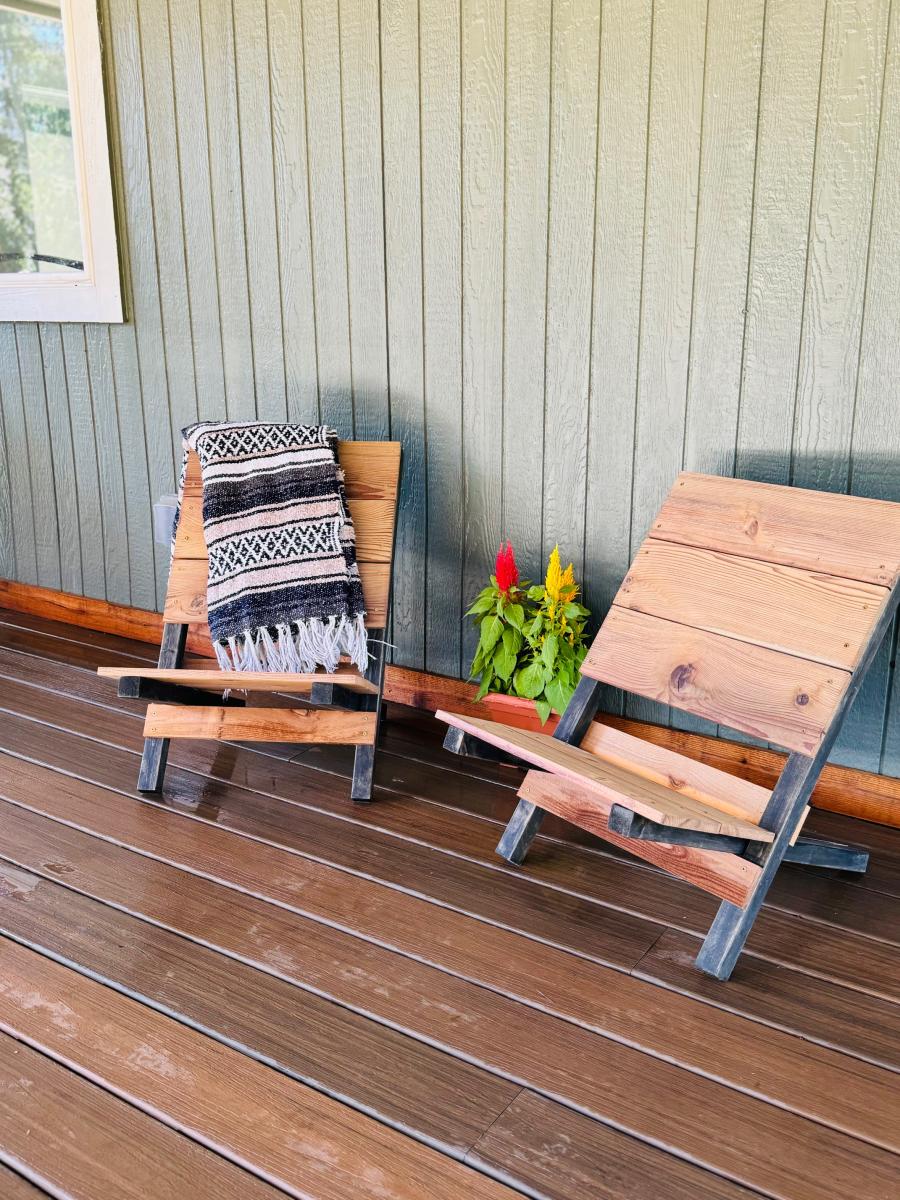
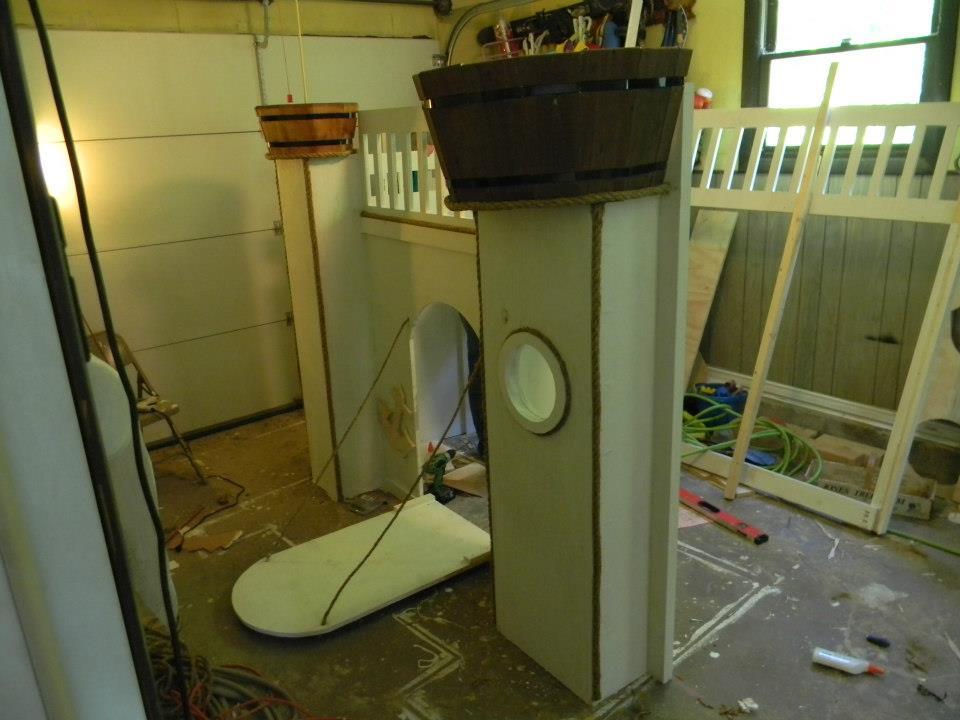
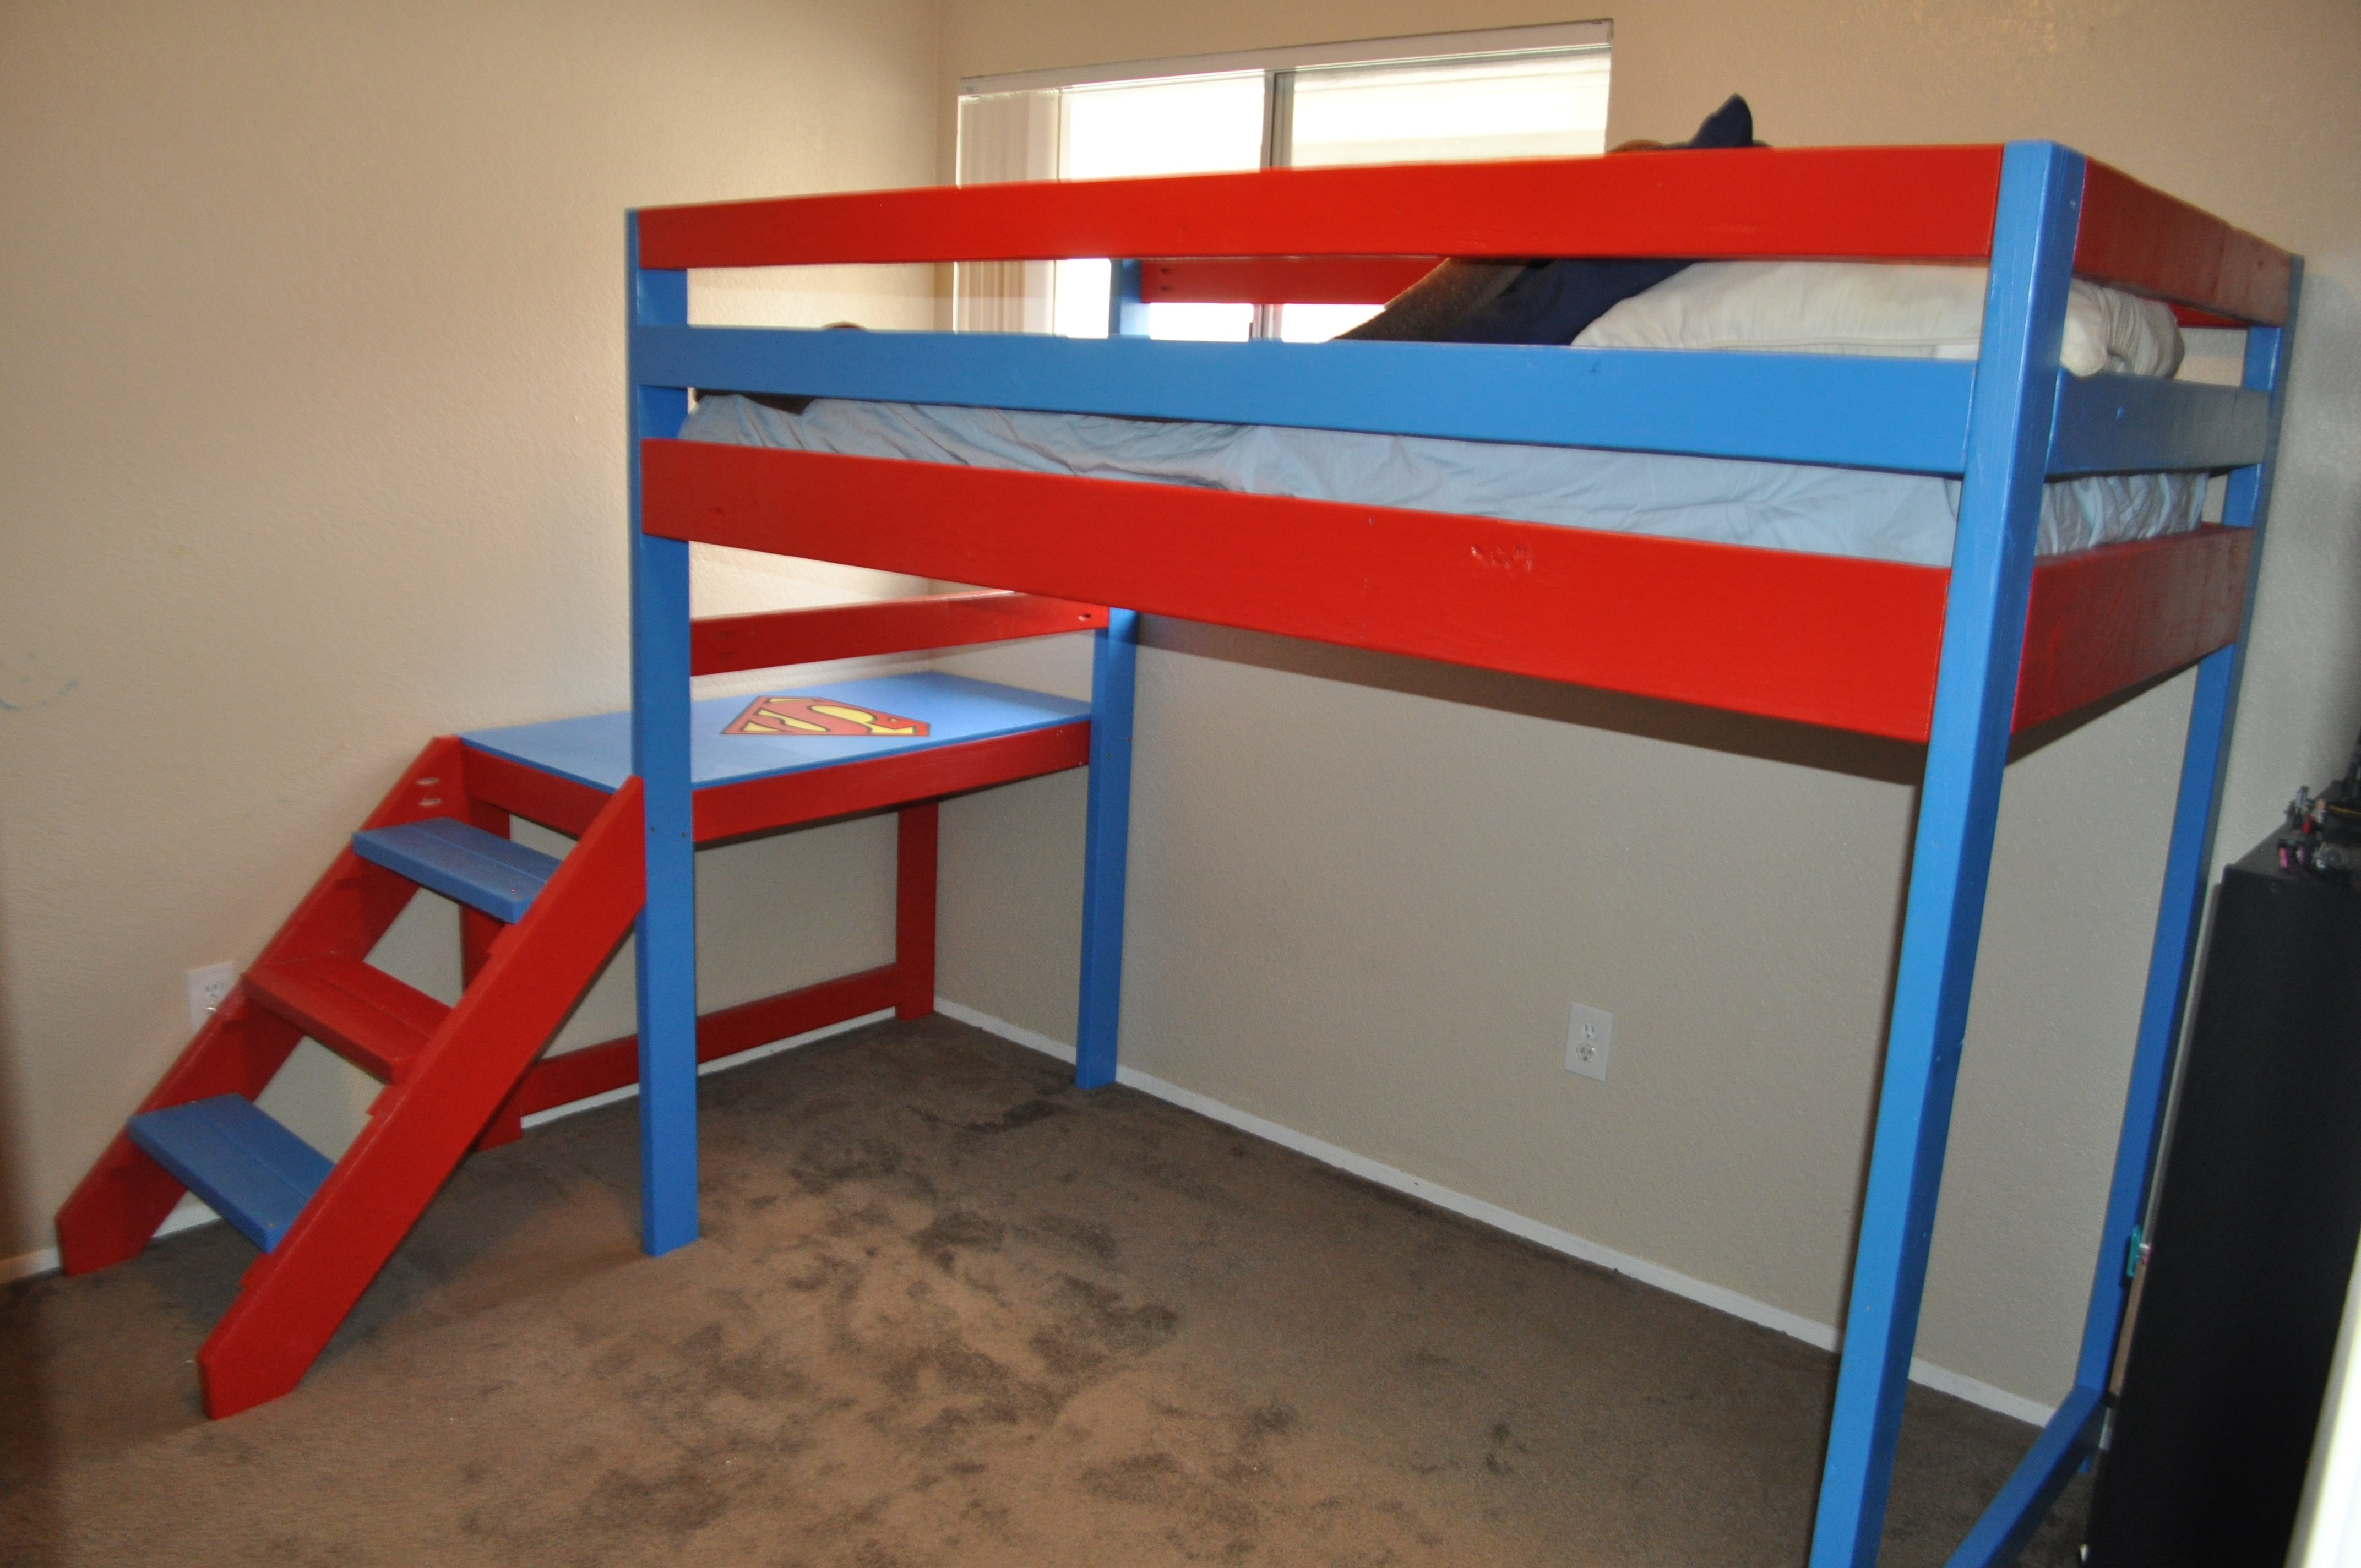
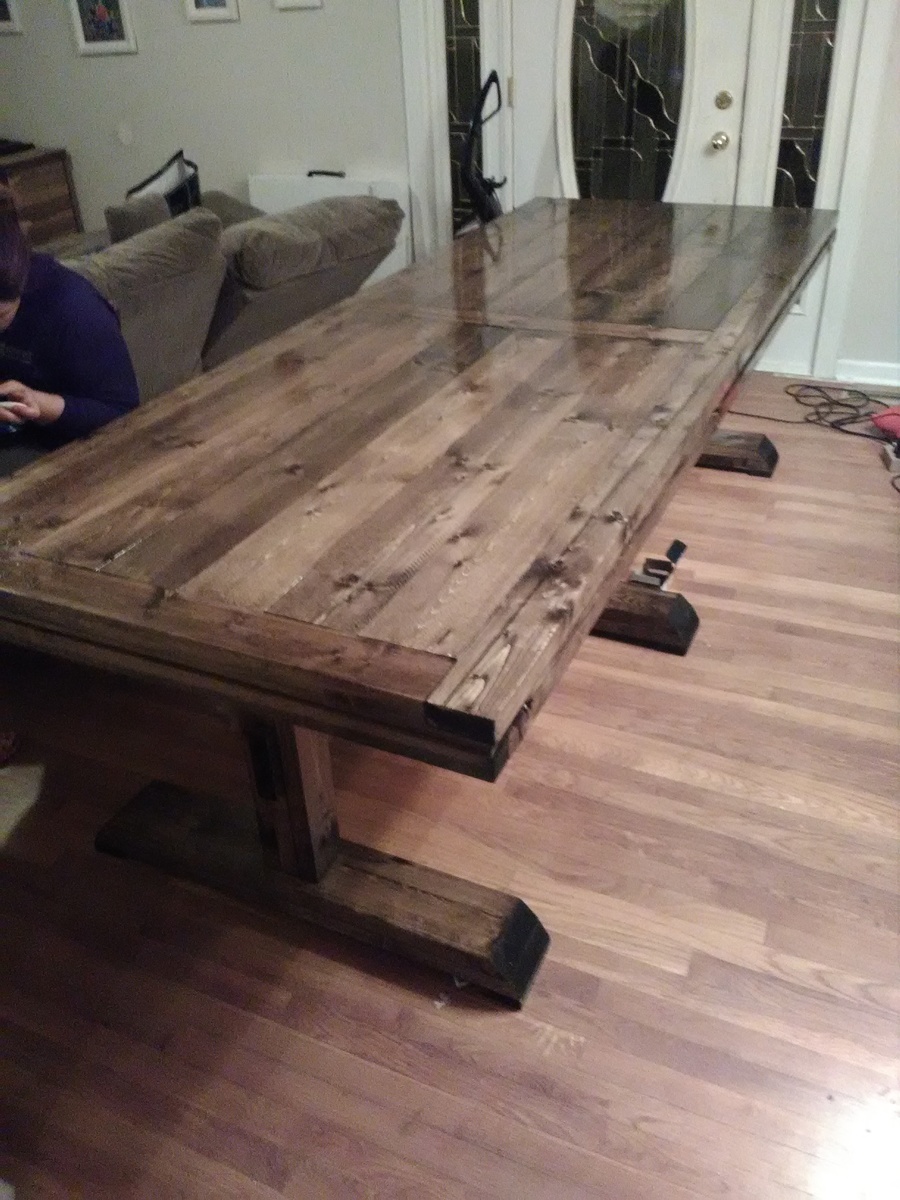
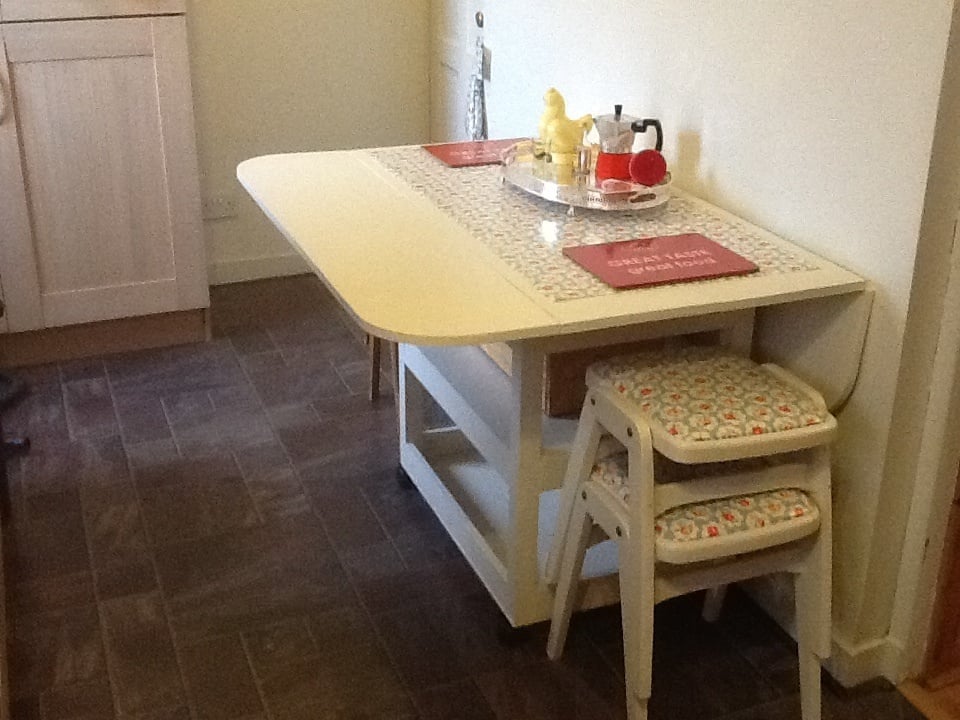
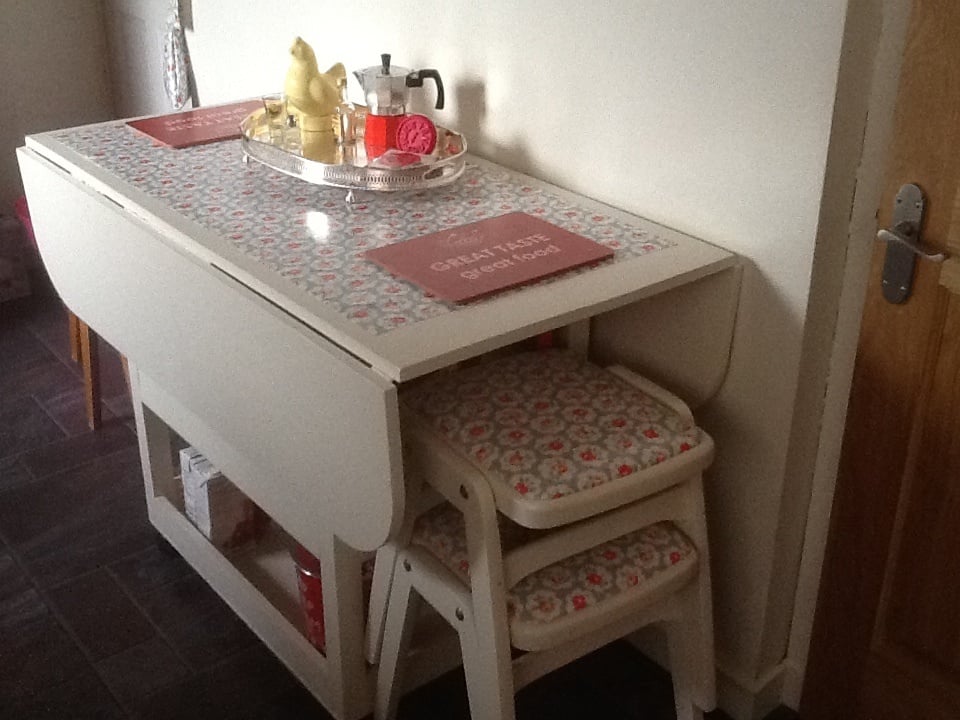
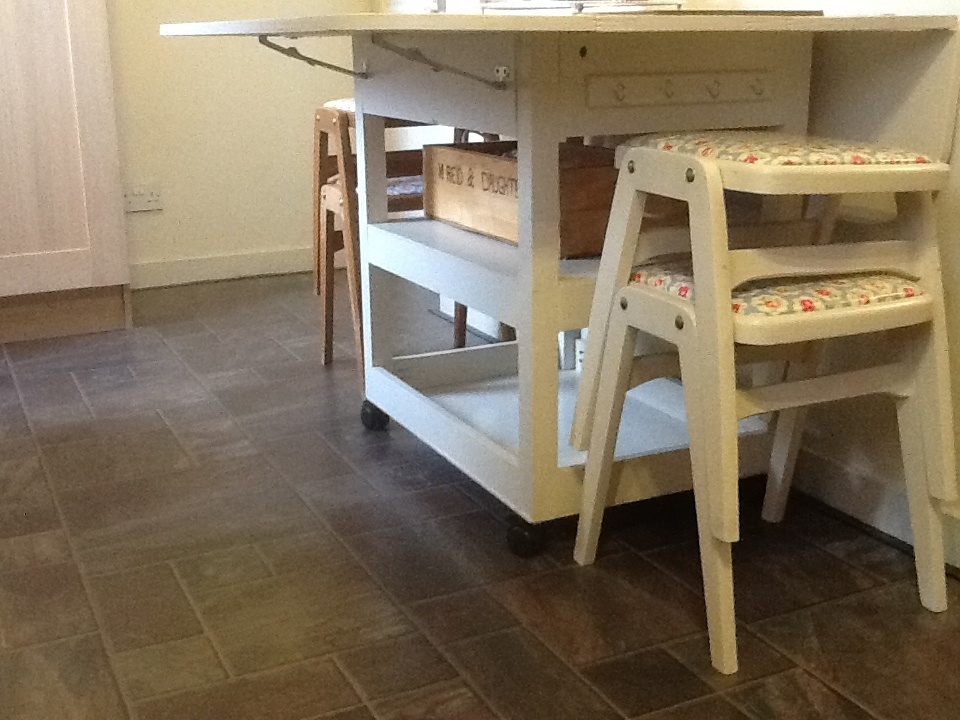
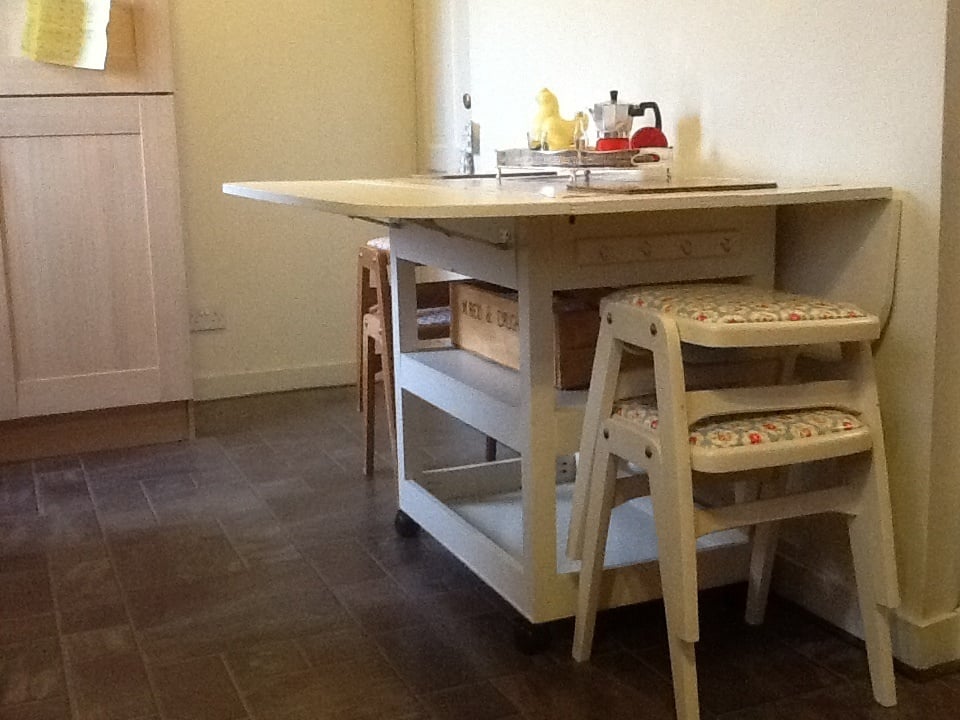
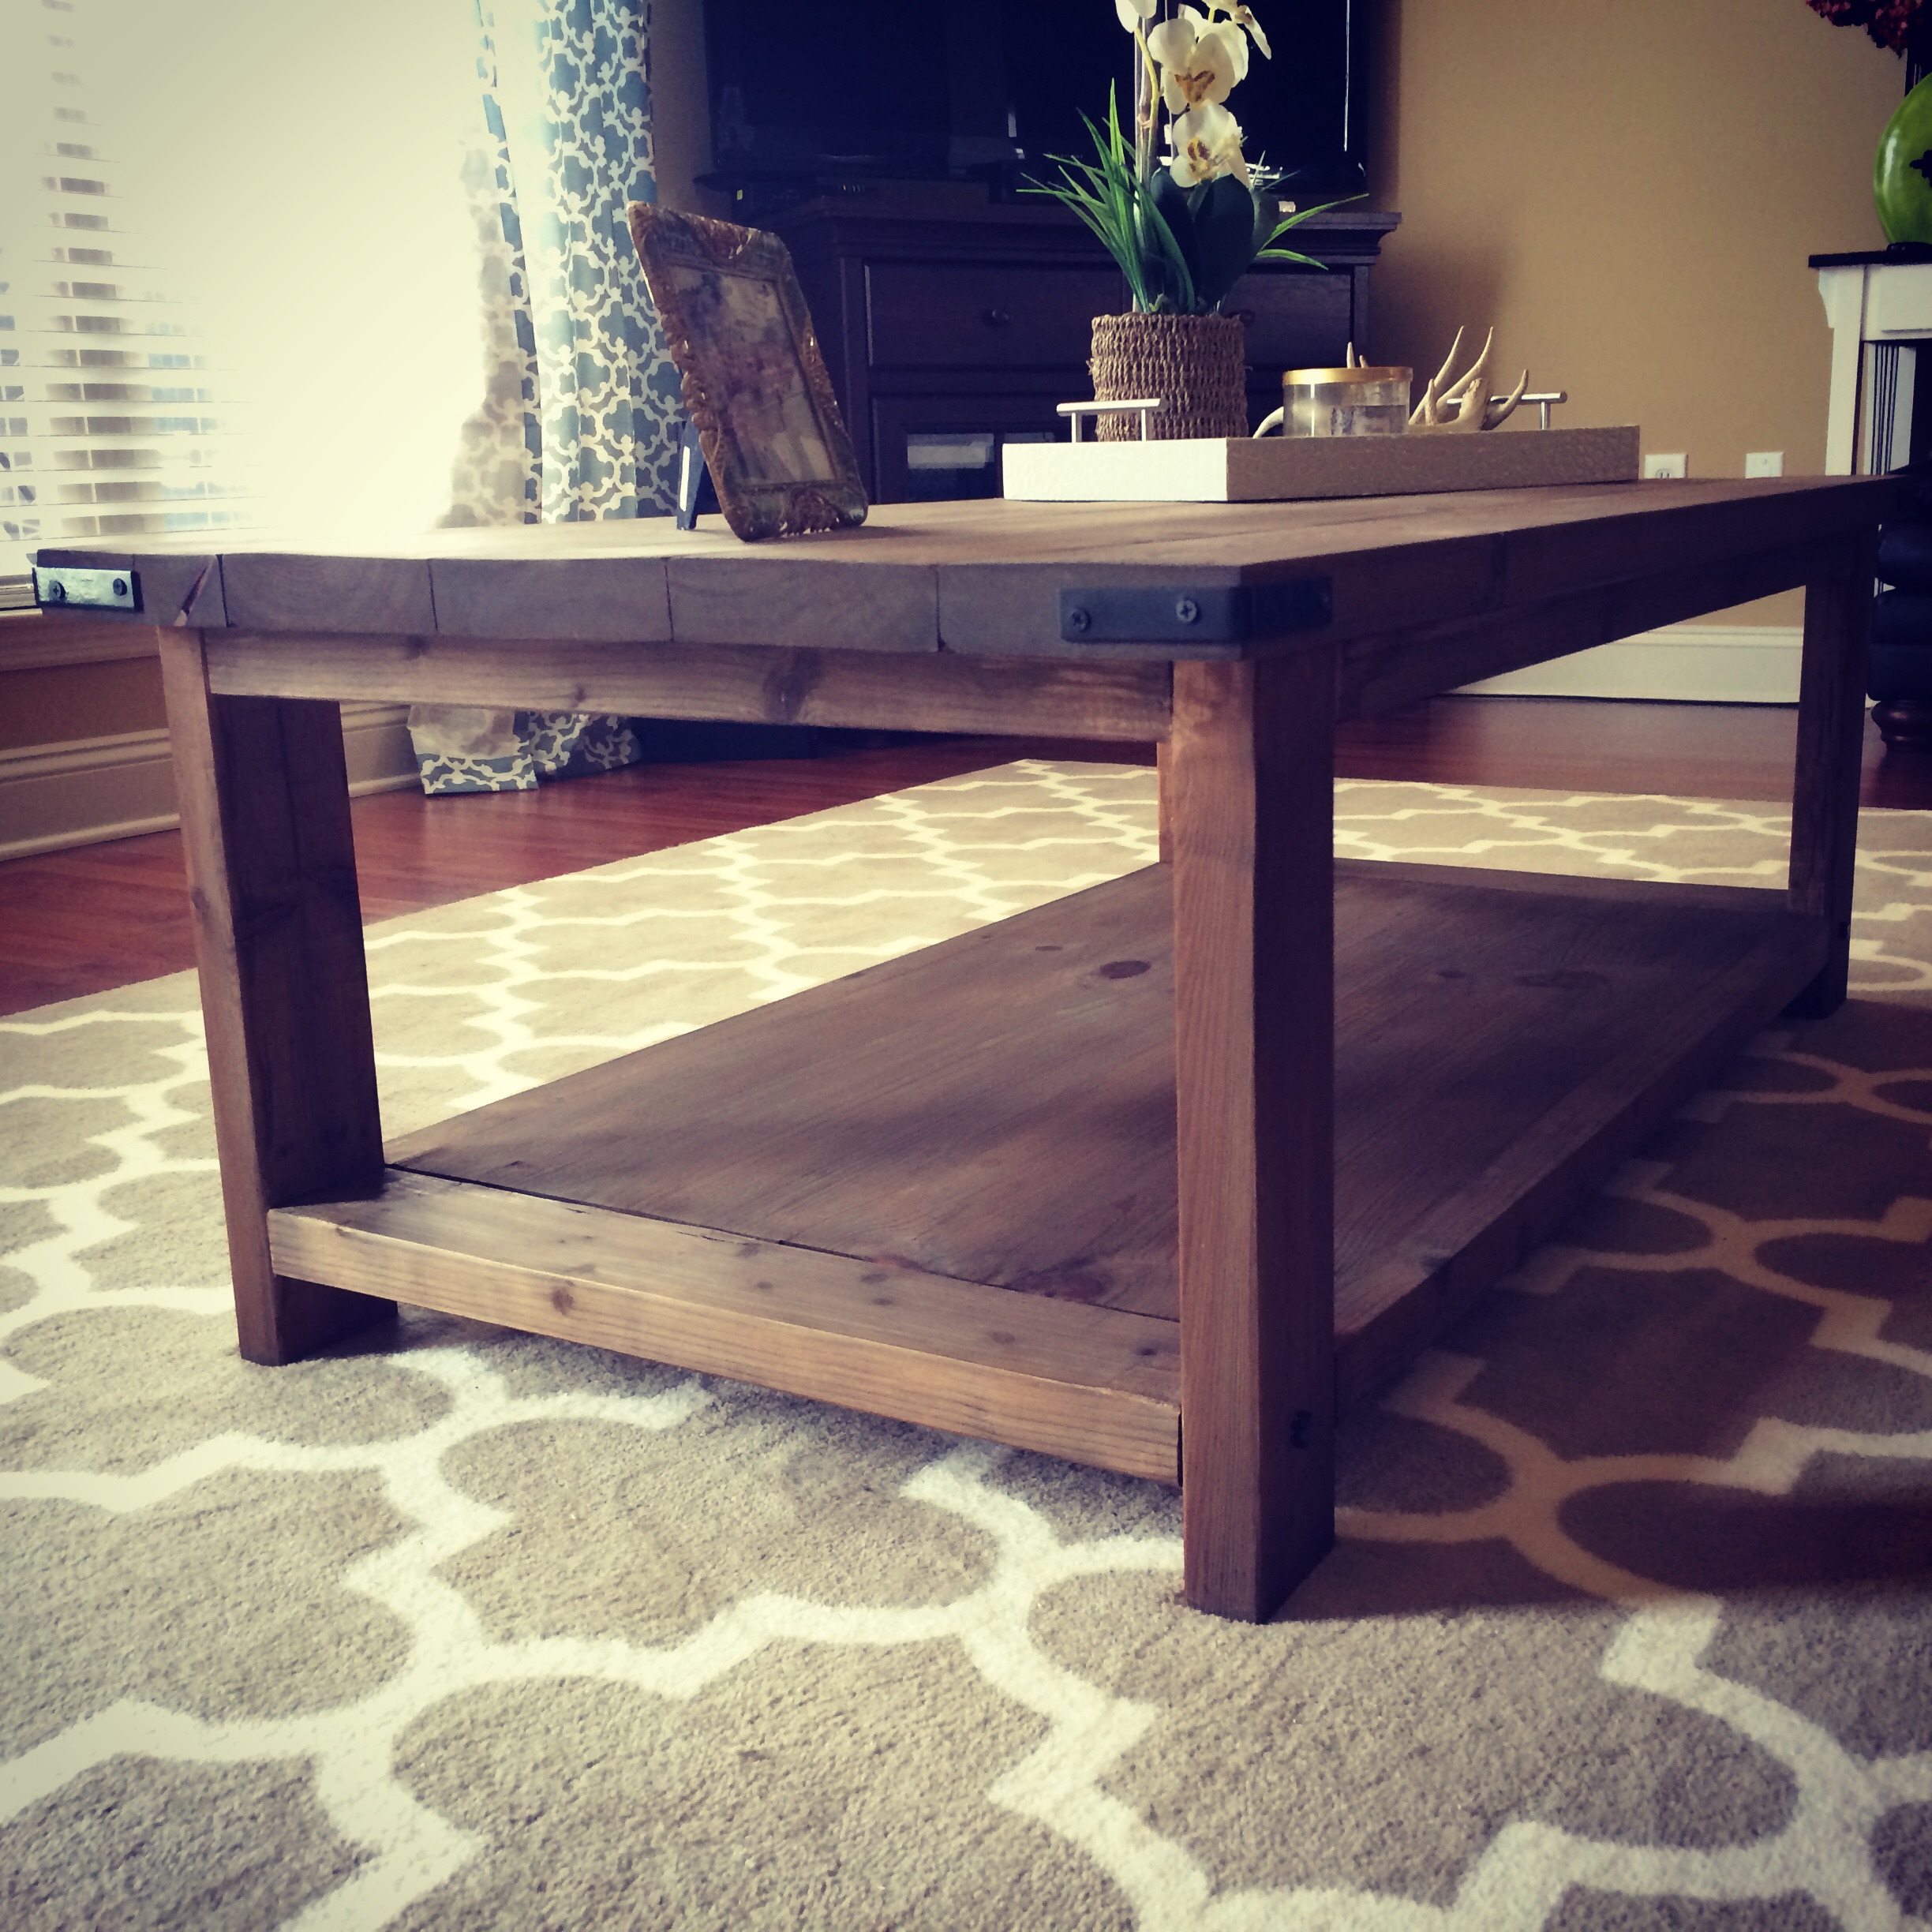
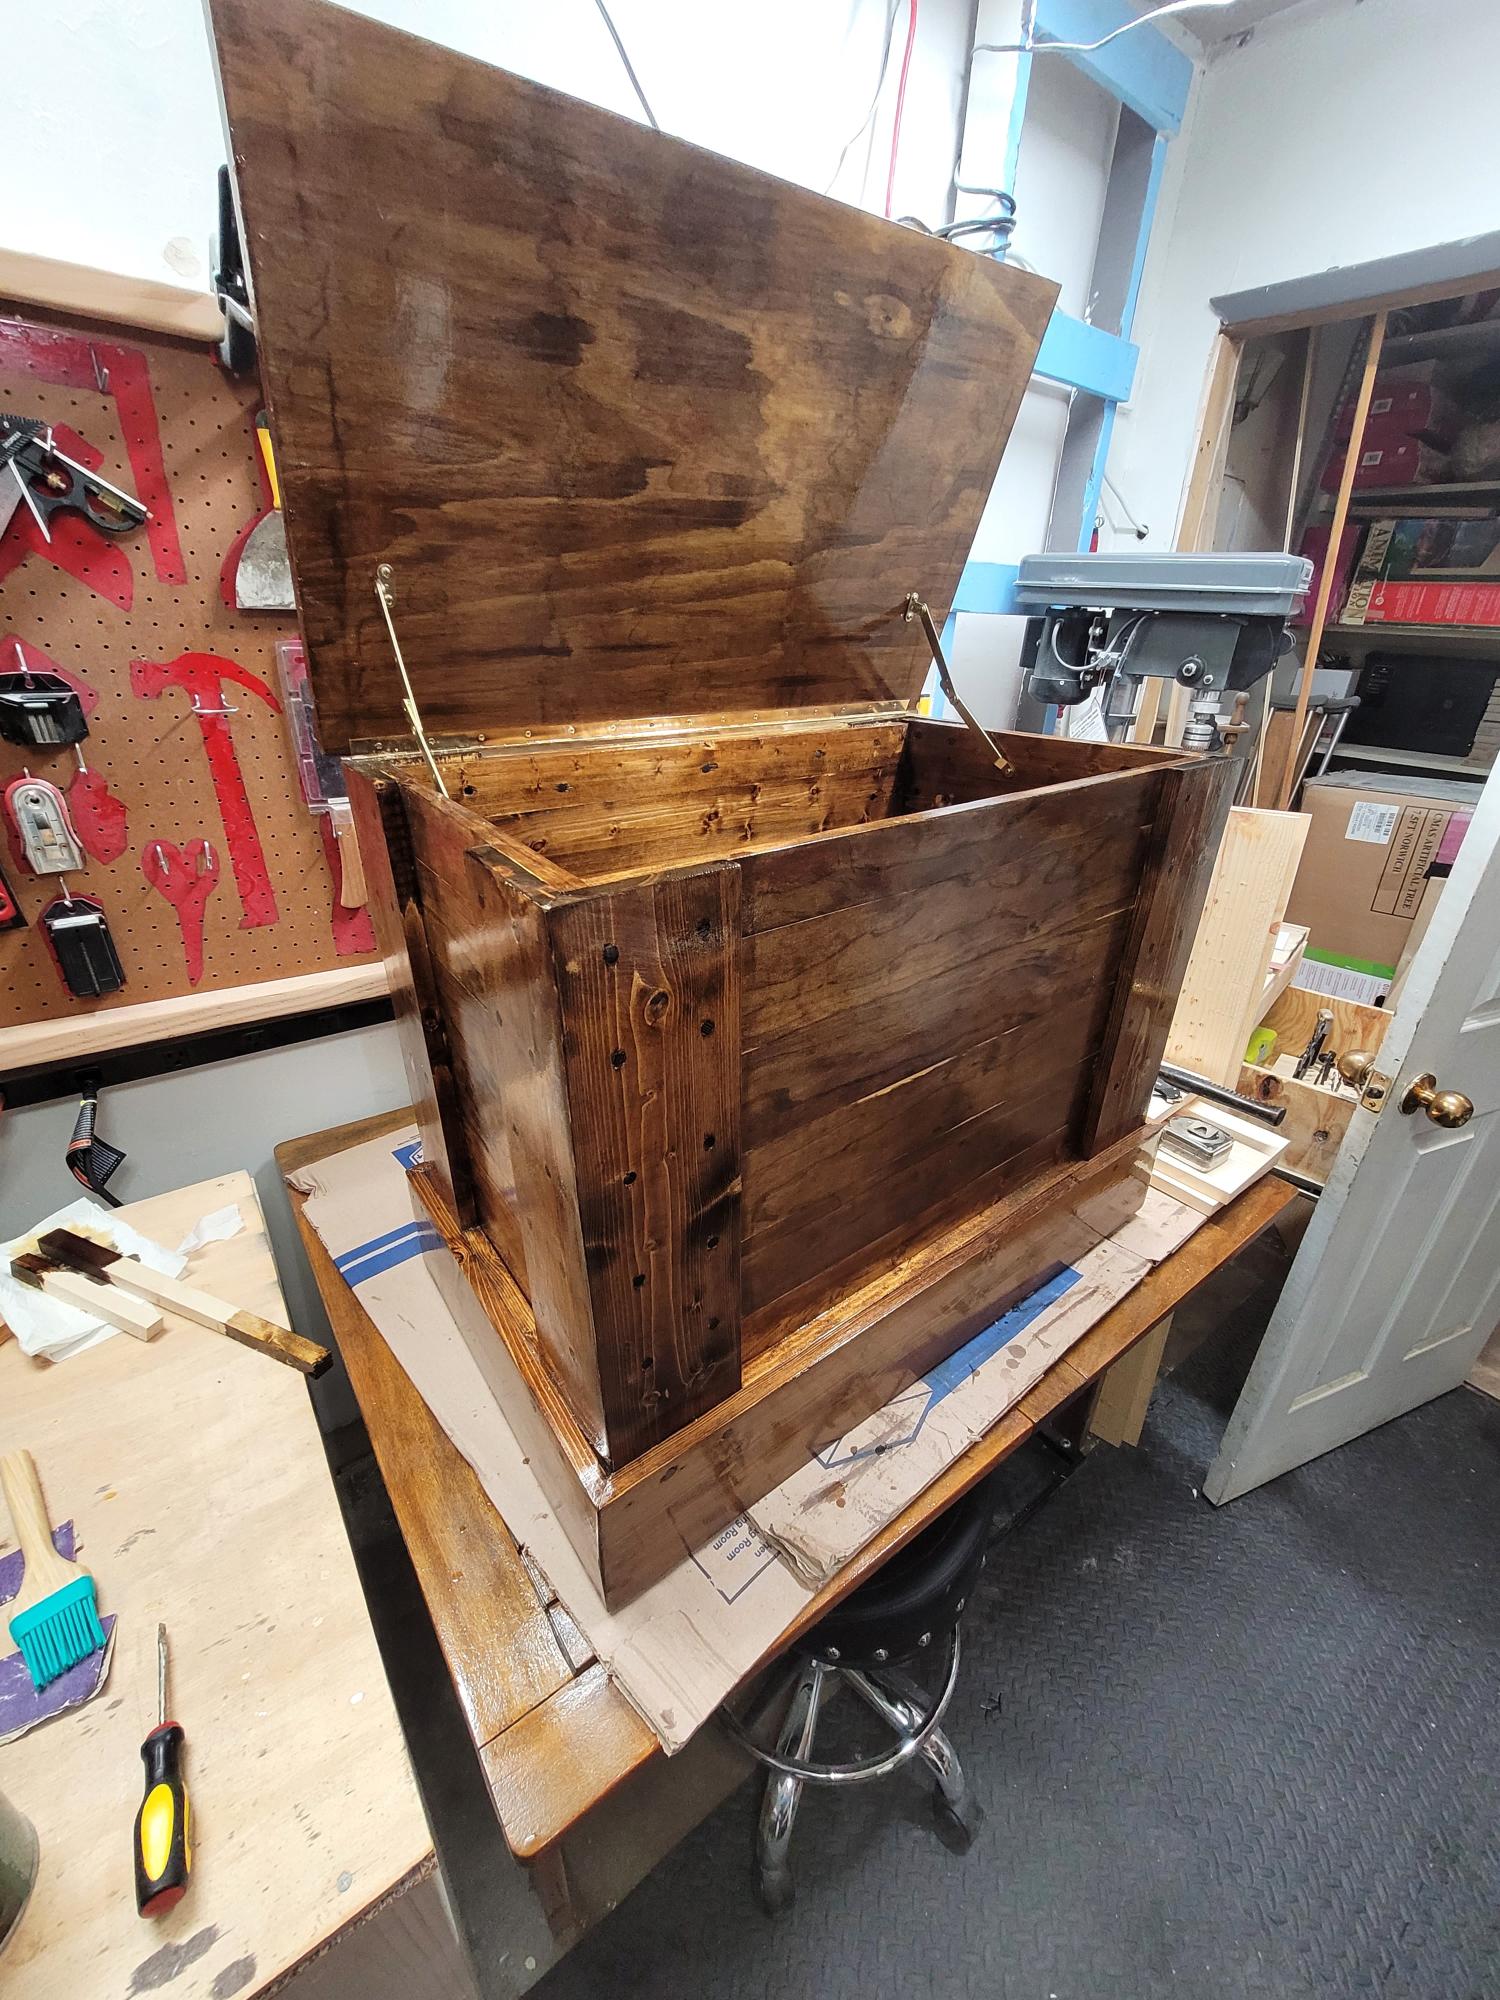
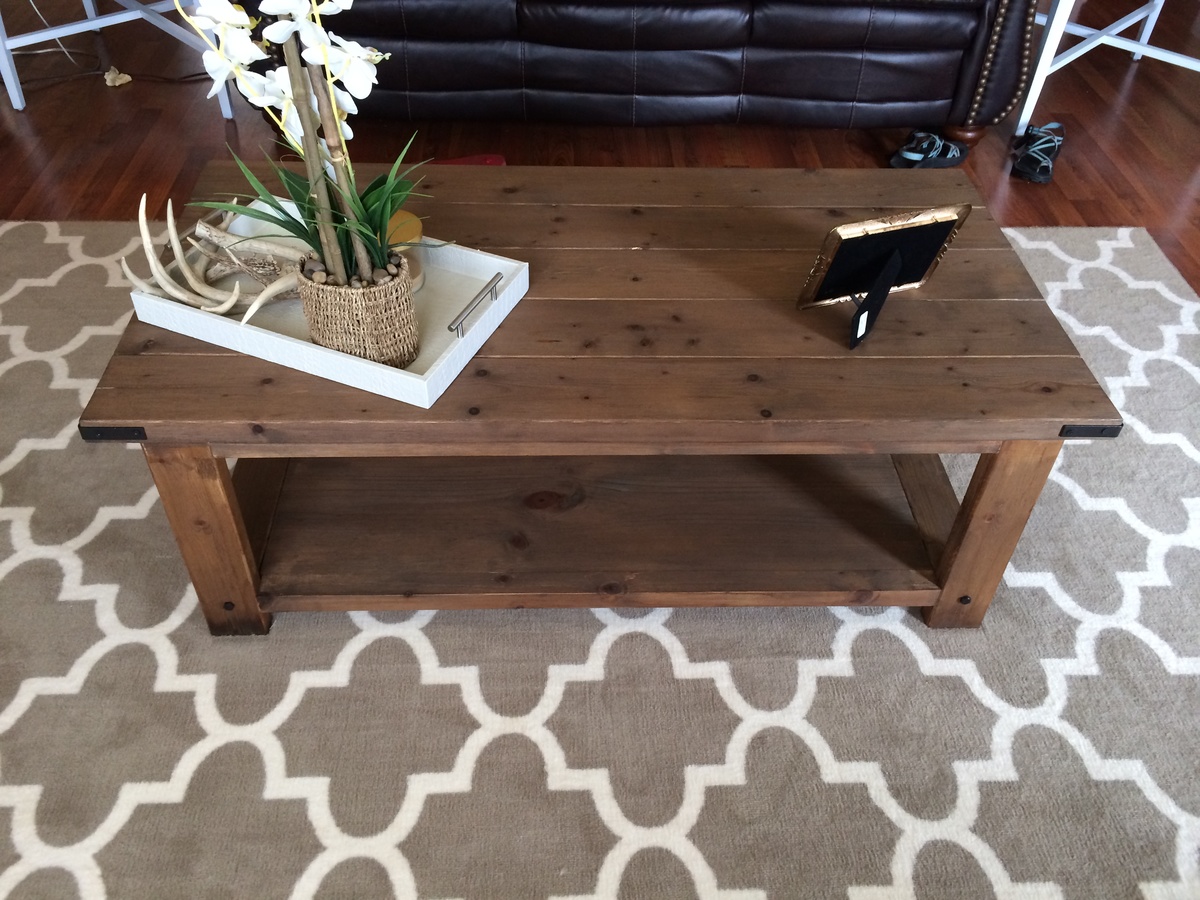
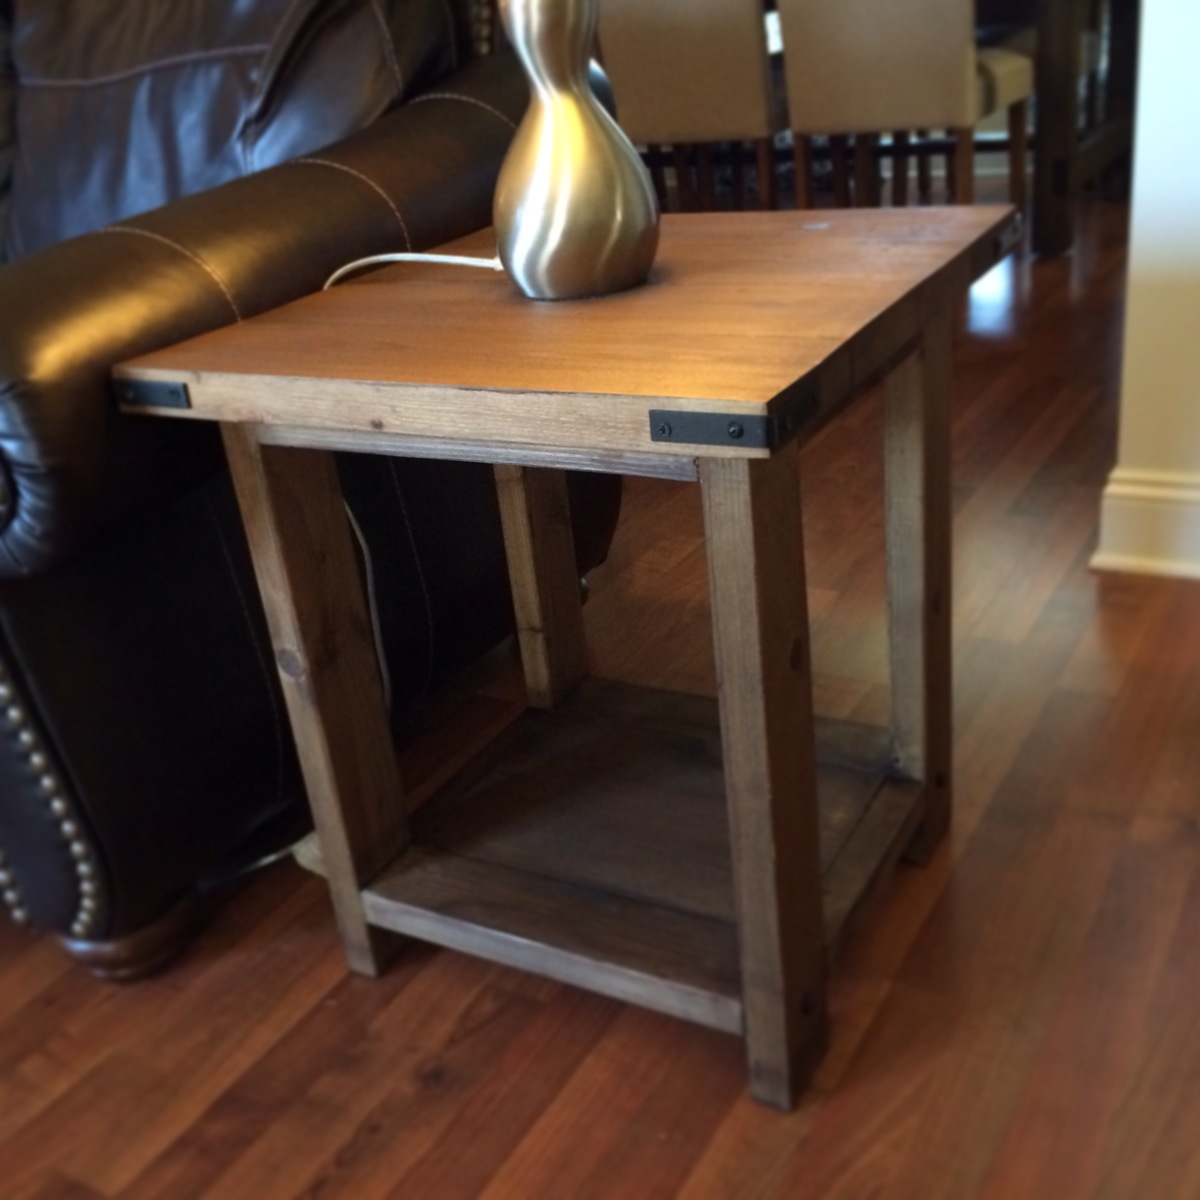
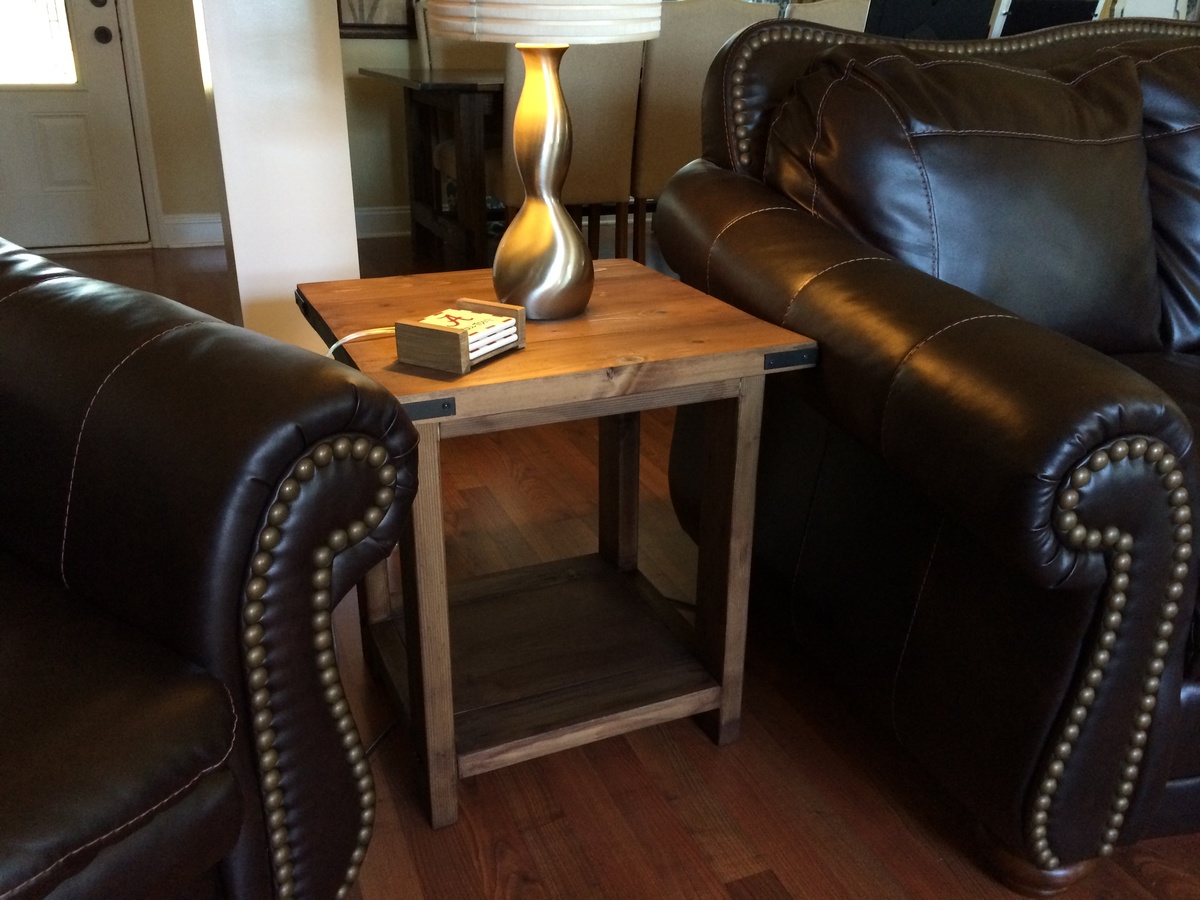
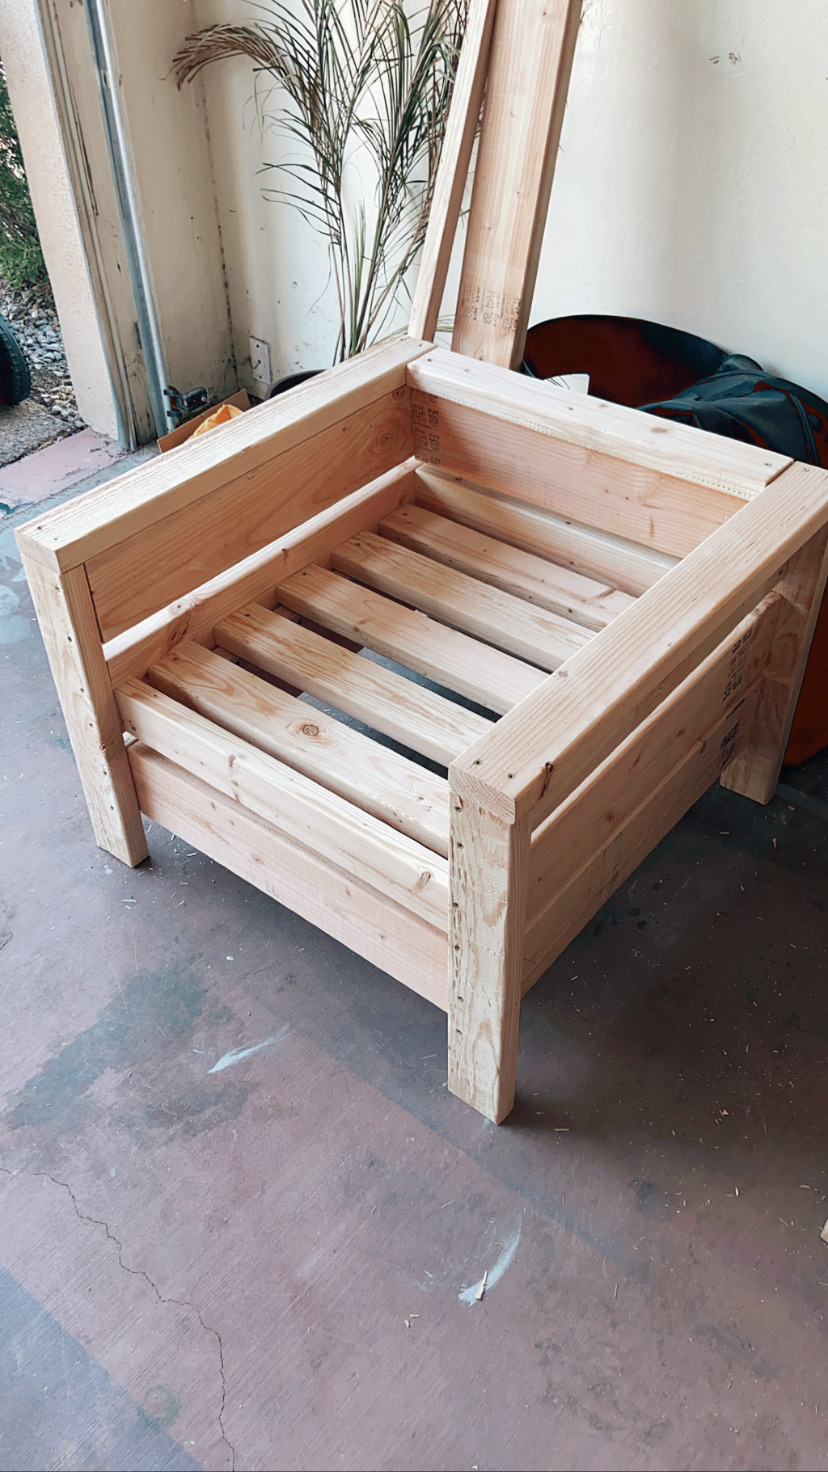
10 dollar ledge
10 dollar ledge with small trim on the bottom (now cost 20 dollars total)
This was my first building project, and I'm very happy with the results. It was a cinch to put together, too. My husband helped me cut the pieces after work one night and then I put it together that Saturday. I decided to do a two tone finish with the legs and apron painted because our local Lowes didn't have 2x4s and 4x4s in the same type of wood, so I was afraid there would be too big a difference in the way they take stain.
We needed a sturdy table but didn't want to spend a fortune buying one so decided to take a stab at building one. Our space isn't too large but also wanted the ability to expand the table with leaves if we have a large crowd. I built leaves by cutting notches in the horizontal leg 4x4 and then sliding in/out with 2x2's attached (see pic).
I will say it makes life a whole lot easier learning how to use Sketchup or some other design software. That way you can visualize what it will look like, cuts you need to make especially if you will be deviating from the original post design and don't want to do math in your head (like me).
Made this awesome project from Ana's plans. The best part is it came from old barn wood that has been stored for decades. Had to plane most of it to get it closer to dimensional size to work with the plans. I have had a lot of advice and recommendations from friends and family on how to finish it, but I like it perfectly natural with nothing added. The finished picture appears that it has a finish on it but it was just the difference in lighting.
Couldn’t find a coffee bar to fit my space so I modified the Snack Cabient plans of Ana White's! Looove how it turned out! The barn door hardware was fun!
Laura Thompson
We worked on this project on and off for a couple weeks. 60 degree angles were the hardest part. Decided against adding upper coop floor to minimize cleaning. Coop will only be used seasonally. End coop is very heavy, so wheels were a must. Scoured internet and found simple retractable lever design with bolts to adjust wheel height. Very happy with project, thank you Ana!
This was pretty difficult for a beginner, but only because I had never made something with a frame that had to be squared up. I didn't realize I need a big square and should have checked each join of the 2x2's to the plywood. Ended up that the center supports were not square but this was after I had already made doors and drawers. So I rigged them up with shims to make them fit better. However, I still think it turned out great and one day may take it down and fix it or sell this one and make another. I added tea stained vintage font numbers to the pulls. To me, this really made the piece special. I would suggest a little more instructions for doors and drawers. Ana has a great youtube on drawers I found today. I will definitely use that method next time.
Working on getting furniture done for my kids. Gives me something to do when they are away on visitation. New furniture from a store is too expensive right now & gives me something to work on to keep my mind off of things.
Modified to fit a Twin XL mattress.
Fri, 04/27/2012 - 13:37
Beautiful job! I love the color. I have memories of being gone for weekends on visits and coming home to a newly decorated "Rainbow Brite" bedroom and my mom assembling a waterbed for me on the kitchen floor (it was the eighties); it felt great to know that my mom was thinking about me while I was gone, your kids will not forget those things.
Wed, 05/16/2012 - 09:48
Hi!, i am new to all of this and would love to make this bed for my daughter, could you share the measurements for the twin version? thanks!
Sat, 06/02/2012 - 03:12
Hi, I like this bed for my son, also looking for the measurements for the twin version.Thanks
Sat, 09/01/2012 - 20:31
I built a similar bed for my niece. I designed the boxes slightly different however. I followed the Twin Farmhouse plan but removed one board from the headboard/footboard panels. This narrows the width to accomodate the storage boxes. http://ana-white.com/2012/03/twinning
Sun, 01/17/2016 - 09:17
Hi! I know this question has been posted before and replied to but, for some reason, I can't see the replies so... would anyone mind maybe sharing their converted measurements for a twin sized bed? Thank so much! This will be our first project and I'm sooo nervous!
Sun, 01/17/2016 - 09:17
Hi! I know this question has been posted before and replied to but, for some reason, I can't see the replies so... would anyone mind maybe sharing their converted measurements for a twin sized bed? Thank so much! This will be our first project and I'm sooo nervous!
Fri, 02/05/2016 - 20:20
I made this bed in a twin. The twin mattress is 39x75. That's 21 inches narrower and 5 inches shorter than a queen. So just make the head board, foot board, and slat measurements 21 inches shorter keeping the height the same. The length is five inches shorter but to get three drawer slots the same size I made mine 75 3/4 long. ( 24 1/4 for each drawer slot).
35X72 standard table height.
Made this Farmhouse table for my daughter for her birthday tomorrow. Hope she enjoys it as much as I enjoyed making it. Happy birthday my girl.
I enjoyed this project. Easy instructions. Great results.
I adjusted your Barndoor l Pantry plans to utilize repurposed lumber from a Murphy bed. The shelves are 22" deep for my microwave, toaster oven, etc. It's so functional and much easier to work in my small kitchen.
Cheryl G
I modified the plans like another brag poster did. How I built this is explained on my site. Thank you so much to the other poster for the inspiration!! And of course, thank you to Ana White for this amazing site!
This project was easy & fun to make.
King bed hand made made with 1by4 pine boards
Brookstone desk with a white oak top and drawer that I built for my 8- yr old son. It is a very fun build.
Jerry from NC
I saw this on the site, and I knew it would be perfect for my soon to be 4 year old boy's room. I wanted something that would be strong (hellloooo 4 year old boy!!) and not too "babyish" to last him through several years of preference changes and growth. This was not too difficult at all! Though I slightly modified some of the construction to make it easier to break down. I ended up using a box spring with a mattress, instead of slats to save a bit of money. (We got the box spring and mattress for free from a relative.)
I made this out of pine, and bought everything from Home Depot. Total cost for everything (including paint, sandpaper, wood glue, etc) was about $160! We are loving it!
Thu, 05/03/2012 - 23:09
Hi,
I love what you have done here. We have just finished our first build and am about to start on another for our oldest girl. Check out our blog, its the latest entry on this page.
Love it.
Thanks,
Shane
This was my first project. I didn't even know how to use a drill. With the help of my husband I learned quickly. Everything came together rather well and making the cuts was fairly simple. I used a table saw instead of a skill saw which made the bigger cuts not quite straight. I will have to invest in one of those. Two problems I ran into was not having enough clamps. I had the one that came with the kreg jig but having another would have made it simpler when attaching the legs. I had to go out and get the right angle clamp for the jig and that was a lot simpler but will still purchase another clamp for the future. The other problem I faced was the table legs were not sturdy enough so we added a support post to the back of the desk you can see in the picture. I also made the mistake of purchasing wood filler the same color as the stain. So I have darker areas. Haha. It was great learning experience. And my ten year old is very happy with his desk.
Sun, 02/16/2014 - 18:15
We also didn't know how to attach the top. The plans don't give instructions for that and we had to figure that out on our own. We ended up doing pocket holes which takes away from the looks of it. But you can't notice it unless you look for it.
I needed a place for everyone to throw their bags instead of the kitchen table! I used the box plans from the fancy hall tree and modified the top, adding a shelf, and changed the design to accommodate the piece of plywood I already had and wanted to use for the back. I made it in two pieces for easier transport and assembled it inside the house. I used off the shelf pine and plain plywood for this. I found the cute numbered hooks on etsy :) I took my time building it and worked on it about an hour a day while my husband watched the kids.