Truss 4x4 Farm Table
![](/sites/default/files/2975852F-B99A-4805-BC76-A8C9DA55AB5A_1.jpeg)
I love this site and the user friendly plans. I used the suggestion of turning the 2x4’s but I think it would have been better to have more to screw the top boards to if I hadn’t.
![](/sites/default/files/C87A96F9-4802-4ACF-84F8-0DEDA4C4927C_1.jpeg)
I love this site and the user friendly plans. I used the suggestion of turning the 2x4’s but I think it would have been better to have more to screw the top boards to if I hadn’t.
Didn't use the wheels, so I lengthened the legs to compensate. Also I didn't make it round but instead cut the corners off and used a router on the edge. We use it mostly for puzzles.
Used some cool old pallet wood to put together a dog food bowl stand I've been meaning to make. My big 10 year old lab is getting a lot slower and struggling a little bit so I thought this could help him out some and get his food and water closer to his face. Winged this one. Had a vague idea in my head that sort of evolved as it progressed. Used some left over 1x4 lumber to build a simple frame, and encased it in the pallet wood to give it the wood crate look (jigged some hand holds in the side to give this same look) . Used jig saw to cut the holes out of the 2 top boards for the bowls.
LOve your site for basic plans, easy to follow and modify. Used the step stool and created personalized ones for clients.
Keep the good ideas coming
John
I followed the directions for every step but the down strut supports in the middle of the table. I reversed them purely for aesthetic reasons, I thought i looked better that way.
I wanted to build some cabinets to his our computer, stereo, game consoles, and seeing machines. I needed something that would allow a remote control to work through, so I used decorative metal sheeting found at the orange hardware store. They're built to be nearly flush with the fireplace. The left cabinet is made of 1x8s and measures 36"x36". There are 2 interior shelves. The shelves are slightly shorter cuts, measuring 34 1/2. The right cabinet is the same as the left, but with a 18"x36" unit kreg jigged to the front. That was to accommodate the larger media units while keeping the cabinet flush with the fireplace.
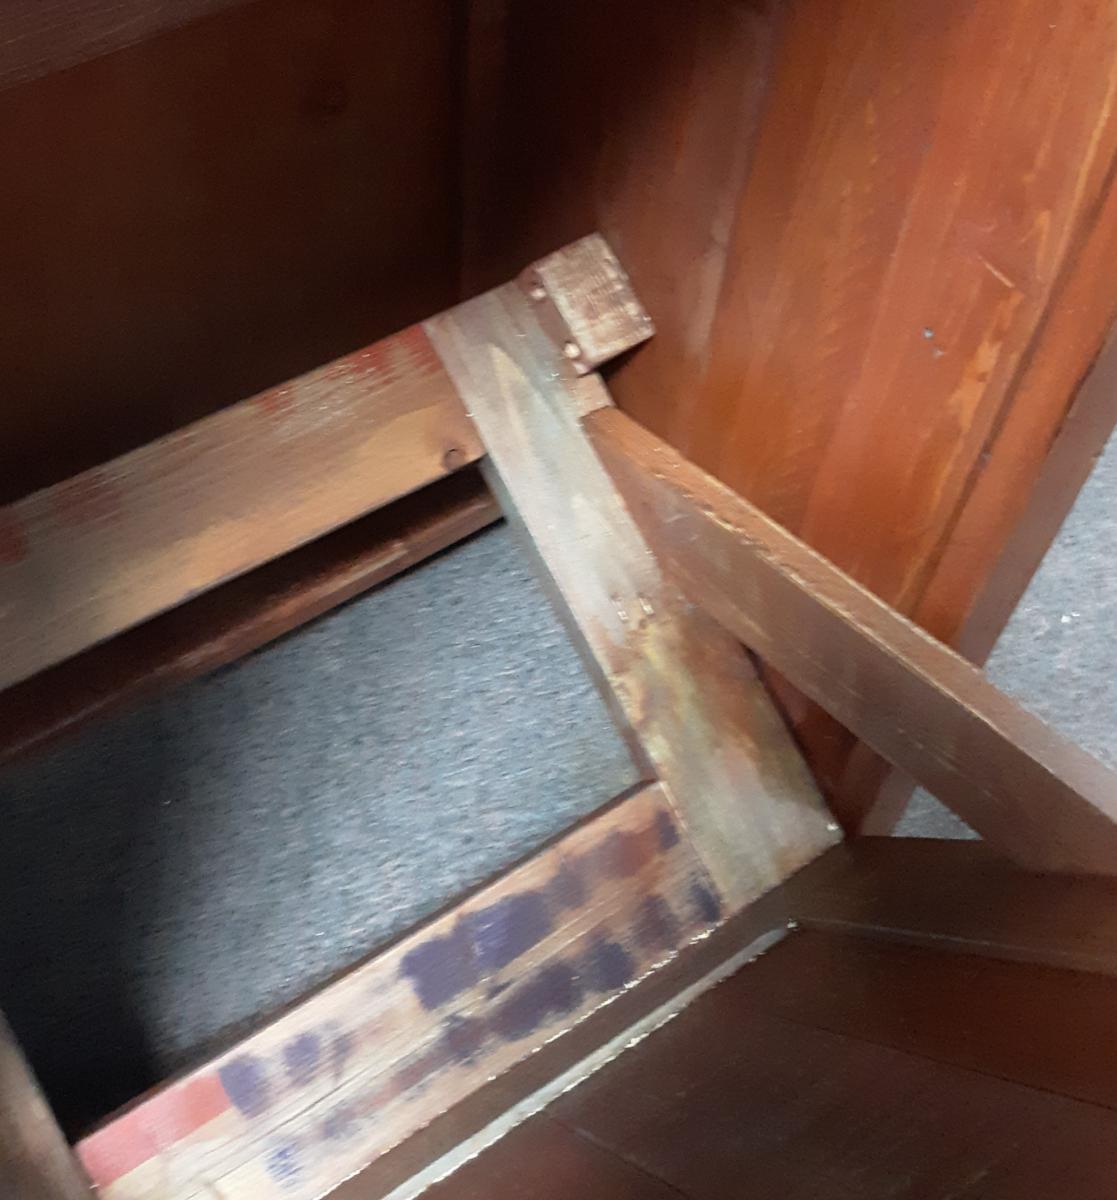
The fronts are just 2" trim frames with metal sheeting screwed to the inside. I used metal corner braces to hold the corners in place. They're mitered corners. The hinges are cheap $2 hinges and magnetic closures hold the doors closed.
I also made the mantle. It's a piece of 1x12 on top with a flat foam piece of molding and 2 corner pieces.
I combined the Narrow Farmhouse Table plan with some changes and Bluedinosaurs tutorial for making a sewing table. http://bluedinosaurs.com/diy-platform-sewing-table/ It came out beautifully!
Thanks for the great plan!!
2x4's and 2x8's kept my cost way down! The top was finished with minwax provincial stain and a few coats of minwax polyurethane to finish it off. Joined with my Kreg jig throughout. A very fun project!
This is a coat rack that I recently built for a friend of mine who was struggling with a way to organize her kiddos' coats and packs. She doesn't have a coat closet off of the entry way, so we installed this wall-mount tree design on an interior hallway as you enter the home. This would also be cute in a kid's room or a mudroom. I posted step-by-step instructions with pictures on my blog at www.momthebuilder.net. Let me know what you think!
Tue, 12/08/2020 - 20:51
It looks like your blog is down. Is it posted anywhere else, or could you send the plans to me?
Our attic bedroom had no closet space or storage. I designed a system with shelves and hanging space along one end wall. A freestanding vanity table was discovered at a Habitat ReStore, which fit the space perfectly. One side of shelves is for clothing, the other side is for books and display. A long shelf across the entire top serves as the closet rod as well as display space.
This is the largest piece I have built. I wanted a buffet and hutch to hold all my crockery. All the large pieces became the display pieces in the open shelves. Ana's plans makes it so easy to modify and build
Thu, 10/01/2020 - 19:07
I added wallpaper to the back to give it a custom look. My hubby help put some lights to finish the piece.
Armoire for 18 inch doll. Constructed using Ana White guide, with small alterations to doors. Stars were not cut, instead small wooden knobs were used. Two stars were painted pink and attached to the doors, to give the American Girl feel. The doors were difficult to keep shut, and an attachment was installed at the bottome of the doors to aid in keeping them closed. For any future builds, we will scale down the size of the armoire. It is quite large for an 18 inch doll.
This is my second table which I built for our new home in the Olympic Penninsula. Moved closer to our kids when we retired. It was wonderful to have our kids, their spouses and friends gathered around the table for dinner, conversation and laughs.
This was a custom build for one of my clients in San Diego, CA (Encinitas). She wanted a 9 foot buffet to store all of her kid's toys in :).
We came up with the design, and I built it right before my wedding (probably my most stressful build! haha).
Made the hutch 1ft taller
Wanted to build nightstands for our bedroom after tackling the farmhouse table plans. Followed the plans for the farmhouse bedside table. The build went really well. These were the first drawers I have made and they work great. I first tried to stain them using the vinegar and steel wool method which worked great on my trial piece. Then when applied to the nightstands...nothing. We ended up using Minwax grey. I was a scary color to start with but couldn't be happier with the results. People are loving the different color and still being able to see the grain.
I made this bed for my son Luke's for 4th birthday. This project was a first for me and I loved doing it. I modified the stairs as I wasn't crazy about how shallow the steps were and how high the rise was. I have 4 stairs instead of 3 and they stick out about 4 inches from the front of the bed. The bottom step is a small toy box and the top 3 are all drawers. I also added a slide. The slide design was the biggest challenge as I couldn't find a set of plans that I liked. I ended up tracing the shape from an outdoor playset that we have. I then created a template and used a router to cut 1/4" grooves into the left and right hand sides. With help, We slid a 1/8" of wood into the grooves. The wood was from home depot, slick on one side. I think it was a Hardboard tempered panel, but I don't remember for sure. The entire project probably took 60-70 hours. The bed itself was about 30-35. The other time was the stairs with drawers and the slide. A good chunk of the remaining time was spent in planning and figuring out the slide and adjusting the drawers. This being my first project, I spent a lot of time just figuring things out. I had never used a router before. I had never drilled pocket holes before. This project opened my eyes to a whole new world.
Mon, 10/13/2014 - 13:09
This is just awesome. Your son is a lucky child! What a beautiful bed. :)
Sun, 05/01/2016 - 16:09
How long is this bed? How many inches from the outside of the stairs to the outside of the slide?
I doubled the size of the shelves for more storage and made 2 drawers instead of one. Loved building this and your plan. Don't think it turned out bad at all for my first time. This looks great in my new remodeled kithcen and all who have seen it love it and are amaze I built it myself. Thanks for sharing your plan.
Here's my take on Ana's 'Wood Tilt-Out Trash or Recycling Cabinet.' It's made from lumber salvaged from pallets found locally. Two changes made from the original plans:
- Raised panel on the door
- Used two stop blocks inside the cabinet to limit motion on the door (instead of chains)
The only items that were purchased were the trash can, hinges, door pull and Kreg screws.
Links for techniques and finishes used in this project:
Raised panels:
https://www.finehomebuilding.com/2006/03/01/making-raised-panel-doors-o…
Milk paint finish:
http://toolmakingart.com/2008/06/16/two-layer-milk-paint/
Topcoat on cabinet:
https://sawsonskates.com/bobs-miracle-finish/
Comments
Ana White Admin
Mon, 09/21/2020 - 12:38
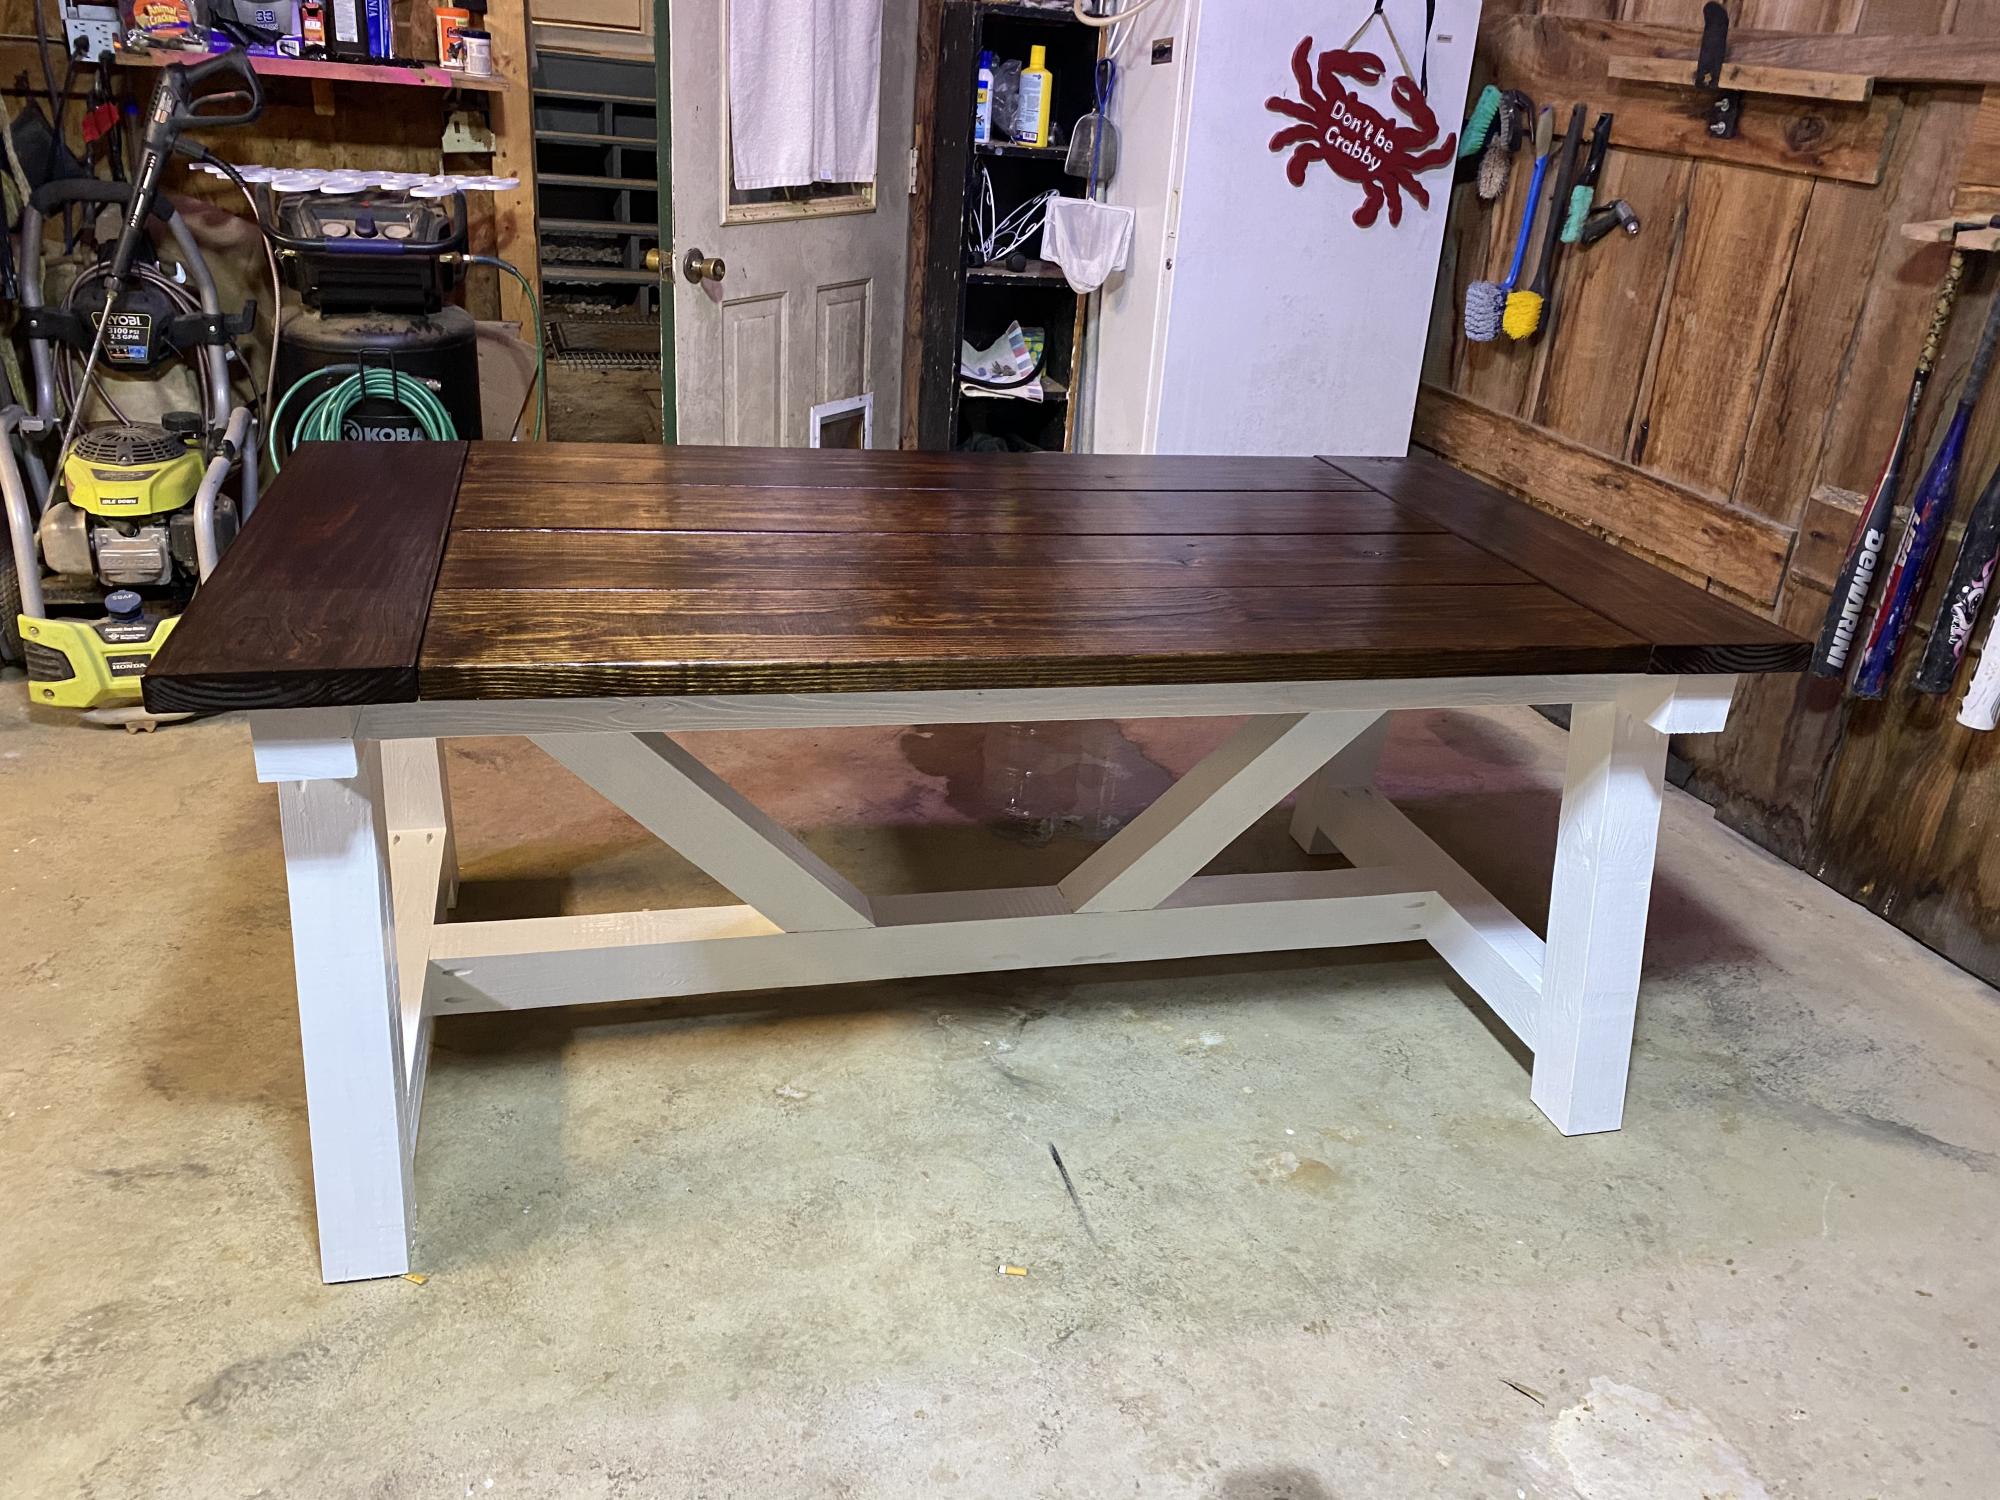
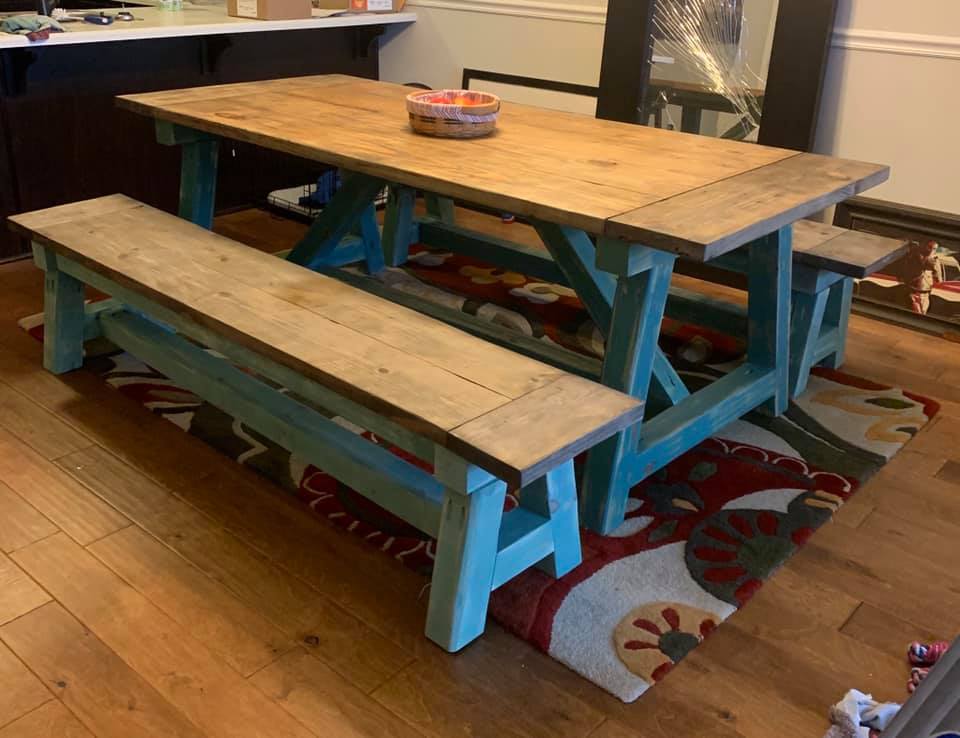
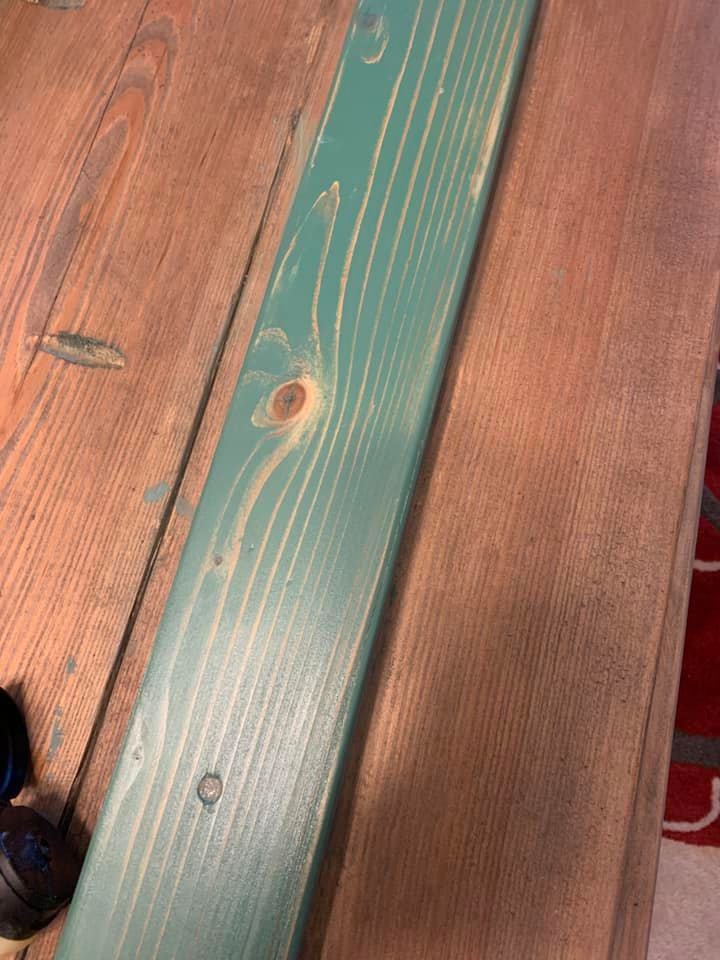
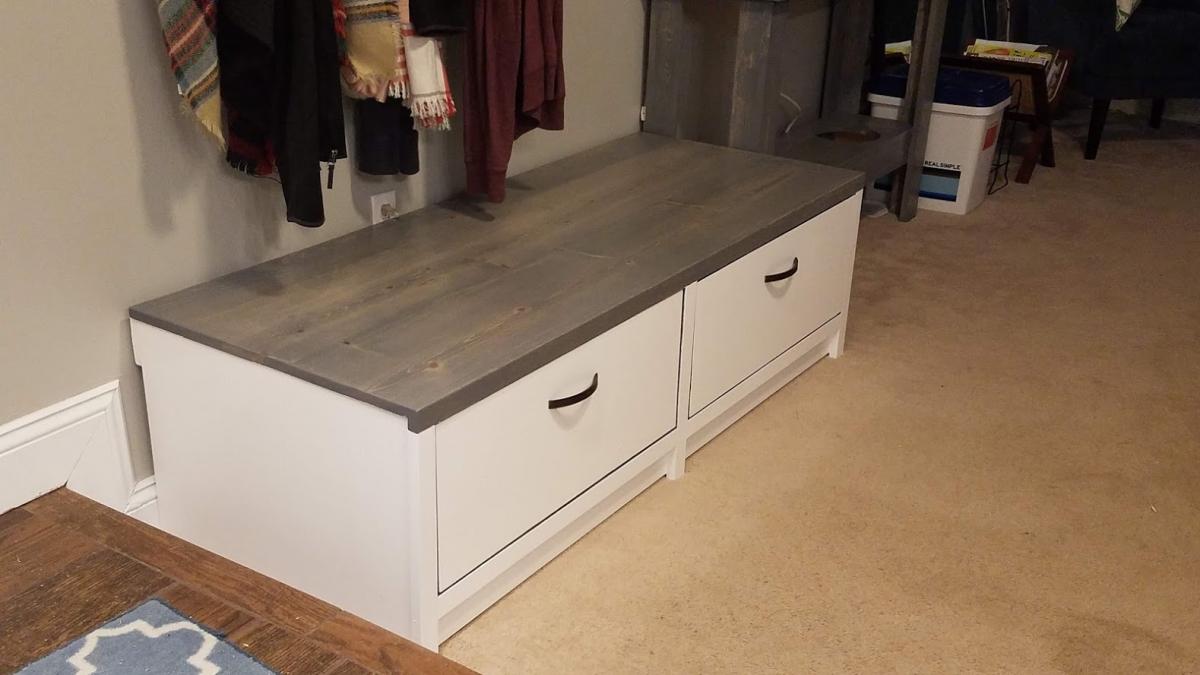
Love the two tone finish!
Great job and thank you for sharing!