modern outdoor lounge chair
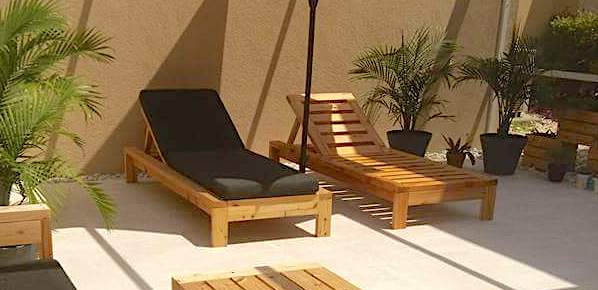
Just finished this beauty, entirely made with 2x4, plans were modify to match our outdoor sofa and coffee table. I think our best looking project so far ;) Thank you for inspiring me to build !!!
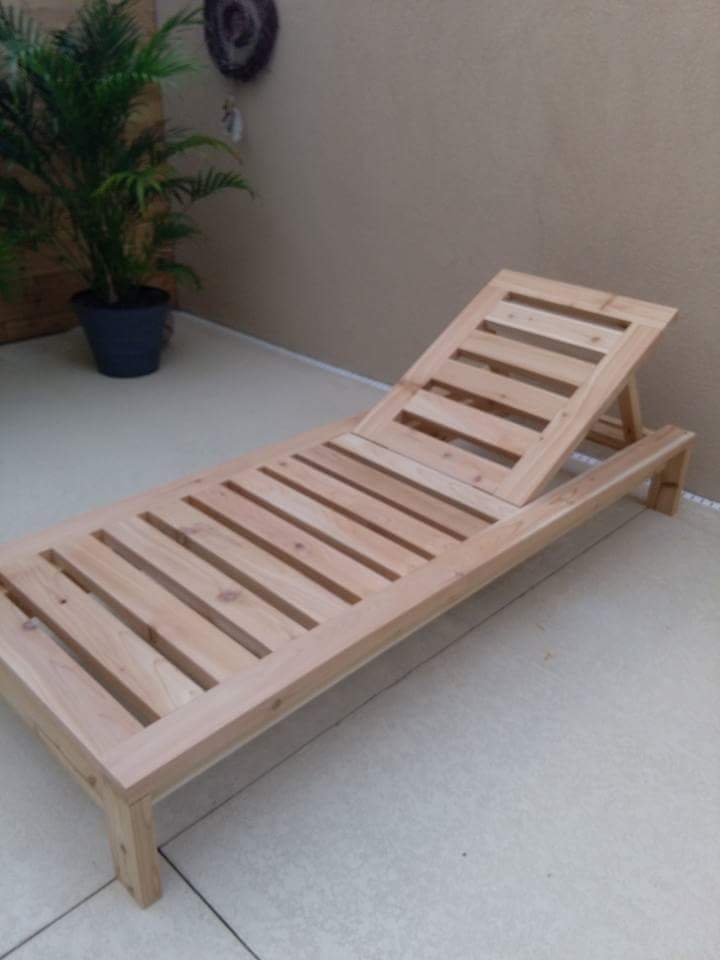
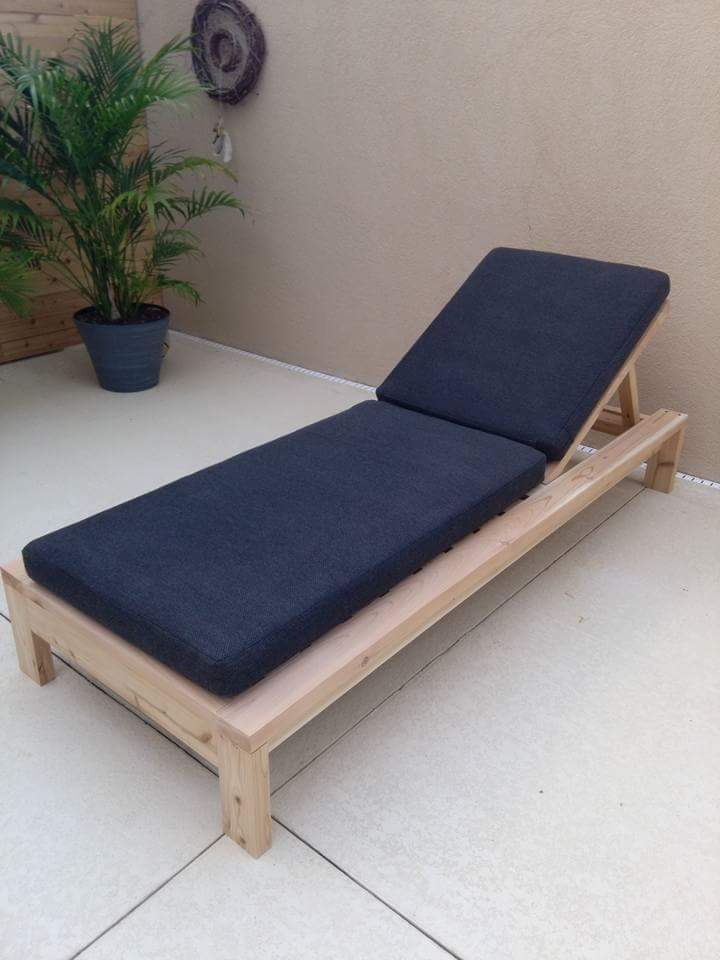
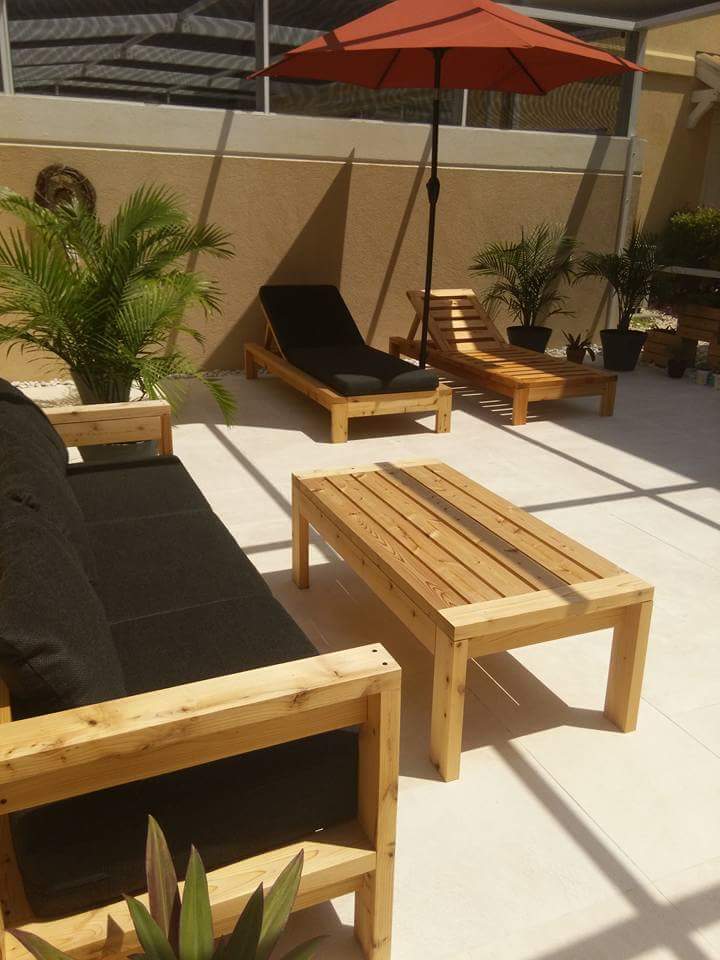

Just finished this beauty, entirely made with 2x4, plans were modify to match our outdoor sofa and coffee table. I think our best looking project so far ;) Thank you for inspiring me to build !!!


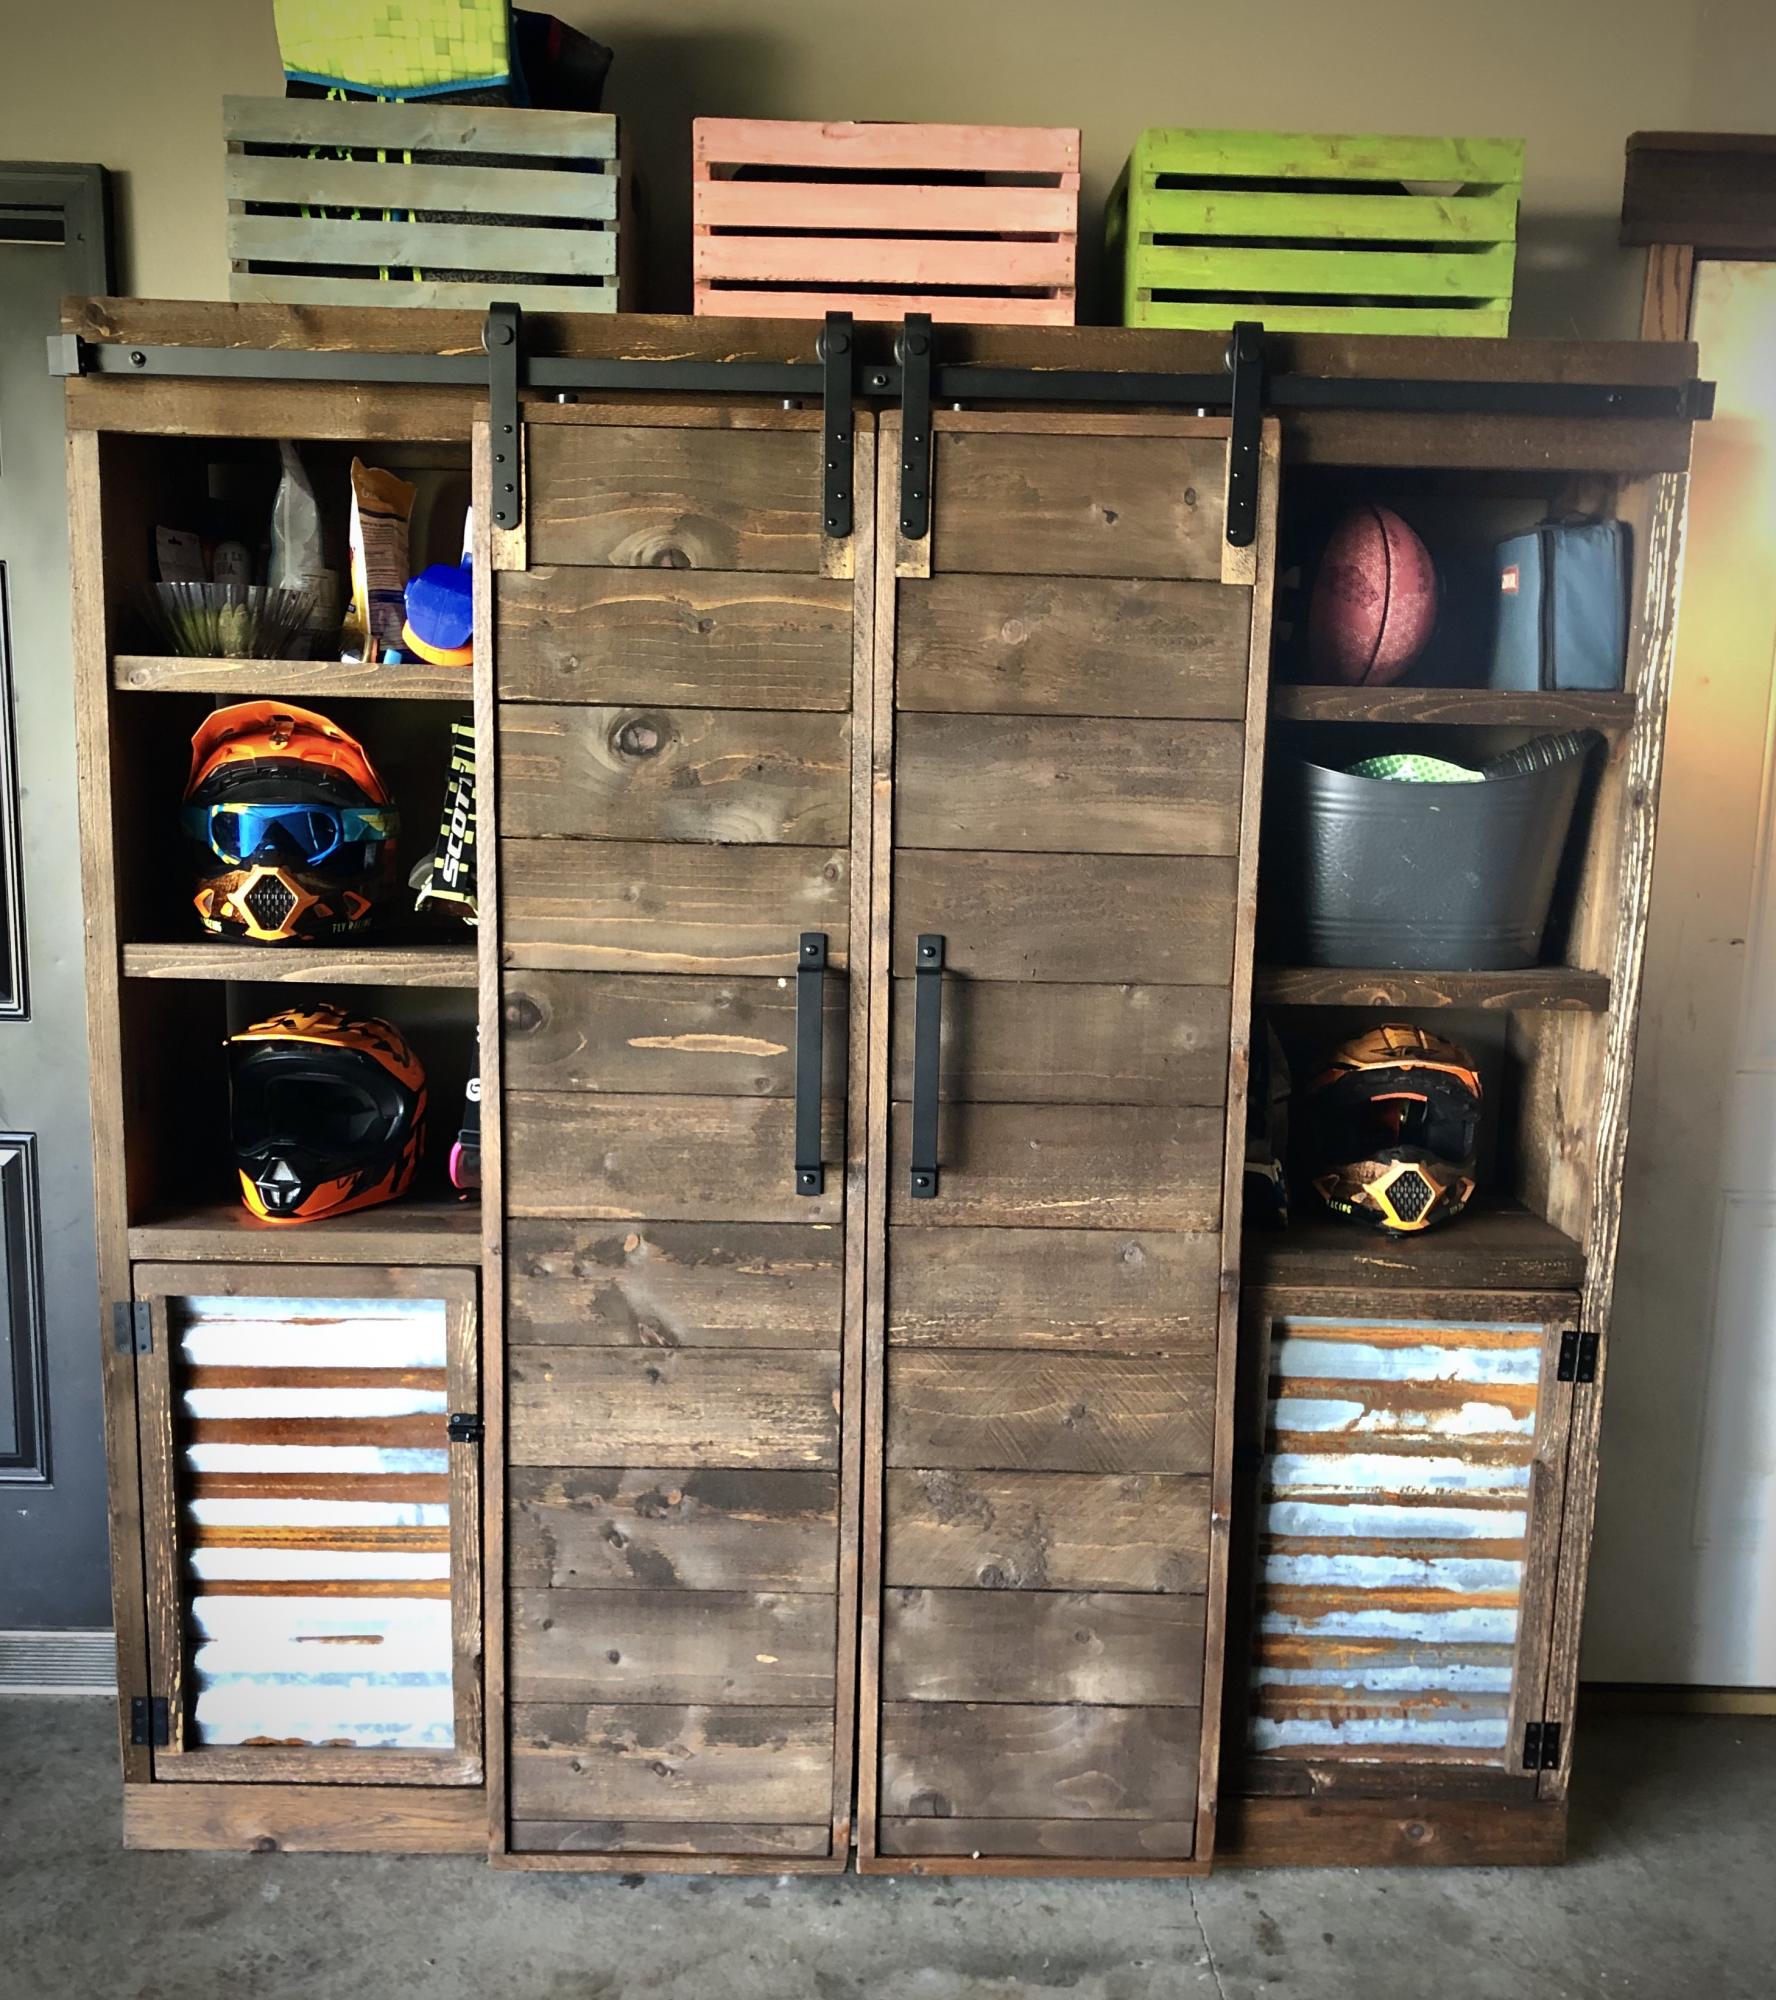
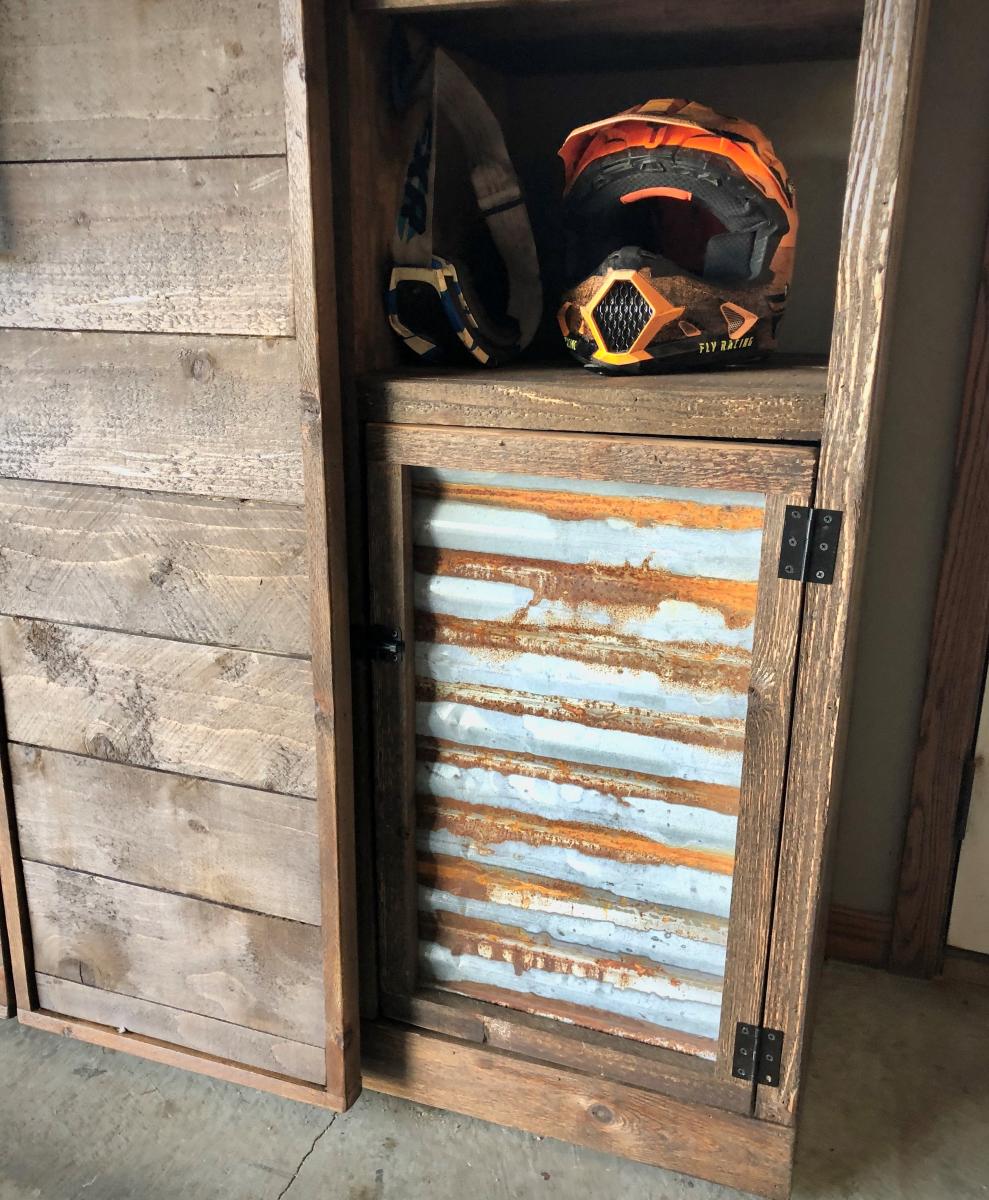
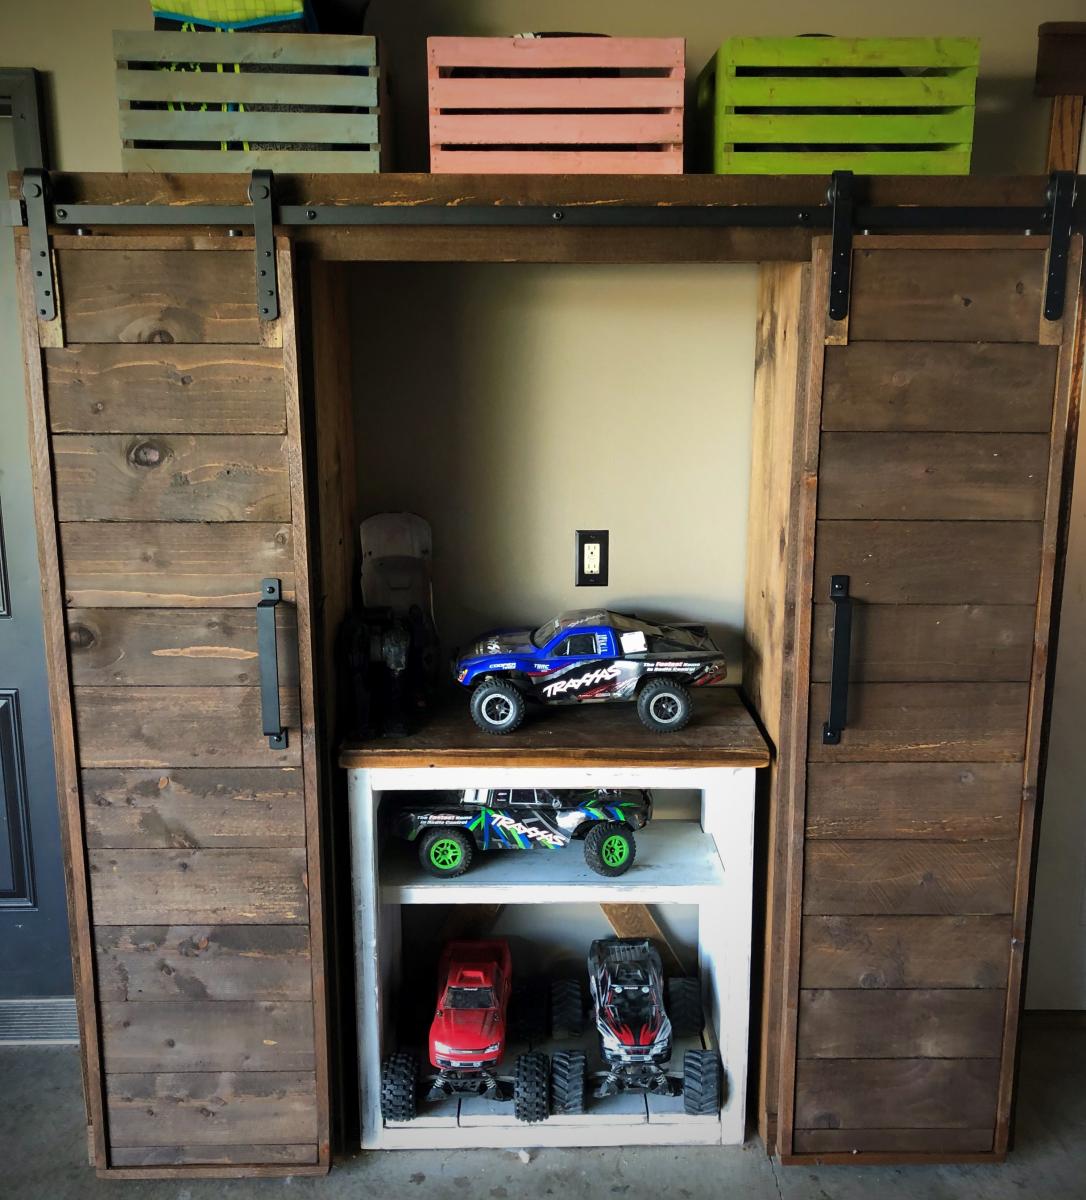
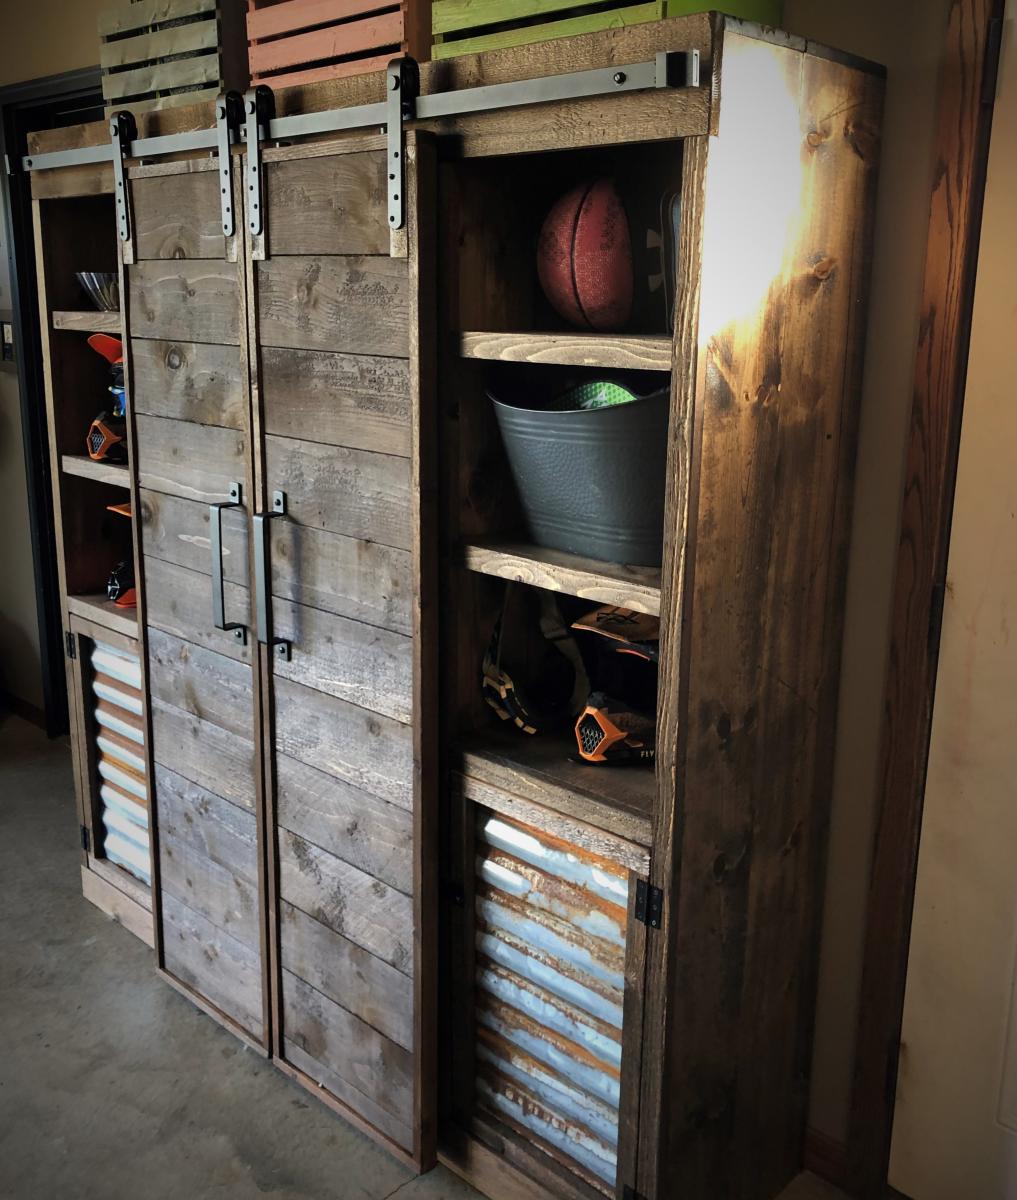
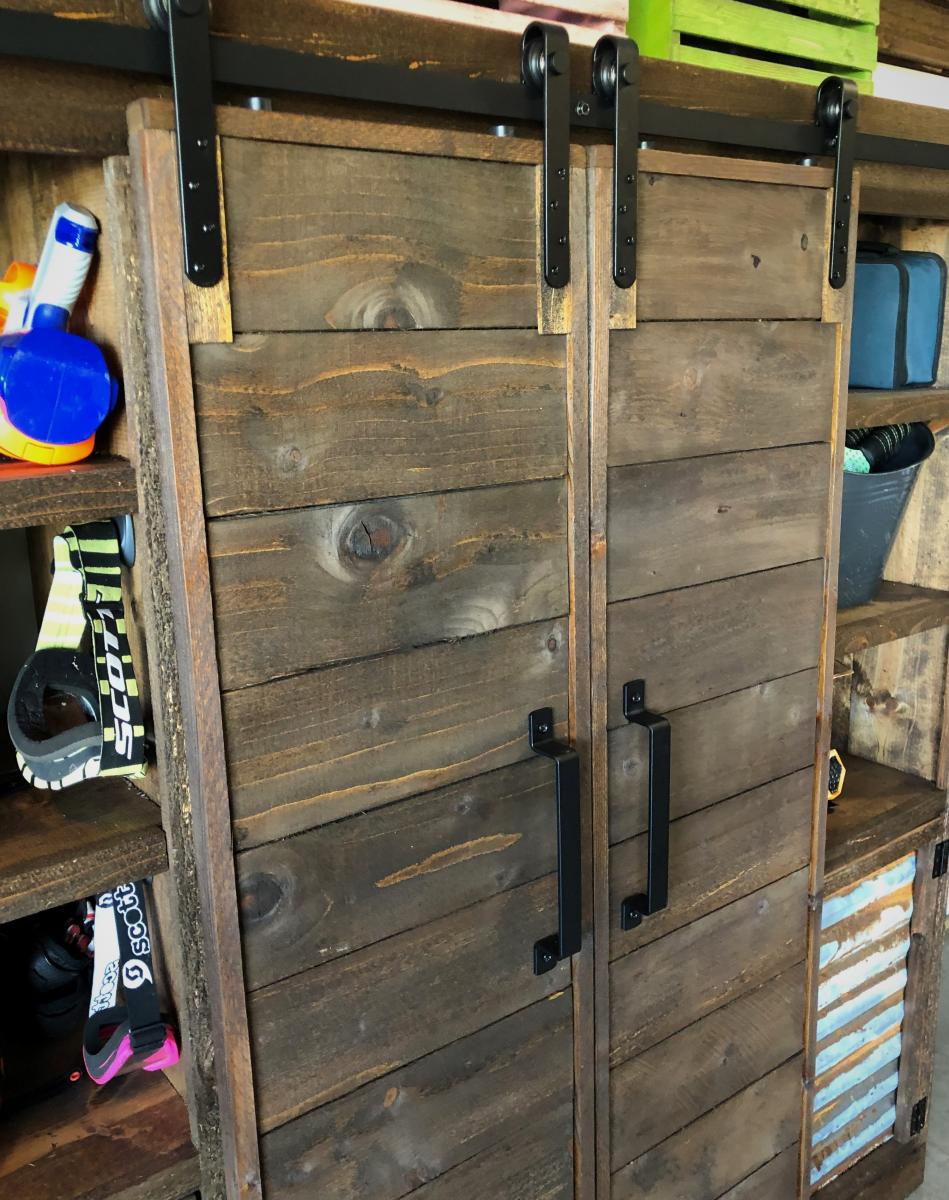
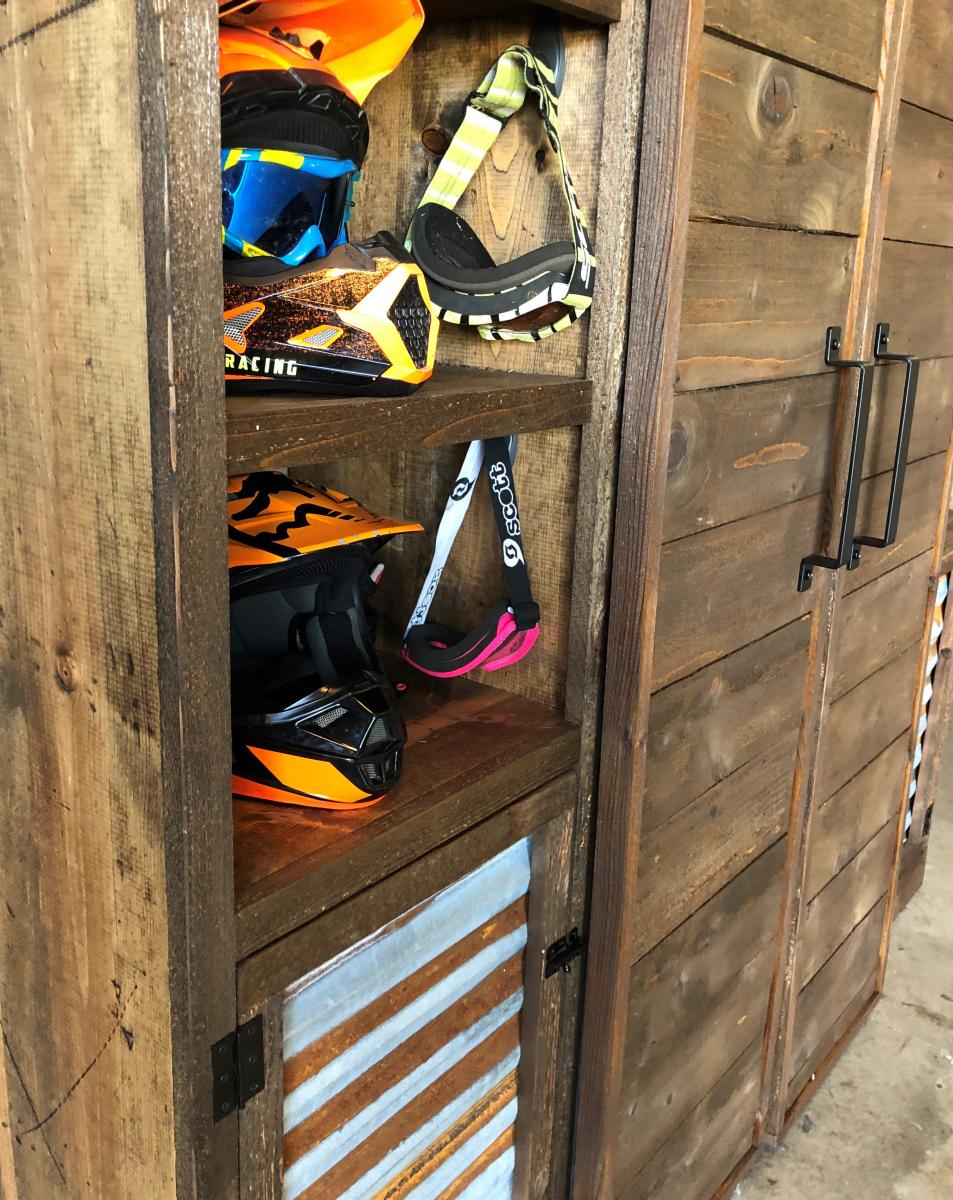
I adapted this build from the Barn Door Entertainment Center plan. Like most families, our storage space needed some major help! We had minimal space to work with and all sorts of awkward things to store (rollerblades, helmets, etc). I measured how deep I needed the shelves to be to fit our helmets and pretty much built around that!
The open shelves are great as they allow easy storage spots for the kids to reach - the doors are great because they allow me to hide the stuff that just never seems to get organized! And the best part? The sliding barn doors! I park next to this thing so not having a swing out door was a major win for me!
I left the center of this piece open so I could fit a stand I already had in our garage, which allowed for a “charging station” for the cars! Our garage is rustic theme so on this piece I went with standard common board for the walls and shelves and built the trim and doors from cedar. The entire piece is stained with Minwax Provincial.
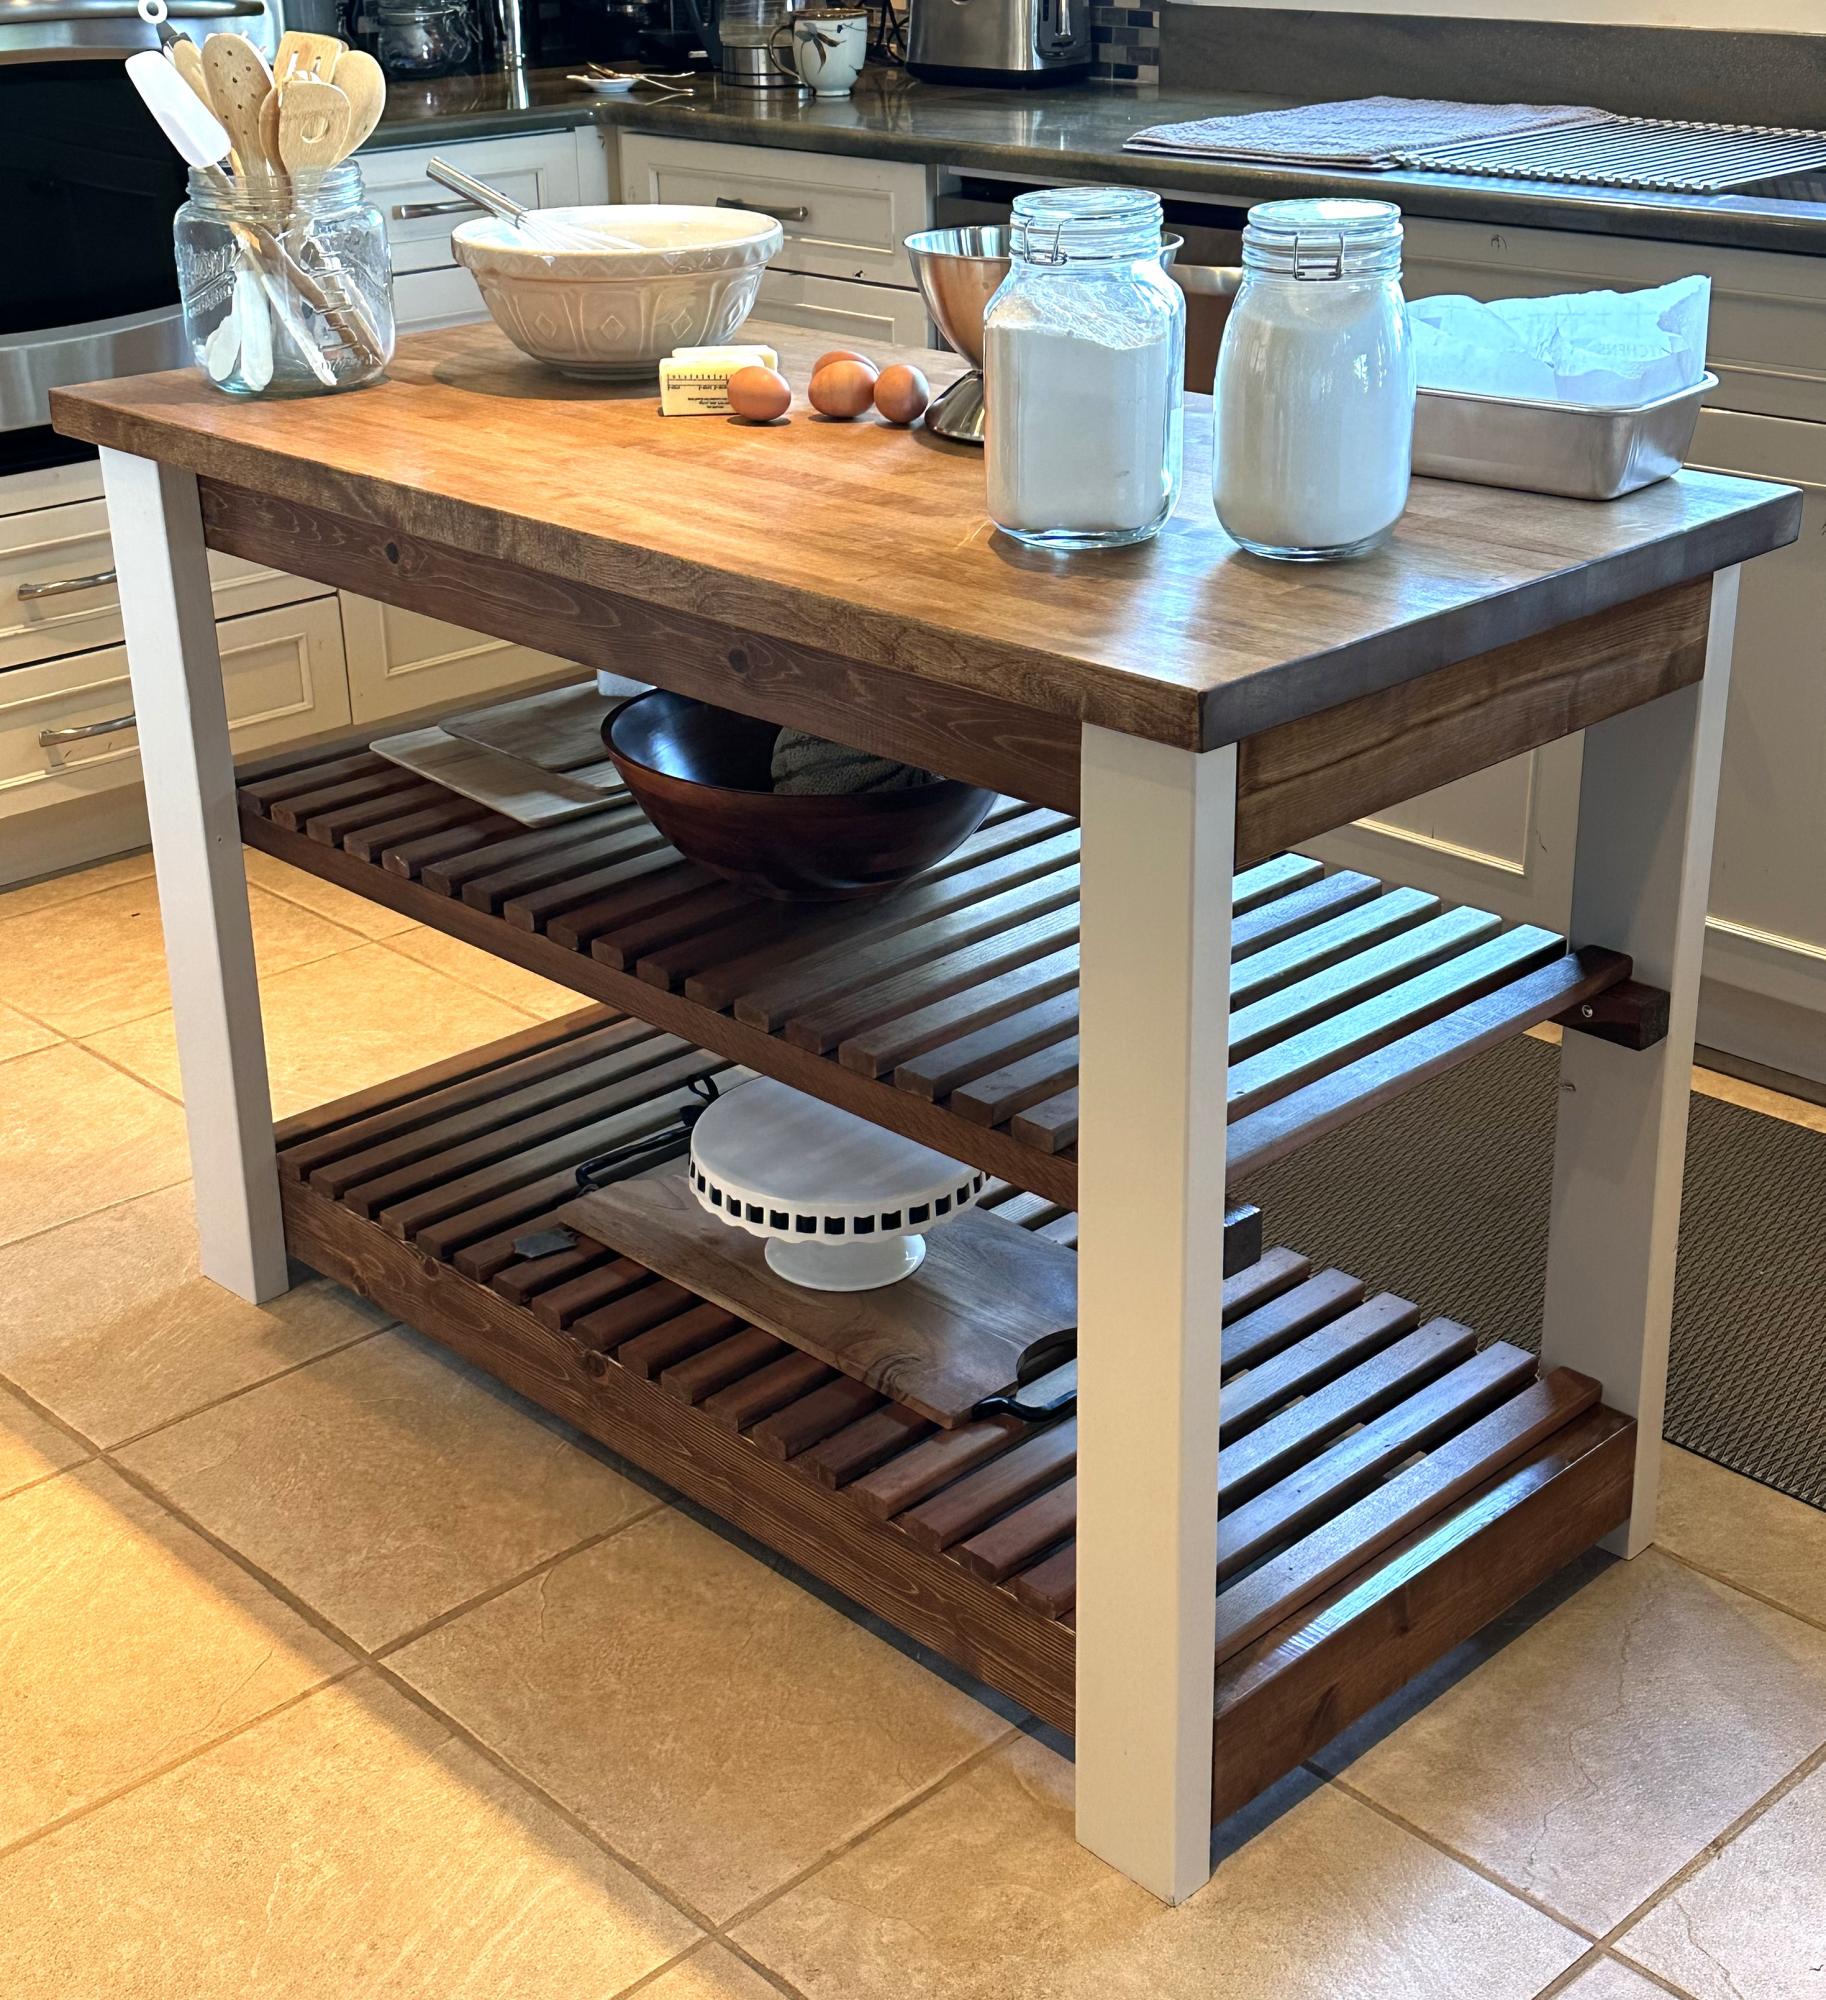
Easy Kitchen Island. This was my first big woodworking project so I bought the top and recycled some old wood. I learnt a lot, it took me about 20hrs to complete including painting and staining. I found the plans easy to follow and I’m super happy with the results.
Anji B
Mon, 11/11/2024 - 08:34
Looks great! I was wondering what stain you used? I love how it turned out!
We used the loftbed plans, http://ana-white.com/2010/05/furniture-plans-loft-bed.html and the bookshelf plans, http://ana-white.com/2010/06/plans/what-goes-under-loft-bed-how-about-b…- then designed our own headboard. The girls love their new room and we're going to build another one for the boys! We just put a platform bed from Ikea underneath!
Sun, 12/30/2012 - 06:39
i want to build this project for my daughter, but the link for the bookcase is a dead link. where can i find the bookshelf plans? i plan on making the loft be a full size, so will be adding 15" to my project. thank you!
Colin needed a bed for his room to upgrade from his toddler bed. I new immediately I was going to use plans from Anna's site! Building the bed was extremely easy with the new tools that I received for my birthday. This was my first time staining anything so that took the longest time for this project. It is my second thing that I have built from Anna's awesome website!


Fri, 02/21/2014 - 17:19
Thank you! I'm getting ready to post my second project now! I love her site!
Thu, 03/06/2014 - 07:00
Did you use a kreg jig and attach 4x4 legs via pocket holes? I don't see any screws... trying to decide how to best attach everything before taking on this project. Thanks!!
Thu, 03/06/2014 - 07:00
Did you use a kreg jig and attach 4x4 legs via pocket holes? I don't see any screws... trying to decide how to best attach everything before taking on this project. Thanks!!
Thu, 03/06/2014 - 20:16
Yes. I used the kreg jig and created pocket holes that screwed into the 4x4. I used the correct size when drilling the holes but I may have used the next size up in the screw length for extra support. The bed gets plenty of use between my 7 and 5 year old and is one solid piece of furniture.
This was a really easy build and has brought much needed order to my little one's stuffed animal collection.
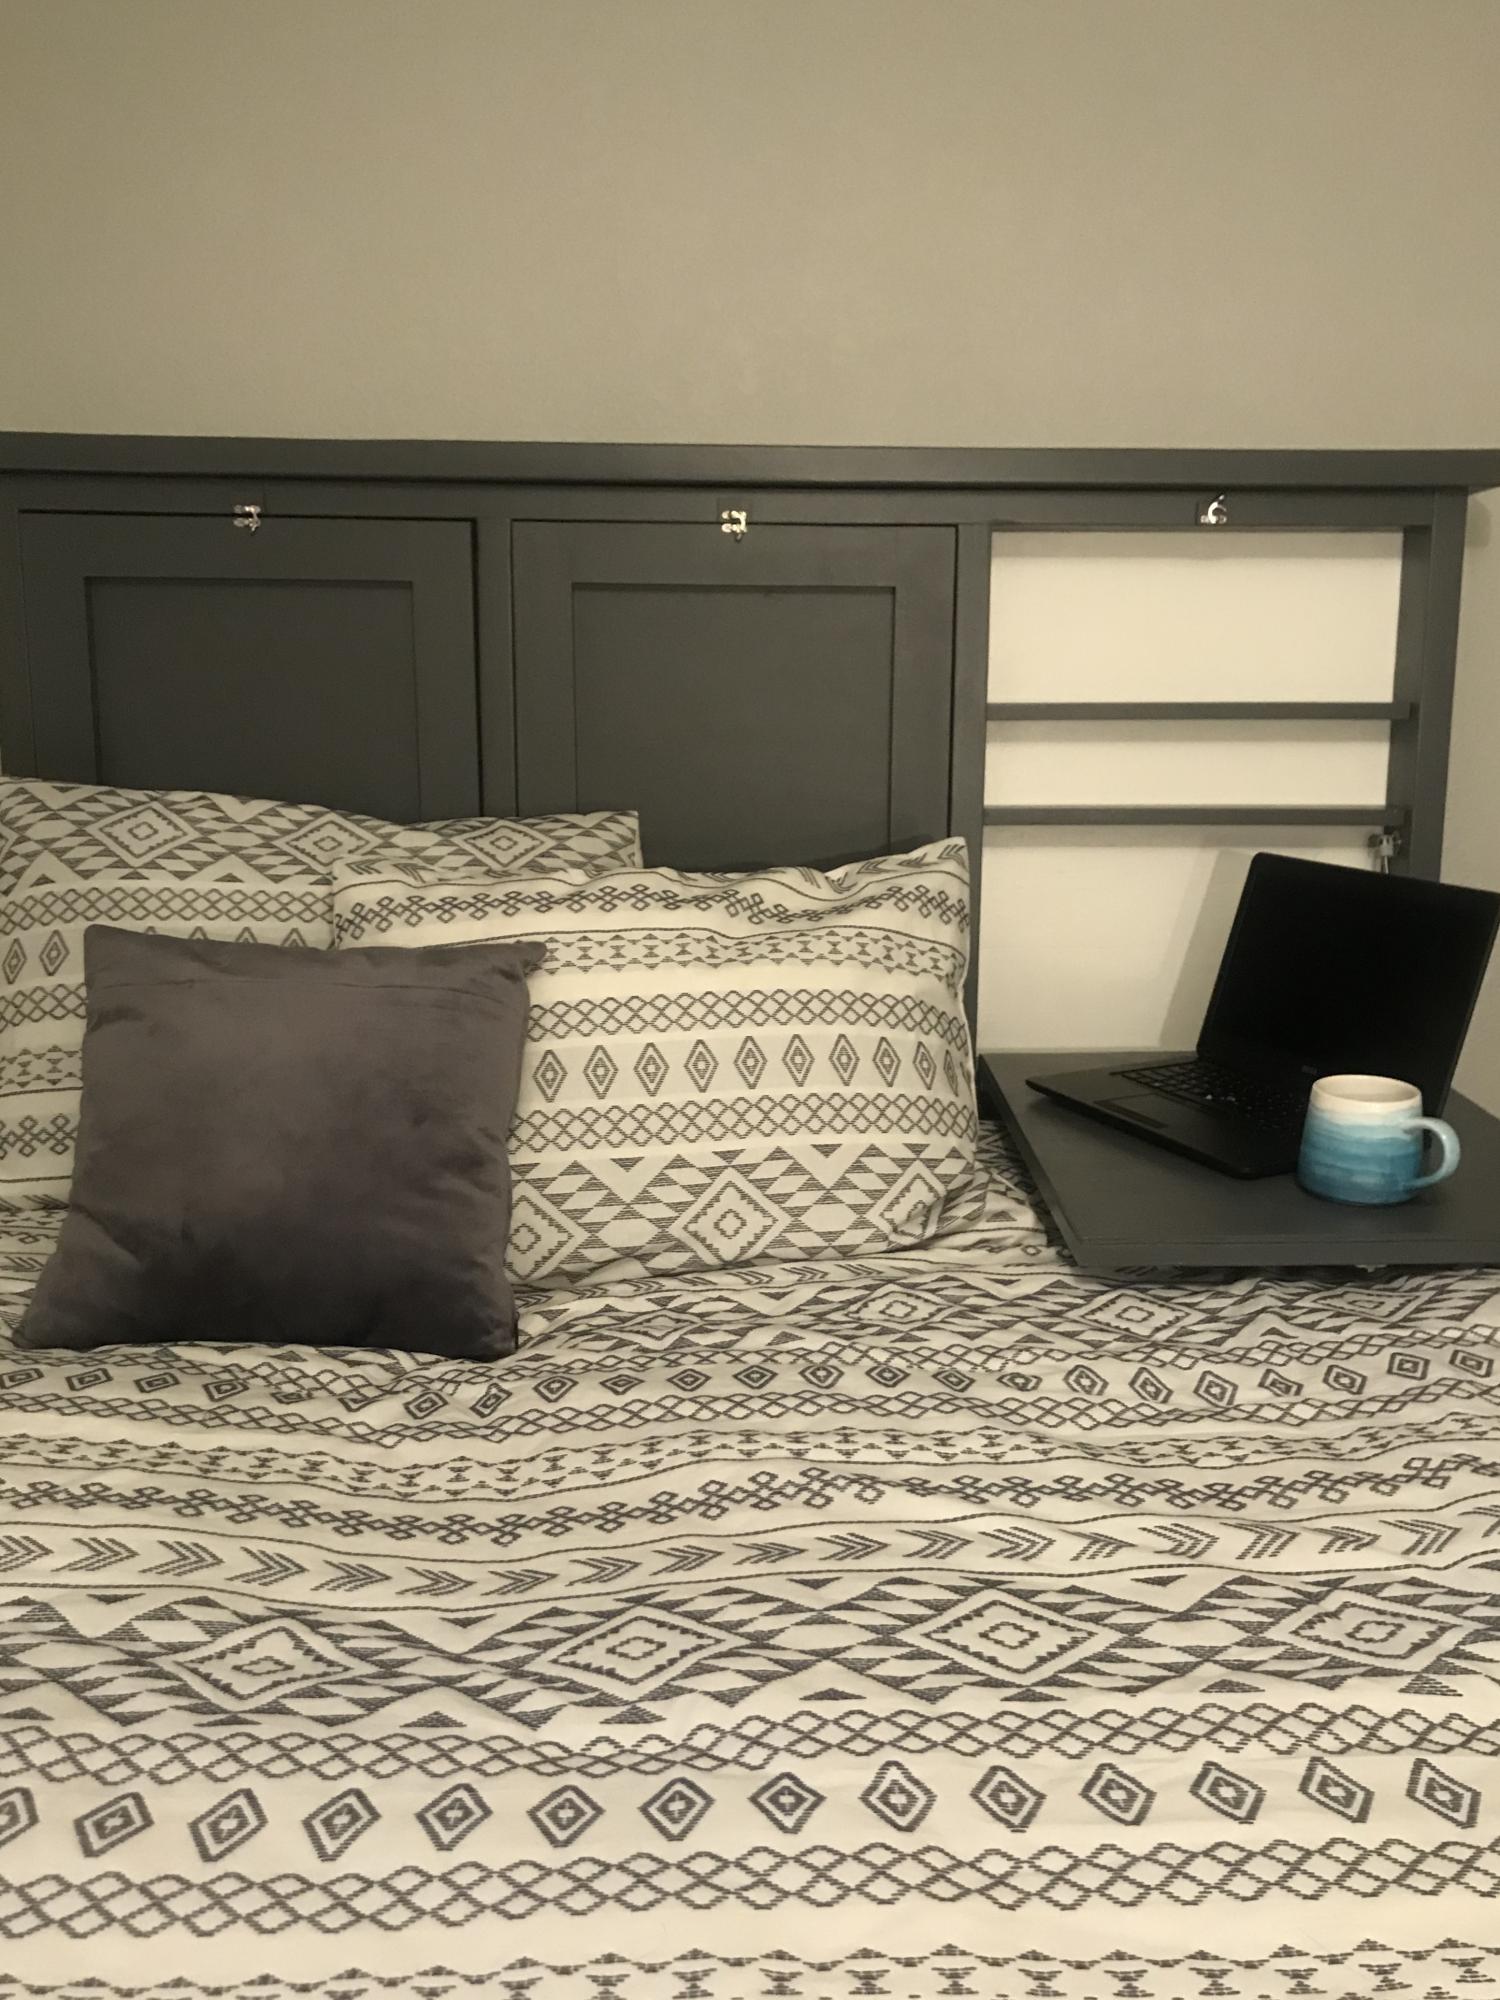
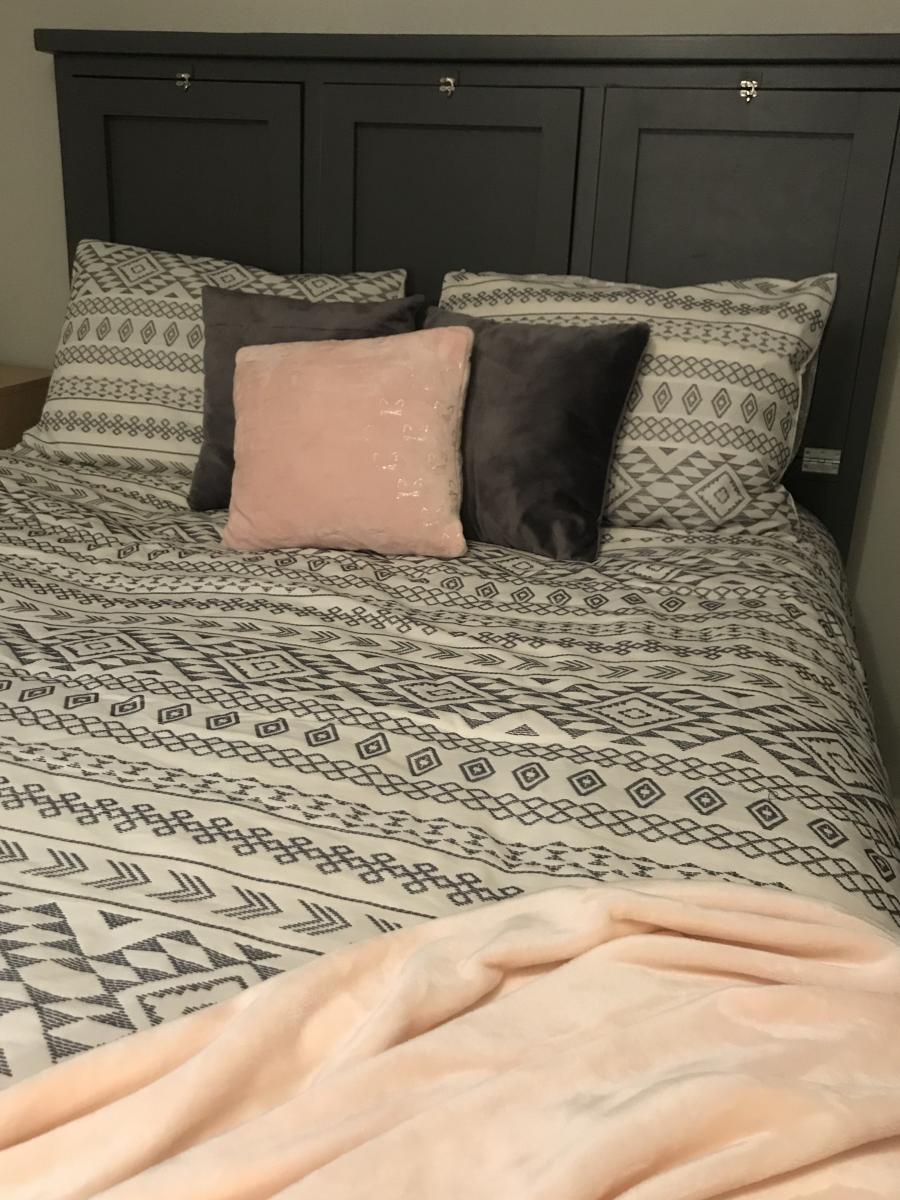
I first saw this headboard on Ana White's Instagram and loved the idea! I took a screen shot so I would remember it later. One day my daughter was flipping through the photos on my phone and saw this screen shot. We were about to move to a new house and she wanted me to make this headboard for her new room. She is 11 years old and loves to play games on her laptop with her friends so this was perfect for her. Within a month of moving into the new house I started to build this piece. It took me a couple weeks to finish since I have three kids and was also trying to unpack our entire house but I love the finished product! My daughter really loves it too!

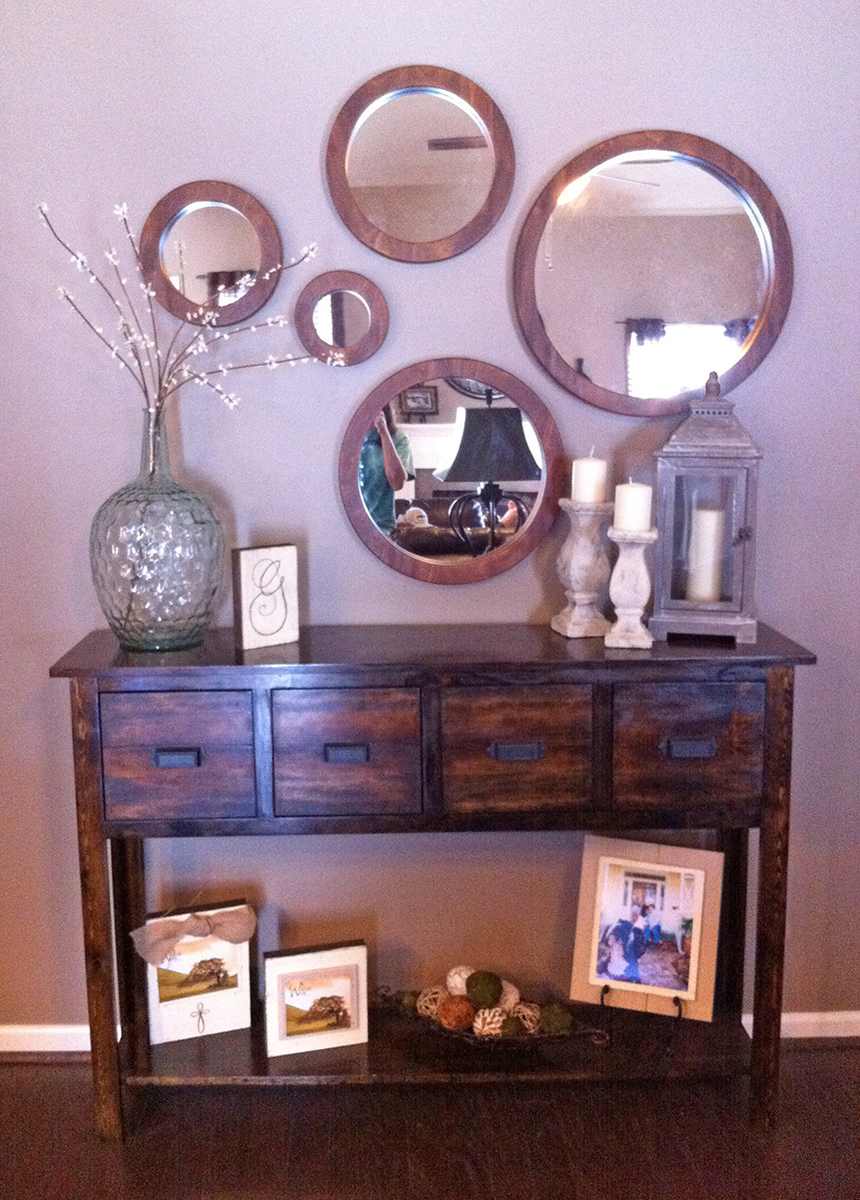
I loved the Balin Console Table plan, so my husband and myself decided to try it as our first project. We adjusted the height to 42" and we added a bottom shelf. I am so happy with the way it turned out. I have received many complements.
The mirrors were made by my father, I have to brag on him since he did such an amazing job! I show him Viva Terra's porthole mirrors collection and he re-created them with Teak wood.
Thu, 02/16/2012 - 11:49
This table is on my to-do list also. You did a fantastic job on it. I can only hope mine will turn out that nice.
Fri, 02/17/2012 - 11:36
magnifique.Il faut vraiment que je m'y met. Bise Isabelle

Thanks for the idea. I added a couple extras and figured I'd post them in case it helped anyone. Fun project!


Wed, 12/25/2013 - 04:48
This is soooo cool! The details and additions are fab!
Merry Christmas!
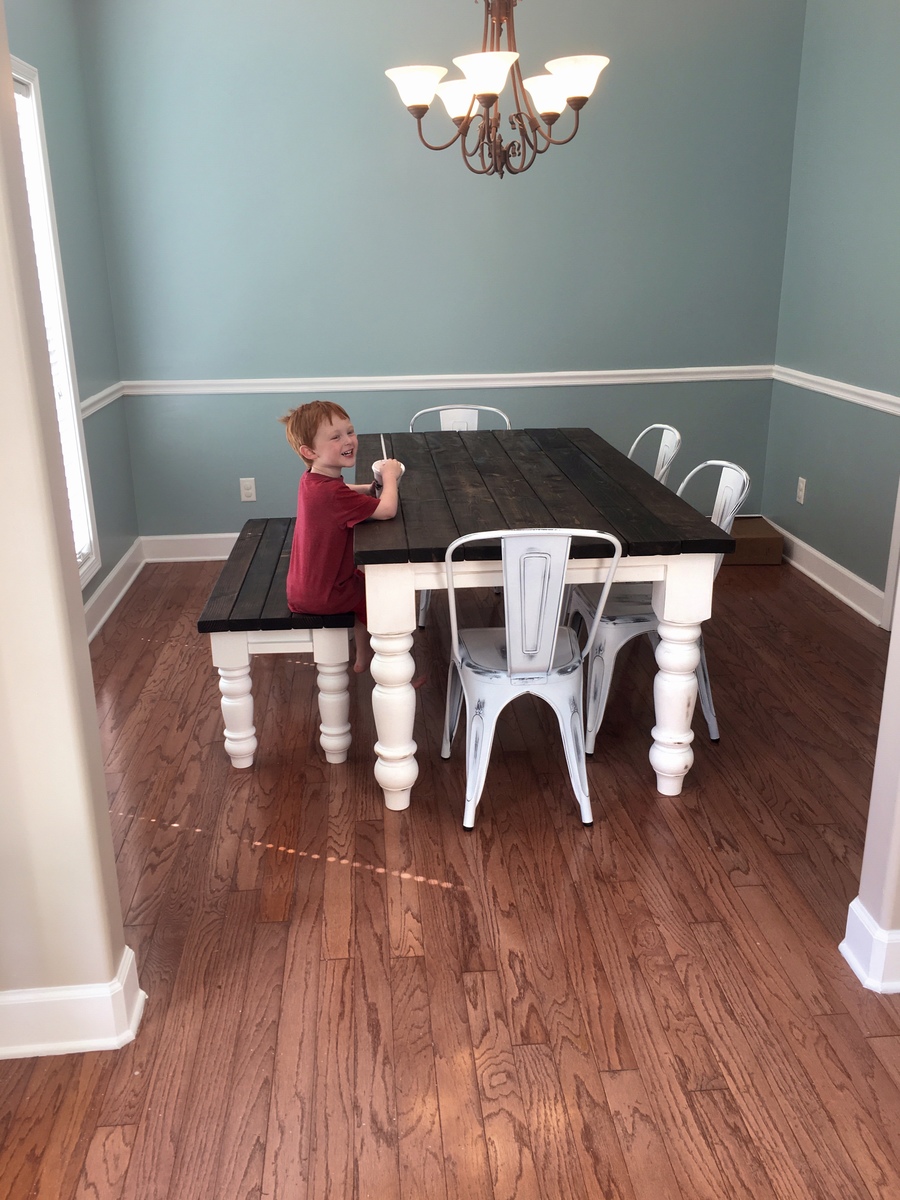
I used the Husky Dining room table plans to build this table. I also modified the plans to make a bench as well. This was a very east build and turned out gorgrous!! Thanks Ana!!
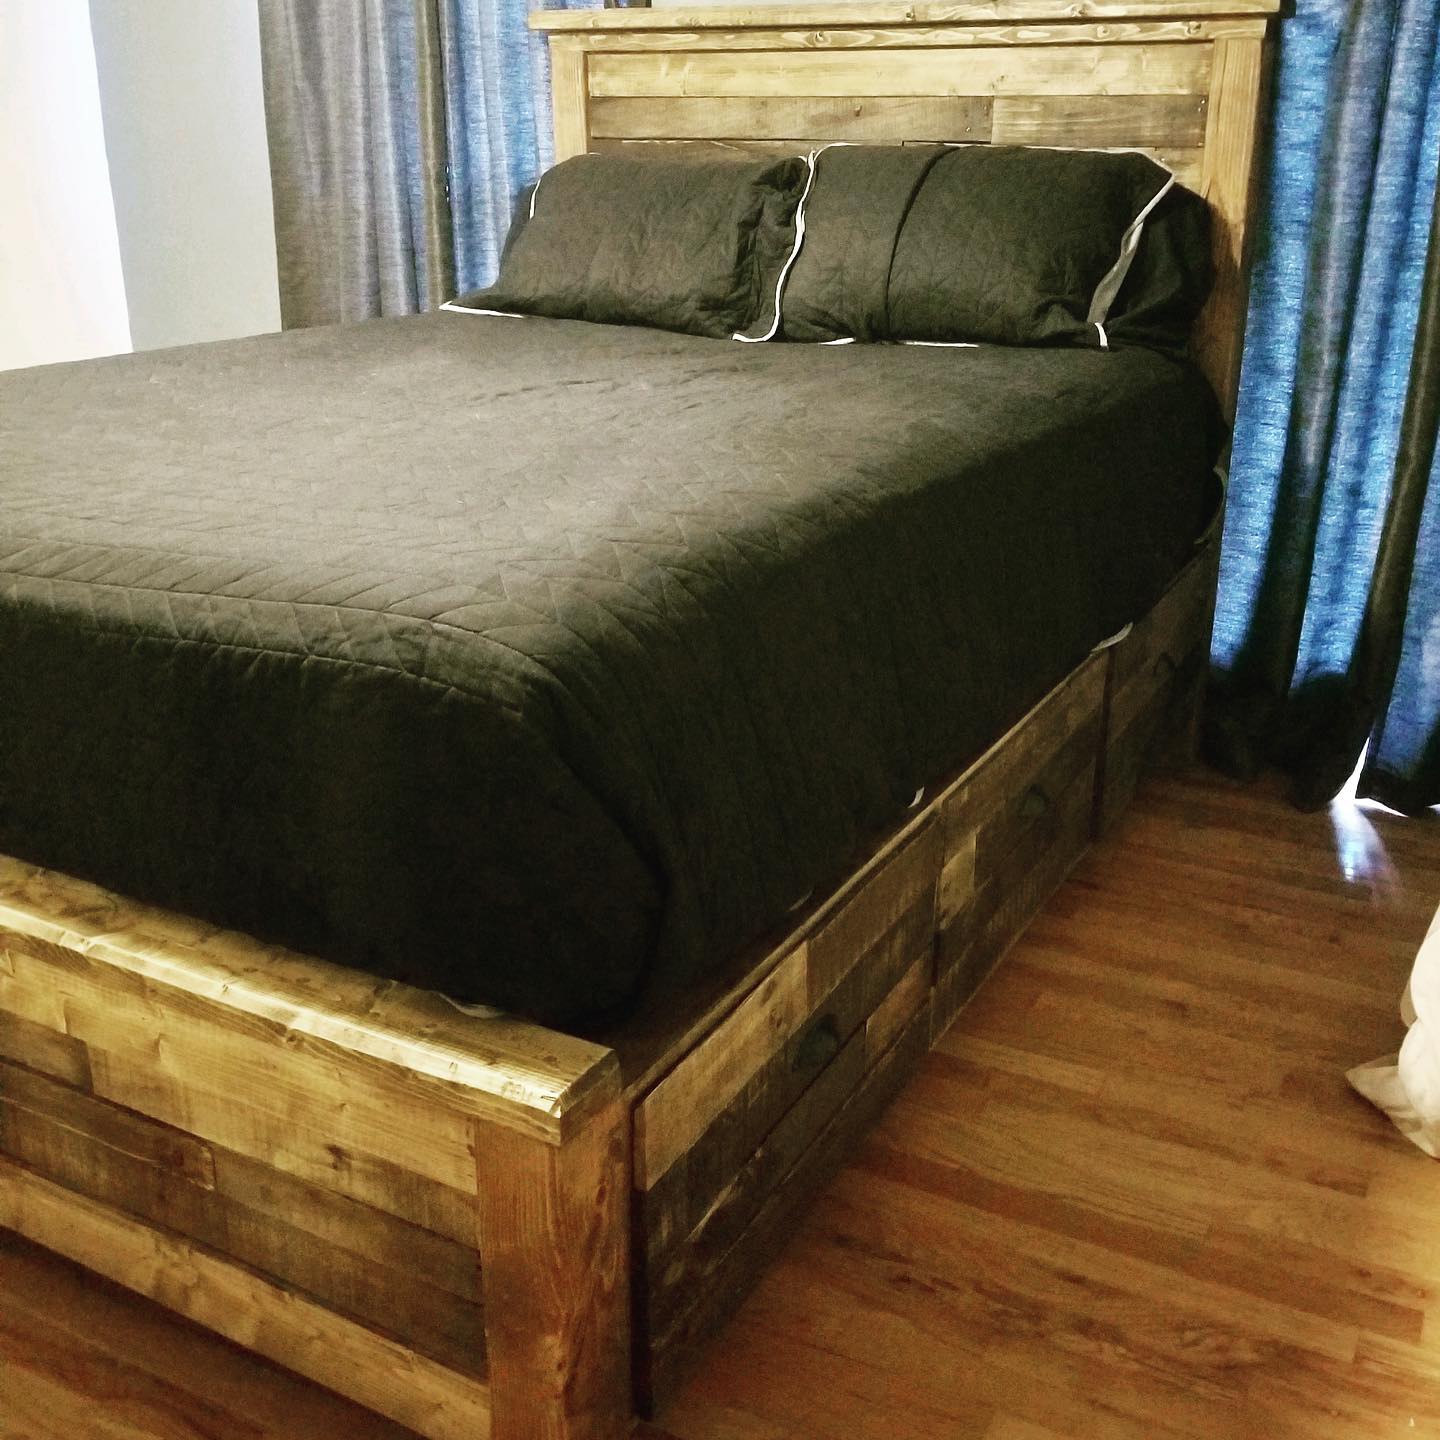
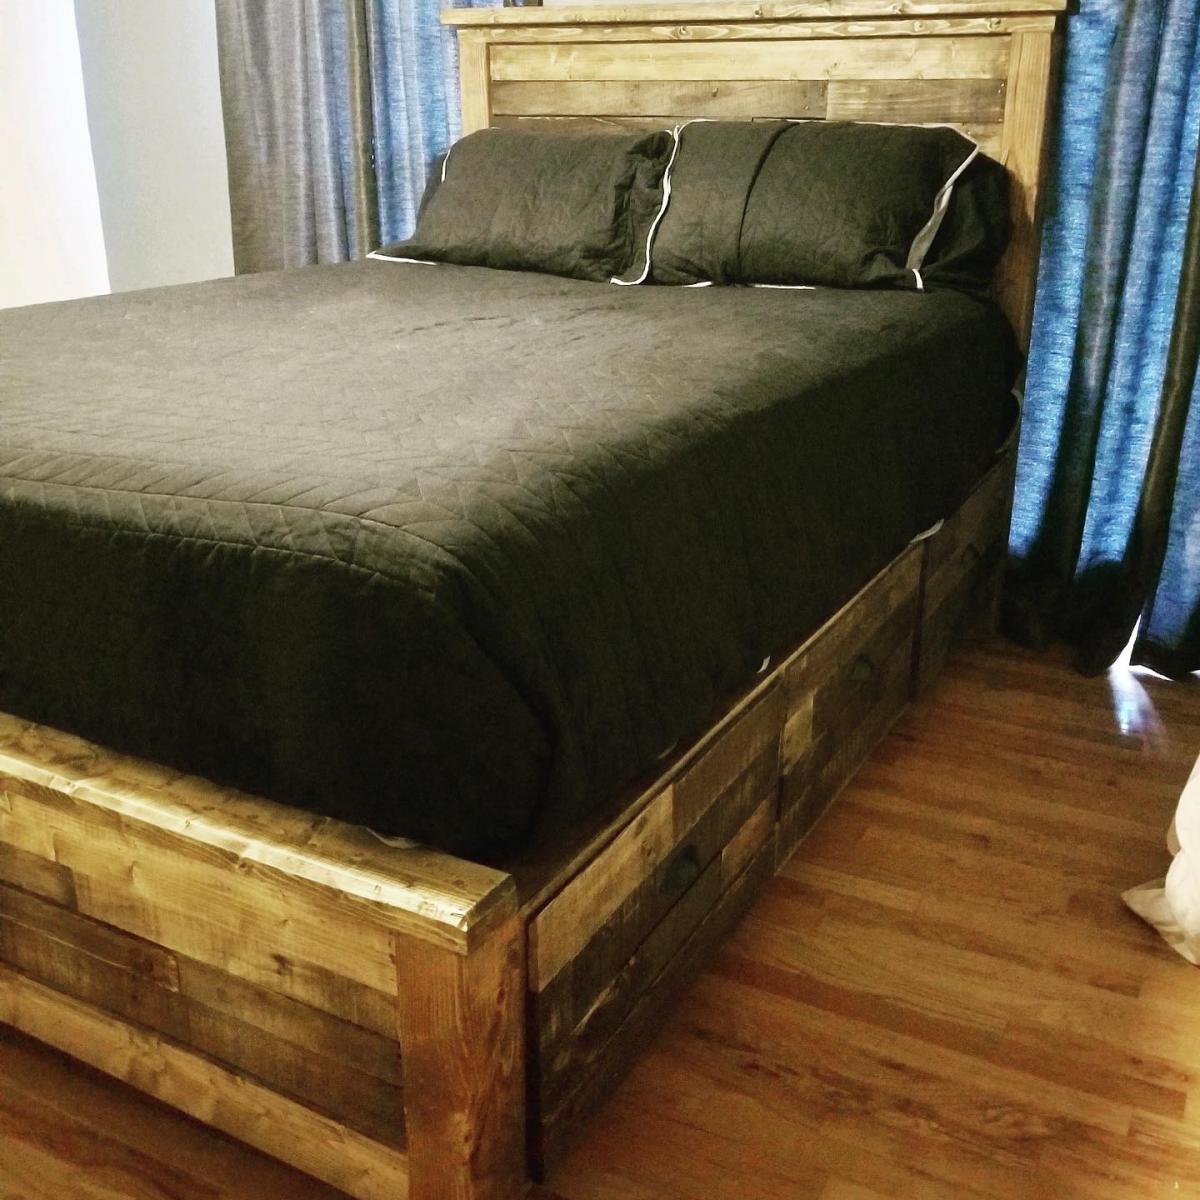
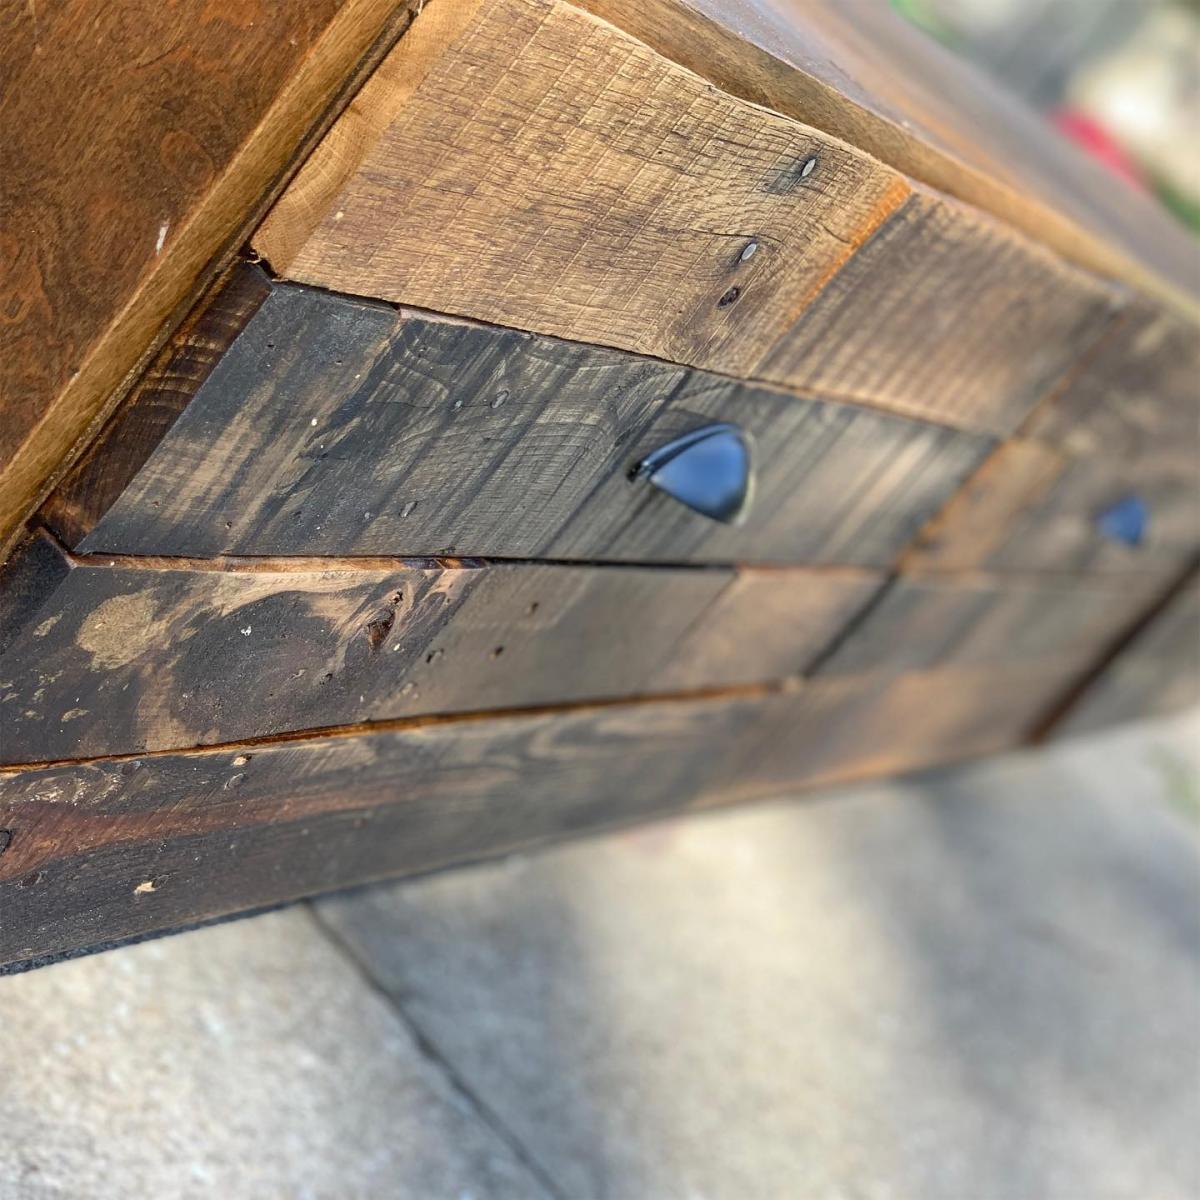
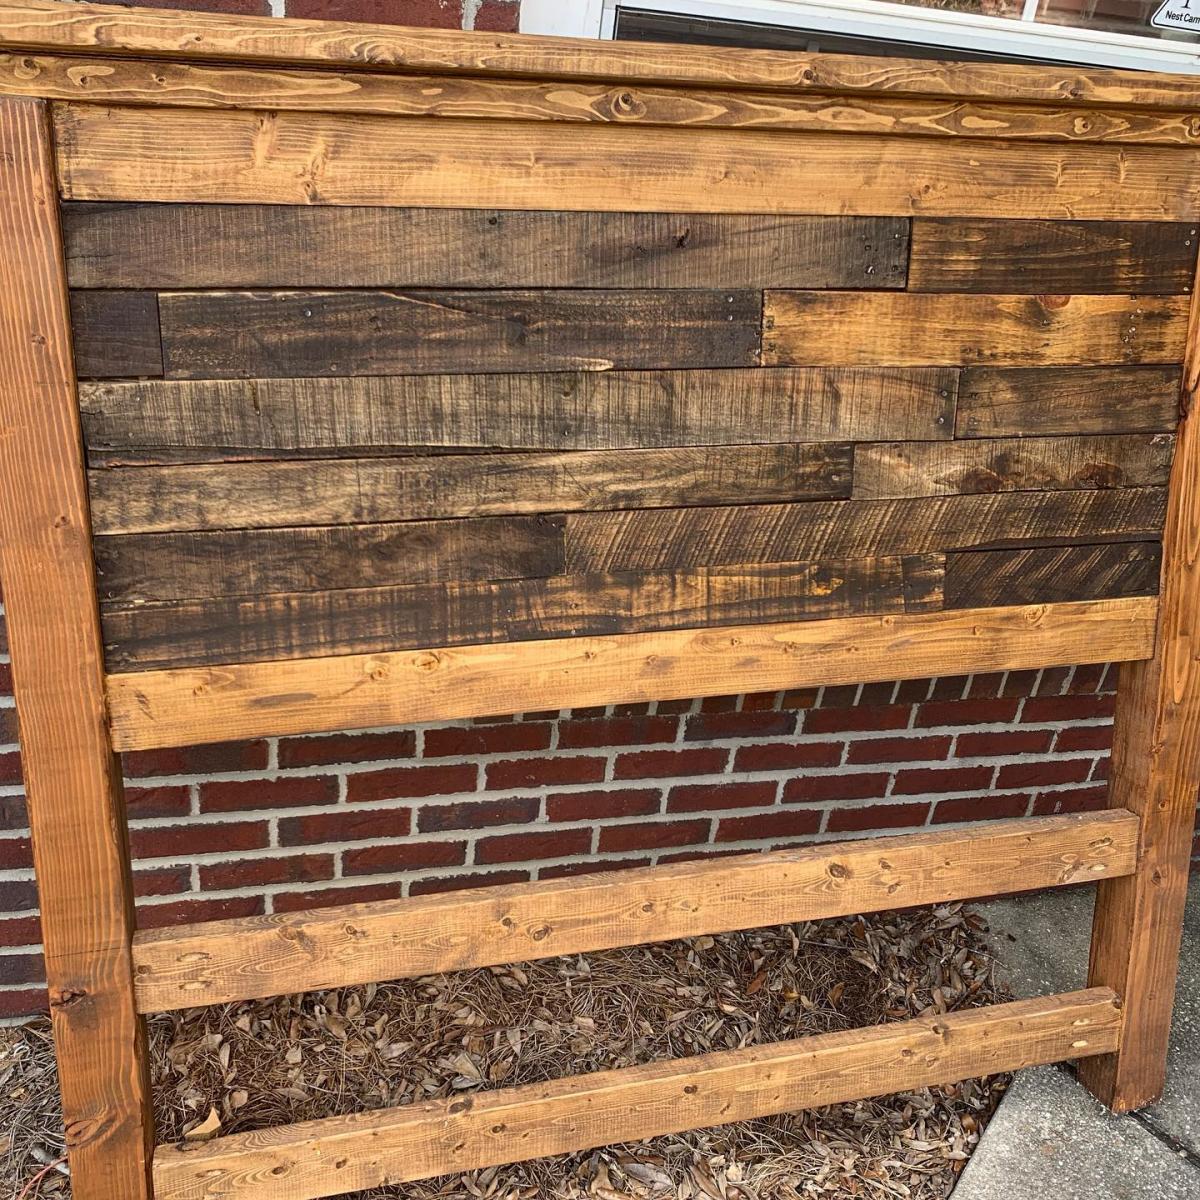
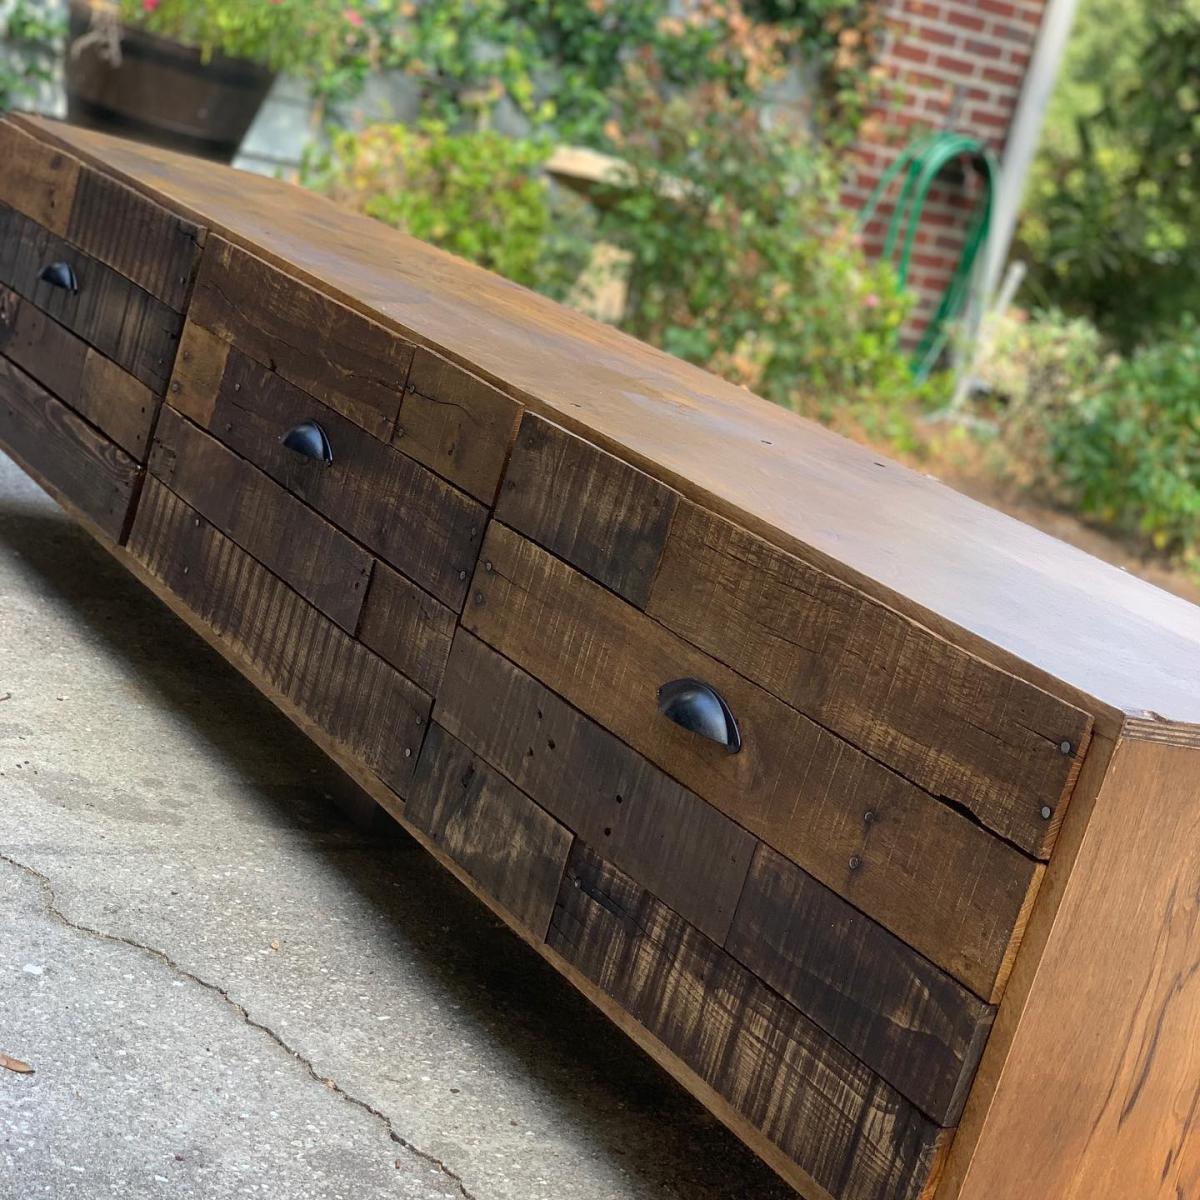
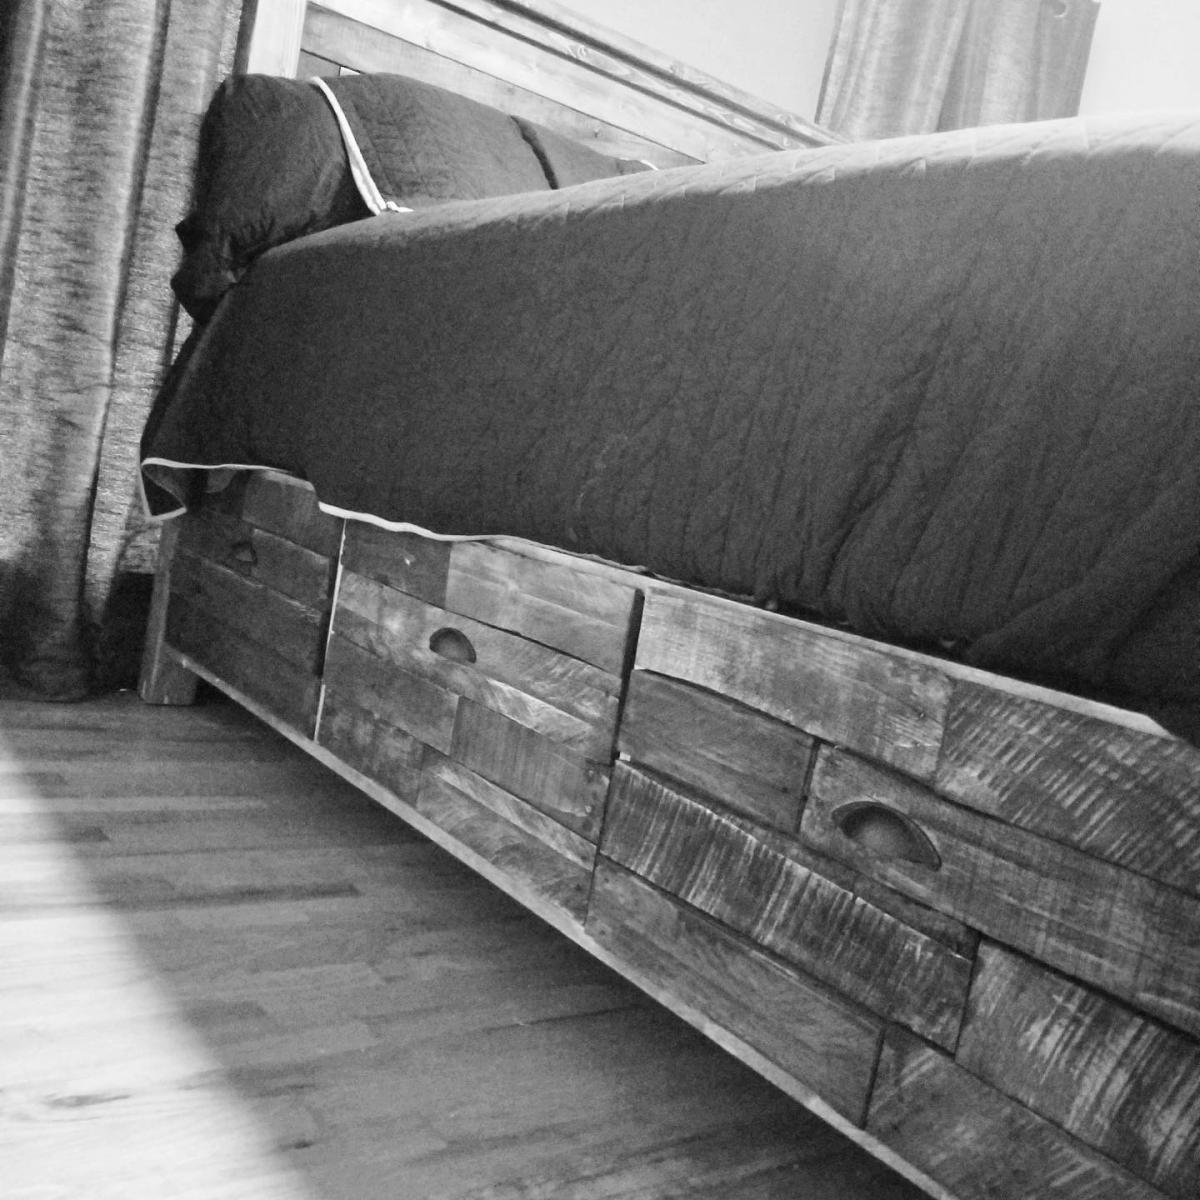
This piece was one I recently created for a customer using the plans provided in the Queen Storage Bed with Drawers from Anna's site. It was created using 3/4" birch plywood and 3/4" pine common board.
I chose to cut dado's when building the boxes for stability's sake. I was able to leave out much of the construction screws by using strong, but relativity simple joinery techniques with dado's and rabbets.
The piece's drawer fronts were then veneered with pallet wood to lay flush with the drawer faces, and hardware installed on top of that. The headboard and footboard were both then stained using a Varathane, Minwax (water-based), and General Finishes to create the various tones in the pallet veneer to create a complimentary uniform look to the drawer faces.
The other variation in this bed was that I used Threaded inserts and hex bolts so that the head and footboard could be removed multiple times for transport without damaging screw holes.
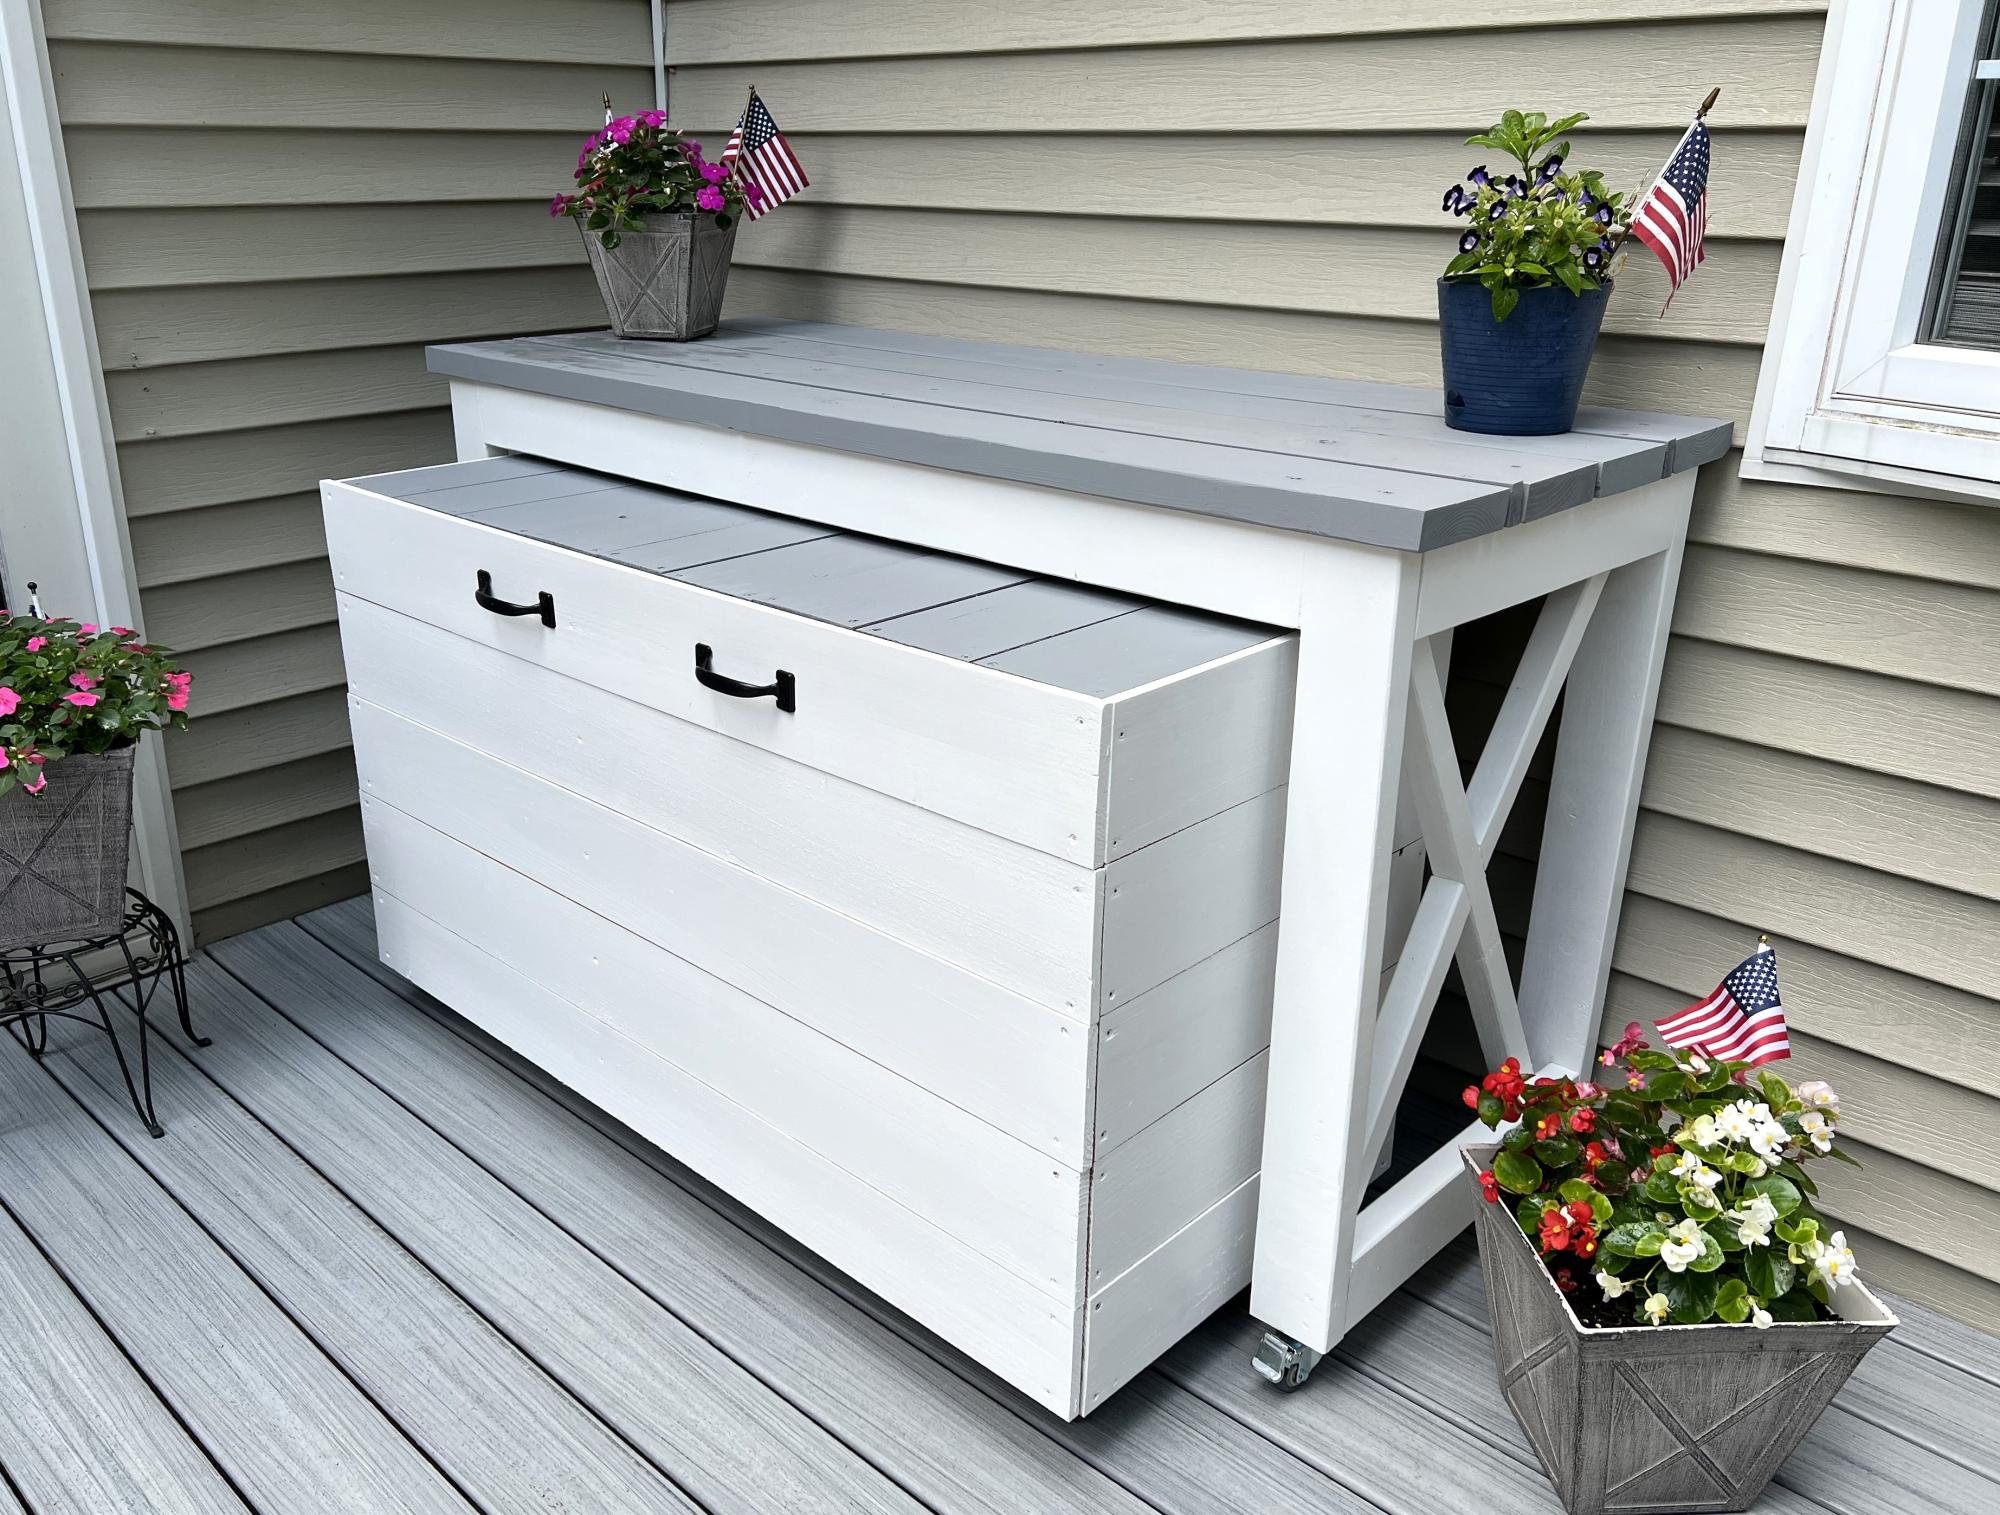
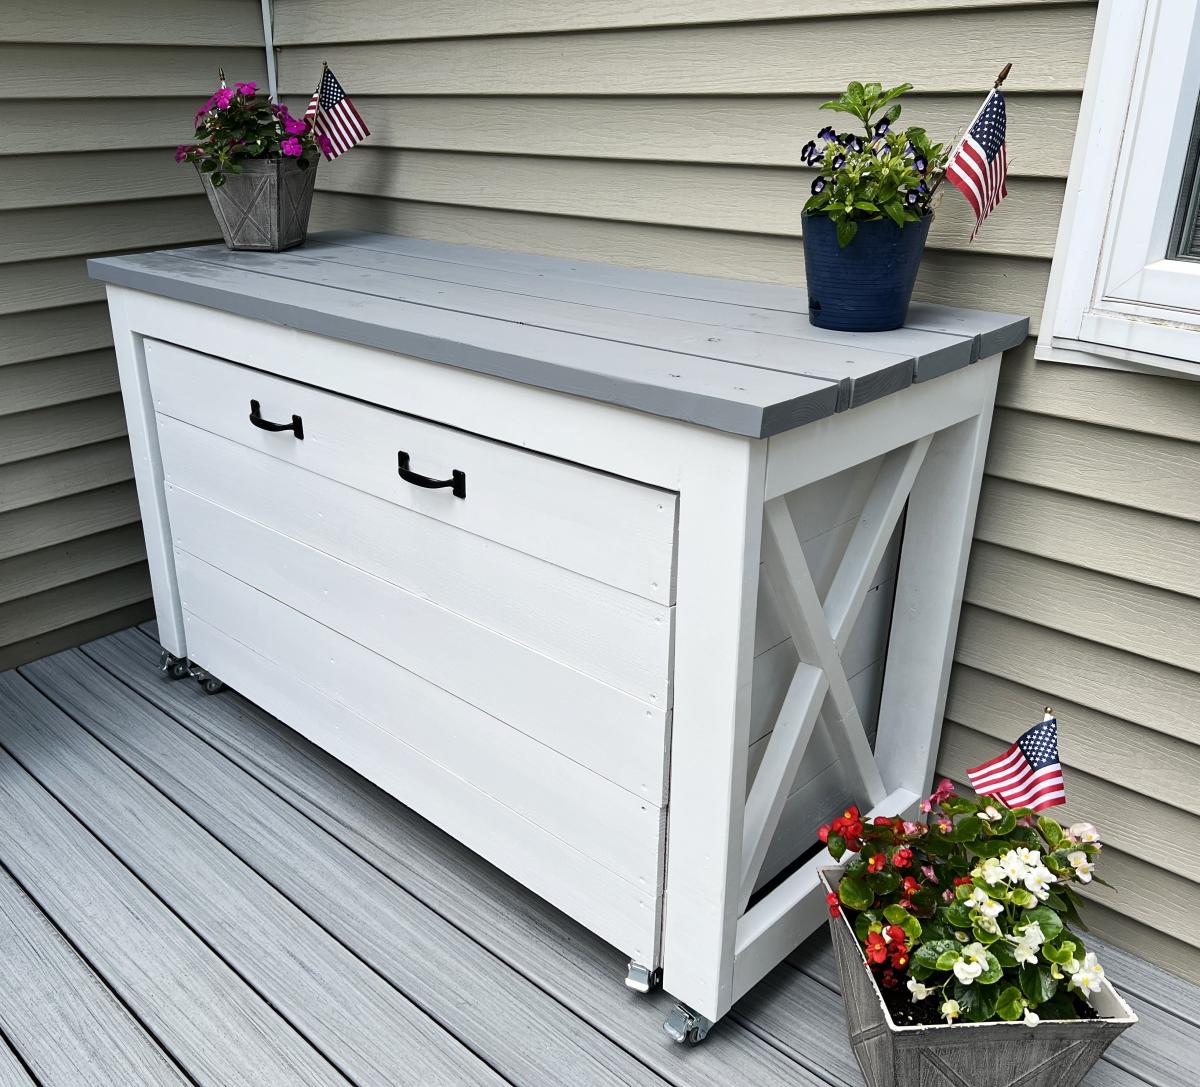
Built the nested grill station just in time for the 4th. So much fun building this, thanks Ana so much for the inspiration! Chris
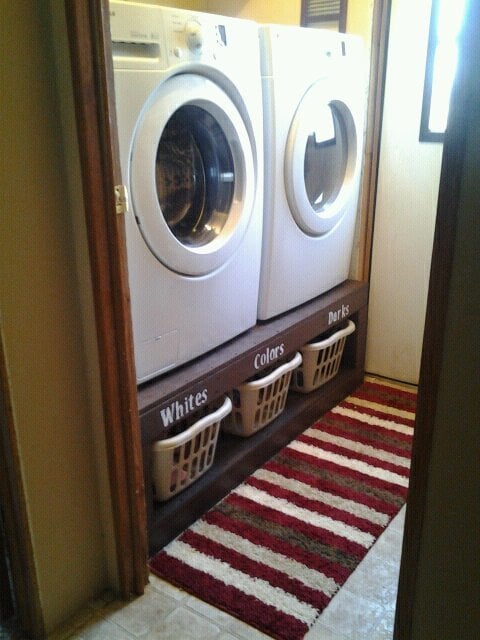
This was one heck of a project LOL! But I am so pleased with the results!!
Wed, 02/29/2012 - 13:34
It looks awesome. I really like the built in look!!!
Mon, 07/23/2012 - 19:37
My husband just built us one of these for our laundry room, take a look!!
http://glamorousbride.blogspot.com/2012/07/making-most-of-your-space-la…
- Fotini
Mon, 07/23/2012 - 19:38
My husband just made us one of these!! Take a look :)
http://glamorousbride.blogspot.com/2012/07/making-most-of-your-space-la…
- Fotini
Mon, 09/03/2012 - 15:06
This excites me!! :) Such a great idea - practical, and yet pretty!
Sun, 09/23/2012 - 08:03
My washer will shake on the metal pedestals. Will it shake on this one?
Mon, 12/31/2012 - 19:01
My husband just finished one similar to this for me today-total cost about $65.....Thank you for the fabulous & frugal idea!!
Wed, 06/19/2013 - 11:33
Do you have the plans posted for the washer dryer pedestals?
Sat, 11/07/2015 - 07:47
Please help me find out where to get plan specifics, new here
Sat, 11/07/2015 - 10:54
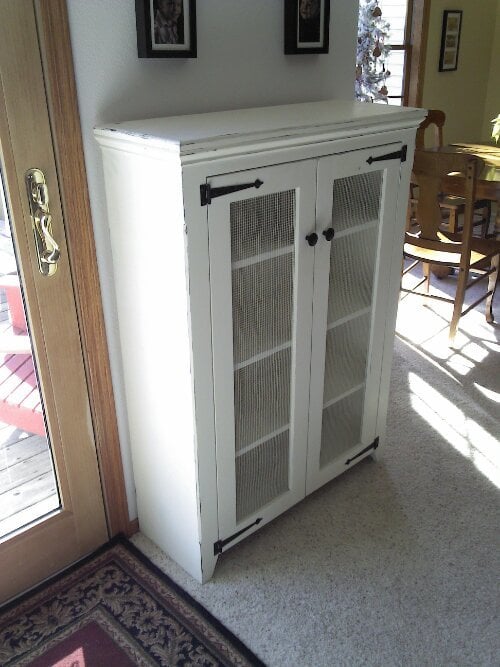
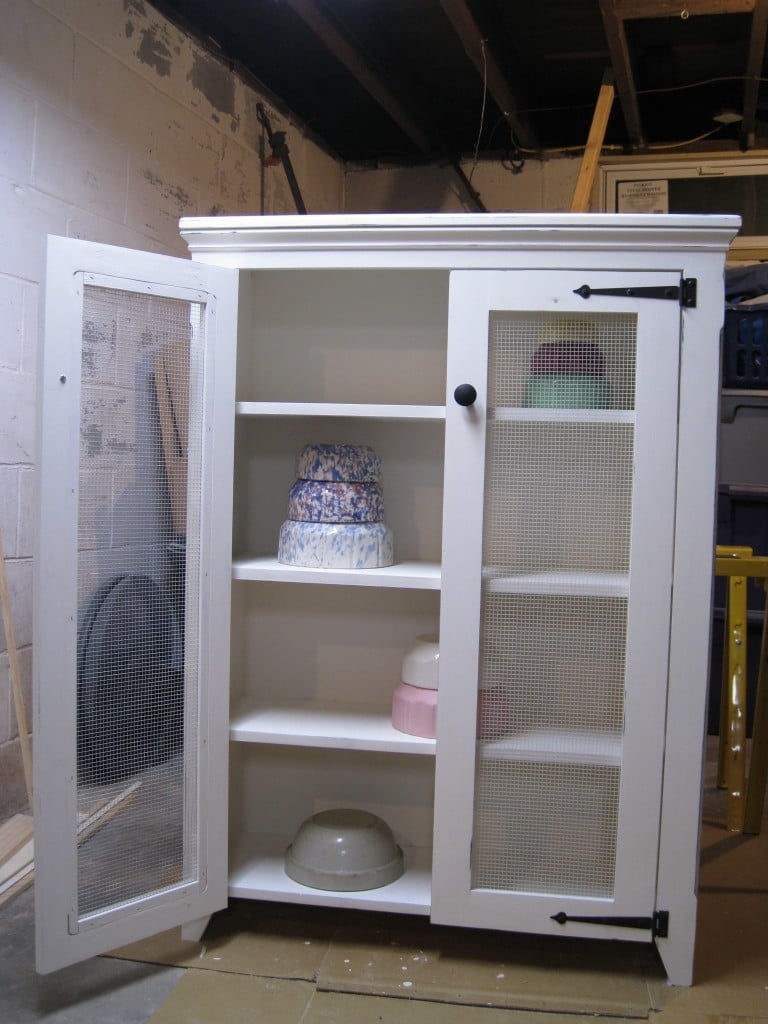
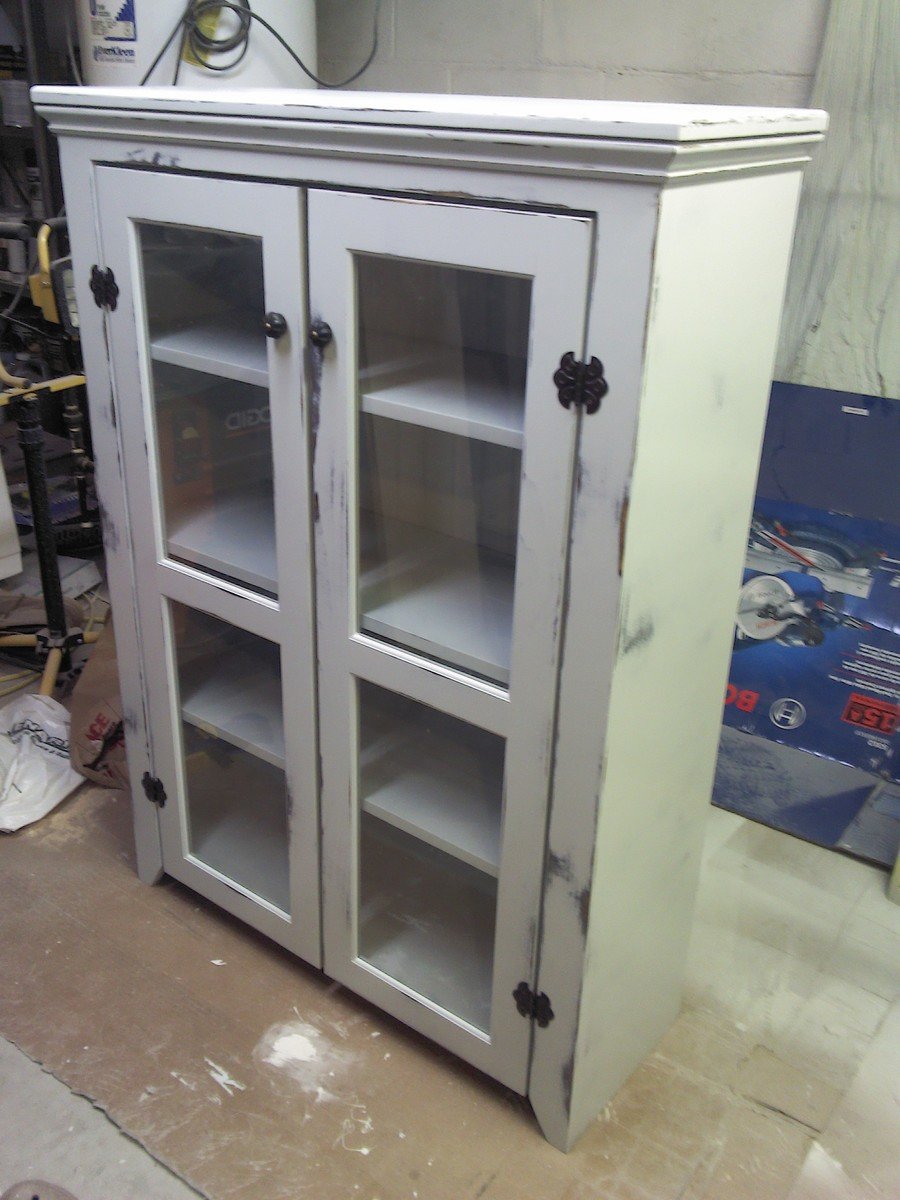
I have built several of these Jelly Cupboards since the plans came out. Everyone really likes them, and they are super fast and easy to build. The last one had glass doors that turned out pretty well. I like to use plywood beadboard on the back to give it a little more character. I also like to use 'hardware cloth' for the mesh type doors (found at farm stores). It usually has openings about 1/8" or less but not as tight as screen, which looks perfect.
Edit: For hardware part numbers and sources please see: http://grvland.com/wordpress/2012/02/07/jelly-cupboard-project/
Tue, 12/31/2013 - 00:51
Really lovely work! I scoured a couple of those pretty butterfly hinges by pure luck a while back, and I know where to find more...but those strap hinges! Where did you get them? I can't seem to find them for a decent price (Ohio).
Tue, 12/31/2013 - 07:15
The strap hinges are from Acorn Manufacturing. I had to order them because I could not find anything like them locally. For some reason I can not post links in the comments, but the sources are linked on my blog, grvland dot com (no spaces and a . obviously). Just search there for Jelly Cupboard and you will find the source links in the earlier of the two posts. I will also see if I can add a direct link above.
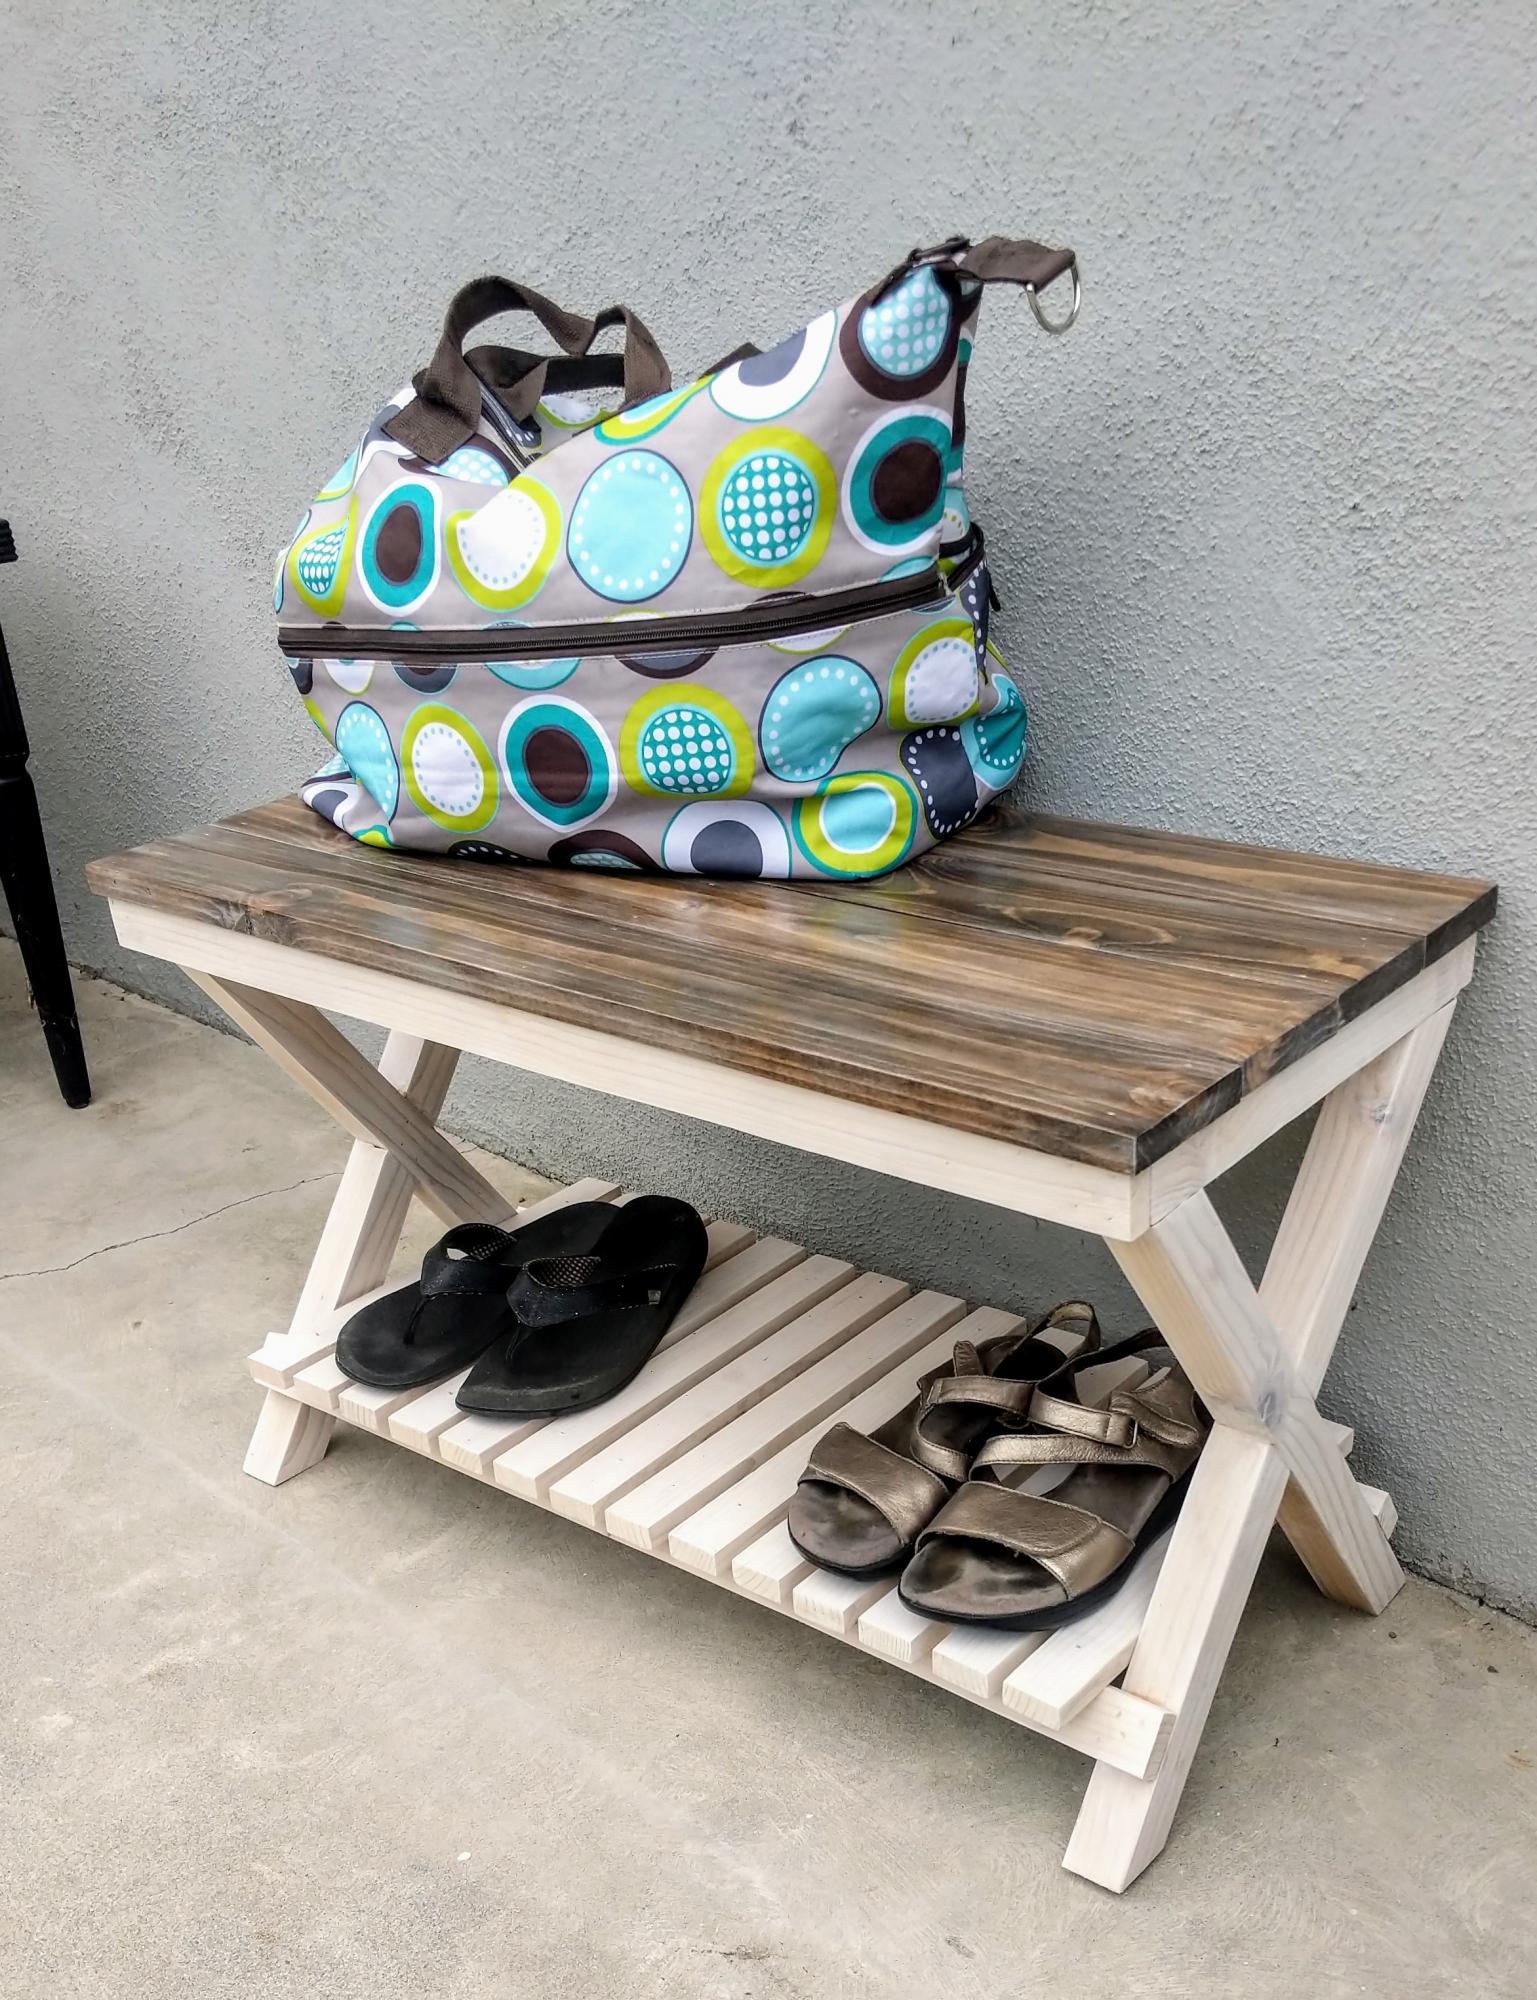
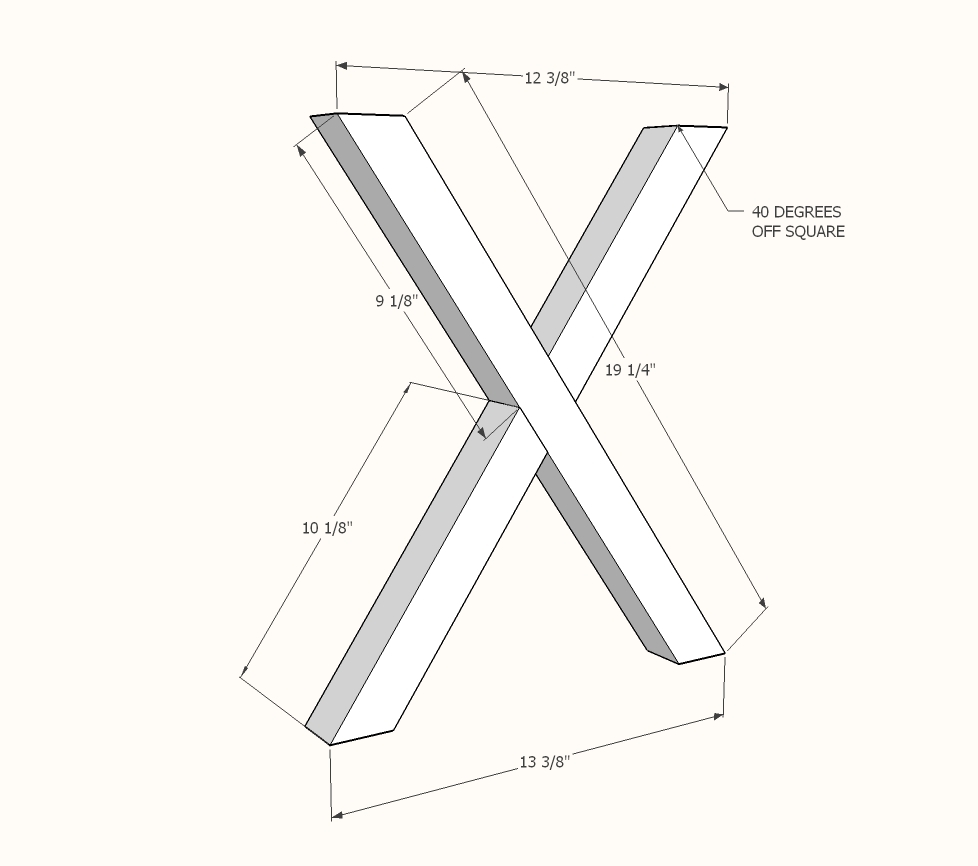
Turned out great! Problem with the plans: written instructions for legs say 35 degree angle but the diagram shows 40 degree angle. Which one should it be?
"Couldn't find a corner hutch that I liked so I decided to make my own and OMG I'M IN LOVE"
Jimi Hightower
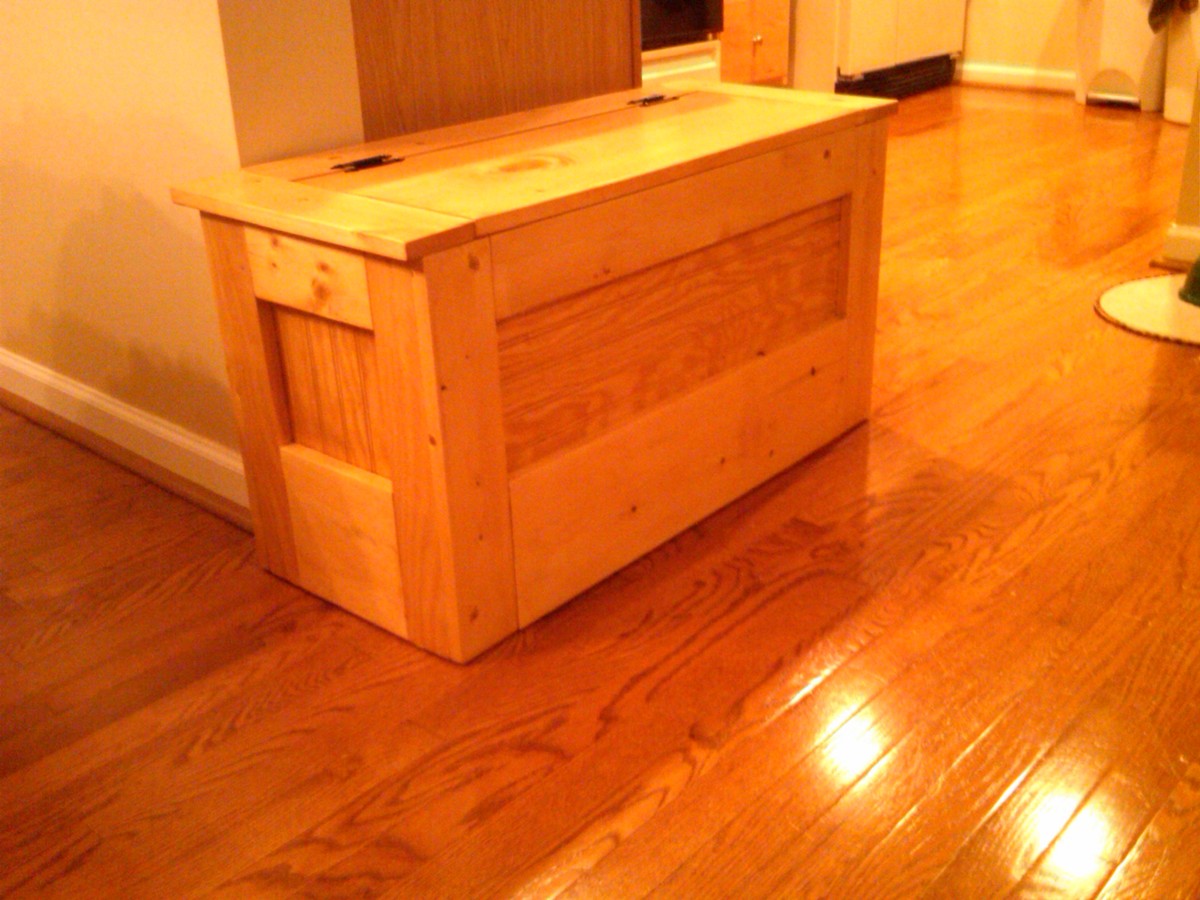
I built just the bottom portion and chose to omit the molding. I lined the inside with contact paper so that items stored inside don't snag on the rough plywood on the other side of bead-board.
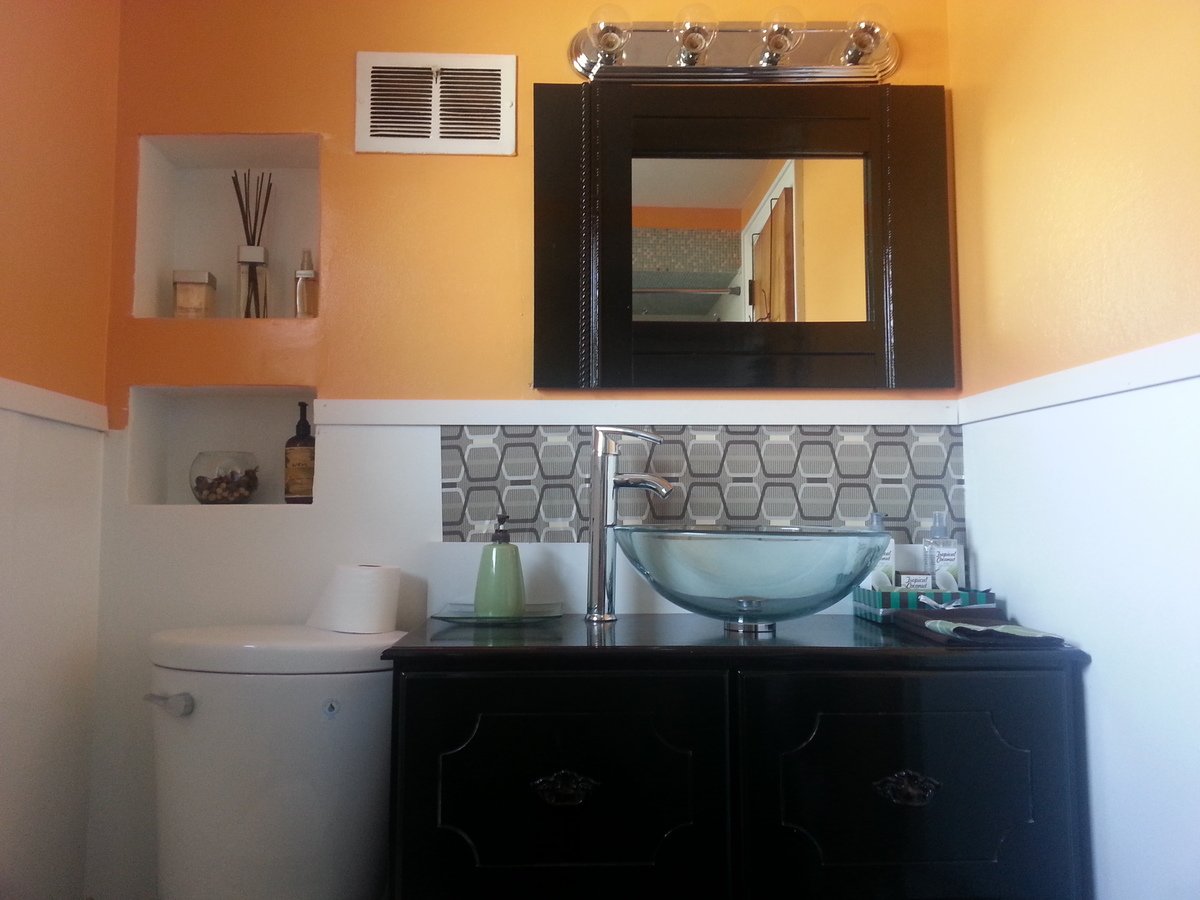
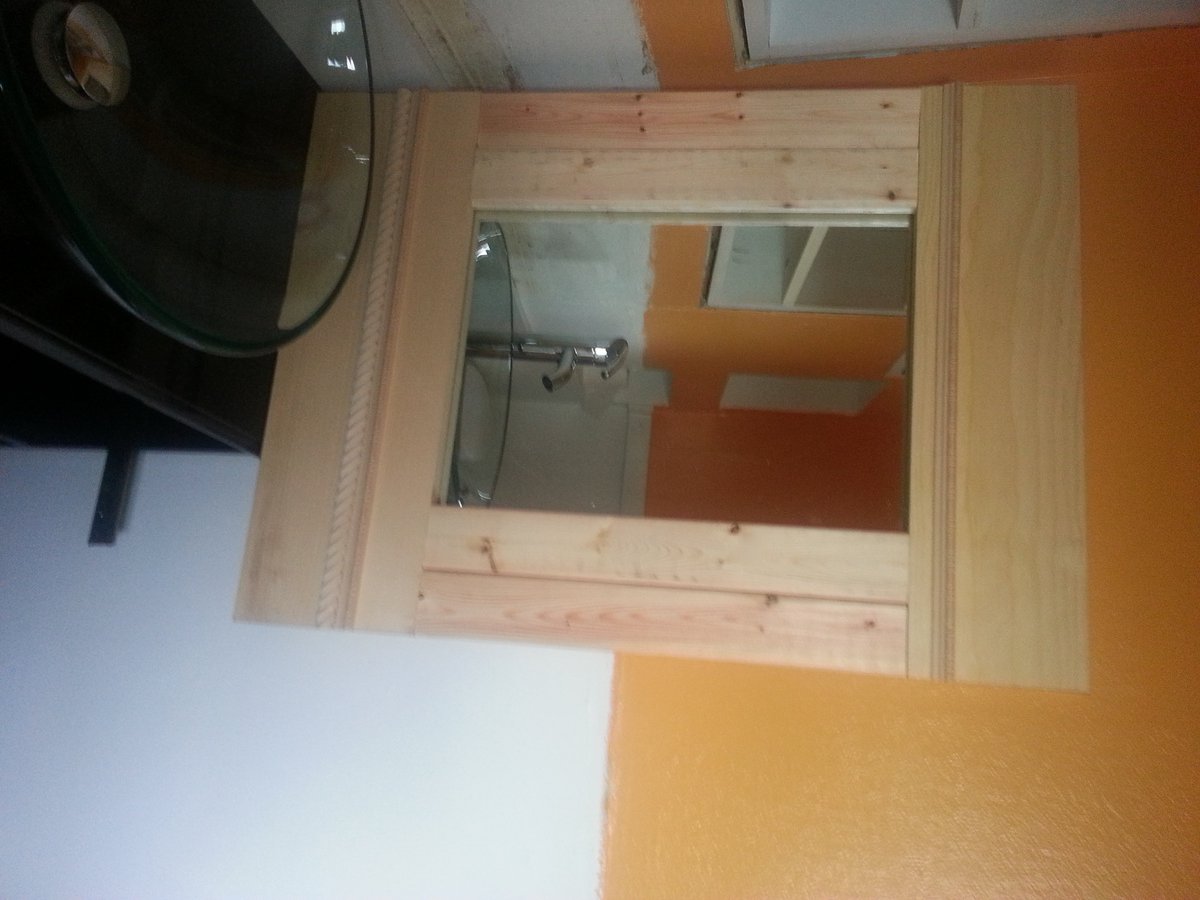
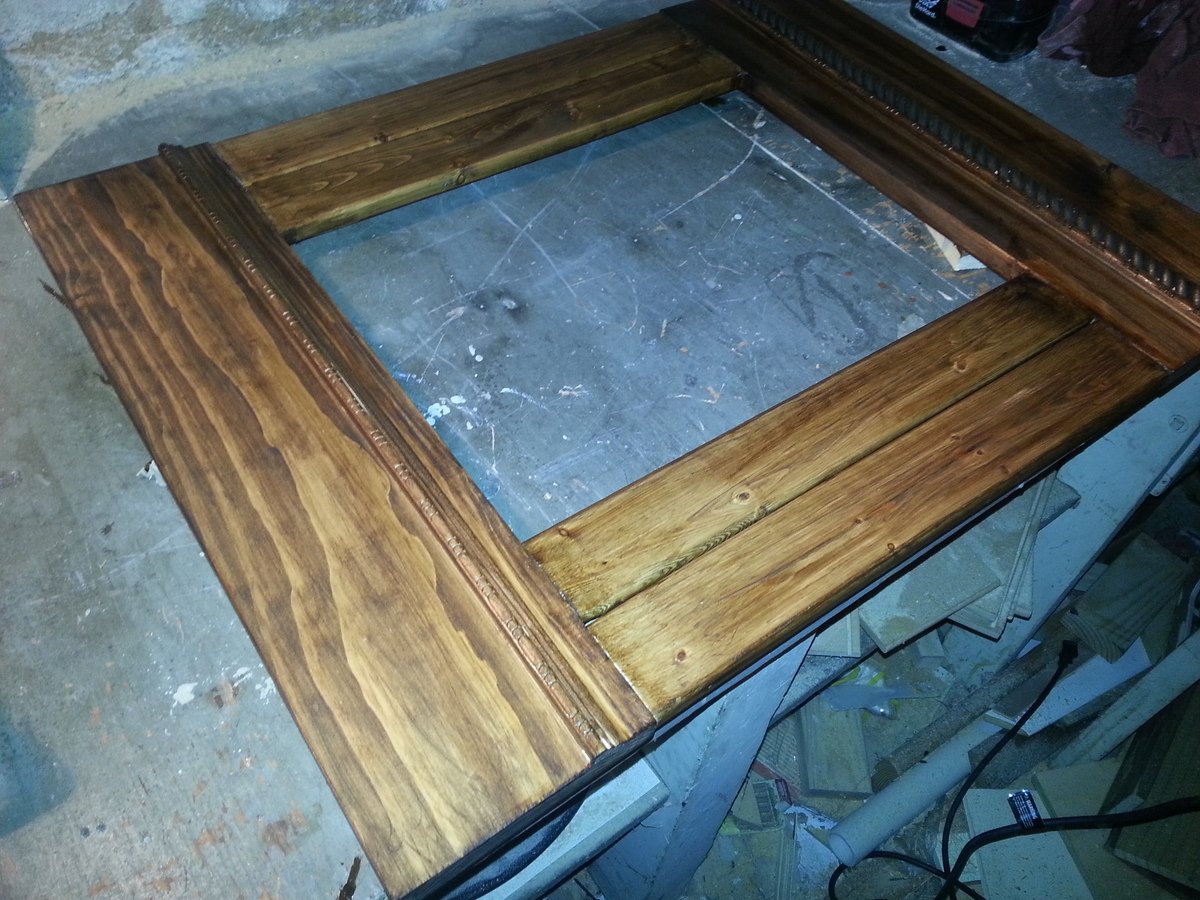
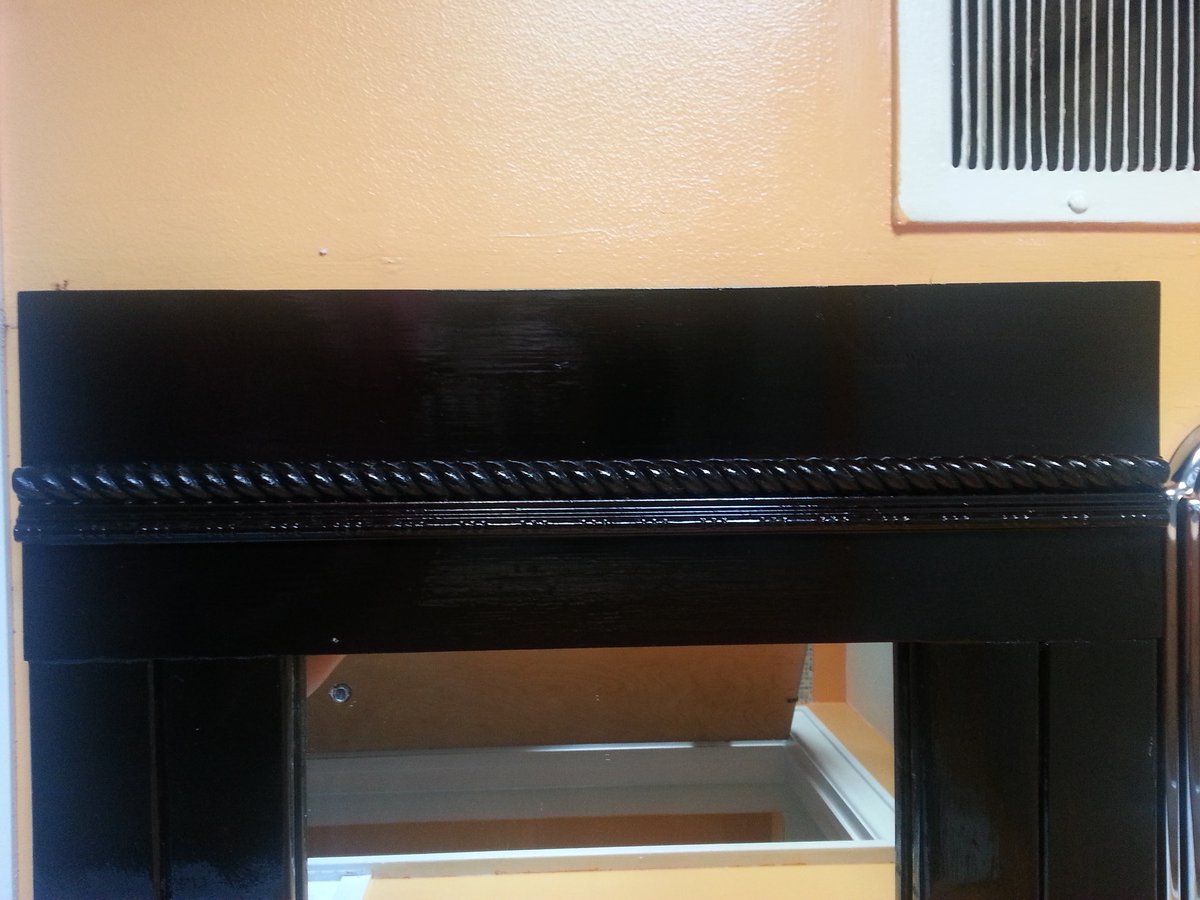
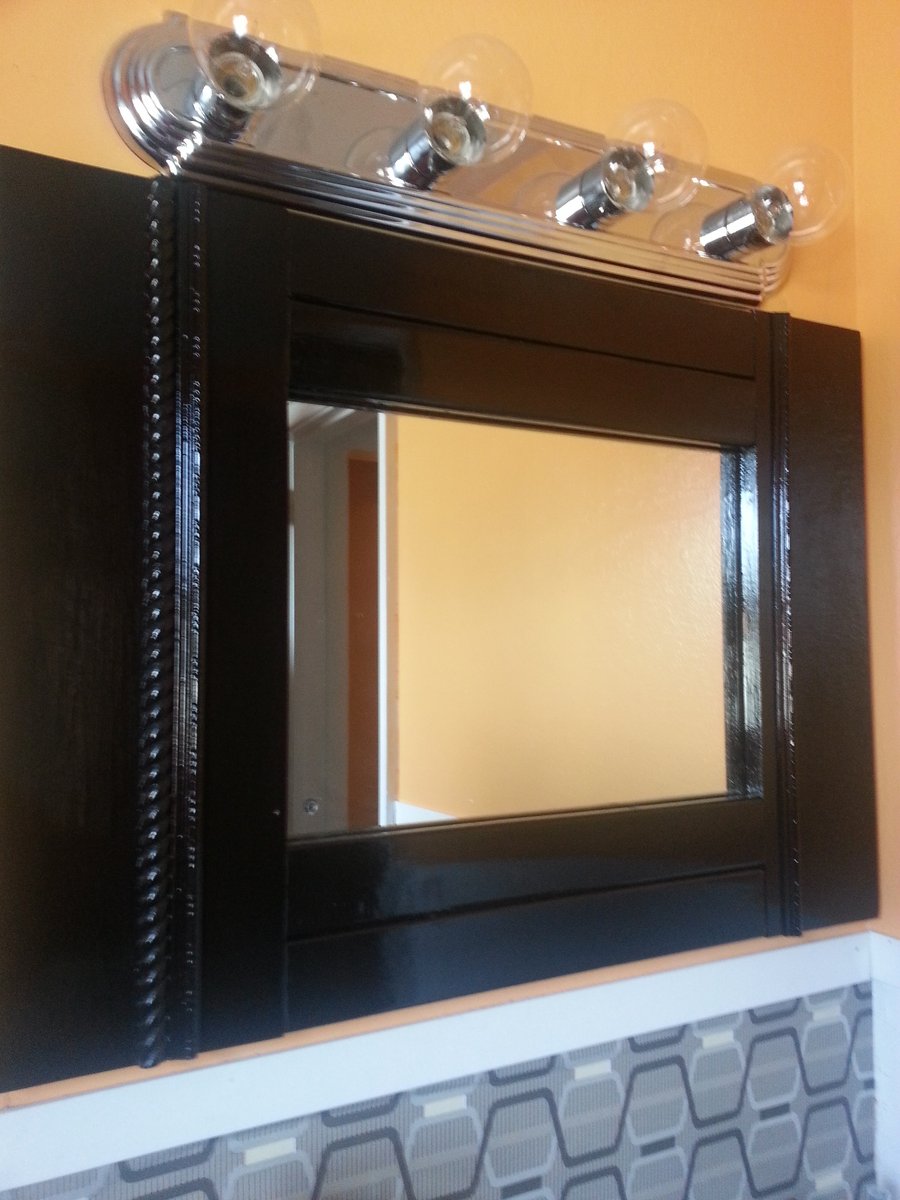
Initially I was simply going to replace the old medicine cabinet with a mirror but my husband insisted that he needed a medicine cabinet. So I built the cabinet. Then I built the mirror. I wanted the mirror to stand upright but the width of the hole left behind by the old cabinet was too wide. I then tried to have the right side of the cabinet remain open but then realized that the door would not open because of the height of the faucet. In the end I had no choice but to make the door horizontal.
Though it's not what I wanted and it is not centered like I would I liked it to be I think it still turned out fine. And the mirror looks fantastic! Better than the pics show.
Most of the wood used were scraps from other projects. Including the trim. The one thing I bought for the project was a mirror that turned out to be the wrong size. It was too large and I did not want to cut it so I used the mirror from the old medicine cabinet. It did have hole where the door handle was which I tried to fill. Now I just try not to look at it. lol
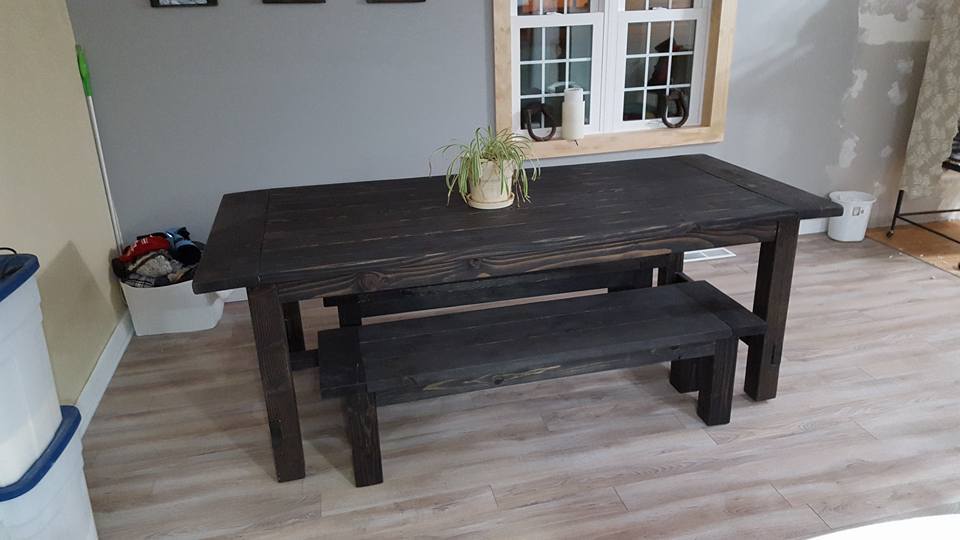
I stained the table and benches dark to match our cabinets.
I created matching benches based loosely on the table plans. The benches are made of 2x6 for the top and breadboards. I left out the stretcher on the benches as the 2x4 and 4x4 frame structure was more than sufficient.
The table was finished with a paste wax rather than poly. This gives it a smooth, water resistant finish without being overly glossy. The goal with this style, after all, is to make it look somewhat old. The wax does a great job.
Comments
Ana White Admin
Tue, 03/01/2016 - 16:58
Very nice!
That looks very inviting, great job, thank you for sharing!
In reply to Very nice! by Ana White Admin
Lila Archer
Tue, 03/01/2016 - 18:13
Thank you Ana
Little by little I am transforming my ugly concrete patio with no view in Zen garden...
Lila Archer
Tue, 03/01/2016 - 18:15
Thank you Ana
Little by little I am transforming my ugly concrete patio with no view in a Zen garden...
Lila Archer
Tue, 03/01/2016 - 18:16
Thank you Ana
Little by little I am transforming my ugly concrete patio with no view in a Zen garden...