Kids Storage Bench
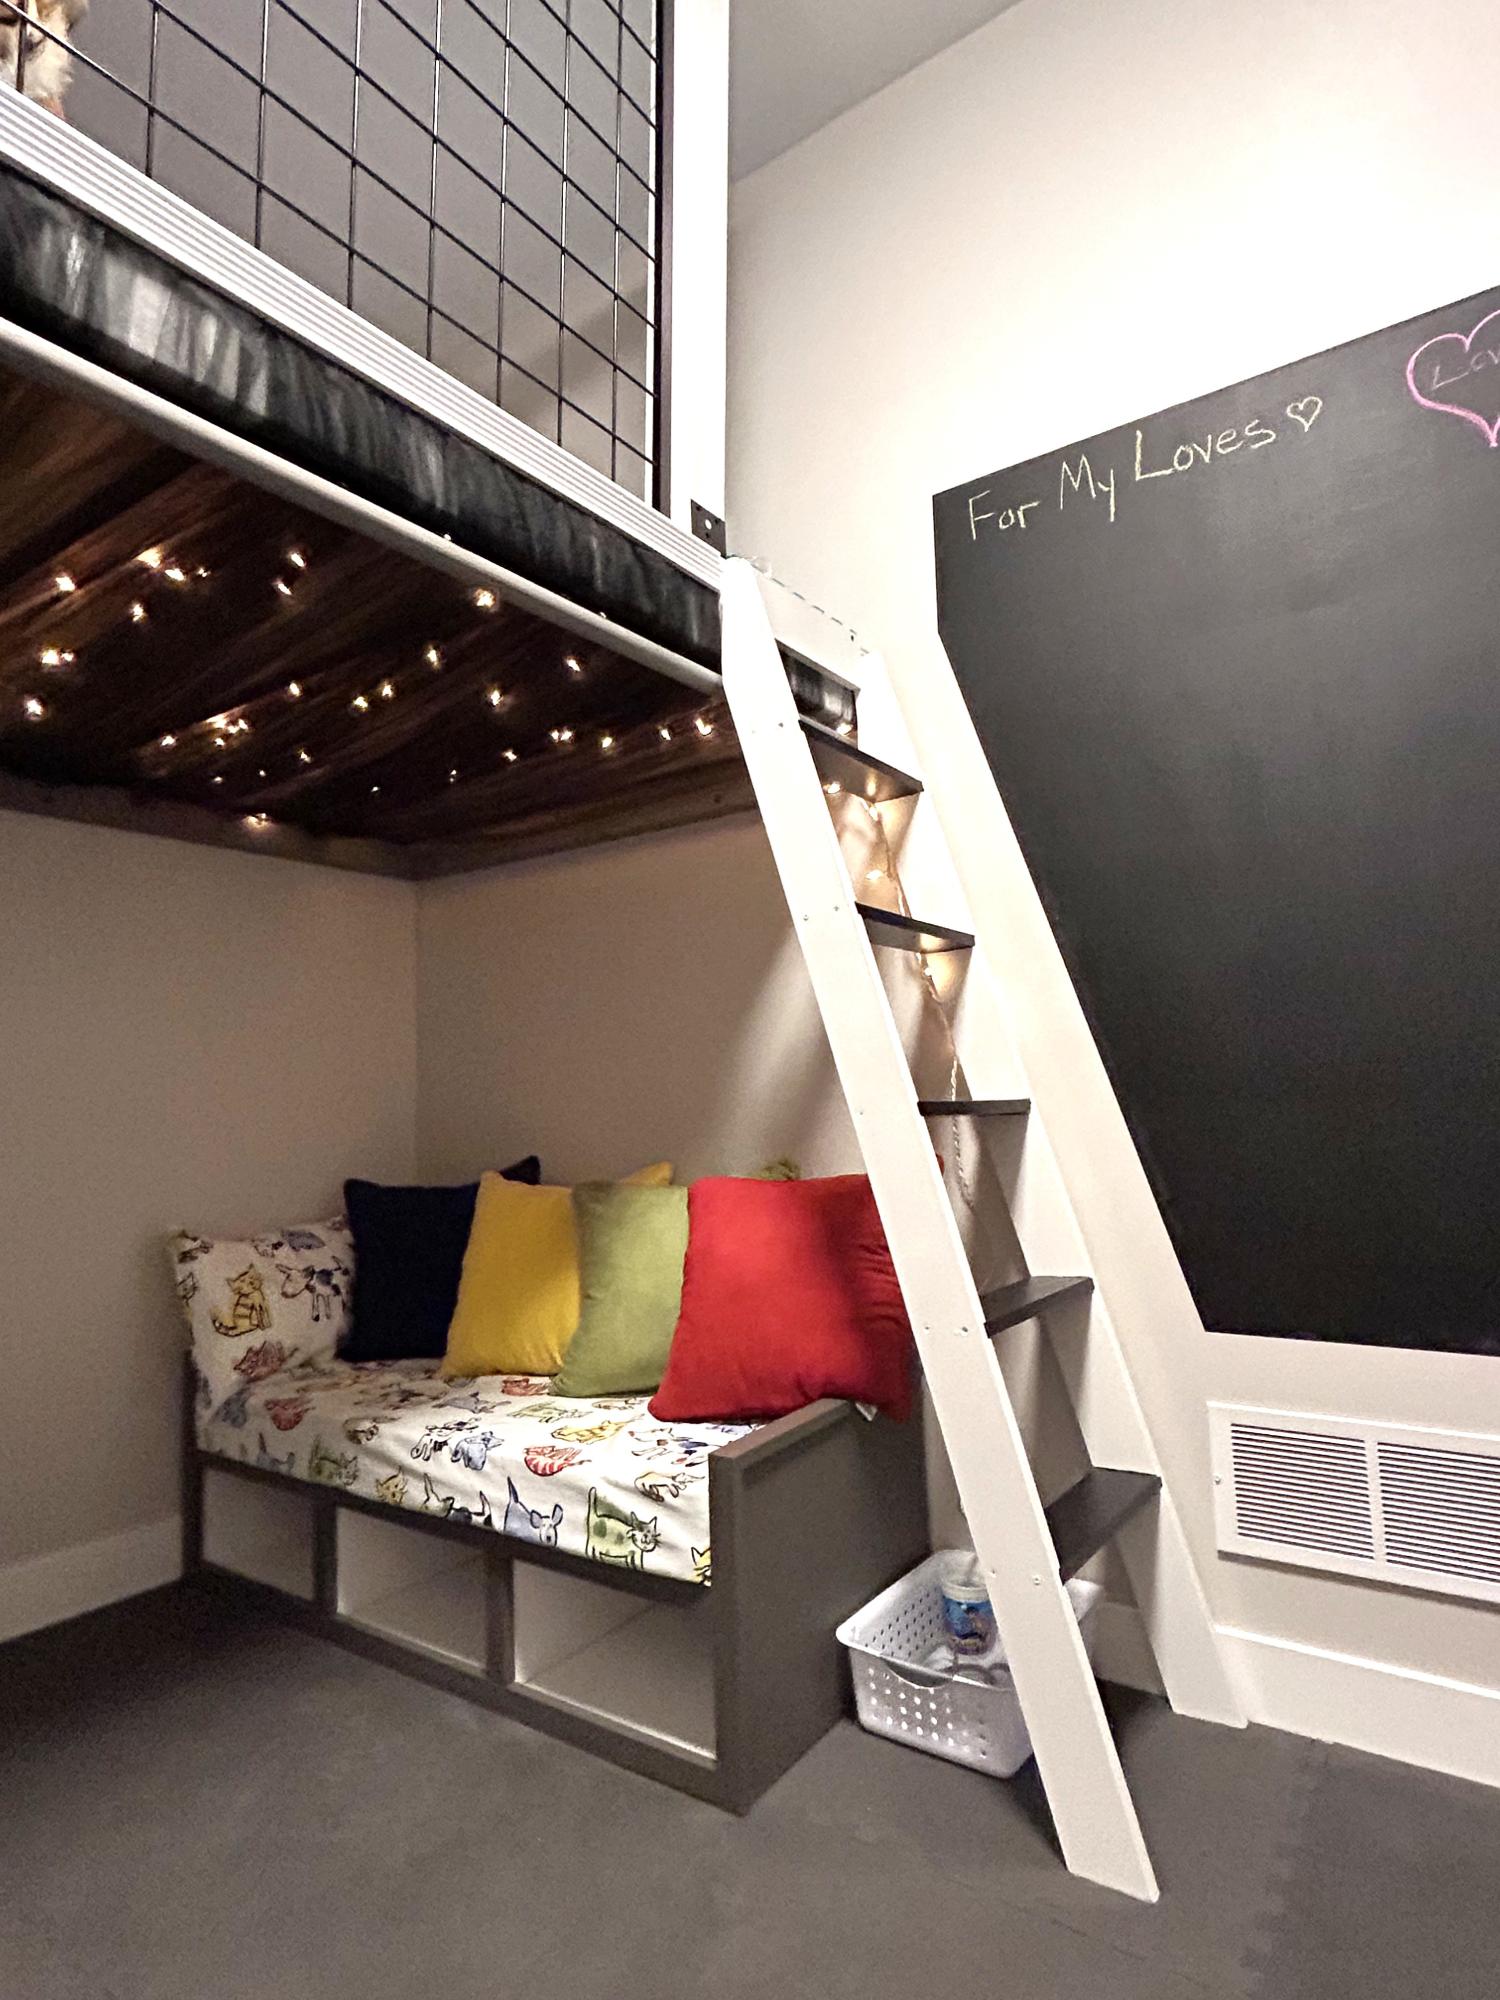
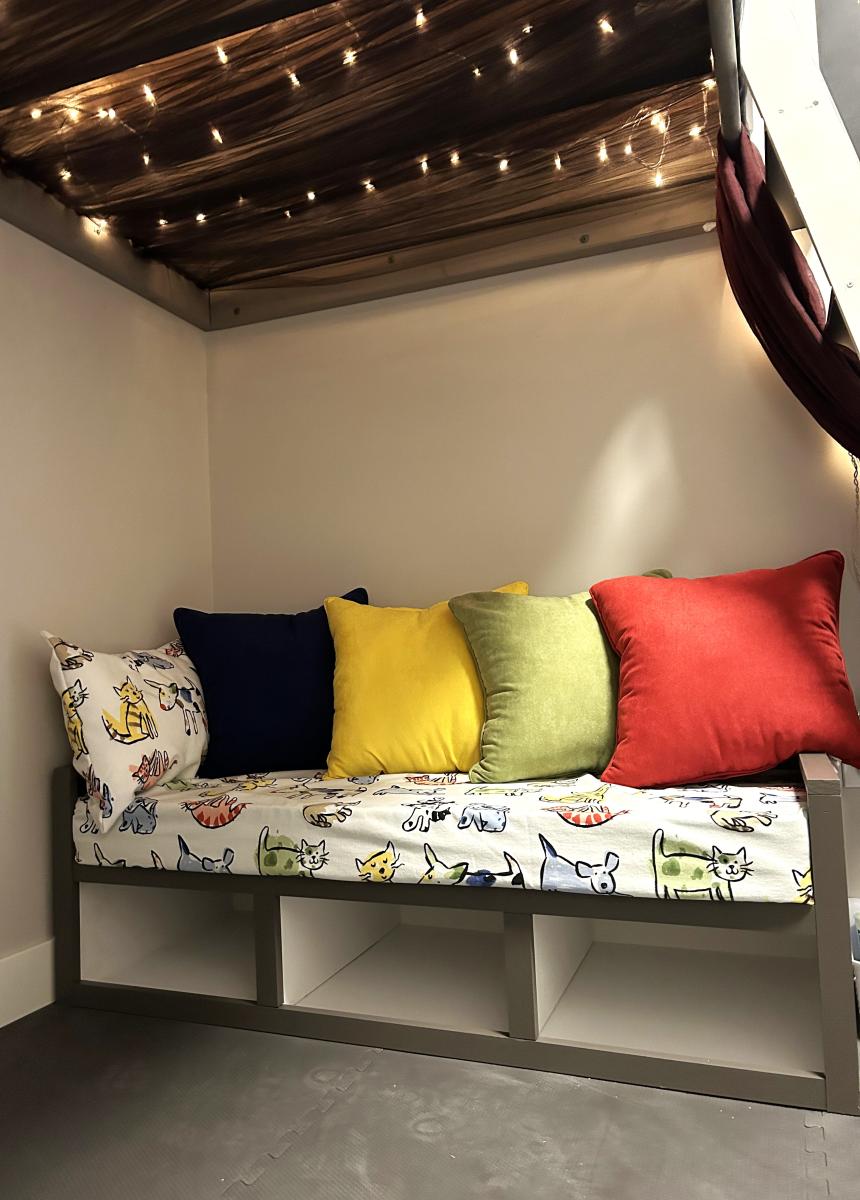
I created what I call the Kid Kave for our grandkids. I used the front entry bench plan to make a small sofa for under the loft. My best piece yet!
Built from Plan(s)
I created what I call the Kid Kave for our grandkids. I used the front entry bench plan to make a small sofa for under the loft. My best piece yet!
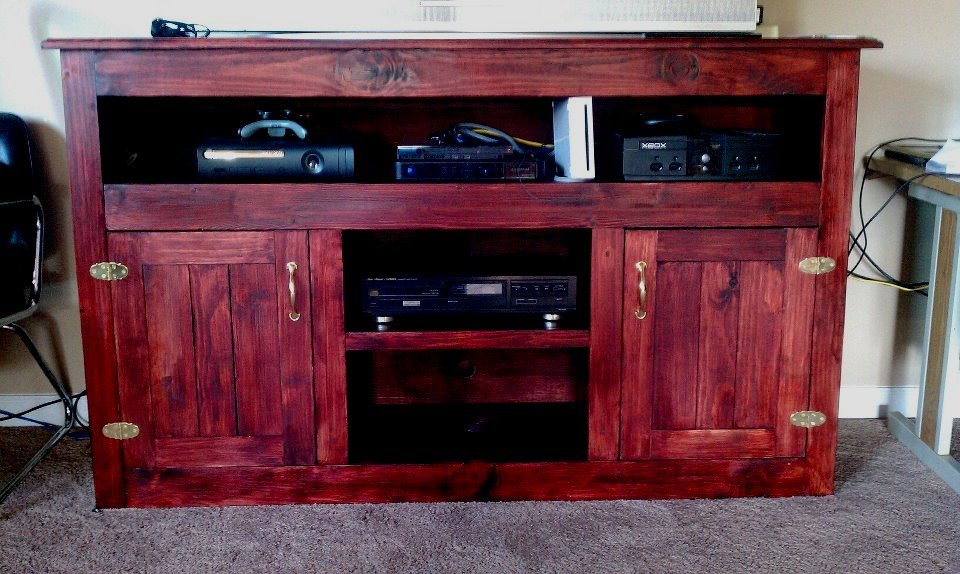
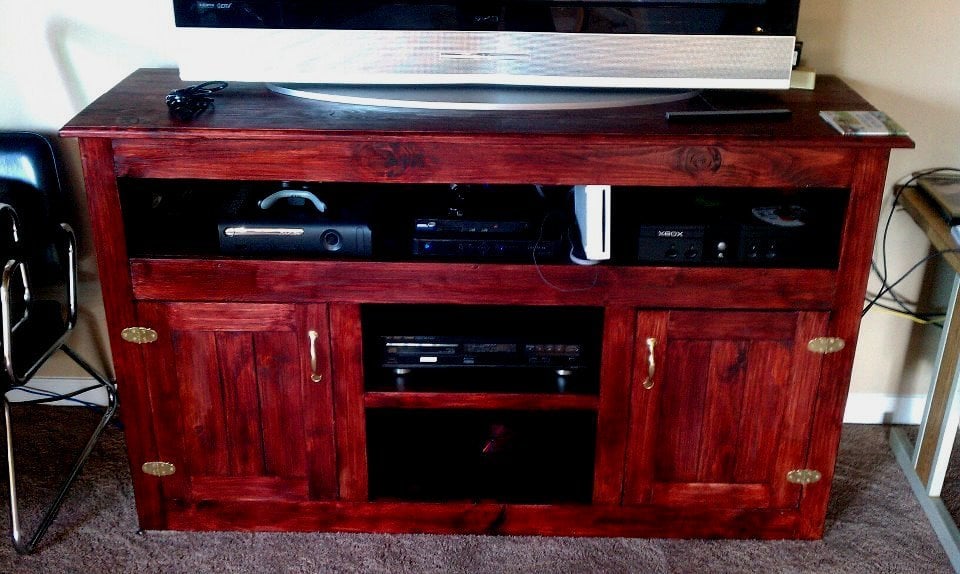
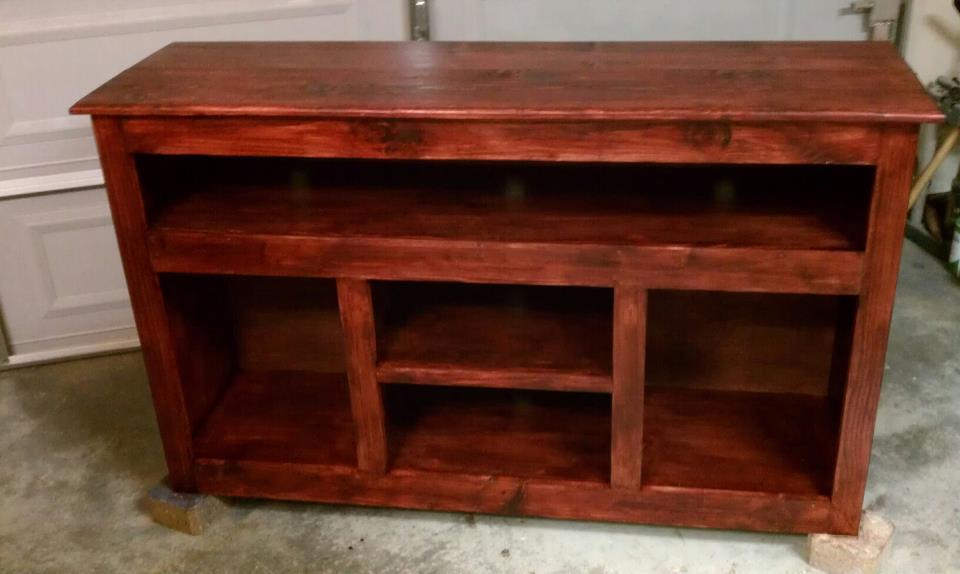
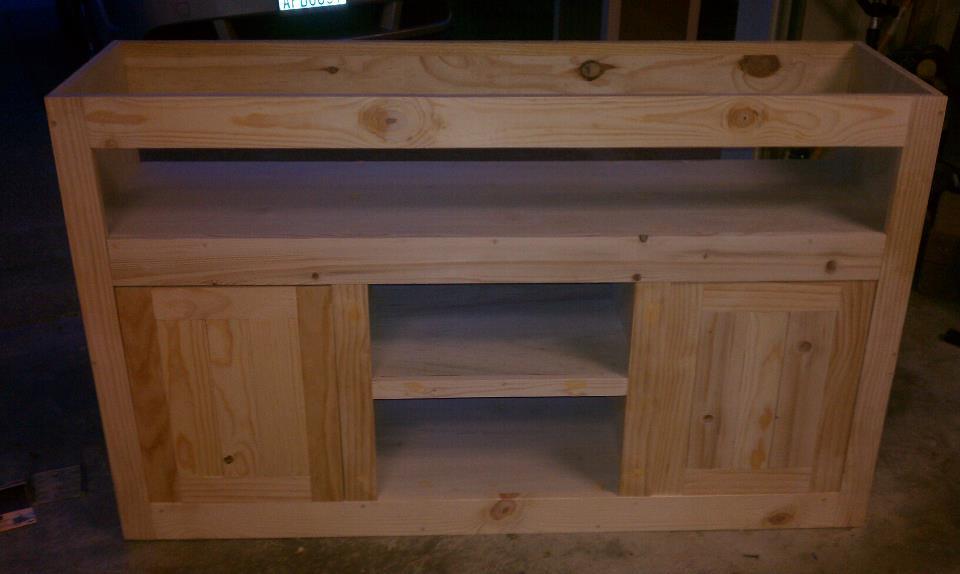
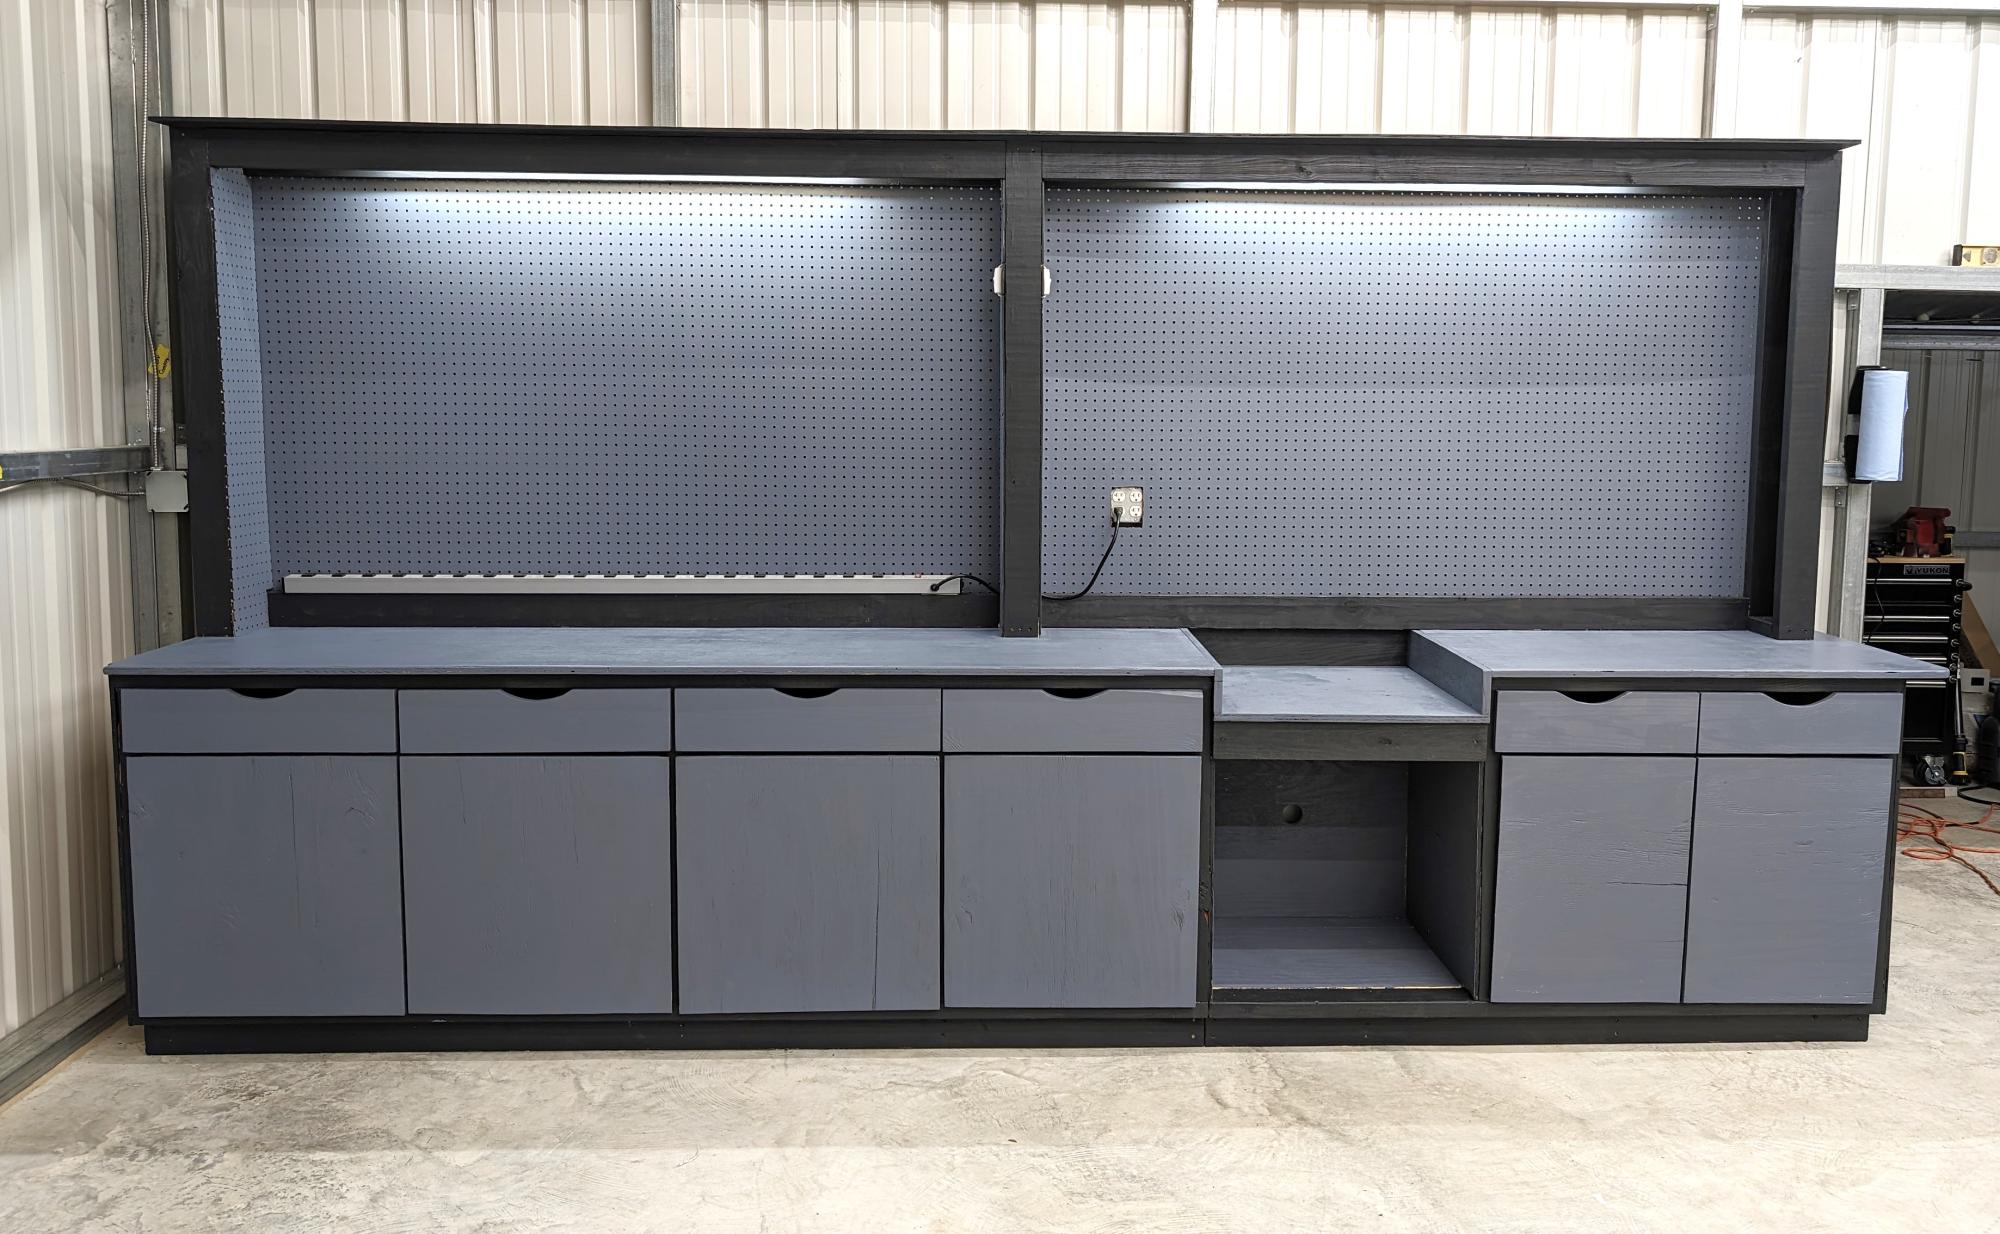
This design is a modification from another entertainment center I built earlier this year. I had a neighbor come over and fall in love with mine and asked if I could build another. I think it cam out pretty well, but tell me what you think....
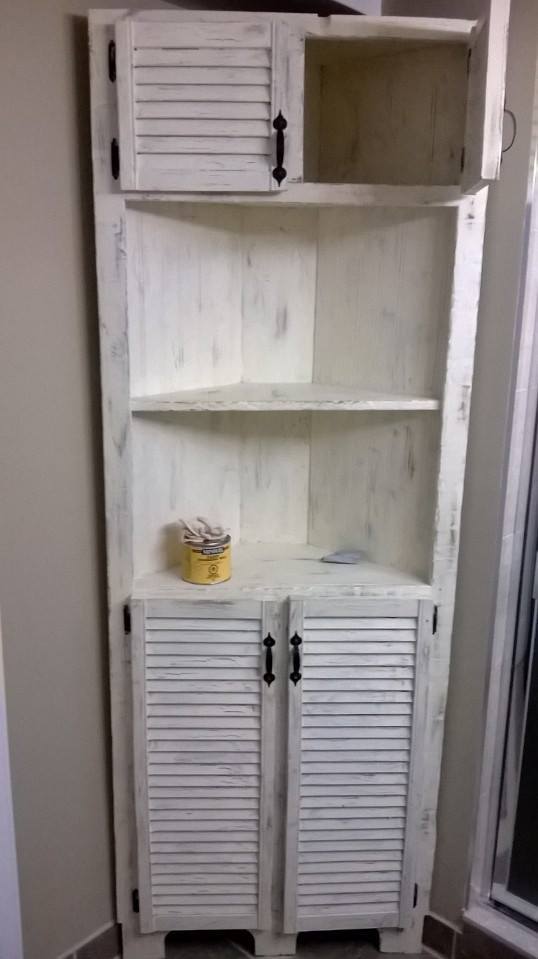
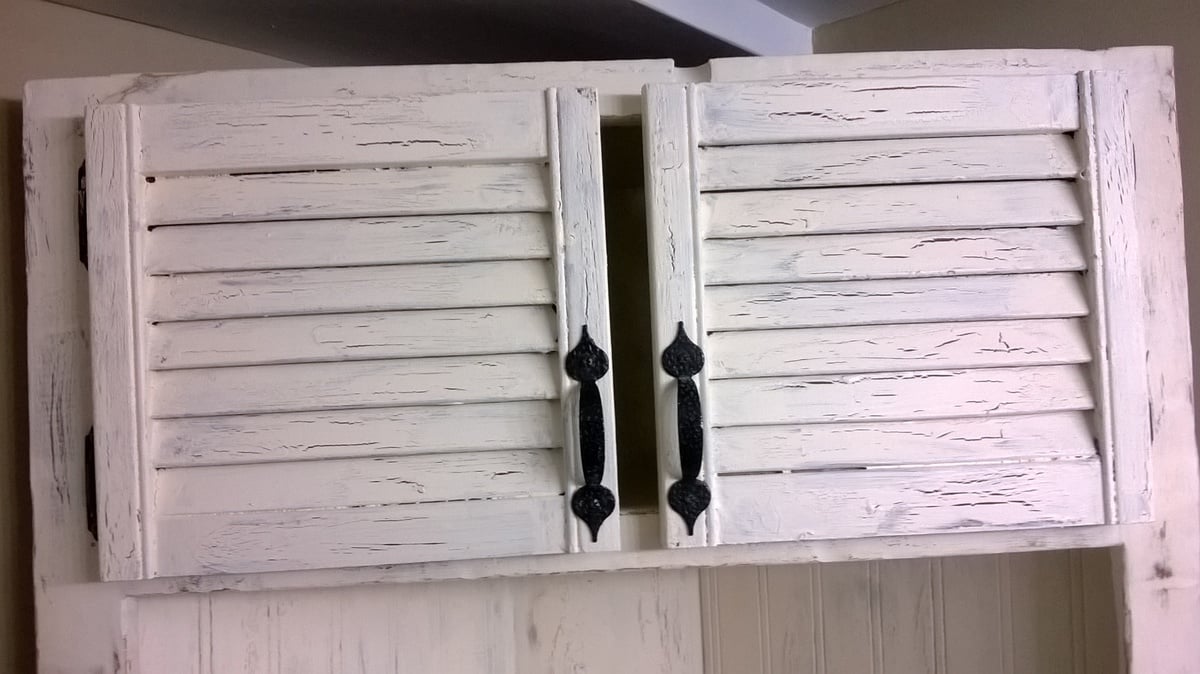
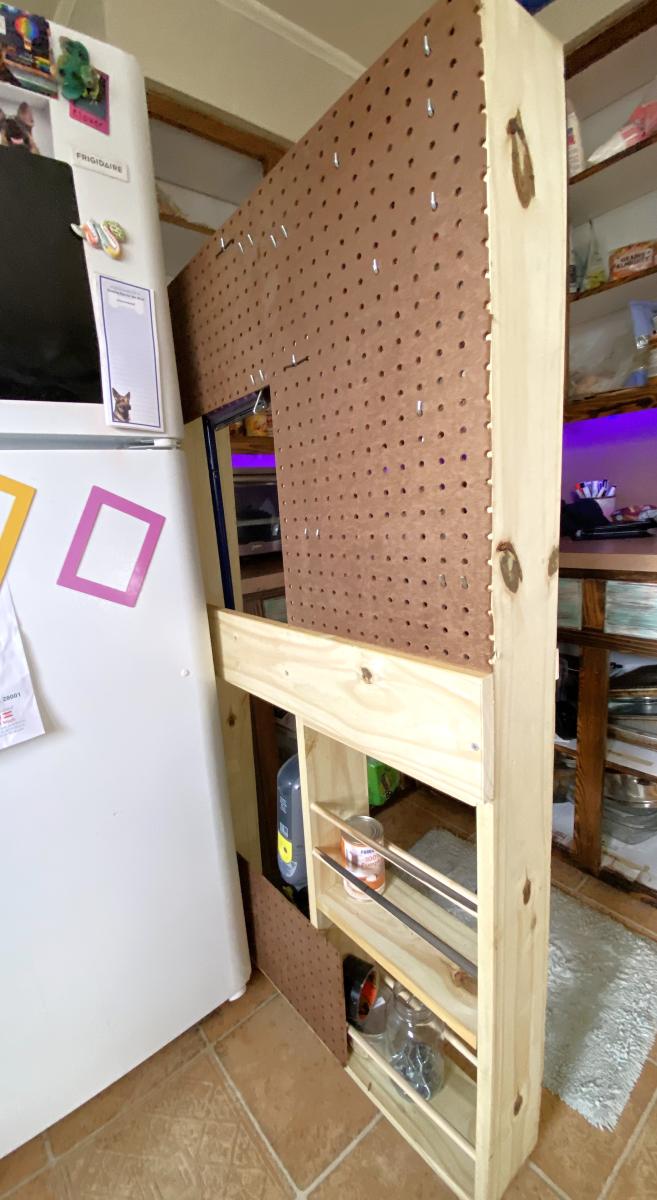
With a newly finished bathroom we were looking for some stylish storage that fit the space.
During the demo a number of pieces of cabinetry came down and a salvage most of that wood. I also had a couple bi-fold closet doors in my garage that i decided to put to use.
We're totally satisfied with the end product and will be continuing to try our hand at custom pieces.
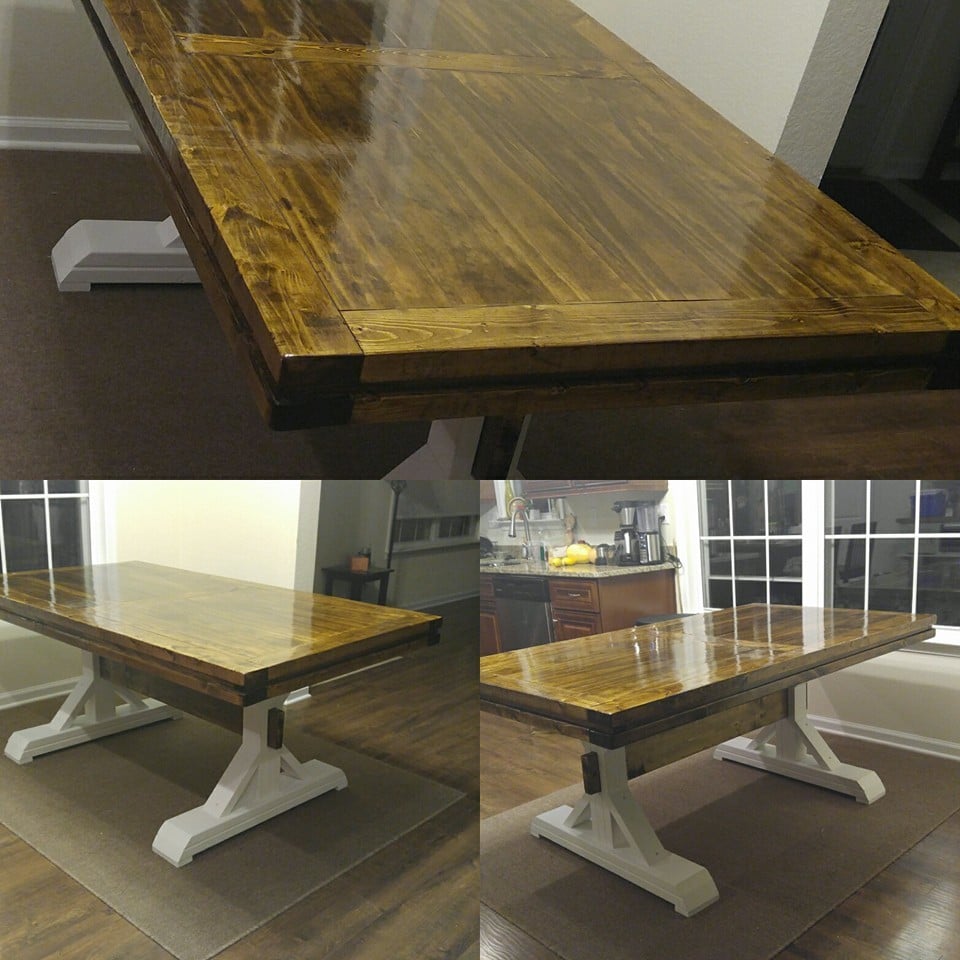
Modified plans to accomidate a smaller eating area. Took us about a week working on it a little bit a day. Wood cost was about $110. Dark Walnut stain, primer and linen white chalk paint over primer on the bottom.
I used somebody else's design photo from this site and inserted my own numbers when figuring out the top dimensions and cuts. I wish I could remember whose for proper credit. Legs were completed using the ana white legs from the original plan with no alterations.
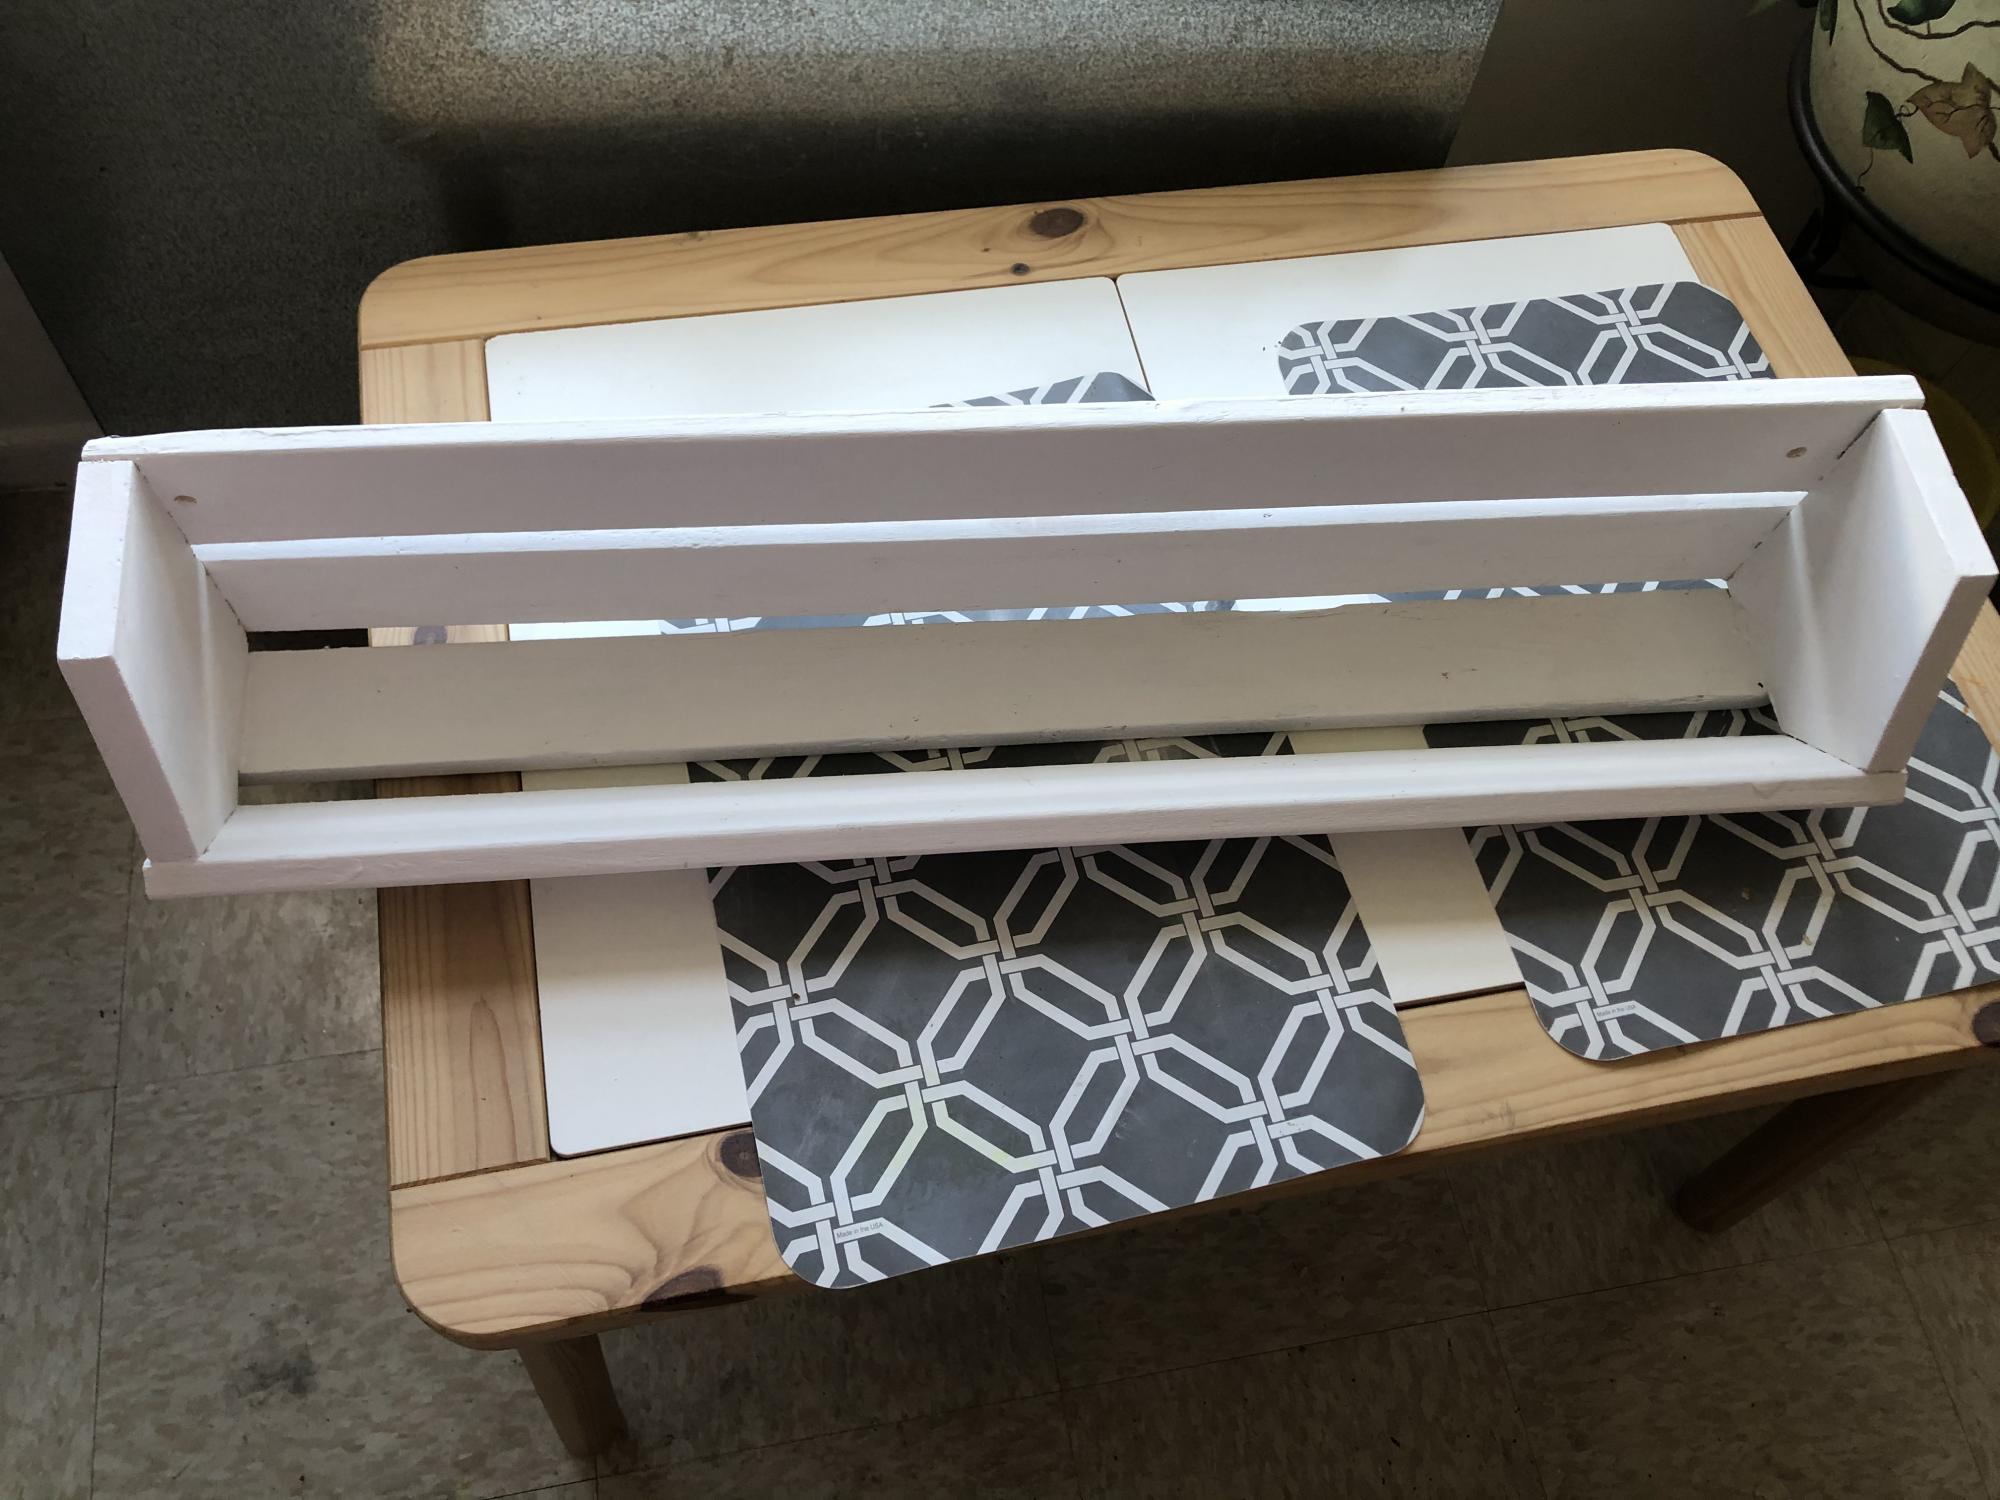
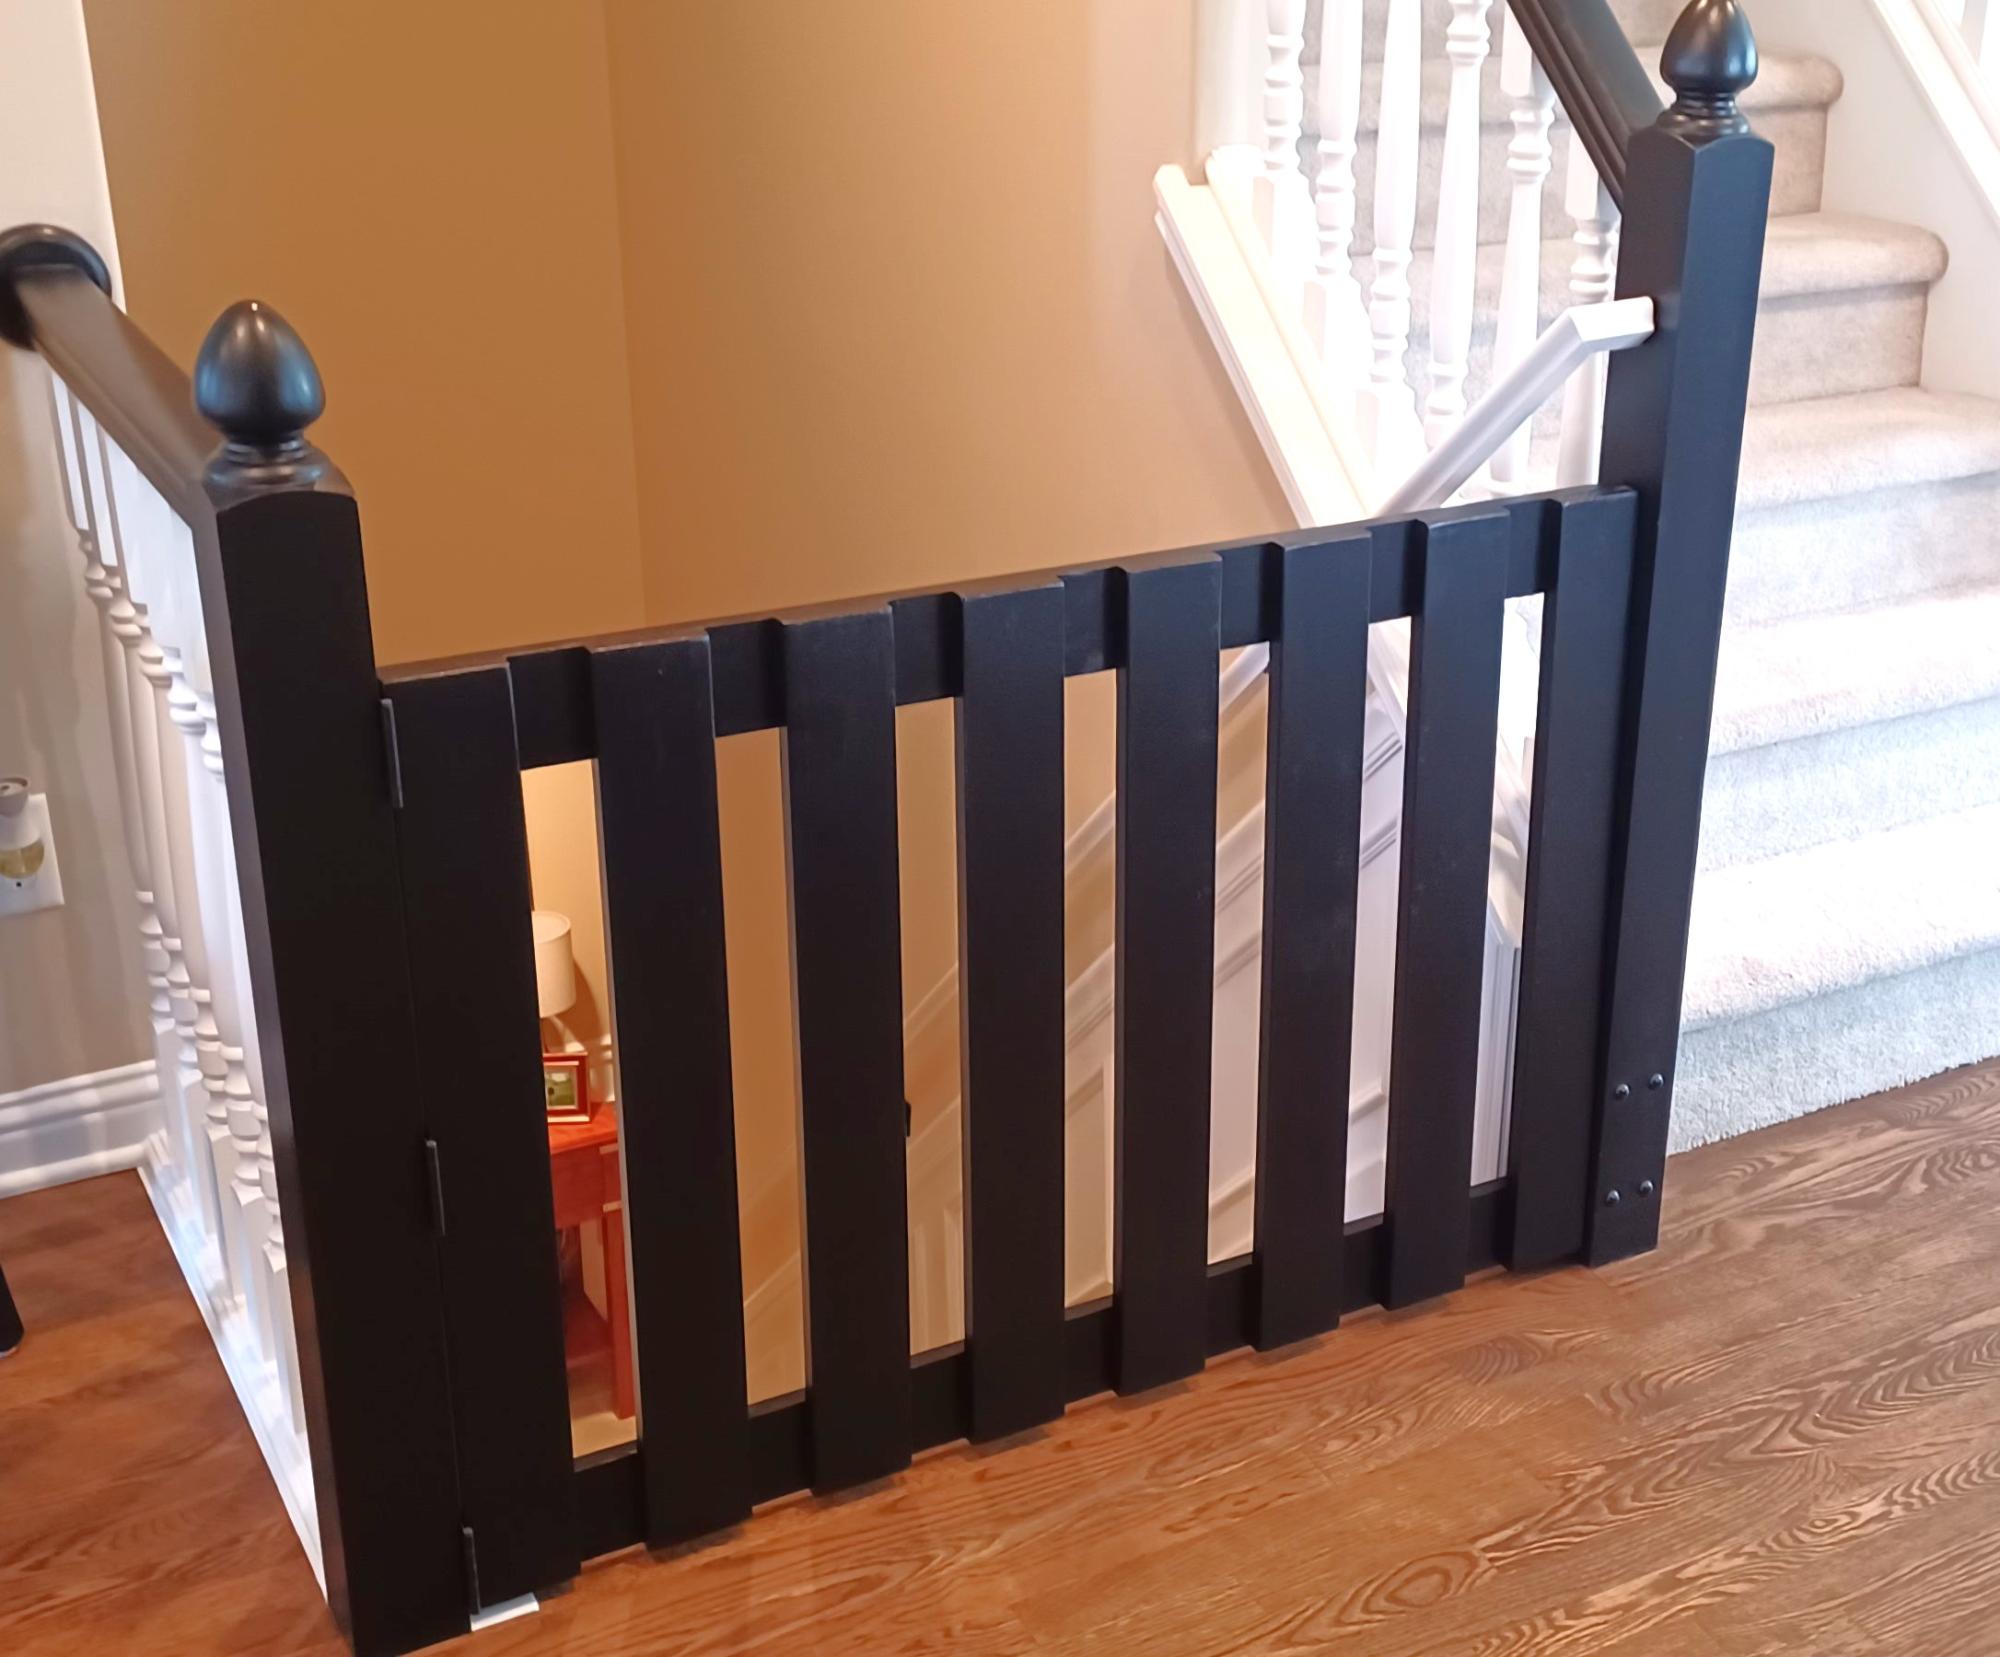
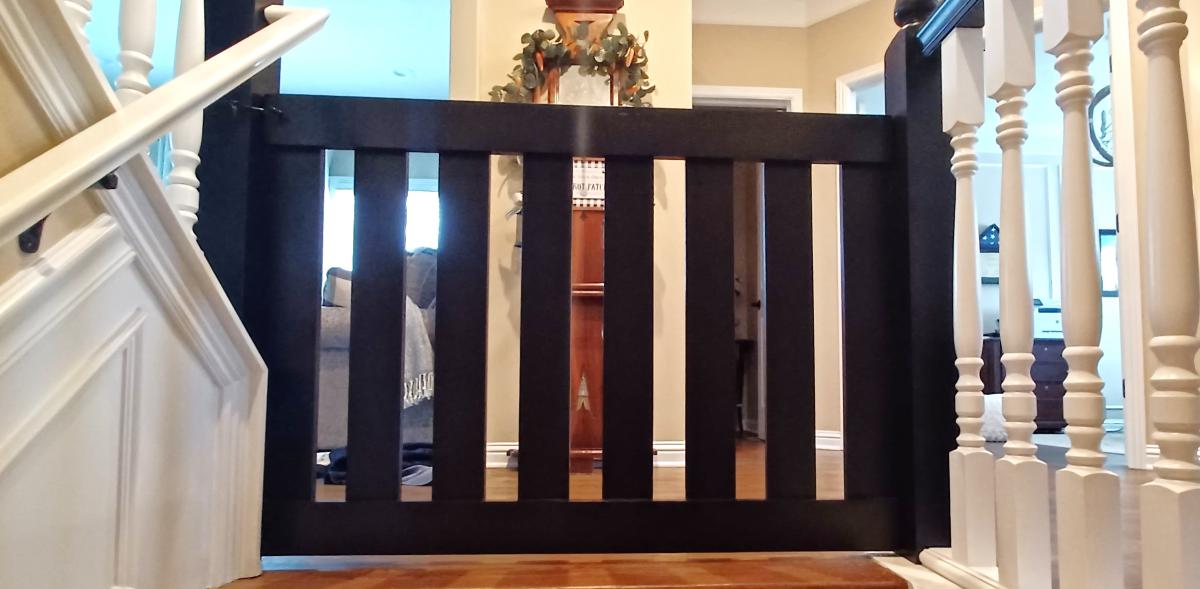
I loved this project. Took me a couple hours. Since I didn’t want to go out and buy material I used what I had which was 1x3s. I altered a little but still has the same look. Love it.

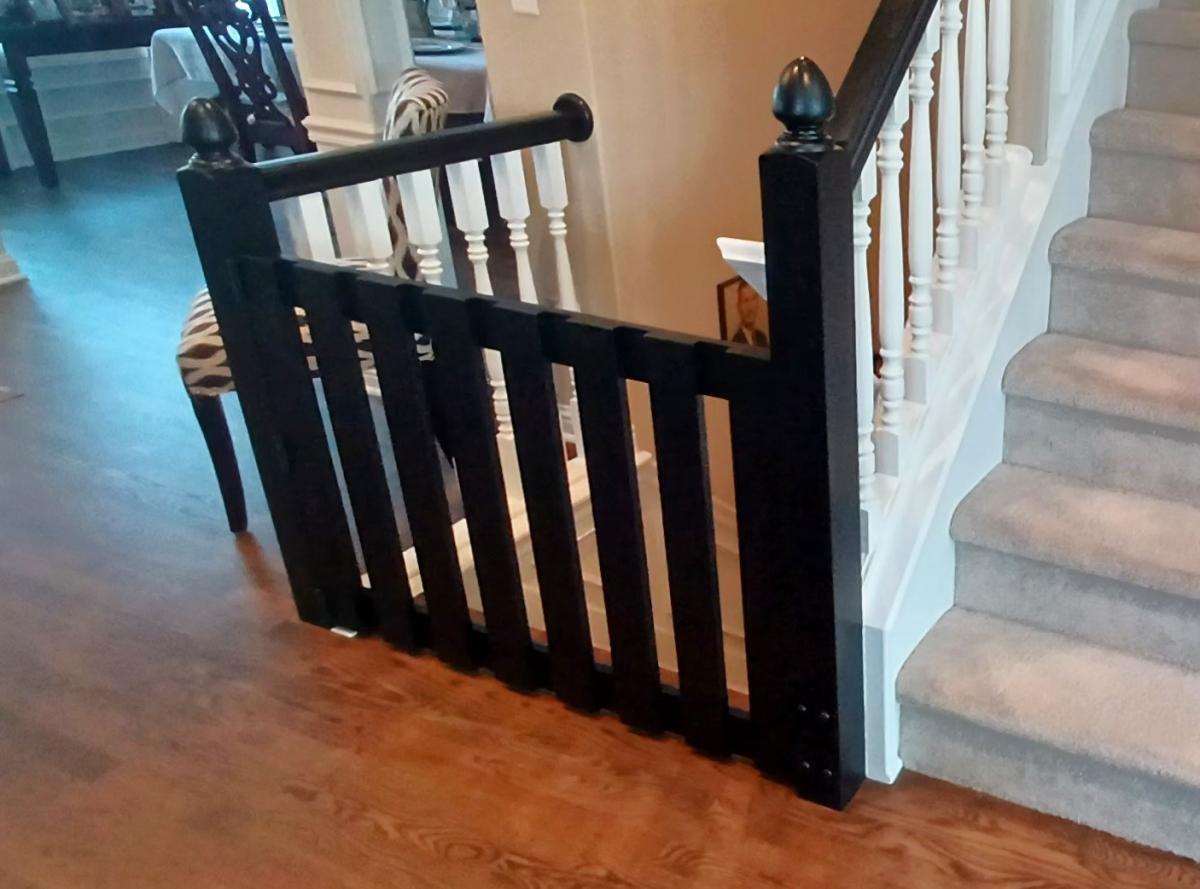
I took the pony wall idea and went with it.
Mazda Mitch
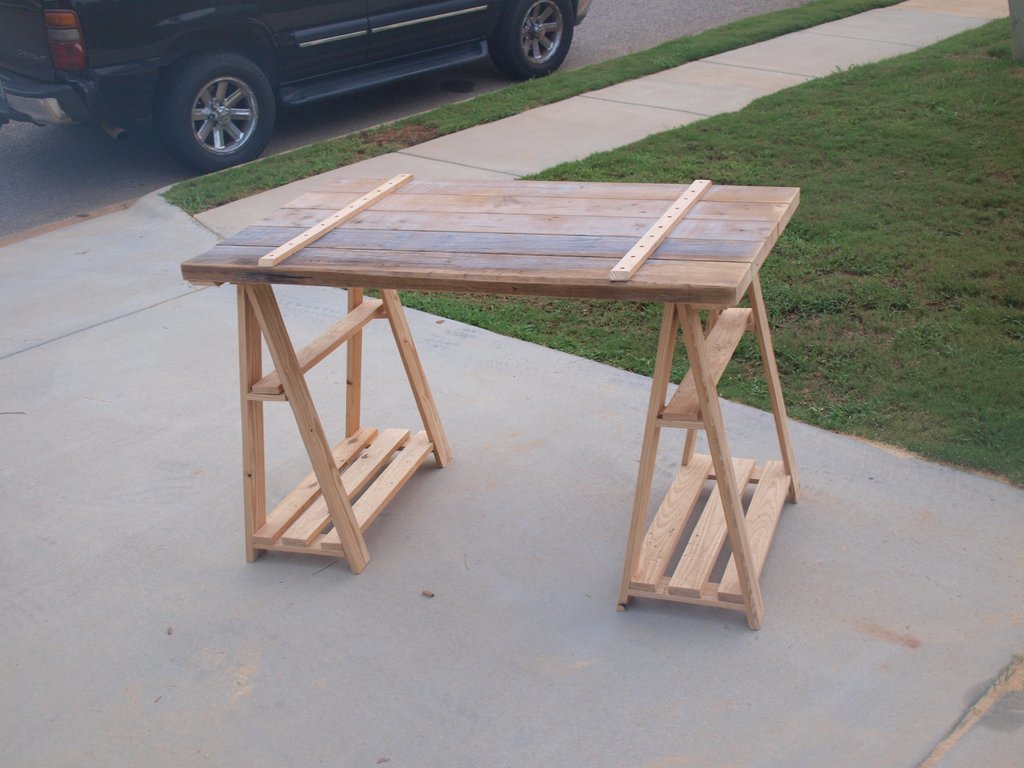
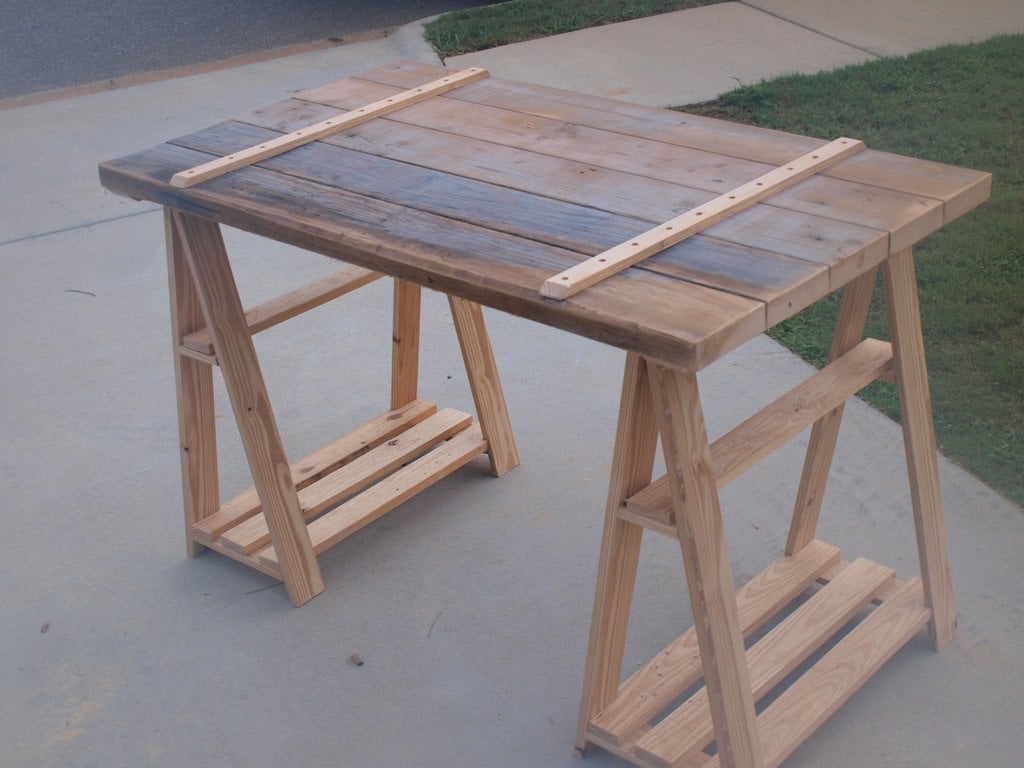
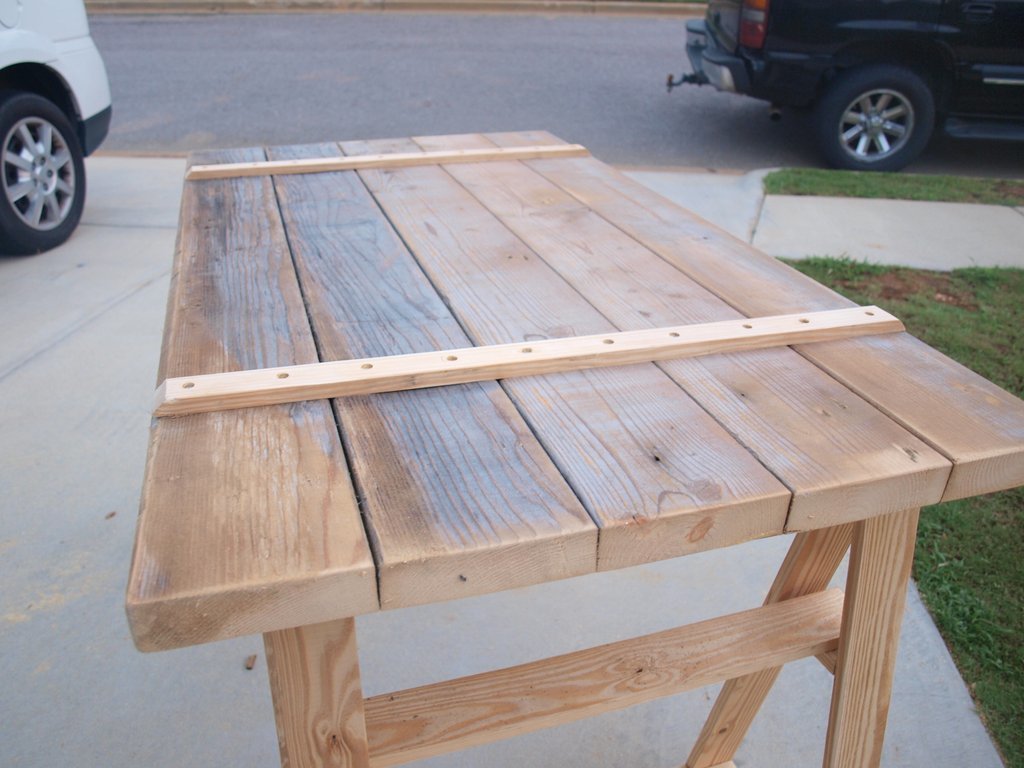
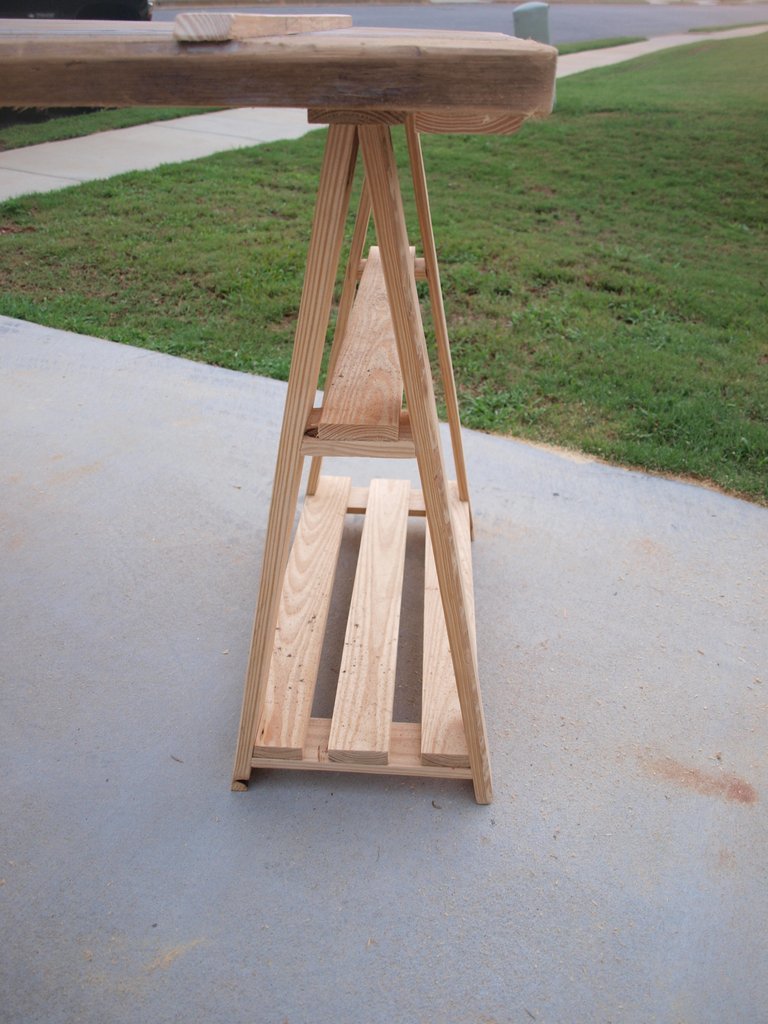
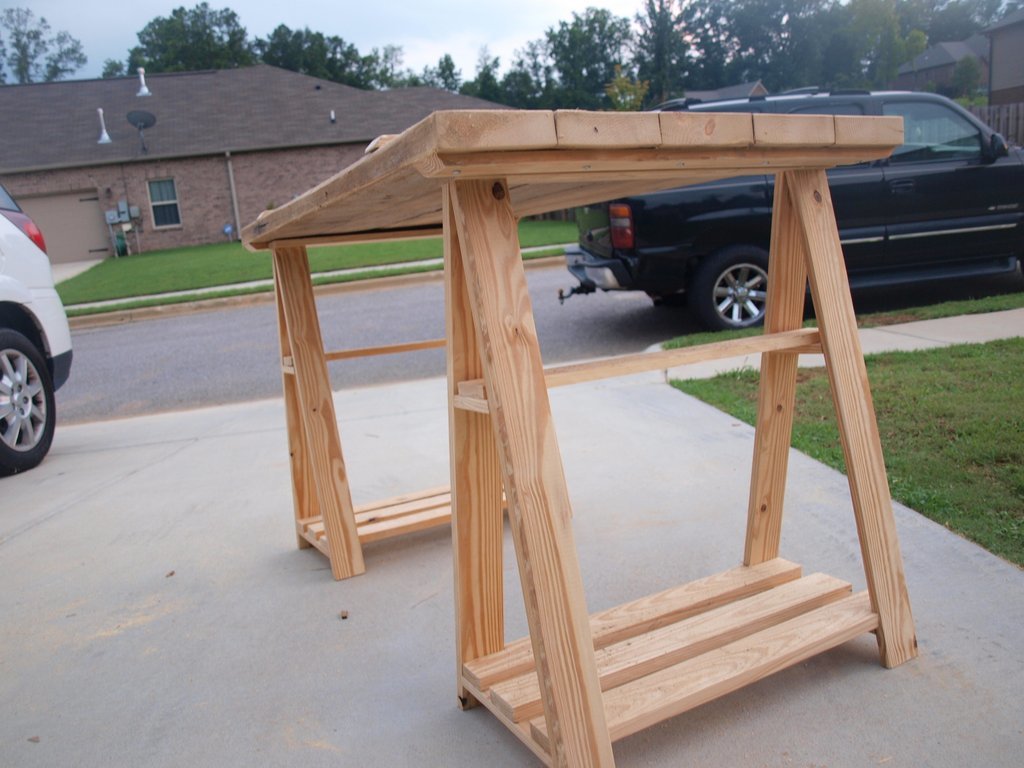
This was a fun project to do. I am going to add a piece of 24 x 24 sheet metal to the top of it to serve as a smooth flat area to write on. I didn’t have any 1 x 3′s on hand so I ripped several 2 x 4′s down to 1 x 3 which is where I came up with the 1 x 2′s that are running across the top. I’m working on imagineering a chair to go with it, I will post pictures of that as well when I get it put together. If you have a questions or comments feel free to post.

I used the Vintage Bar Stool plans and modified the height and depth of each chair so that they would fit with an indoor bar height. At the time I didn't have a kreg jig, so I used dowels to connect everything. It took much longer since I had to wait for the wood glue to dry, but they are very sturdy and you can't see and drill marks. I used milk paint over stain to get the distressed look, and I love how they turned out!
Really enjoyed making this and the end result is impressive. Wouldn't categorize as a starter project because the frame is a bit more advanced.
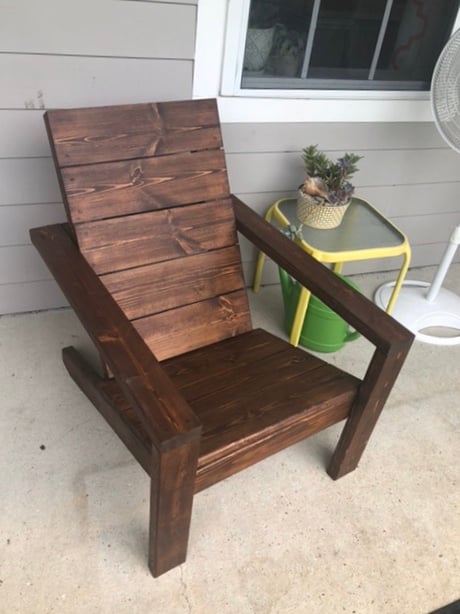
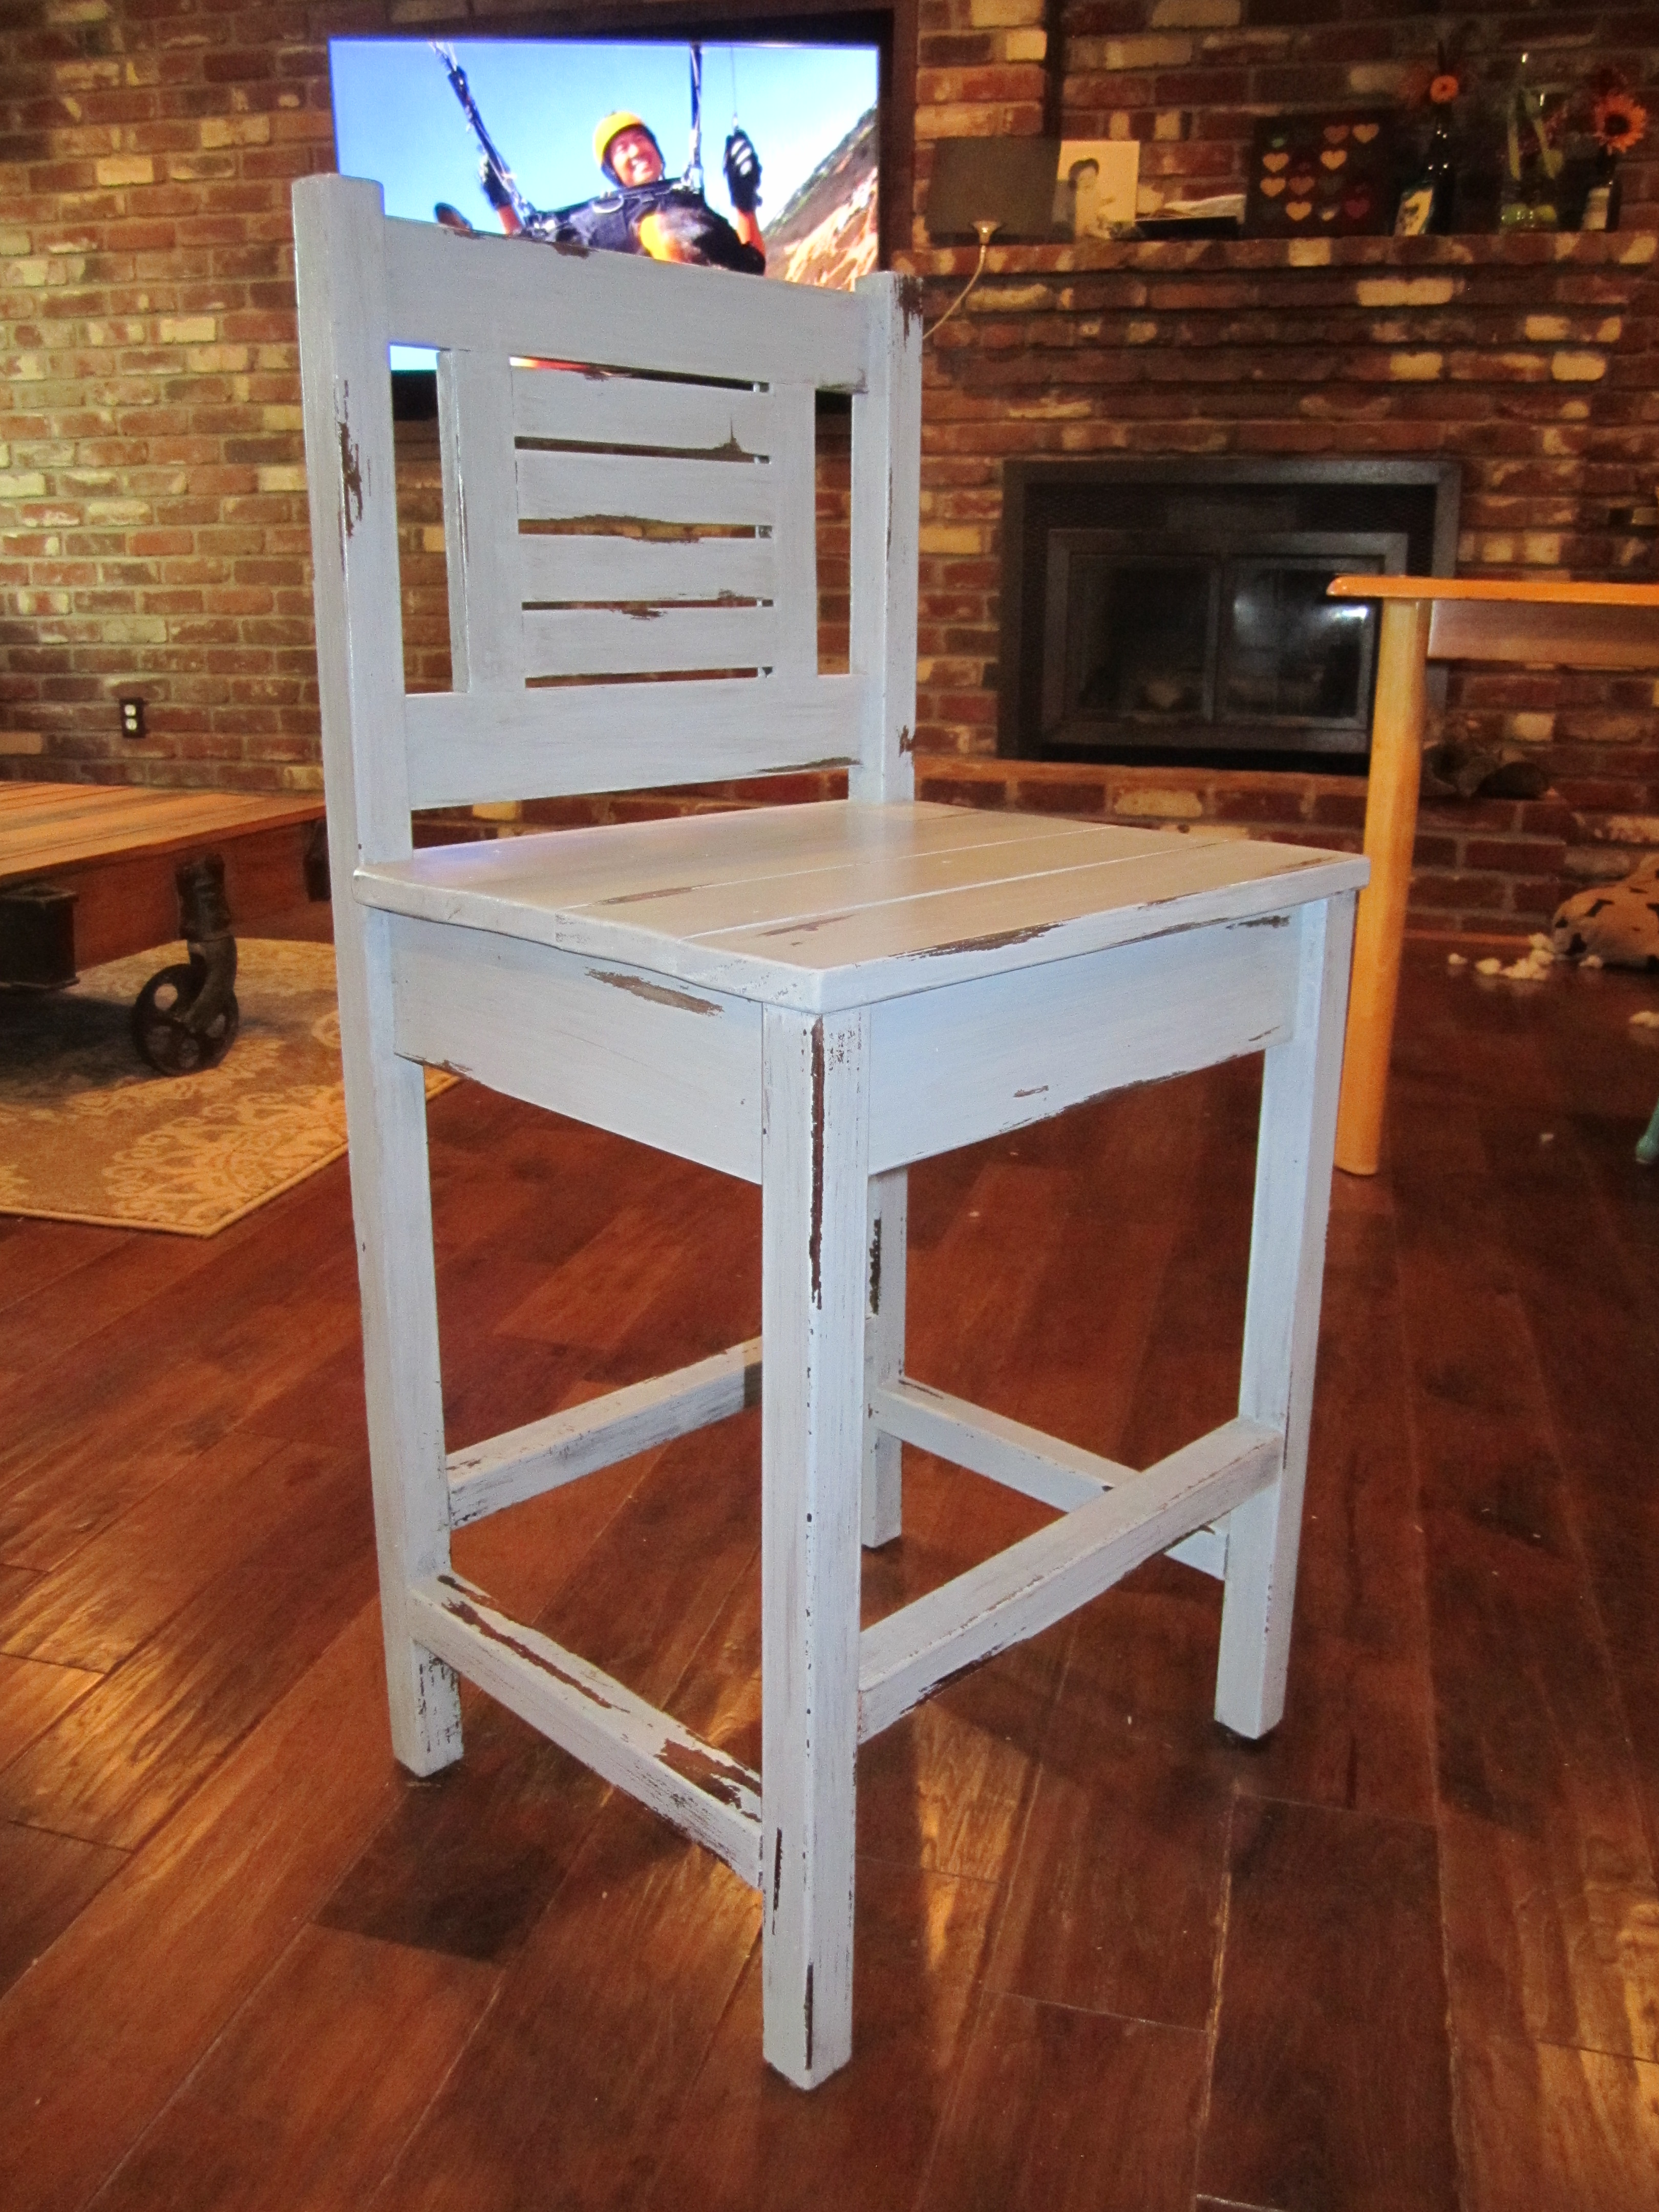
My wife and I were tired of the cheap plastic chairs but not wanting to spend a fortune. I came across Ana’s site and these great plans so I gave it a shot. Everything was pretty straightforward. I decided to use 1x6’s for the seat and back slats instead of 1x10’s. I also used dowel rods instead of wood filler to close all of the screw holes and I Roy fed the edge of the front seat slat one the router. I’m currently working on a partner for this chair with some adjustments (Making it 2” wider and using pocket hole and other techniques to hide the screws).

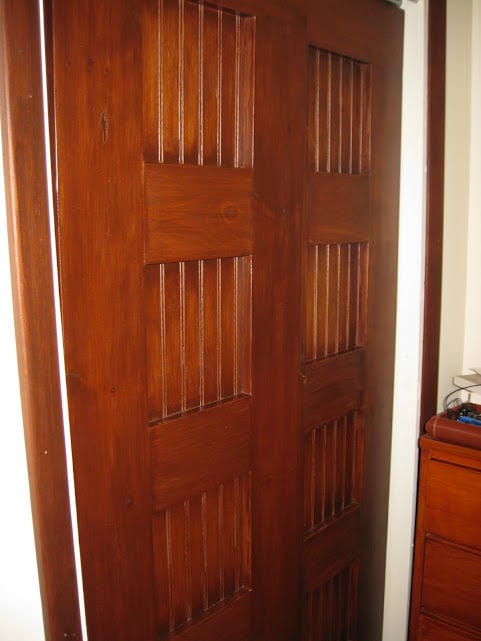
Our bedroom closet was a DIY special from the previous owners of our home. We had upgraded the closet but were left with a dilemma - the door opening was not a 'standard' size. The two options were to purchase custom built bypass doors ($$$) or to live with the tension rod and curtain we were using. I came across this plan and after a few quick seconds we had decided we were going to try to build our own.
We followed the measuring instructions to measure our door (which we found (not surprisingly) was out of square which made things interesting) and set out to find our wood. My wife fell in love with this wainscoting at Lowes and that became the backing for the doors. We had to buy an extra piece so that I could ensure that the lines in the wainscoting matched the entire length of the door (we used 4x4 sheets rather than 4x8 because our Lowes didn't have full sheets of this particular wainscoting). The wainscoting backing gave it extra bulk and rigidity, making for extremely solid closet doors.
Everything came together and in one week (building and polystaining) we had the doors.
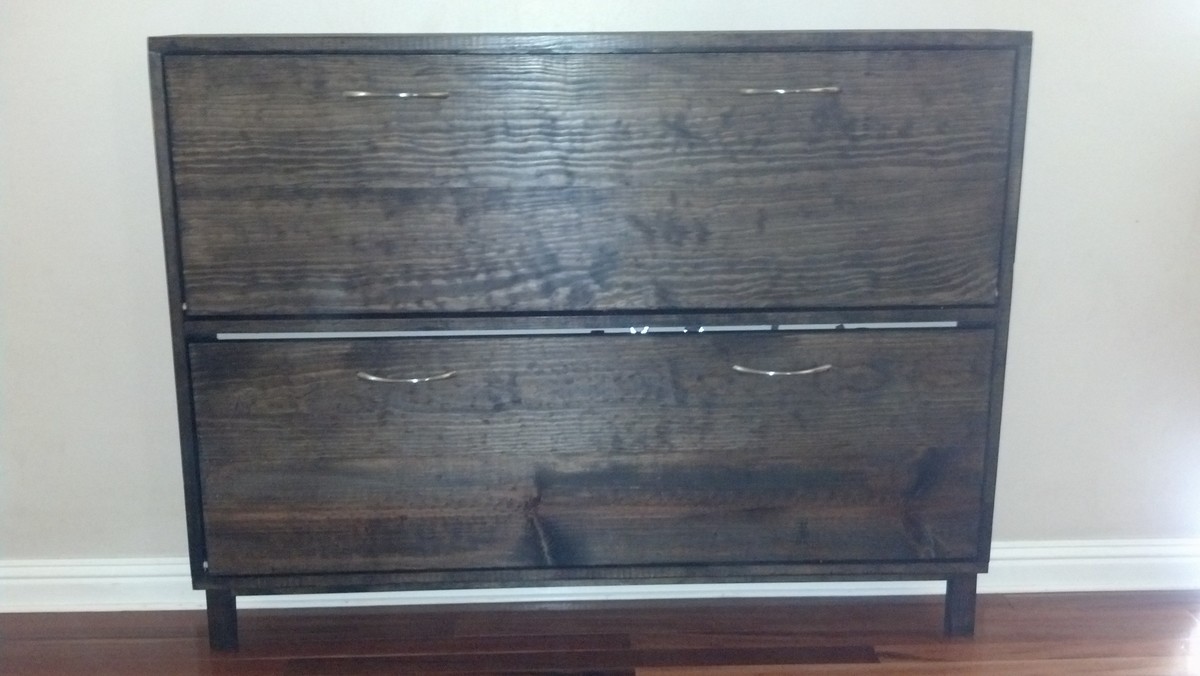
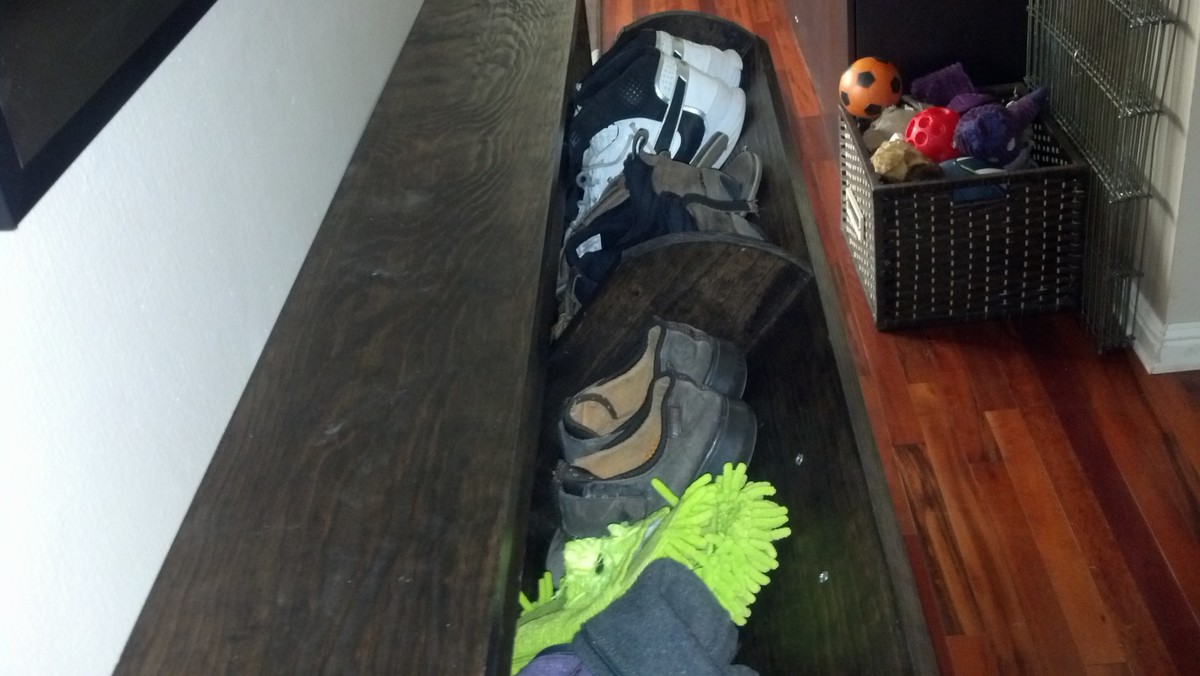
I've had the plans to this shoe dresser saved for months, and finally convinced my husband it was time to build it! In total, we probably spent about 8 hours on it, from cutting the wood to staining.
The instructions are a smidge vague, but if you really think through it, it's a piece of cake. Do not do anything out of order! My husband and I did, and we unfortunately had to redo certain steps.
This was our third project, and so far my favorite piece of furniture in our house!
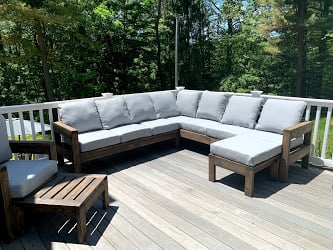
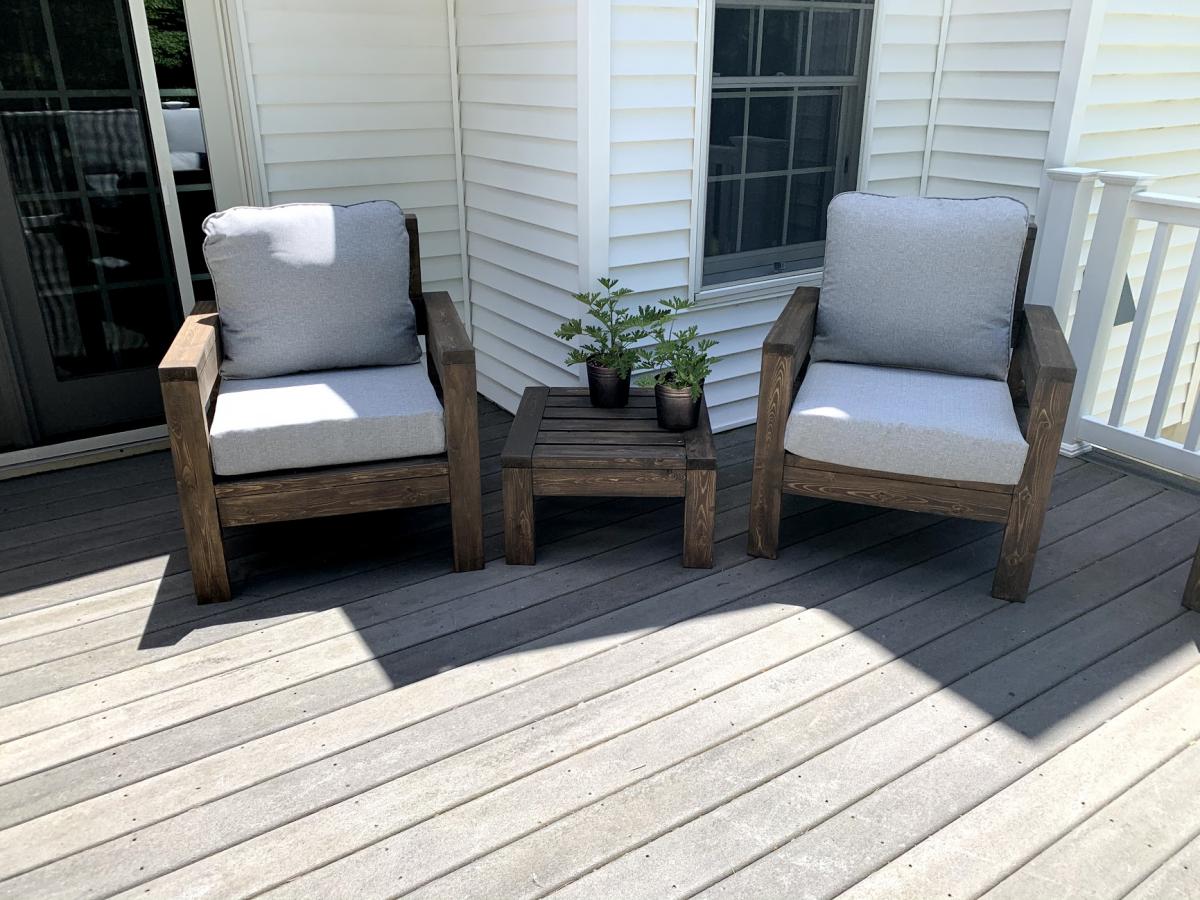
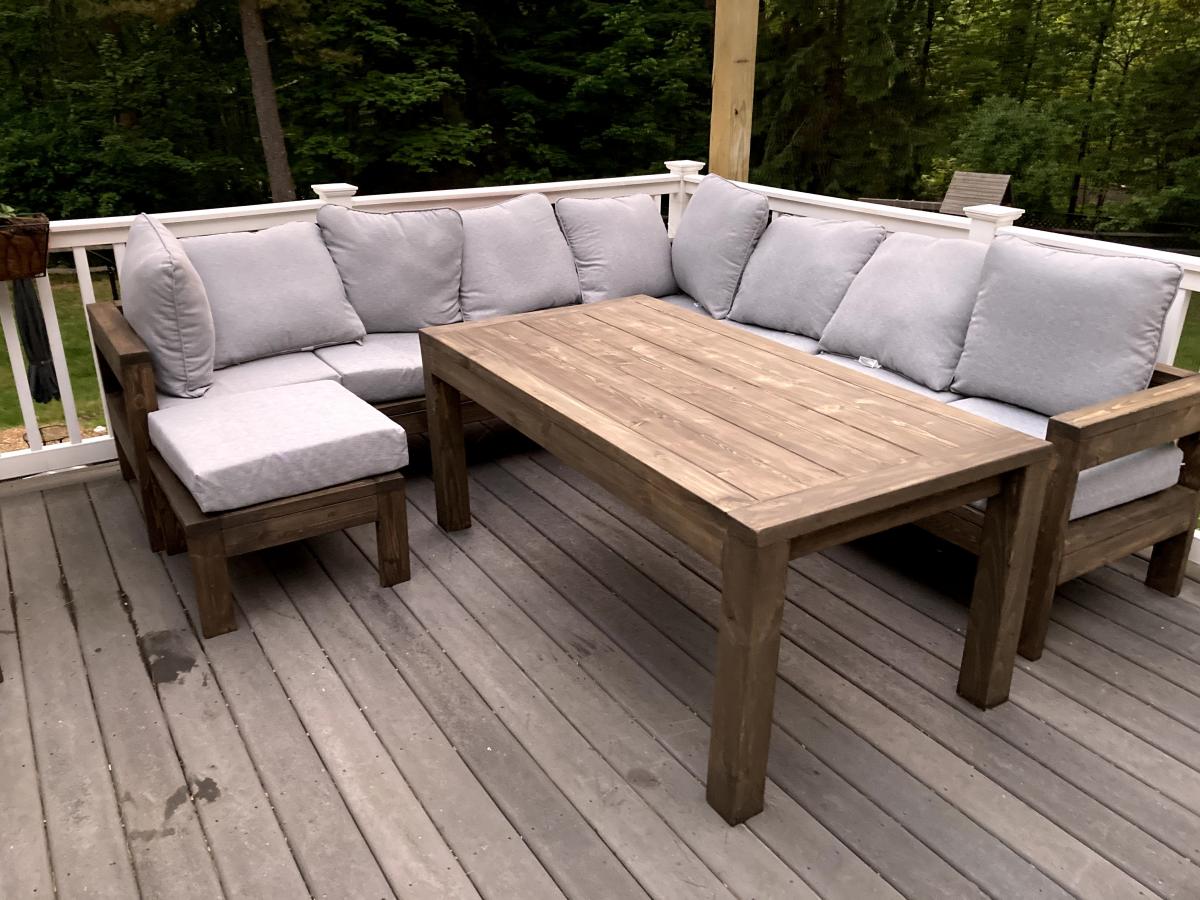
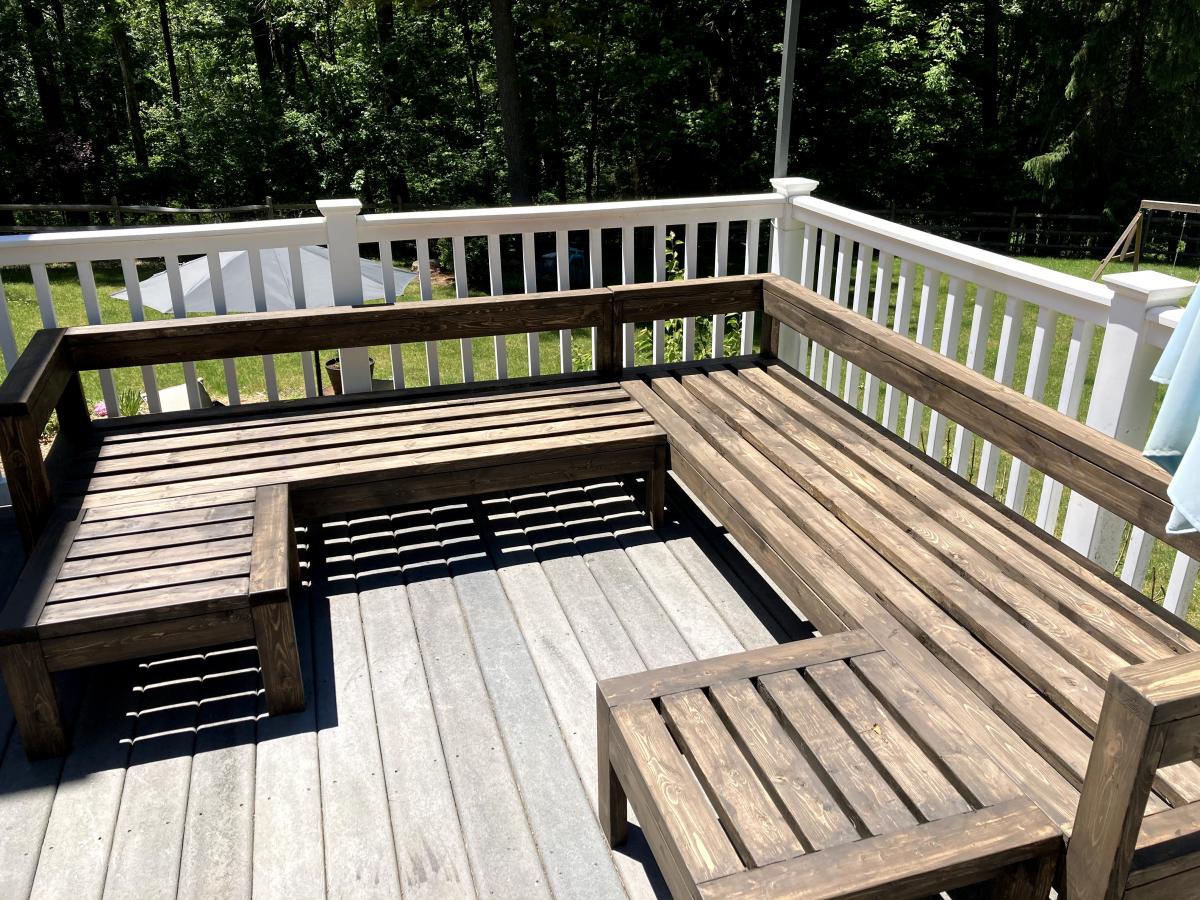
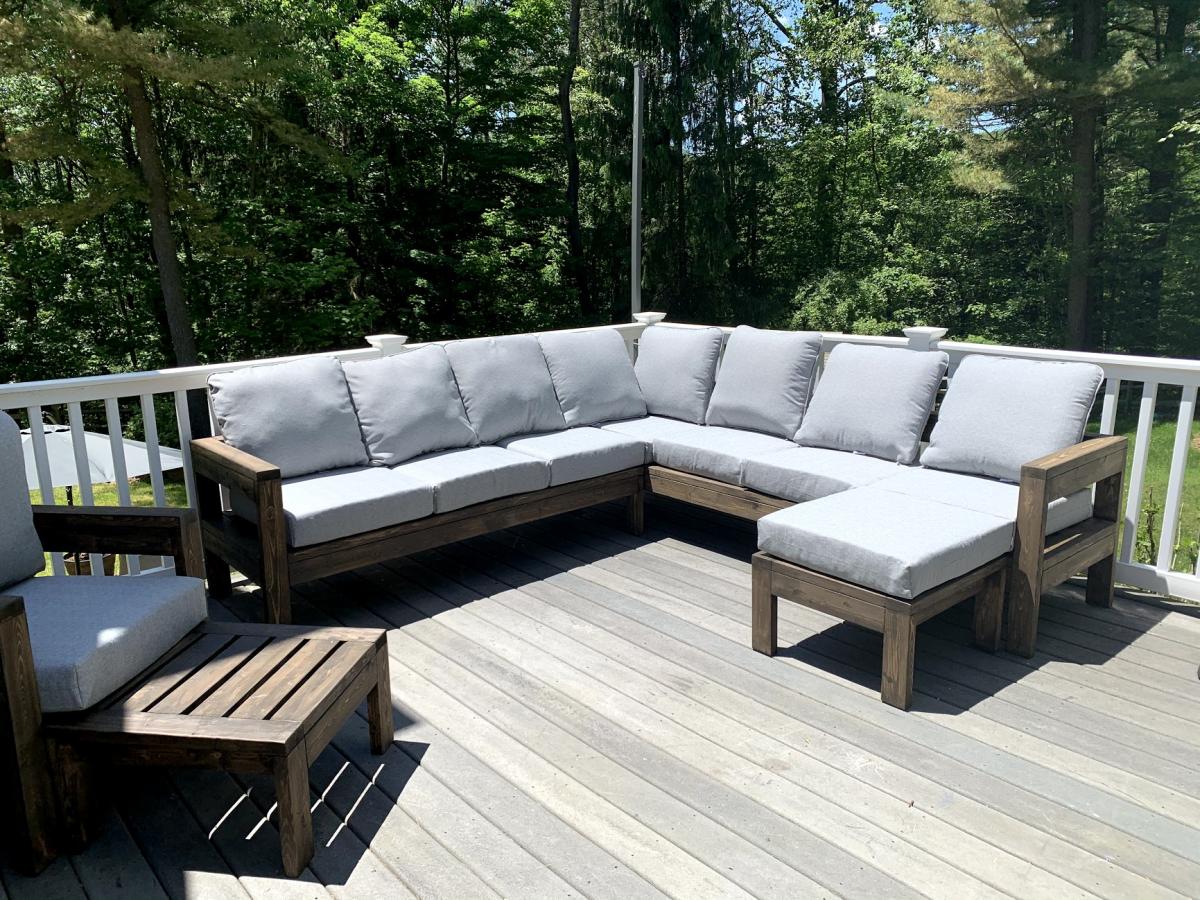
We were looking for outdoor furniture for our deck, and for the size and amount we needed it would have cost us at least $2000. We really like the idea of having an outdoor sectional that we can also use for dining, and we had trouble finding a set we liked. We found Ana's plans for the 2x4 Outdoor Sectional, and i loved the look. After seeing what others have done with the plans, I thought I would be able to modify it to get everything we needed for much less cost than buying a set.
We ended up extending the size of the 2x4 outdoor sofa by one 24" section, for a total length of 96". I then used the same design to make two outdoor chairs, just reduced the length to 24". I modified the 2x4 outdoor coffee table plans to create two ottoman's that can be moved around to make the seating more lounge style Finally, I modified the coffee table plans to make a 5 foot outdoor dining table. All in all, it took about a week and I couldn't be happier with how it turned out!

Mon, 08/02/2021 - 09:44
Looks amazing! What method did you use (pocket holes, dowels, deck screws, etc) to join the visible portions like the arms?
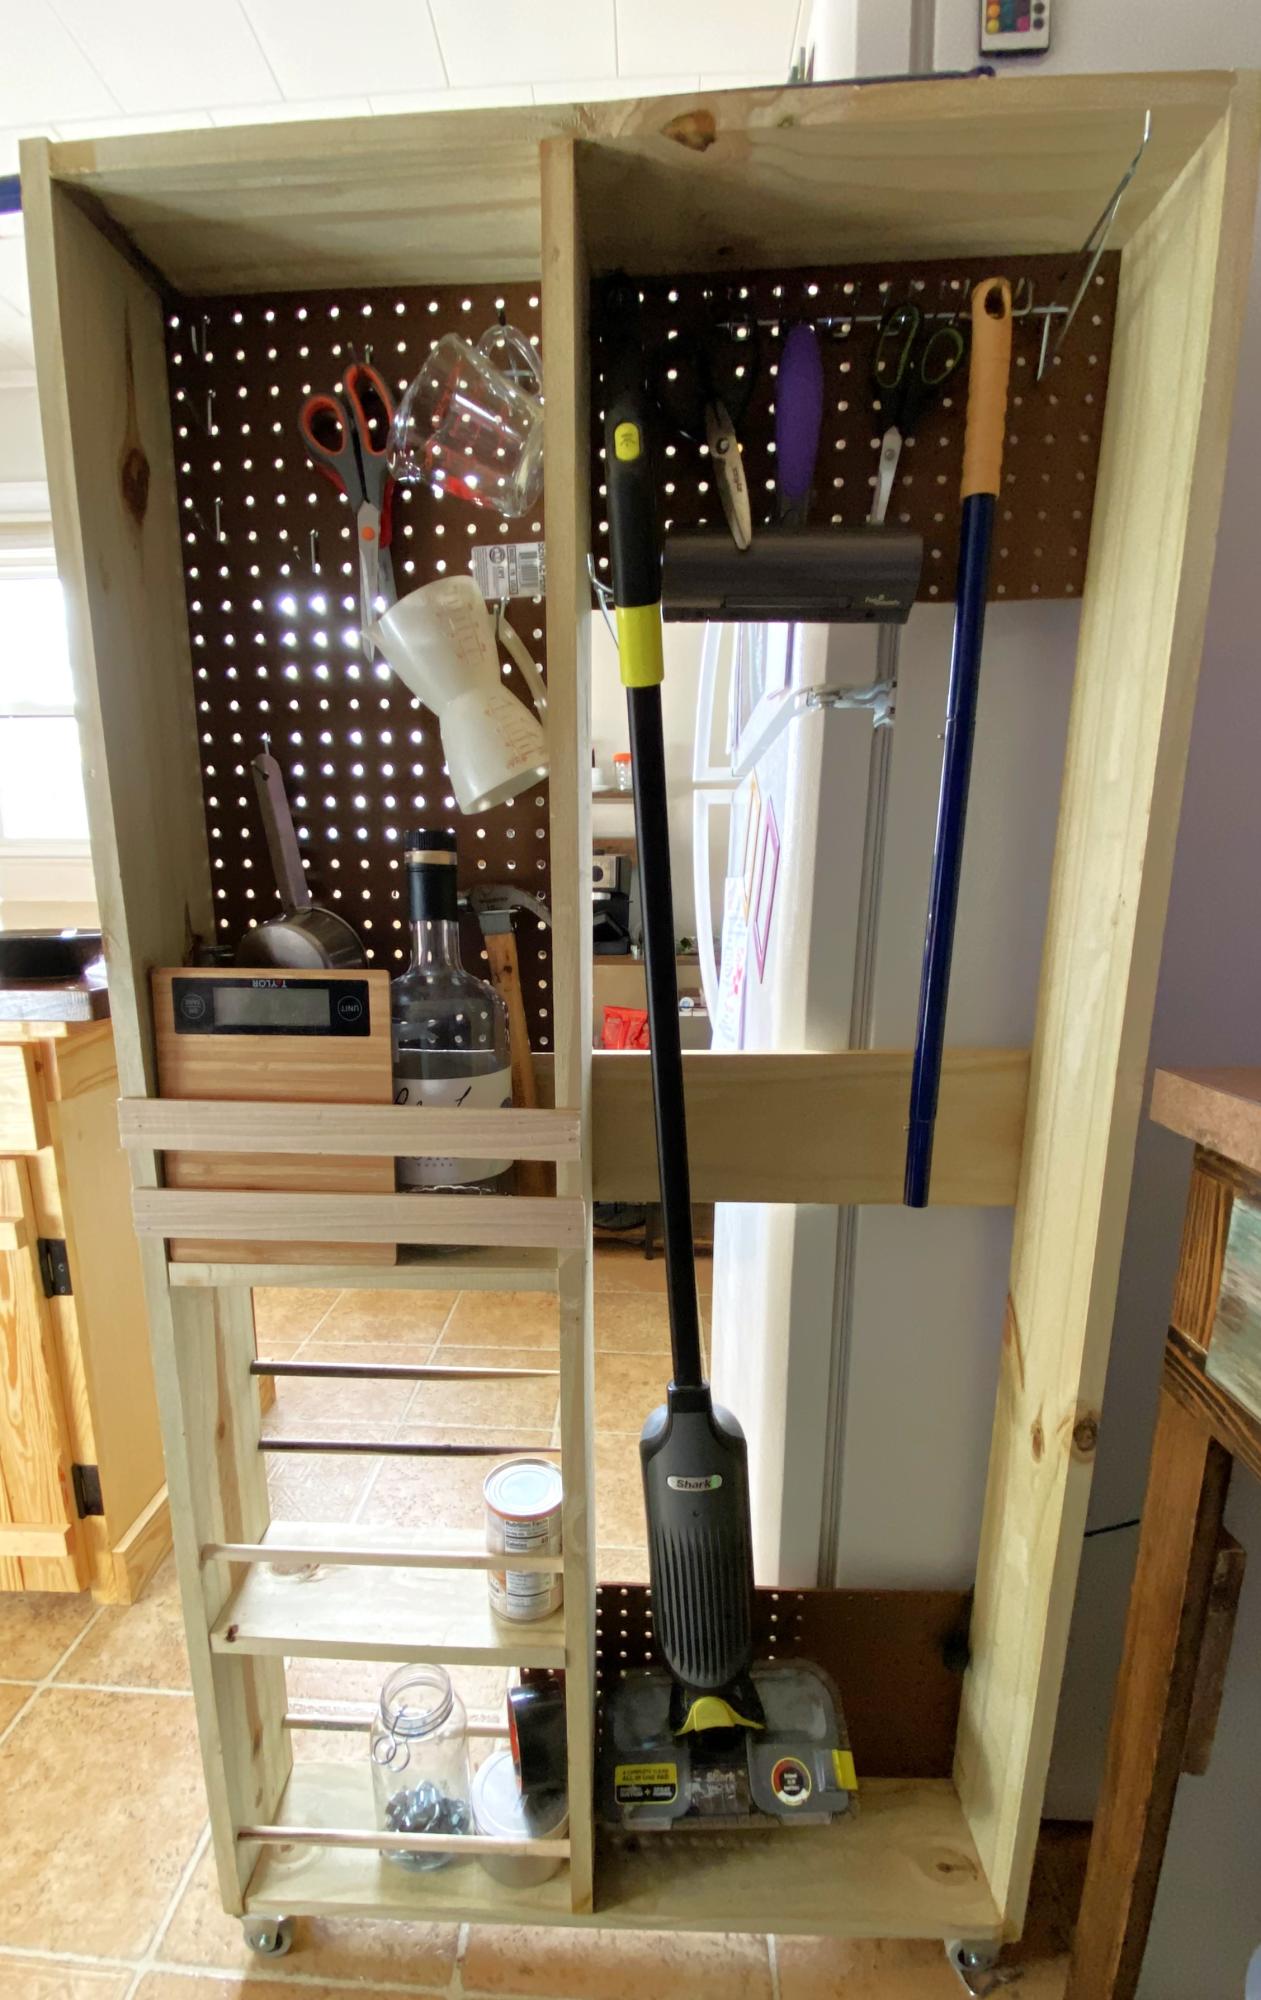
Not the prettiest but extremely effective. I think my entire kitchen will be all Ana White by the time I finish….what an inspiration she is! Thank you!
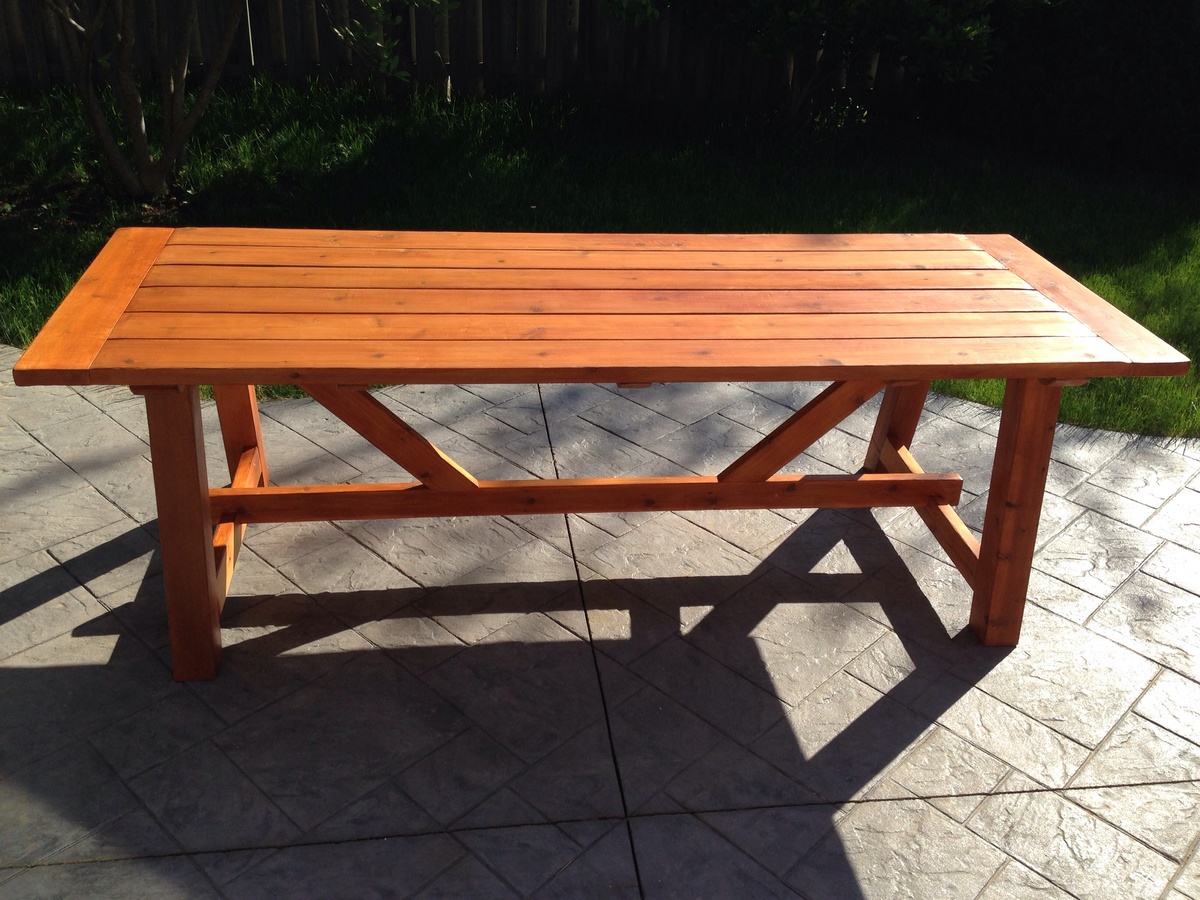
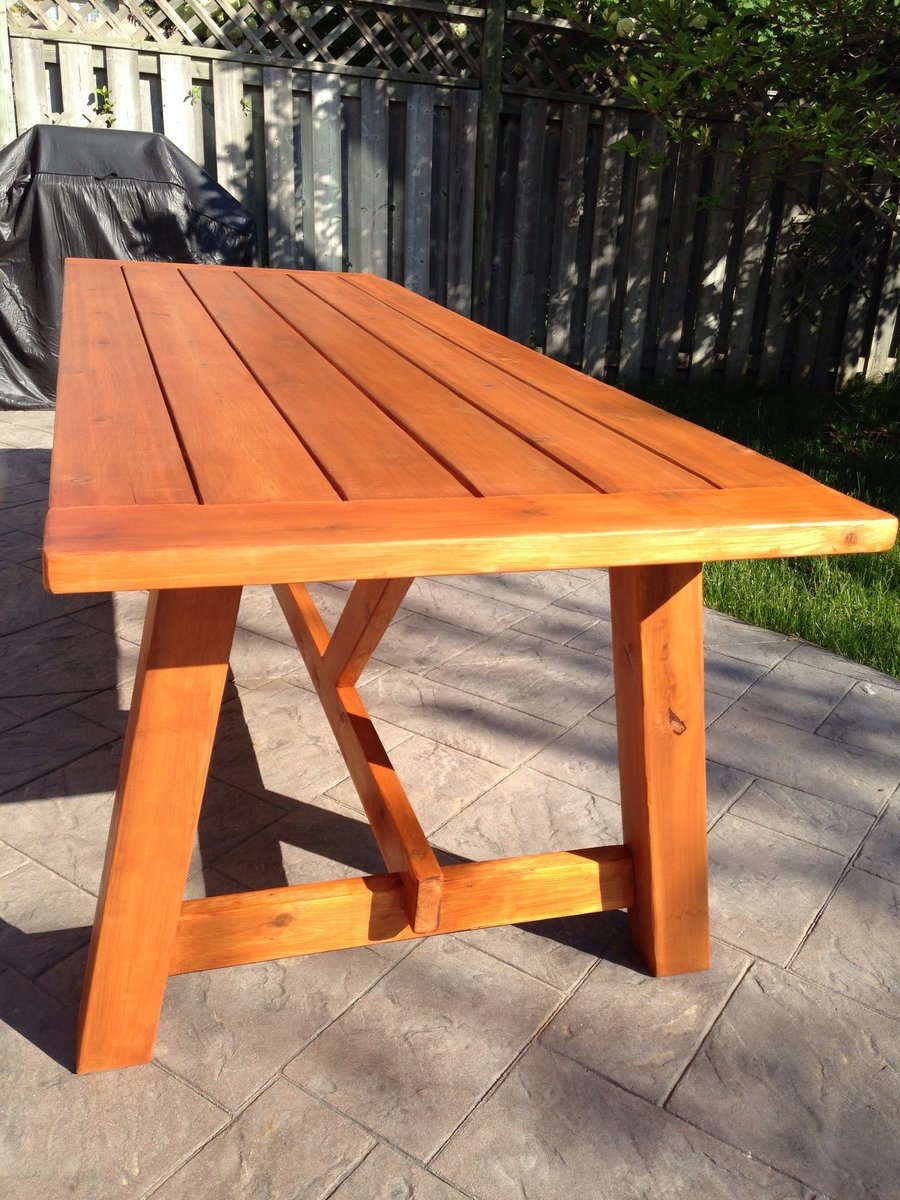
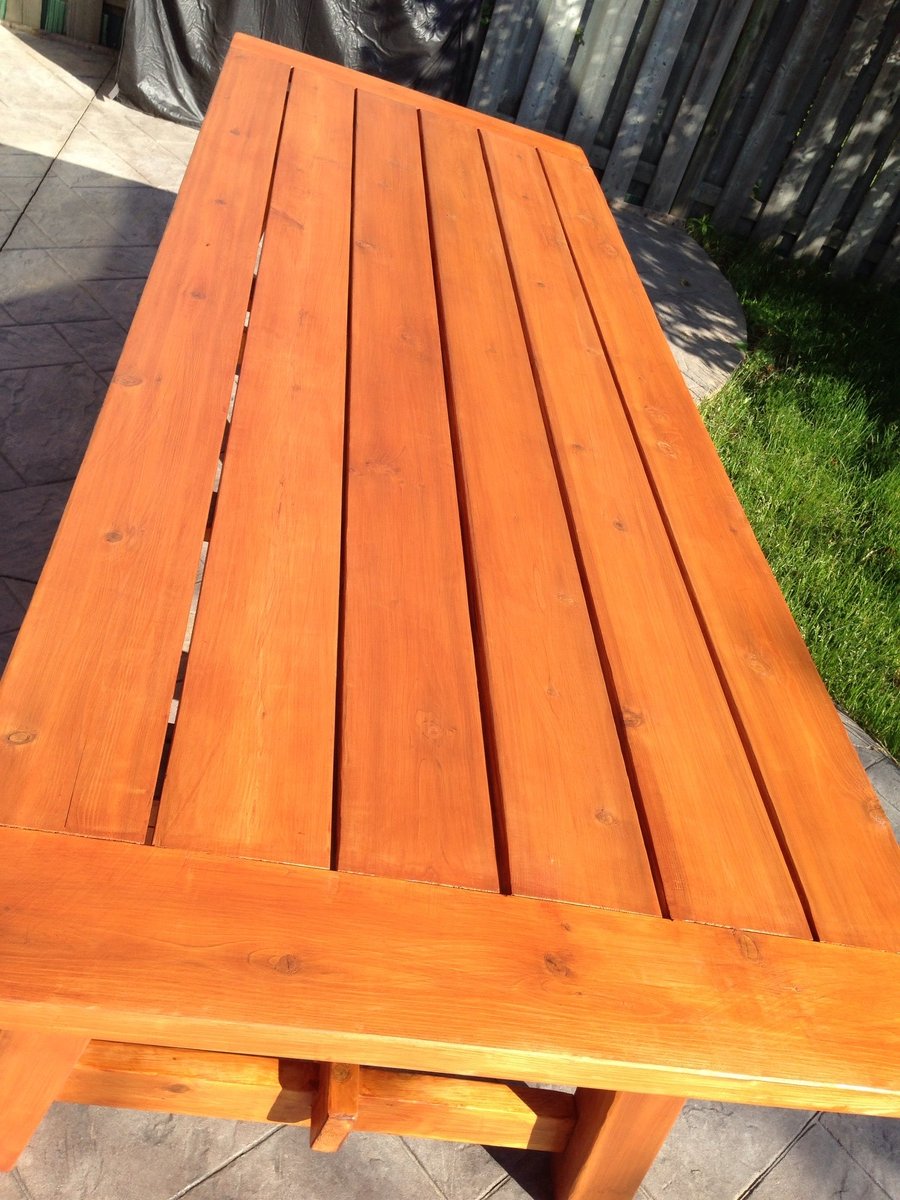
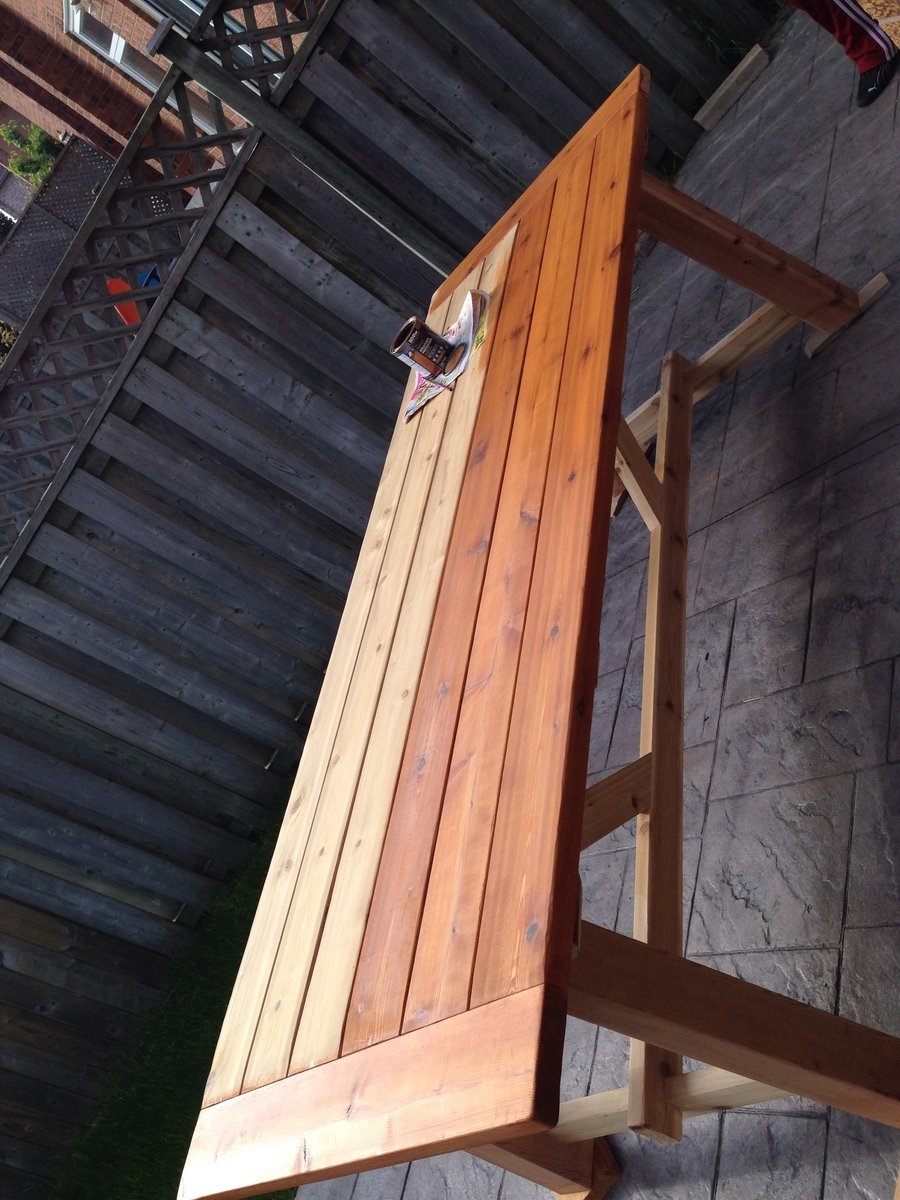
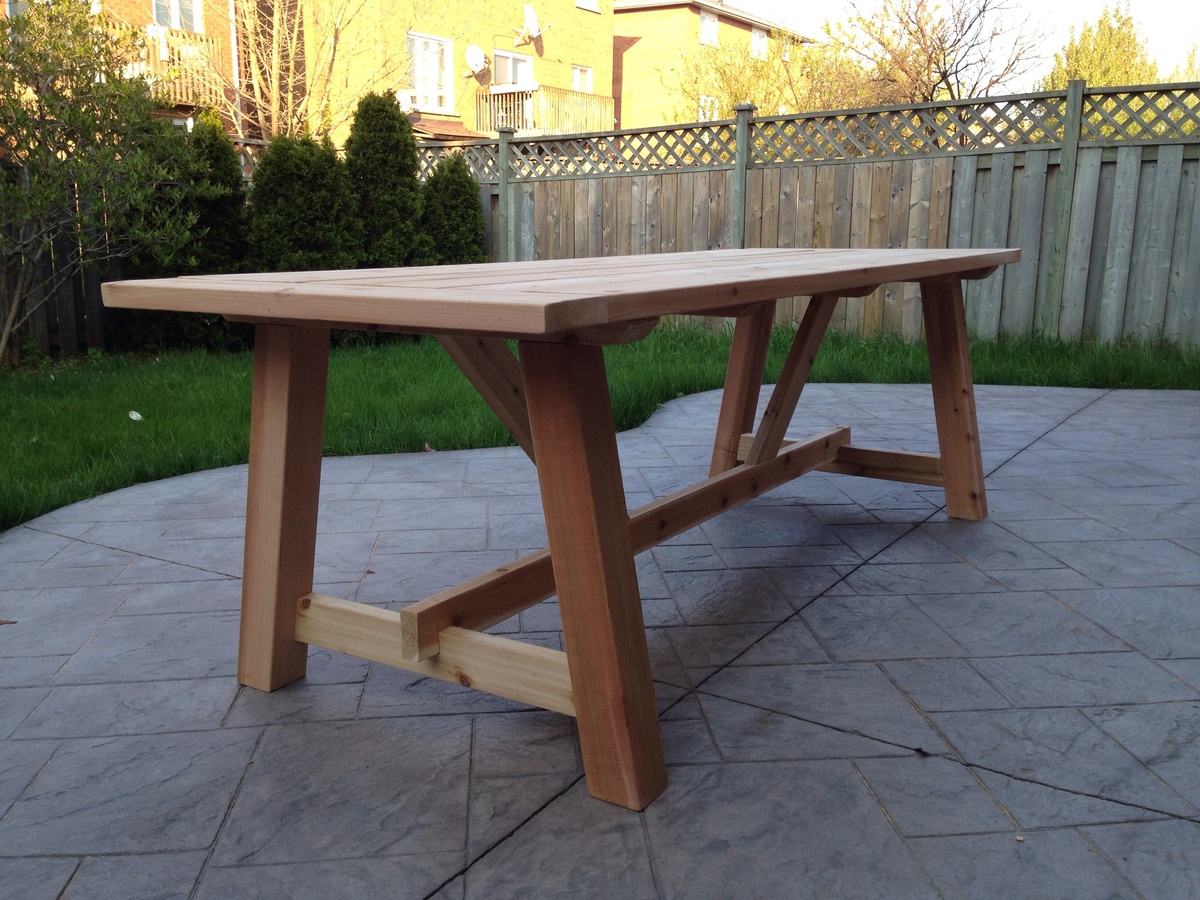
I've always wanted a wooden outdoor table for our patio. This site has inspired my husband and I to finally make our own. We combined the 4x4 Truss beam table design with the Providence table design, and created this cedar table that can seat 10. My husband built it and I stained it with Behr transparent cedar naturaltone stain. It only took about 6 hours for my husband to build despite all our measurements are different than the original designs due to change in table size and the wood size purchased. Sanding took about hour to 2 and then follow by a wash. Staining took 3 hours since I did double layers. It turned out amazing and we can't wait to put it to use! Thanks Ana for making these plans available.
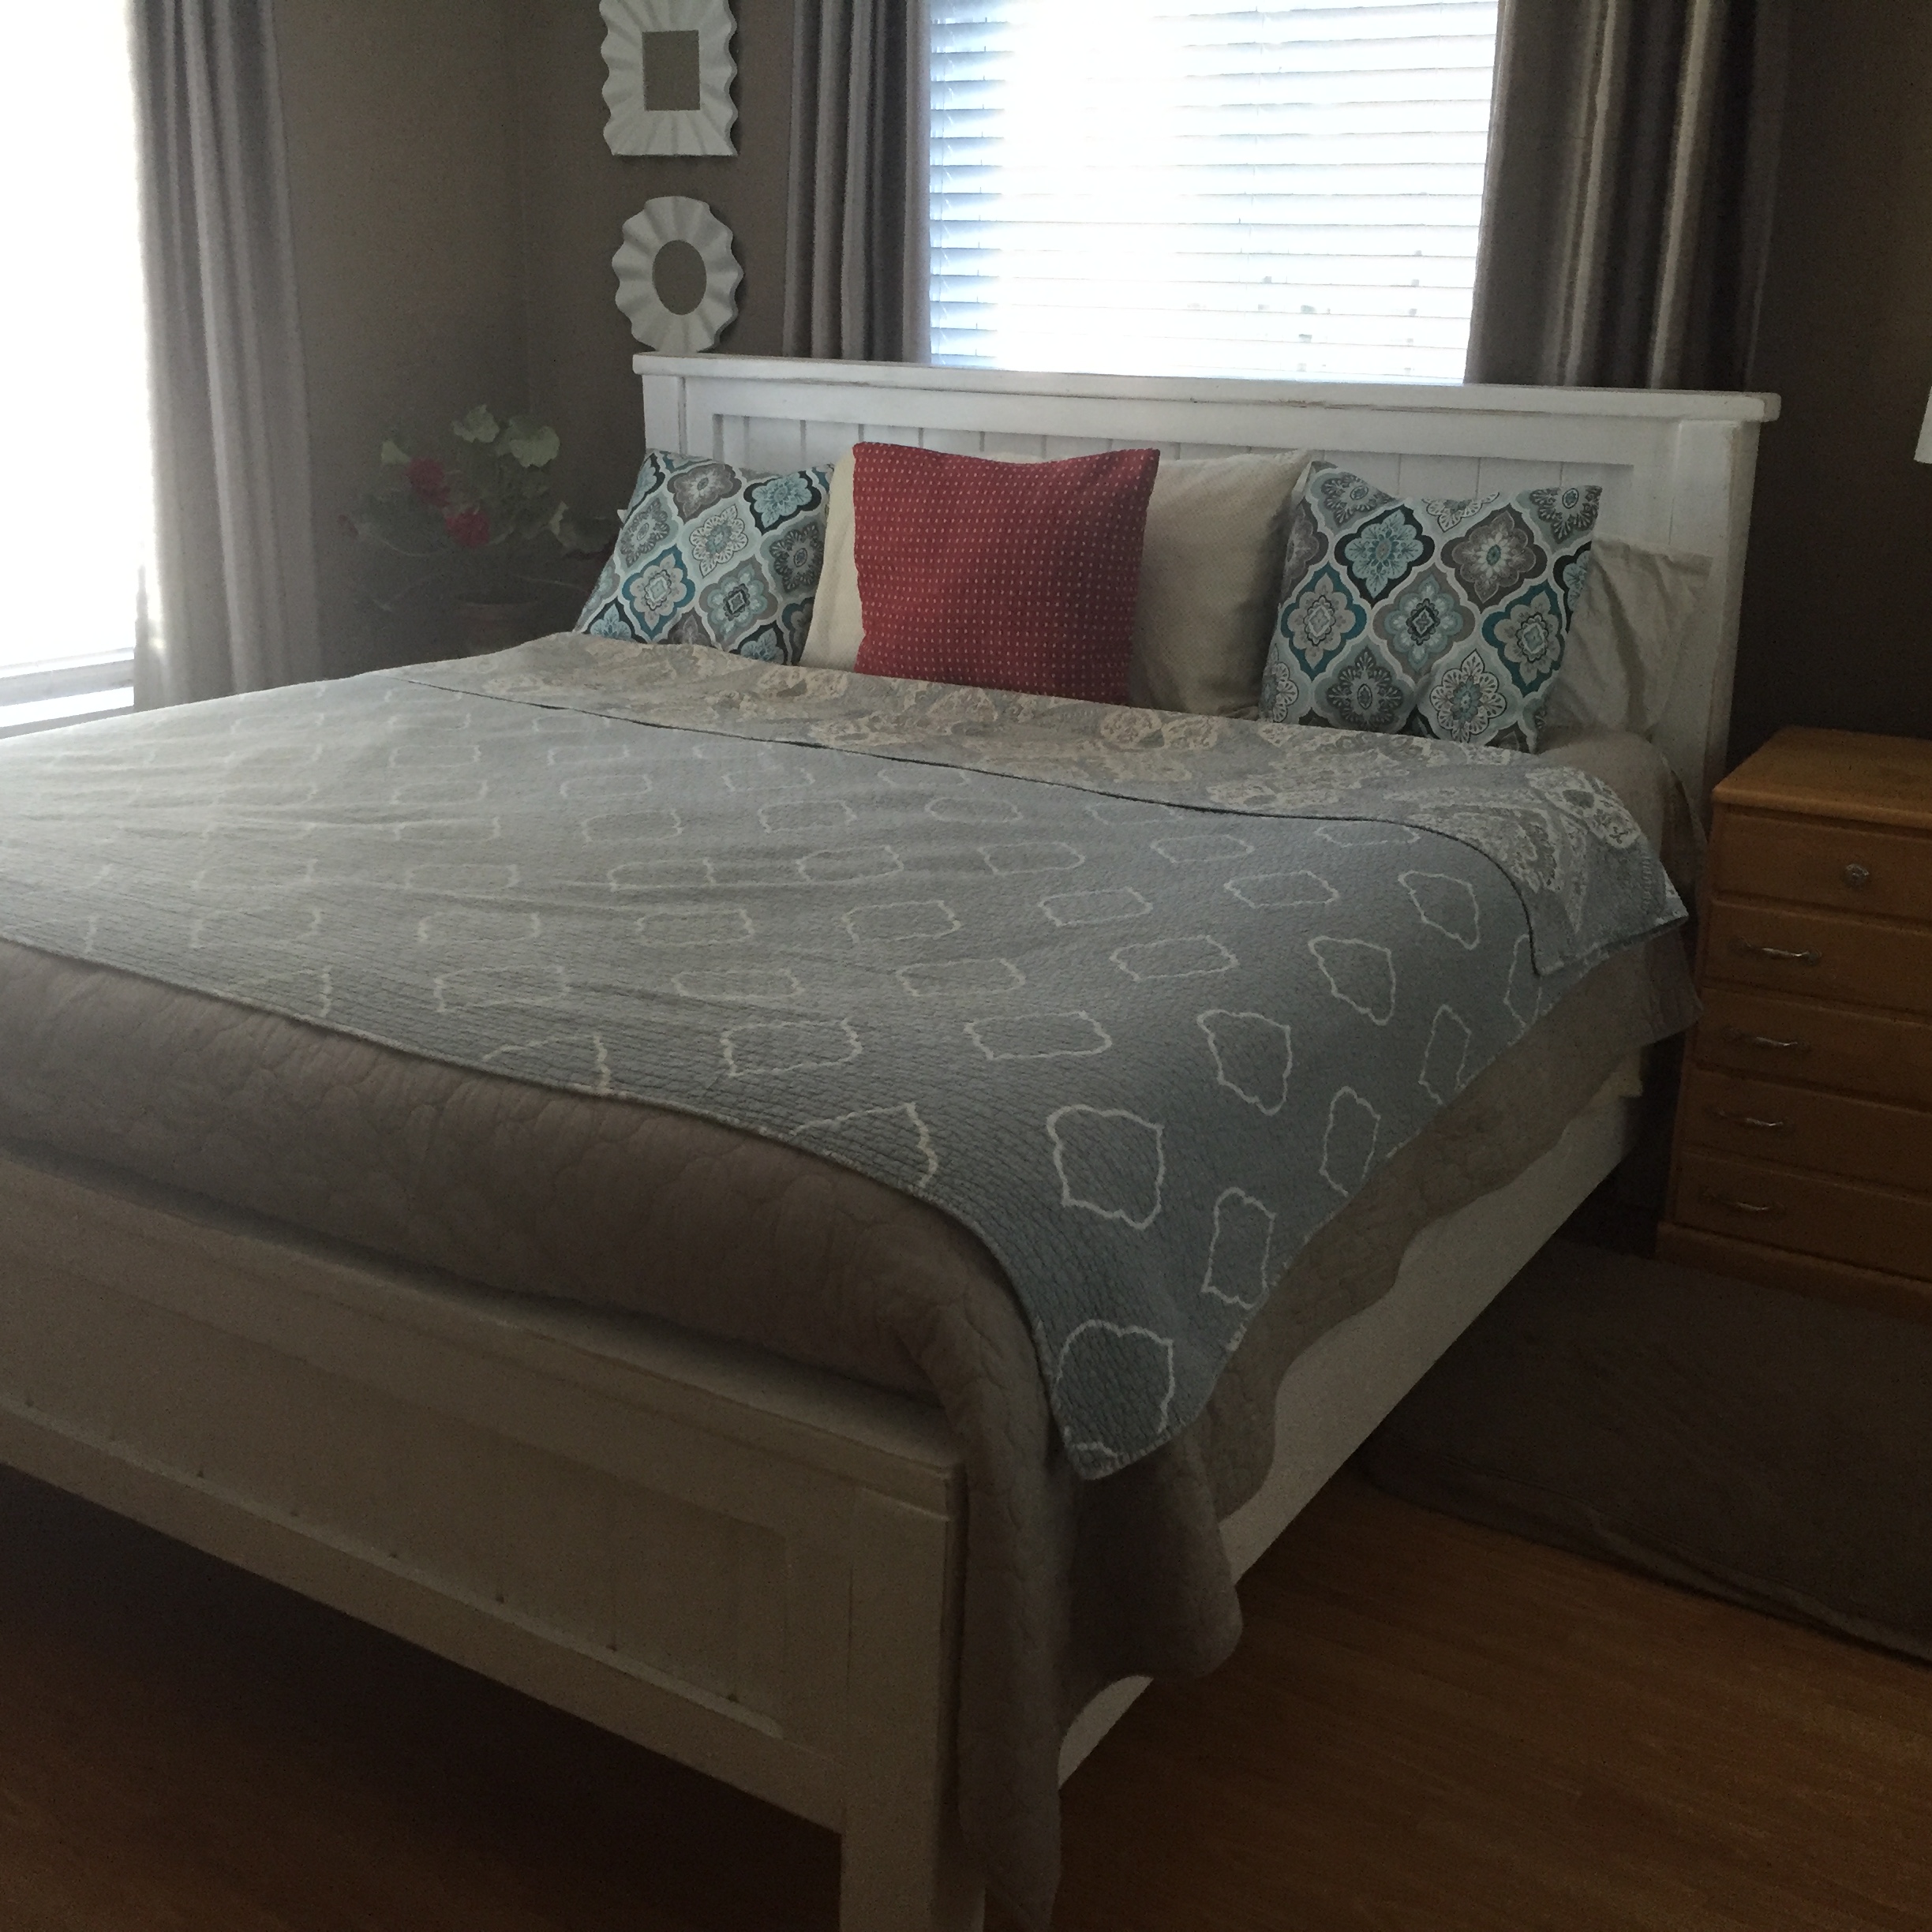
I loved this bed and after making Ana's fancy farmhouse table for my daughter, I couldn't wait to try this. It turned out beautifullly and even accomodates our three labs. Extra support added underneathe, of course! Love it!
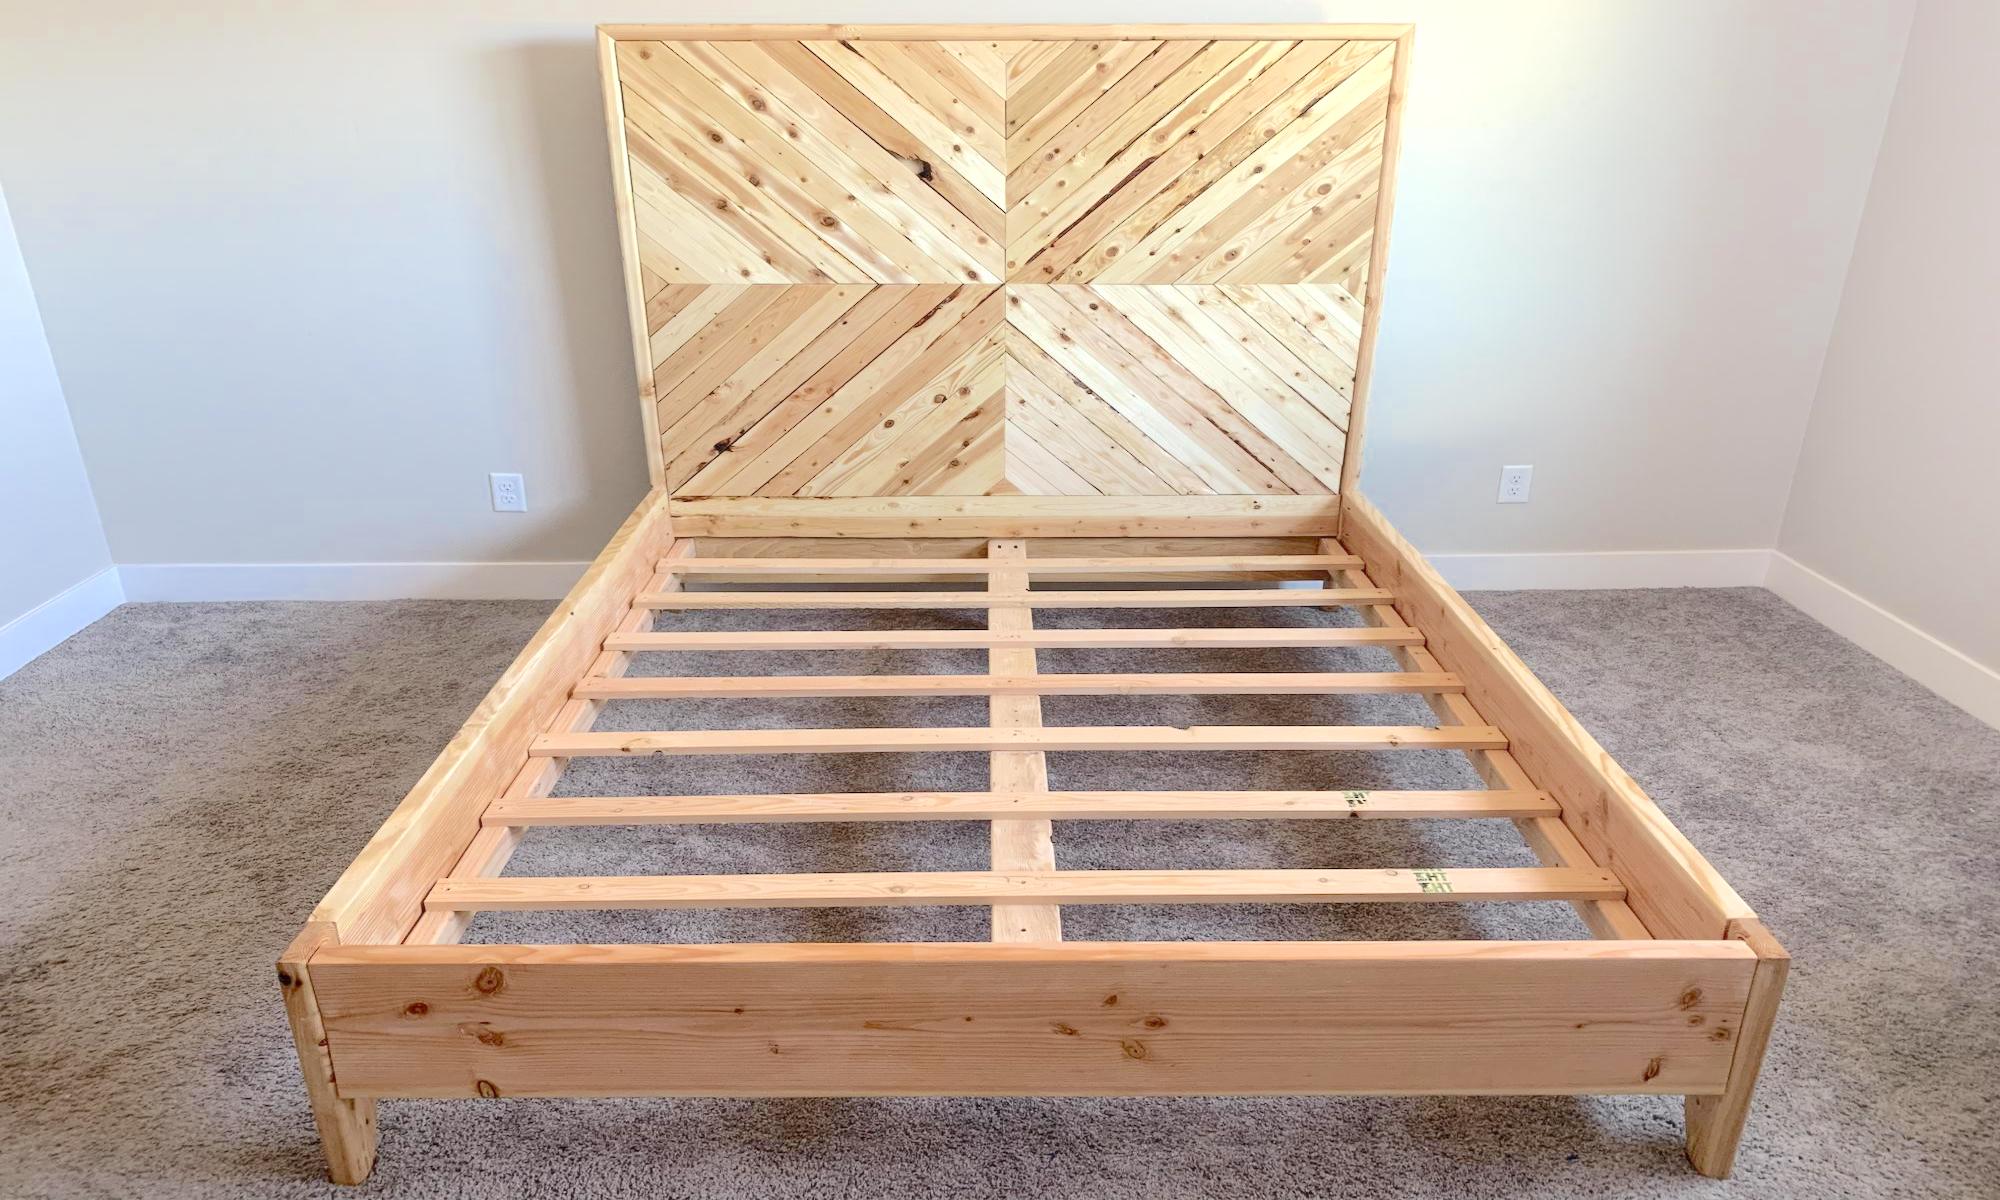
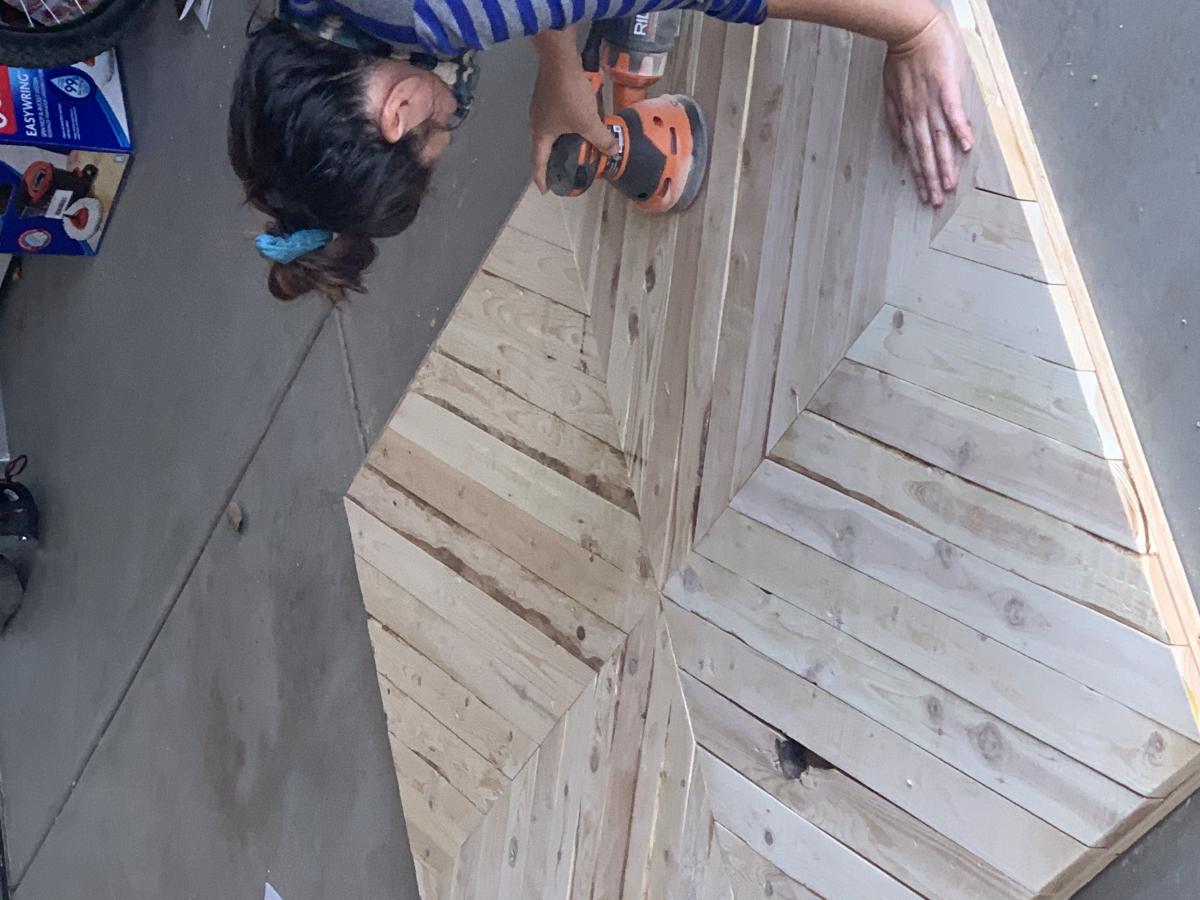
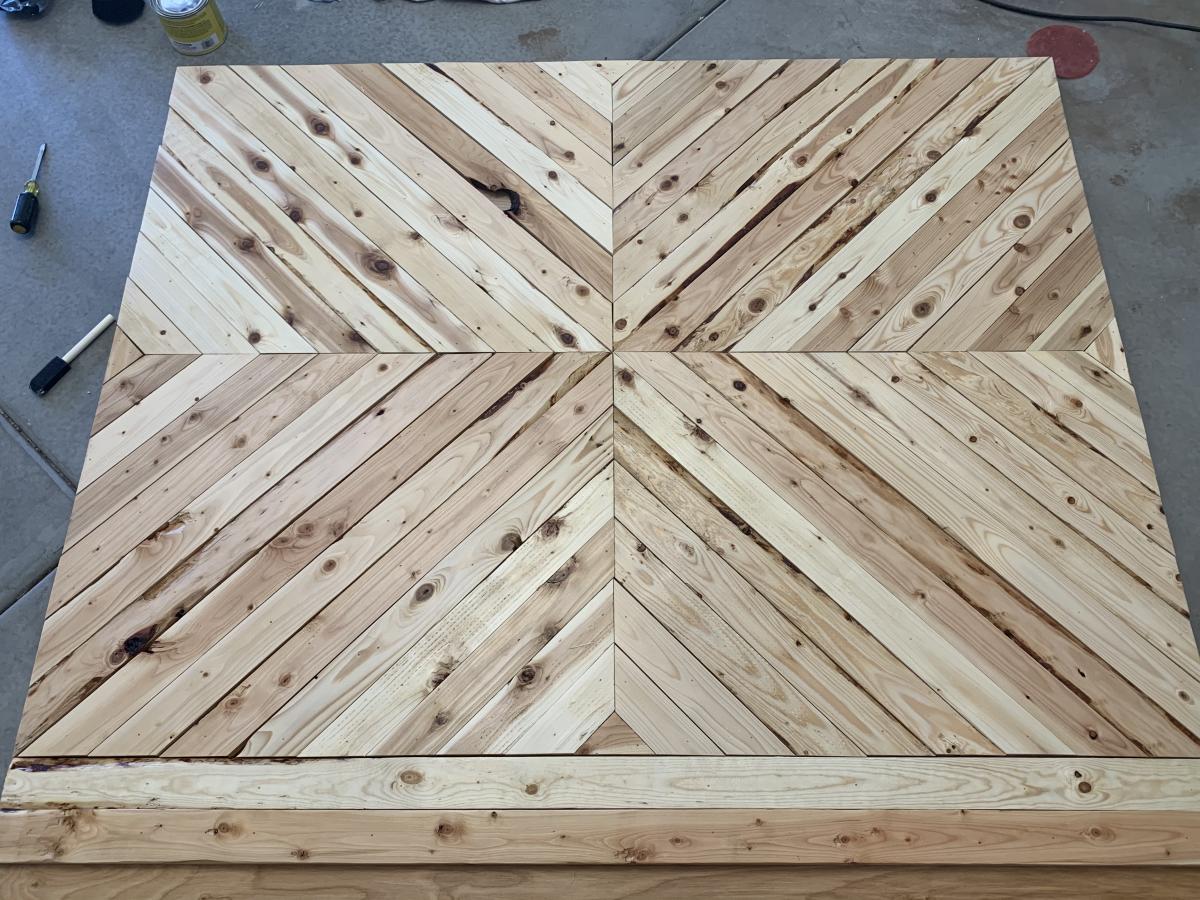
It was my very first project. Took forever to find the perfect stain, which in the end turned into a shellacking. We decided to keep it natural.

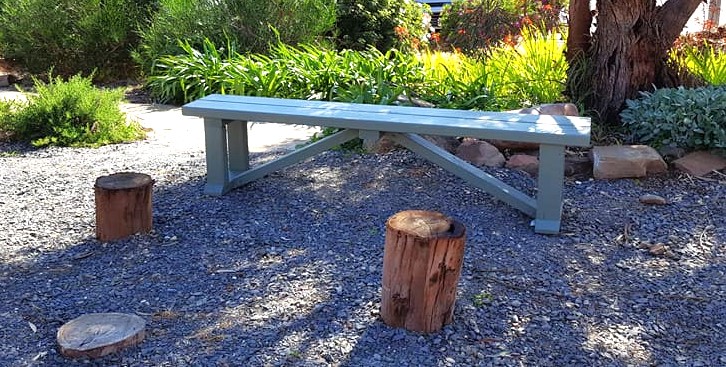
Our local youth built a nature play area on our church grounds for local children. Jack was 16yo and he worked together with Geoff 85yo to build this bench for parents to sit on while their children play.
davechamberrs777
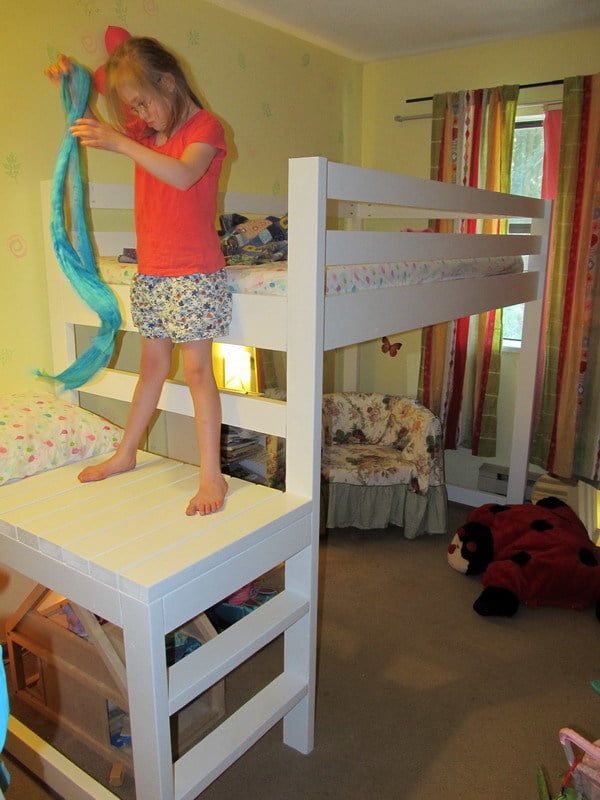
I have been planning on building a bed for Phaedra for a while now, and had figured I'd mix and match some ideas from some of Ana's other plans to get what I wanted. Then she came up with this, and it was perfect! Phaedra is not yet able to use a ladder to get up and down from a loft bed, so I was planning on stairs. Her bedroom is small, only 8'x10', and I hadn't figured out how to manage the stairs so that the bed wouldn't take up the entire room.
I decided against the stairs on this bed, since they would take up too much floor space. Instead I put a couple of 2x4s to make a ladder up to the platform. Phaedra loves her bed, and figured out getting up in no time at all. It took her about 3 days to master getting down.
I decided on paint instead of stain for the bed, because it was what I had on hand. It is CIL Smart from Home Depot in the melamine finish. Hopefully it will stand up well. The cutting and assembling took no time at all, but the painting took me two weeks! Next bed I make will be stained instead.
The best part, because I already had the paint, was that it cost less than $50 for the materials!
Mon, 08/13/2012 - 08:38
Love how the dollhouse fits perfectly under the "step". Nice job, it looks great! I love this plan and am waiting to see what the sex of baby # 6 is before we work on our bedroom arrangements. Right now the youngest has his own (small) room. If we have another boy, they will share this small room and a plan for lofting beds will be needed in a few years. If it is a girl then plans for triple bunks will be needed!
Mon, 08/13/2012 - 11:23
Thanks! The dollhouse fitting there was a total fluke. I had planned on getting a shelf to put it on under the bed, but then I saw that it fit there perfectly. I put some string lights around the rear legs of the platform so she can see well down there. She has played with it more in the last week than in the last couple years!
Tue, 08/14/2012 - 18:21
What a great idea to simply make a little ladder instead of the stairs. My son has a really small room that I wish to re-decorate now that he's starting school.
Love this bed with the small platform, and no stairs will make room for a drawer :)
Was planning on painting, but not sure if I will have the patience ...!
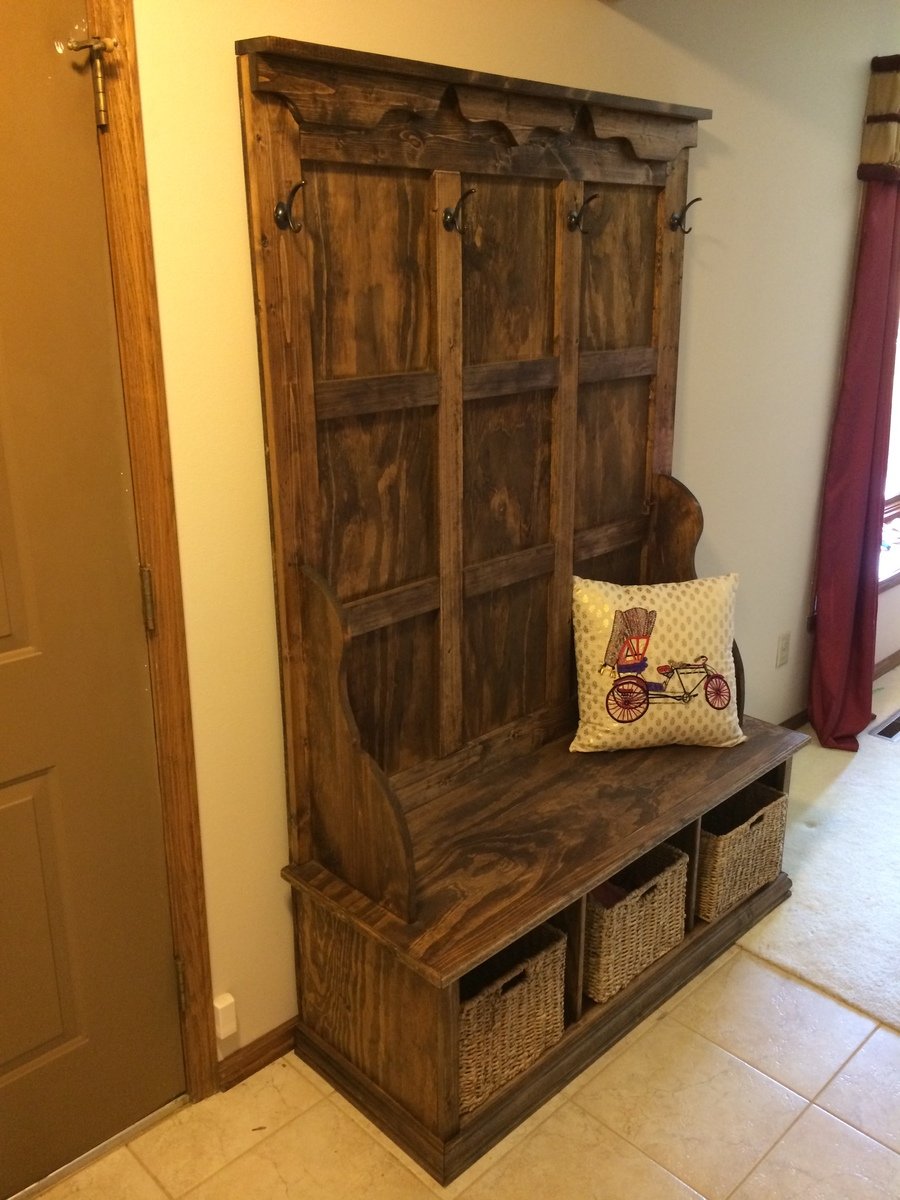
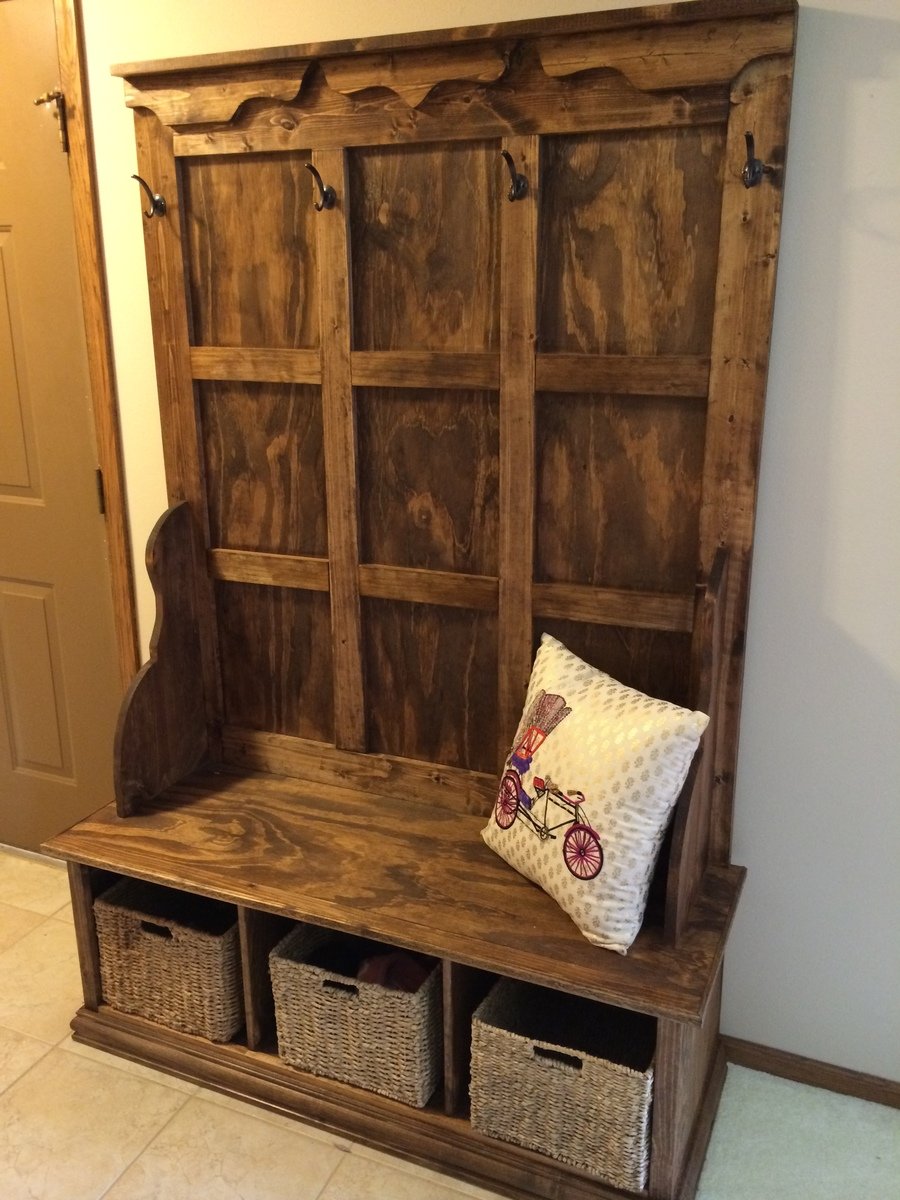
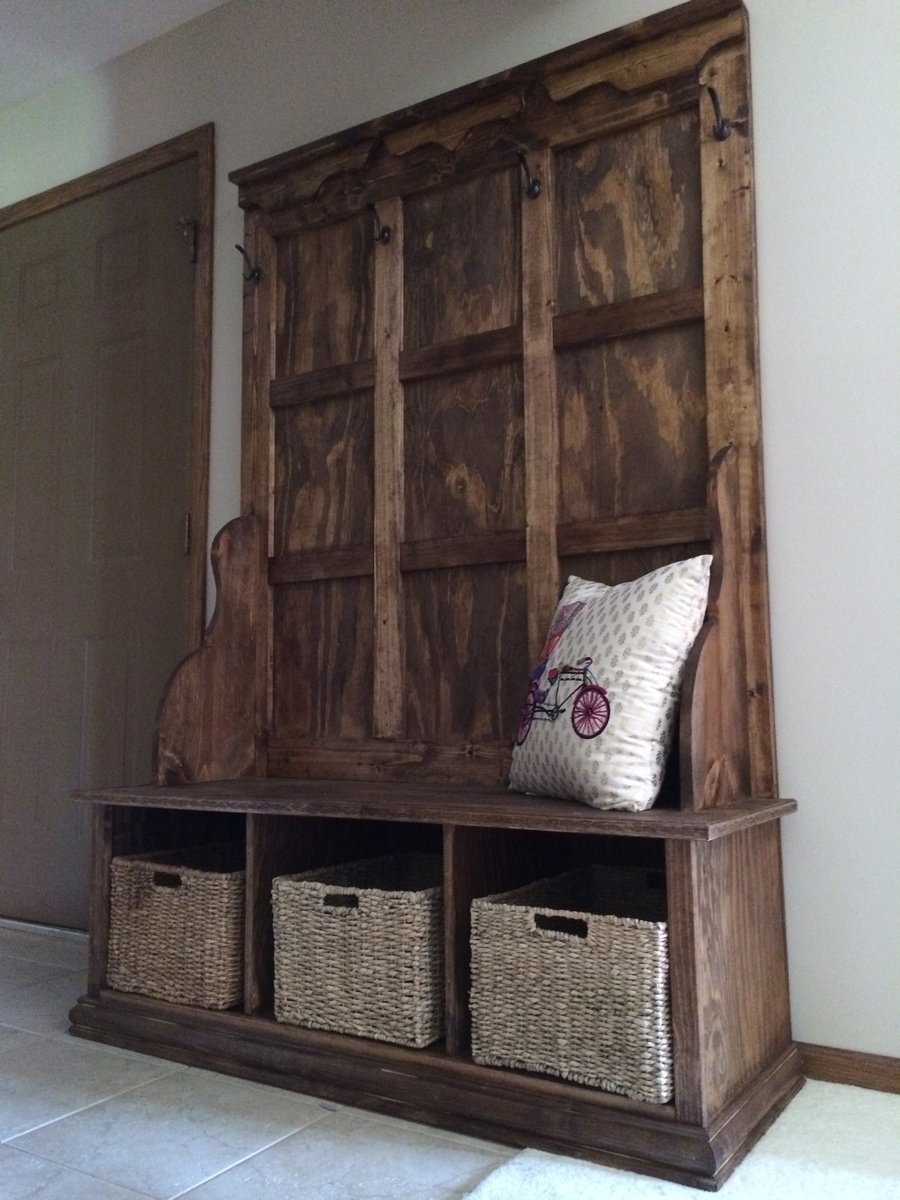
The fancy tree hall fits perfectly across from the coat closet in our entry-way. For the most part, I followed Ana's plans except for the trim and molding. First, instead of using crown molding at the top, I used scrap wood to cut out decorative patterns with my jigsaw. I also cut some decorative crown molding and nailed it to the edges of the bench. Finally, I covered up exposed edges of plywood on the bottom cubbies with cheap molding. I followed the plans to install base molding at the bottom.