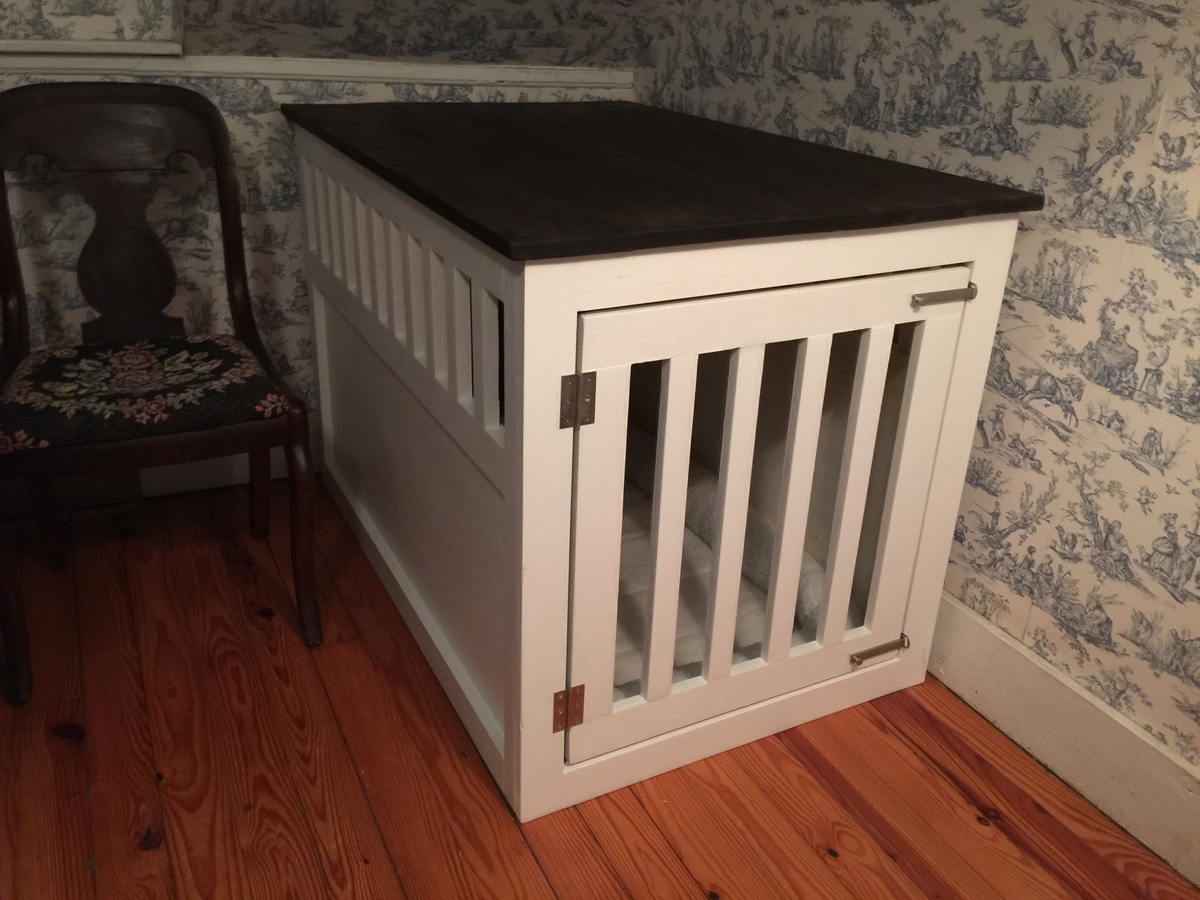
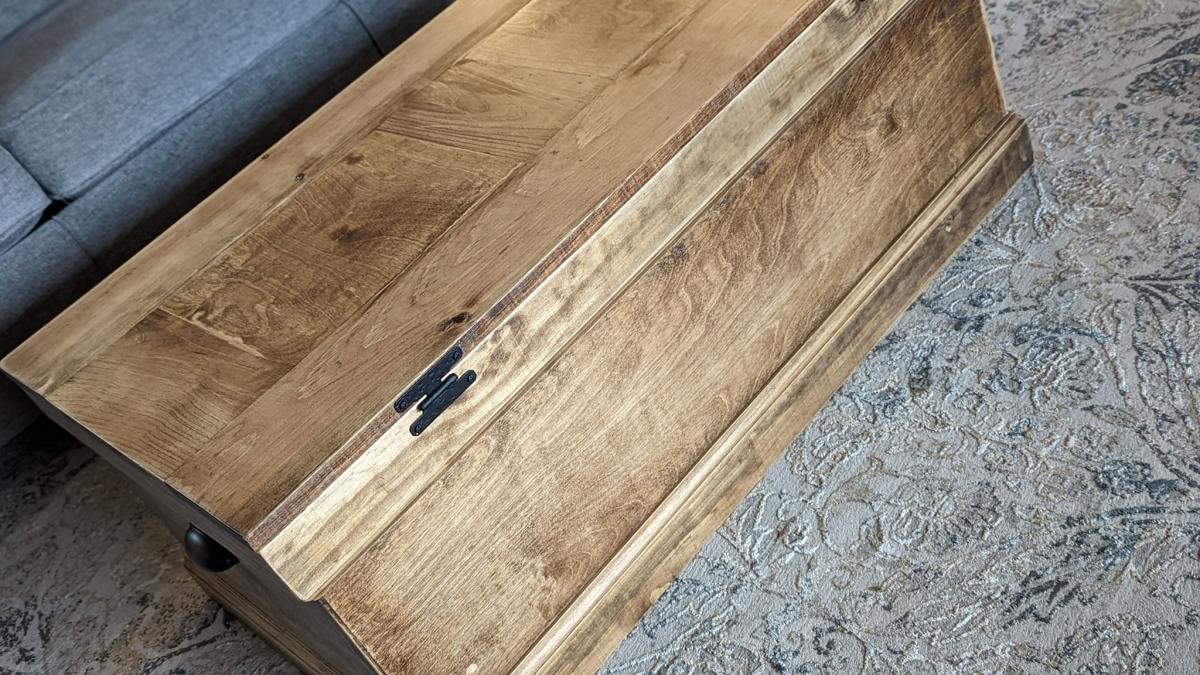
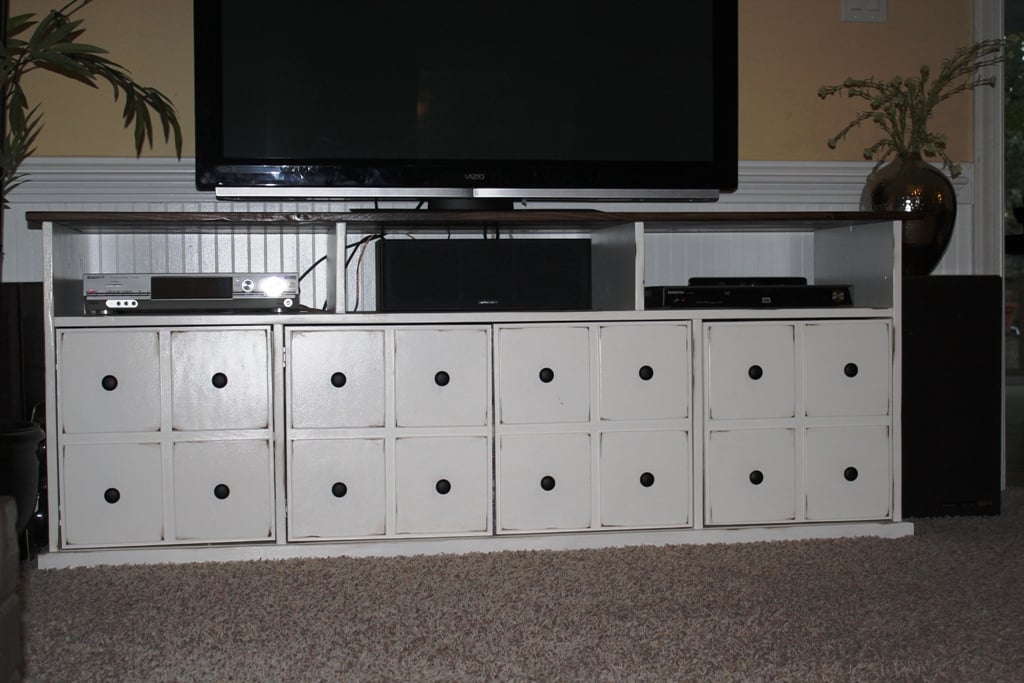
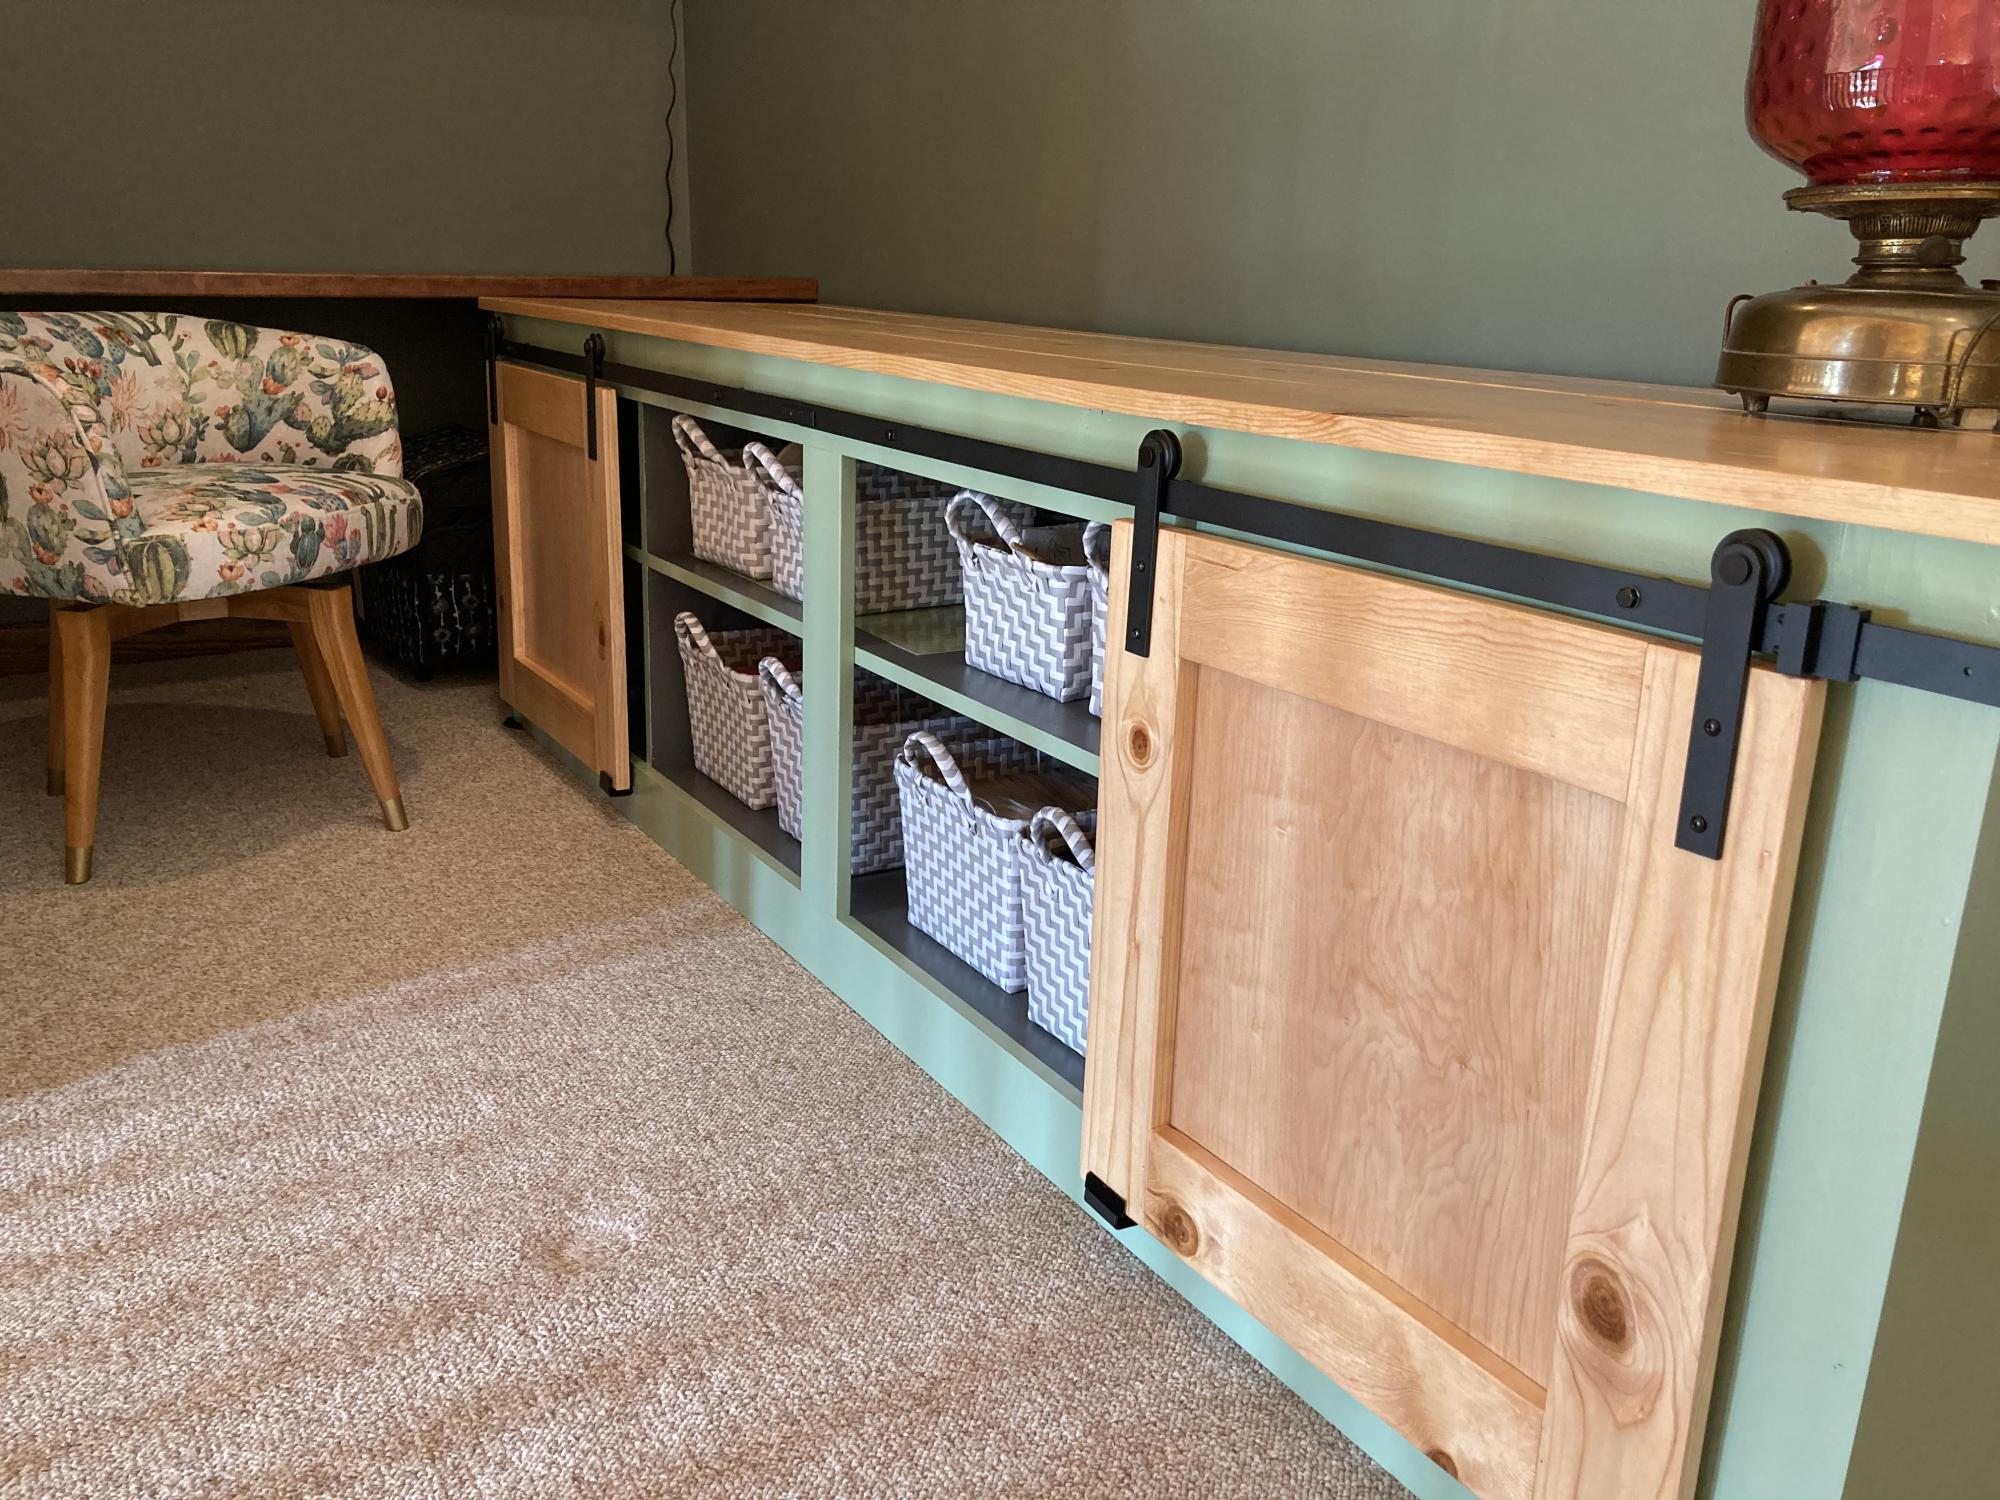
Media Console
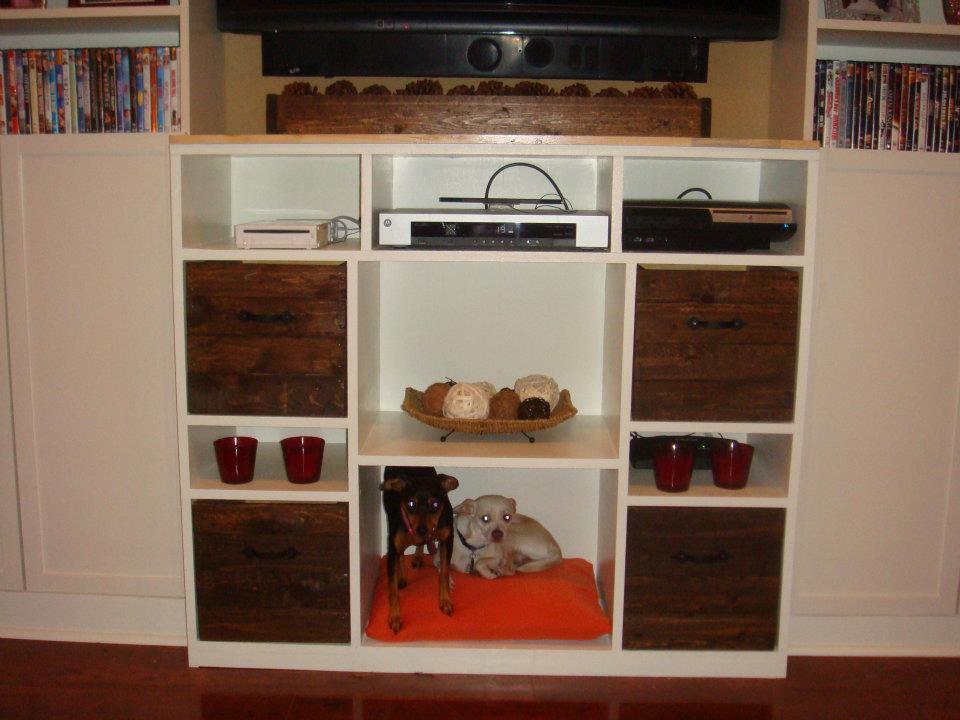
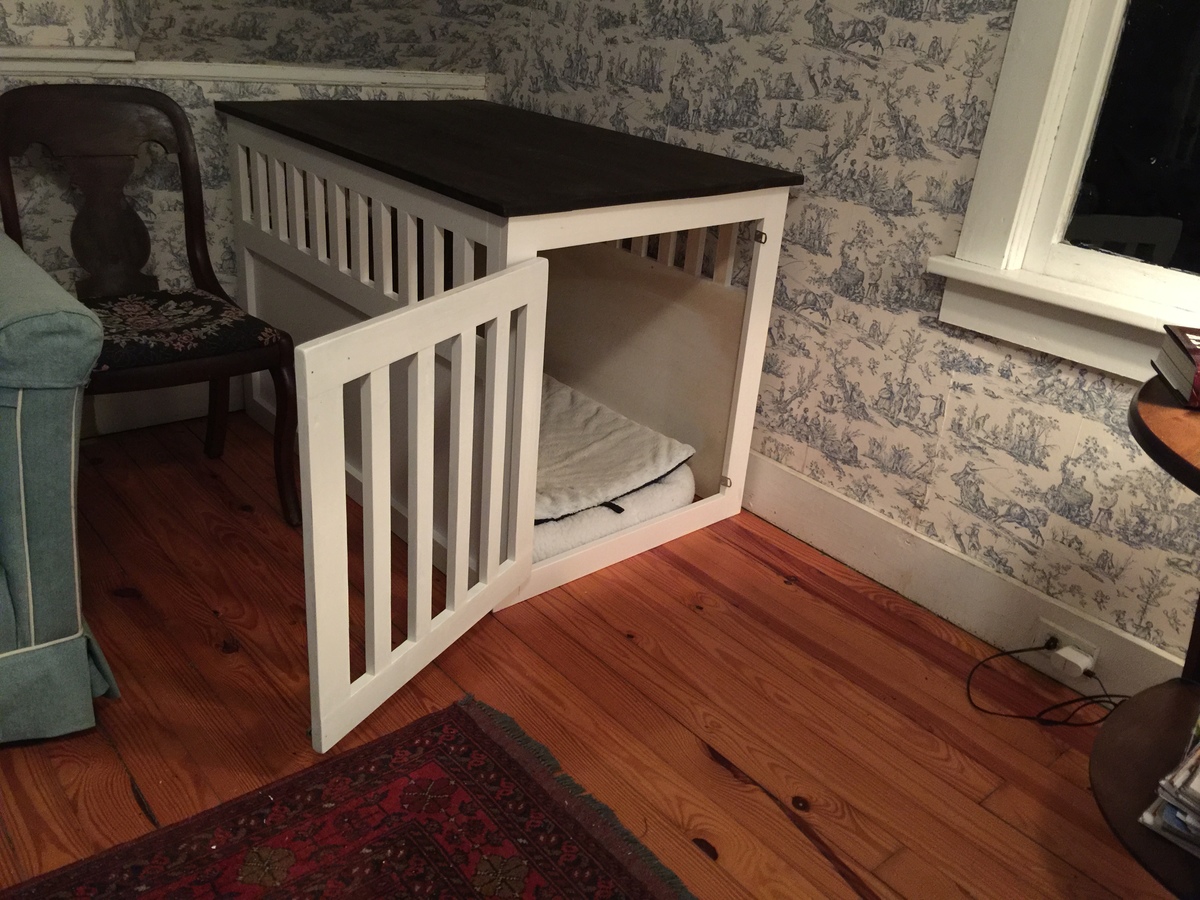
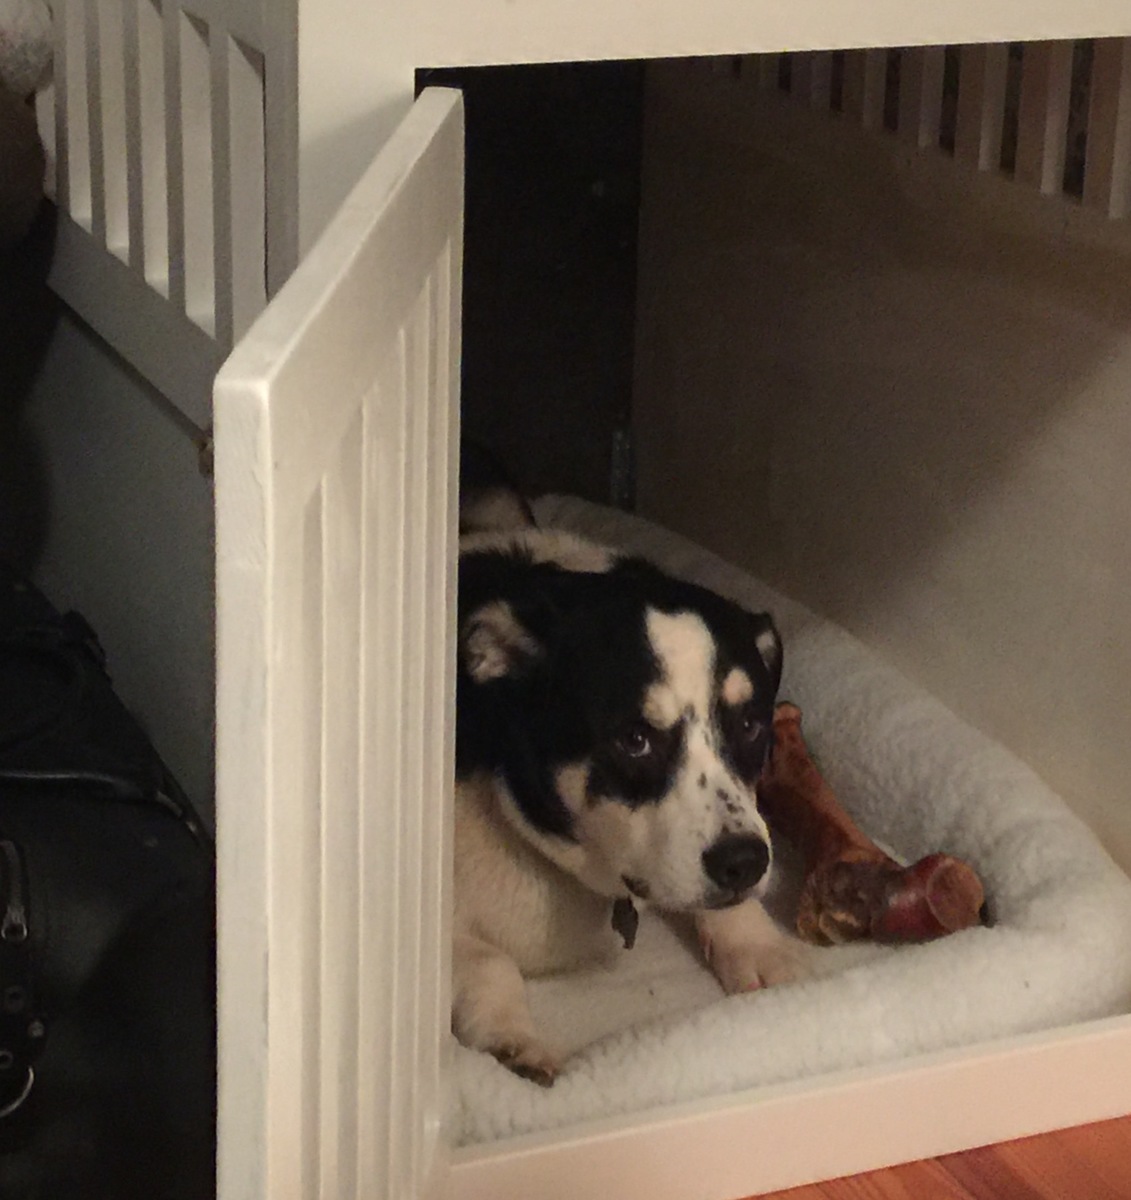
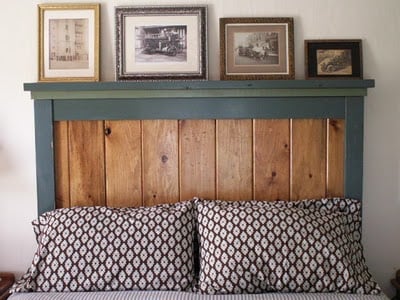
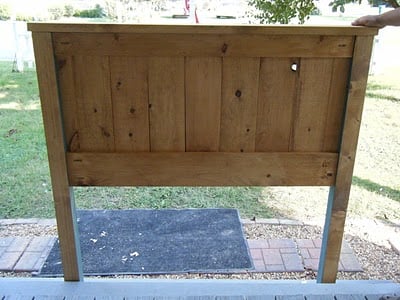
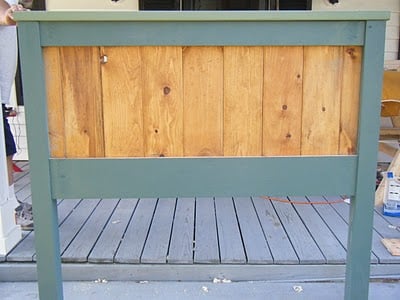
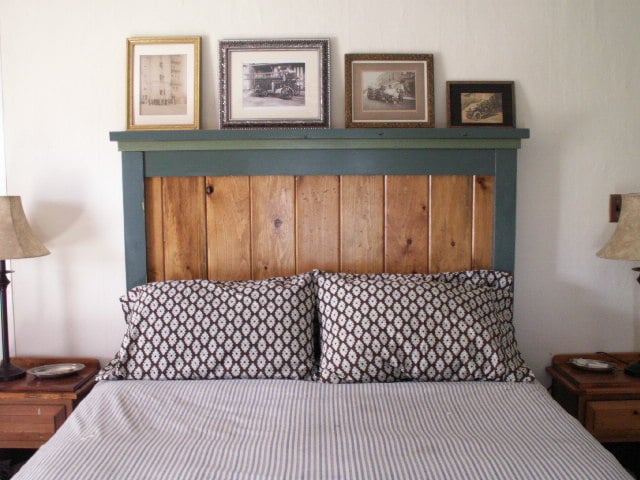
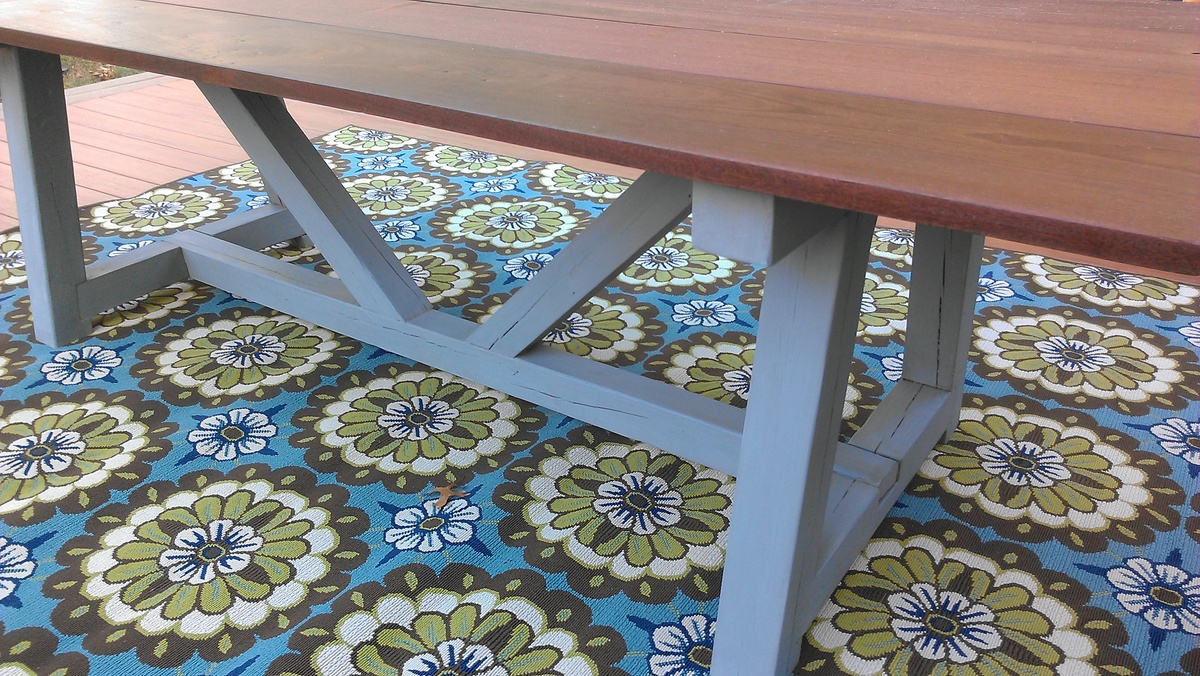
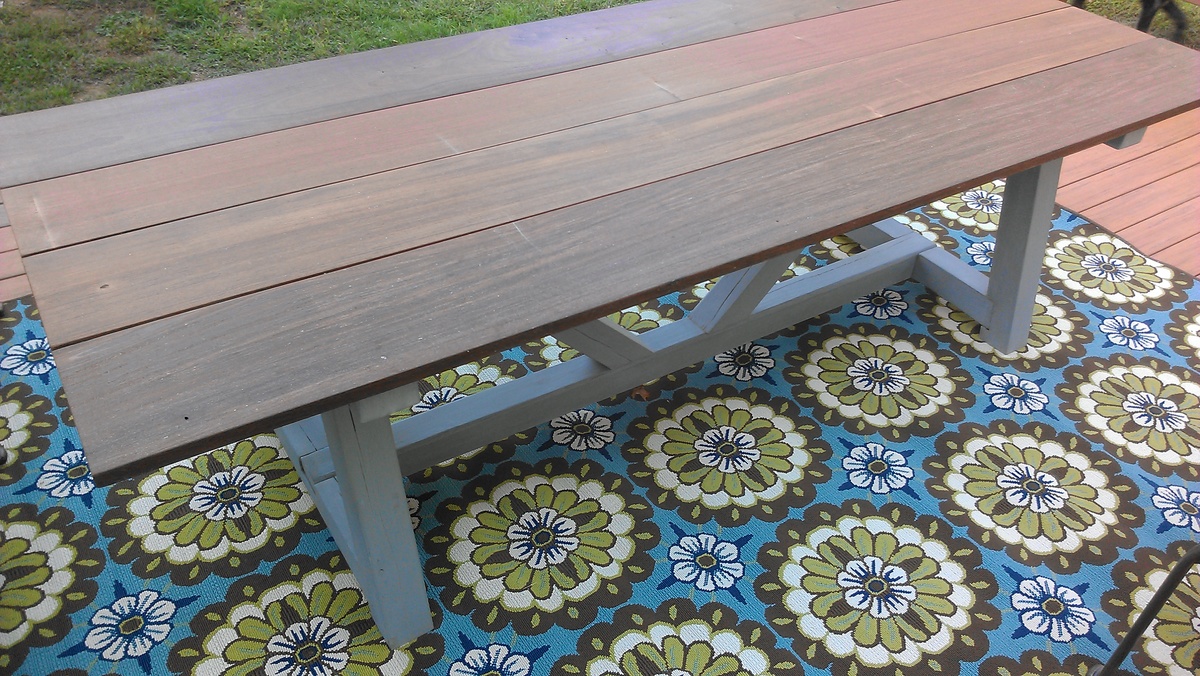
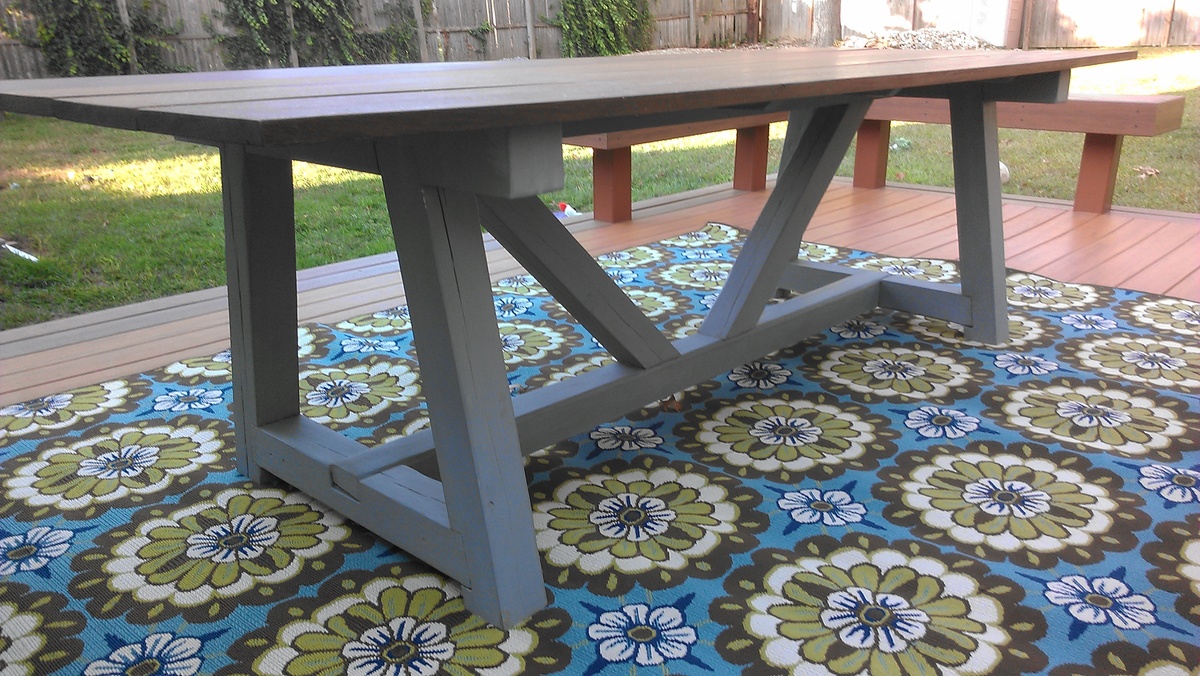
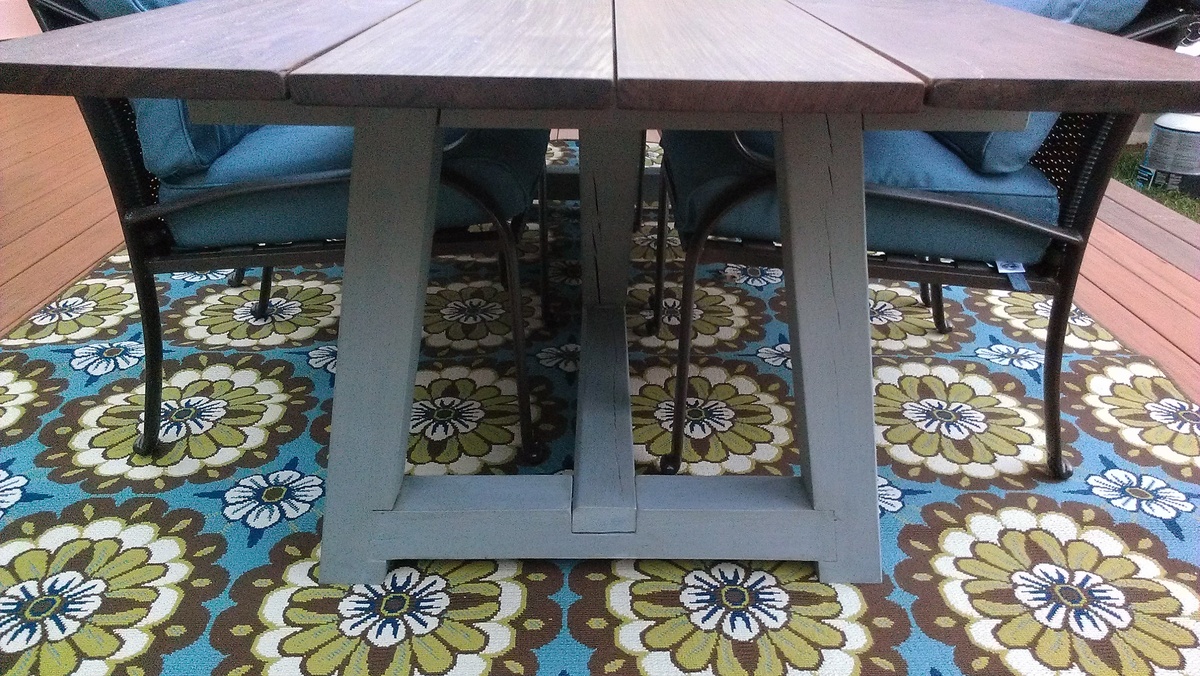
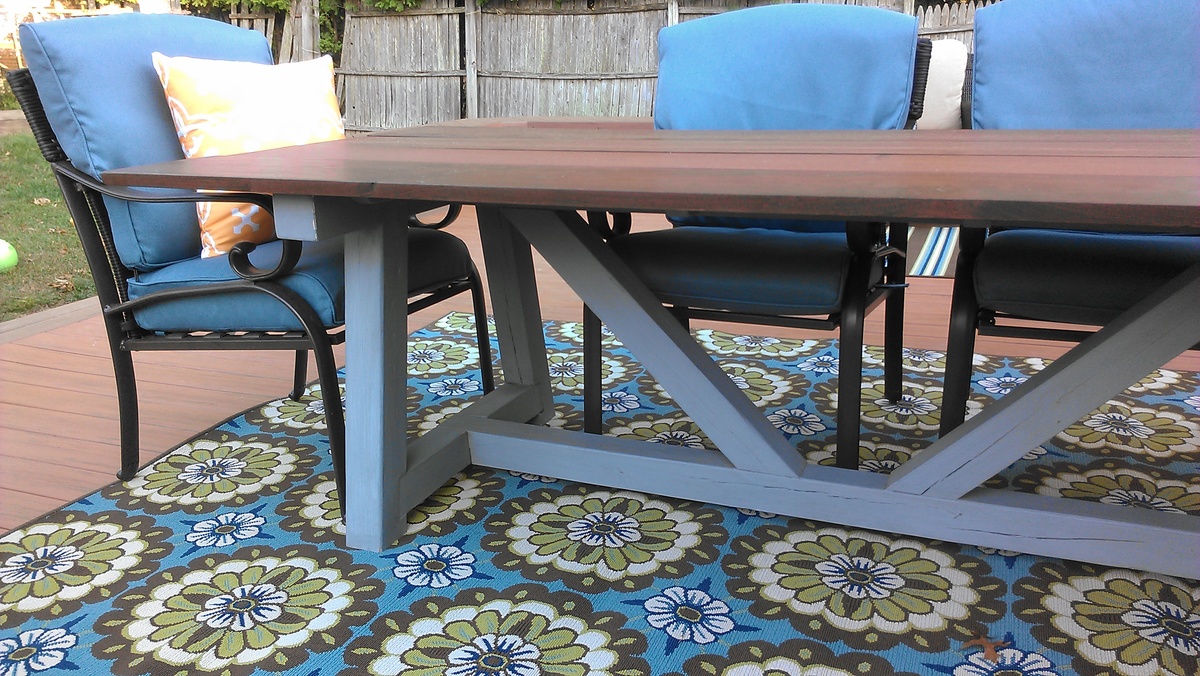
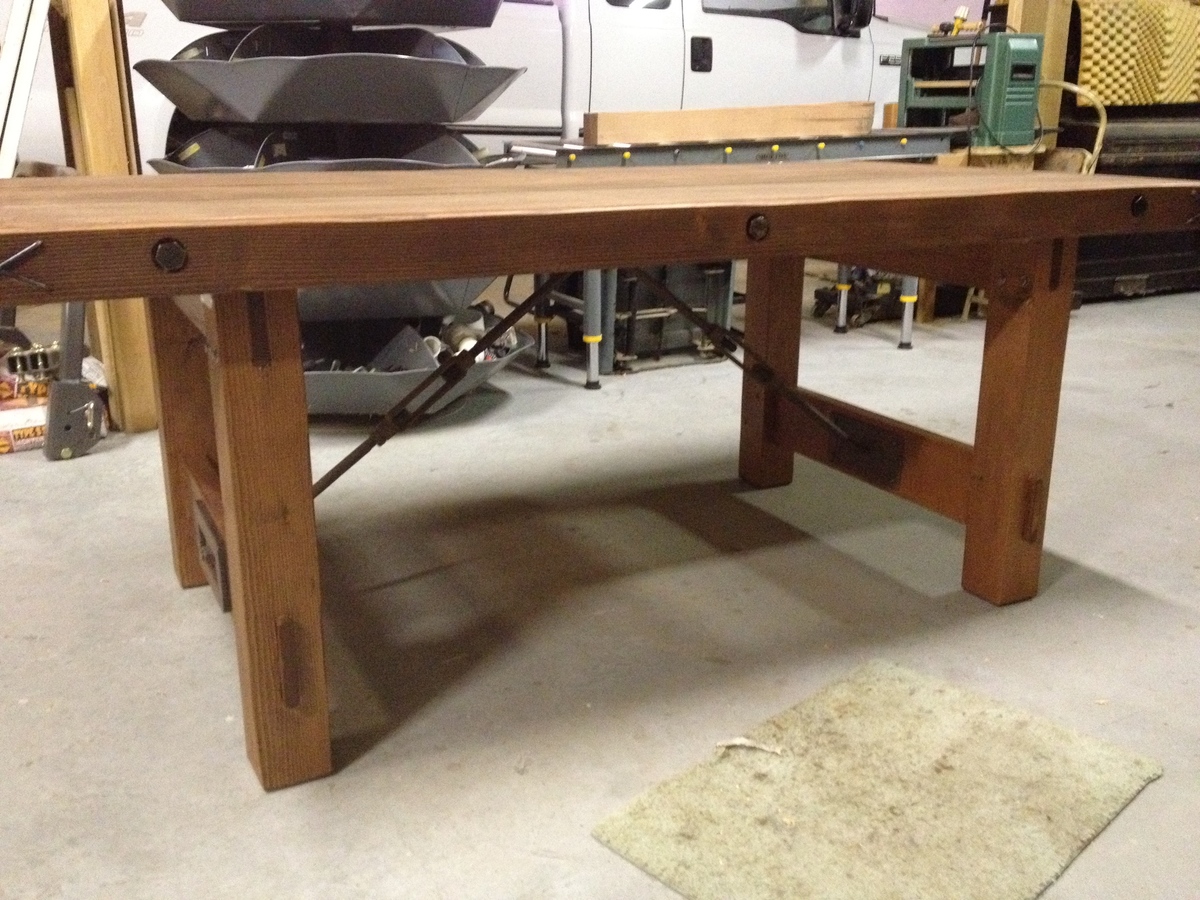
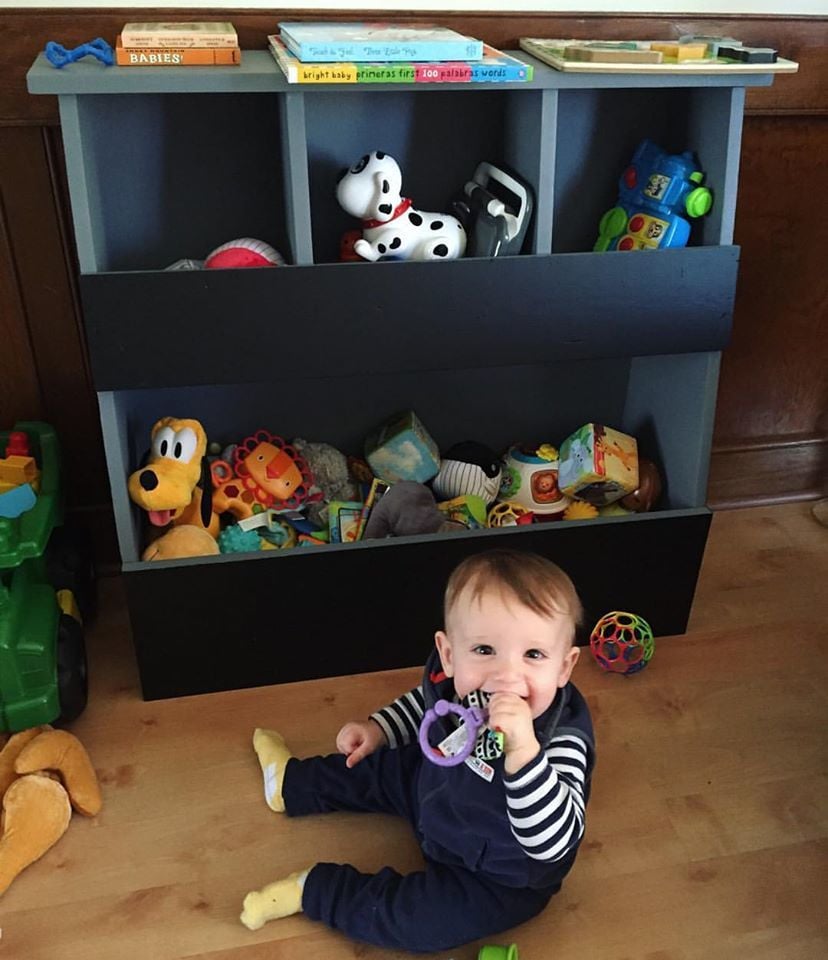
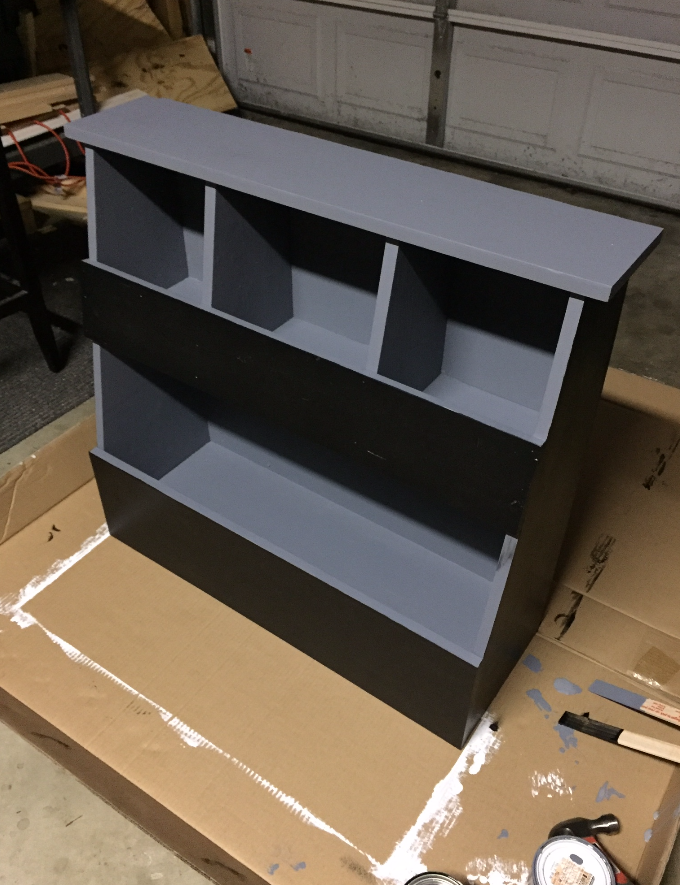
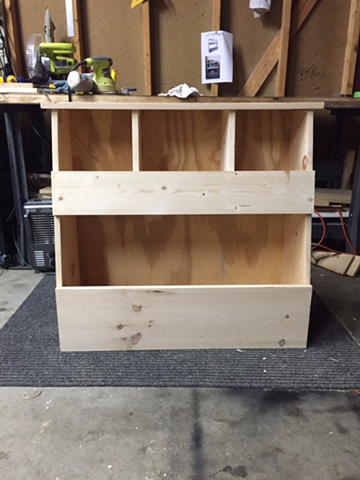
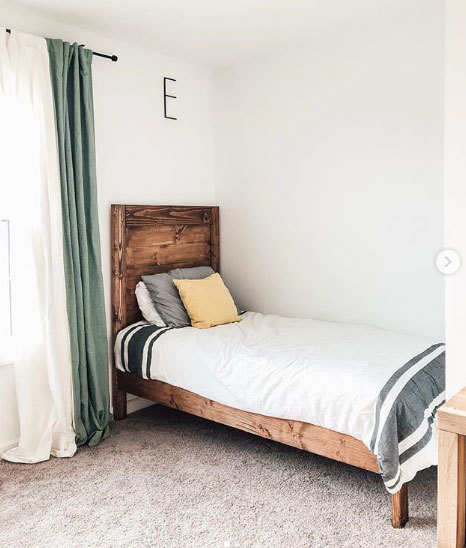
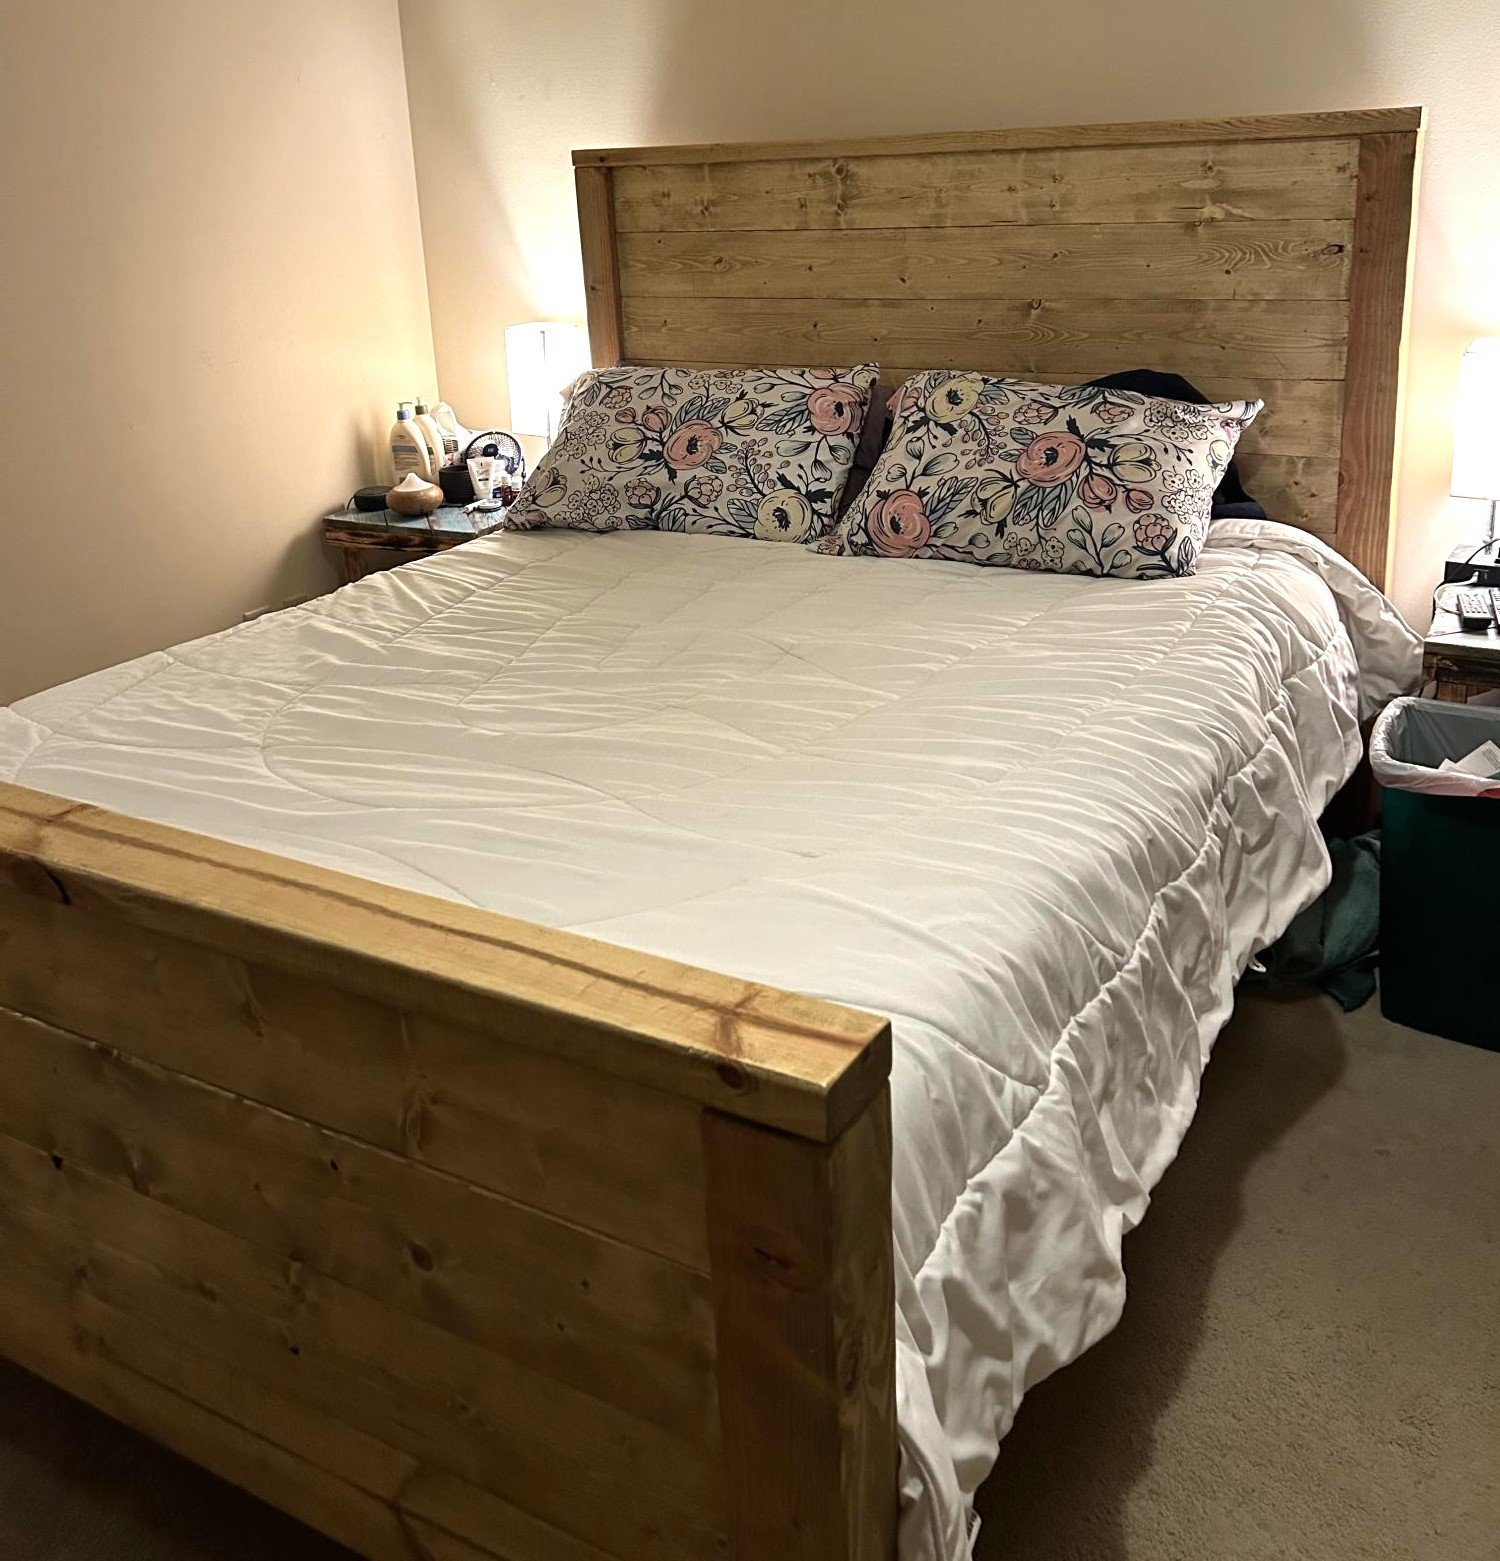
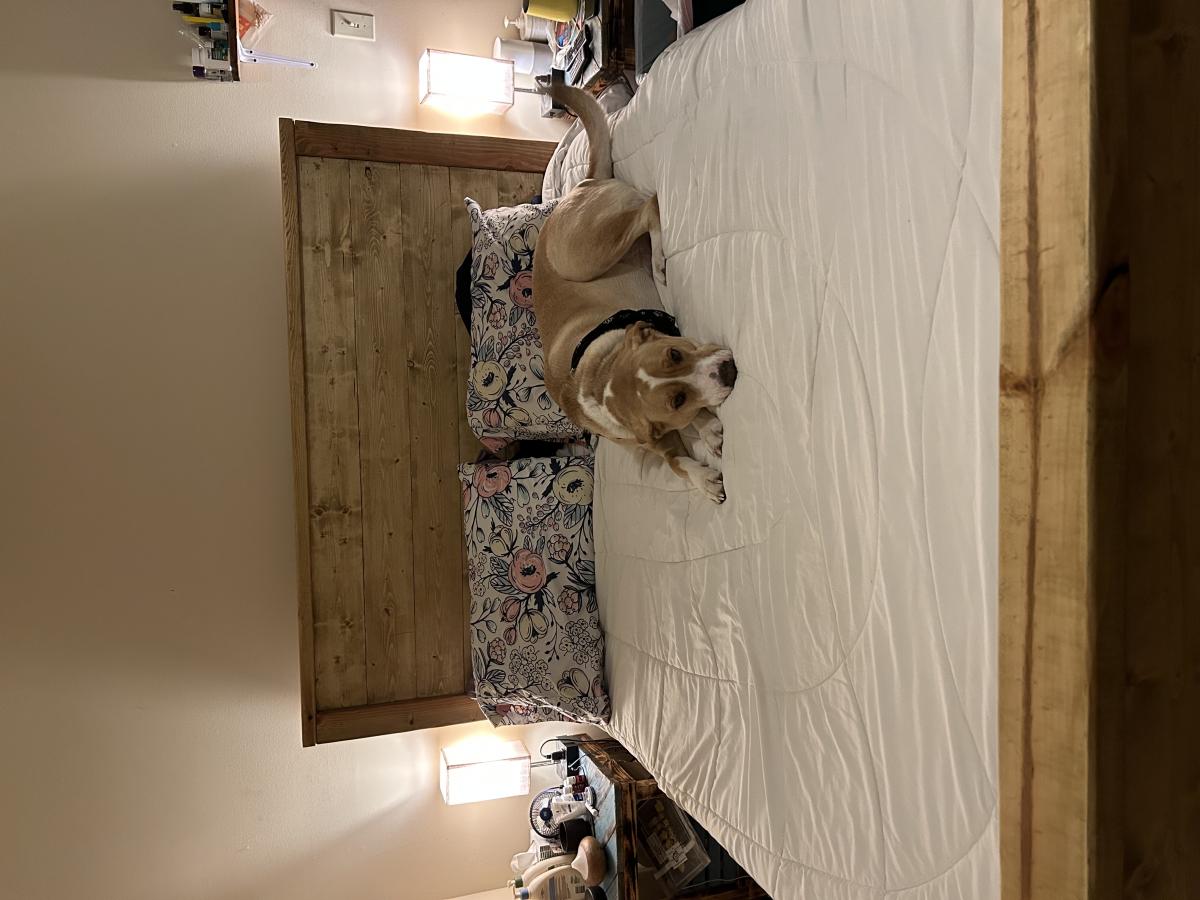
I used the plans Ana offered as a starting off point for this project. I loved the photos of the exact plans, but it was too long and too short for the space I wanted to fill. I ended up building pull out drawers from pallets instead of installing the apothecary drawers in the plans. I used the bottom cubby to place a dog bed (which they love) and still have one one bin to build to fill the center hole. I used a solid piece of butcher block style wood on the top that I sealed Polyerathane. Thanks Ana!
Built from Plan(s)
Estimated Time Investment
Weekend Project (10-20 Hours)
Recommended Skill Level
Intermediate


Comments
sgilly02 (not verified)
Wed, 10/19/2011 - 11:11
Nice
This looks great. Like it was meant to be in that space! What material did you use?
In reply to Nice by sgilly02 (not verified)
amil04
Mon, 10/31/2011 - 19:26
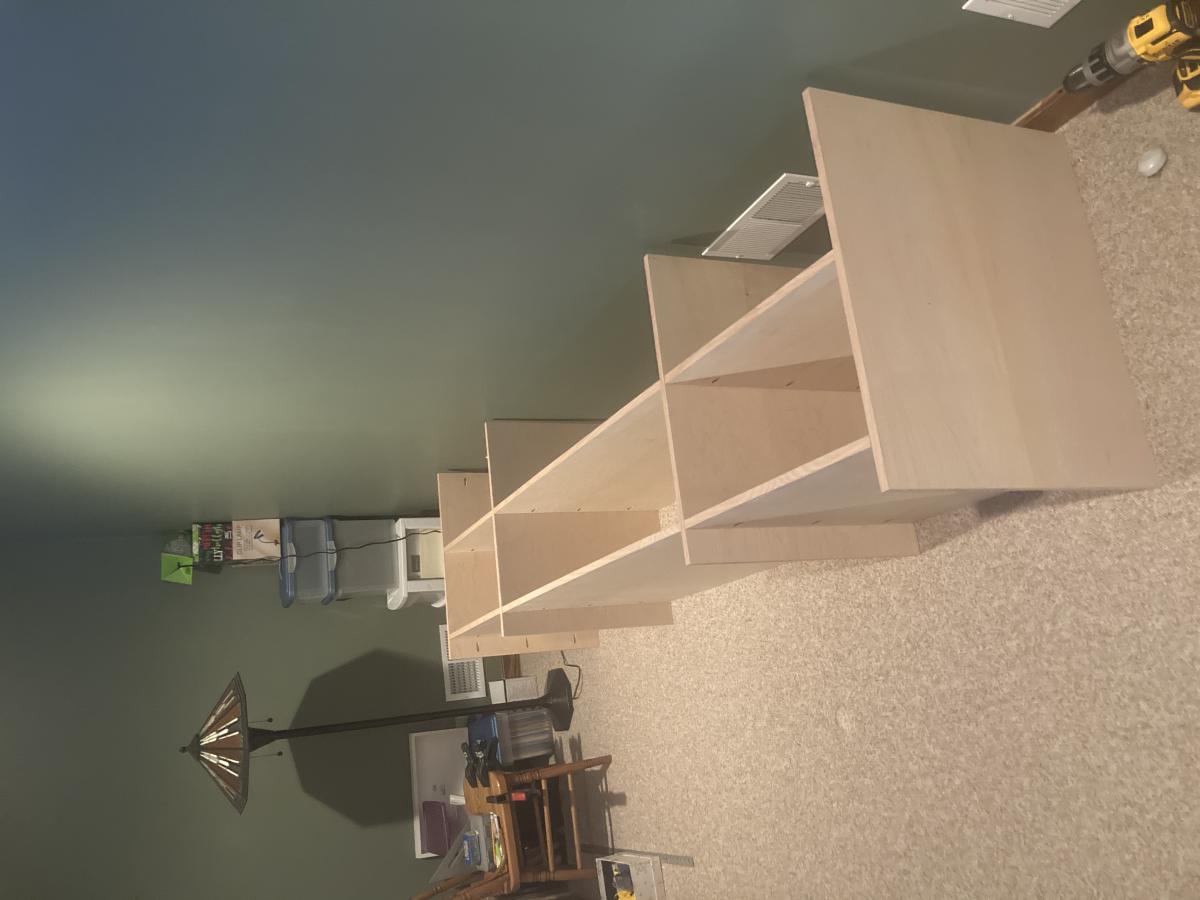
3/4" MDF
3/4" MDF