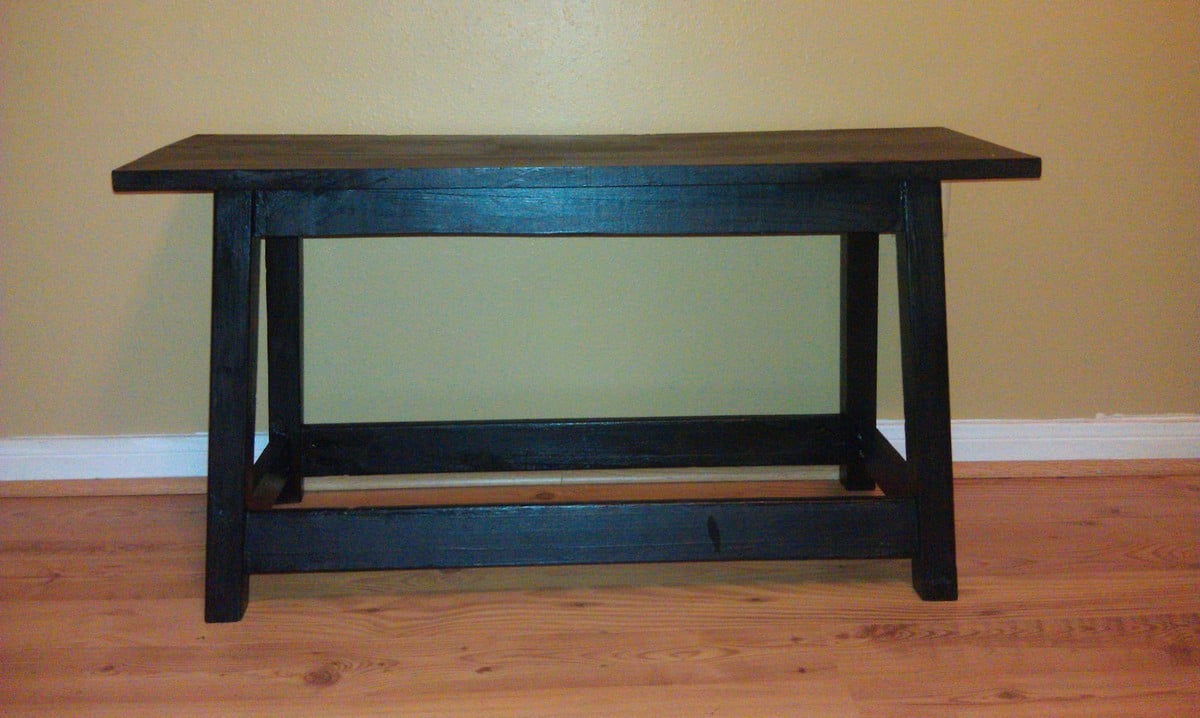
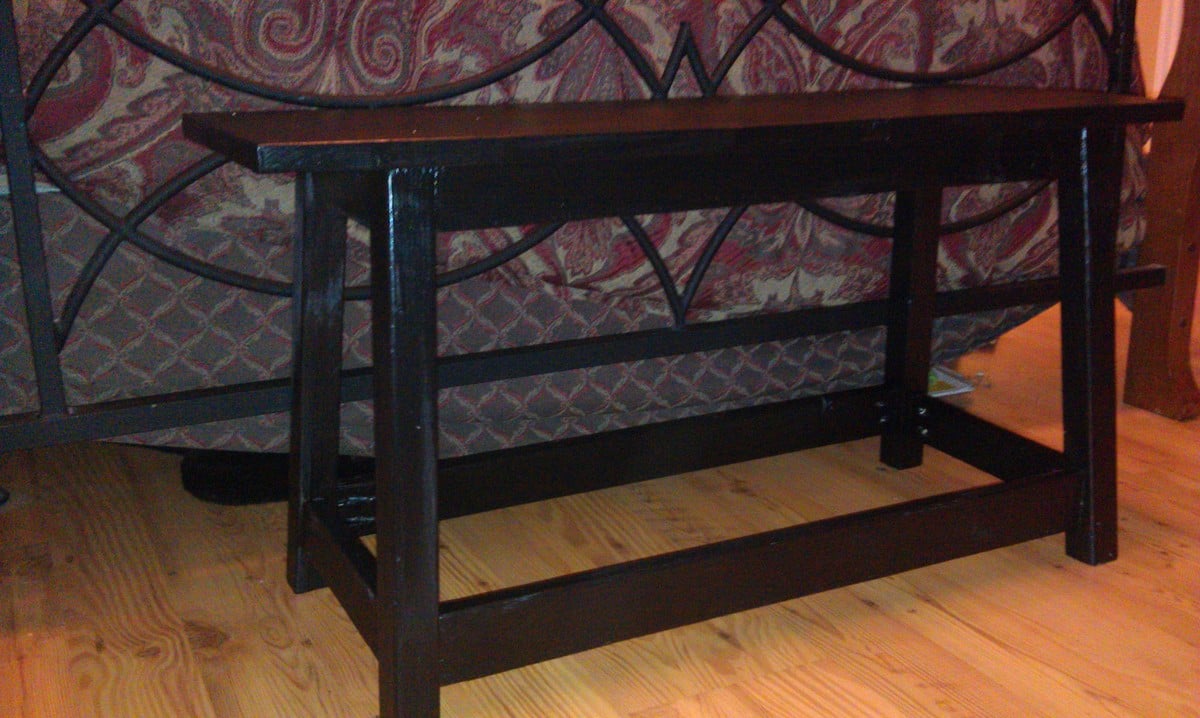
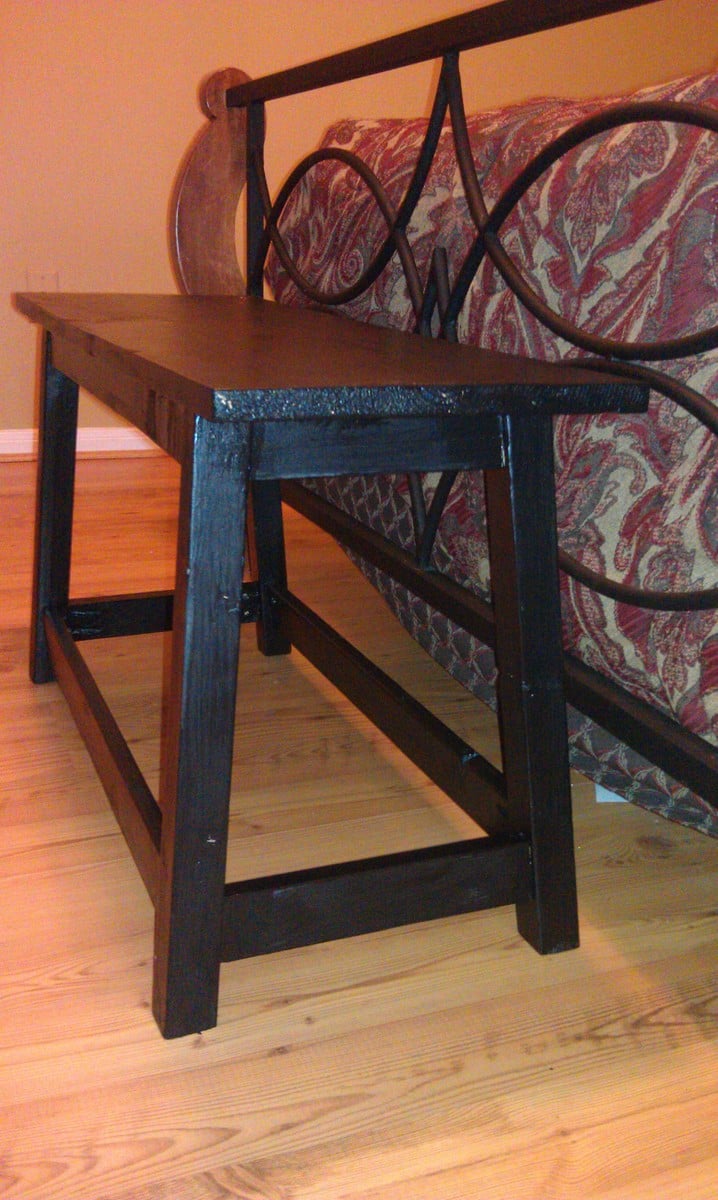
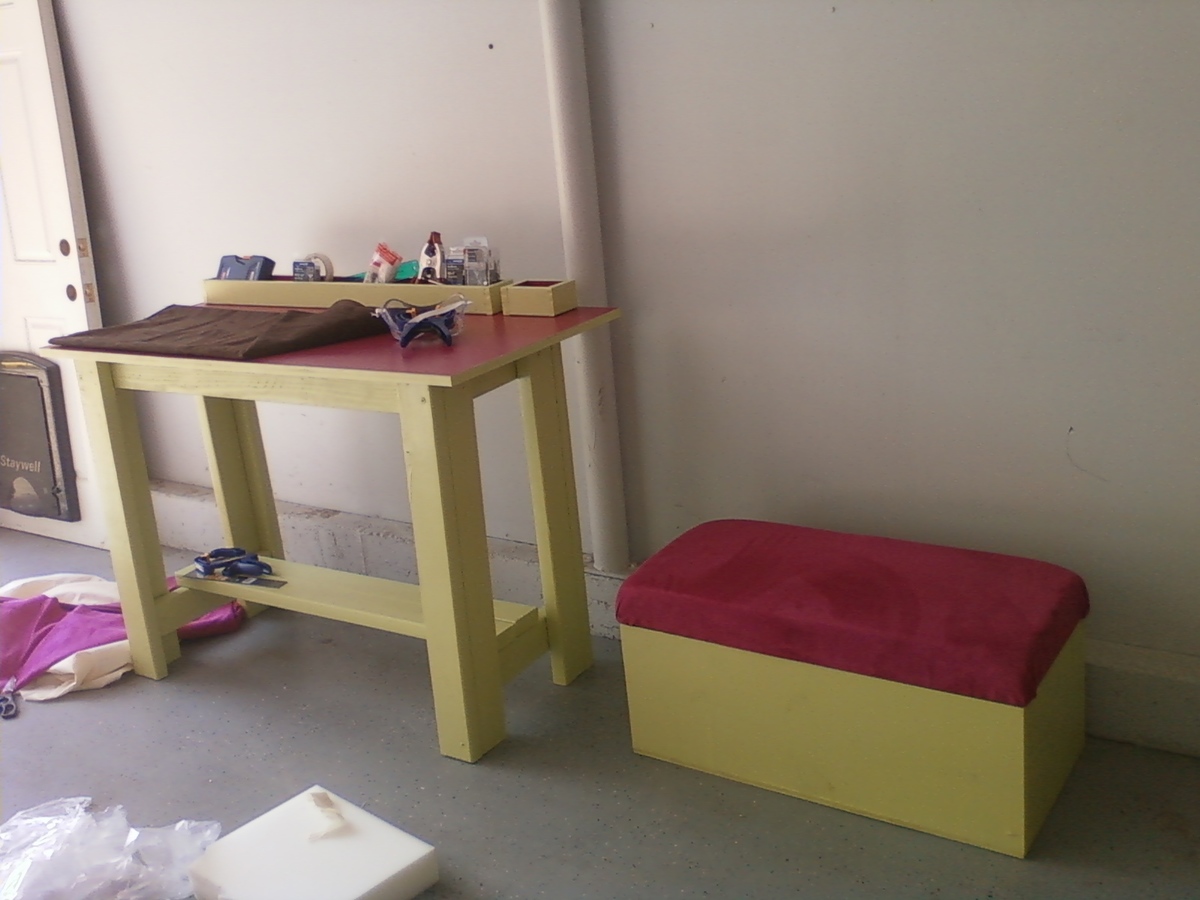
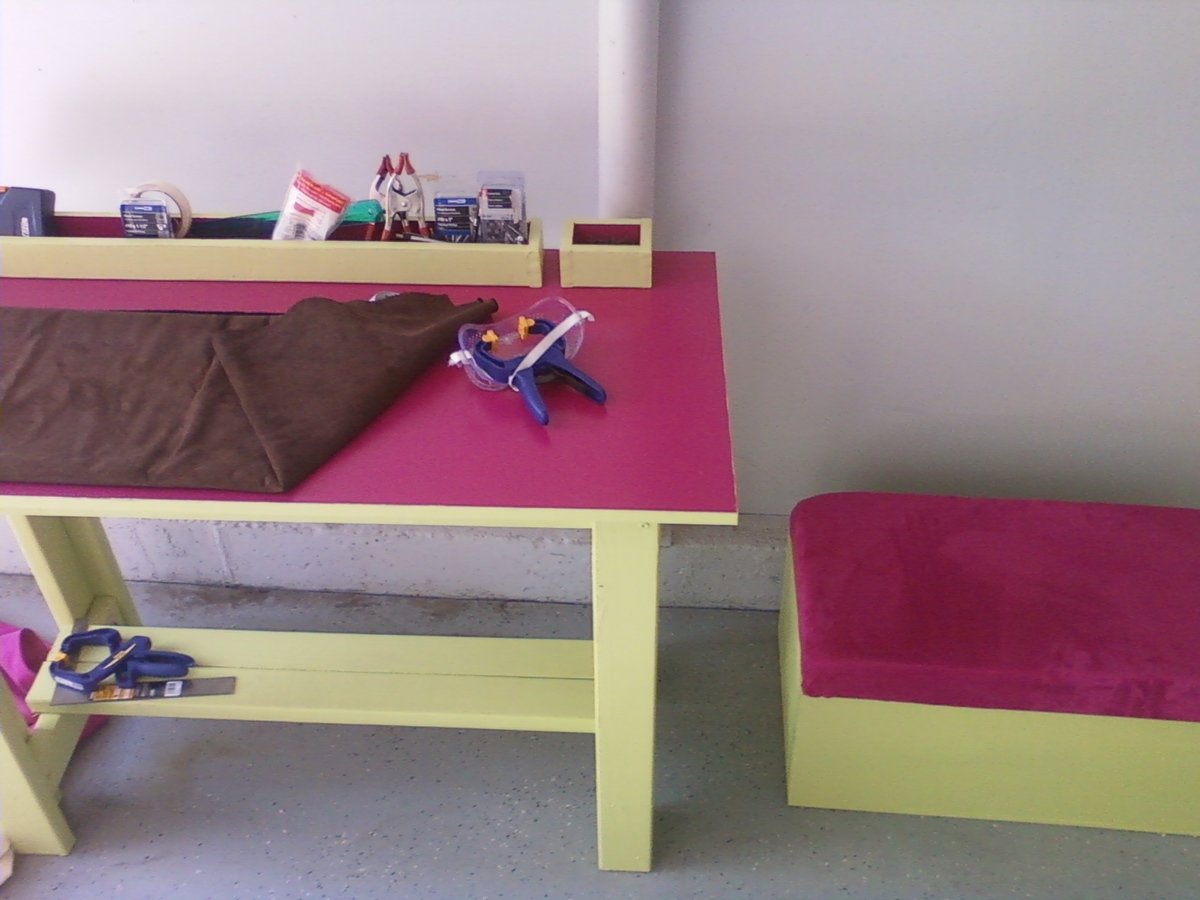
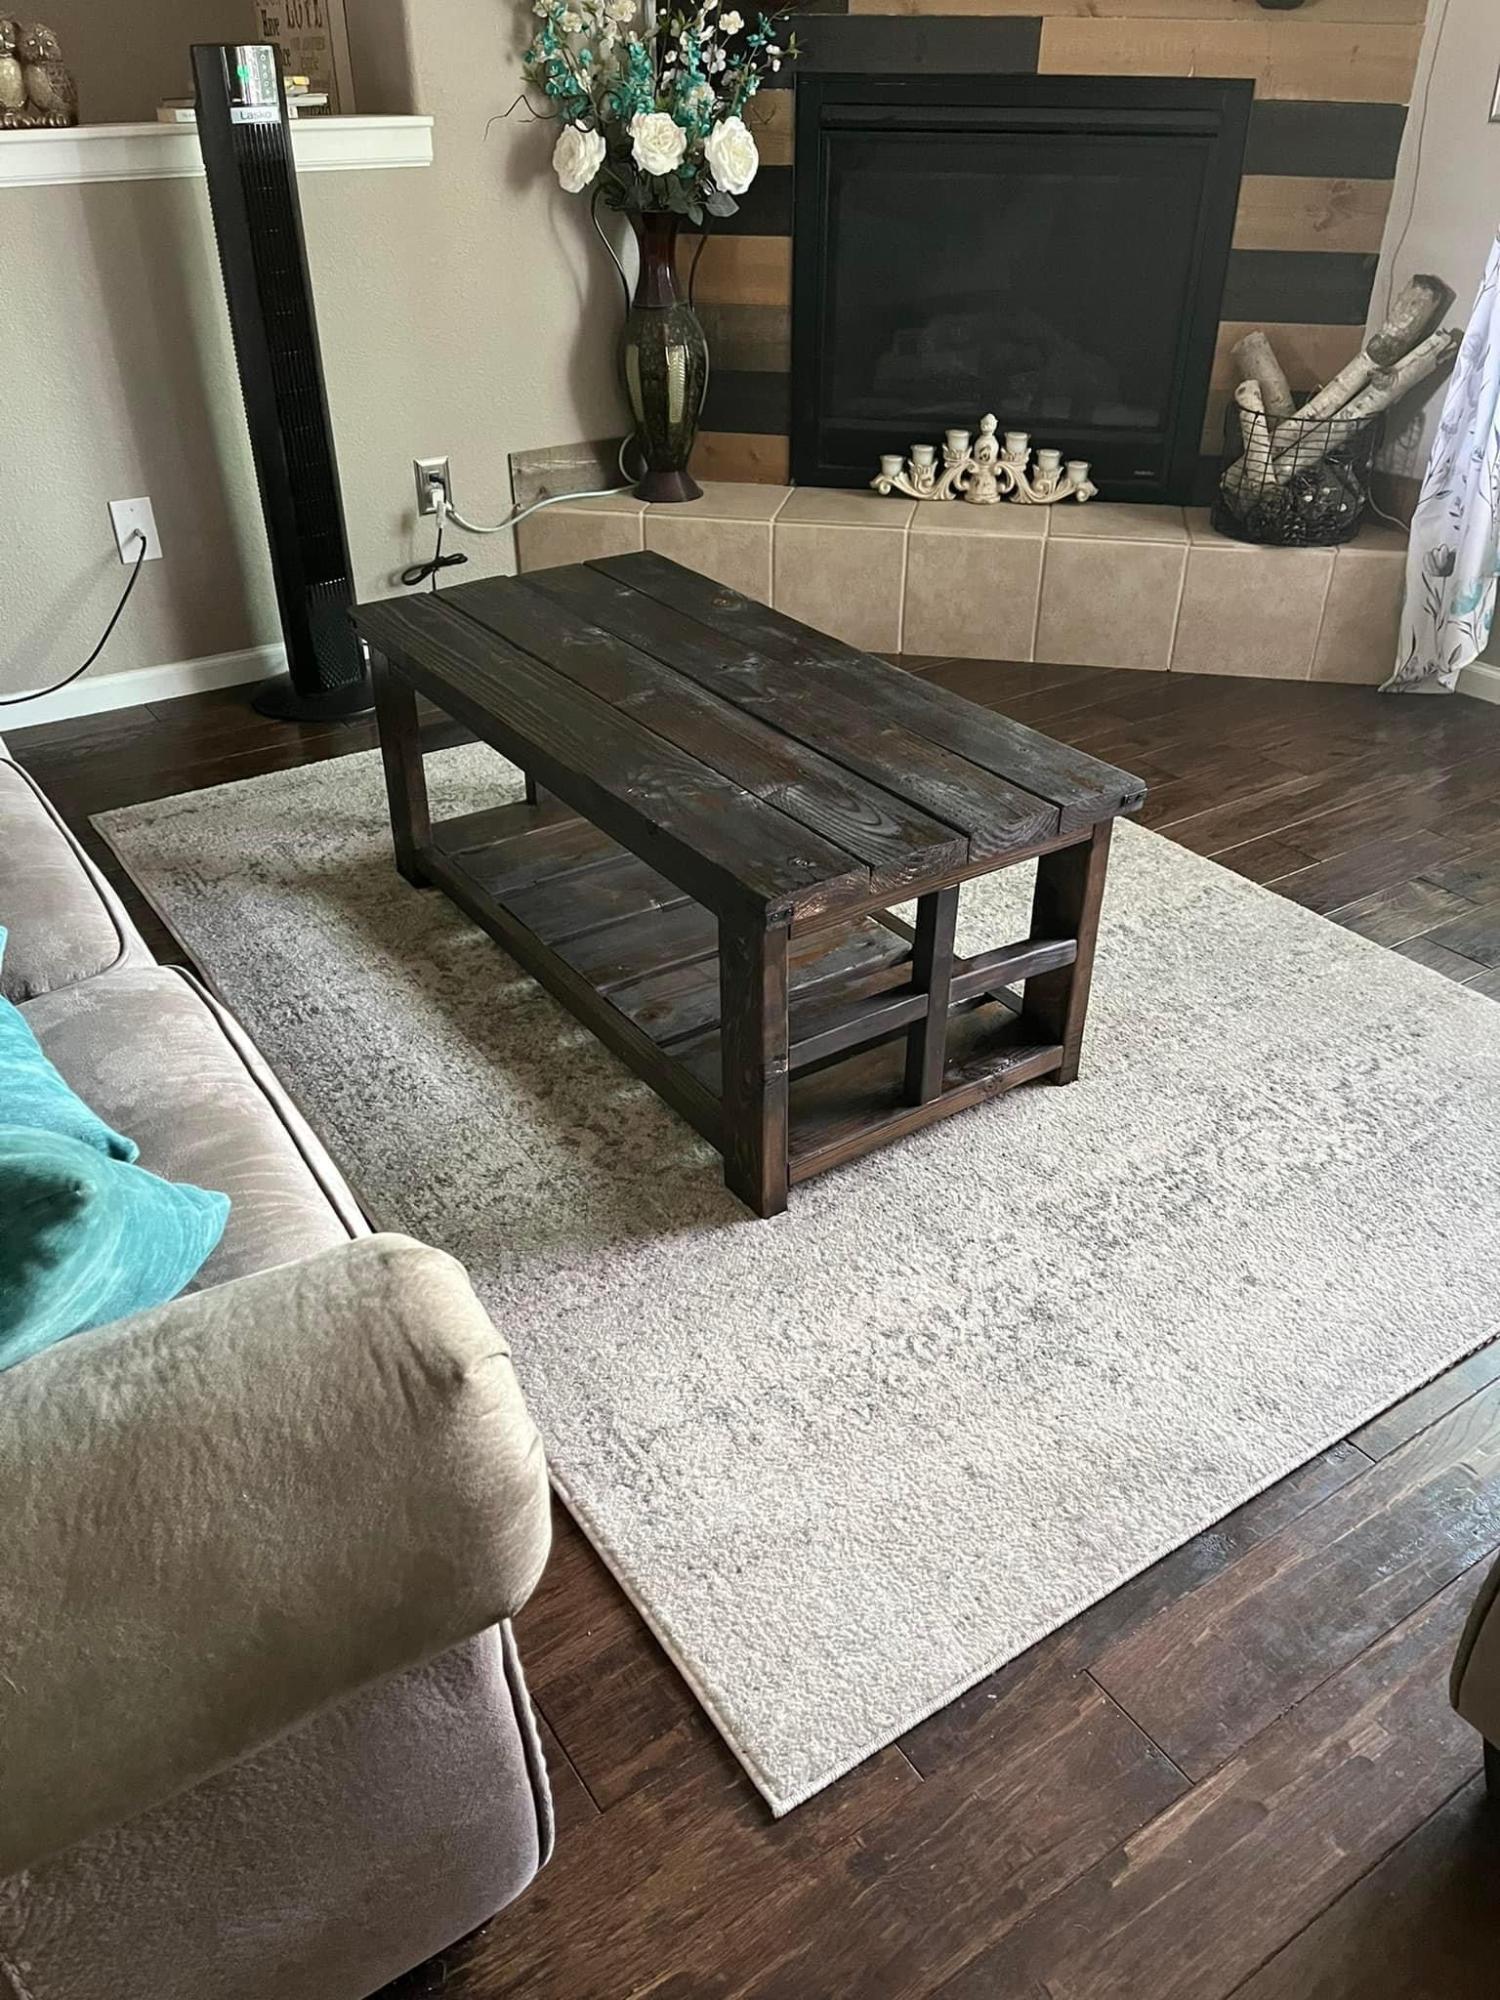
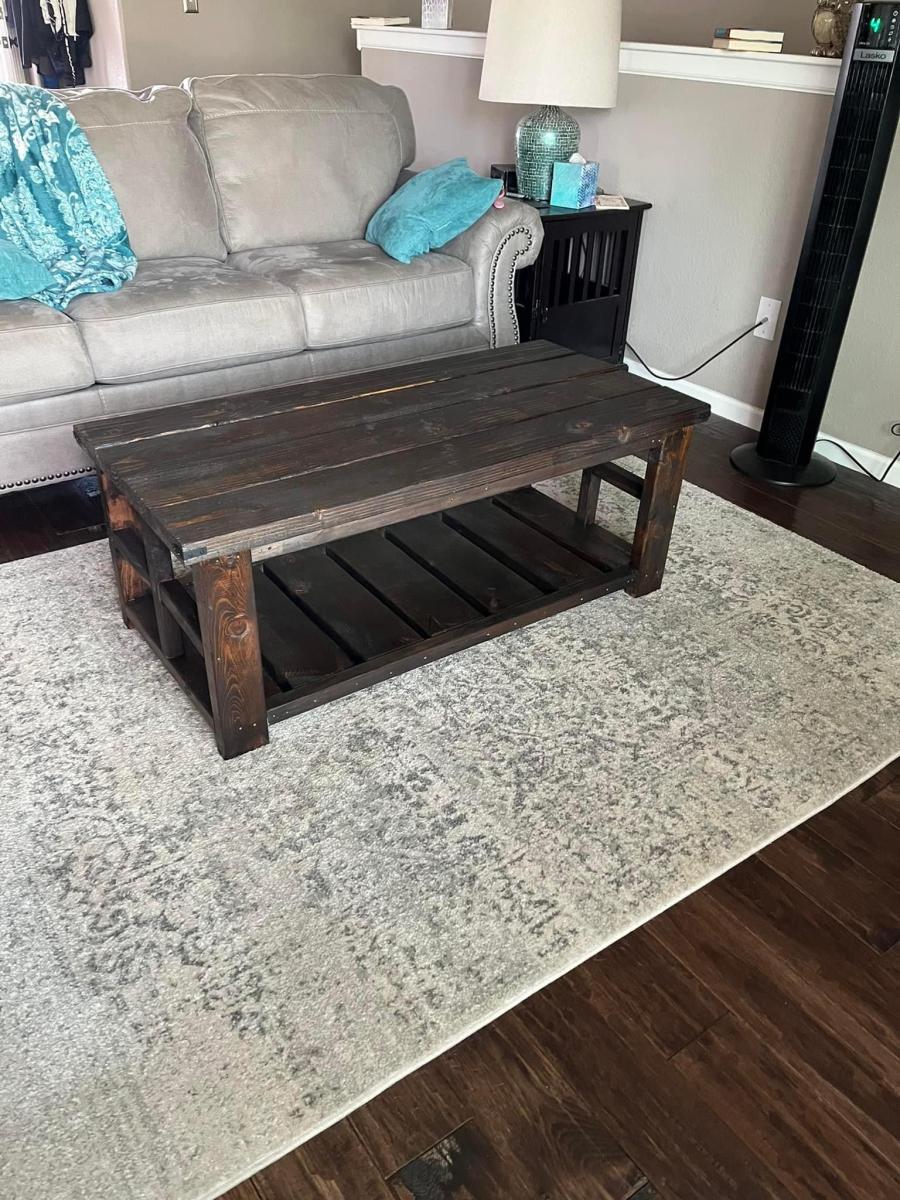
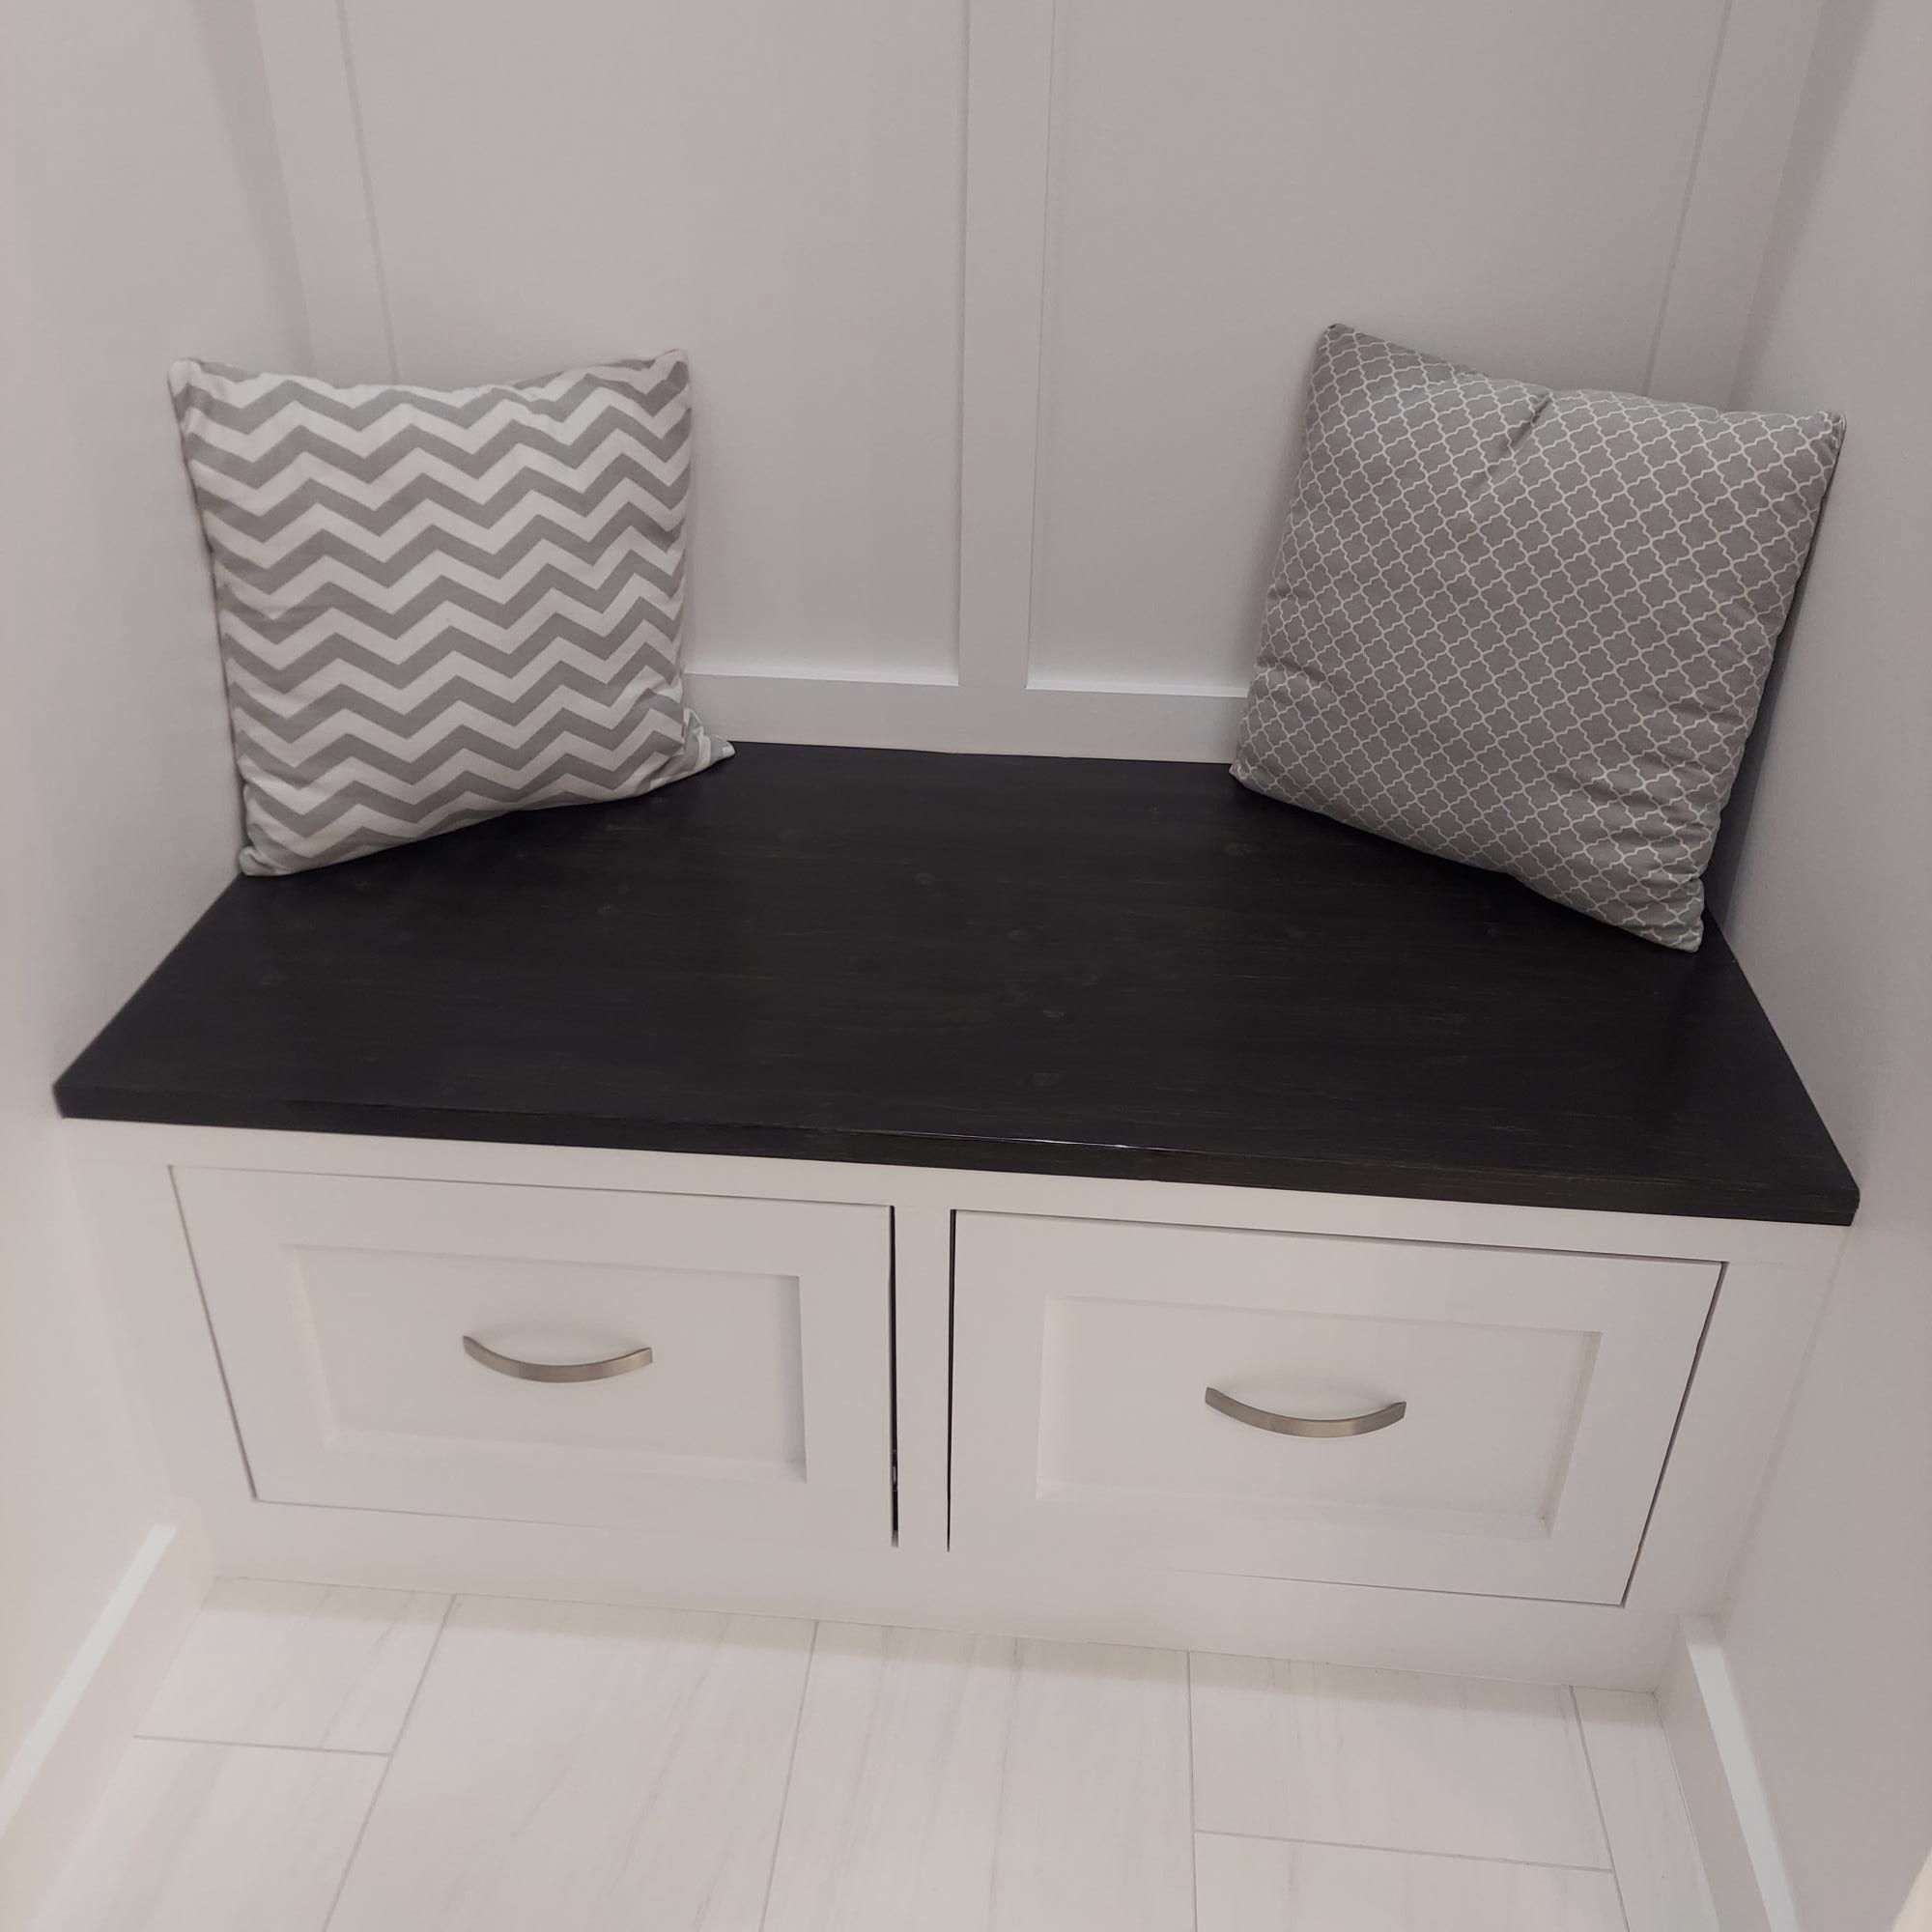
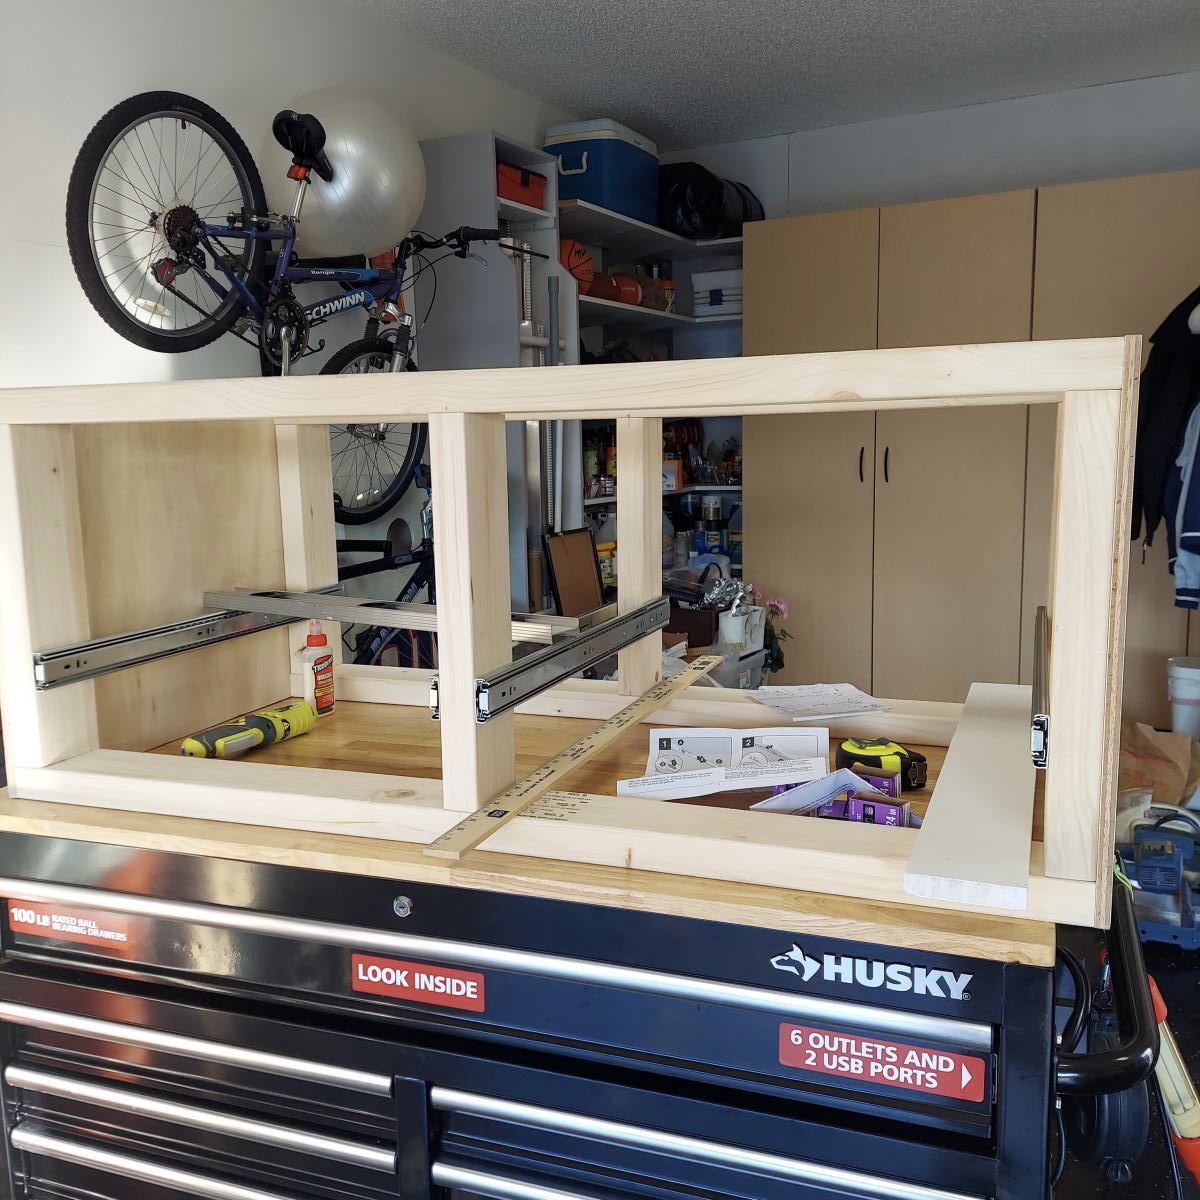
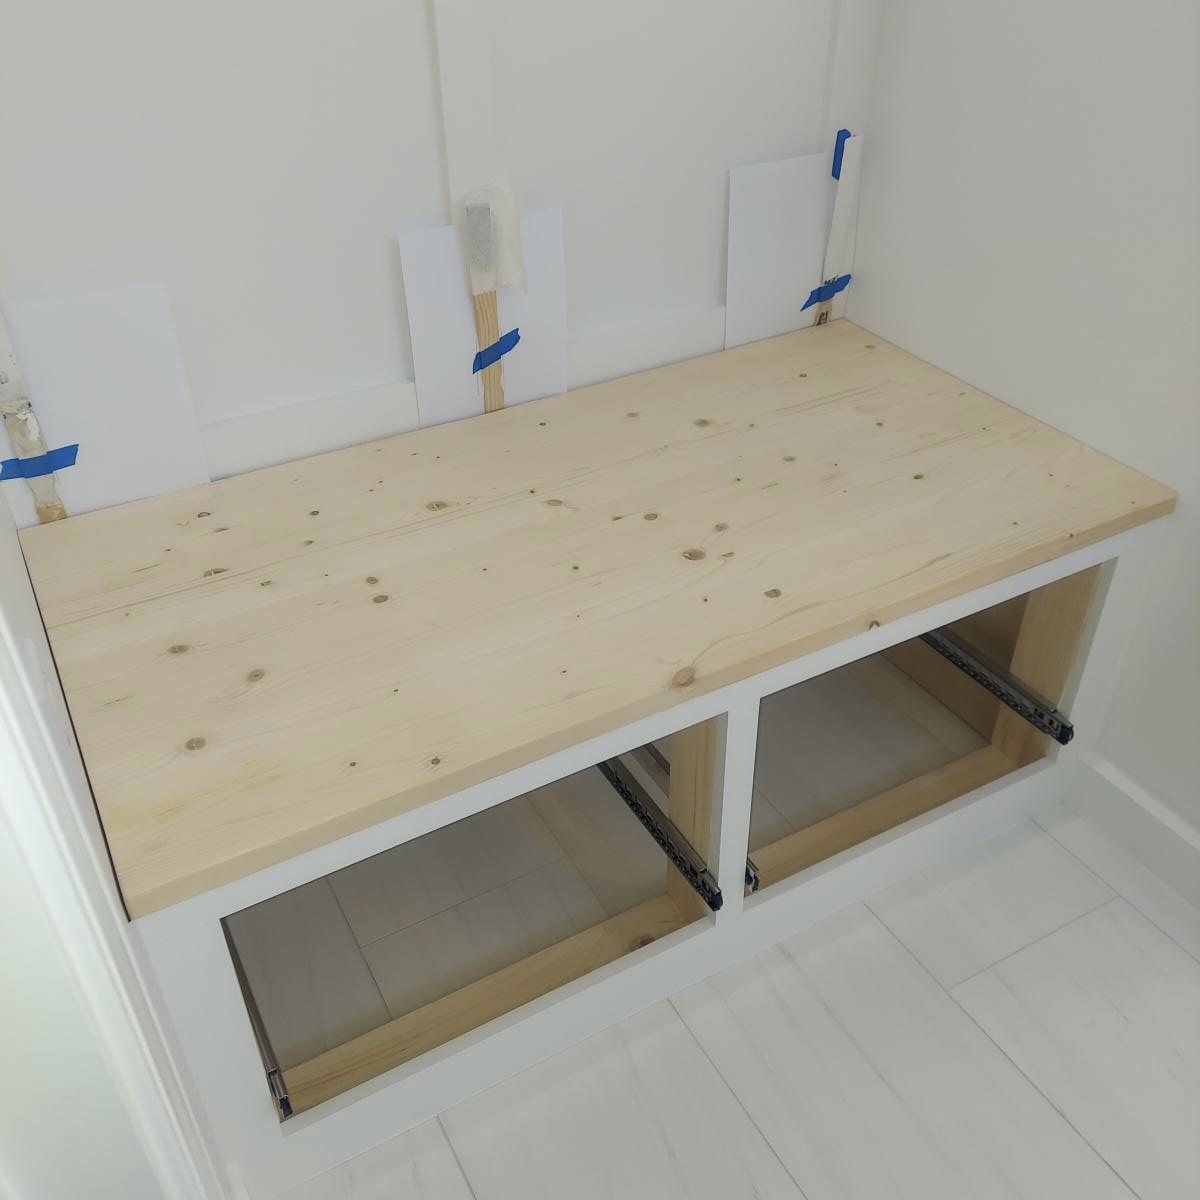
Community Brag Posts

Console to vanity

Submitted by Anonymous (not verified) on Sun, 10/28/2018 - 07:54

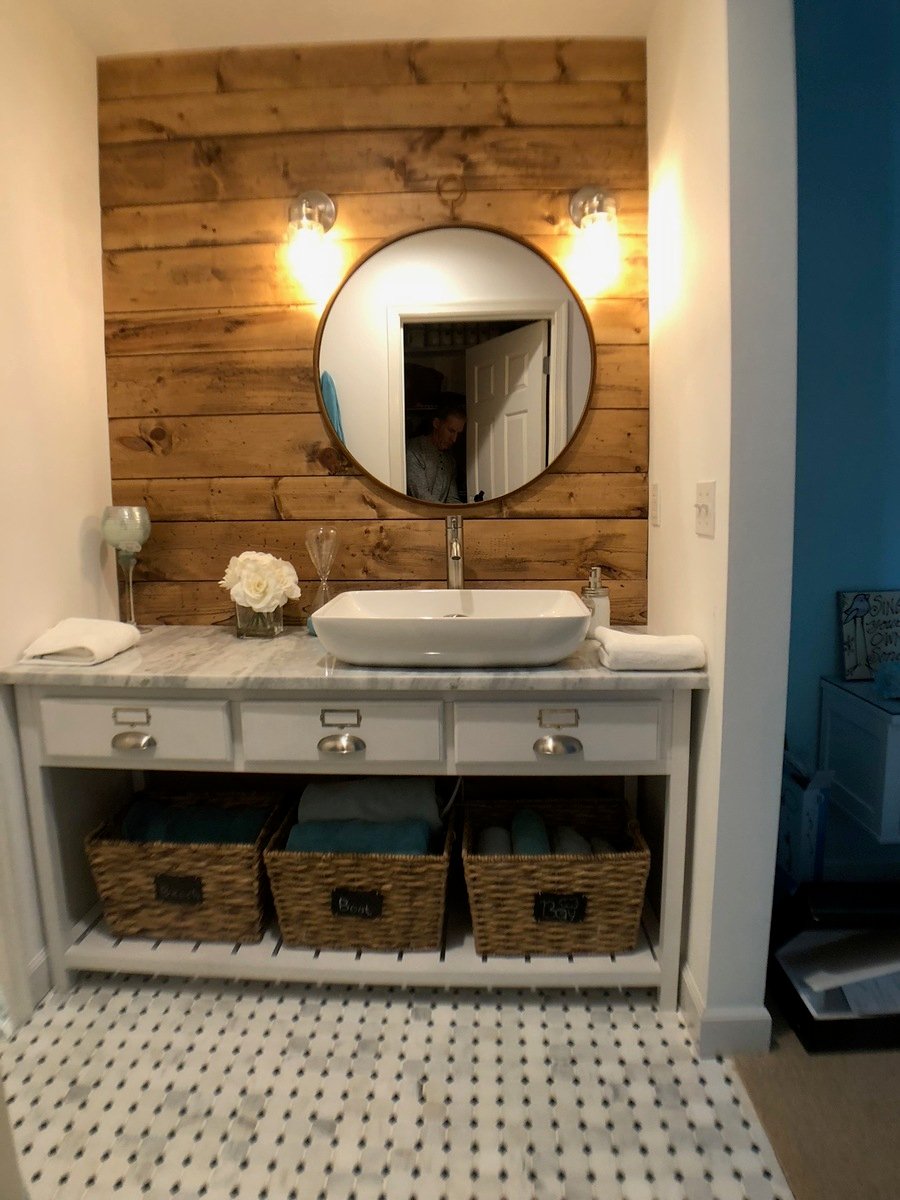
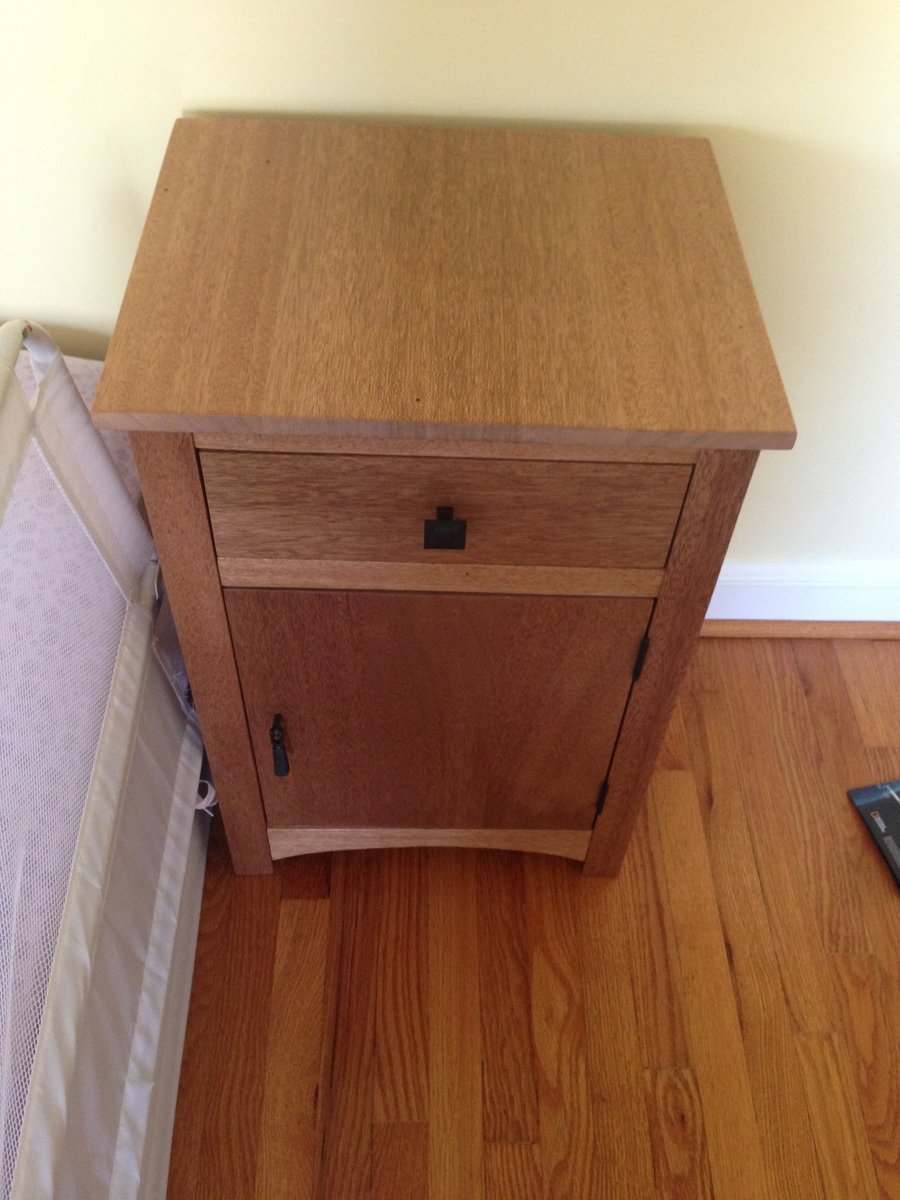
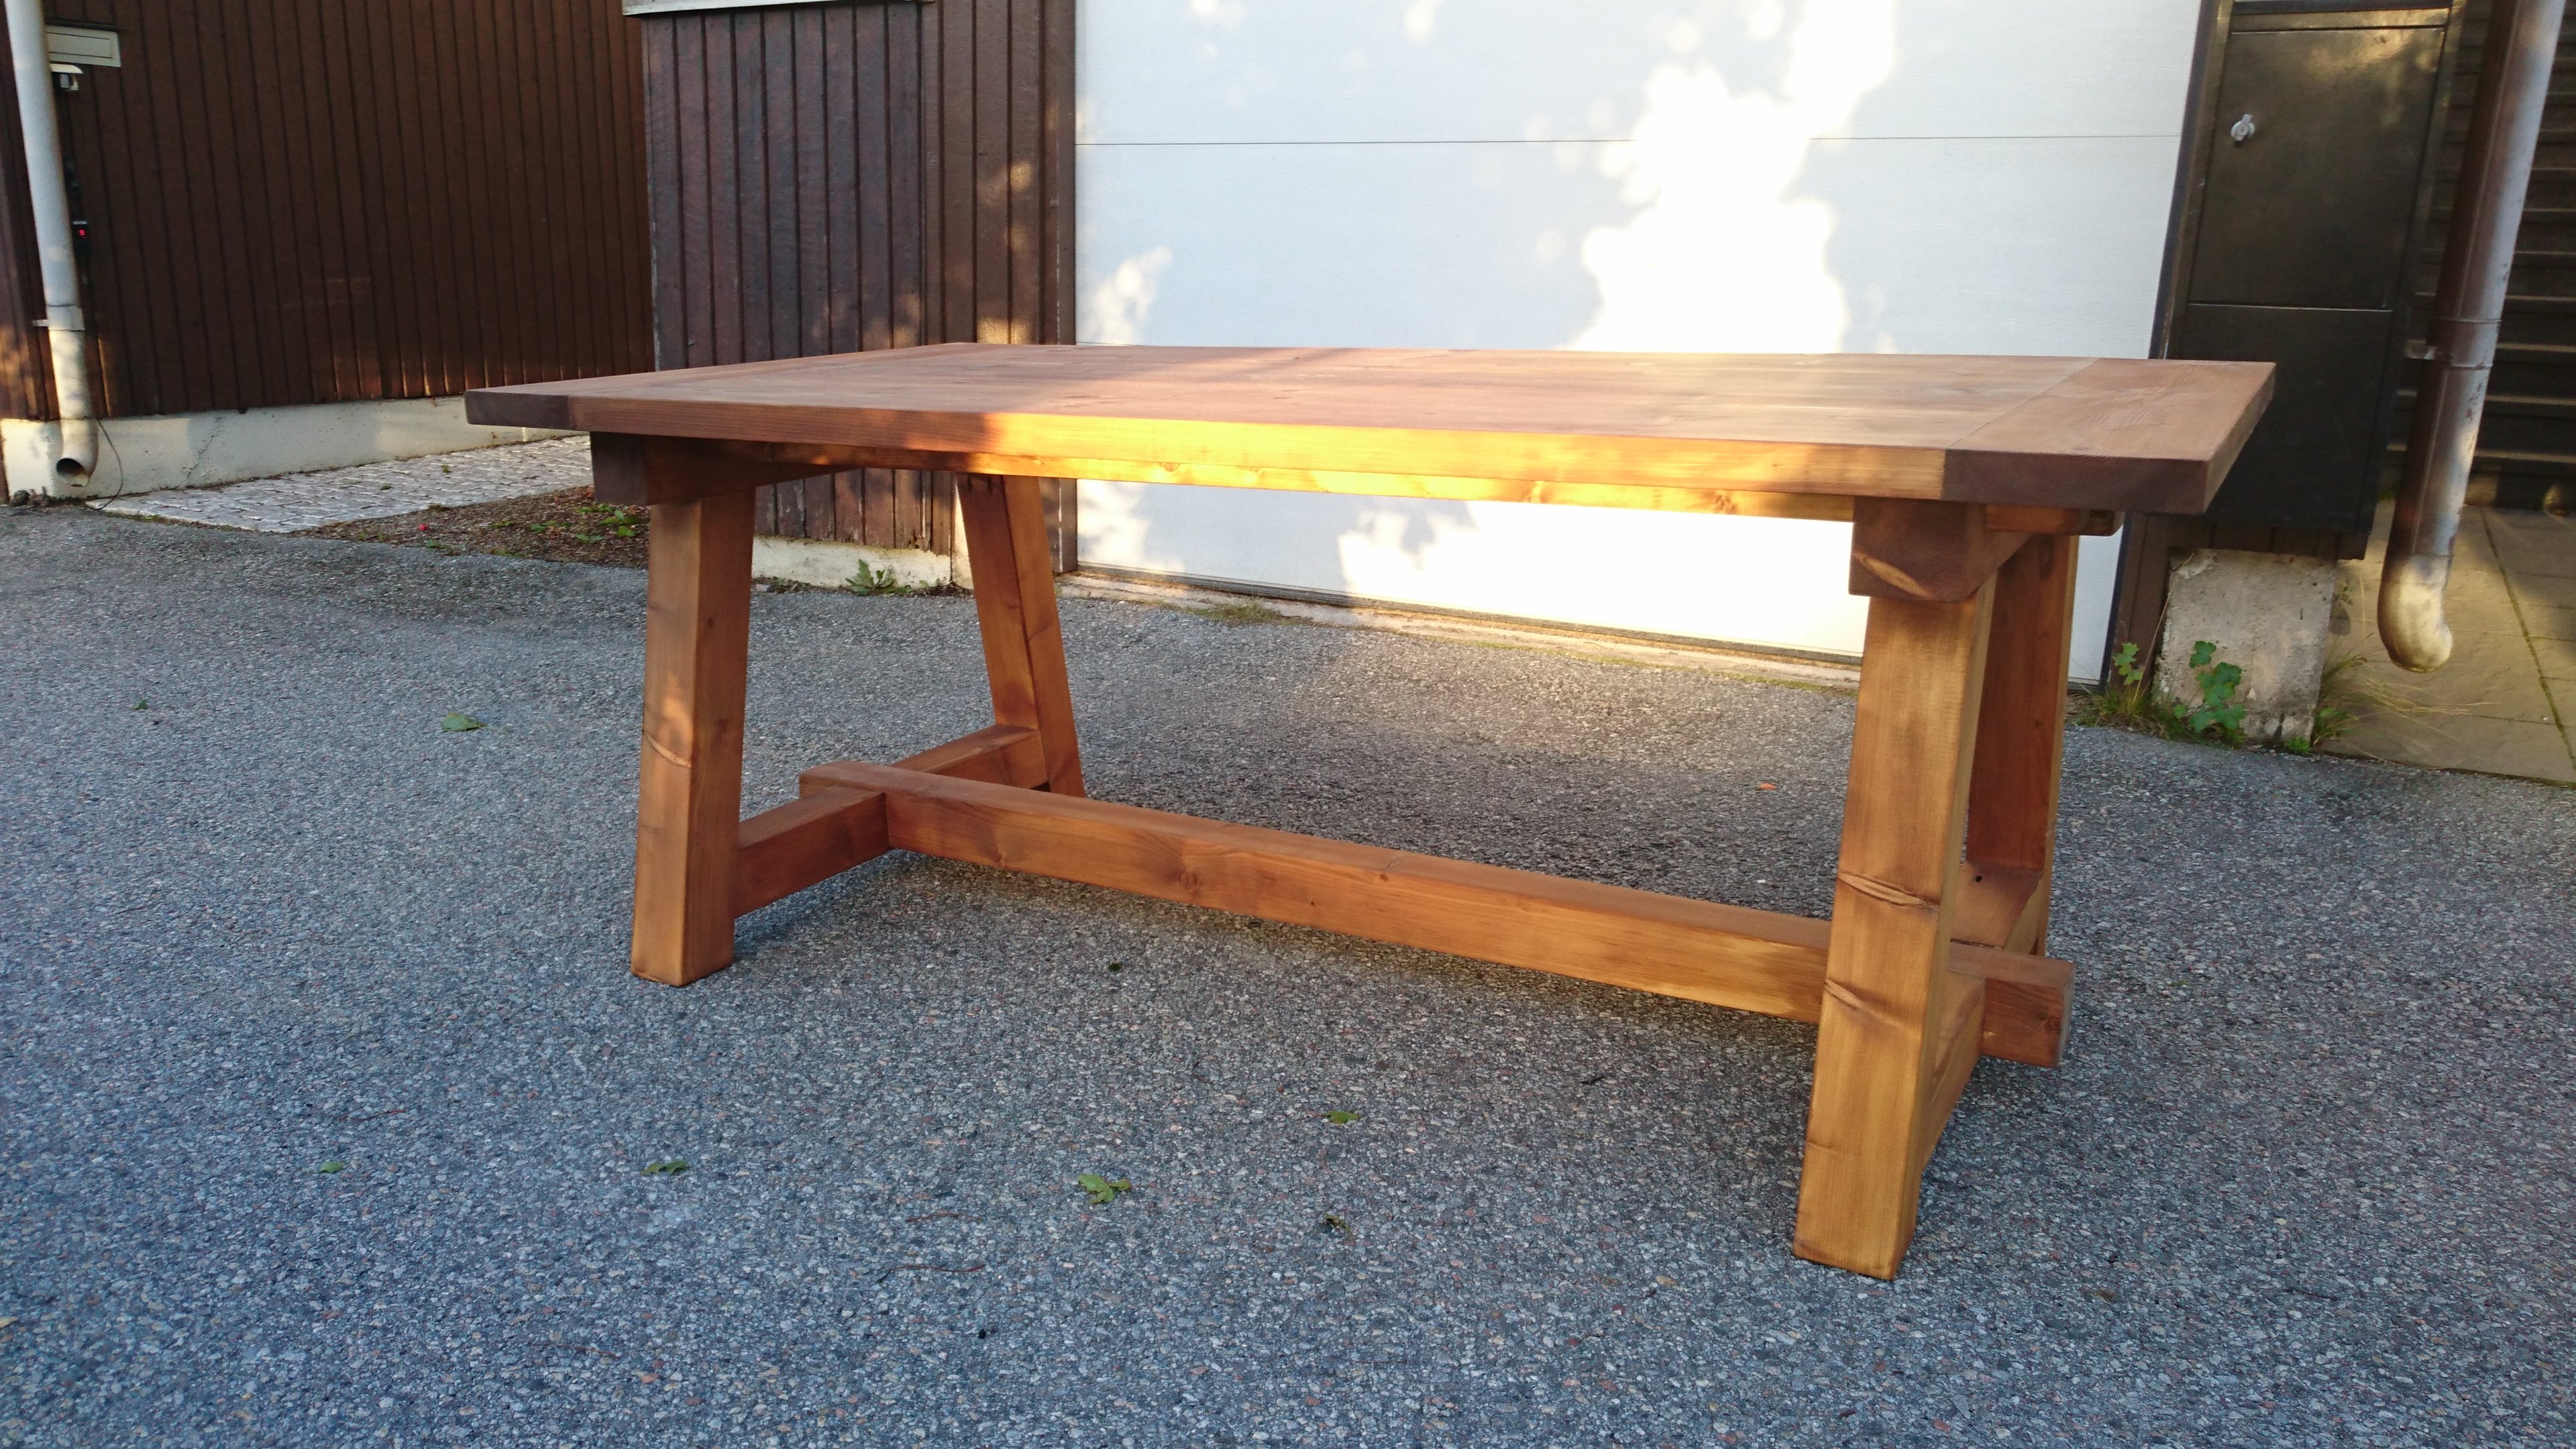
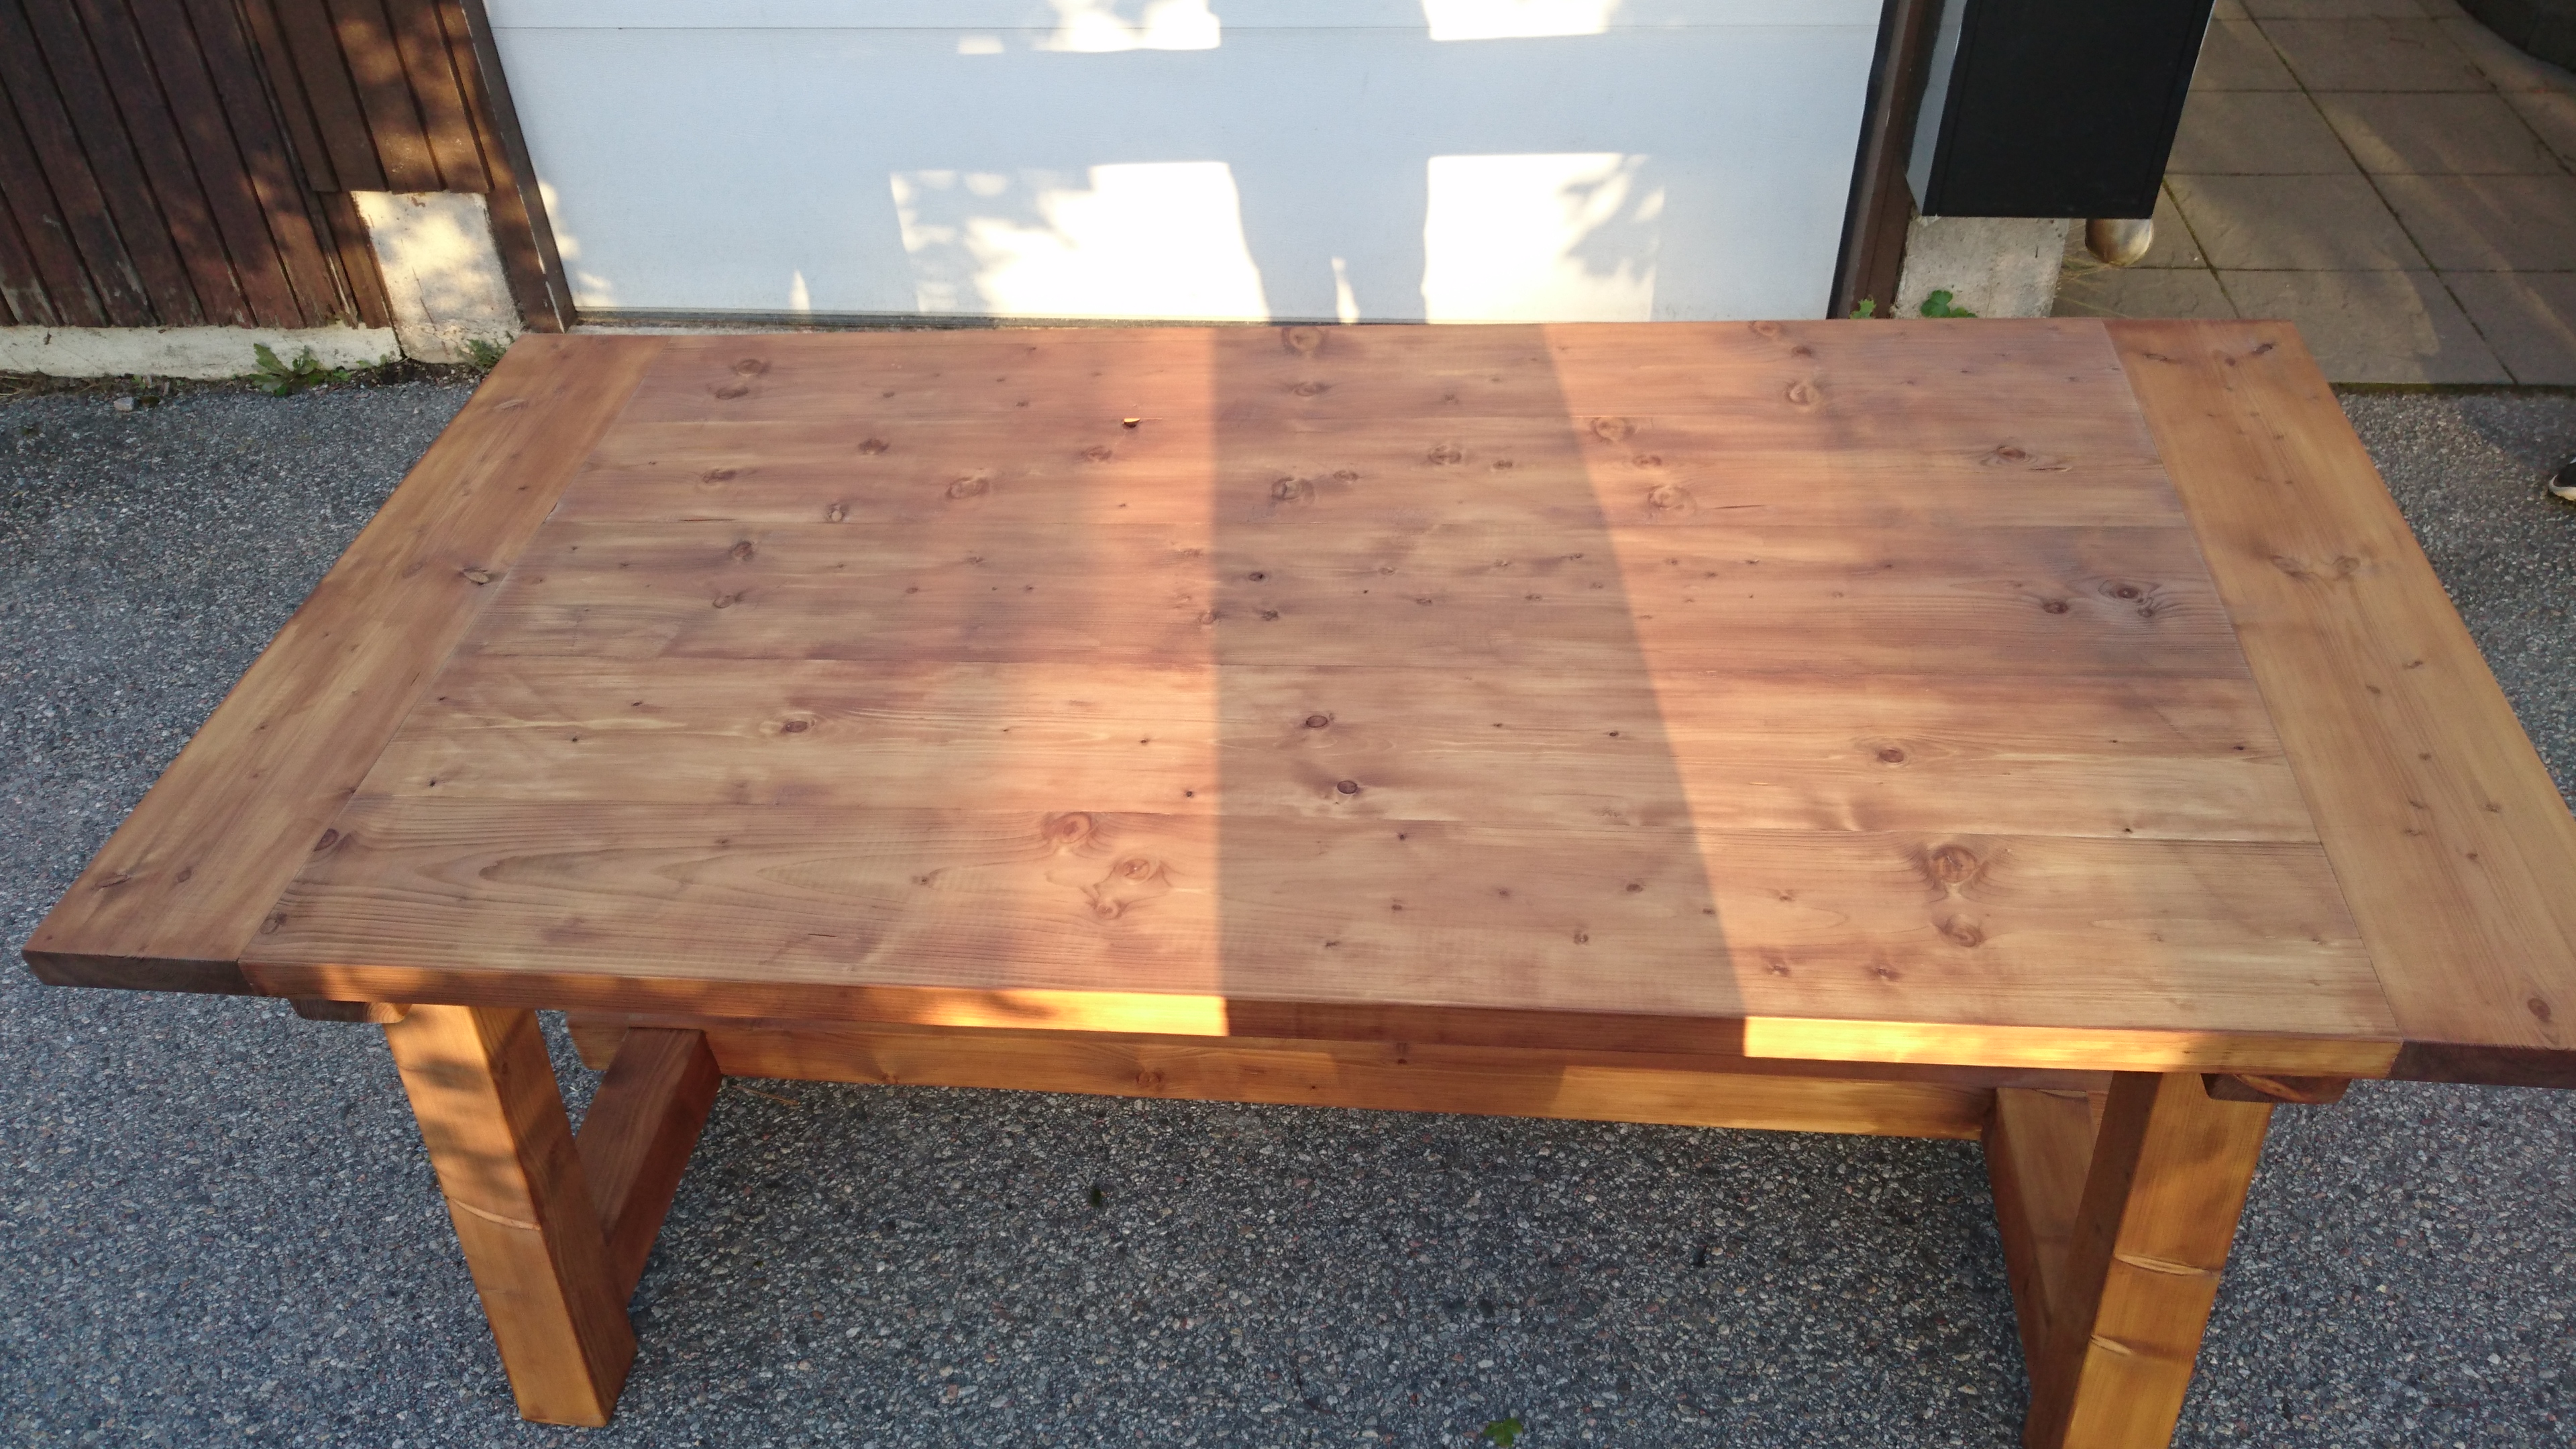
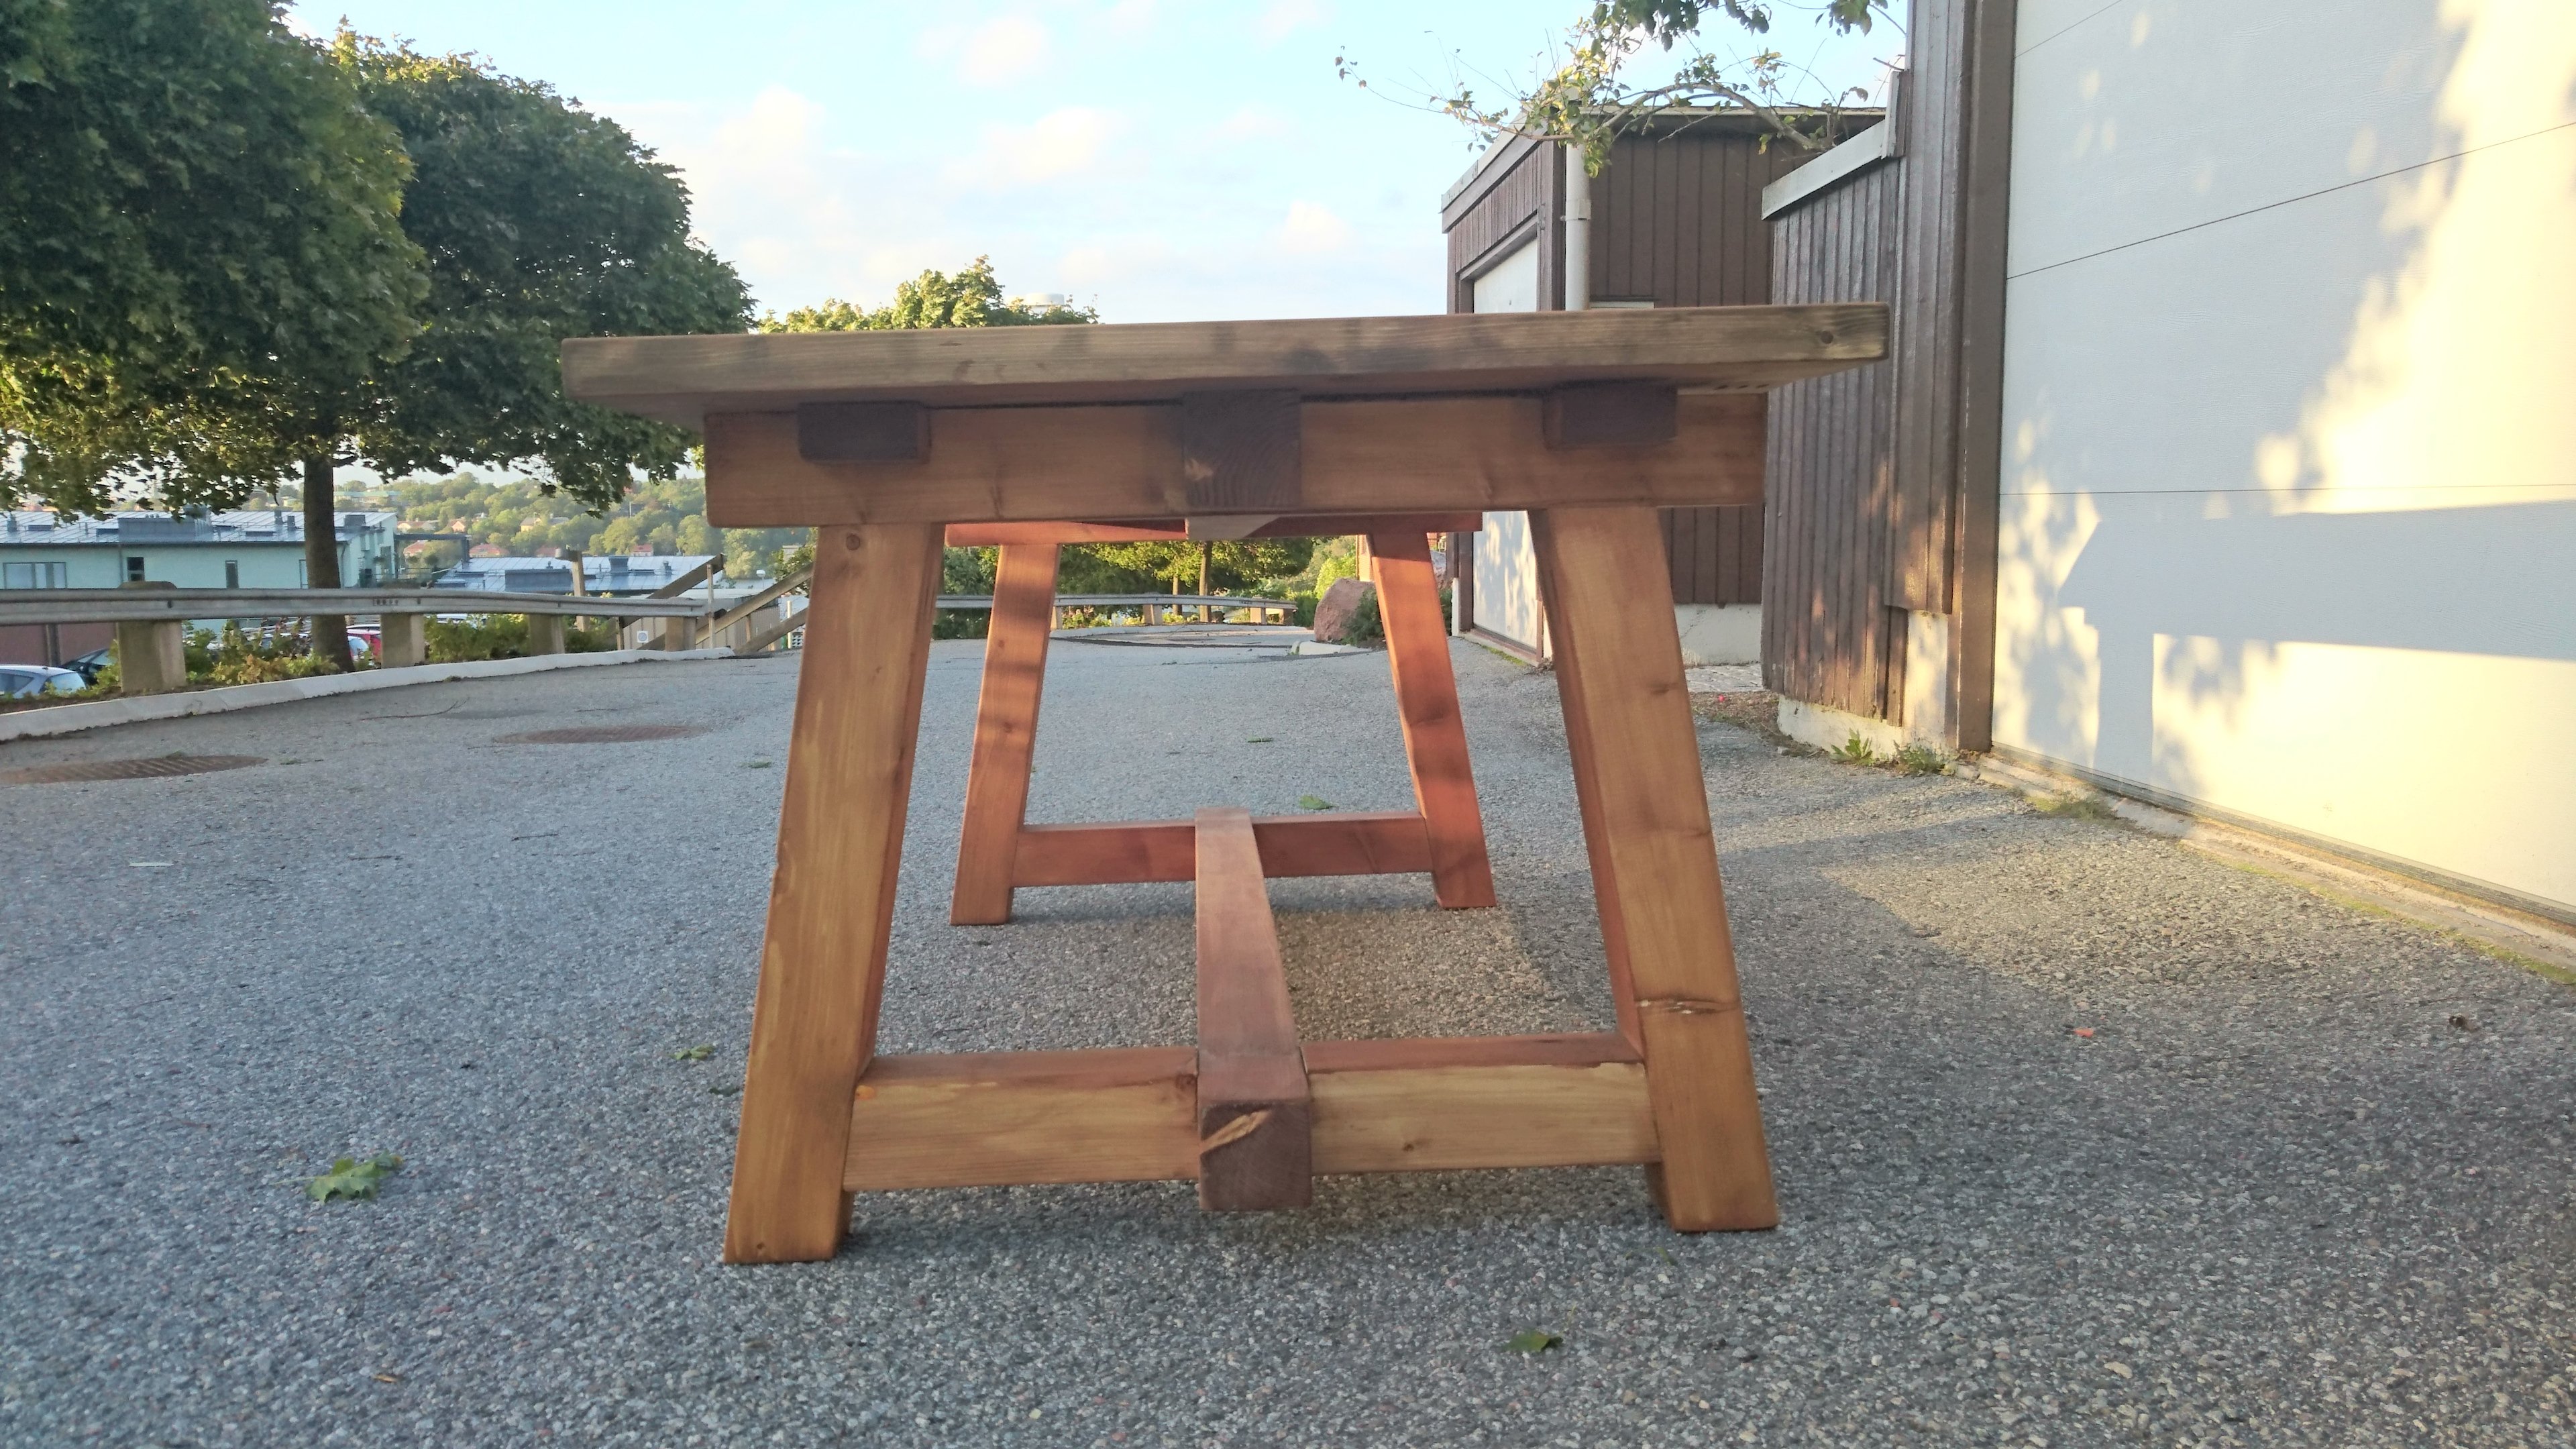
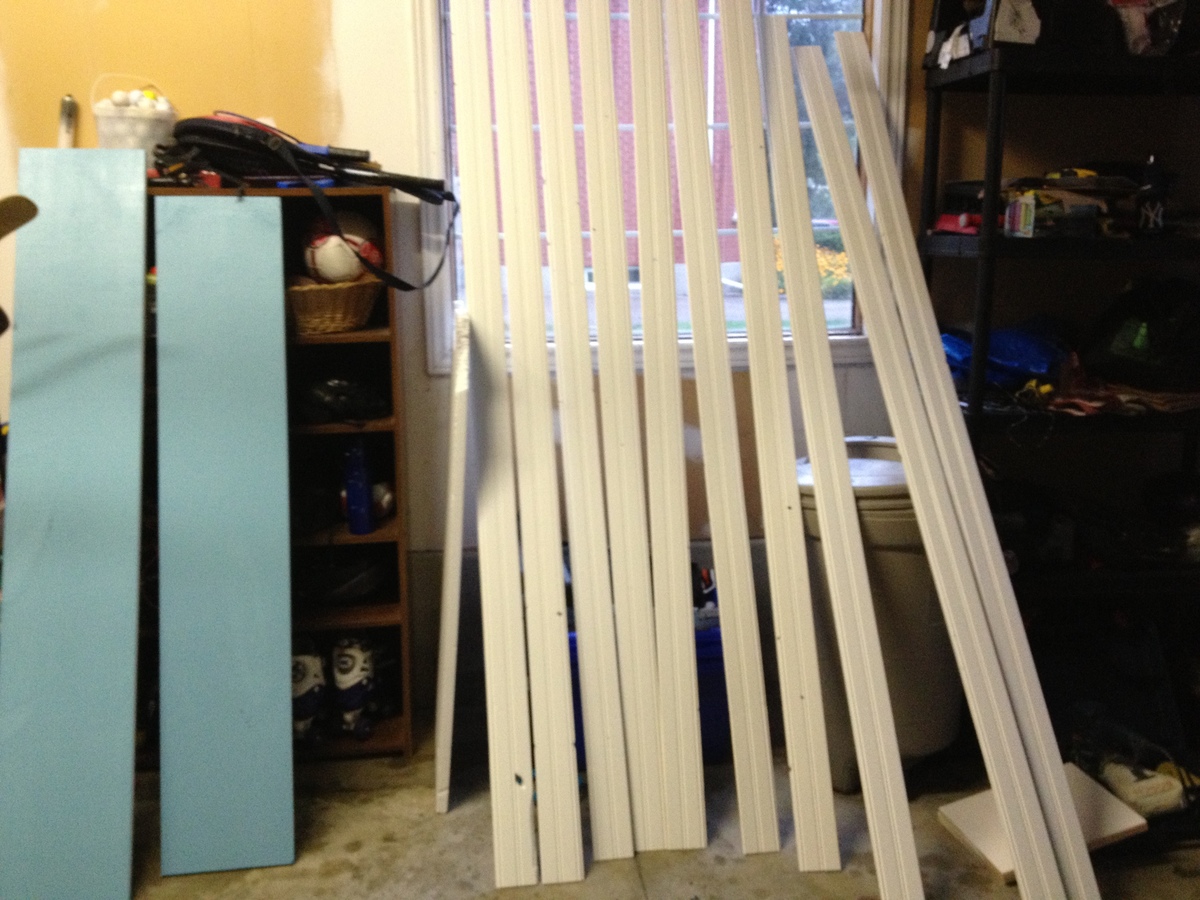
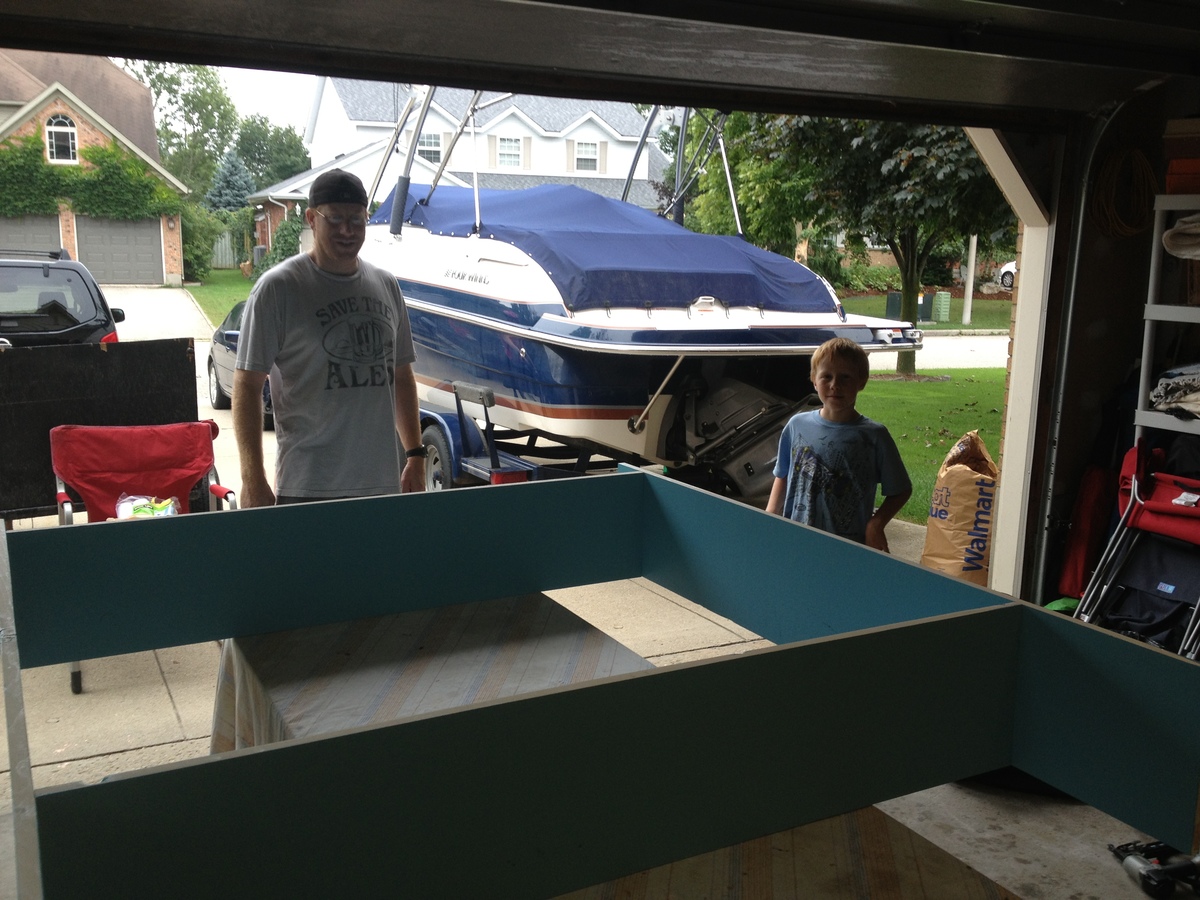
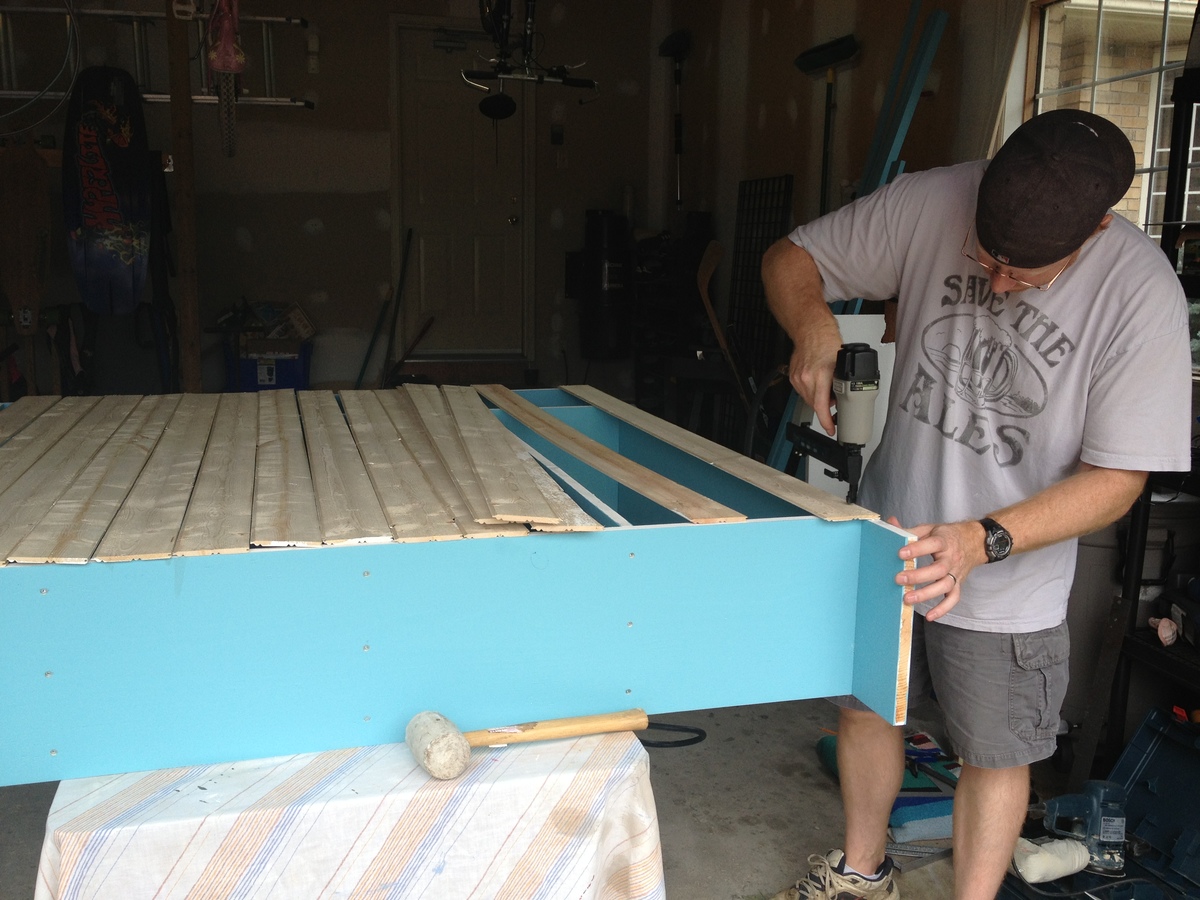
This vanity is an amalgamation of a few ideas I found online. I used the Reclaimed Wood Console Table as a guide to pull it all together. All three drawers are functional. The plumbing falls directly between the center and right drawer, and the drawers are mounted on bottom center glides.

Built from Plan(s)
Estimated Cost
$125
Estimated Time Investment
Weekend Project (10-20 Hours)
Finish Used
semigloss white paint
Recommended Skill Level
Intermediate

Well loved outdoor sofa

Submitted by Anonymous (not verified) on Sat, 07/16/2022 - 17:51

This sofa has been in constant use for three years. Sturdy and comfortable, we have to compete with the cats for a nap or rest. Even on the winter, when we remove the cushoins, it gets used as a bench or a kitty hiding place while they wait to come in.

Built from Plan(s)

Comments

Bench

I built this based on the rustic x bench. While I had previously built the x bench, I really had a hard time with that darned X! So I just added bottom pieces to this and called it a day. This will be put at the foot of the bed and will most certainly help me sleep better! How? Ah yes, no more hubby sitting on the edge of the bed at 4:30a.m. to put on his boots!

Built from Plan(s)
Estimated Cost
Free...all made from leftovers and reclaimed wood
Estimated Time Investment
An Hour or Two (0-2 Hours)
Recommended Skill Level
Beginner

For a co worker...

A co worker reeeeally wanted this and asked me to build it. It is only my second build.

Built from Plan(s)
Estimated Cost
150-200
Finish Used
Varathane Spar Varnish in satin, Varathane Dark Walnut
Recommended Skill Level
Beginner

Doll House

Submitted by samueldodd on Fri, 11/02/2018 - 08:10

I made this with oak plywood and used a straight edge and paper knife to score it to look like planks and a chisel to vary board lengths and stained it. This is the first house I made like this. I made second house like this after a house fire destroyed the first one. My people were well pleased with both of them. I will put lights in the next one.

Estimated Cost
$75.00
Estimated Time Investment
Weekend Project (10-20 Hours)
Recommended Skill Level
Intermediate

Work Area

I finally got the chance to share my first couple of projects.

For the work bench I made organizers for tools and screws. I made them with 1x3's and made simple boxes out of them. One longer one at 36" and a couple smaller ones at 6" for easier access to nails. I painted everything with granny smith green and fuchsia pink.

I had originally planned on just making a couple of storage benches to hide my husband's video games in the house, but decided one would be perfect to hold my circular saw, drill, and other power tools while adding a comfortable place to sit. I had ordered the fabric a few months ago and didn't realize that it matched the fuschia pink paint I had bought at orange for my work bench, and I am glad it did.

Though they are in my garage, being a wife to a Staff Sergeant in the Army, we entertain a lot so having something that is useful and looks great is a wonderful thing indeed.

Since I've started building, I've been browsing Ana White's project plans for anything else that could be useful in our house... I can't wait until we move so we can choose a larger house to make way for more projects!

Thank you Ana!!! You've given purpose to my usually uneventful days while the hubs is in Iraq for the third time!

Estimated Time Investment
Day Project (6-9 Hours)
Finish Used
Granny Smith Green and Fuchsia Pink from Orange. :)
Recommended Skill Level
Beginner

Comments

MissSea

Sun, 09/18/2011 - 14:27

I have to say I love that even though this is a workbench, it's still so personal and girlie! And what a great idea for the storage unit having seating! So many times I end up sitting in the garage, sorting God-knows-what, and I really need a seat! :)

Just A Bench

Submitted by Jake on Fri, 08/30/2013 - 18:38

I had a request from a friend to build her a bench, preferably one with a back on it. The plans for the Woven Back Bench were perfect. But as you can see in the picture I moved away from the plans a little bit. The woven back is beautiful but I was sure it would become frustrating to get it right so I went with the vertical posts. It worked out well.

It is not visible in the picture but I added a cross-member to the middle of the seat to give it more strength and stability.

I avoided pocket holes to hold the back together by using the Kreg drill and drilling vertically down about 3/4 the way and inserting 2" pocket hole screws and then capping them off. The caps are visible in the picture. I did the same from the bottom of the back.

In a couple of places that called for 2x2s I used re-sawed 2x4s that I think added strength to the bench. I only used pocket holes where they would not be directly visible. Also I used a router to soften many of the edges and to add interest to the arms.

Built from Plan(s)
Estimated Cost
$50 not including primer or paint
Estimated Time Investment
Weekend Project (10-20 Hours)
Finish Used
The finish will be applied by the recipient but I am recommending that she prime and paint. Once a year she should check for any rotting.
Recommended Skill Level
Intermediate

2x4 Truss Table - Modified

Submitted by ckdesigns on Mon, 10/19/2015 - 06:35

Since our dining room is small I modifed this table to 66" long.  It is 50" between legs.  Also, I do not have a table saw, so I could not get the 10 degree angle on the legs.  I actually think that having them at 90 worked out better since this table was scaled down.  We love it and think it is really great in the room.

Built from Plan(s)
Estimated Cost
About $100 in wood and $50 in other materials.
Estimated Time Investment
Week Long Project (20 Hours or More)
Finish Used
Varathane Dark Walnut
Recommended Skill Level
Intermediate

Comments

Ocean/Mermaid themed full size version of Sweet Pea Bunkbed

Submitted by agarant10 on Mon, 11/12/2018 - 10:13

This is a ocean/mermaid version of the sweet pea bunk bed. I had to add an additional section above the original plans in order to accommodate for the slide. I also forwent the bottom storage and opted to just put a bigger door, which allowed more headroom inside and the ability to put both a mattress and box spring on the bottom bunk. I used real shingles and painted them gold. The slide came from Home Depot. The octopus door handes I got off of Etsy for about $5 each. I found a doorbell on an old plastic outdoor house set laying around. I added some seaweed from Joann Fabrics. The steps are made out of 2x6 boards vs 1x boards. I also changed the plans so both beds are full size instead of twin size. The top bunk has so much support...it was tested with 600 lbs up there and held up fine!

Estimated Time Investment
Week Long Project (20 Hours or More)
Recommended Skill Level
Intermediate

Comments

SoCalMom

Mon, 11/19/2018 - 12:09

That bed is amazing! My daughters would never ever sleep and my 3 year old said when I showed her "mama, I wanna go there"... 

Farm house table

Submitted by hough18 on Tue, 08/09/2022 - 10:14

Decided paying $600 for a coffee table was ridiculous so my wife said build this then. I read the comments on this and went with picture frame ends, wife is happy and that means I am as well! Also drilled holes first just to ensure no splitting of the wood.

Comments

Farmhouse Bed and One happy Boy ;)

My Hubby and I worked really hard on building this bed, your plans are wonderful ;)

Estimated Time Investment
Weekend Project (10-20 Hours)
Finish Used
White semigloss after priming
Recommended Skill Level
Beginner

Comments

Inspired by Julia Nightstand

Submitted by kirst1230 on Mon, 09/02/2013 - 10:03

This nightstand was inspired by the Julia Nightstand. I changed a few of the measurements and added a door. The entire piece is built out of wood I salvaged when I tore out the wall paneling in my basement. The old nail holes add nice character and the color of the wood and grain are really nice. This piece does not have any stain - this is the natural color of the wood. I finished it with water based polyurethane.

Built from Plan(s)
Estimated Cost
$25
Estimated Time Investment
Week Long Project (20 Hours or More)
Finish Used
Water based polyurethane painted with synthetic hair brush. I did not use any stain. The water based polyurethane raises the grain so I sanded between the first two coats. Total of 4 coats. No odor and very easy cleanup (soap and water).
Recommended Skill Level
Intermediate

Comments

Rustic truss outdoor table

Submitted by aronbirkir on Sat, 10/24/2015 - 00:48

Build this one out of pine and used DIY Pete's handling method of the wood to make it look older ( http://www.diypete.com/how-to-build-a-farmhouse-table/ ) with vinegar and steel wool. 
The beams are halflap joined to the legs and no screws where used to attach the beams to the legs. It is rock sturdy. The leg frames are glued and screwed together with pocket holes. The planks in the tabletop are only put together with pocket hole screws and fastened to the beams from underneath with long screws. Finished with Chinese oil. This outdoor table was a gift to a good friend.

Built from Plan(s)
Estimated Time Investment
Weekend Project (10-20 Hours)
Finish Used
Stained with mix of white vinegar and steel wool. Let the vinegar stain the wool for 4 days in a closed jar. Then brush it on and the solution oxidates when it reacts with the wood.
Finished with Chinese oil.
Recommended Skill Level
Intermediate

Free Standing Barn Door Cabinet

I needed a pantry cabinet for my walk through kitchen (I have a generic 1970's ranch with a walk through kitchen--10' wide and the dining area is small, so I wanted lots of storage with minimal depth) and I am a big fan of cabinetry that looks like furniture--when I saw this project, I knew I had to make it.  


I enlisted the help and guidance of my 73 year old Mom----she has been making things for years and has an entire basement full of all the woodworkig machines I will ever need.  We started this project about a month ago and have been working at it on and off since (my Mom is a thinker and has lost sleep over a few issues we ran into, but the final design is AWESOME!  Thanks Mom!).


I would have loved a much wider cabinet, but the wall I will be putting it on had a few items that I did not want to move or cover up (light switches & a cold air return).  I ended up making the cabinet 89" tall (my ceilings are only 91") and 57.5" wide (I'm a stickler for symmetry and I wanted the white space on either side of the cabinet to be the same.  This project took a couple of weeks to complete due to work, kids, pets, etc).  I just had my son and better half carry it in tonight and it fits perfectly----now to clear out all my upper cabinets and start taking them down so I can fix my ceiling and start making my kitchen cabinets!  

Thanks Anna!

Built from Plan(s)
Estimated Cost
Total cost for materials, paint, hardware - $250.00
Estimated Time Investment
Weekend Project (10-20 Hours)
Finish Used
Rustoleum Chalk Paint - Aged Grey
Recommended Skill Level
Beginner

Comments

Bathroom Reading

Submitted by moemoore on Thu, 08/11/2011 - 03:01

We've had a cheapo over the toilet stand in our master bathroom for ages. Its a chrome job that was getting rusty and all it ever held were the magazines that my husband would place on it. I saw the Flat Bookholders plan, and realized that would be perfect.

Then I realized that in order to get my husband on board with my plan, I would have to paint it his team colors - UK Blue and White! (That would be University of Kentucky!)

I measured the wall next to our toilet - 18" was the max width I could do. Then I followed the directions for the small version of the Flat Bookholders, adjusting the width to 18".

Estimated Cost
< $20
Estimated Time Investment
Afternoon Project (3-6 Hours)
Finish Used
I primed it, then used Glidden's paint to paint it. Used the white for most of it, then the blue for the trim and for the UK that I stenciled on the side (no pic of that yet). Then used poly to coat it all.

Hardest part was by far the stencil - I didn't practice using it before hand, and ended up having to do it 2 or 3 times.
Recommended Skill Level
Beginner

Comments

Terra (not verified)

Thu, 08/11/2011 - 07:11

Love this! I also a huge Wildcat fan I am from KY as well! Great job looks awesome!

Modified 4 Kid Locker Cabinet

With all four kids going to full time school in September, we knew it we needed to tackle our mudroom and make it more organized, so this is what we chose as our first project.

We are always hesitant about following plans that come from the US because half the supplies are never available to us in Canada...or if they are, the prices are much higher. This project came in at about 30-50% higher than the US cost estimates.

Lowe's had almost everything we needed, with the exception of the bead board. They had outdoor bead board sheets, but not indoor. We had to use cottage panelling instead, but it looked just as good on the finished project, just took longer to install.

The project took three full week-end days, including the planning, shopping and of course, stopping to take care of and feed our four kids every now and again.

We modified the original plan to add a second shelf to the bottom space for shoes, plus we added an extra locker to make this a four-kid unit. (60 inches wide)

Estimated Cost
$225
Estimated Time Investment
Week Long Project (20 Hours or More)
Finish Used
One coat of primer and one coat of high end semi-gloss paint.

Recommended Skill Level
Beginner

Comments

Loft bed, not quite finished

Submitted by Bunnie1978 on Tue, 10/27/2015 - 20:33

I built this bed several months ago, but it isn't finished.  Deigned the plan myself with inspiration from several plans/brags along the way.  The room not at all square or level so had to build as you go.  This was for my son's 7th birthday, and he loves it.

Estimated Time Investment
Weekend Project (10-20 Hours)
Recommended Skill Level
Intermediate

Doll Pram Love!

Submitted by Anonymous (not verified) on Tue, 12/25/2018 - 18:40

This was a fun build!  It was my first time to use the jigsaw, so my sweet hubby showed me the ropes!  Such a great project and my little girl absolutely loves it.

Built from Plan(s)
Estimated Time Investment
Afternoon Project (3-6 Hours)
Finish Used
Eggshell paint - random sample I had on hand
Recommended Skill Level
Beginner

Comments

Easiest 2x4 Drawer Bench

Submitted by Anonymous (not verified) on Wed, 08/31/2022 - 16:21

Ana, I am so greatful for your videos. You gave courage to create this 24" deep x 48" wide bench. We remodeled our bathroom by transforming our tub into a walk in shower. We removed the small old shower stall which left a space where we created this nook. The drawers are our new laundry "baskets." We also added board and batten in the rest of the bathroom. Everyone loves the design and I have you to thank. Many blessings to you and your family. Alice

Built from Plan(s)

Comments