Community Brag Posts

$1.18 Bird Feeder

Submitted by jaime19861 on Mon, 05/26/2014 - 11:11

I have been trying to attract more birds. I built and put up some more birdhouses, added a bird bath, and wanted to add some more feeders. I found this quick and easy plan and I had to build it.

This took me less than an hour to build. I bought my picket from Menards when it was on sale for $1.18. That's not a bad price for a bird feeder!

You can see the steps I took to build this on my blog.
http://jaimeofalltrades.blogspot.com/2014/05/make-bird-feeder-for-under…

Built from Plan(s)
Estimated Cost
2.00
Estimated Time Investment
An Hour or Two (0-2 Hours)
Recommended Skill Level
Starter Project

Comments

jessehawks

Sun, 03/01/2020 - 17:05

I can tell just from looking at this wood it was treated with a copper based chemical (note the green/blue blotches) while cedar is a good natural resistant wood these can sometimes be treated a well check for those greenish blotches around the Heartwood lines, chemical won't penetrate the tree sap in the wood and builds up along these lines. *I've worked in the pressure treated industry as a chemical tech for 3 years, and industry as a whole for more than 7.

My computer organizer version of your jewlery box

Submitted by lewisw on Sat, 08/27/2016 - 11:26

A much needed space to keep all my usb plugs and chargers but leave room for the dvd burner.

So I took your plans and modified it to suit my needs.


thanks for the incentive Ana as this is my second project I made after the outside bench :)

Estimated Cost
40.00
Estimated Time Investment
An Hour or Two (0-2 Hours)
Recommended Skill Level
Starter Project

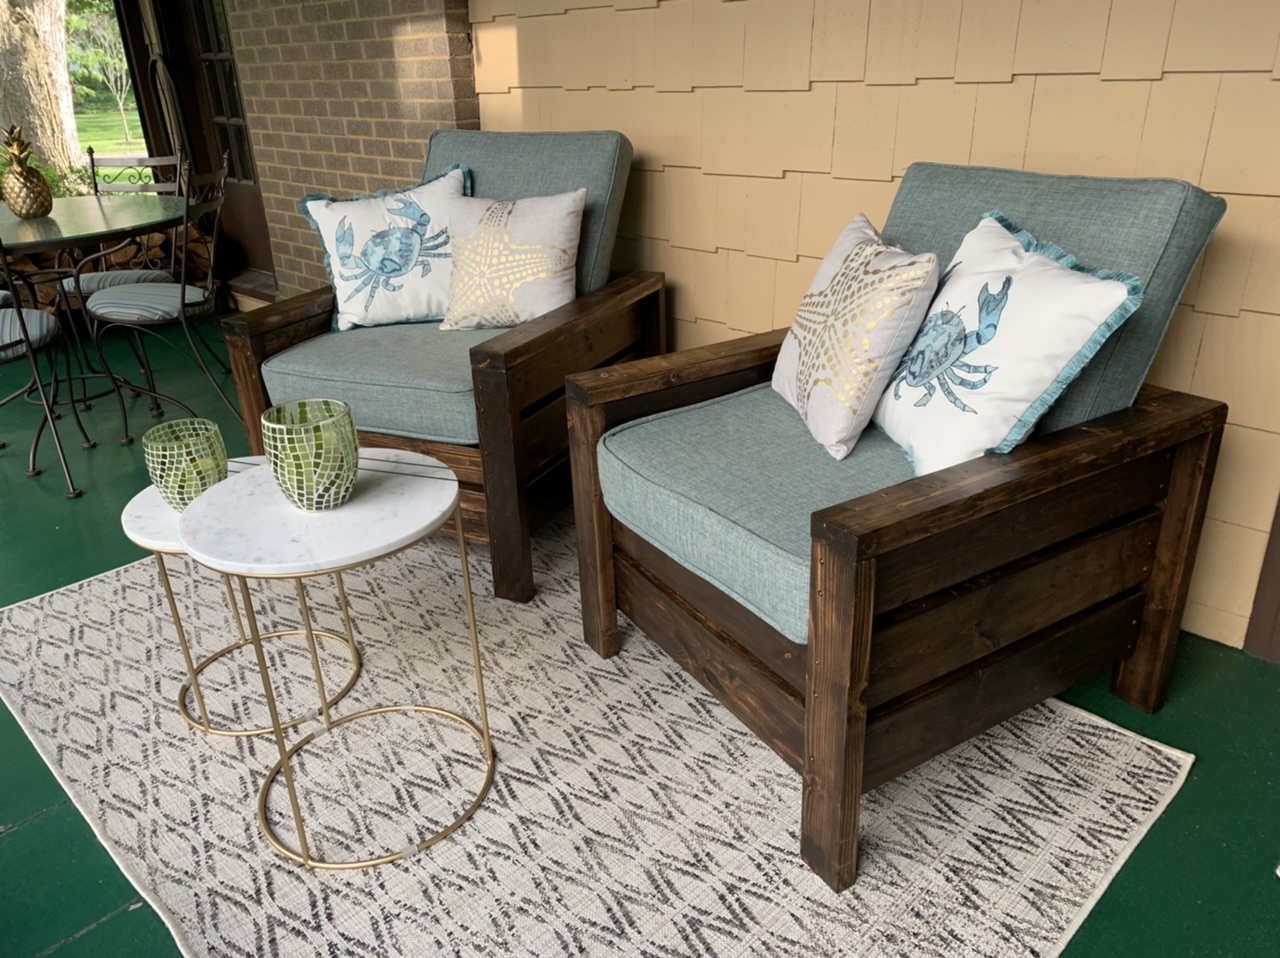
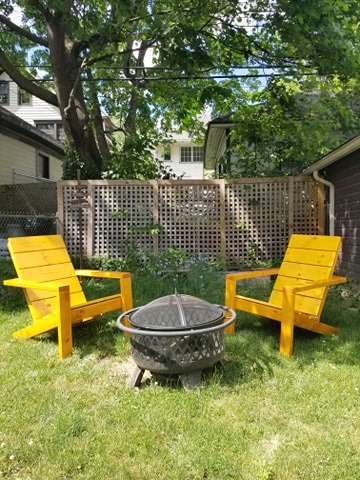
Our modern take on the Modern Outdoor chair

Submitted by Anonymous (not verified) on Sun, 06/07/2020 - 15:59

When I told my husband we were going to make patio chairs instead of buy them - he thought I was crazy!

I started looking for chairs during the tail end of the pandemic’s stay-at-home order, but after looking for something that was a nice quality yet reasonably priced, we soon realized the options just weren’t there. In my 20’s, I had made a dining room table when I could really afford anything nice! Man I loved that table! So I decided to google DIY patio chairs and found your site! OH. MY. GOODNESS. I want to make all the things. In addition to these beauties, we’ve also made counter height garden boxes, and are getting ready to start on the Farmhouse Potting Bench. Your videos are great - and make everything look incredibly easy. I stained and polyurethanes before assembly, but in hindsight might have opted to wait until the end! All accessories, including cushions are from at home. Make these chairs! You will love them!!

Estimated Time Investment
Weekend Project (10-20 Hours)
Finish Used
Kona stain with Satin polyurathane finish

I presaged wood with a pre-stain, then did one coat of stain (wipes down so it wasn’t so dark), and two coats of Varnish. I sanded prior to staining, and in between varnishes. We made two chairs at the same time - so stained roughly 50 boards - which was the most time consuming part as the varnish takes the longest. It is helpful to have this on a tall surface for assembly

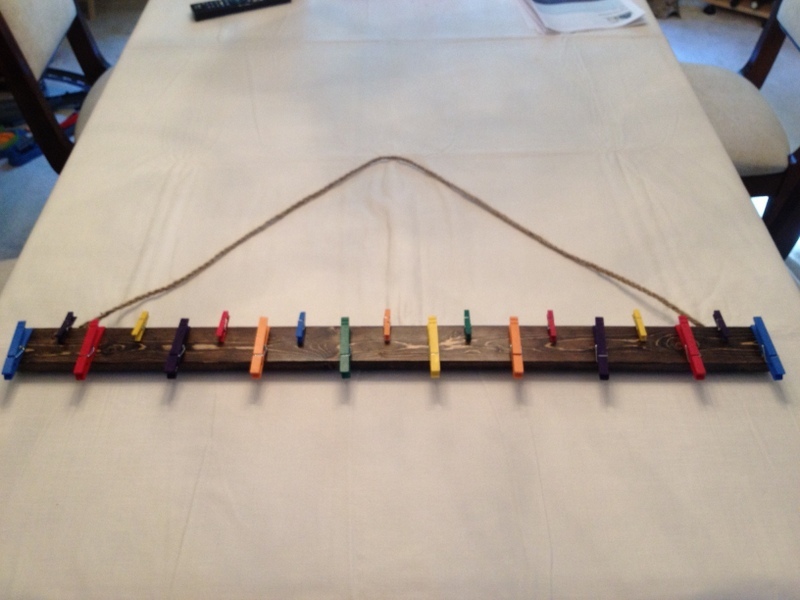
Clip Art

Submitted by red98dawg on Fri, 08/03/2012 - 07:45

This is such a great way to show off art from school. I used scrap wood and regular and small clothes pins. I thought I could put photos in the small clips on top and the artwork on the bottom larger ones.

Built from Plan(s)
Estimated Cost
$5
Estimated Time Investment
An Hour or Two (0-2 Hours)
Finish Used
Minwax - Jacobean, 1 coat
Minwax - Fast-Drying Polyurethane, 2 coats
Various art paint we had from other projects
Recommended Skill Level
Beginner

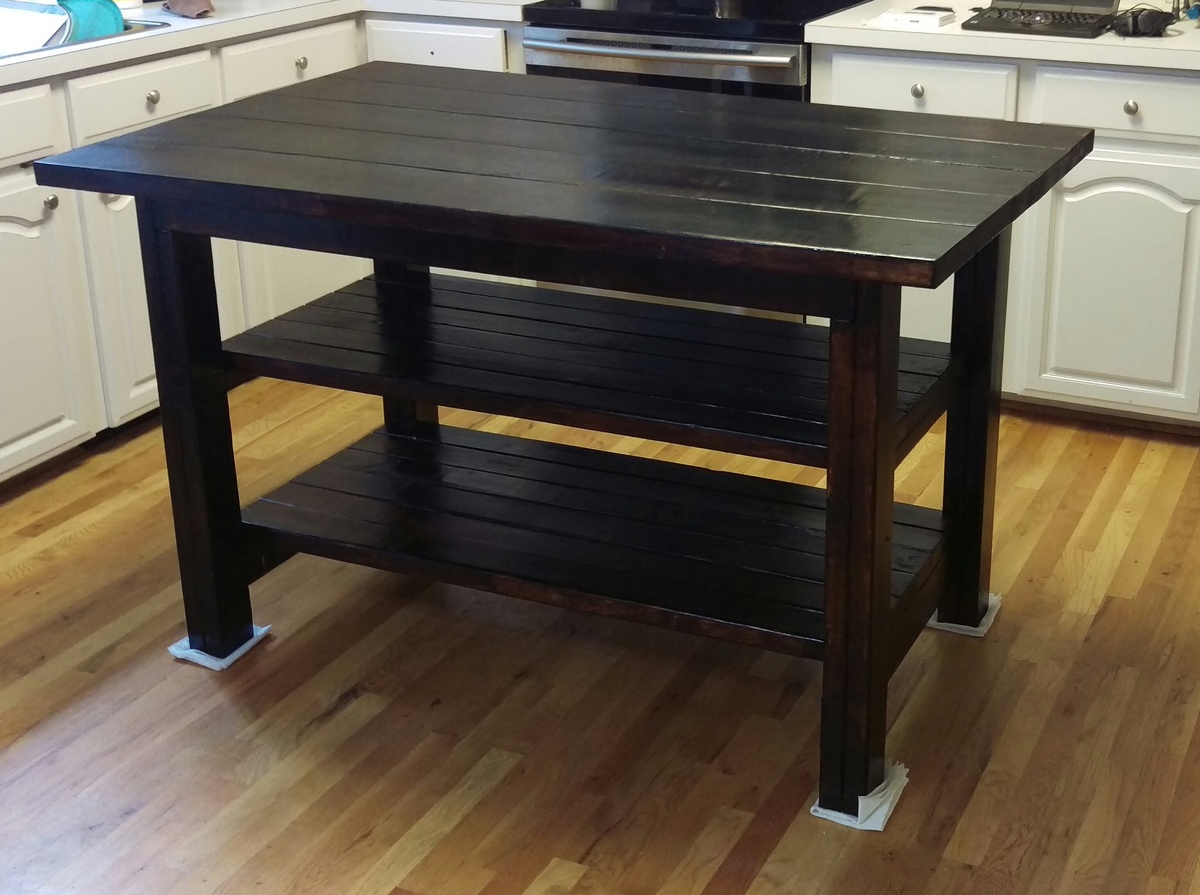
Breakfast Bar Conversion to Storage Shelving

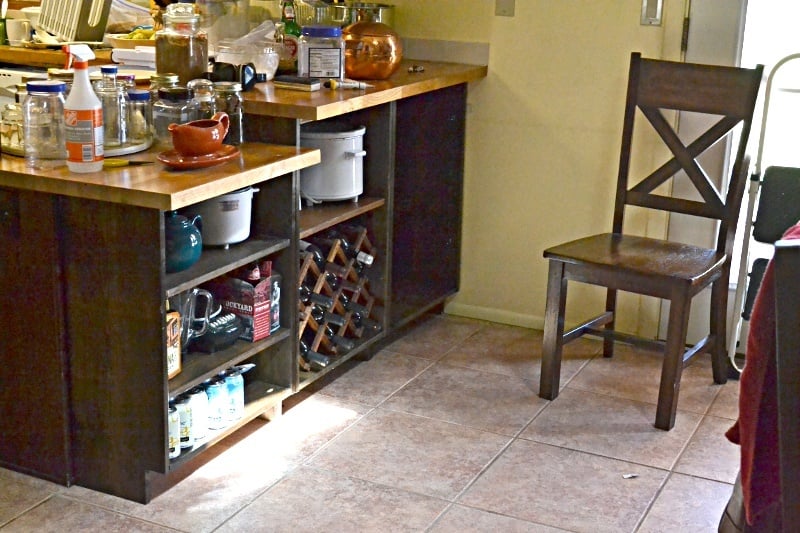
Added kitchen and dining room storage by building bookcases / shelf units to fit under the peninsula breakfast bar overhang. It's the simplest possible "box with a toe-kick", loosely based on Ana's plans for a bookshelf and the closet master system.

Much of the "working time" was stain and finishing time. Actual cutting and assembly time was under 3 hours.

No dimensions: every breakfast bar is different.

1 - The boards were cut to fit under the overhang, with 1/8 or less clearance. Top and bottom of unit is between the upright pieces.

2 - Width of units was also cut to fit. One unit is the width of the lower section of countertop (appx 23 in), the taller section was divided into 2 equal units (appx 21 in)

Shelves were cut about 1/4" narrower than the insiude dimension of the unit, to allow for insertion and the shelf pegs.

3 - Toekick space cut to match the cabinet on the far side of the peninsula. Used a circular saw and then a hand saw to finish the corners.

4 - Drilled pocketholes in the top and bottom boards.

5 - Used Rockler's jig for drilling shelf pin holes in the 6 uprights. Oops! I should have drilled every possible hole. I drilled every other hole and don't have the shelf flexibility I really need.

6 - Stained and topcoated everything, let it dry.

7 - Assembled each shelf unit, using corner clamps and a carpenter's square to make sure it was square. The bottom shelf is screwed at the same level as the toe-kick.

8 - Slid units under the overhang, shimmed them firmly under the countertop.

9 - Added shelf pegs and shelves

DONE!

Doors could be added, using the hinges for inset doors on frameless cabinets.

==========
NOTES:
The units are backless. I considered nailing a 1/8 hardboard back onto them, but because the finished back of the peninsula is visible behind them, and they are shimmed into place to prevent slouching it was not needed.

Cost is low because we had some 1x12 boards in the attic. Already had the tools and stain from earlier projects. 3 1x12 x 6ft boards were new, the rest were salvage.


Estimated Cost
$100
Estimated Time Investment
Week Long Project (20 Hours or More)
Finish Used
Minwax Jacobean oil stain - one coat wiped on after light sanding

General Finishes gel topcoat - one coat wiped on
Recommended Skill Level
Beginner

My Rustic X Coffee Table

Submitted by Anonymous (not verified) on Mon, 08/29/2016 - 13:24

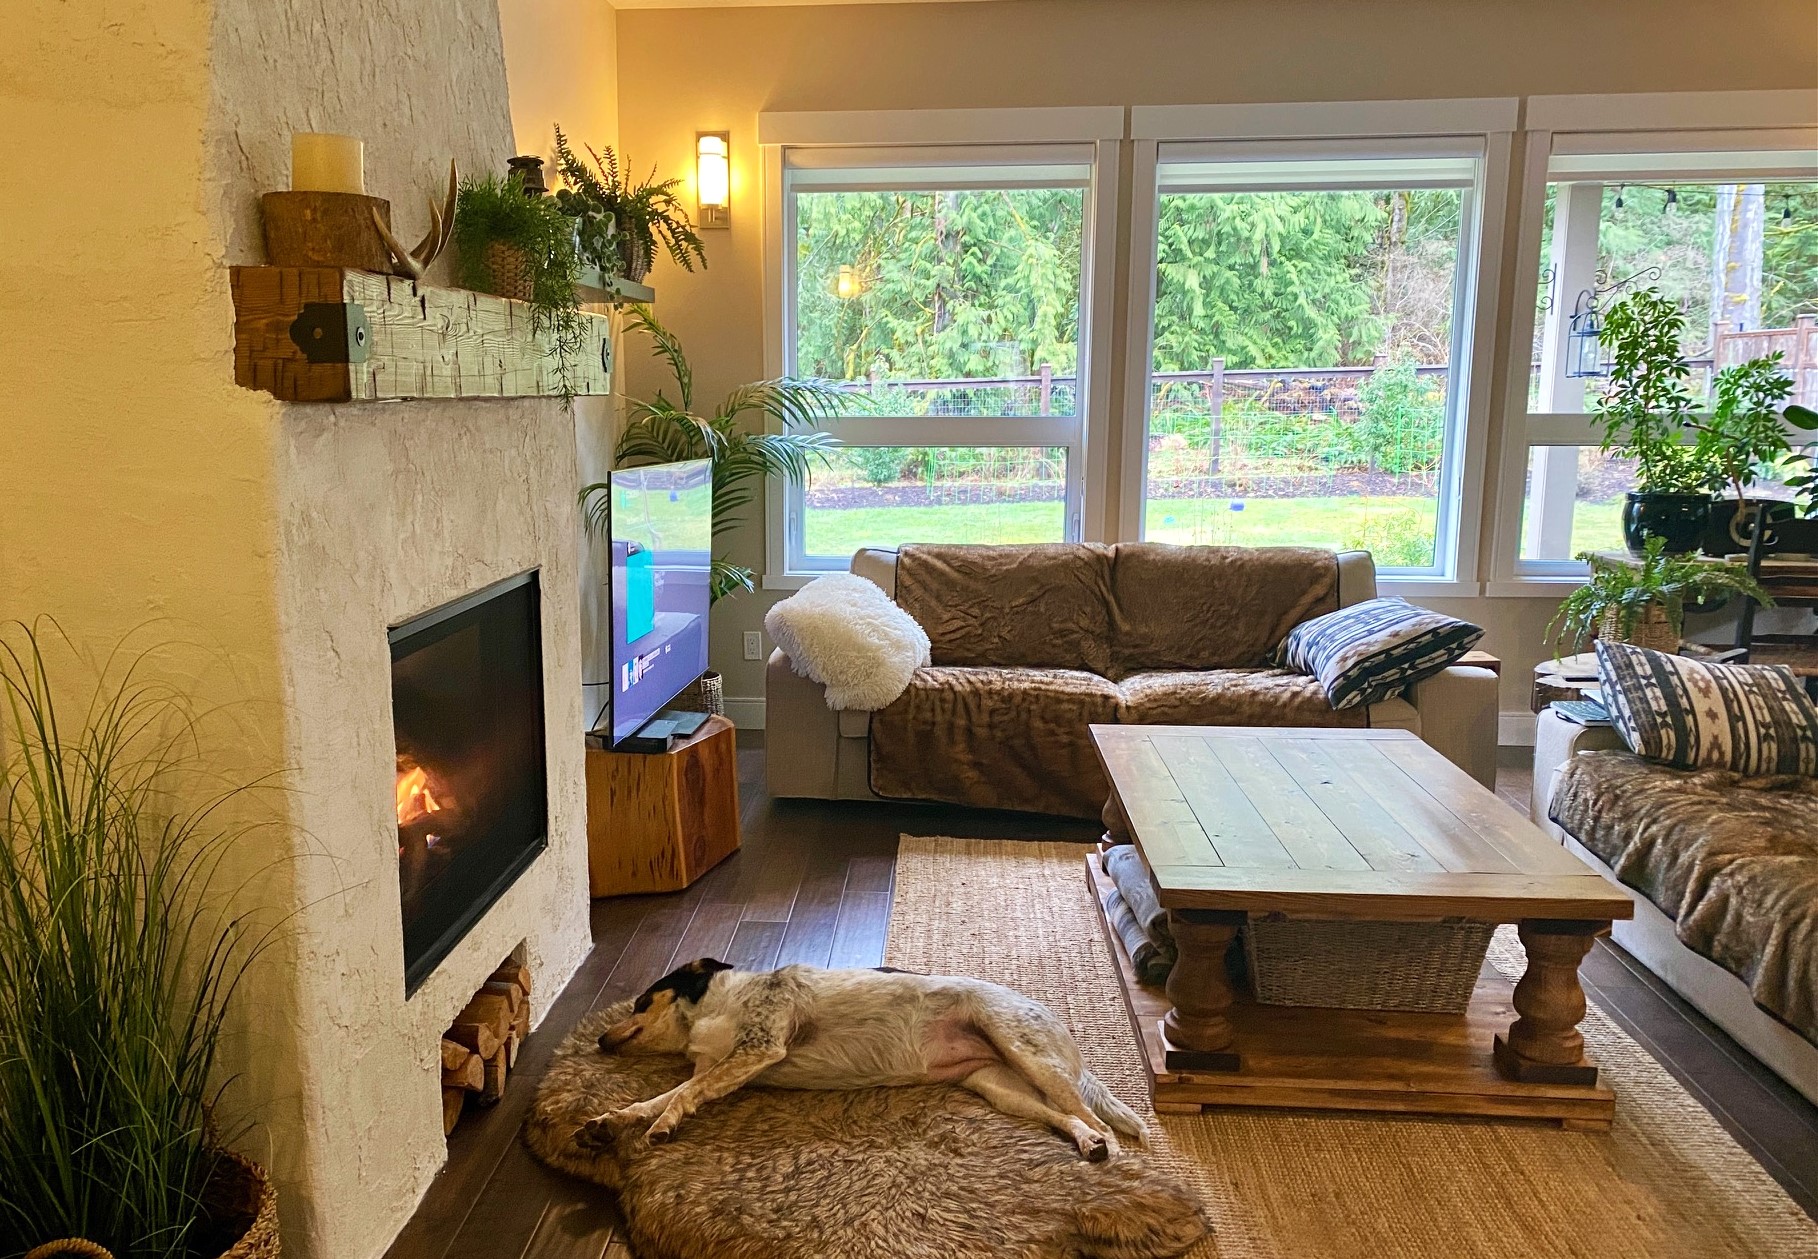
This was a fun project.  Used just the standard cheapest wood from home depot.  Seems like no matter how hard I work on trying to get good pieces, there is always something off with them.  While the main parts of the project didn't take that much time, the sanding took a good deal of time.  Maybe ill buy some better wood next time!  Used a 60 grit, then a 150, then a 220.  Used a minwax stain with a minwax poly in satin.  sanded the poly with a 220 not to just get it smooth but to give it a less shiny look.  Very happy with the finished product, but every project I learn a few things to bring to the project and improve.  This table is very heavy.  

Built from Plan(s)
Estimated Time Investment
Weekend Project (10-20 Hours)
Finish Used
minwax stain and minwax poly sanded with 220 grit
Recommended Skill Level
Beginner

Water/Sand Table

Submitted by Anonymous (not verified) on Wed, 06/10/2020 - 10:18

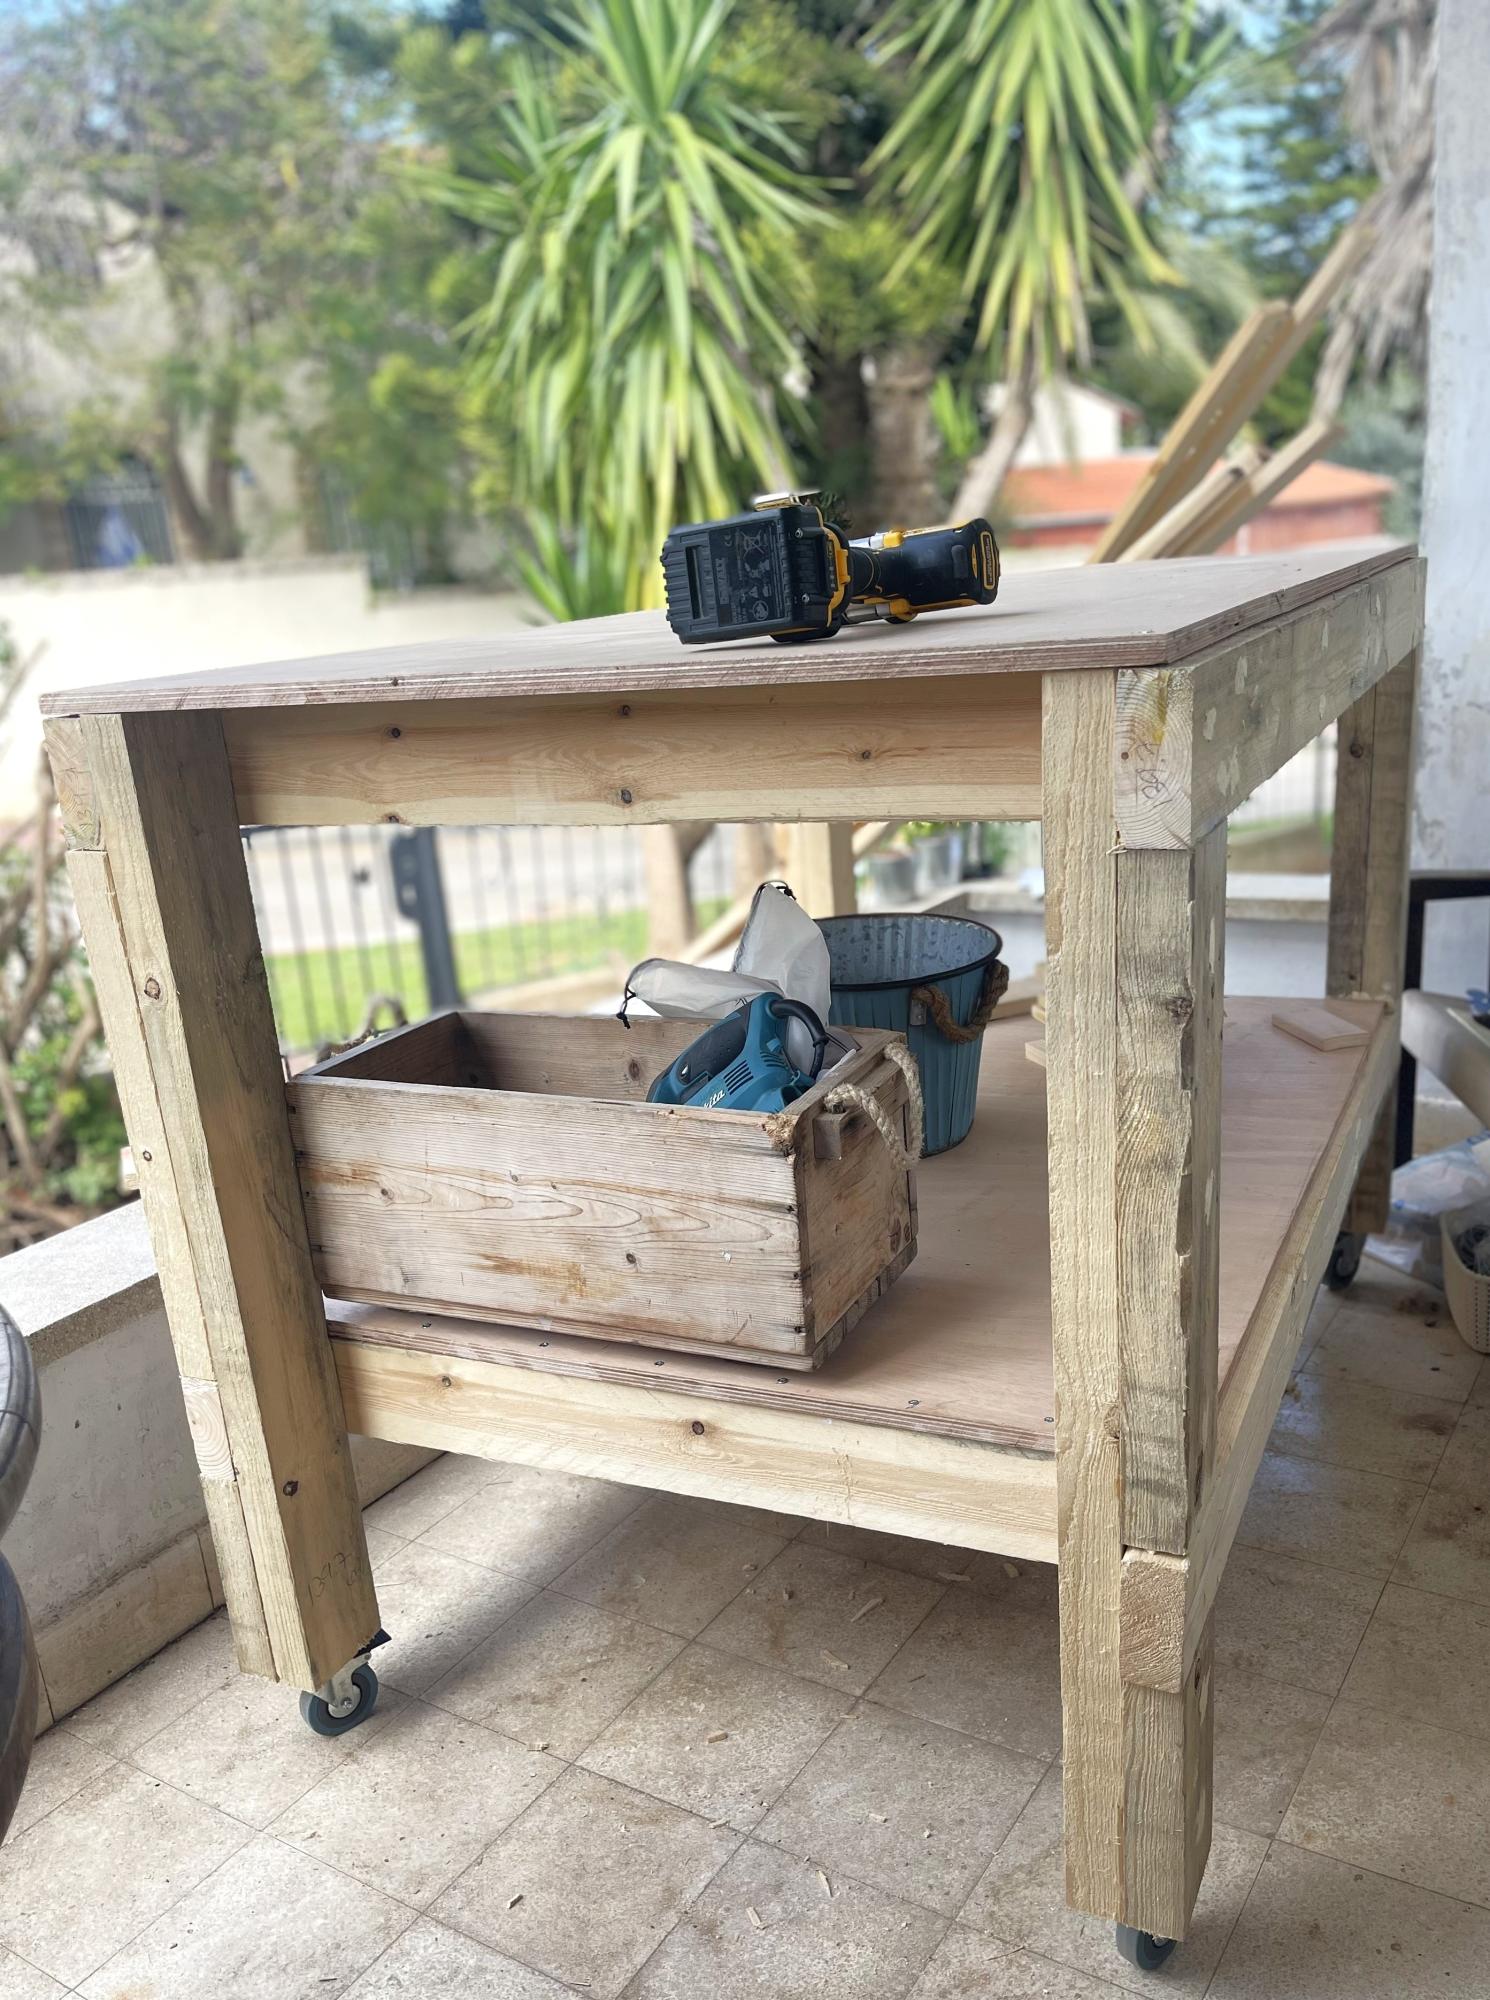
A coworker asked me to make this for his daughters. He supplied the lumber and I got it done in less than an afternoon. I didn’t have all of the required dimensional lumber so I improvised using only 2x4s for the lower shelf. I also extended the length by about 6” in order to make a small center shelf. That provides enough room to be able to lock the lids on the containers and for the kids to put some toys. I used 1x3 scraps to make the center shelf. They didn’t want stain so I just sealed it with Valspar deck sealant.

Built from Plan(s)
Estimated Cost
$20
Estimated Time Investment
Afternoon Project (3-6 Hours)
Finish Used
Valspar clear deck sealant
Recommended Skill Level
Starter Project

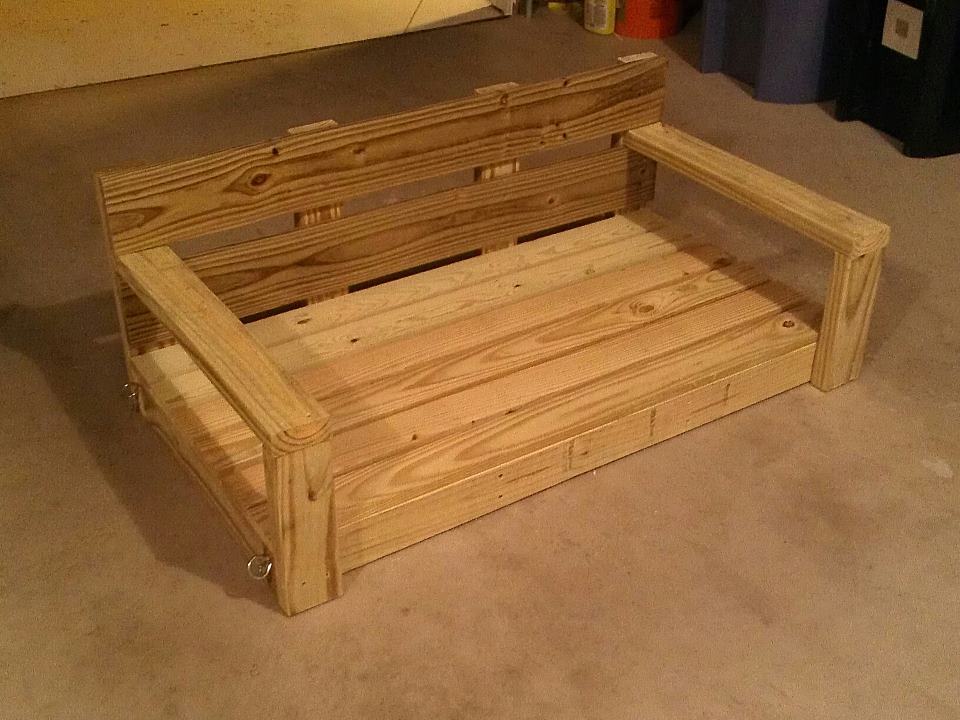
http://ana-white.com/2011/06/large-modern-porch-swing-or-bench

I wanted a place to sit and watch the koi in my pond. I have a bi-level home and the bottom of my deck is about 5' from the ground; the support posts are 6'3" apart. The joist layout made hanging a 4' swing absolutely perfect. So, I took the simple design and modified it to be shorter to fit my space. This swing could hold a small car - I just hope the chain and connectors I bought will! I used treated wood and plan to use an opaque stain for lower maintenance when it has dried out (3 weeks). Now, to pick the color! Love this plan! Thank you!

Built from Plan(s)
Estimated Cost
$75 using treated wood
Estimated Time Investment
Afternoon Project (3-6 Hours)
Finish Used
Plan to use an opaque stain for vibrant color and low maintenance once the wood has dried
Recommended Skill Level
Starter Project

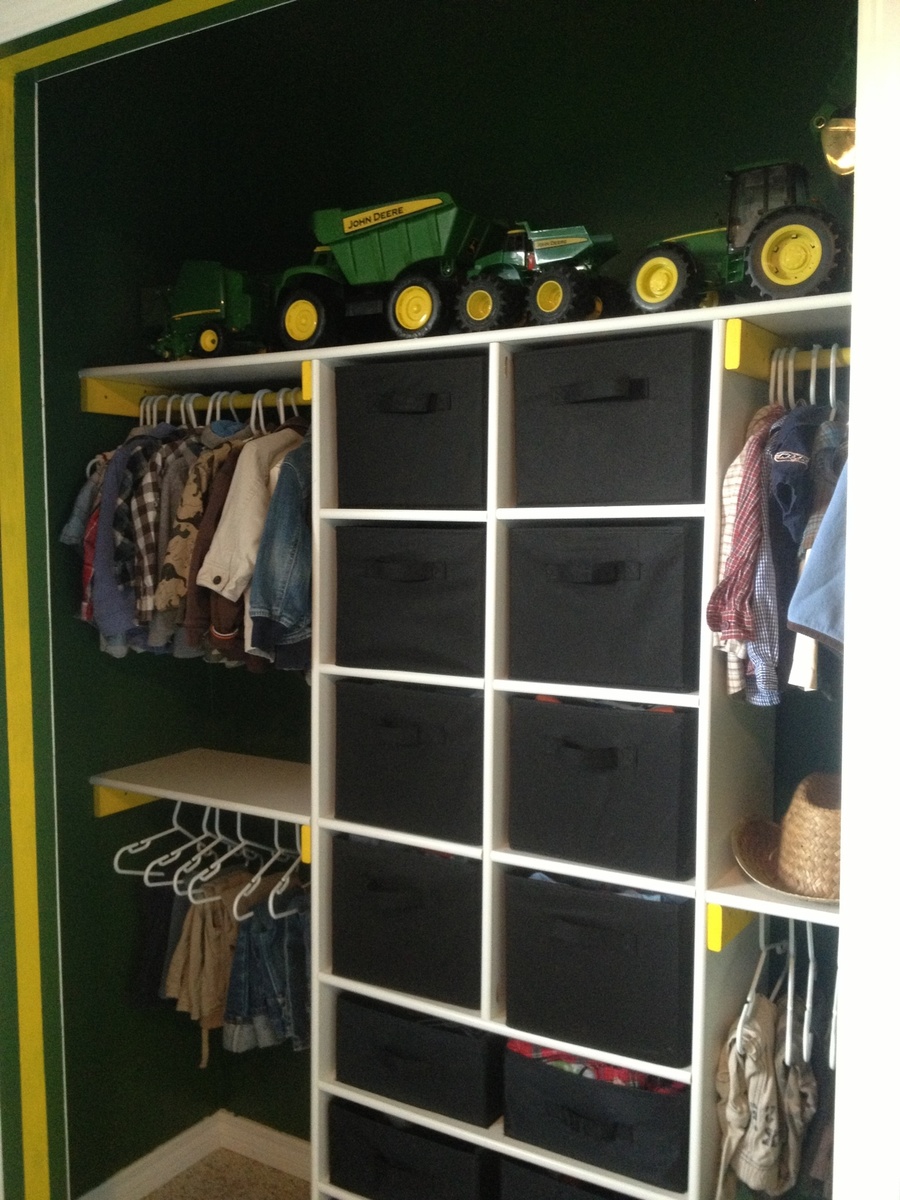
John Deere Themed Boys' Closet

Submitted by Veronica P on Fri, 05/30/2014 - 16:14

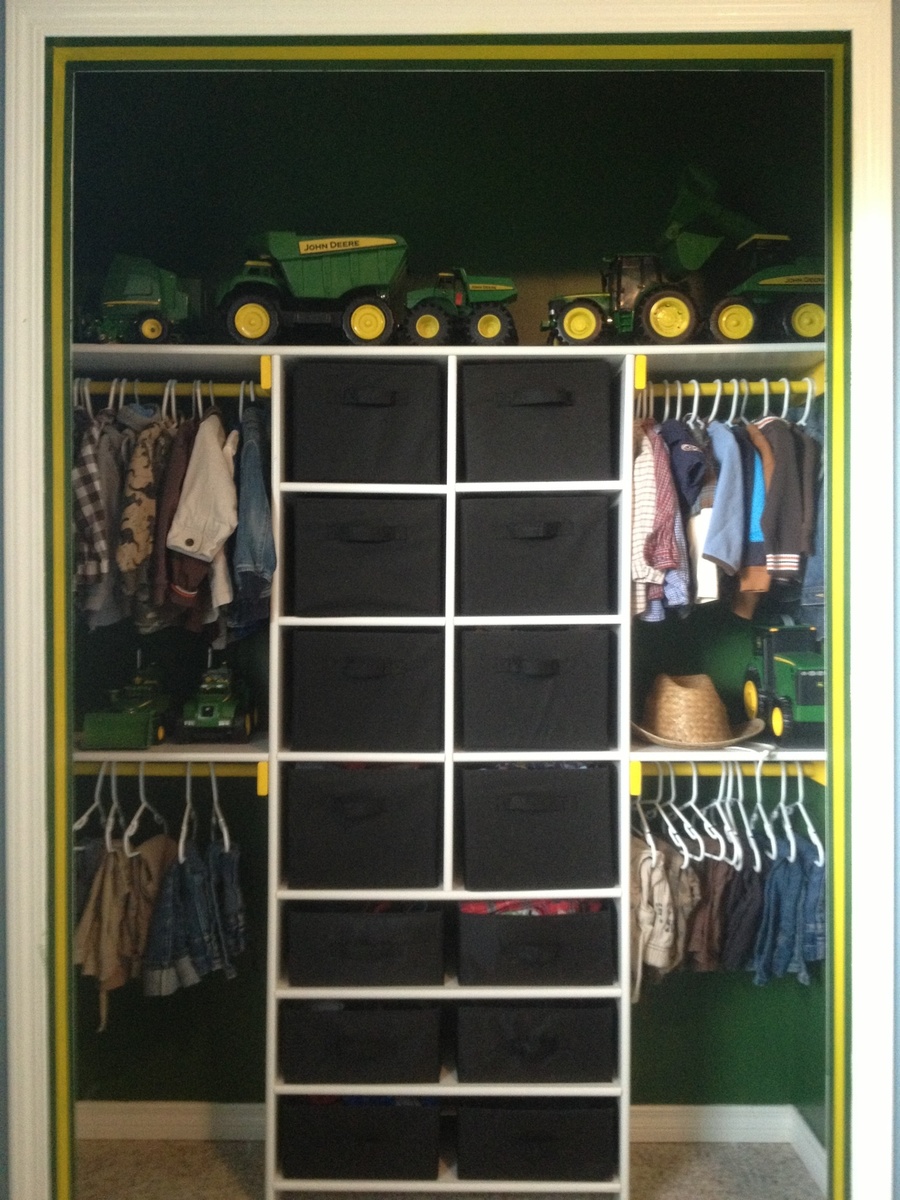
With a new baby boy on the way, my big boys (1 & 3) are moving into a big boy room. They requested a tractor room so here's the first project, the closet.

Built from Plan(s)
Estimated Cost
$200 including baskets and John Deere green paint for the walls (half a gallon of which ended up on my carpet thanks to my little helpers. Oops)
Estimated Time Investment
Weekend Project (10-20 Hours)
Finish Used
MDF was pre finished, John Deere green walls, marigold yellow on accessories.
Recommended Skill Level
Starter Project

Comments

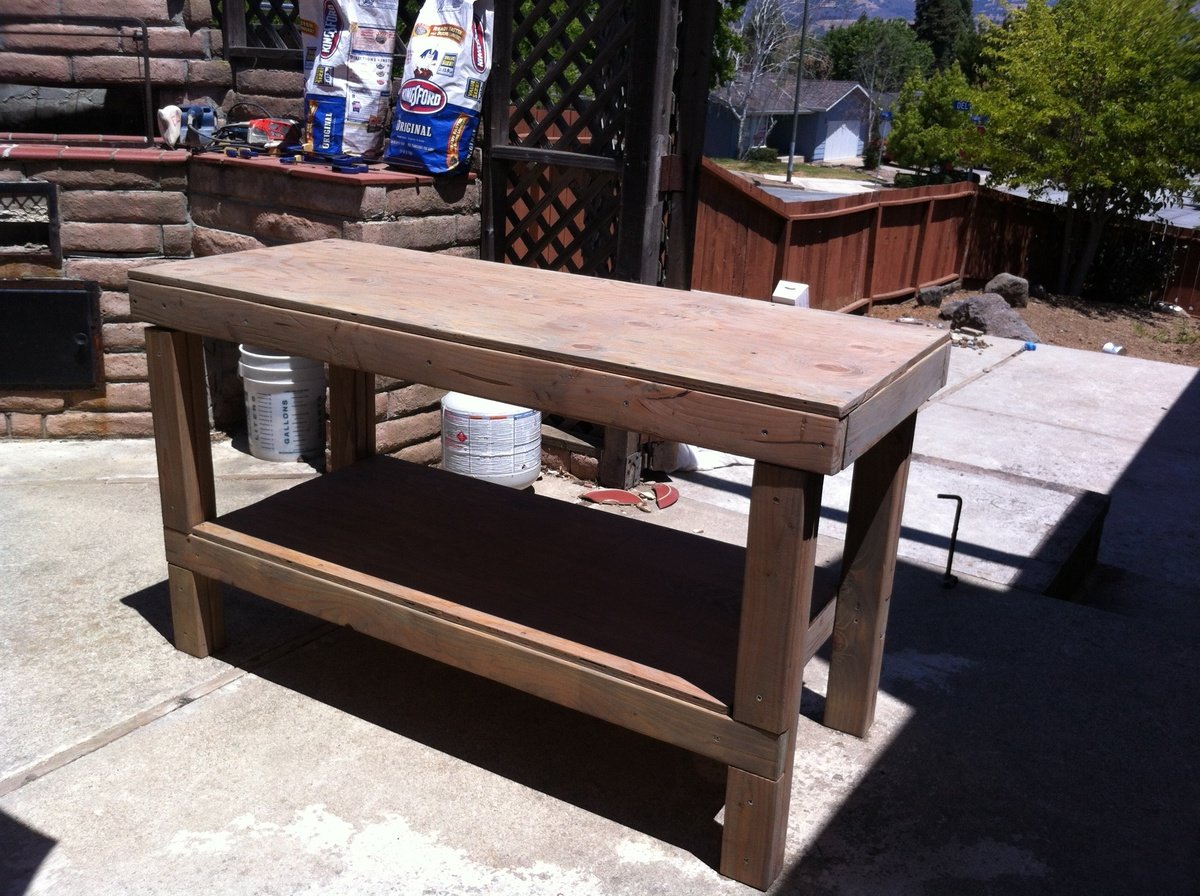
my first project :) a workbench for all my other projects!

Submitted by lucywilson on Fri, 08/10/2012 - 08:23

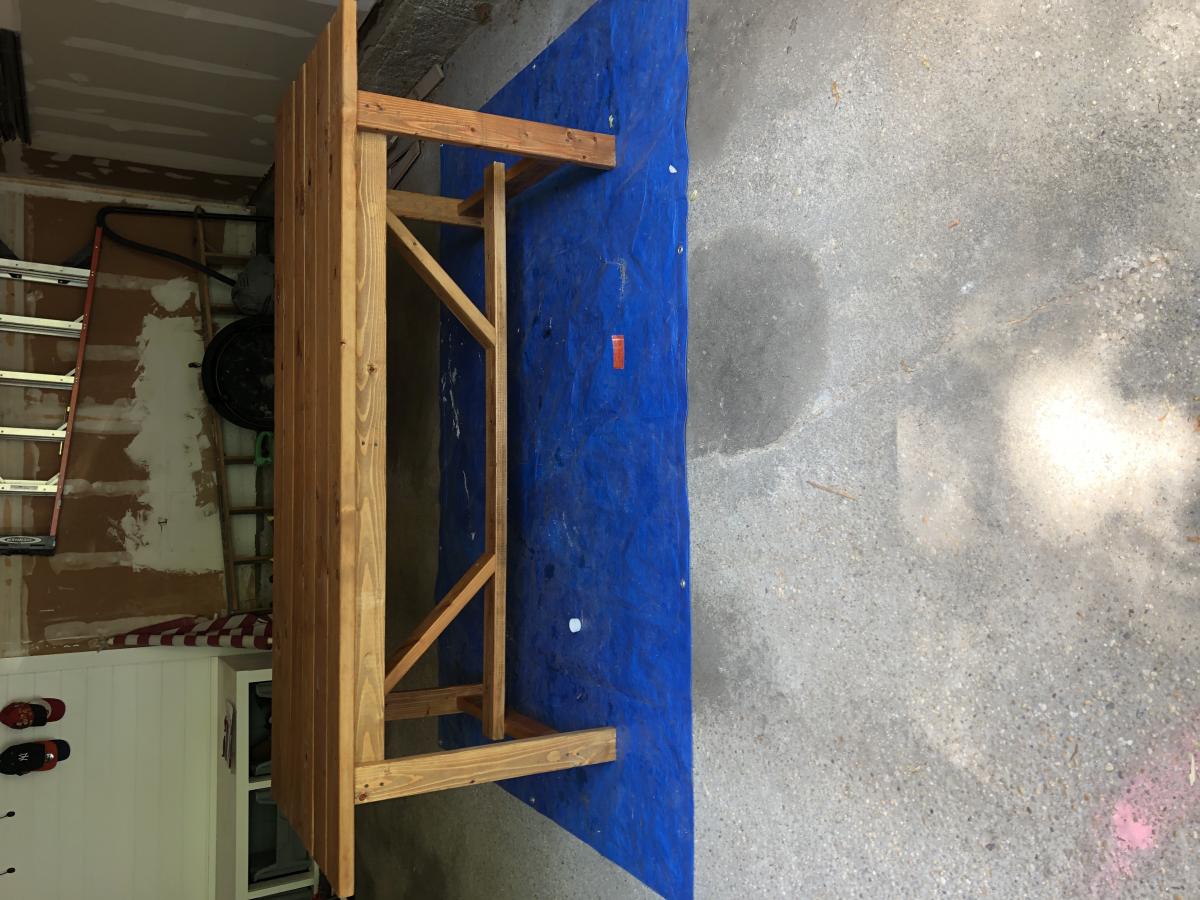
* I have tred EVERYTHING to get this picture right side up!!! So sorry it is upside down! This was my first every woodworking project and I am very pleased with the result. I have used it many time since for other projects now too. The plans were easy to follow and although it took me some time it was easy to make. Very sturdy and a great size to work on. I made it out of wood from orange and stained it with weathered oak stain.

Built from Plan(s)
Estimated Cost
$70
Estimated Time Investment
Weekend Project (10-20 Hours)
Finish Used
weathered oak
Recommended Skill Level
Starter Project

Kentwood Bed

Submitted by aclayton on Mon, 06/02/2014 - 08:23

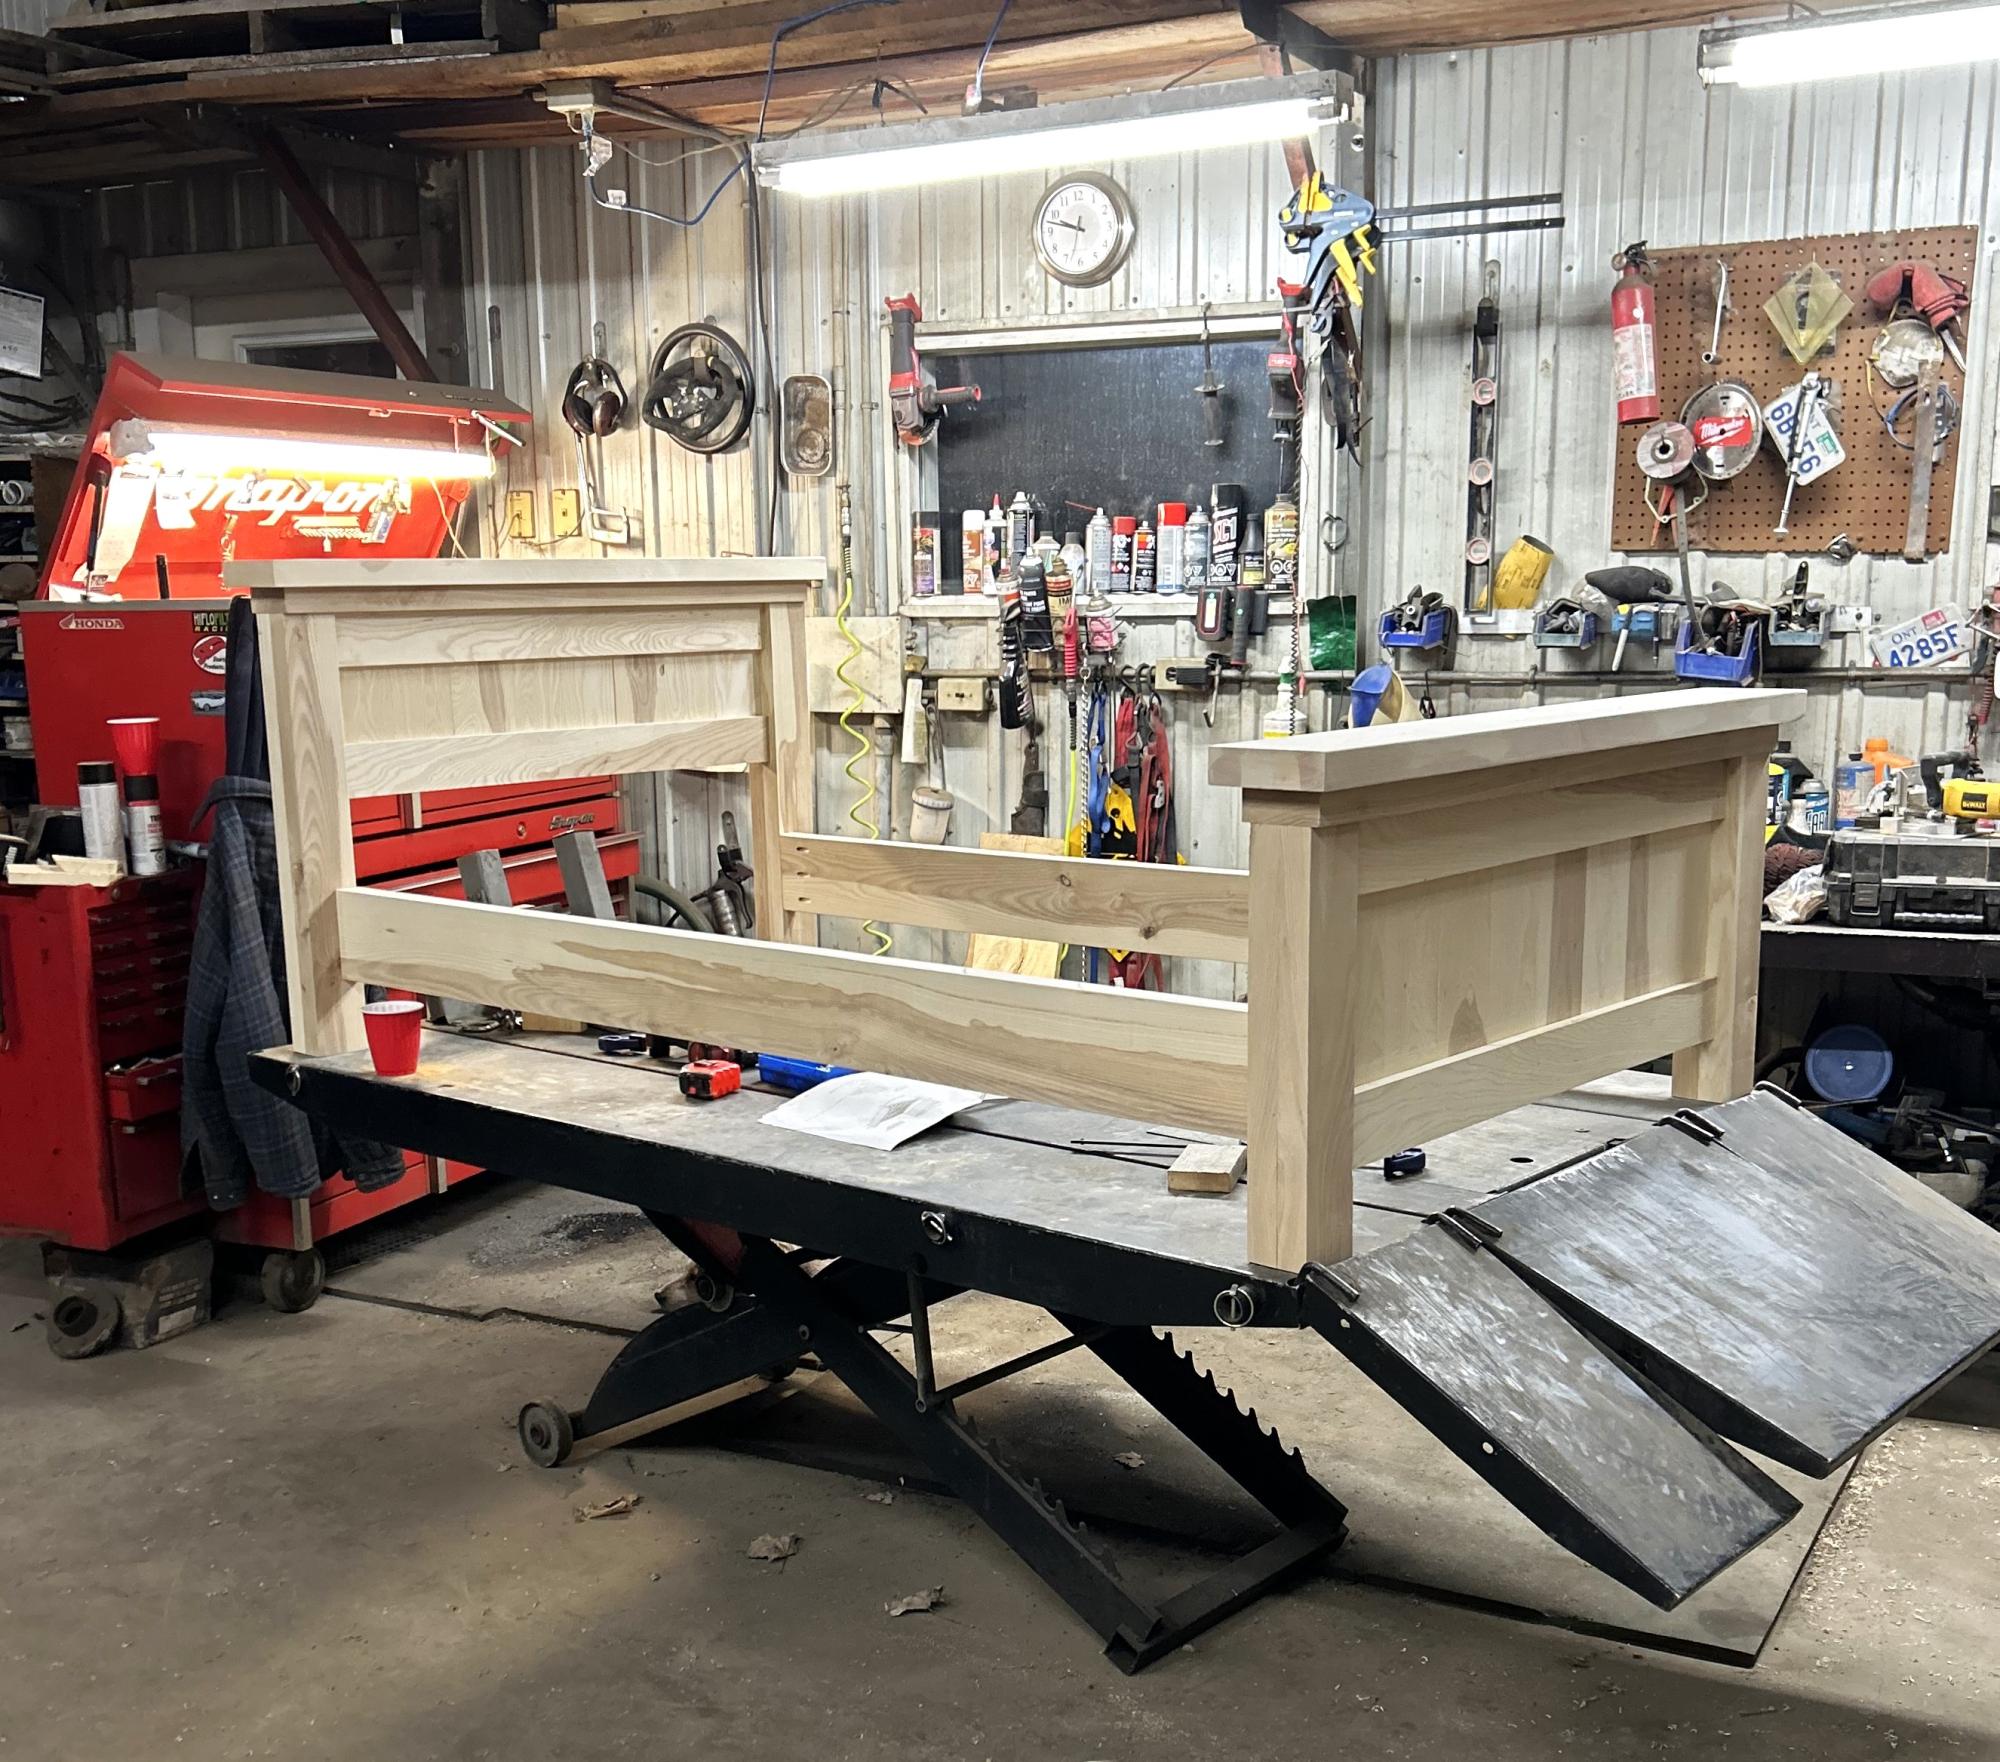
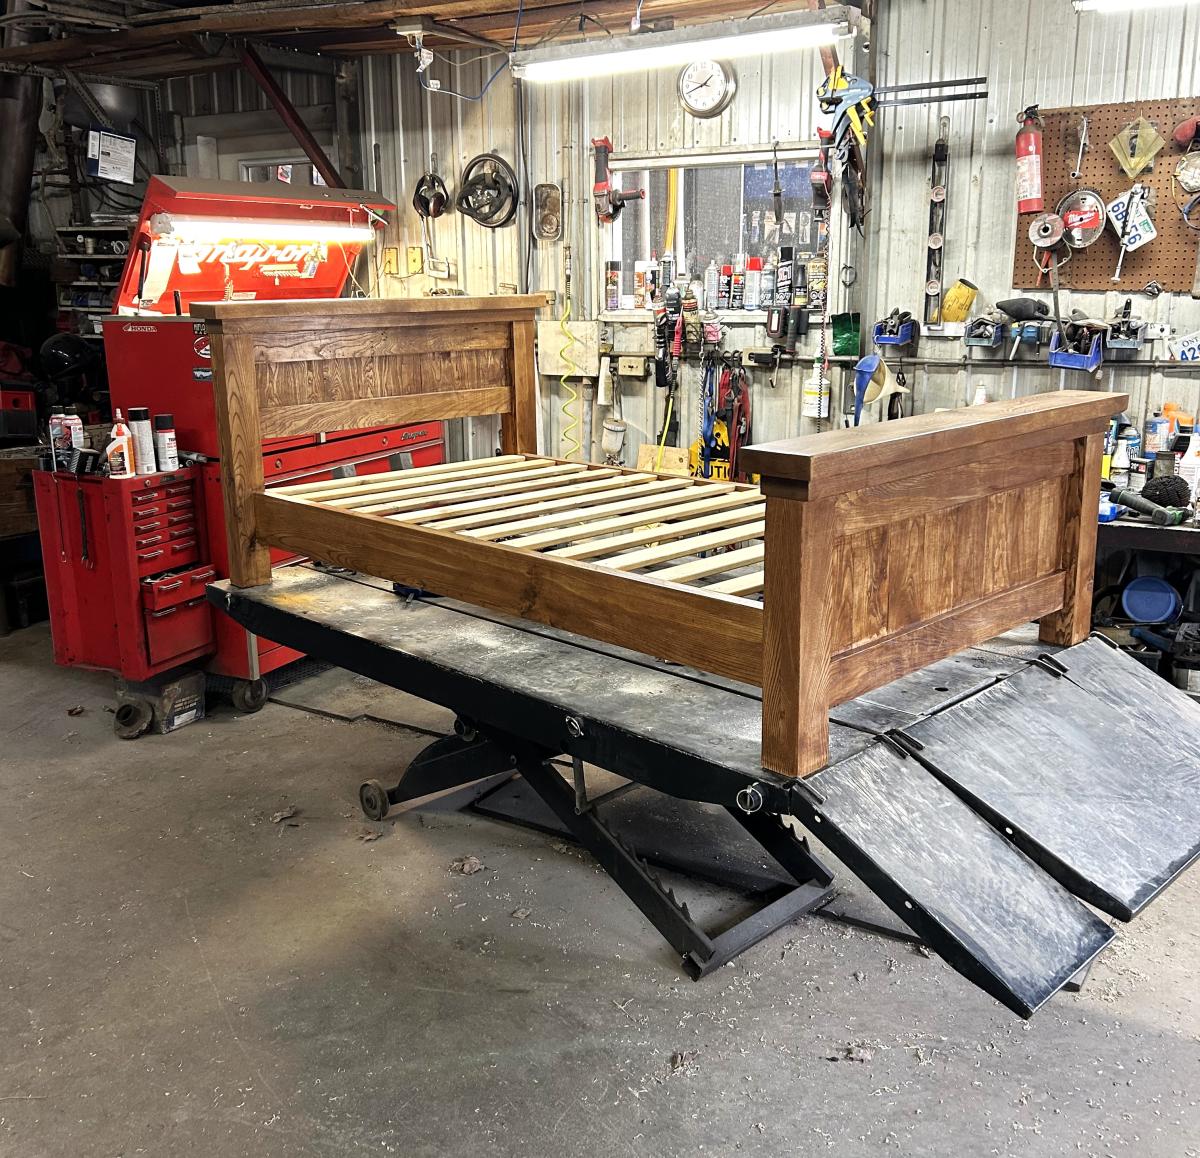
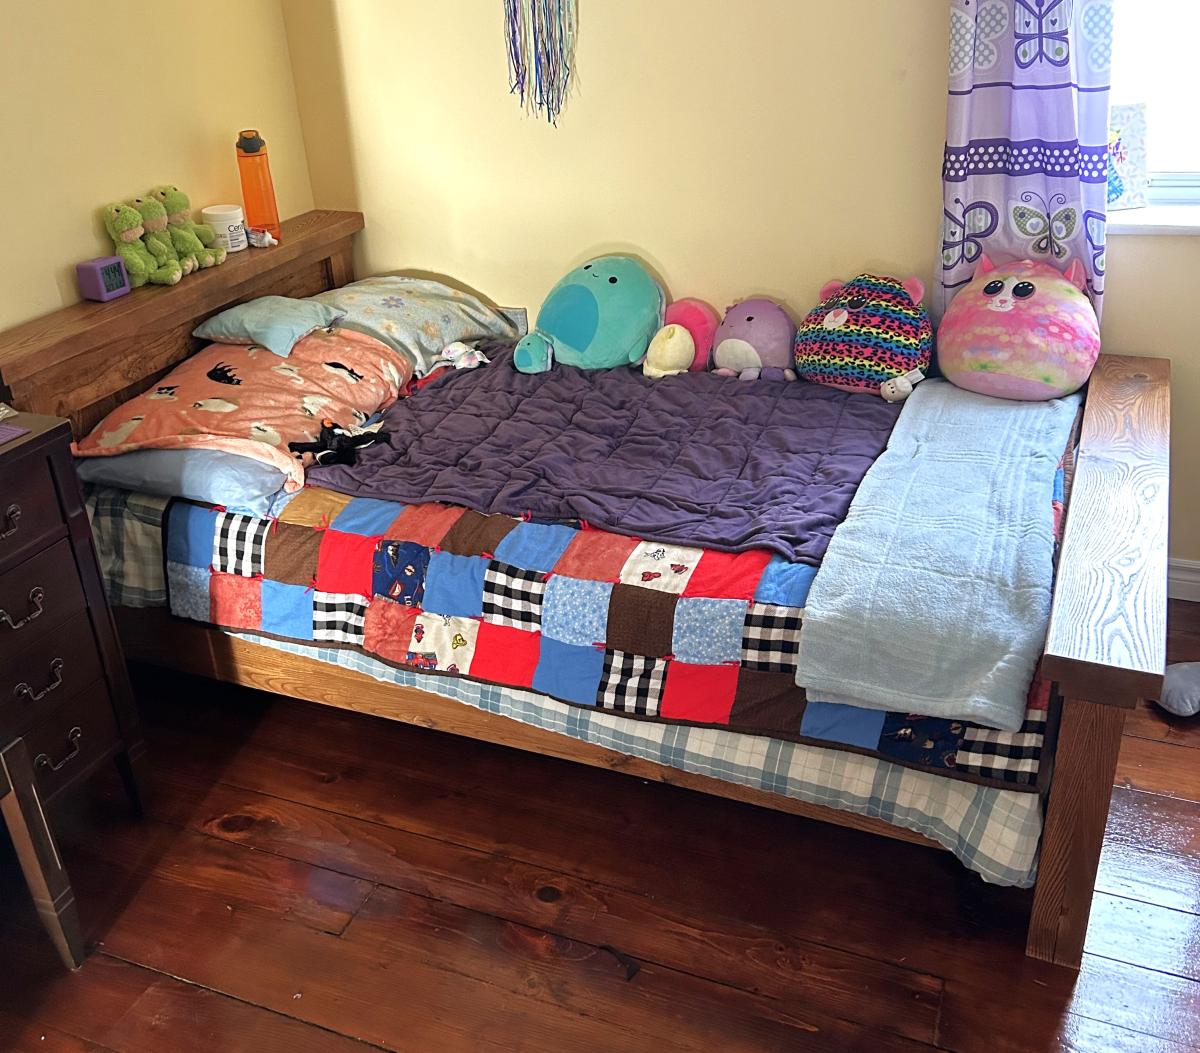
I built this bed for my two year old son and it is super sturdy! I used some Rockler bed rail hardware to attach the rails to the headboard/footboard for easier disassembly later. I attempted the tea/vinegar/steel wool staining technique with fairly good results. The plywood turned a little more gray than I wanted though. I spent around $100 for all of the supplies (wood + pocket hole screws), but a huge chunk of that was the 3/4" Maple plywood, and I only used half of the sheet. So, I guess the actual cost of the bed was closer to $75. Luckily, I'll be able to use the rest of the plywood for some beds for my daughters. This bed was super easy to build and my son loves it!

Built from Plan(s)
Estimated Cost
$75
Estimated Time Investment
Afternoon Project (3-6 Hours)
Finish Used
Tea/ Vinegar/ Steel Wool mixture
Recommended Skill Level
Beginner

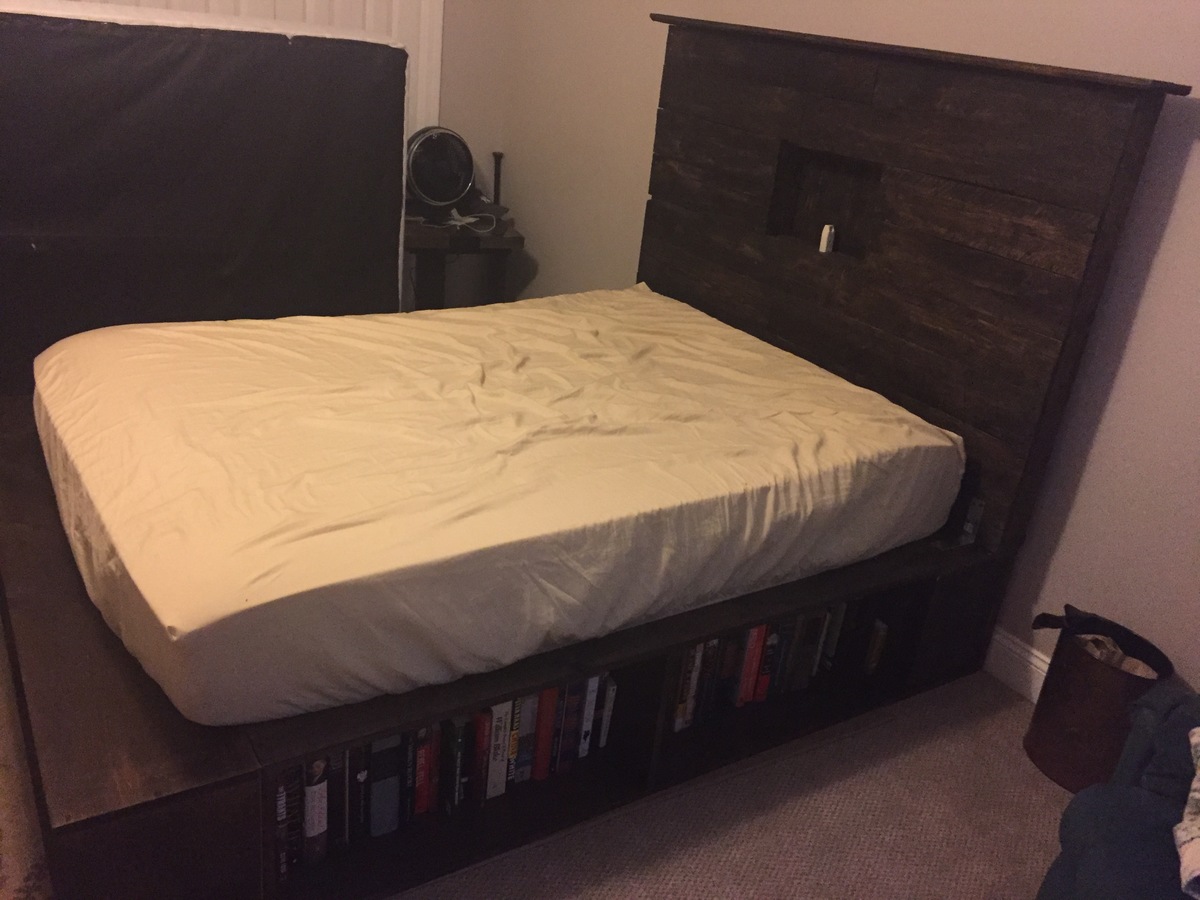
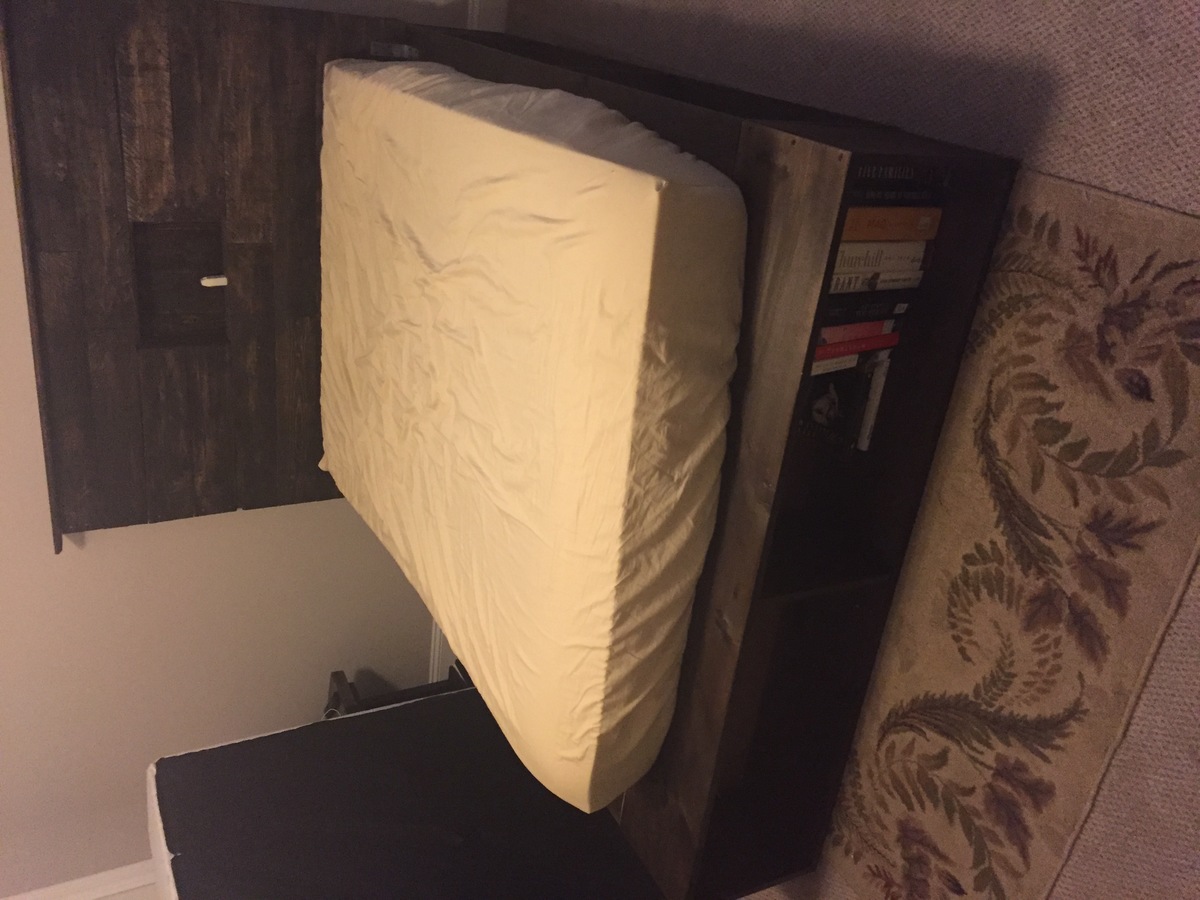
First bed

Submitted by Anonymous (not verified) on Sun, 09/04/2016 - 19:52

My first completed project. Simple shelves on three sides. The headboard has a shelf with a three spot outlet in it. 

Estimated Time Investment
Weekend Project (10-20 Hours)
Recommended Skill Level
Starter Project

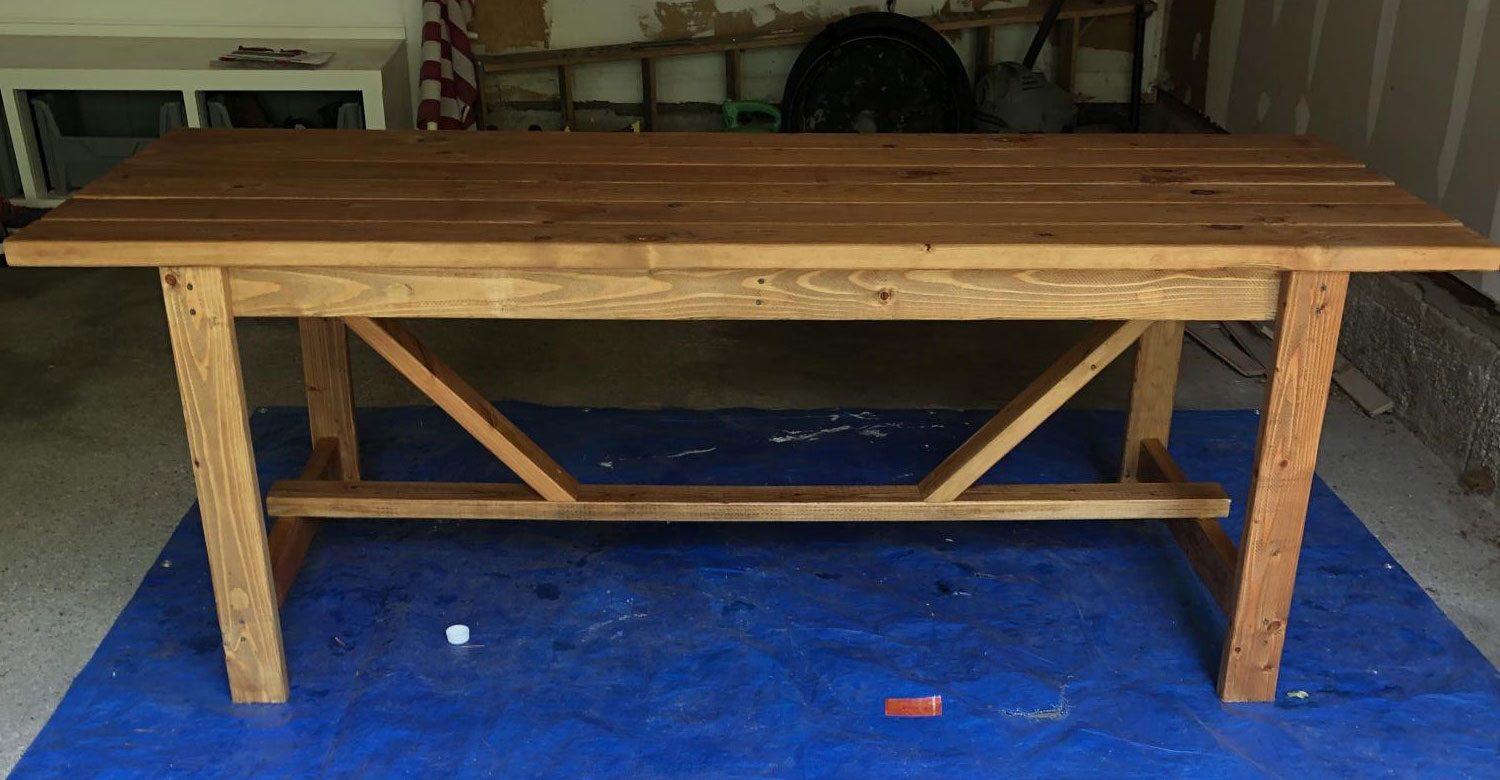
Easy Farm Table

Submitted by Anonymous (not verified) on Tue, 06/16/2020 - 17:08

Used watco danish oil. Table will be used outside not sure how the danish oil will hold up by itself. May add polyurethane or if it falls apart I’ll build new next years. Also added diagonal supports at the bottom because it swayed a bit

Estimated Cost
75
Estimated Time Investment
Day Project (6-9 Hours)
Finish Used
Watco danish oil light walnut
Recommended Skill Level
Beginner

Tall Pallet Entryway Table

Combination of the Farmhouse table (http://ana-white.com/2009/12/plans-farmhouse-table-knock-off-of.html) and the simple, cheap, easy console table (http://ana-white.com/2009/11/plan-simple-cheap-and-easy-console.html).

I wanted it taller so that I could make rolling crates to push underneath and might add a shelf later on to maximize storage potential. I kept the lengths of the pallets except for the side supports which I just cut in half, I wish I had cut a little more off the side supports making it so that I didn't waste as much pallet wood cutting the wood for the table top but I love it nonetheless and I have bonfire wood for our next get together. Right now I'm enjoying it since it's my first Ana-White project.

I used two free pallets I scored on a yard sale group on Facebook, lots of sanding, and I had the paint (one coat to keep it rustic) and screws on hand so it was a free project. I only received one splinter (should of been wearing gloves) and added an embellishment with chalk board paint (stating the year that my husband and I met since he just left on deployment). It took me 5 hours (I told you it was a lot of sanding) over the weekend. Fun project, can't wait to get started on the next one :)

Estimated Time Investment
Afternoon Project (3-6 Hours)
Finish Used
I used a combination of latex paints, colors: sunflower yellow and brownie brown, with a little paint thinner and brushed it on.
Recommended Skill Level
Starter Project

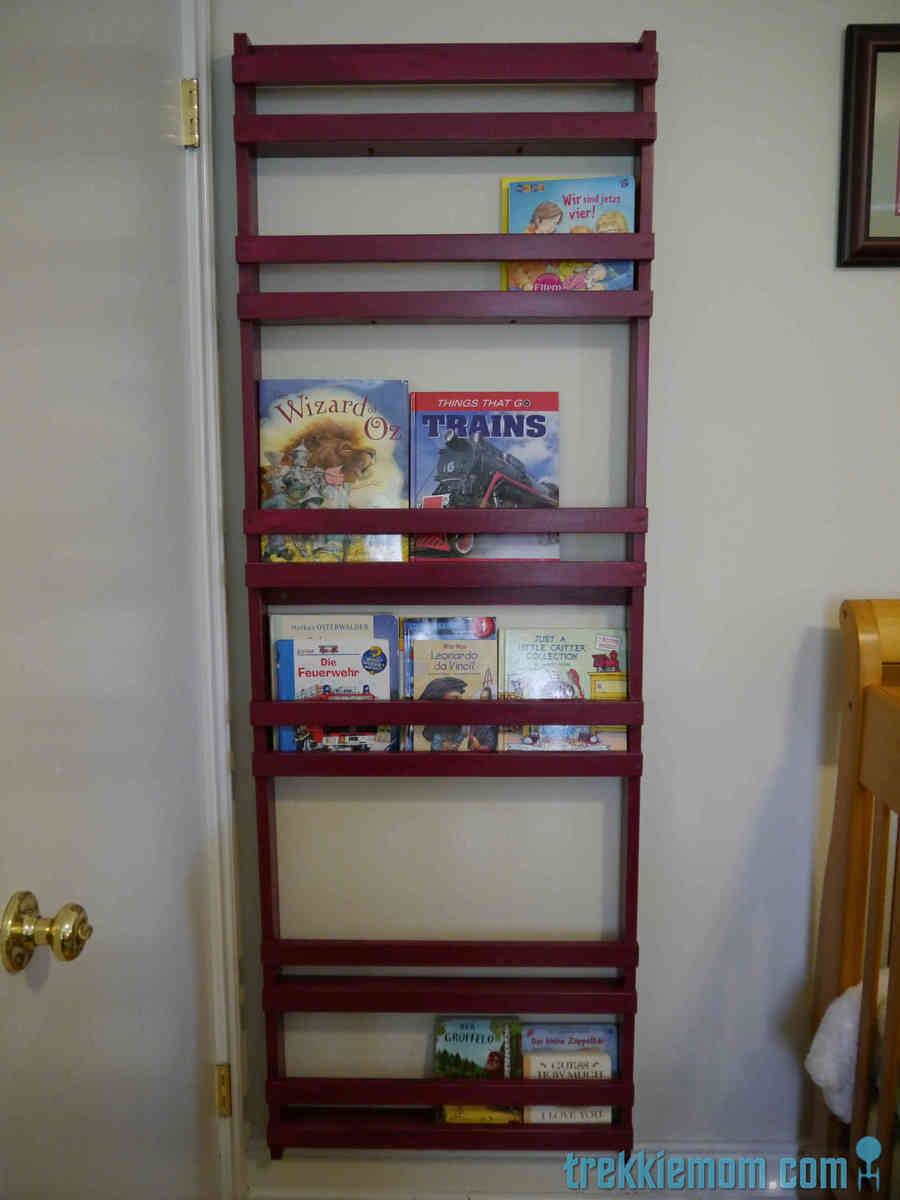
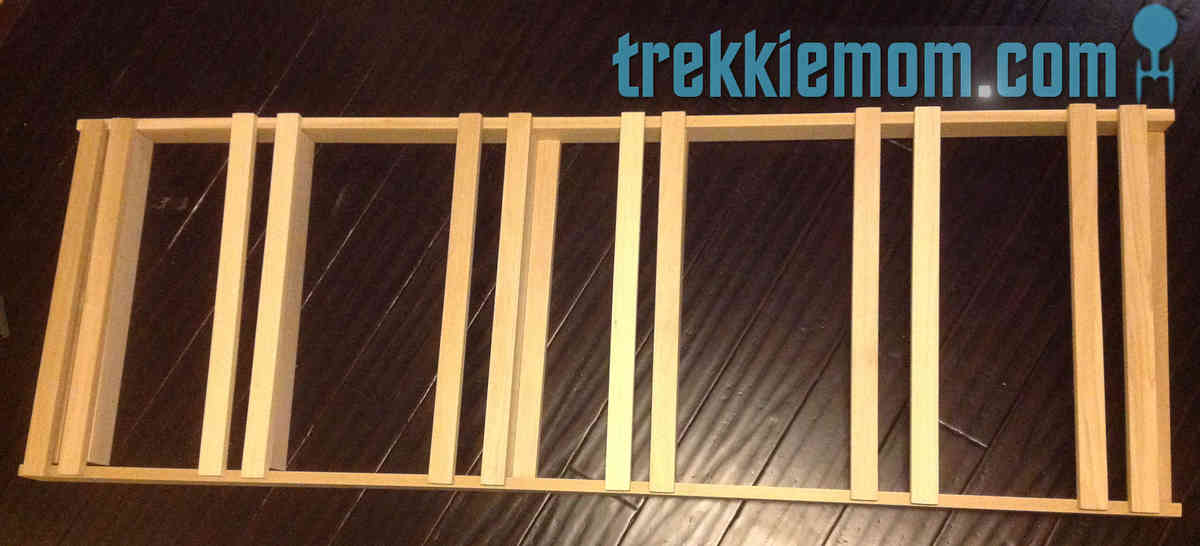
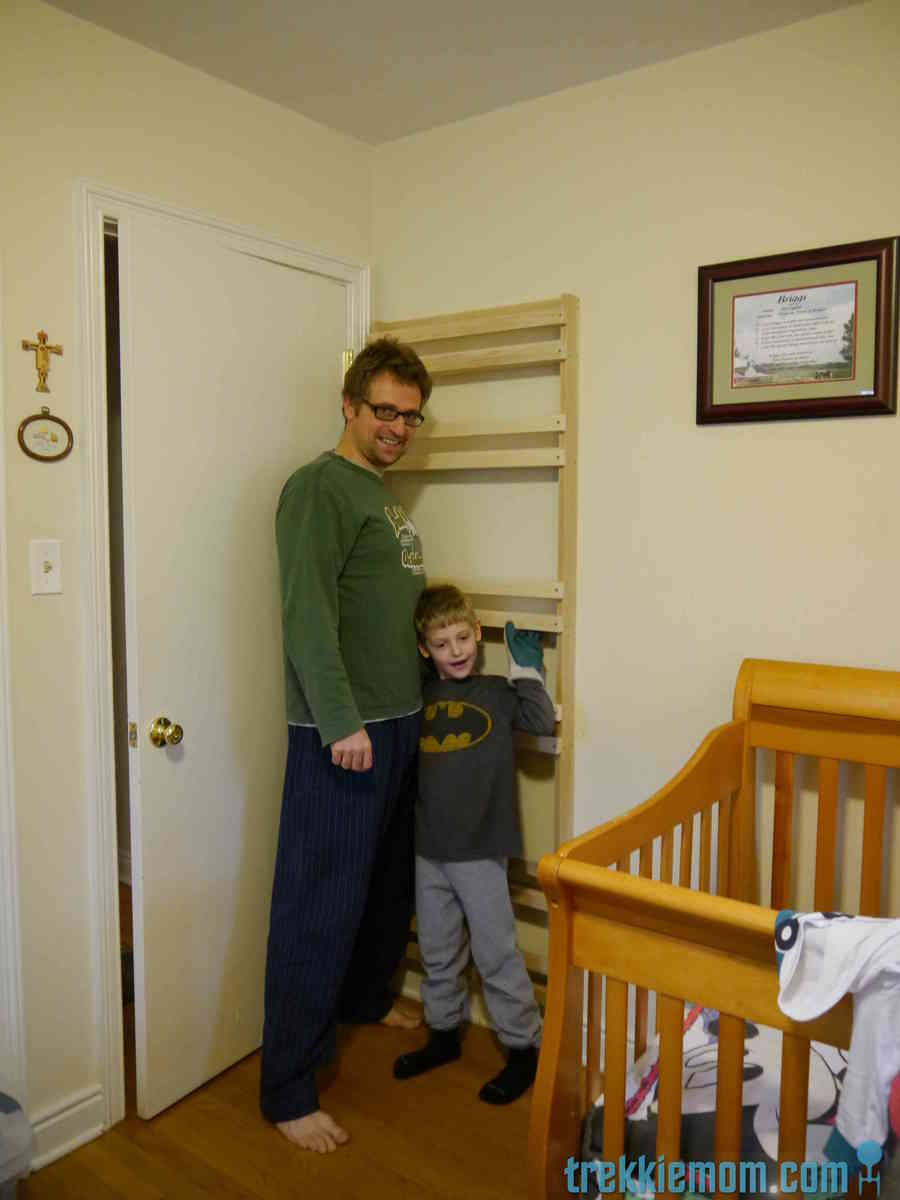
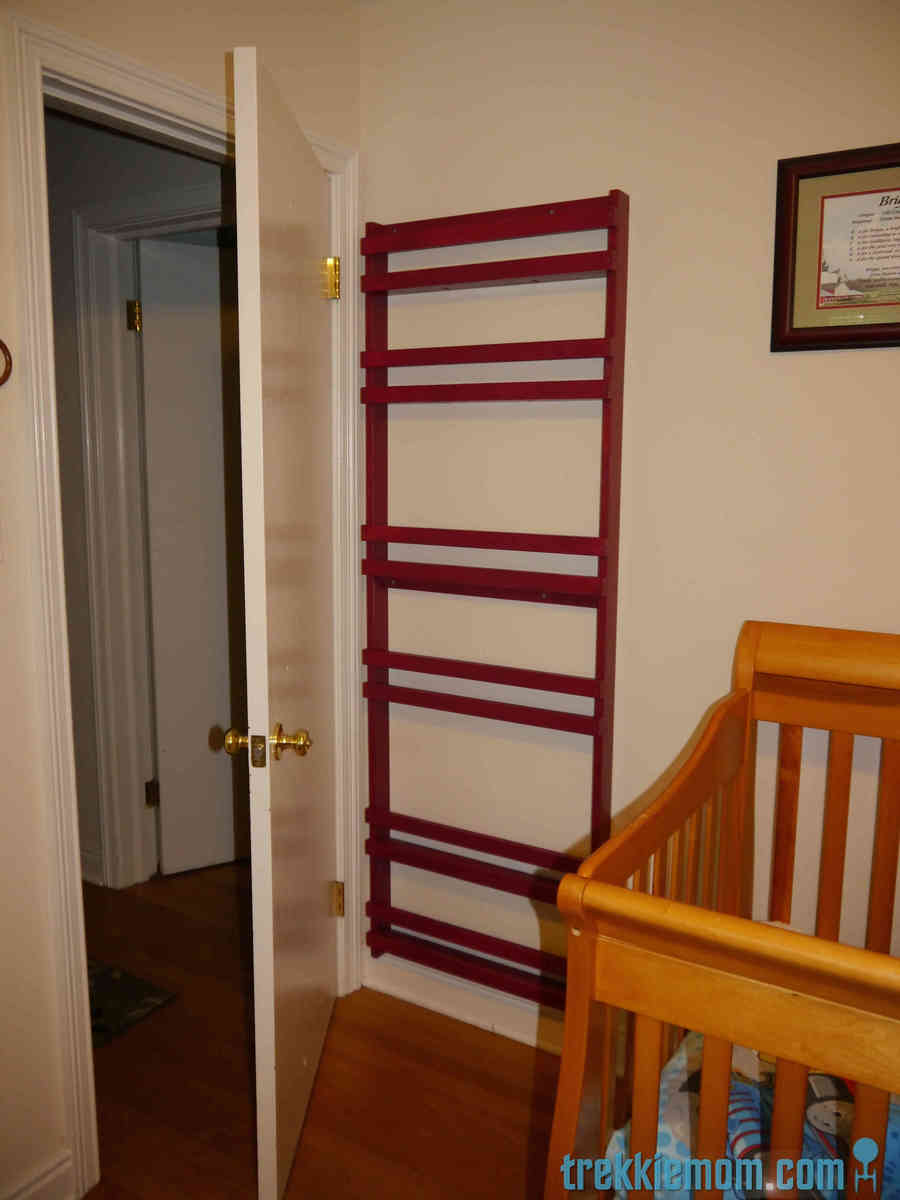
Flat Book Shelf How-to

Our home is small, about 1600 sq/ft, so I am on a mission to create as much out of the way storage as possible. It feels like a loosing battle, but I suppose with 2 young children most mothers feel like this with or without more square footage. You might wonder why I don't buy furniture to solve my problems? My answer to that question is that most of the furniture out there is too expensive, it doesn't fit the space available, and just doesn't suit all of our needs. Most importantly, I know that I can make it myself, build it better, and use quality materials. No particle board here, thank you.

So, my storage solution for my boys books was inspired by the Ana Whites Flat Wall Book Shelves (http://ana-white.com/2010/04/plans-wall-book-racks-easy-and-inexpensive…). I wanted to maximize my storage and make a good use of space in our already cramped home.

Please visit my blog for a complete DIY on my version if you are interested.

Built from Plan(s)
Estimated Time Investment
Weekend Project (10-20 Hours)
Finish Used
Reddish oops paint from Lowes and 2 clear coats
Recommended Skill Level
Beginner
Back