House Warming Gift
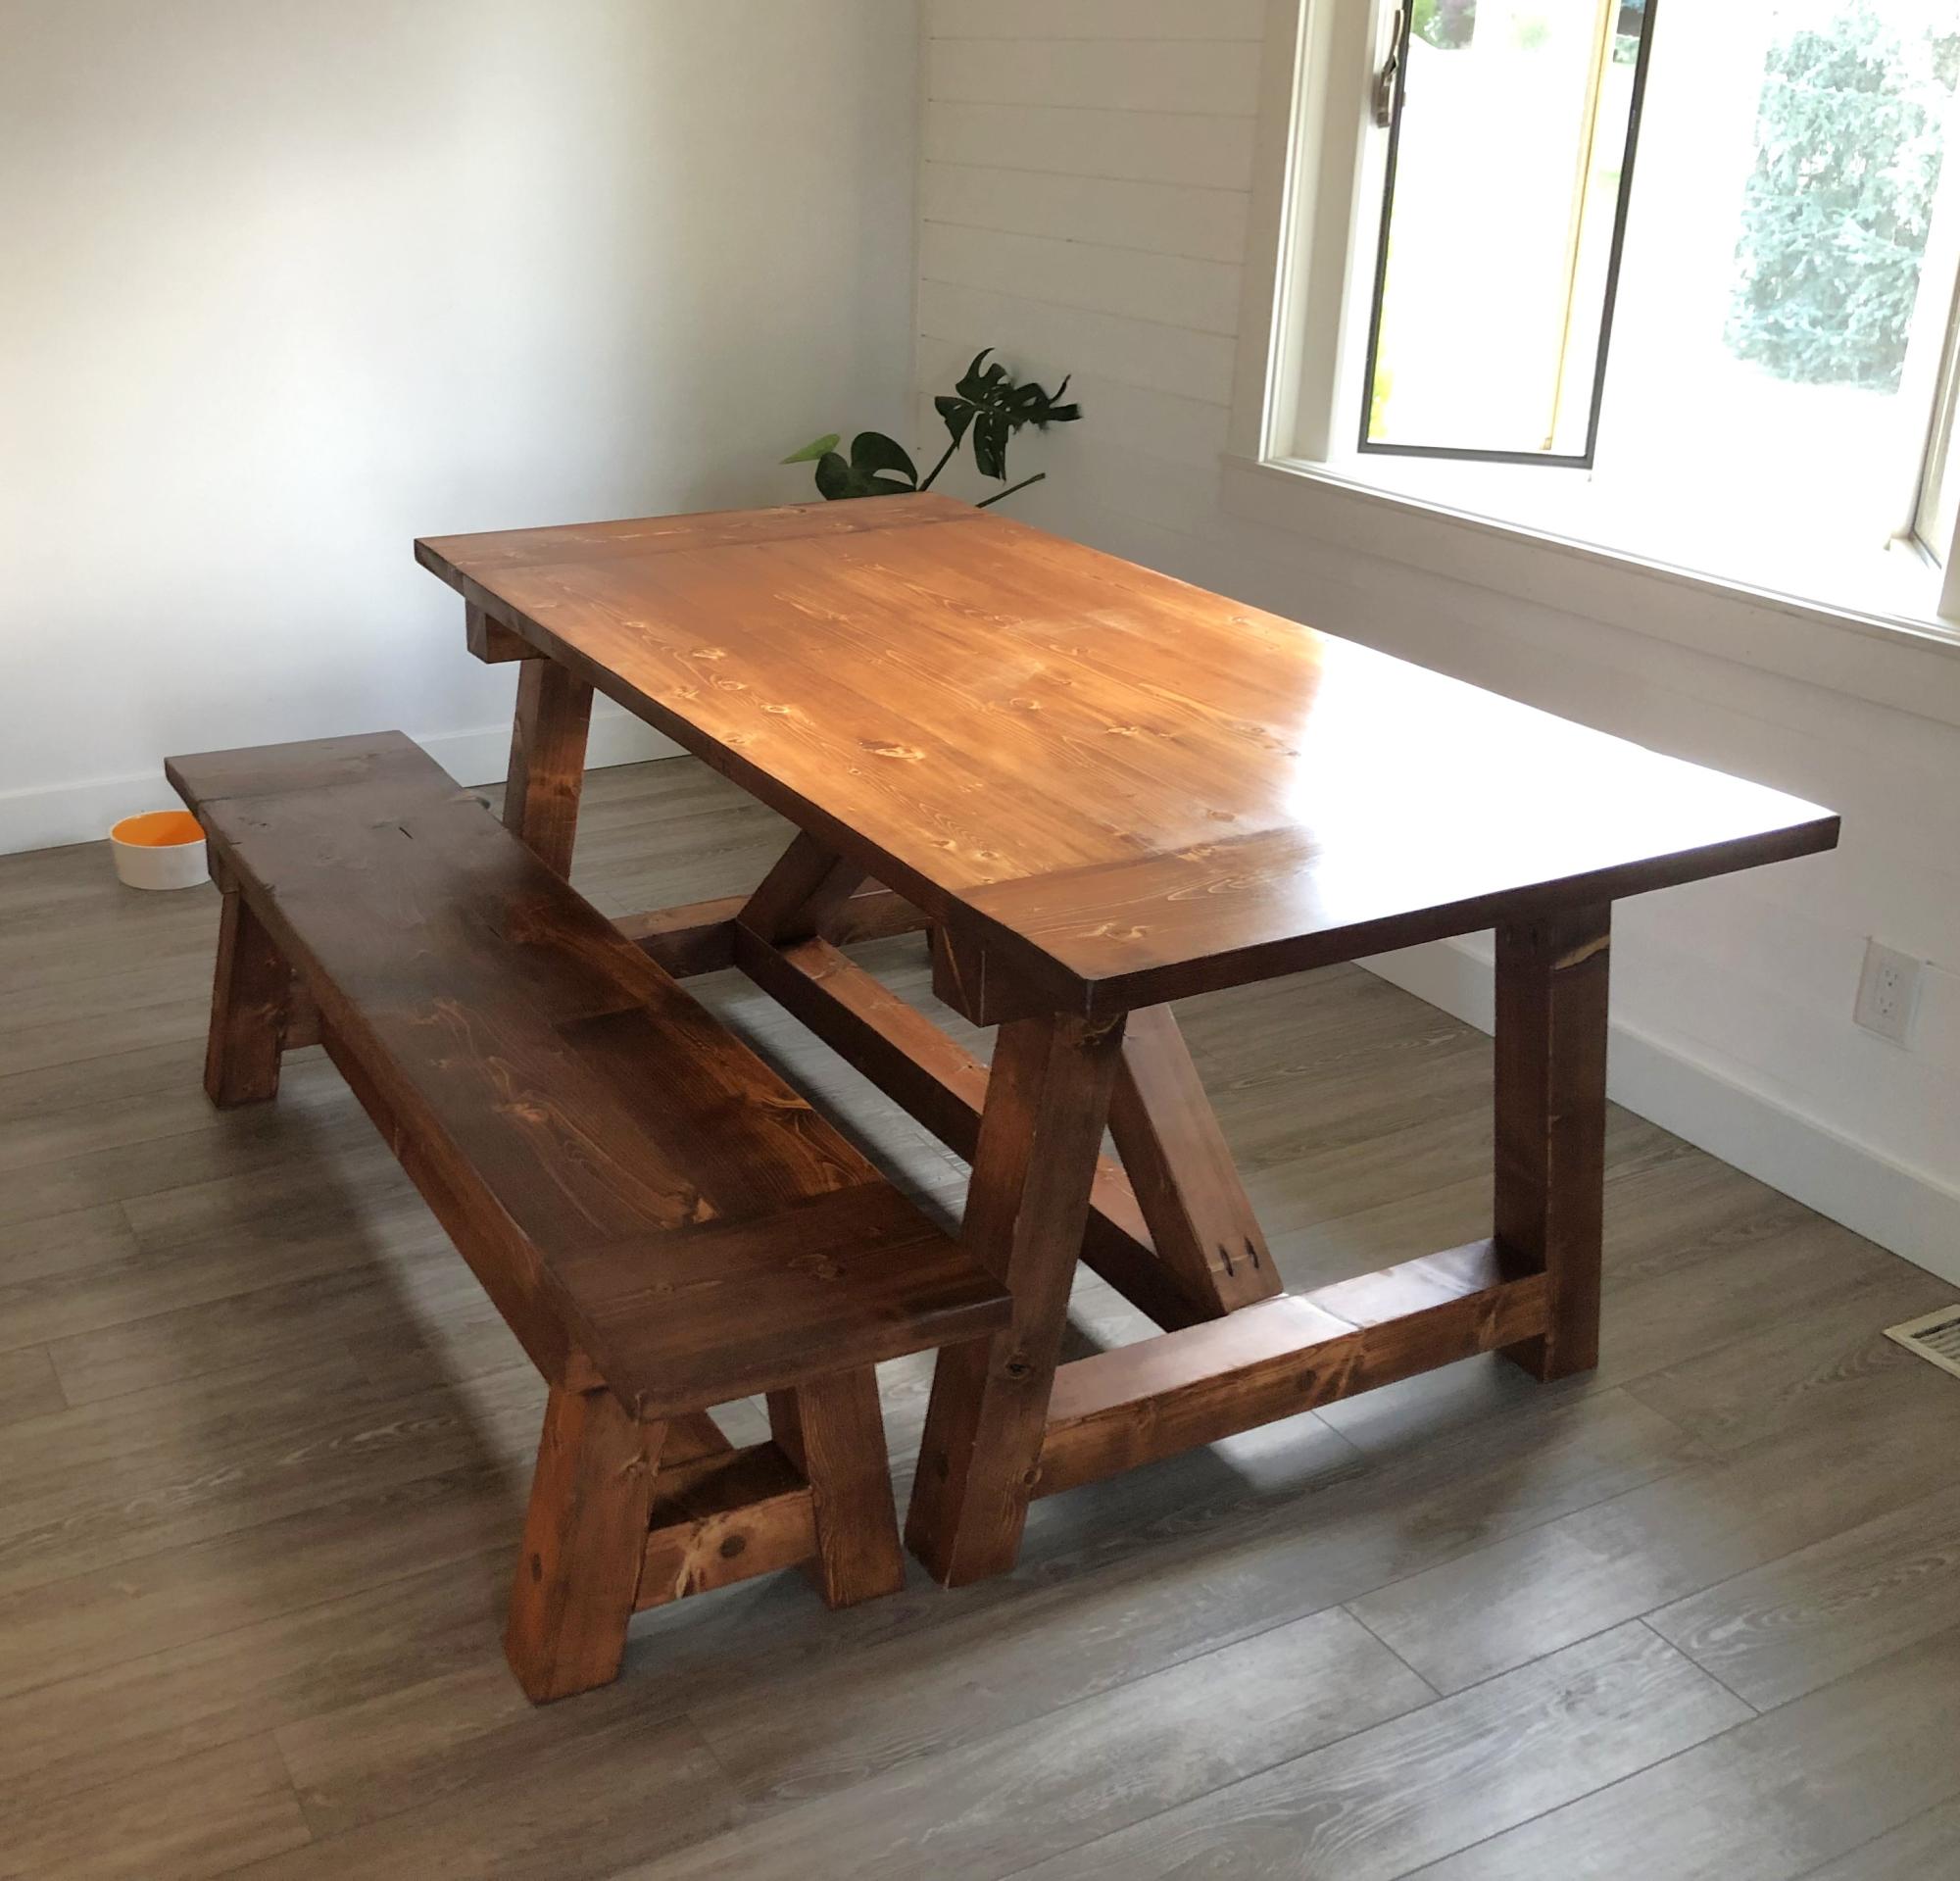
I built this Truss Table for a house warming gift for my daughter.
Rick Briere

I built this Truss Table for a house warming gift for my daughter.
Rick Briere
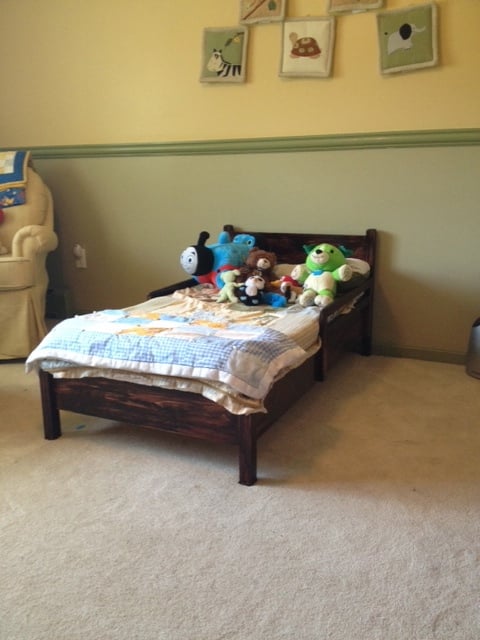
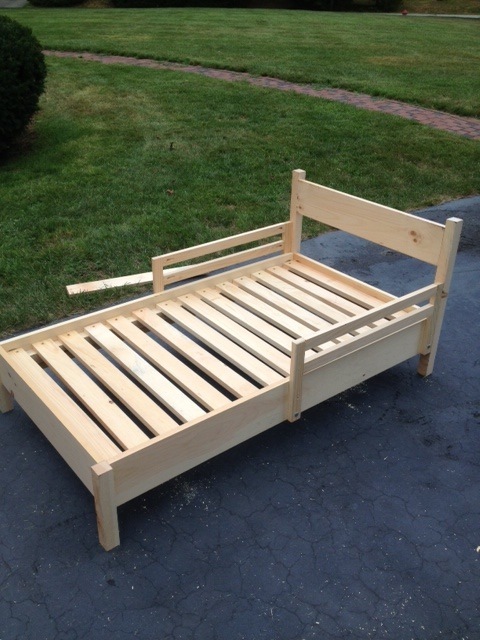
I made this without the fancy headboard, but I'm very happy with how it turned out! See my blog for complete details.
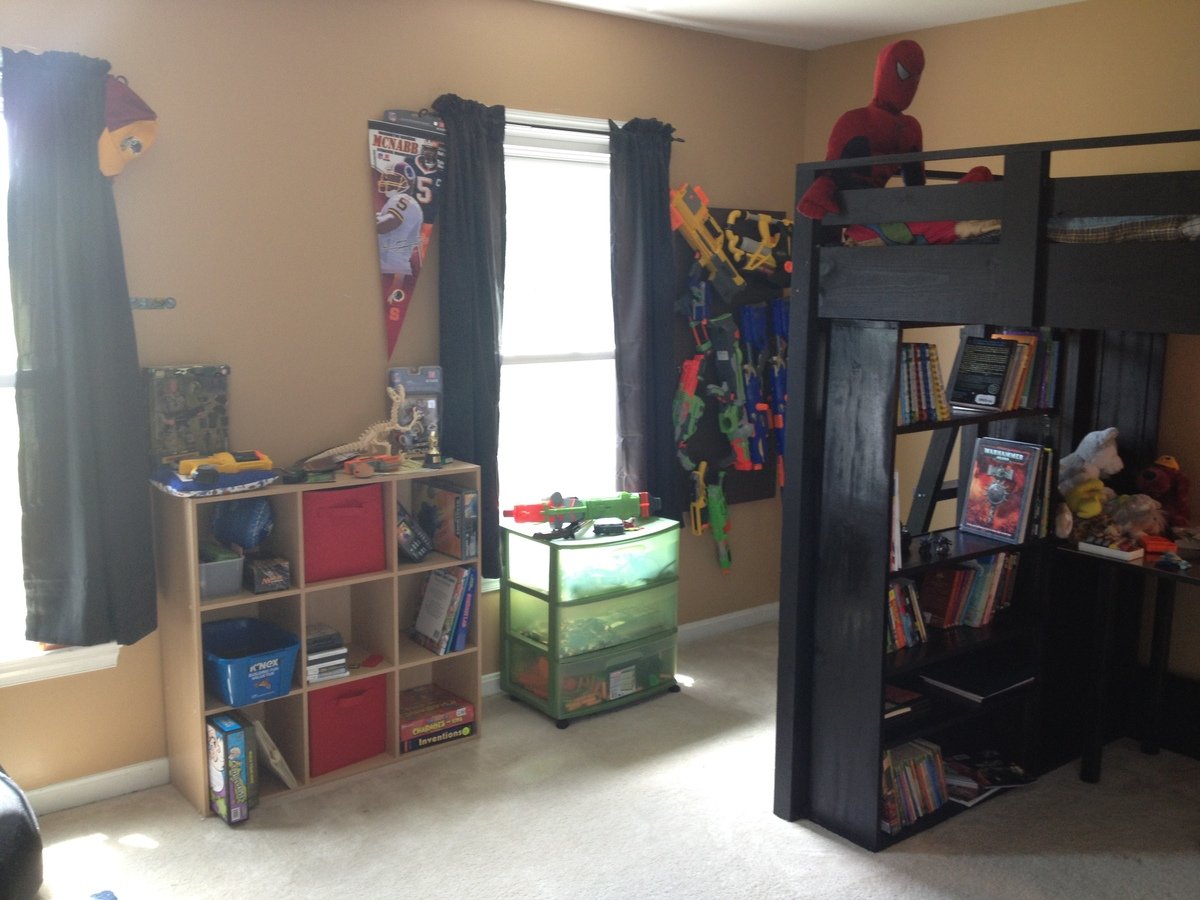
My son needed more room in his bedroom...and to be rid of the very girly furniture he inherited when he moved into his "big boy-ish" bedroom. At 10 yrs old, it was high time he got a bed that wasn't pink-tinged, white washed pine with 4 posters and enough curlicues to choke a forest. He also needed a desk which I couldn't really fit in his room with the armoire and chest of drawers that came with the Queen sized bed.
So off to Ikea we went and I saw a black loft bed for $300, but it was really, really high which meant I would have to cut it down and it was not sturdy at all. I looked at PB and saw the $1800 bed. Um, no - that wasn't happening. So, off to Ana-White I went and I'm so happy I did!
I built the full sized version of these plans and, to keep costs down, used wood I had on hand. This meant I had to work a bit at the cuts, but it all worked out.
Mods:
1) I modified the railings to have the ladder at the end of the bed to keep away from the ceiling fan.
2) Because I put the ladder at the end of the bed, I got very nervous about having a soon-to-be teen climbing on to a ladder secured to a 1x10 that was only connected to the side railings with glue and screws. So I sandwiched extra 1x3s over the bottom rails and attached them to the top railing.
3) I was very nervous about making sure that the bed was adequately supported so I put a 2x4 down the center instead of the 1x2.
4) I went a wee-bit overboard screwing things together to the point where it's a bit embarrassing and now I have to paint over the screw heads.
5) I made the ladder treads with 2x4's, modifying the inside spacer board cut lengths.
Because I had quite a bit of lumber on hand, the bed only ended up costing me about $90.
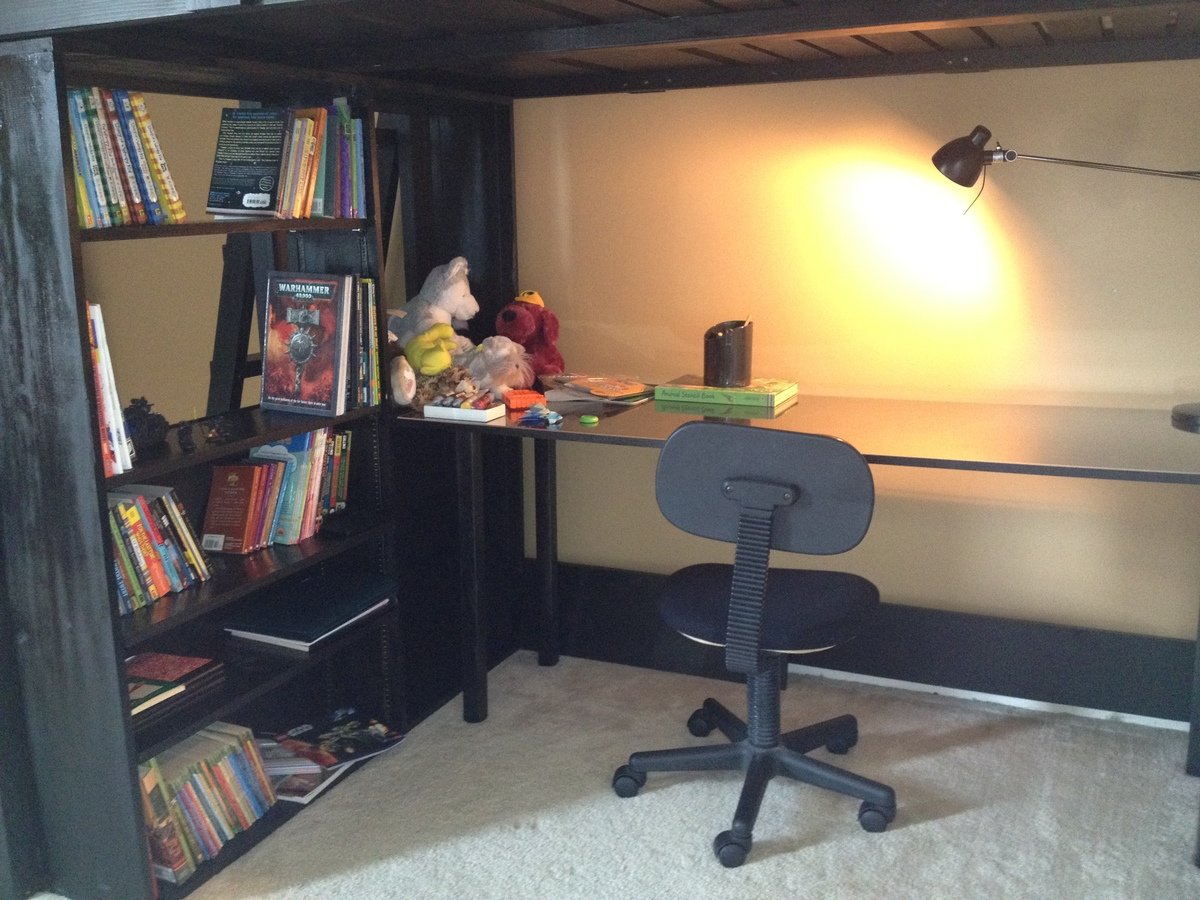
For the bookcase, I did end up buying the 1x12s and the adjustable shelf railings. I made the book shelf the entire width of of the bed and split the two sections based on width of the 1x24 board I bought for the desk. I only put the backer board up half way so that the daylight could get underneath the bed and make it not so cave-like.
The book case cost me about $70.
The desk was the easiest...but most costly item. A 1x6x24, 4 table legs and the table leg mounts ran me about $80. The plexiglass top that I had cut for the top cost me about $80.
Time wise, this would have taken me a lot less time than the 4 months it took - but I worked on it as I could and when I could, by myself. I got some friends to help me bring it upstairs and put it back together, but it was mostly done when I could fit in some time.
My son LOVES this and it really does give him so much room!!! Thanks Ana - I really appreciate it!


Thu, 01/17/2013 - 08:42
Hello,
Where might I find the modified loft bed plans that allow for a full-sized mattress and the under desk-shelves?
Thank you!
Fri, 01/18/2013 - 07:38
Hi!
To modify this to be full sized, I just added 15" to the width of the bed. Ana said this in the plans:
Cutting Instructions:
Converting to Full Size This bed can easily be converted to full size. You will simply need to add 15″ to all boards that run parallel to the ends. This includes the planks, end top pieces and the slats. Shopping list will need to be adjusted as well.
So I modified the cuts to the head and foot board parts and the full size mattress fits perfectly.
For the shelving underneath, I just looked at some of Ana's other plans for shelves and winged it.
This is not my first build, as I built some tables for my shop using various plans.
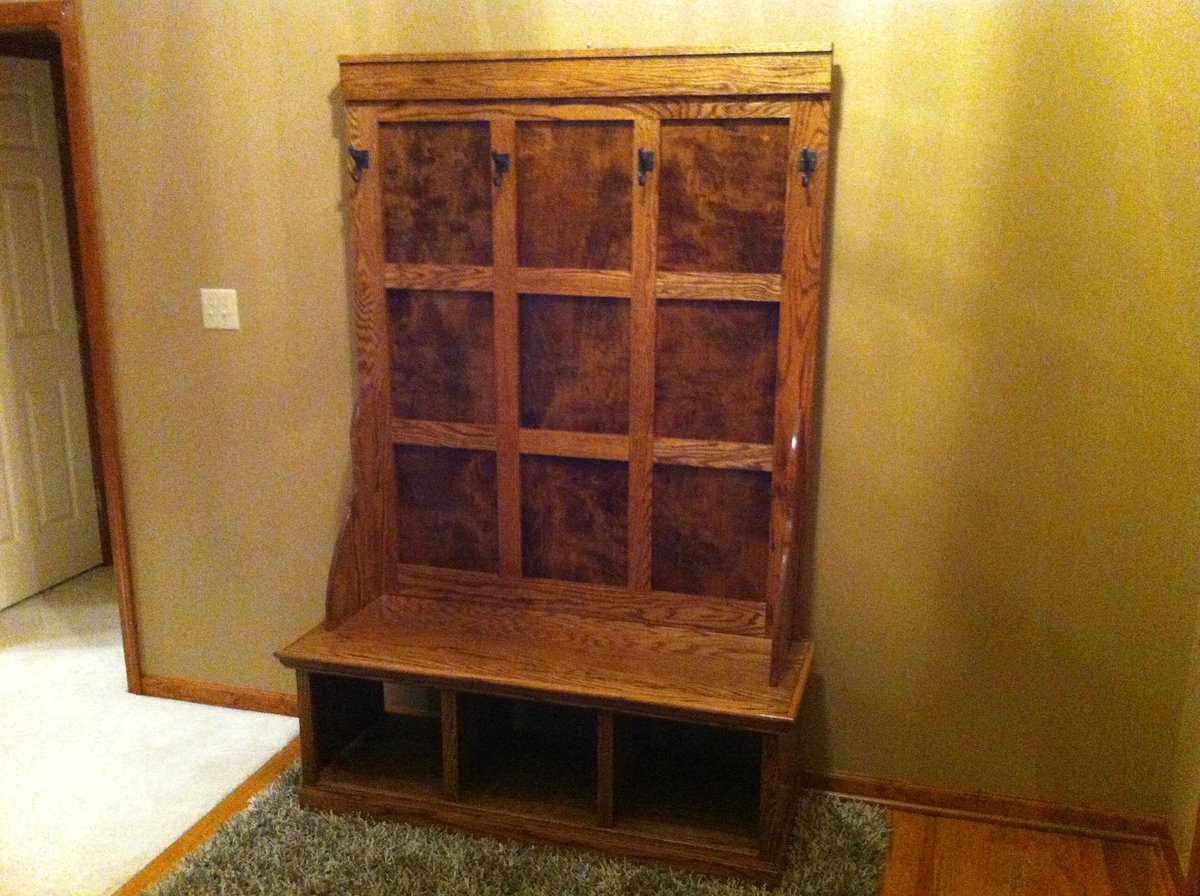
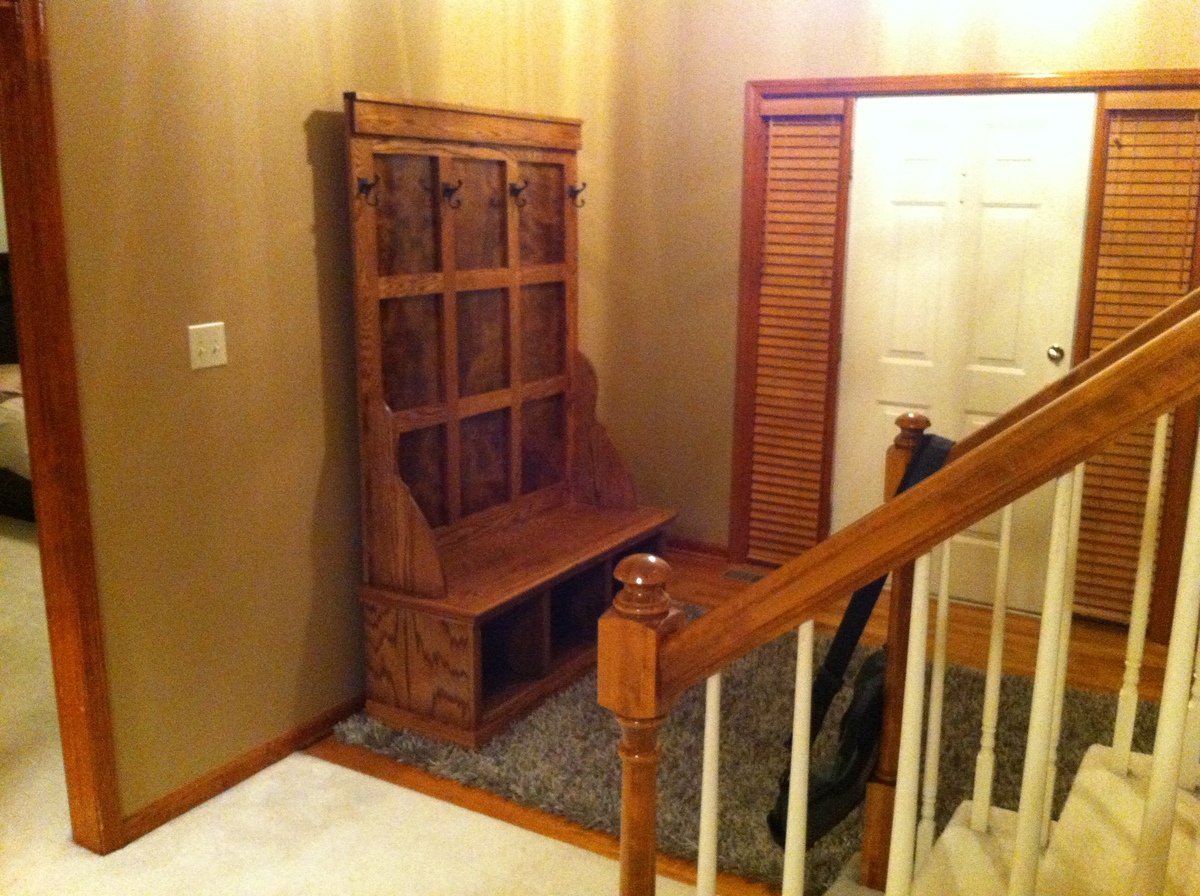
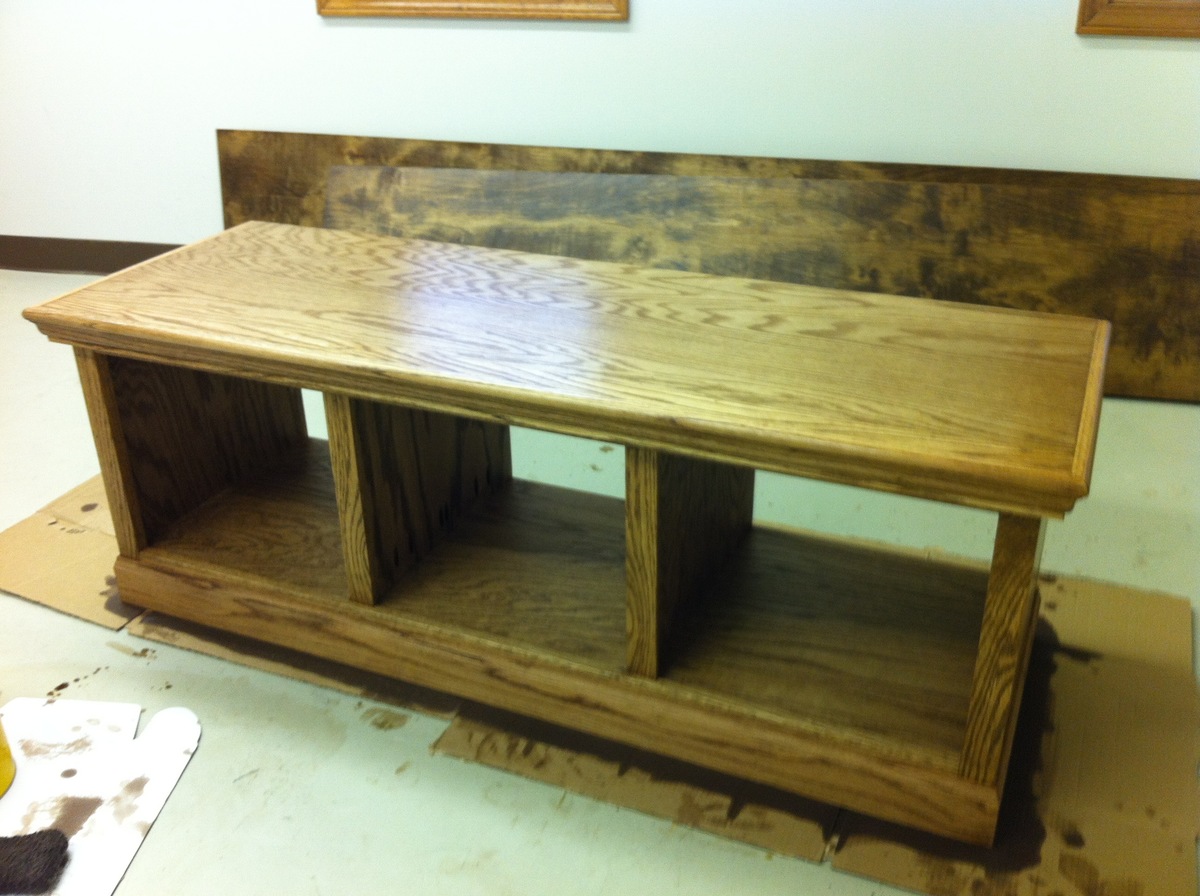
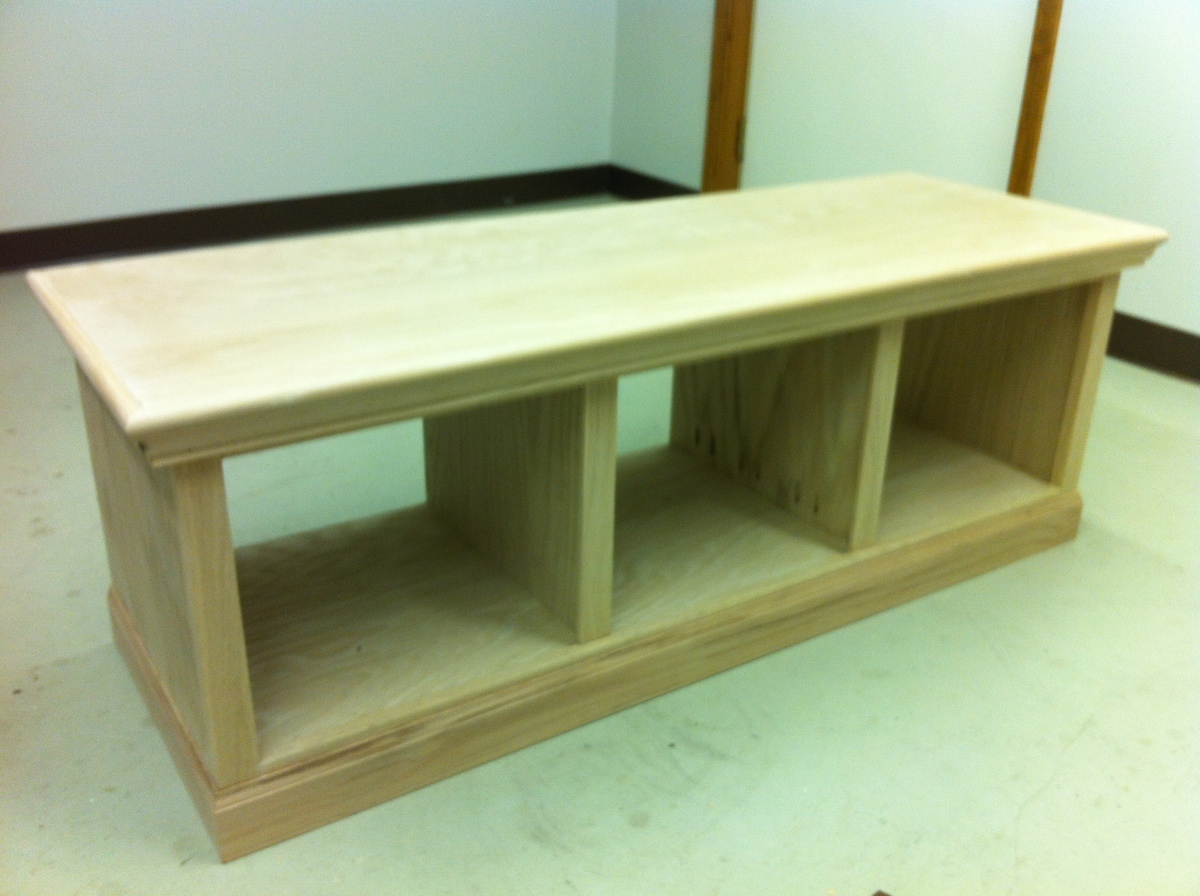
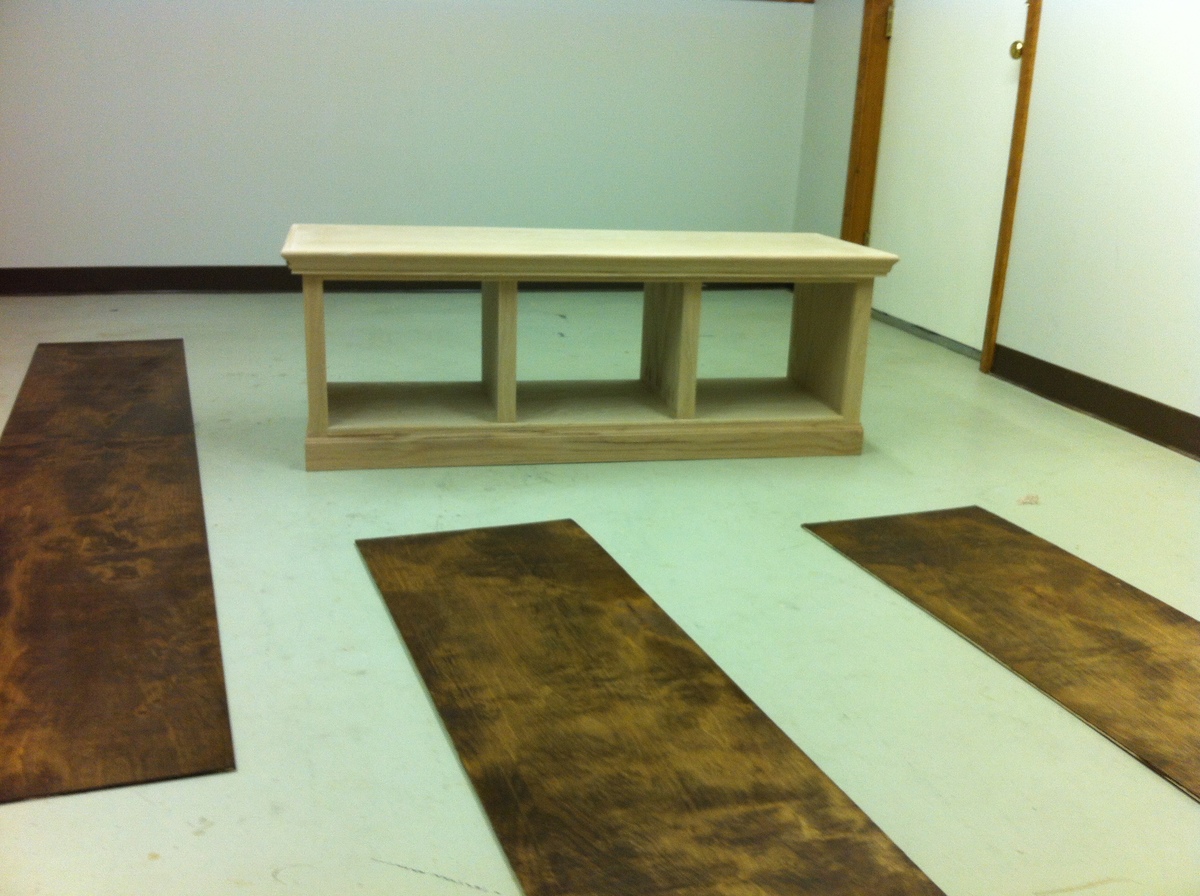
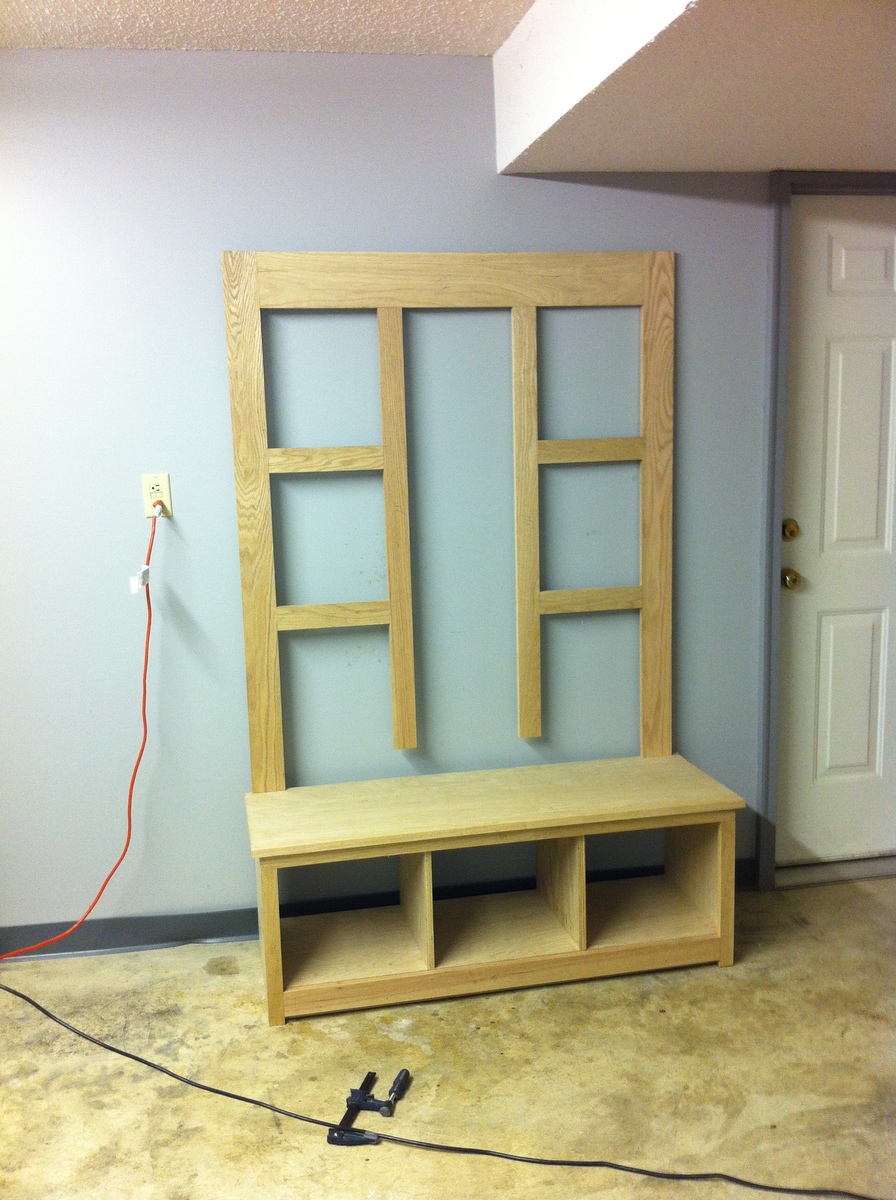
Anyway, here it is, the hall tree! I changed up the trim a bit. So much of me went into this, and a couple of times I pulled out the crowbar and started over on the moulding and on the cross supports on the top because I was a bit of a perfectionist... something I need to learn to control with this new found hobby.
Let me know what you think! Already the picture have about 50 likes on my facebook and people want me to build them one! I think I'll just send them the link... !!!
Sat, 04/06/2013 - 09:03
What did you use for the back plywood panel? Oak? I'm having difficulty finding oak plywood in anything except 3/4", and it looks like there's a contrast between wood types. Is that just a difference in stain or difference in wood?
Thanks!
Thu, 10/16/2014 - 08:35
I love your version. I really like the moulding that you put on the top piece of the bench. Since there is a lip on the top piece (overlaps the bottom section of the bench), how did you attached the moulding so that the top of it lays flat and flush with the top piece? I assume that you made some sort of hidden spacer between the lip and the moulding. Is that correct?
Also, how did you attach the back plywood to the decorative cross beams, finish nails?
Thanks for sharing!
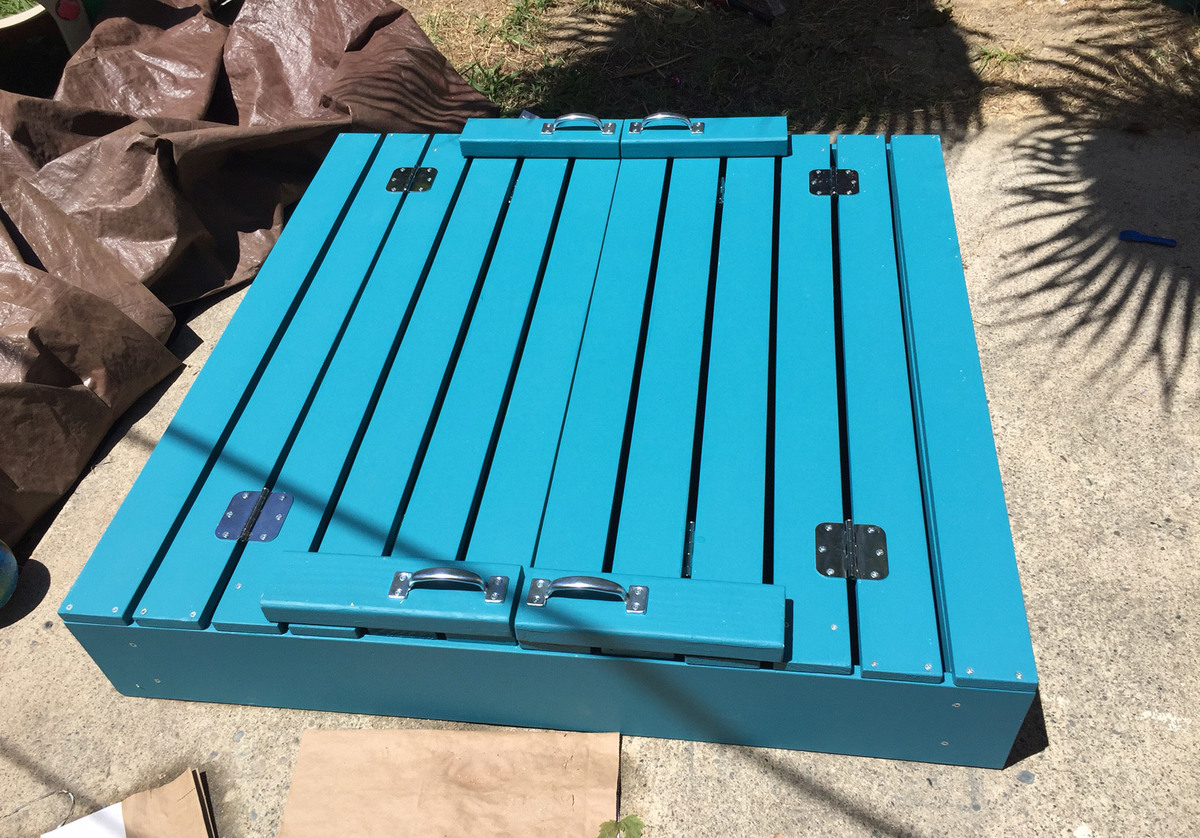
This was our first build from this website and we are so pleased! Having seen very involved plans on an Australian website for a similar sandpit, I was so pleased to come across this version, with its far simpler design!
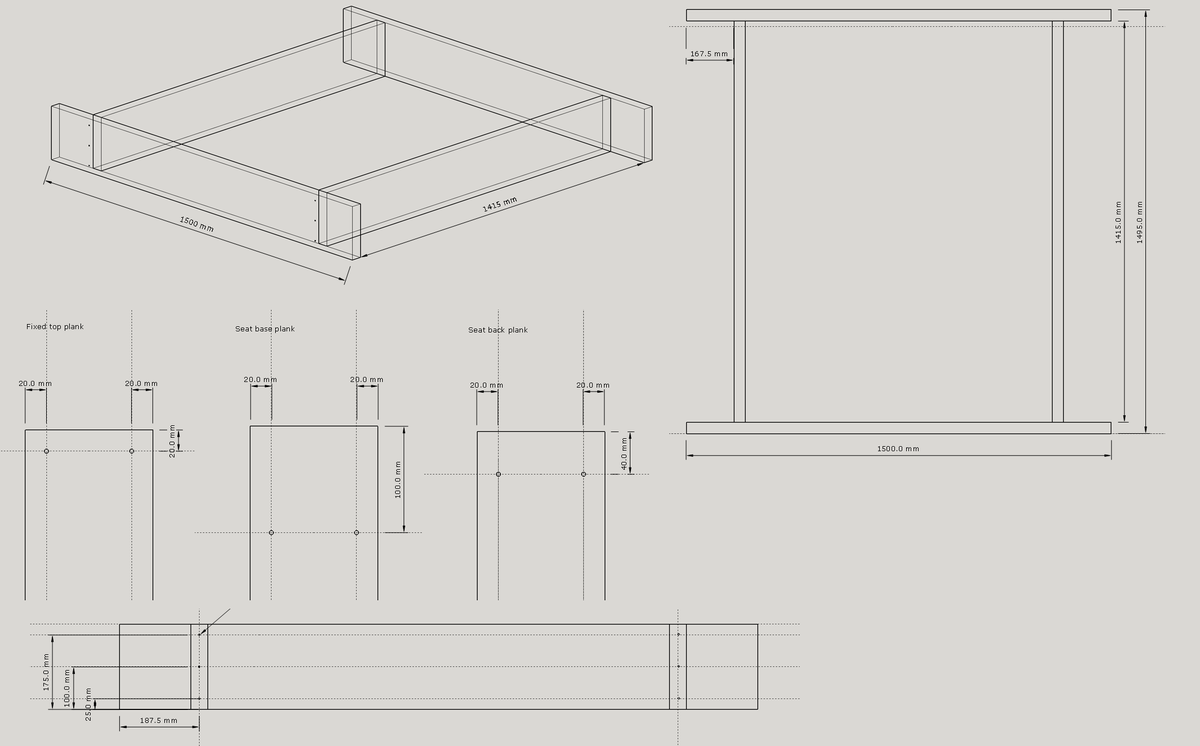
We wanted a slightly bigger sandpit, so I needed to do some modifications, and while I was enlarging it, I also converted to metric sizes, and designed specifically for the timber I knew I could buy locally (very obscure and inconsistent seeming German sizes). So the end result is a 1.5x1.5m sandpit, that has so far had 6 kids playing happily in it at once!
I've put in the drawings I used, and the cutting list for larger sizes in case anyone else is working in metric, or wants a bigger size!
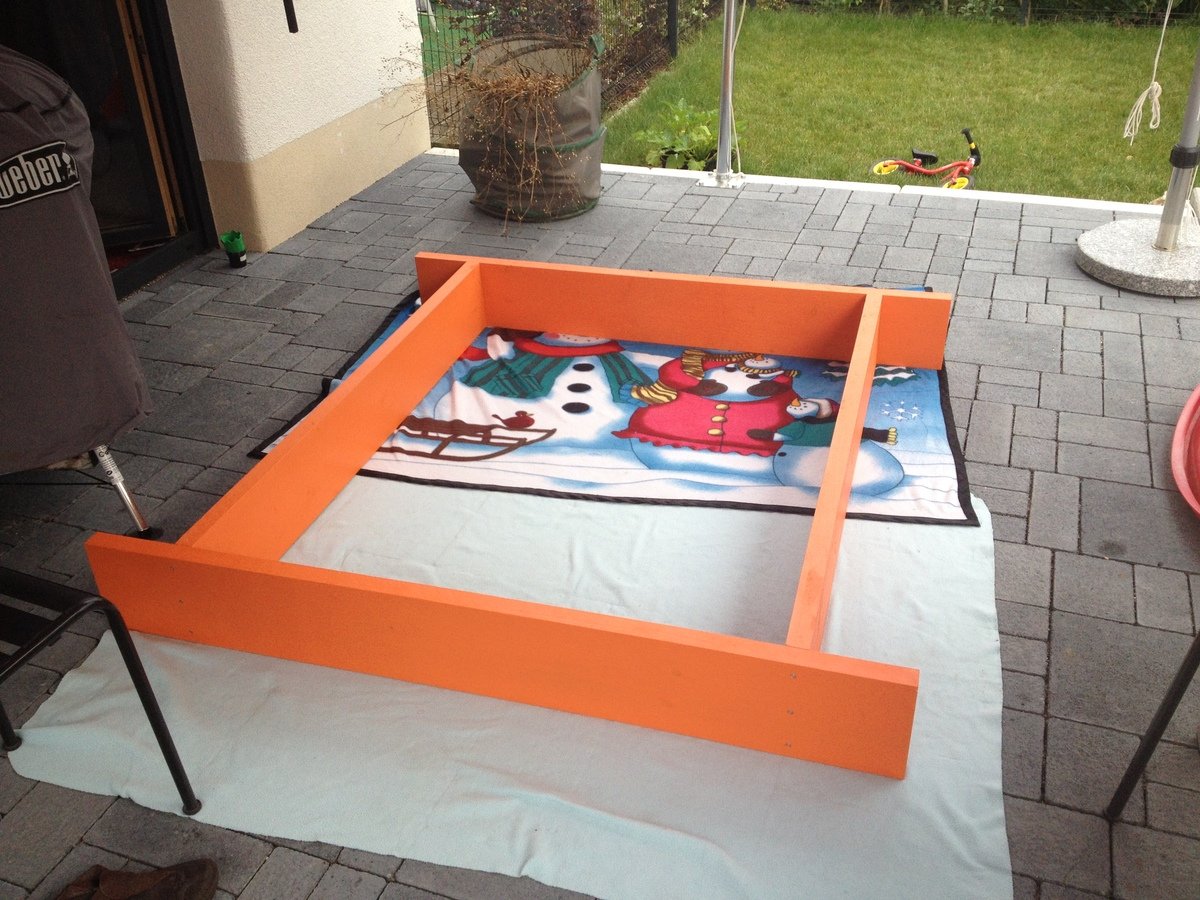
Our other modification was to offset the shorter sections of the base to run along the front plank of the bench seat - there were two main benefits for this - we need a lot less sand, as there is none wasted under the seat, and the seat is supported and can't bow downwards!
The dimensions and layout we used are in the images.
Supplies
Timber
2 - 200 x 40 x 3000mm
6 - 120 x 24 x 3000mm
1 - 80 x 50 x 3000mm
Hinges
12 - 140mm long (the original design had 8, we went with three per edge to allow for the extra width)
Self tapping decking screws
18 - 5 x 80
48 - 5 x 50
96 - 3 x 20 (or enough for your hinges, depending on the design)
Paint
3 - 375ml PU Acrylic Paint, suitable for exterior use (top planks and seat supports)
1 - 750ml PU Acrylic Paint, suitable for exterior use (base)
Weed matting and staple gun
Sand
I calculated I would need 20 x 25kg bags - in the end we needed 11 - don't ask me where we went so wrong!
Cutting list
2 - 200 x 40 x 1500 (long sides of base)
2 - 200 x 40 x 1415 (short sides of base)
12 - 120 x 24 x 1495 (top slats - just under half a plank, to allow for waste)
4 - 80 x 50 x 245 (armrests / seat braces)
4 - 80 x 50 x 495 (back supports of seats)
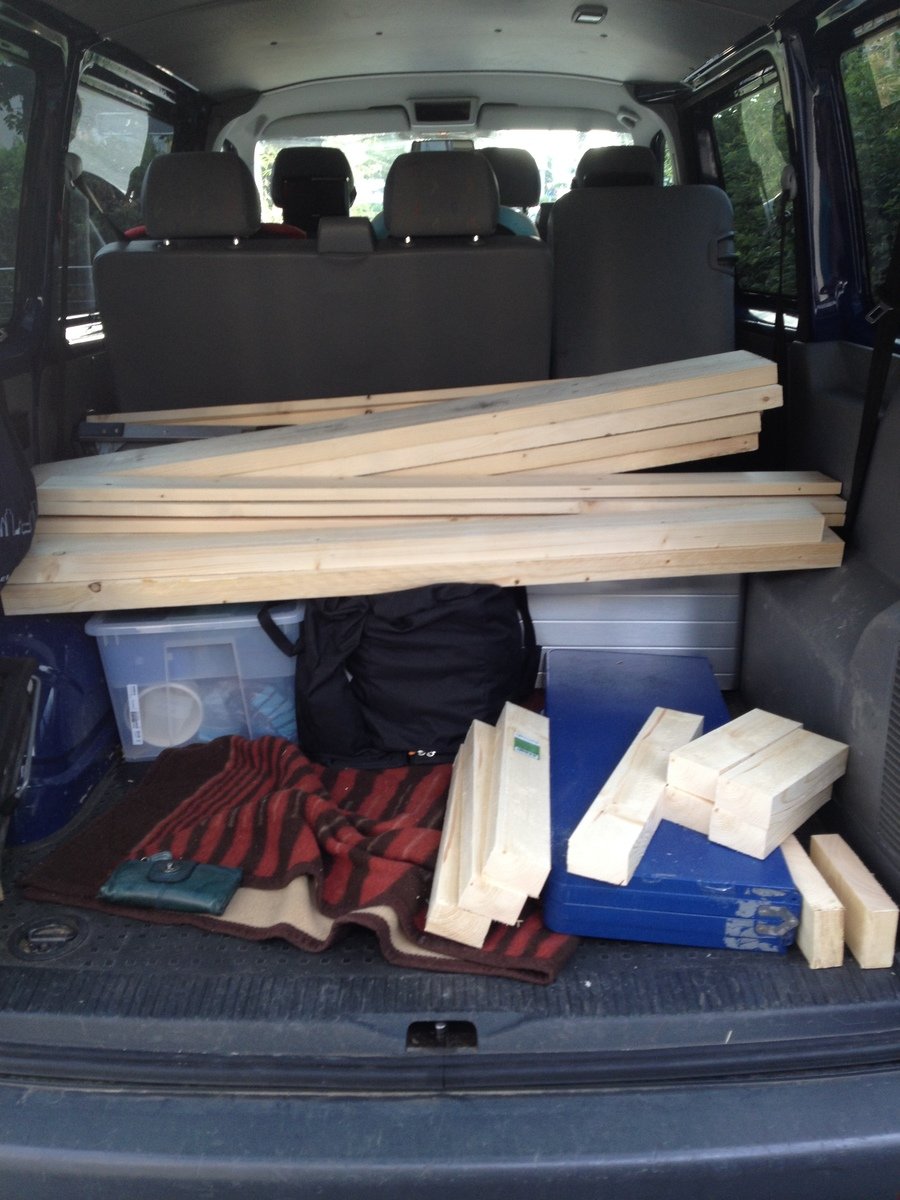
I gladly paid 5 Euro for the wood to be cut in Hornbach - it should have been more than this, but the guy was generous!
12 hinges (the original design had 8, we went with three per edge to allow for the extra width)
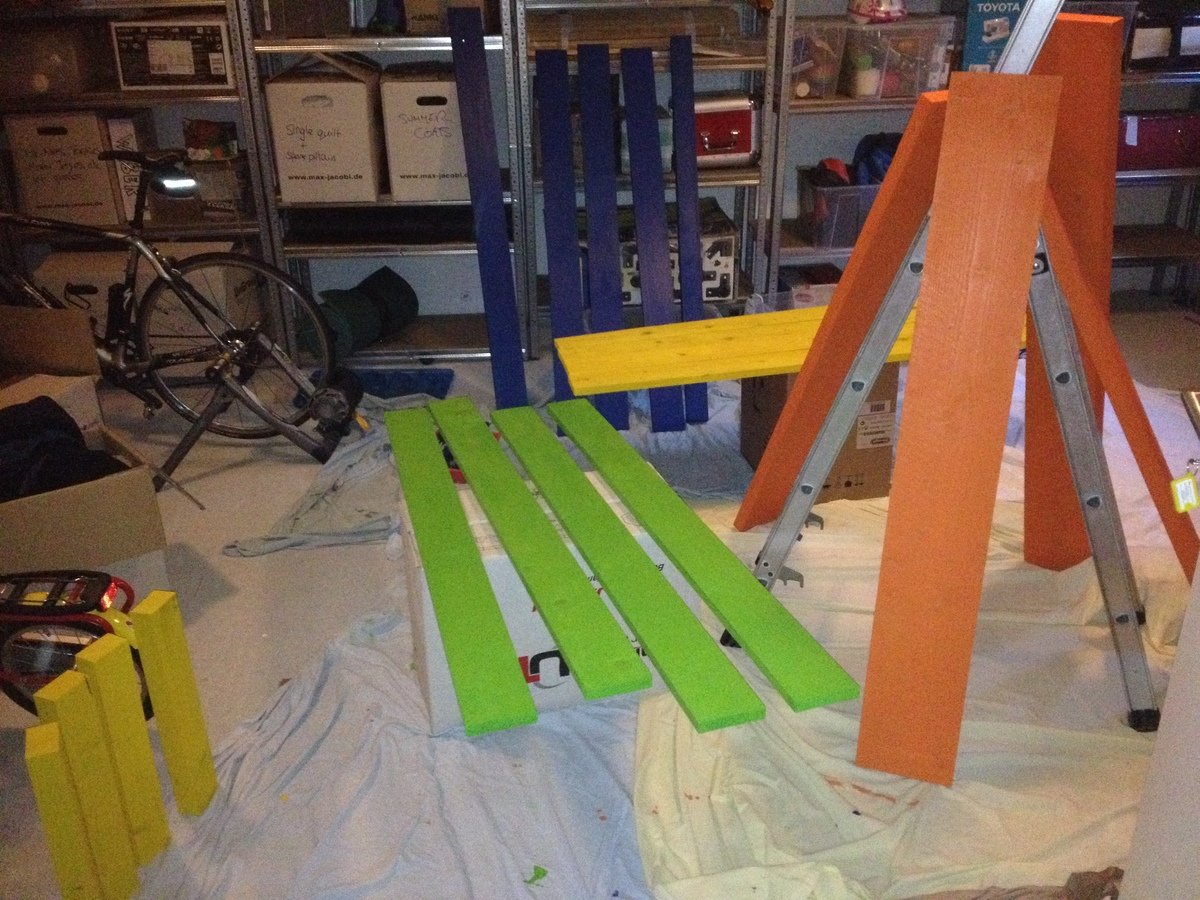
On Sunday we had the idea, on Monday I drew up the plans, on Tuesday I went shopping! Once all our wood was home safely, we sanded it down - most edges weren't badly finished, but there were a few splinters that needed getting rid of!
The next two nights Mr W gallantly set to work with the paint brush. After two nights, the wood all had two good coats of paint and we were ready to start assembling on Friday.
I pre-drilled the base of the bench before the second coat of paint - three holes for each butt joint - with some careful measuring this made screwing the base together really easy!
The top planks were also pre drilled, but there unfortunately my tiredness made me make mistakes, and some had to be re-drilled! Spacing the planks out took a lot of time, but I am glad I made the effort. I used cereal box, and experimented with different numbers of layers - I knew I wanted a theoretical 5.4mm gap, but it took some time to get the right number of layers of carefully creased and concertinaed card!
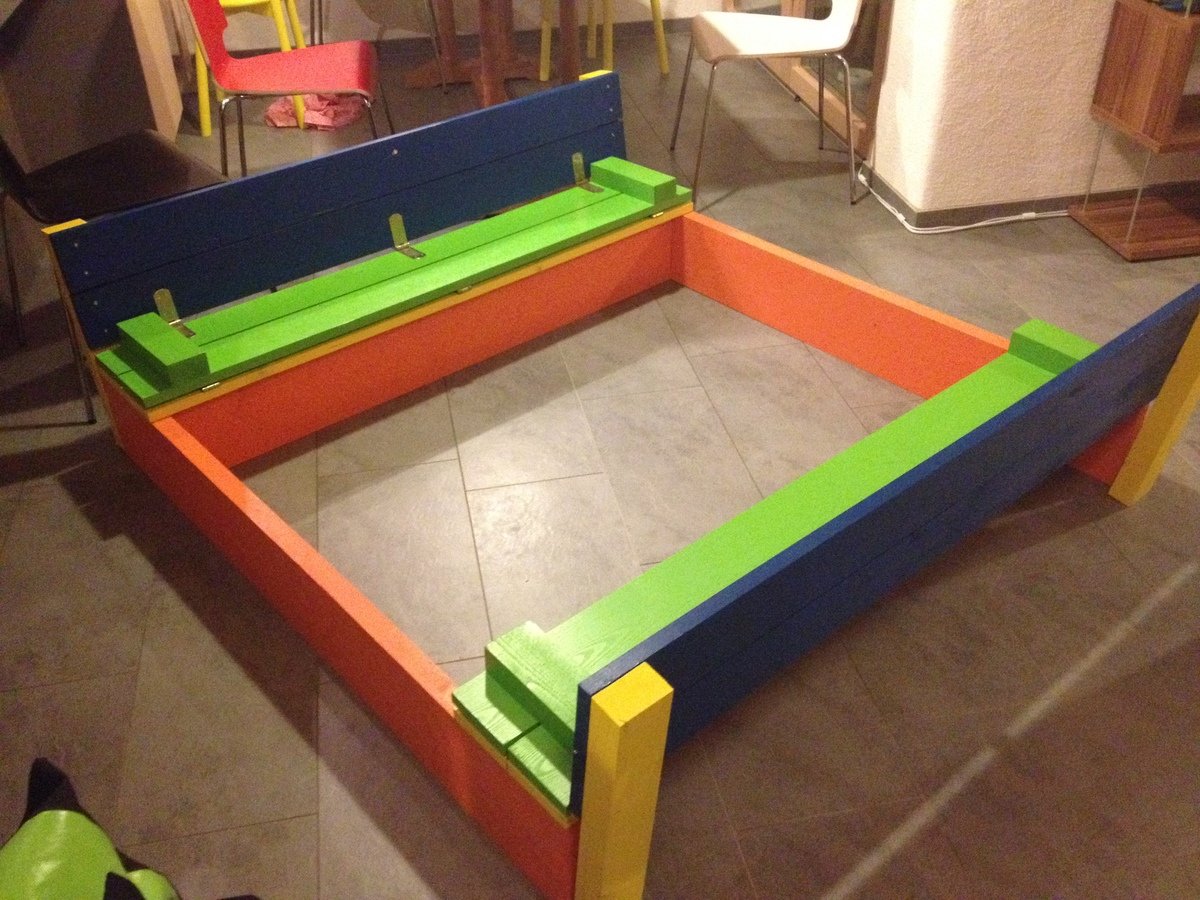
Having got our spacing wedge sorted, we screwed the blue planks in place at either end of the base. We then assembled the green seat section, and the blue/yellow back rest. Following a tip from the comments section, we added the hinge to the seat/back combo first, as this ends up being on the underside. Once those two hinged sections were made, they were then laid in place on the base (card wedge spacers in place) and then the final hinges added. The final assembly took about 5 hours - but this was partly because we started outside, then had to move everything inside when a huge thunderstorm rolled in!
The next morning we got busy with the staple gun and tacked weed matting over the base, then it was hauled in to position and filled up! For us getting this done and dusted was important, otherwise it could have dragged on a lot, but we are terribly proud that it was done in less than a week from being fist conceived!
I hope the metric/enlarged plans are of use to someone else too. One other idea we had, which we didn't get round to building in, was a support bar to be fitted when you close the pit, so the kids can play on top as a stage when it is not being used for a sandpit!
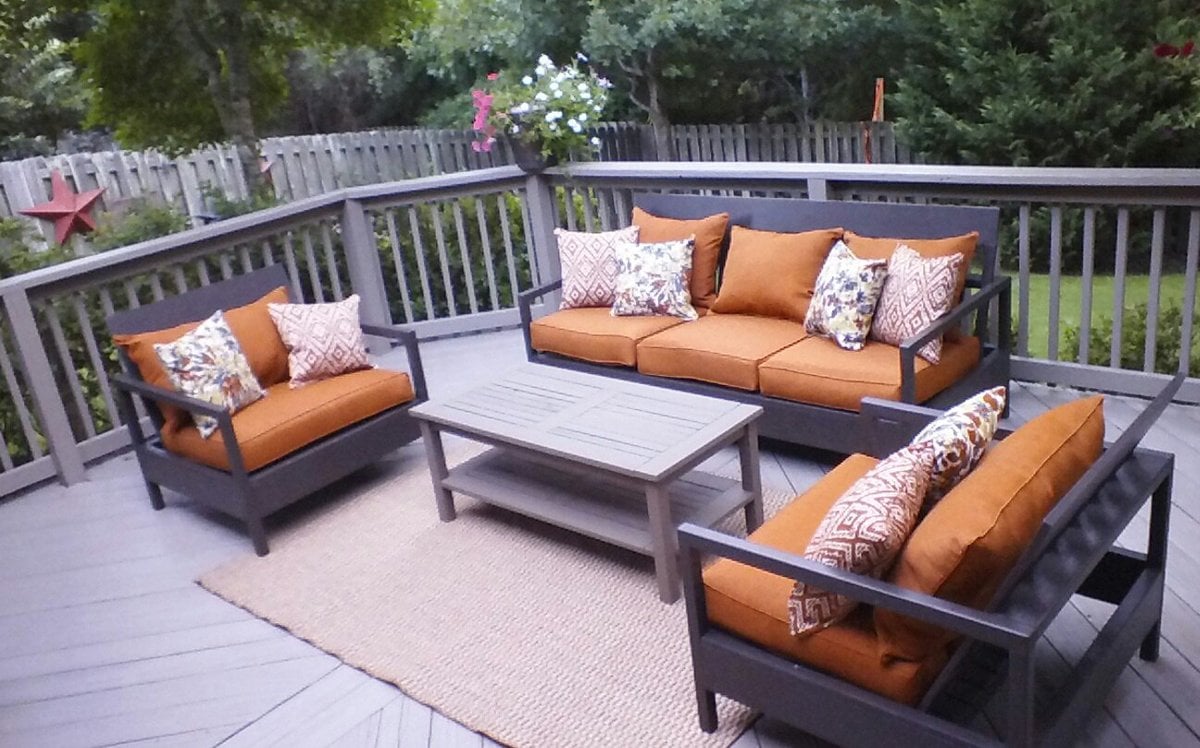
Well this was first project my hubby and I tackled together. He actually let me use the power tools. The plans were great! Loved having a shopping list! I made the cushion s myself. I have to say, I wish I had made the couch and chairs the size of cushions available at Lowes . AFt e r you buy foam batting fabric and chording I found set at lowes for a lot less but I am so happy how it all turned out . Thks for providing plNz!
Tue, 11/19/2024 - 10:09
Building your own outdoor patio furniture can be such a rewarding project! It’s a great way to get exactly what you want for your space, and it’s usually more affordable than buying pre-made pieces. I recently did something similar, and while I was looking for inspiration and materials, I stumbled upon some really high-quality furniture options that were perfect for outdoor use. If you're considering adding new pieces to your patio or balcony, perigold is a great place to check out. They have a wide selection of stylish and durable options, and their customer service has been solid. It might just give you that extra push to finish your DIY project!
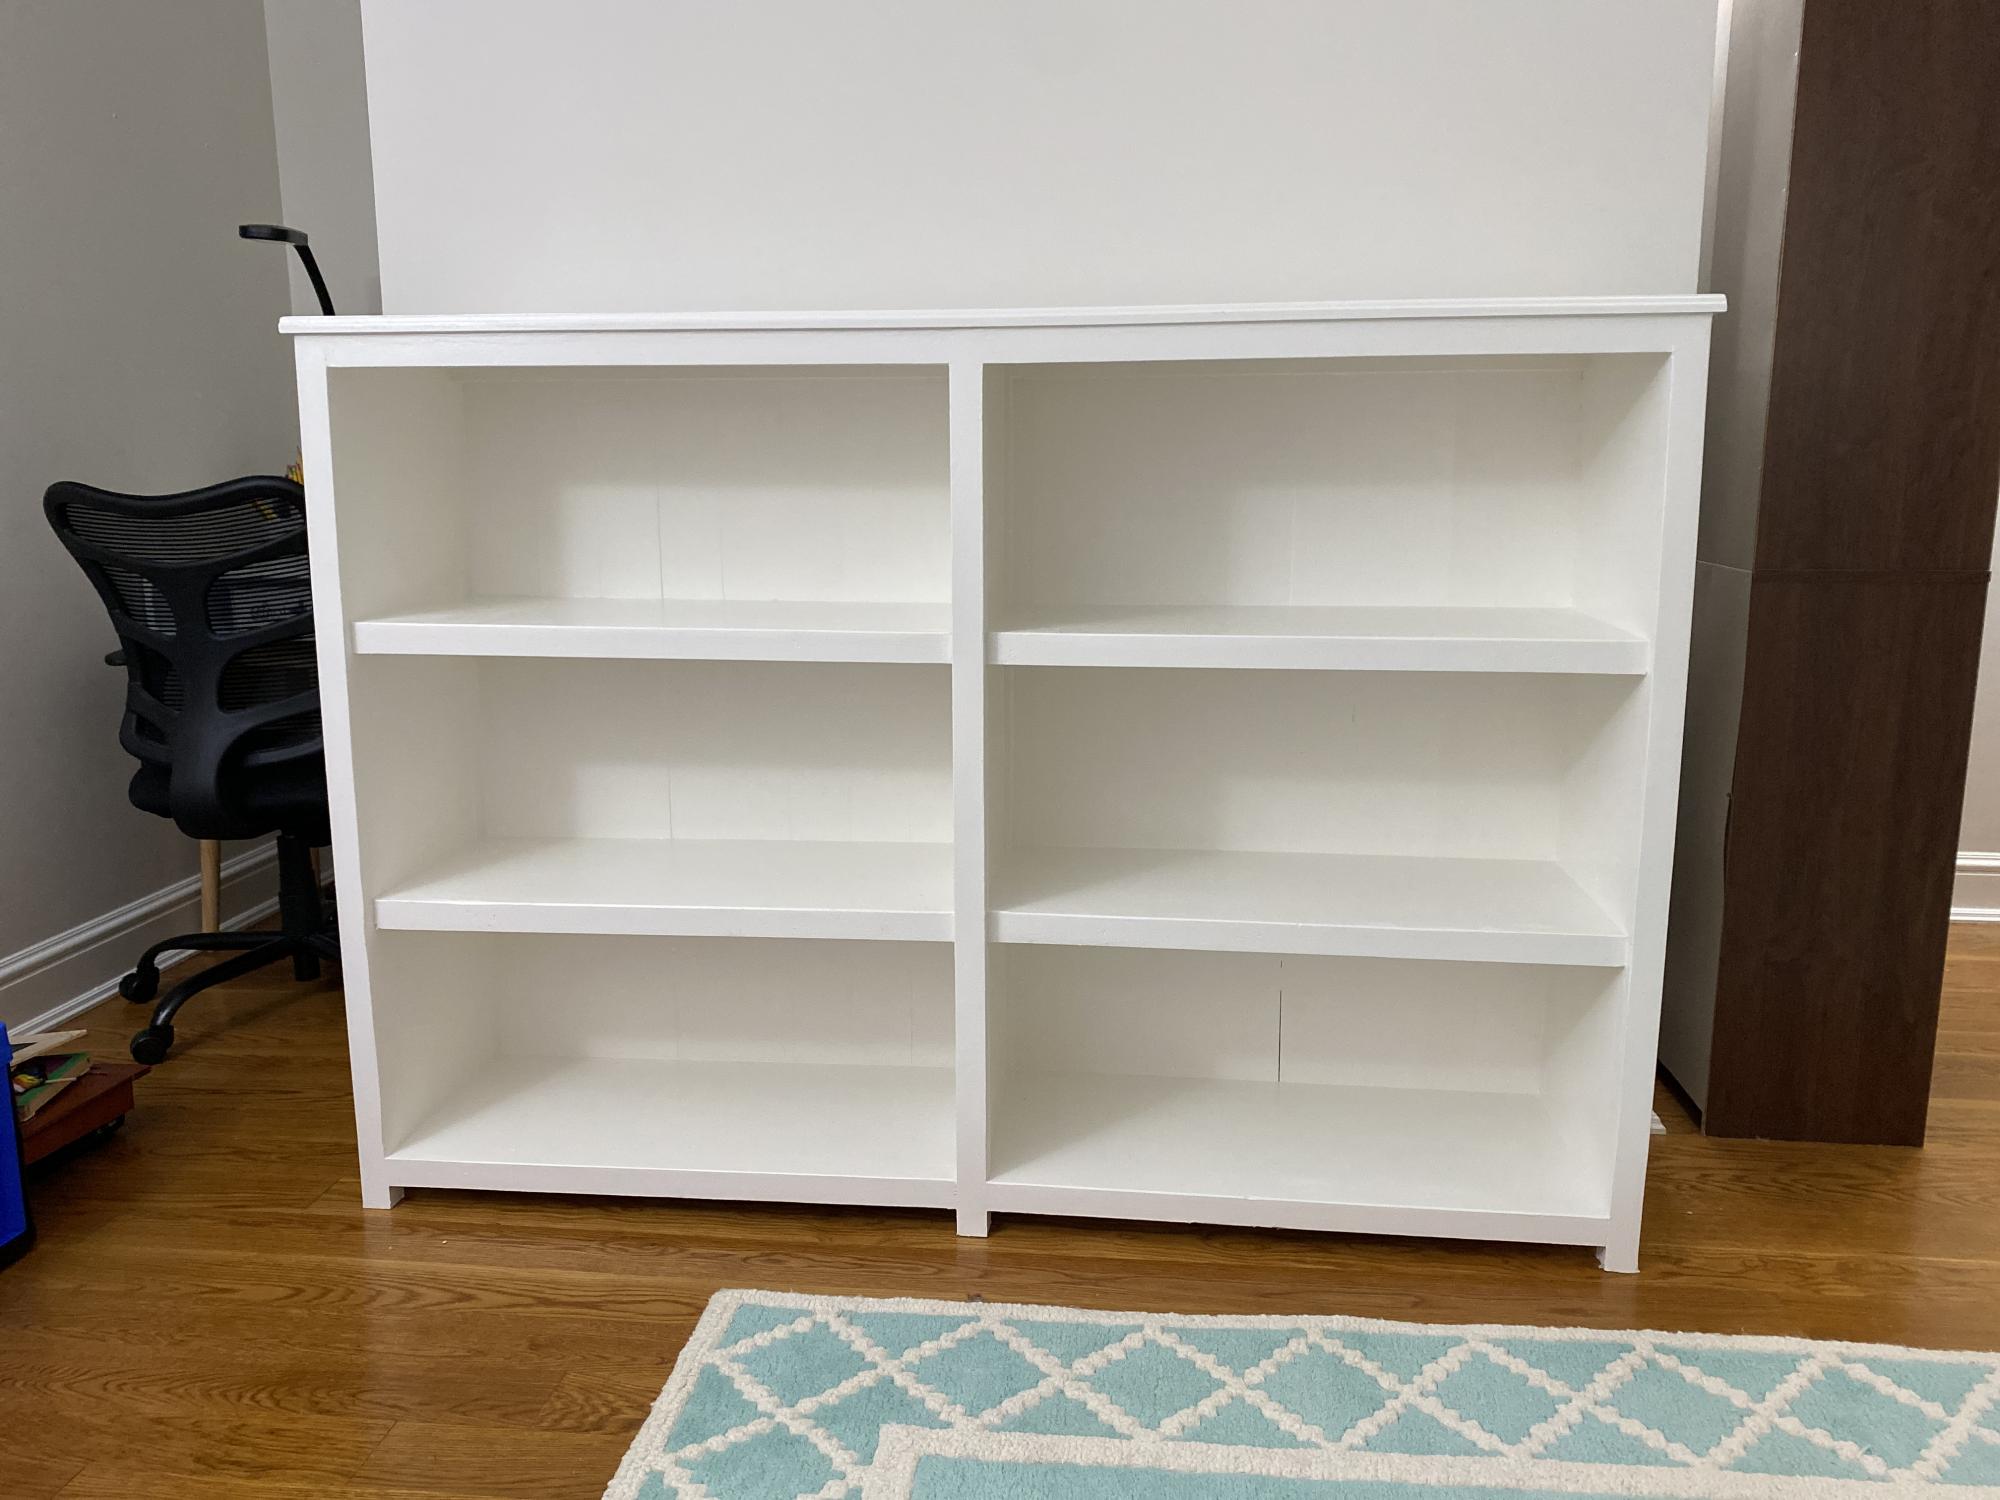
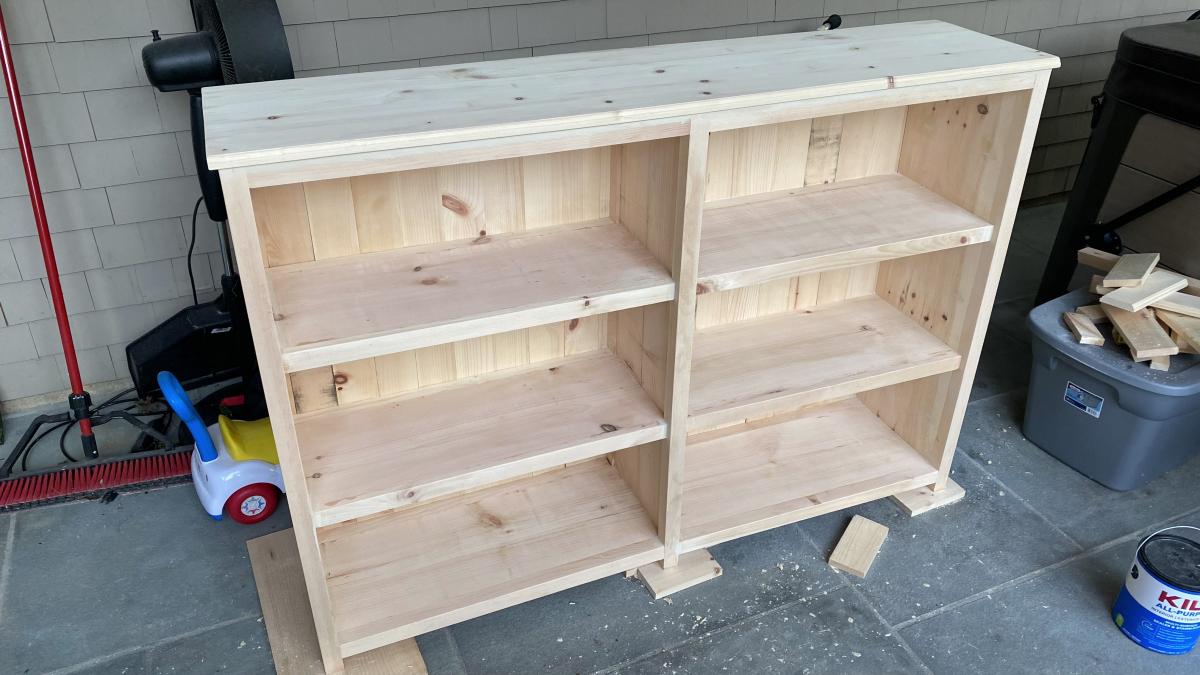
This was my first project, and I did it together with my two oldest children (13 & 11).
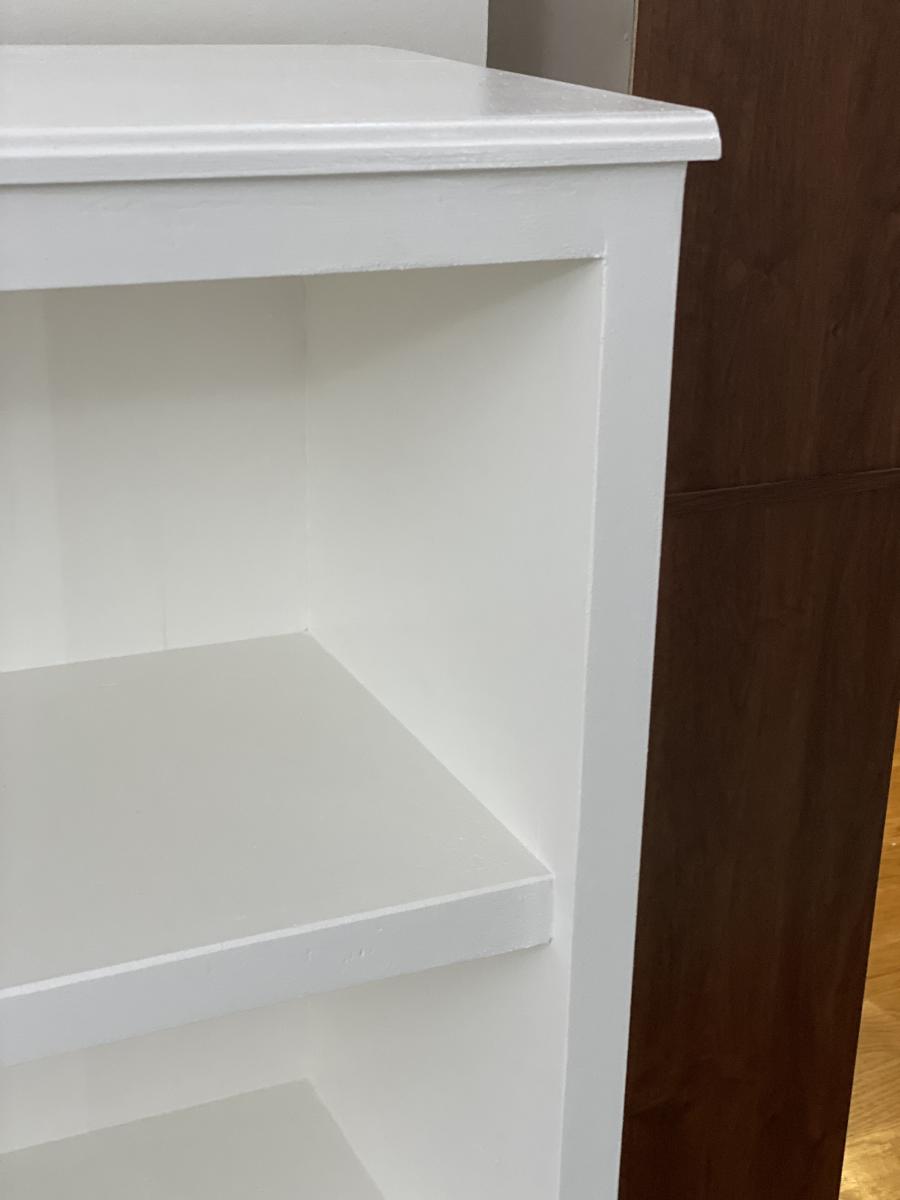
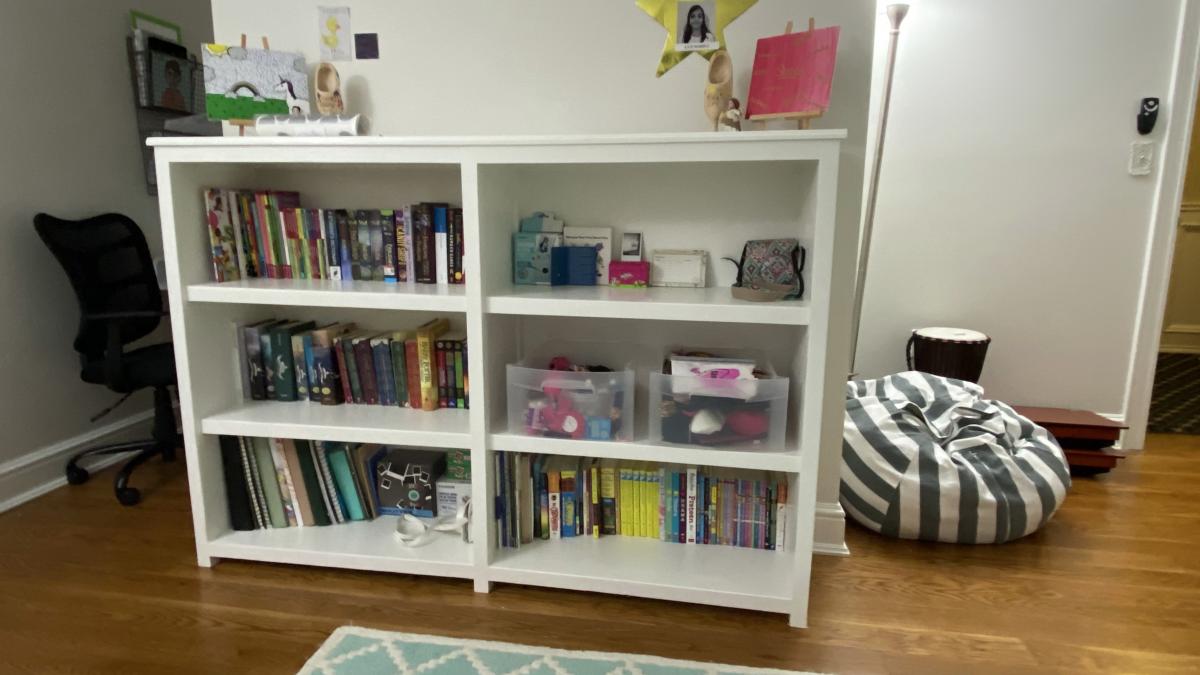
We started with the basic Kentwood Bookshelf plan, but wanted to have it a little shorter to make use of the tabletop. We also wanted it wider to fit a specific location in my daughters' room.
Broadly sticking to the Kentwood instructions, we measured the longer space we had and what that would mean for each of the measurements for the cuts. It was tricky to get the measurements right for the 1 x 12s in the middle which had to be a little longer than the 2 x 2 and 1 x 2 frame fronts to fit snuggly, but we got there.
We finished the top and back with 1 x 4 boards instead of planking. It added cost and weight (whole thing probably weights 150 pounds), but hopefully it will last a long long time. We routed the front edge of the table top to give a nicer finish.
Painted it white in the end. Tried to put a clear coat over it, but made a mistake of using an oil-based clear coat which turned the whole thing yellow. Had to sand it down and repaint. Ugh. Lesson learned!
We're very happy with the results.
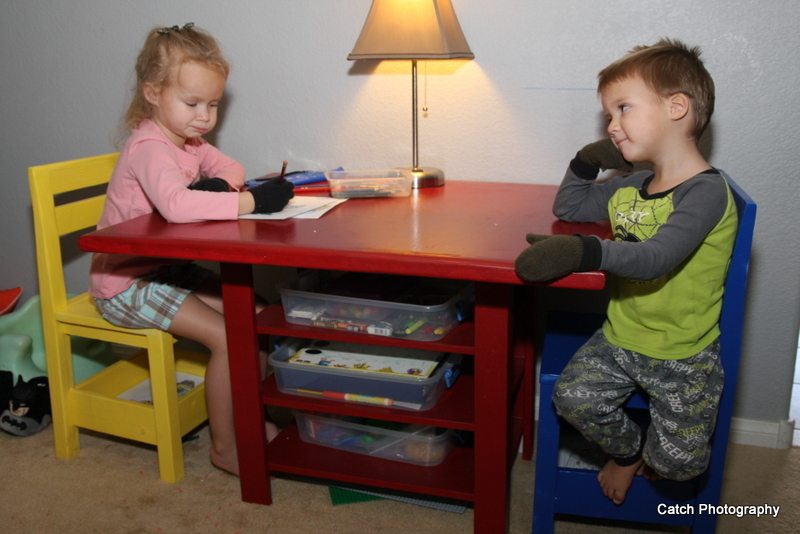
I wanted a table with storage, I added a couple extra "shelves" This was the easiest design to do this with. Just be sure to add from the top shelf to the bottom if you are using a Kreg Jig. You might want to pre-paint also . My shelves are 5 inches apart to fit perfectly my little flat style containers for art stuff and playdough.
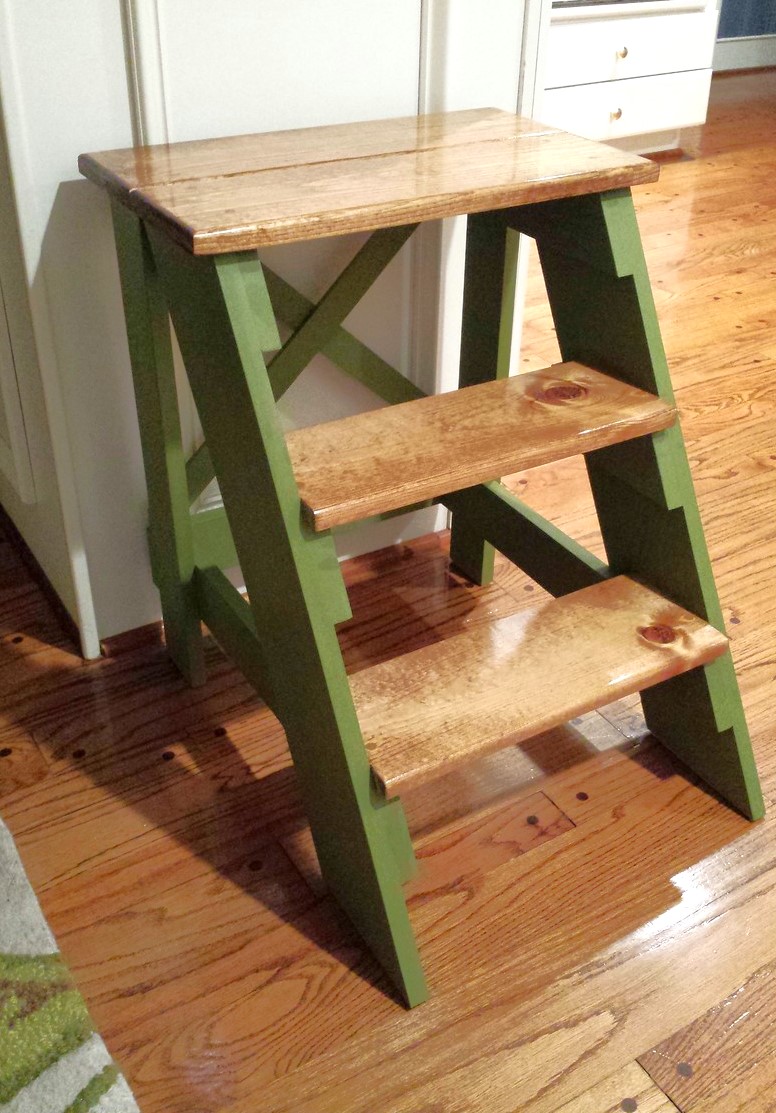
Did the multi-finish on the step stool. On the steps, I used the Minwax Pre-Stain Conditioner, followed by Minwax 'Early American' stain and then Minwax clear gloss polyurethane. The rest of the stool was painted with DIY chalk paint. The paint is 1 cup flat paint (Valspar Jungle Thicket) mixed with 1/3 cup plaster of paris and 1/3 cup water. The chalk paint portion was finished with the Minwax Finishing Paste Wax and gave the flat paint look a nice sheen.
Play Deck and Swing
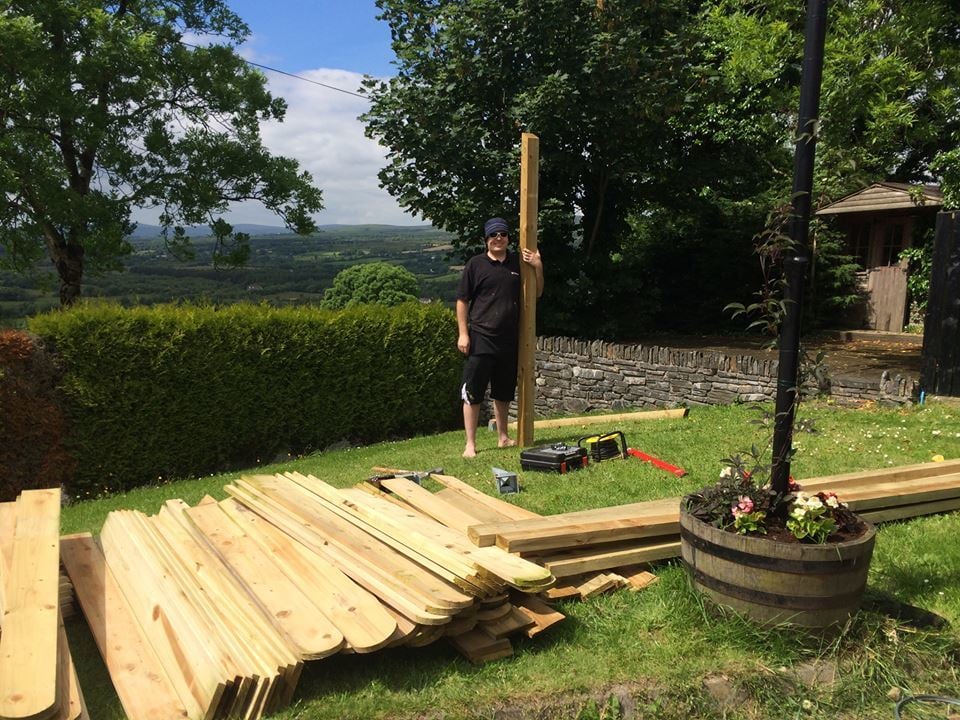
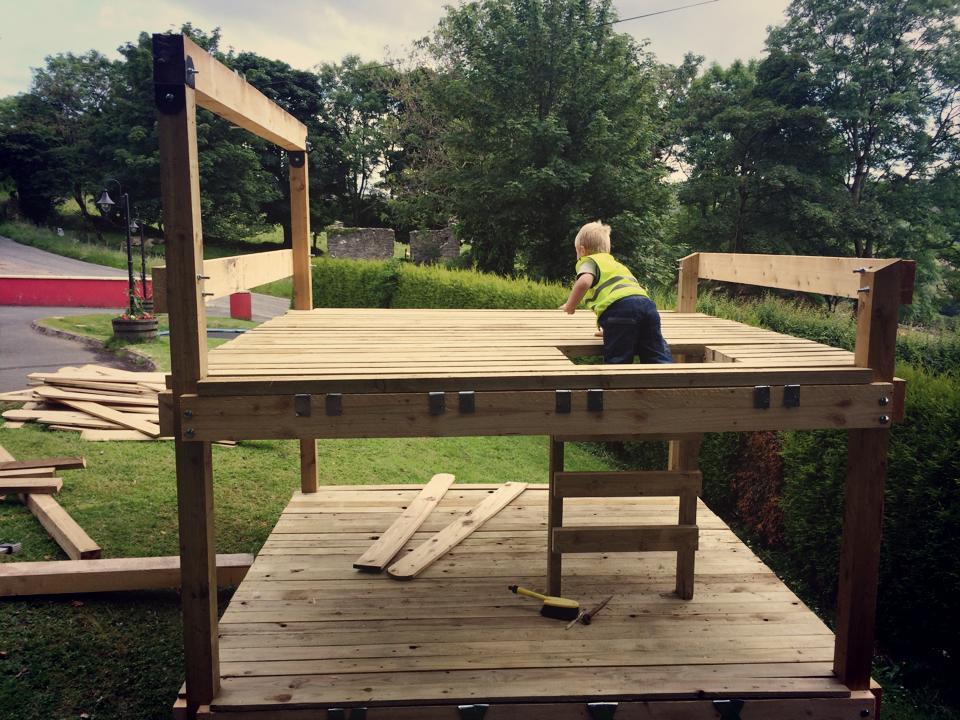
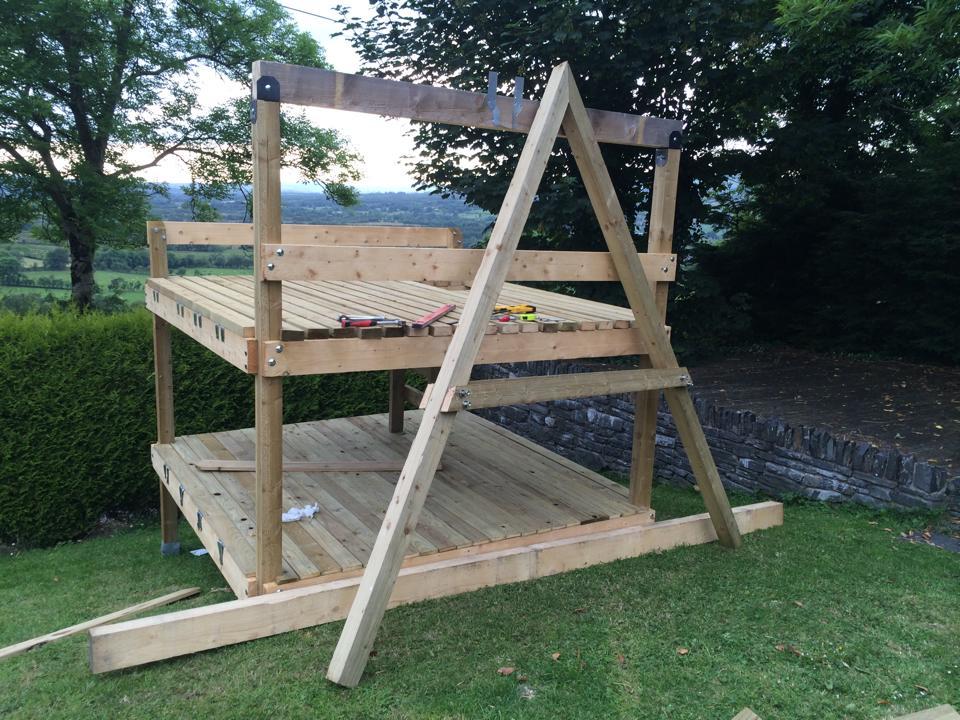
Wed, 09/03/2014 - 07:35
You have a BEAUTIFUL view from your yard! Just curious, where do you live? I assumed somewhere in Europe due to the currency. The play area looks fantastic. What lucky kiddos!
Wed, 09/03/2014 - 08:21
Thanks. Lovely part of the country outside Omagh, Northern Ireland
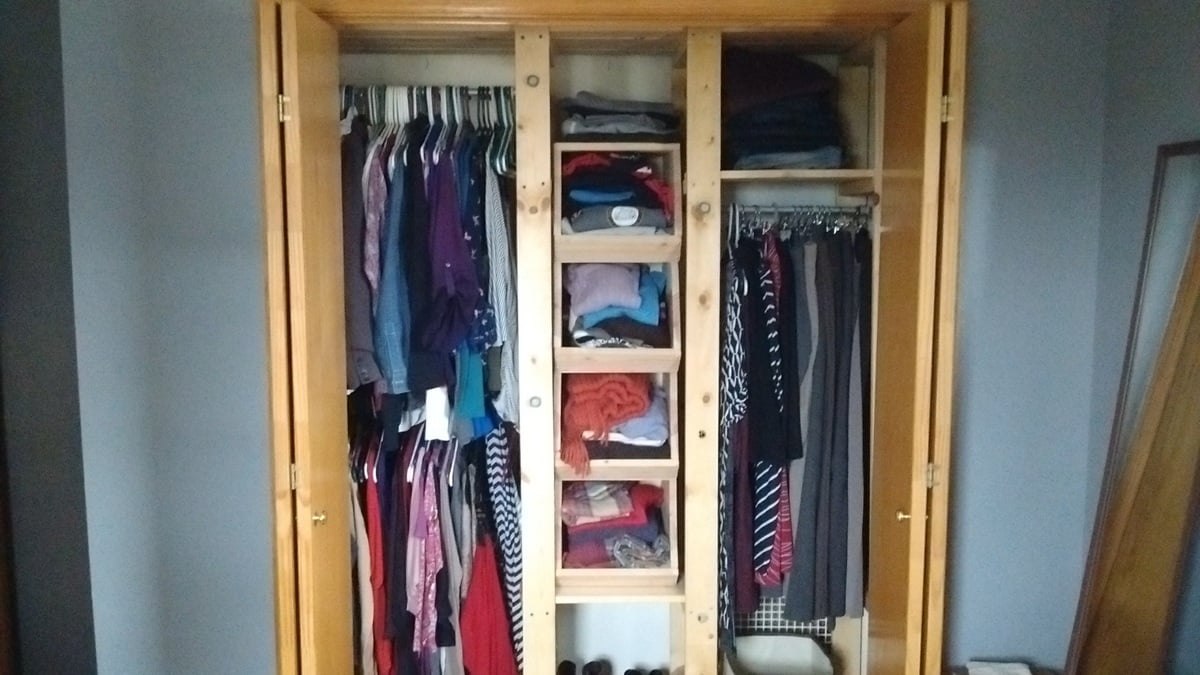
I originally built this for a small closet in an old home. When I moved, I took it with me and was able to rearrange it to fit in a traditional closet. The center section is a modification of a toy storage plan that I use to store folded clothes.
I desperately needed storage in our 1910 house that was not in the basement. I wanted a place to keep my sewing machine and accessories, at-home school supplies, and other odds and ends. We had an alcove in the kitchen that was about 74 inches wide and 17 inches deep, so I decided to build something to fit that space. I really liked the Simplest Armoire plan but I also really liked the Kentwood Bookshelf, so I ended up somewhat combining the two. Since I had a fairly large space, I made the cabinet about 6 ft X 6 ft. The hardest part was getting it into the house. This project was my first big DIY building project without my dad's help. I did call him a few times during the project however, and he helped me hang the doors. I really enjoyed using the Kreg Jig and I appreciated having all of the Kreg Jig instructions for the Kentwood Bookshelf. It was a huge help, as I had only used the Kreg Jig a little and with my dad in the past. My husband has been a great support as I have ventured into building furniture. He works from home, but any time that I needed him to help hold a large sheet of plywood he was quick to help. This was definitely a big project for a beginner, but I enjoy a challenge when it comes to fixing things and creating things. Fortunately, this one worked out in the end! Now what should I build next summer...
Sun, 05/31/2020 - 13:27
This is so great, and I can't wait to try my hand at emulating it. I'm buying a place so old there's no record of a date. Still has adobe bricks with straw sticking out stored up in the attic. Not a closet in the whole darn place, so I'll probably end up making more than one, and probably using one as a clothes closet and another as a pantry. Thanks so much for sharing this!

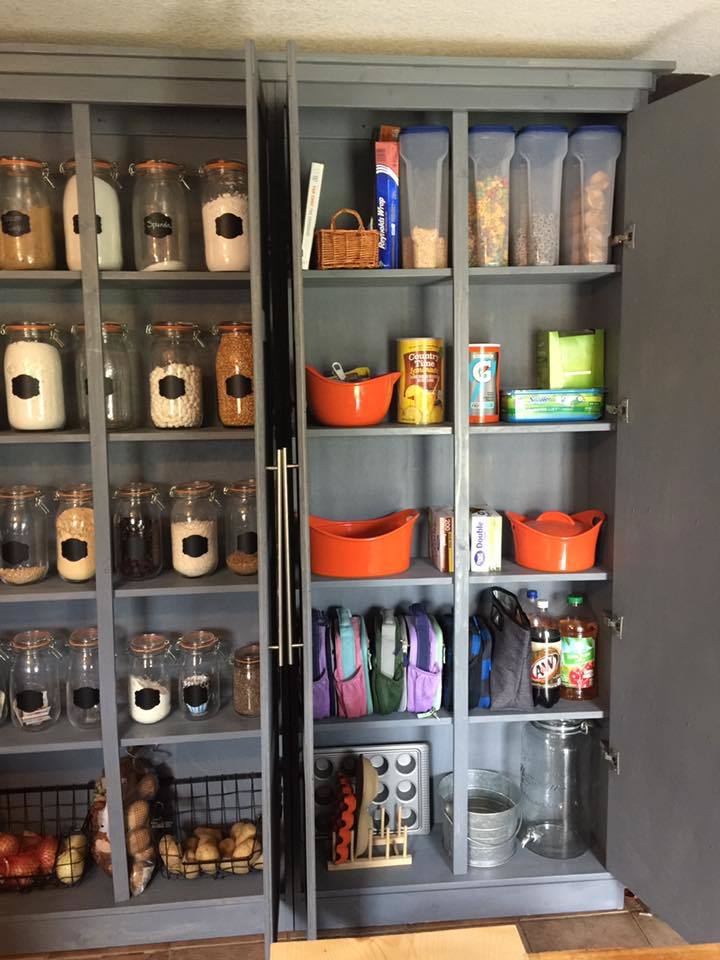
I modified the origianl plans by making the cabinet taller. I also built 2 cabinets and trimmed them both together to make it appear as if it is 1 giant cabient. It measure over 7 feet tall and just over 6 feet wide. I did add an additional 1x2 brace in the center of the cabinet to help support. I also cut an additional 1x4 to use a brace when anchoring it to the wall. I also chose to add an additional 2 trim pieces to each door because they are much taller than the original plan doors.


After watching Ana White's video on easy garage shelving on FB, I knew right away it was the perfect technique for adding shelves to my laundry room. The project was easy and turned out great! I did the majority of the work by myself, although my Hubby did help me with some heavy lifting at the end (we had to add the shelving before the front frame due to the walls on either side). The shelving unit itself took only a few hours to build. I painted it the following day making it a weekend project. We have considered adding trim to the front to give it a more finished look, but right now, it is serving its purpose. I will definitely use Ana's technique again. It was simple and straightforward! I loved it.

I'm so happy that I found the plans for Ana's miter stand and rolling carts! It was just what I needed for my garage shop... so everything can be organized and stored compactly but things can pull open and expand when I have a project (which is all the time, actually).
The actual miter stand was super easy to build - the carts took a few days working non-stop (when the kids permitted).
I made a few obvious changes from the plans:
-made deeper shelves on one of the carts
-added drawers on one of the carts
-added ped board on the end caps of miter stand
Something I didn't consider before building this was the slope of our garage floor. There's a 3" difference from one end of the legs to the other so I had to use riser blocks to get everything perfectly level. Unfortunately there's no way to level the carts as they aren't stationary but they slide in/out just fine.
I'd recommend this build to everyone! Check Home Depot clearance often for deals on plywood!


Wed, 02/07/2018 - 11:35
Would you be able to share the original plans? It seems that once the contest ended, the links to the plans stopped working.
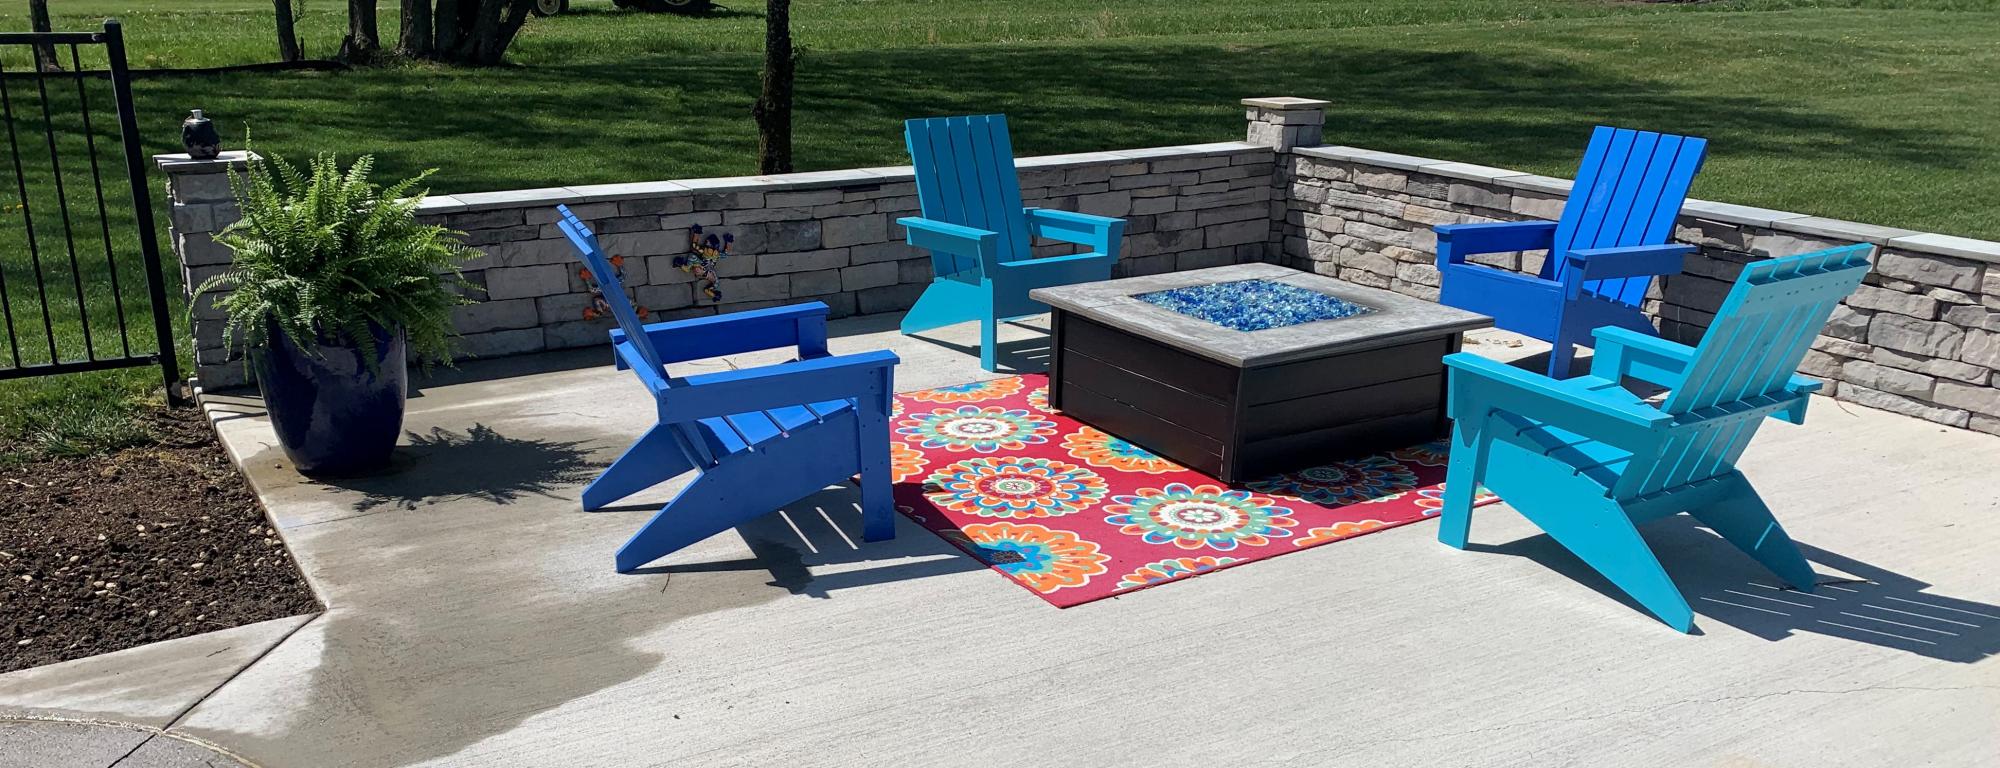
My son and I conquered this project over the winter. Cut all the pcs and the assembled 4 chairs for less than $150.
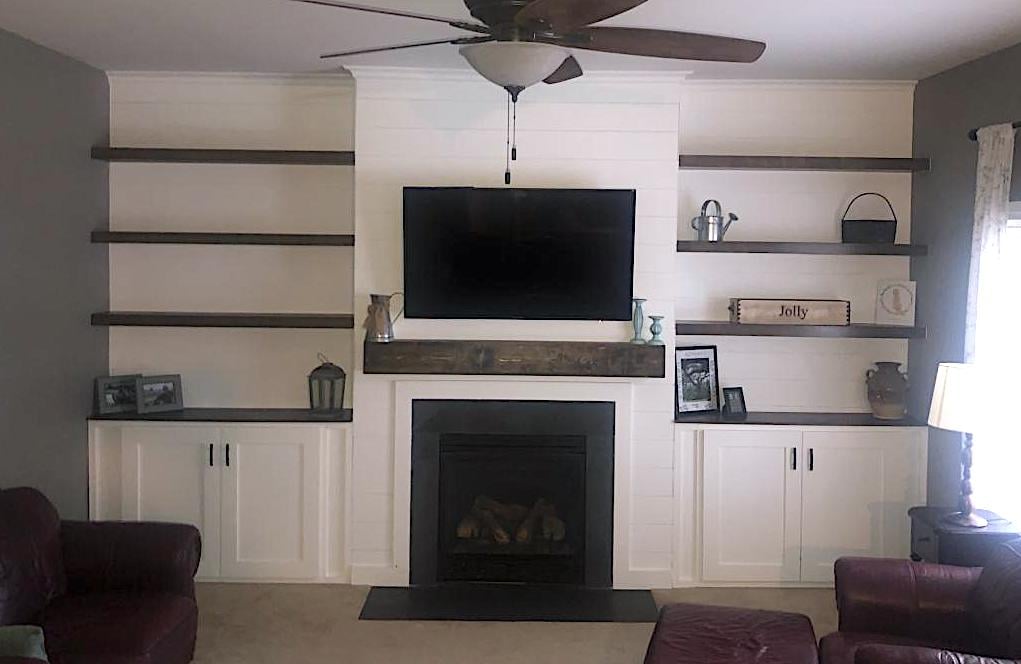
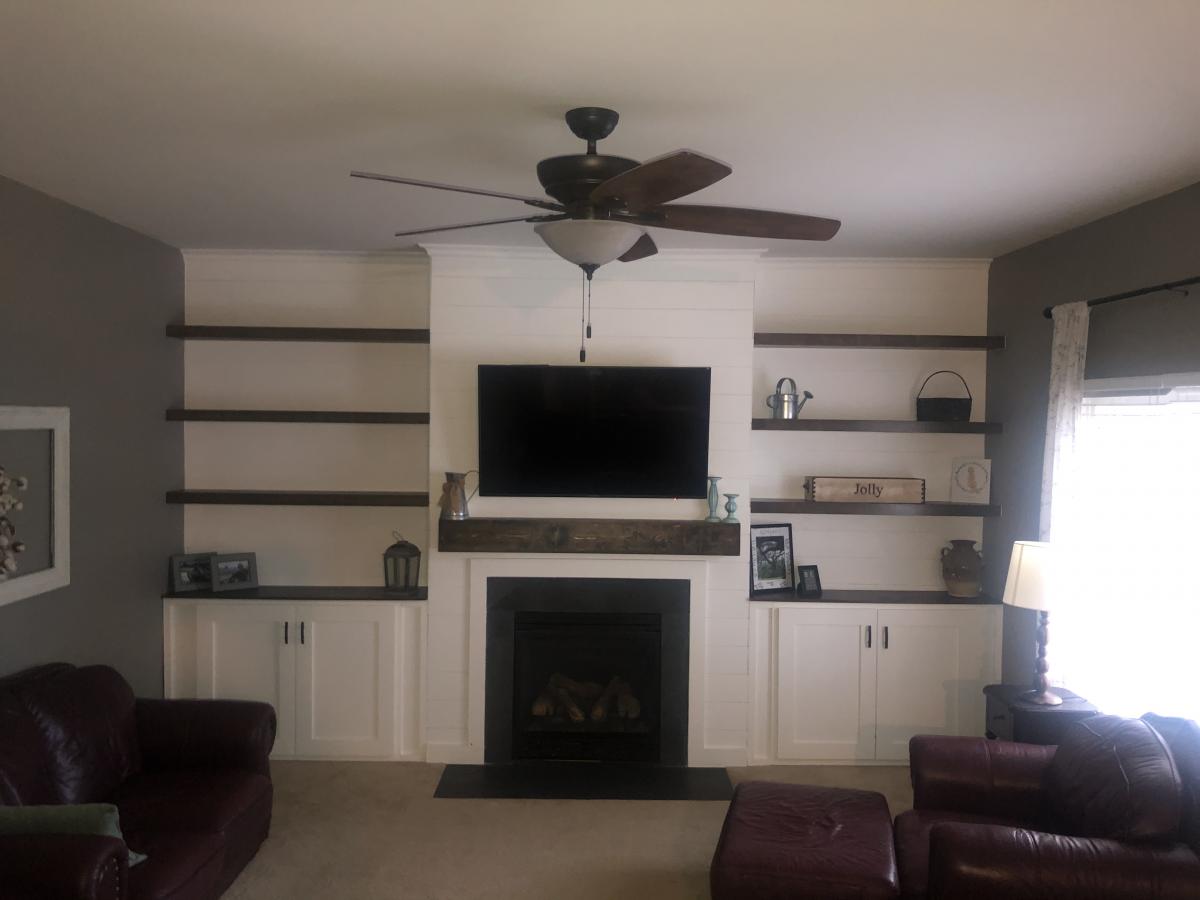
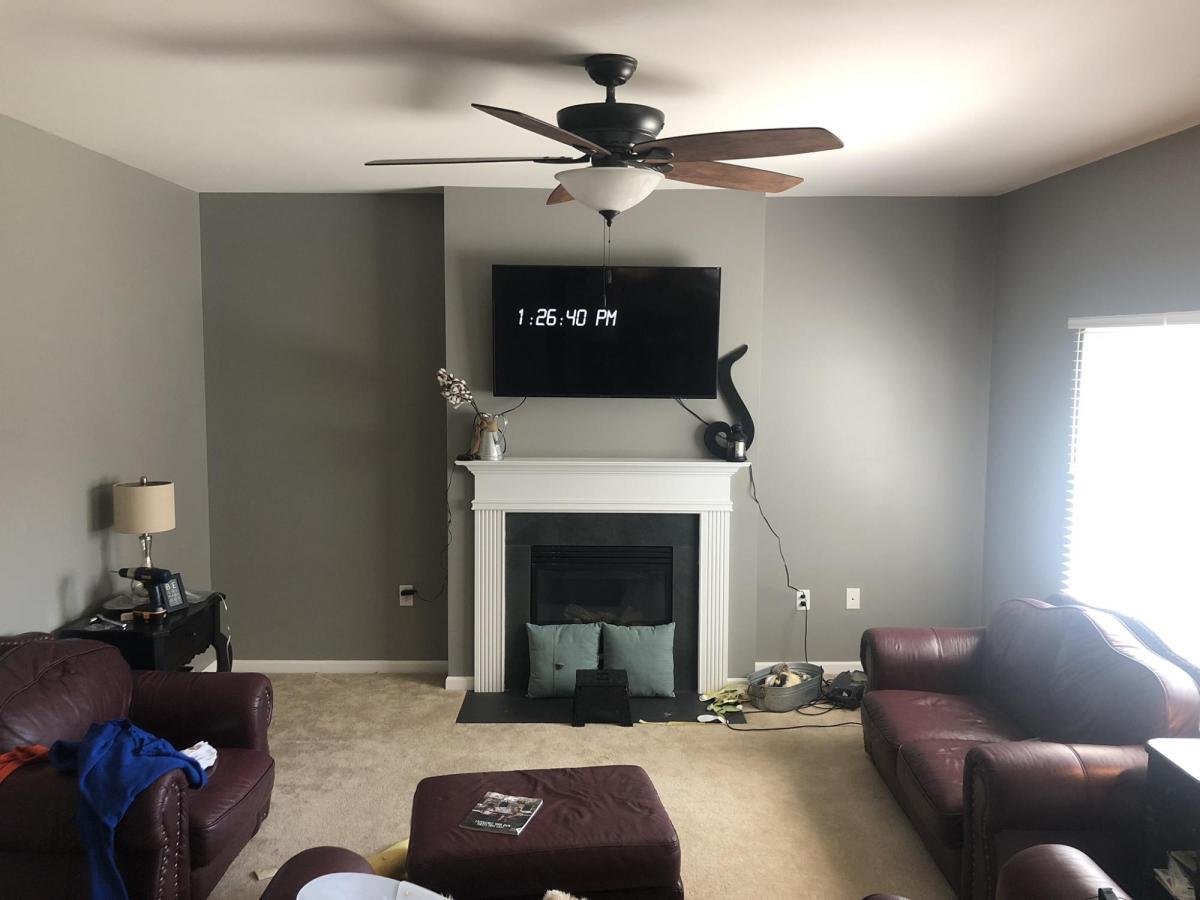
We have lived in our home for 2 yrs now and have been trying to figure out what we wanted to do with the plain boring wall with cords handing from out behind the tv due to no power outlet on that wall. We finally decided to do the whole wall in shiplap but the the cost of lumber going through the roof I went with 1/4 underlayment that I had ripped down to 6in strips at my local hardware store. I cut them down to size with my miter saw the painted them white before I attached them to the wall with 1 1/4 brad nails and used nickels for my space in between each row. The cabinets are 36 in tall. The carcass is made fro 3/4 in MDF and the face frames are made from 1x3 pine and attached with wood glue and brad nails. Cabinet doors are made from 1x4 pine for the frame and 1/4 underlayment for the center. I used my hand router to route out a 1/4 deep groove for the center to drop into the frame I used wood glue and brad nails to attach it to the frame and filled in any gaps with paintable caulk. They are attached to the studs in the wall with 3 in wood screws. The mantle is made from 1x6 pine boards and attached to a wall bracket made from 1x6 that are attached to the wall in each stud with 3 in wood screws. The mantle is attached with wood glue and 1 1/4 brad nails. The shelves were made out of 1/2 Poplar 4x8 plywood sheet ripped down to size. The wall brackets are made from 1x2 pine attached to studs with 3 in wood screws. And the shelves are attached with wood glue and 1 1/4 brad nails. I added 3 1x2 spacers to each shelf between the top and bottom board to prevent them from sagging before attaching the face of the shelves with wood glue and 1 1/4 in brad nails. This project took about a month to complete because I worked on it during free time. Also this was the first major build I have ever done so I was also learning along the way. Some parts were frustrating but most of it was fun and a great learning experience. Also this project evolved as I was building it. My wife loves the finished product. Now it’s time to find my next project.
Sun, 05/30/2021 - 11:05
What a beautiful space you created, thank you for sharing!
Tue, 12/05/2023 - 11:47
Surprisingly makes your living room appear so much larger compared to the before picture! Thank you for sharing your photos with us and congrats on a great result!
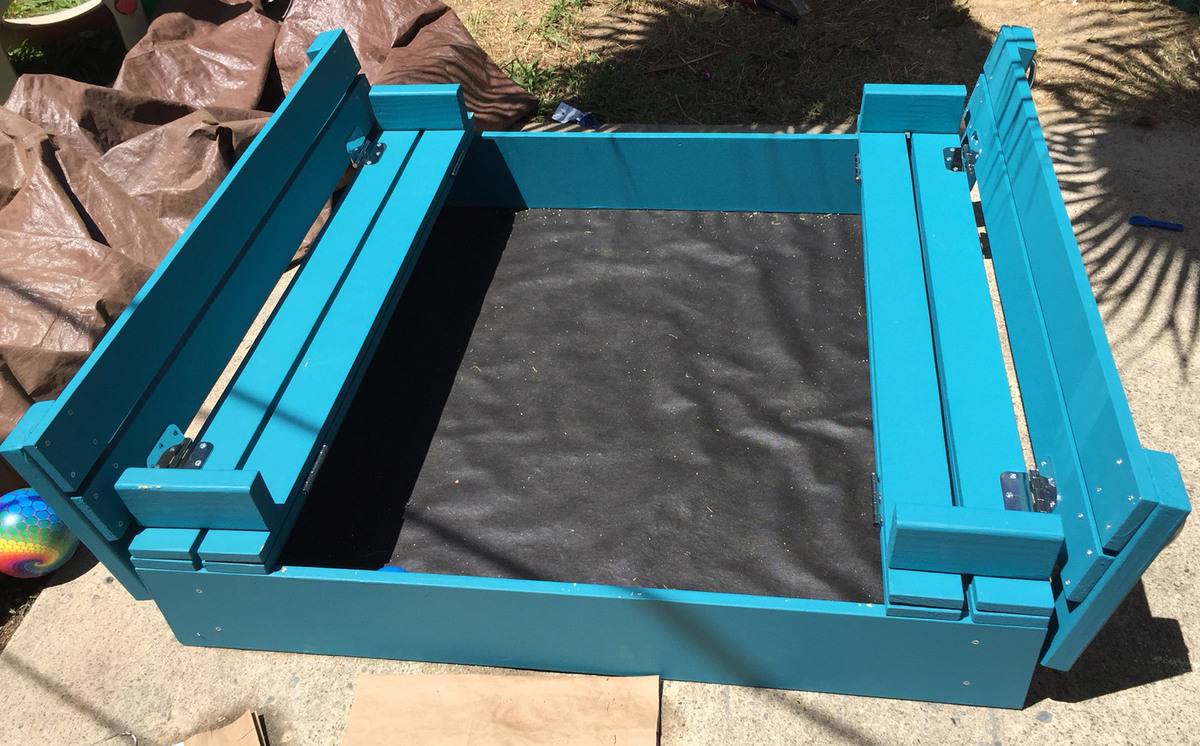
I have built some other stuff before, but not with paint and sanding and such. It was definitely a great learning project. There are imperfections, but it's a toy, so kids will be having fun and that is all that matters.
Mon, 02/07/2022 - 20:12
Did you attach the landscape fabric to the bottom of the side boards? Looks great.
I built a wooden toy truck using a leftover 1x4 board in my garage. For this build I used Ana White's plans for the wood wheelie cars. This was a quick and easy project and my first project using my scroll saw. Not too shabby for my first go at toy making. However, I am not happy with the finished toy. If I did it all over again, I would take my time with the finish. Also, the driver was not perpendicular to the truck's body when I created the holes for the axles, so the truck leans slightly. My son does not seem to notice its flaws, so I will try to overlook them as well! Check out the blog link for more project details!
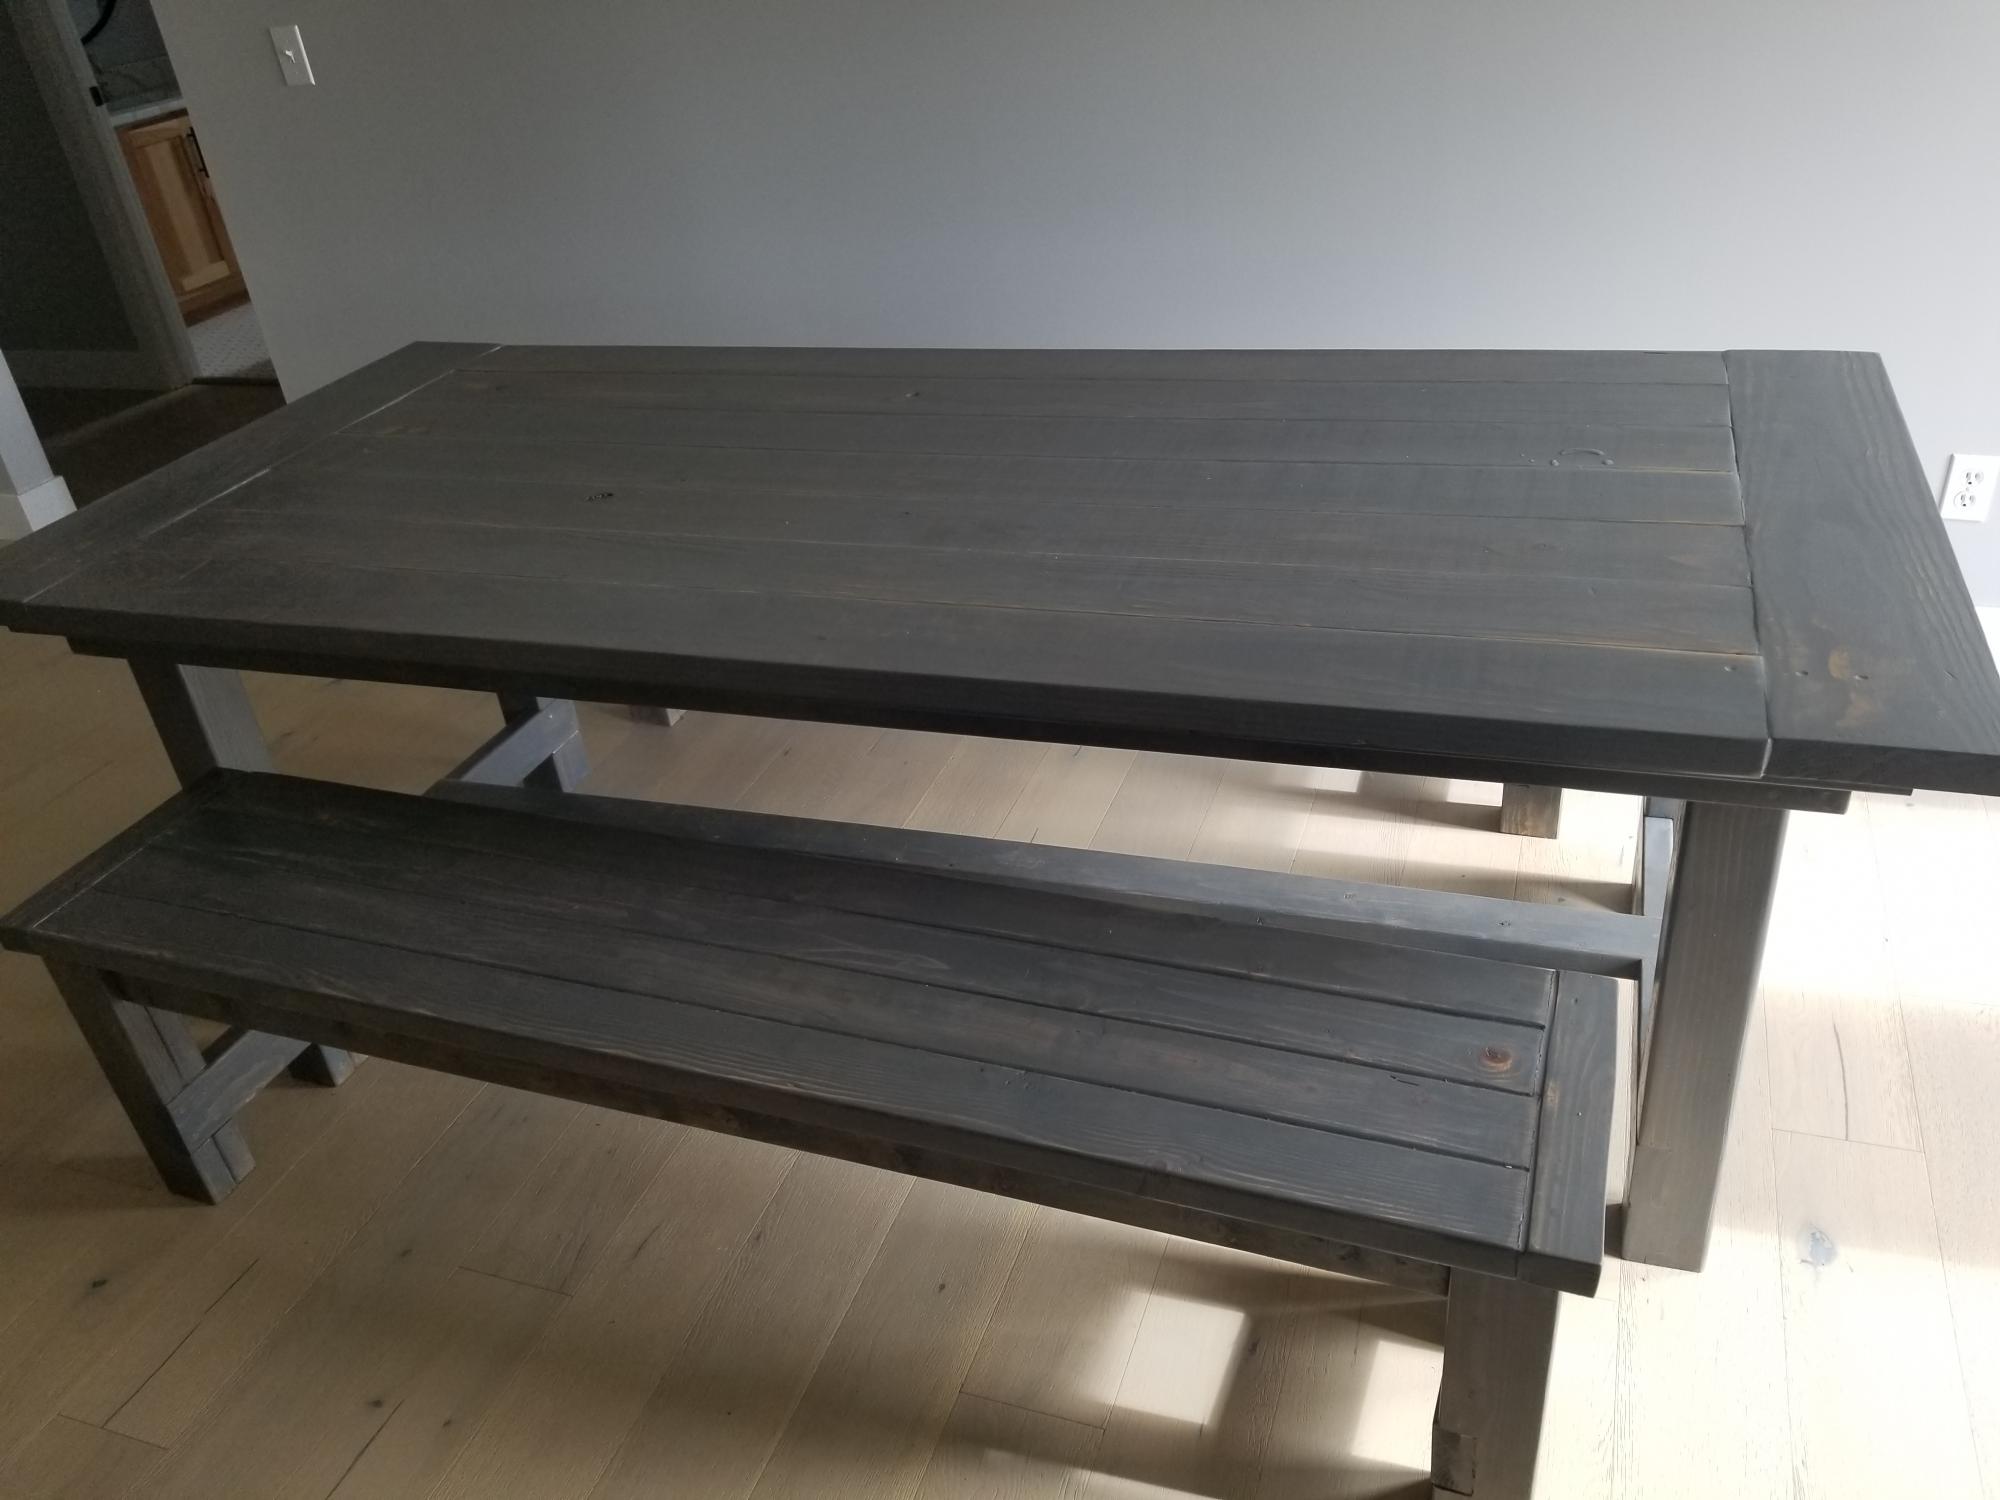
My daughter found this plan on the Ana White website and now, we have made 3 tables total. Pictured is the 2nd one we built together and is currently in her house now.
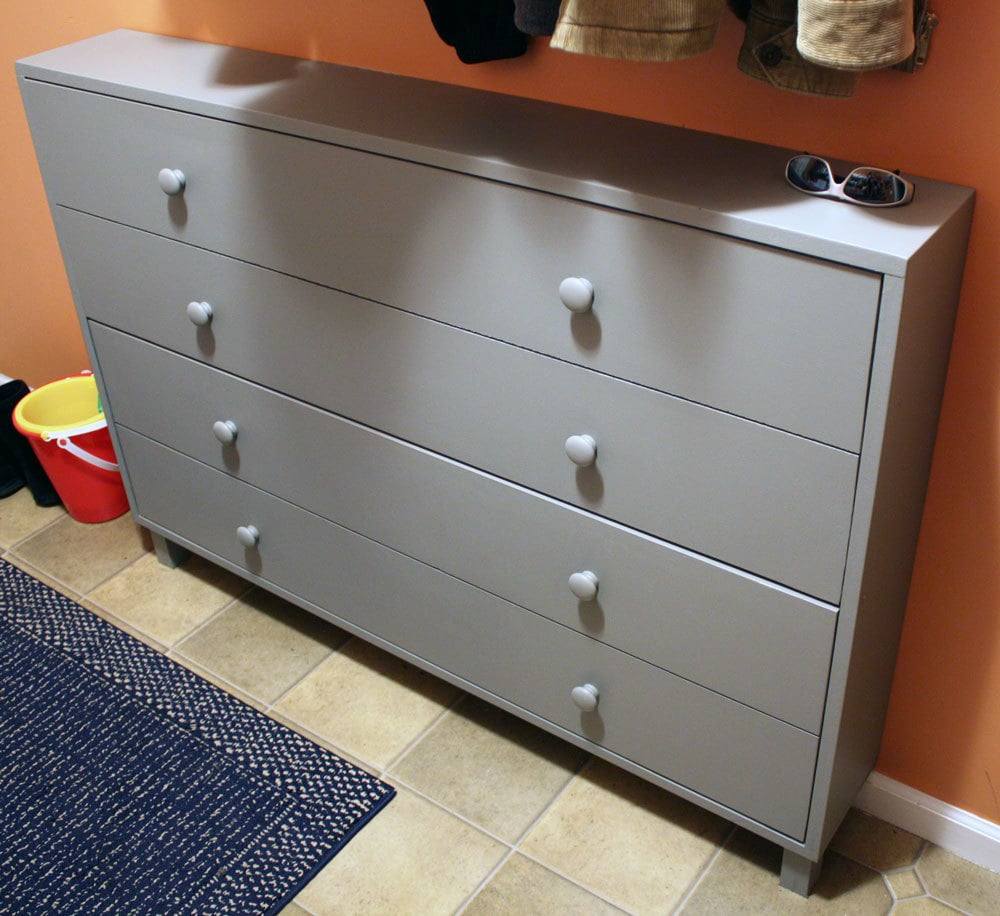
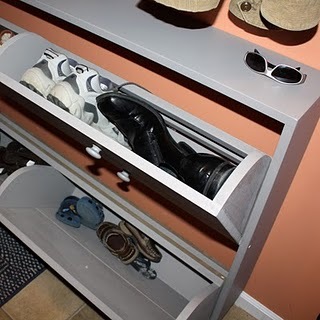
We have two young kids who don't want to take their shoes and put them away (as well as two adults who are the same way) so I asked my hubby to make Ana's shoe dresser. He did a great job and we were so excited with how it turned out!
