Community Brag Posts
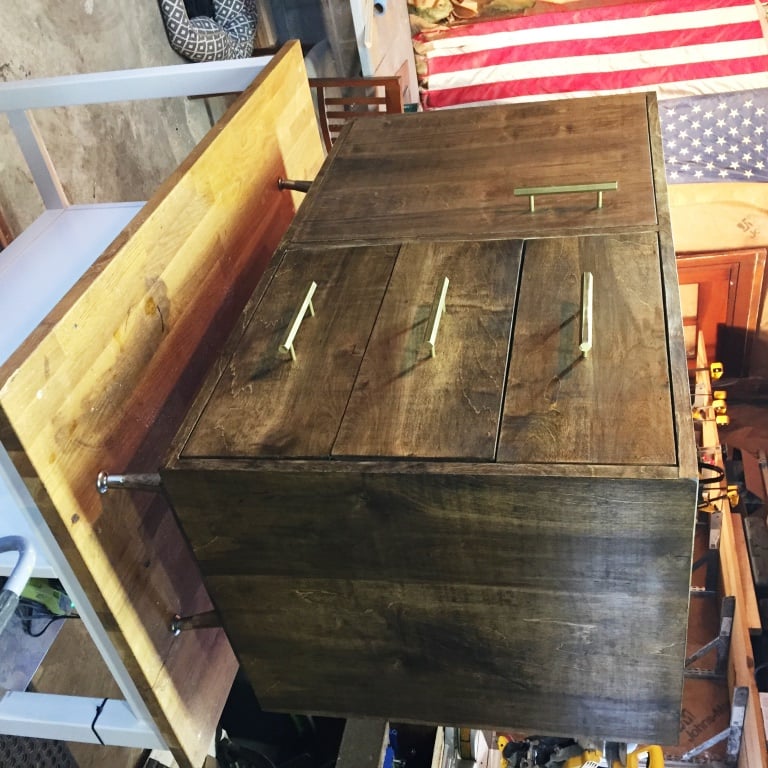
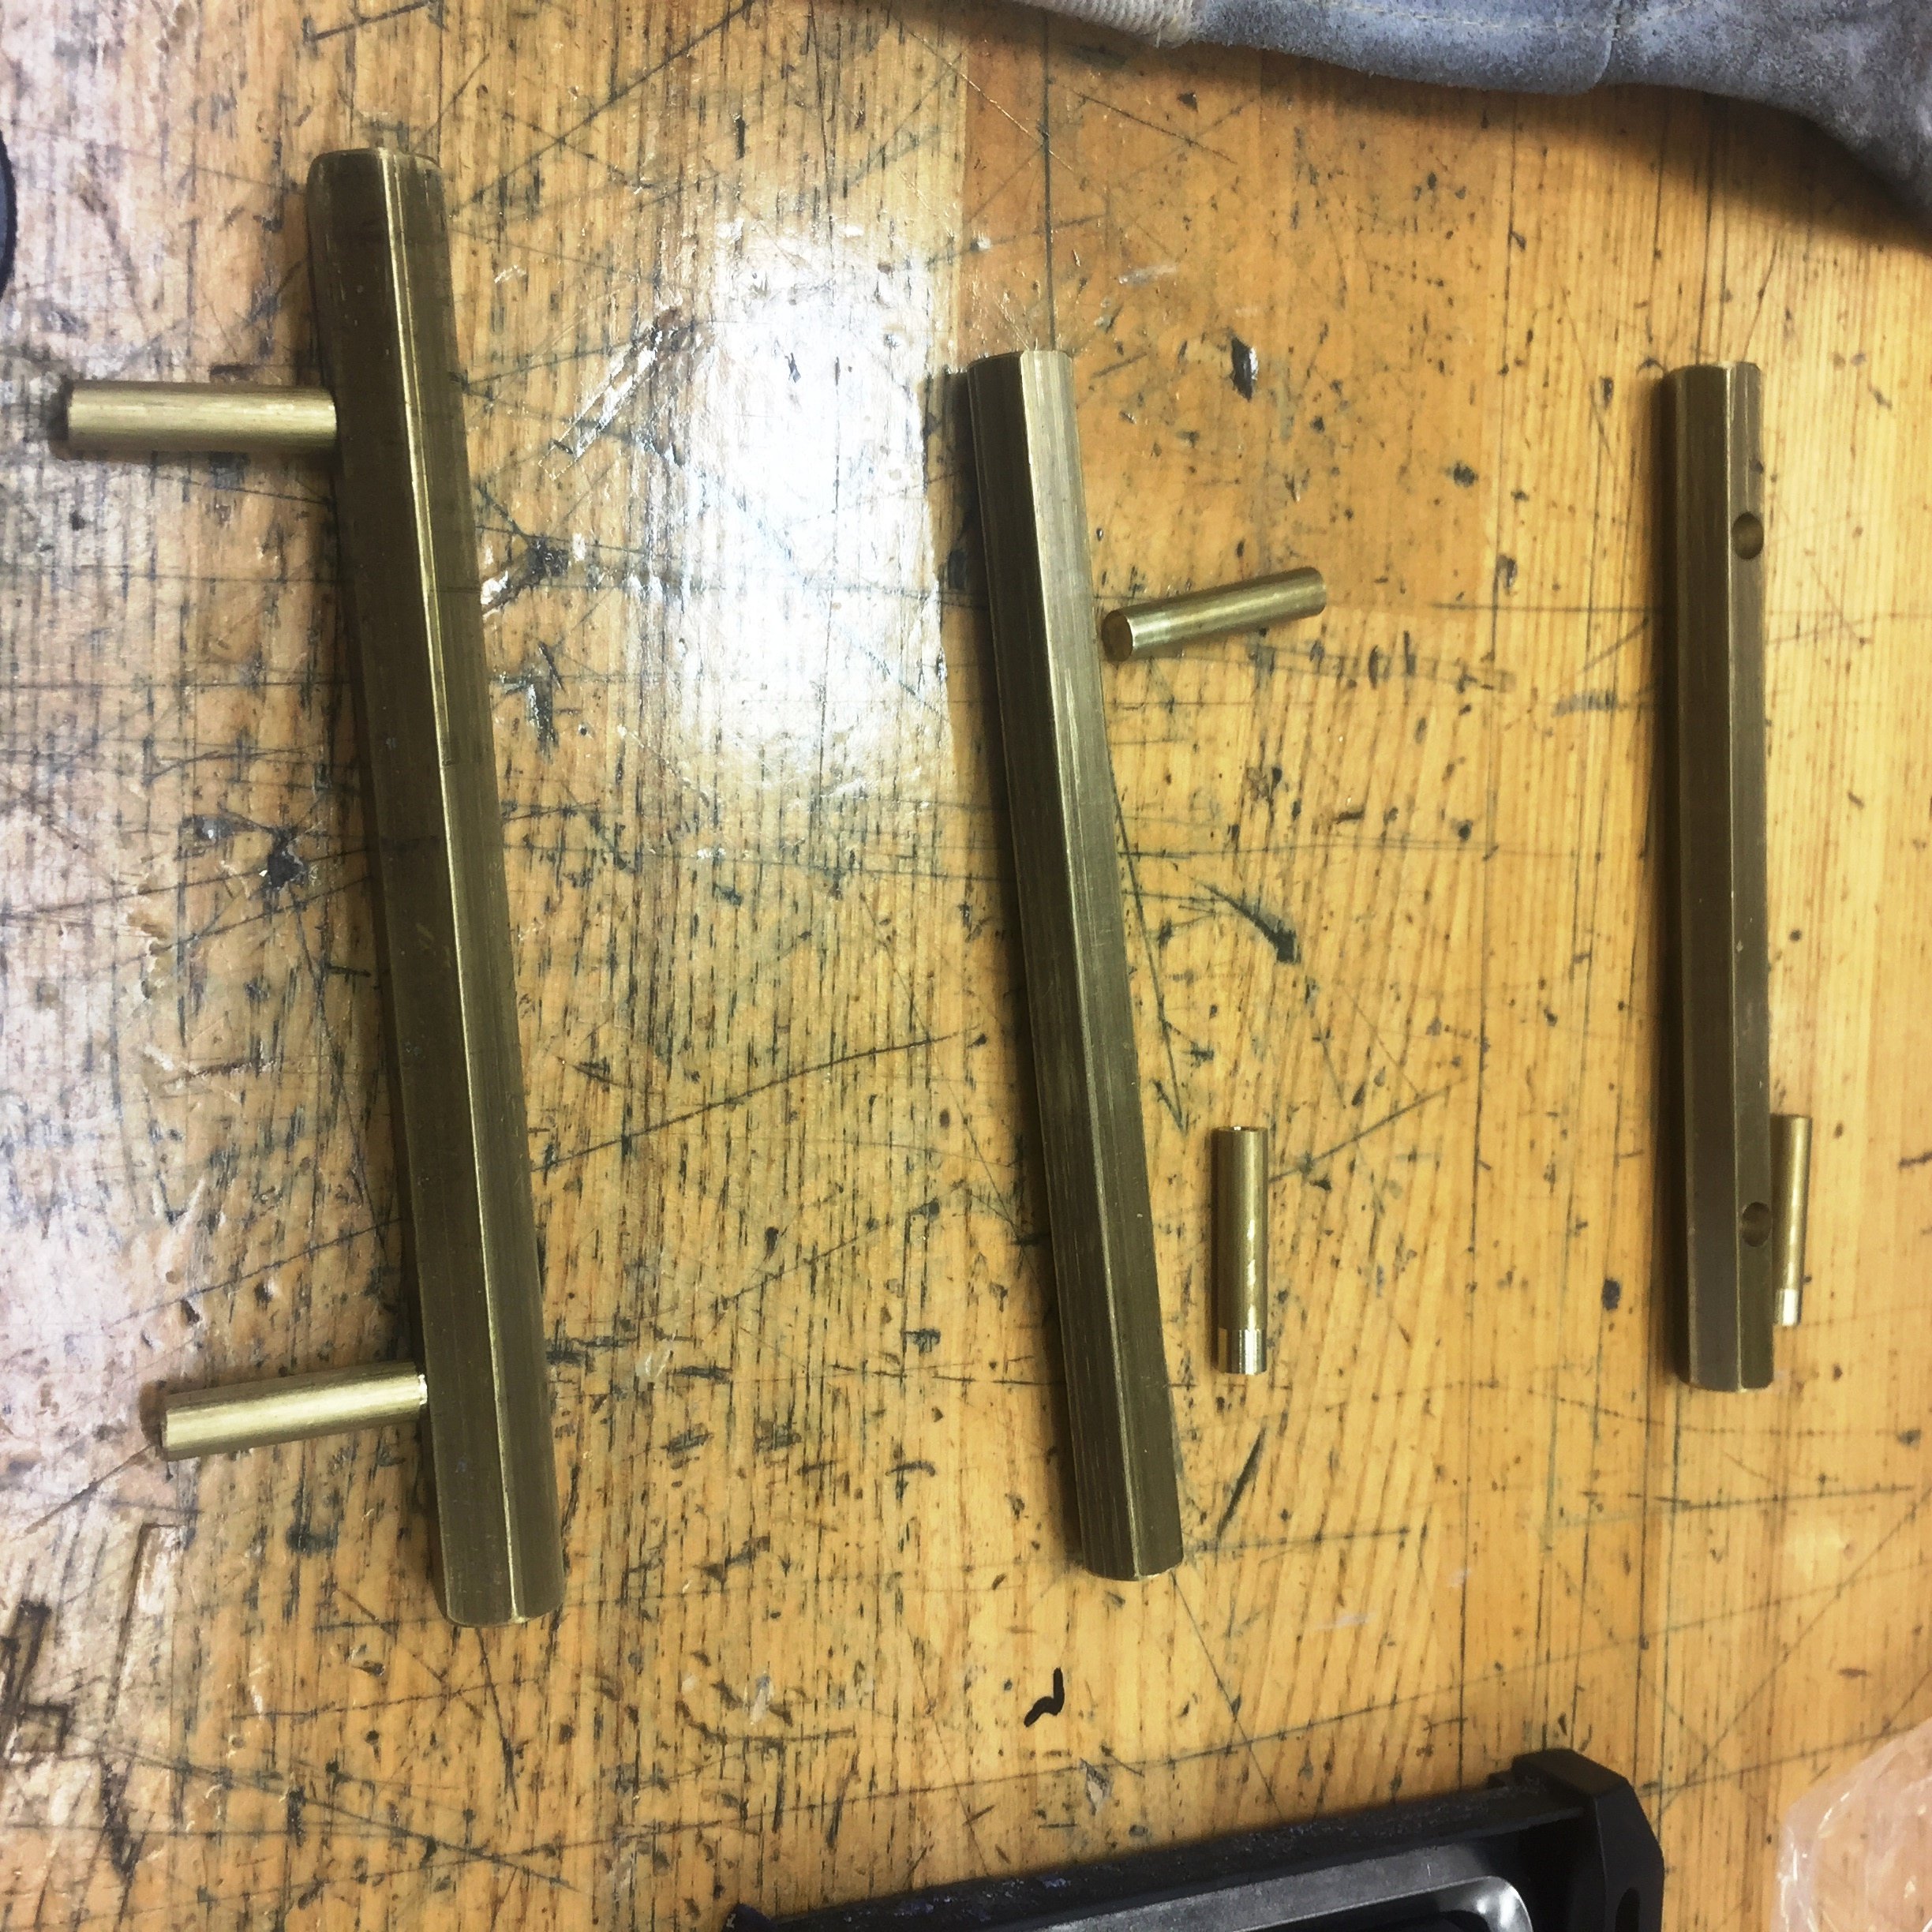
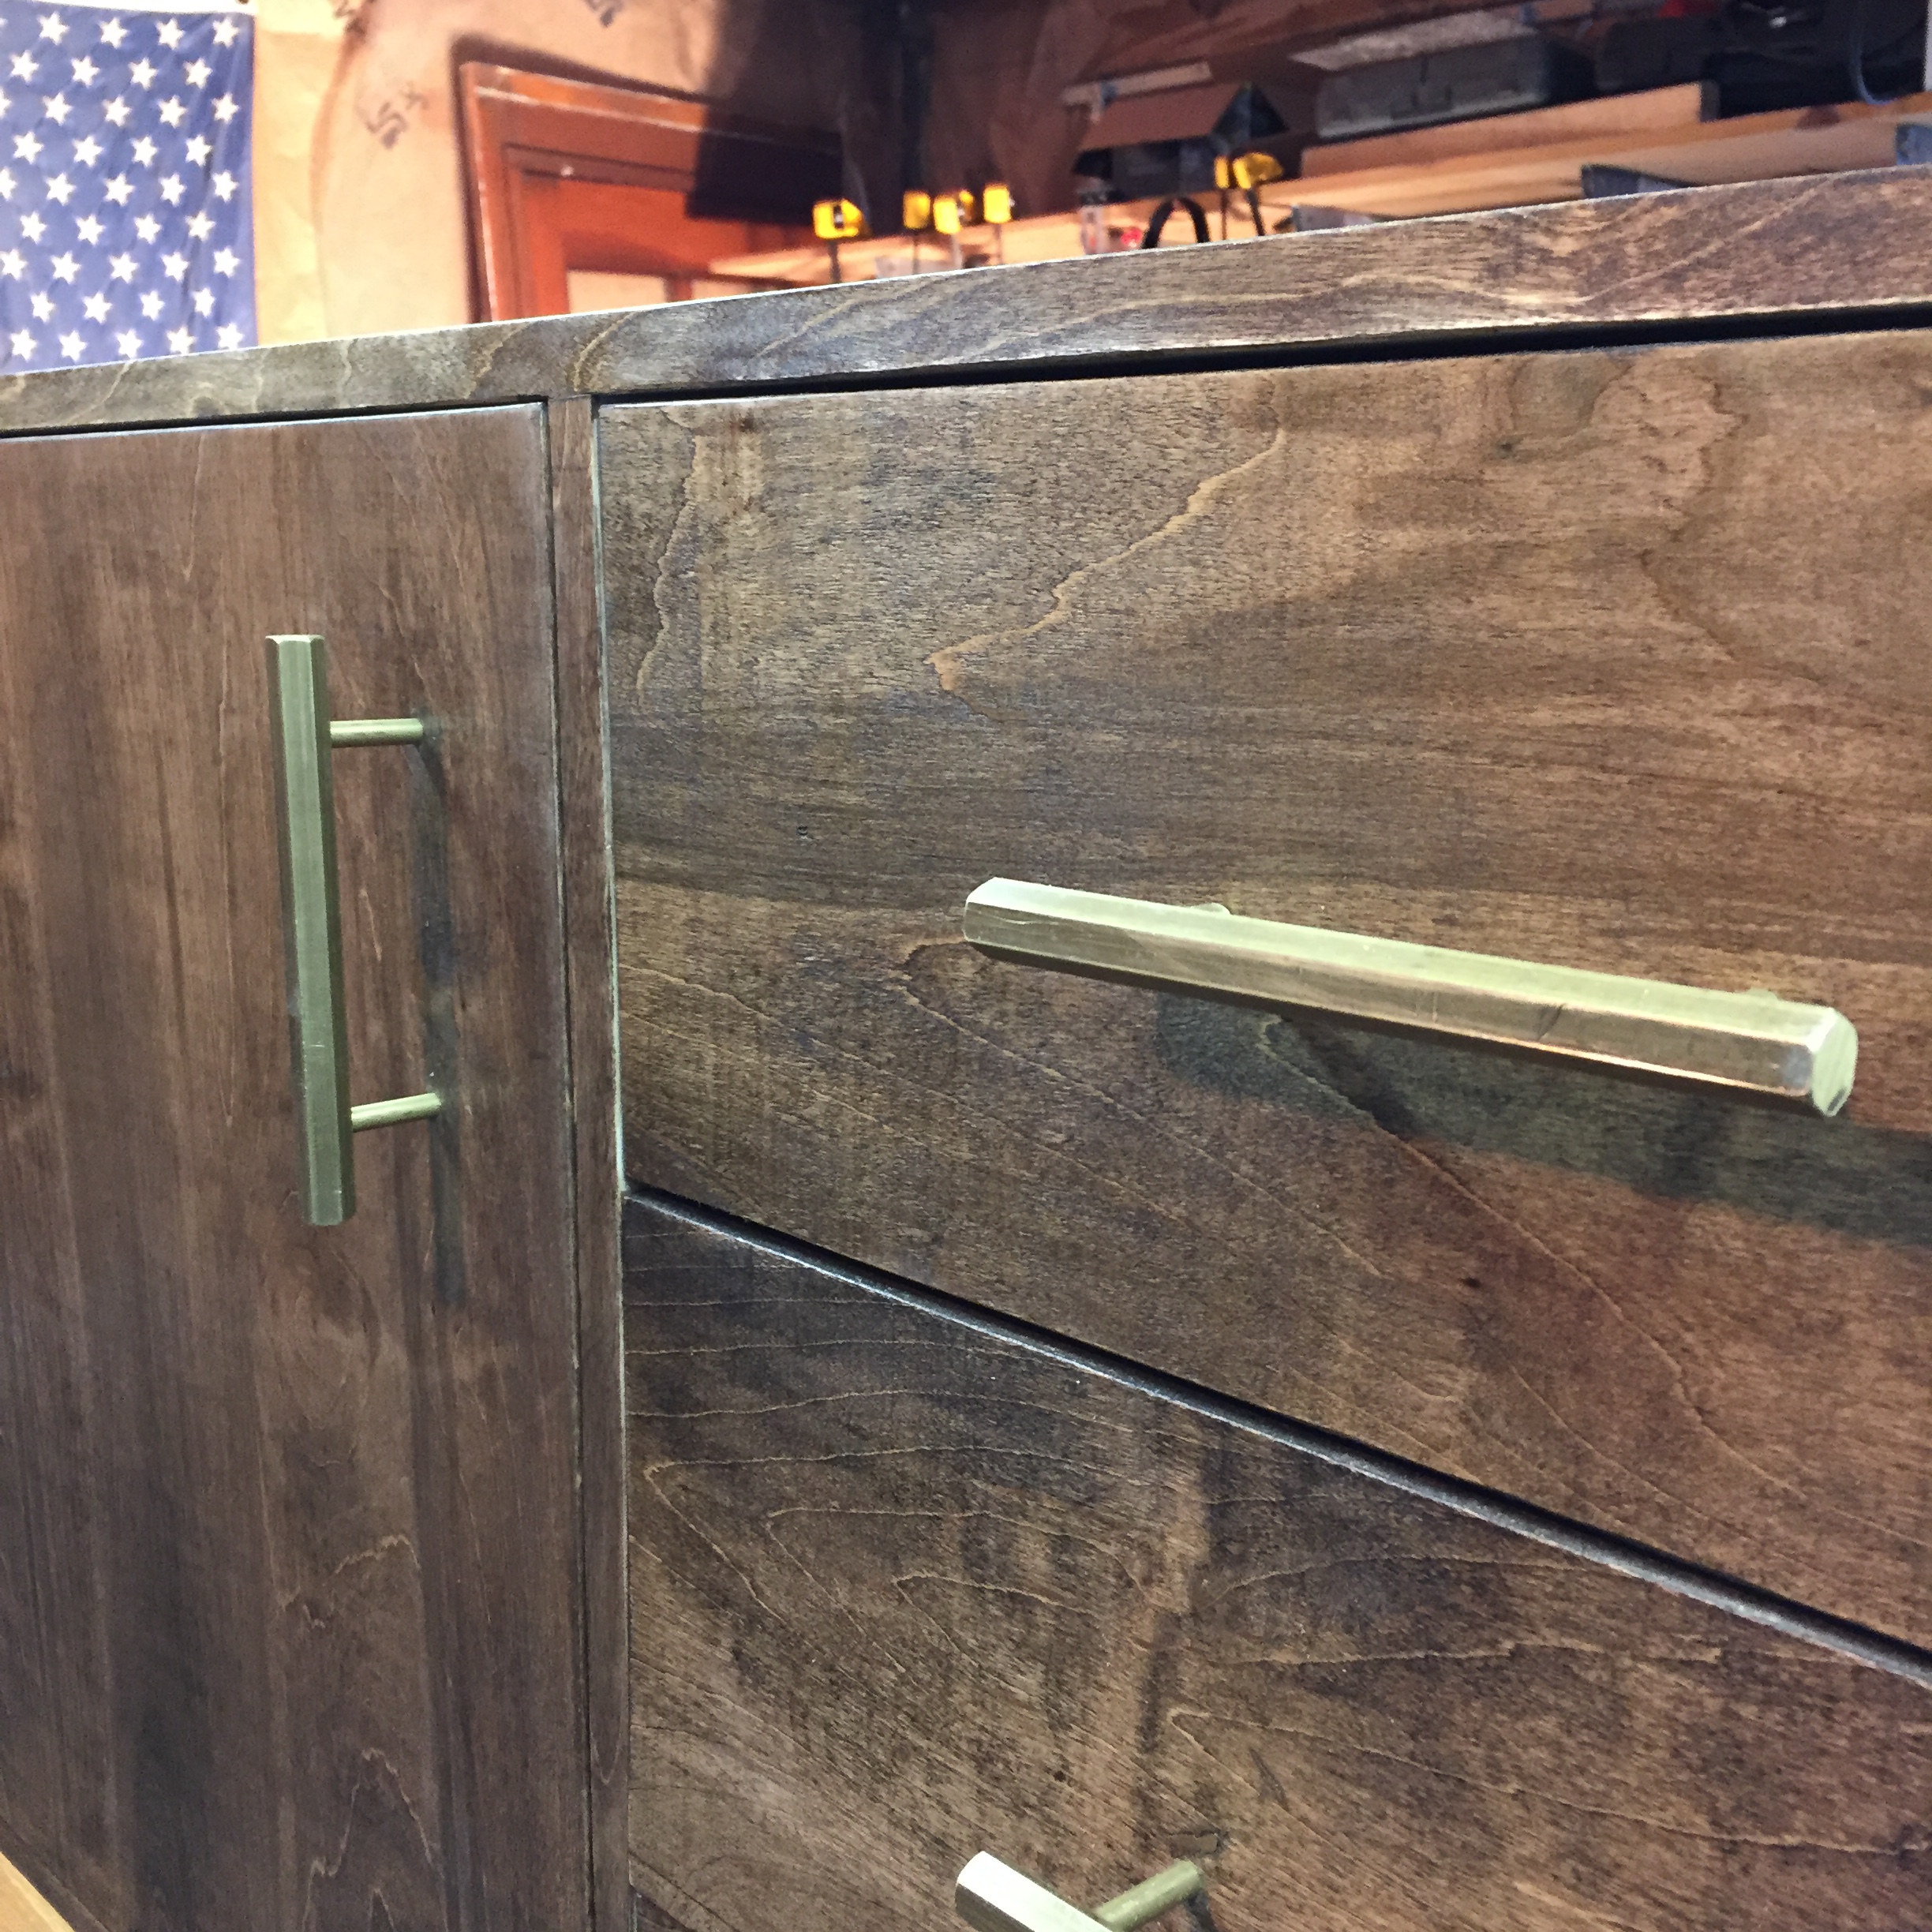
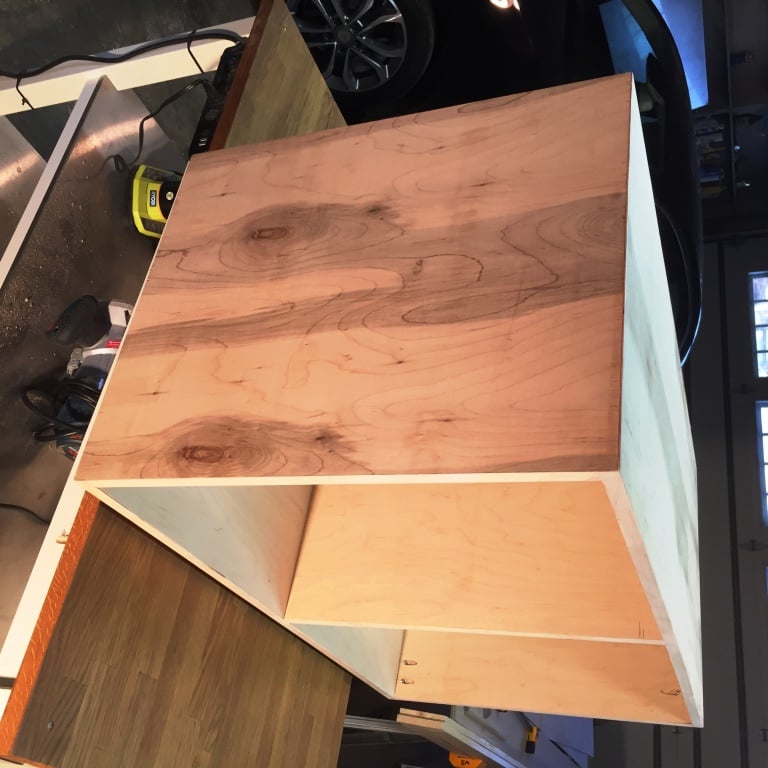
Midcentury TV credenza
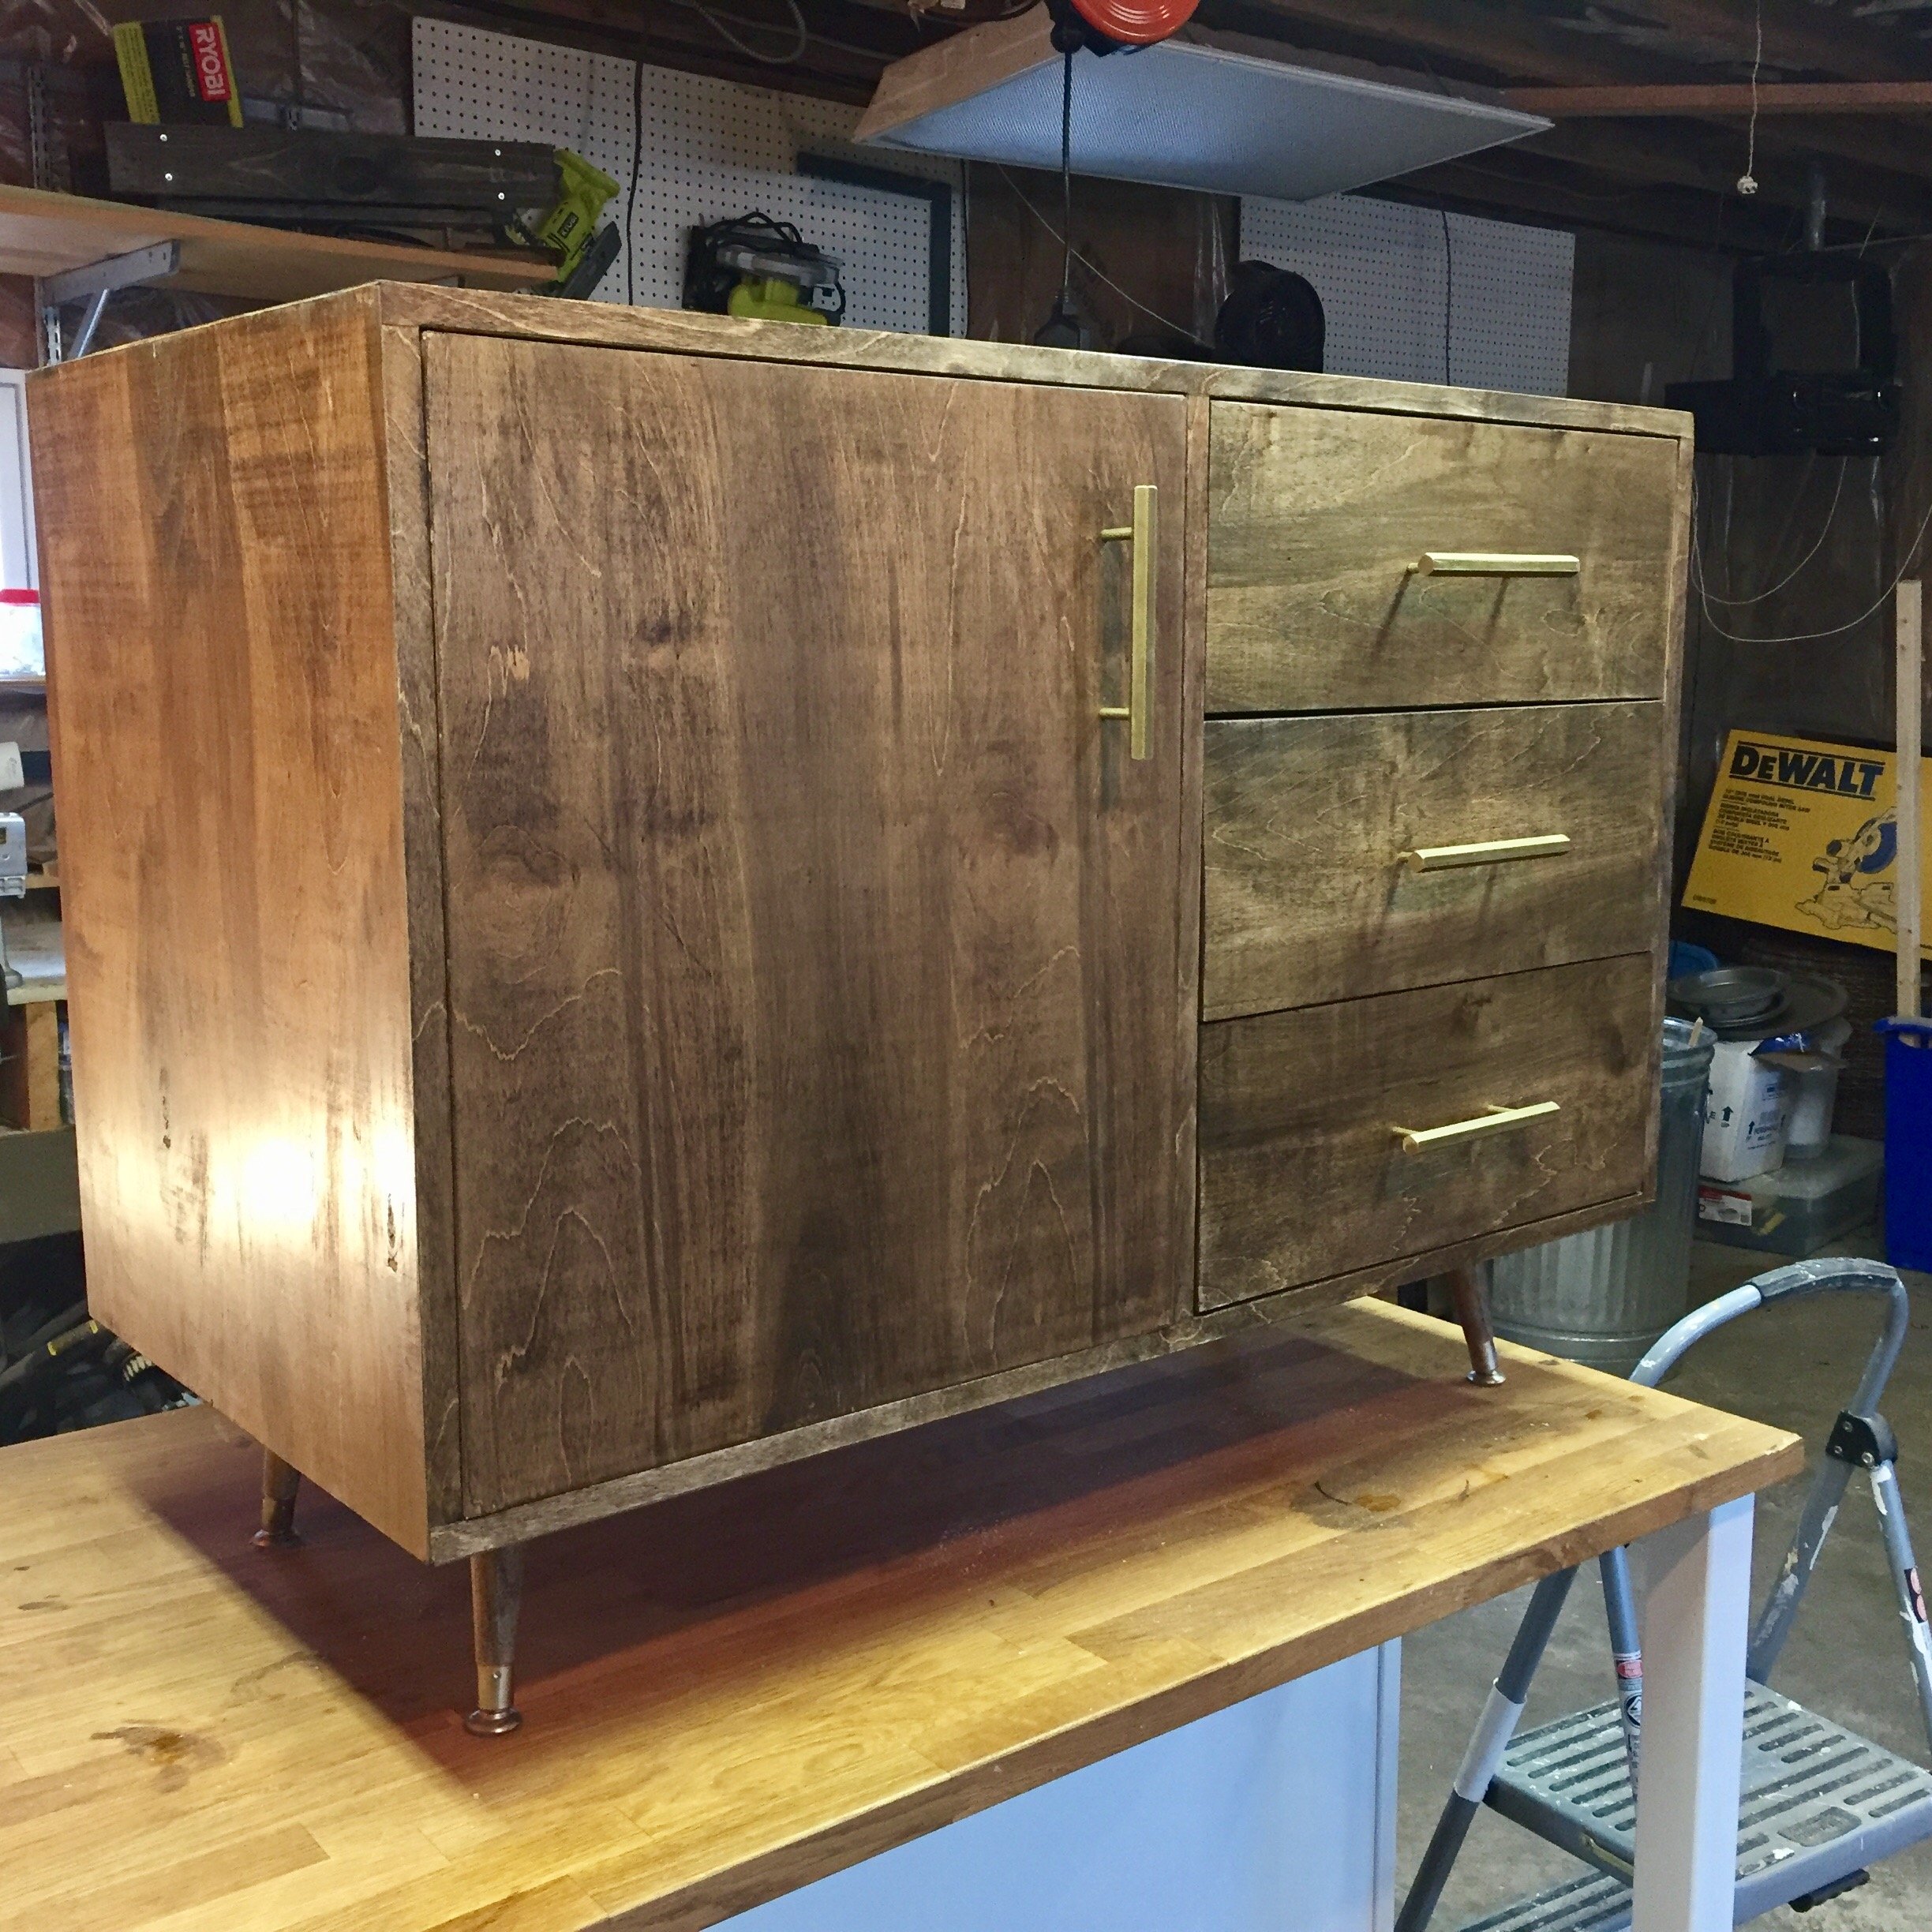
Since we needed some space to hide all of our not so midcentury technology gadgets I decided to try myself on this beautiful credenza.
Build was fairly straight forward. I cleaned the looks up a little with using my router and cutting some dados for the divider and rabbets for the box itself. Worked out really well. Also I found some really nice hardware online but wasn’t willing to pay 20$ a piece for them so I made them myself. I think this brings the build to another level. For a finish I used dark walnut stain and 5 coats of arm-r-seal. Love that stuff…..super easy to use! Also I finished the finish with a coat of paste wax! Makes it super slick and gives the grain a little more depth!
Built from Plan(s)
Estimated Cost
100$
Estimated Time Investment
Weekend Project (10-20 Hours)
Finish Used
Black walnut stain
5 coats of arm-r-seal
1 coat of paste wax
5 coats of arm-r-seal
1 coat of paste wax
Recommended Skill Level
Intermediate
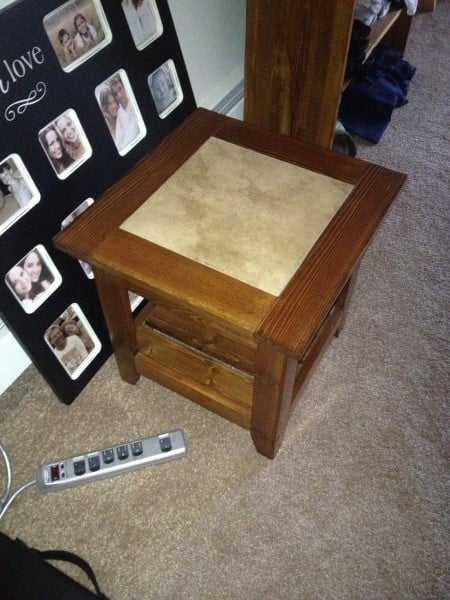
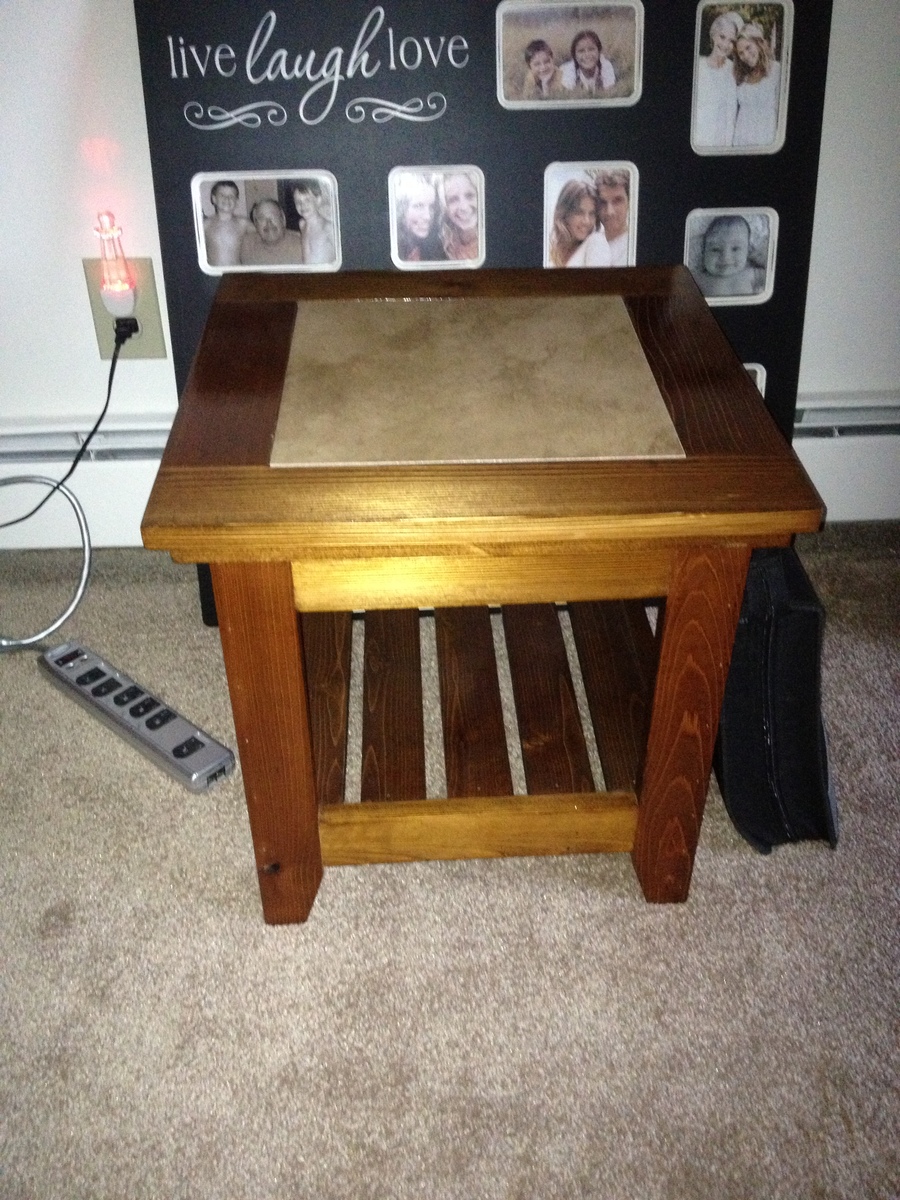
Bed End Tables

I really want to build the farm house storage bed. But I also need end tables right now. So I made these to go with the bed I hope to make soon! Its 17"x17"x27" high. I used cheap draw slides I got at lowes for under $5.00. The legs are 2x2 that were ripped from 2x4's. The rest is pine boards.

Estimated Cost
$80.00 for the pair to make
Estimated Time Investment
Weekend Project (10-20 Hours)
Finish Used
I used minwax indoor/outdoor Helmsman spar urethane clear gloss
Recommended Skill Level
Beginner
Farm house wall table

Farm table made fro 2x4 and 4x4 (can't find the original plan). The mirrow frame was also my first frame project. Thanks for the great plans!
Estimated Cost
$50
Estimated Time Investment
Afternoon Project (3-6 Hours)
Finish Used
Minwax dark walnut stain, clear mate finish, plus a coat of wax.
Recommended Skill Level
Beginner
Comments
Wed, 12/03/2014 - 11:58
Wow I love it!
Wow, I love it! I wish you still had the plans because I'm looking to build something almost exactly like this, just a tad longer!
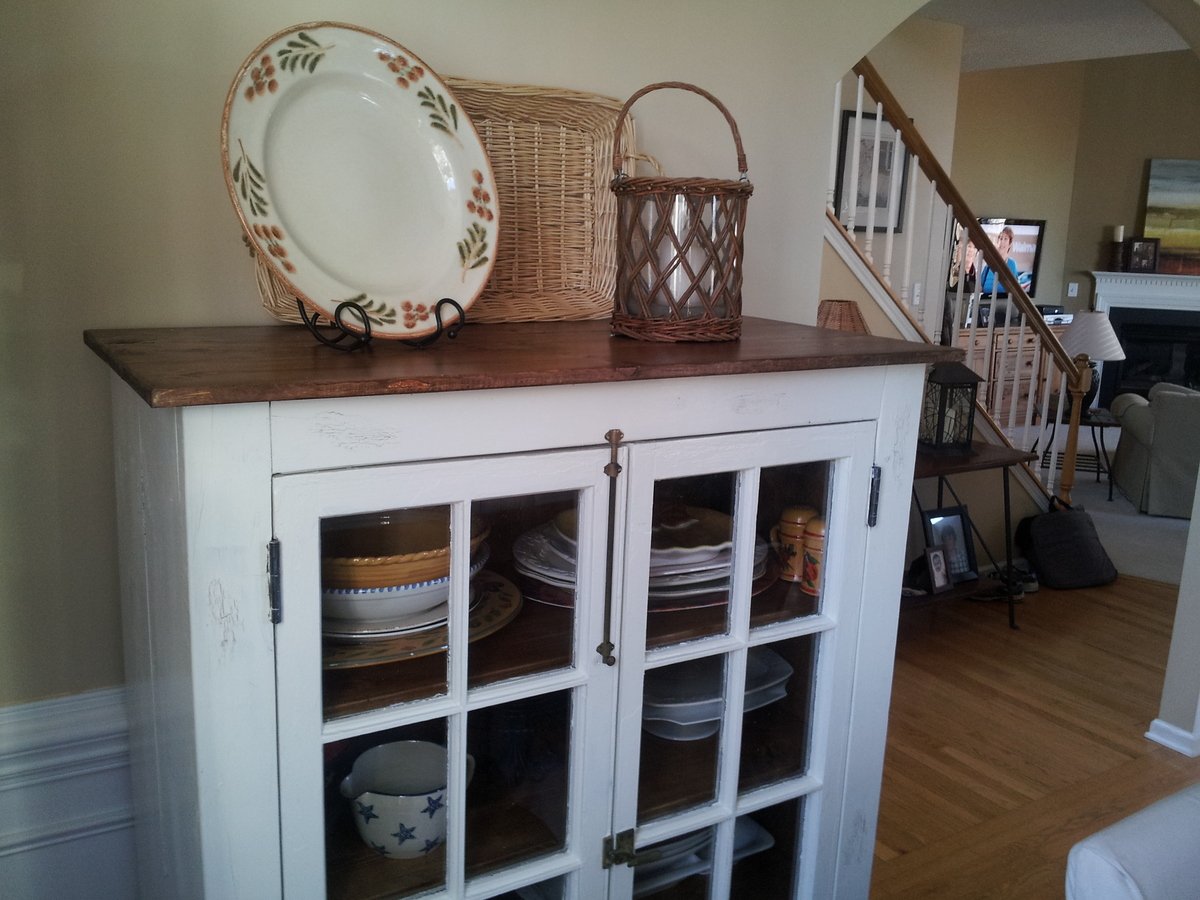
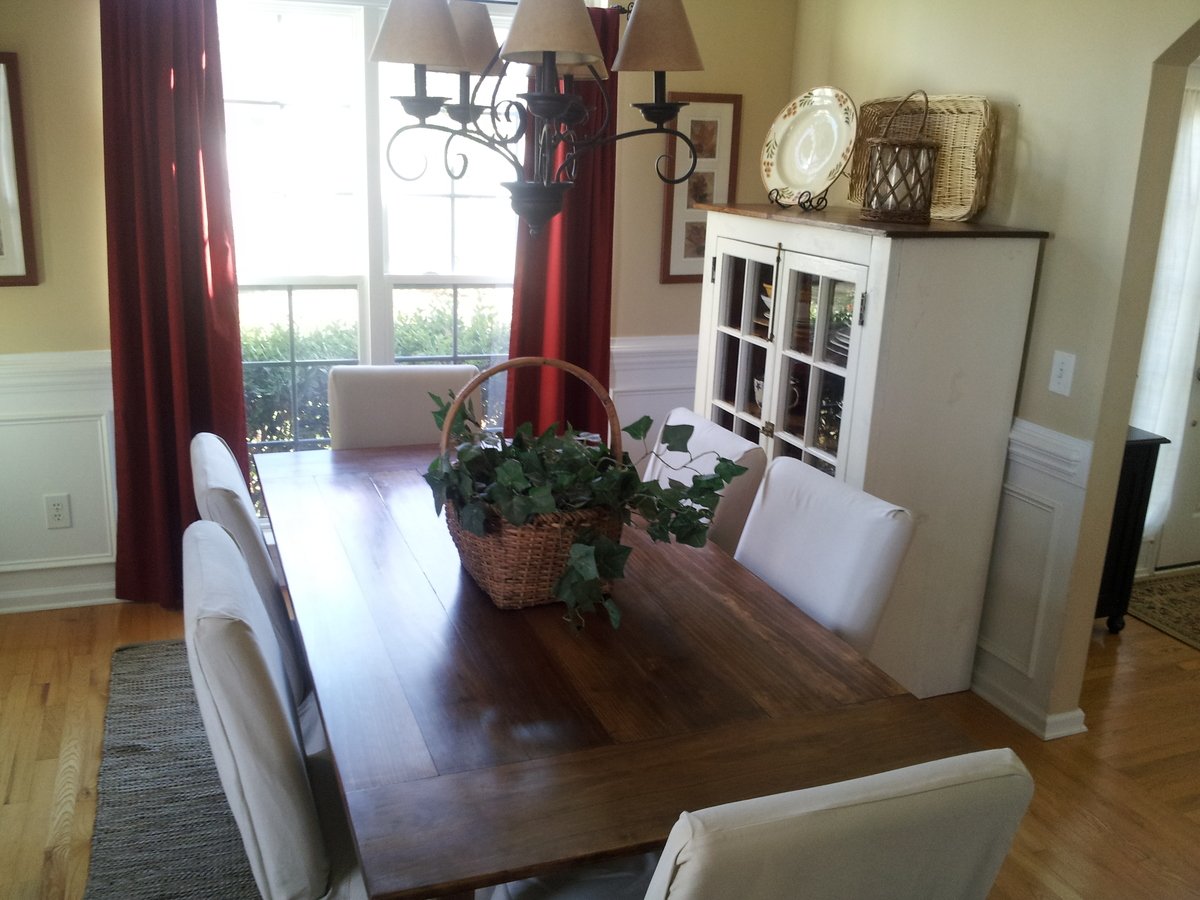
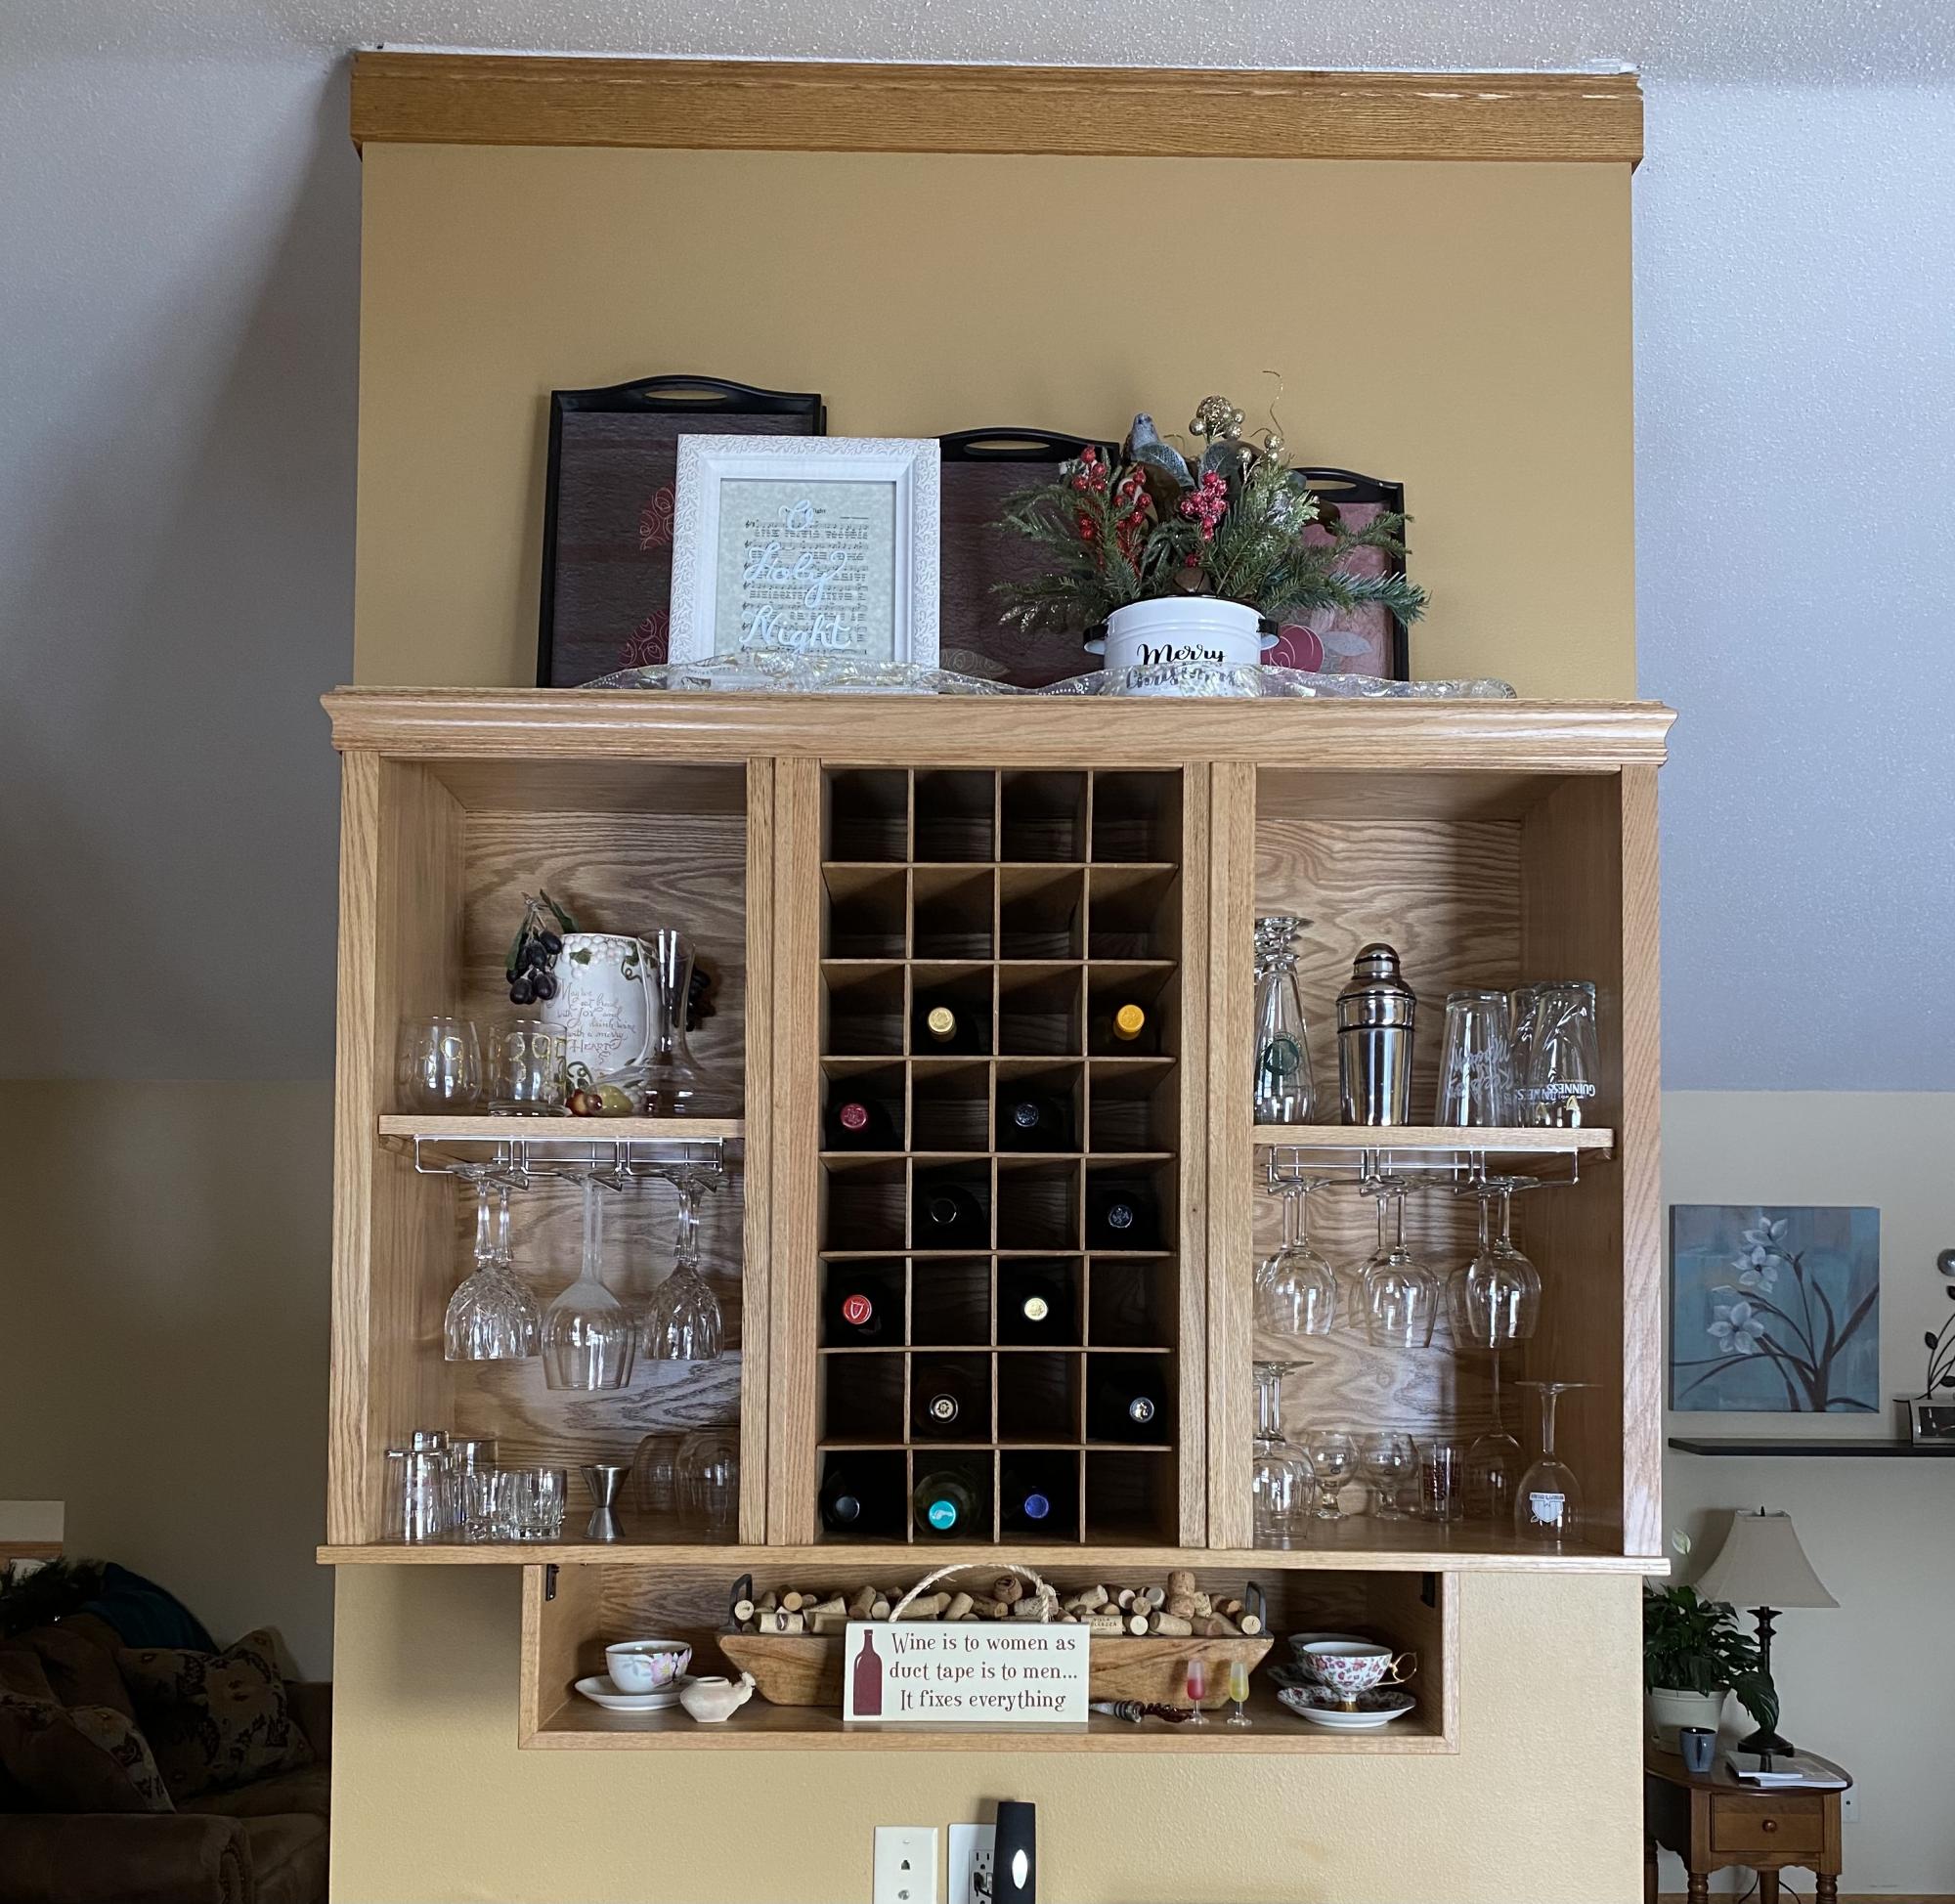
Ken and Matt's Cupboard
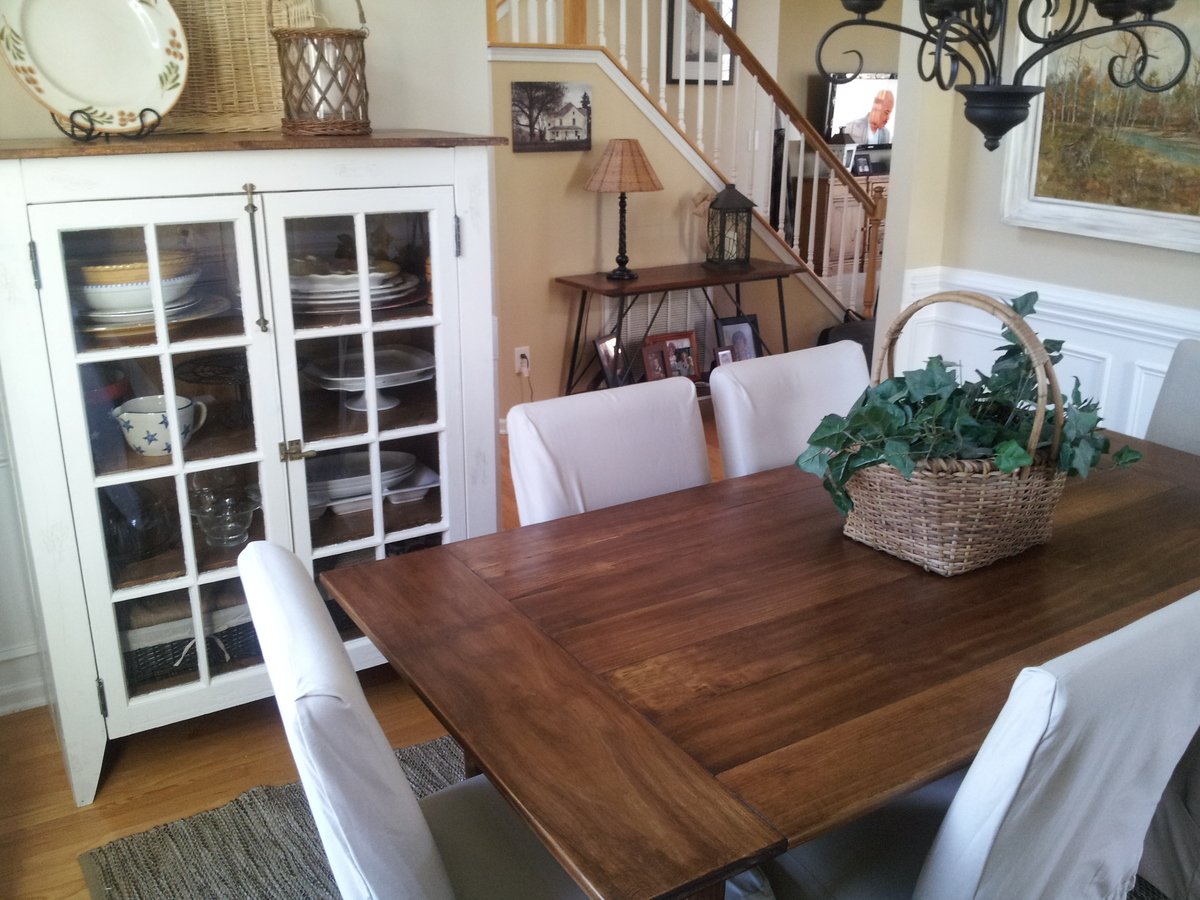
We found two old windows with the original hardware. They were covered with chipping lead based paint so we pulled off what paint we could (safely). We then painted them over with oil based Kilz before the final coat. We then built the cupboard from there. We decided to go with a more rustic look since the windows were still a little rough. We applied a crackle finish in a few spots using white glue to add to the rustic texture.
Built from Plan(s)
Estimated Cost
$200
Estimated Time Investment
Weekend Project (10-20 Hours)
Finish Used
Top and shelves Early American stain with satin poly coat. Sides first stained then painted with an interior semi gloss. A crackle finish applied randomly using white glue between staining and painting.
Recommended Skill Level
Beginner
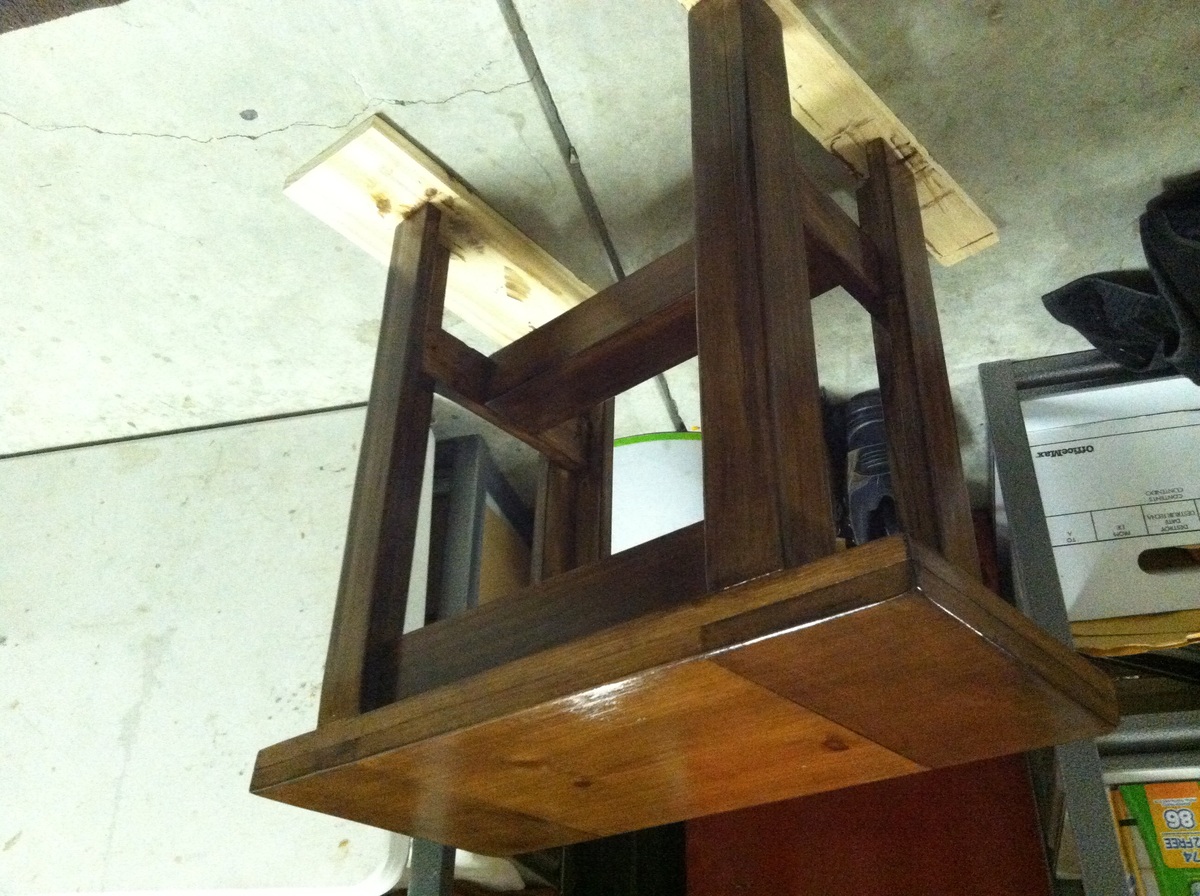
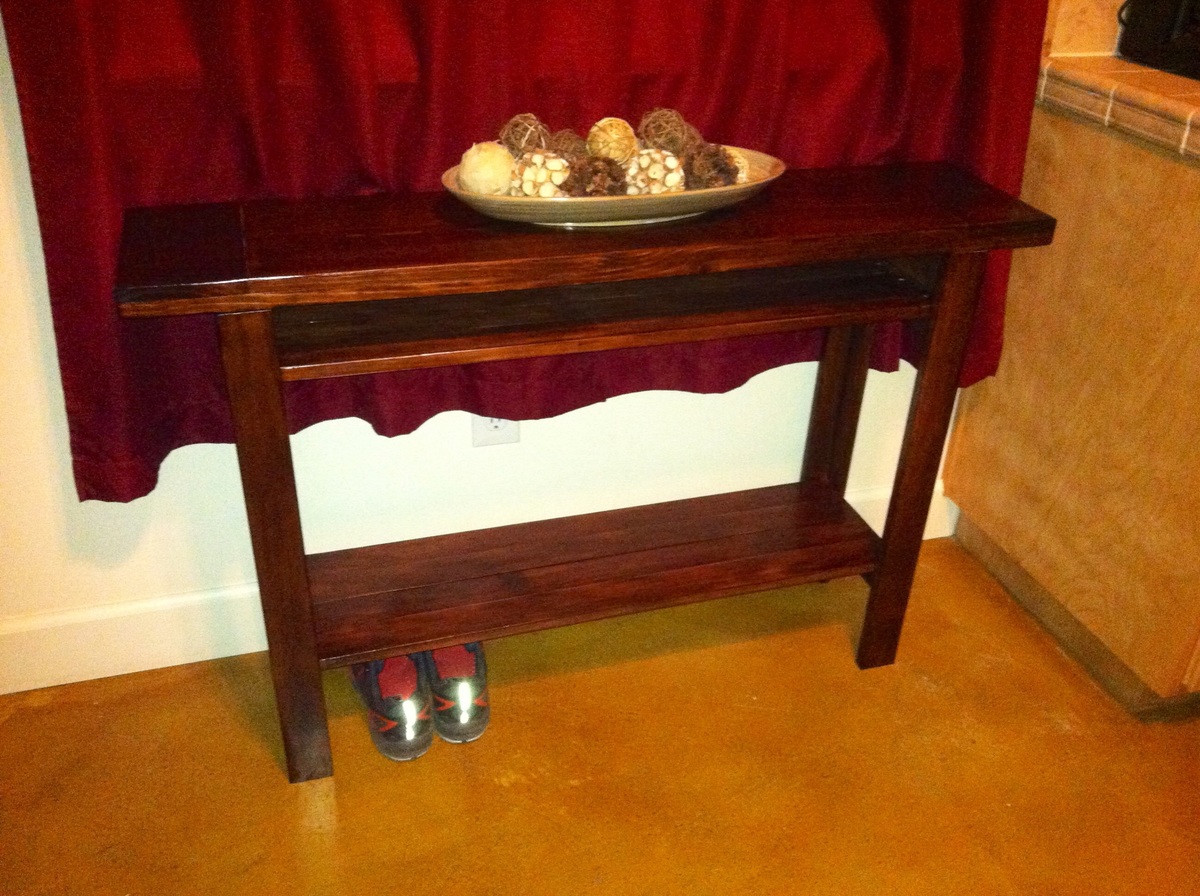
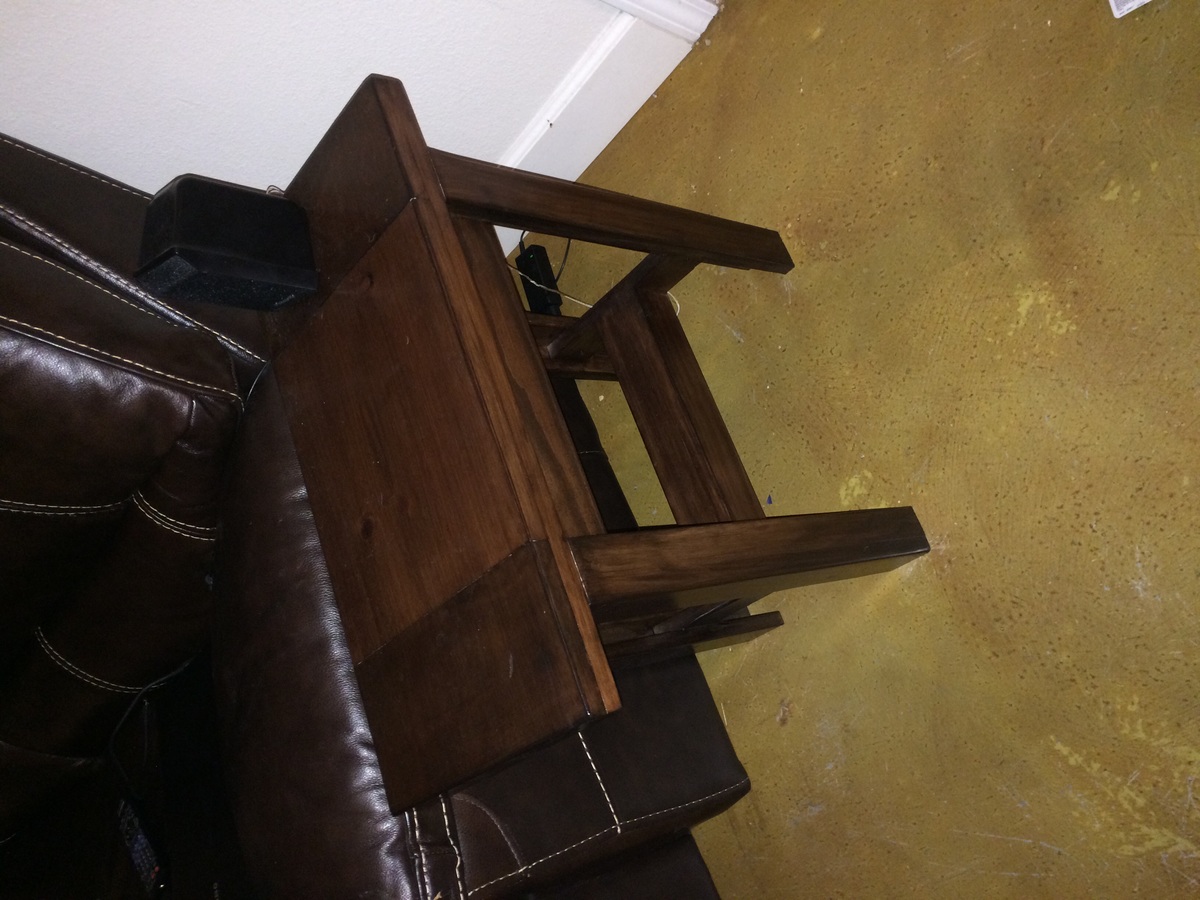
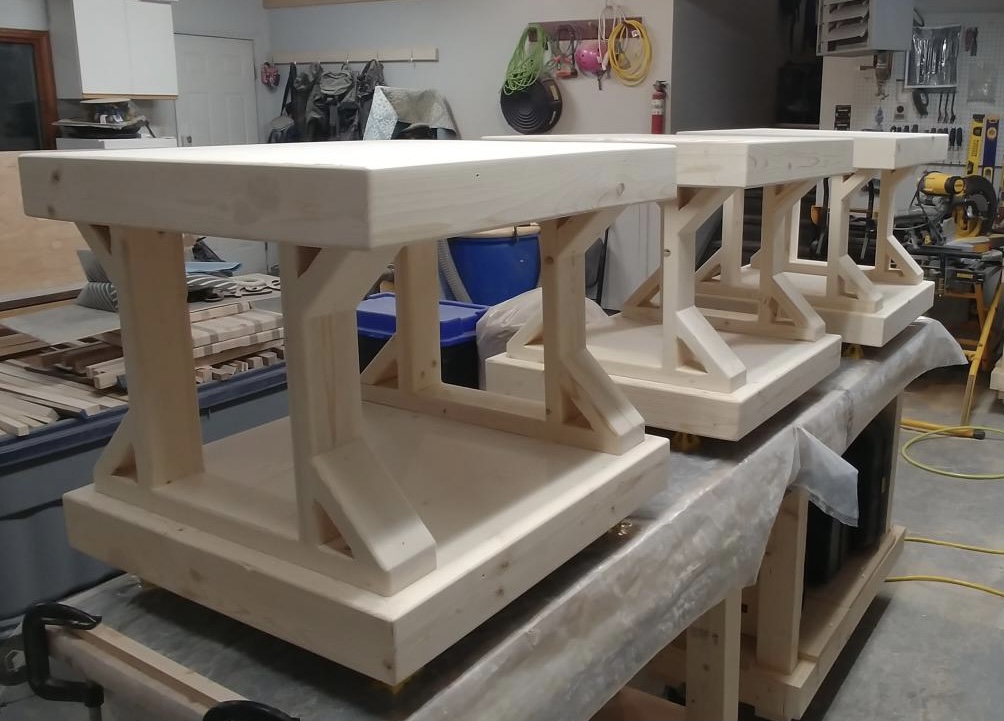
Walnut Console Table and Matching End Table
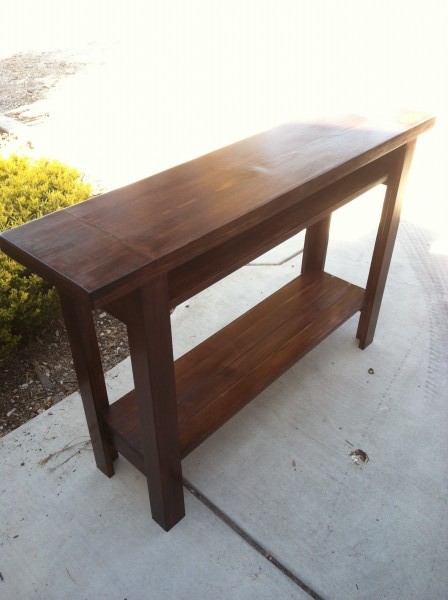
tryde console table with a twist... Added shelf above and below. Created a smaller version for a matching side table. Double layered top with staggered wood pattern. I receive compliments every time someone new comes over. Solid piece of furniture. Looks very expensive.
Comments

Thu, 12/04/2014 - 22:52
Fabulous! I love the dark
Fabulous! I love the dark stain! Thanks for sharing!
Valentine's gift for my wife
My first woodworking project with the new miter saw my wife got me for Christmas. She was very happy with the results, and we're now receiving order requests :)


Built from Plan(s)
Estimated Cost
$130.00
Estimated Time Investment
Weekend Project (10-20 Hours)
Finish Used
Oxidizer using tea and steel wool/vinegar solution. Sealed with wax paste.
Recommended Skill Level
Intermediate
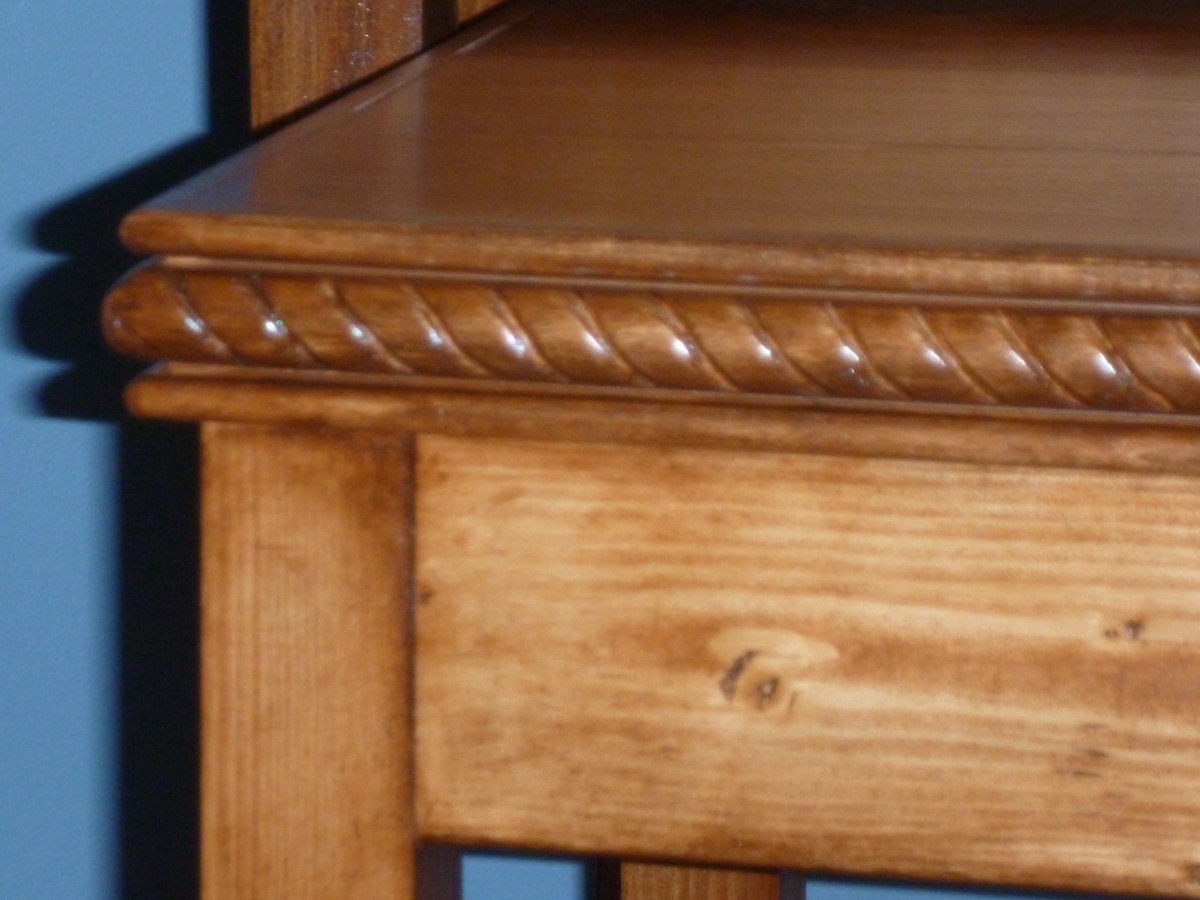
Classicly Stained Nesting Tables
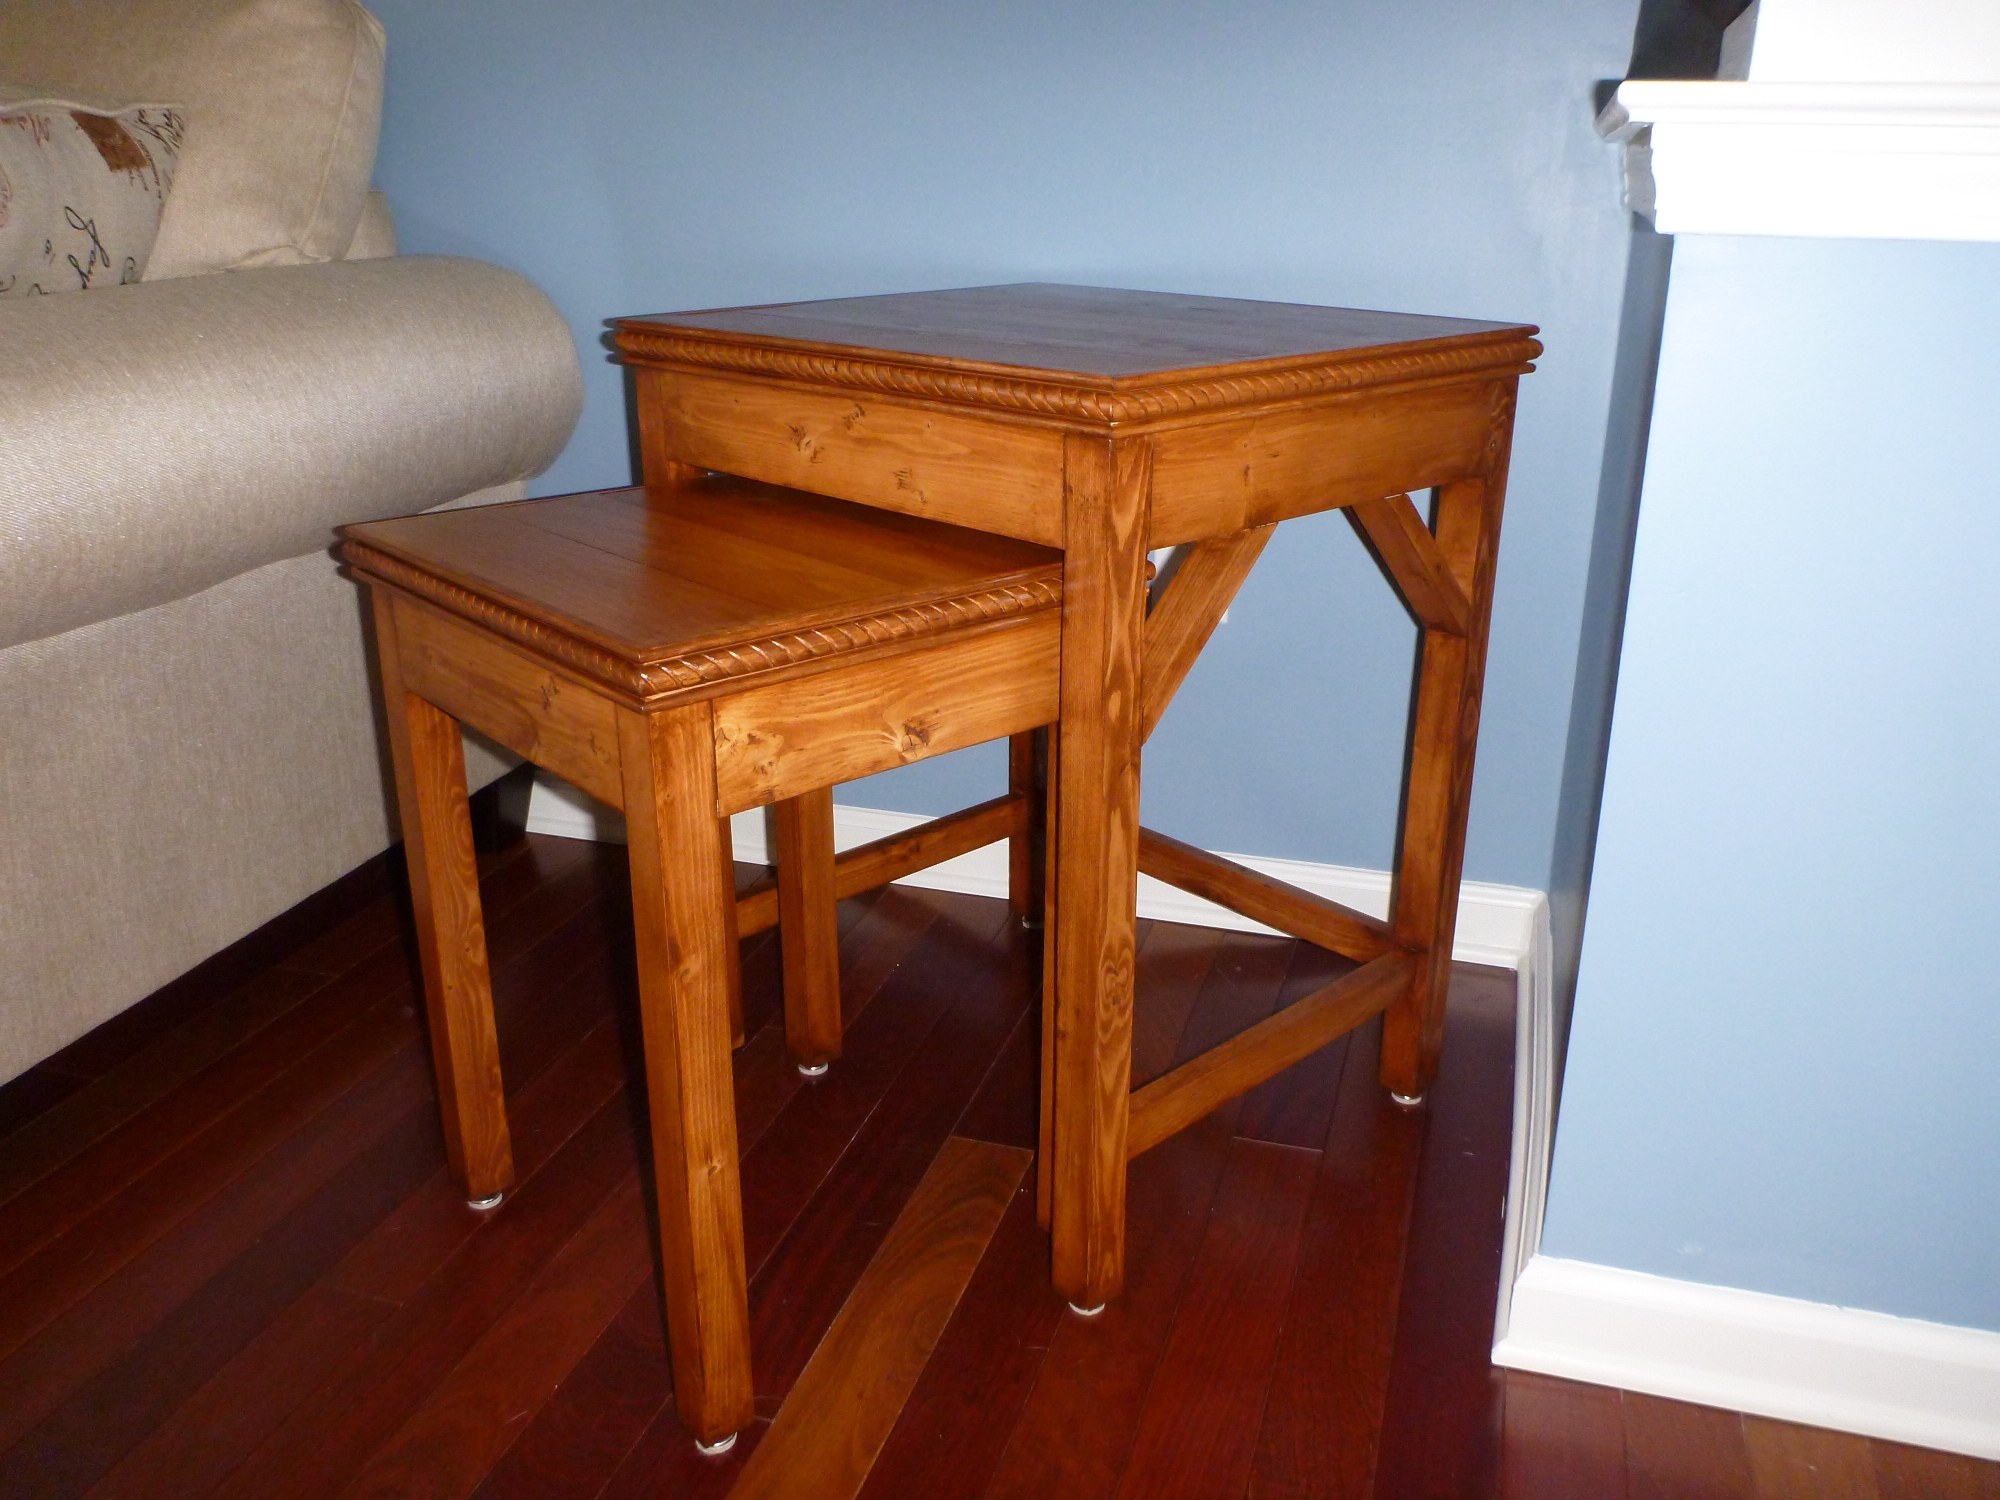
Working off of Ana's easy and classicly styled nesting table plan, we decided to go with a stain finish to match the furniture in our formal living room. Building the tables was quite easy and fast. The time was in the waiting for the stain to dry and be ready to apply multiple coats as needed. Staining obviously takes much longer to complete, but well worth the wait.
Built from Plan(s)
Estimated Cost
65
Estimated Time Investment
Day Project (6-9 Hours)
Finish Used
MinWax Gel Stain - Cherrywood Base Coats and a Light Mahogany Top Coat
Recommended Skill Level
Beginner
Rustic Sideboard

We used the basic design of the salsa console and moved the drawers and doors to a design that we preferred for hiding our junk.


Built from Plan(s)
Estimated Cost
$200
Estimated Time Investment
Weekend Project (10-20 Hours)
Finish Used
Several layers of stain until we got the look right
Recommended Skill Level
Intermediate
Comments
Mimi's Faux Mantle
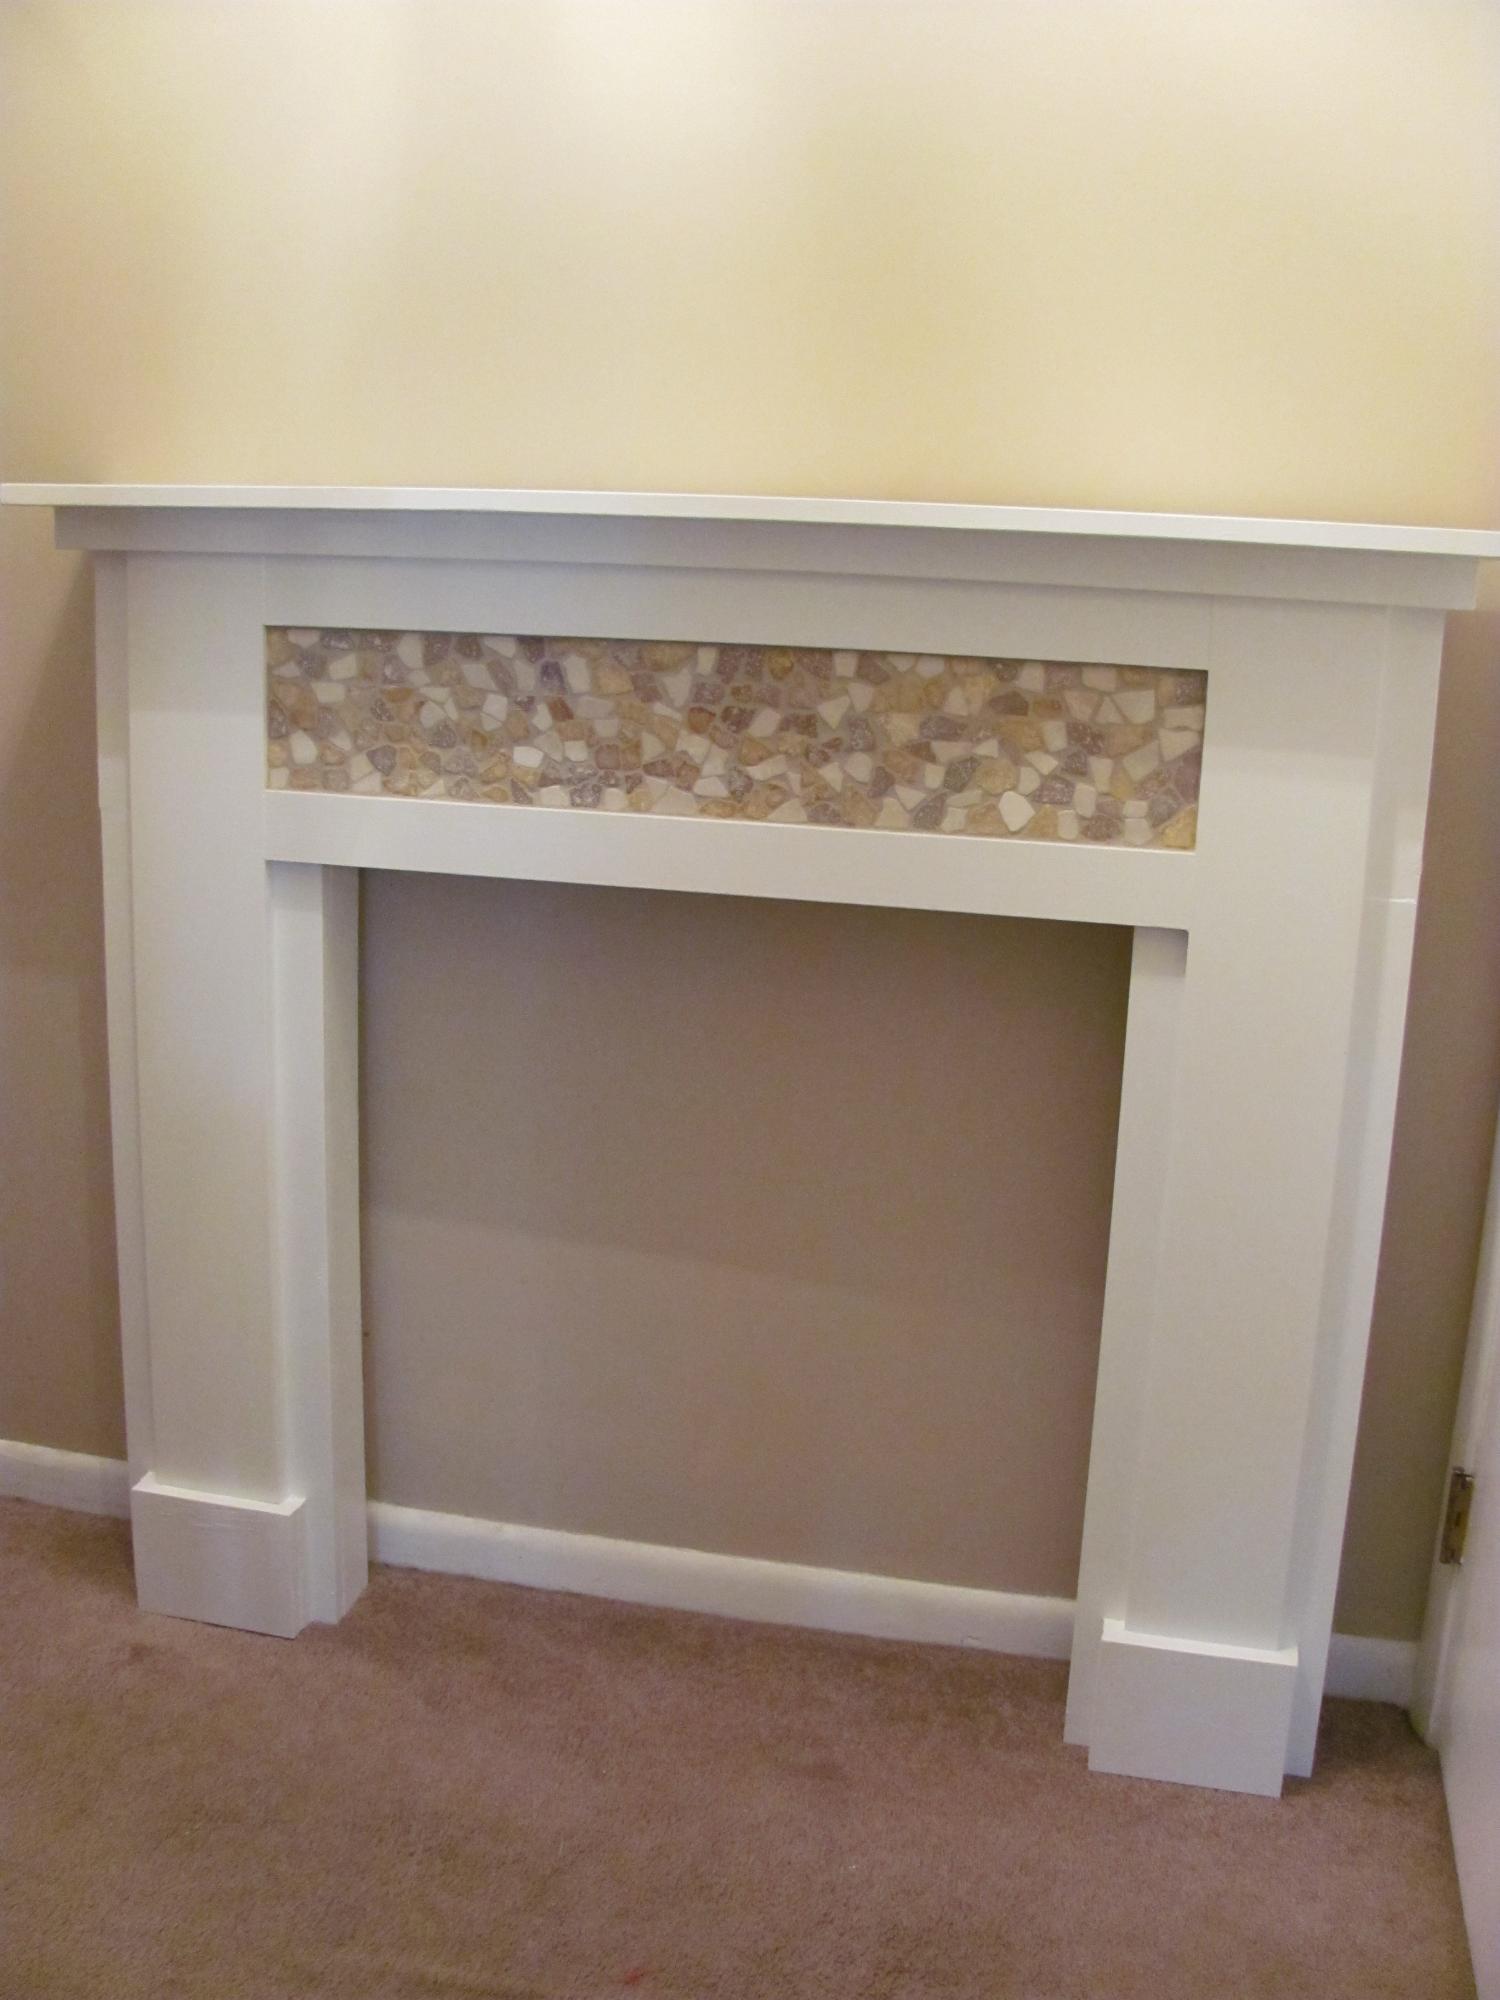
Built this using the Anna White's "MIMI'S FAUX MANTLE" but instead of using crown molding I elected to use STONE TILES in a neutral tone and finished the surround and mantle in white giving the piece a nice soft appeal. The building plans were easy to follow and took about 2 days to complete the whole process not to mention how reasonable the cost was. I already had the tiles and adhesive from a left over bathroom mirror frame.
Built from Plan(s)
Estimated Cost
Cost was more than reasonable. I already had the tiles ,adhesive, and paint. Total cost was approximately $66.00.
Estimated Time Investment
Day Project (6-9 Hours)
Finish Used
I used Behr White Semi-Gloss Enamel paint from purchased from Home Depot (I had the paint from a previous project). Use any tile of your choice since these were left over tiles I had on hand. When tiling use an appropriate tile for the space and glue with tile adhesive. I let mine sit overnight and grouted it the next day using a sanded grout in Bone (purchased from Home Depot) #832.
Recommended Skill Level
Intermediate
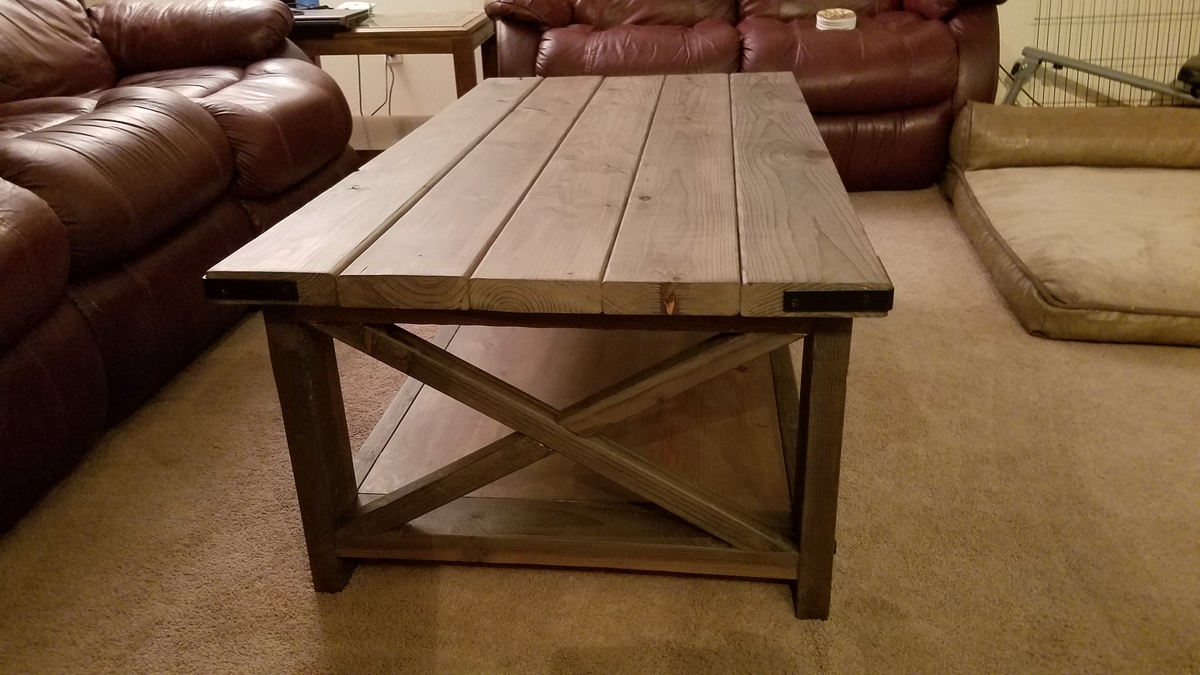
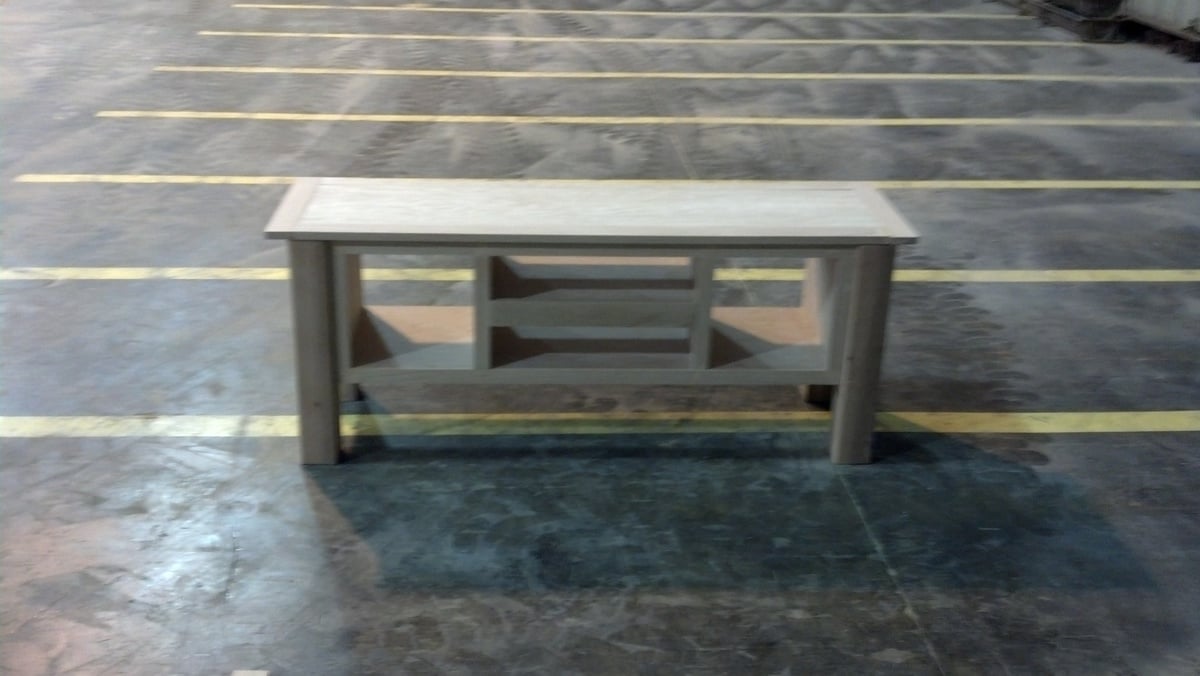
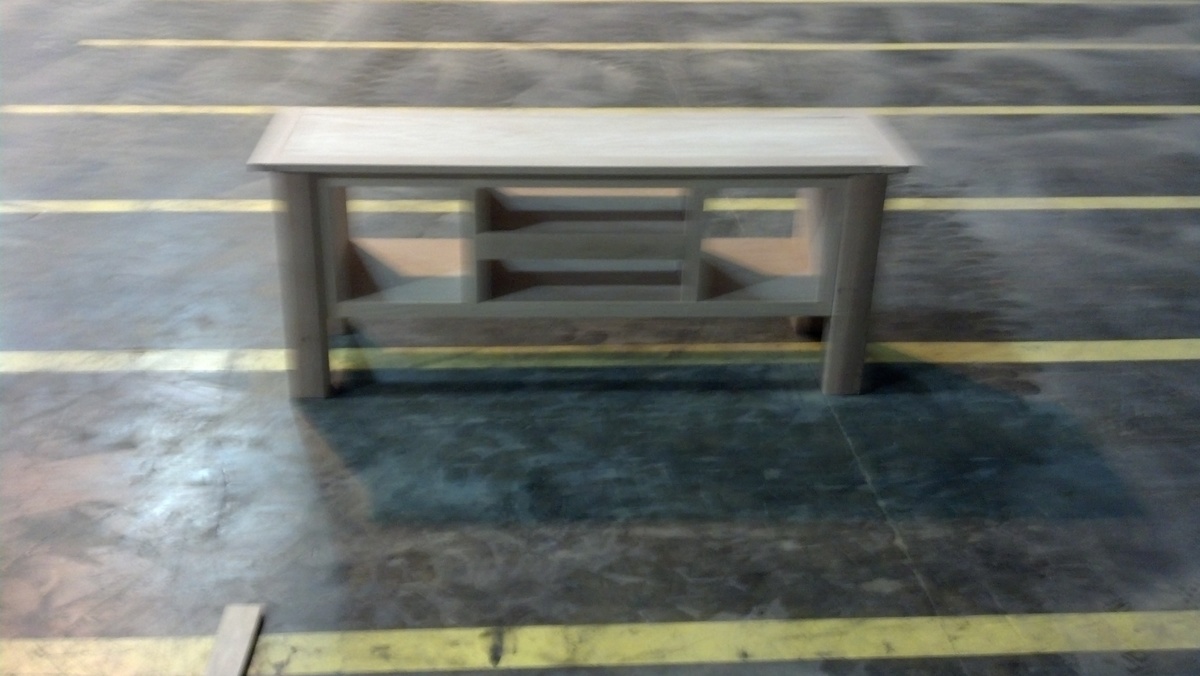
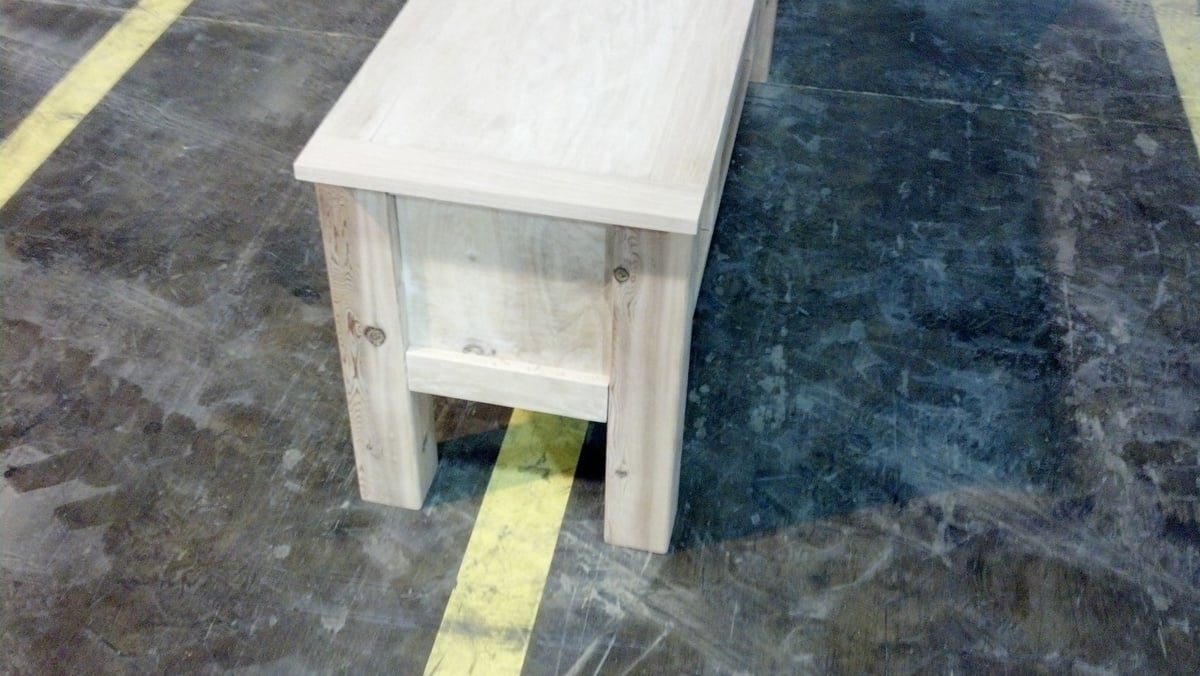
Coffee & Side Tables
Coffee table completed and three side tables ready for staining.
Thank you for the plans.
Built from Plan(s)
Estimated Cost
$40 CDN + time
Estimated Time Investment
Day Project (6-9 Hours)
Finish Used
Winwax English Chestnut.
Recommended Skill Level
Beginner
Media Stand for My Mom

Tv Stand for My mother for Christmas. Couldn't find untreated 4x4s so i used cedar. Found now after the project was done that Menards has untreated 4x4's, even Red Oak.
Built from Plan(s)
Estimated Cost
150
Estimated Time Investment
Weekend Project (10-20 Hours)
Finish Used
Miniwax Pecan
Recommended Skill Level
Beginner
Comments
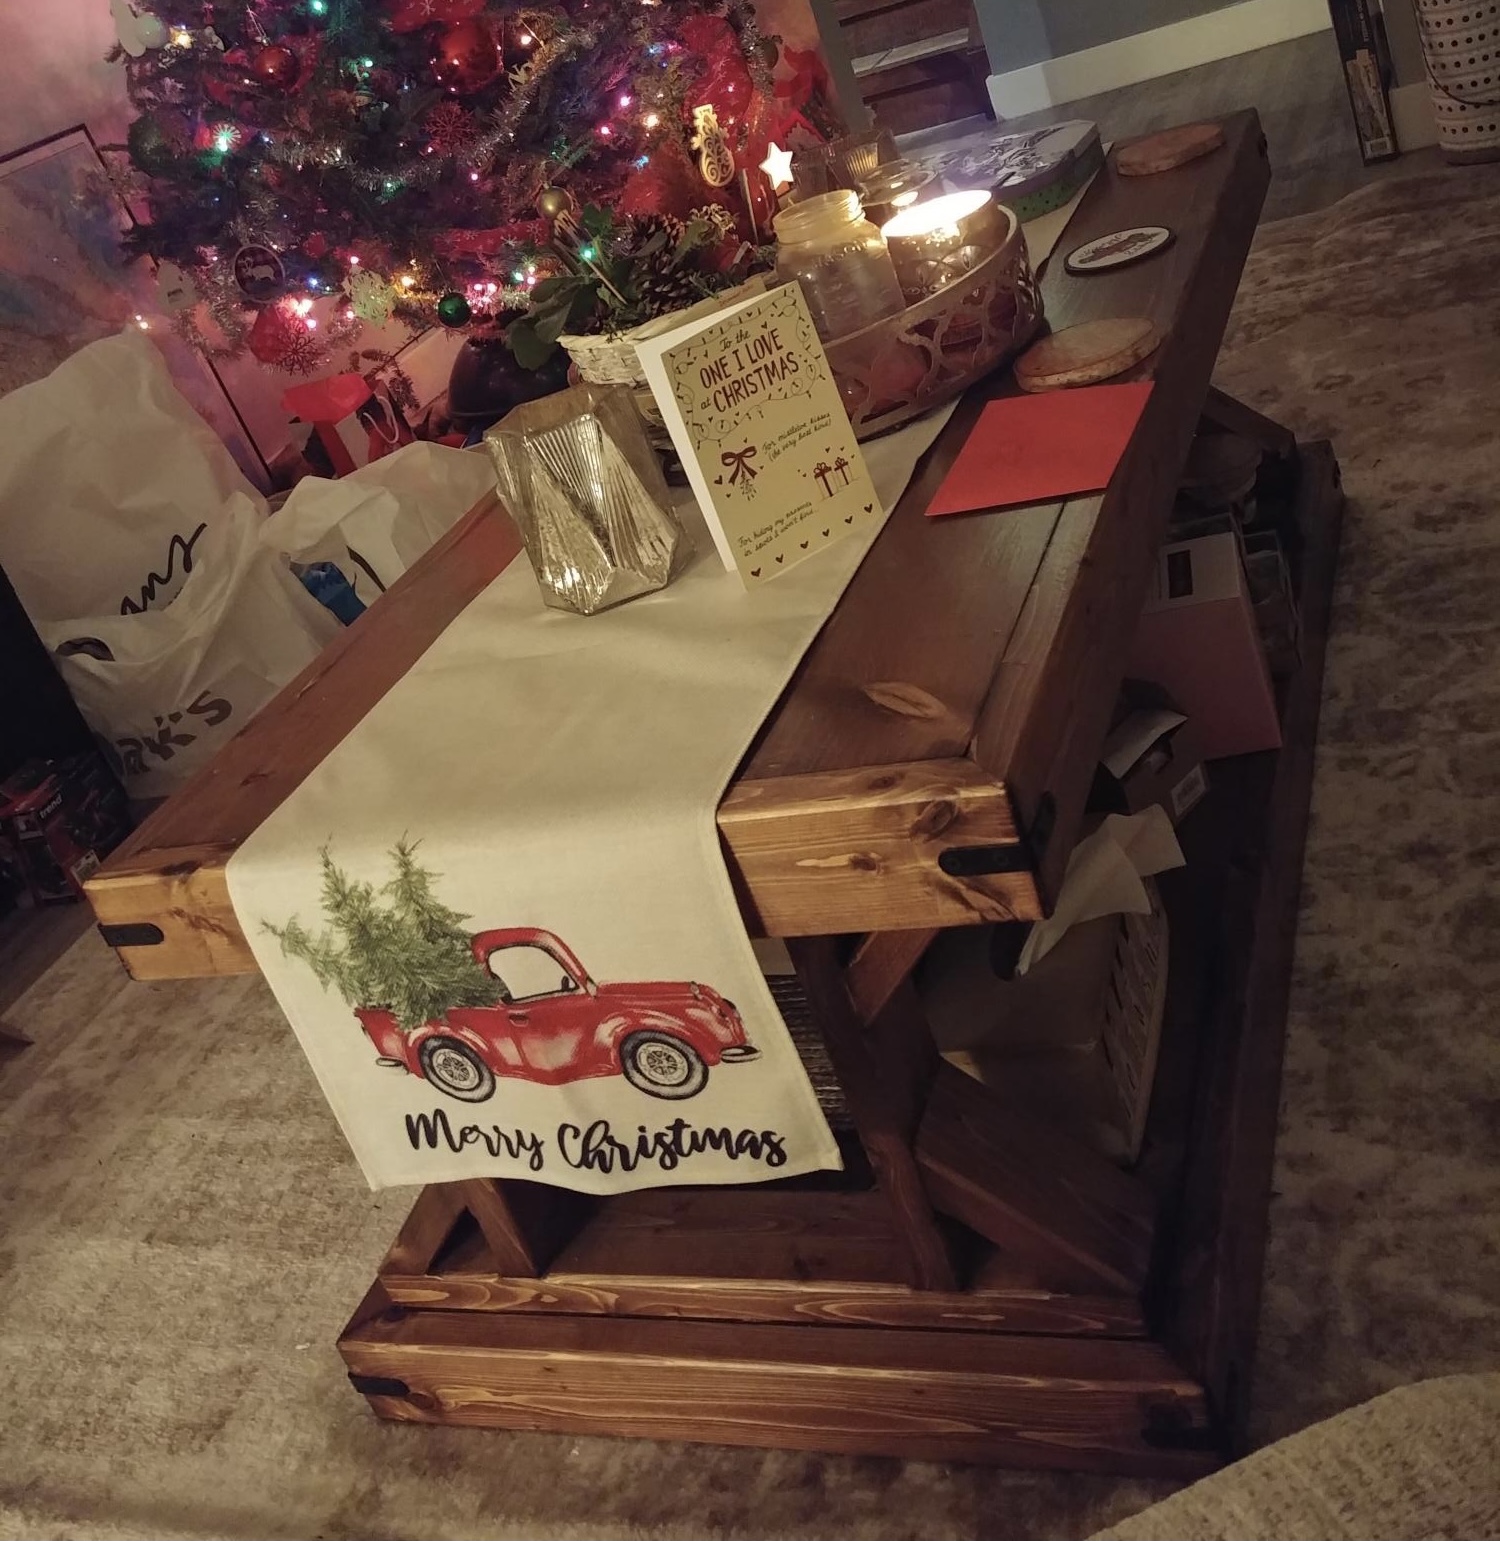
Daybed w/storage

My husband and I worked together on this project. He built it and painted/stained. Plans were used fro link below.
http://ana-white.com/2012/08/plans/daybed-storage-trundle-drawers
Estimated Cost
$100
Estimated Time Investment
Weekend Project (10-20 Hours)
Recommended Skill Level
Beginner
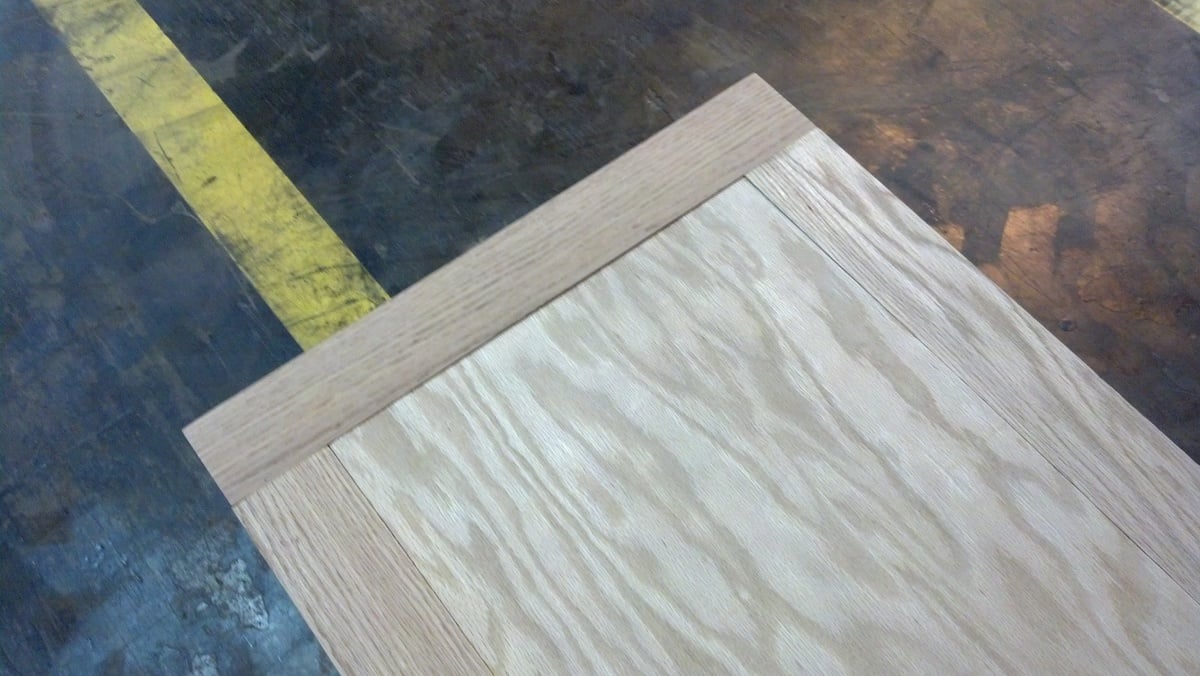
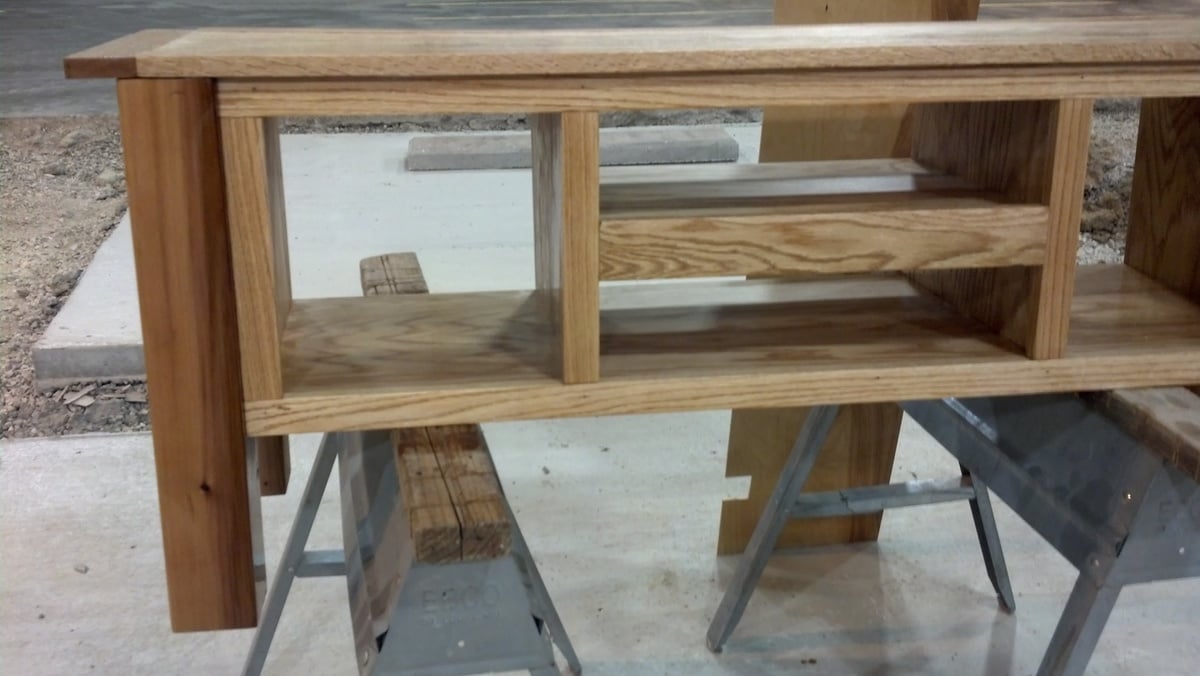
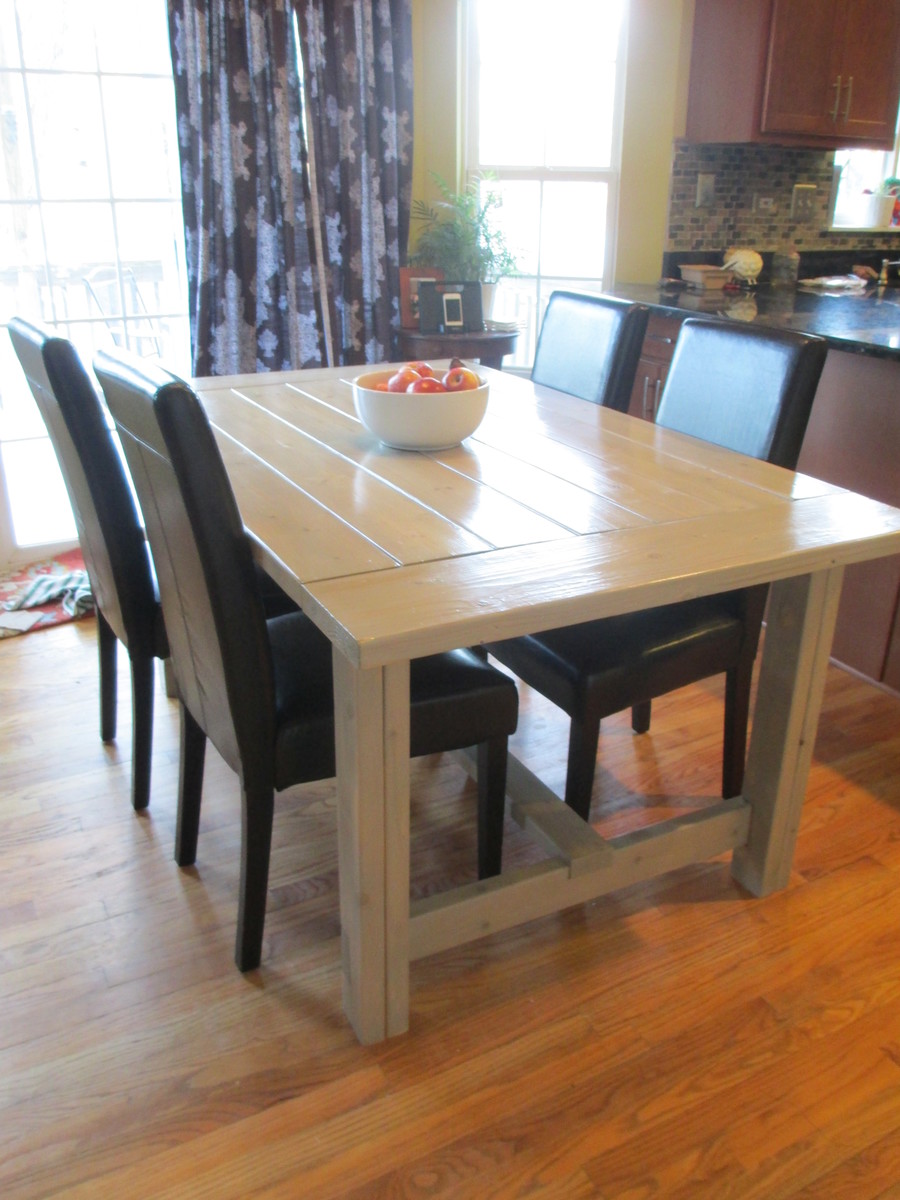
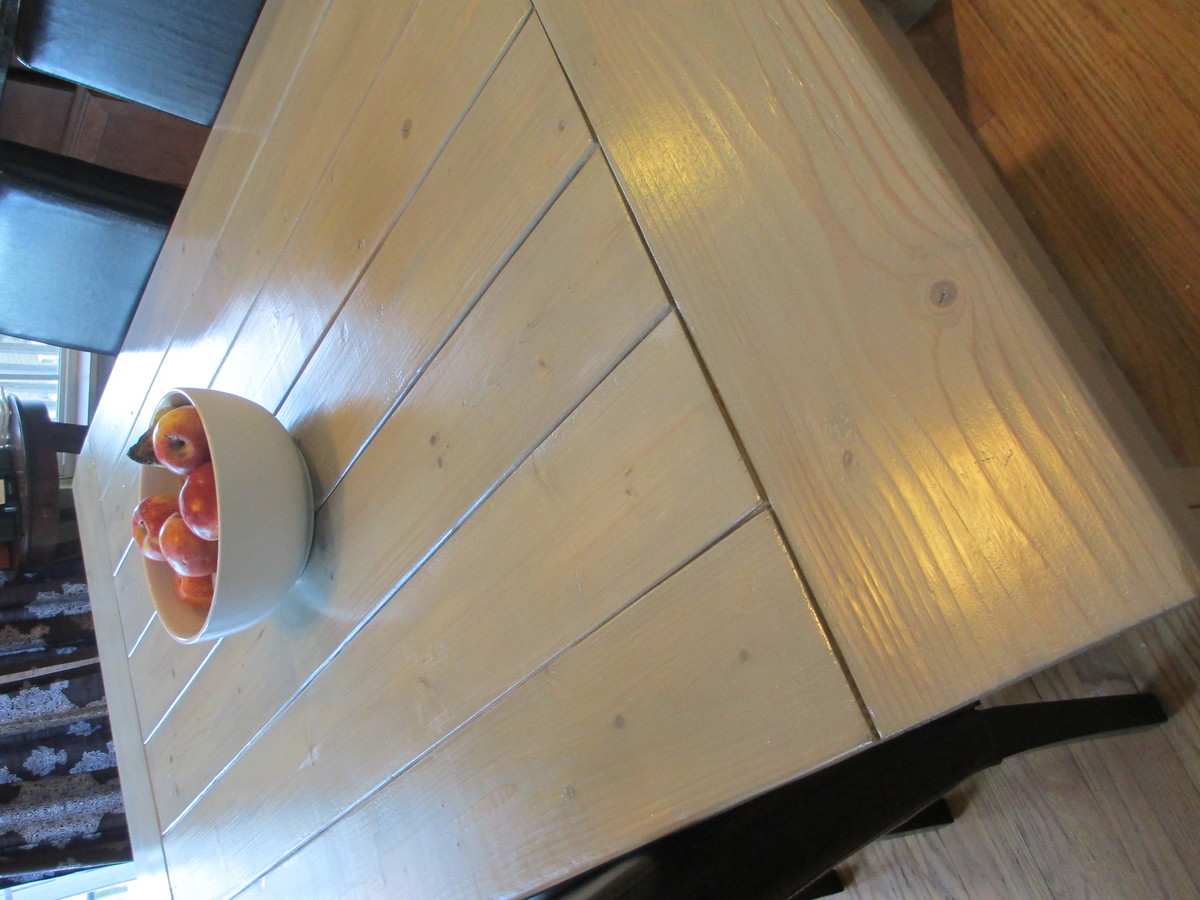
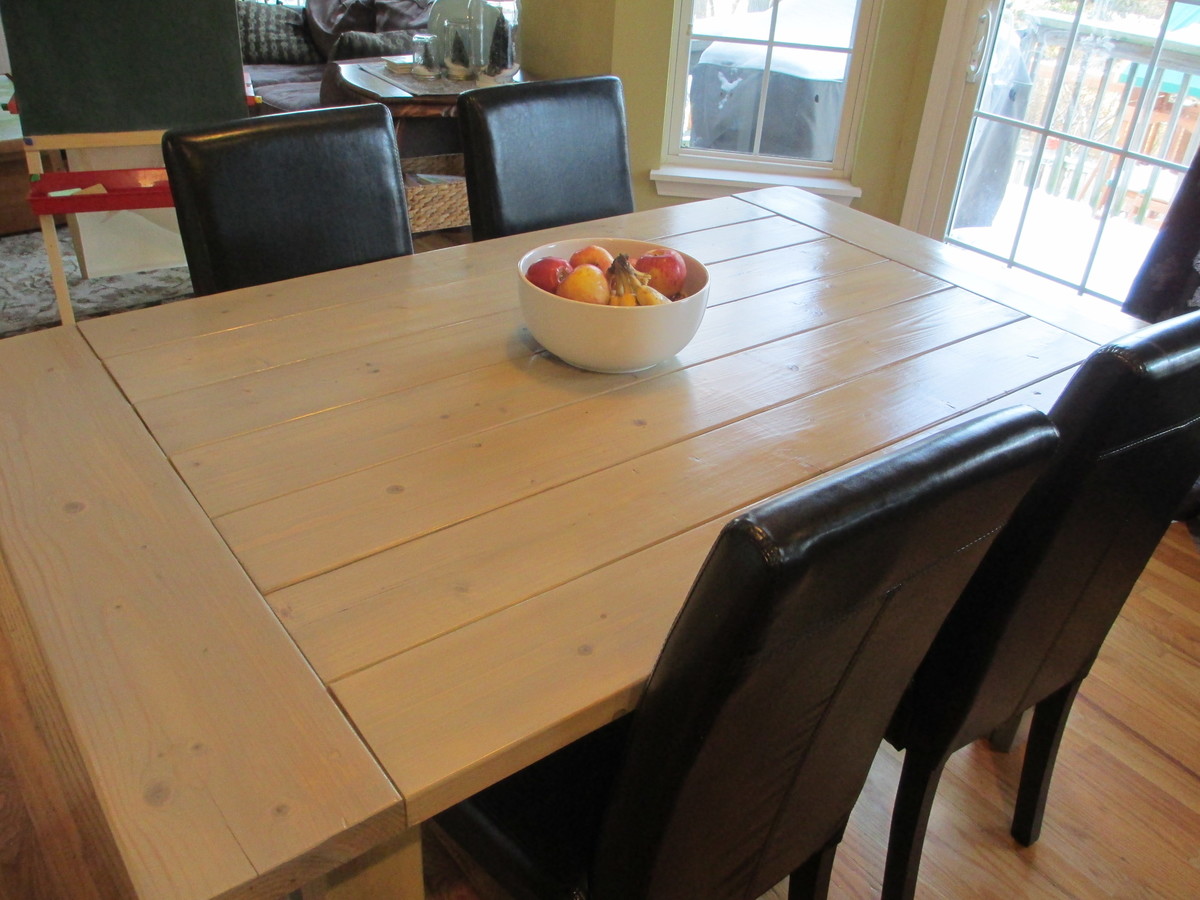
Farmhouse Dining Table
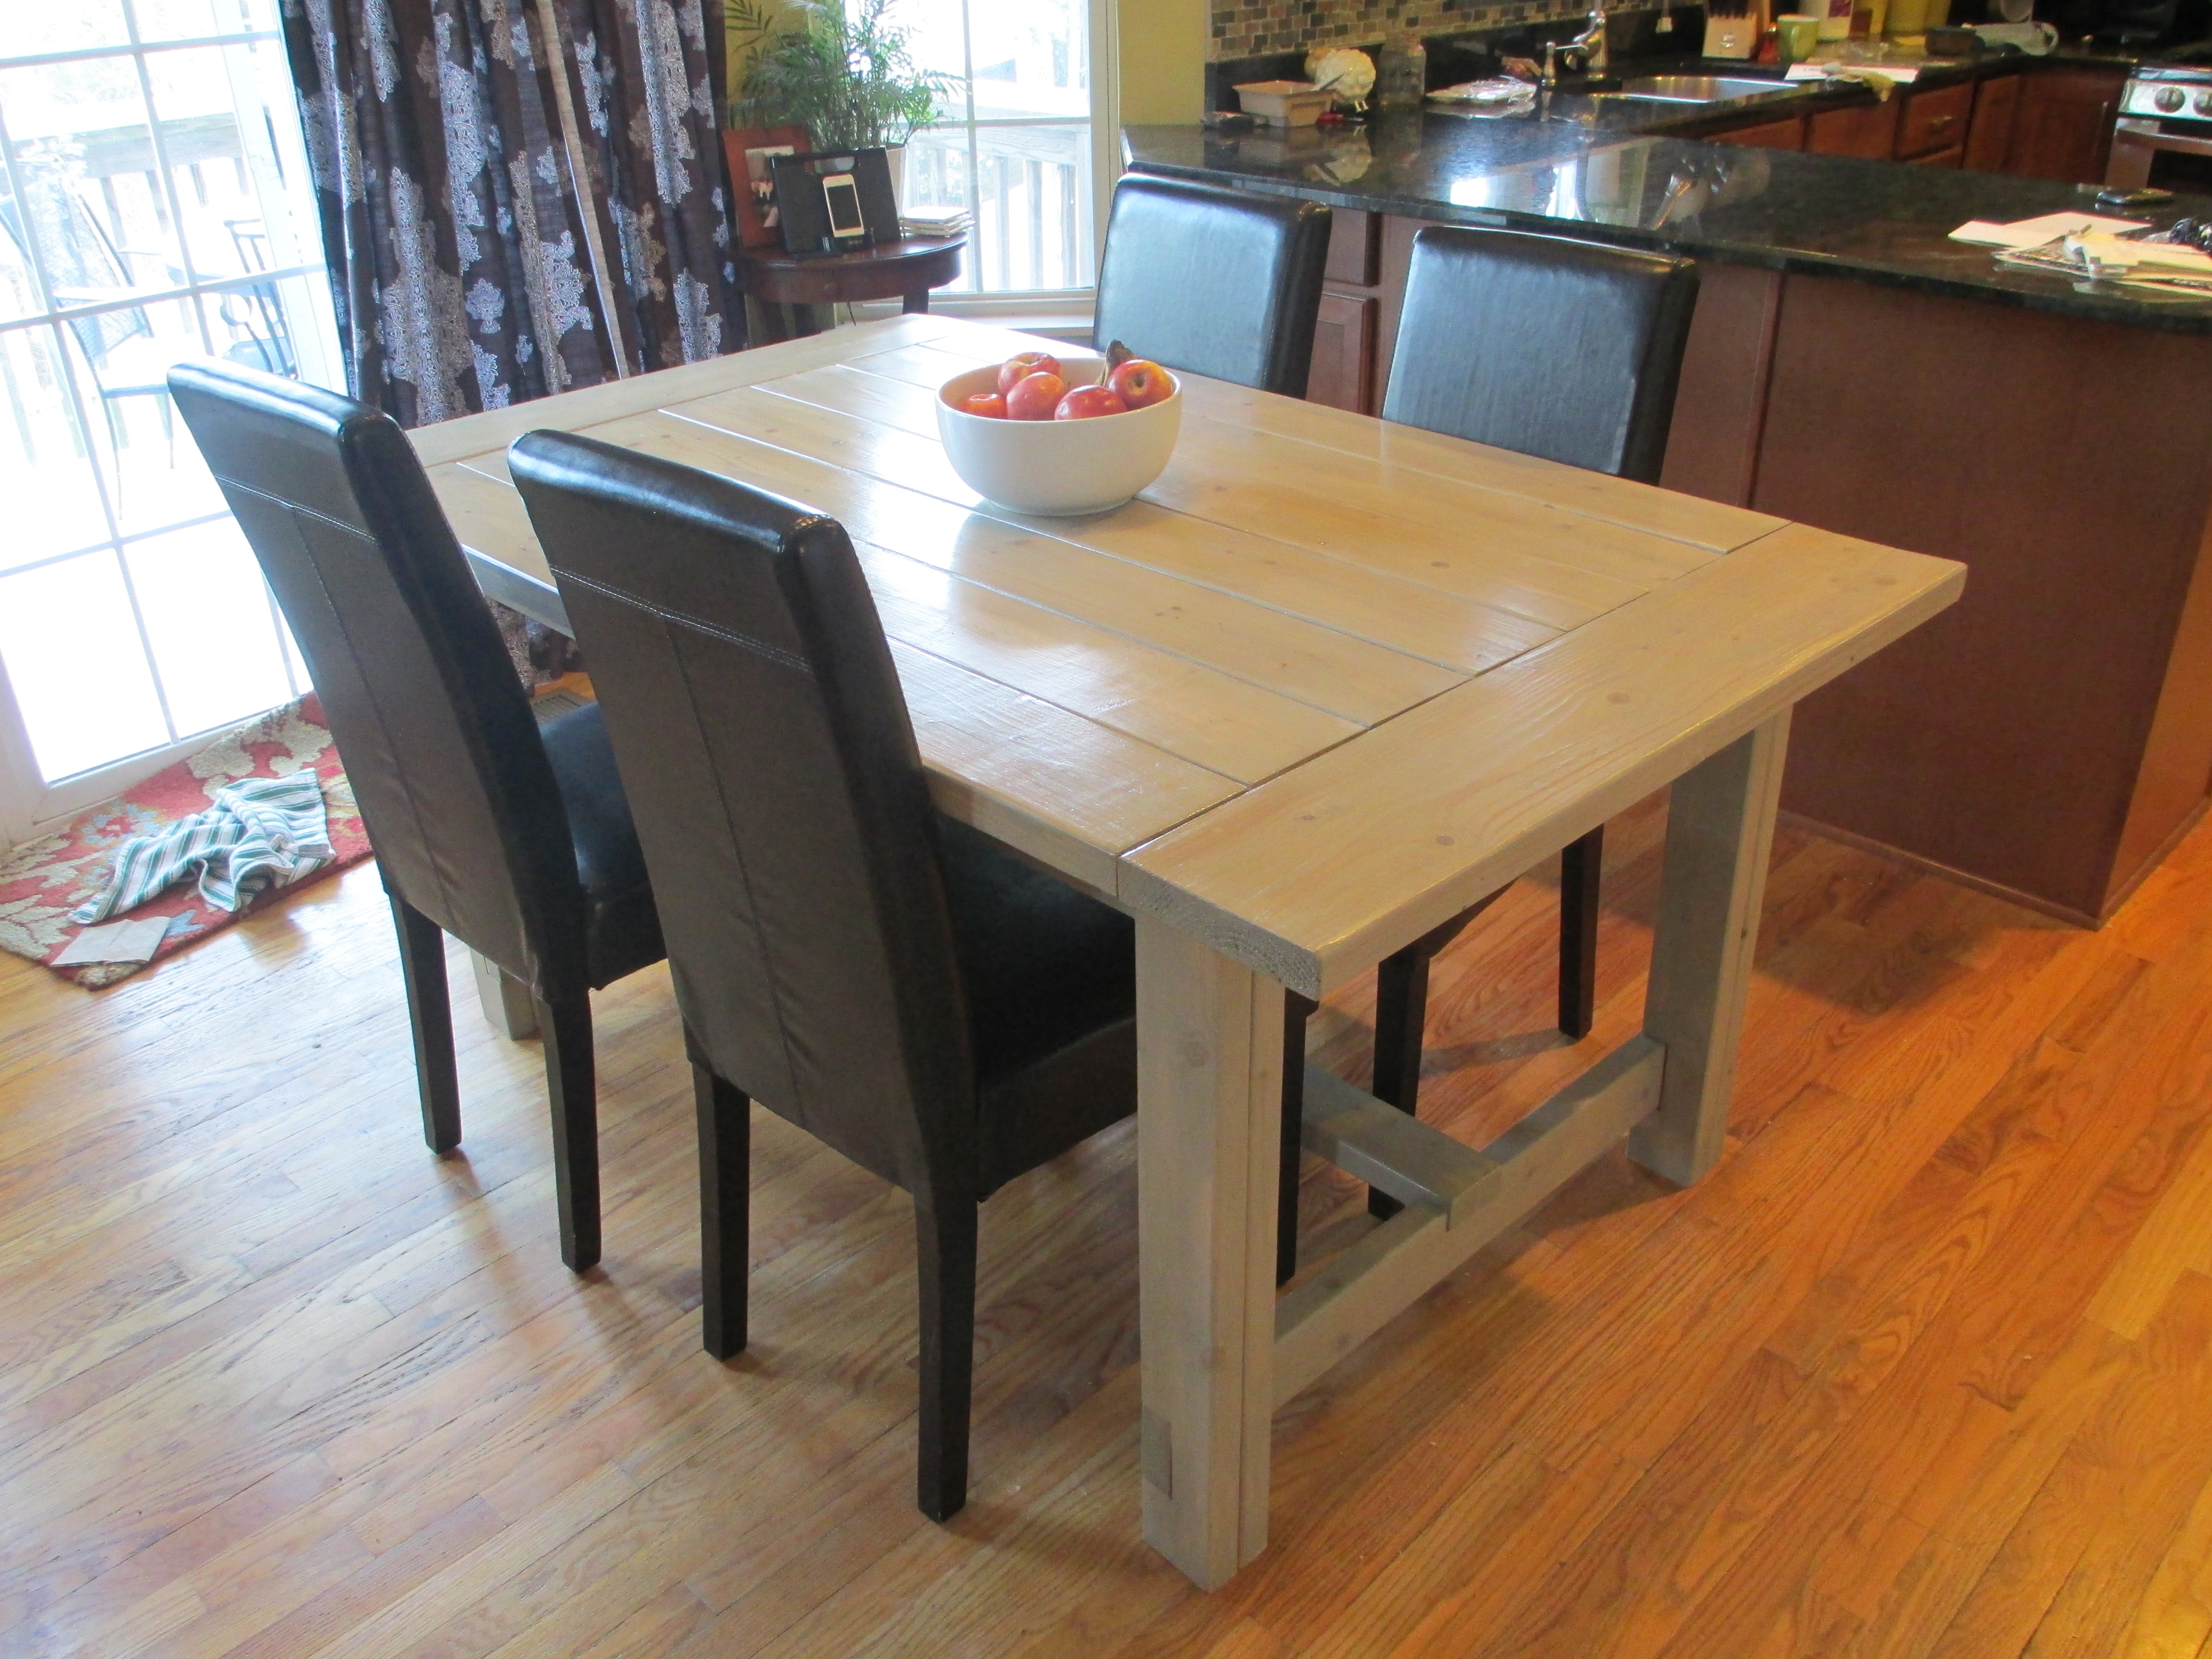
This was the first attempt at building furniture for my husband and me...and we're thrilled with how it turned out! We had a table from Crate and Barrel that was not holding up at all (I convinced them to take it back after 1 year) and wanted to try to build our own. We used Ana's Farmhouse Dining Table original plan, and only shortened it to 64", but followed the rest exactly. We looked into getting oak or a more expensive wood for the table, but save your money and get the pine! After the polyurethane, it's harder and more durable than our C&B table!
Built from Plan(s)
Estimated Cost
$100
Estimated Time Investment
Weekend Project (10-20 Hours)
Finish Used
After building the table, I sanded it really well. I then applied wood conditioner, and Minwax "Sunbleached" oil-based stain for a greyish finish. The top of the table has one coat, the rest two (I liked how one coat allows the wood color to show through with the grain, among the grey of the stain). I sanded after the staining, then did two coats of satin polyurethane (sanding in between coats). I'm so happy with the color!
Recommended Skill Level
Beginner
Comments

Thu, 02/07/2013 - 19:49
Beautiful Job!
Nice job and I love the finish! I will keep that stain in mind for one of my next projects...
Jelly Cupboard Armoire
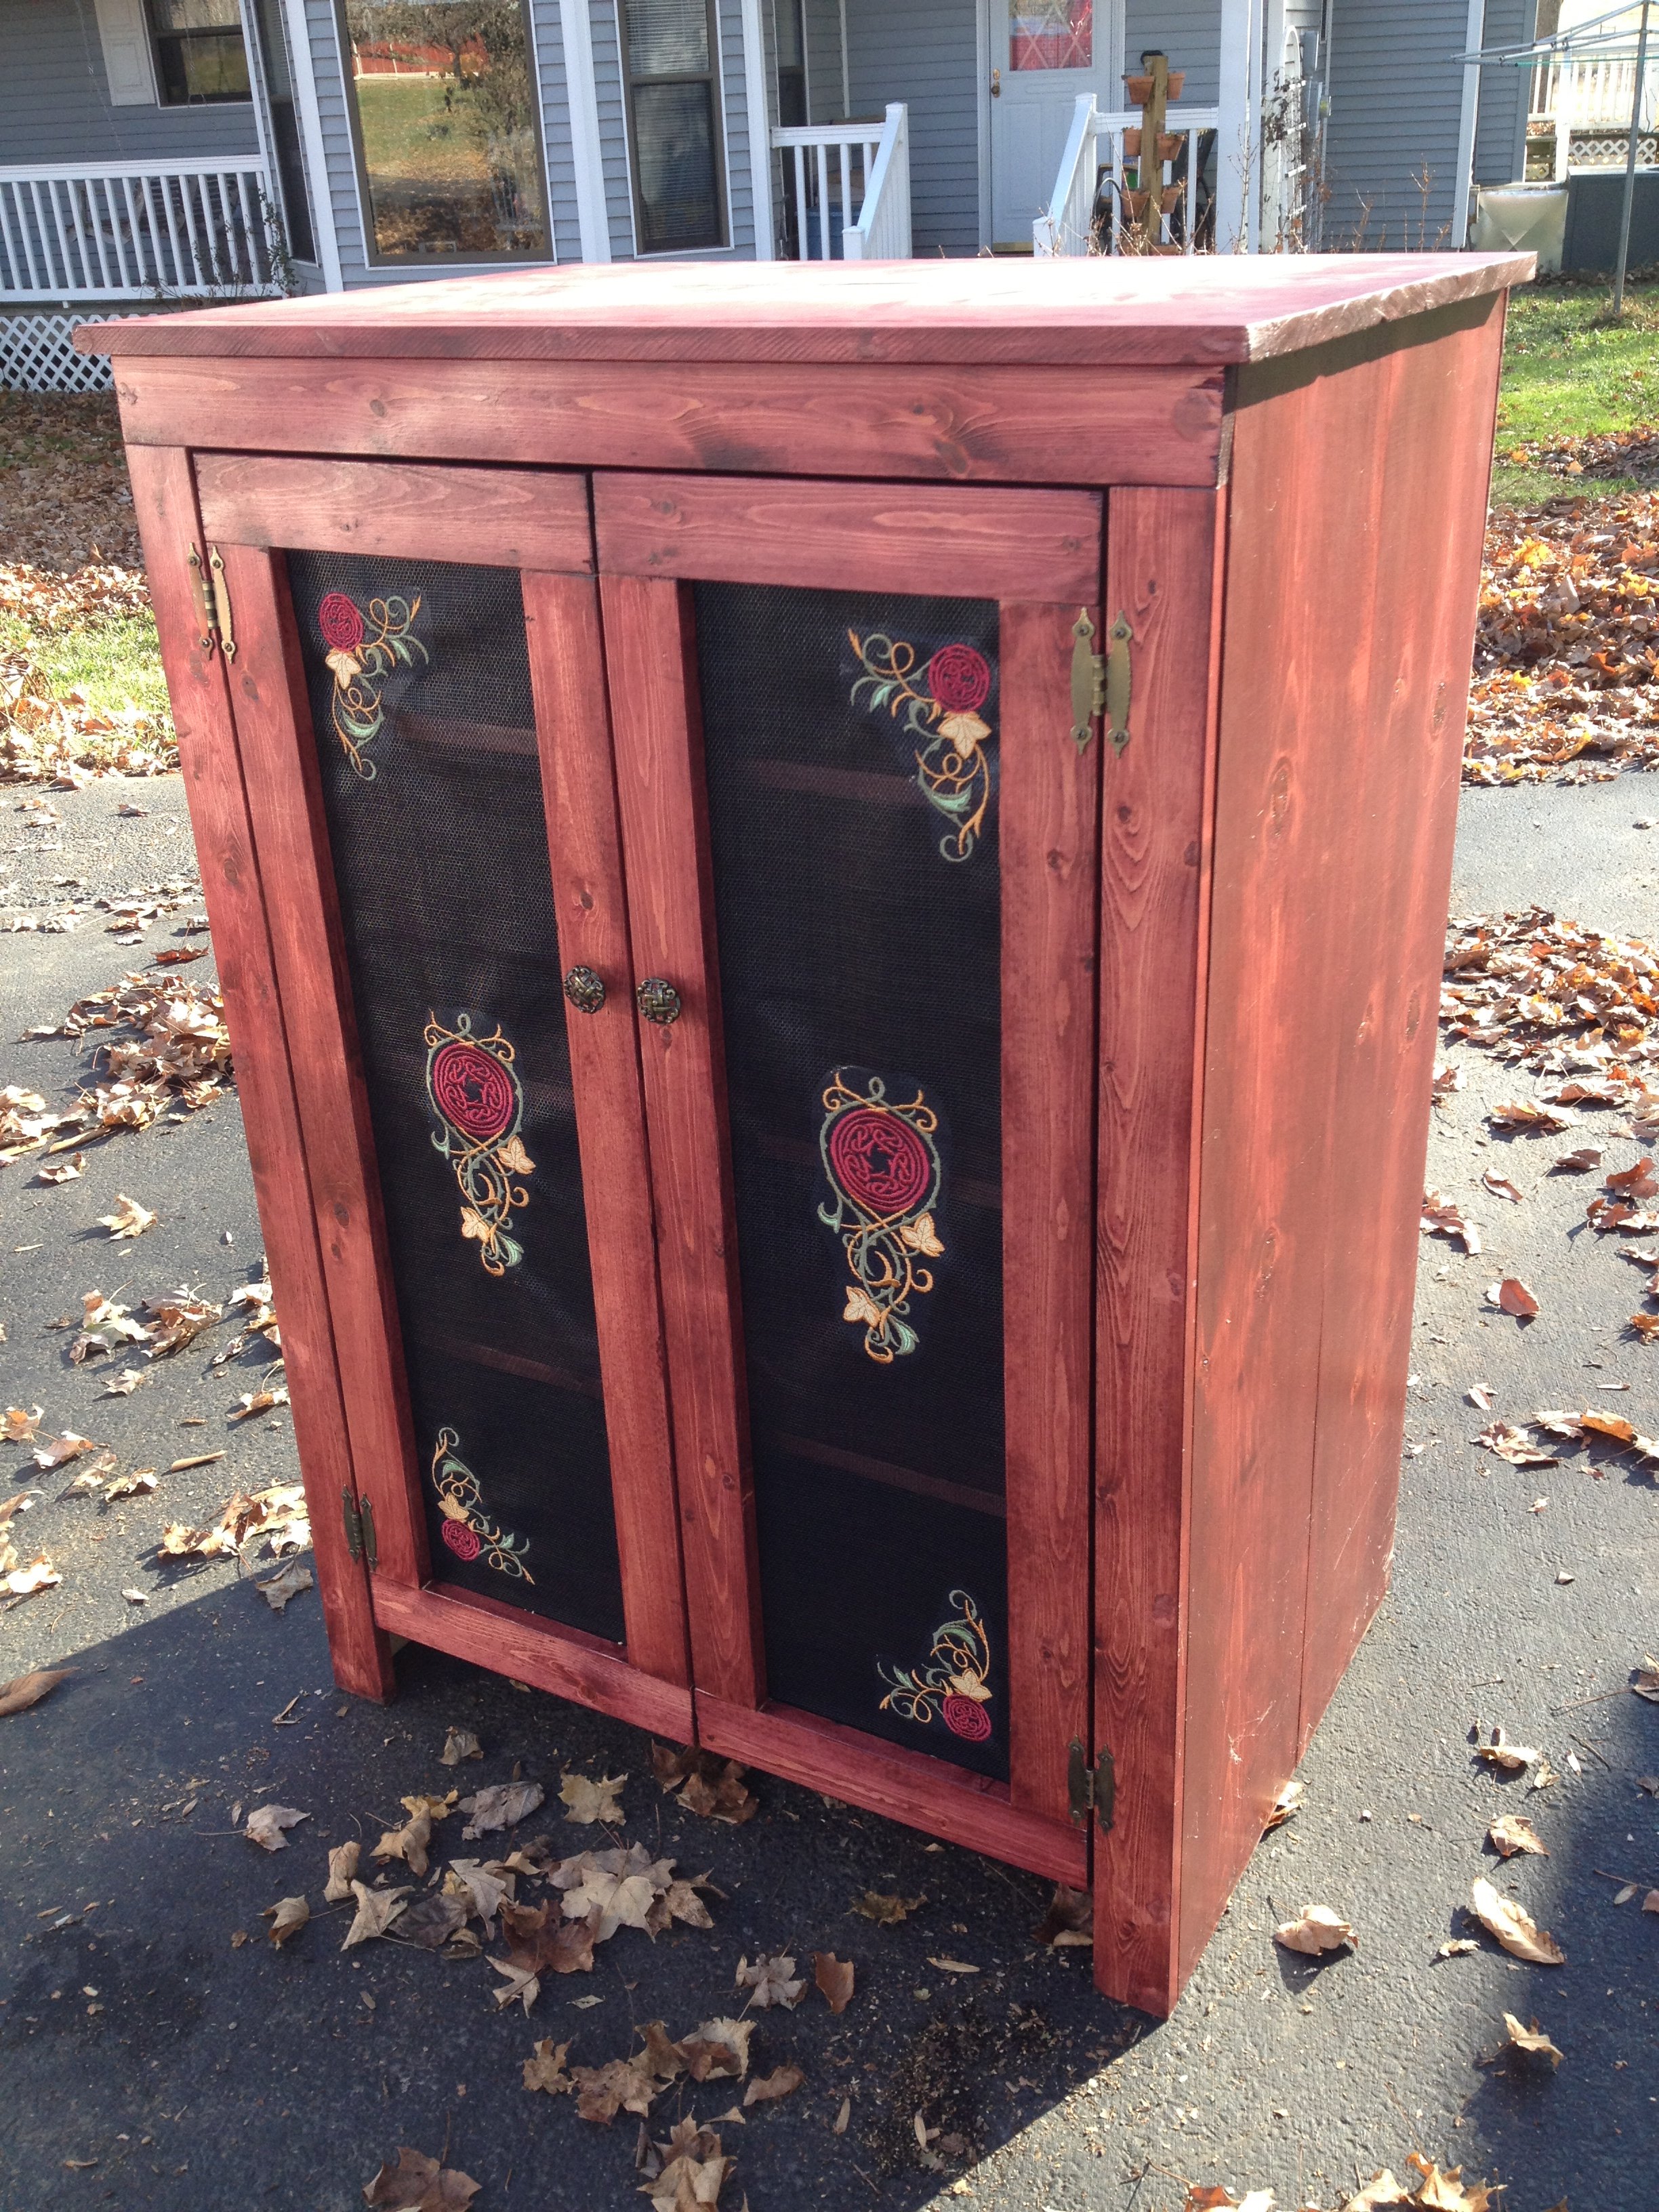
This is my first solo and most ambitious project. I only had some help with getting the doors hung. I combined my long-time love of machine embroidery and my new found love of woodworking to create the doors on this project and really make it something special. I'm going to be using this piece in place of a chest of drawers in my bedroom.
Built from Plan(s)
Estimated Cost
About $150
Estimated Time Investment
Week Long Project (20 Hours or More)
Finish Used
Rustoleum Ultimate Wood Stain in Cabernet and several coats of Rustoleum Interior Ultimate Polyurethane
Recommended Skill Level
Intermediate
Comments

Fri, 12/12/2014 - 13:21
Awesome project!
What an awesome project! Love the finish, and the design on the doors. How did you do the door panels? They're lovely!
Mon, 12/15/2014 - 12:13
Wow that is really awesome!
Wow that is really awesome! I love the stain and the way that this turned out!
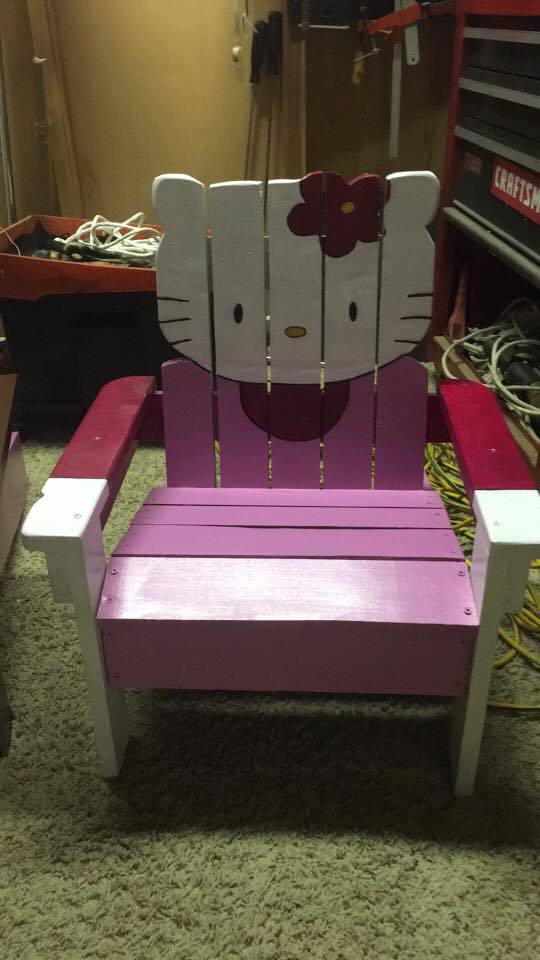
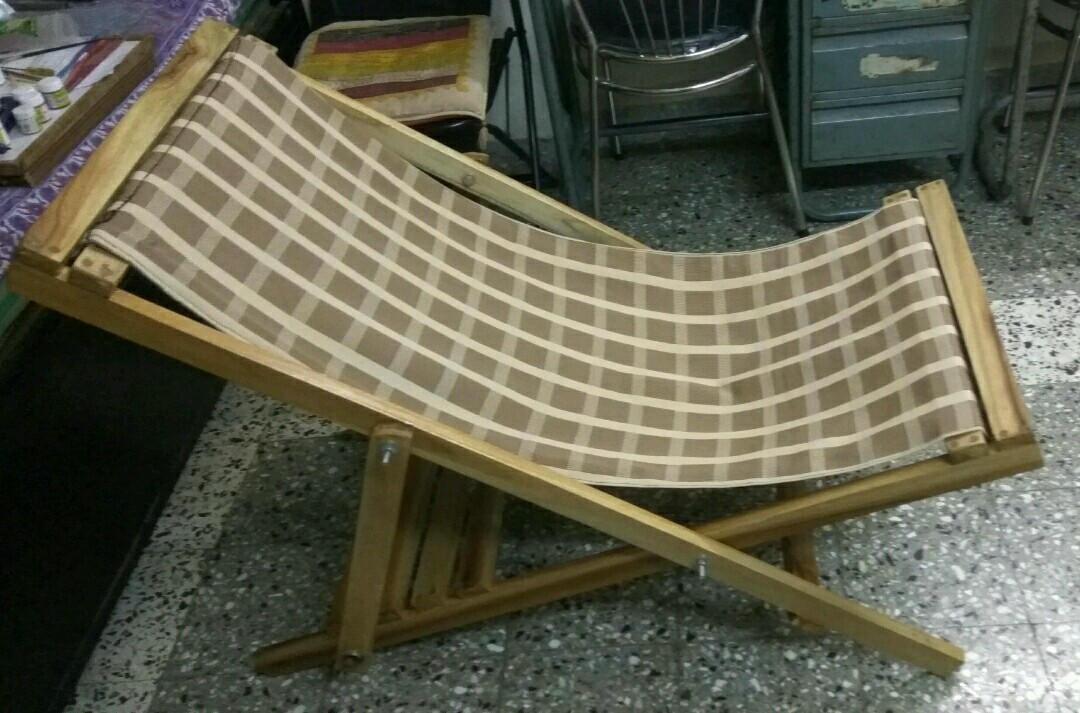
Deck chair Build

Dear Ana,
I built this Deck chair as per the plans on your site. Super easy for amatuer beginners like me. Enjoyed making it. Thank a lot!

Estimated Time Investment
Weekend Project (10-20 Hours)
Finish Used
Yellow wood stain with Varnish
Recommended Skill Level
Beginner
Mudroom Bench Built-In

I wanted to revamp my mudroom and need some storage so I built a bench and designed it as a built-in.
Please check out my DIY blog:
http://www.woodworkingfourdummies.com/blog/2nd-post
thanks,
Ian
Estimated Cost
$150.00
Estimated Time Investment
Weekend Project (10-20 Hours)
Finish Used
White semi-gloss paint with a water based polyurethane
Recommended Skill Level
Intermediate
Wiccan Altar
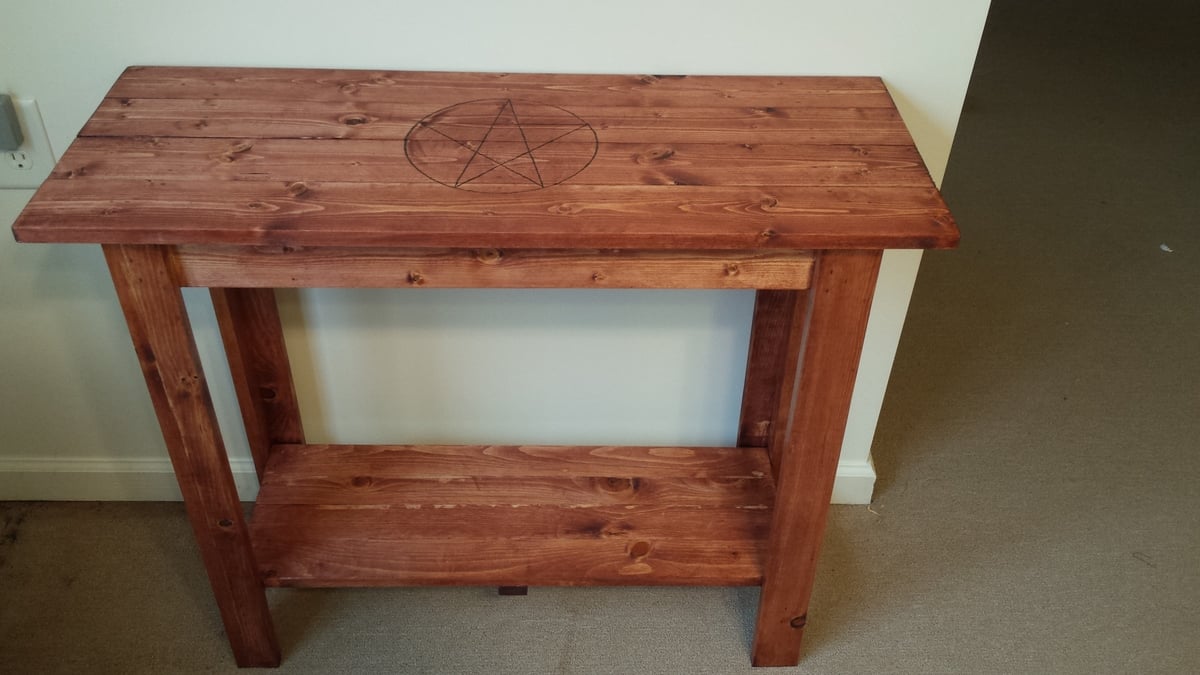
I took the plan from this and rather than have a two tone with paint, I stained the entire thing and used my wood burner to burn a pentacle in the top. My wife loves her altar.
Built from Plan(s)
Recommended Skill Level
Starter Project
Queen bed frame combo Farmhouse/Brookstone with Pecan/Expresso stain

This was a blast. Thanks so much for the plans Ana, as well as for all the comments after the plans, which help a lot too. I did a combo, and it worked wonderfully! I made a little more work for myself than I needed to, but for a first project, I feel proud of myself...and can't wait for my next project.


Estimated Time Investment
Week Long Project (20 Hours or More)
Finish Used
Pecan and Expresso Minwax double process
Recommended Skill Level
Beginner
