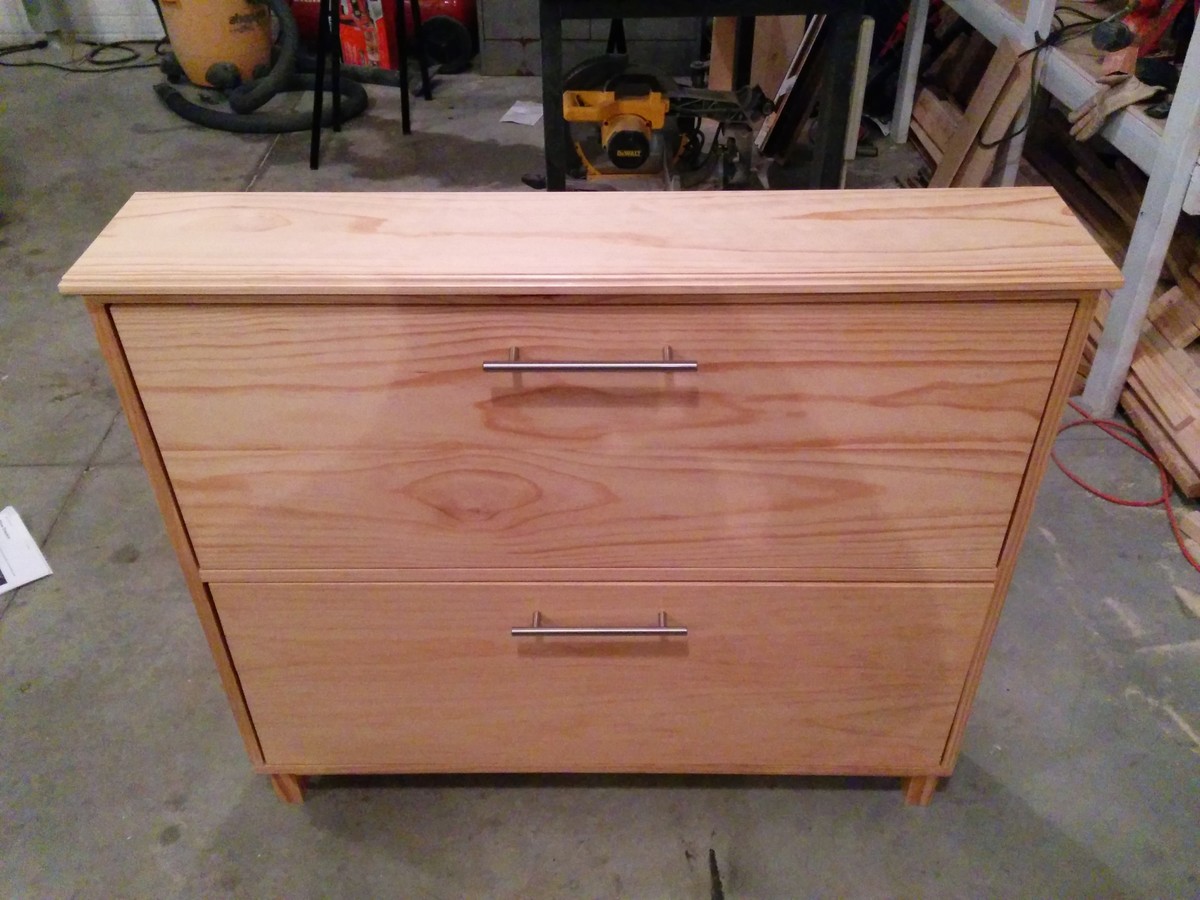
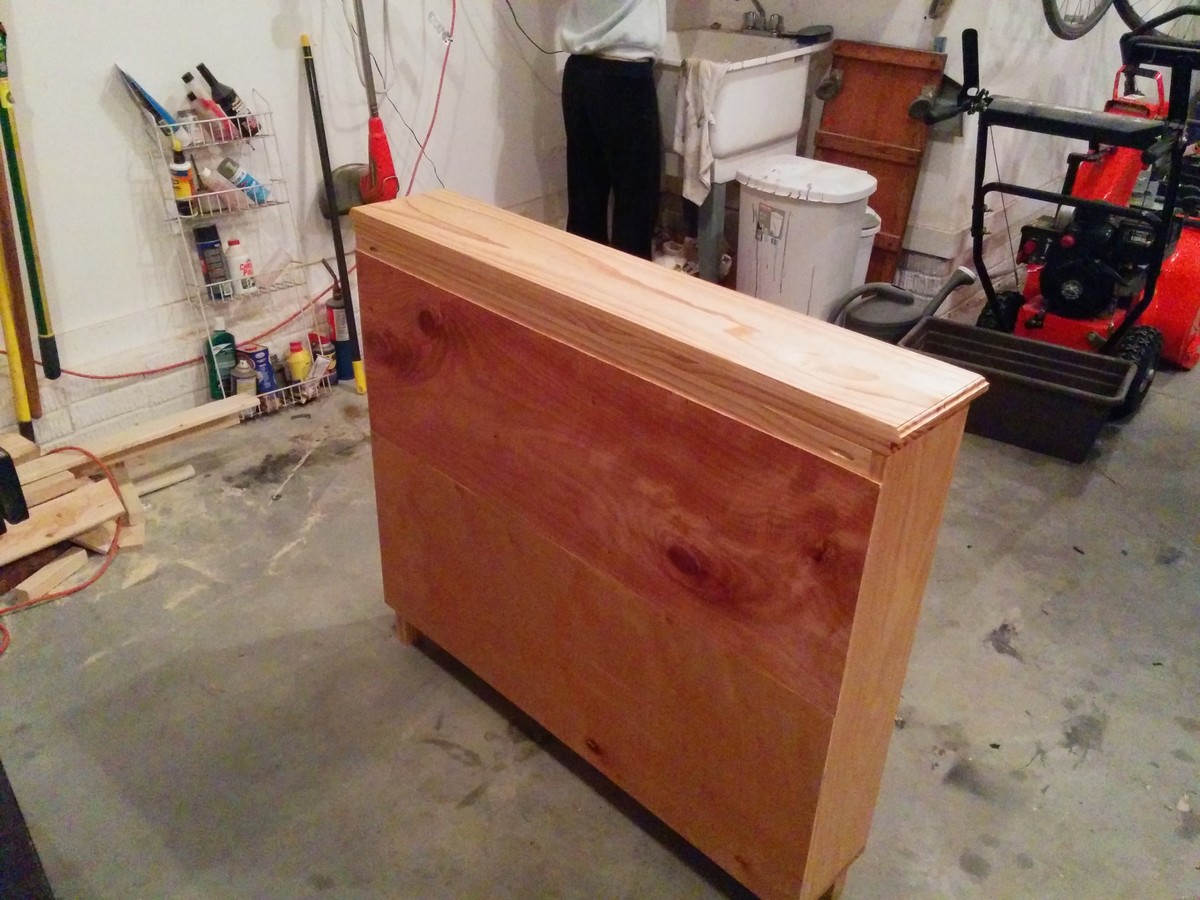
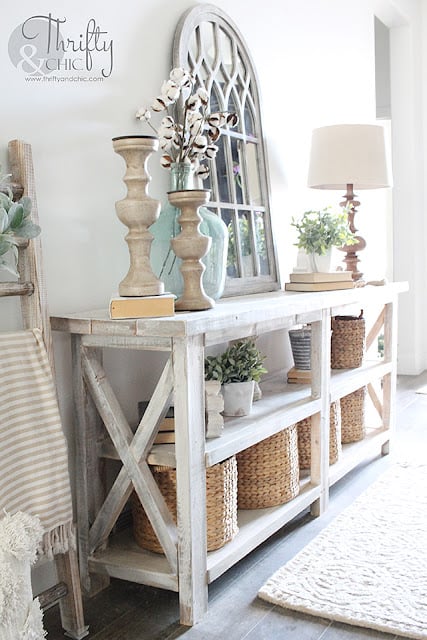
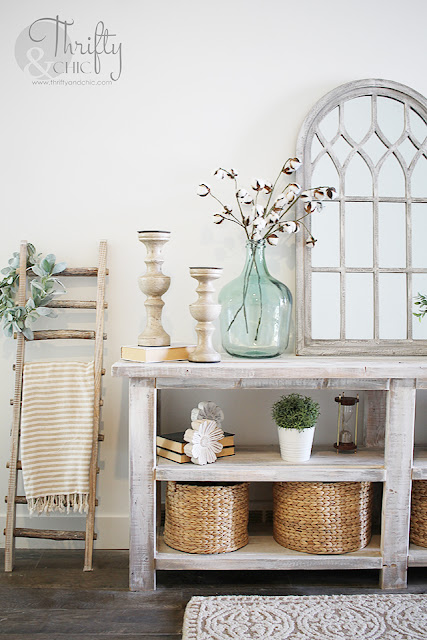
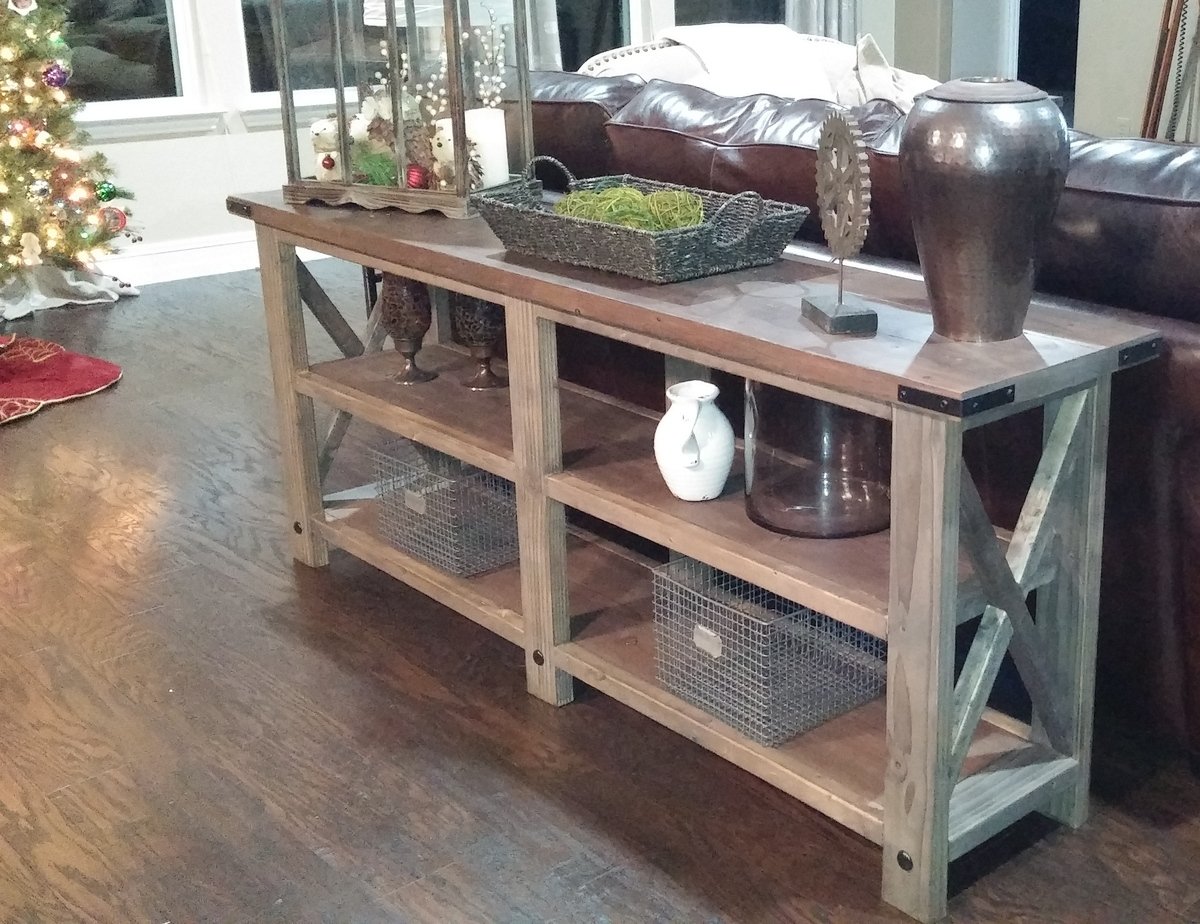
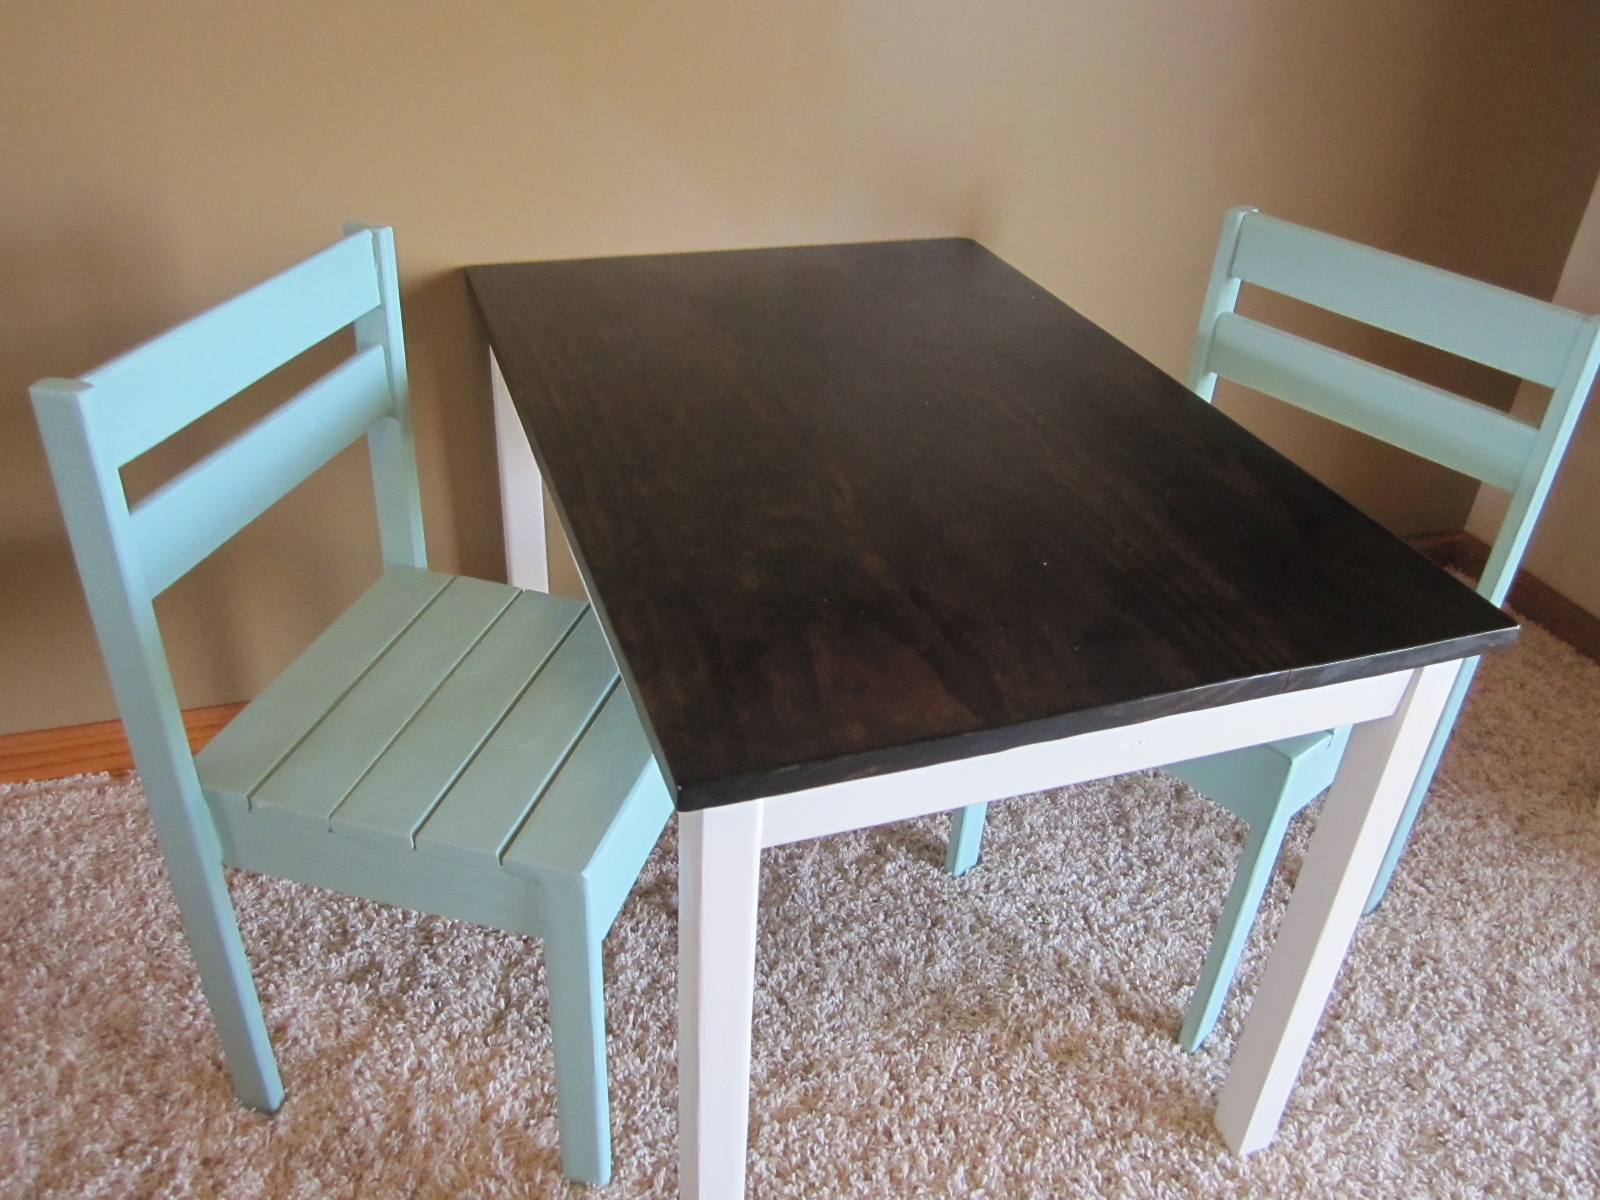
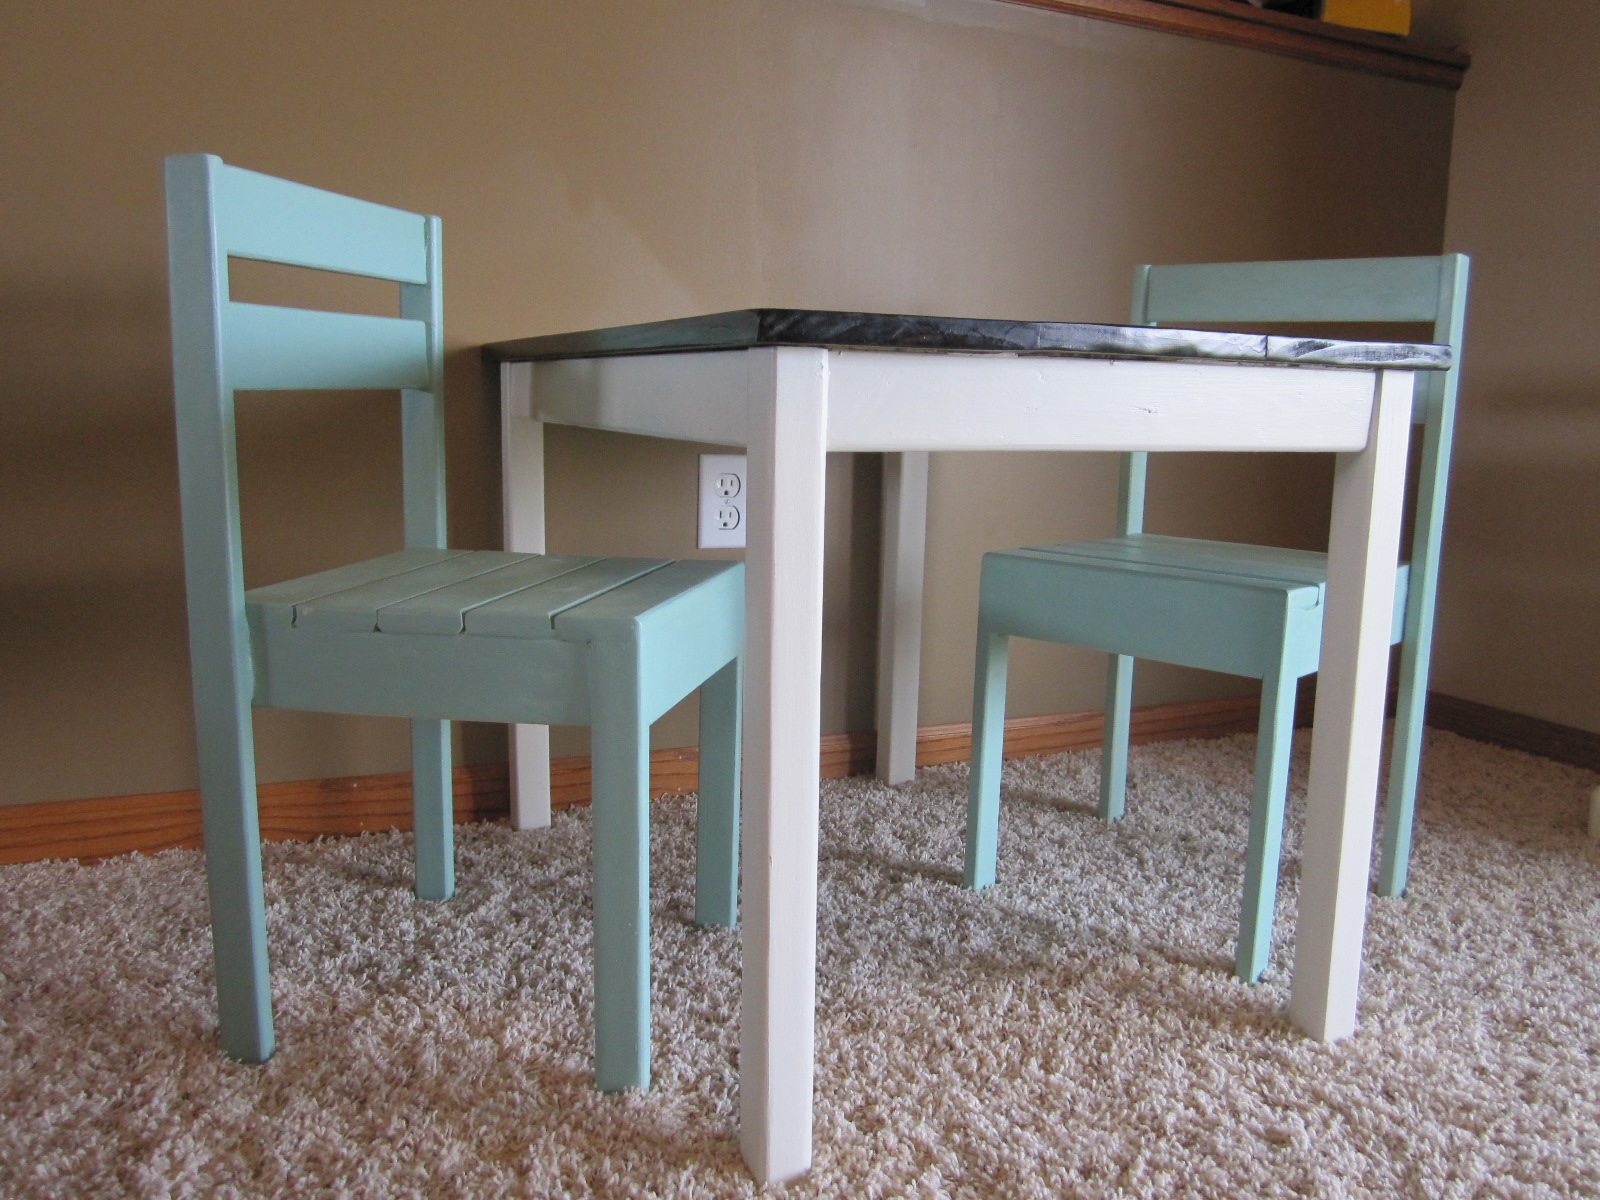
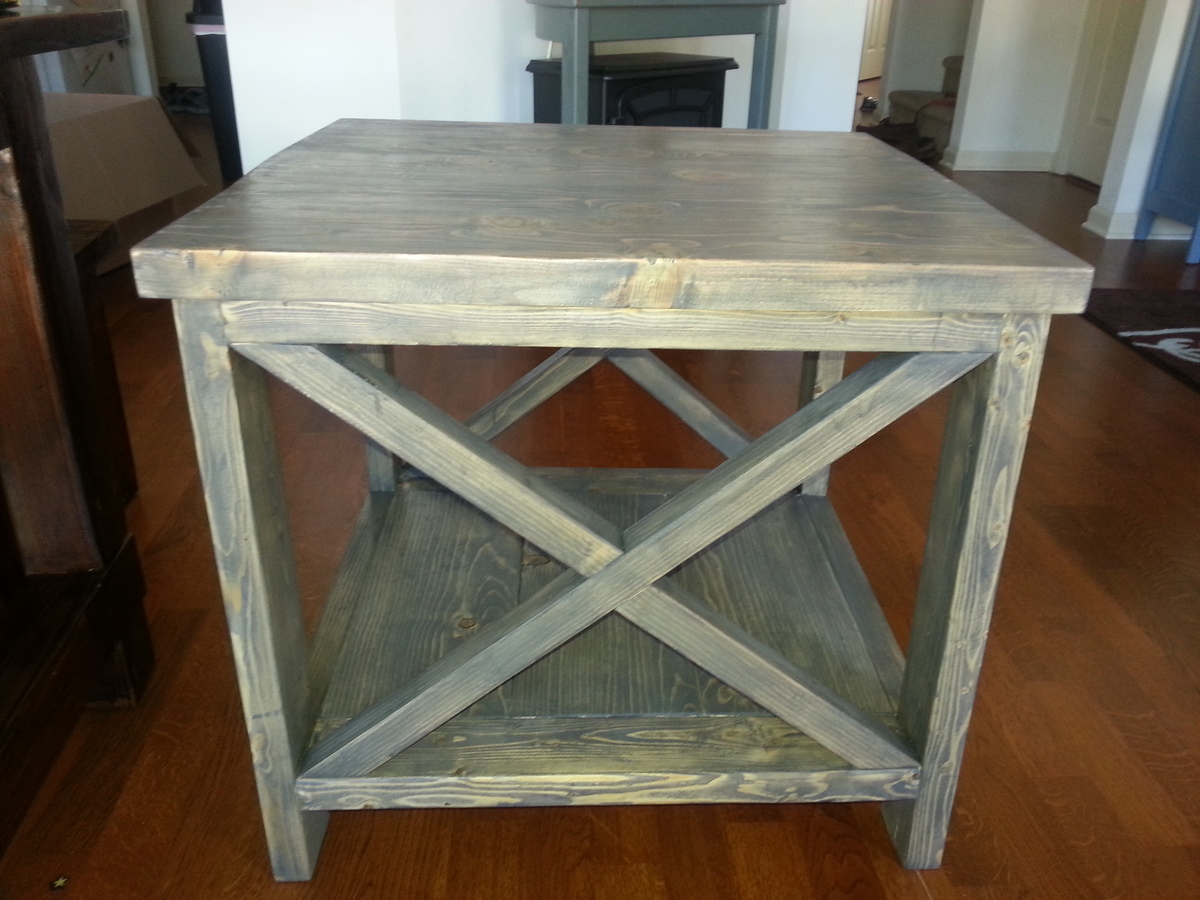
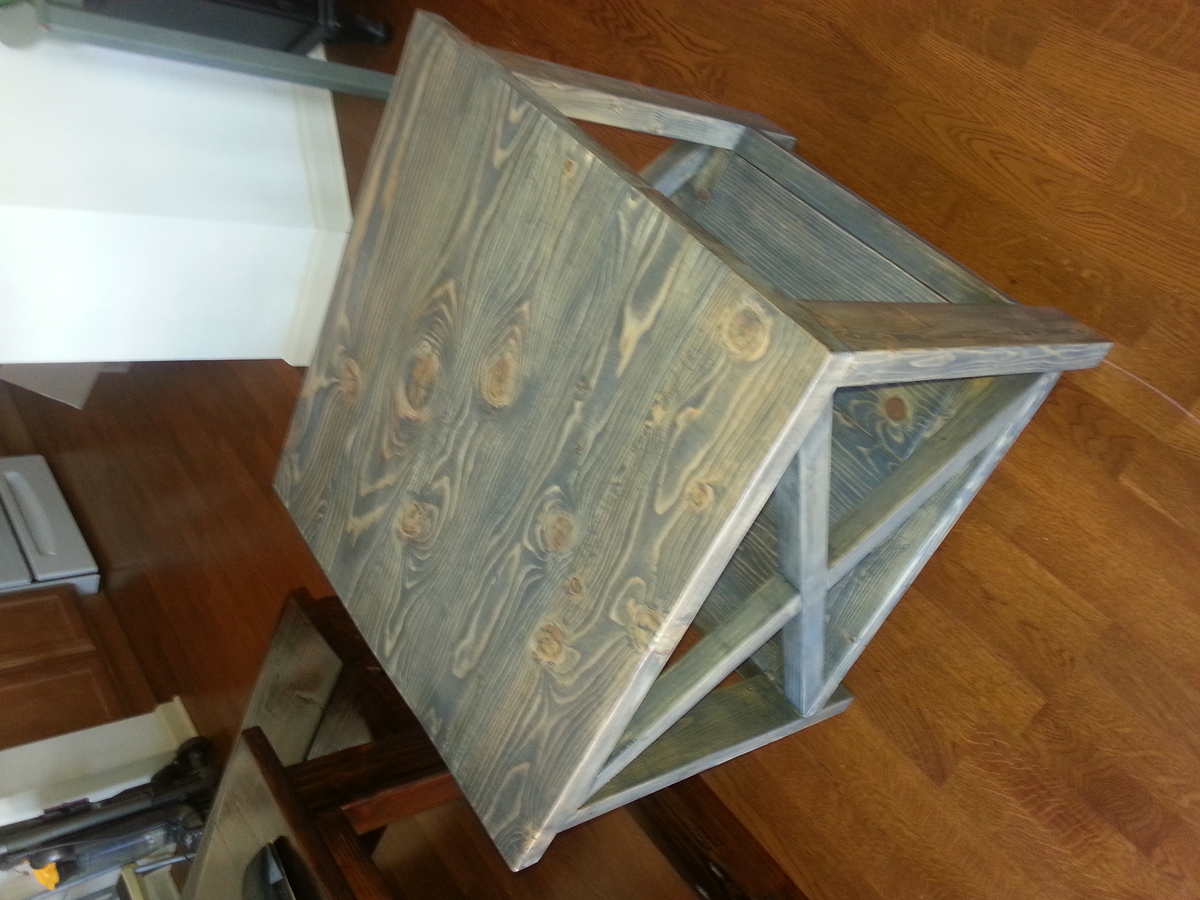
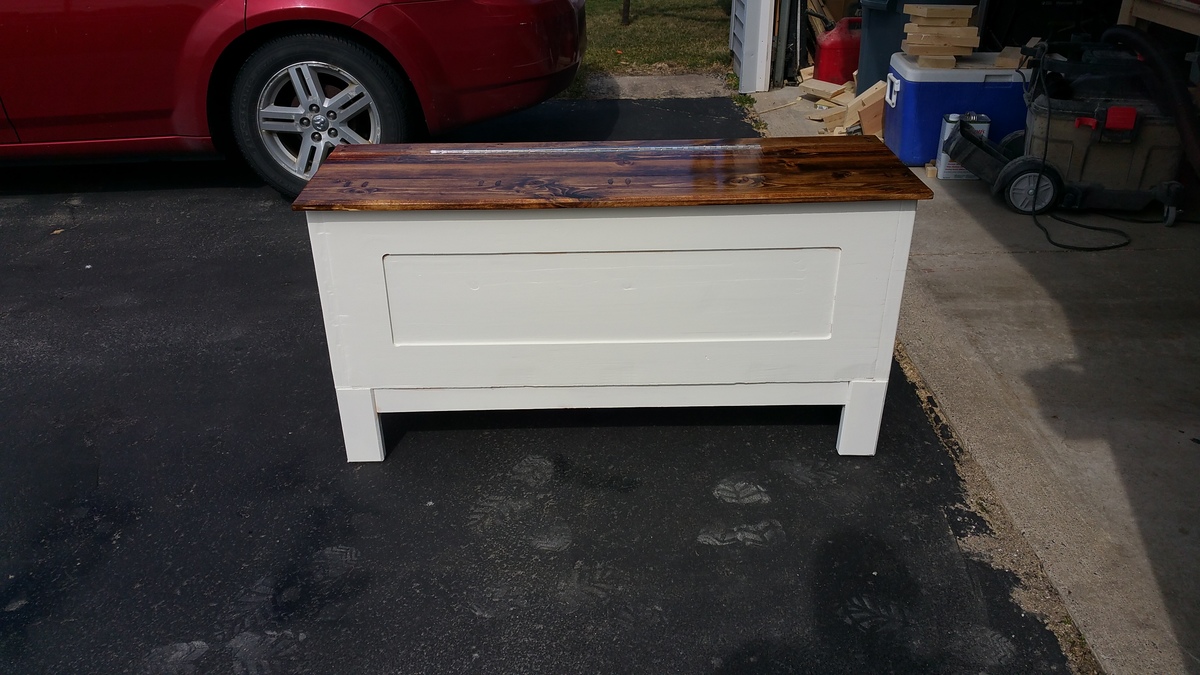
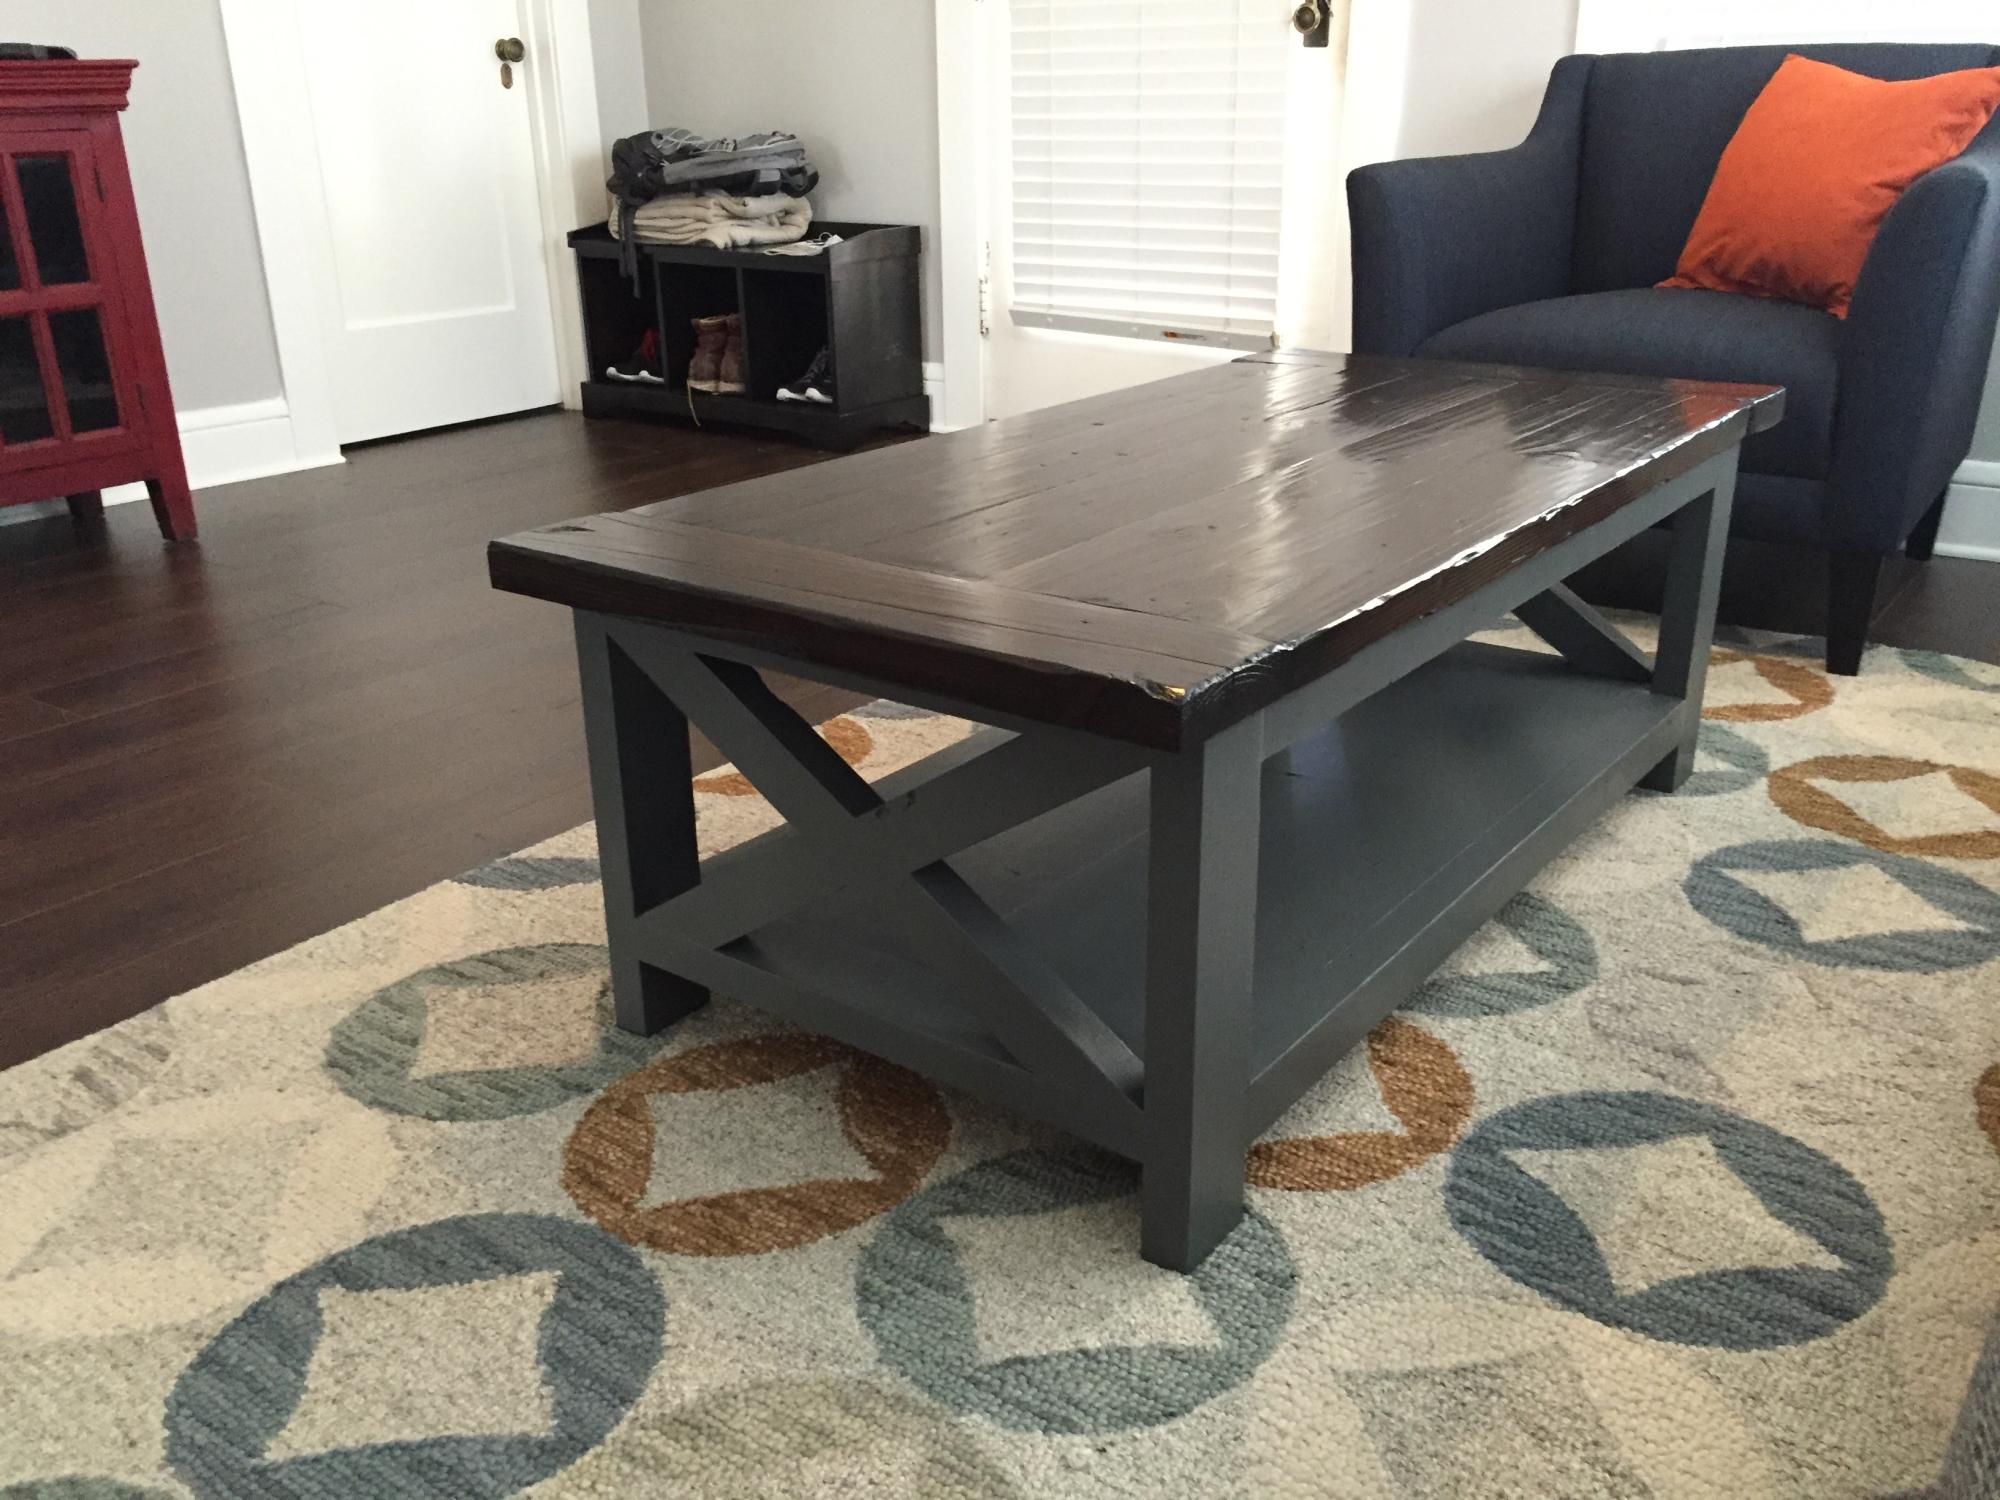
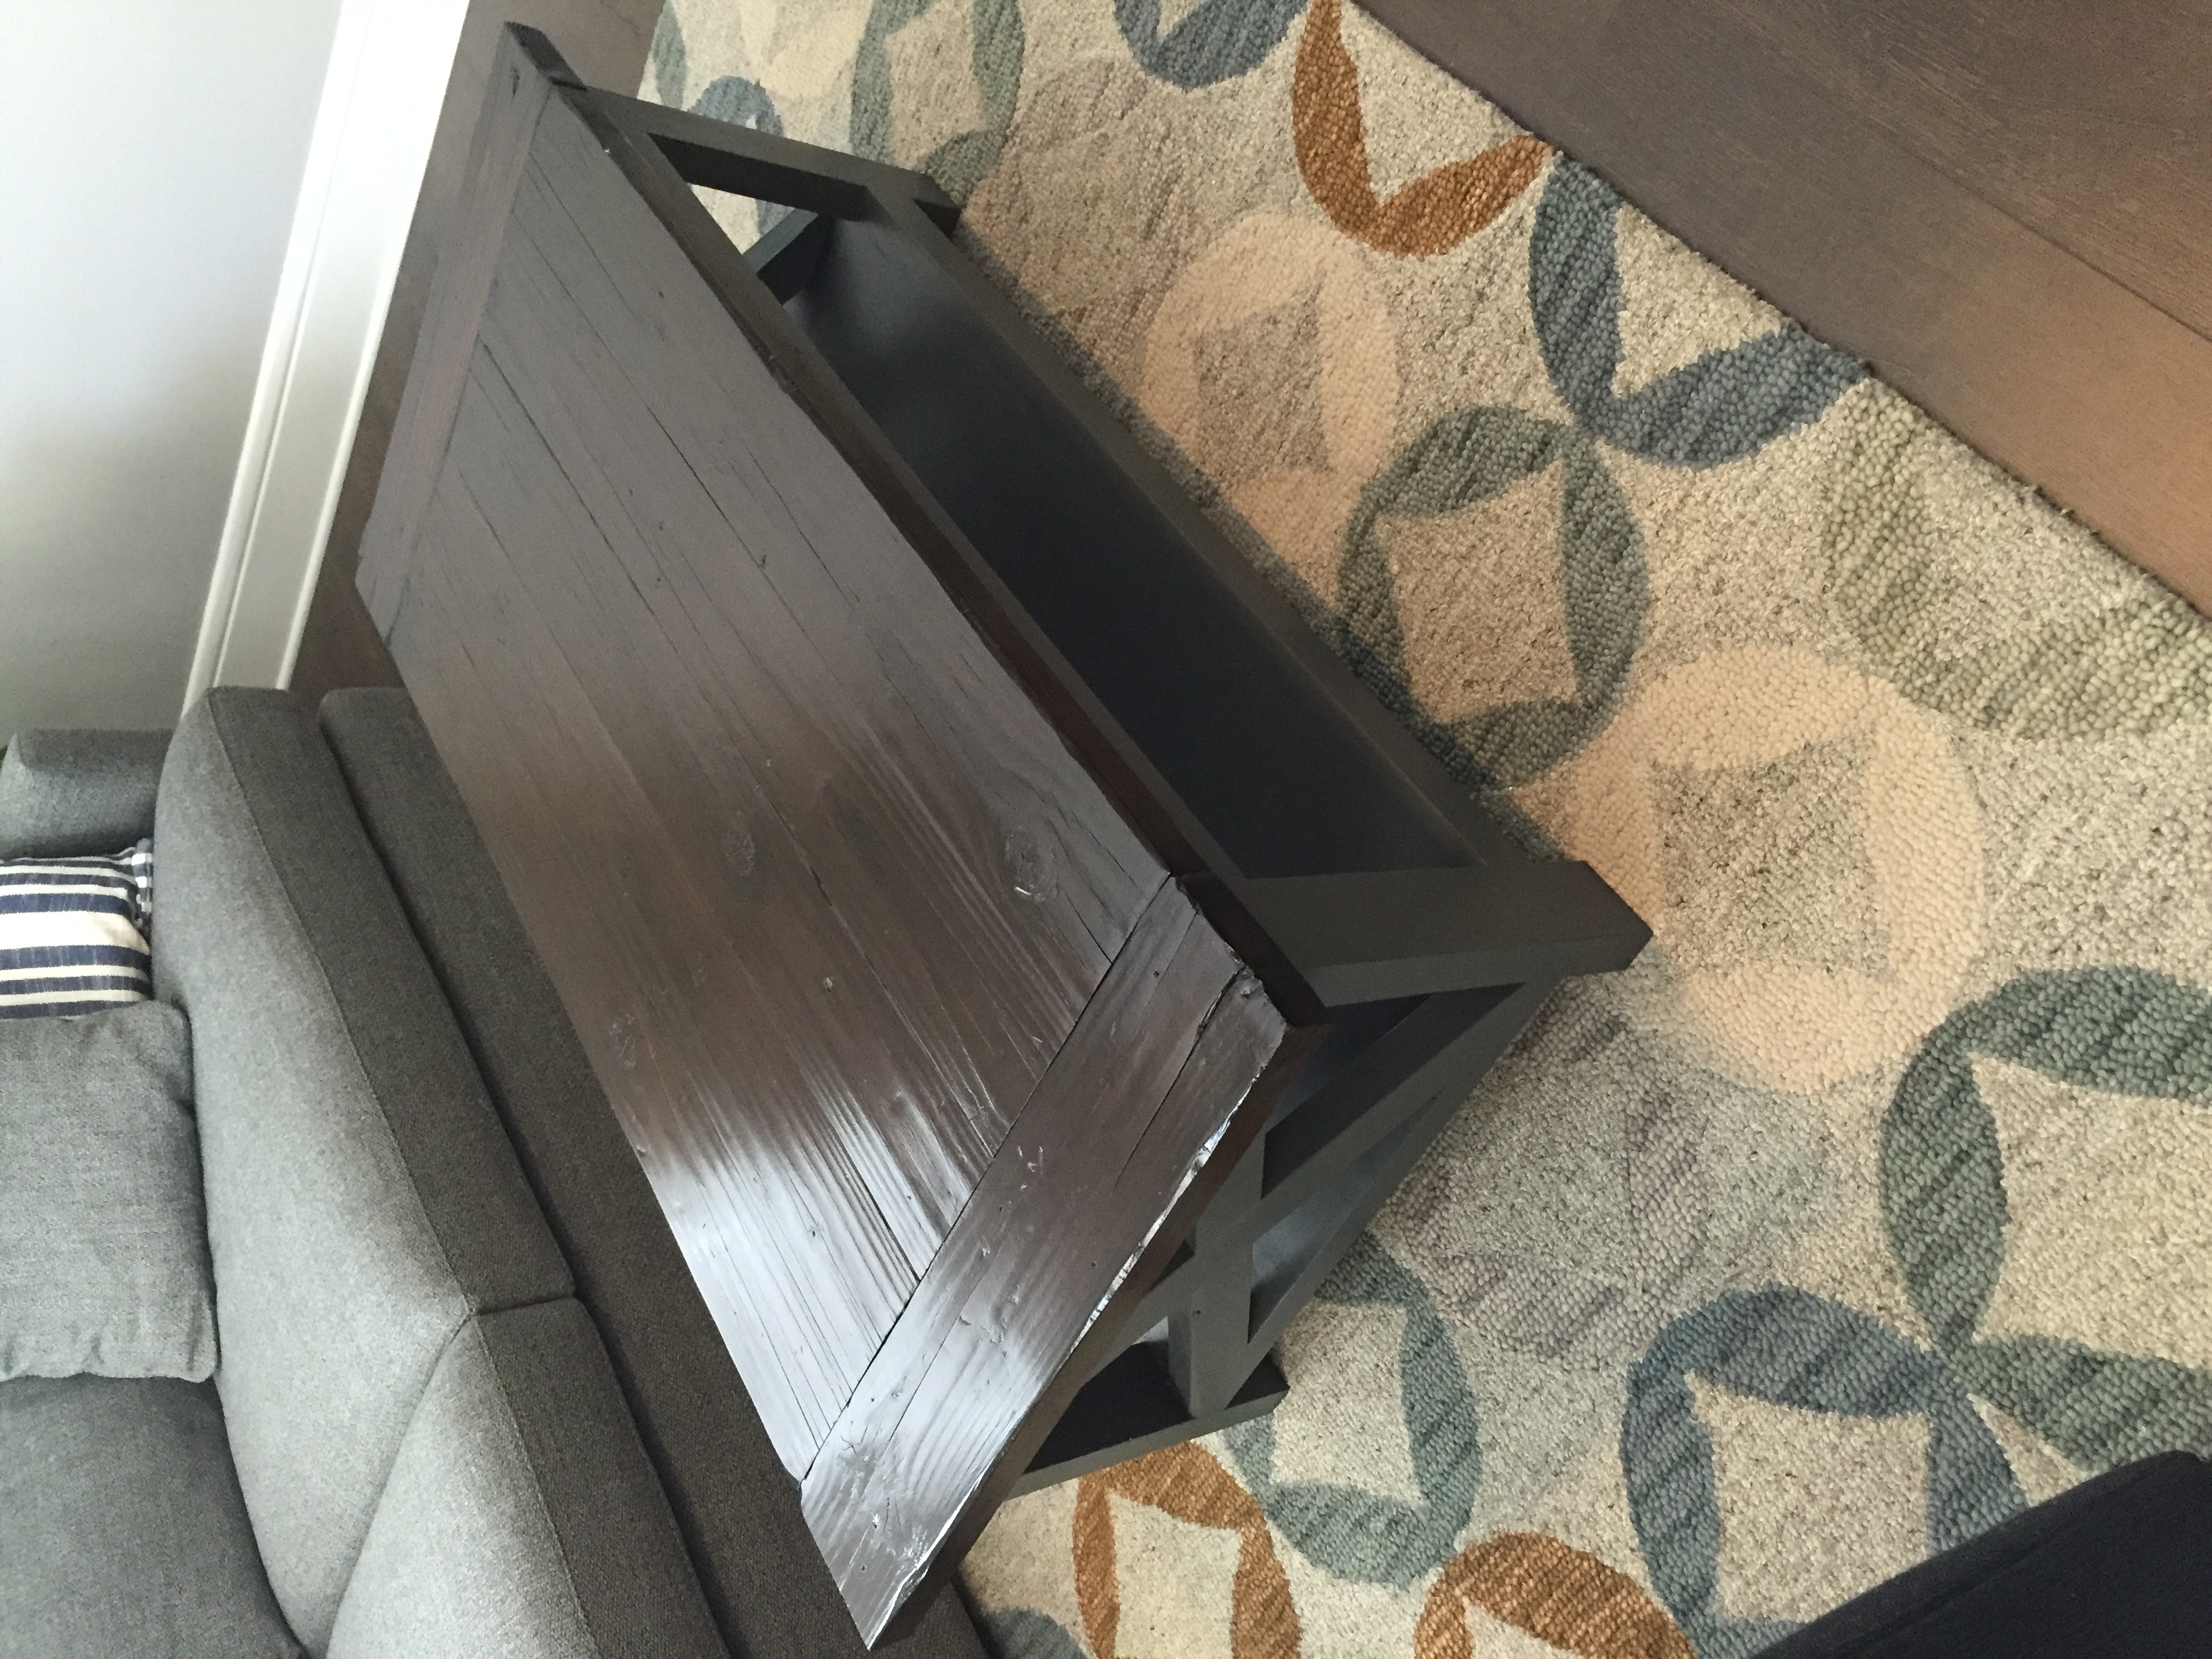
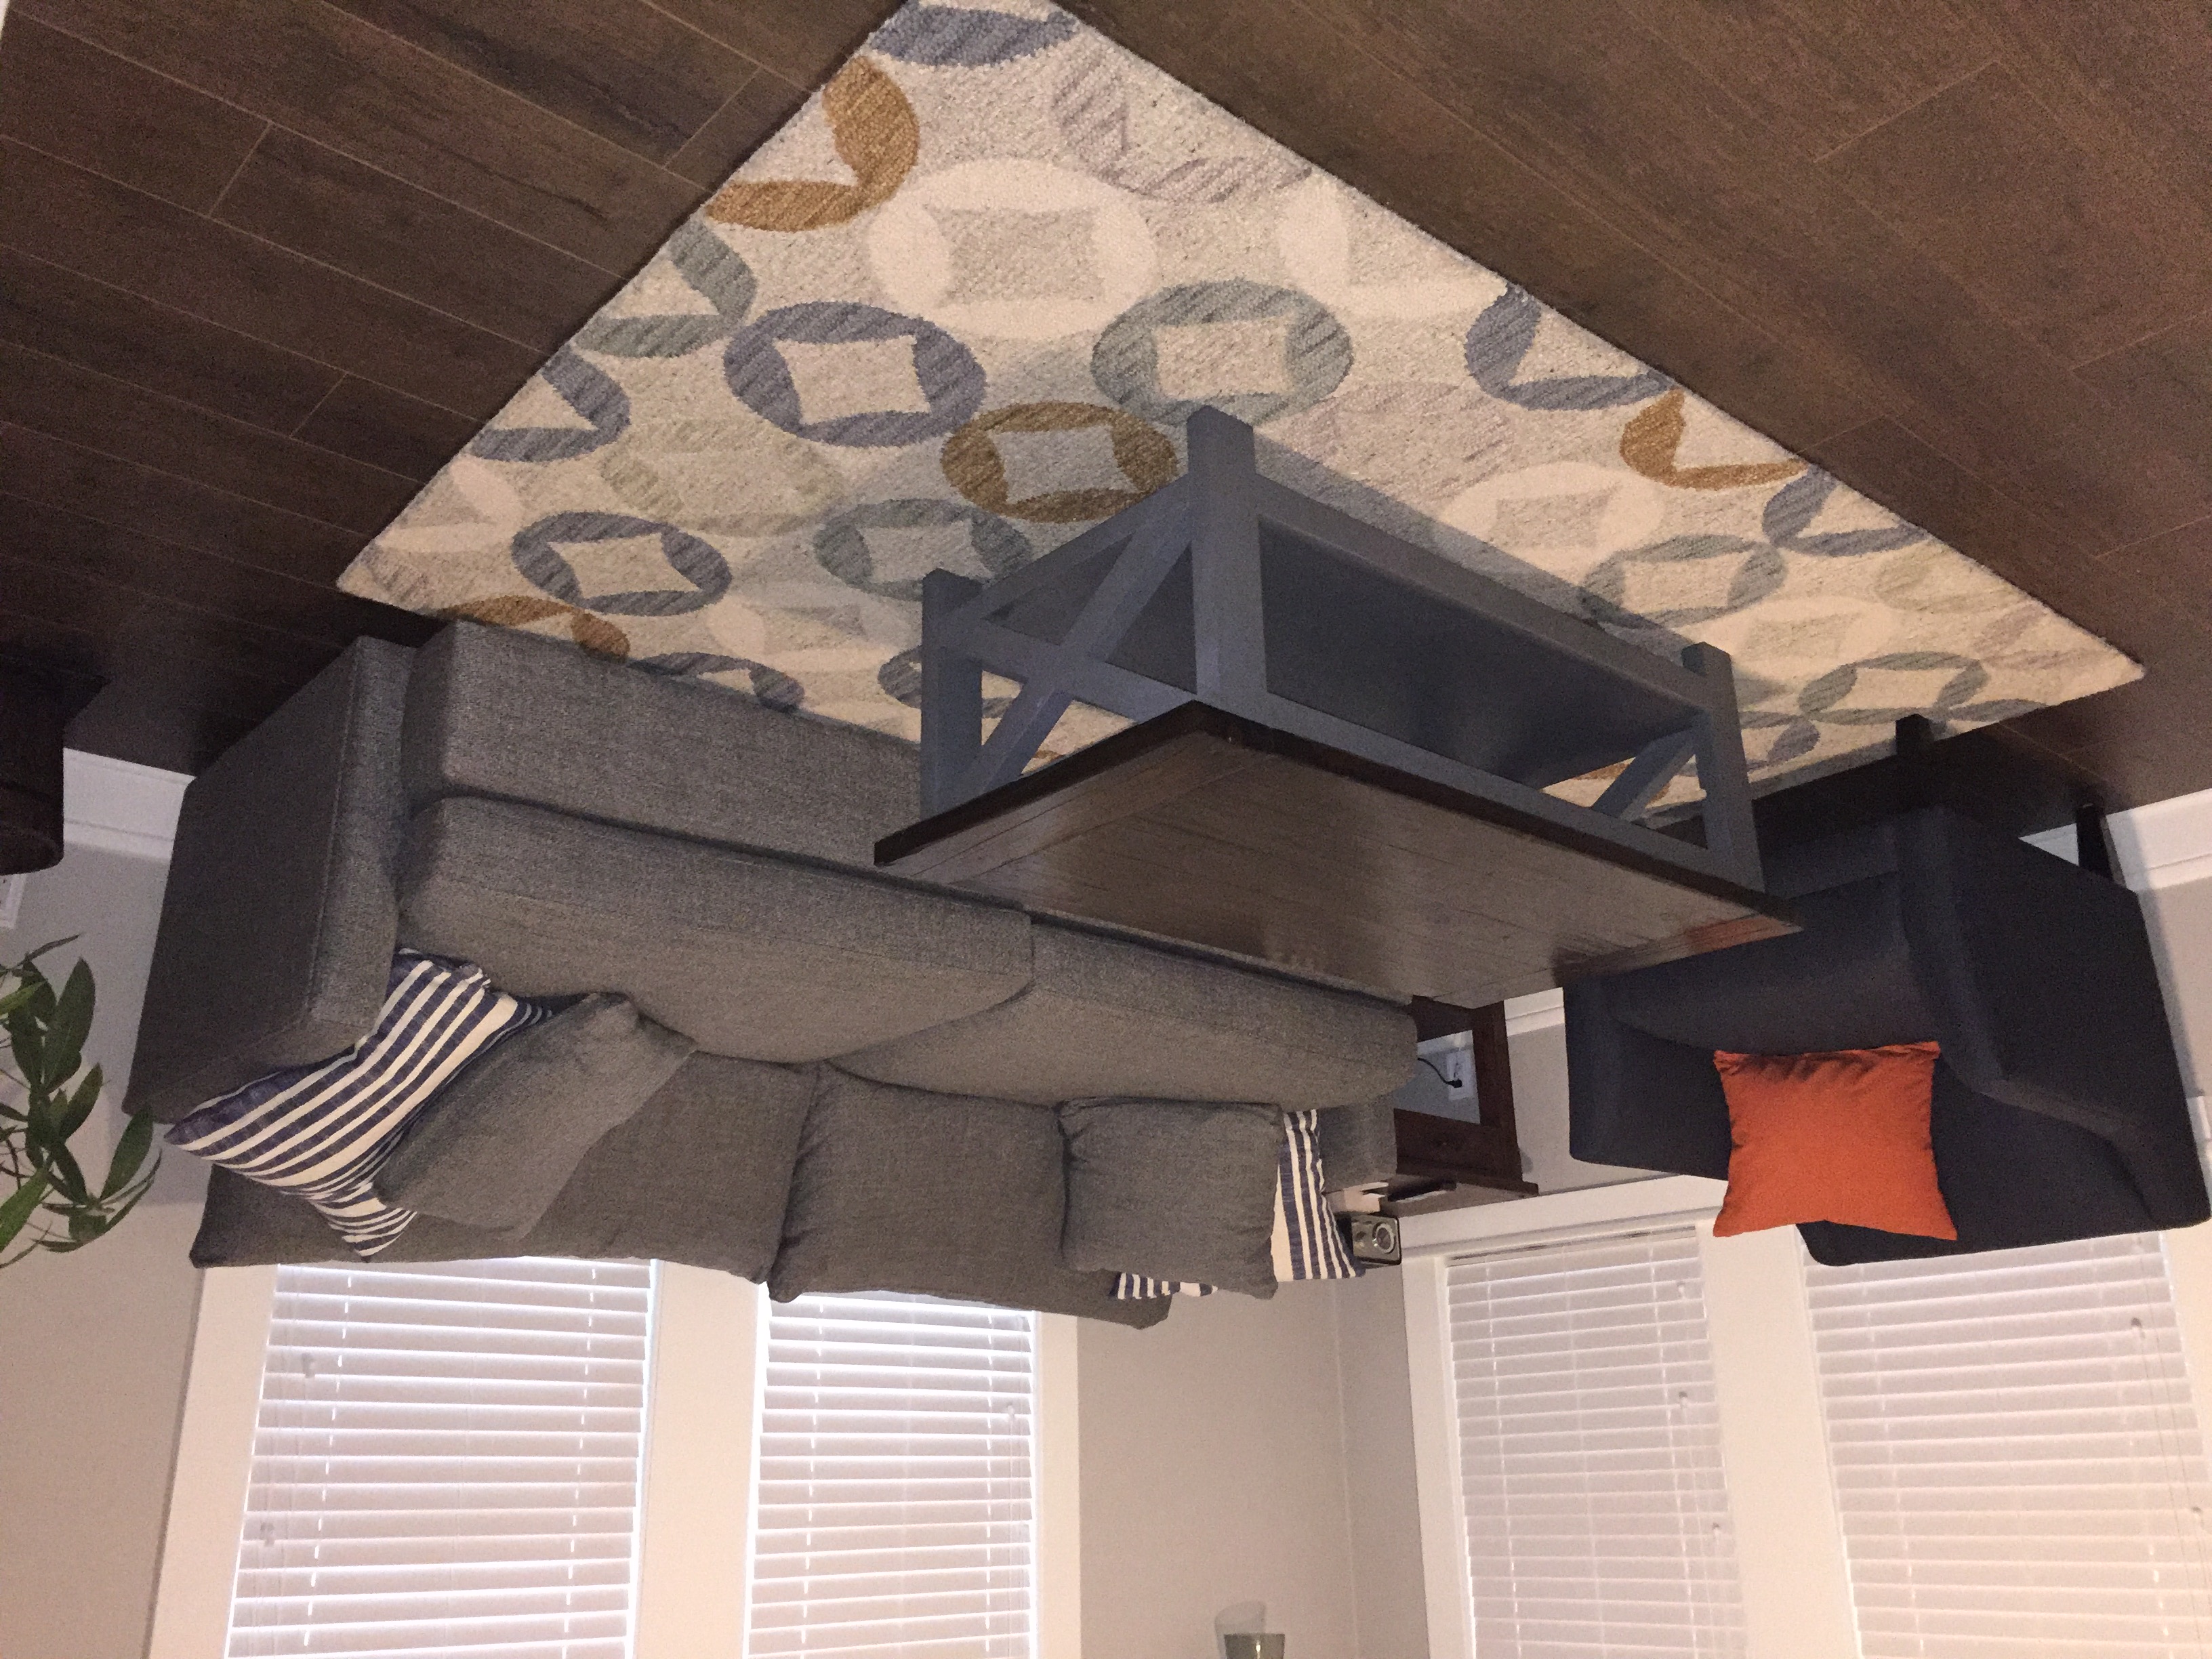
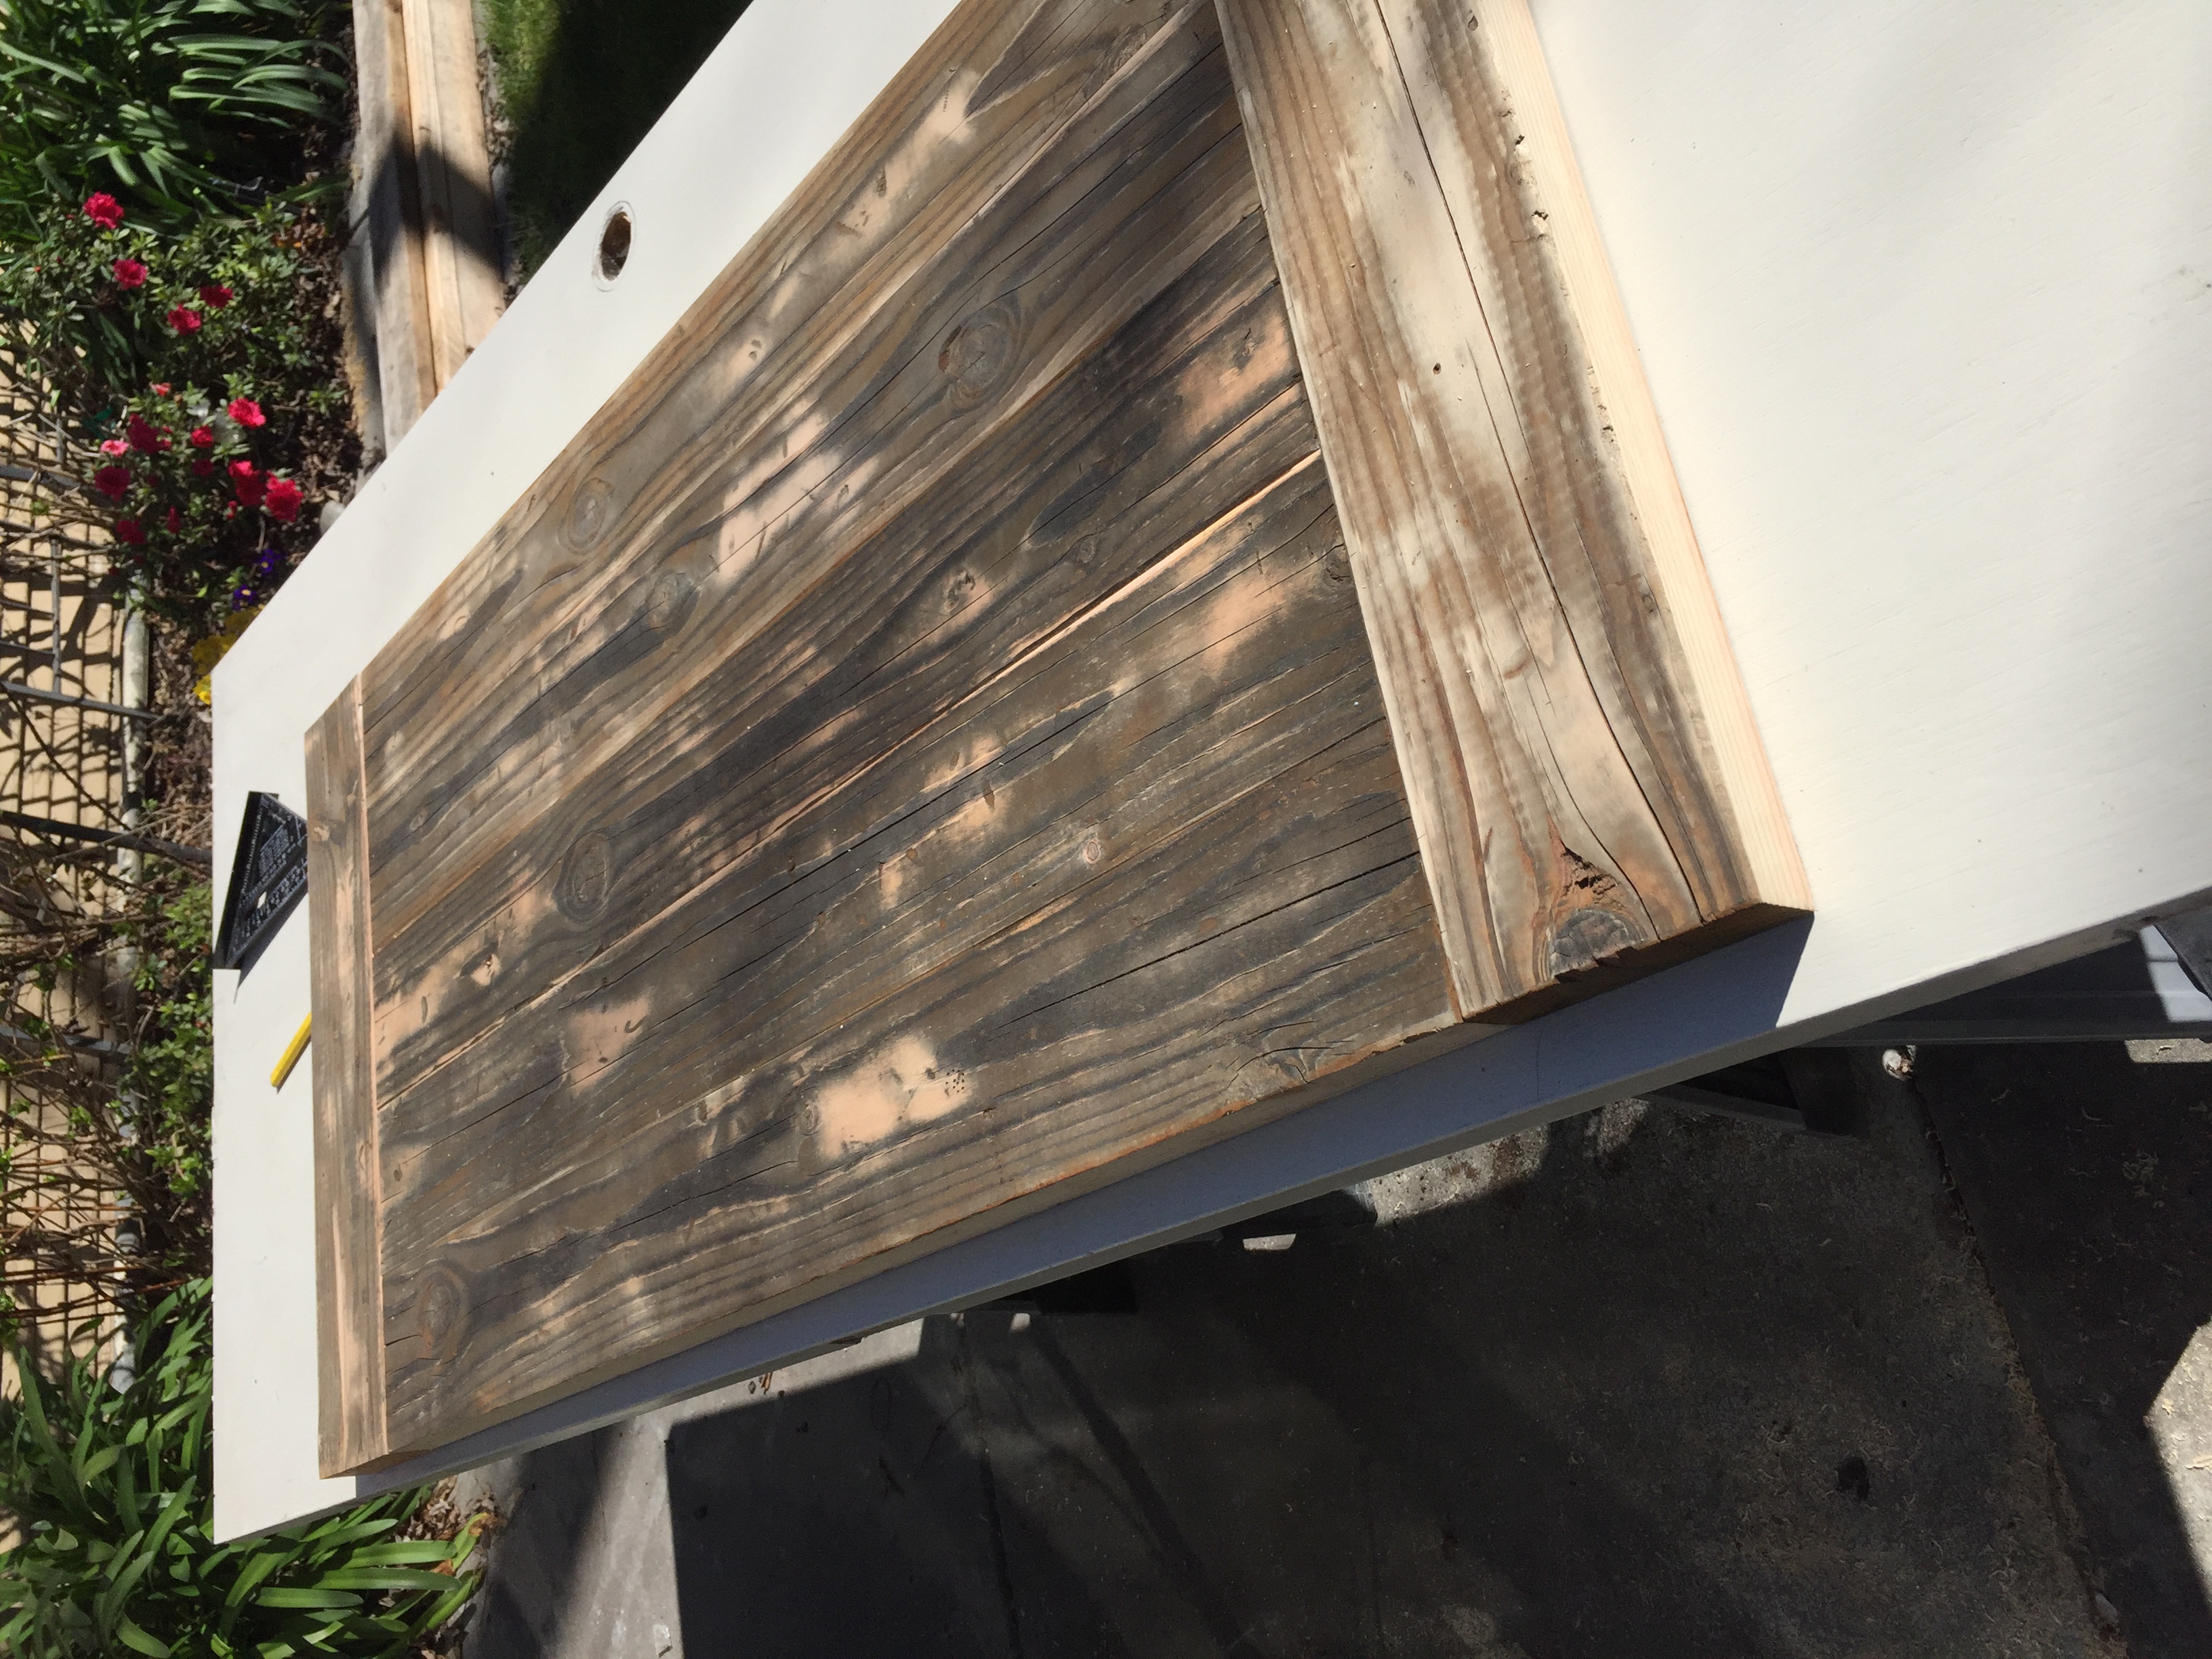
Rustic X Coffee Table
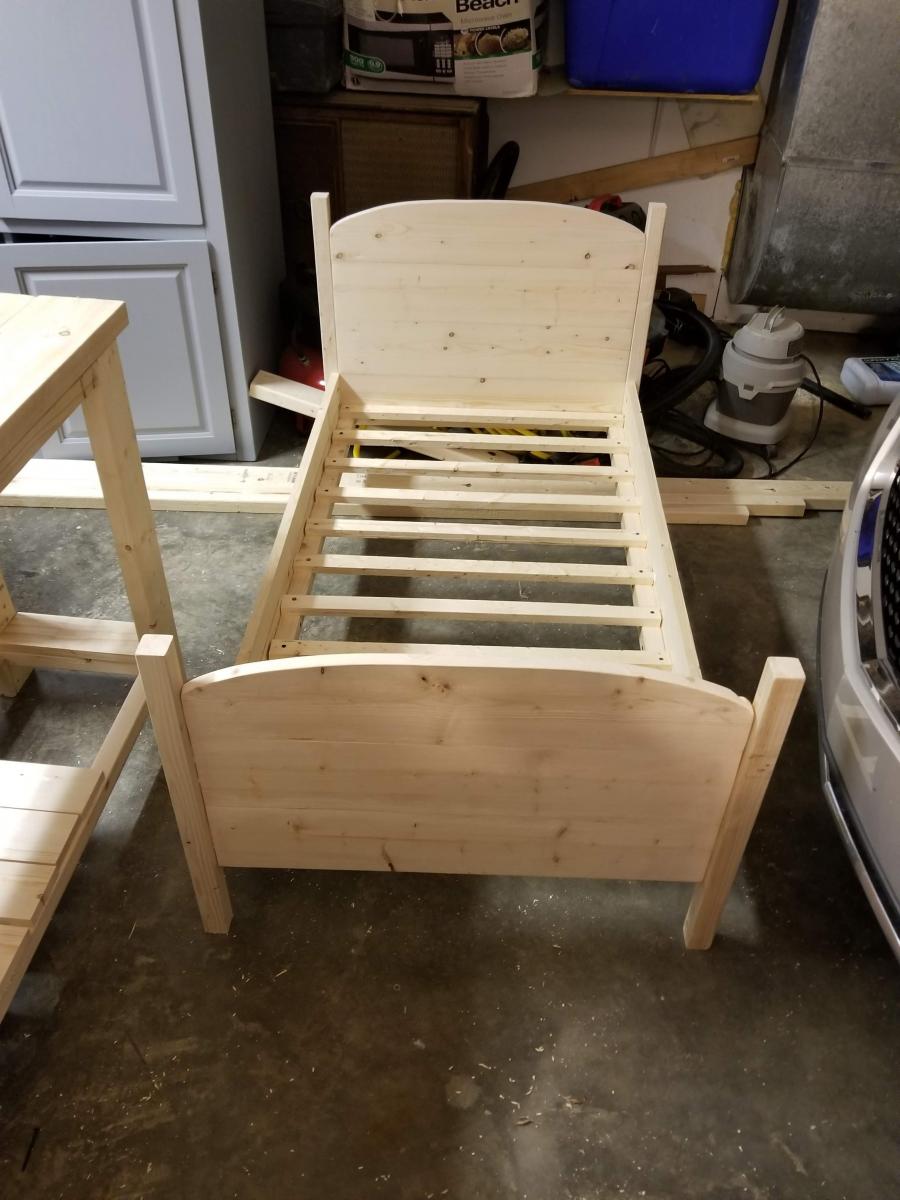
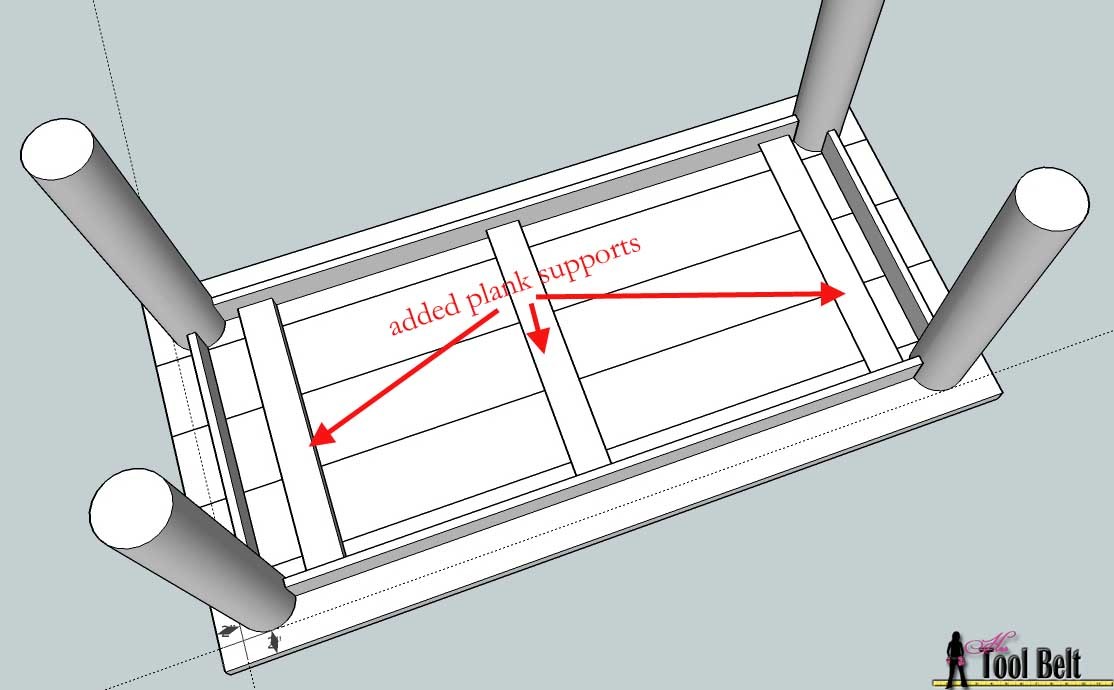
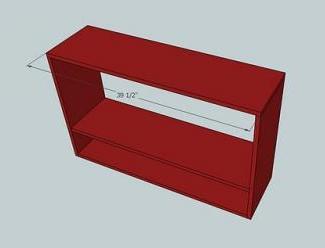
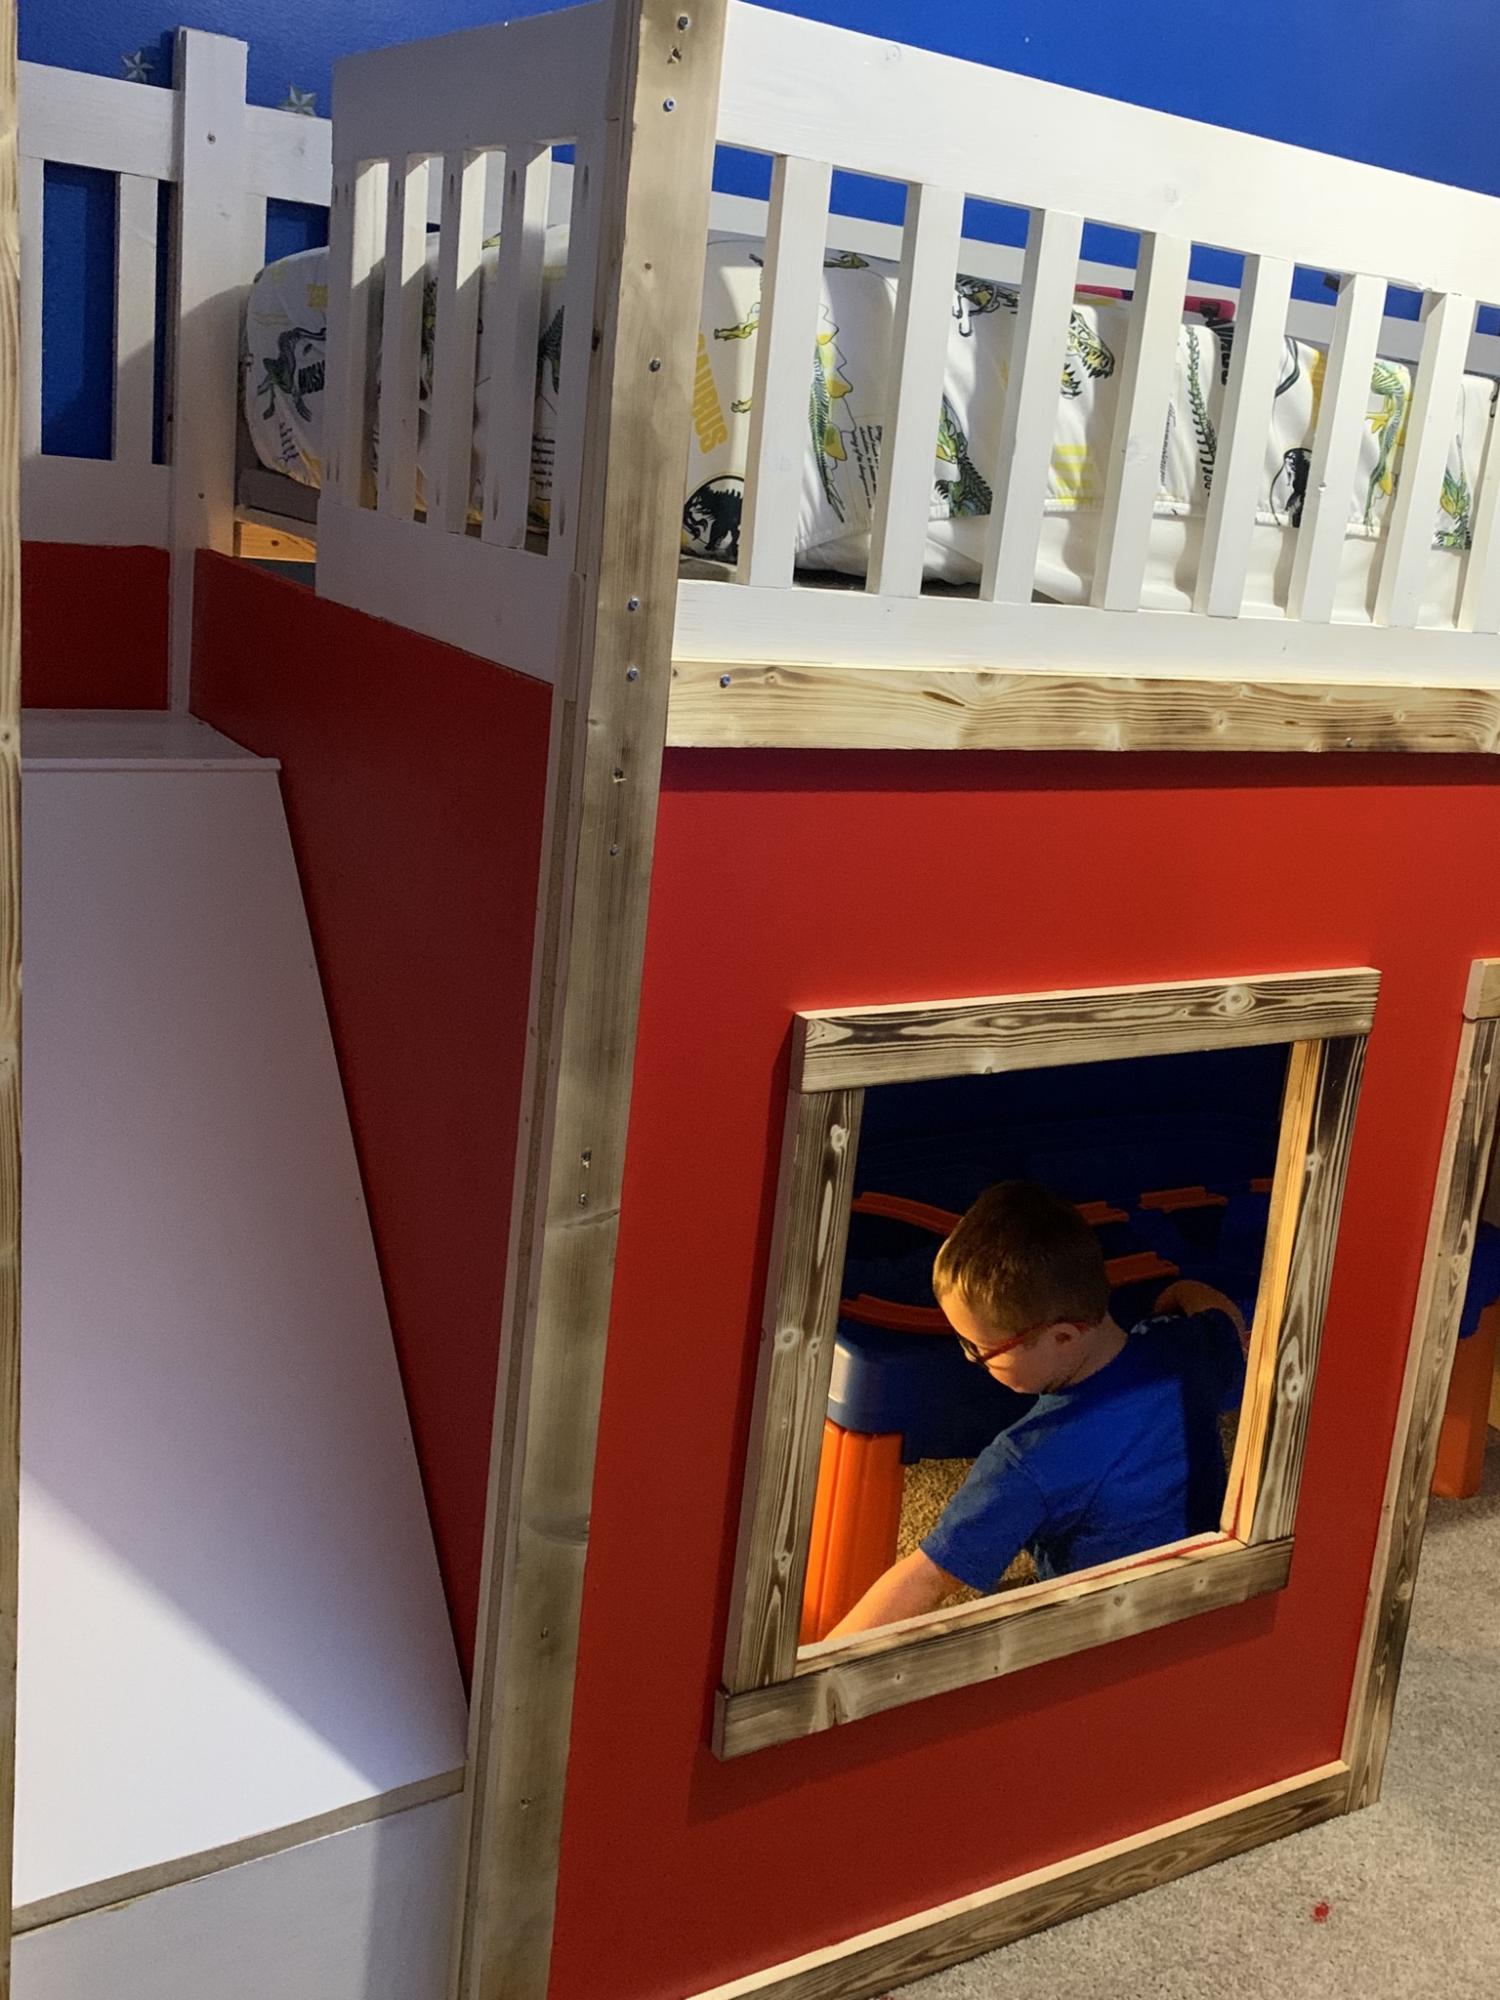
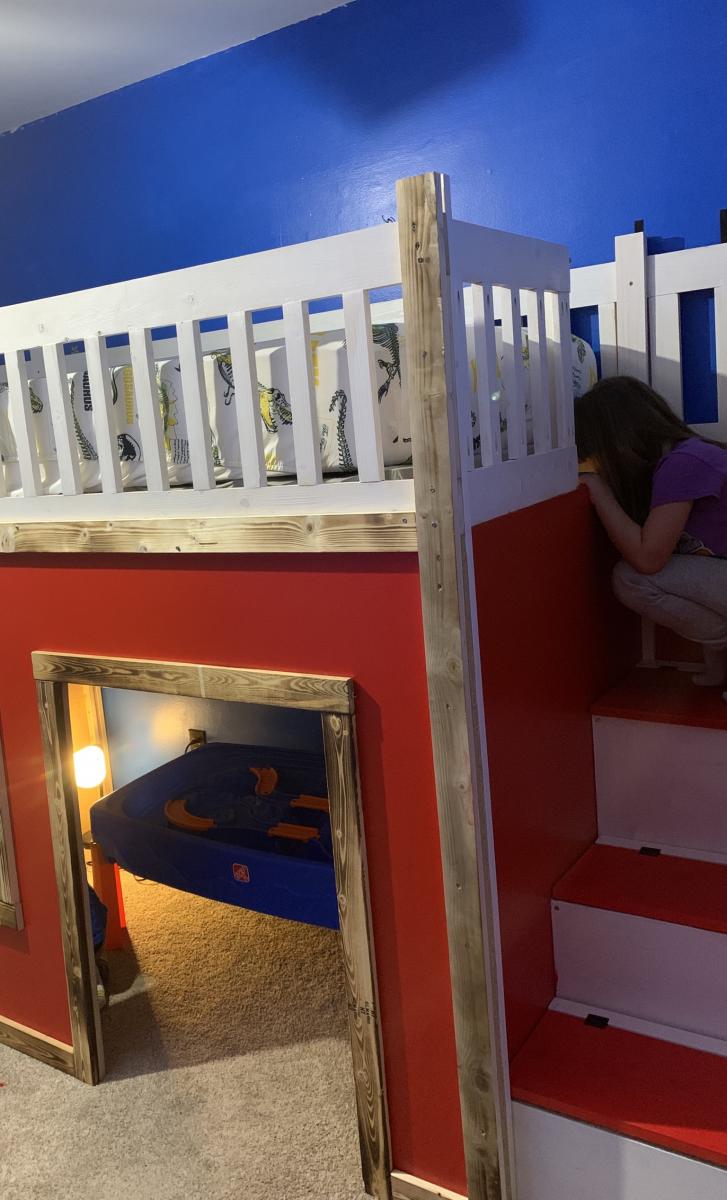
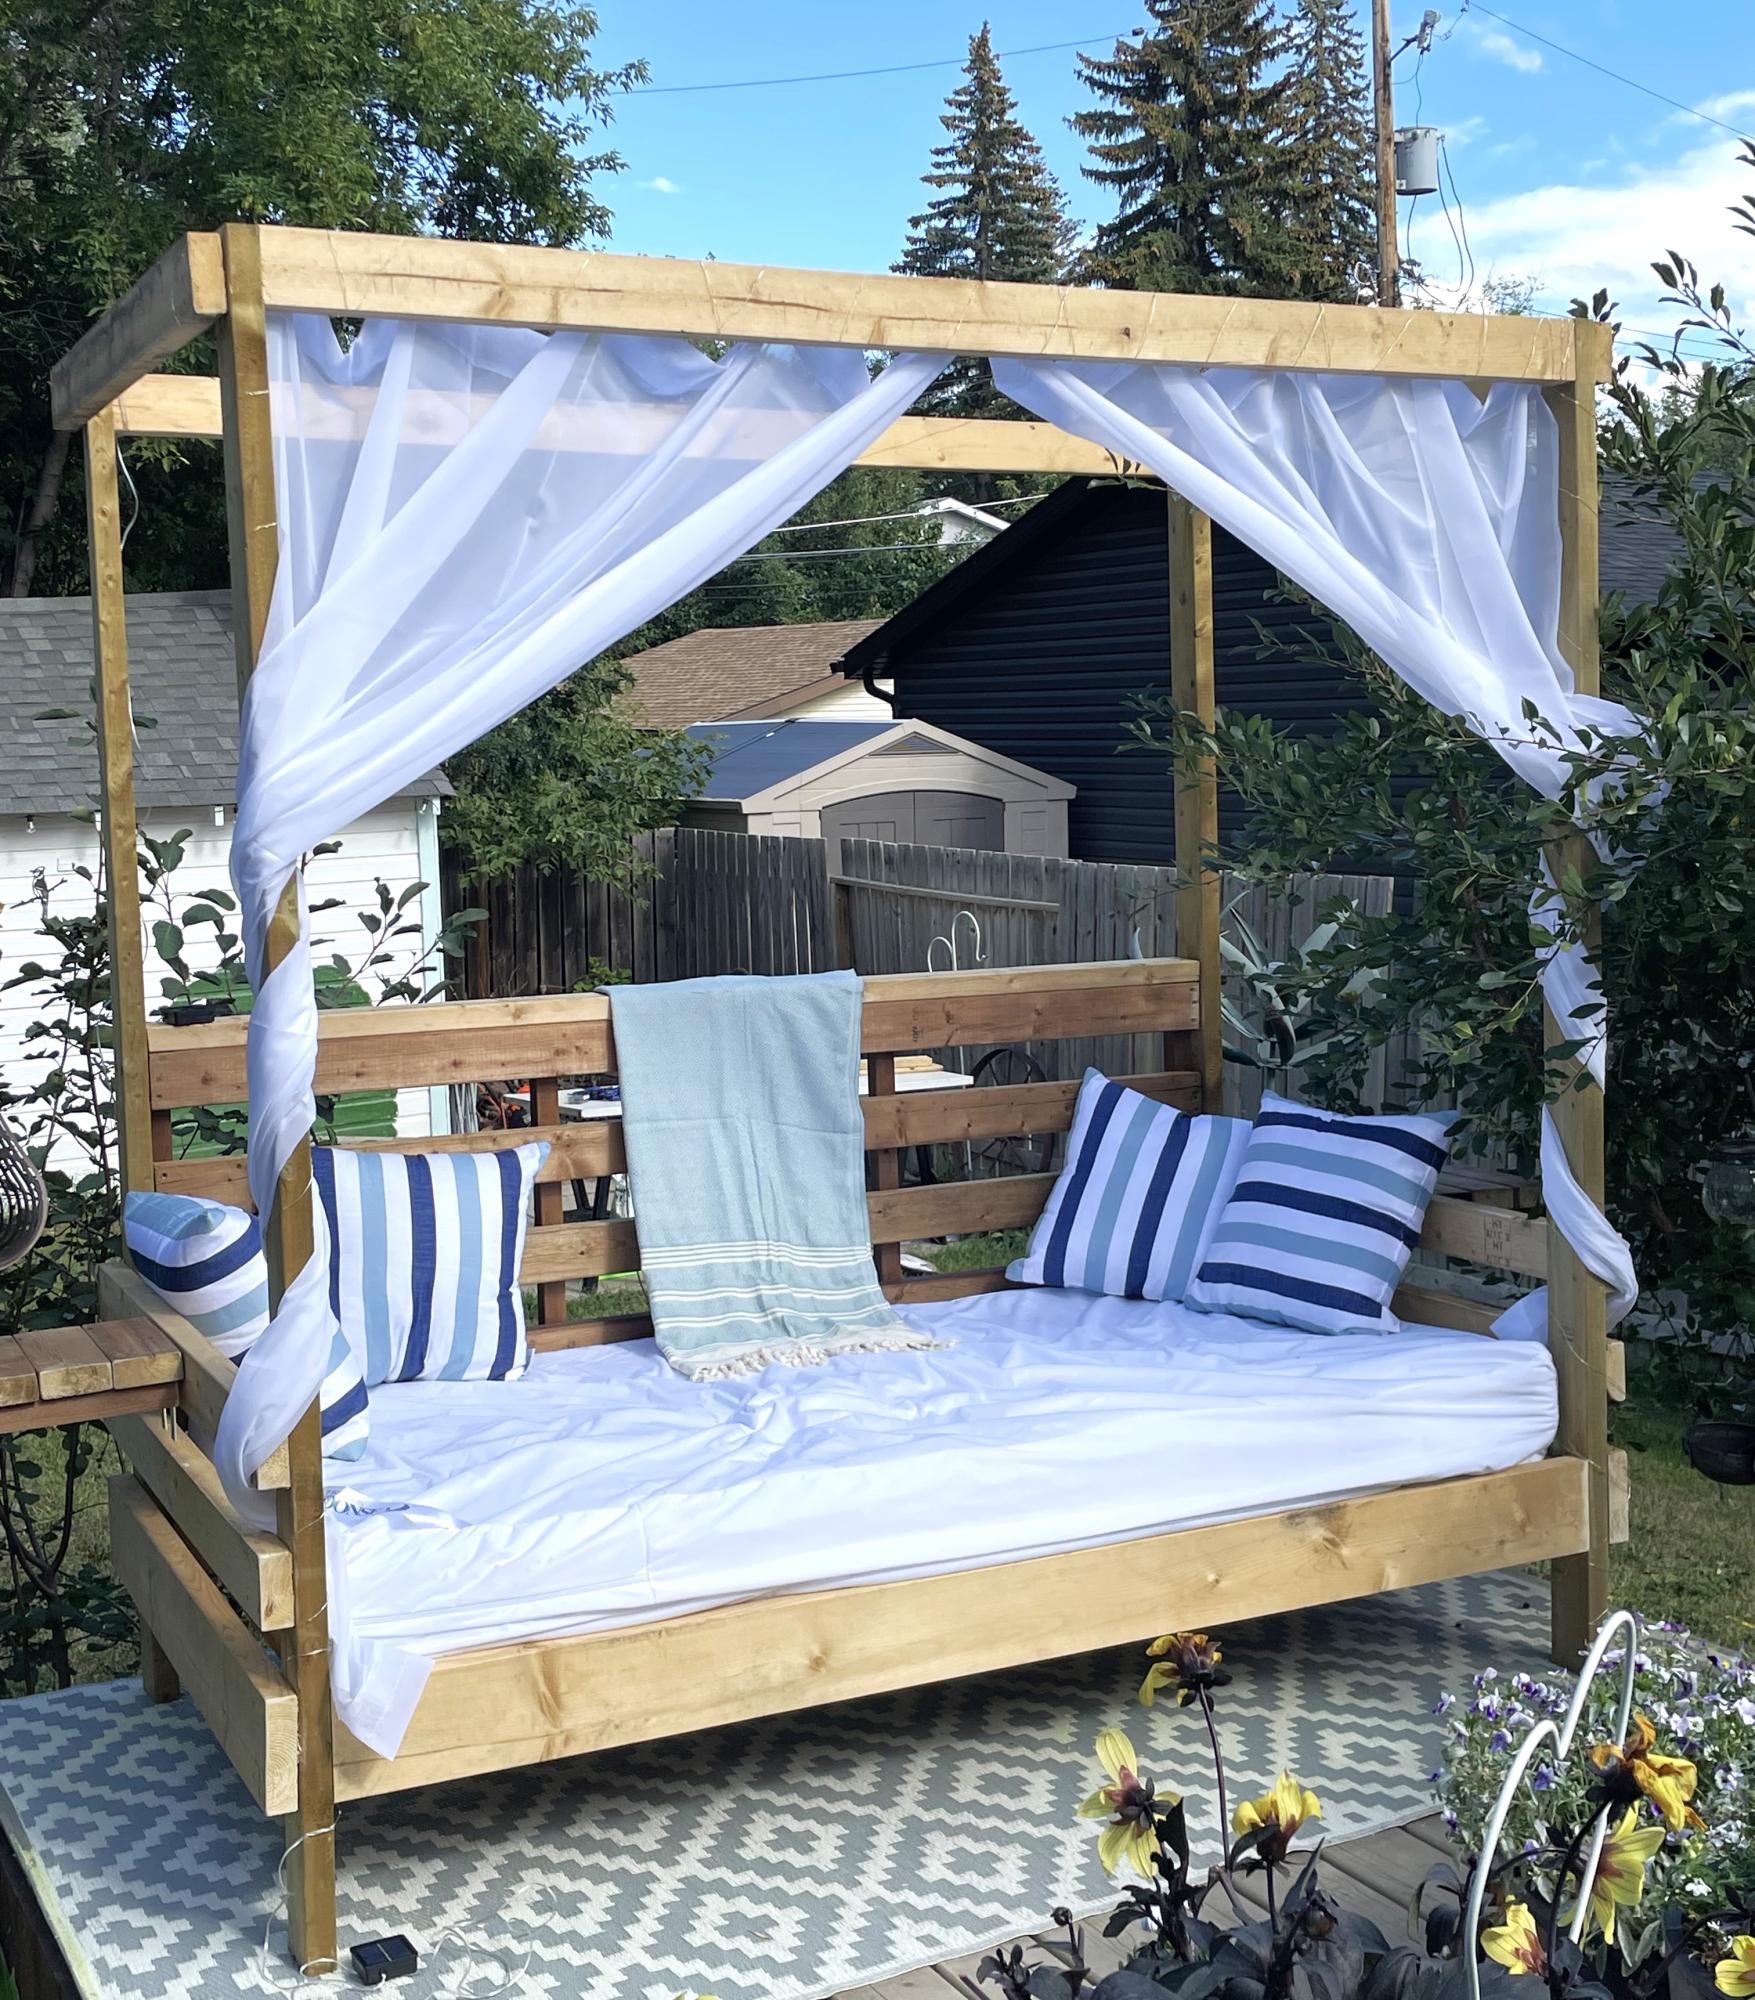
Followed the plan, pretty straight forward.


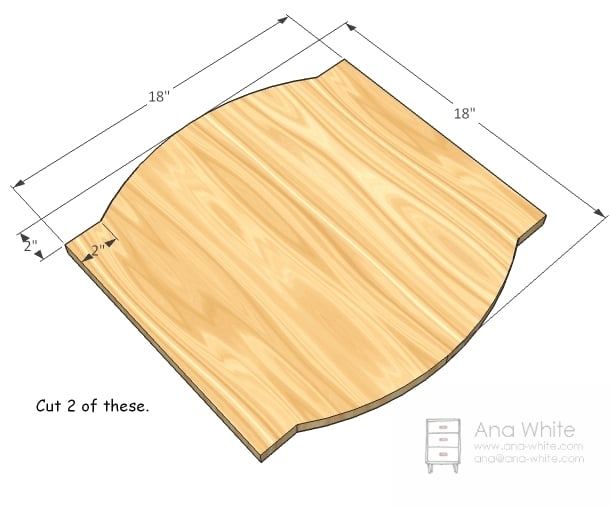
Built from Plan(s)
Estimated Cost
$30 Wood
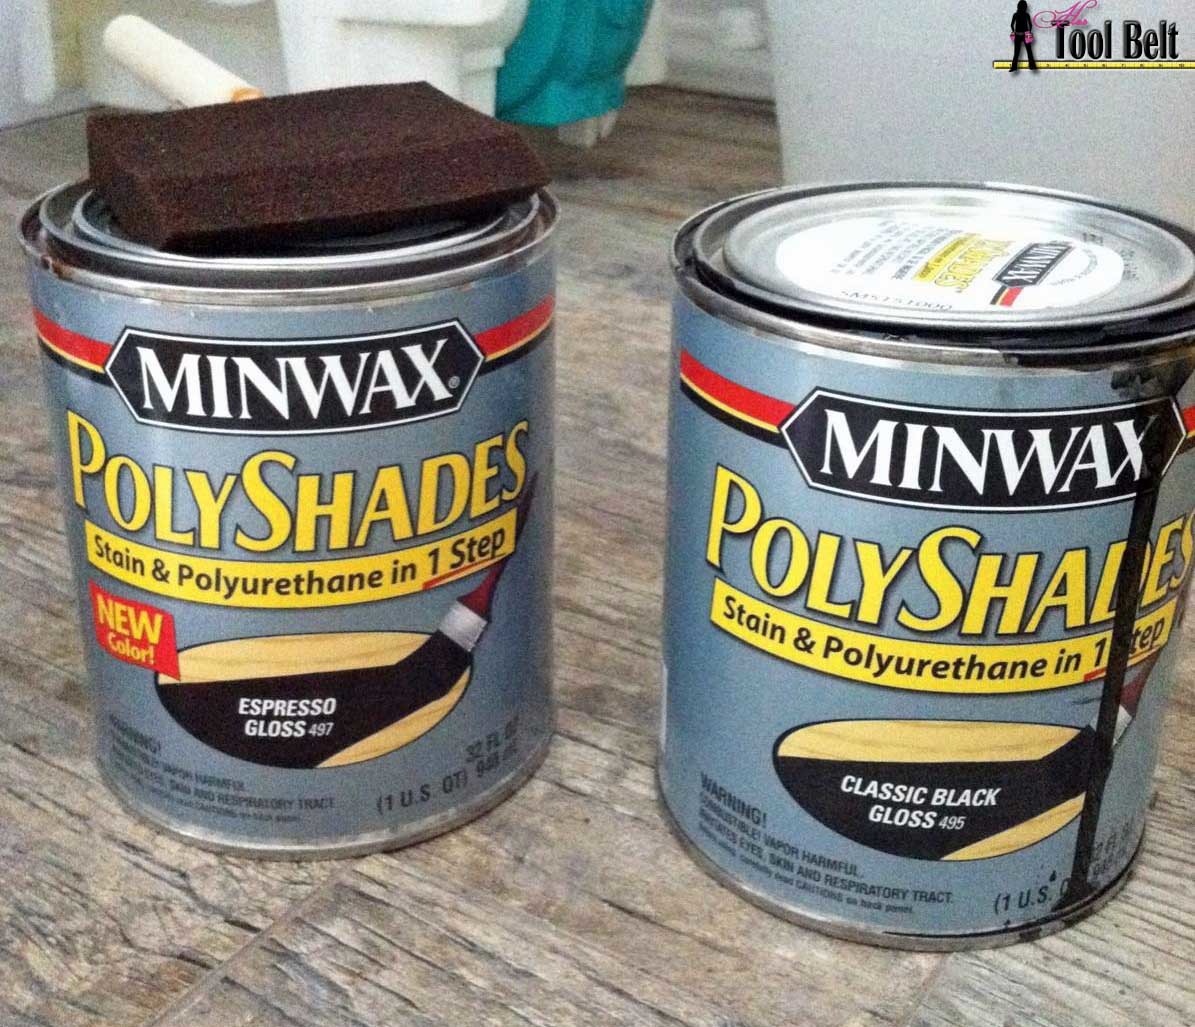
$8 Stain
$12 Poly
$5 Paint
$8 Stain
$12 Poly
$5 Paint
Estimated Time Investment
Weekend Project (10-20 Hours)
Finish Used
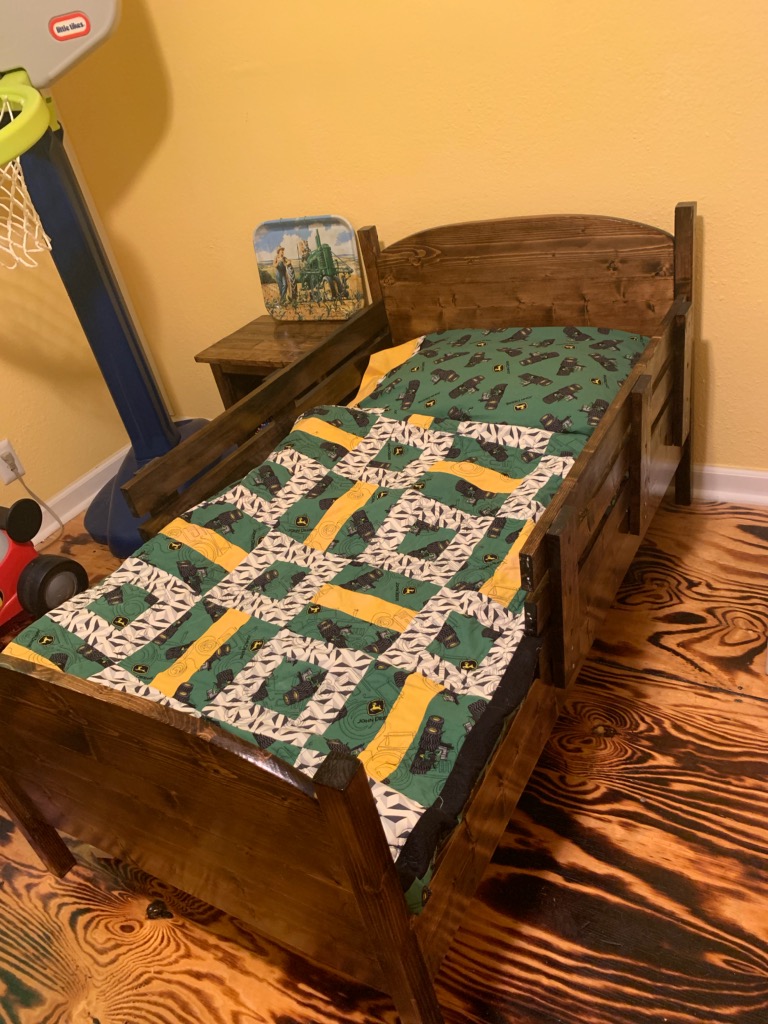
Benjamin Moore - Kendall Charcoal
Varathane - Dark Walnut + Semi Gloss
Varathane - Dark Walnut + Semi Gloss
Recommended Skill Level
Beginner