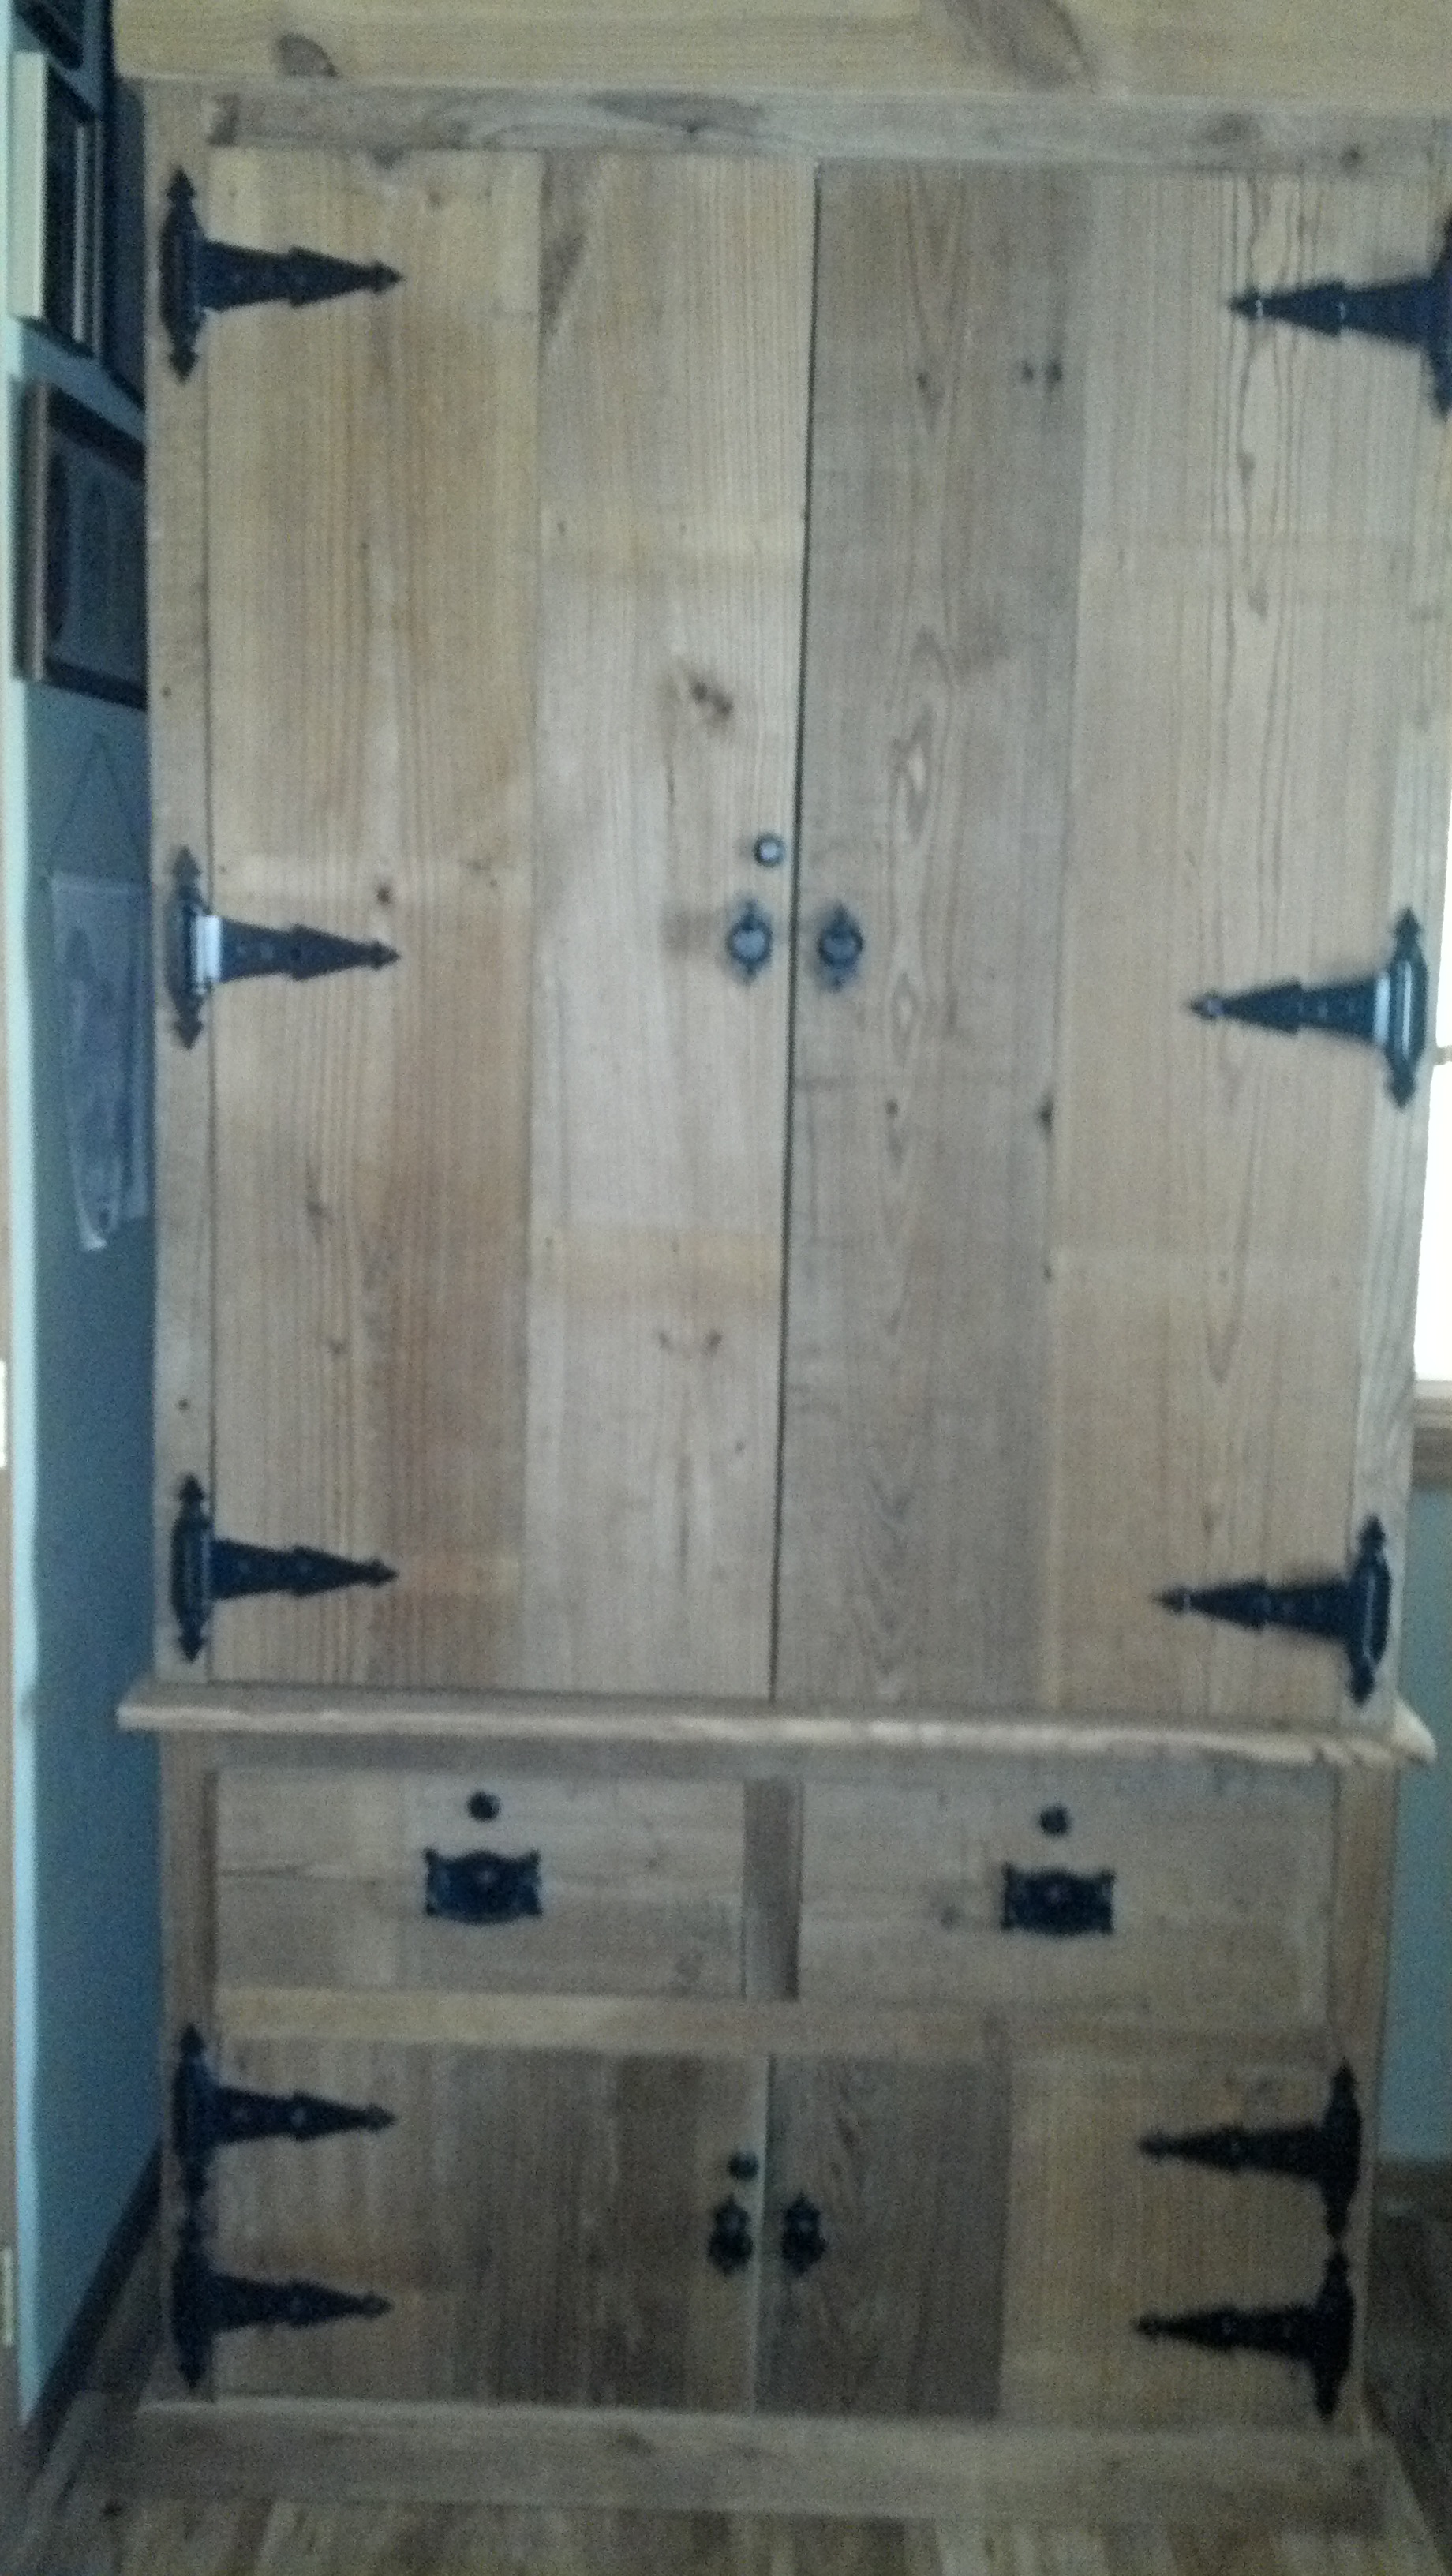
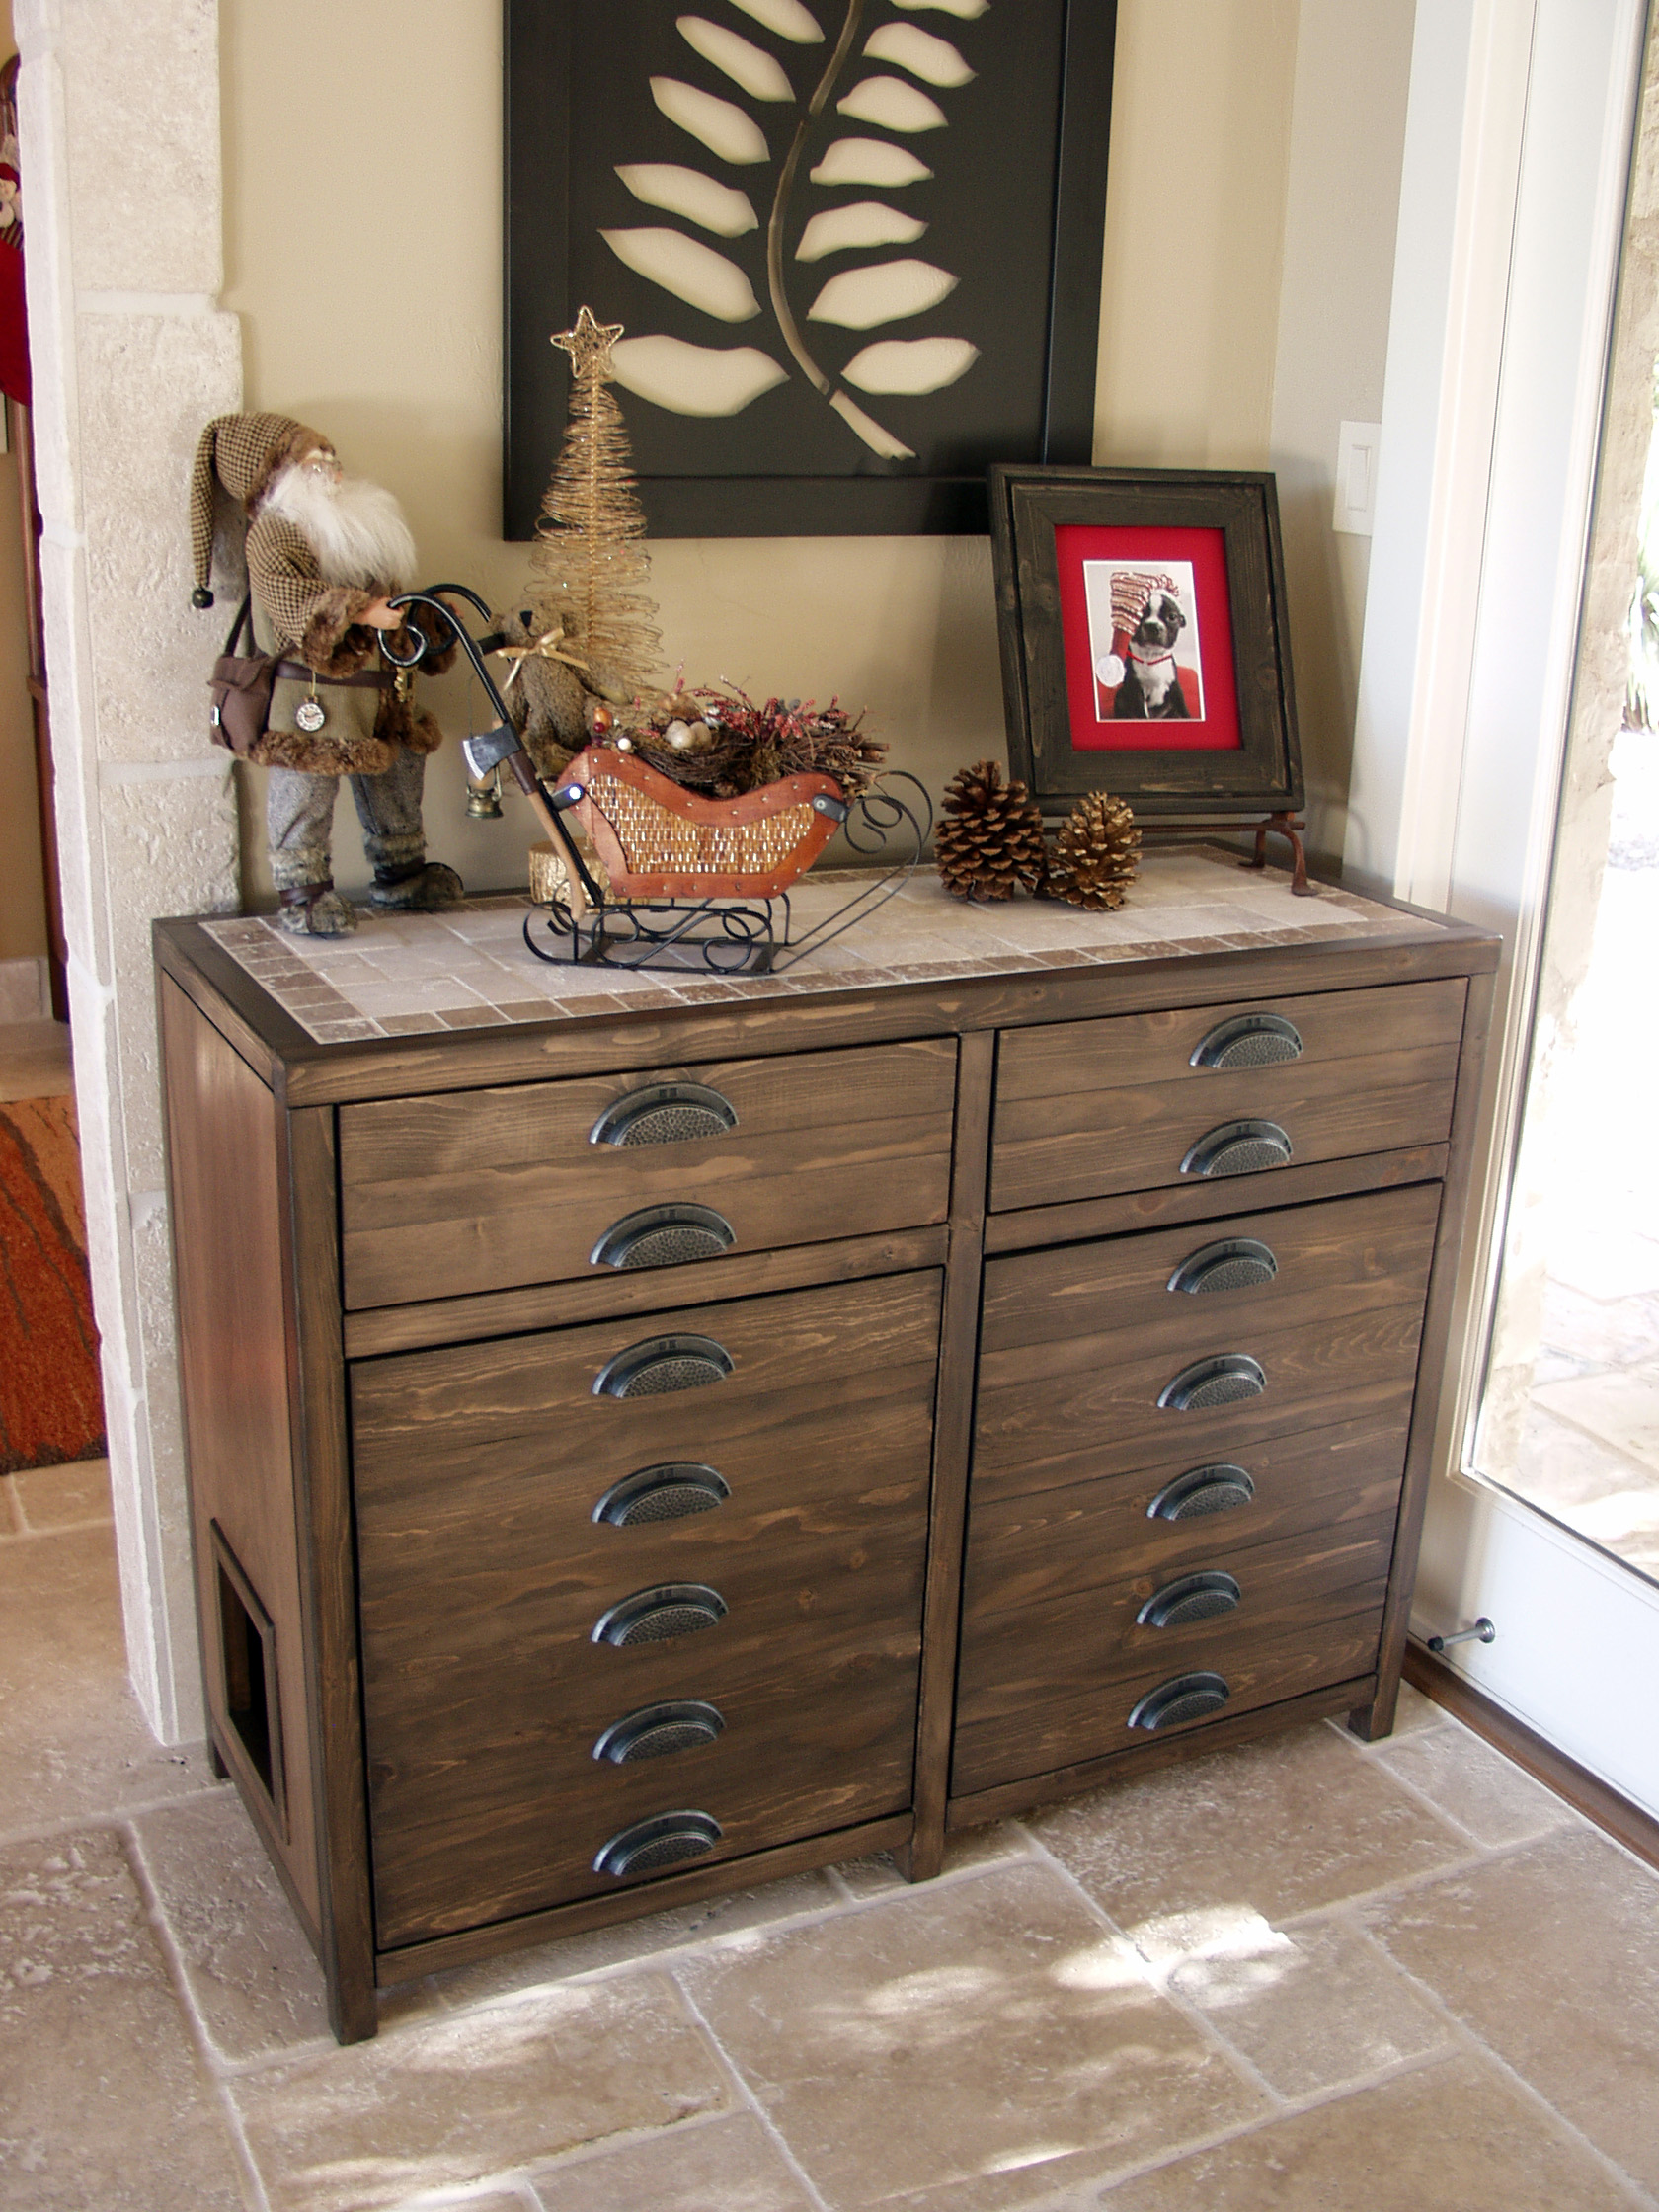
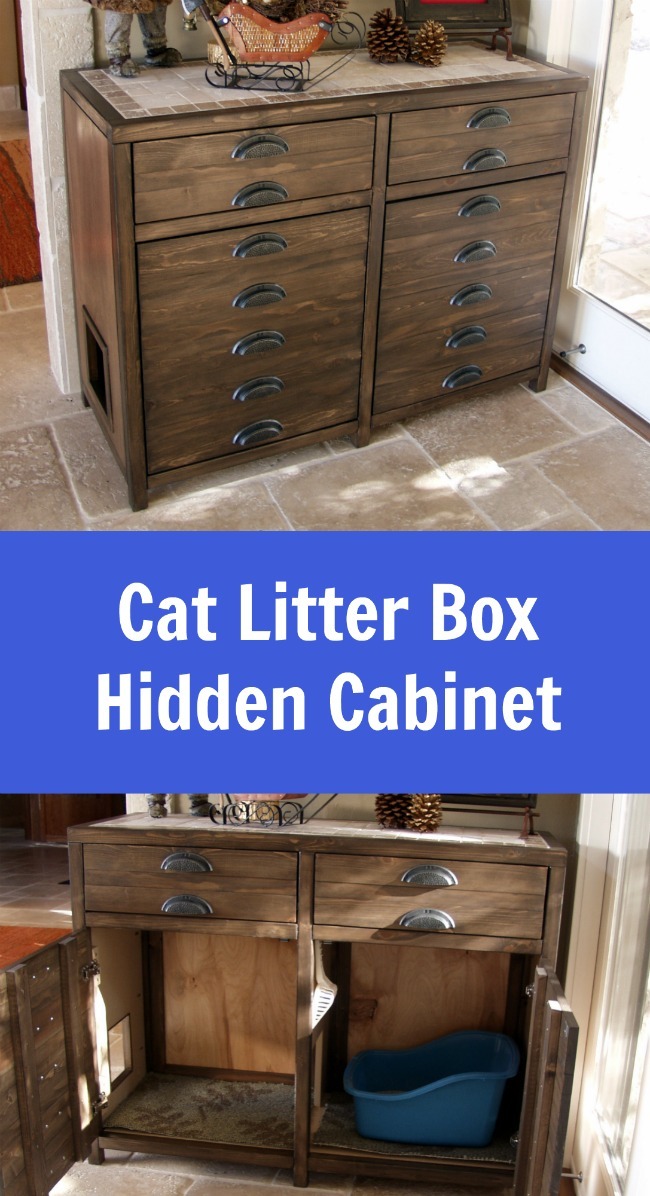
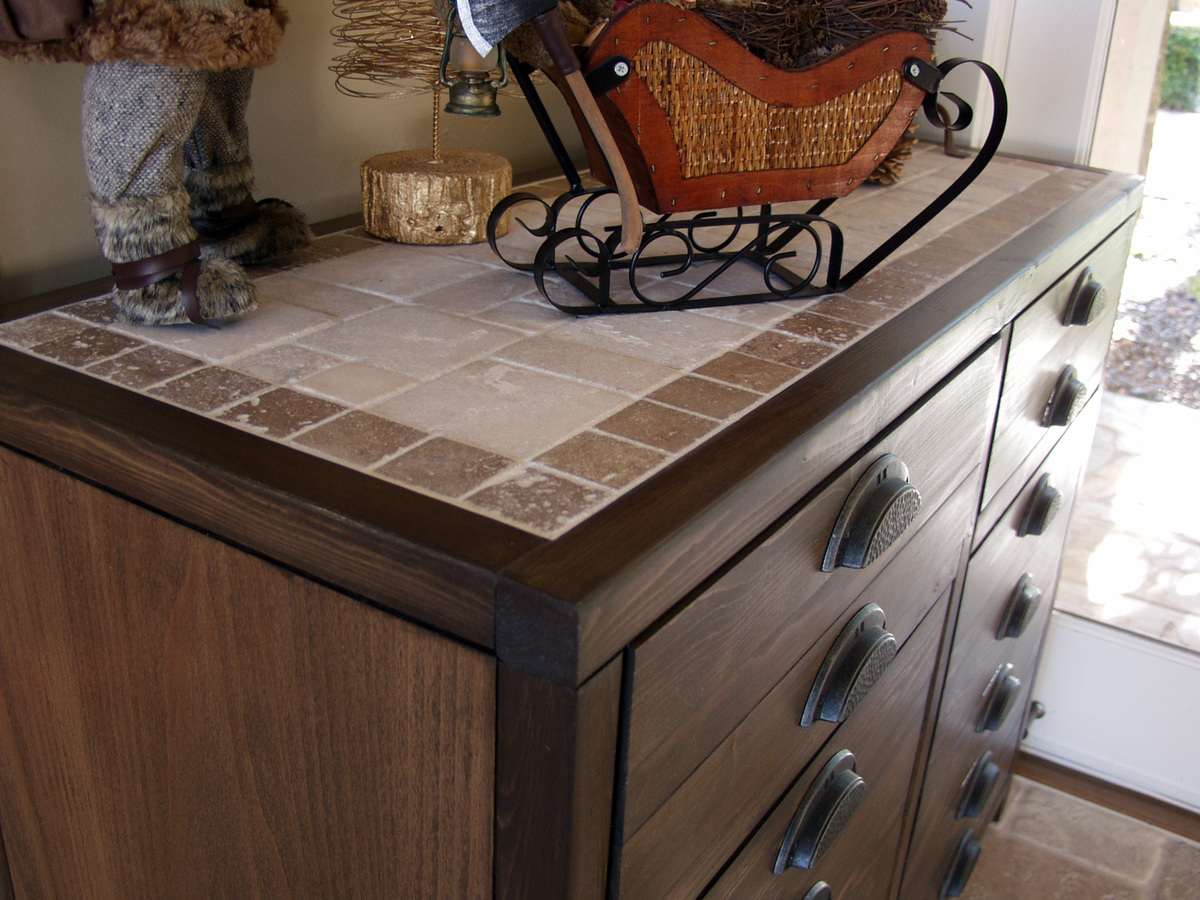
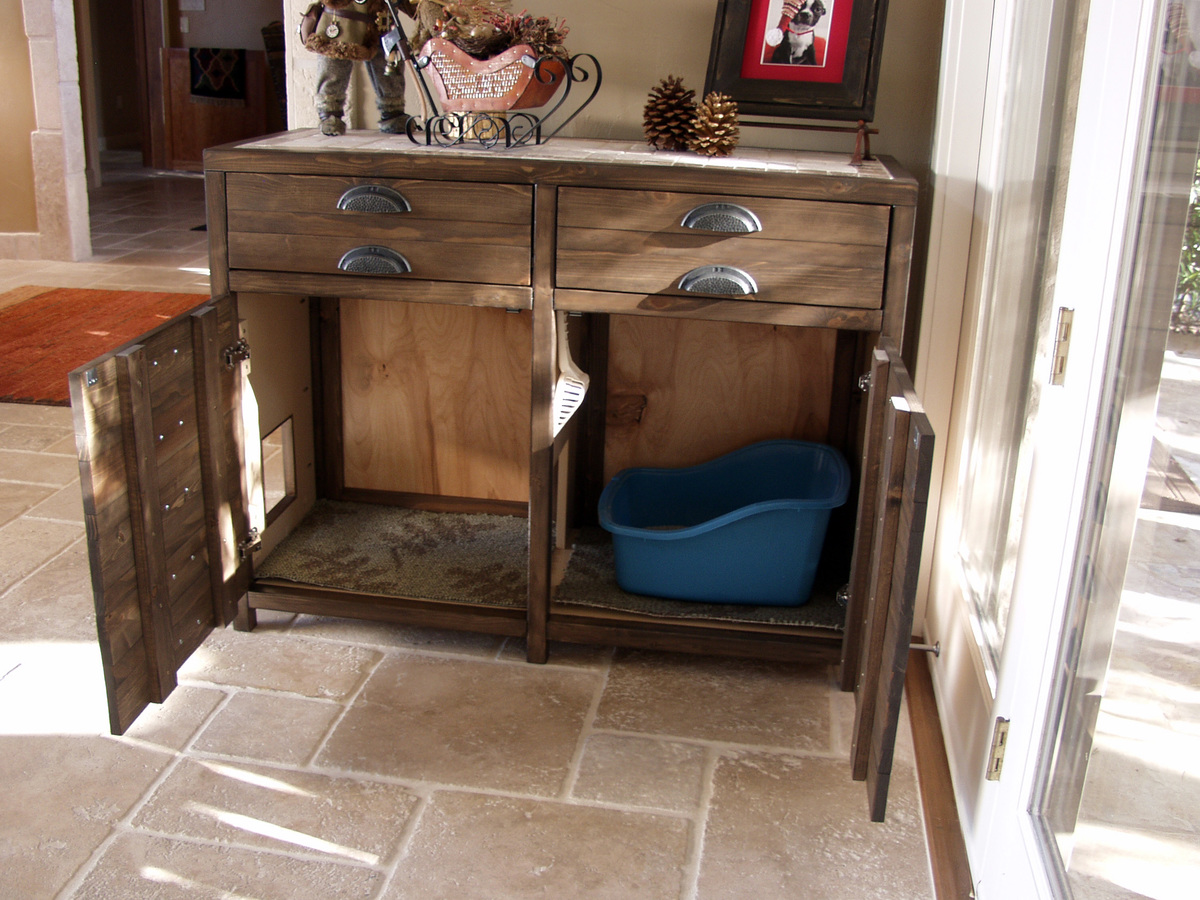
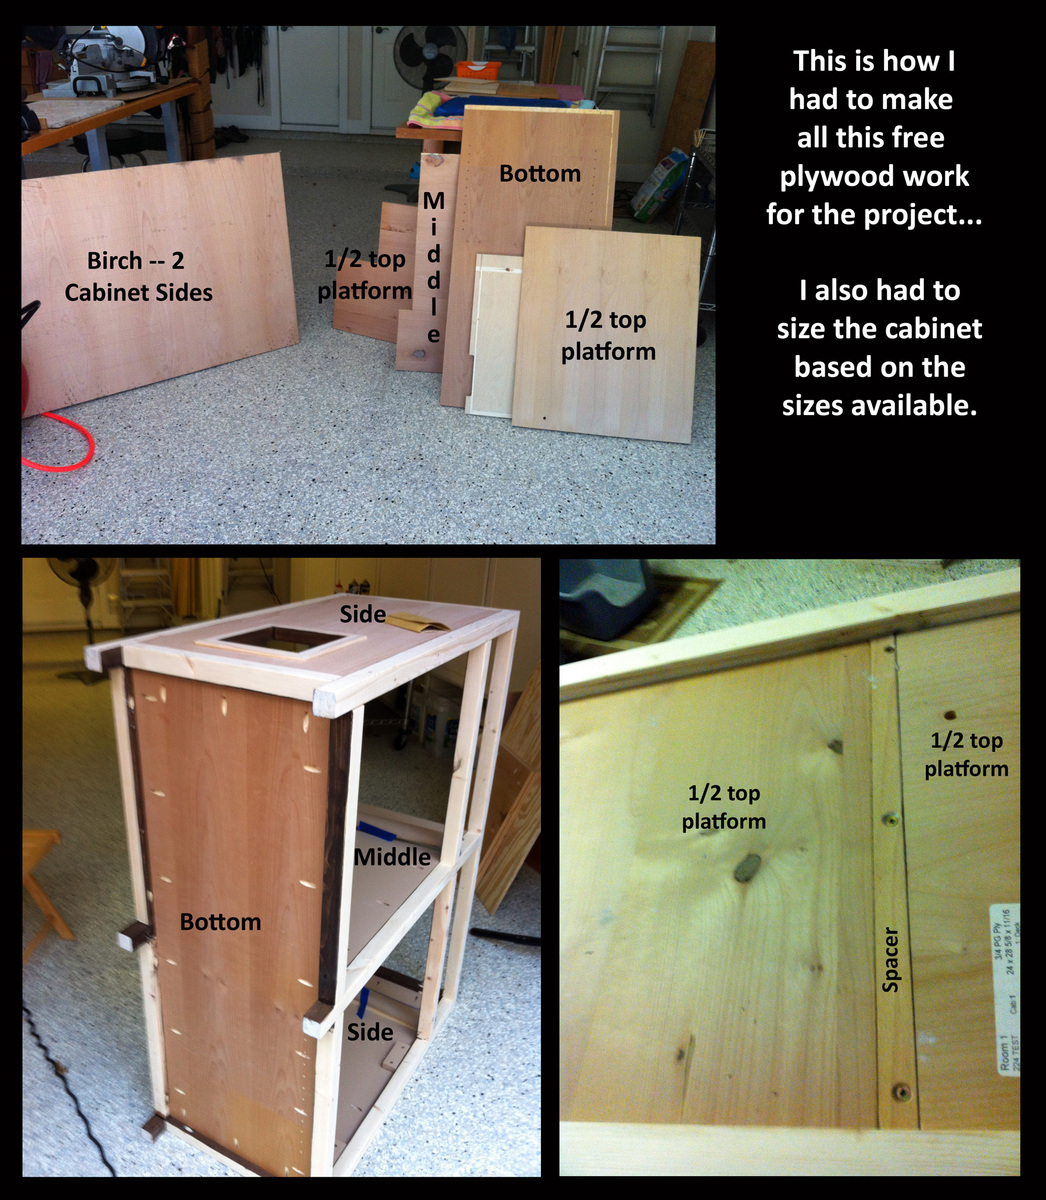
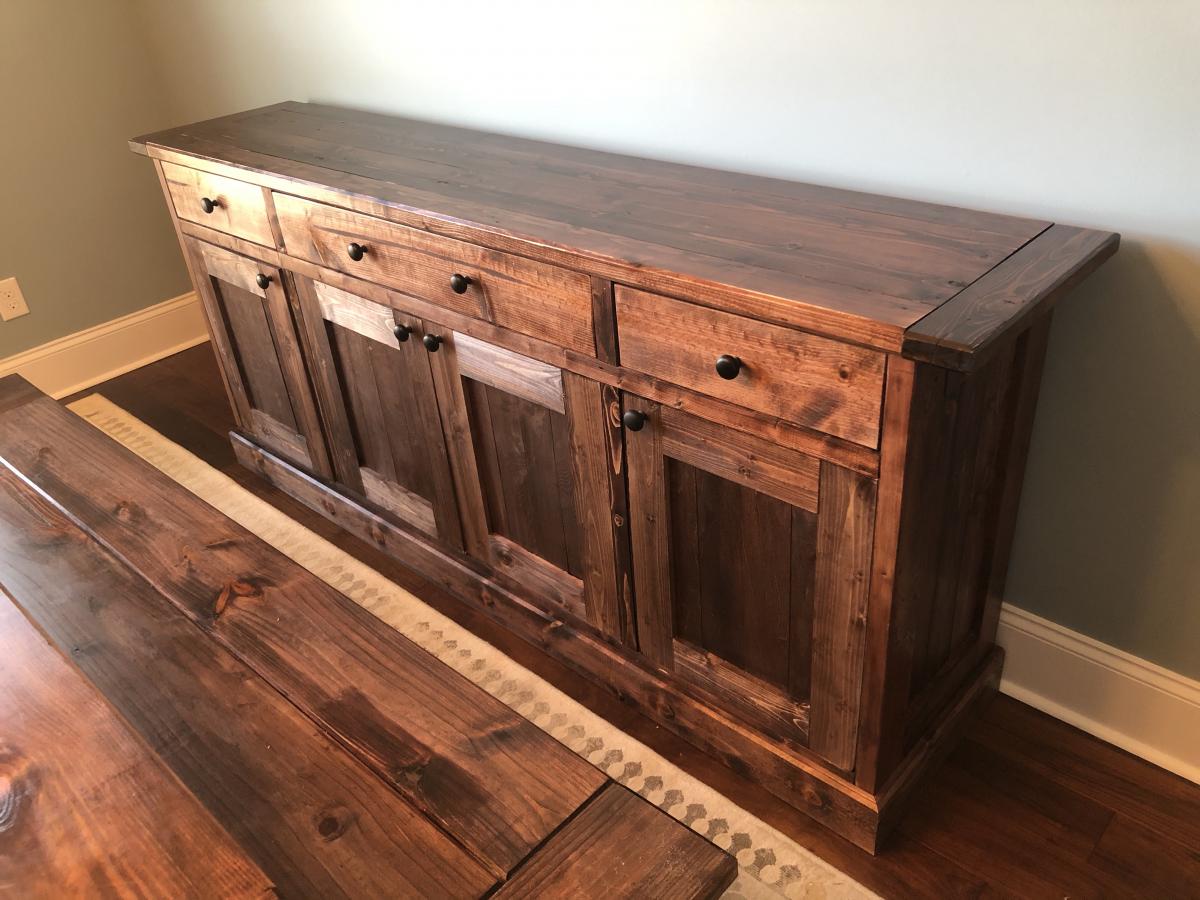
Sideboard Companion to 4x4 Truss Table

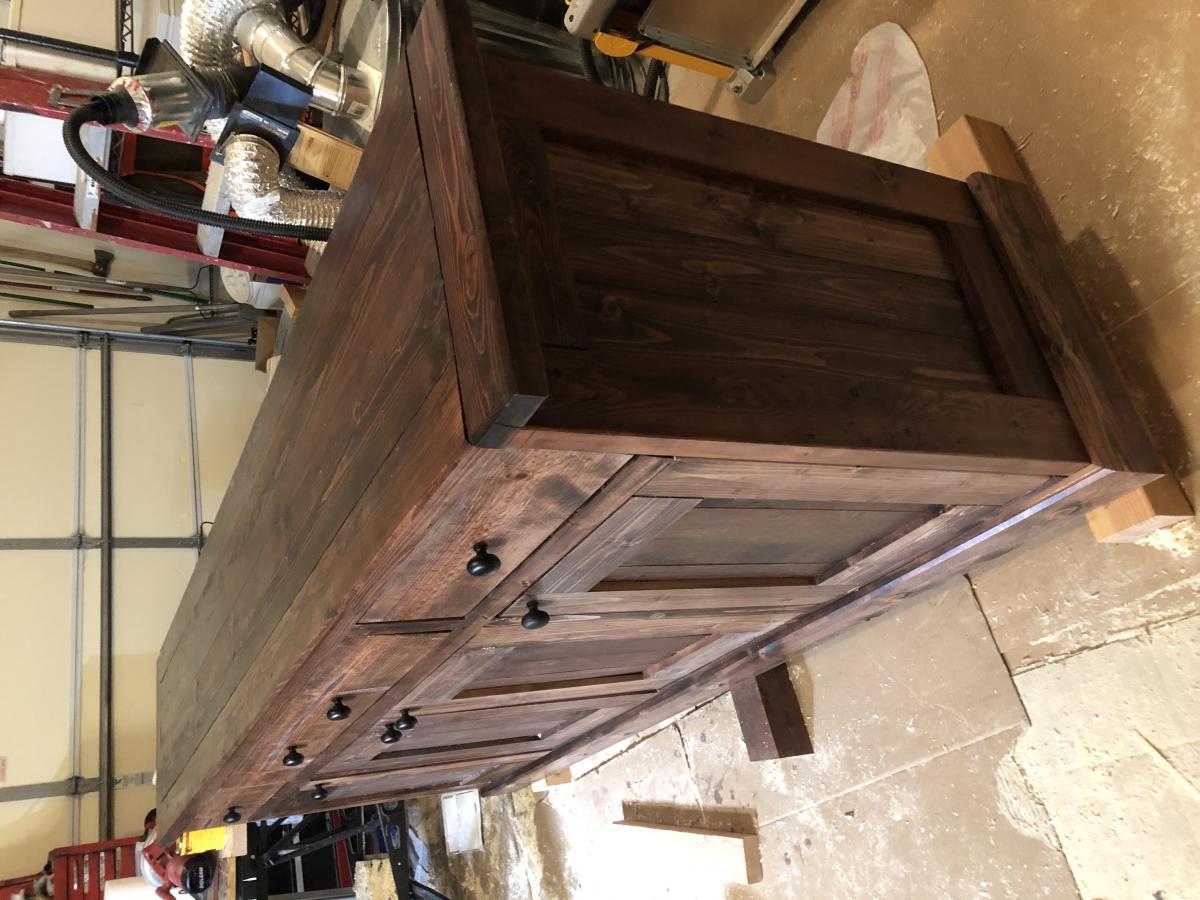
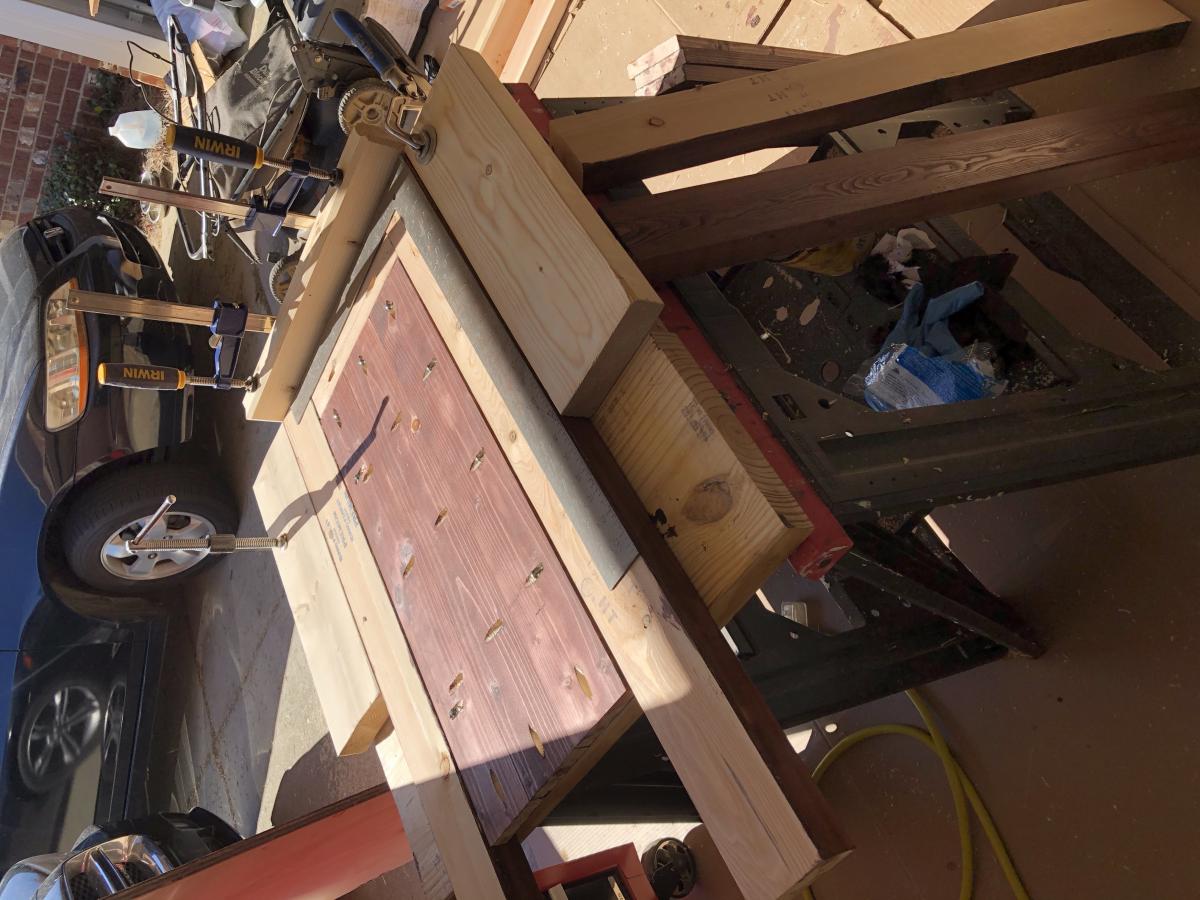
After the enlarged 4x4 Truss Table, we needed someplace to store the dishes. The Planked Wood Sideboard was the thing. Not an easy piece. This was my first attempt at "Doors & Drawers" and was a steep learning curve, but we are so pleased with the big, sturdy results that match the table.
Built from Plan(s)
Estimated Cost
$550 with Kreg hinge and cabinet knob jigs (Will be reused)
Estimated Time Investment
Week Long Project (20 Hours or More)
Finish Used
Minwax Red Mahogany Stain
Recommended Skill Level
Advanced