Community Brag Posts

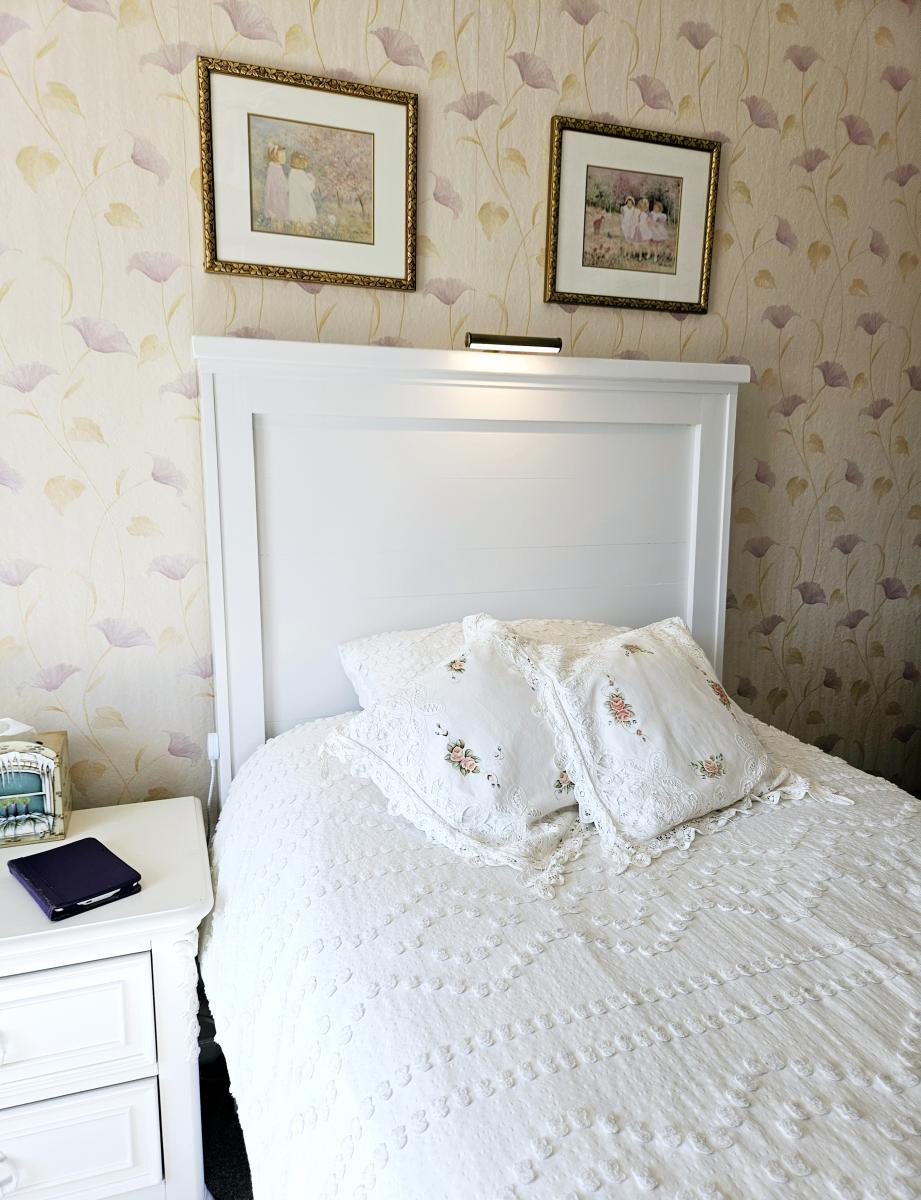
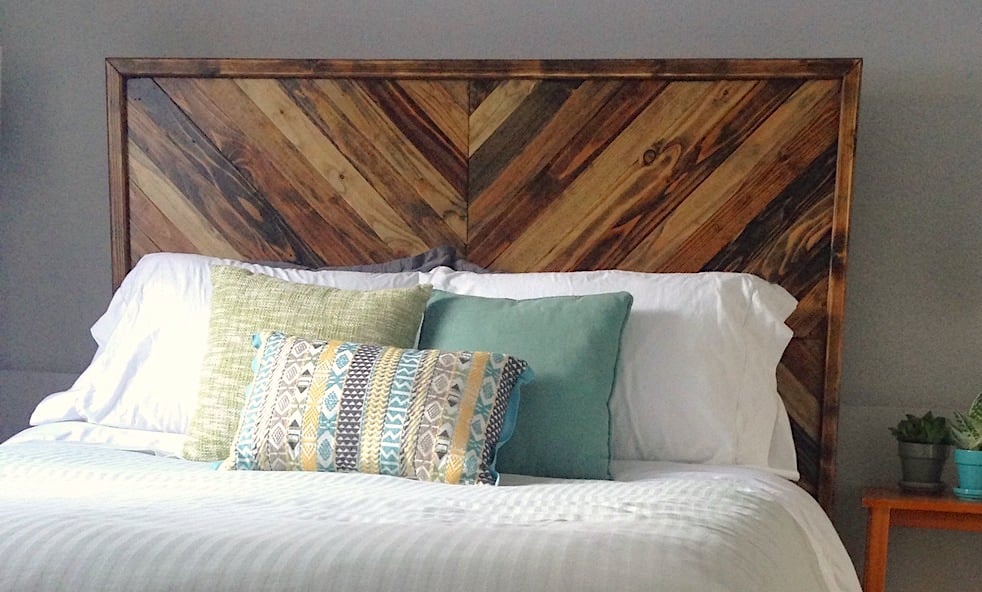
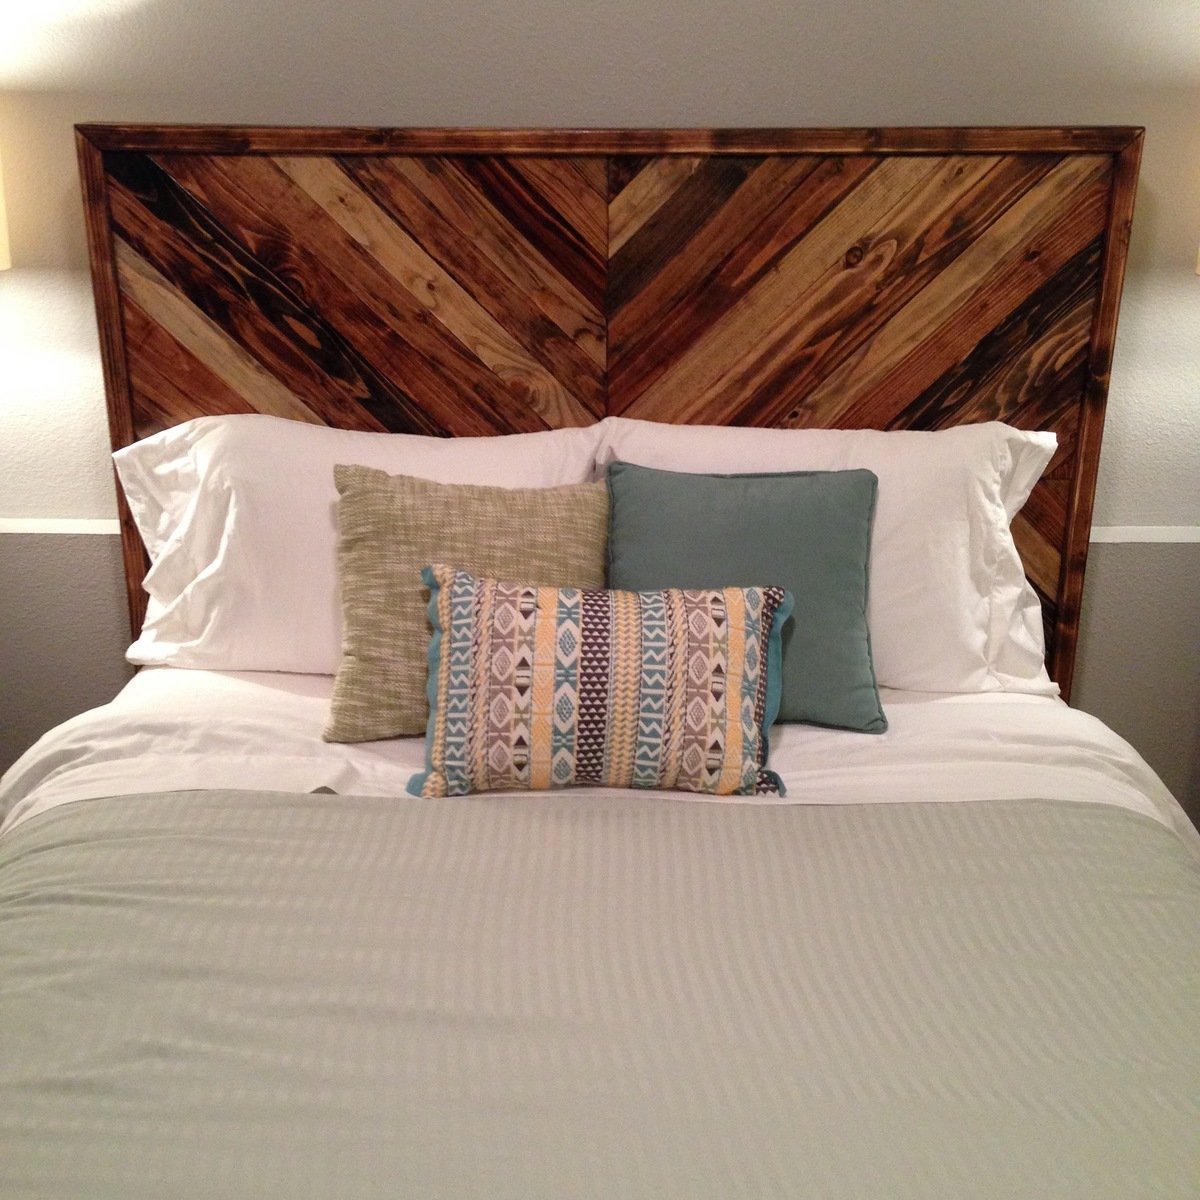
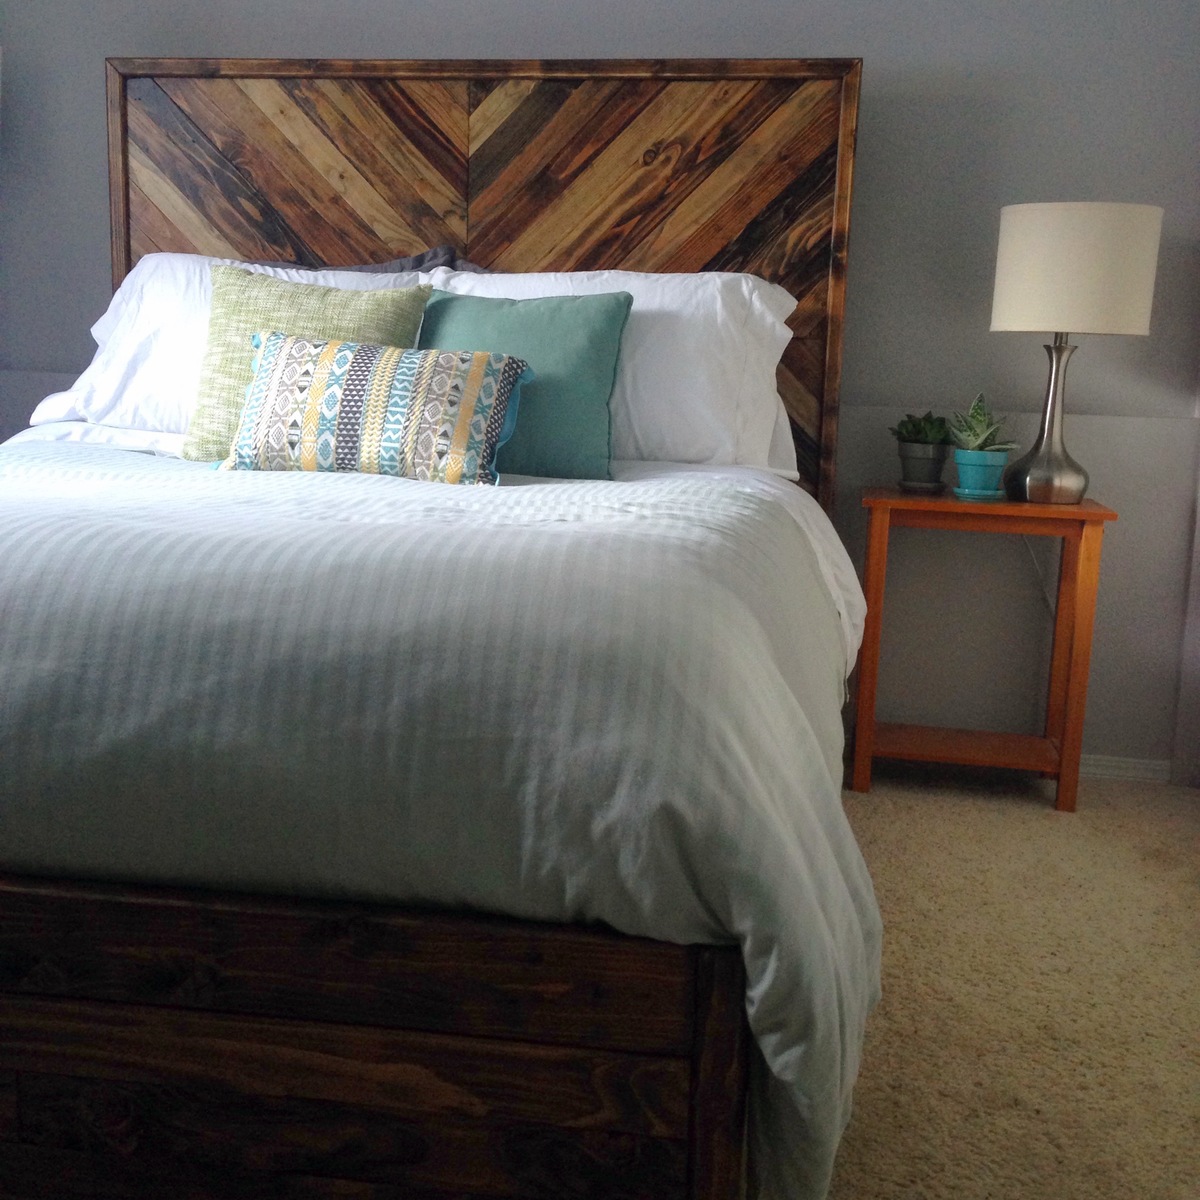
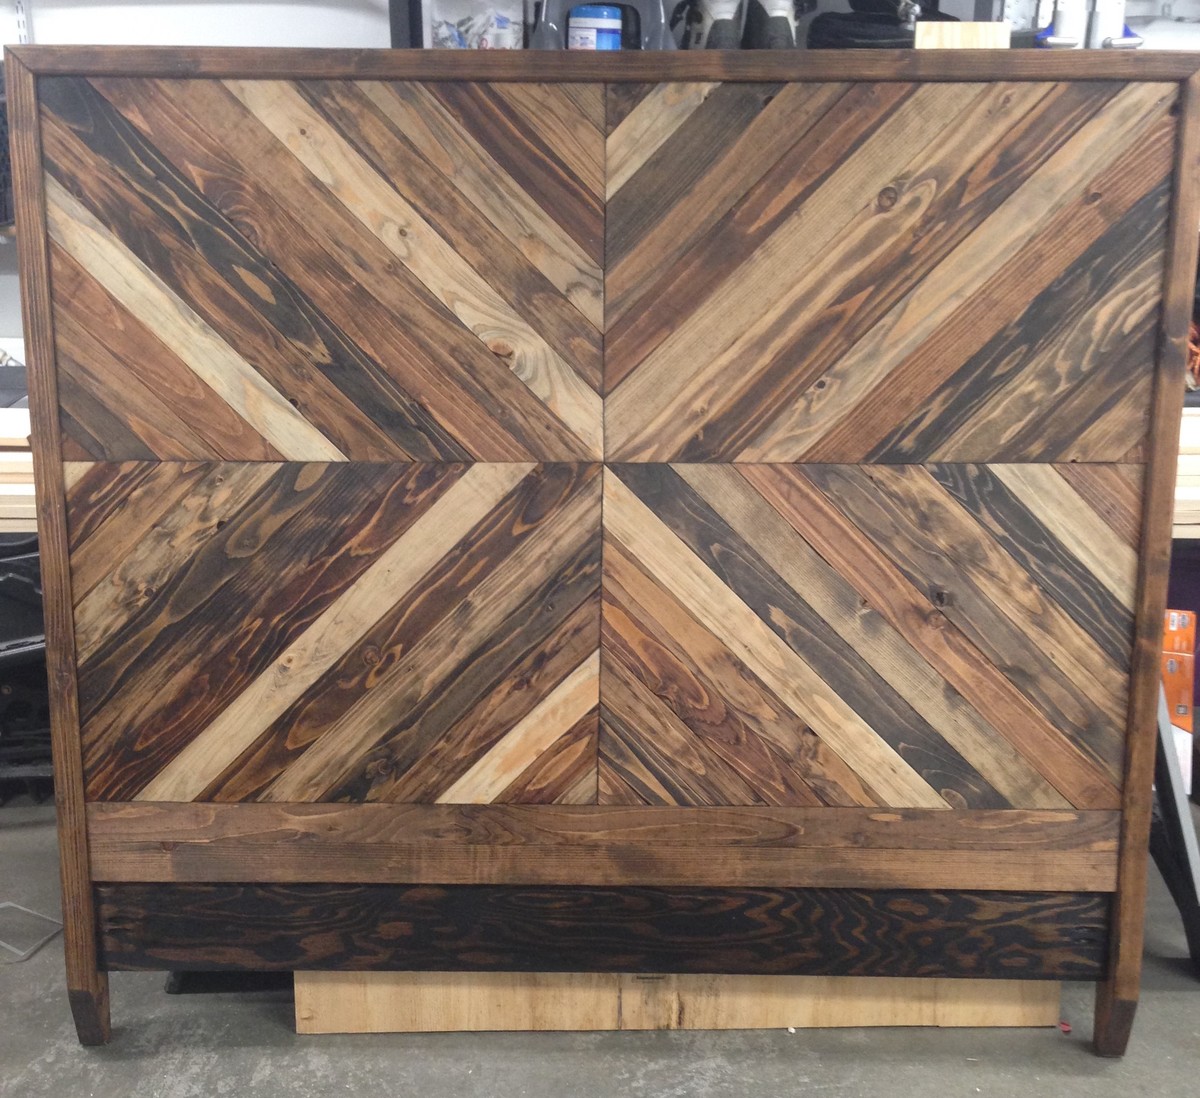
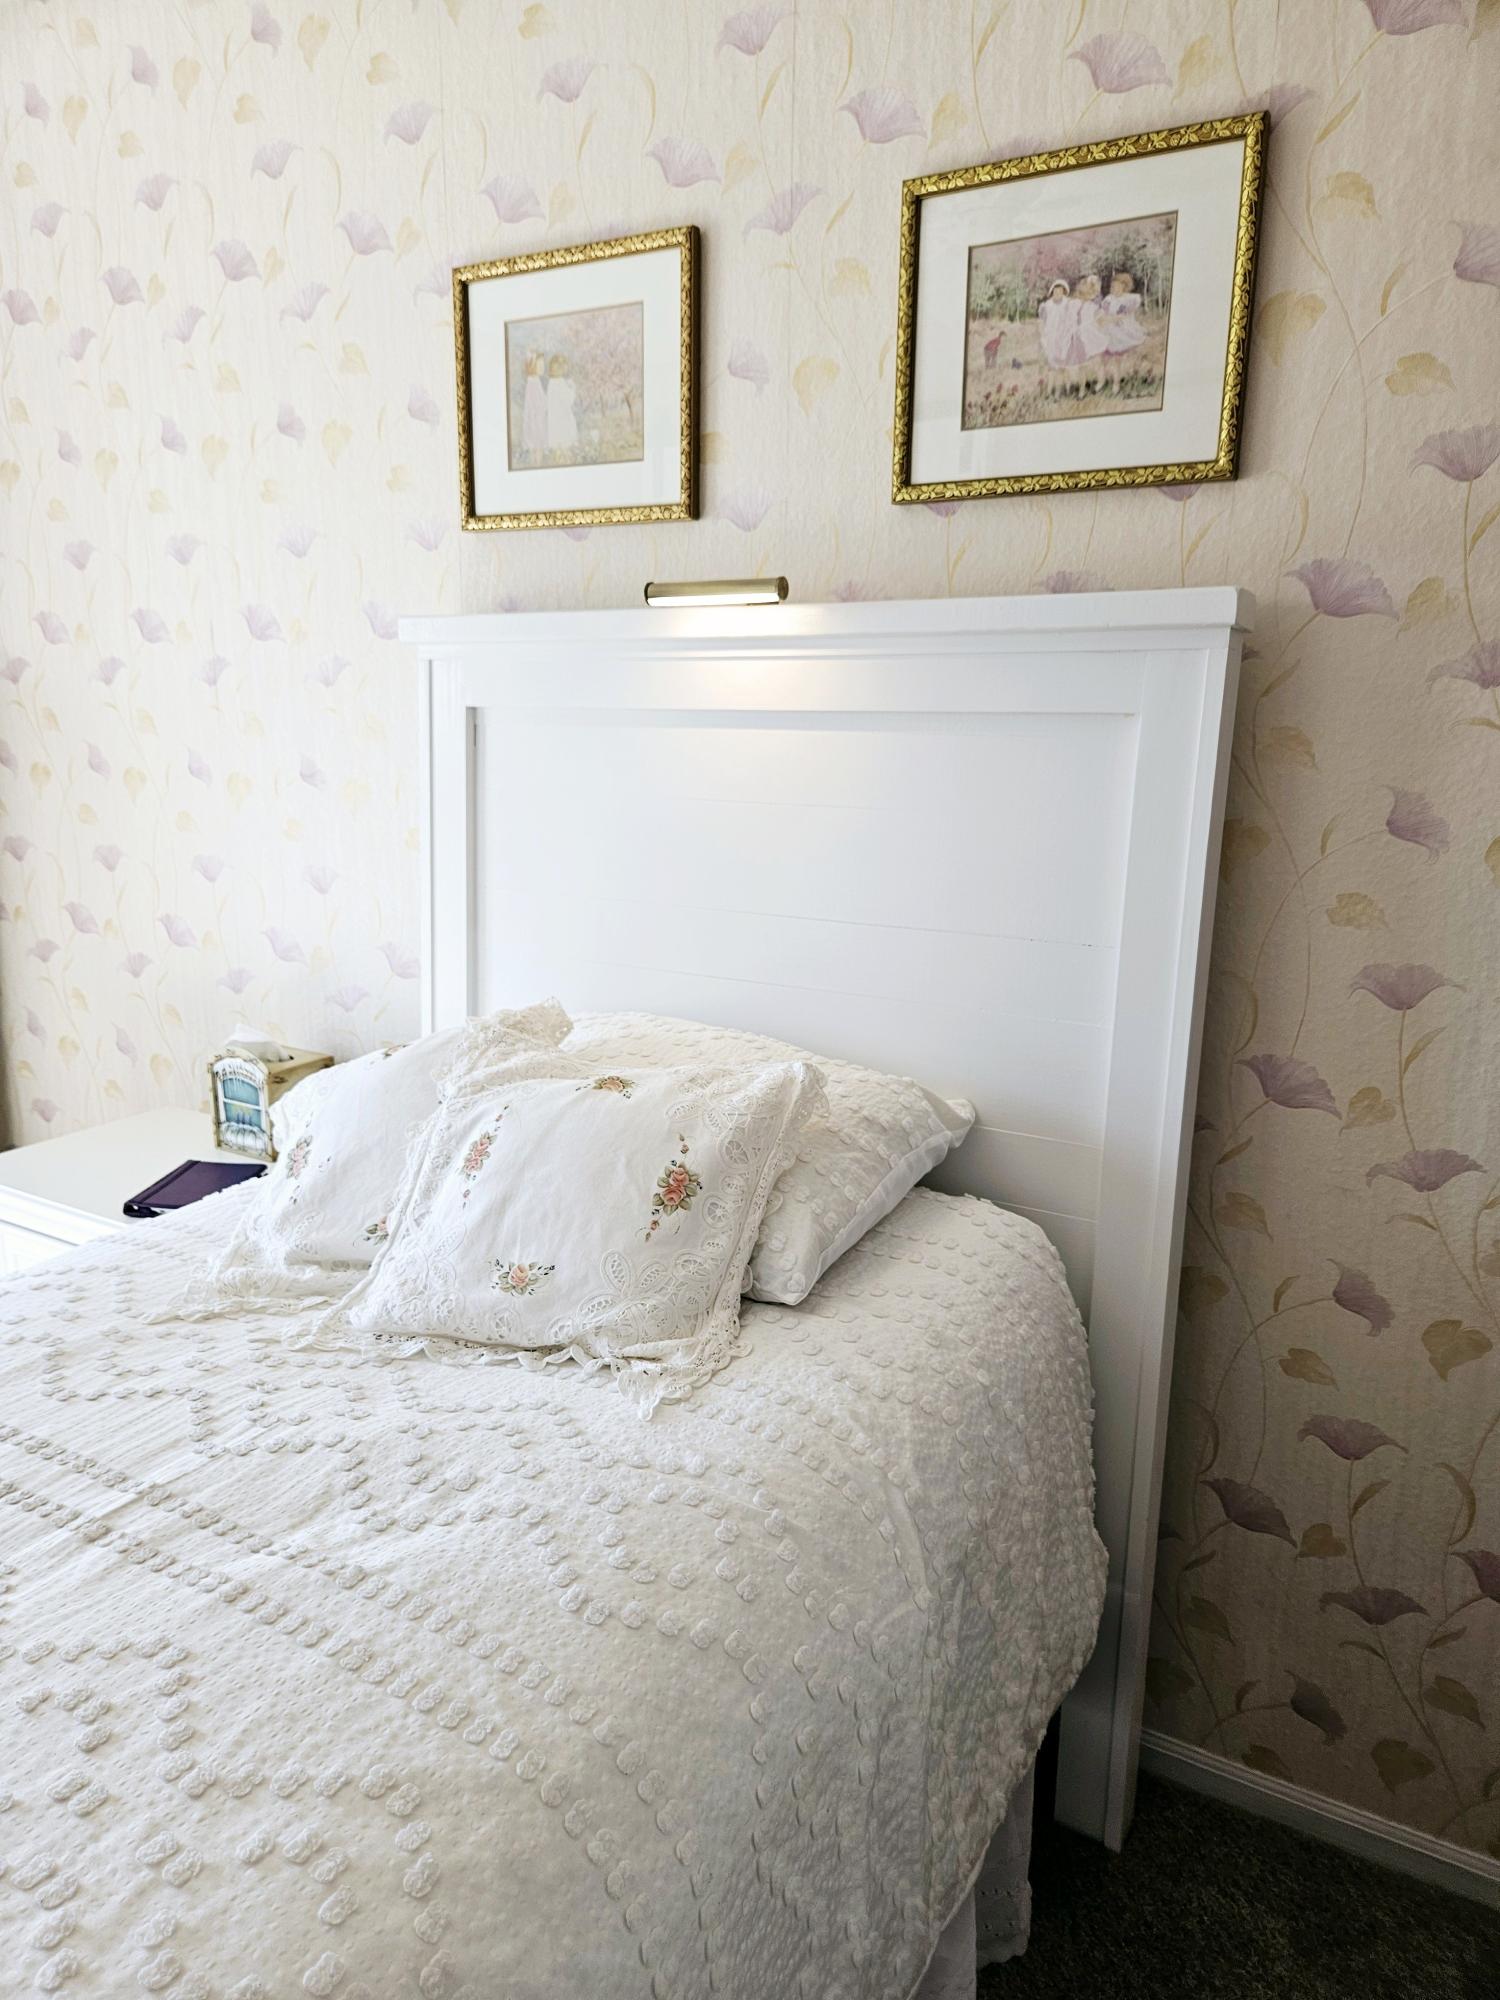
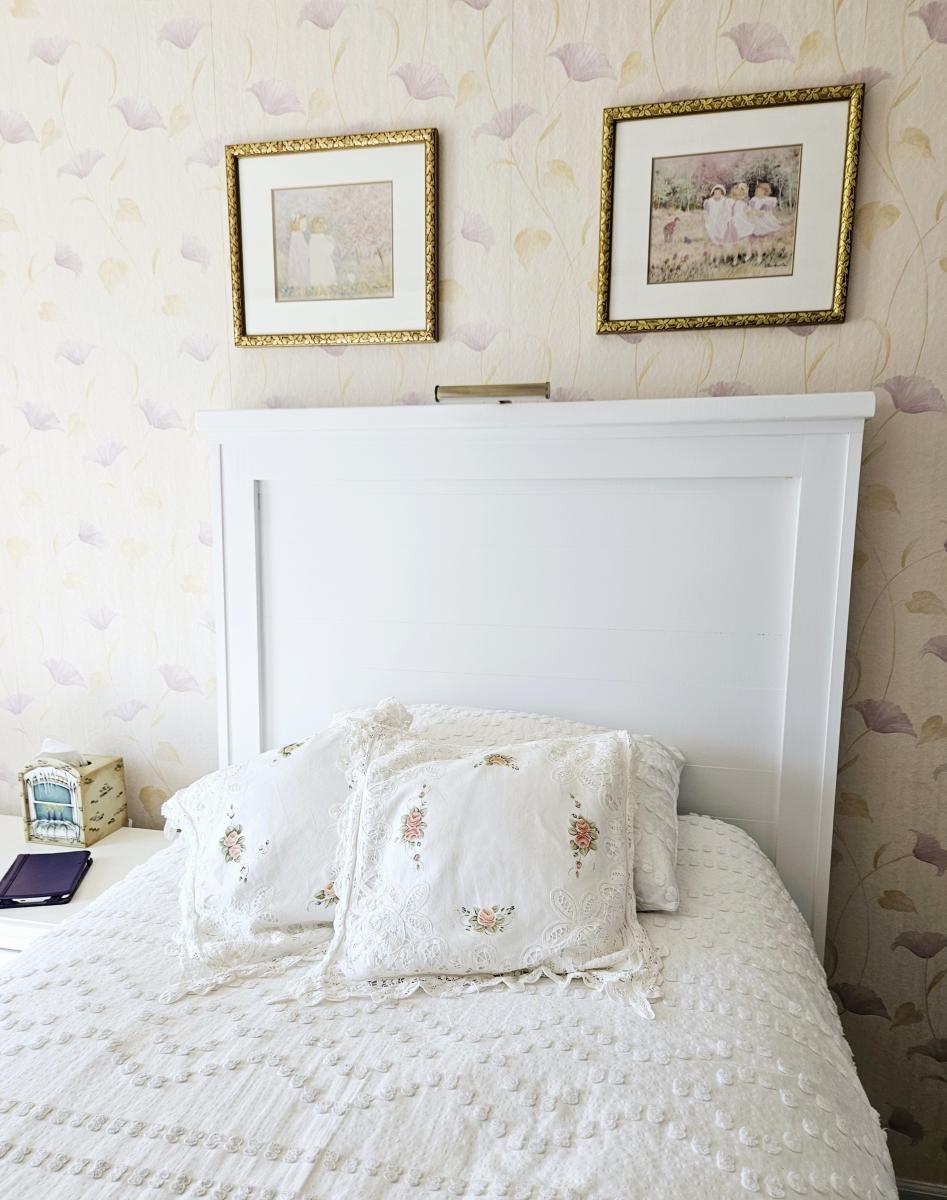
Tall Farmhouse Headboard

Submitted by Anonymous (not verified) on Sat, 03/02/2024 - 11:34

 am thrilled with my new headboard. The plans made every thing about this project FUN and DOABLE. I'm a 70 year old Granma who loves to DIY. SO fun to show my photos of what I did ALL BY MYSELF! THANK YOU FOR YOUR WONDERFUL PLANS! With out them my pretty new headboard would never have happened. WHAT FUN. I mounted an LED picture light fixture on the top for reading in bed and mounted the corded on off extension cord switch to the side of the leg for easy on off ! Again, THANK YOU!

Cheryl King

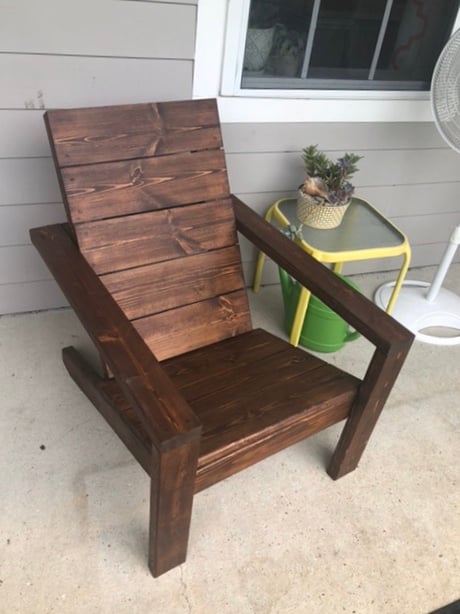
Modern Adirondack

Submitted by Anonymous (not verified) on Wed, 06/10/2020 - 10:10

My wife and I were tired of the cheap plastic chairs but not wanting to spend a fortune. I came across Ana’s site and these great plans so I gave it a shot. Everything was pretty straightforward. I decided to use 1x6’s for the seat and back slats instead of 1x10’s. I also used dowel rods instead of wood filler to close all of the screw holes and I Roy fed the edge of the front seat slat one the router. I’m currently working on a partner for this chair with some adjustments (Making it 2” wider and using pocket hole and other techniques to hide the screws).

Estimated Cost
$40
Estimated Time Investment
Afternoon Project (3-6 Hours)
Finish Used
Minwax English Chestnut stain.
Valspar clear deck/outdoor furniture sealant.
Recommended Skill Level
Beginner

Comments

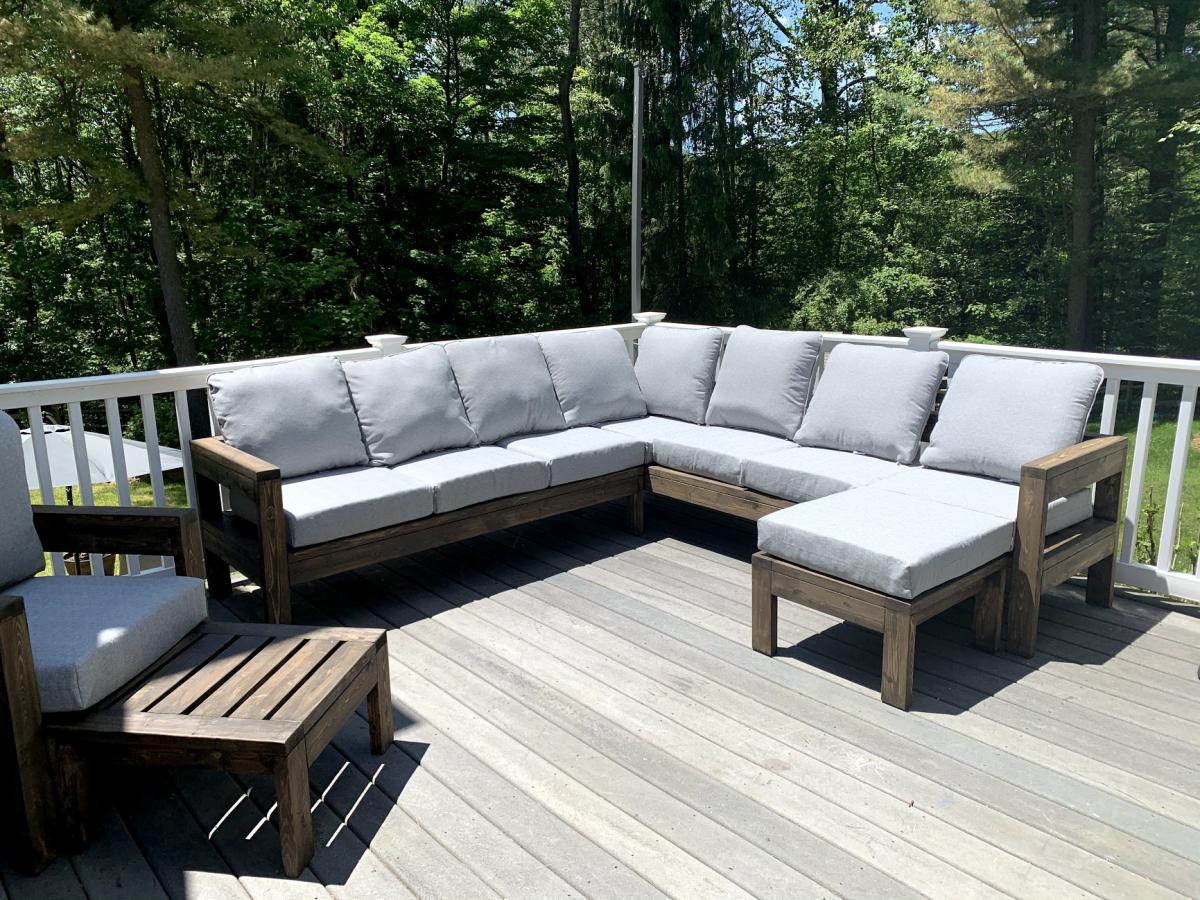
2x4 Outdoor Sectional with Matching Ottomans, Chairs & Table

Submitted by cqueiruga on Fri, 06/12/2020 - 21:01

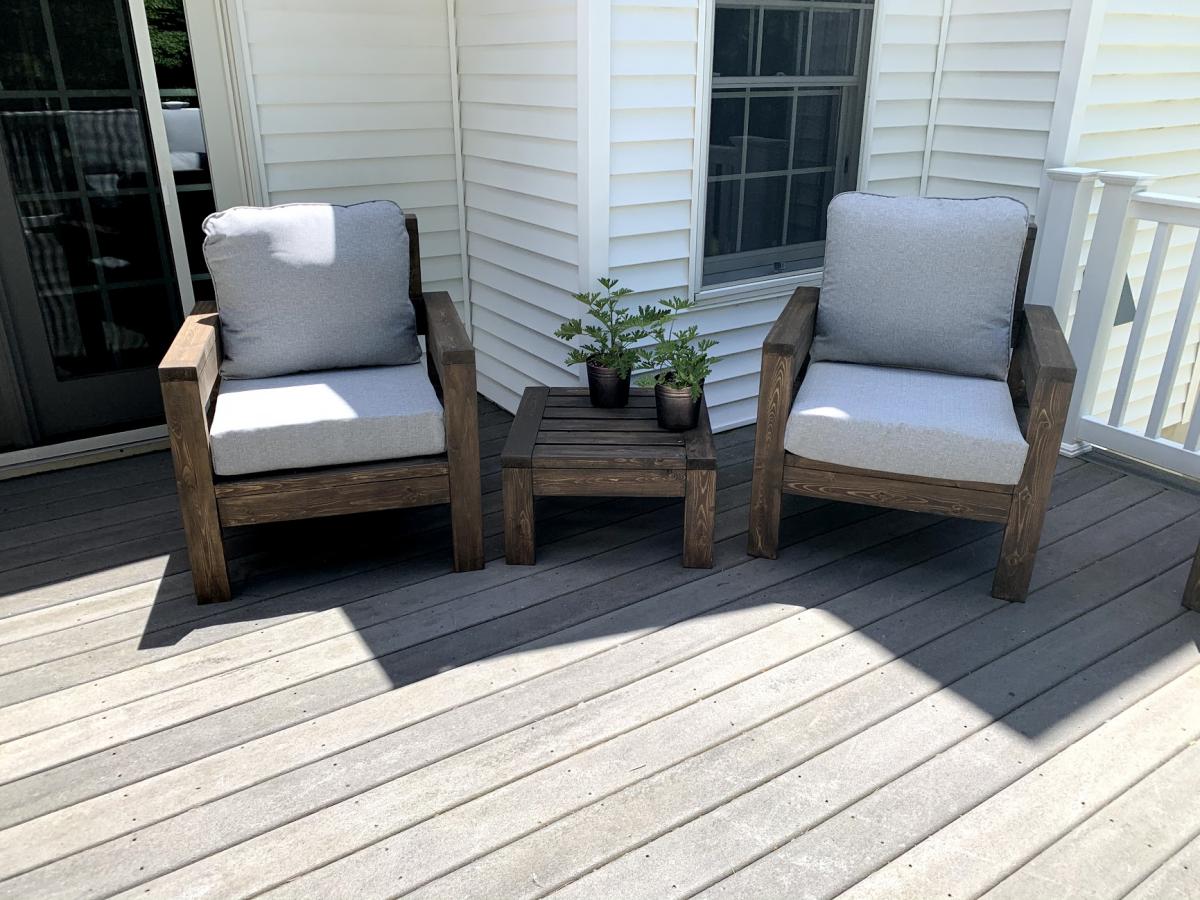
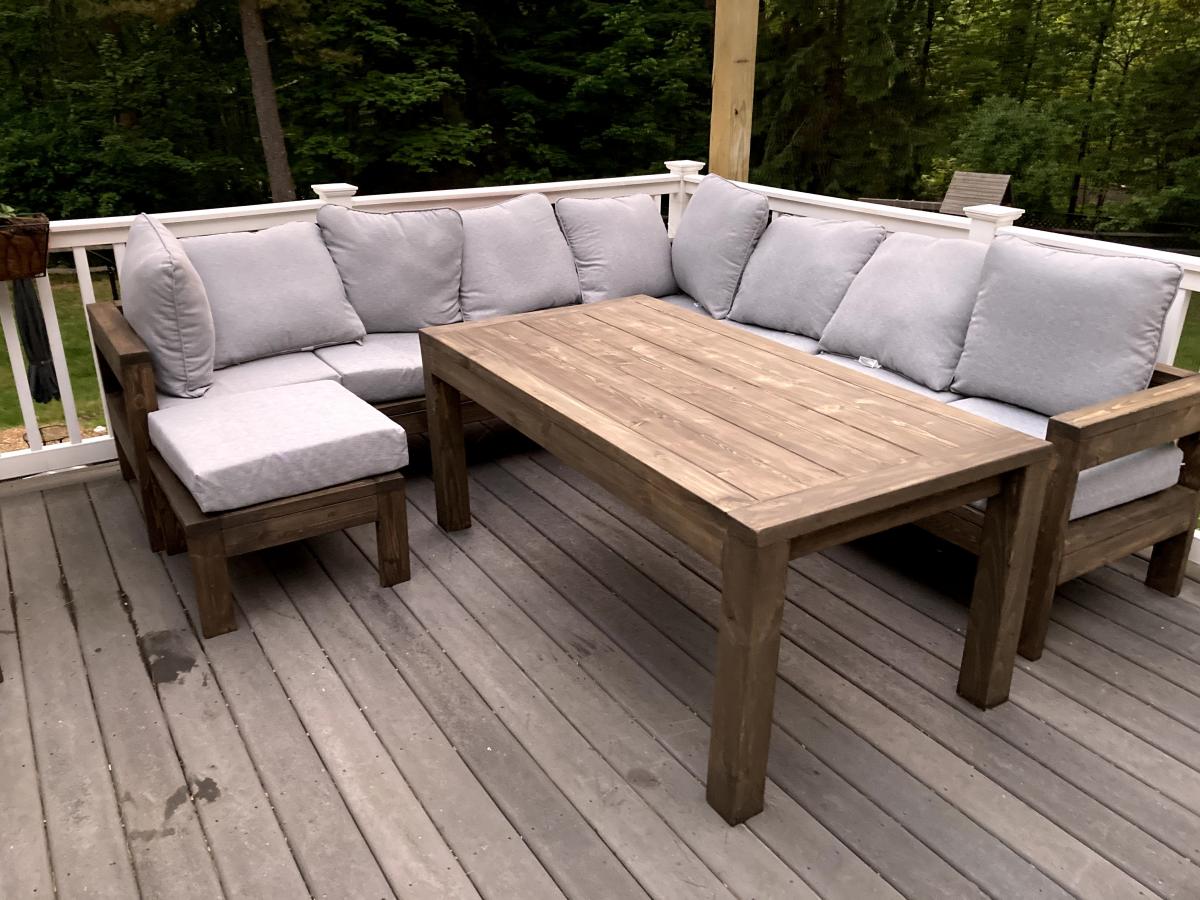
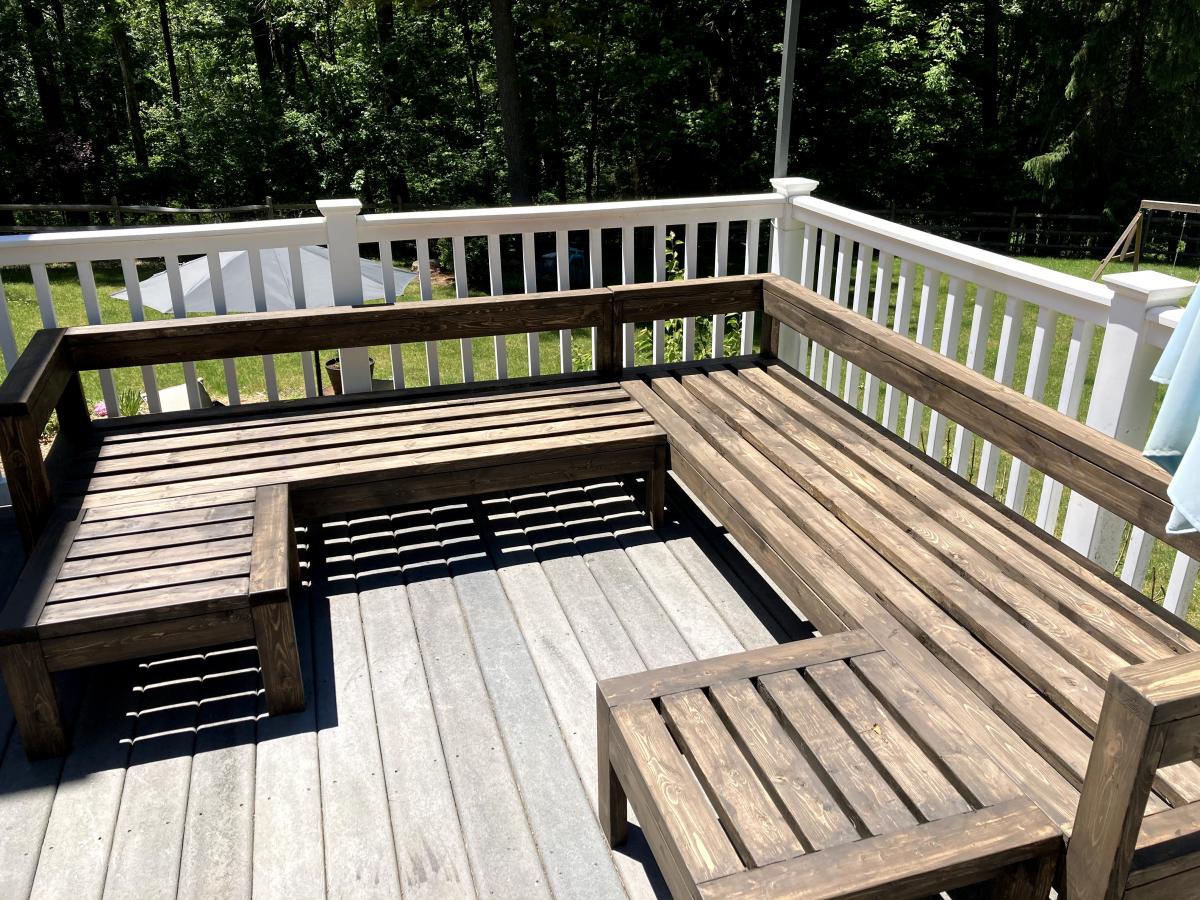
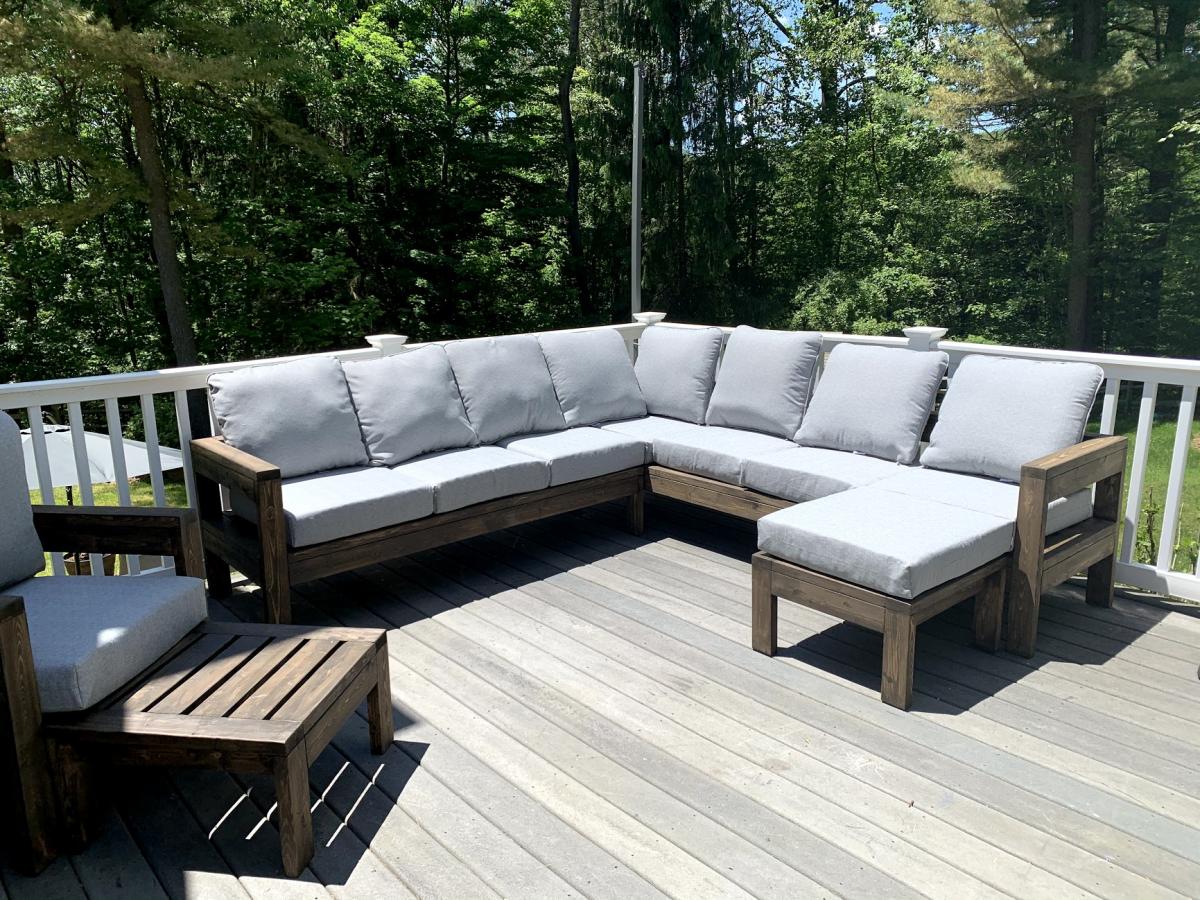
We were looking for outdoor furniture for our deck, and for the size and amount we needed it would have cost us at least $2000. We really like the idea of having an outdoor sectional that we can also use for dining, and we had trouble finding a set we liked. We found Ana's plans for the 2x4 Outdoor Sectional, and i loved the look. After seeing what others have done with the plans, I thought I would be able to modify it to get everything we needed for much less cost than buying a set.

We ended up extending the size of the 2x4 outdoor sofa by one 24" section, for a total length of 96". I then used the same design to make two outdoor chairs, just reduced the length to 24". I modified the 2x4 outdoor coffee table plans to create two ottoman's that can be moved around to make the seating more lounge style Finally, I modified the coffee table plans to make a 5 foot outdoor dining table. All in all, it took about a week and I couldn't be happier with how it turned out!

Estimated Cost
$800 ($200 for wood, $600 for cushions)
Estimated Time Investment
Week Long Project (20 Hours or More)
Finish Used
Valspar Semi-Transparent Antique Oak Stain
Recommended Skill Level
Beginner

Comments

jwood4

Mon, 08/02/2021 - 09:44

Looks amazing! What method did you use (pocket holes, dowels, deck screws, etc) to join the visible portions like the arms?

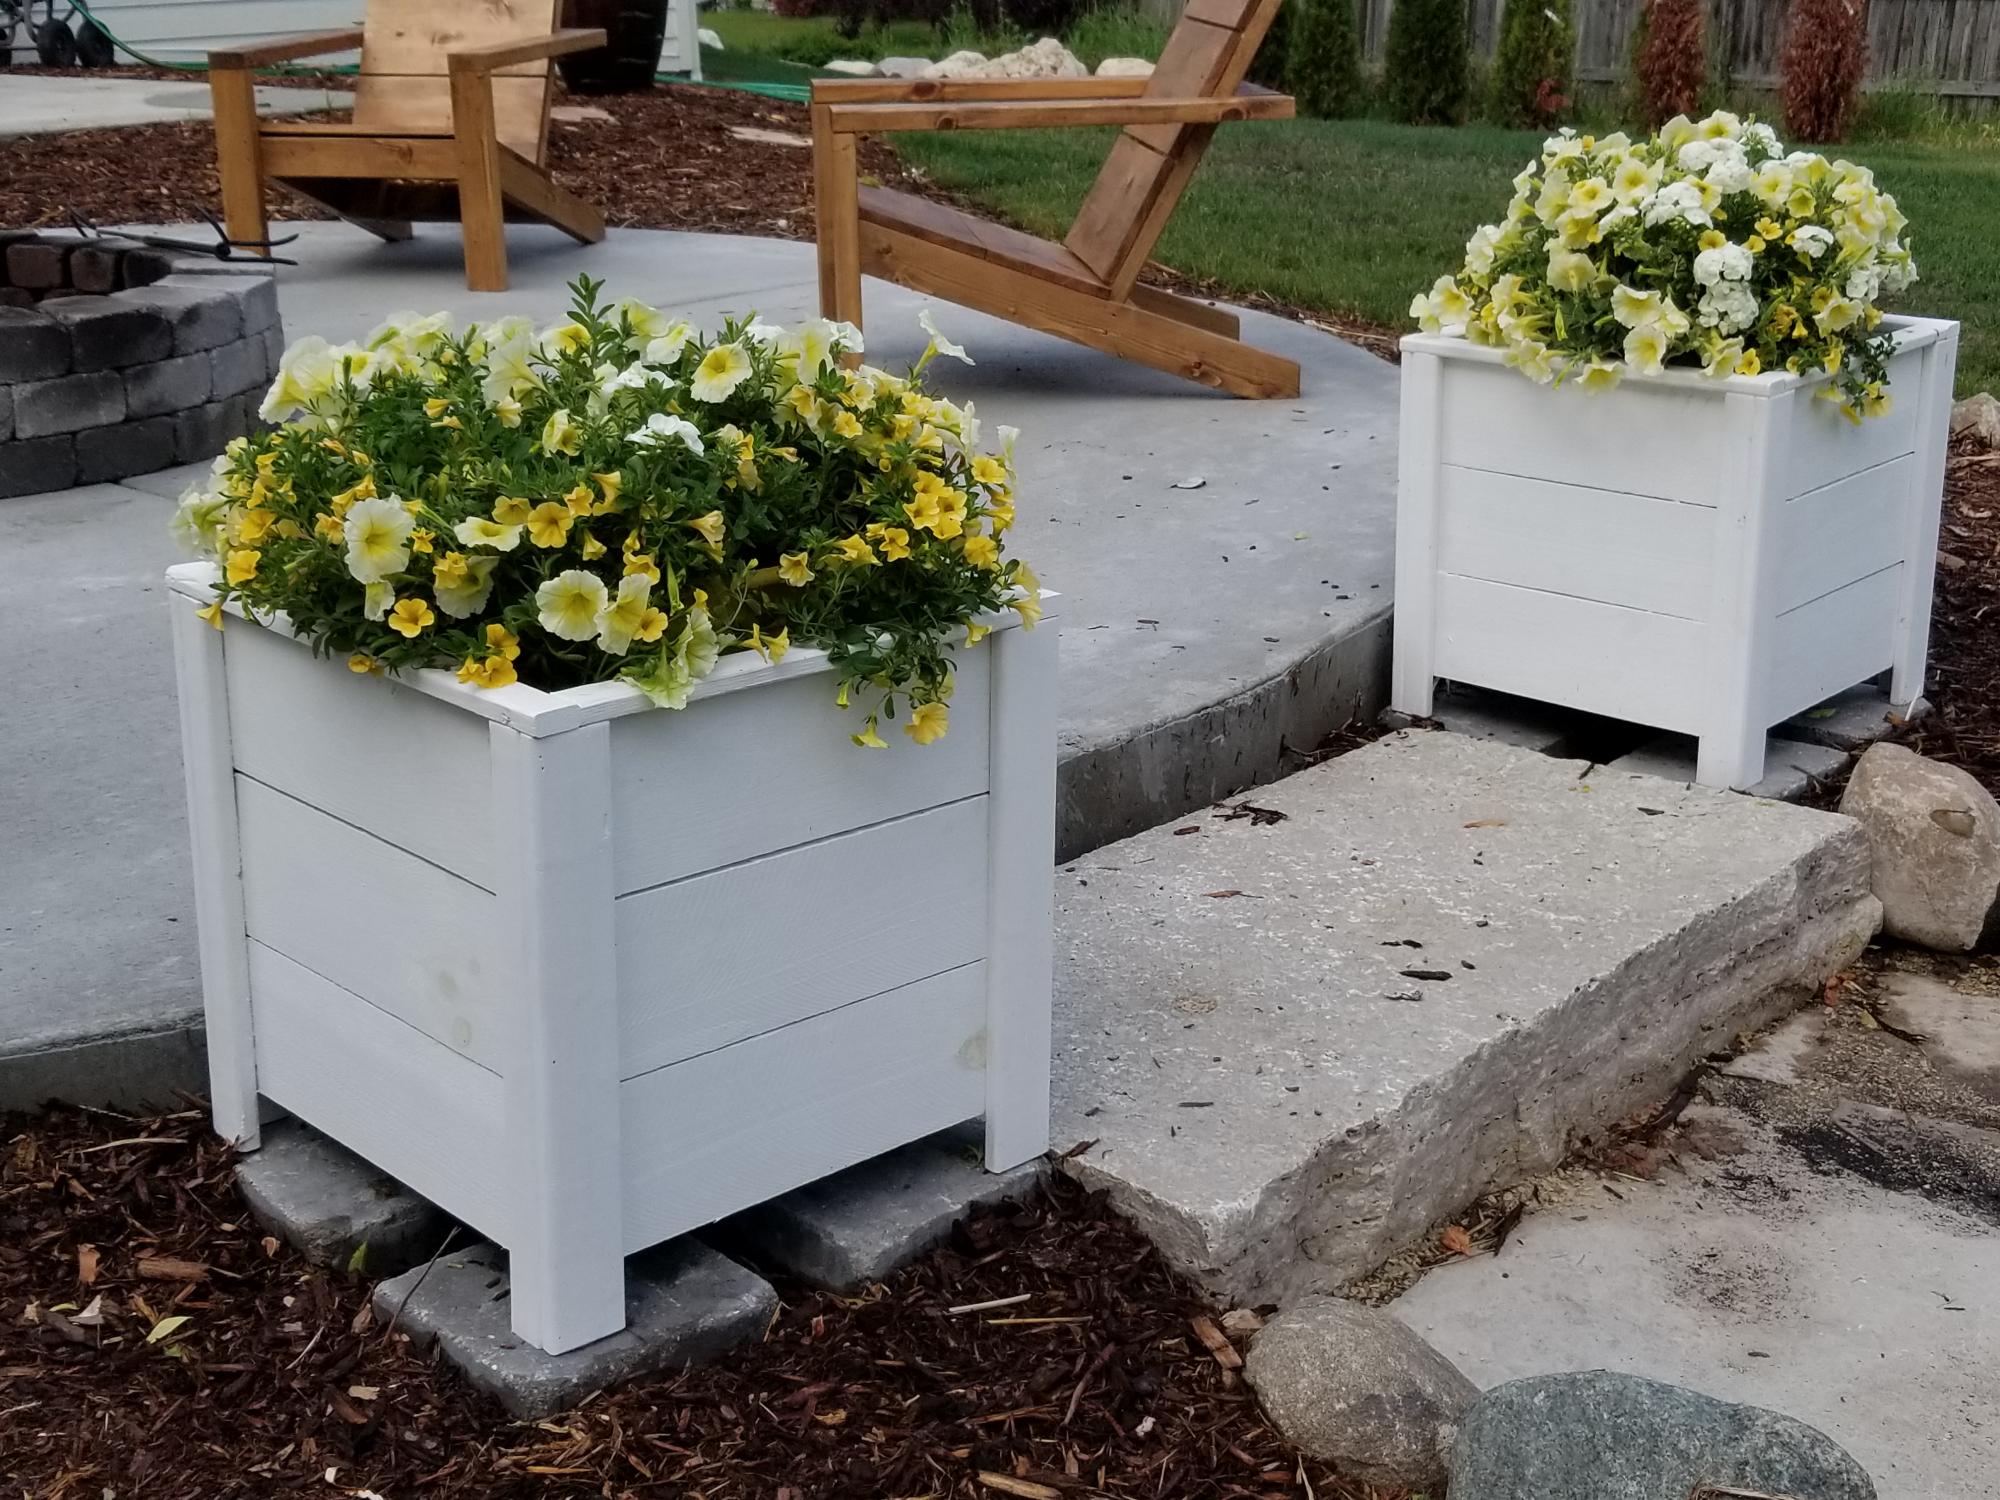
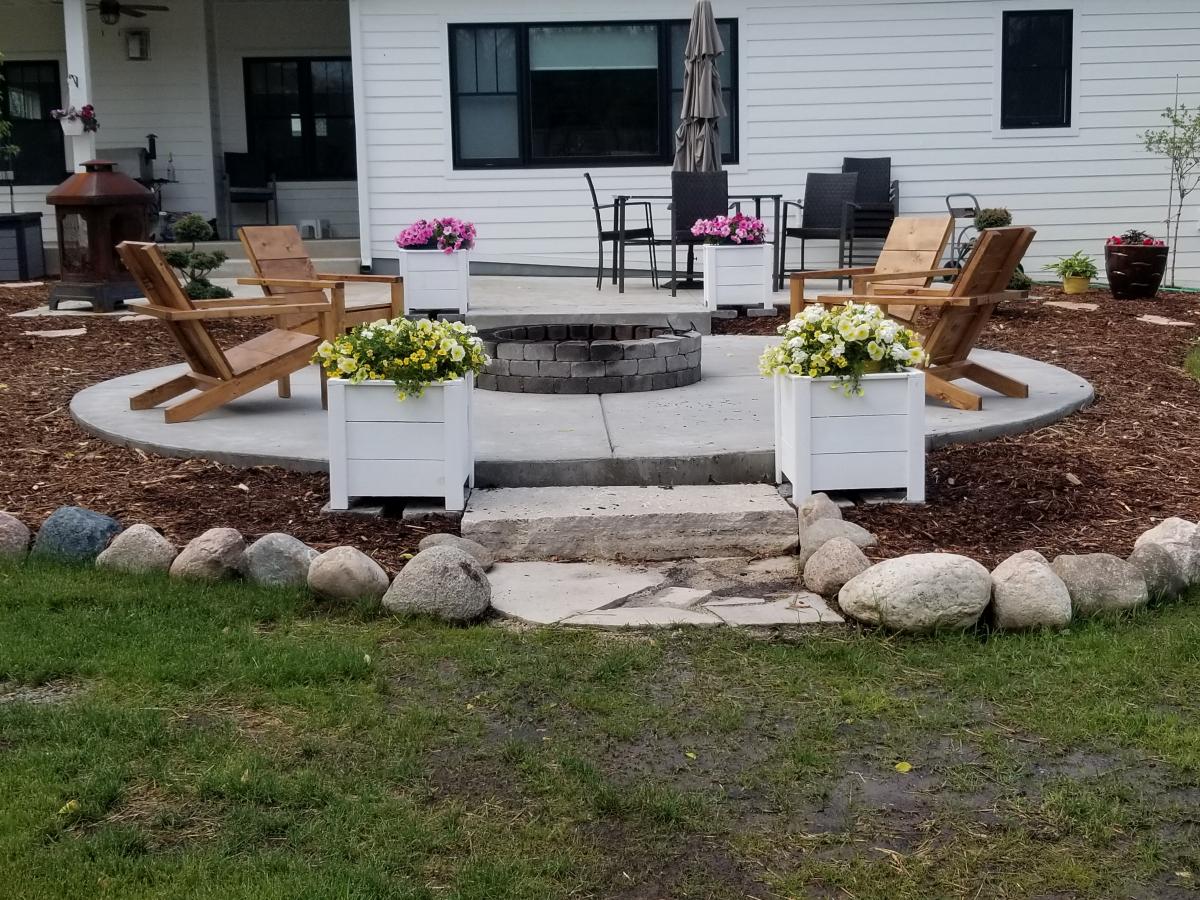
Planter Boxes

Submitted by rendall28 on Mon, 06/22/2020 - 16:26

I followed the plan exactly including the suggestion of the fence paint (2 coats). This was a very easy build. It took much longer to paint than it did to build. These boxes are the perfect accent on our new patio/firepit.

Estimated Cost
$10/box for the wood
Estimated Time Investment
Afternoon Project (3-6 Hours)
Finish Used
Behr Fence Stain (white) 2 coats
Recommended Skill Level
Beginner

Comments

Seasonal And Holiday

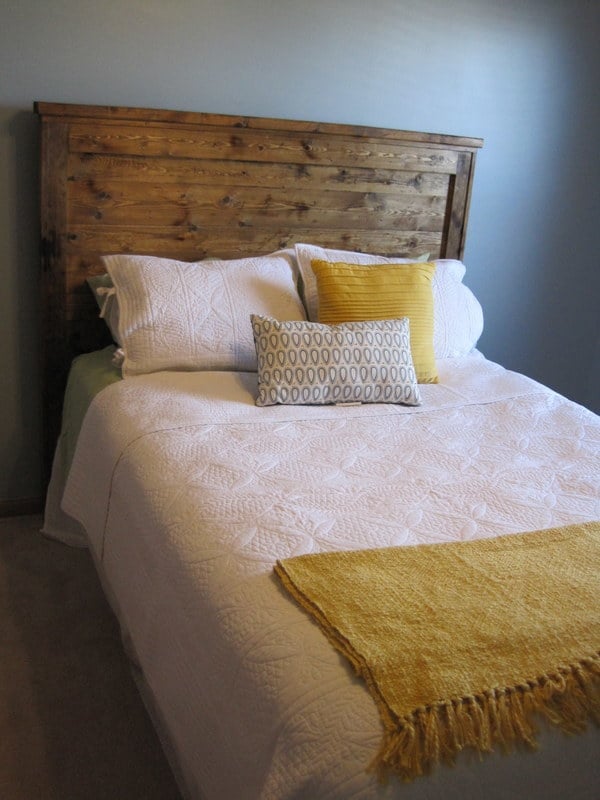
Reclaimed Wood Look Headboard

Submitted by JenMash on Mon, 09/03/2012 - 12:49

My husband and I had been looking for a great headboard for a bed in our guest room. We found ones we really liked but didn't like the price tag of 800-1500 dollars (not even including shipping!) We stumbled on this site and absolutely fell in love with the reclaimed wood style headboard. It was exactly what we were looking for. Building it just took a few hours. After we distressed the wood using a chain I found at the hardware store (only $1.60), a drill, a creme brulee torch and a hammer, we prepped the wood (sanded and primed), stained and clear coated. I highly suggest not only vacuuming off the wood but also using a tack cloth (so cheap but it makes such a difference) to make sure all of the dust was off. We bolted the headboard into the bed frame. It will be heavy but it is really sturdy and looks great! A good tip is to decide early what you want the front to be - you can chose the best sides of the wood that way!

Estimated Cost
150.00
Estimated Time Investment
Afternoon Project (3-6 Hours)
Finish Used
We prepped the wood using Minwax pre-stain wood conditioner. We then applied Minwax Provincial stain, waited about 10 minutes and wiped it off with a t-shirt. After we let it dry for the allotted time (we rushed it a bit but were so excited about the new headboard) and then put on a clear-coat finisher.
Recommended Skill Level
Beginner

Comments

Seasonal And Holiday

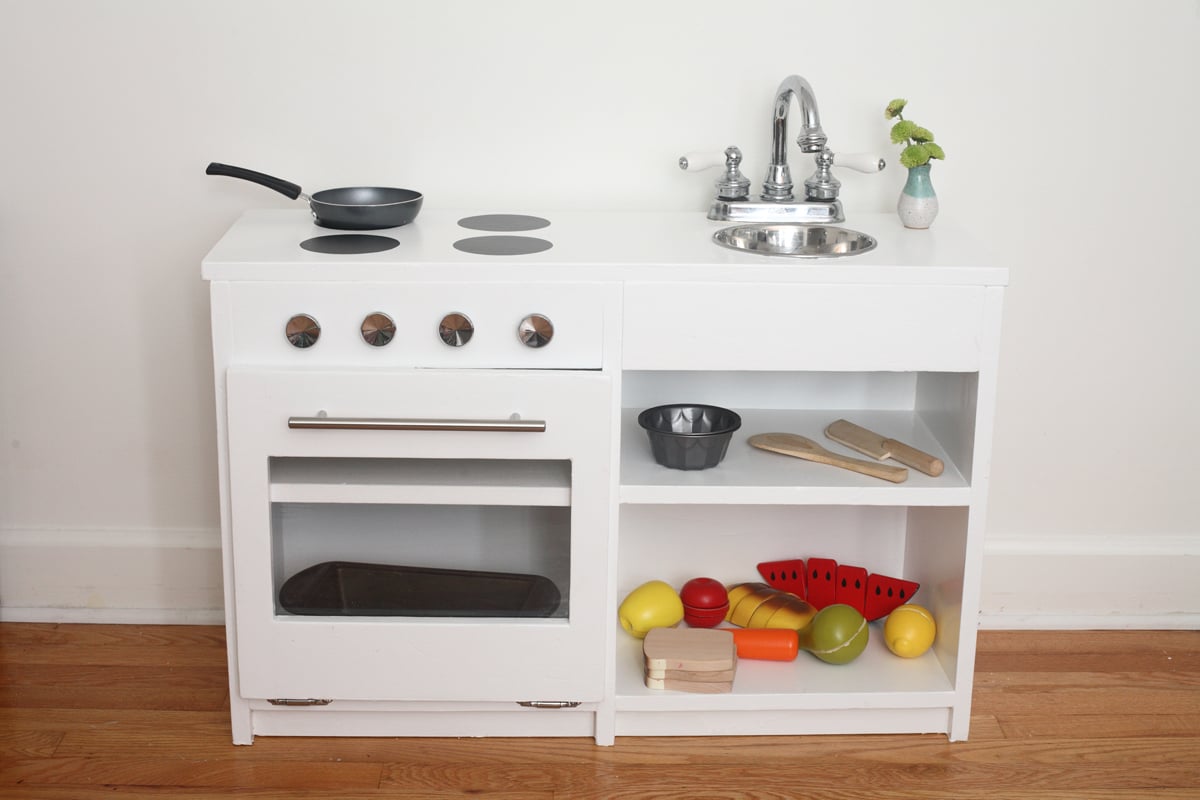
Play Kitchen

Submitted by keribeth on Tue, 09/04/2012 - 12:36

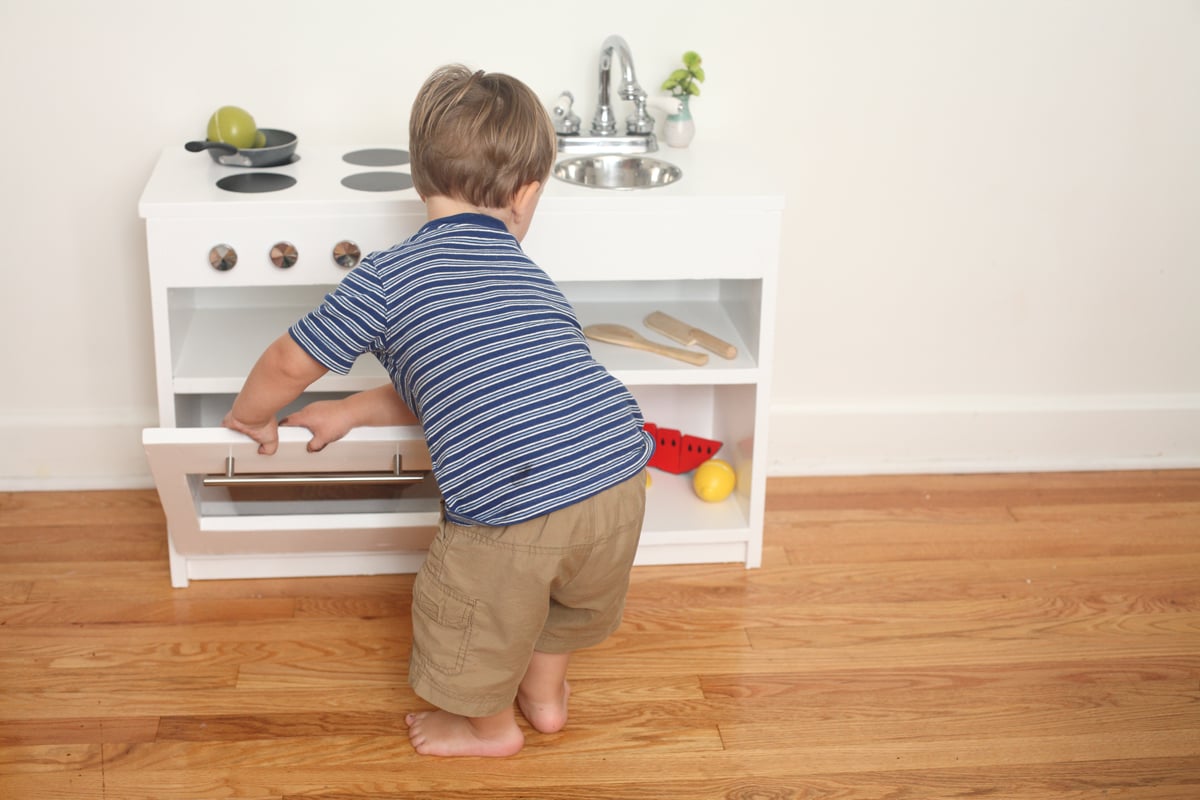
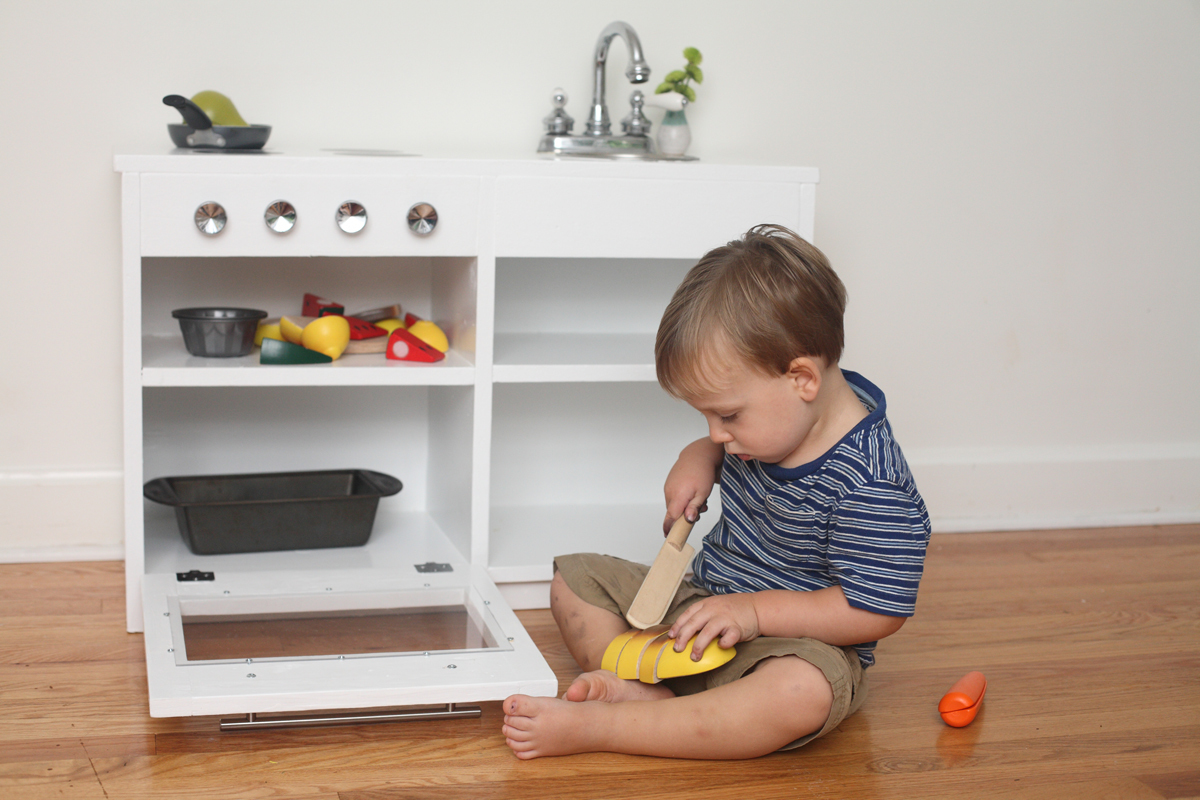
I combined the play sink and play stove into a one-piece kitchen by having them share a side. I found a bathroom faucet at my local Habitat ReStore for $15 (and that included a sink I didn't even need!). Time investment does not include painting. Here's my cost breakdown. Lumber: $25 (I used some scraps.) Faucet: $15 Dog bowl: $7 Hardware: $13 Primer and paint: $19 Screws: $4 Sandpaper: $5 Plexiglass: $3 Prepping dinner while my toddler works in his play kitchen beside me: Priceless.

Estimated Cost
~$90
Estimated Time Investment
Day Project (6-9 Hours)
Finish Used
Cheap white paint. It dripped like crazy and took forever to dry. My mantra was "It's a toy, it's a toy, it's a toy."
Recommended Skill Level
Intermediate

Comments

Outdoor Playhouse

Submitted by Anonymous (not verified) on Mon, 06/03/2024 - 09:05

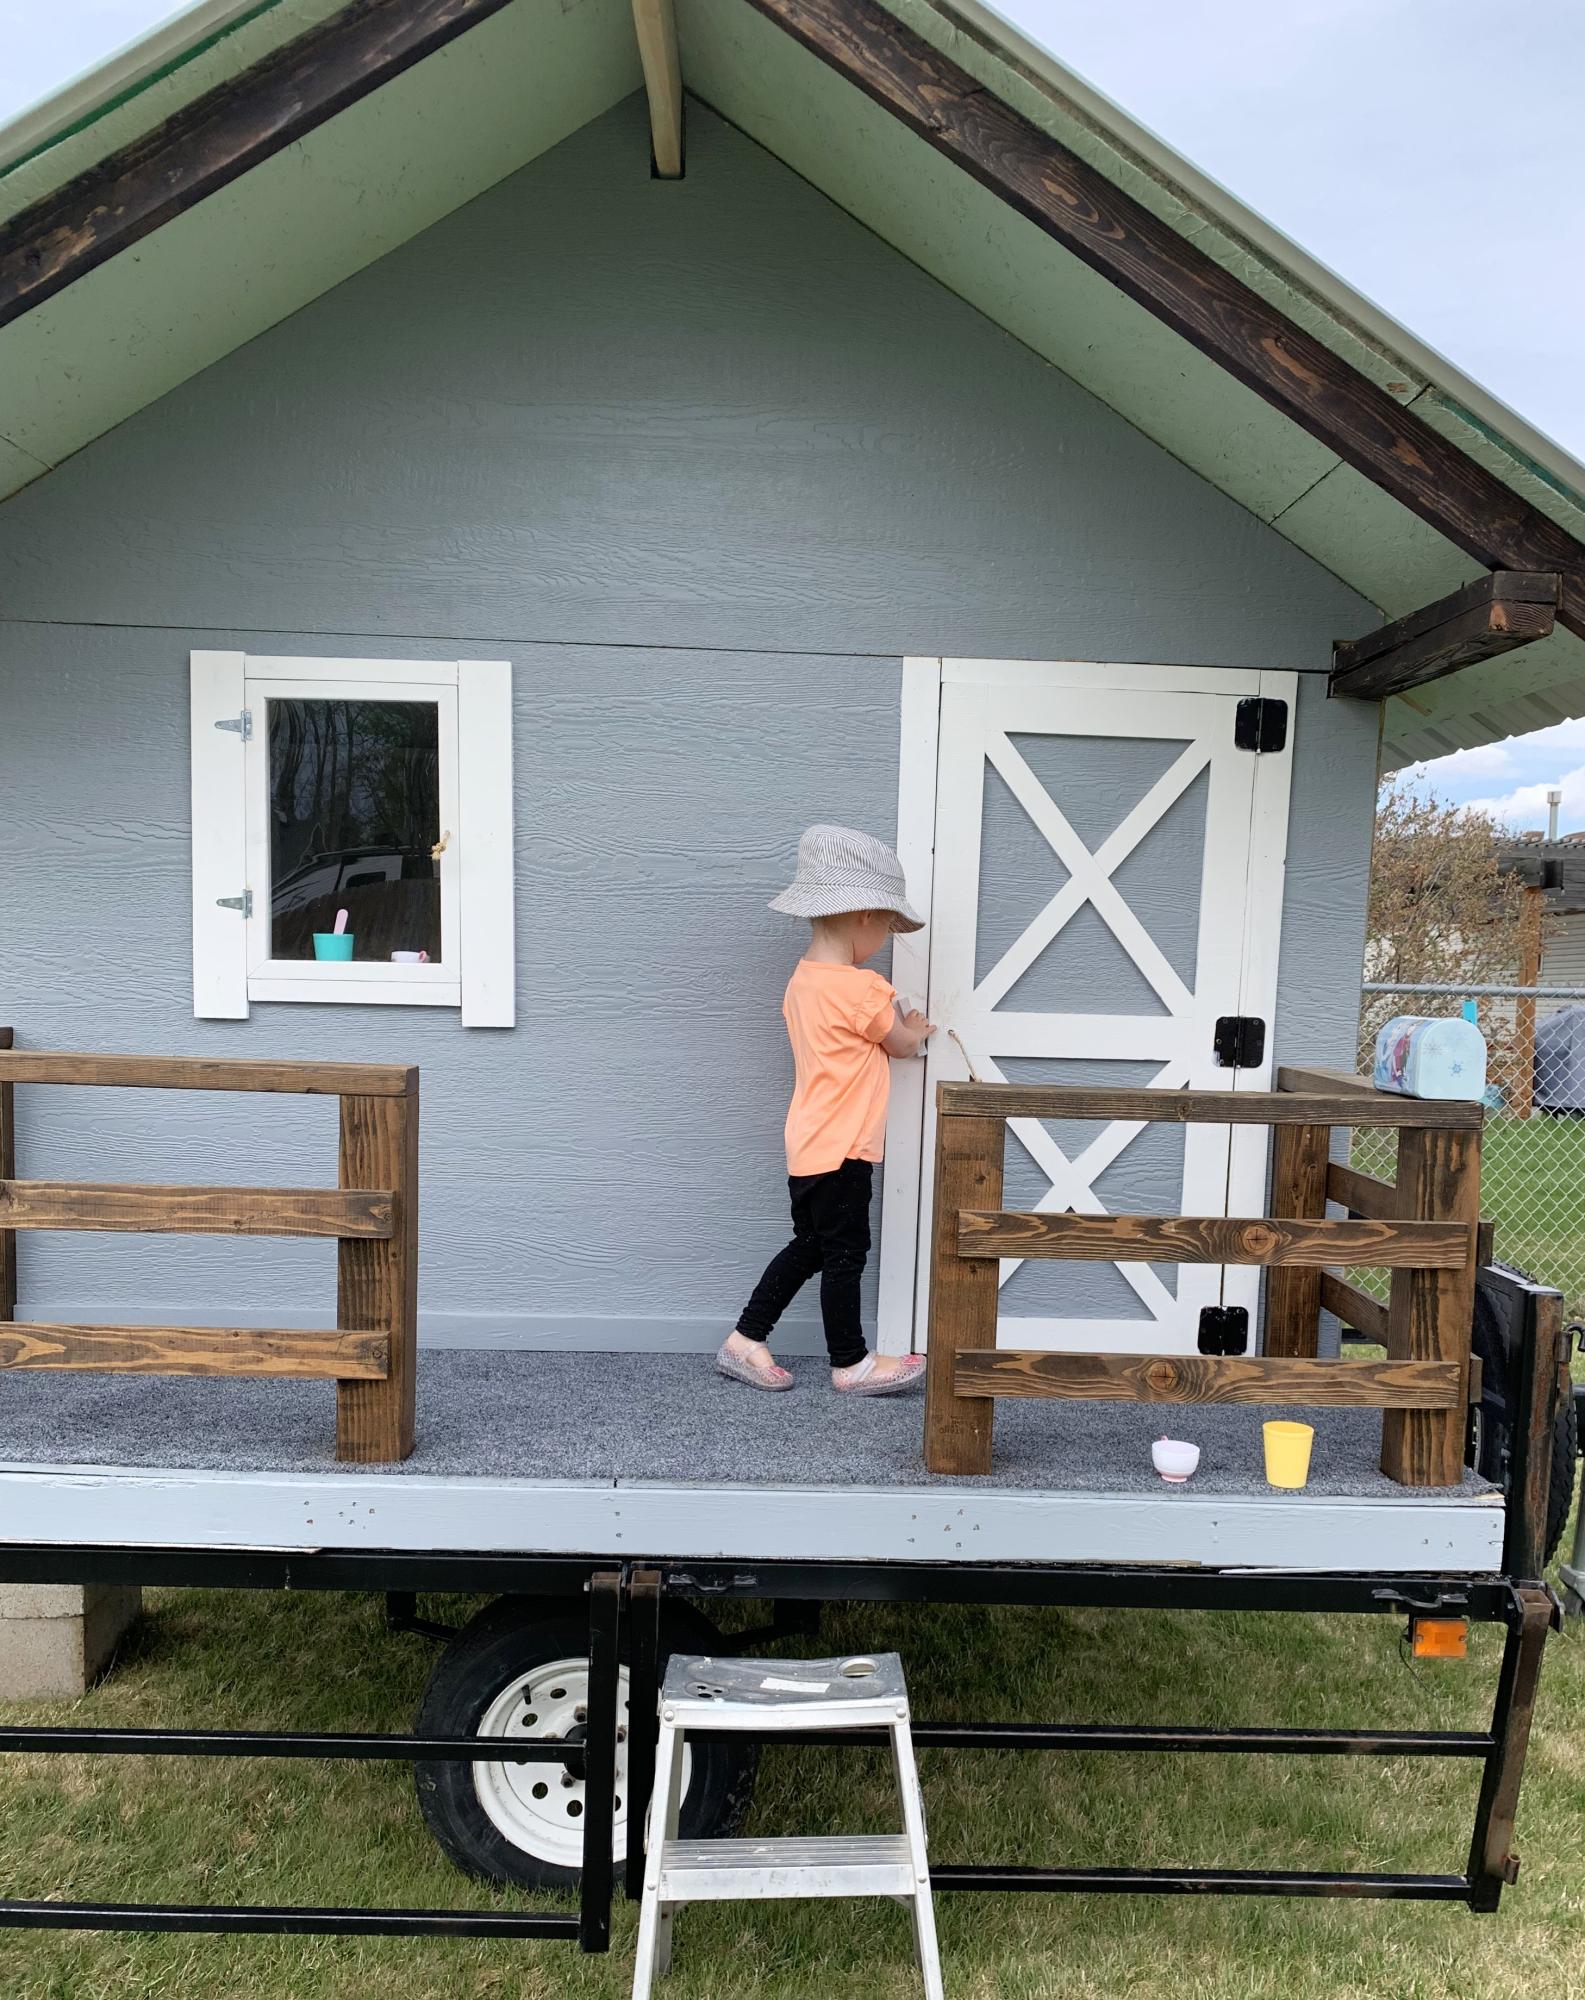
I had just retired and wanted to make a playhouse for my 2 year old grand-daughter. I always wanted one as a kid and wanted to build one for my kids but never found the time.
This was made mostly out of scrap wood that couldn’t be used to build a house and I was lucky enough to get permission to take whatever I needed. Learned a lot doing it. Thanks to my boyfriend for letting me borrow his nailer.

Cindy

Our Toy Box

Submitted by djsaffer19 on Sun, 08/03/2014 - 19:54

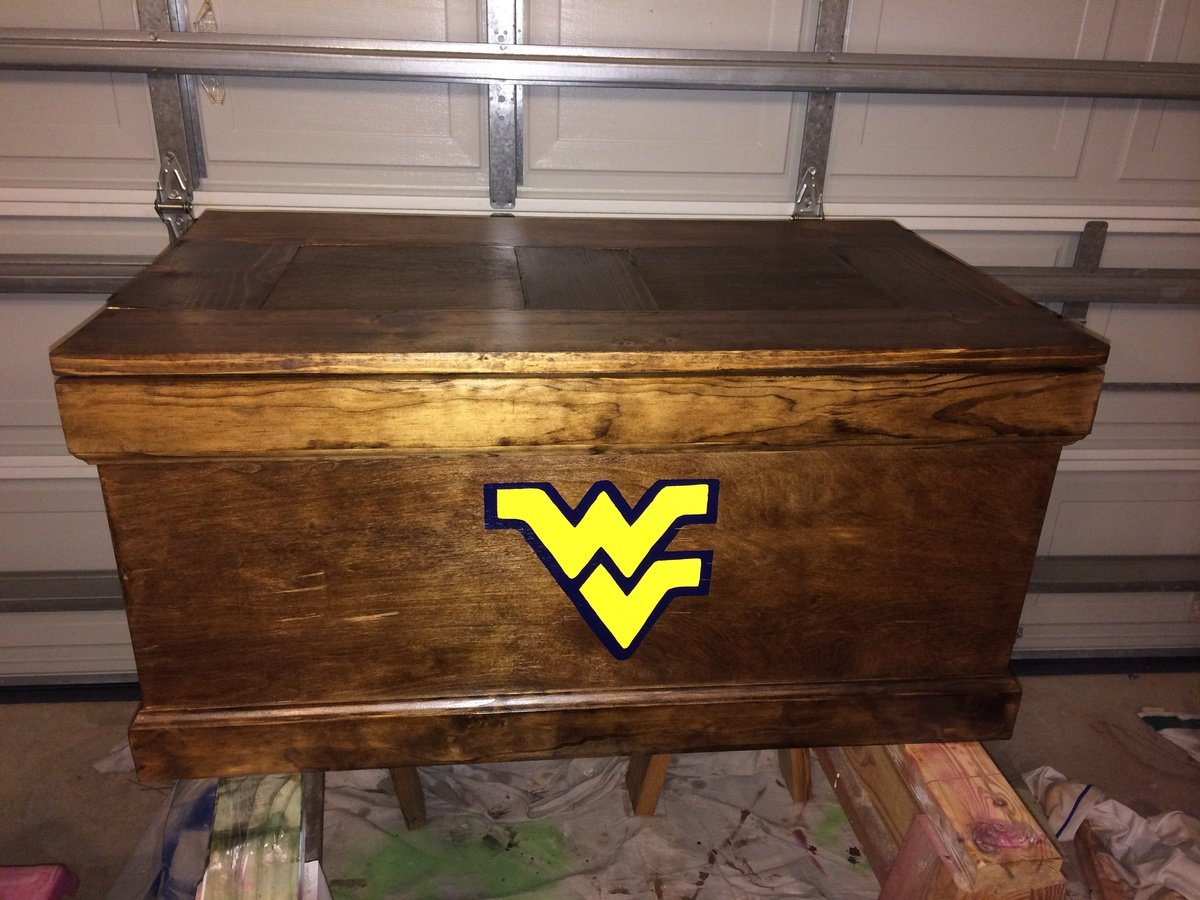
Toy box for our kids that someday will become a blanket box or something else around the house. Customized with the S for our last name. Use a piano hinge and folding lid support on one side. Made another for our friends with the West Virginia logo.

Built from Plan(s)
Estimated Time Investment
Day Project (6-9 Hours)
Finish Used
Provincial minwax stain, rustoleum spray paint for the S, and polycrylic clear coat.
Recommended Skill Level
Intermediate

Comments

bzhayes

Thu, 04/16/2015 - 08:37

Hello, I just built this same trunk and it turned out great. However, I had a hard time finding a set of soft stay support hinges for the inside. Did you install any and if you did could you tell me what kind (brand) and also a picture of how your hinges look on the back of the trunk and when it is open. That would be great. I went to the original site and asked but they don't respond.

Simple and Elegant Stool

Submitted by Jake on Tue, 10/23/2012 - 08:36

This is the second of the Simplest Stool design I retrieved from Ana's site and built. I love the stool for its ease of construction and beautiful lines. Get your measurements spot on and it goes together in a flash. I did use a 15 inch diameter project round for the seat. I built it upon the request of a friend so they have to finish it. Lots of PHs in this small stool so I wish that Kreg or someone would produce PH inserts that easily fit where you have 11/4 inch ph screws.

Built from Plan(s)
Estimated Cost
Seat $7.50, Legs $4, 1x2 $6 plus misc or about $20 or a little less.
Estimated Time Investment
Afternoon Project (3-6 Hours)
Finish Used
None, but if I were to do it I would paint the support a white satin and stain the seat a semi-dark gunstock or a really nice golden oak. Do them separately and then make the attachment.
Recommended Skill Level
Beginner

Side Street Bunk Beds (with modified ladder)

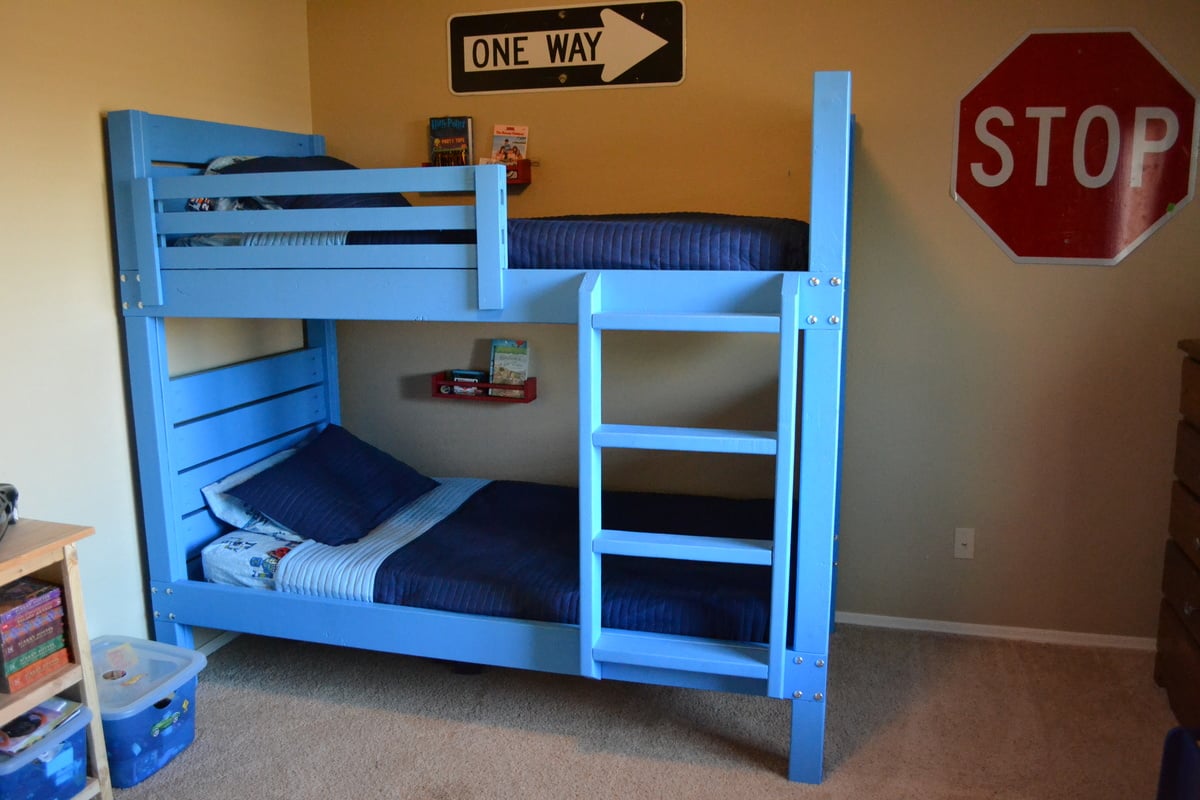
After building the playhouse loft bed, I found this project to be very easy. I built the bunk beds at 37/38 weeks pregnant, so that should tell you how simple it is to construct. The total cost came in under $300 and I was able to use some of the scrap wood I already had in my garage.

I did run into some trouble with the slanted ladder. Even though the pieces were cut to the exact measurements in the plan, the sides of the ladder were too short for the bed. Being very pregnant and impatient, I just modified the ladder so I wouldn't have to waste the pieces I'd already cut.

You may also notice that I didn't fill and sand my pocket holes on the end pieces yet. That was also me being very pregnant and impatient. I'll go back and do that later when I have more time. Despite the little bit of finishing work remaining, this was pretty much a 2-day project. Cutting and construction was fast (one day) and finishing took another full day.

I used Valspar "Blue Burst" paint from Lowe's to finish the bed. I used bolts to attach the side rails because we move frequently so I wanted the bed to be easy to disassemble. Overall, this was a very easy and fun project!

Built from Plan(s)
Estimated Cost
Just under $300
Estimated Time Investment
Weekend Project (10-20 Hours)
Finish Used
Valspar "Blue Burst" interior paint
Recommended Skill Level
Beginner

Comments

vpihoney

Sun, 11/11/2012 - 21:37

Love how you whipped this together! I stumbled upon your post as I started working on these bunk bed plans today (I can't read the dimensions on the diagrams from a printout, so i open up the plans on the iPad). I had to finish up the ladder and side rail today. I was stumped yesterday evening with the same ladder issue. Why was it coming up short? It was really annoying considering it took me a while to figure out a 60 degree angle on my miter. I decided to try changing my ladder angles to 22.5 and 67.5, as I still wanted a leaning ladder, but I thought a reduced angle would work better. Didn't have to scrap my boards either, whew. Love how quickly you put this together! Coincidentally, I'm 33 weeks pregnant, but moving terribly slow compared to you.

purpleheather79

Mon, 11/19/2012 - 07:25

I'm glad I'm not the only one with the ladder issue! I couldn't figure out what went wrong. I also tried to adjust the angle but my boards were just a tiny bit too short and I was not wanting to run to the store to get more. I do like the leaning ladder better though. Can I just say that I love that you're building this bed while pregnant too? That's awesome! :)

West Elm Knockoff Chevron Queen Bed

Submitted by Anonymous (not verified) on Fri, 01/13/2017 - 21:07

This was my first build and I am so happy with how it turned out! The plans from Jen Woodhouse were extremely easy to follow and I would definitely recommend this project to others!

Estimated Cost
$200
Estimated Time Investment
Week Long Project (20 Hours or More)
Recommended Skill Level
Intermediate

Kitchen Island

Submitted by TX_Richie on Sun, 10/18/2020 - 02:32

I’m very excited for my first project. Not to be boastful, but I am very proud of myself. So my wife decided she wanted a kitchen island. I began from the top of the plans and about halfway through I realized I have a small kitchen. The wife came in and said “that’s way to big). So I had to make a lot of adjustments. For instance, the 4x4 legs became 2x2. I was afraid it would not be sturdy enough, but it turned out nice. I left out the portion of the plans for the range and just made a bigger shelf to accommodate my wife’s mixers and other large kitchen items. Instead of a second shelf I made a slide out trash can (single instead of double). It fits the kitchen well and more importantly the wife loves it. Now to build stools. Thanks to your site Ana, I was able to make a place for my family to have dinner together. My daughter helped me with this project and has been asking when we will start our next project.

Estimated Cost
$100
Estimated Time Investment
Weekend Project (10-20 Hours)
Finish Used
I did the top in Jacobean (Minwax). It only needed one coat. Then used clear (water based) polyurethane.
Recommended Skill Level
Intermediate

Comments

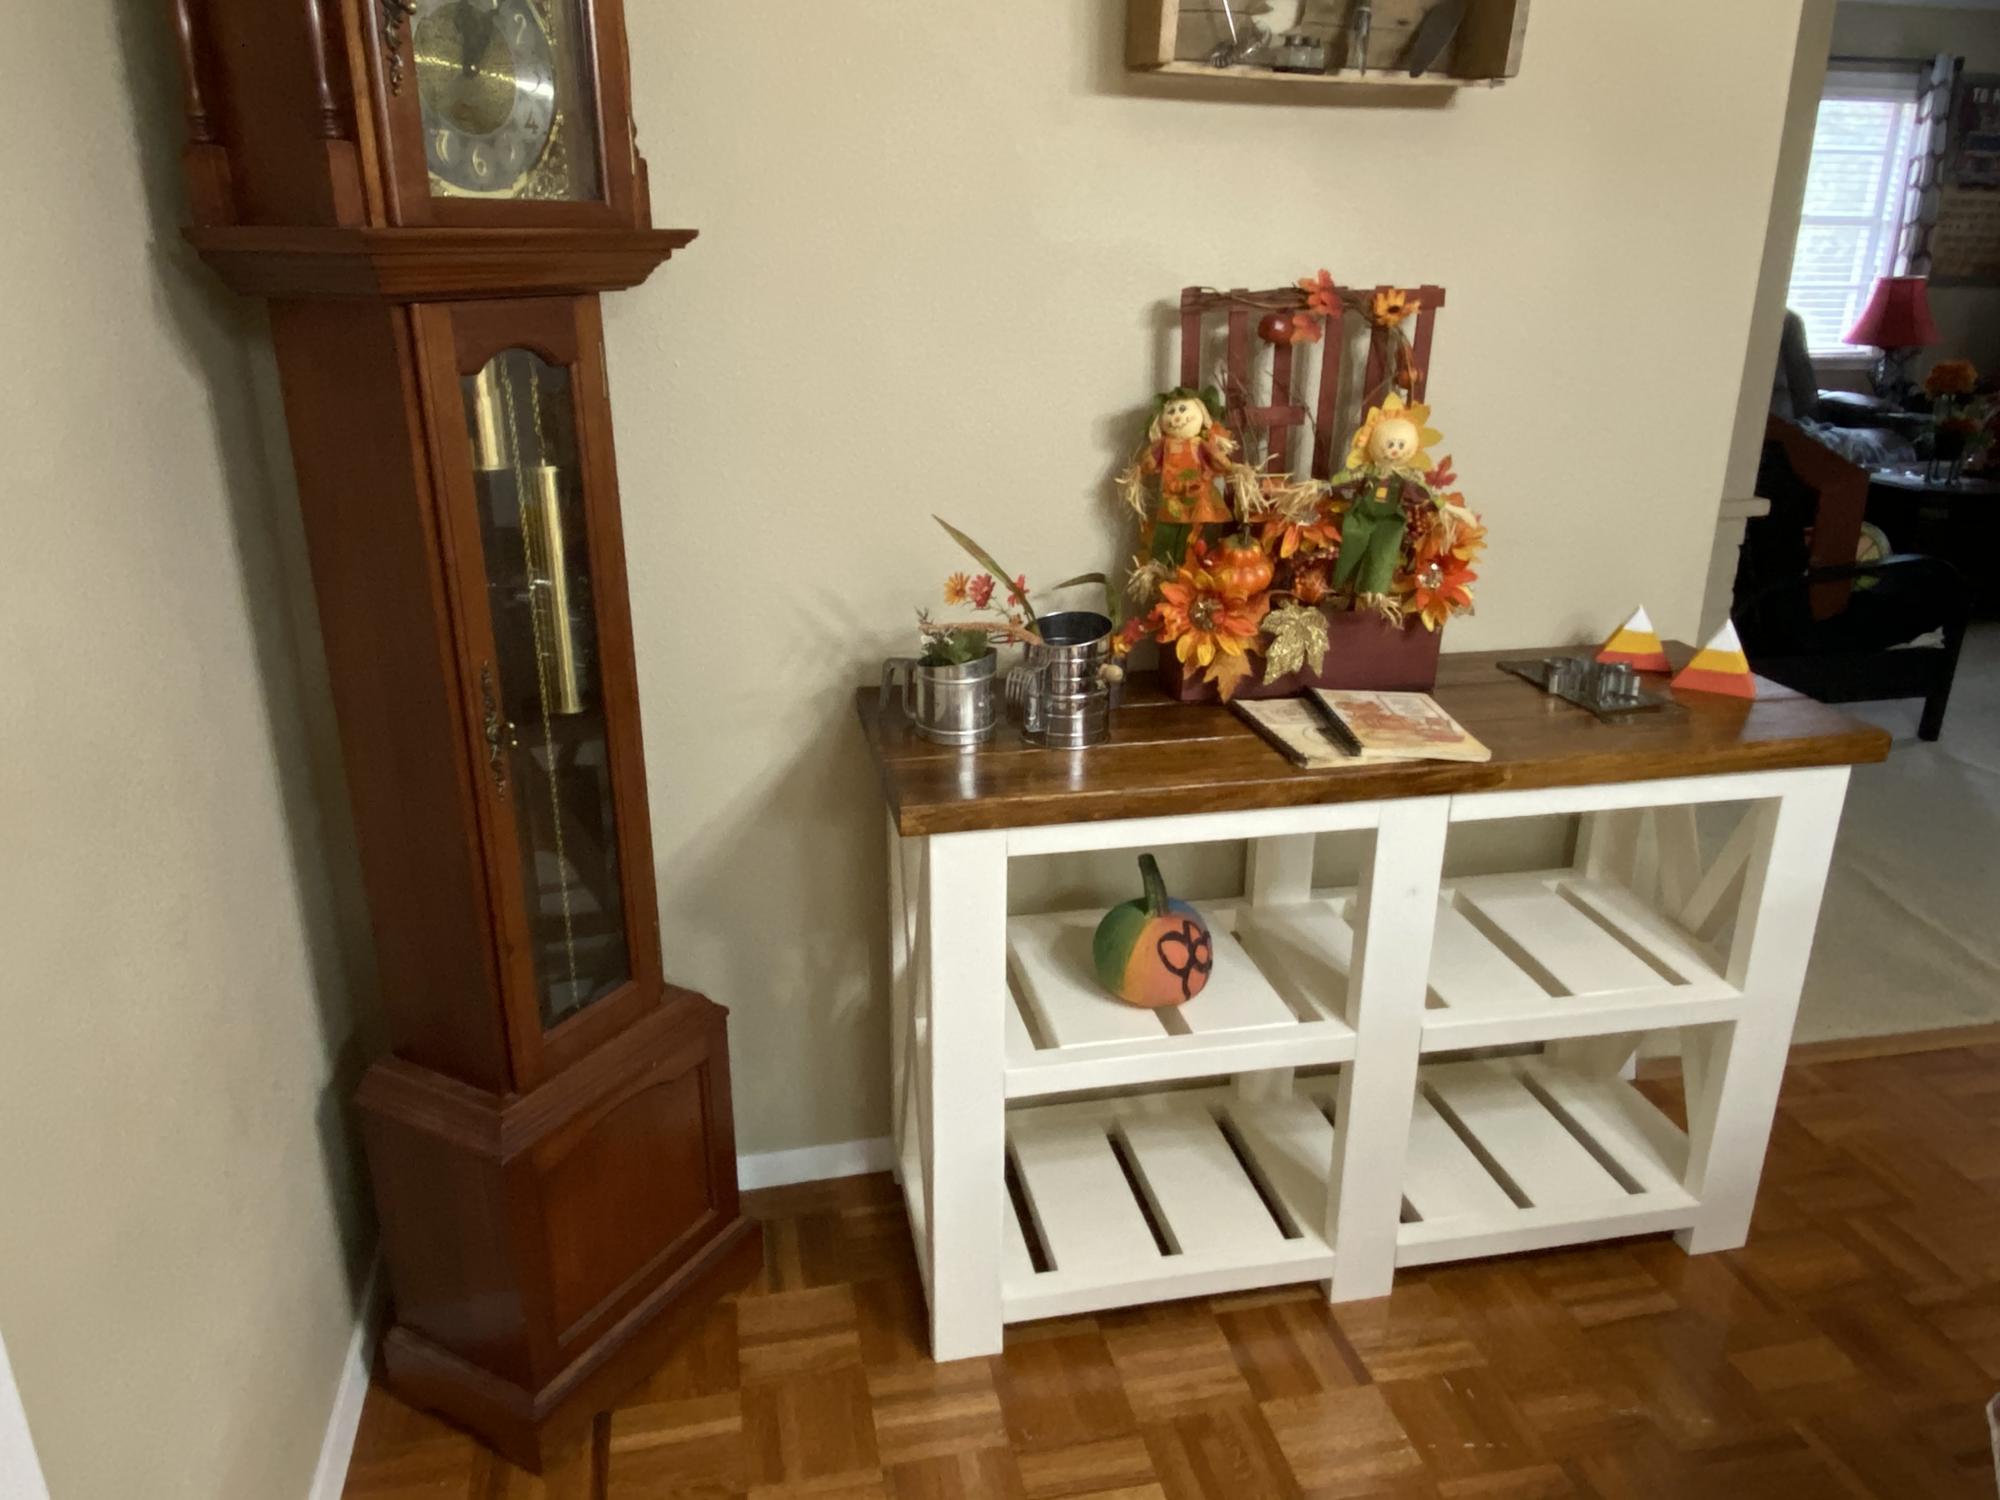
Farmhouse console table - Shortened

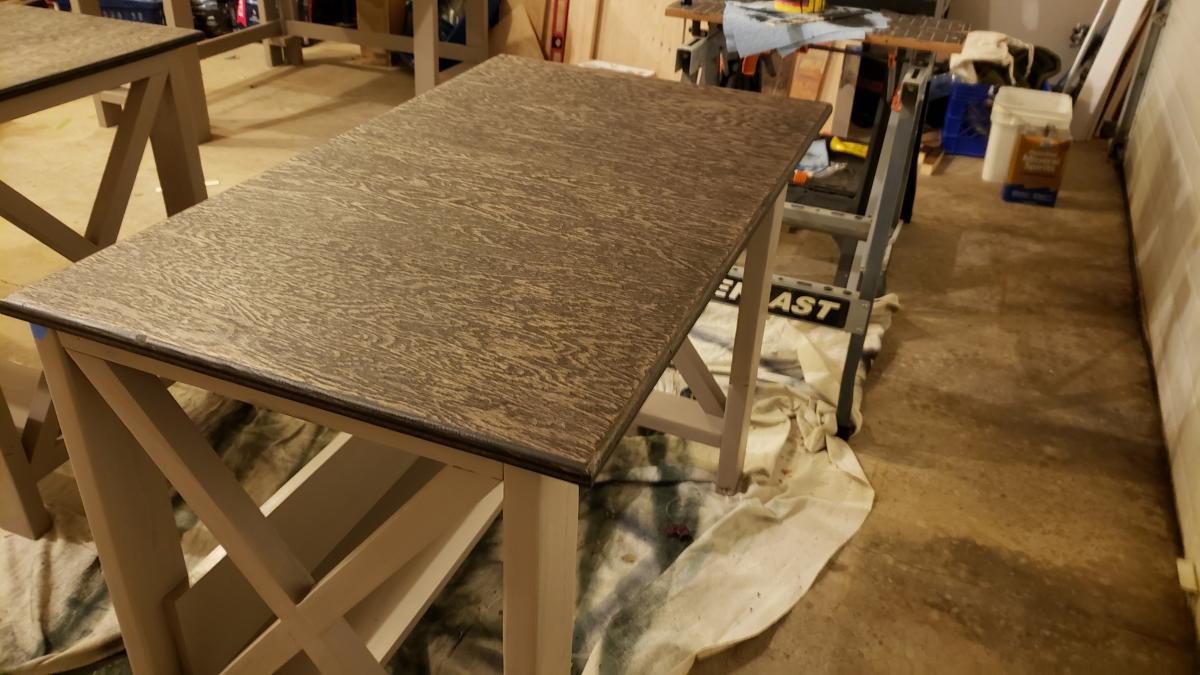
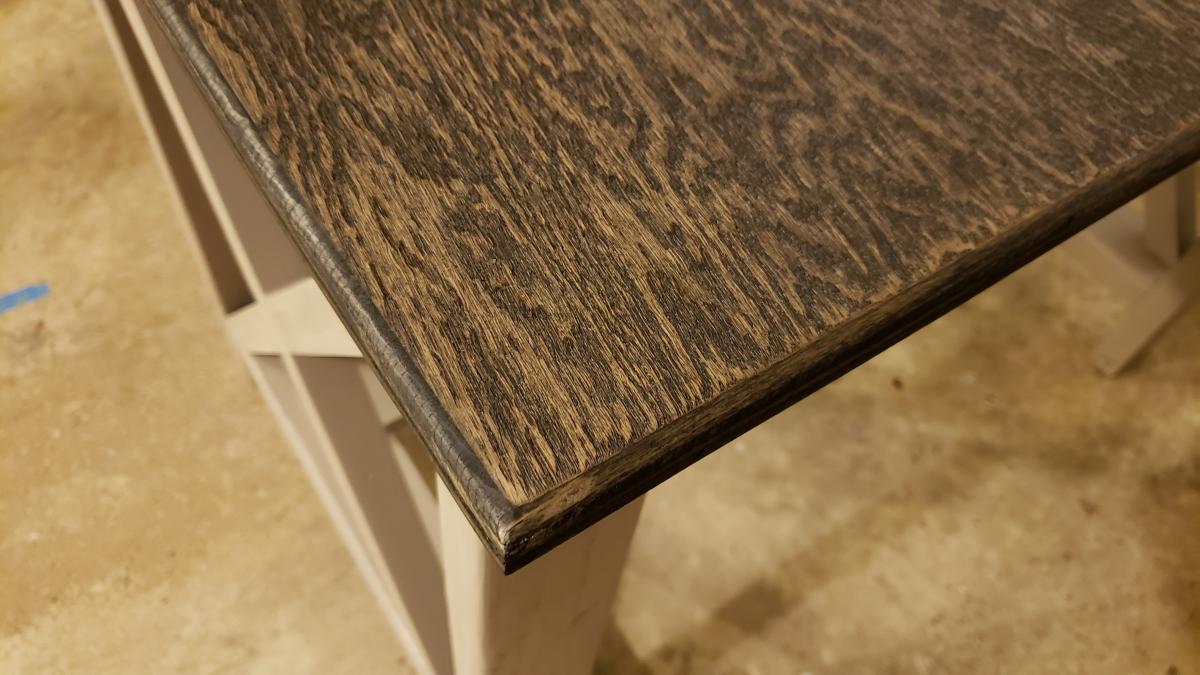
My wife wanted a console table for our dining room but the original plans were too big for the spot next to the grandfather clock, so I shortened them a bit and this is the result.

Built from Plan(s)
Estimated Time Investment
Day Project (6-9 Hours)
Recommended Skill Level
Beginner

Comments

Great Weekend Project!

Submitted by basehordad on Mon, 11/03/2014 - 08:56

I used 1x6’s as opposed to 2x6’s for the base as well as the 19” pieces thus I cut the length of the legs to 27 3/8 the difference of 1 ½ inch from the plan.  In addition, the plans did not specify as to the placement of the legs on to the 19” pieces and thus I attached the 17 ½ bottom shelf braces and then attached the legs to the top.  I finished the project with MinWax Classic Gray stain which gave it an antique finish followed by a finishing wax.

Built from Plan(s)
Estimated Time Investment
Afternoon Project (3-6 Hours)
Recommended Skill Level
Beginner

Jelly Cupboard Armoire

Submitted by Fallmark18 on Fri, 12/12/2014 - 11:23

This is my first solo and most ambitious project. I only had some help with getting the doors hung. I combined my long-time love of machine embroidery and my new found love of woodworking to create the doors on this project and really make it something special. I'm going to be using this piece in place of a chest of drawers in my bedroom.

Built from Plan(s)
Estimated Cost
About $150
Estimated Time Investment
Week Long Project (20 Hours or More)
Finish Used
Rustoleum Ultimate Wood Stain in Cabernet and several coats of Rustoleum Interior Ultimate Polyurethane
Recommended Skill Level
Intermediate

Comments

JoanneS

Fri, 12/12/2014 - 13:21

What an awesome project! Love the finish, and the design on the doors. How did you do the door panels? They're lovely!

Fallmark18

Fri, 12/12/2014 - 14:53

Thanks so much for the compliment! The door panels are made of replacement storm door screen. I used my embroidery/sewing machine to embroider the design onto the screen.

Fallmark18

Tue, 12/16/2014 - 09:25

I'm so glad people like it. Everything I know about building I've learned from your site!

Corner Desk - from Farmhouse Desk plans

Submitted by james_e on Wed, 01/13/2021 - 14:15

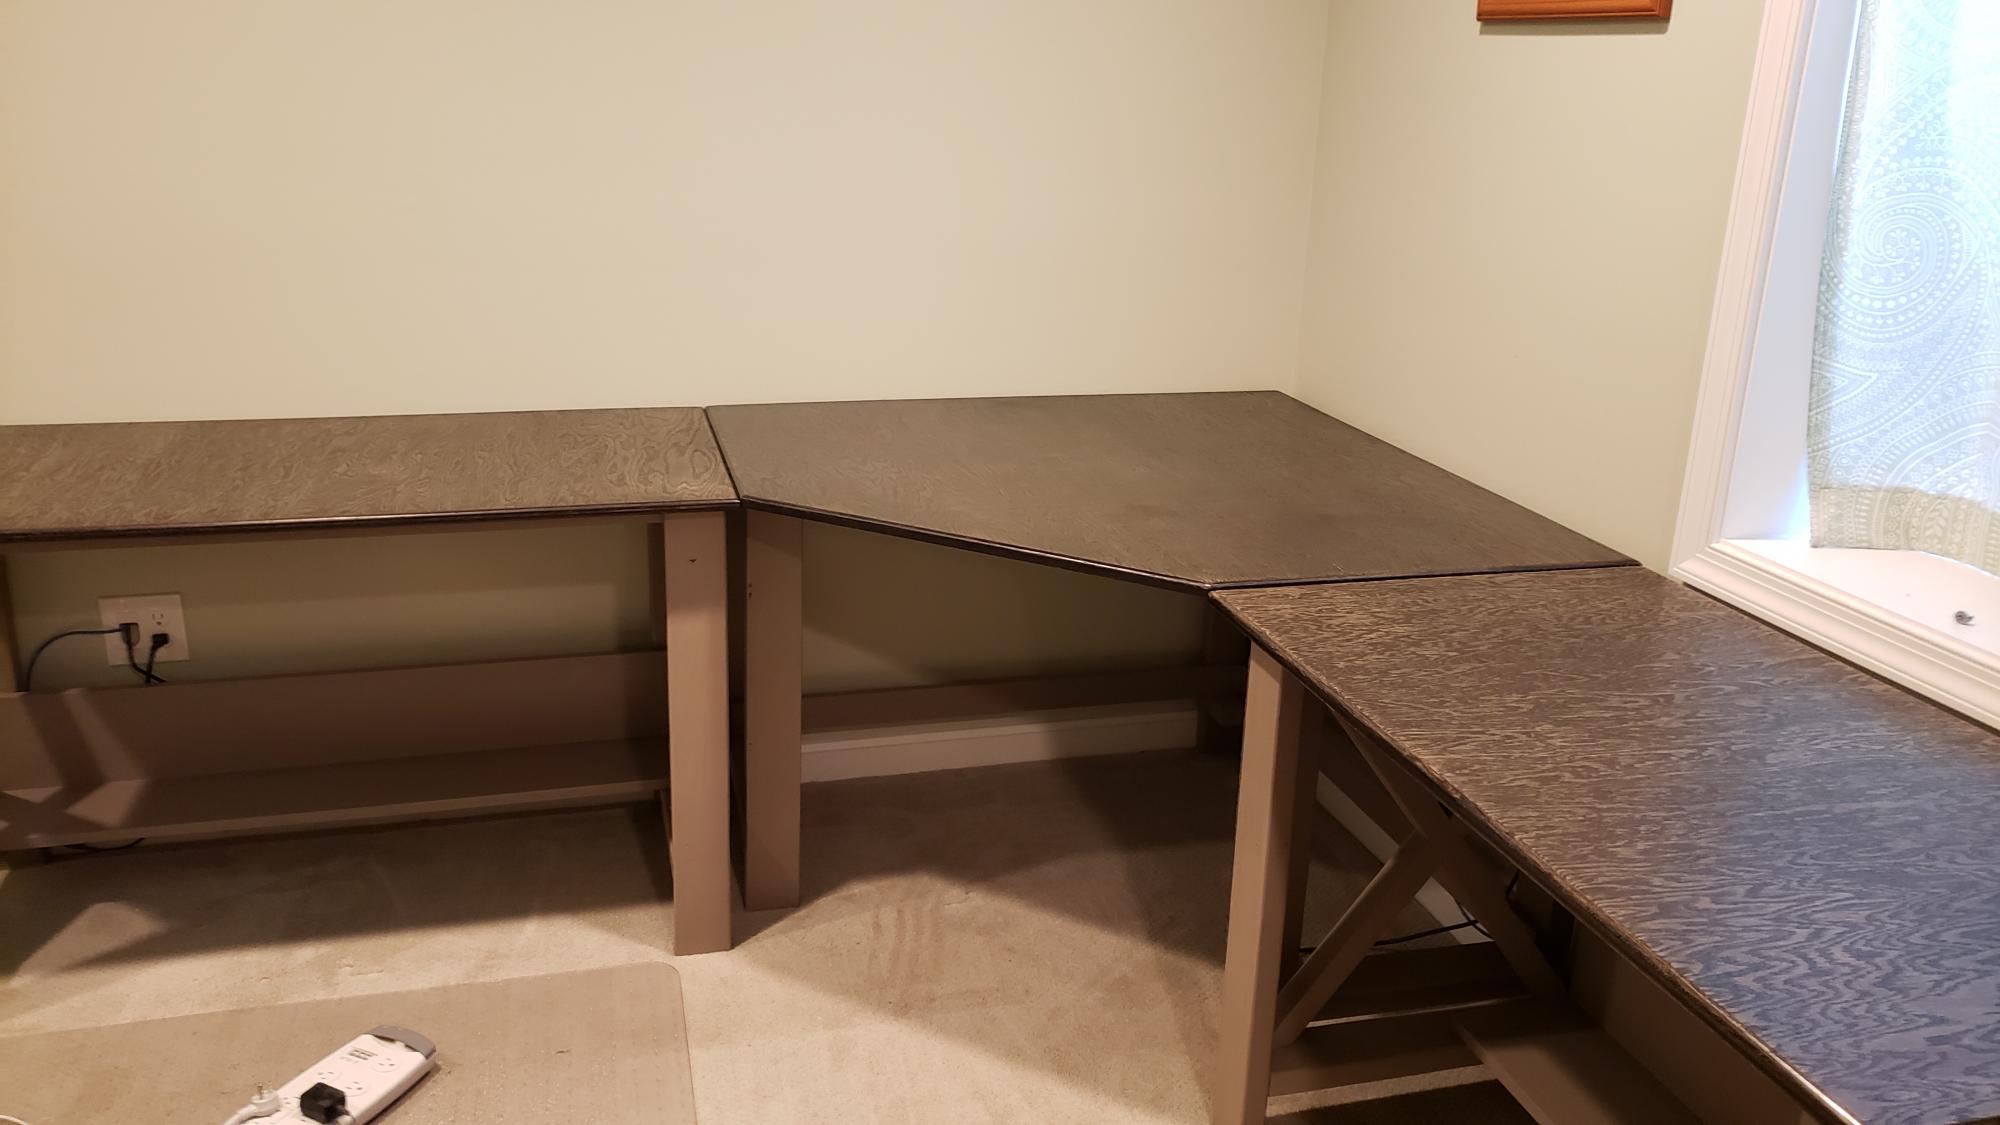
My wrist has not taken well to the work at home requirement of the pandemic. So, I decided to replace my desk with a similar one that I have at work. Only, this one is much prettier.

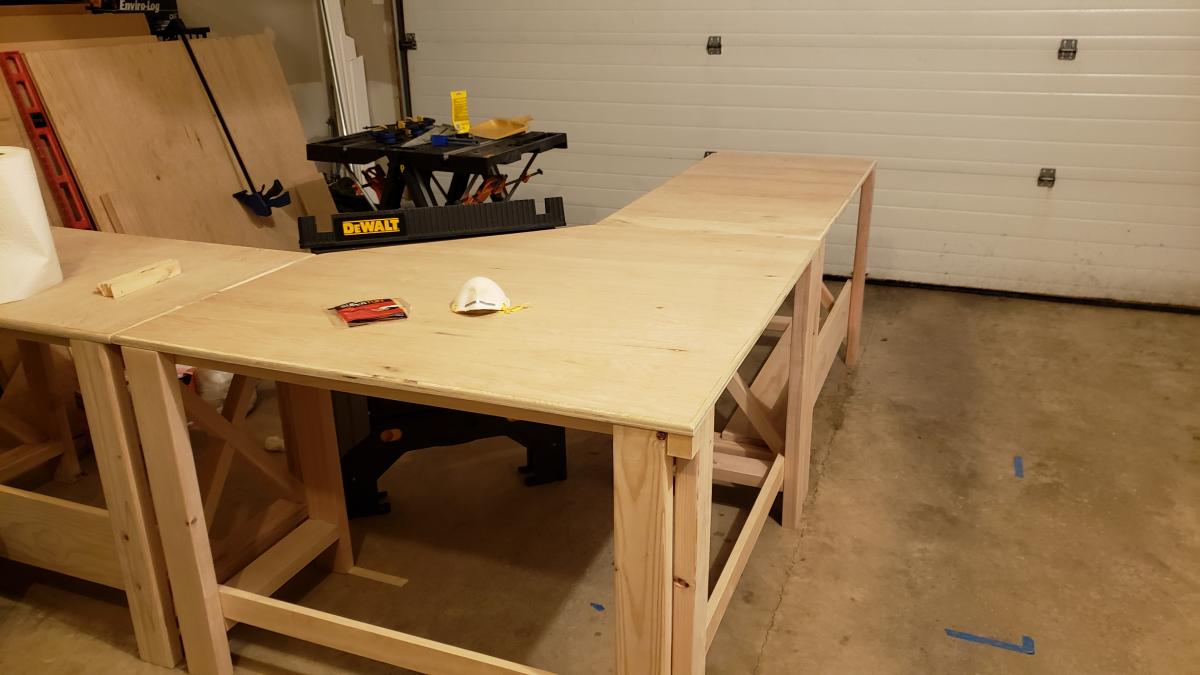
Essentially, I built two desks using the farmhouse desk plans. One of them I made less wide than the plans by simply making the horizontal pieces 36" instead of the plan's 47 1/2".

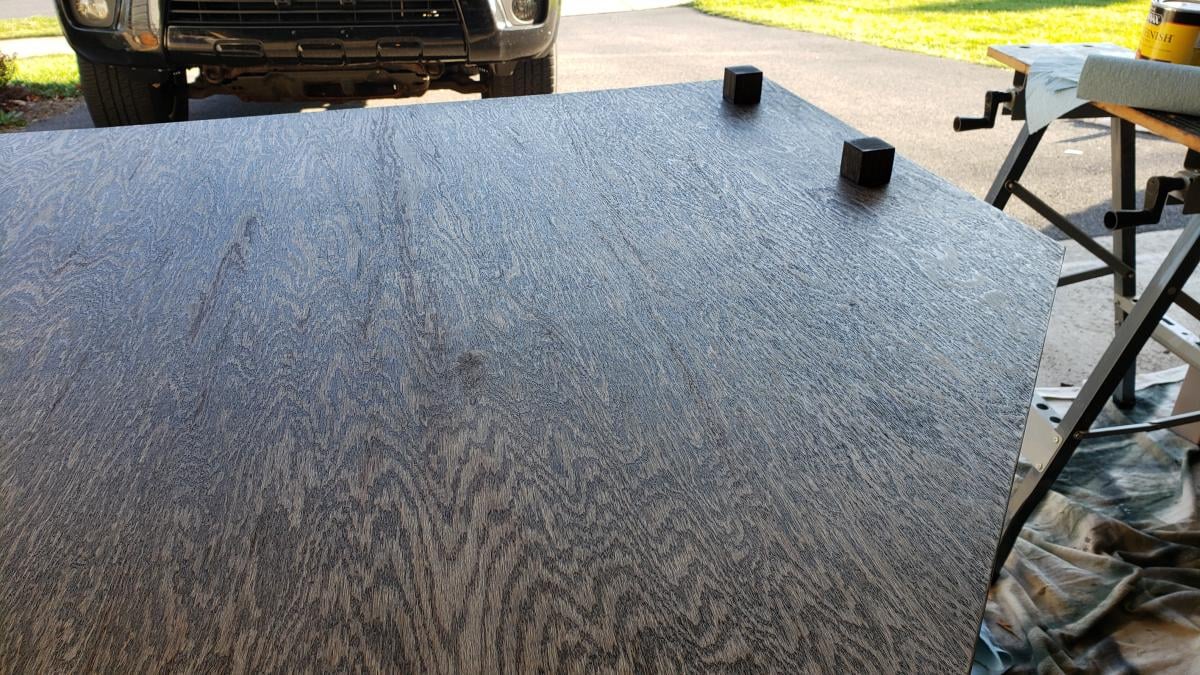
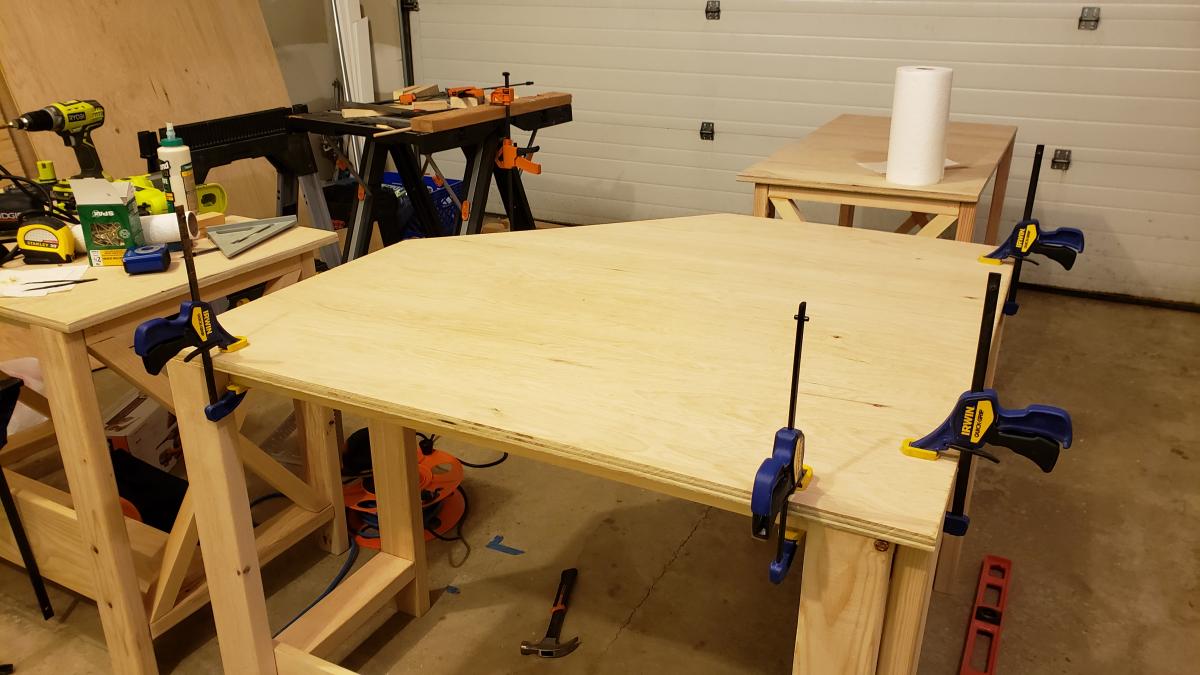
For the middle portion of the corner desk , I based it off of the Office Corner Desktop plans. I made just the middle portion for those plans, but made the edges 46" instead of 38" for a deeper desk as well as to allow more room for my legs not to hit the uprights of the farmhouse desks. I made the corner desktop detachable, so it was easier to fit down the stairs to the office, using some small ~2" cubes placed on the bottom. They just serve to keep the desktop from moving around on the frame. The base of the middle portion I made up using the same ideas used to create the farmhouse desk frames.

I made plenty of mistakes along the way as I'm a software engineer, not a carpenter. I think next time I'll buy a miter saw, most of these cuts were by hand and aren't as straight as I'd like them to be. But, I like to work with my hands and this has made my day job less painful while I'm working from home.
Estimated Cost
$200
Estimated Time Investment
Week Long Project (20 Hours or More)
Finish Used
Minwax oil based Ebony 2718, then satin poly
Recommended Skill Level
Beginner

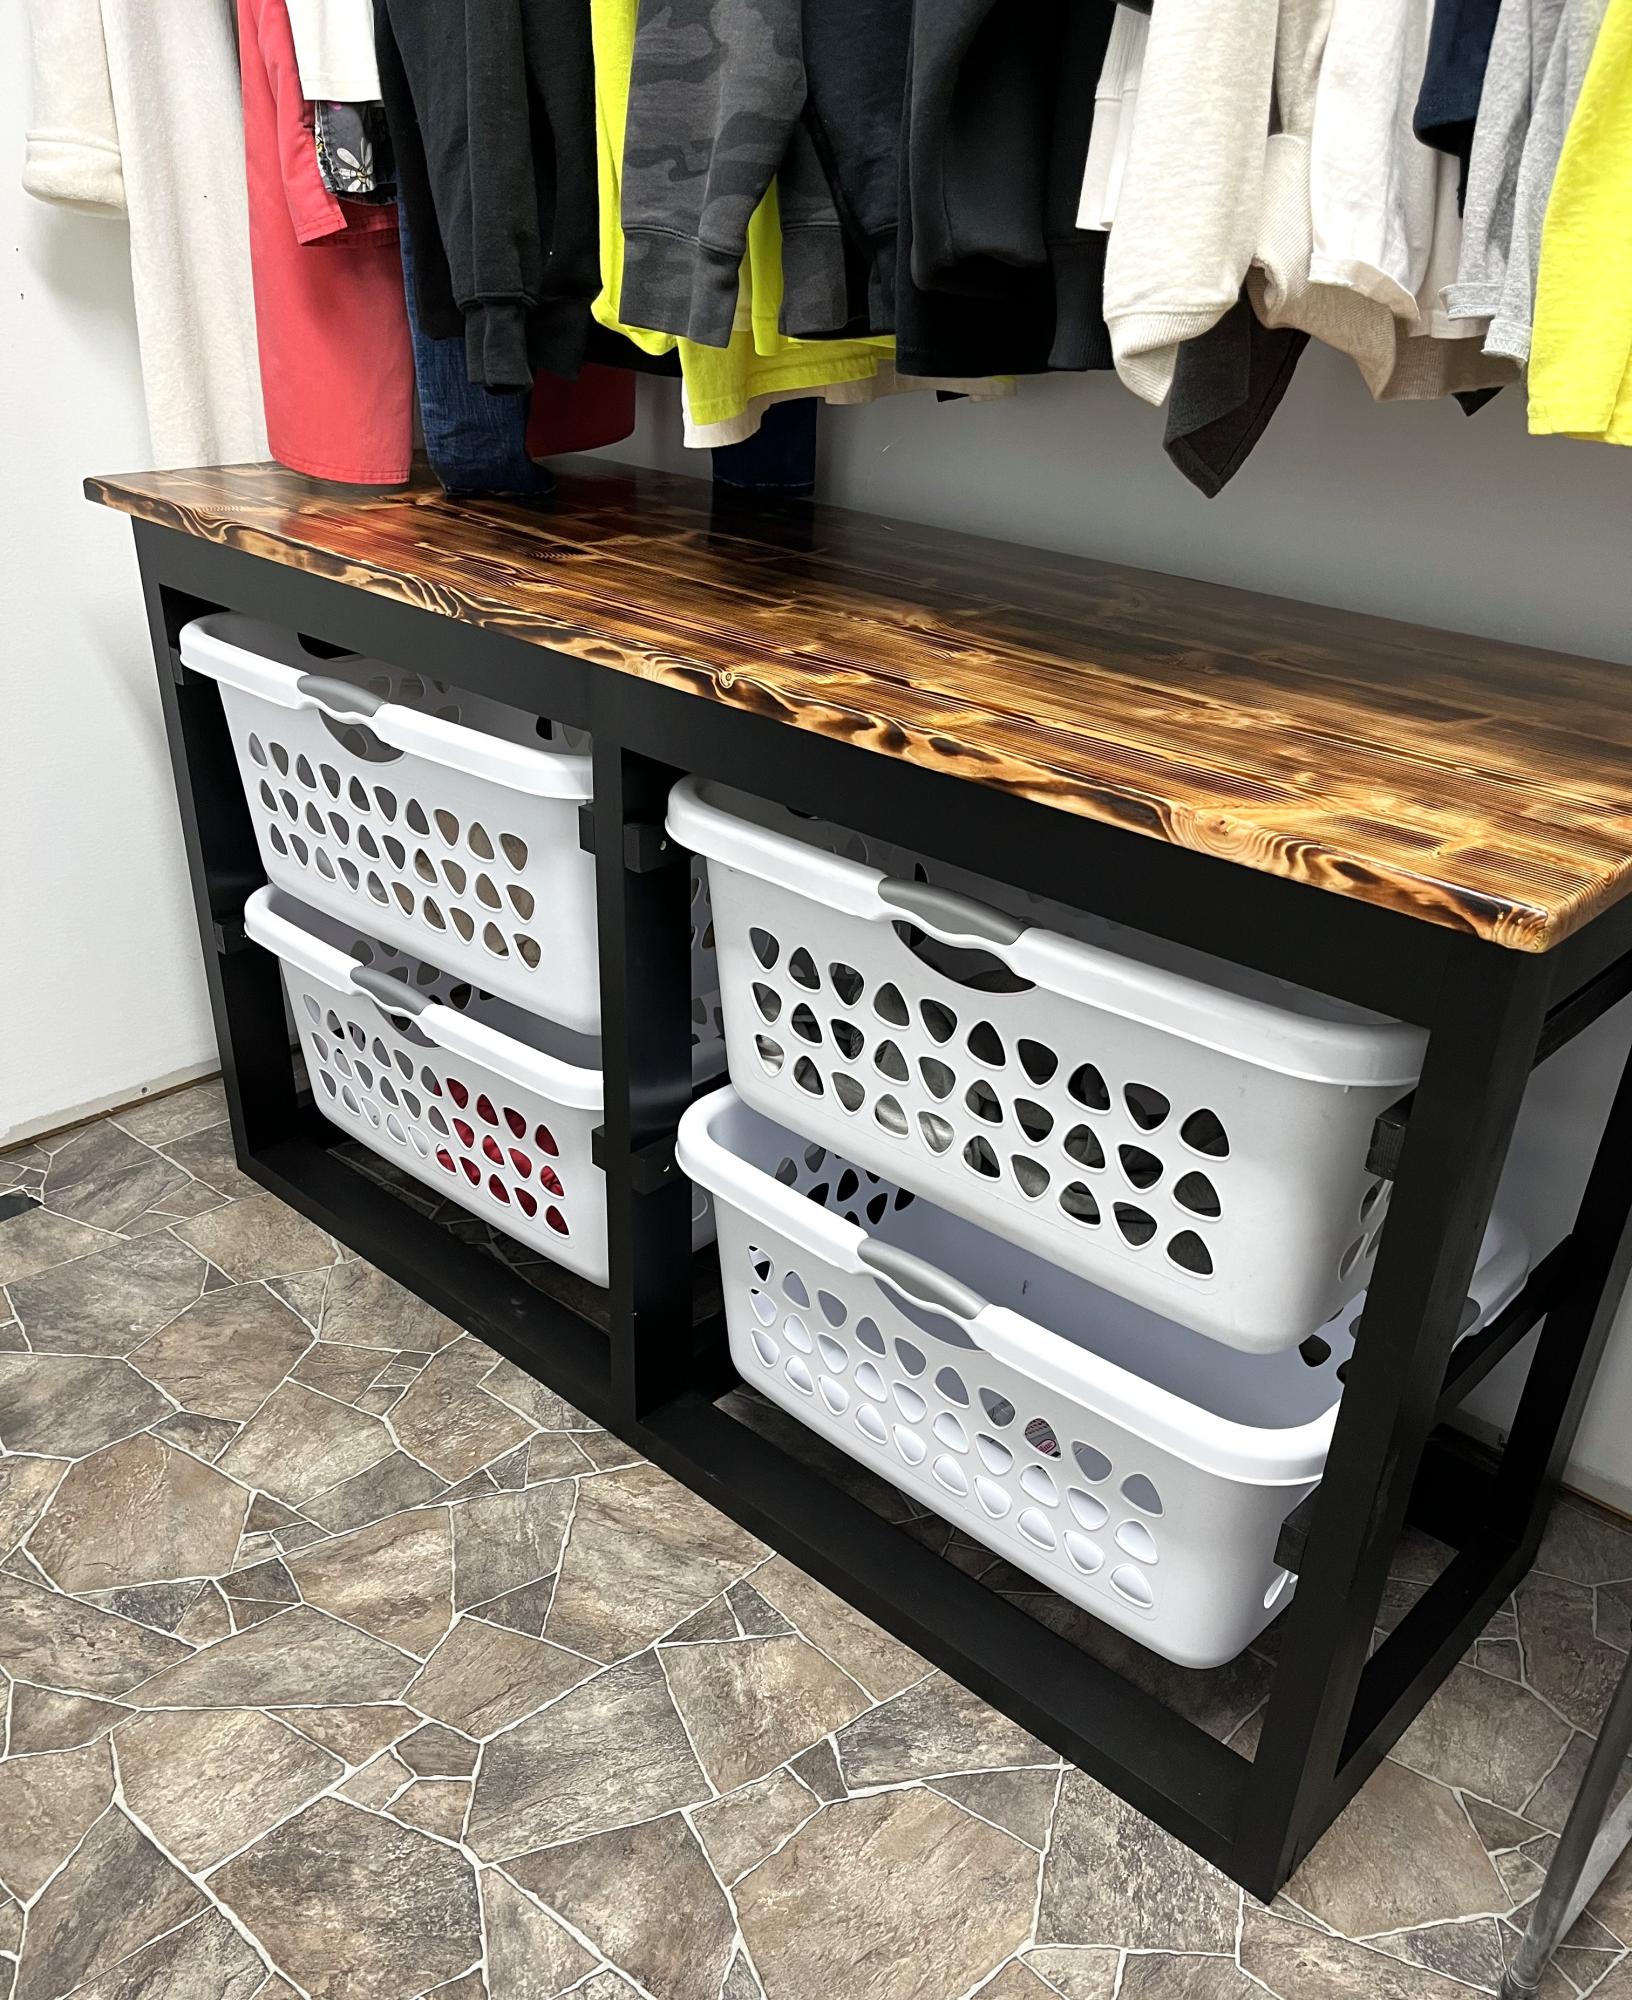
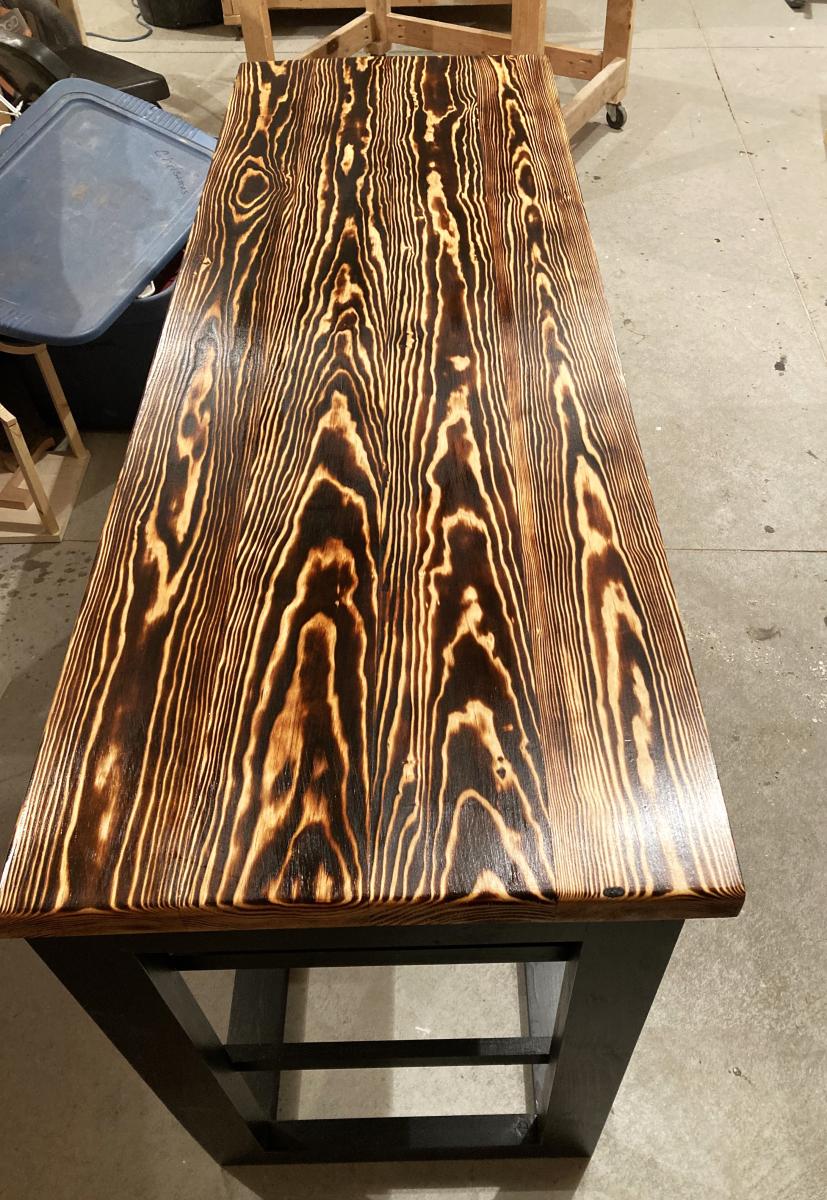
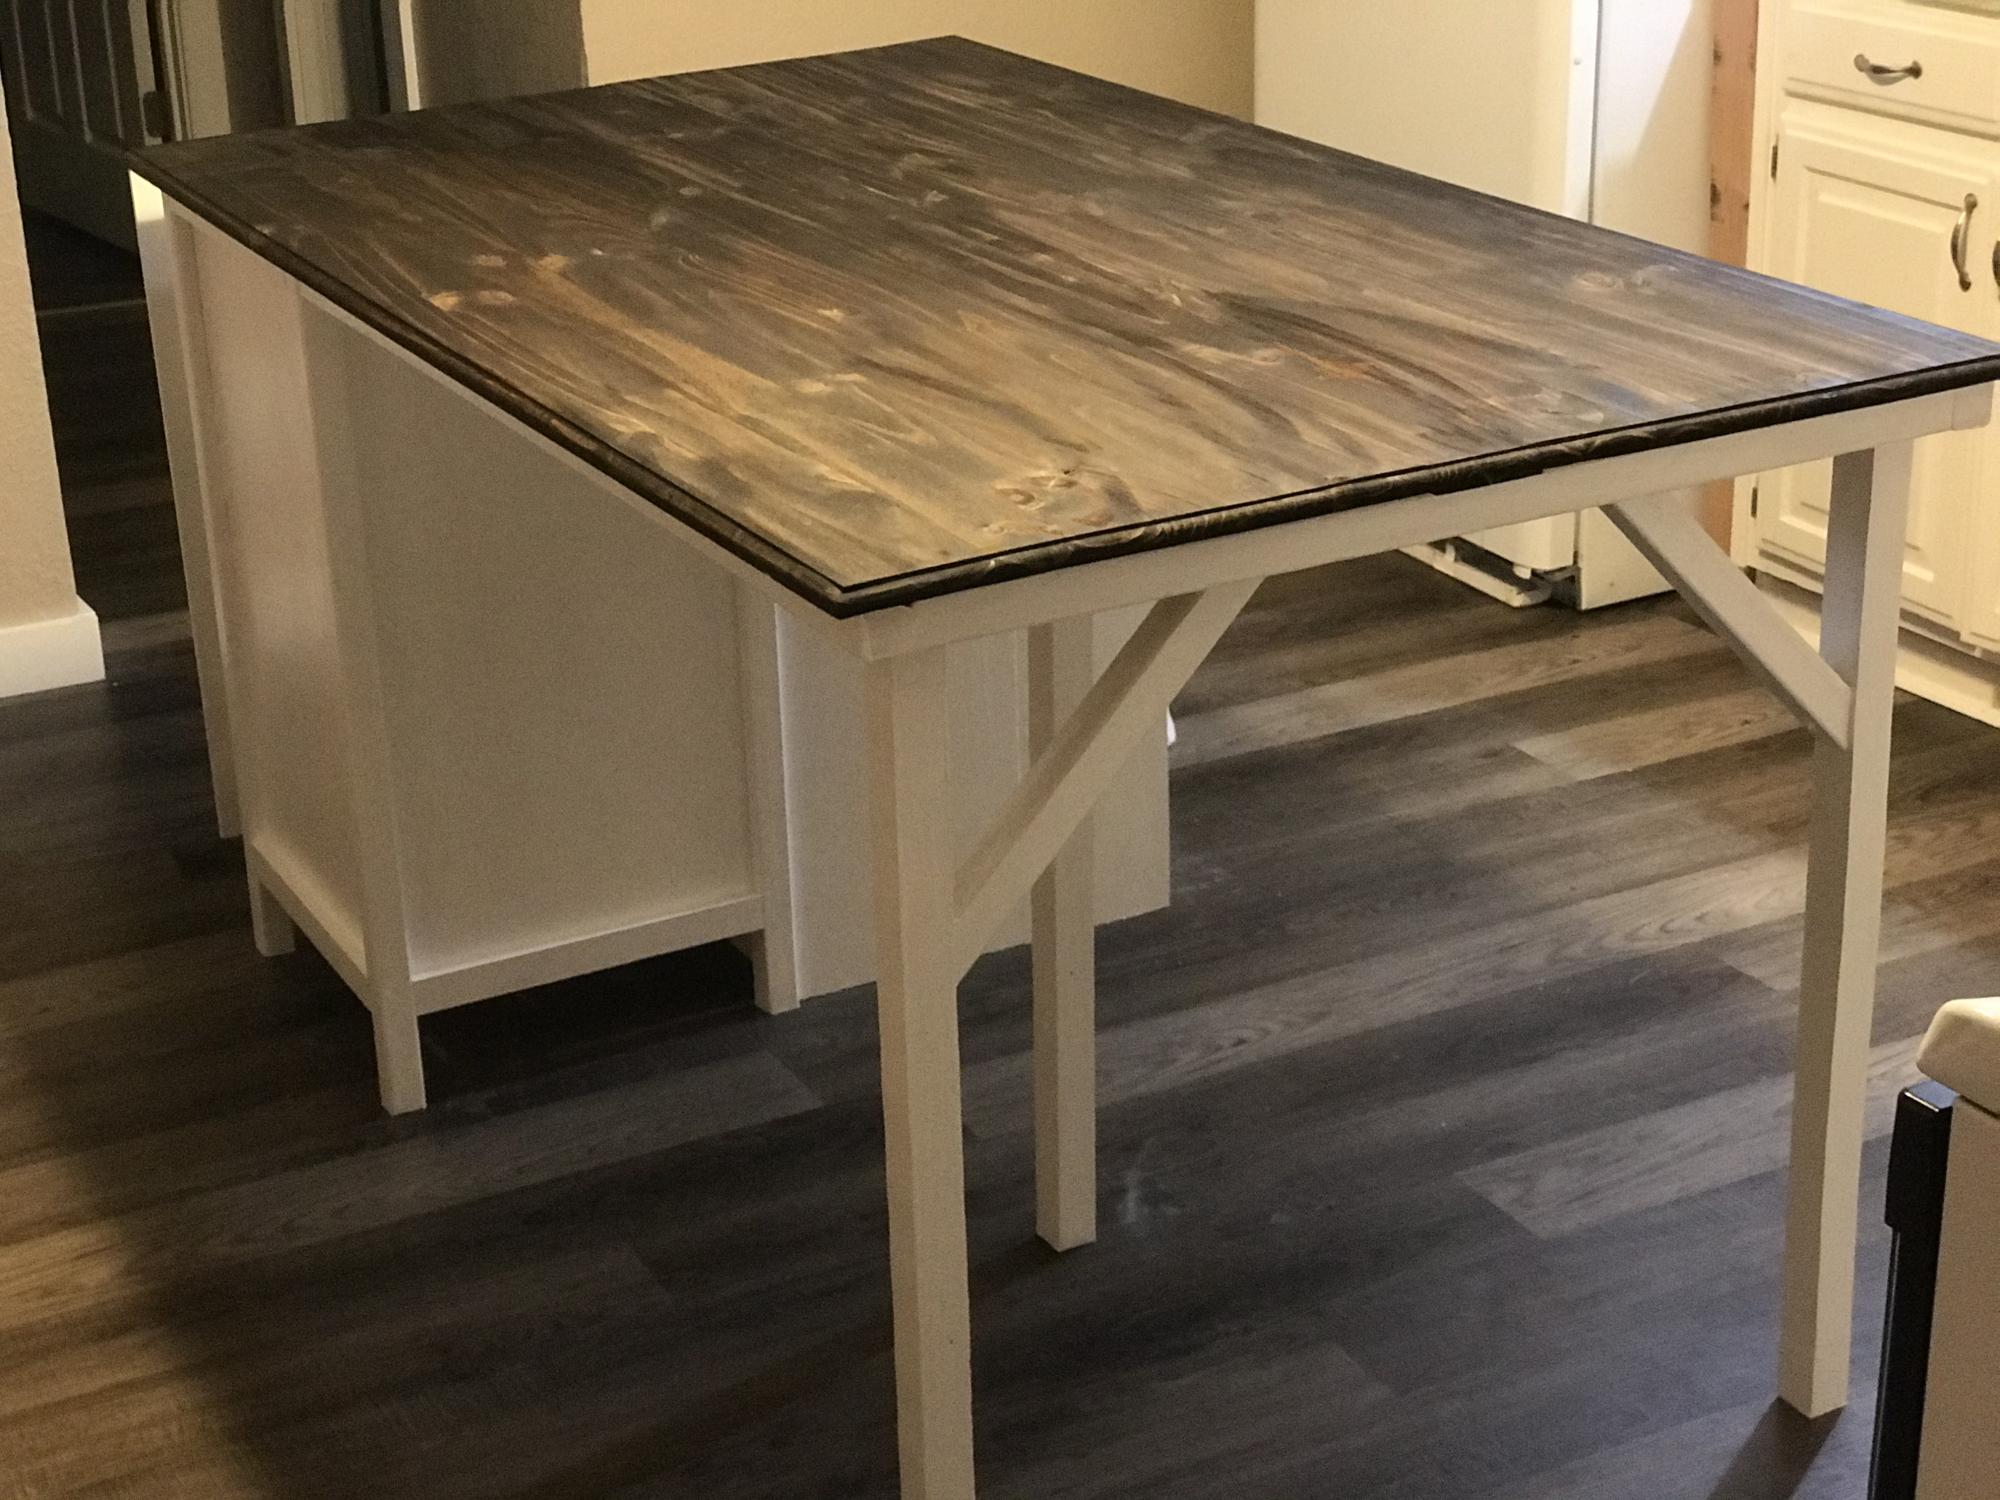
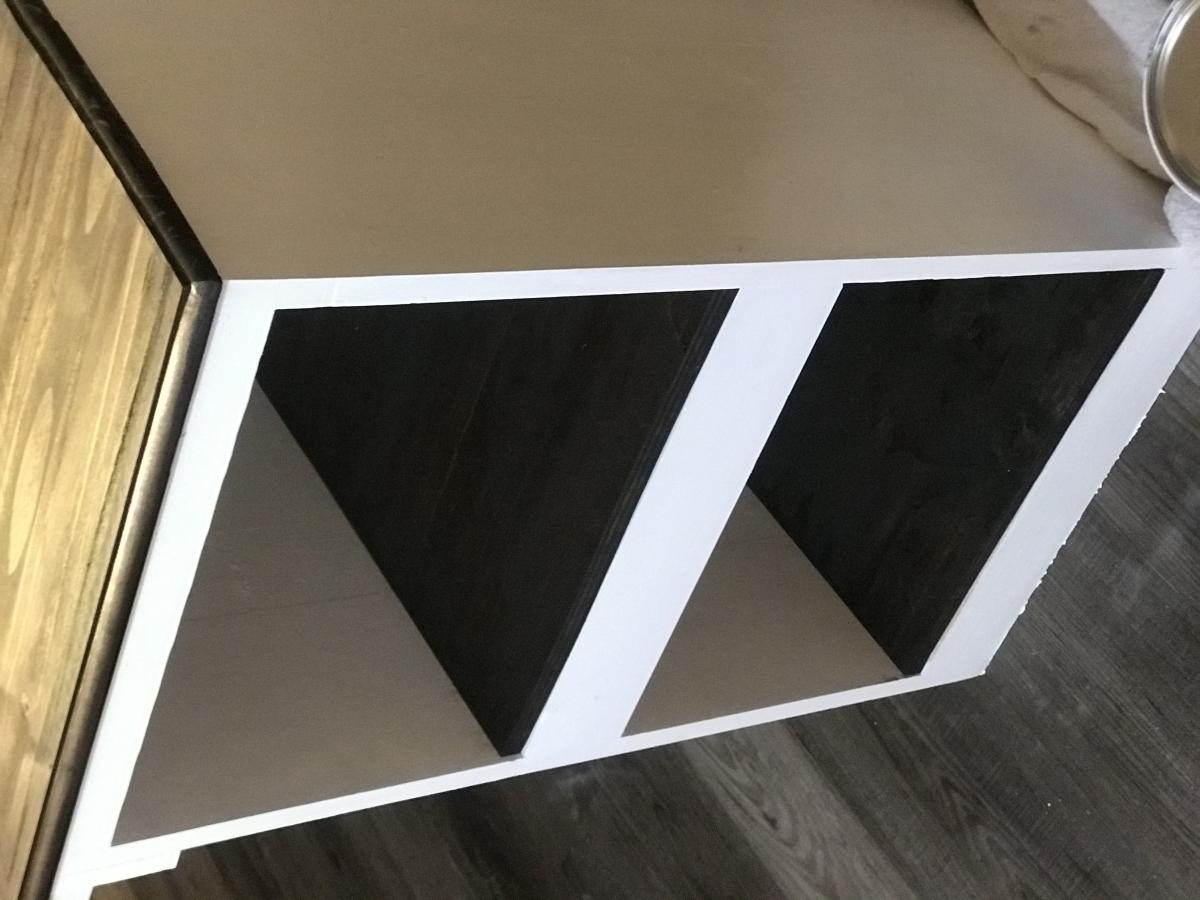
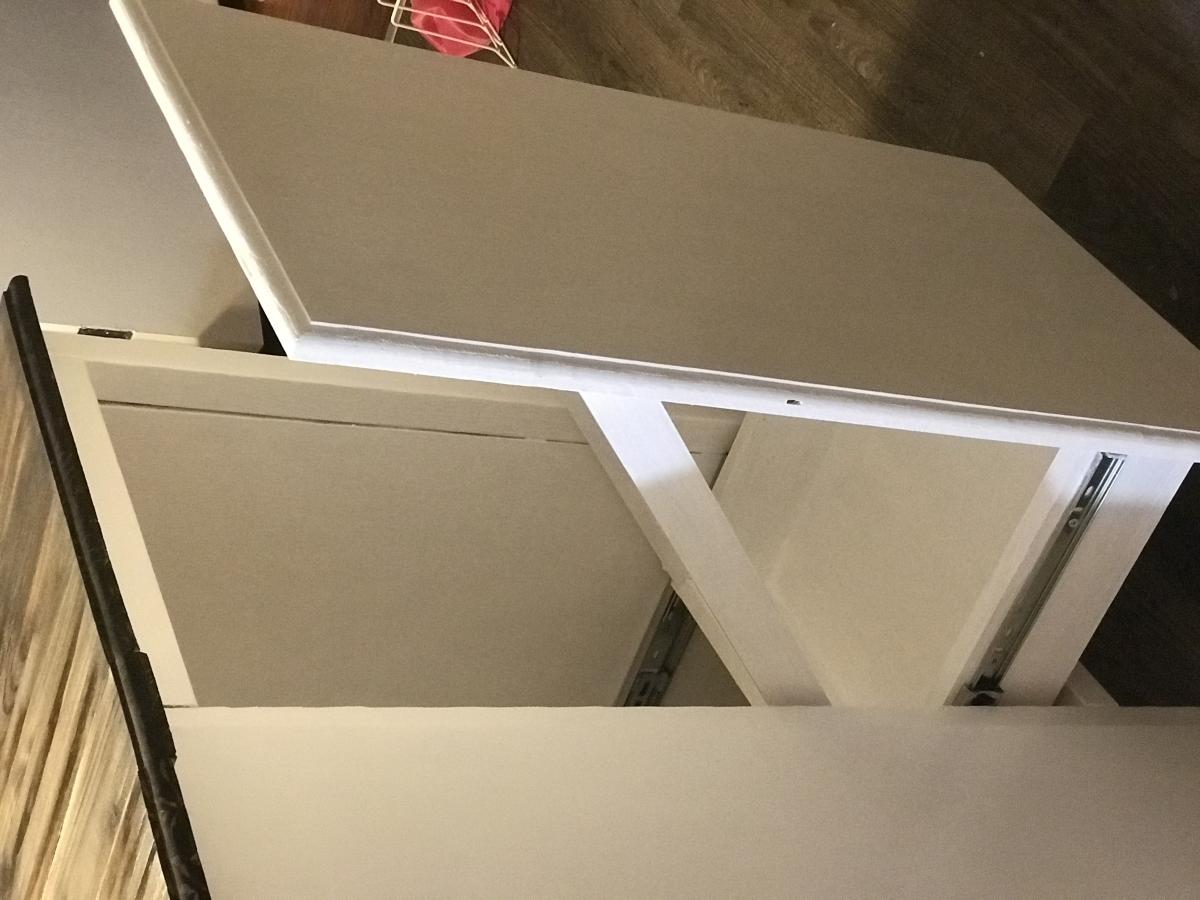
Kitchen Island with pallet wood

Submitted by Anonymous (not verified) on Sat, 01/23/2021 - 19:35

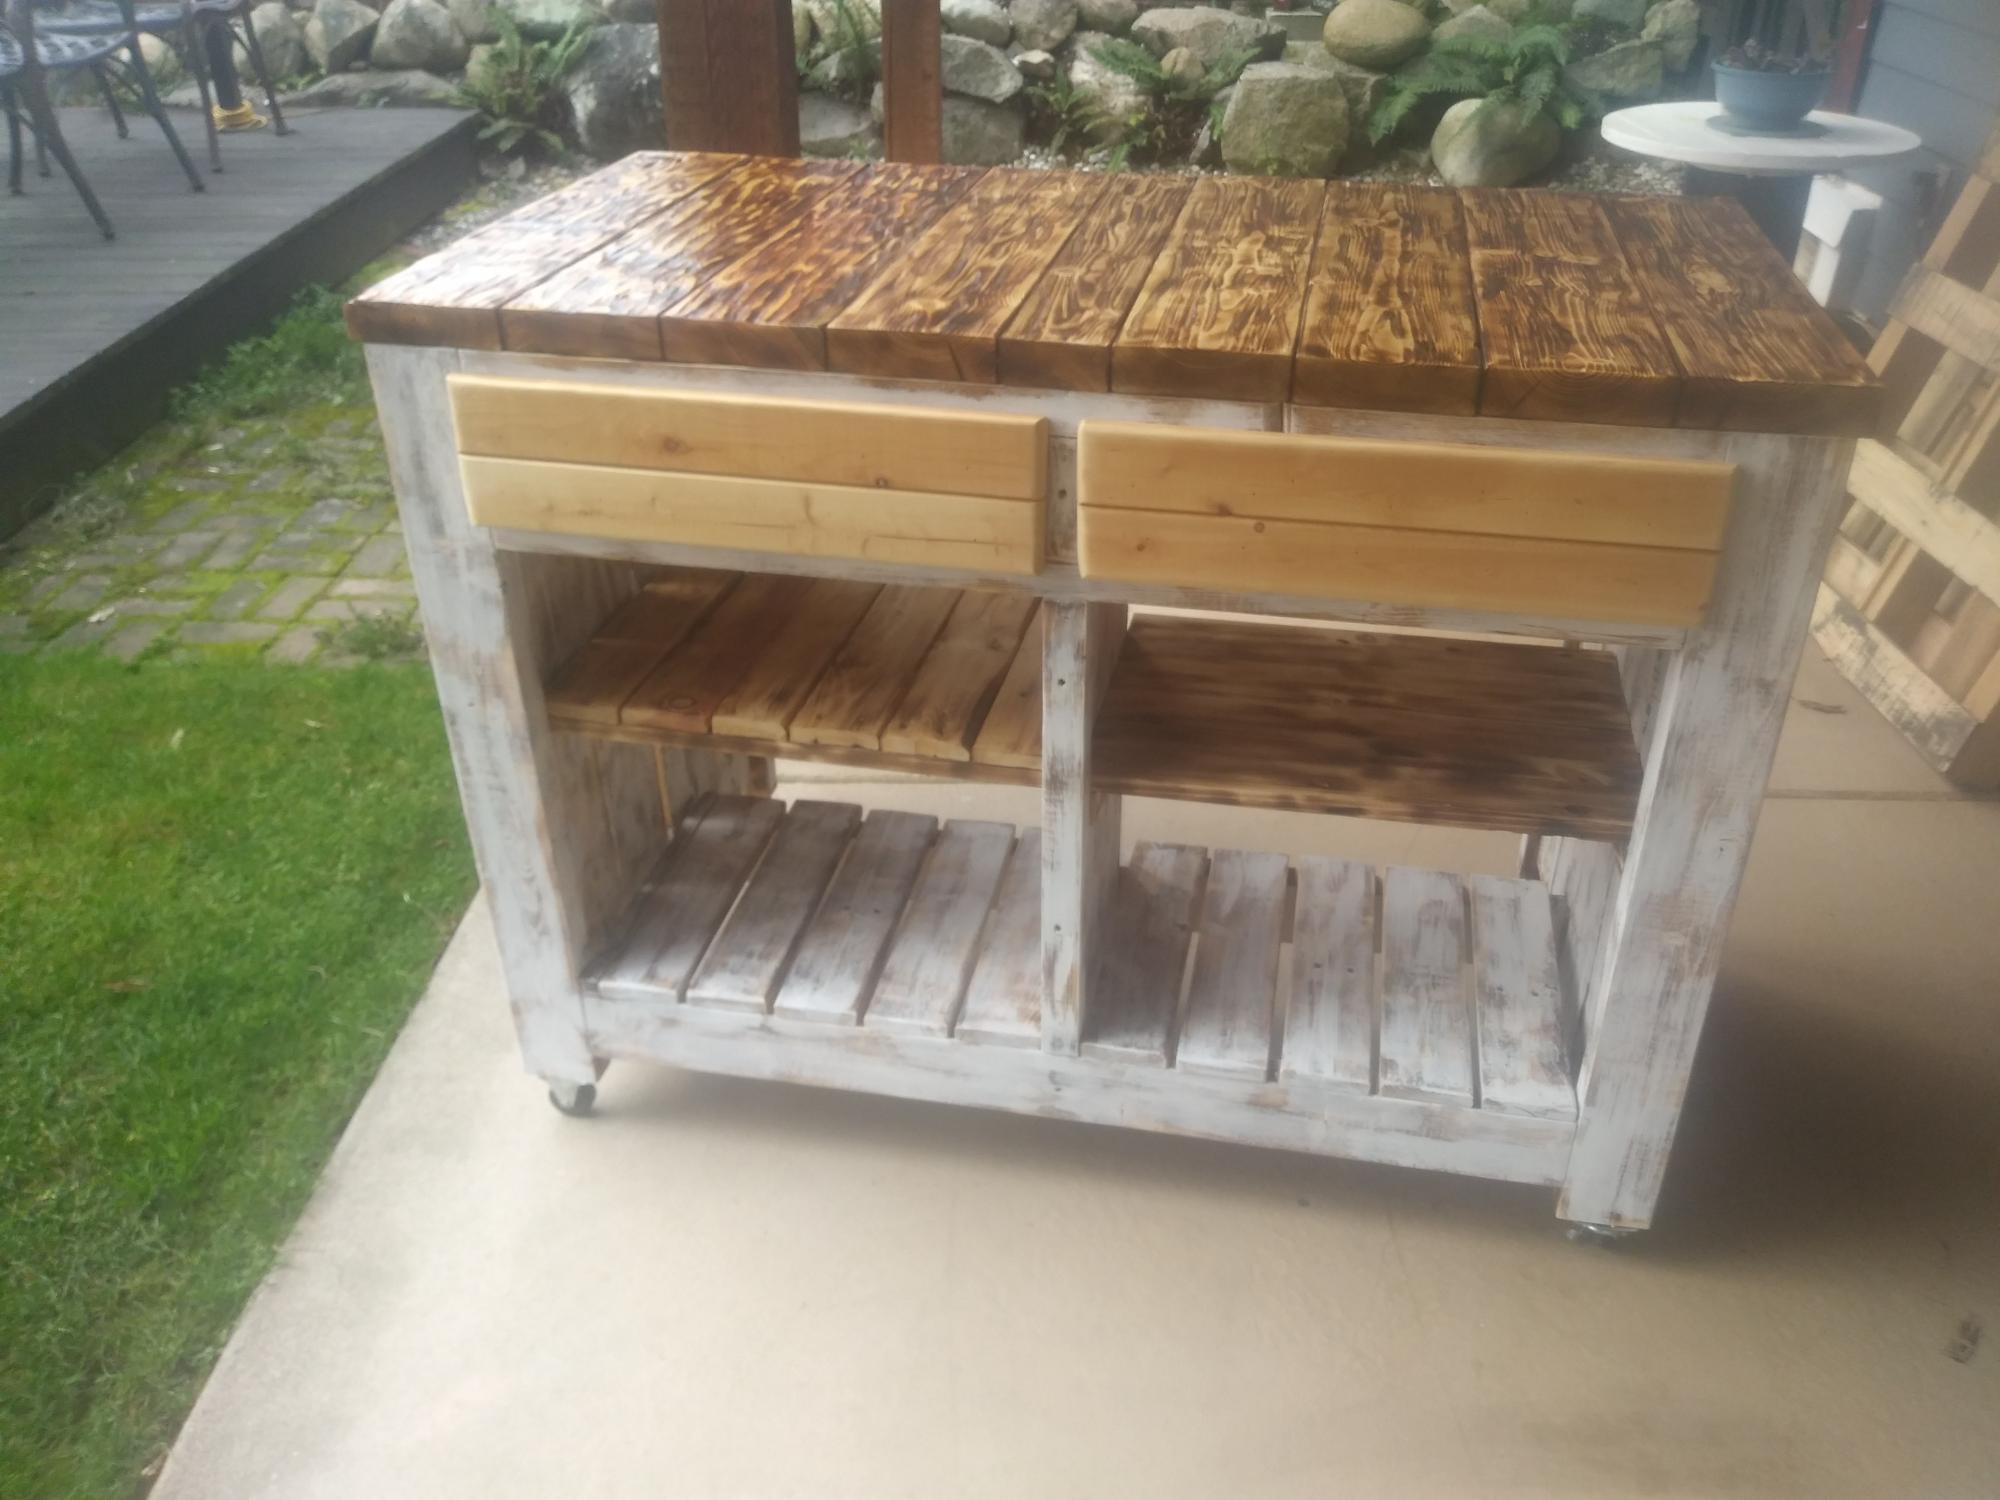
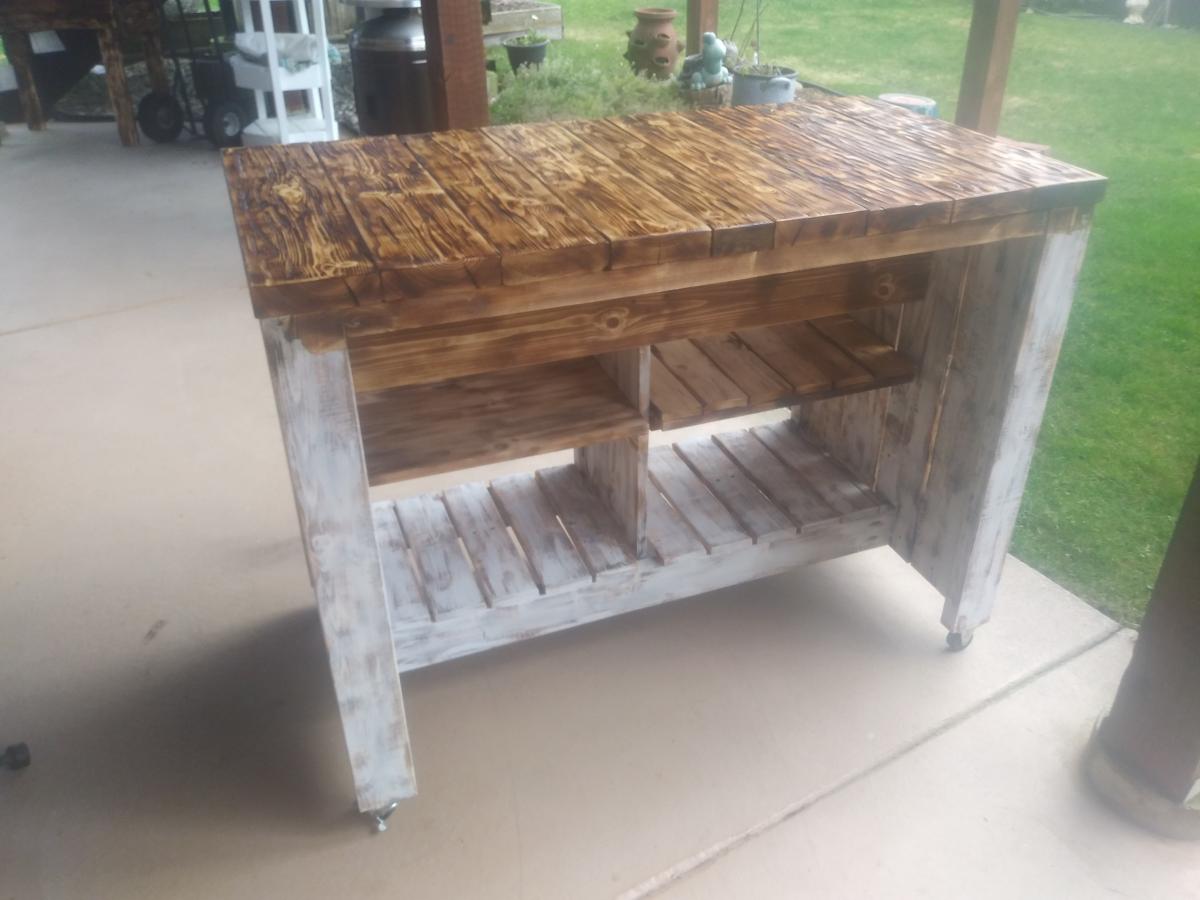
After following Ana Whit and other bloggers for a long time i figured my skills were at a level to try an advanced build like the Kitchen Island.. But i also wanted to challenge myself even more and was determined to make it from as much reclaimed wood as i could, mainly pallet wood.
With a lot of modifications to make it work i think I got a good result from these plans.

While i used as much reclaimed wood as i could, i still needed some clean 2x4's , 2x2's

Built from Plan(s)
Estimated Cost
$50
Estimated Time Investment
Week Long Project (20 Hours or More)
Finish Used
I burned the top and used a cup wire brush on an angle grinder to get the effect of barn wood. then a couple coats of lacquer on the top. And a spray finish of polyacrylic for everything else.
chalk pain ( linin) to do the White wash
Recommended Skill Level
Advanced

Pub table Stools

Submitted by adecesare4 on Mon, 02/18/2013 - 11:33

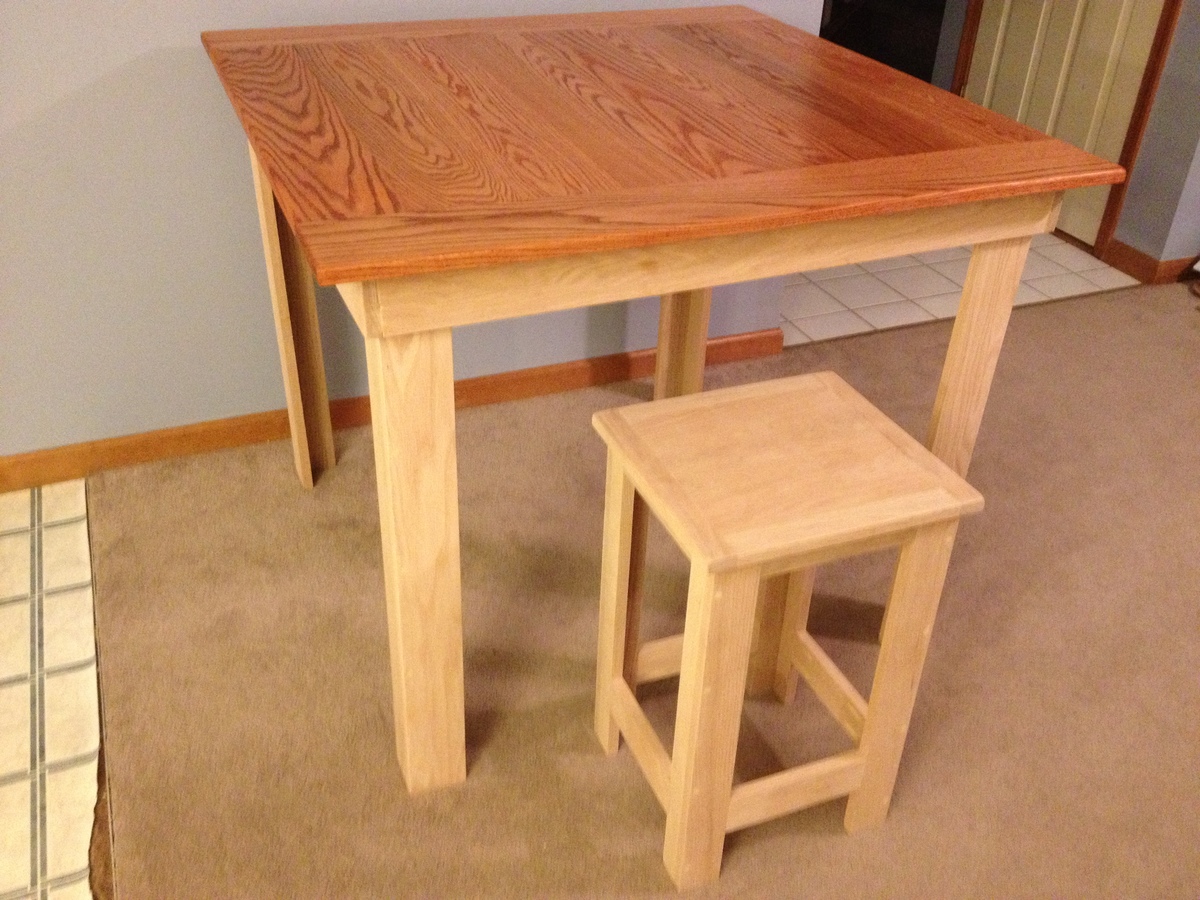
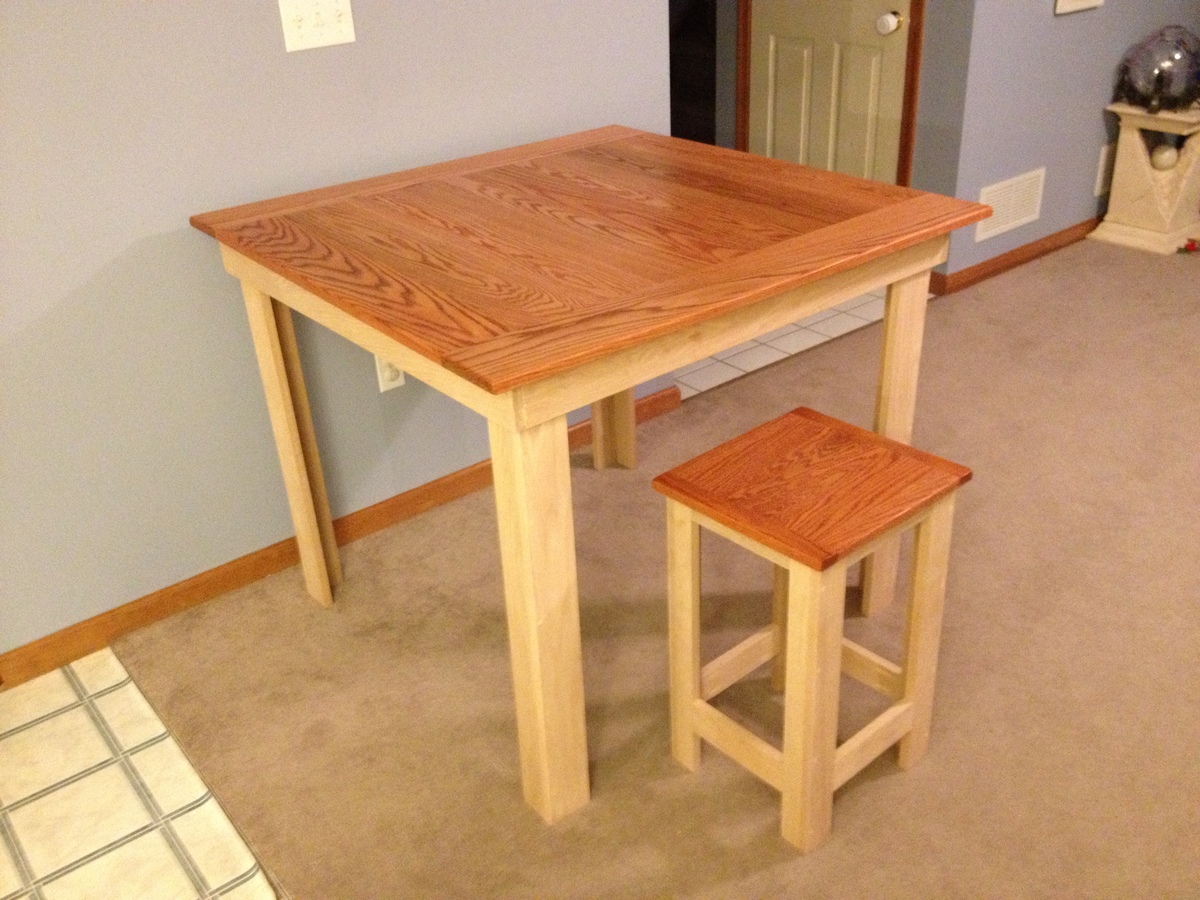
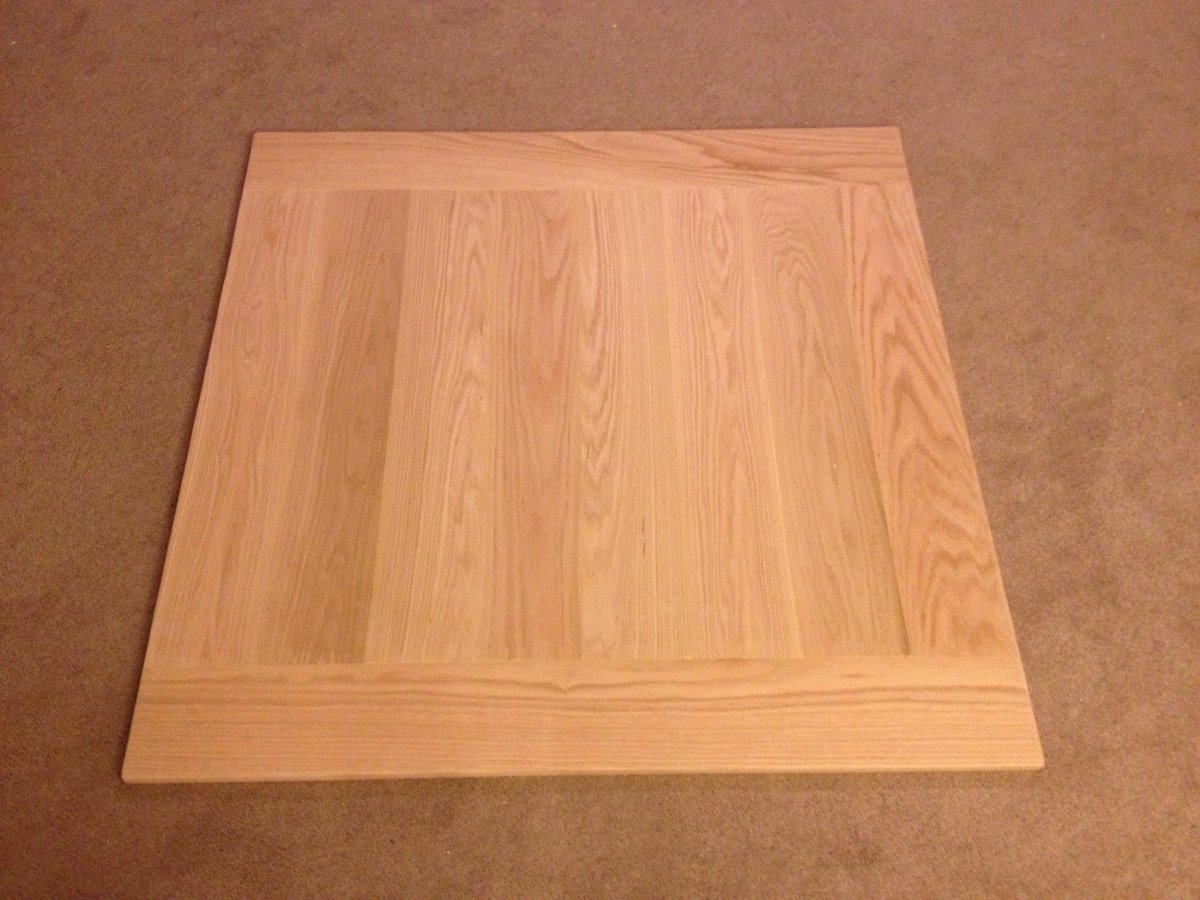
As stated in my table post, I just wasn't happy with what I was finding in the stores as nothing seamed sturdy nor made out of solid material. So I built a pub table and these stools to match.
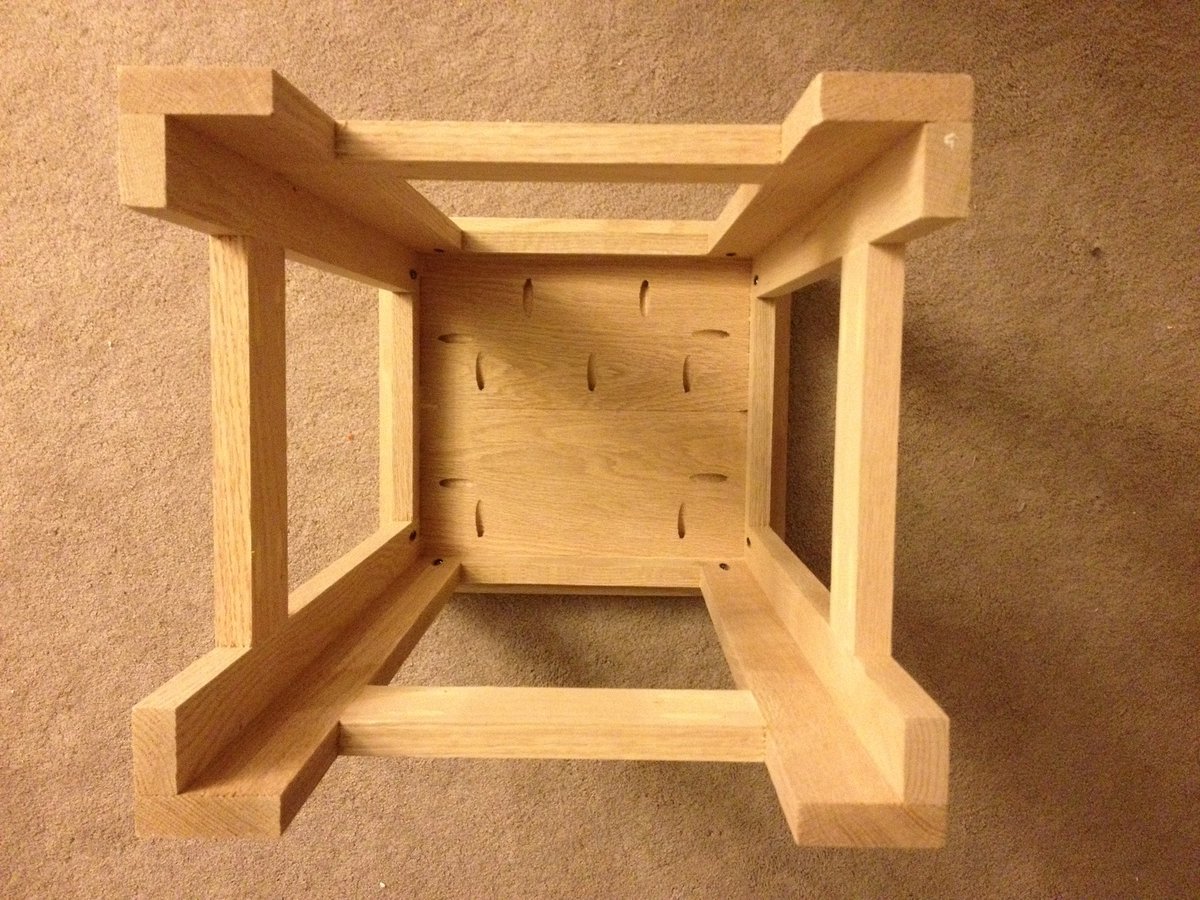
I combined the stools from multiple projects and eventually just made my own measurements and mimicked the table construction that I made.

Although more expensive, I used Oak so it is sturdy and will take more than normal wear and tear (as I have three young boys under 10)

Estimated Cost
maybe $40 a stool
Estimated Time Investment
Weekend Project (10-20 Hours)
Finish Used
Rustoleum Traditional Cherry
Minwax Polyacrylic
Recommended Skill Level
Intermediate

Comments

Back