Community Brag Posts

Media Console

Submitted by suzshepp on Fri, 11/09/2012 - 17:35

My fiance and I built this media console from Ana's plans to replace the UGLY black plastic/glass tv stand we had previously. It was pretty easy to do. The only thing I recommend is waiting to cut the doors after the box is put together. Our doors did not fit exactly and we had to cut them again to fit. I'm sure that our measurements were off somewhere along the way. We love the way this piece of furniture looks in our family room now, for about $150!!!

Estimated Time Investment
Weekend Project (10-20 Hours)
Finish Used
Rustoleum heirloom white spray paint
Rustoleum stain in dark walnut with a coat of Rustoleum stain in kona because it wasnt as dark as I wanted.
Clear coat of paint on poly
Recommended Skill Level
Beginner

Comments

lphair

Fri, 11/09/2012 - 19:39

Awesome! I've been eyeing this plan for a while but couldn't decide if I wanted to paint or stain it. This is great, thanks for sharing!

Sideboard

Submitted by naomi on Fri, 08/29/2014 - 07:55

Bunnings had cheap cedar lining boards so I grabbed a few packets and figured I would find something to do with them later.

After buying the Ana White book I fell in love with the hutch and console table combo. I thought this would look great with the cedar lining boards.

I love how this turned out.

Estimated Time Investment
Week Long Project (20 Hours or More)
Finish Used
White enamel paint and walnut stain.
Recommended Skill Level
Intermediate

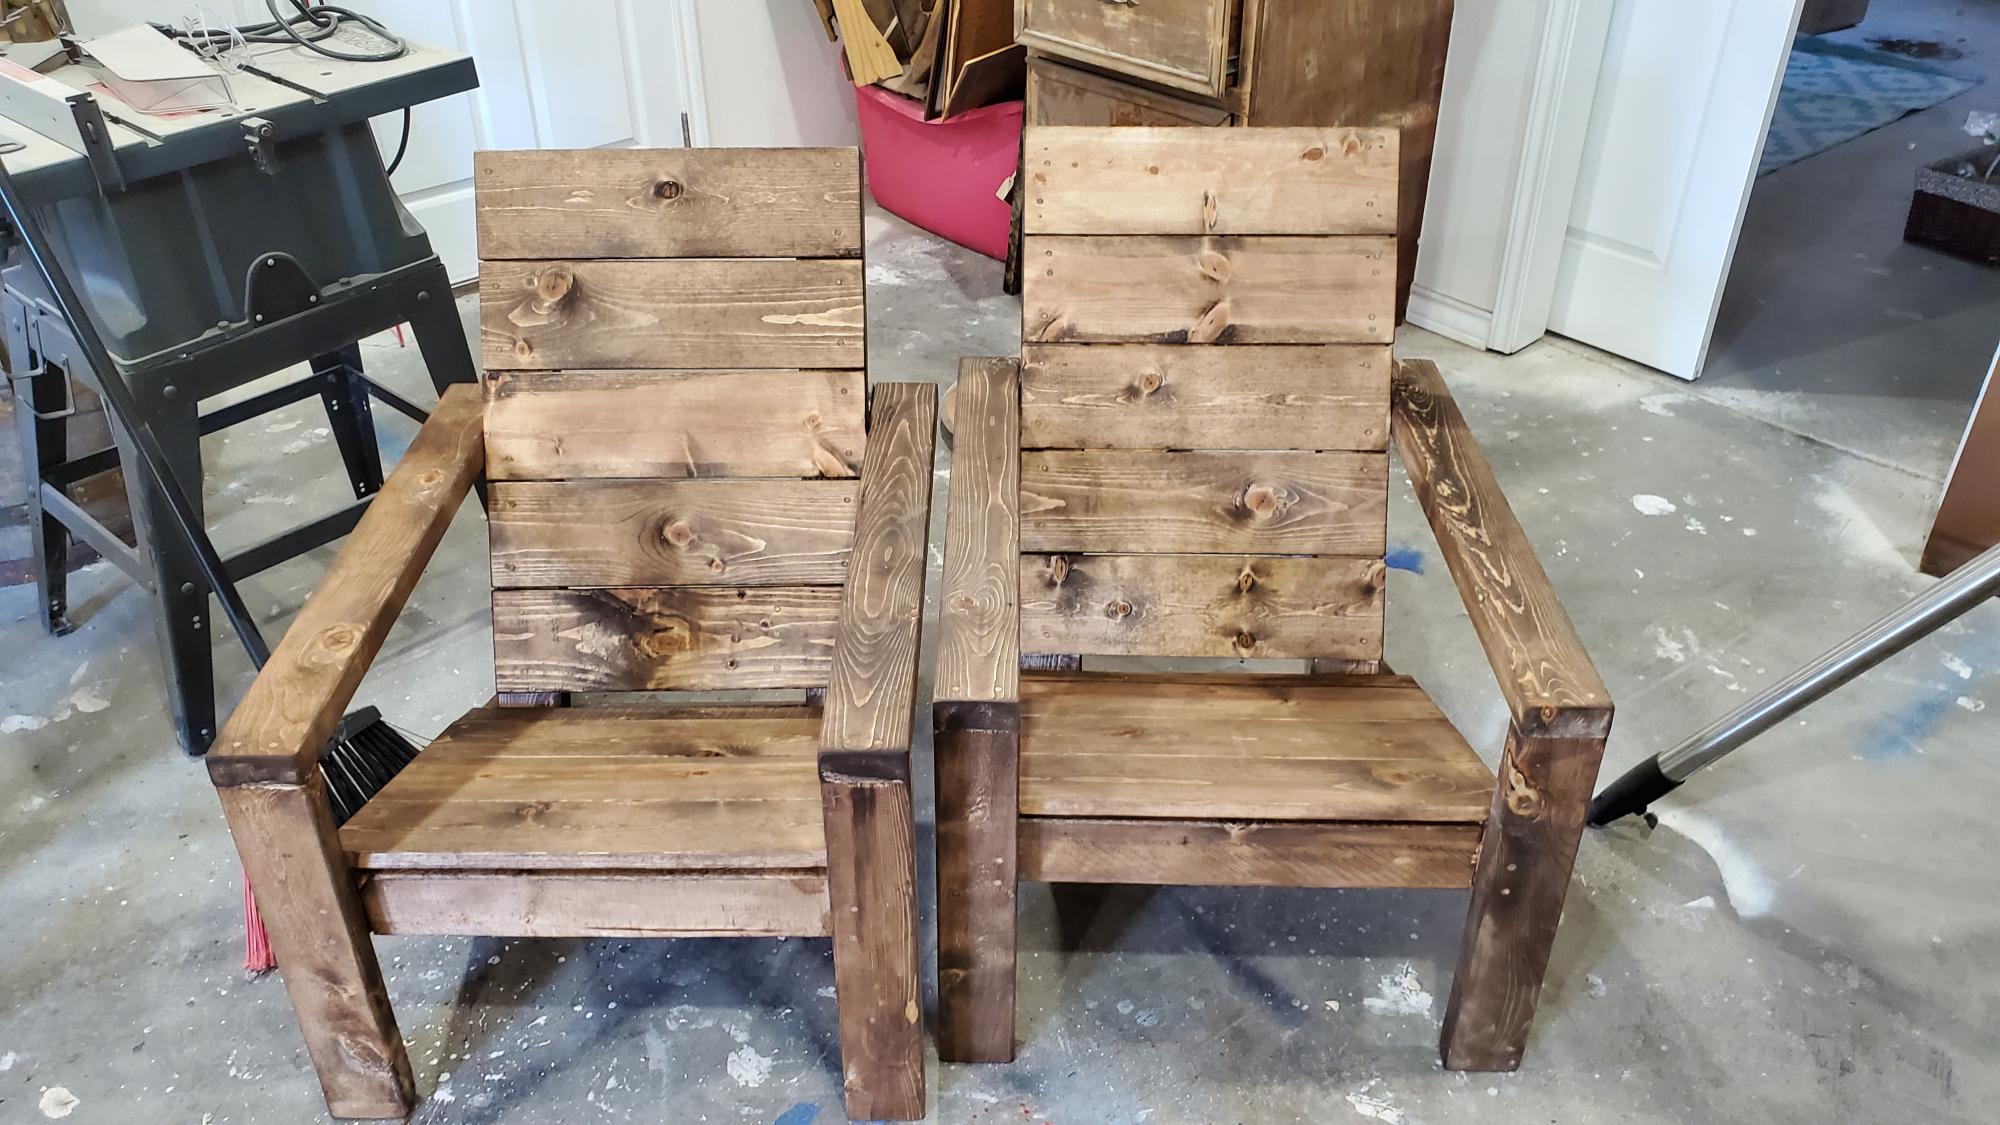
Adirondack chairs

Submitted by Anonymous (not verified) on Sun, 08/30/2020 - 17:37

Super easy to follow your plans. Had to modify a bit as lumber yard was out of 1x10s.

Estimated Time Investment
Afternoon Project (3-6 Hours)
Finish Used
Special walnut stain

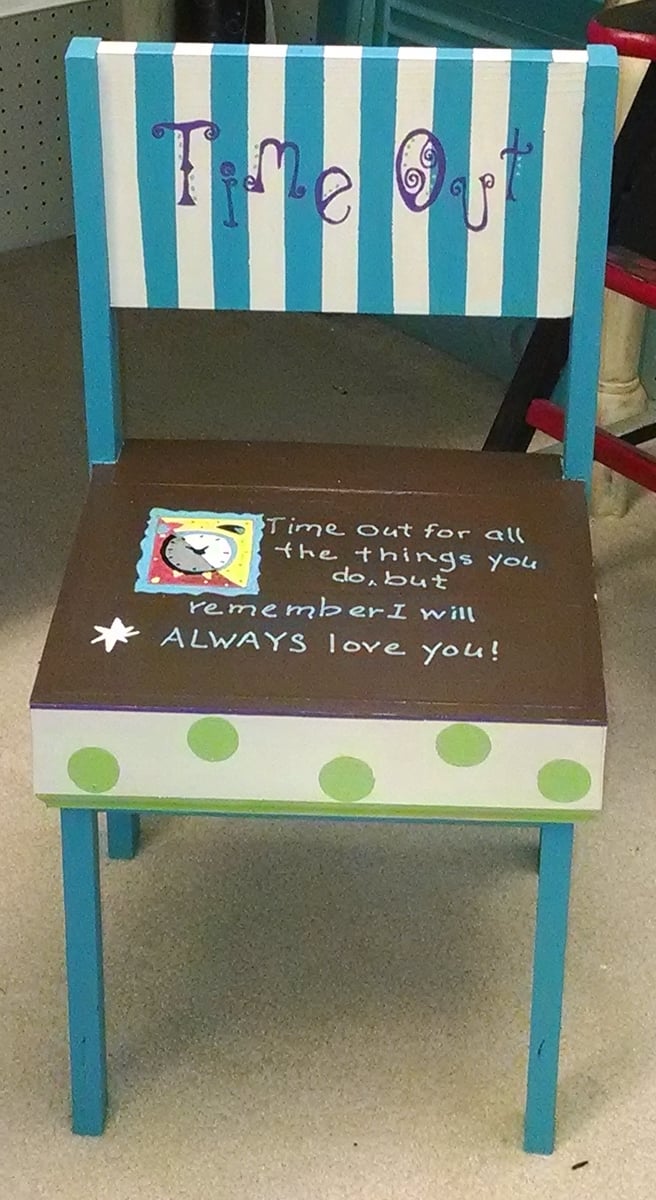
Time Out Chair

Submitted by SherryLR on Sun, 08/31/2014 - 09:56

Kids stuff usually sells pretty good for us. Considering in our area, to buy kid size chairs are about $25 we looked for another option. This stackable chair fit the bill perfectly and was so inexpensive and easy to build!! Made the back part solid so I could paint on it and added some moulding on the side. Going to get my grandson who is being homeschooled, busy building some more as part of his wood shop class.

Estimated Cost
$6.00
Estimated Time Investment
Afternoon Project (3-6 Hours)
Finish Used
We just painted with our own chalk style paint and used acrylic for the decorative part. Sprayed with a polyurethane when it was finished.
Recommended Skill Level
Beginner

Zara's Playroom

Submitted by Anonymous (not verified) on Mon, 12/19/2016 - 08:44

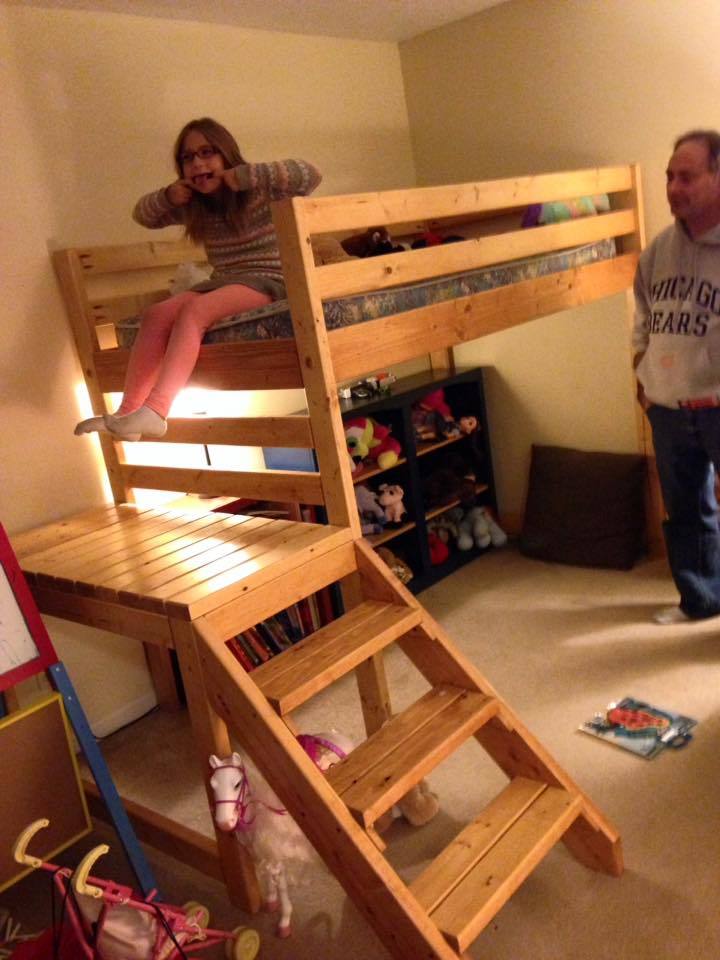
Grandpa Myron made this one for Zara's playroom!

Estimated Cost
$80.00
Estimated Time Investment
Weekend Project (10-20 Hours)
Finish Used
Playroom
Recommended Skill Level
Intermediate

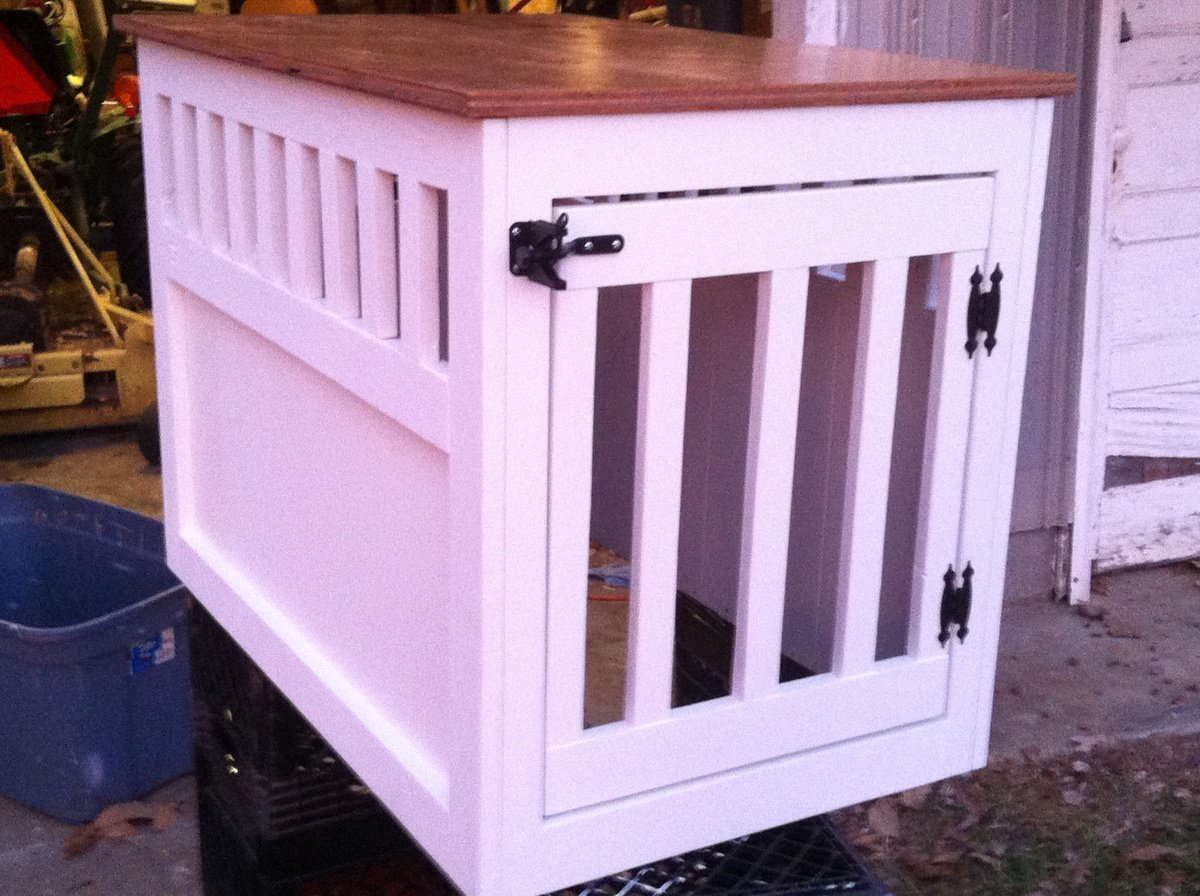
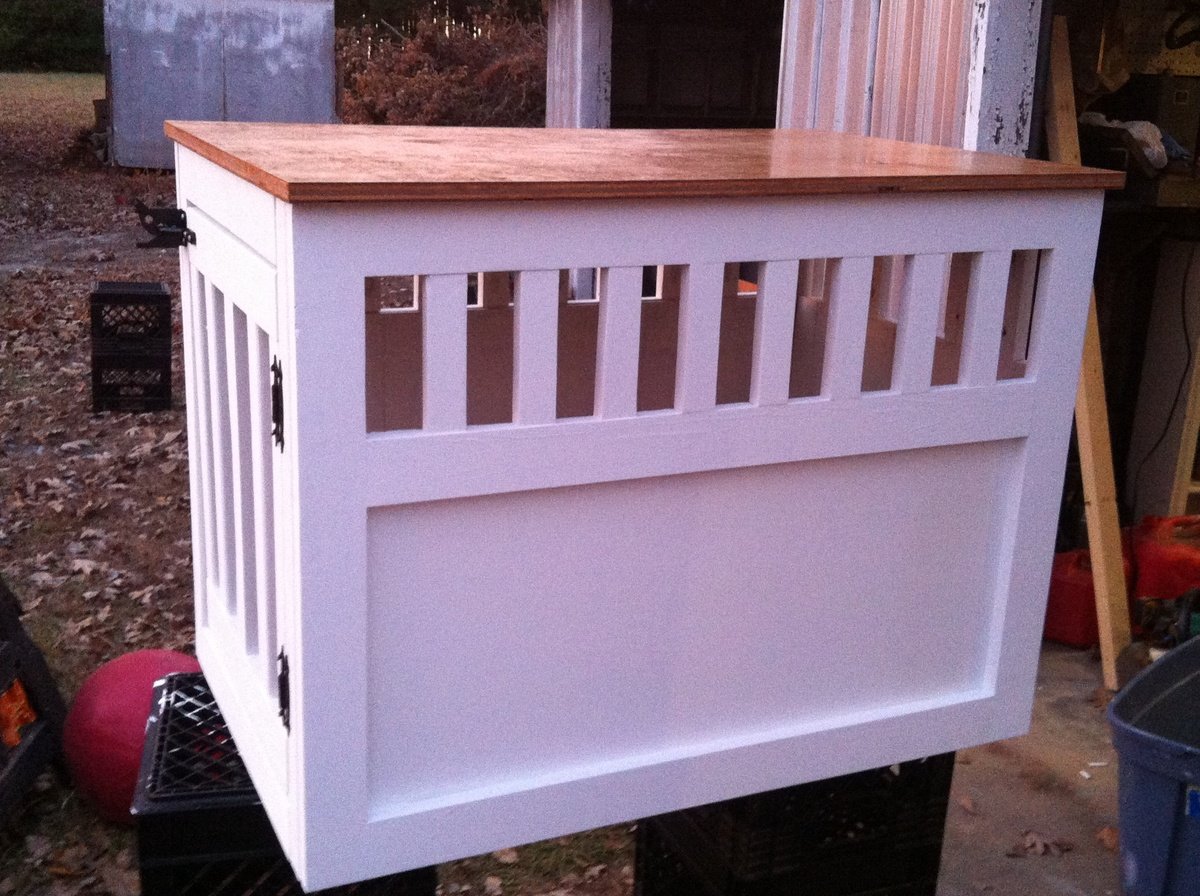
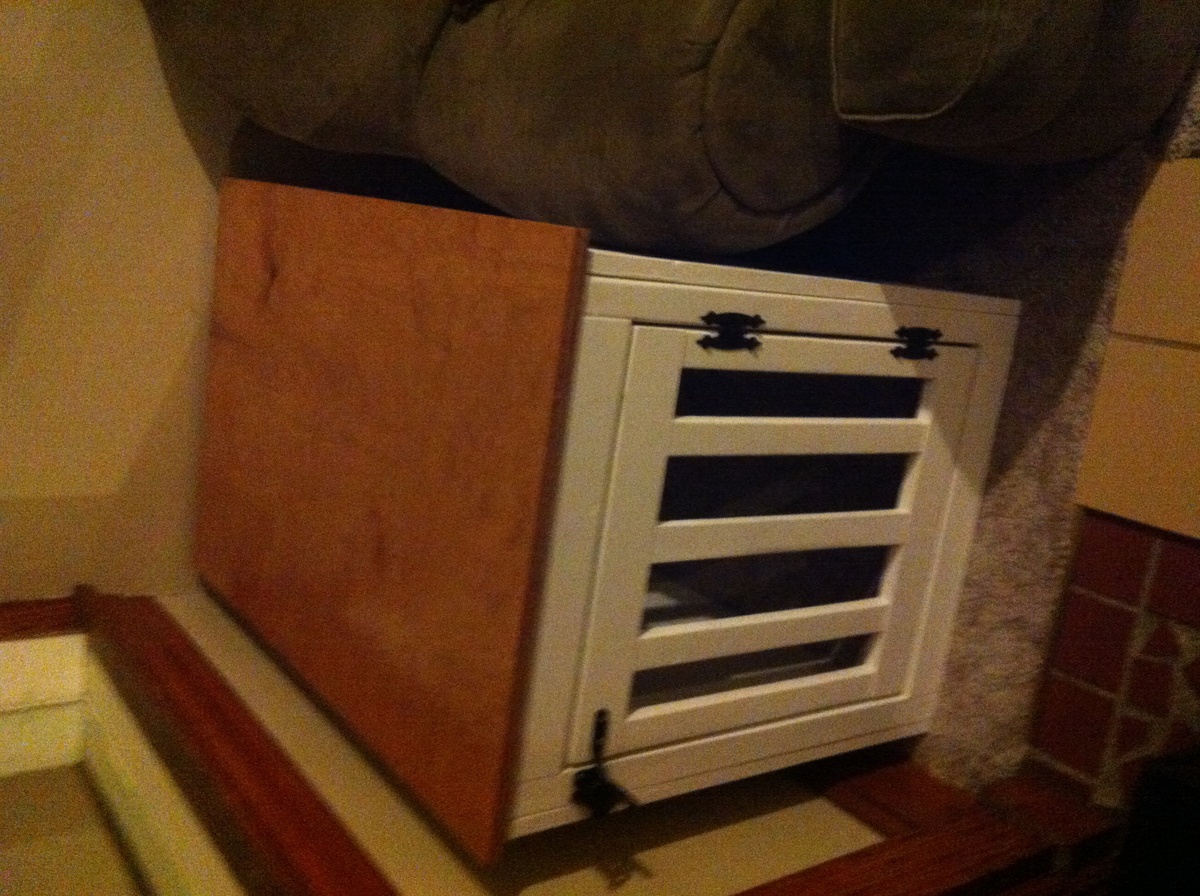
Large Wooden Dog Crate End Table

It was a straight forward project and the plans were excellent and easy to follow. We did purchase the Kreg Jig and that takes a little practice to get it right but it does make an extremely strong joint. We applied three coats of paint and one coat of stain on the top. This is for our German Shepherd and he loves it. It took us three or four days just because we worked on it a little bit each evening.

Estimated Time Investment
Weekend Project (10-20 Hours)
Finish Used
Flat White Paint
Recommended Skill Level
Intermediate

My Table and Bench

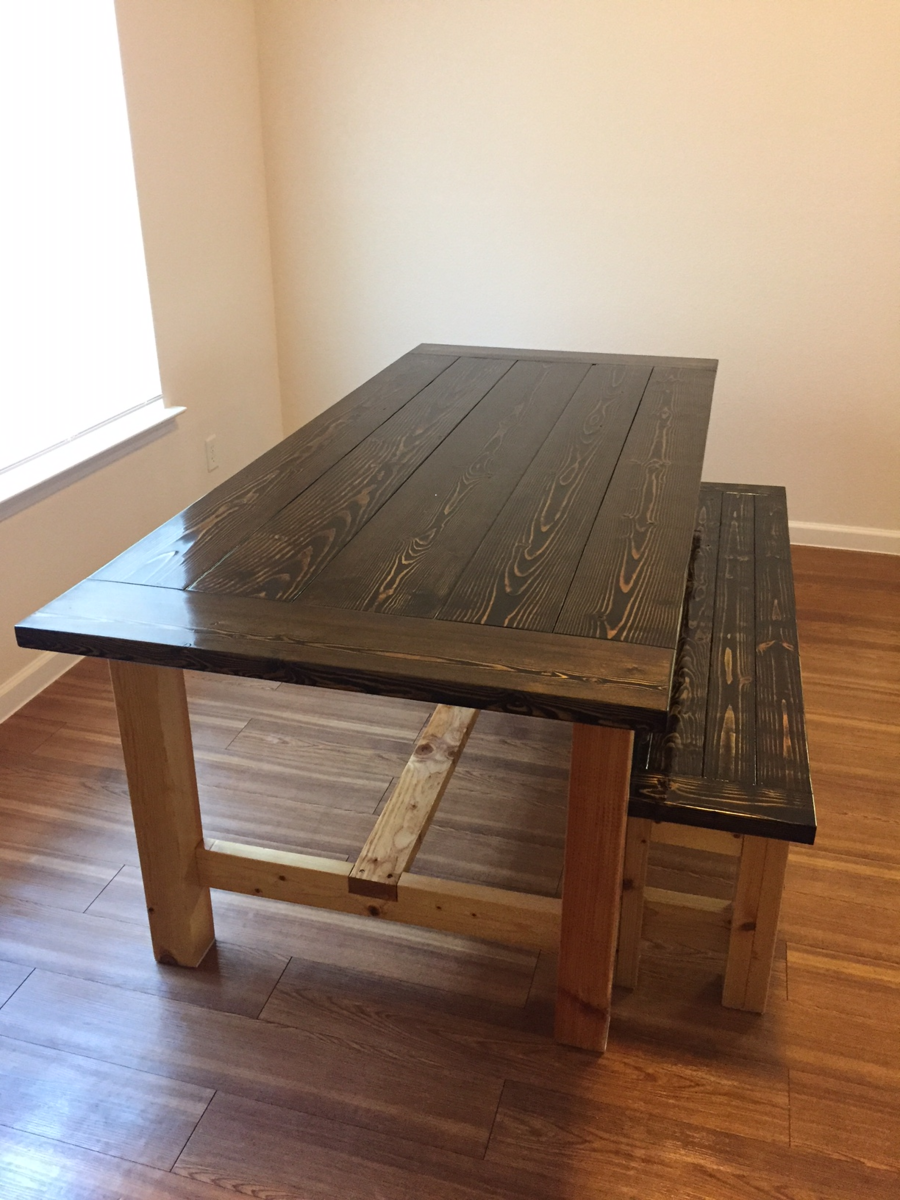
I know this is an older project on this website. However, I only recently happened upon this treasure trove of plans. As such, what better project than a new table and matching bench for the family? I made some adjustments to the bench as a result of the comments section. Essentially, I shortened the bench so it would slide between the legs of the table (65" instead of 72" as the plans call for). I also moved the stretcher supports to the inside of the table legs and shortened the stretcher (70" instead of 74" as the plans call for) to give a few more inches to push chairs in. I had every intention of staining the entire project uniformly. My wife really enjoyed the contrast between the dark and light, you see which idea I kept! The legs are a natural stain with clear coat. The tops are Minwax jacobean stain, I did two coats and a light sanding to expose some of the grain under the darkness of the stain. The cutting and assembly of the table and bench was rather quick. I would estimate 3 hours total of cutting and assembly. However, I spent a good amount of time on the sanding and staining. I would have been able to complete the finish quicker if the weather hadn't turned cold for about a week and slowed my dry times down. Finished the stains with a couple layers of polyurethane satin finish.

Estimated Cost
I already had the screws, stain, and clear coat. The wood for the table cost me $63.83 before taxes and the wood for the bench cost me $20.24 before taxes
Estimated Time Investment
Weekend Project (10-20 Hours)
Finish Used
Minwax Natural stain for bottoms
Minwax Jacobean stain for tops
Minwax polyurethane satin finish
Recommended Skill Level
Beginner

Big wall lamp

Submitted by joja on Wed, 11/21/2012 - 13:22

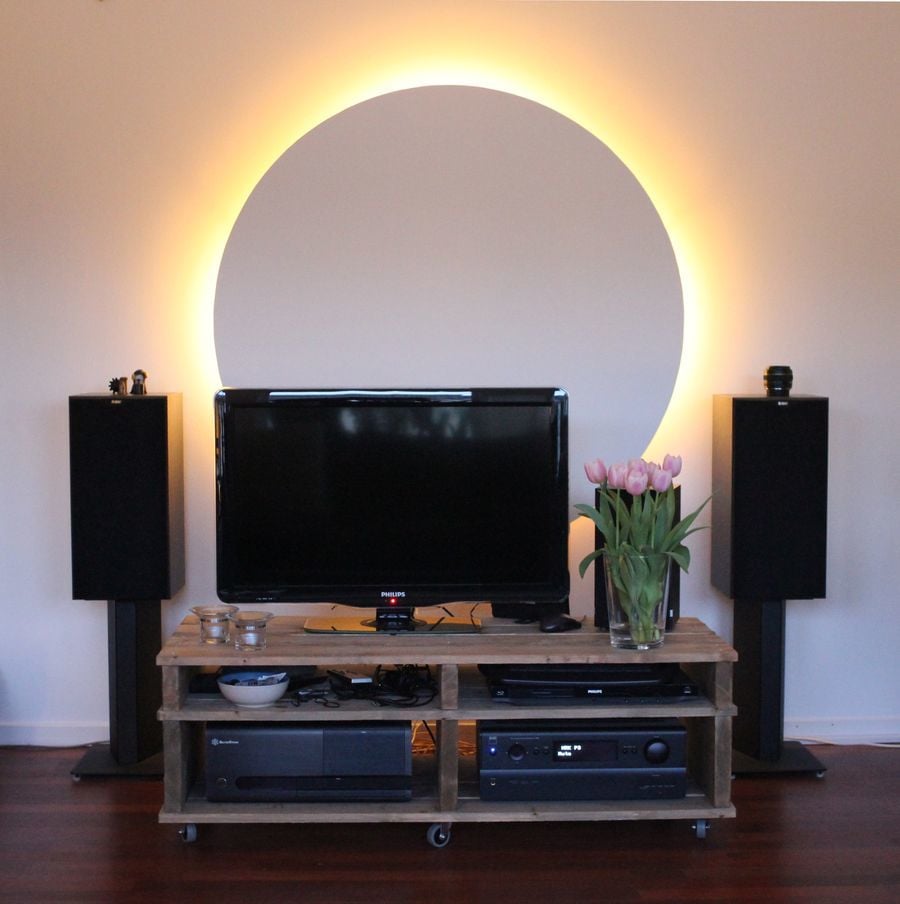
Solar eclipse in our living room!

Estimated Time Investment
Afternoon Project (3-6 Hours)
Finish Used
Paint.
Recommended Skill Level
Beginner

Farm Table

Submitted by Anonymous (not verified) on Mon, 12/26/2016 - 18:17

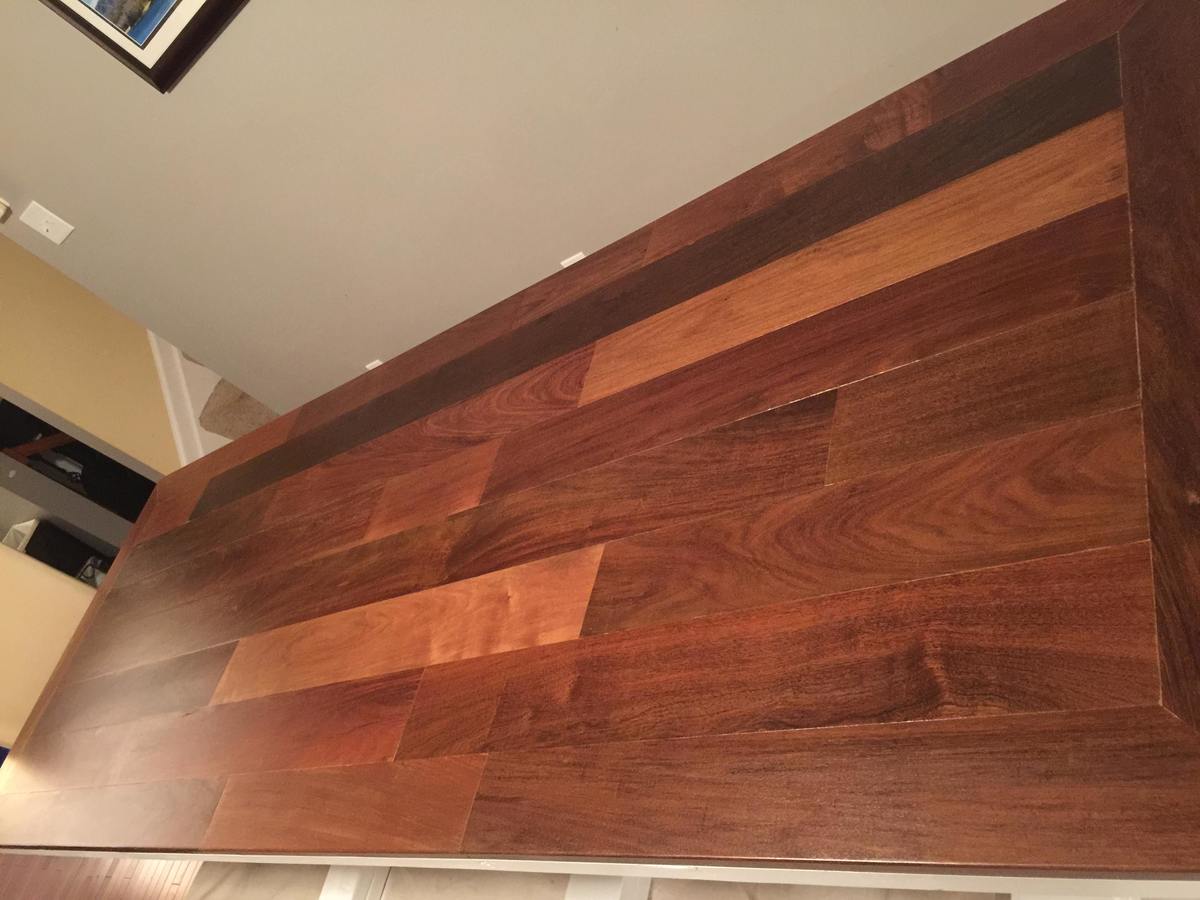
Brazilan Walnut flooring for table top and Pine for feet and supports. 

Estimated Cost
$300.00
Estimated Time Investment
Week Long Project (20 Hours or More)
Finish Used
Triple Thick Coat Poly on table top and White semi gloss paint on everything else.
Recommended Skill Level
Intermediate

Washer/ dryer platform

Submitted by balbright on Sun, 09/06/2020 - 10:21

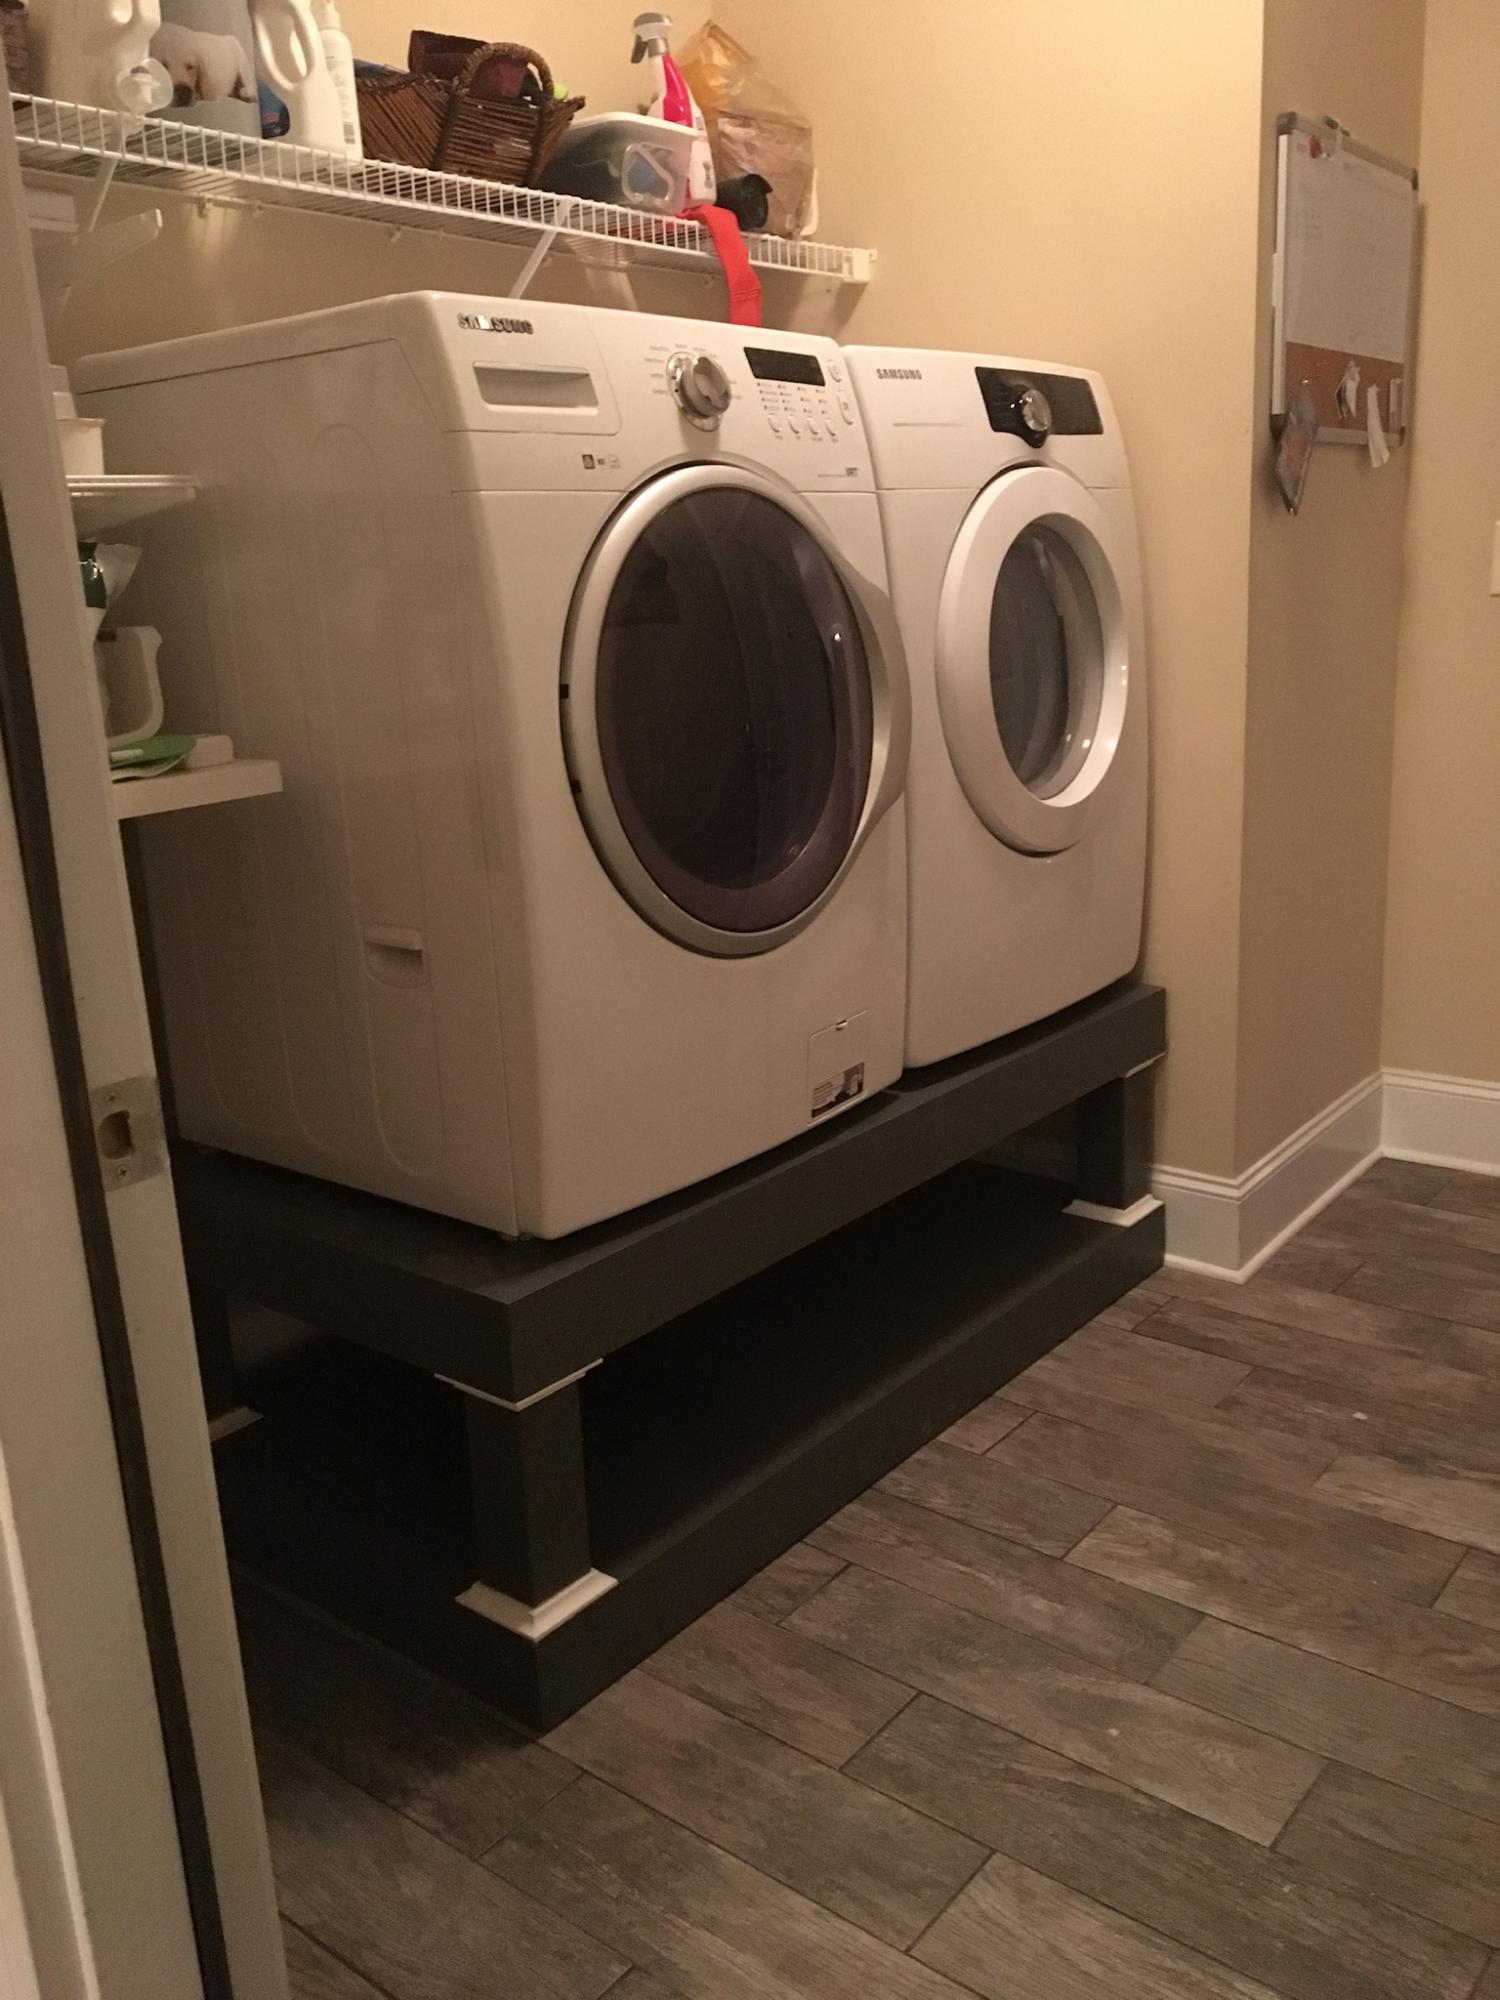
Only regret is not buying the storage containers I wanted and sizing for them, it took a while to find storage containers for under the platform.

Finish Used
Paint
Recommended Skill Level
Beginner

Cherry Farmhouse Bed

Submitted by Anonymous (not verified) on Wed, 12/28/2016 - 14:24

This is our third bed built from Ana White plans. My husband has built the loft bed and a daybed. This is by far our favorite. When my dad cleared his farm 18 years ago, he milled all of the lumber and it has been sitting in a barn waiting for special projects. My husband cut down the large beams to make the post and my dad had some of the cherry boards milled into bead board, which we used in the headboard and footboard. I love the way it turned out and I hope my daughter cherishes it. 

Built from Plan(s)
Estimated Cost
$50--Stain, 2x4 platform, glue & nails. We also modified to use rail brackets.
Estimated Time Investment
Day Project (6-9 Hours)
Finish Used
Stain-Woodwright Stain (Boston)
2 coats wipe poly
Recommended Skill Level
Intermediate

Corner desk modified

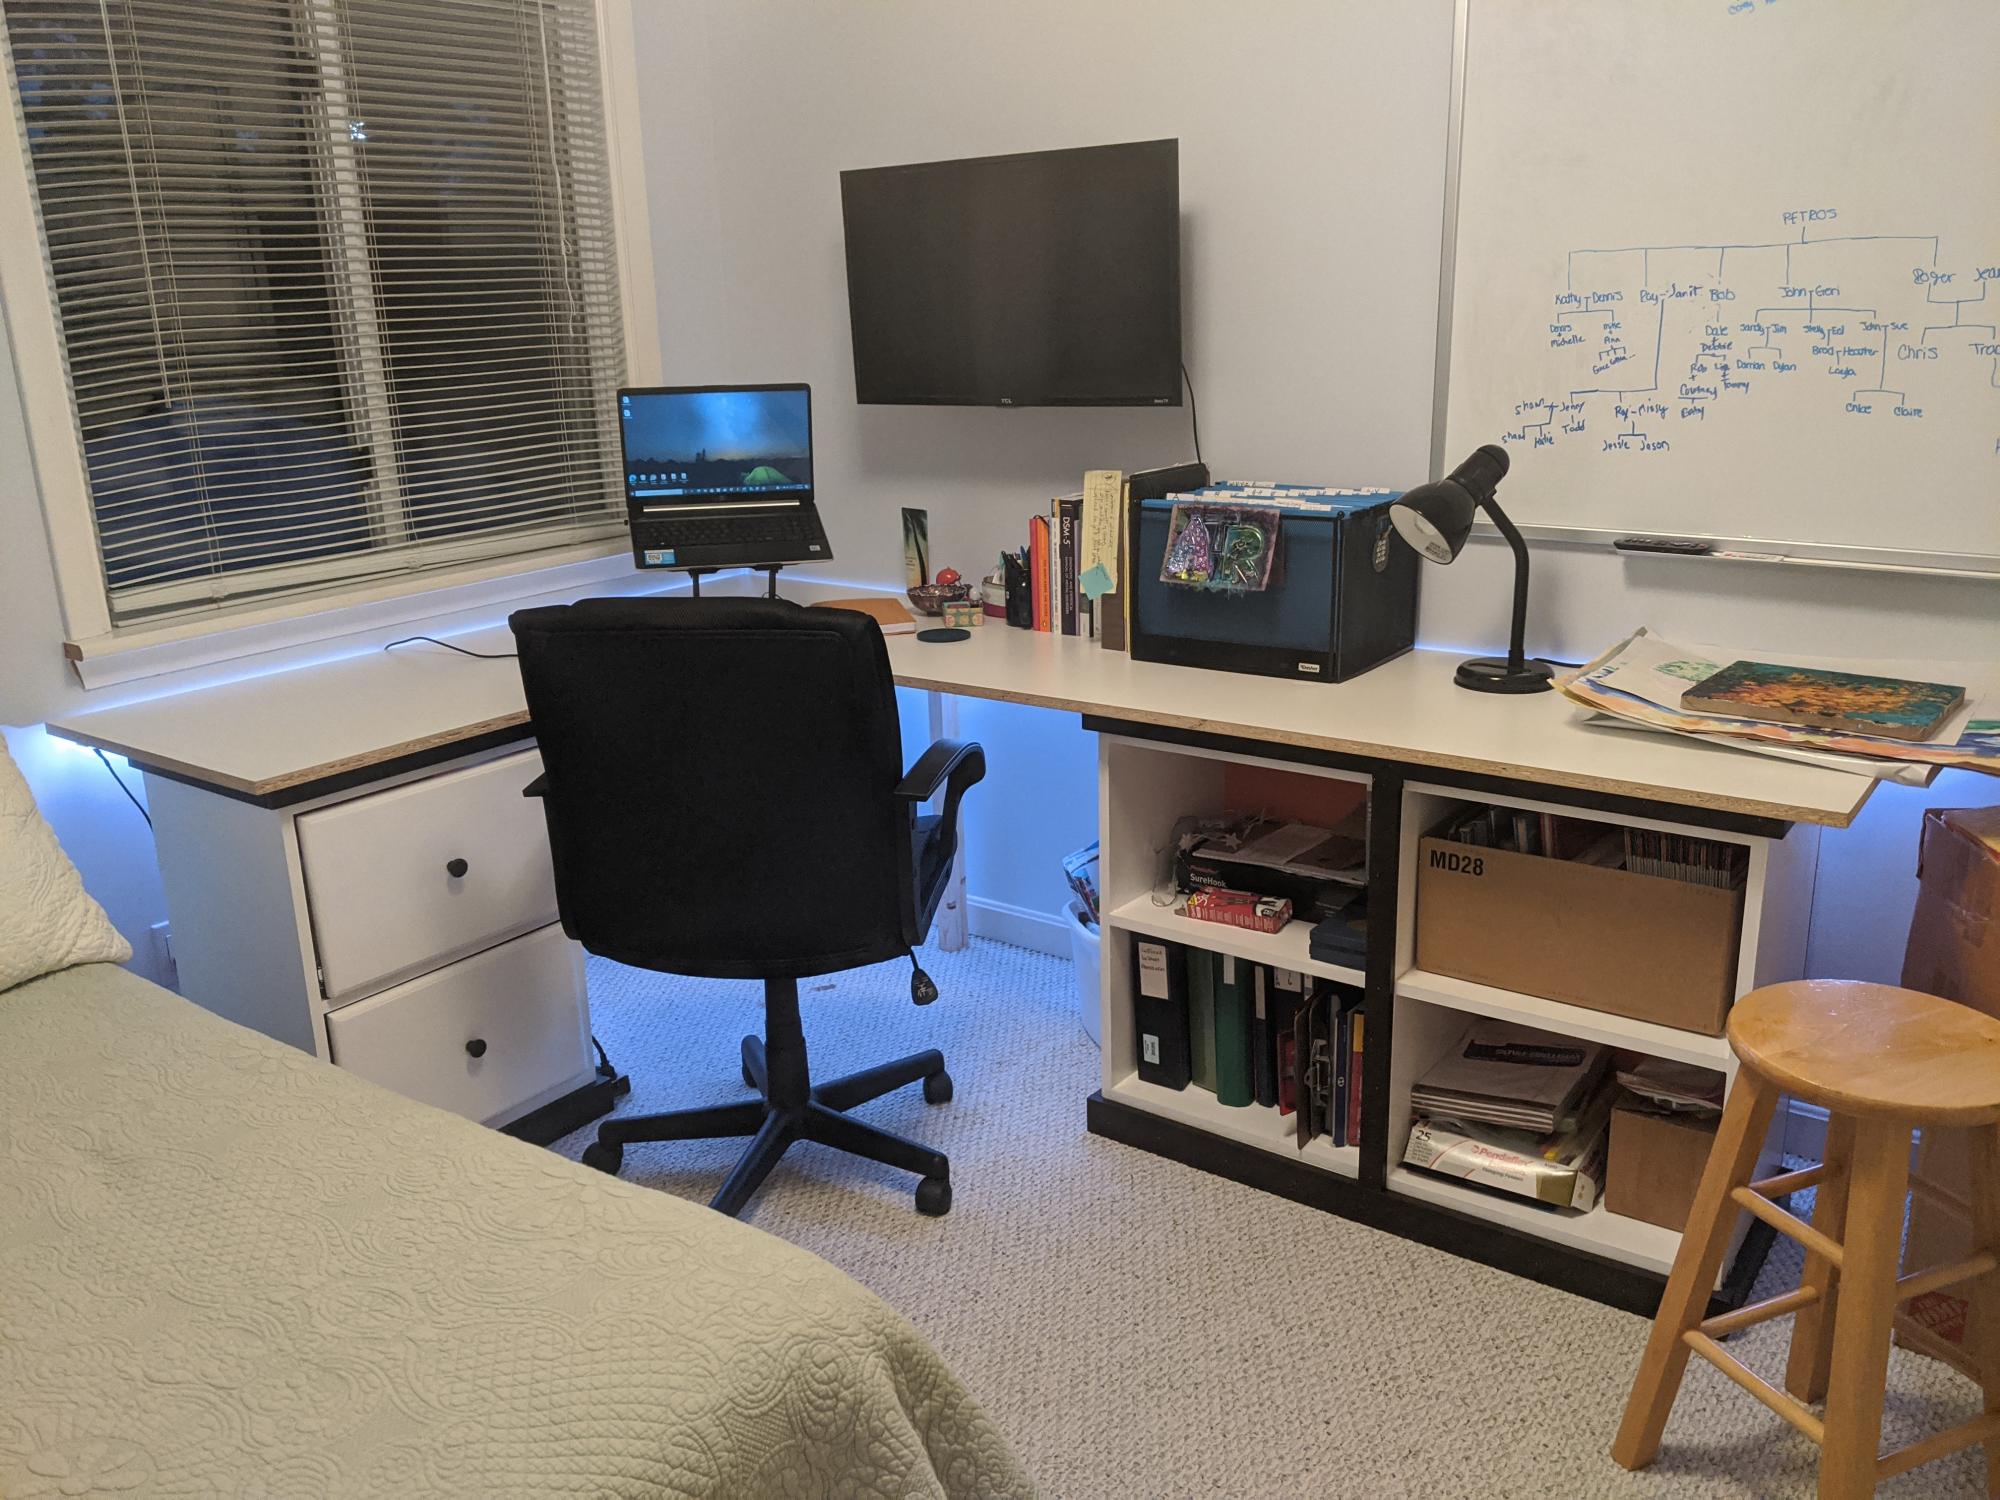
My wife needed a bigger desk for her home office so built one. I used the modular office desk designs. I had to modify it, my wife wanted the 90 degree cut in where the two desk to meet. I built two open shelves and fastened then together and built one narrow shelf with drawers. Built mostly out of MDF with the top being melamine. Waiting on the edge banding to ship. Also, installed some rope lighting for indirect light.

Estimated Cost
Under $300
Estimated Time Investment
Week Long Project (20 Hours or More)
Finish Used
Painted the base cabinets.
Recommended Skill Level
Beginner

Easy to Build Toybox

Submitted by Anonymous (not verified) on Sat, 09/14/2024 - 09:43

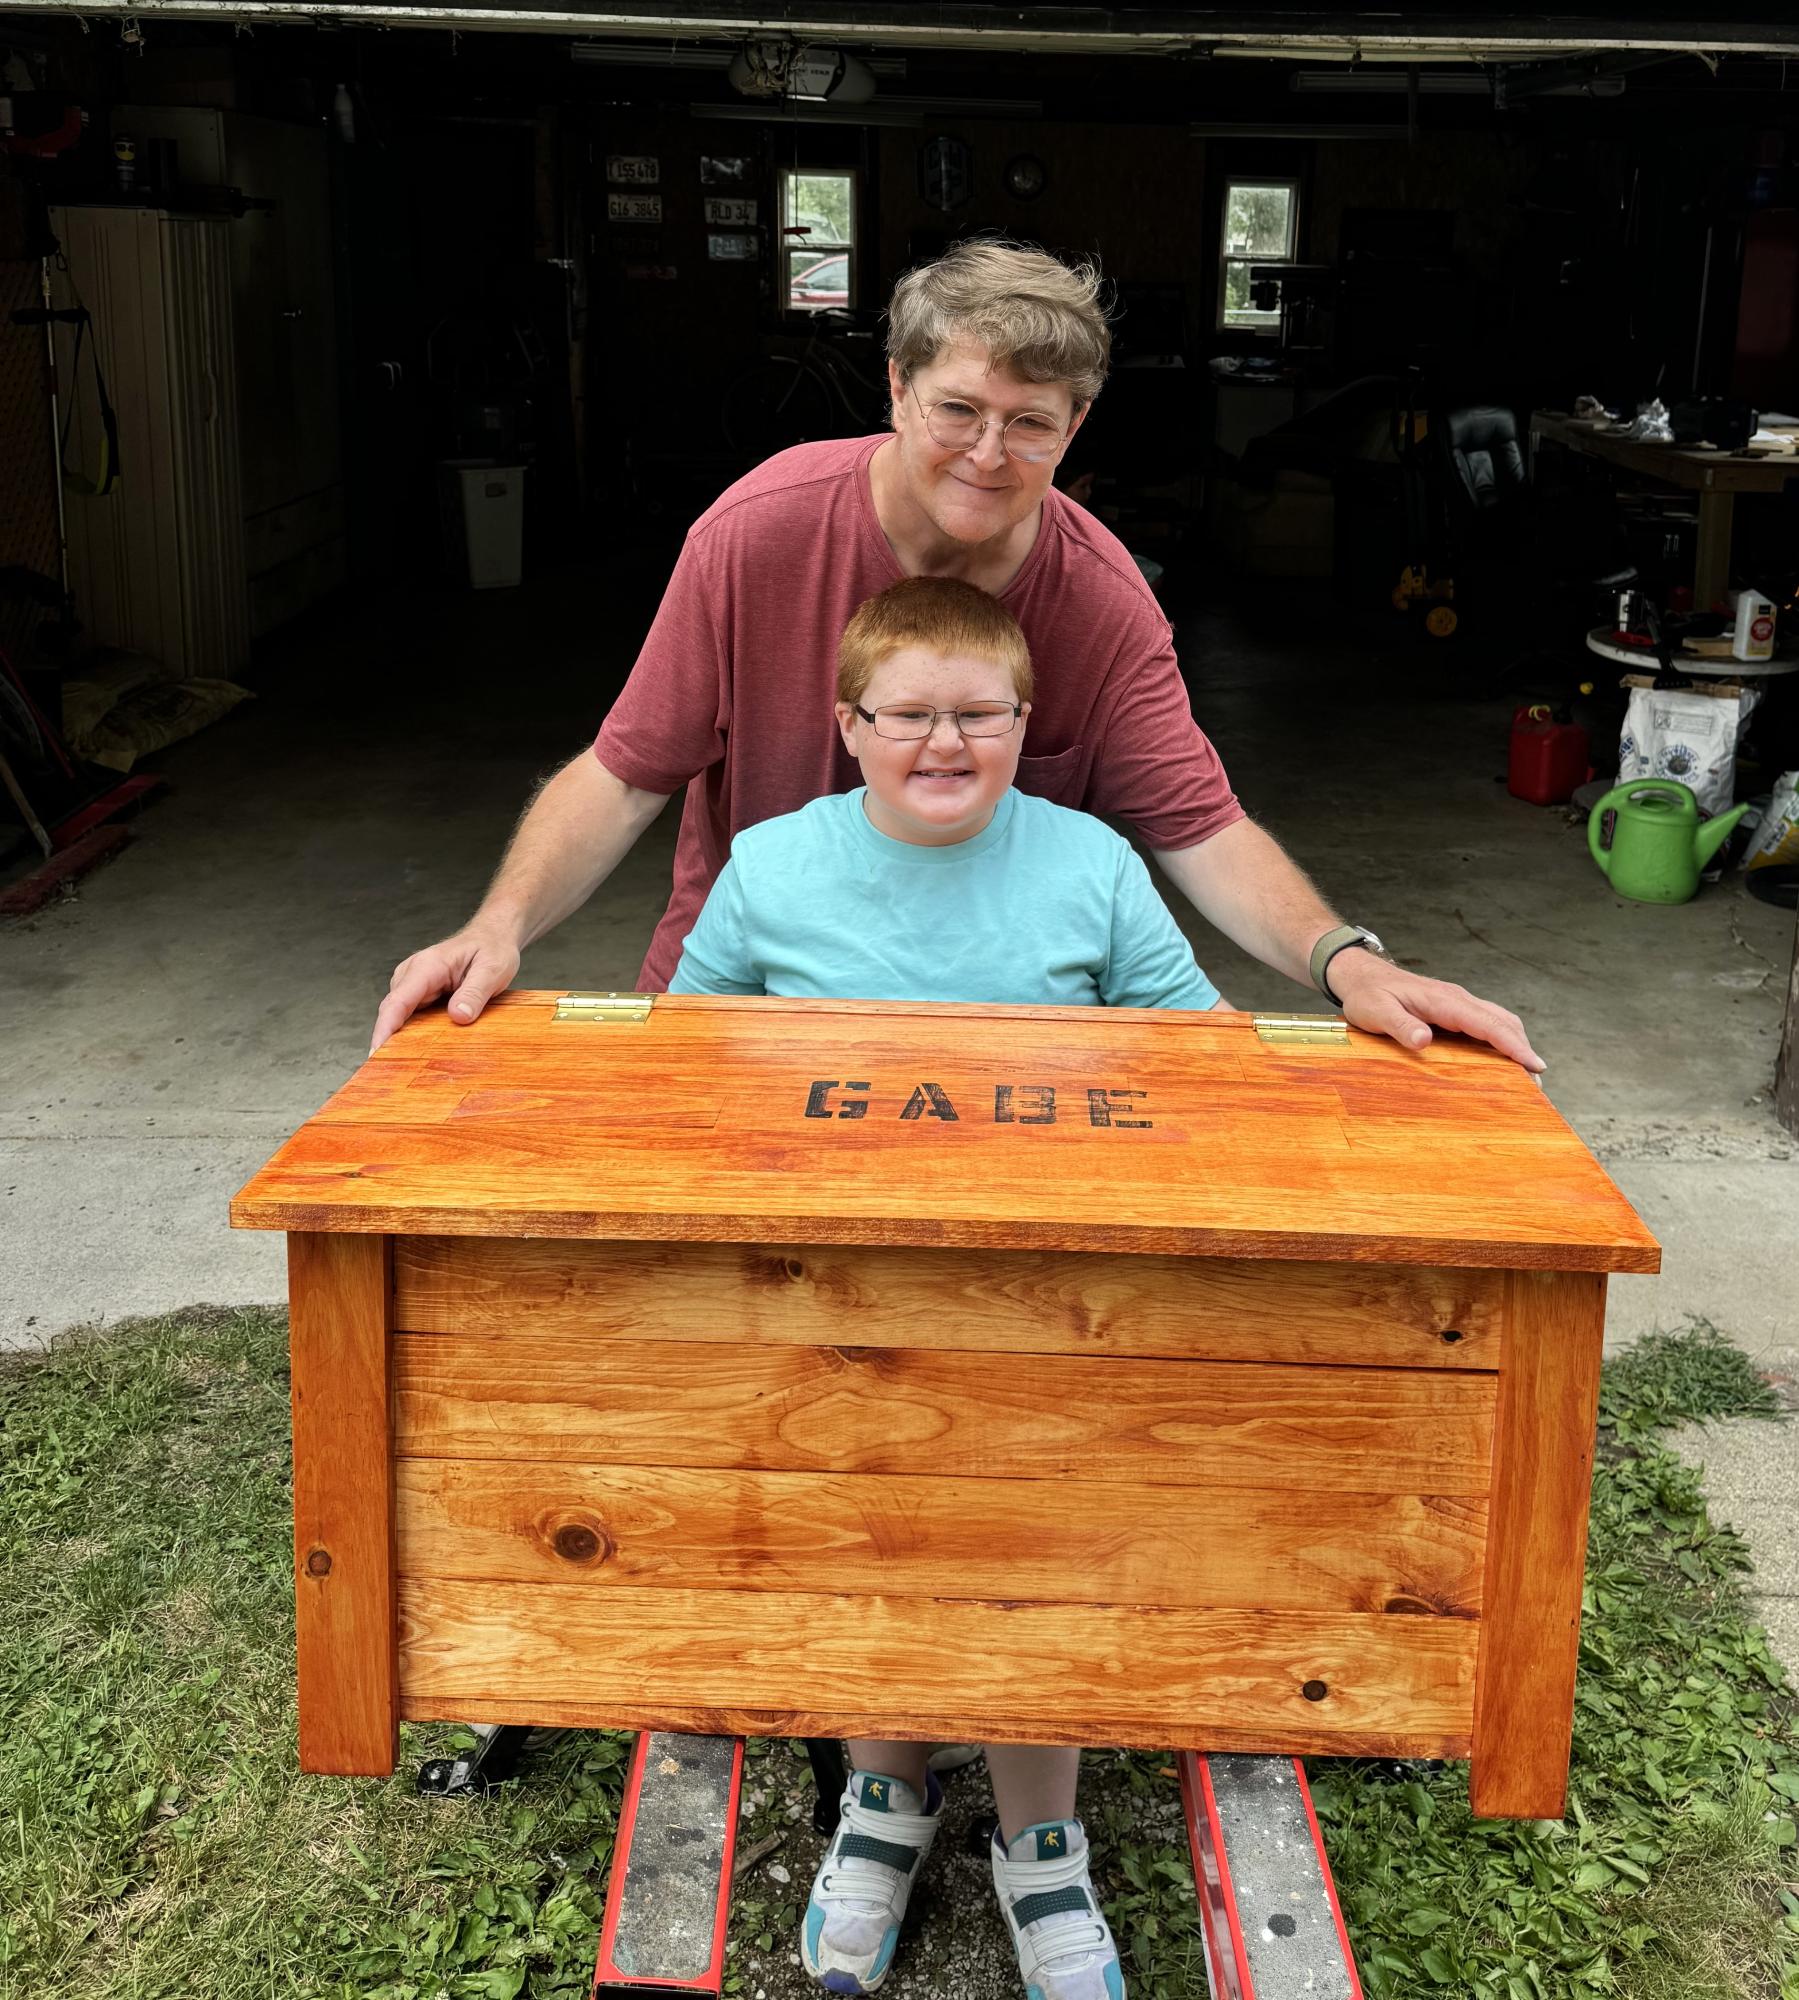
The farmhouse toy box project is wonderful. The first one I made I thought it’s easy enough that I had my 8 years old grandson come over and basically make it himself with a little help from grandpa. Thanks Ana for a great plan. - 

Roger DeMoss

Built from Plan(s)

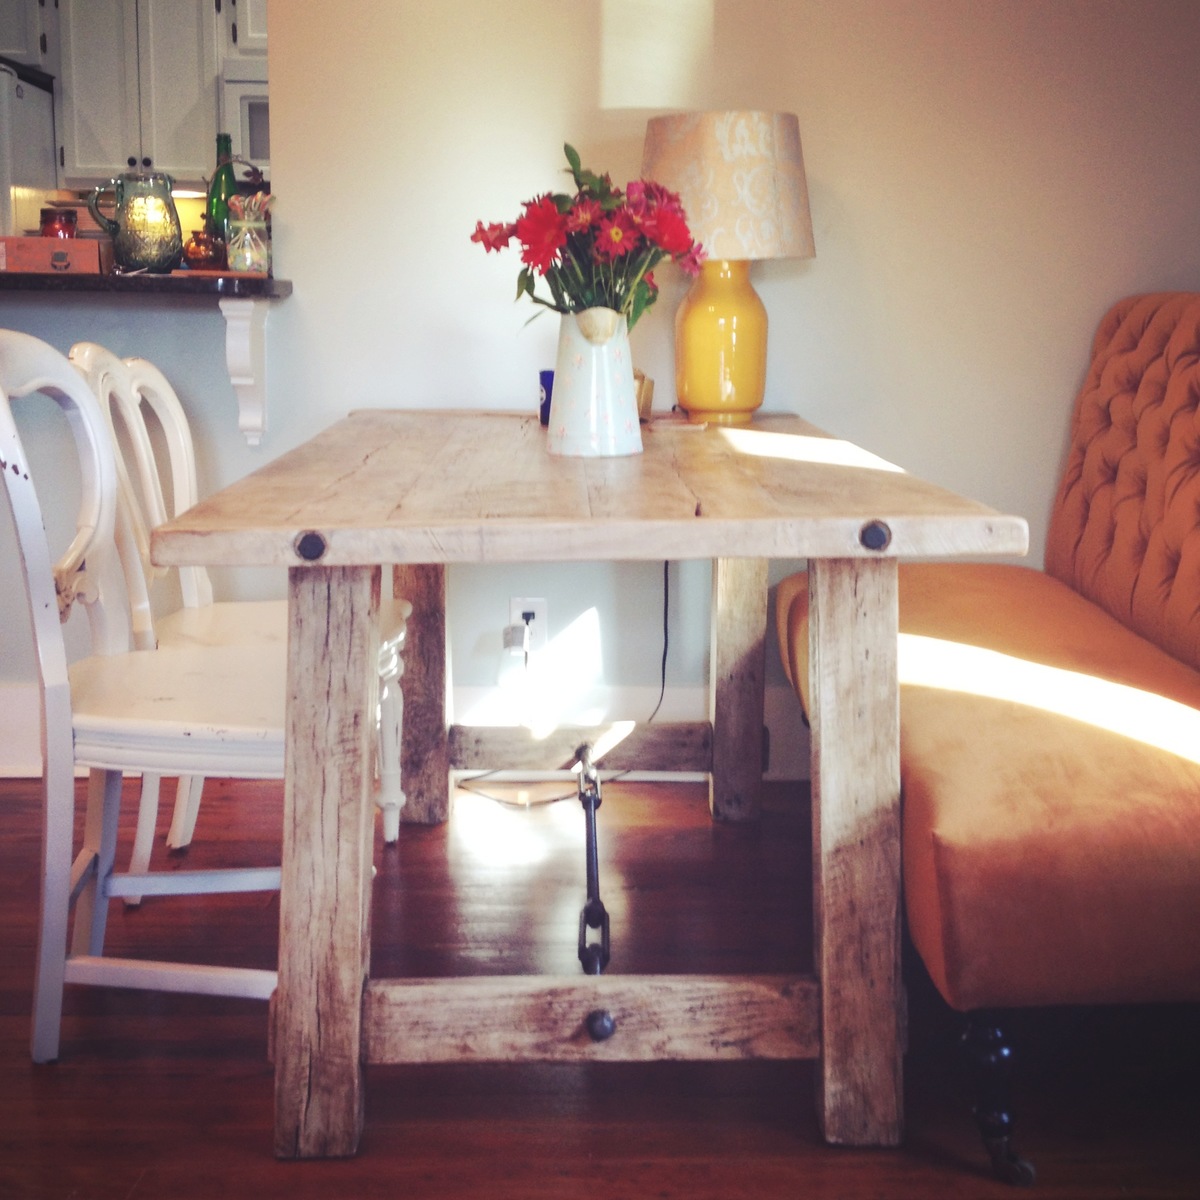
Farmhouse table - Tobacco farm wood

The end result of this project was incredible. The table is 3ft x 6ft x 31inches - Built with Tennessee tobacco farm wood. I used KREG for all the joining, even the legs. Finished it with the one and only Annie Sloan Paint/Wax combination.

Estimated Cost
350.00
Estimated Time Investment
Week Long Project (20 Hours or More)
Finish Used
Annie Sloan - Paint: Old White - Wax: Clear and Dark
Recommended Skill Level
Advanced

Comments

Kentwood Bed and night stand

Submitted by rmarshmama on Thu, 09/11/2014 - 08:34

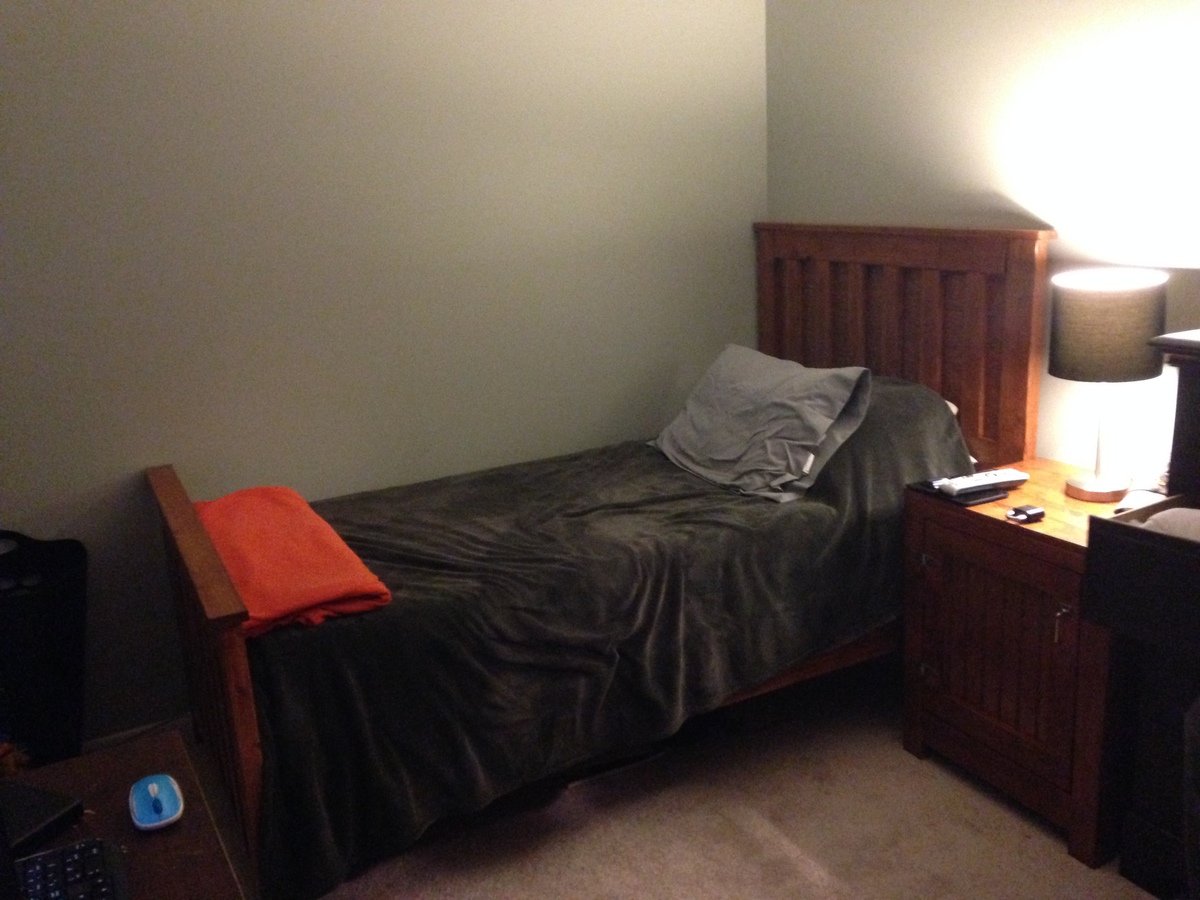
Overall, these plans were easy to follow.  It took me a little bit longer to complete, and definitely needed someone to help attach the bed rails to the headboard and footboard.  We stained prior to putting the bed together, otherwise we wouldn't have been able to get the bed into the house.

For the night stand, the plans call for 4 boards across the top, but it definitely takes 5 so keep that in mind.  I used pocket holes to attach the front and back of the top piece to the night stand, and then did nails to attach the sides of the top to the sides of the night stand.

Estimated Time Investment
Weekend Project (10-20 Hours)
Finish Used
Antique Walnut by Minwax
Recommended Skill Level
Beginner
Back