Community Brag Posts


Doll Bed for Coworker's daughter
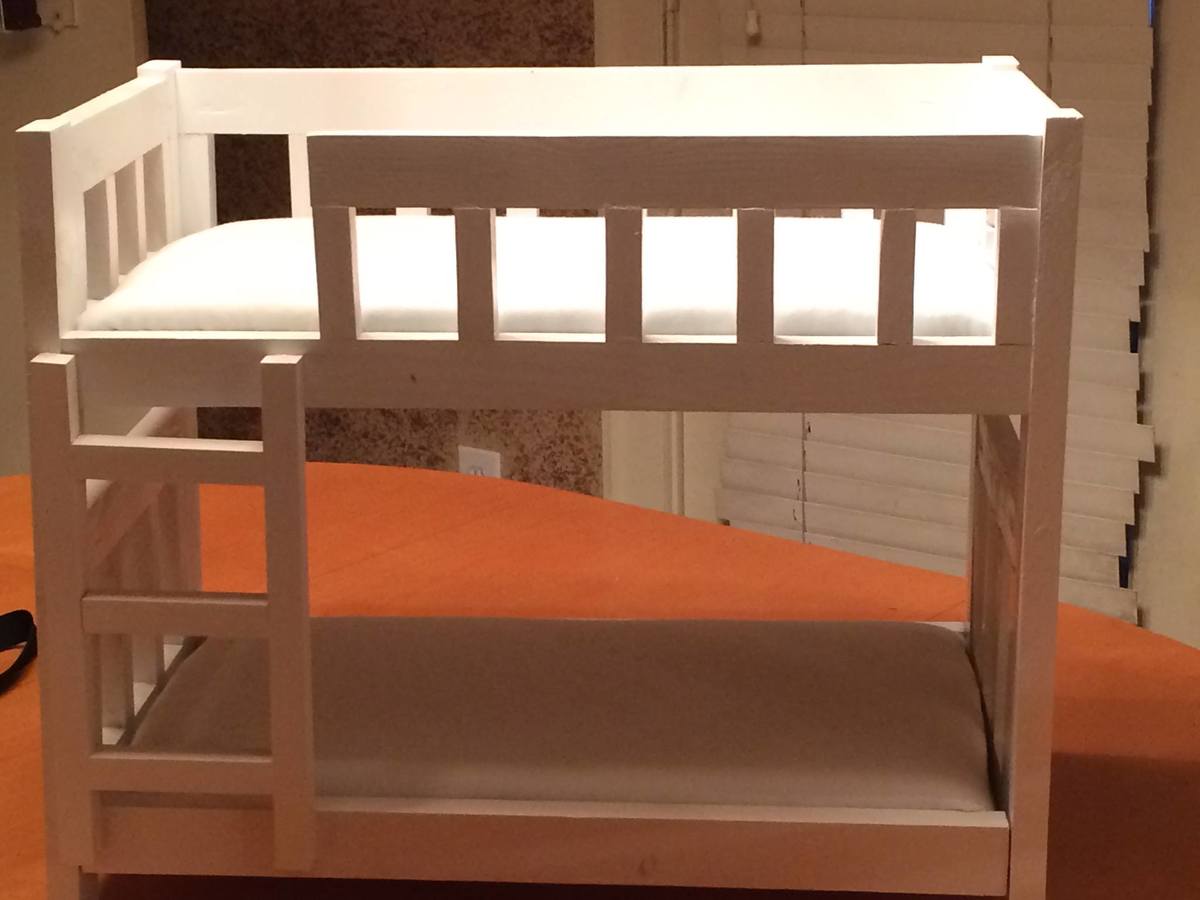
A coworker wanted bunk beds to give her daughter for Christmas for her American Girl Dolls and and asked me to build some. She was happy with the result
Built from Plan(s)
Estimated Cost
$25
Estimated Time Investment
Afternoon Project (3-6 Hours)
Finish Used
white spray paint
Recommended Skill Level
Beginner
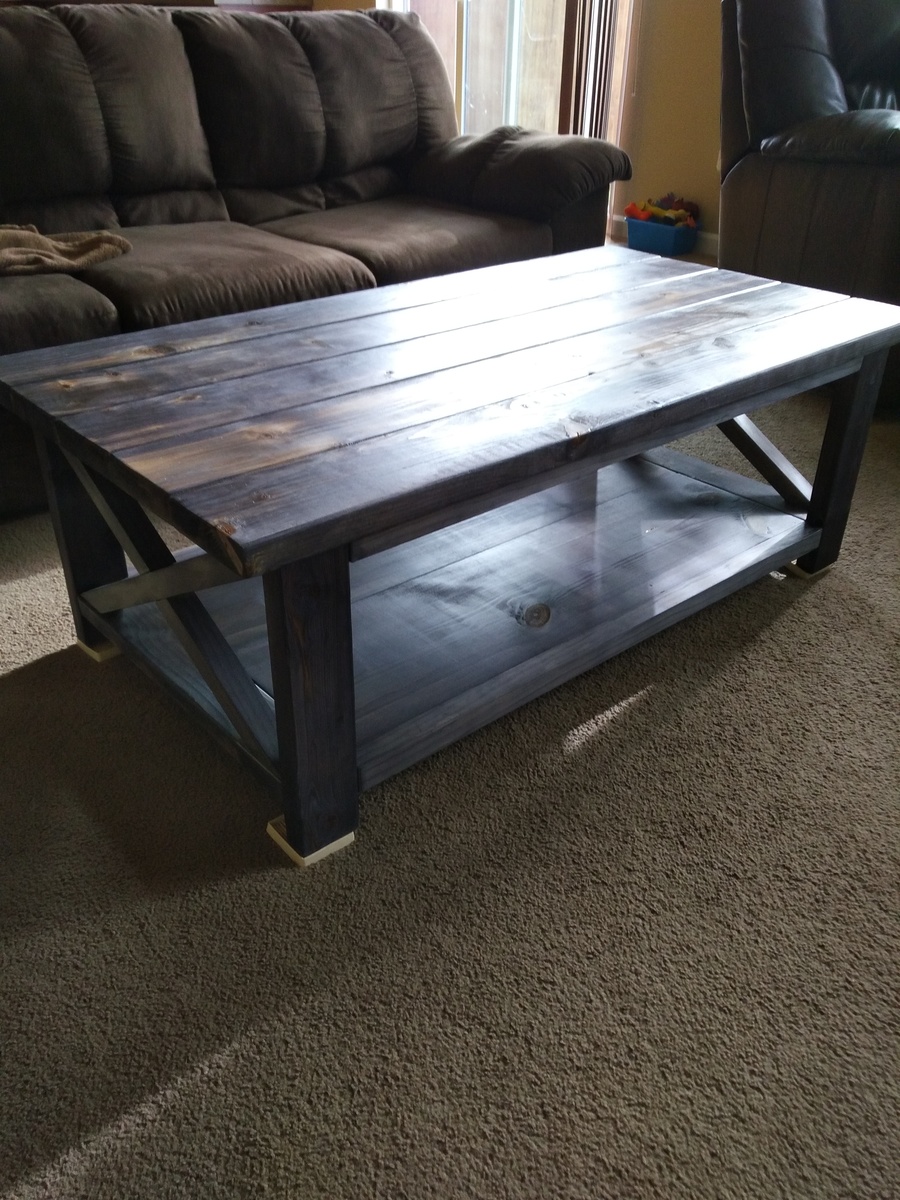
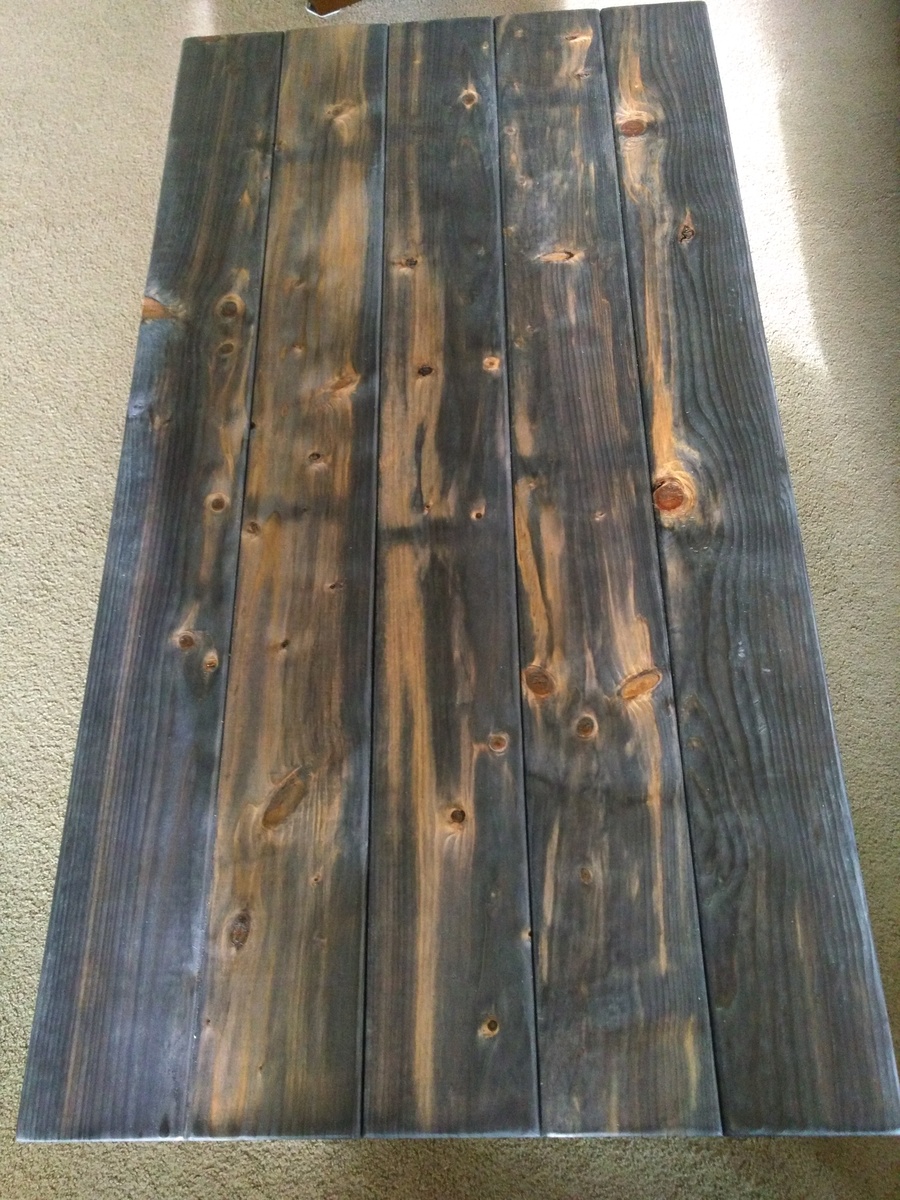
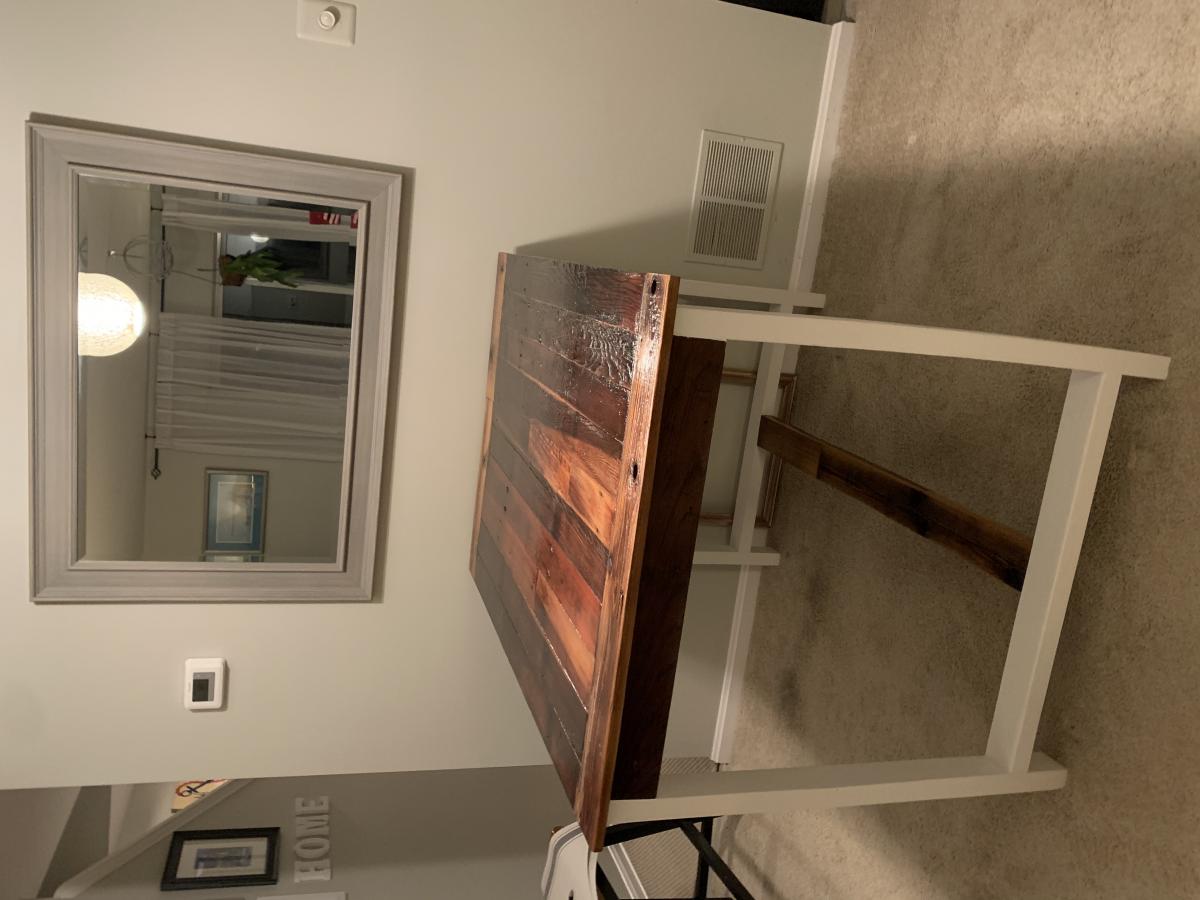
Rustic X coffee table
Hi all,
Joining a large group who have already done this coffee table. Hope you like it.
Built from Plan(s)
Estimated Cost
110 inlc stain
Estimated Time Investment
Day Project (6-9 Hours)
Finish Used
Weathered wood oxidizer by varathane, Deft aerosol satin laquer
Recommended Skill Level
Intermediate
Comments
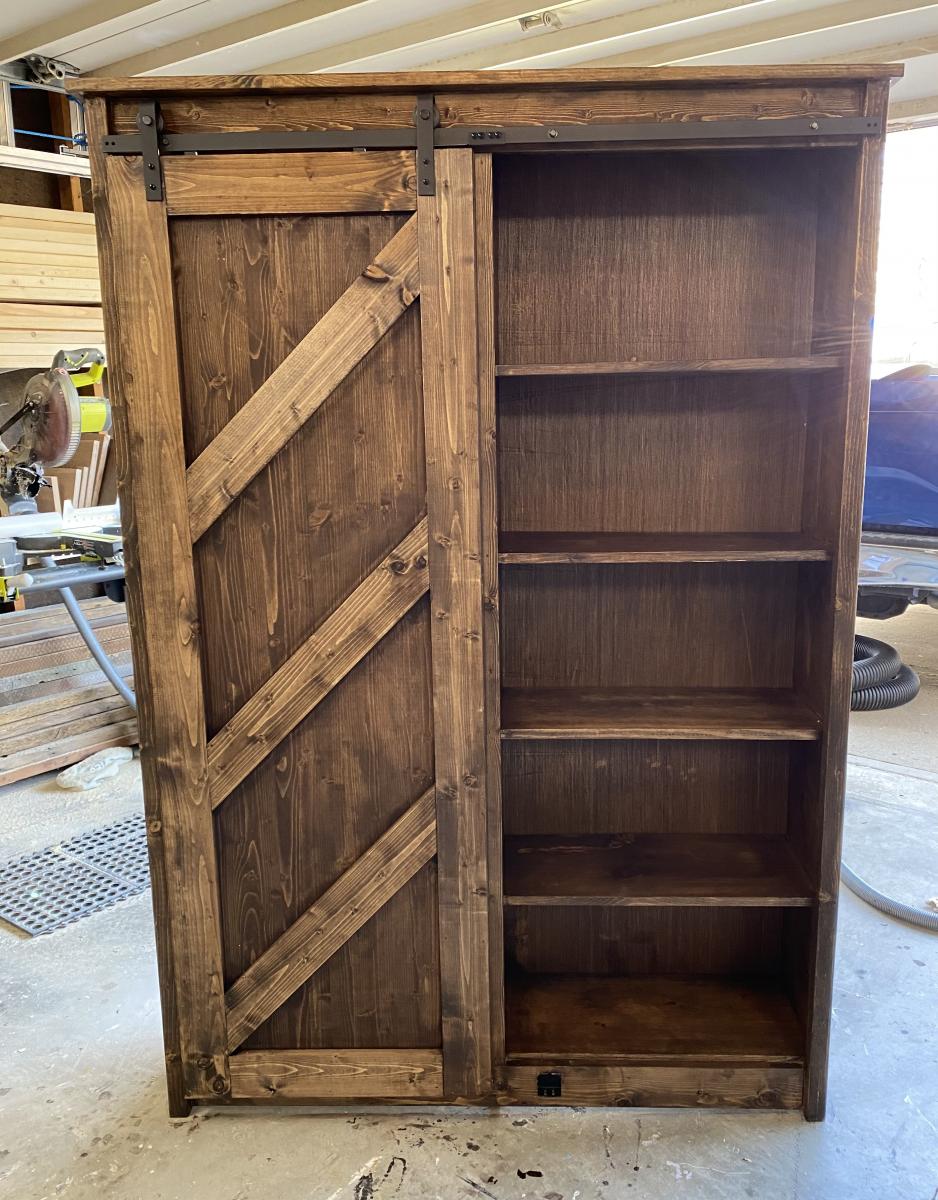
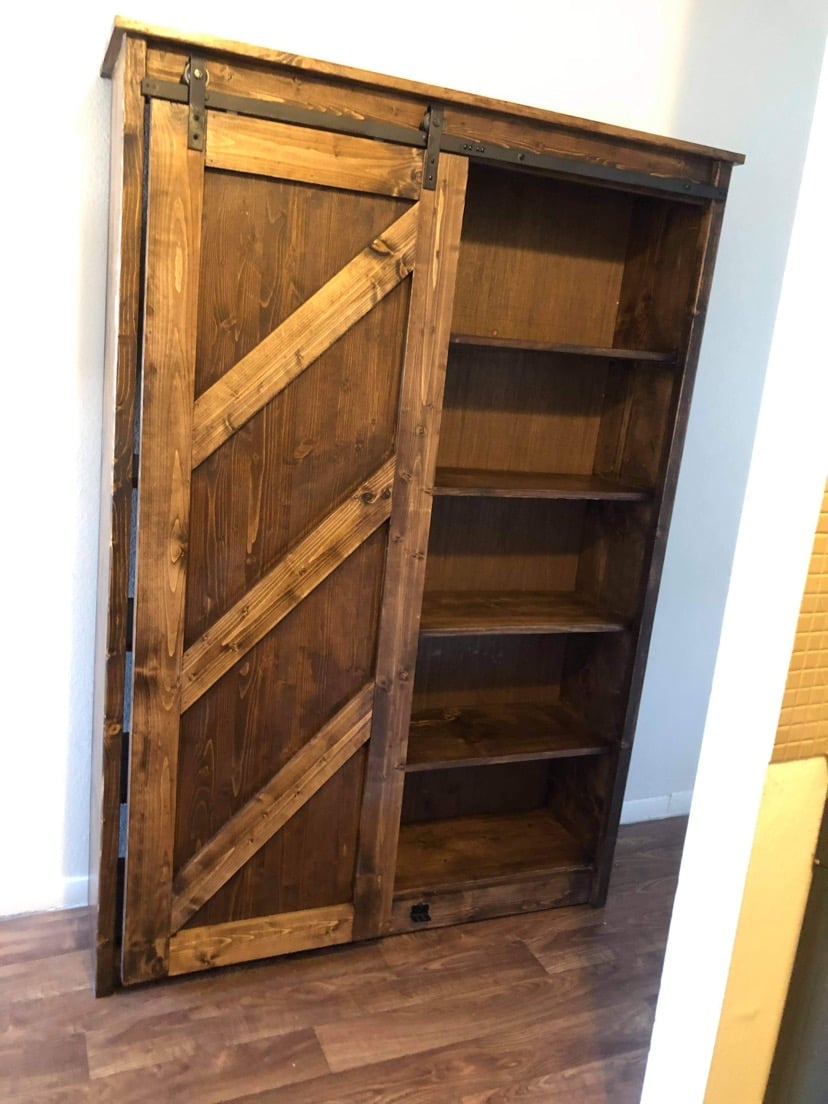
Barn door bookcase
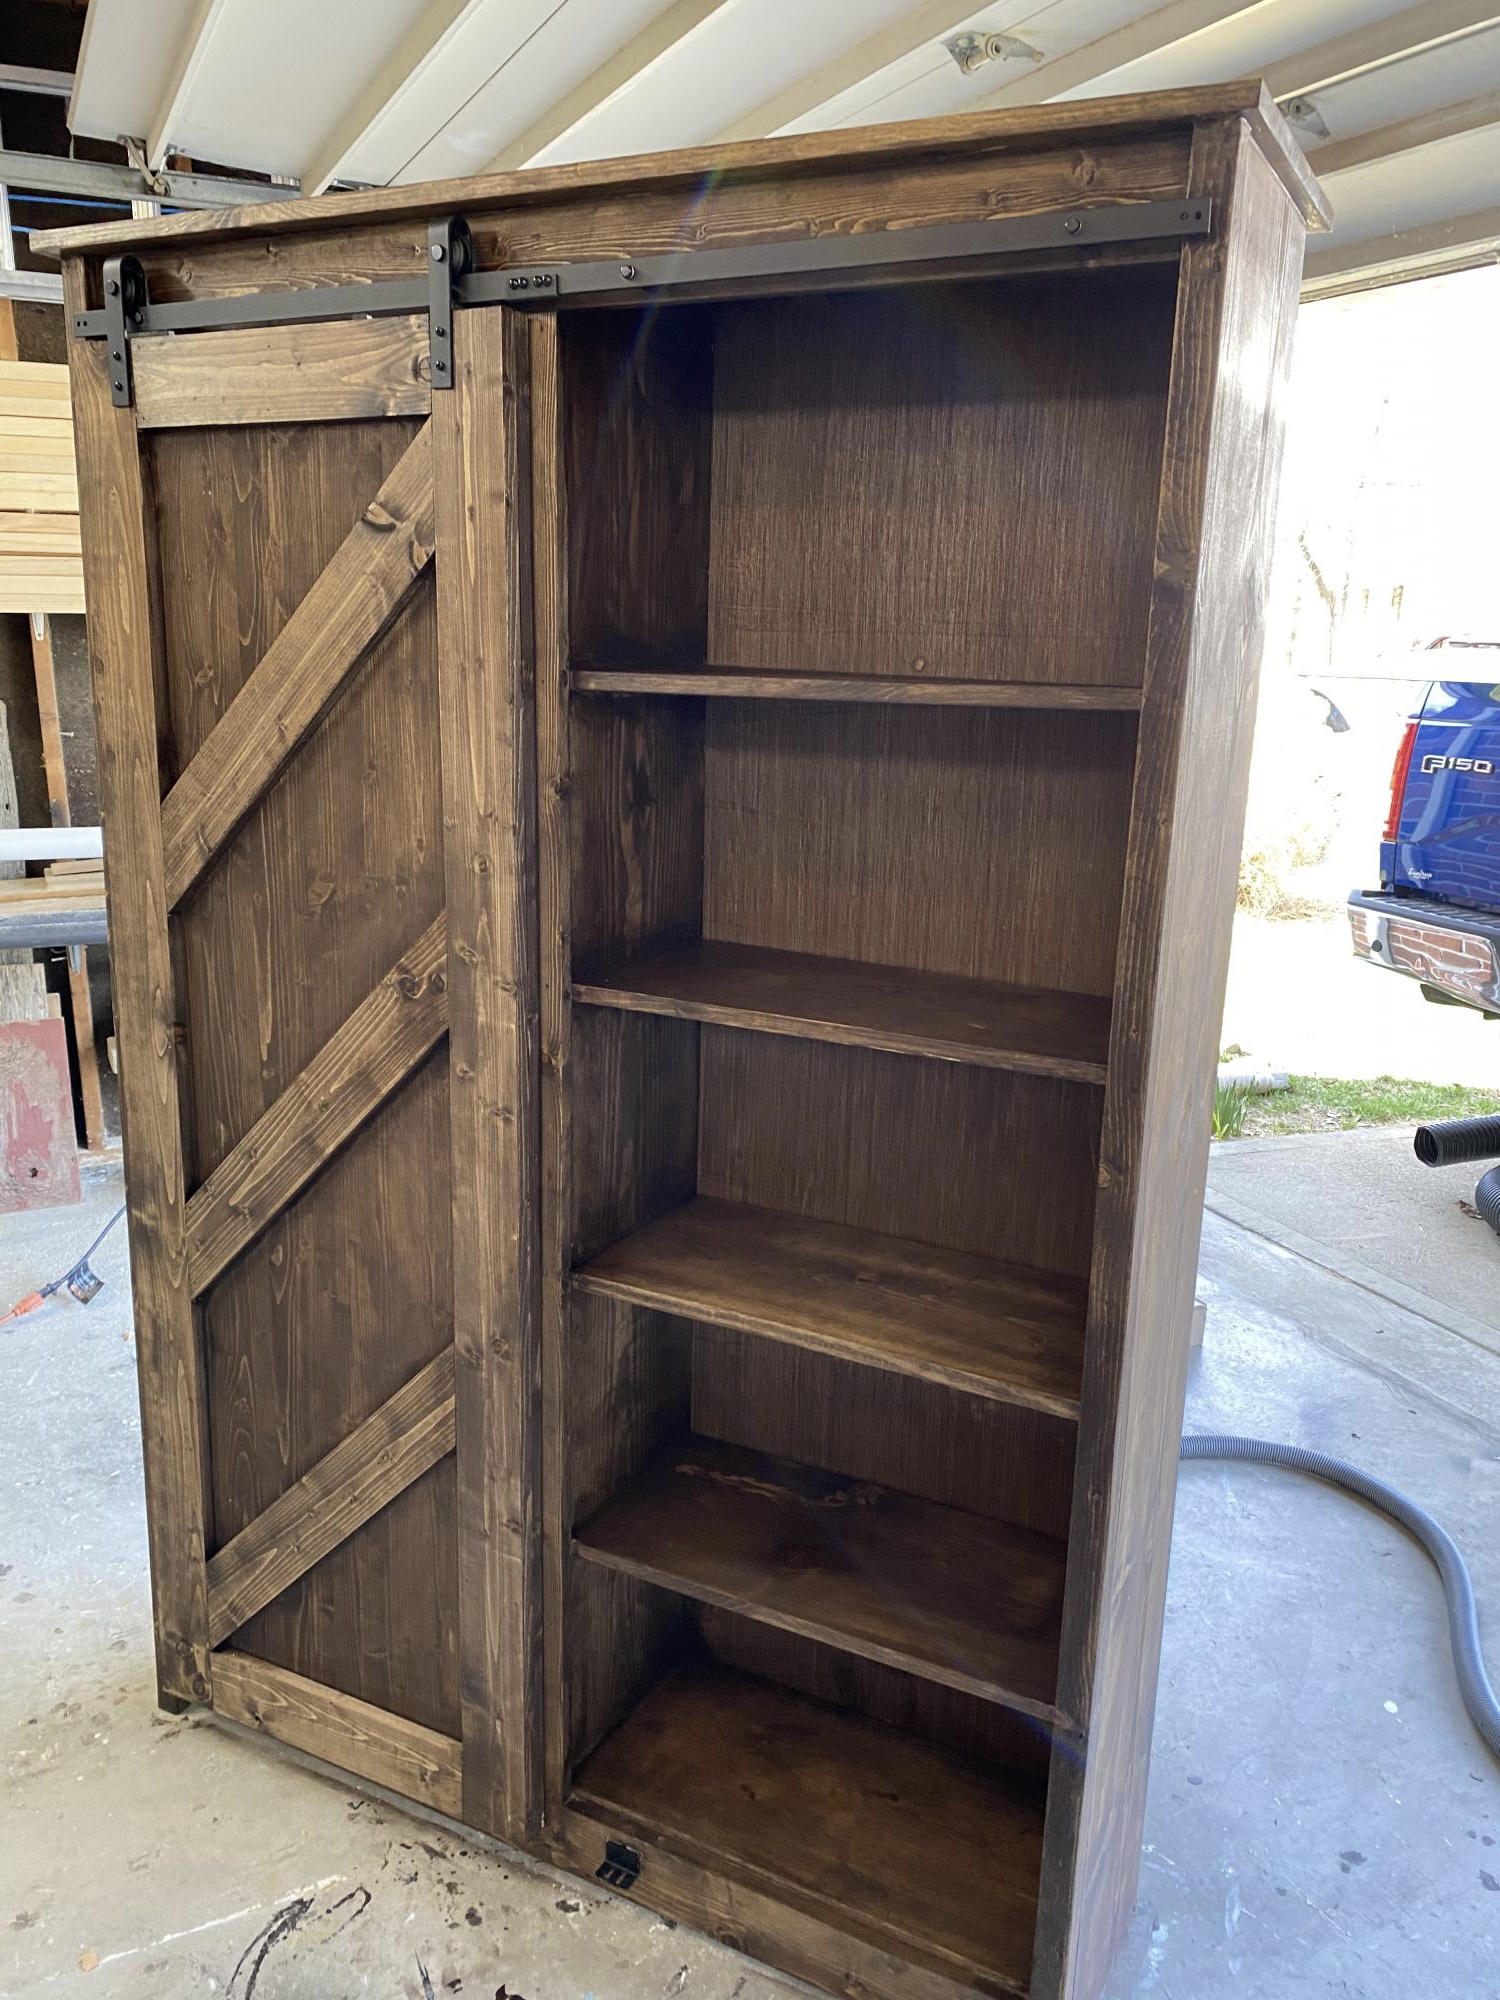
Fun project!
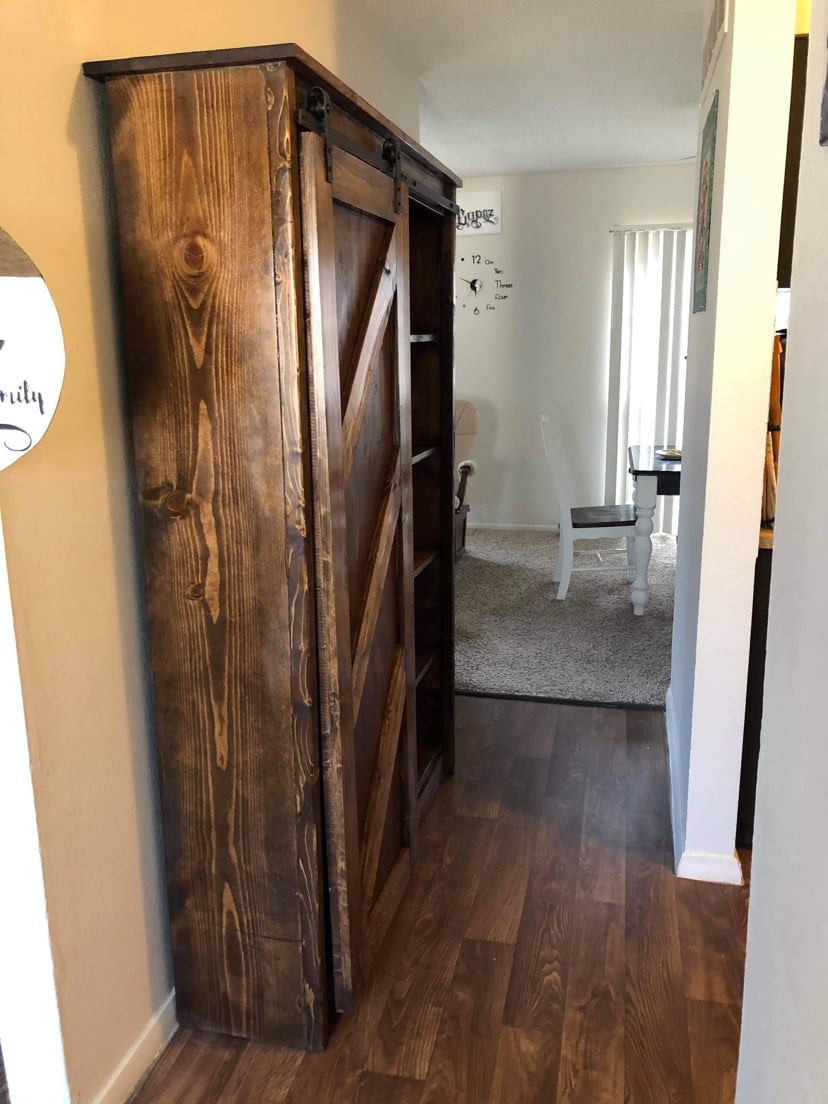
Built from Plan(s)
Comments
My first build!

Finally found the perfect table for my foyer! Only possible because of this site... Thanks Ana! The step by step instructions and detailed illustrations were sooo easy to follow. I finished the table in a day and a half. The drawers on the other hand gave me a run for my money. I am positive that was due to my less than perfect circular saw skills! Which are improving by the way:) Everyone loves the table and are pretty impressed with my (as my 8 yr old would say) "mad skillz"!


Built from Plan(s)
Estimated Cost
130.00
Estimated Time Investment
Weekend Project (10-20 Hours)
Finish Used
Olympic tinted stain with a translucent finish
Recommended Skill Level
Intermediate
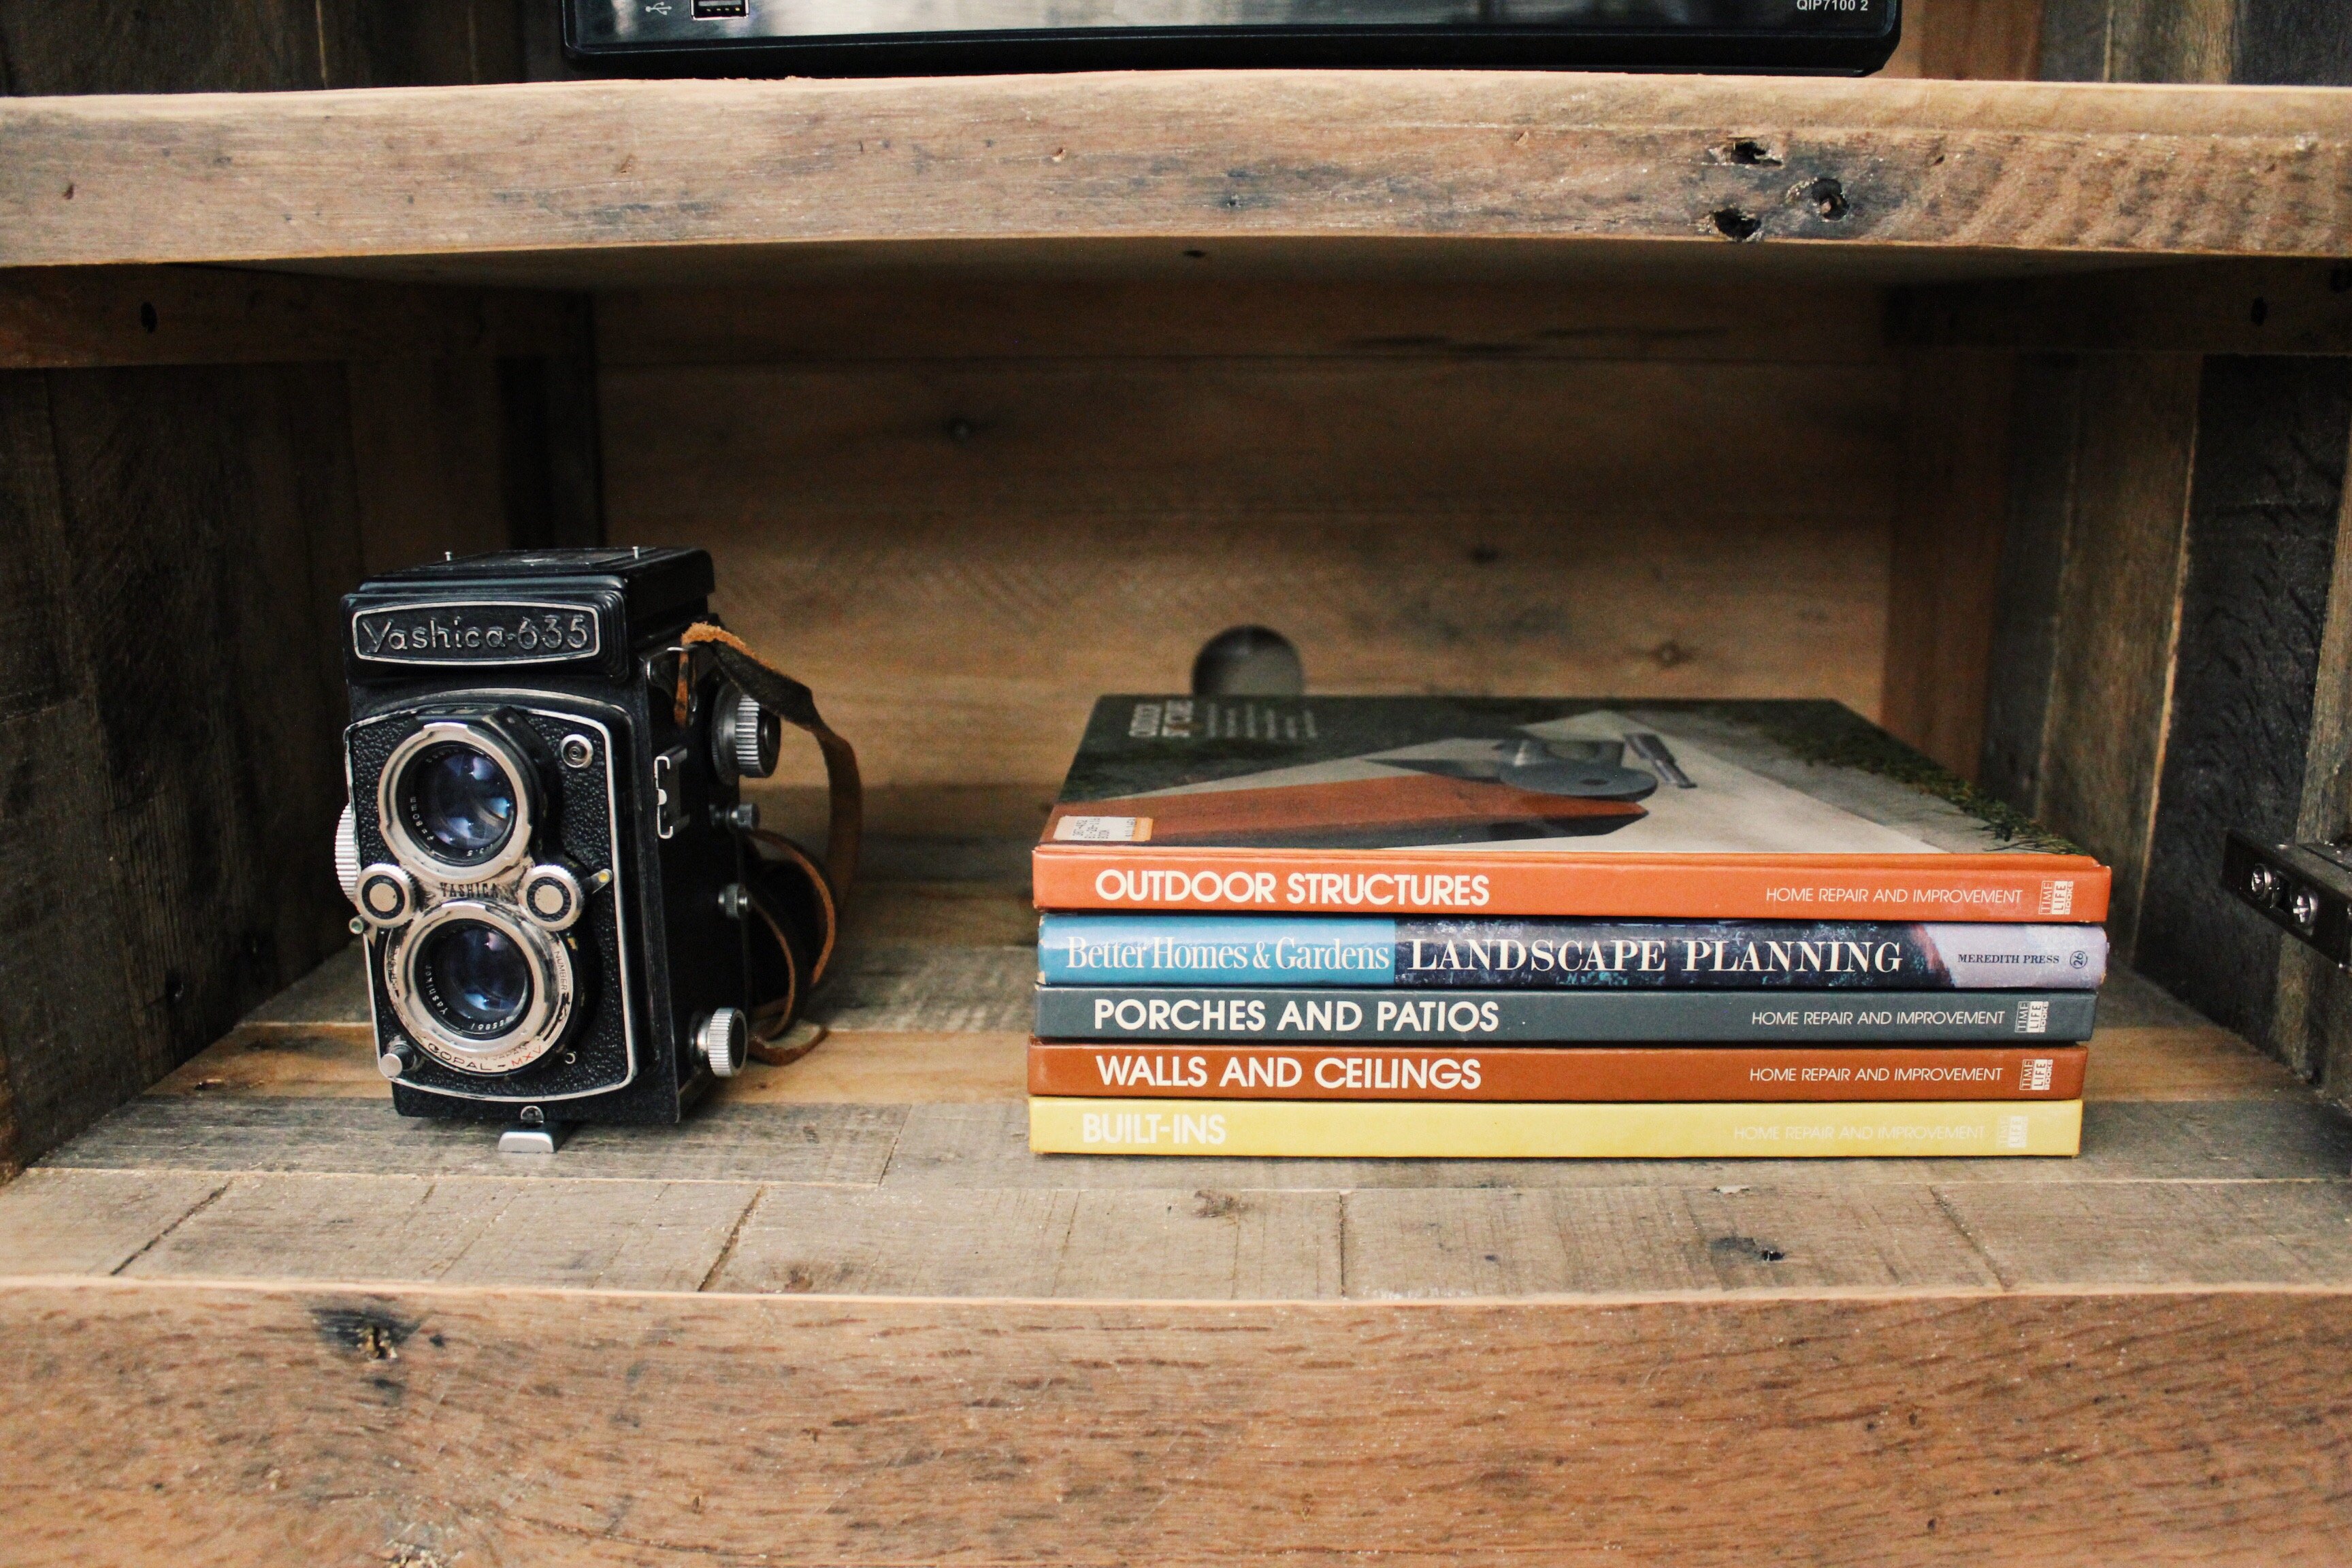
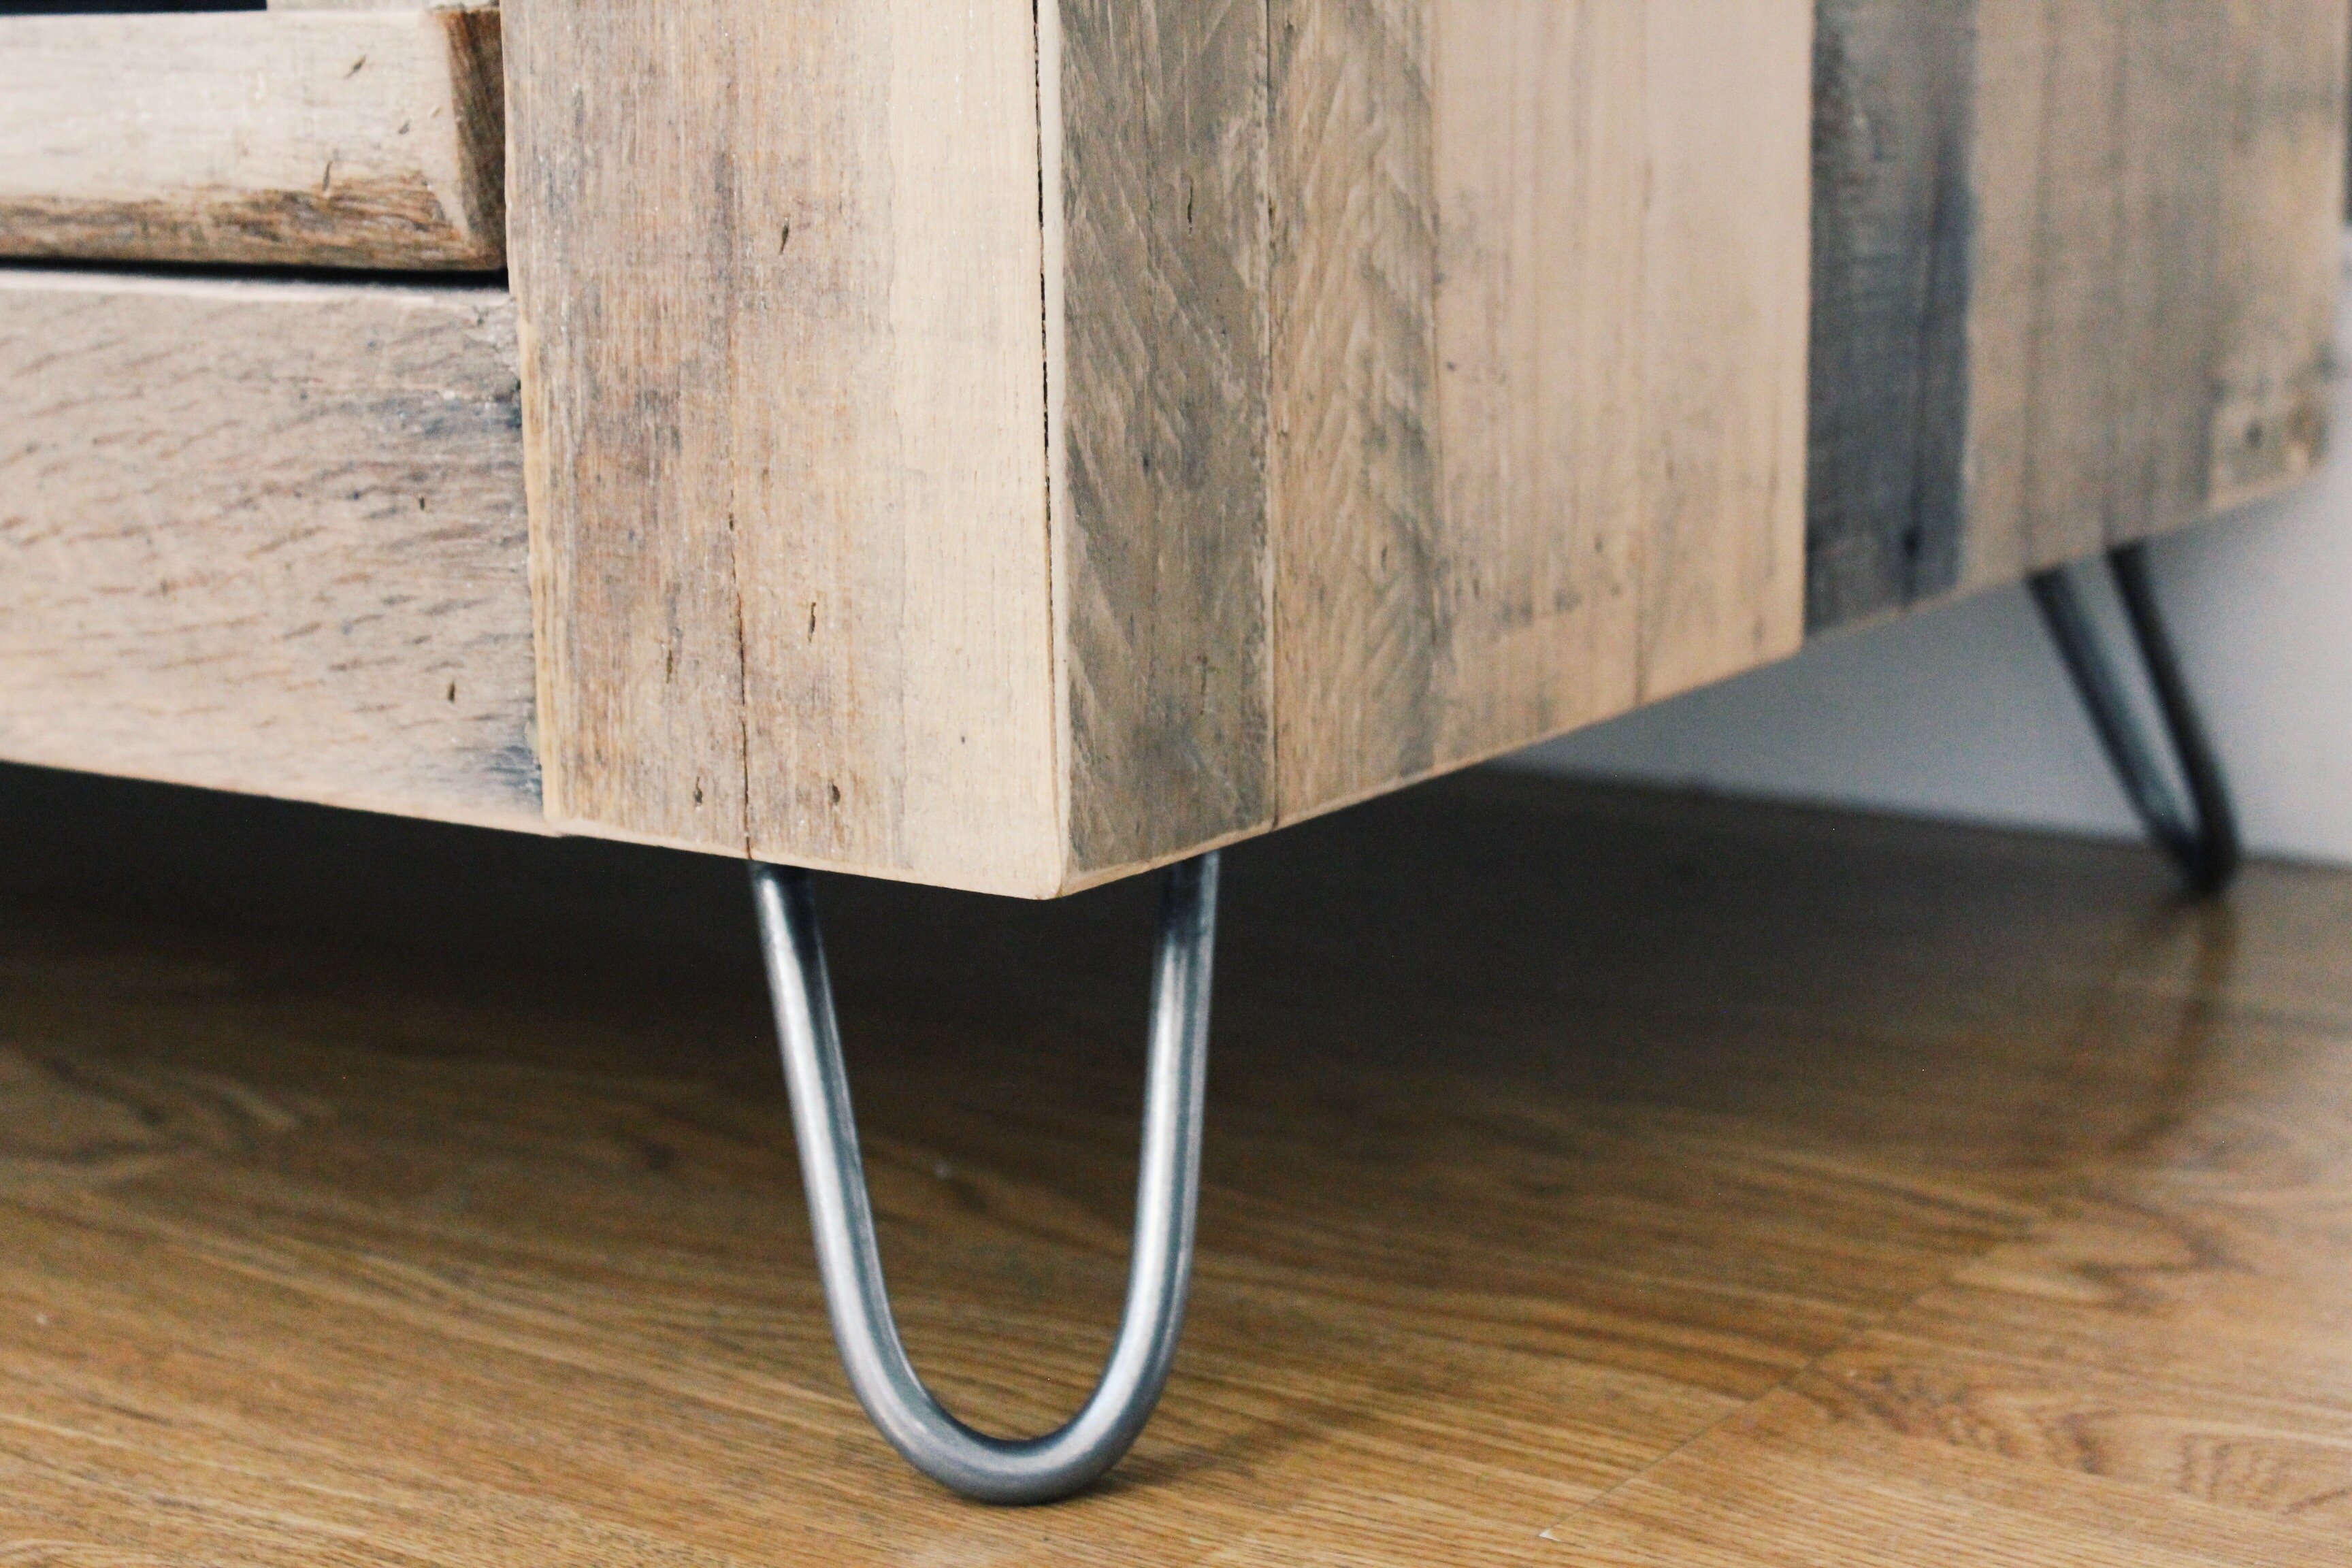
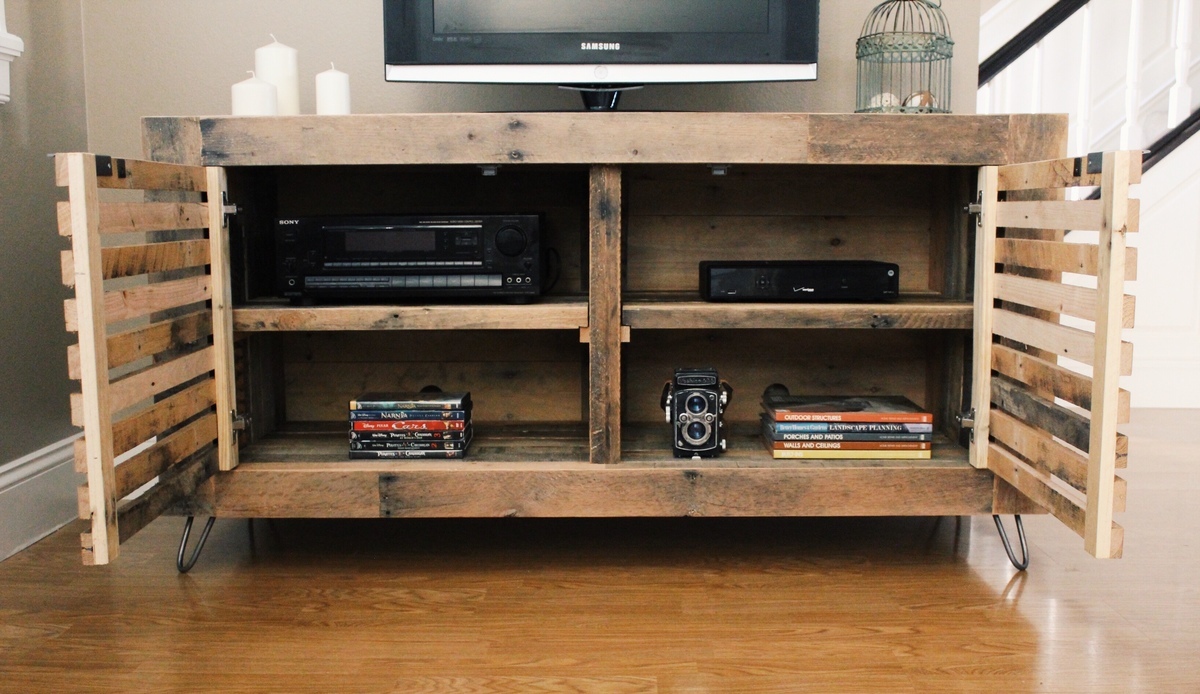
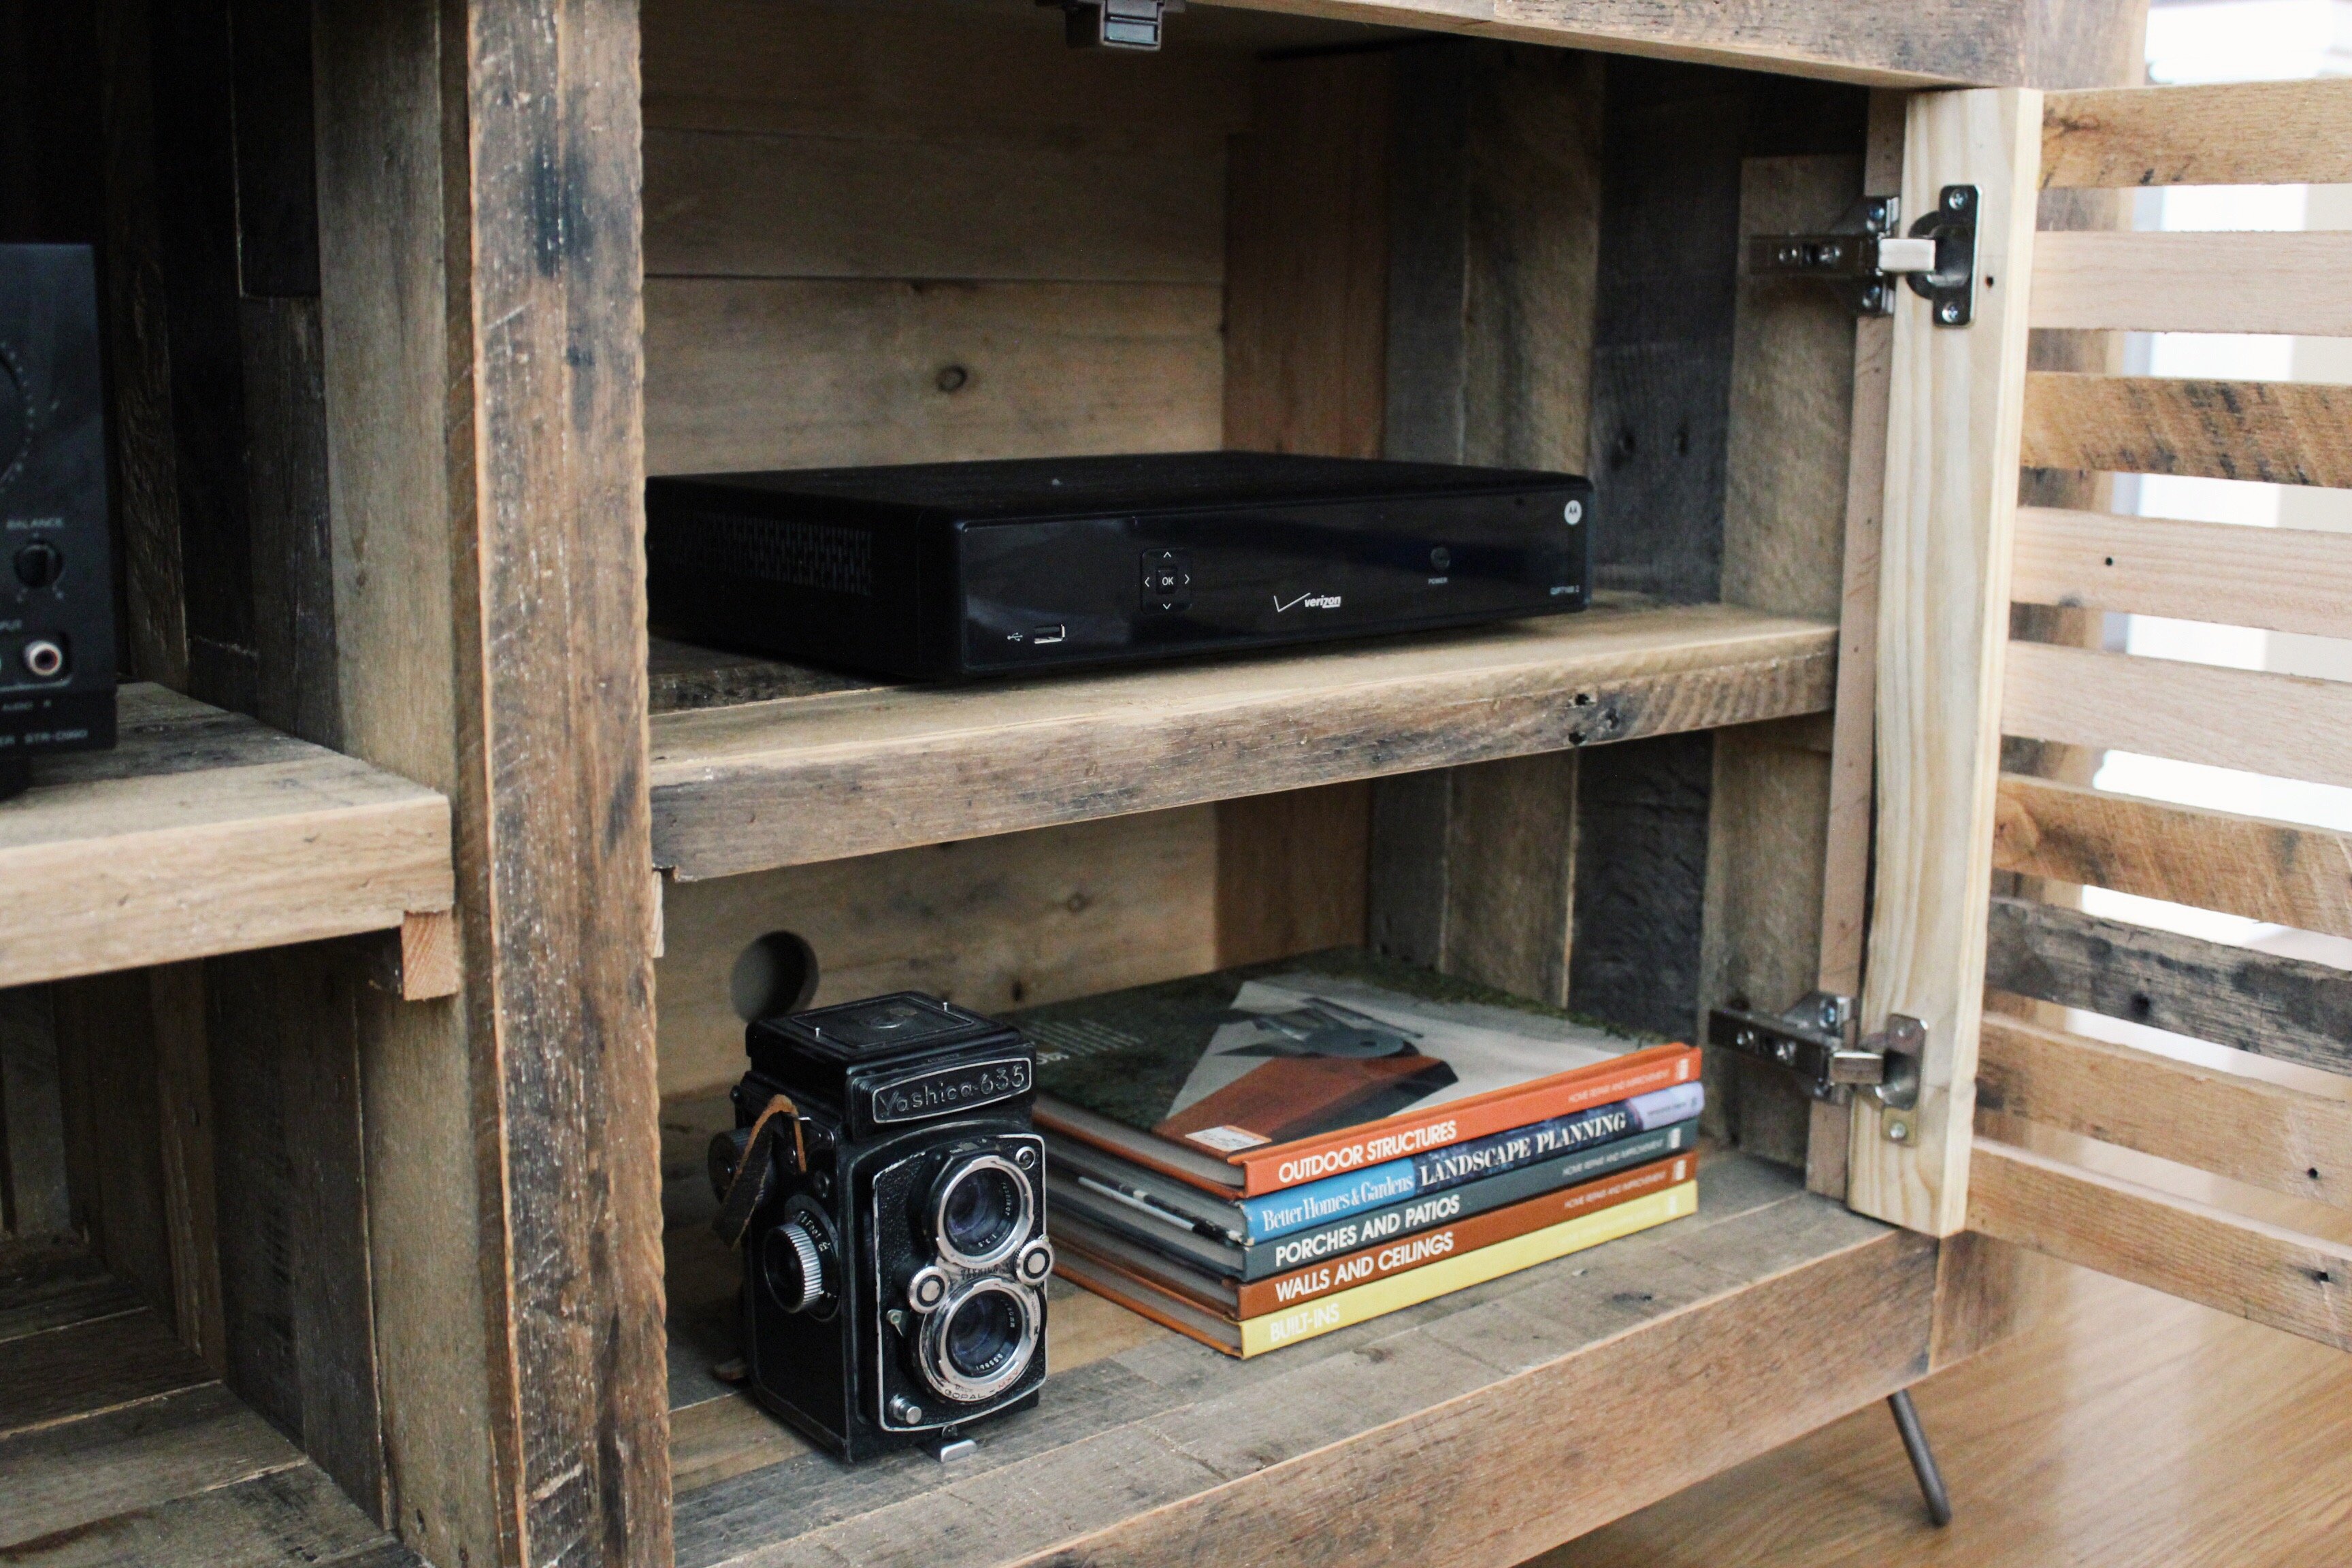
Reclaimed media console
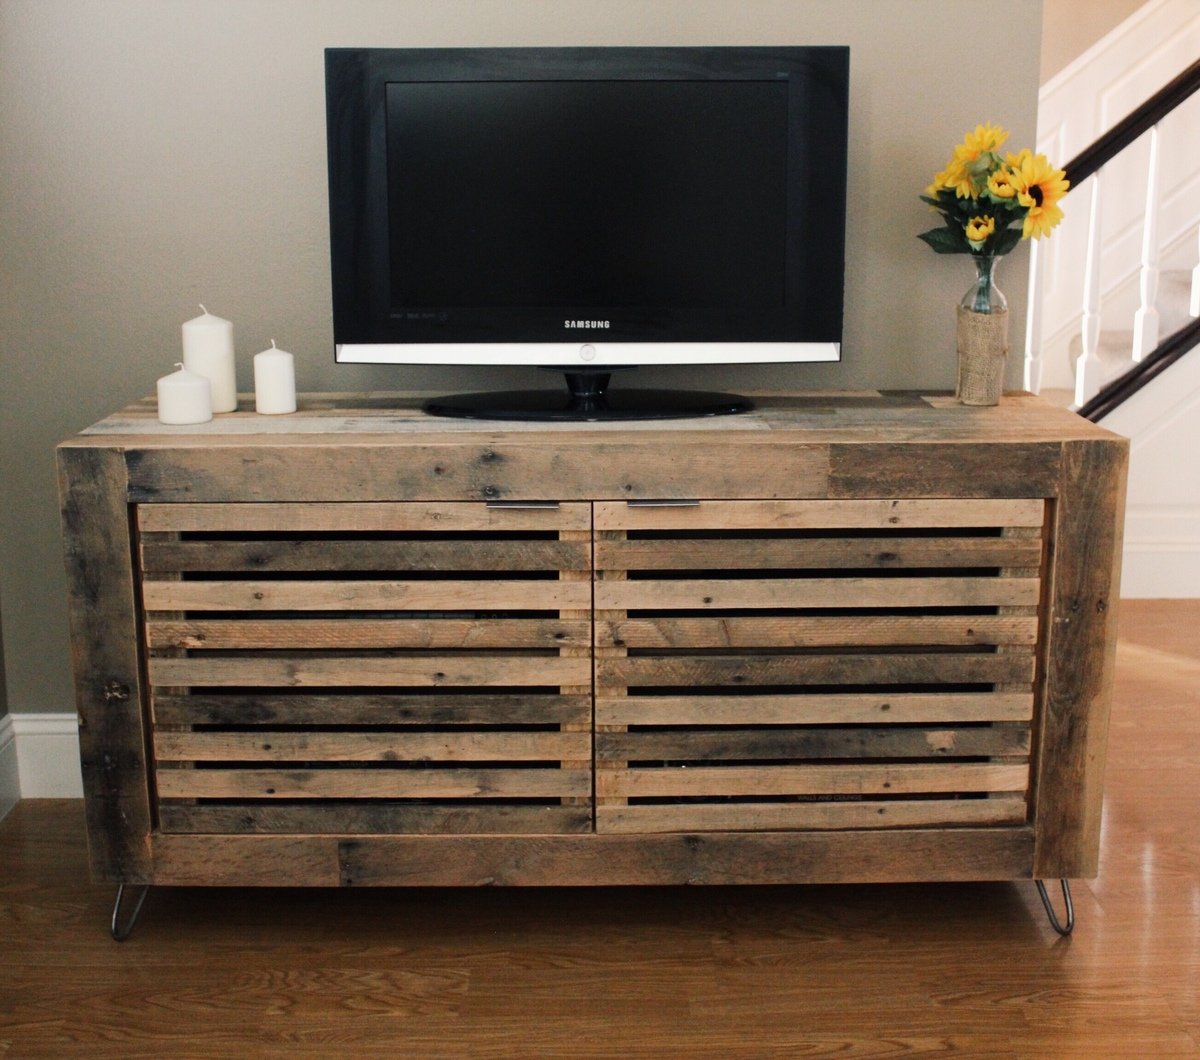
I built this media console from 100% reclaimed shipping pallet wood. I added 4" steel hairpin legs which I thought went well with the rustic appearance of the wood. The shelves that are in place are removable. Although this is not built from one of Ana's plans I really enjoyed working with reclaimed wood and I hope this post will inspire others to do the same.
- Brad
Instagram: Timberandsoul
Estimated Cost
$40.00
Estimated Time Investment
Weekend Project (10-20 Hours)
Finish Used
2 coats of hand rubbed wax
Recommended Skill Level
Intermediate
Craft table for 6 year old
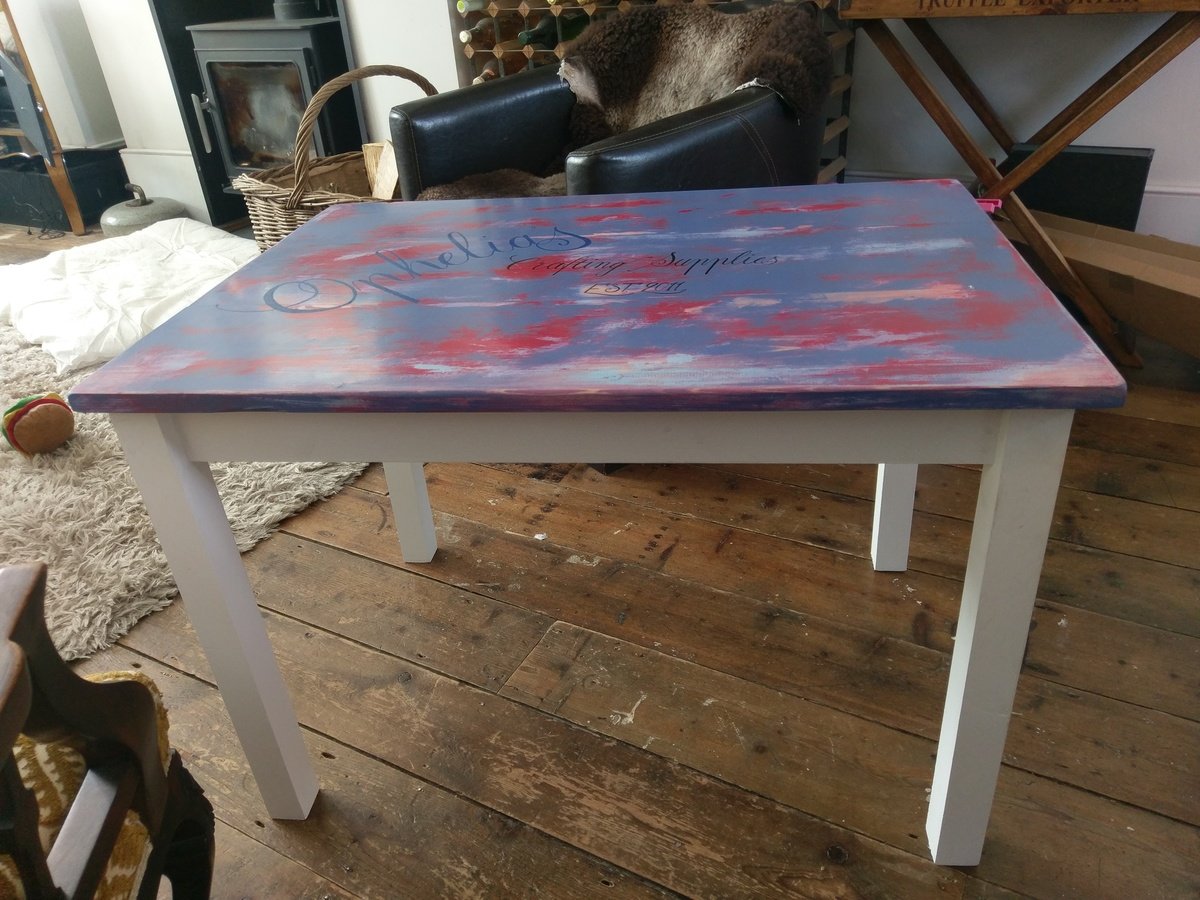
Since my daughter turned 5, she has joined the ranks of those children (un)fortunate enough to have 2 bedrooms to furnish. In approaching her 6th birthday I asked her mother if there was anything she needed for her new room at her house, and she suggested a new table to do colouring/craft etc at. I was actually searching to buy a table and chairs, and was decidedly underwhelmed by the selection and the quality/cost ratio on offer.
Thankfully I stumbled across the plans for the Clara Table, and it was precisely what I was after. I have made various tables before, for garden and dining, and have always gone with reclaimed wood and a rustic style, but for this I did just use the plans as-is, and I bought new pine timber purely for the convenience of it.
The table is simple to build, I already had a pocket hole jig, and the table itself took about 90minutes to build. Most of this time was spent sanding off the foaming glue I decided to use between the planks used for the top. If you are considering using this sort of glue, or indeed any glue, I'd say it isn't necessary. I had neverade a table top of this construction before, and went for the belt and braces approach. In my opinion it's totally unnecessary, doesn't add much security, but adds plenty of time to the project. If you really want, I'd go for bog standard wood glue, but by the time you screw it onto the legs, it's solid as a rock anyway.
It is mentioned to set the aprons back a way, to avoid splitting the legs. I did this, by using an off-cut of the 3x1 as a spacer on the face of the aprons as I screwed them in. Worked a treat, set the aprons back, but not all the way, and gives the illusion of a little more heft to the dimensions.
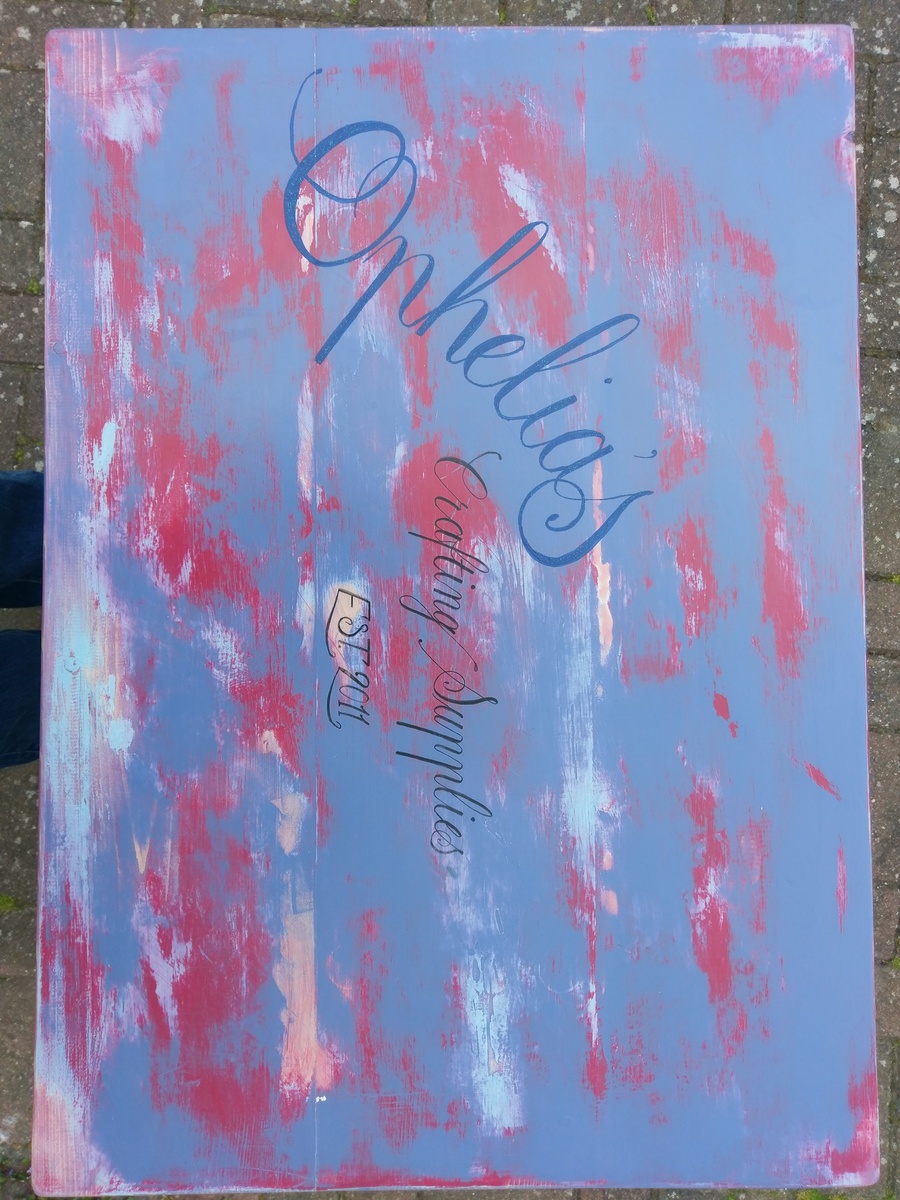
I then painted the top with chalk based emulsion, distressed and did the signwriting to personalise it, finished it with wax and my daughter was more delighted than I ever thought any child could be by having a table daddy made for her birthday, and at a fraction of the cost of a shop bought one of far lower quality.
Am.so.pleased I stayed on this website, and have already lined up the matching chairs for her as my next project!
Thank you for inspiring me to get back to making things again...it's been a while!
The timber cost me about £20, and the biggest expense was all the paint tester pots for the top!
Built from Plan(s)
Estimated Cost
Wood - £20 from timber merchant
Finish - £30 on various tester pots of paint, beeswax and another 2 days of literally watching paint dry!
Finish - £30 on various tester pots of paint, beeswax and another 2 days of literally watching paint dry!
Estimated Time Investment
An Hour or Two (0-2 Hours)
Finish Used
Base - off white chalk based furniture paint (already had in the shed!)
Top - various chalk based emulsions, wet distressed, signwriting in tombo brush marker for the black, and chalk emulsion with added sparkle for the blue, painted with narrow flat ferrule brush.
Adding the glitter to the paint was a mistake really...was a nice idea, but made the paint very difficult to get clean lines with on the scale I did it. Also, required a huge amount of wax and polishing until the bumps weren't raised anymore.
Bees wax to protect and finish
Recommended Skill Level
Beginner
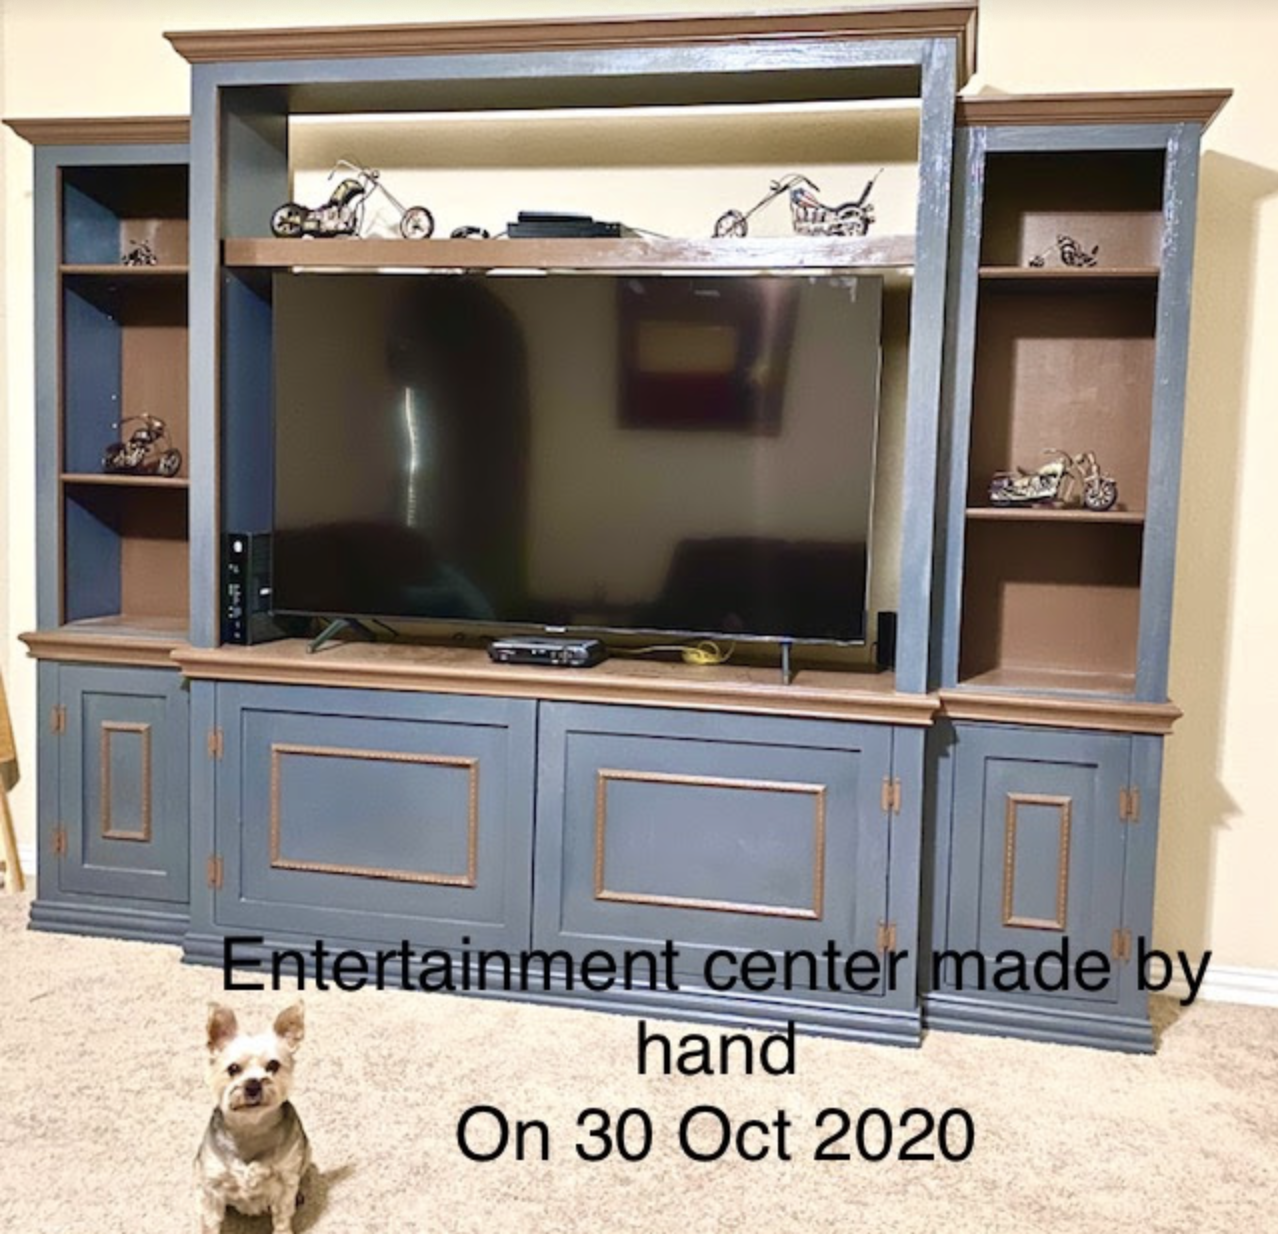
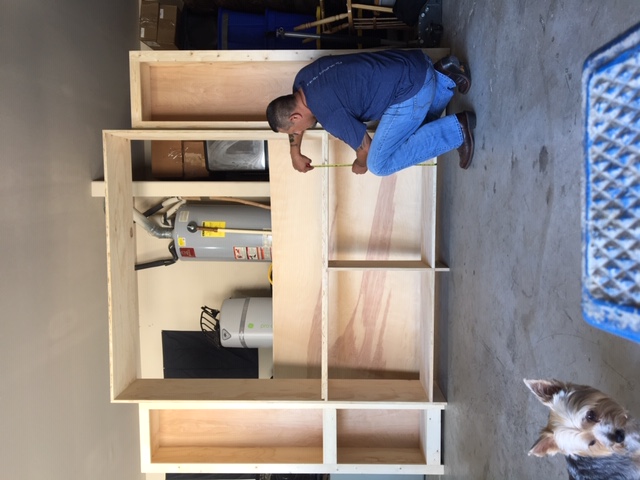
Entertainment center
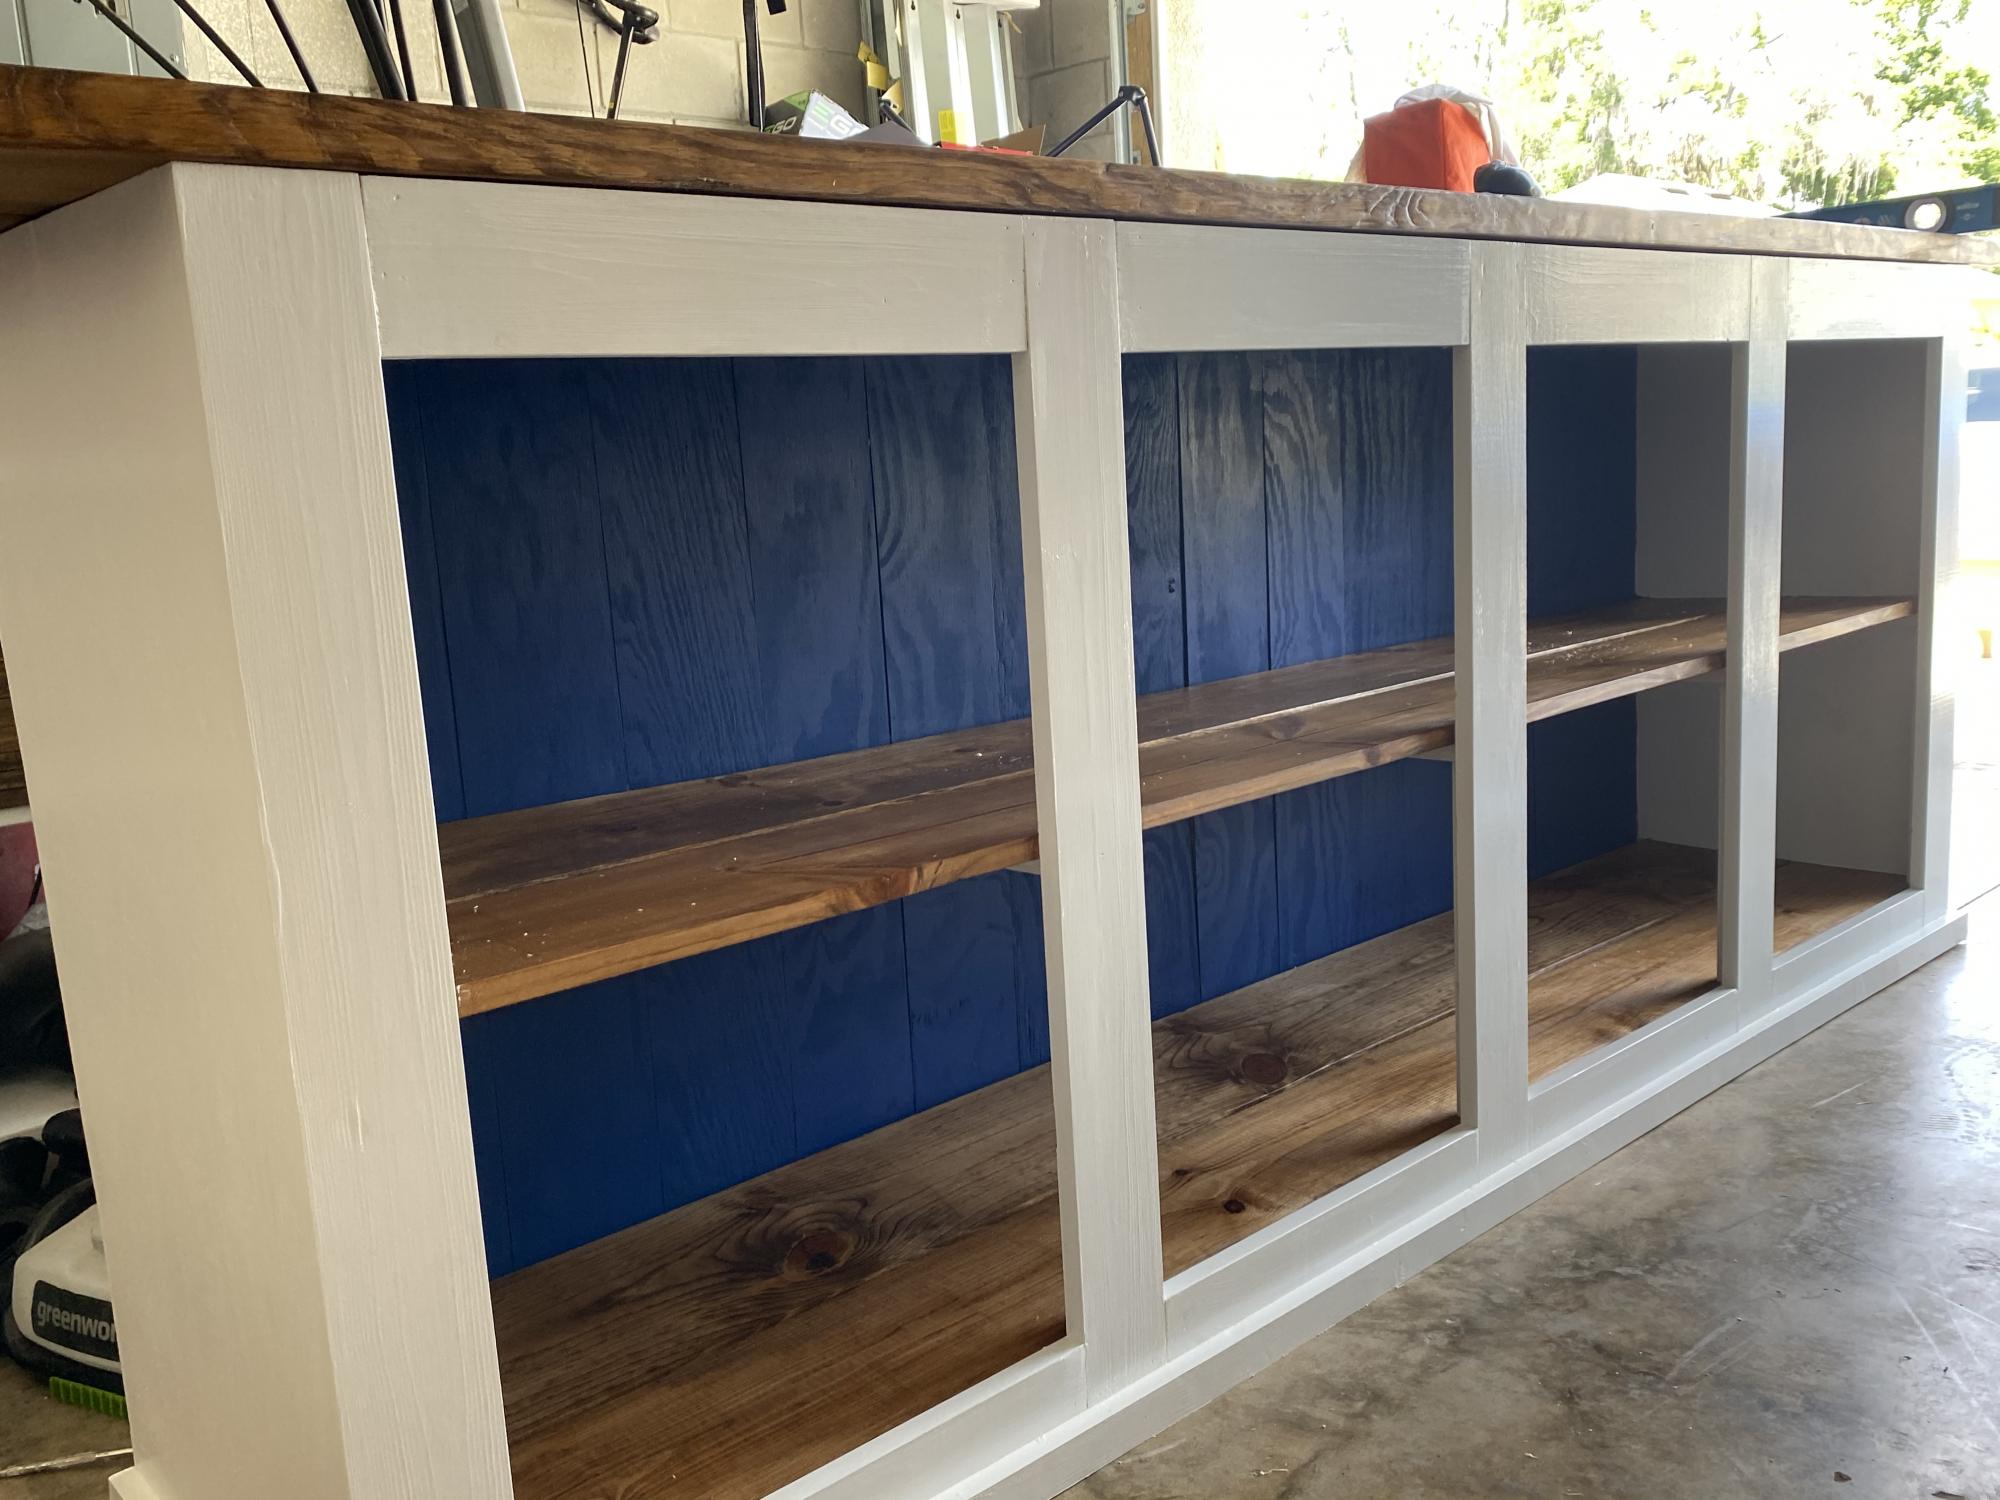
1st project in the bag. I love how this turned out. Now to decide on the doors!
Built from Plan(s)
Estimated Cost
$350
Estimated Time Investment
Week Long Project (20 Hours or More)
Comments
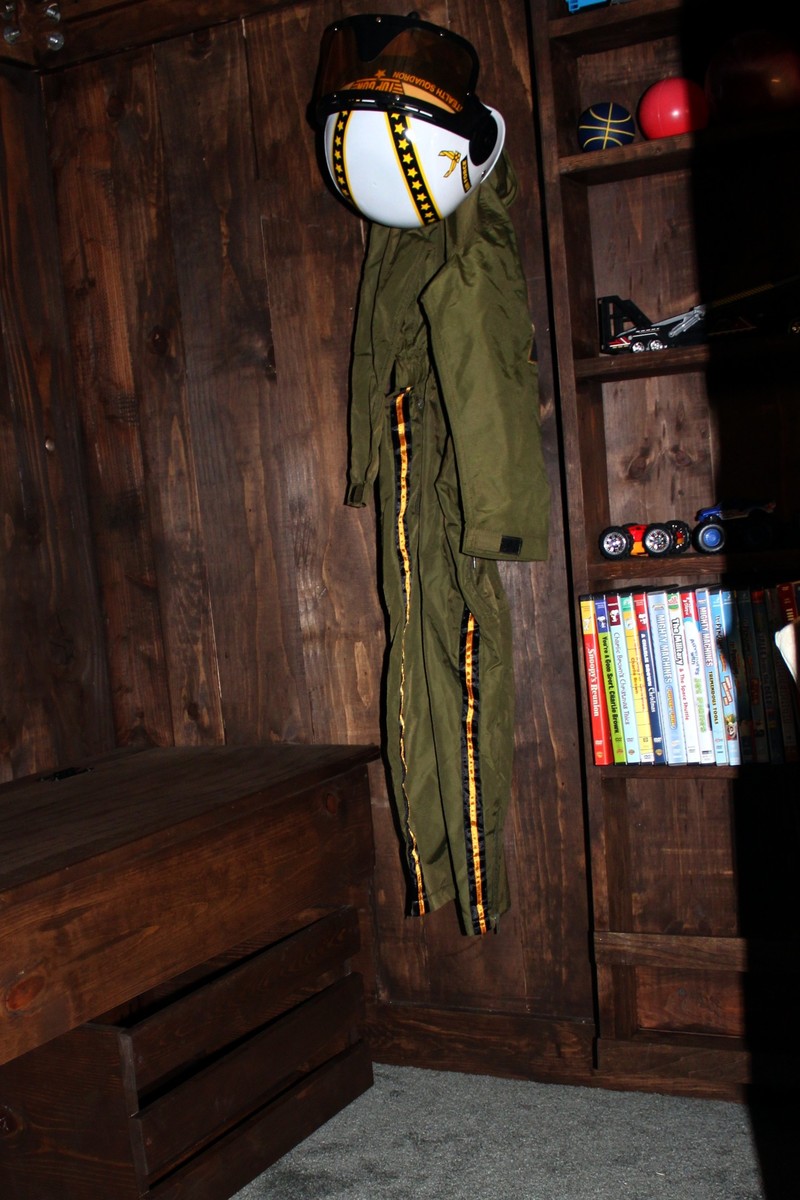
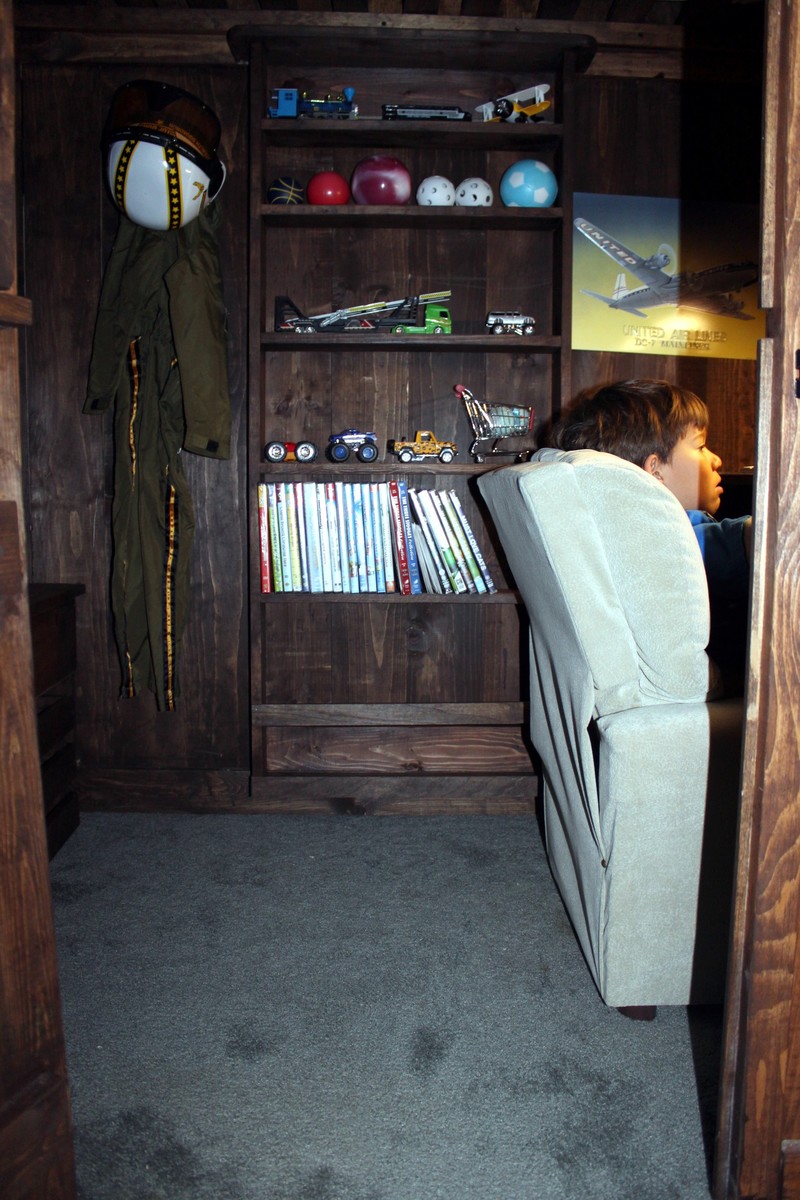
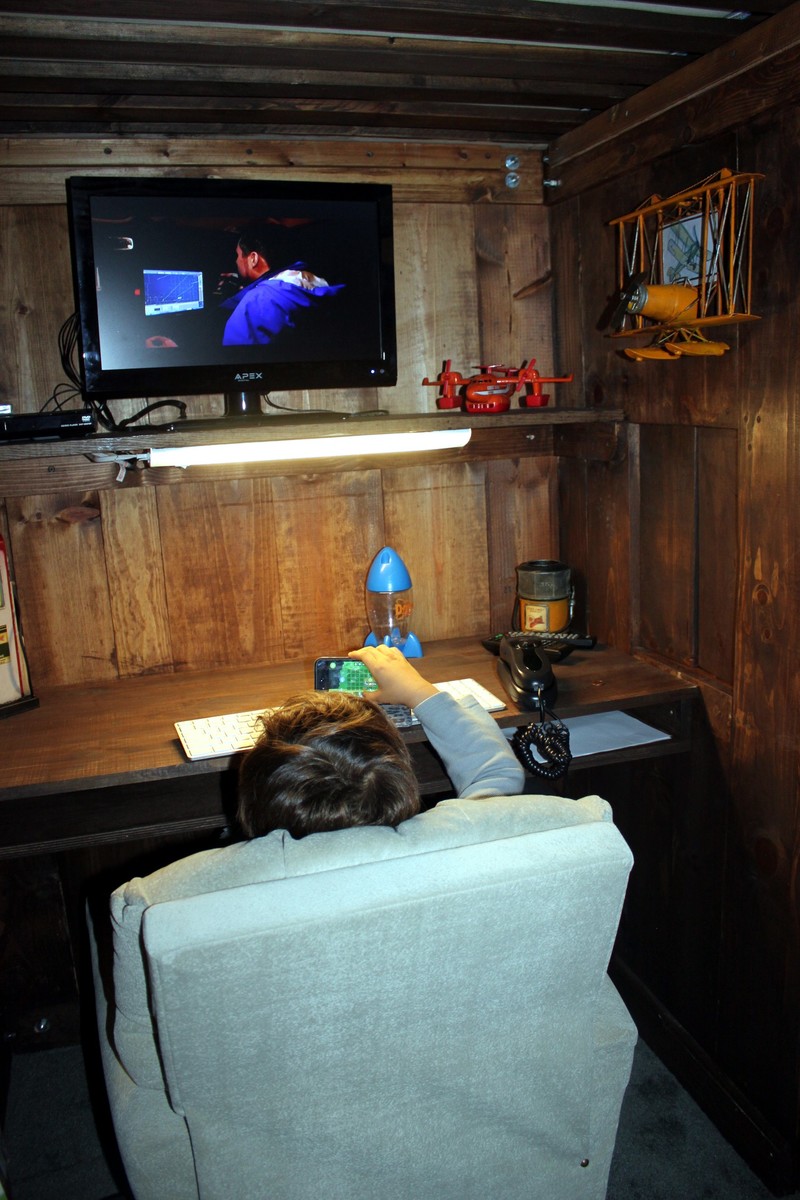
Vintage Airport Loft Bed
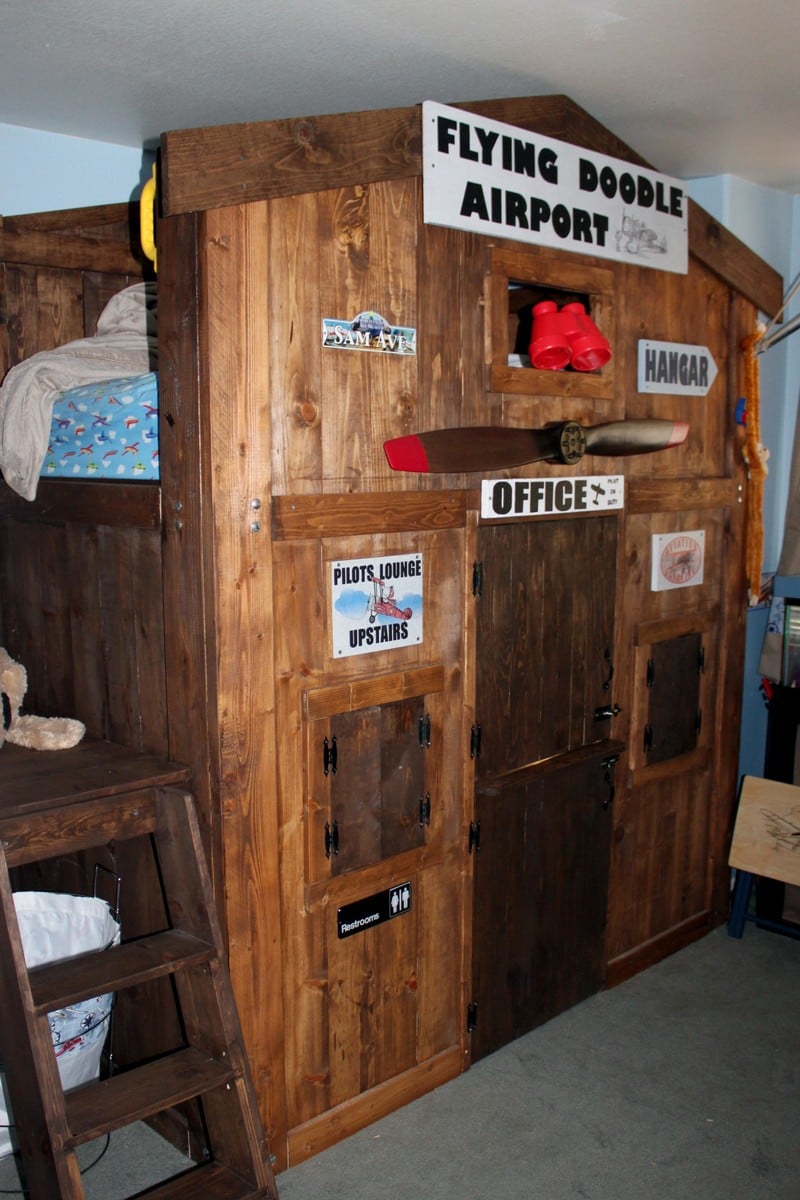
In my 70 years, this has to be the biggest project I've done. My grandson especially loves vintage airplanes; so I decided to make it look like a small vintage airport. I based this on the Clubhouse Bed, but for the steps at the end, I borrowed from the Camp Loft Bed - I added rails at the end because he felt a little uneasy when he tried the stairs. He wanted more of a clubhouse (he is special needs and likes the closed in feeling) and wanted doors and shutters so he could close everything.
Doodle is his nickname - hence "Flying Doodle Airport".
Inside is a lift up storage bench (with crate below for extra storage); a toy/book shelf unit; and his desk. He is currently using his lounge chair, but has already asked that I build him a real office chair - one that has wheels and turns around. I guess that's my next build.
This took about two weeks from start to finish.
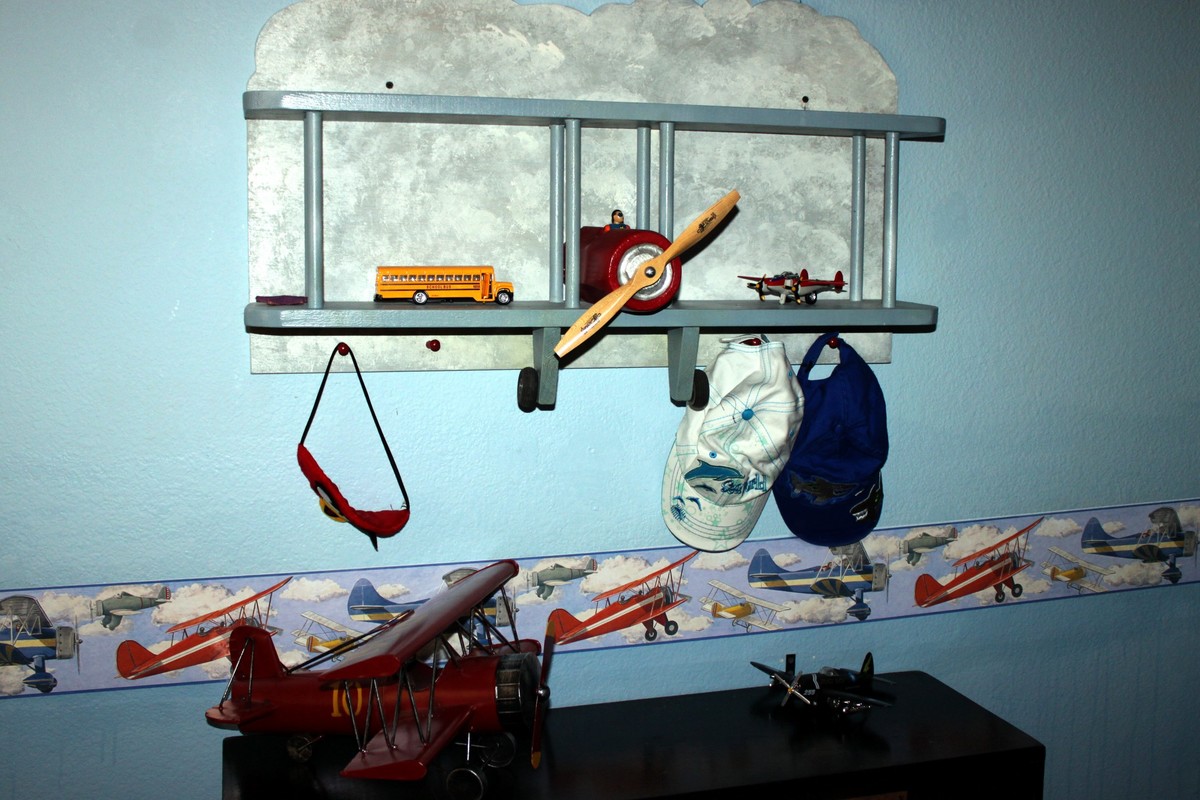
The last photo is of the Bi-plane shelf that I built last year and didn't get to put up until now. I was ill for the entire year and was finally able to start woodworking again this year - and I am so happy. A lot of plans have been posted and I'm anxious to play "catch-up".

Built from Plan(s)
Estimated Cost
$500.00
Estimated Time Investment
Week Long Project (20 Hours or More)
Recommended Skill Level
Intermediate
Comments


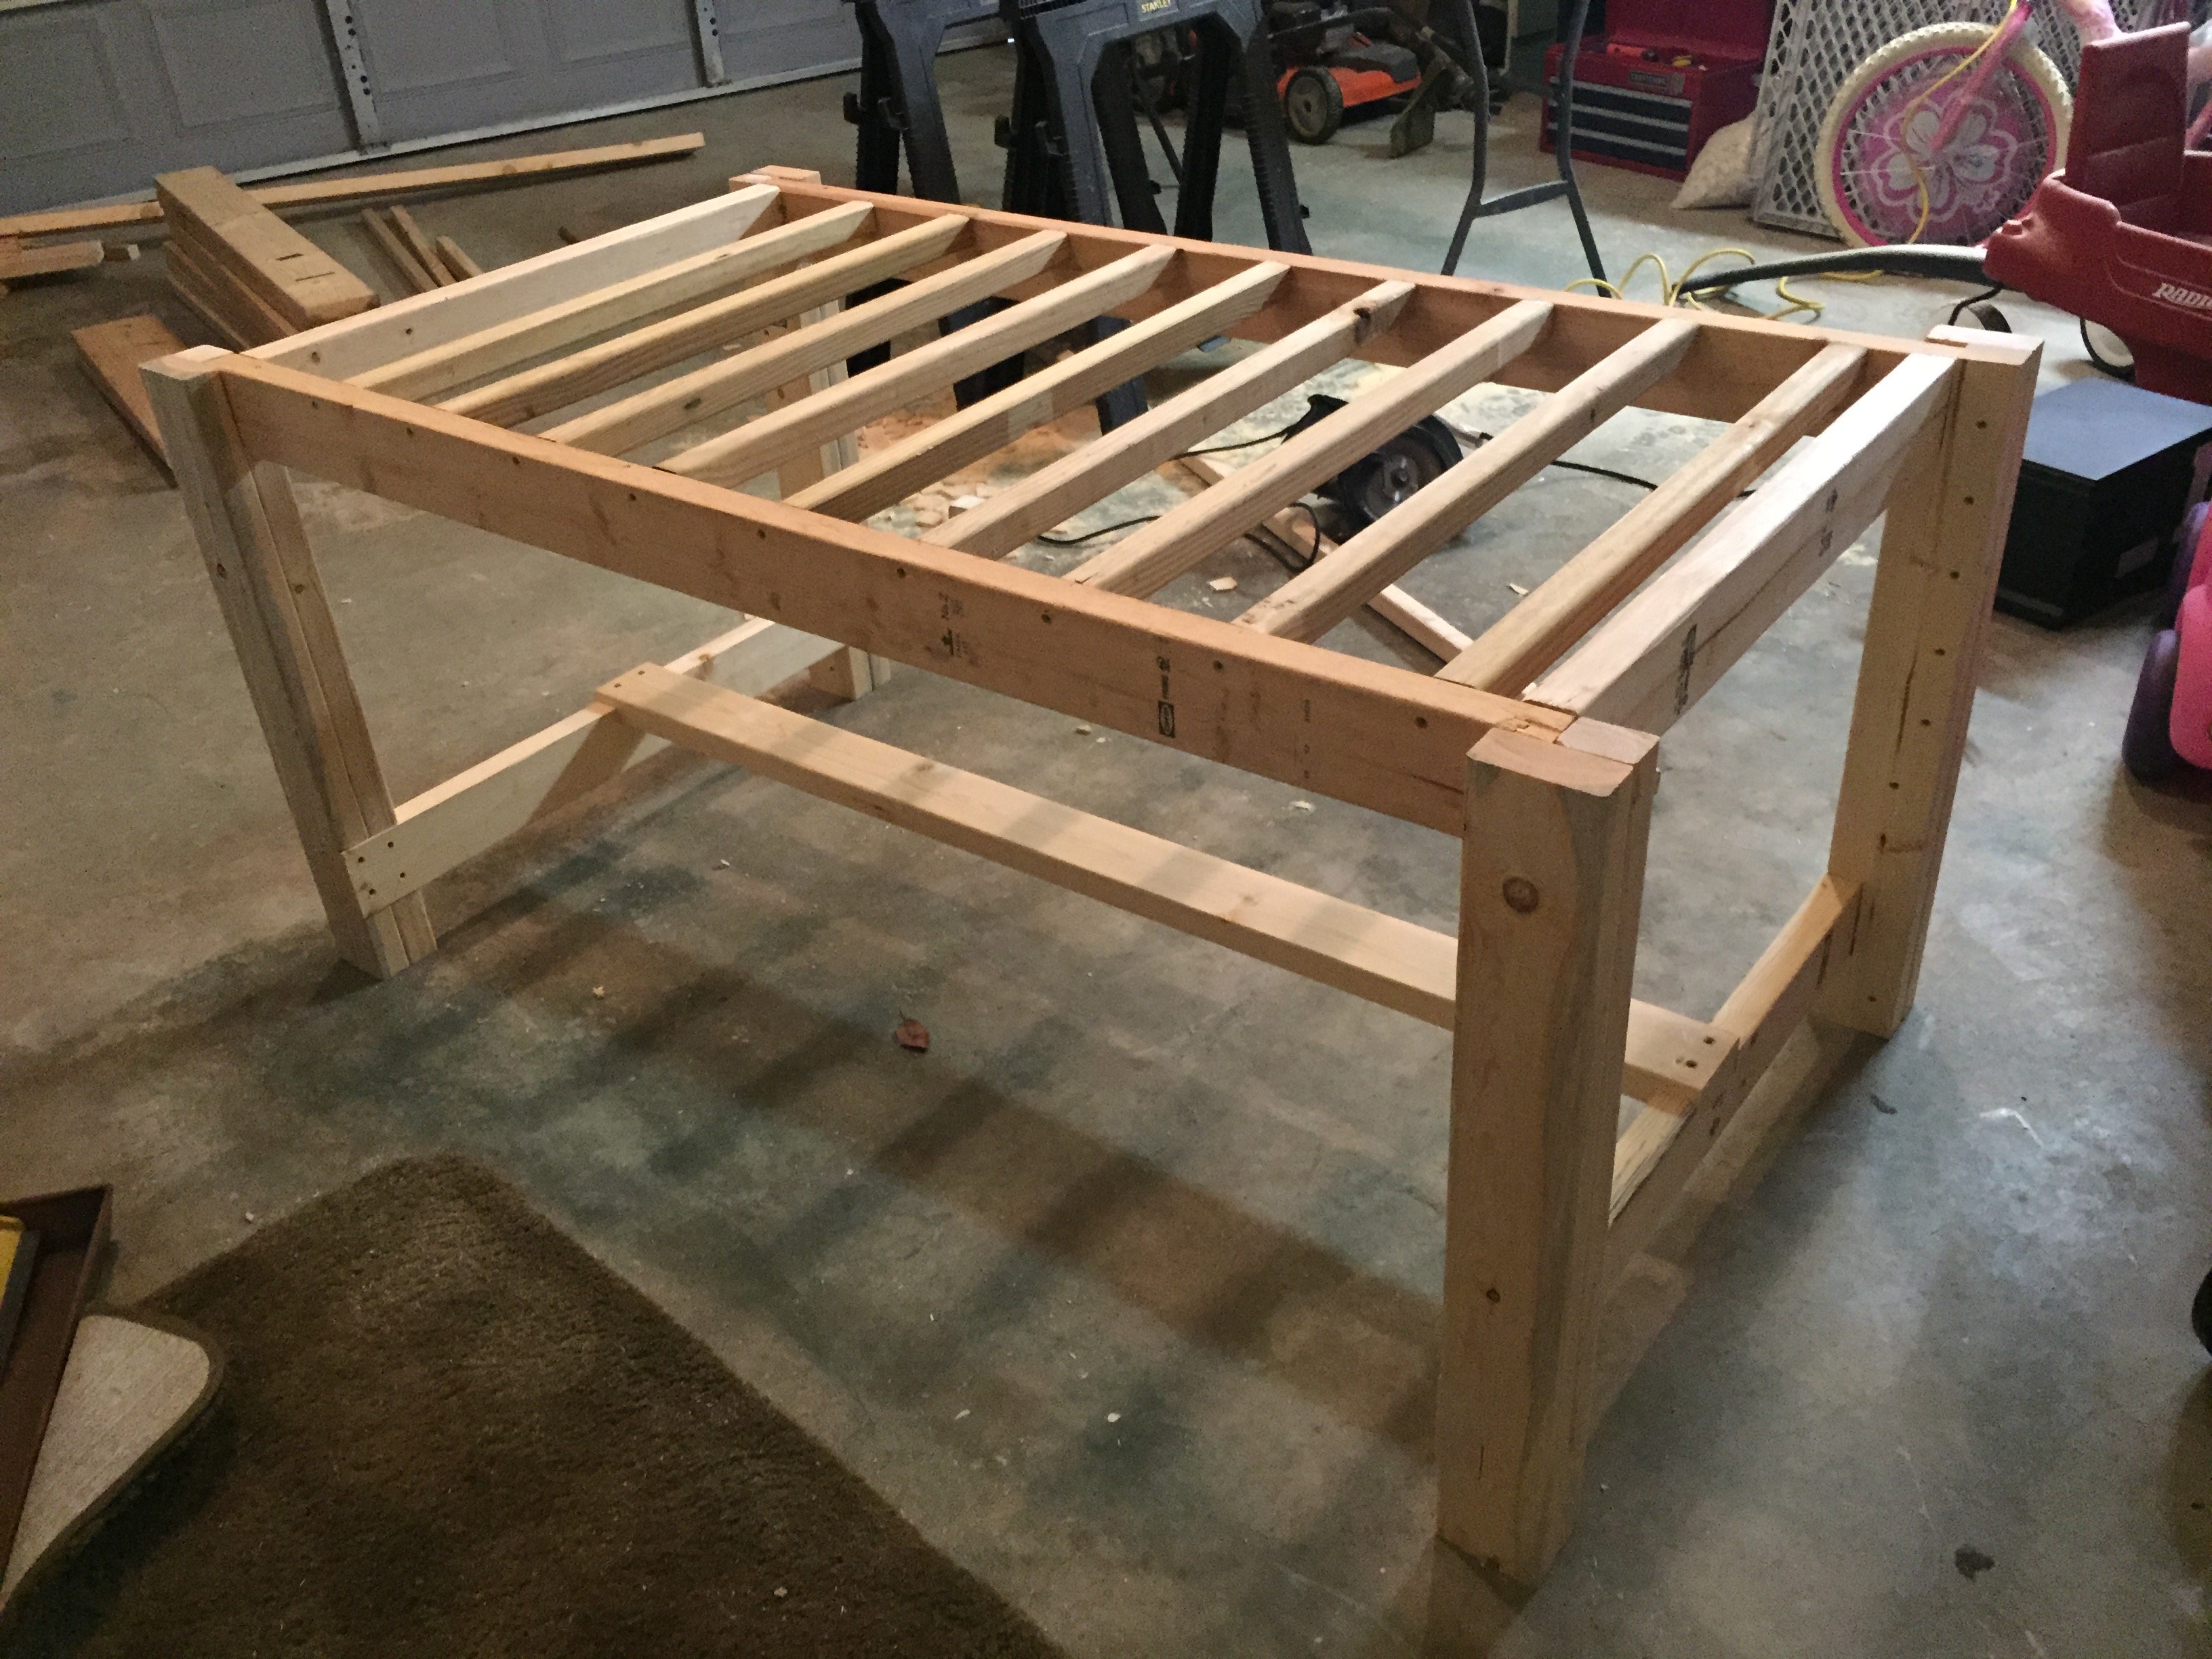
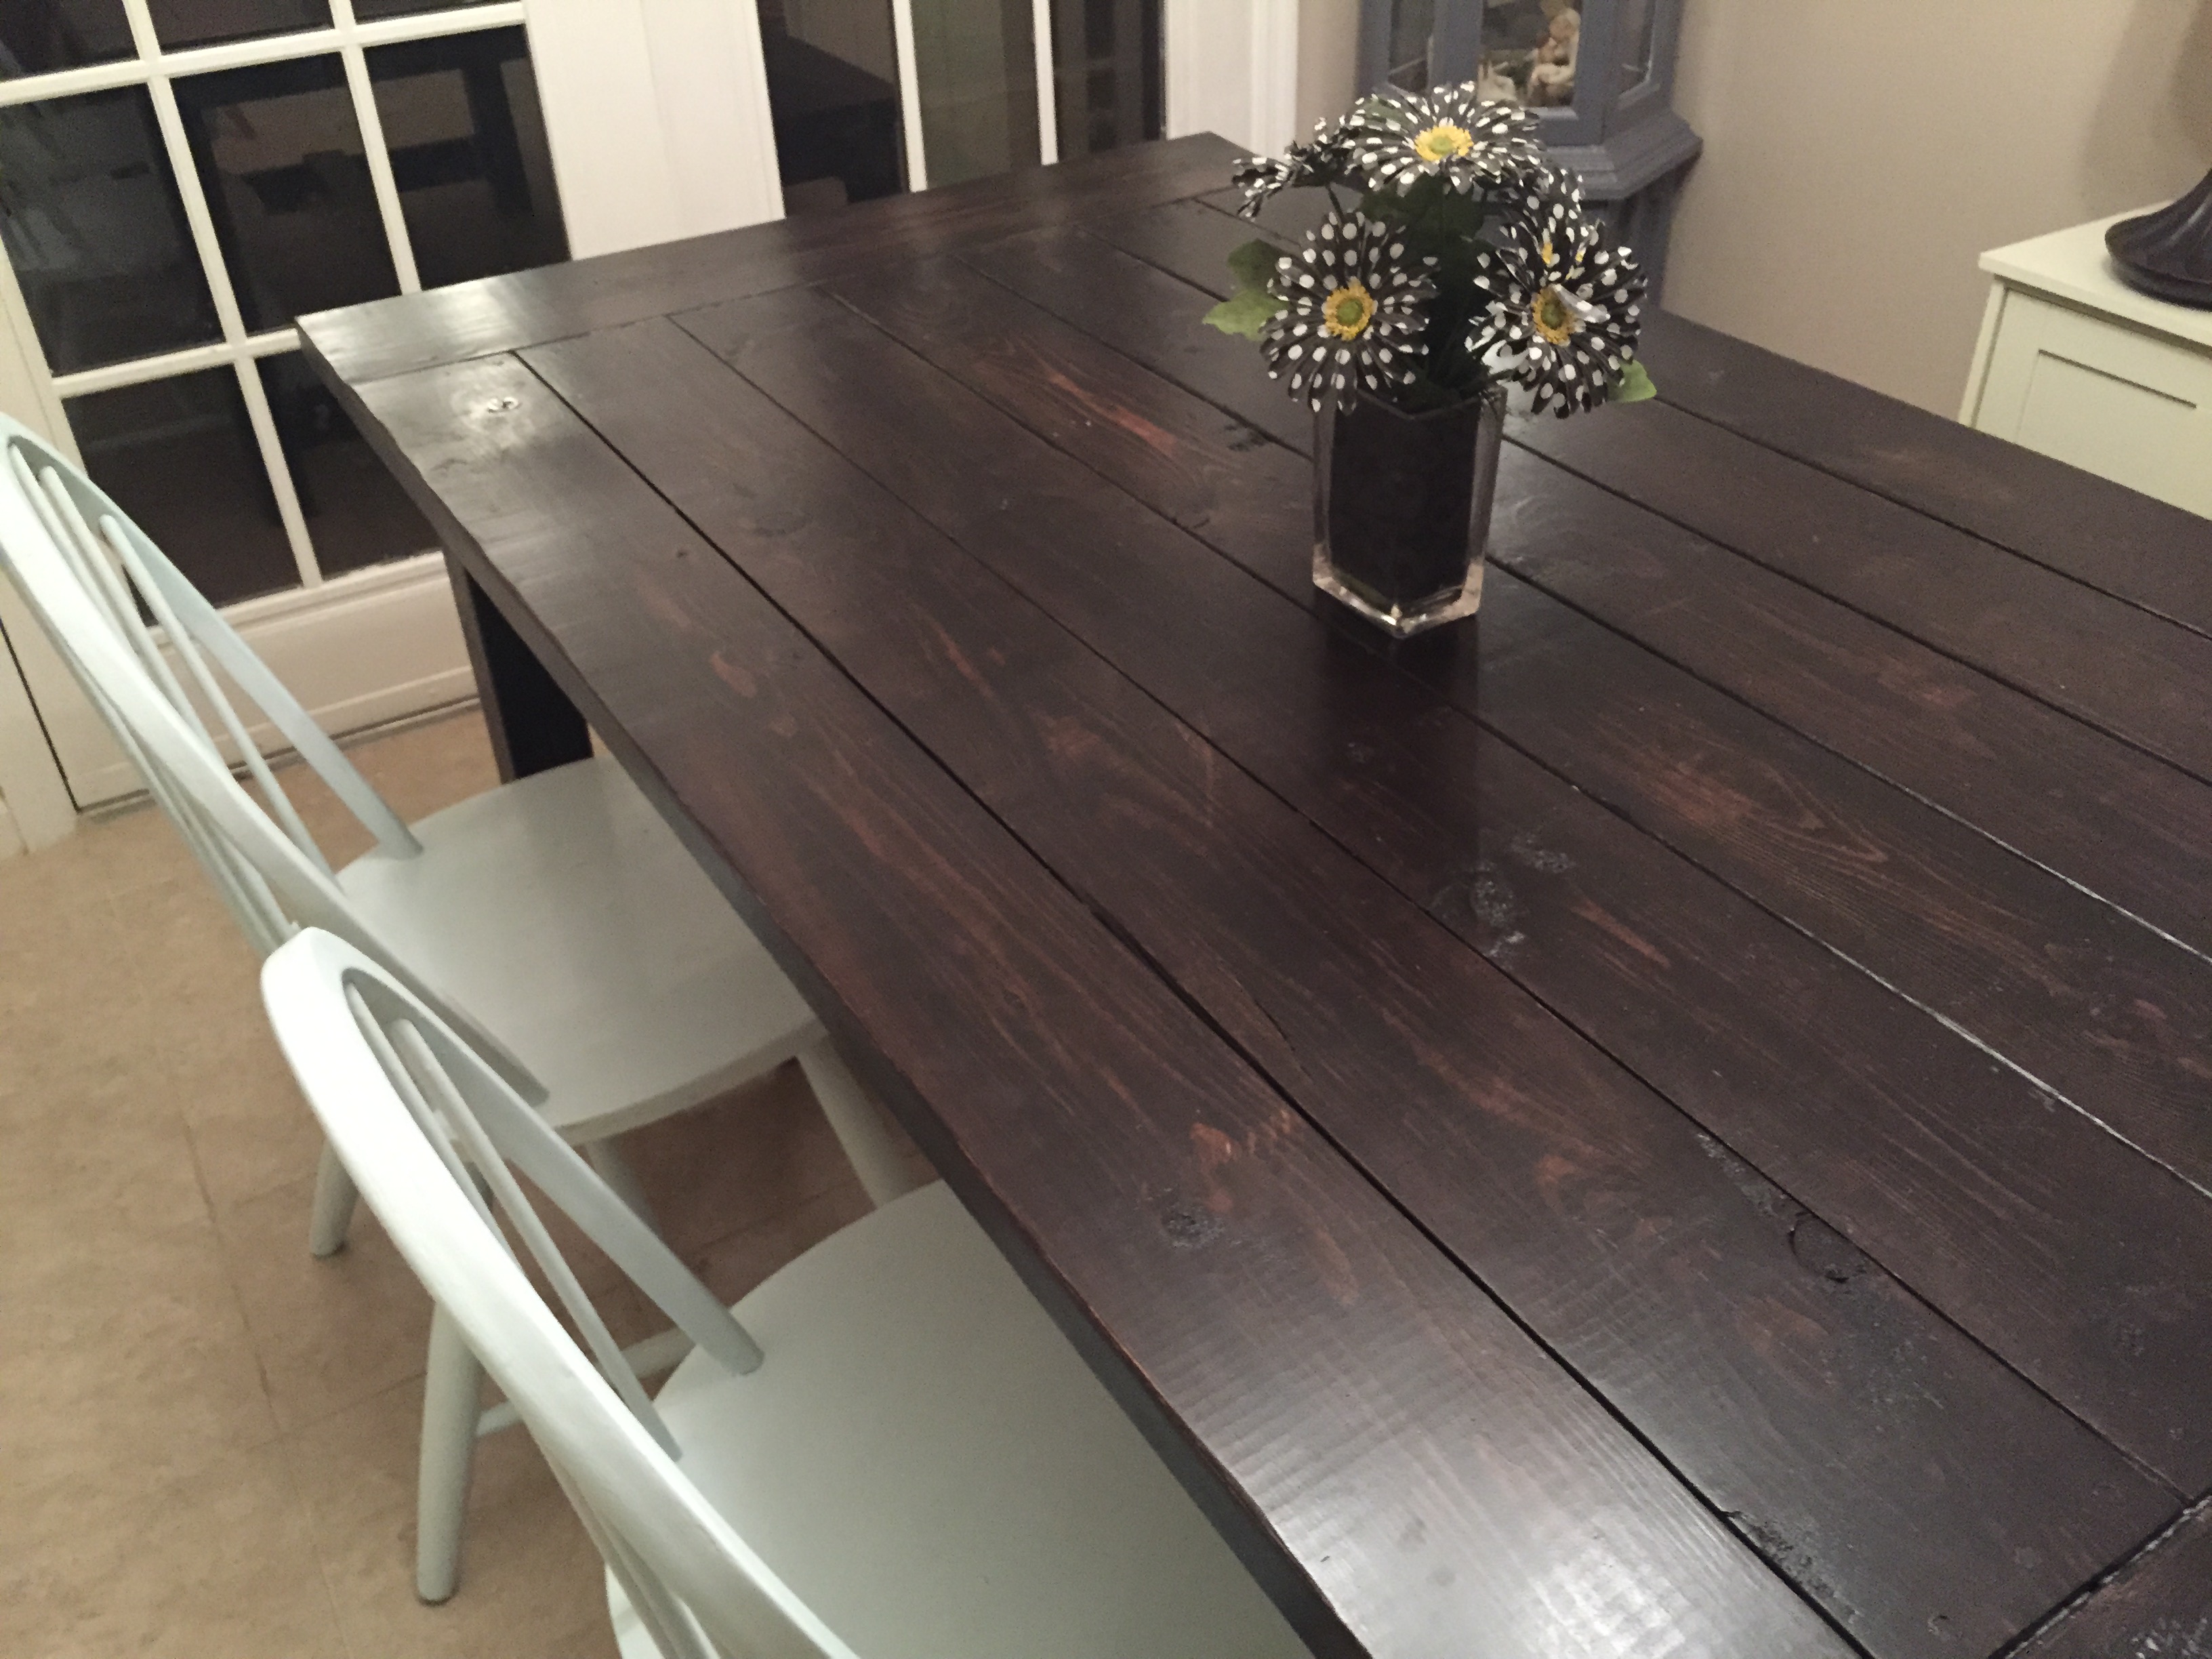
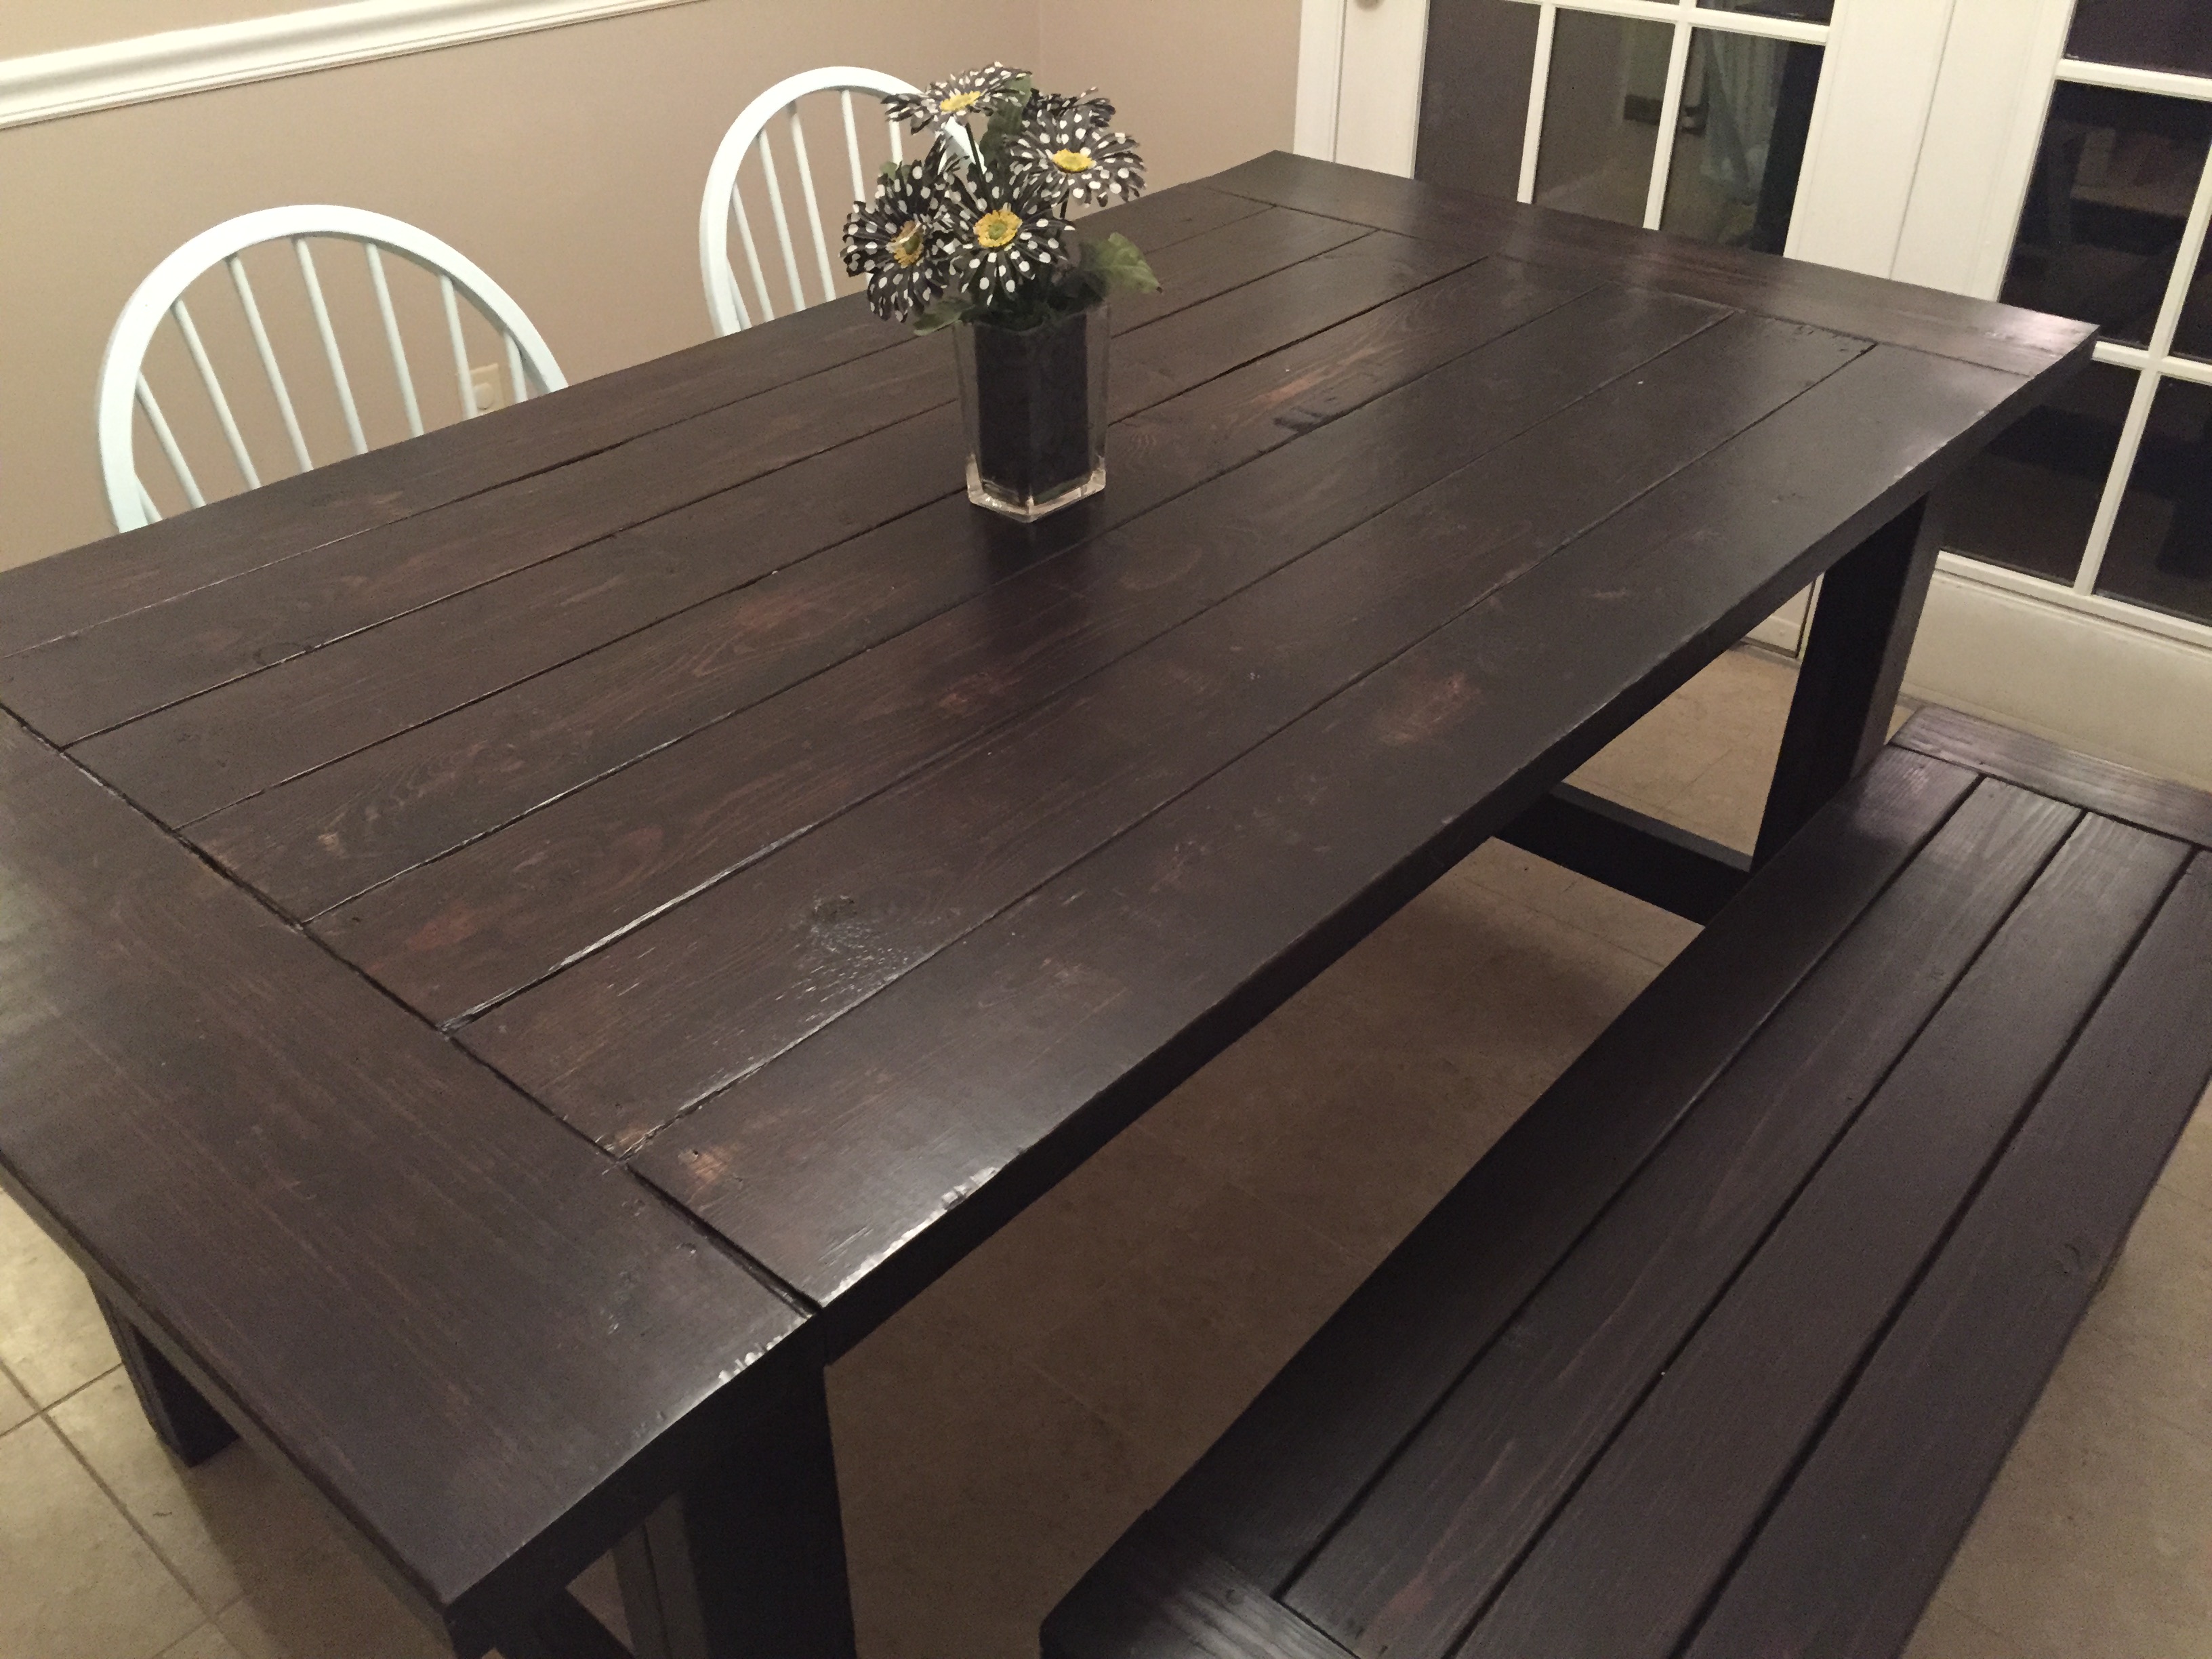
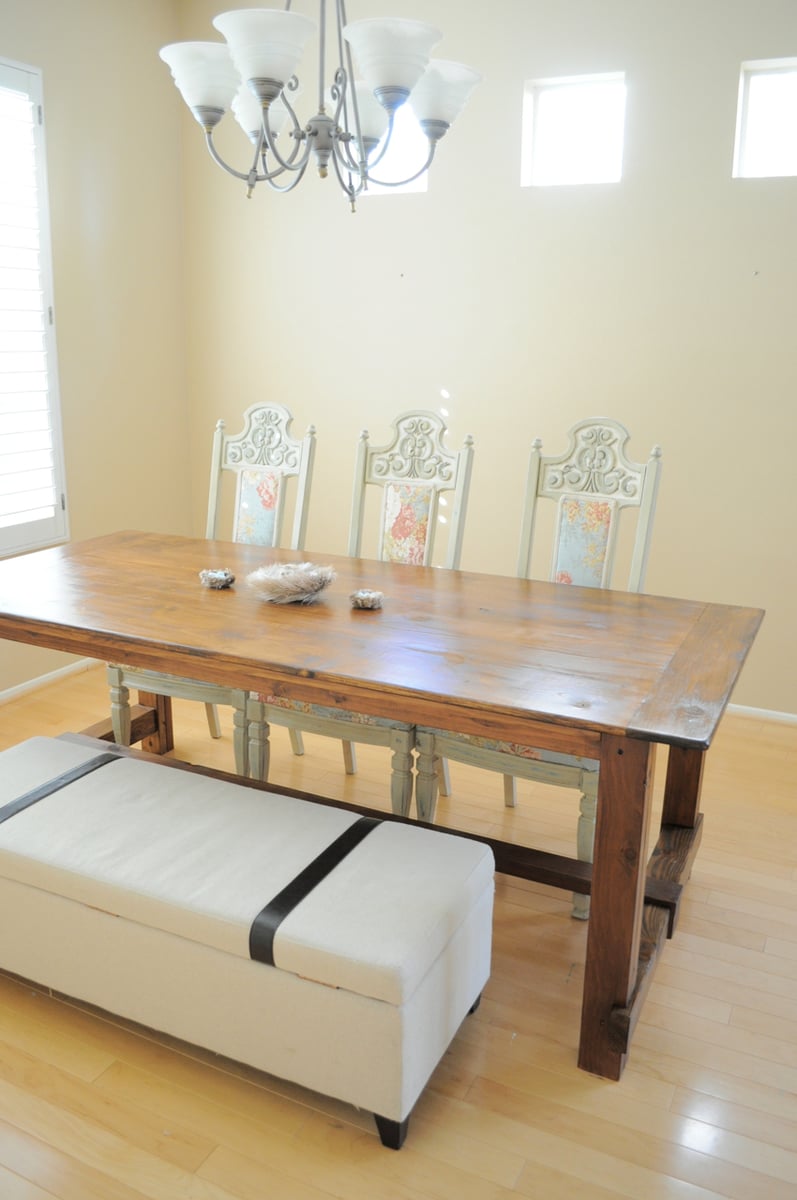
Successful First Project
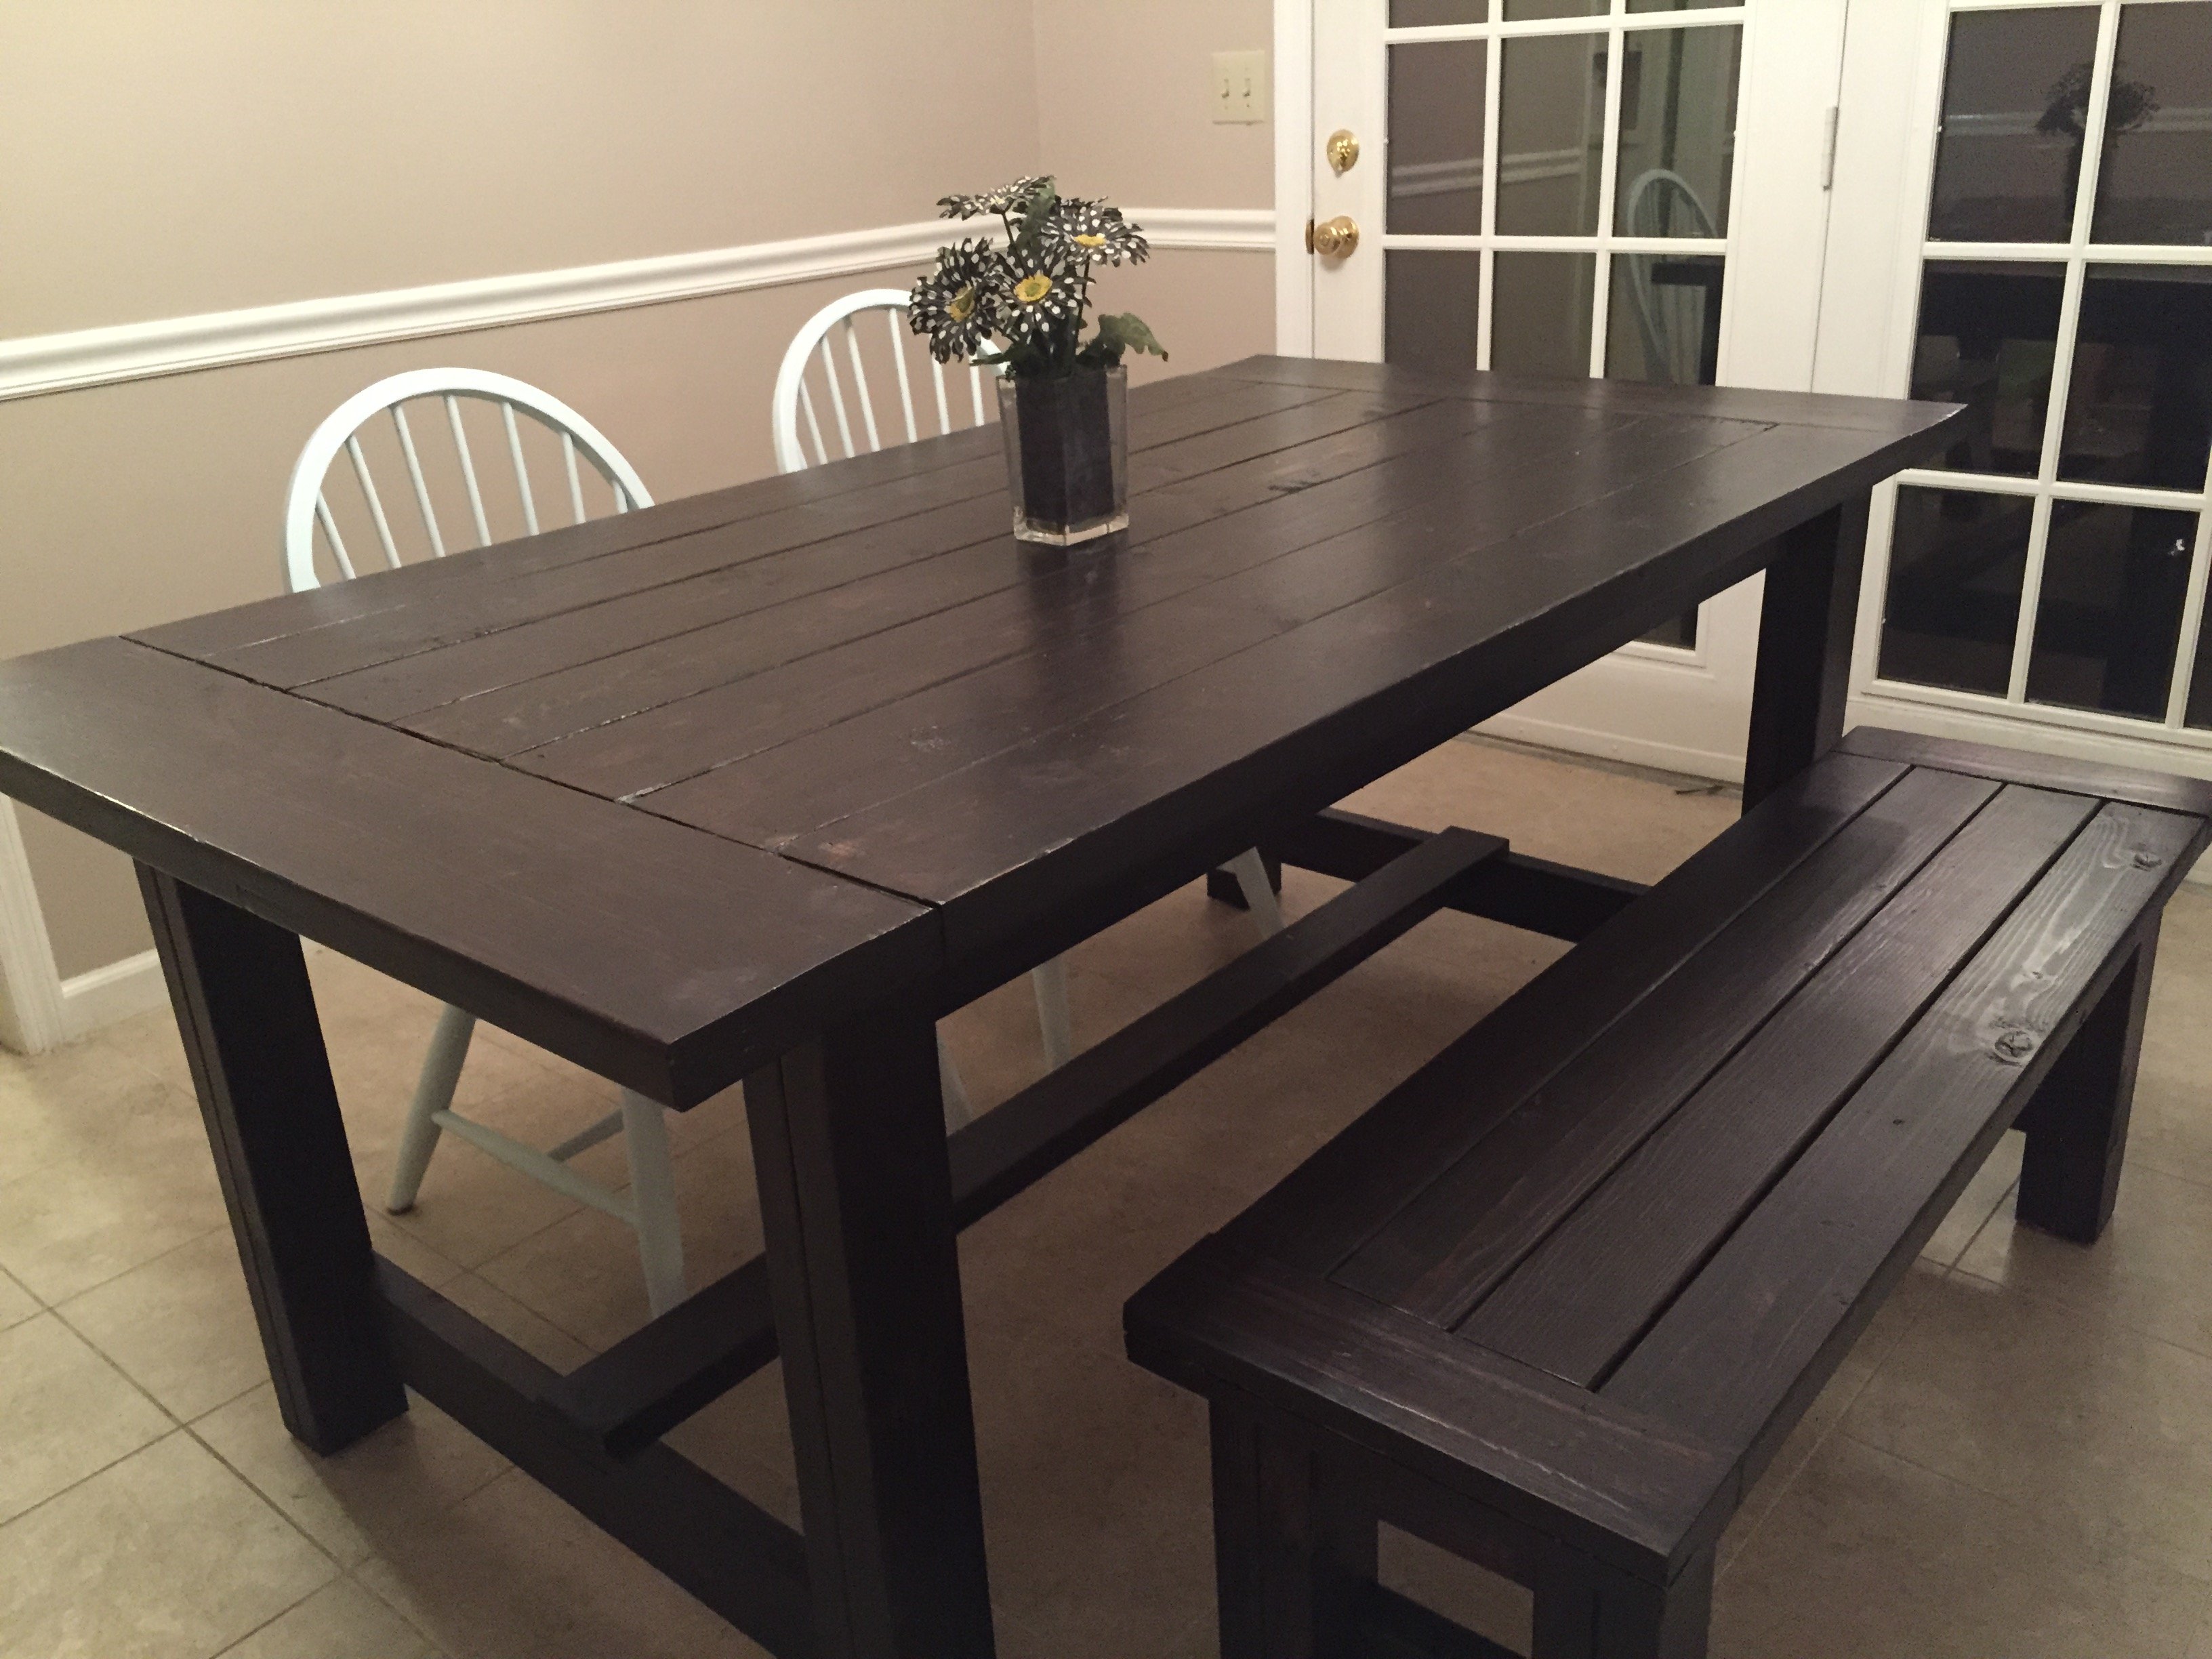
My first real furniture DIY project. My wife has been asking for a farmhouse table for a couple of years and I found Ana's site 3 weeks ago. By reading the plans the project seemed simple enough to give it a try. I modified the plans to shorten the table to 72" to fit in our dining room. I bought lumber from Lowe's and lumber costs for the table was approx $65 and the bench was right around $20. My wife loves it and I have had multiple requests to make more tables for other family members. The project took a week to complete working a few hours each evening after work. Stained with Rust-Oleum Ultimate in Kona and 4 coats of a Rust-Oleum Polyurethane in Satin finish. A big thanks to Ana for the free plans and for my new hobby of furniture making! *EDIT* The table and bench are not as dark as the pictures show.
Built from Plan(s)
Estimated Cost
$100 - $120
Estimated Time Investment
Weekend Project (10-20 Hours)
Recommended Skill Level
Beginner
Simple Chairs with some color
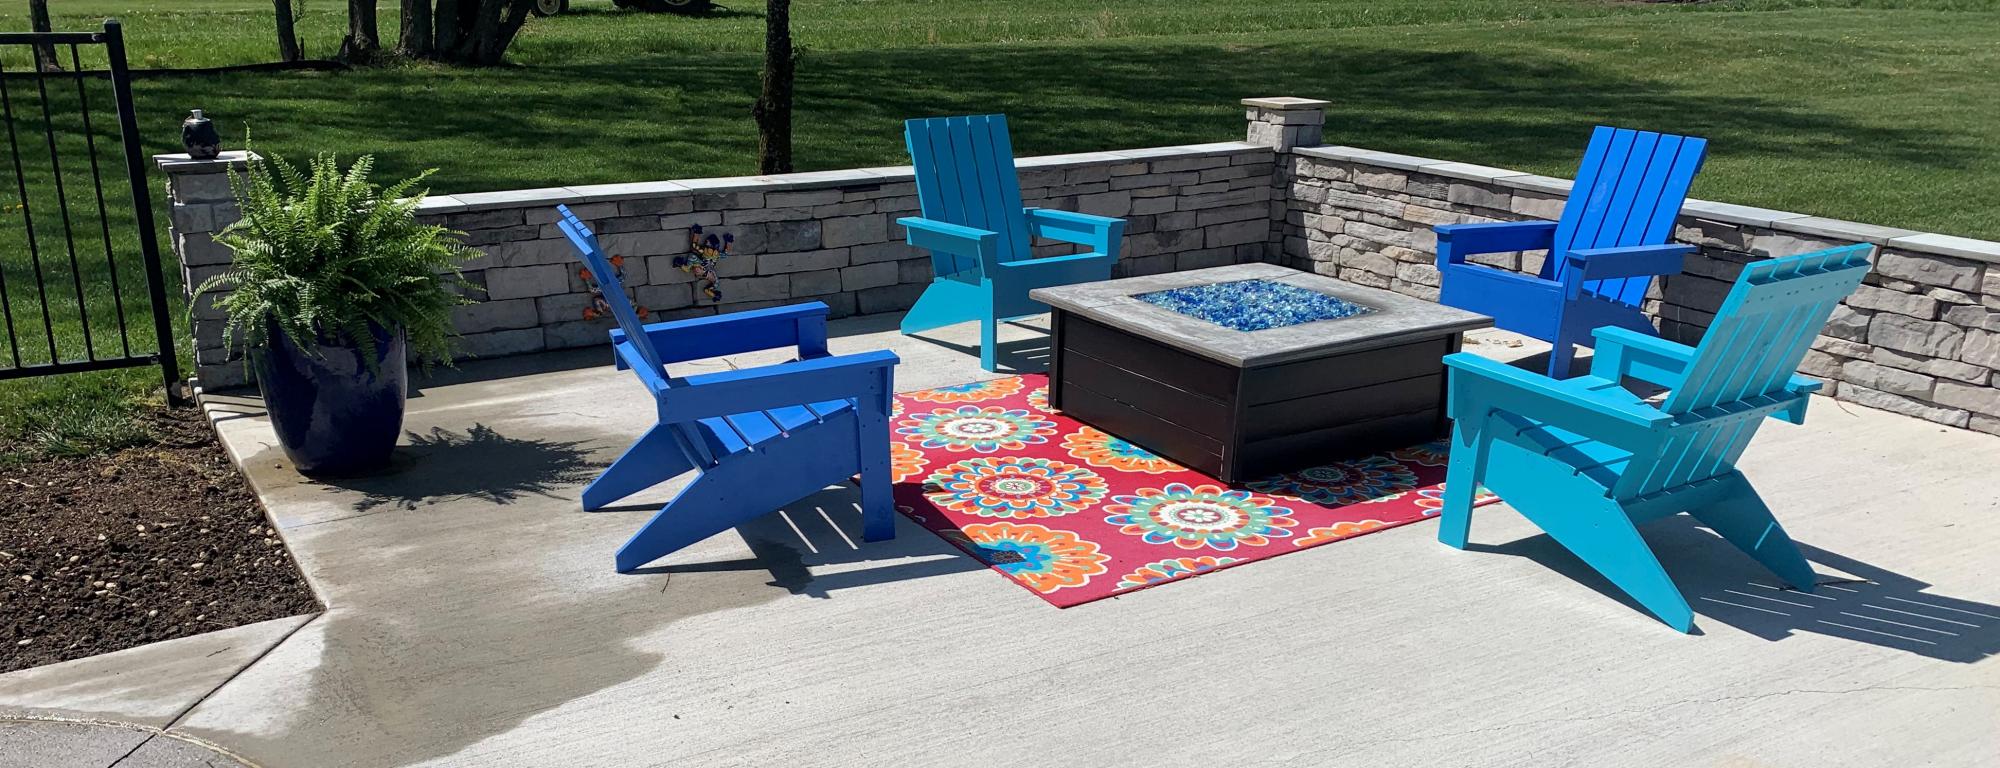
My son and I conquered this project over the winter. Cut all the pcs and the assembled 4 chairs for less than $150.
Built from Plan(s)
Comments
Our First DIY Project: A TV Corner Unit
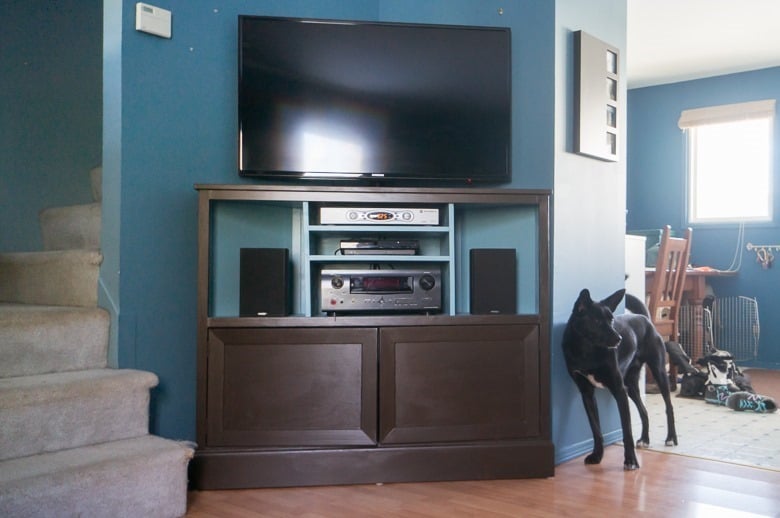
My husband and I wanted to store our bicylces on the main level of our home, but to do that we need to move our tv and it's components to a corner. We didn't see any premade consoles that we liked, so I searched around on the web until I found Ana White's design!
Feel free to visit our blog to see the unit come to life in detail :)
Built from Plan(s)
Estimated Cost
$200
Estimated Time Investment
Week Long Project (20 Hours or More)
Finish Used
We purchased paint that had primer in it, and got away with applying only two coats (with some light sanding in between),
Recommended Skill Level
Beginner
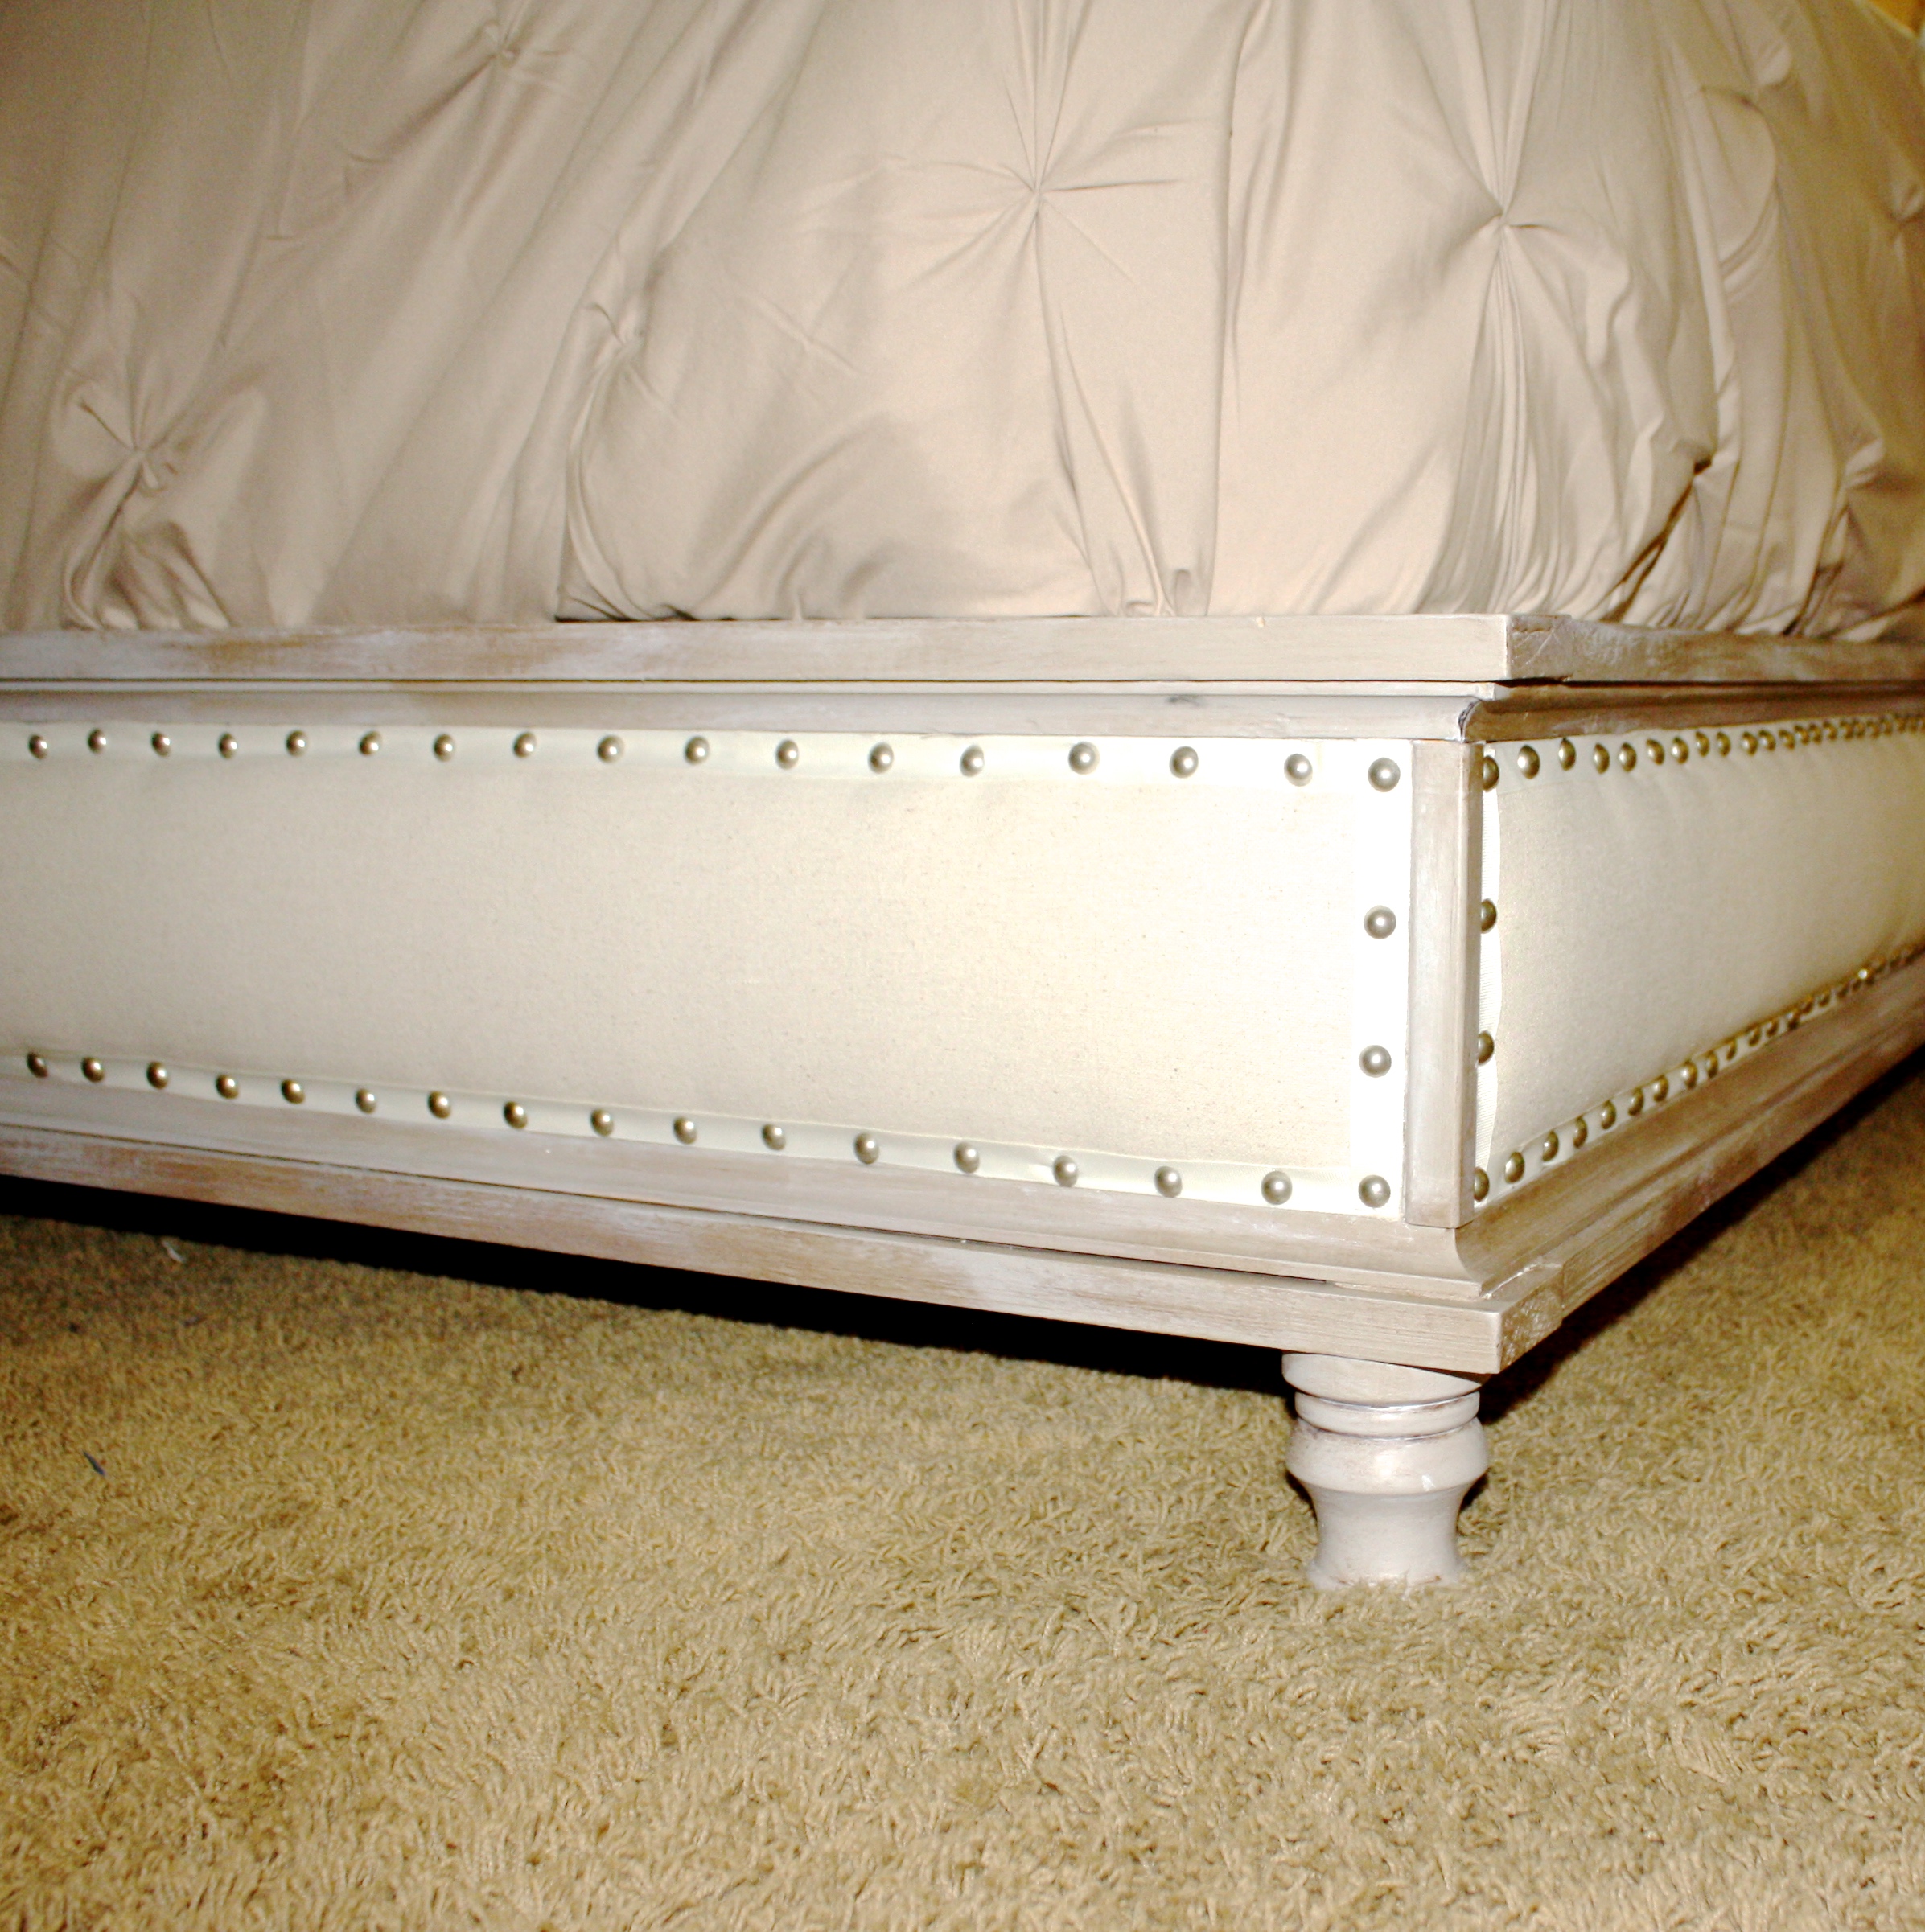
Wood and Upholstered Bed - King
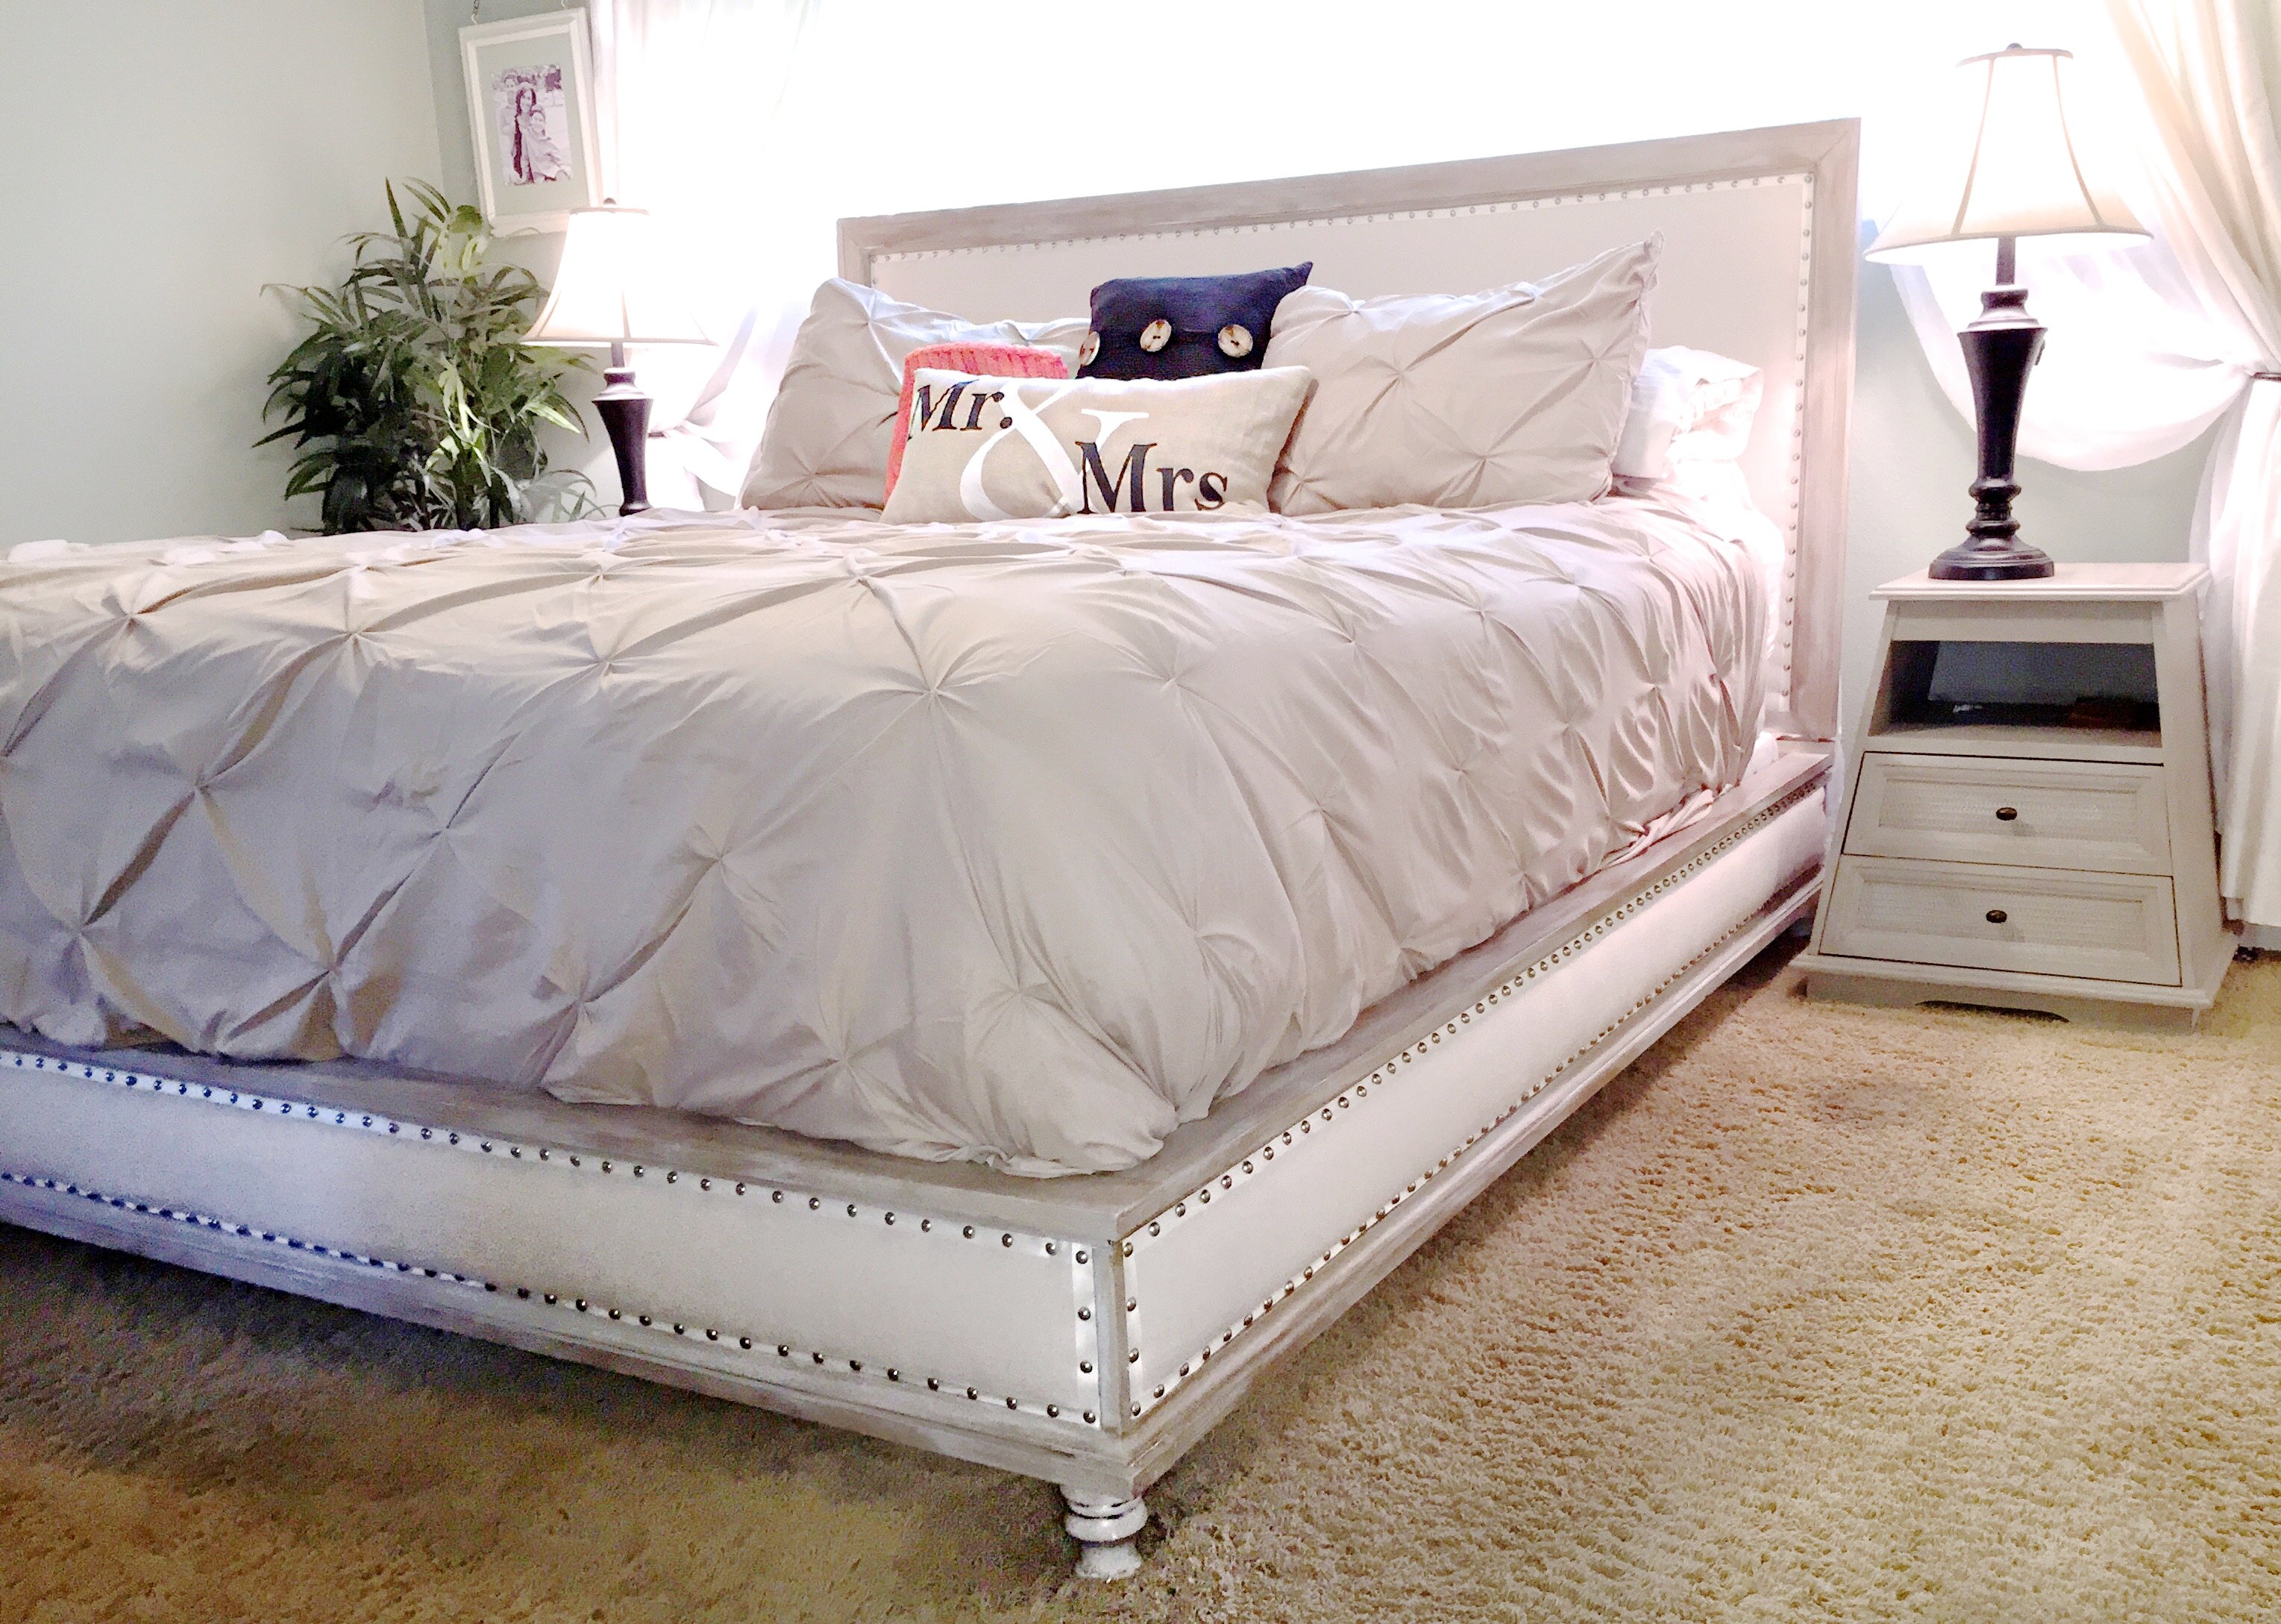
My dream bed is finally done. Blood, sweat and tears.....not really, but after making a few mistakes along the way, I can finally say it's done. I am happy to report that it only cost $300 -- a whooping $ 1895 savings from Restoration Hardware's Maison Bed Collection. I am in love with my new chic bed. I will be posting my tutorial for the Chestwick Bed - King size - very soon. In the meantime, thanks for looking.
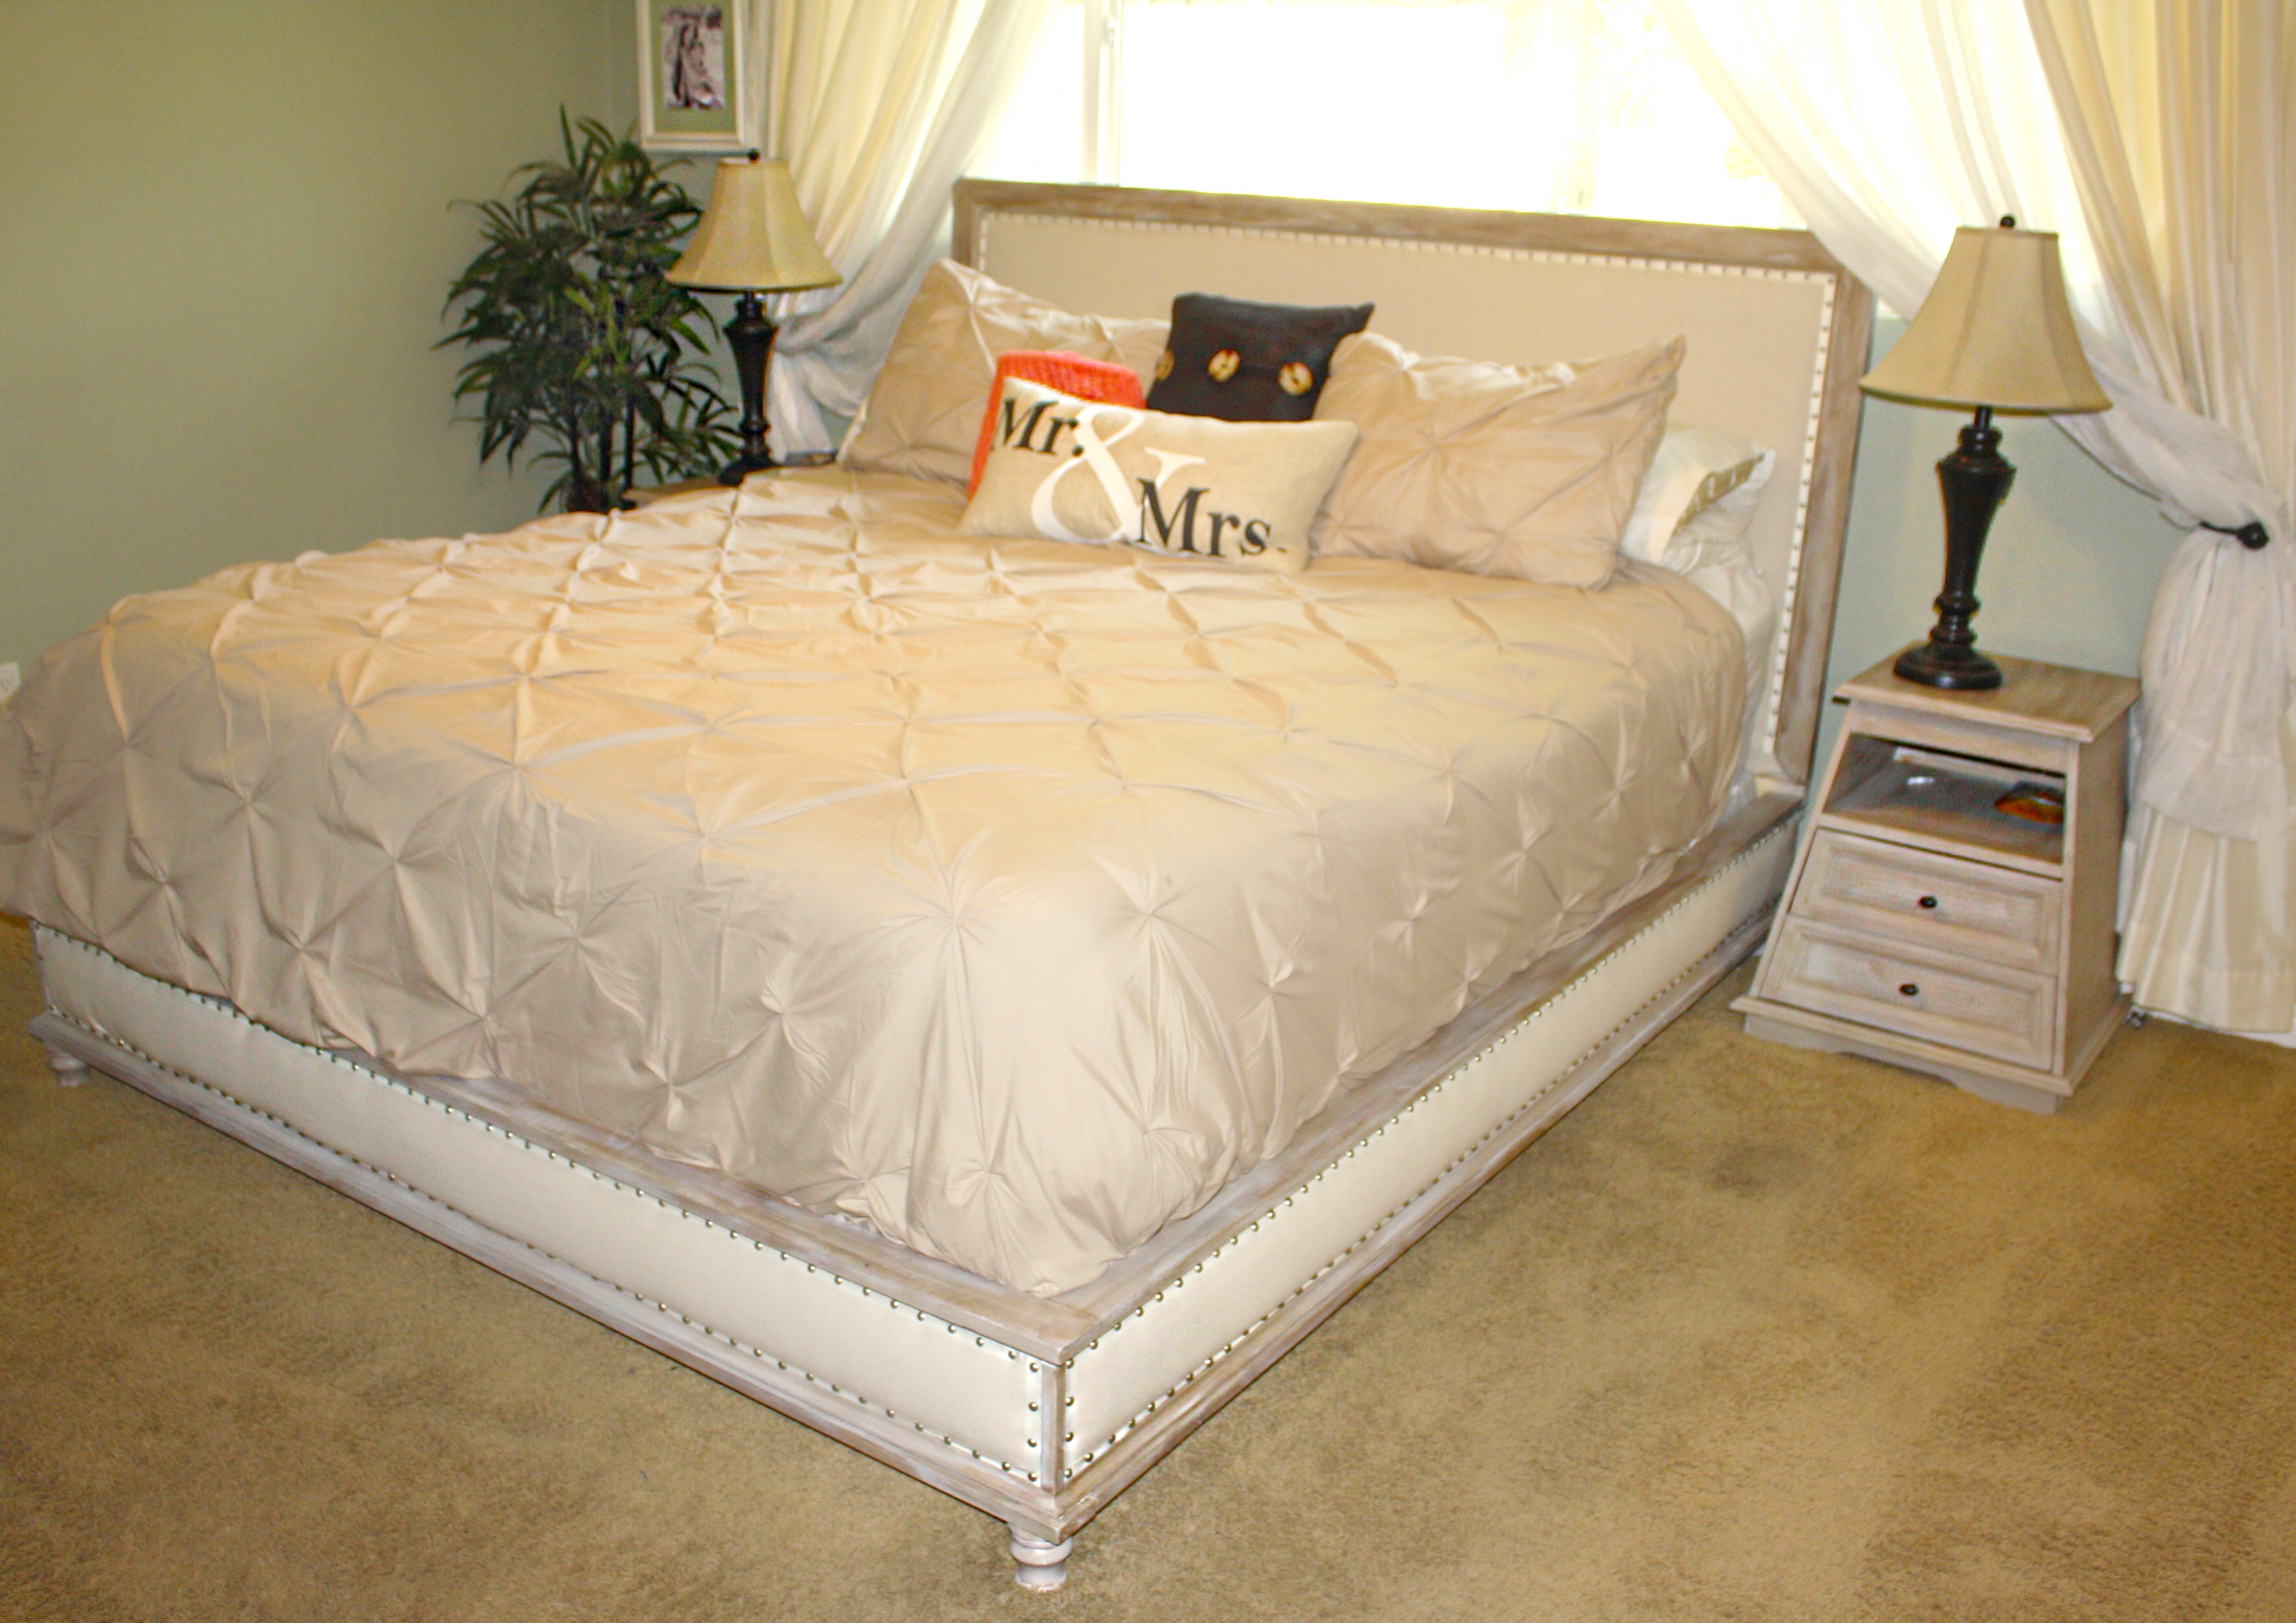
Built from Plan(s)
Estimated Cost
$300
Estimated Time Investment
Week Long Project (20 Hours or More)
Finish Used
Paint and wax combination
Recommended Skill Level
Intermediate
Comments
DIY Lego Table
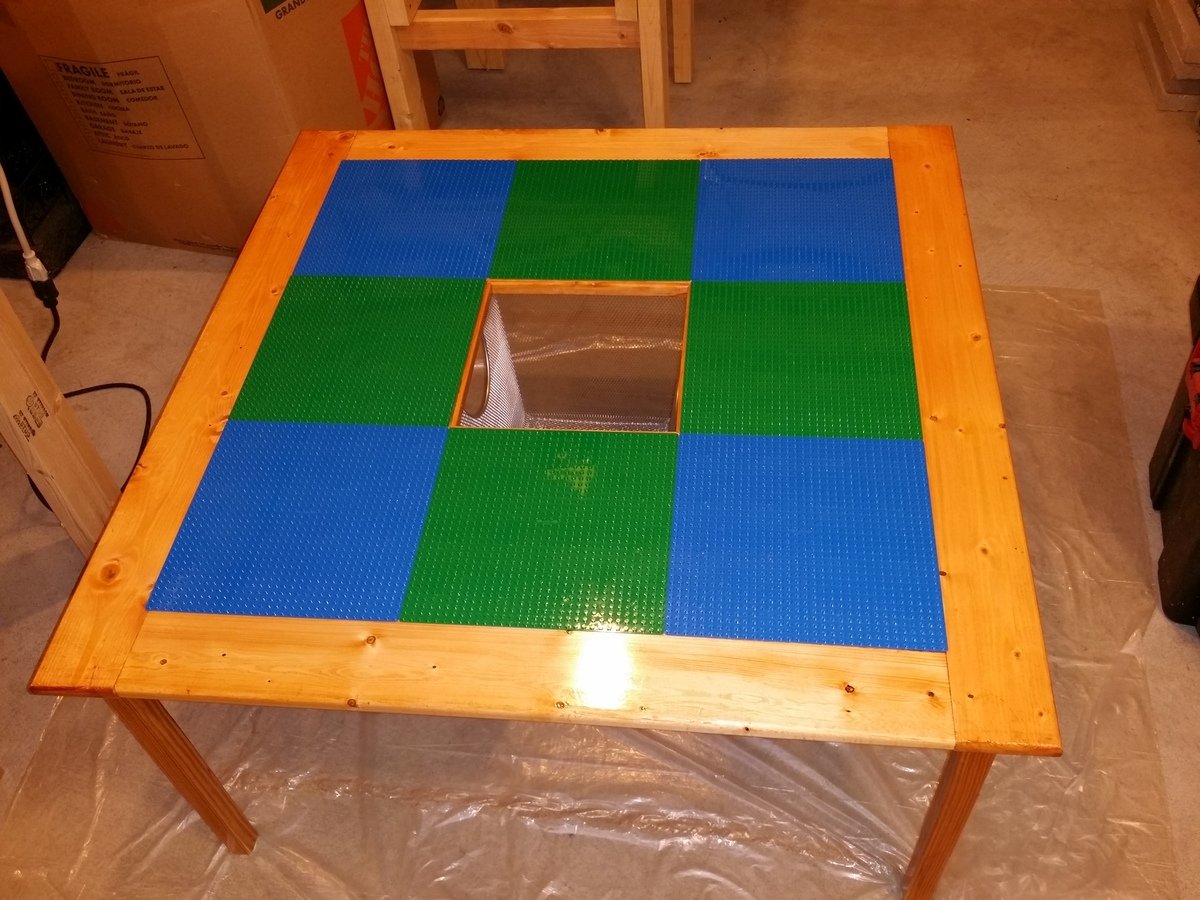
This is a Lego Table that I built my Grandson for his birthday. I found the plans for it on Rogueengineer.com
https://rogueengineer.com/free-diy-lego-table-plans/
I switched things up a bit by routing all of the edges to soften them, and I added the little mover men casters under each of the legs.
It's one of the better projects that I done recently, and nothing beat the look on his face when he saw it...
Estimated Cost
Approximately $60.00, mostly cost of wood.
Estimated Time Investment
Weekend Project (10-20 Hours)
Finish Used
Minwax Golden Pecan & Winwax Clear Glossy Polyurethane
Recommended Skill Level
Intermediate
Farmhouse Queen bed
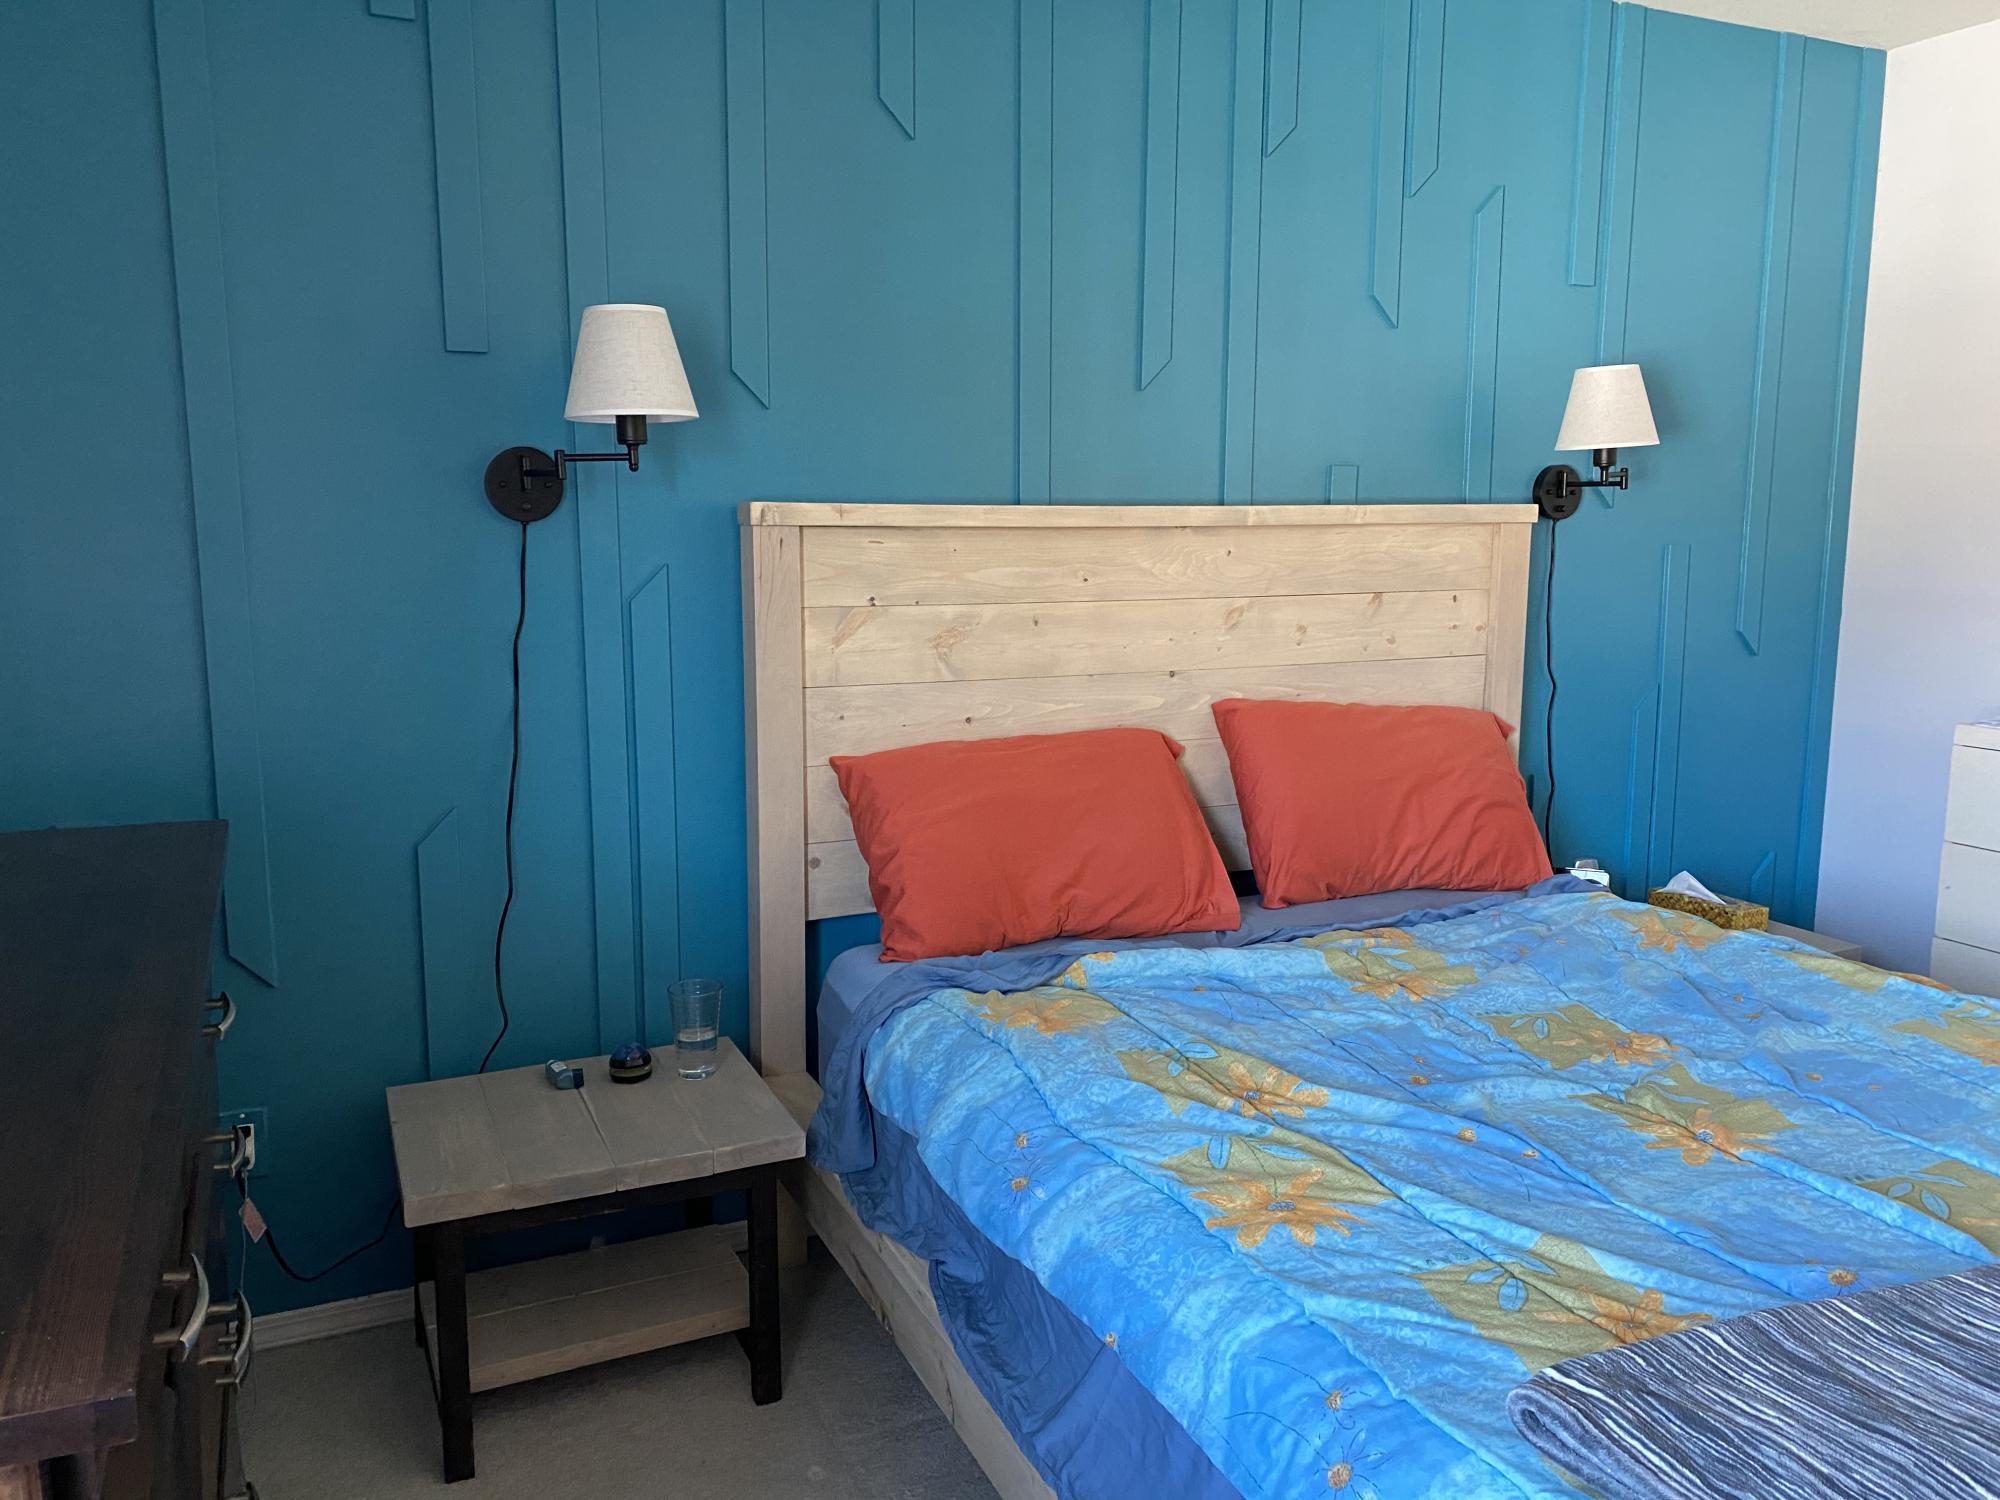
Built this farmhouse Queen bed as an anniversary gift to my husband 🥰
Built from Plan(s)
Comments
Farmhouse Table
So the husband was not happy with the fancy x dining table he made and thus, within a short 4 month period, he made another dining table :/ This one, however, he loves, so no more dining table making for him anytime soon! He veered off plans by joining most of the projects using dowels. You can read more about the build at our blog:
http://tonyandkristine.blogspot.com/2013/03/diy-farmhouse-table.html
Built from Plan(s)
Estimated Cost
appx $100
Estimated Time Investment
Week Long Project (20 Hours or More)
Finish Used
Varathane Stain + Poly in Early American
Recommended Skill Level
Intermediate
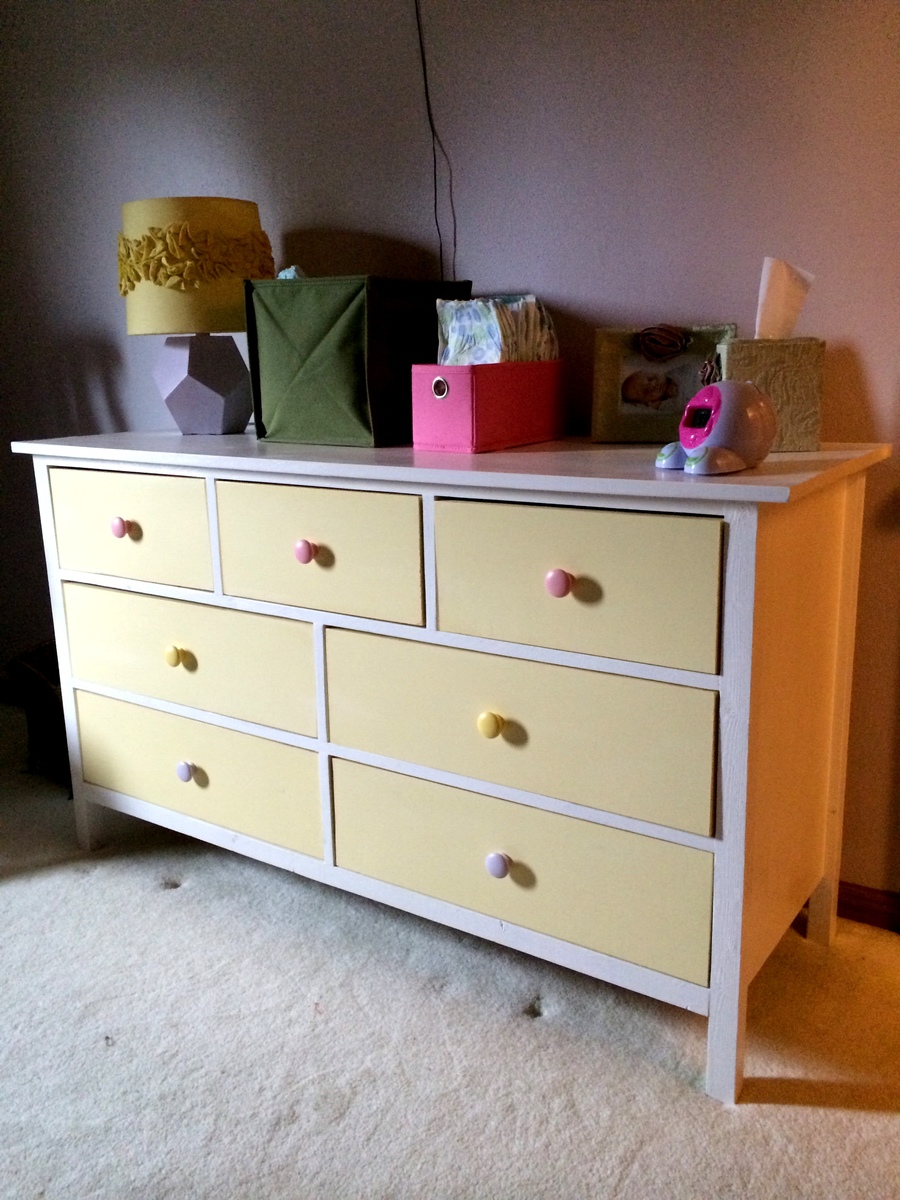
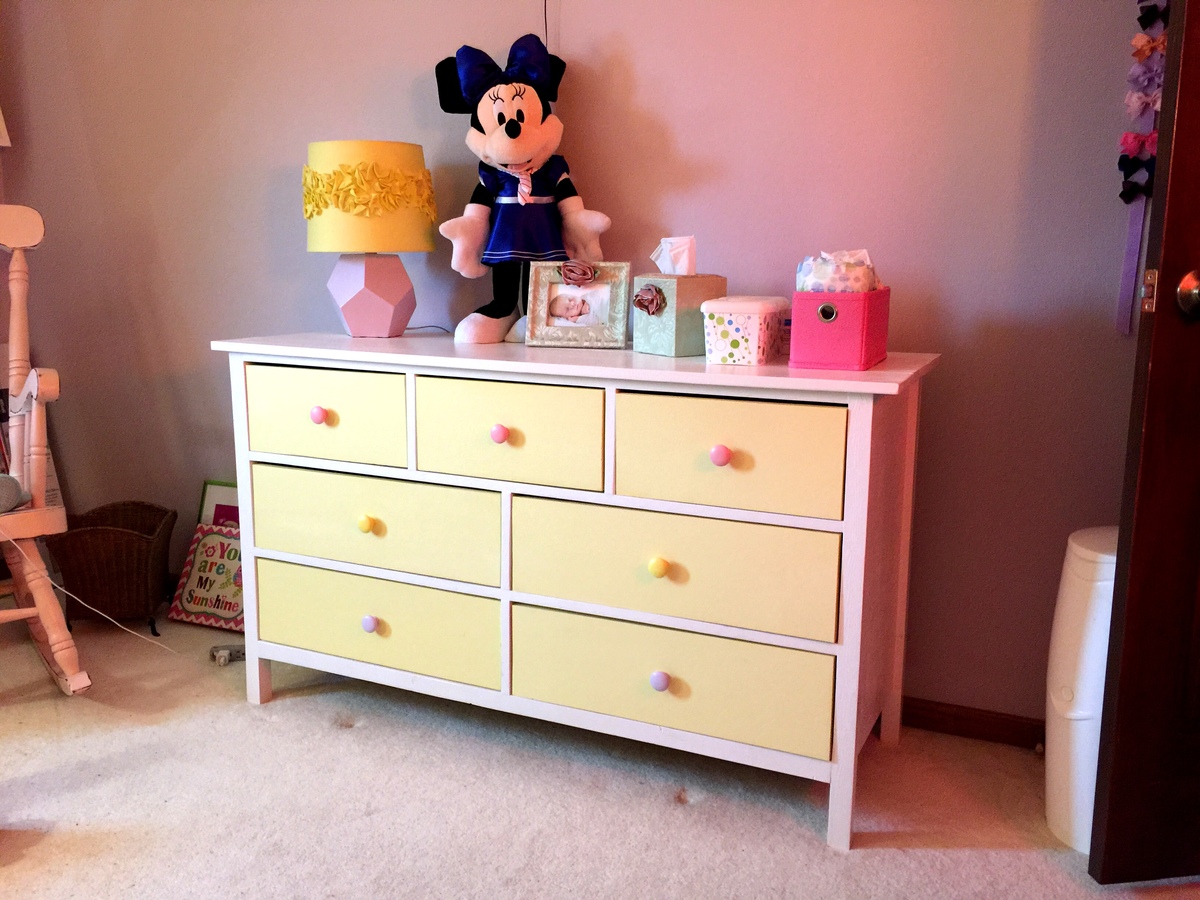
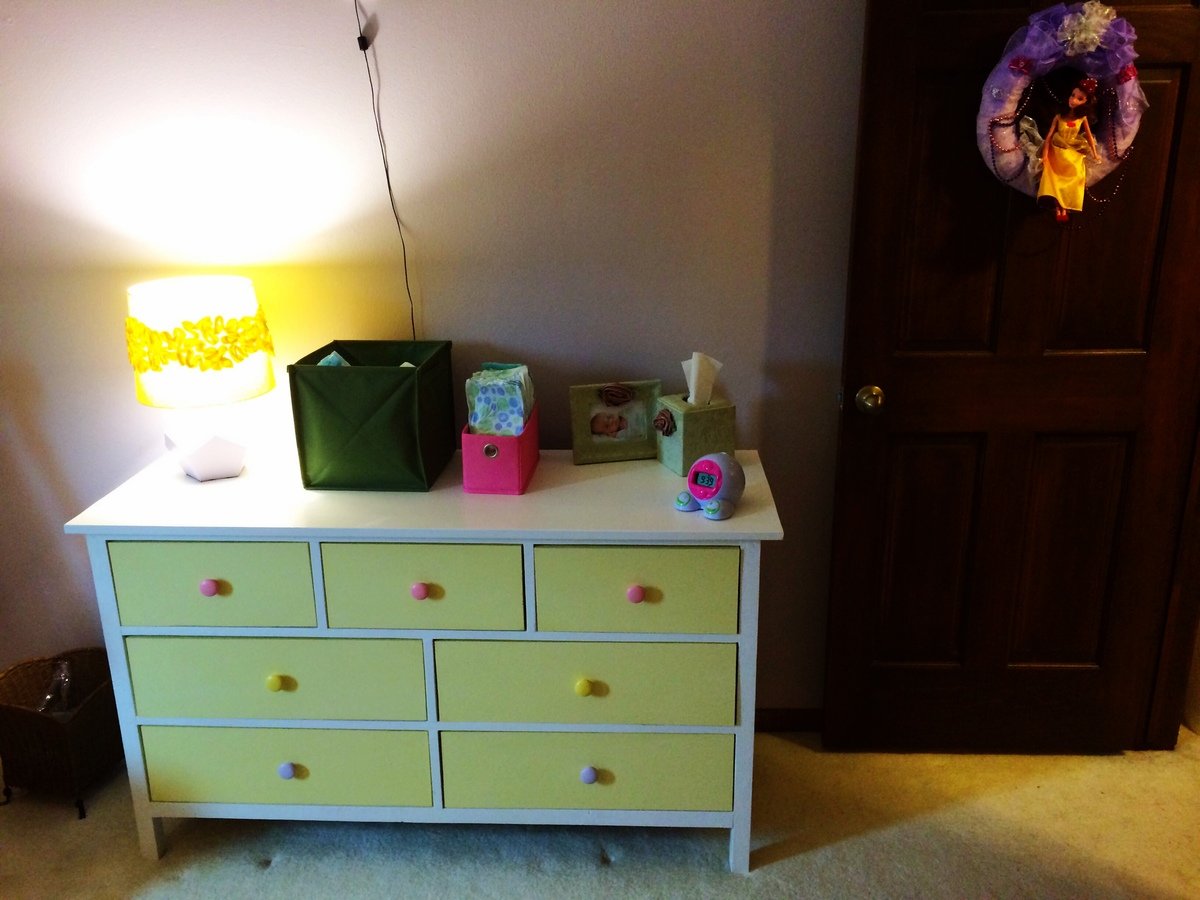
Kendal Extra Wide Dresser
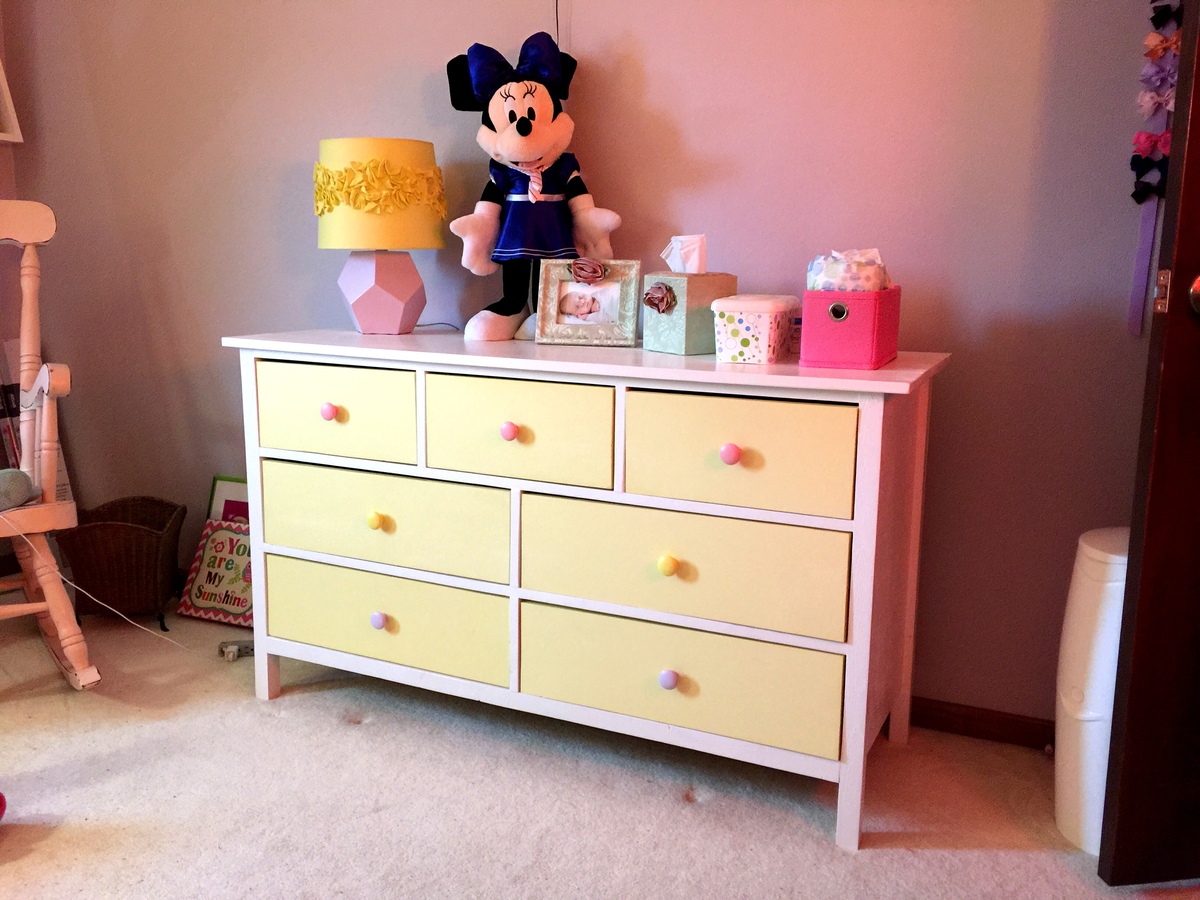
With another baby on the way in a few months, we decided to move our 2+ year old daughter across the hall into her first big girl room. I built big sister the Kendal Extra Wide Dresser, Traditional Wood Toddler Bed, Letter A Shelf and a Dollhouse Bookcase and matched the colors with her new comforter, lamps and princess canopy tent from the Land of Nod outlet.
While I have built drawers with other projects (with less than spectacular results), it took some time and trial and error, but this is the first project that I was able to install drawers with any sort of success in lining them up (kind of) and getting them to work properly. Of course, bookcase drawers in a child's room are succeptible to a lot of wear and tear, so hopefully, they will hold up on us. We definitely have been satisfied with the result and love how it turned out.
Built from Plan(s)
Estimated Cost
$75
Estimated Time Investment
Weekend Project (10-20 Hours)
Finish Used
Behr white fur (frame), wickerware (drawers), yellow corn (knobs), pink ballerina (knobs), lovely lavender (knobs) paints with Minwax Polycrylic
Recommended Skill Level
Advanced
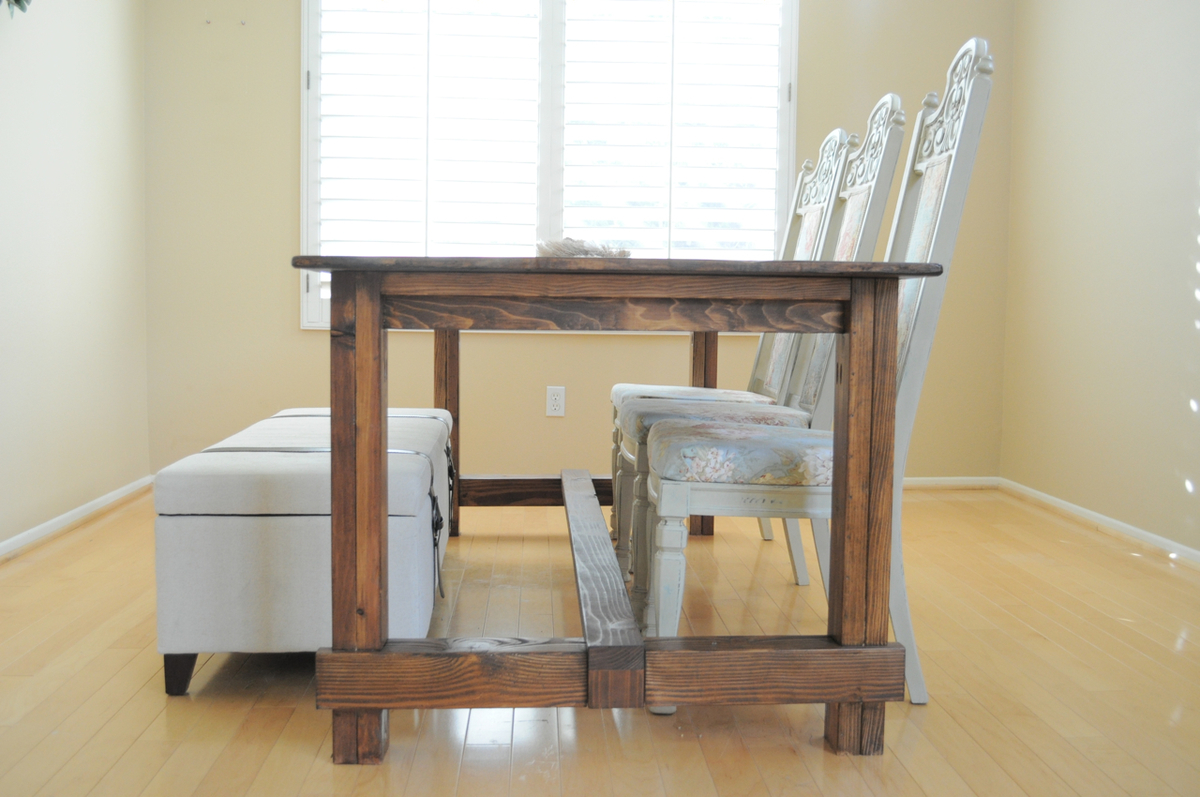
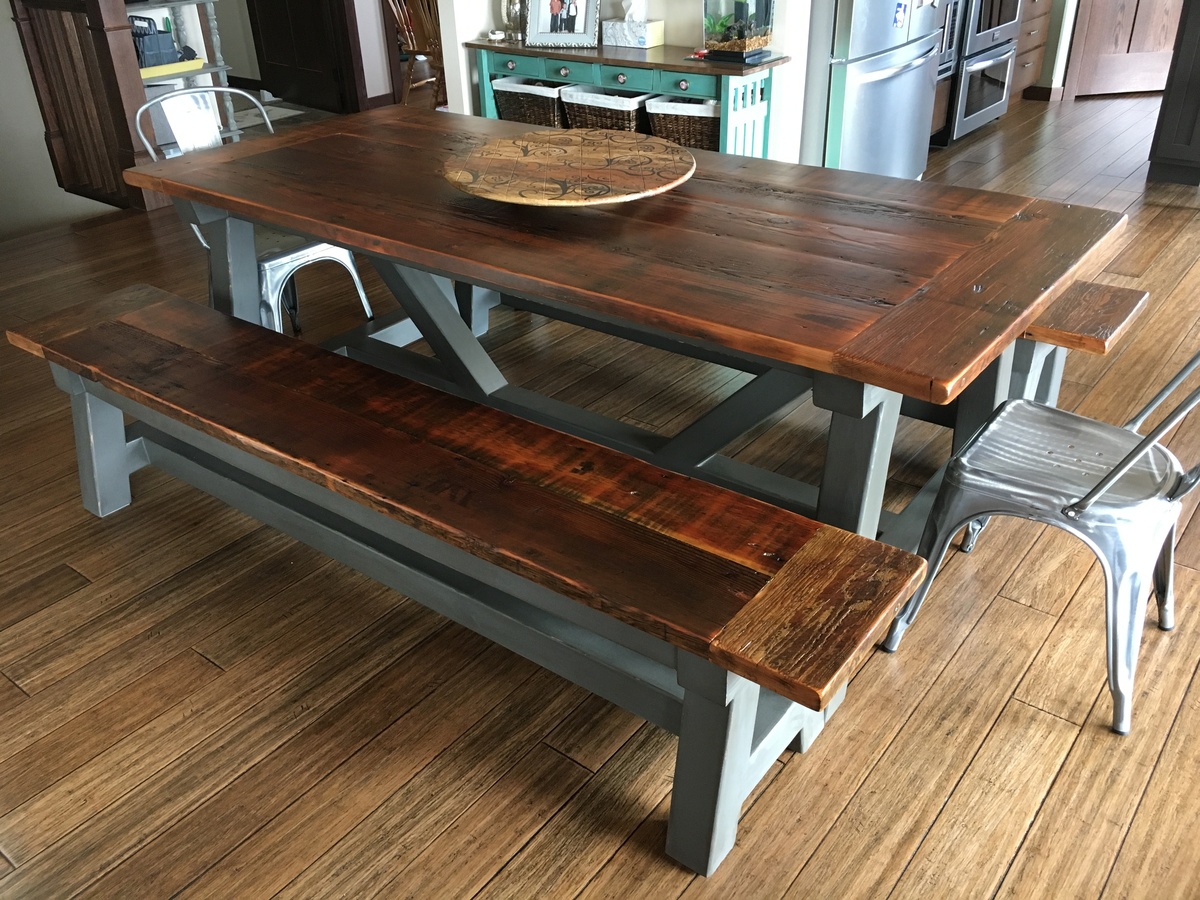
Dining Room Table and Benches
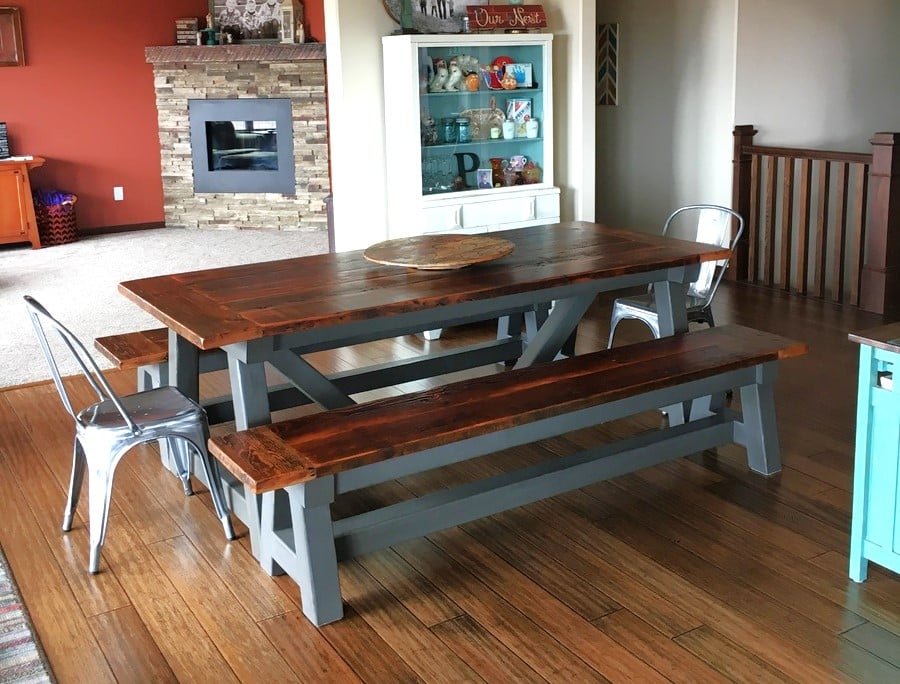
Dining Room table and benches tops built from reclaimed Douglas Fir and table and bench bases built from 4x4 posts.
Built from Plan(s)
Estimated Time Investment
Week Long Project (20 Hours or More)
Finish Used
General Finishes Arm-R-Seal for the table and bench tops, Sherwin Williams Black Fox on the truss bases.
Recommended Skill Level
Intermediate
Barn-wood dining room table
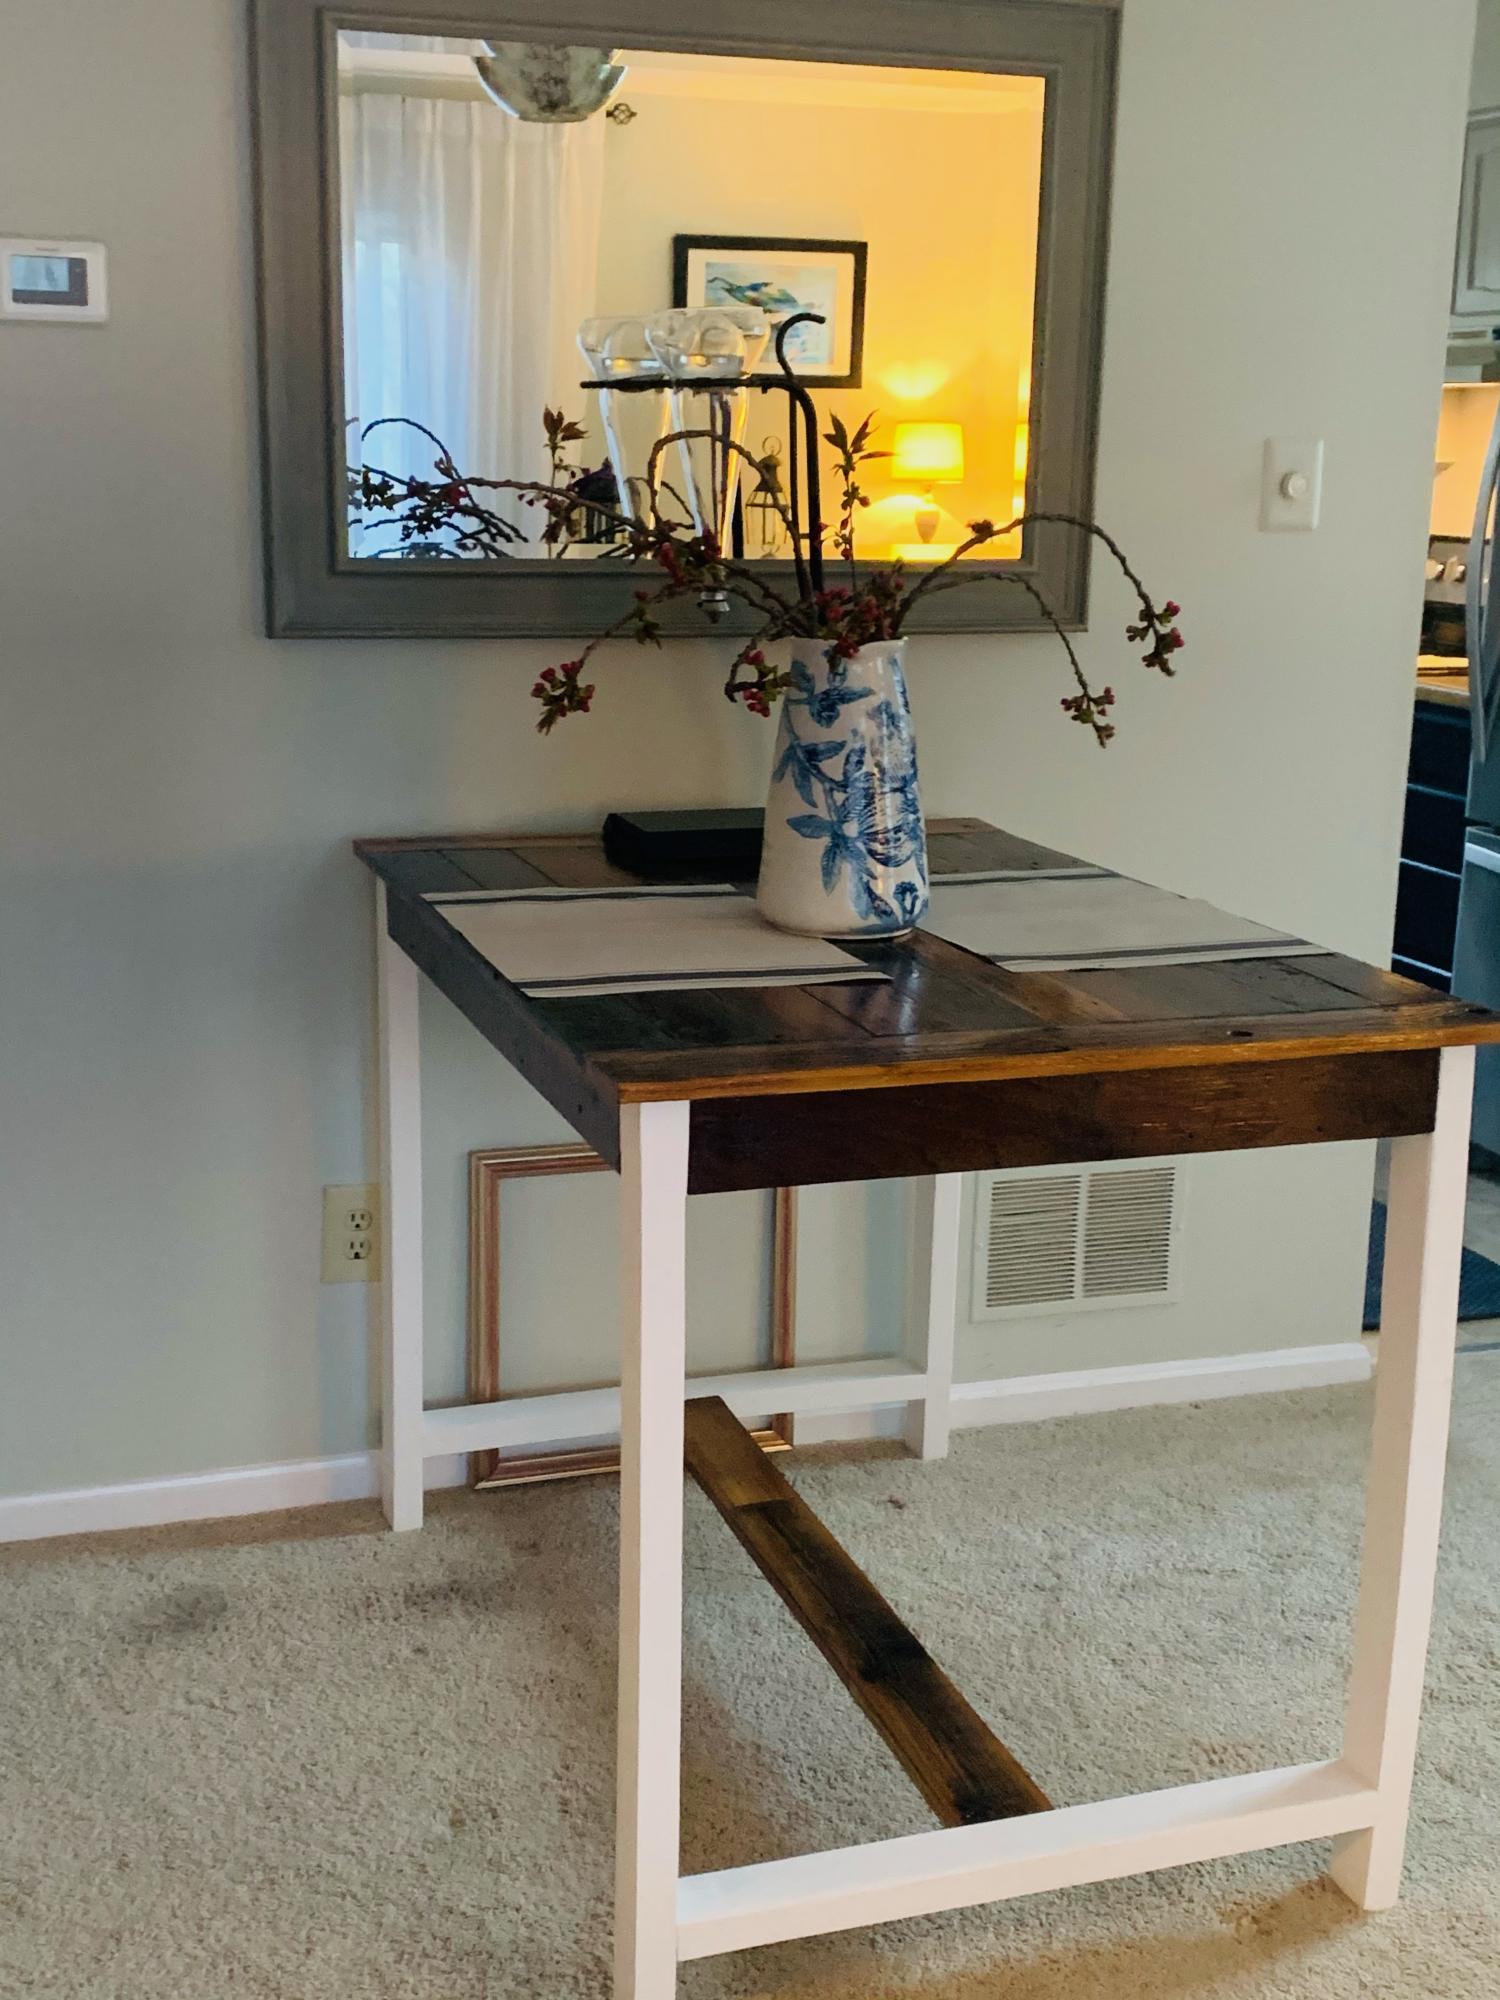
I used the outdoor bar plans to build this table. I have limited space in a living/dining room and had to fit the measurements to the space I have and the size of the pre-existing tabletop.
Built from Plan(s)
Comments
Ana White Admin
Sun, 03/28/2021 - 16:58
Very nice!
Great build and attention to detail, thank you for sharing!