Community Brag Posts

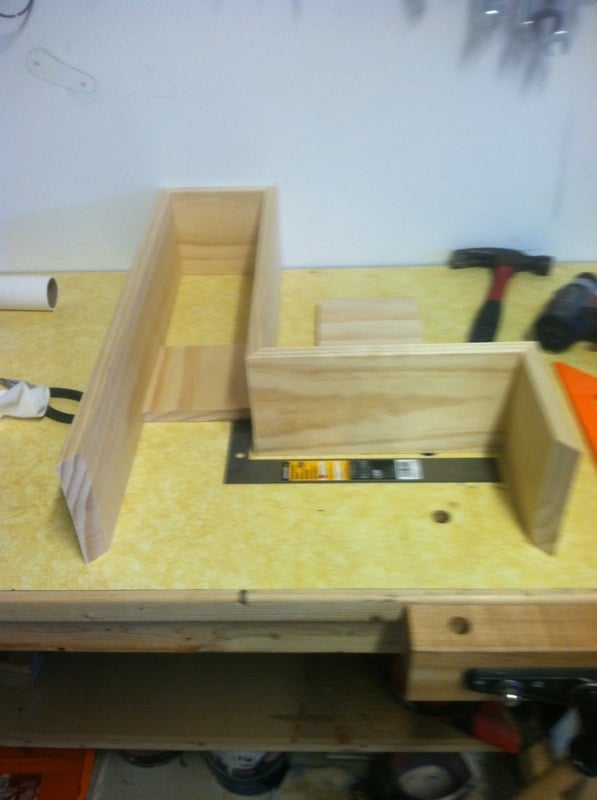
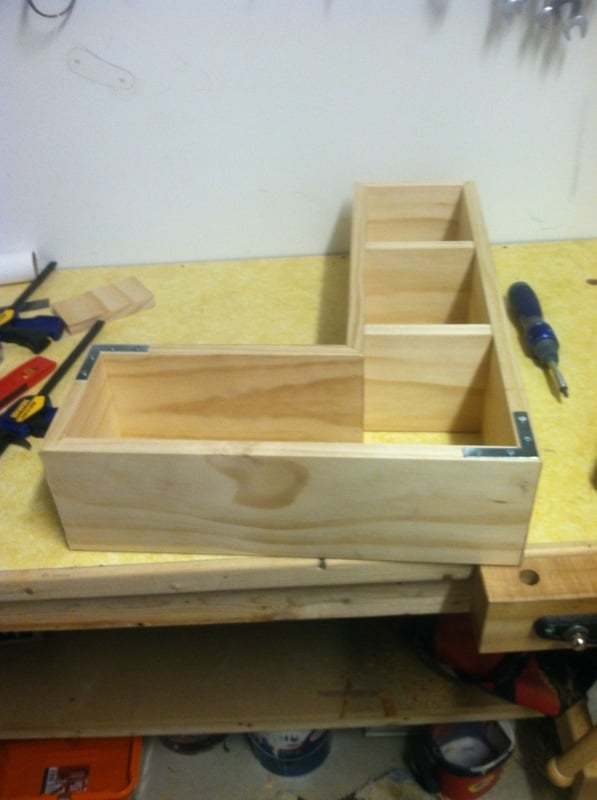
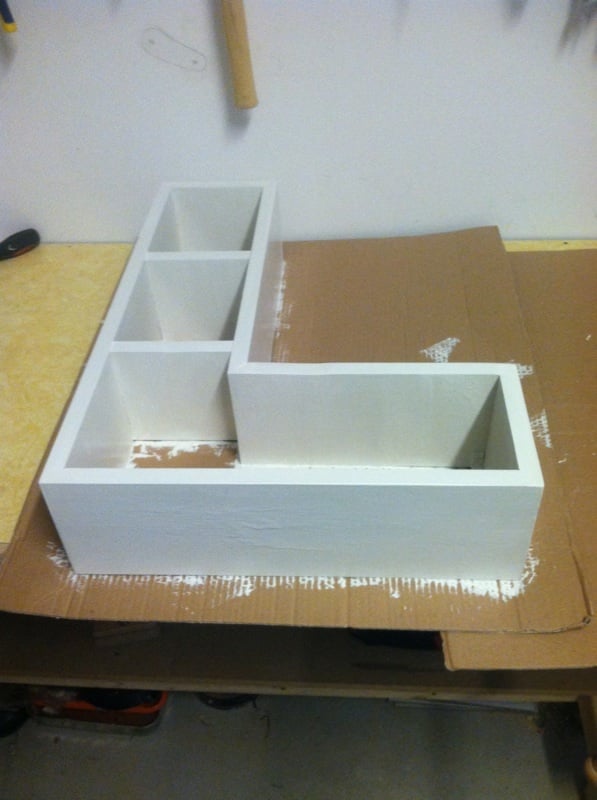
Entry closet turned bench

Submitted by Anonymous (not verified) on Thu, 04/14/2016 - 10:25

The coat closet in our entry was always cluttered with too many coats, oddly placed mittens and hats, and shoes were piled on the floor. This was our solution. After this picture was taken I attached several hooks I found at a local antique store along the rail for the coats or sweaters we wear daily, and shoe bins were added below for each of our three daughters.

Estimated Cost
$20 plus accessories
Estimated Time Investment
Afternoon Project (3-6 Hours)
Finish Used
Sample paint jar purchased from large chain grocery market
Recommended Skill Level
Intermediate

Reclaimed wood coffee table

I had a bunch of extra wood sitting around the garage, so I decided to build this. Reclaimed wood 41 1/2 long by 17 1/2 wide and 19 inches tall. I used natural stain so it could keep it's beat up charm.

Built from Plan(s)
Estimated Cost
Free wood, money spent for stain $8.00
Estimated Time Investment
Afternoon Project (3-6 Hours)
Finish Used
Natural Stain with 2 coats of poly.
Recommended Skill Level
Beginner

Porch Swing

Submitted by KeCarnahan on Thu, 01/23/2014 - 07:44

My first project!

Estimated Time Investment
Afternoon Project (3-6 Hours)
Recommended Skill Level
Starter Project

Comments

A.Natasha

Fri, 01/24/2014 - 22:16

Congrats on your first project! Looks great. I will start my first project as well in the next few months. I am guessing that the edges were well sanded to avoid splinters?

Balin TV Stand

Submitted by Anonymous (not verified) on Sun, 04/17/2016 - 18:21

This was my first furniture project and I simply wanted to hide all of the cords for my TV. My husband and I opted out of the drawers since we wanted a big area to store all of the other items (DVDs, playstation, etc.). We also did not put a back on the table so the electronics stored inside could properly ventilate without overheating.

Built from Plan(s)
Estimated Cost
We bought all lumber from Lowe's and it totaled to $180 for the lumber, sand paper, wood conditioner, stain, and polyurethane finish.
Estimated Time Investment
Week Long Project (20 Hours or More)
Finish Used
Wood conditioner, Varathane dark walnut wood stain (1 coat, applied a heavy coat with brush and wiped excess stain with a rag about 3-5 minutes after initial application), and finished with Minwax fast-drying polyurethan clear satin (1 coat).
Recommended Skill Level
Intermediate

Communion Table from truss Sofa table plans

Submitted by Anonymous (not verified) on Wed, 01/01/2020 - 19:13

Wanted to make a Communion Table for church found these plans here on Ana White and just had to use it. I modified them to make the table 24 inches wide and only 52 inches long. I had fun making this and had help from all five of my kids with the oldest being 11 and the youngest 3. Thanks for recommending these plans they were awesome. 👍

Estimated Cost
$250
Estimated Time Investment
Week Long Project (20 Hours or More)
Finish Used
Shellac on top white paint with coffee glaze finished with polyurethane
Recommended Skill Level
Beginner

Vertical Garden

Submitted by imlewer on Wed, 04/11/2012 - 07:47

We don't have a ton of space in our back yard thats in direct sunlight. Also we have an ugly old chain-link fence. I saw a lot of vertical gardens and decided that would help two issues, maximize sun space and obscure part of that ugly fence. It's super easy to put together and was pretty cheap as well. I took some inspiration from the cedar raised beds on the site and built all the planter boxes out of cedar fence pickets. I added some extra supports so that the weight of the boxes wouldn't rip down the planters.

Estimated Cost
$120 (including material, posts, cement and hardware)
Estimated Time Investment
Afternoon Project (3-6 Hours)
Finish Used
None
Recommended Skill Level
Beginner

Comments

greeneterp68

Sun, 07/08/2012 - 10:32

Thanks for this great idea and the photos of the details. What did you decide to plant? (Btw, all you need for that fence is a few cans of black spray paint!)

My work bench

I'm so excited. I have my very own work bench! Thank you Ana for the sturdy work bench plans. I've added drawers and some curtains to keep the dust out. My brother did most of the work on this but I did some of the build at the end and all of the painting. Even though this will be stored in the garage, I wanted it to look like a piece of furniture found inside the house. I love the distressed look and I think I've succeeded in making it look old. I've made a few of your projects which I will post later. Right now I'm enjoying my new (old looking) work bench and I think it's really cool that it looks like it belongs to a girl.

Built from Plan(s)
Estimated Cost
200.00
Estimated Time Investment
Weekend Project (10-20 Hours)
Finish Used
Color paint: A day at the jewelers from Lowes. Minwax Gunstock stain mixed with a glaze for distressed areas.
Recommended Skill Level
Beginner

Comments

Val Manchuk

Sun, 01/26/2014 - 00:12

Never thought I'd say this about a workbench, but it's very pretty!
I'd be so tempted to keep it in the house! Have fun with your new
Workbench!
Val @ artsybuildinglady.blogspot.ca

nicholaix

Sun, 01/26/2014 - 09:38

Now I am going to have to pretty up my workbench to be as fab as yours. Maybe it will keep the guys outta my tools(fat chance!)

Modified Raised Planter Box

Submitted by Anonymous (not verified) on Tue, 04/19/2016 - 17:47

I always wanted a raised planter box, but never took the time to try building 1 and certainly didn't want to buy 1. My hubbie saw these plans and decided to make it for me. He used wood from our deck that we just pulled up, so the only cost was for the 4x4s and the plywood used for the bottom shelf.

Estimated Cost
$14
Estimated Time Investment
An Hour or Two (0-2 Hours)
Finish Used
We have not yet added a finish and I don't know that we will. We added a bottom shelf and I have been debating whether to paint the piece, tile the bottom shelf, some combination, or leave the whole box natural.
Recommended Skill Level
Starter Project

Mudroom Bench with Easy Drawers

Submitted by GeekAthair on Mon, 01/06/2020 - 20:12

We've been desperate for more storage in our little house and this build really helped. The whole bench is 103“ wide and each drawer gives us 24"x17" of usable space. We had to do some custom shaping for the benchtop (two joined fir 2x12's) fit as the walls are not square but in the end we were really pleased.

The hardest part of the project was getting all of this built and in place while working around a busy family as this is our only meal space and the majority of cutting/forming was done either on the weekends or after bedtimes. If I were to do this again I'd prioritize sending the kids to grandparents for the weekend and know king everything except for paint out in one go. 

We could have spent less time with the benchtop by using plywood like in the plans but we wanted the look of a separate benchtop. We may replace the fir with stained oak down the line but this should be plenty sturdy for the next several years. 

Built from Plan(s)
Estimated Cost
$300
Estimated Time Investment
Week Long Project (20 Hours or More)
Finish Used
Valspar paint, minwax clear poly
Recommended Skill Level
Intermediate

Comments

DIY Outdoor Table

Submitted by Anonymous (not verified) on Sun, 09/10/2023 - 13:11

Parents wanted an outdoor table on the deck. They had scrap wood in the basement from when the house was built. Found the design from Ana White, inspired, and adapted it. It was a small project, but the success of this inspired me to get back into building furniture. It doesn't have to be complicated and the satisfaction of building something from materials that exist and working with what one has in terms of tools and skills is very satisfying.

Modified Toy Box with upholstered lid.

My daughter's school needed a personalized item, (a class gift) to be auctioned off at the annual Spring Gala. The project needed to be personalized by the children in the class. I used the plans from Ana's toy box project plan, changed the footer to bun feet, and added a lid. The lid is also an upholstered top that can be used as a bench. I used two slow close hinges, one on the left one on the right, then two regular hinges to hold the lid on. We sent in blank tiles for each of the children (4 year olds) to paint in class. They turned out pretty abstract but cute. The tiles on the front are supposed to be bee's, the school's mascot. It turned out great! Having a hard time uploading other pics of it, specifically how I did the lid inside and attached it to the box.

Built from Plan(s)
Estimated Cost
200
Estimated Time Investment
Week Long Project (20 Hours or More)
Finish Used
Satin ivory whitish paint.
Recommended Skill Level
Beginner

Comments

JoanneS

Sat, 04/14/2012 - 12:36

This is super creative and so beautiful! Love the kids' artwork and cute bun feet. What a wonderful piece! I'll bet it makes a bundle at the auction!

michelle weihing (not verified)

Fri, 12/07/2012 - 10:36

I love the addition of the lid! Do you have those plans to share?

Butcher Block Kitchen Island

I built this piece from ana white's plans. I modified the shelf design and also the dimensions to meet my needs. Instead of using 2x6 douglas fir for the top, I built the top out of hard maple. The top is built by ripping down several strips of hard maple 1.75 inches wide, turn the strips on there edge and gluing all the strip together. This is what is known as a edge grain cutting board. I finished the top with mineral oil and bees wax. The top is food safe and knife friendly. If you have any questions please don't hesitate to ask. - Brad

Built from Plan(s)
Estimated Time Investment
Week Long Project (20 Hours or More)
Finish Used
Cream brulee paint by behr
early american stain by minwax
mineral oil and bees wax
Recommended Skill Level
Advanced

Comments

romanweel

Tue, 01/28/2014 - 18:42

Did you use a planer to level your top and bottom surfaces here, or just lots of sanding? I've been told not to attempt butcher block construction without a planer...but I'm thinking of maybe going for it!

timberandsoul

Fri, 01/31/2014 - 23:01

I did use a planer for this top. But because my planer is only 12 inches wide I had to glue three individual boards together leaving two seams that I could not plane but instead had to sand out. Just sanding those two seams took a long time, I cannot imagine sanding 20 seams. I would not suggest attempting without a planer.

Calmly

Mon, 04/10/2017 - 18:45

is it possible for you to share your measurements.  I need a smaller island. Thank you.

Biff Loman

Wed, 02/05/2014 - 17:25

I'm curious how you joined the stretchers to the legs. The construction appears different from the plans. Did you use pocket screws or something more advanced like mortise and tenon?

timberandsoul

Fri, 02/07/2014 - 16:58

I am not sure exactly what you mean by stretchers. If you are referring to the shelf frame, yes it is different than the plans, I modified it. I felt the shelf design on the plans was not enough for the weigh that was going to be place on top. I used simple pocket holes to joint the frame to the legs. Hope this helps, have a great day.

voorheisb

Fri, 08/12/2016 - 10:41

Thank you Brad.  This is a really nice piece.  I recently picked up an old table from a college.  I discarded the base and plan to use the heavy butcher-block-style top to build something similar to this.  Do you have plans you could share?   Thanks again, Brian

Spice rack modified for BIG spice containers.

Submitted by Anonymous (not verified) on Sun, 04/24/2016 - 16:01

I made some modifications for bigger spice containers. The big ones you get at Sams/Costco are too big for the original design. The top portion was made with 1x6 sides to take care of the bigger containers.

Estimated Time Investment
Afternoon Project (3-6 Hours)
Finish Used
Paint
Recommended Skill Level
Beginner

Shim Queen bed

My husband and created this bed using a plan we found on the website. We were doing the One room Challenge and wanted to redo our room on a budget. It was our first major build and it turned out really well. When my husband said we were going to use wood shims I was skeptical but the end result was awesome! We made the headboard and footboard and all the other pieces in our basement shop and then moved them up to our second floor and assembled them in the room. If you have any questions check us out on Instagram @ home_on_the_bluff

Built from Plan(s)
Estimated Cost
$300 CAD
Estimated Time Investment
Weekend Project (10-20 Hours)
Finish Used
Minwax Dark Walnut
Minwax Poly in Clear Matte
Recommended Skill Level
Intermediate

Folding Work Table First Project!

Submitted by Anonymous (not verified) on Tue, 09/12/2023 - 09:52

This is my very first project. I have no other tools yet besides the drill, so I had to make all the cuts with the hand saw, but it worked out well :) As I am in Europe, the imperial metrics mean nothing to me. The wood they sell here is of different sizes. That is overall not an issue, although I had a tough time calculating the holes for the legs. Luckily, only one error hole, and all came out level on the first try. No waste of wood! I also had a good helper.
Thank you, Ana

Ventsi

Queen Farmhouse Bed

Submitted by cwilliams on Tue, 04/17/2012 - 14:05

We ended up going with a combination of pine, cedar (posts - from Ace Hardware) and regular ole 2xs. We ordered our hardware from Rockler ( http://www.rockler.com/product.cfm?page=10).The bed can be easily disassembled down to the headboard, footboard, side rails, support beams, and platform. It's a quirky combination of woods, but overall we are happy how it turned out. We thought of painting it, but have really been enjoying it as is.

Built from Plan(s)
Estimated Time Investment
Day Project (6-9 Hours)
Recommended Skill Level
Beginner

Comments

Our Monkey Farm

Tue, 05/01/2012 - 13:40

This is so beautiful! I agree with you, the woods beauty is best as is, without paint hiding it. You could put a coat of poly to seal and preserve the wood without losing any of its natural beauty. Great job!

MonicaP (not verified)

Thu, 10/25/2012 - 07:25

I clicked the link for the rockler hardware that you used. I noticed that it required mortising. Did you find that difficult to do? Did you use a router to mortise the wood?

L Shaped Wall Shelf

I was inspired by an A shaped shelf I saw on this site. My wife and I were expecting our first child on January 18th of this year and I decided that I would make a shelf for her nursery. We decided on the name Laney so I figured it would be very easy to make. And it was.

I started out with a couple sheets of 1 x 6 x 8s of pine from Home Depot. Not very expensive. I decided on a size and then cut the pieces to length.
I then set it up to see how it would line up and once I saw it lined up I cut each ends to 45 degrees to match up nicer.
I glued the ends together and then hammered finishing nails into the ends.
Once it was together, I added to shelves, put L brackets on the back side to add stability, and attached some hangers.
Finally, I painted it white to match her nursery.

Laney was born on January 23rd and we are so excited to have her in our lives.

Built from Plan(s)
Estimated Cost
$30
Estimated Time Investment
An Hour or Two (0-2 Hours)
Finish Used
White paint
Recommended Skill Level
Starter Project

Comments

J m Cormier

Sun, 08/28/2016 - 19:22

Hey! I just love this shelf! My sons name is Nathan, is there a Chance you have the plans for the letter "N"??

My Modern Craft Table

Submitted by Anonymous (not verified) on Wed, 04/27/2016 - 18:45

Only change in the plans was decreasing the width by 6 inches to fit our room, turned out to be 48x32in. I used old wood floor we tore up to make the table top. Glued it over plywood. 

Built from Plan(s)
Estimated Cost
$160
Estimated Time Investment
Weekend Project (10-20 Hours)
Finish Used
Different stains and good ole white paint. I finished the top with a polycrylic
Recommended Skill Level
Intermediate