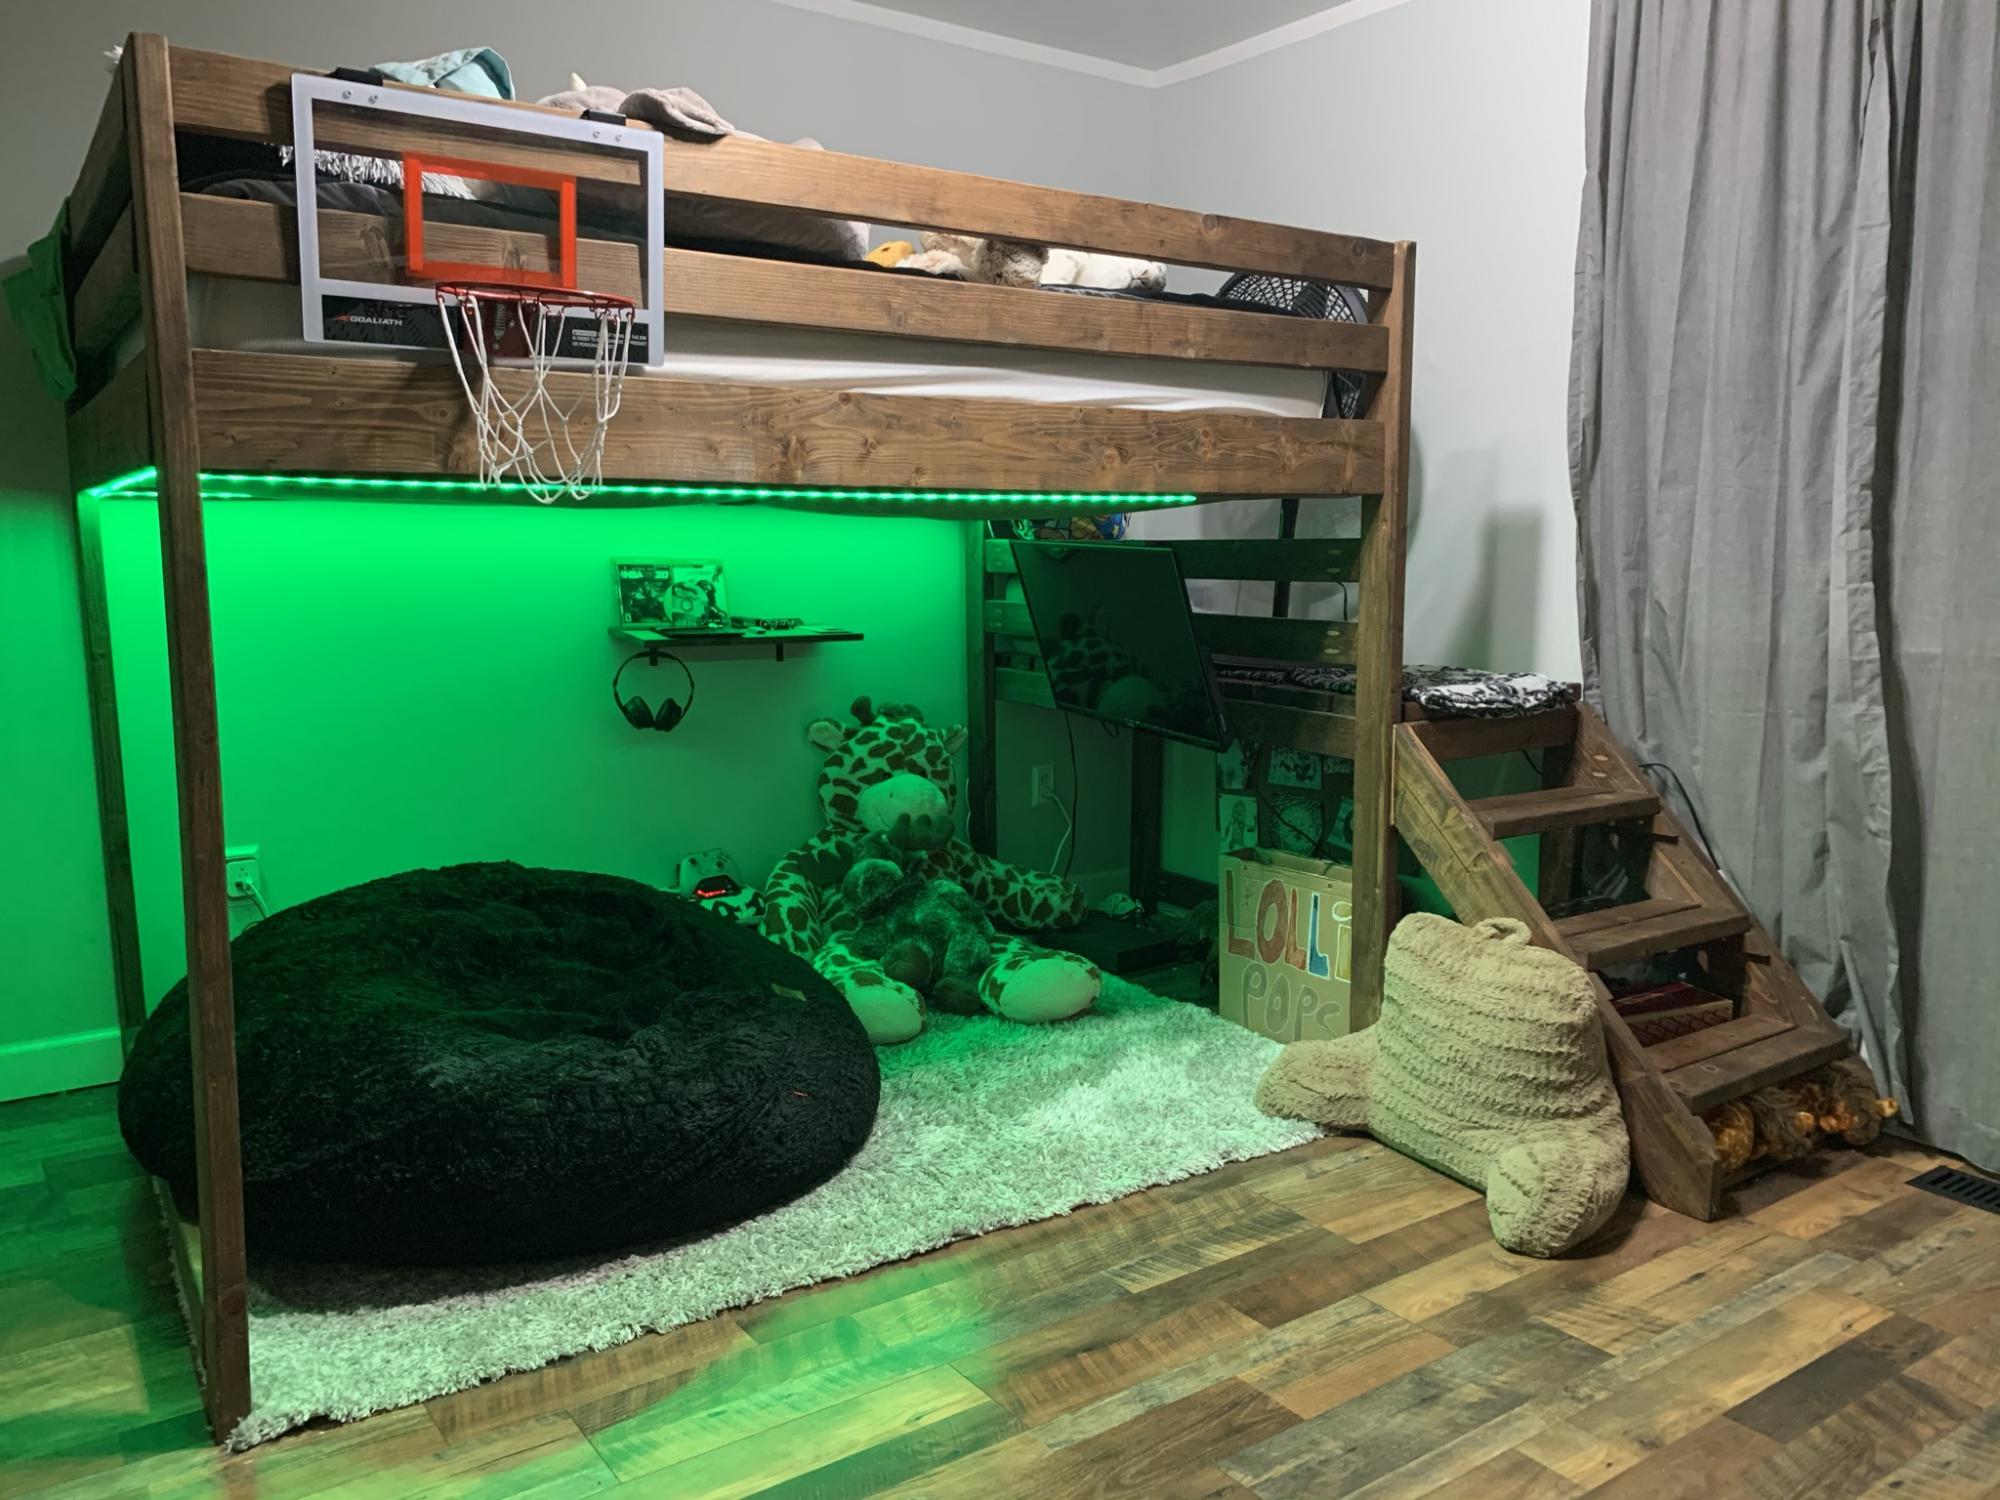
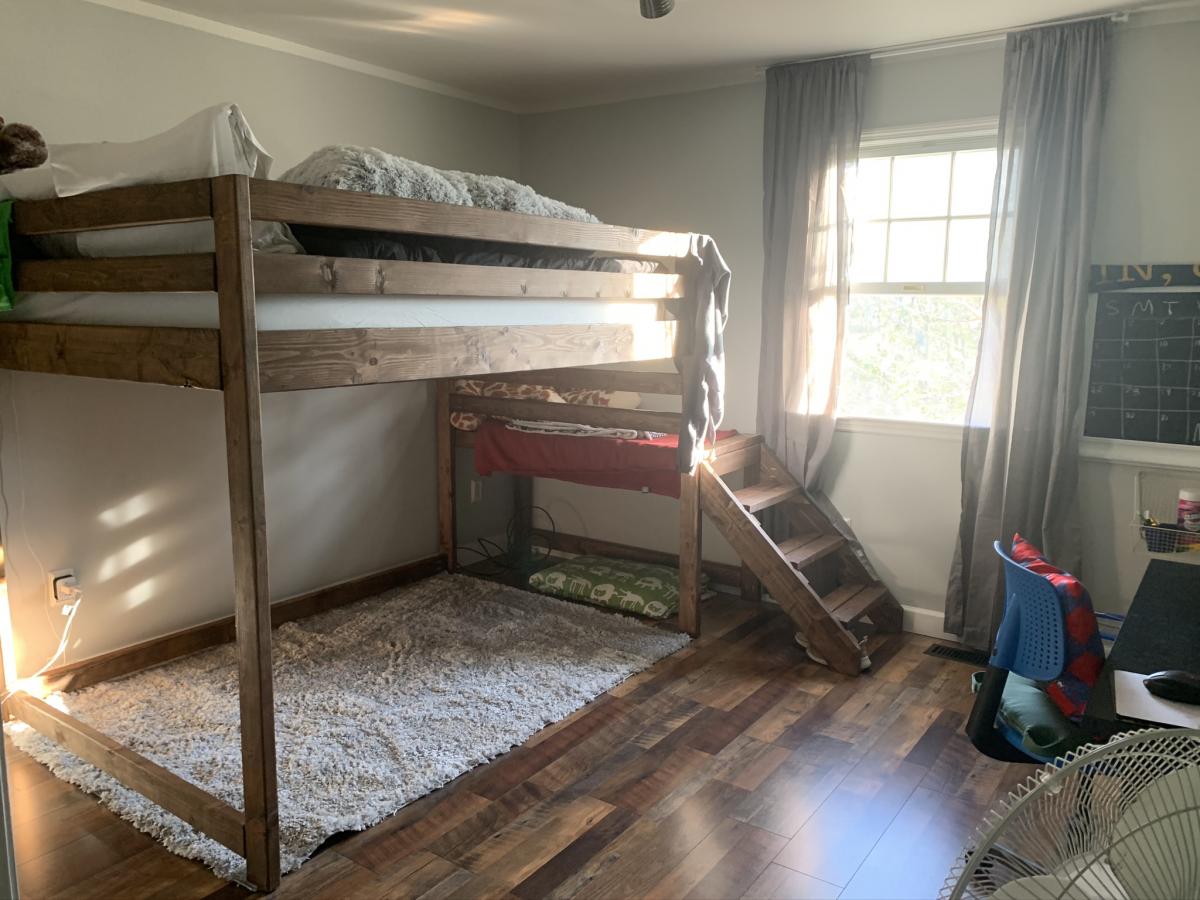
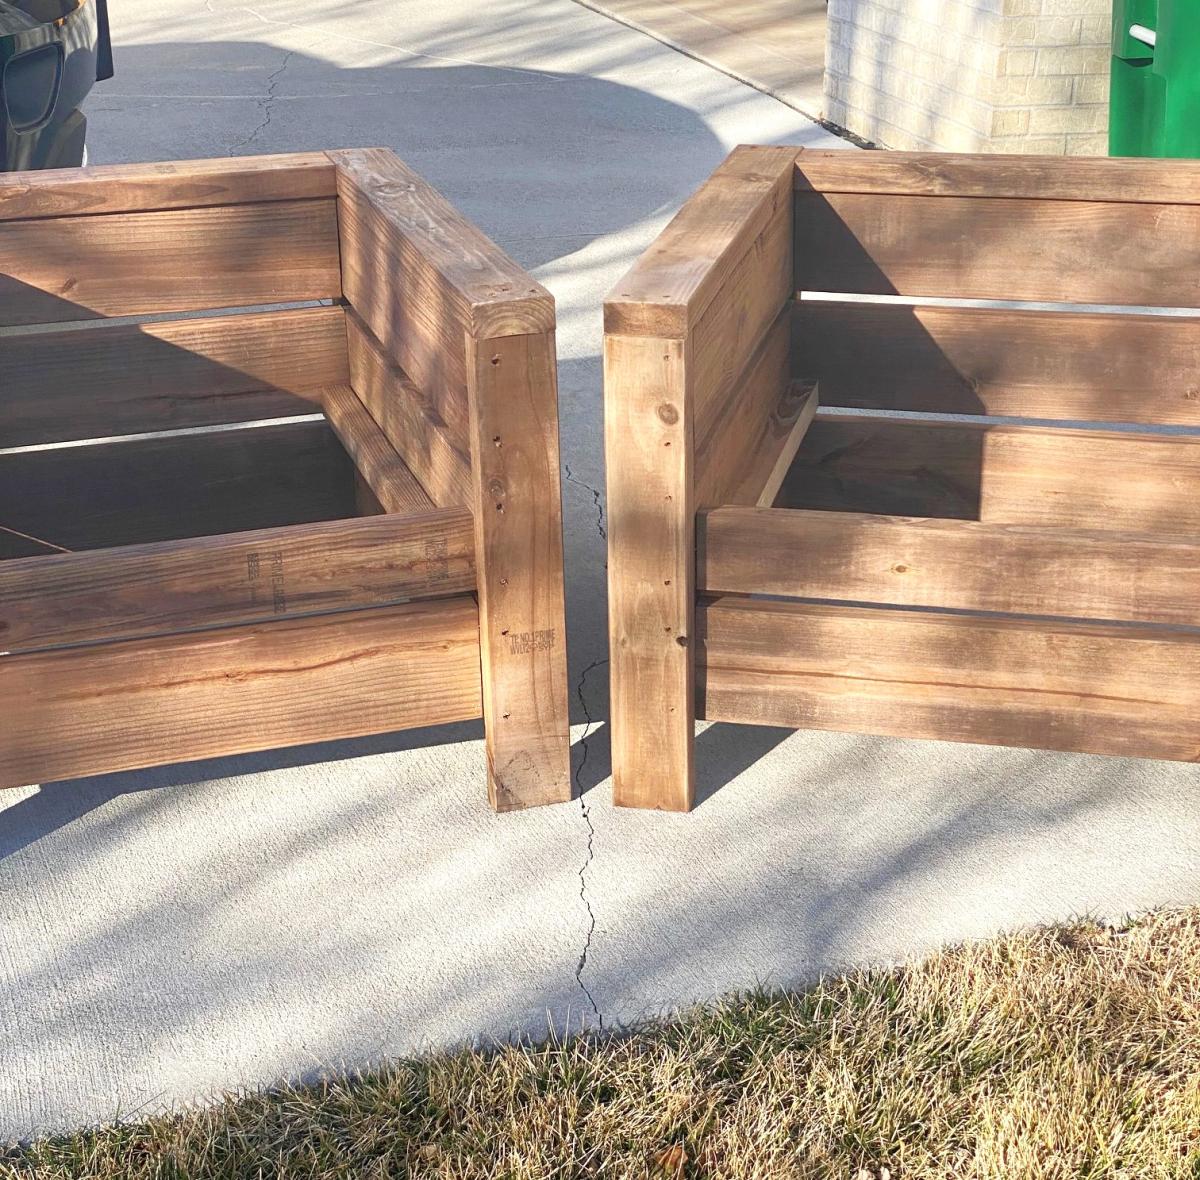
Camp Loft Bed for the Little Lady
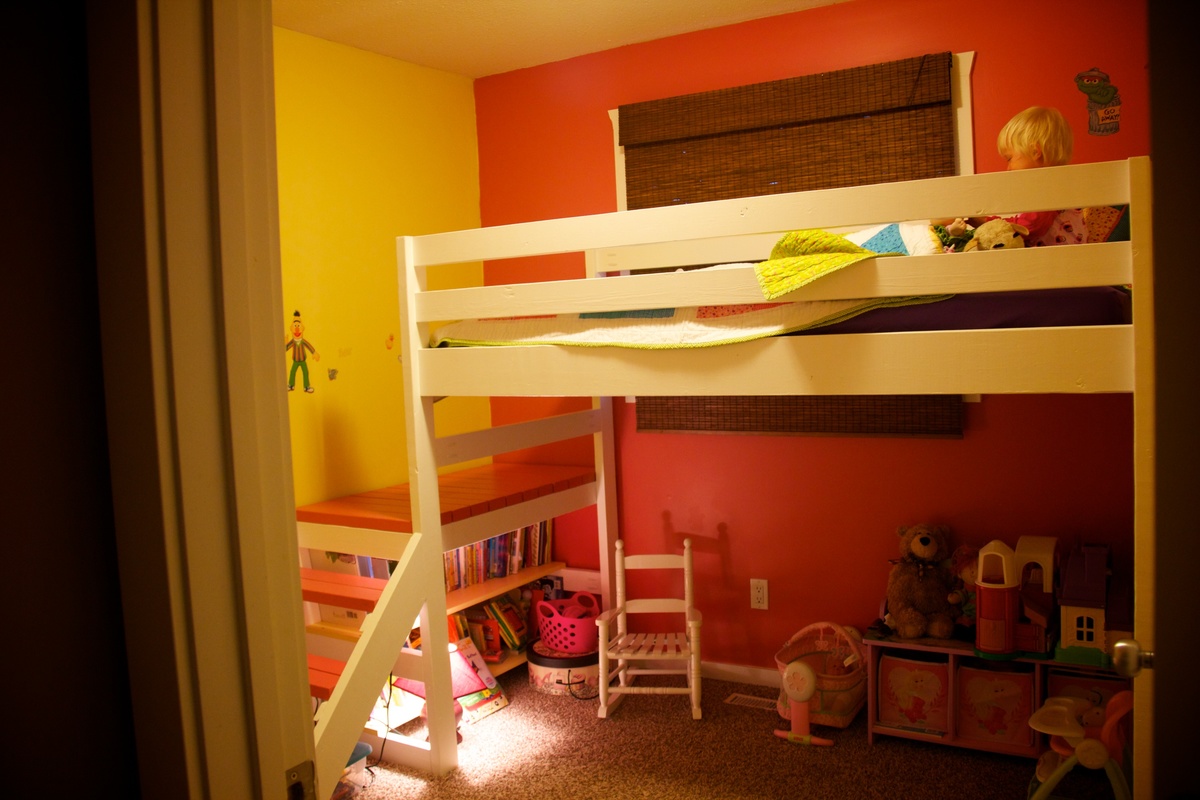
I came across the Camp Loft Bed on Pinterest a couple of months ago. My daughter was still sleeping in a crib, but I knew that she would need a big girl bed by summer. Since her room is small (inside walls measure just under 9'x9'), i thought a loft bed would be ideal.
I have NEVER done a DIY. I don't even own tools. But my step-dad is very handy, so I asked him to be my consultant and helper to tell me if I was doing things the wrong way! Fortunately, he was able to lend me a miter saw, some aluminum saw horses, and the odd screw (when I seemed to run out).
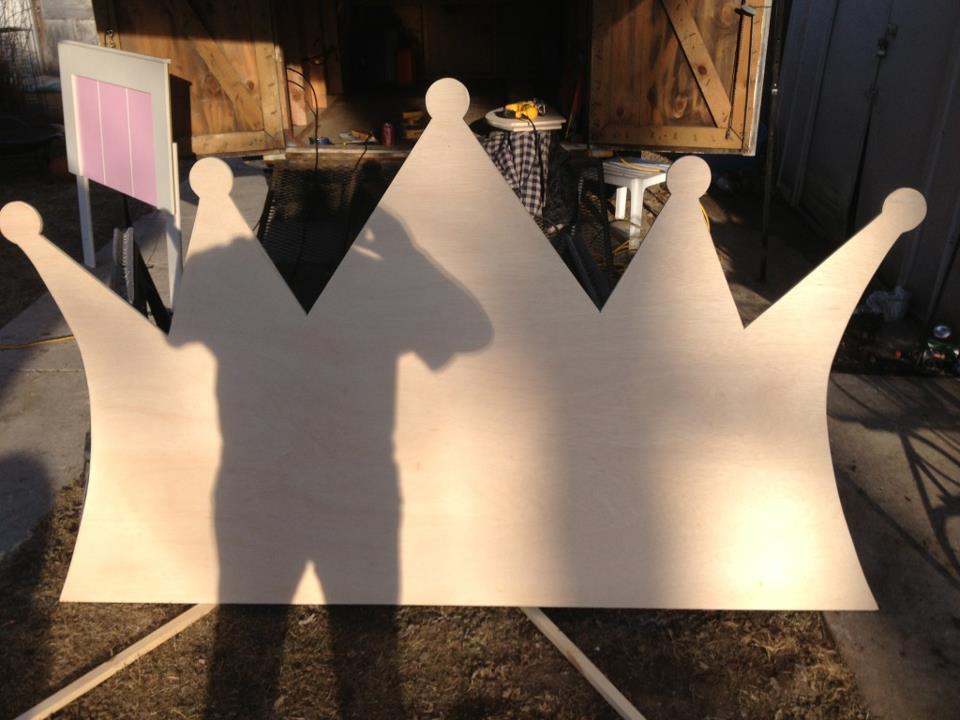
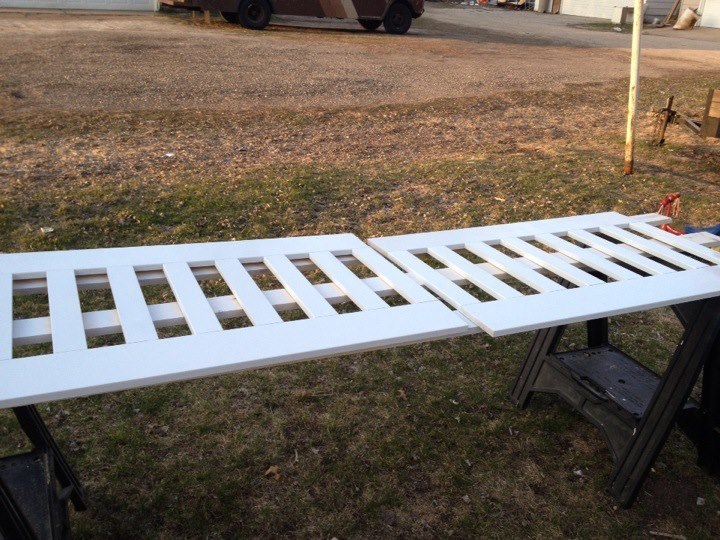
From start to finish, this was a 7 day project. I used construction grade spruce for my lumber, which cost me just shy of $100. I also went back the next day and bought a couple more 2x4s to make two shelves under the platform, which was another $30. I then pre-drilled with my new favourite tool the Kreg, and proceeded to sand, prime, and paint all of the pieces before assembly. With assembly being in my daughter's room, and having nice fresh paint on her walls and carpeted floors, I did NOT want to be finishing the bed in there, but there was no way I could move it into her room completely assembled. I did all the finishing BEFORE assembly.
Sand, prime, sand, paint, paint, paint. That process took three days, obviously not the entire day. Painting goes relatively quickly, but with boards, you paint one side, let dry, roate 90 degrees, paint, let dry, etc. I also had to work a couple of days in between as well. I went with Benjamin Moore Aura paint and that required three coats. I used to some leftover pink and yellow for the platform and shelves, but if I consider the cost, the paint set me back another $100.
I also had to order in the proper screws and I bought some of the white Kreg plugs to cover the exposed holes. Hurray for amazon! Even selecting the free shipping, the screws arrived within 4 days.
Assembly day:
My step-dad and I worked from 10:30-1:30. By this time, the bed and platform were completely assembled and in place. My daughter, however, needed to nap, so I put her down in her brother's bed, and we took a couple of hours off for lunch!
We then worked from 5-8:45 pm building the stairs, cleaning the room, measuring and screwing down the slats for the mattress, then making the bed and getting it ready for sleep. It seemed like a much longer day because in between, I had to run out and pick up a twin mattress, some extra screws, help my son play his new Skylander game, and deal with three kids trying to "help" with construction!
All in all, I am very pleased with the bed, with the plans, and with my first DIY. My kids are all in love with the bed and we spent a lot of time shooing them out of the room while we tried to assemble it.
Tips:
If I were to make this bed again (if my sons have their way, their beds are next!) I would not paint the wood, opting instead for a stained more natural look. I love the colours for my daughter, but what a pain all that painting and rotating the boards was. Paint was also a more expensive option for finishing.
That being said, if I do paint, I will NOT paint the ends of the boards that will be joined via pocket holes. In some cases, the boards were just a smidge too long to fit and we had to take the back to the saw and shave off the layer of paint in order for the board to fit.
I also opted to buy firm twin mattress as opposed to the plush ones. The plush mattresses add a lot of height and I was worried about my daughter having a bit too much fun up there and possibly tipping out from a high mattress. Stick to thinner mattresses on loft or bunk beds!
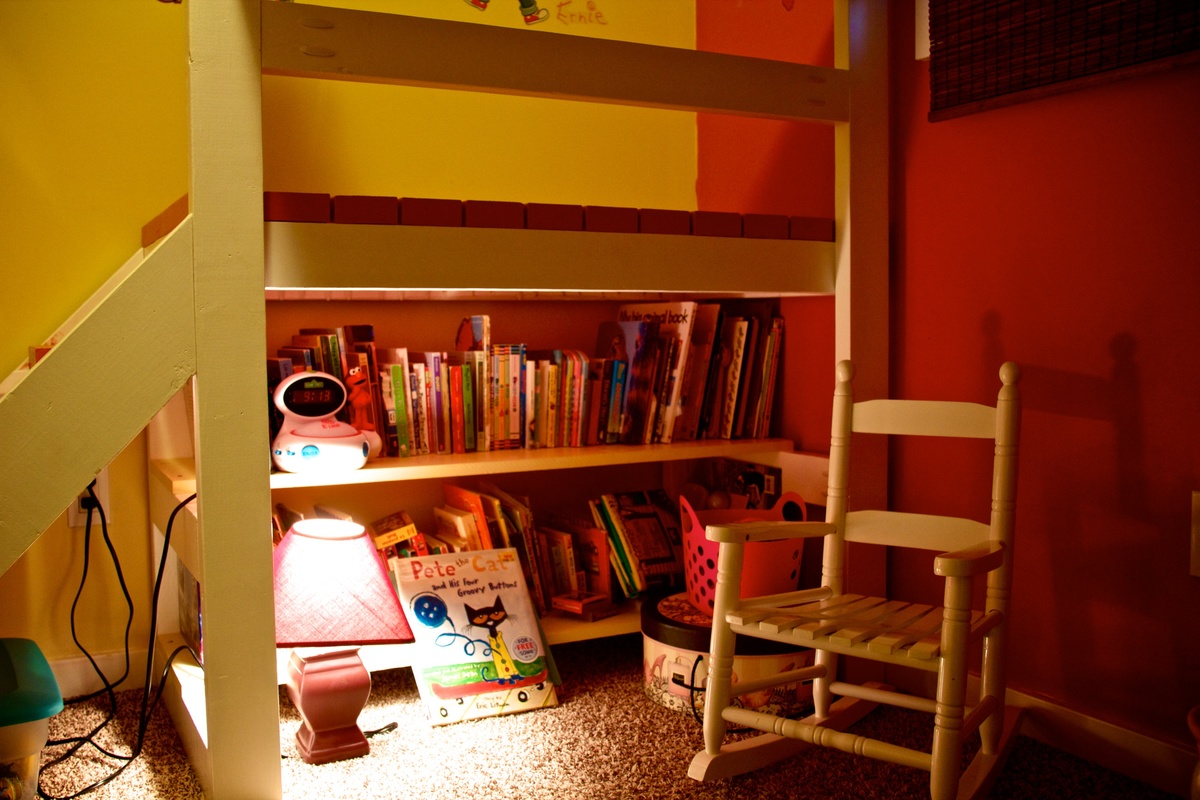
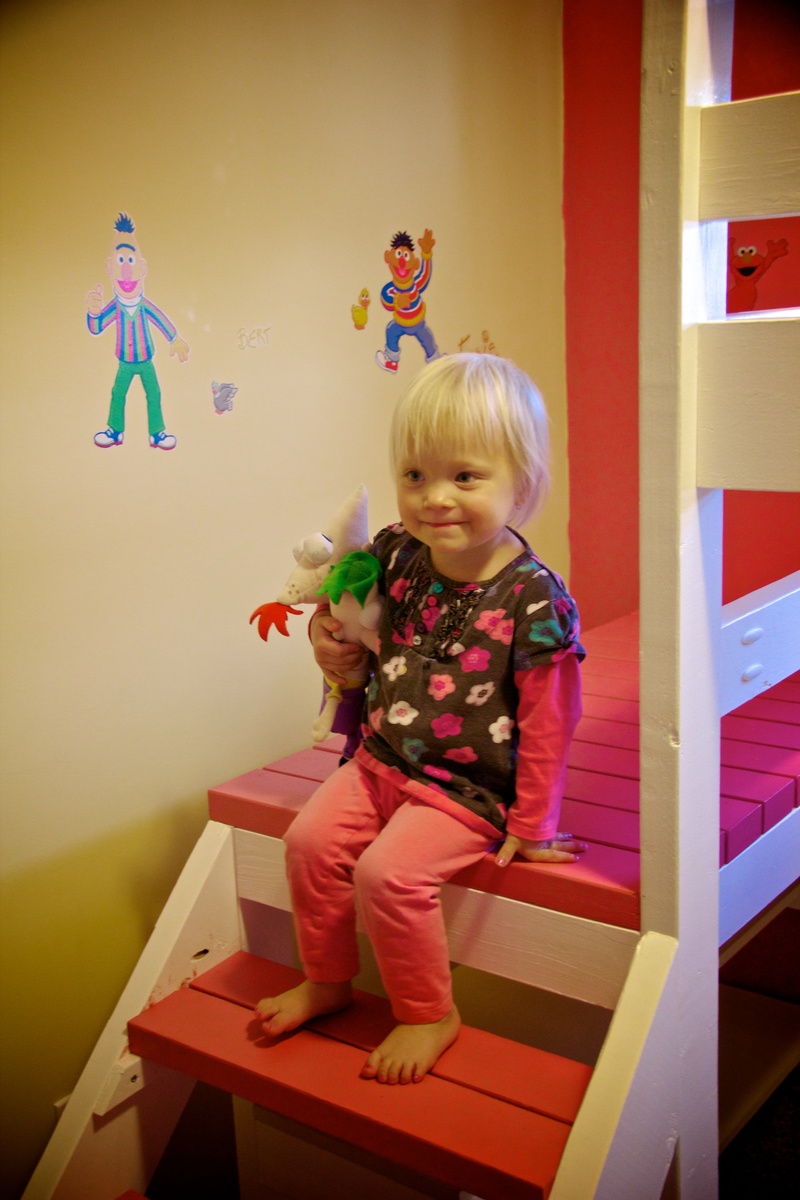
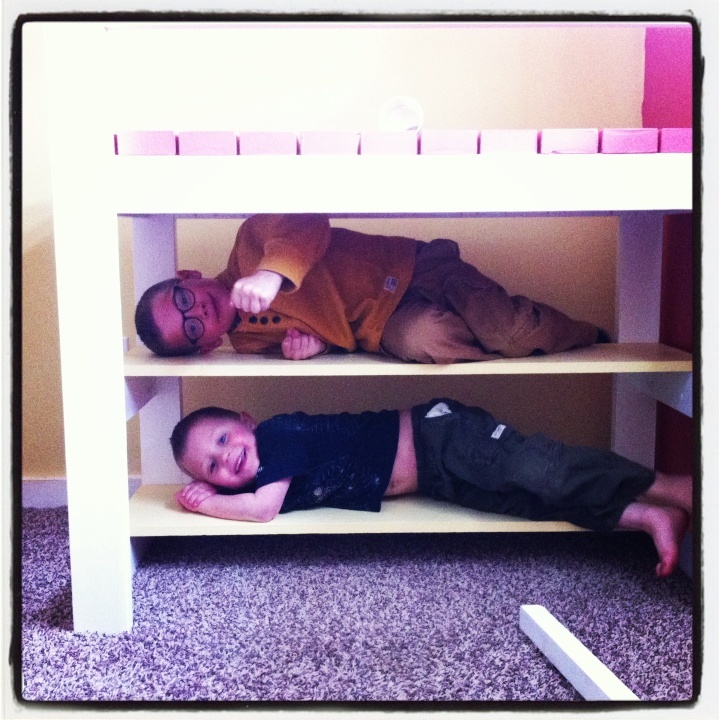
colours: white, glamour pink and cornsilk (for the two shelves)
