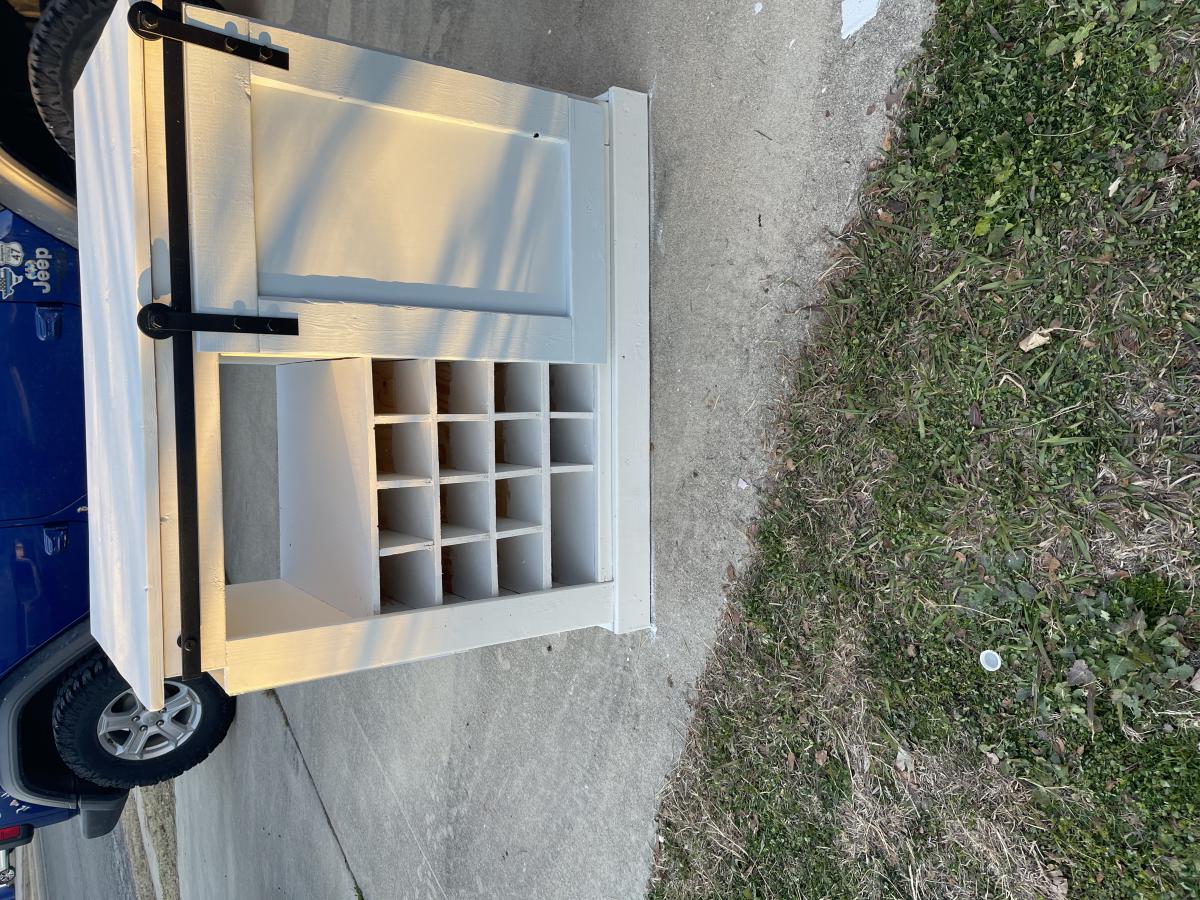
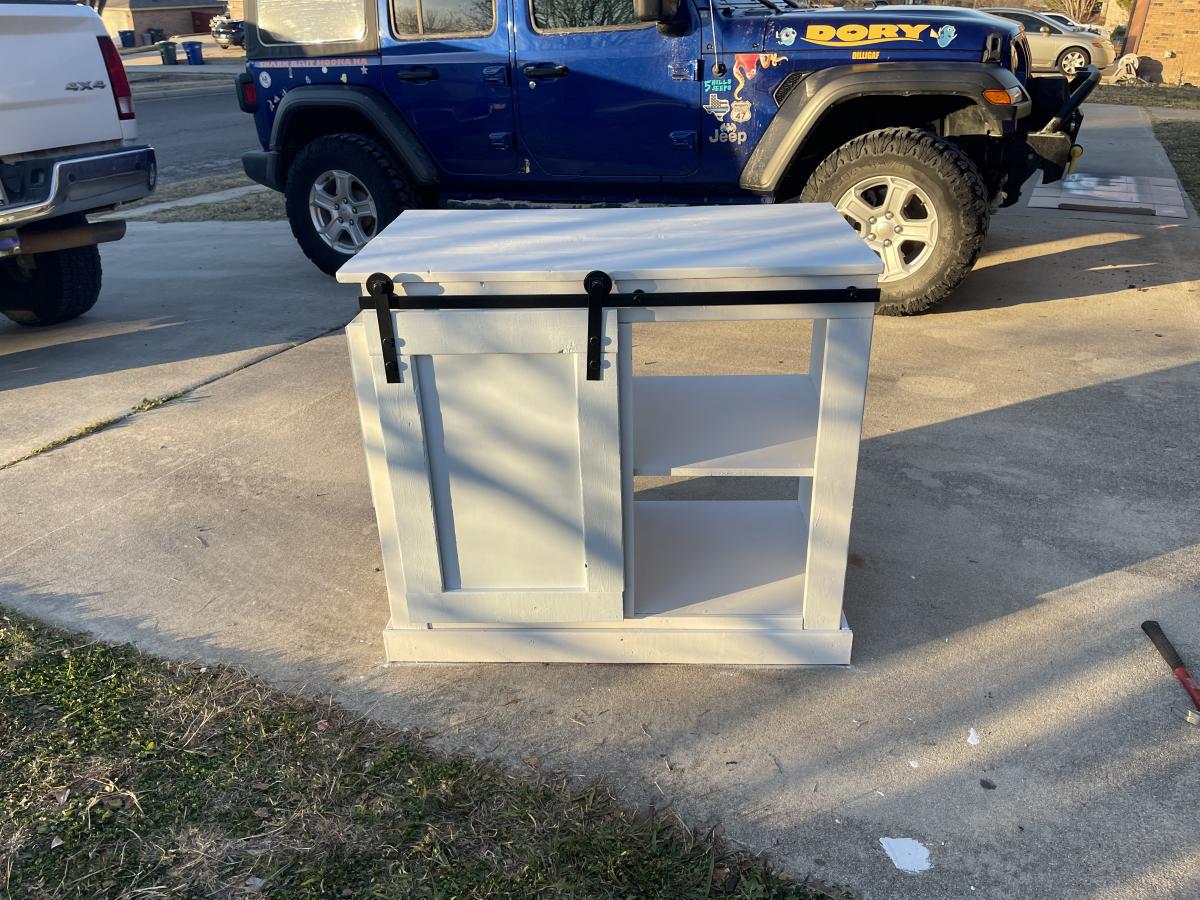
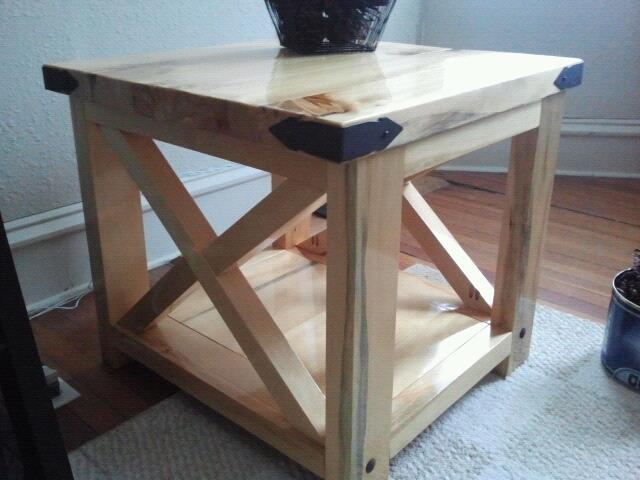
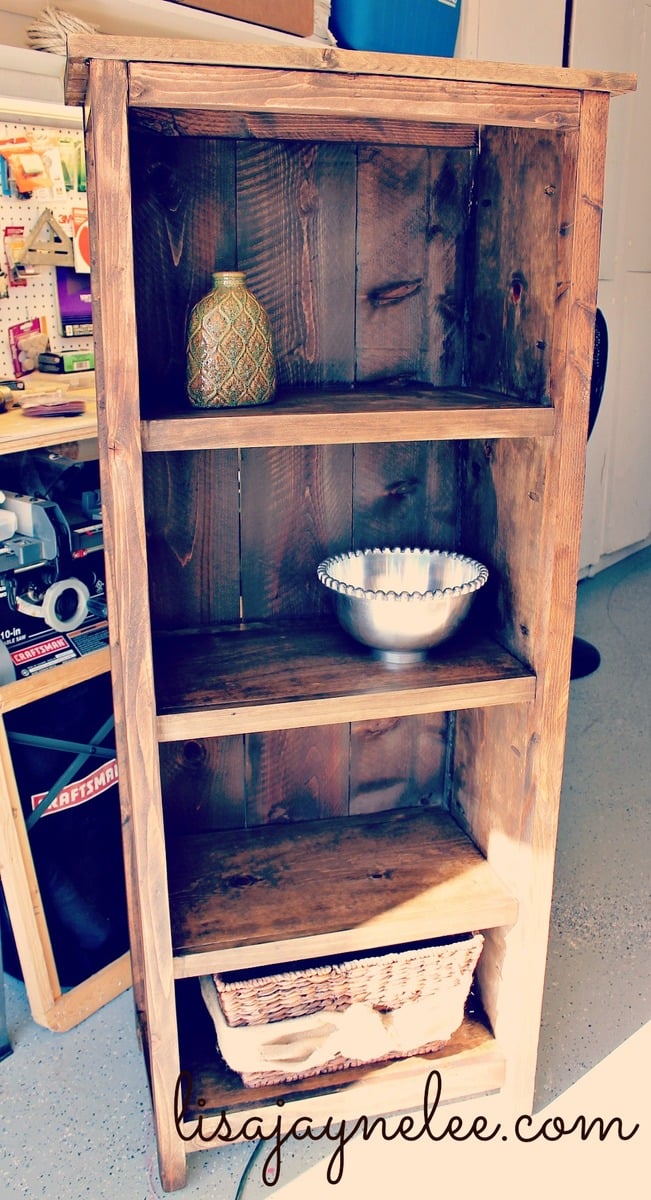
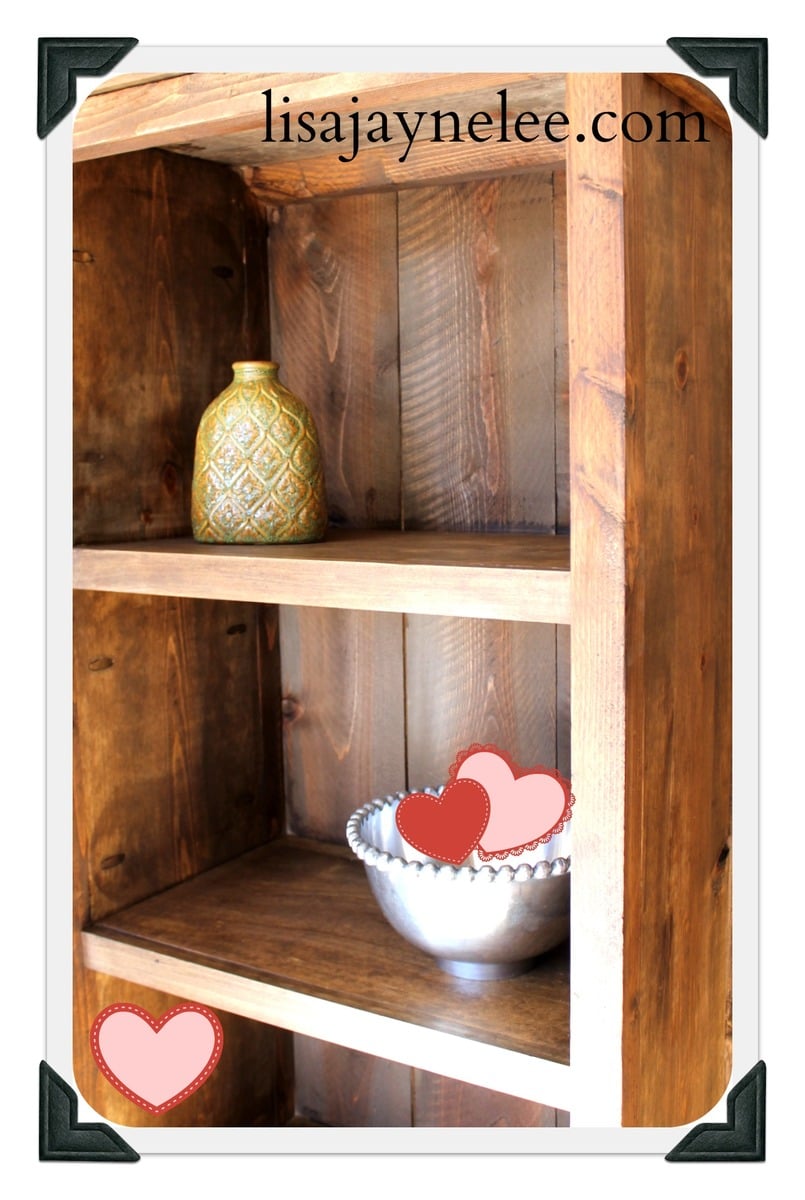
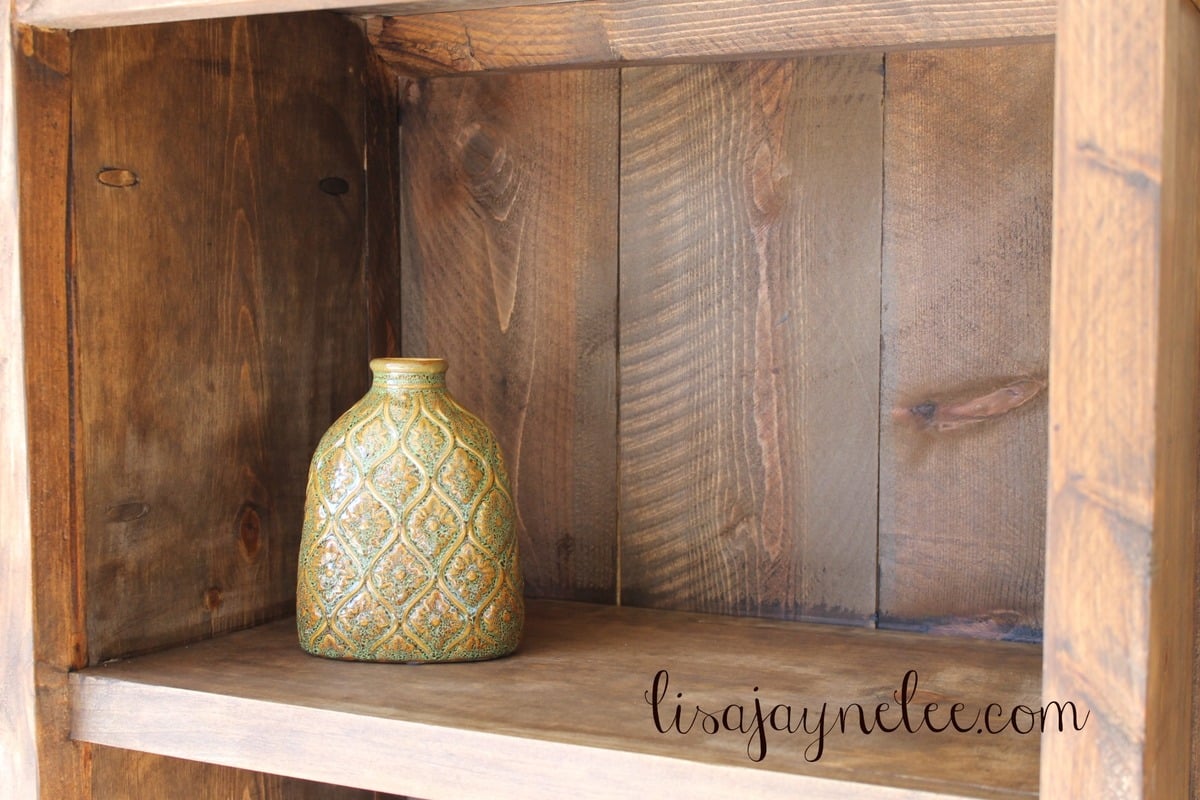
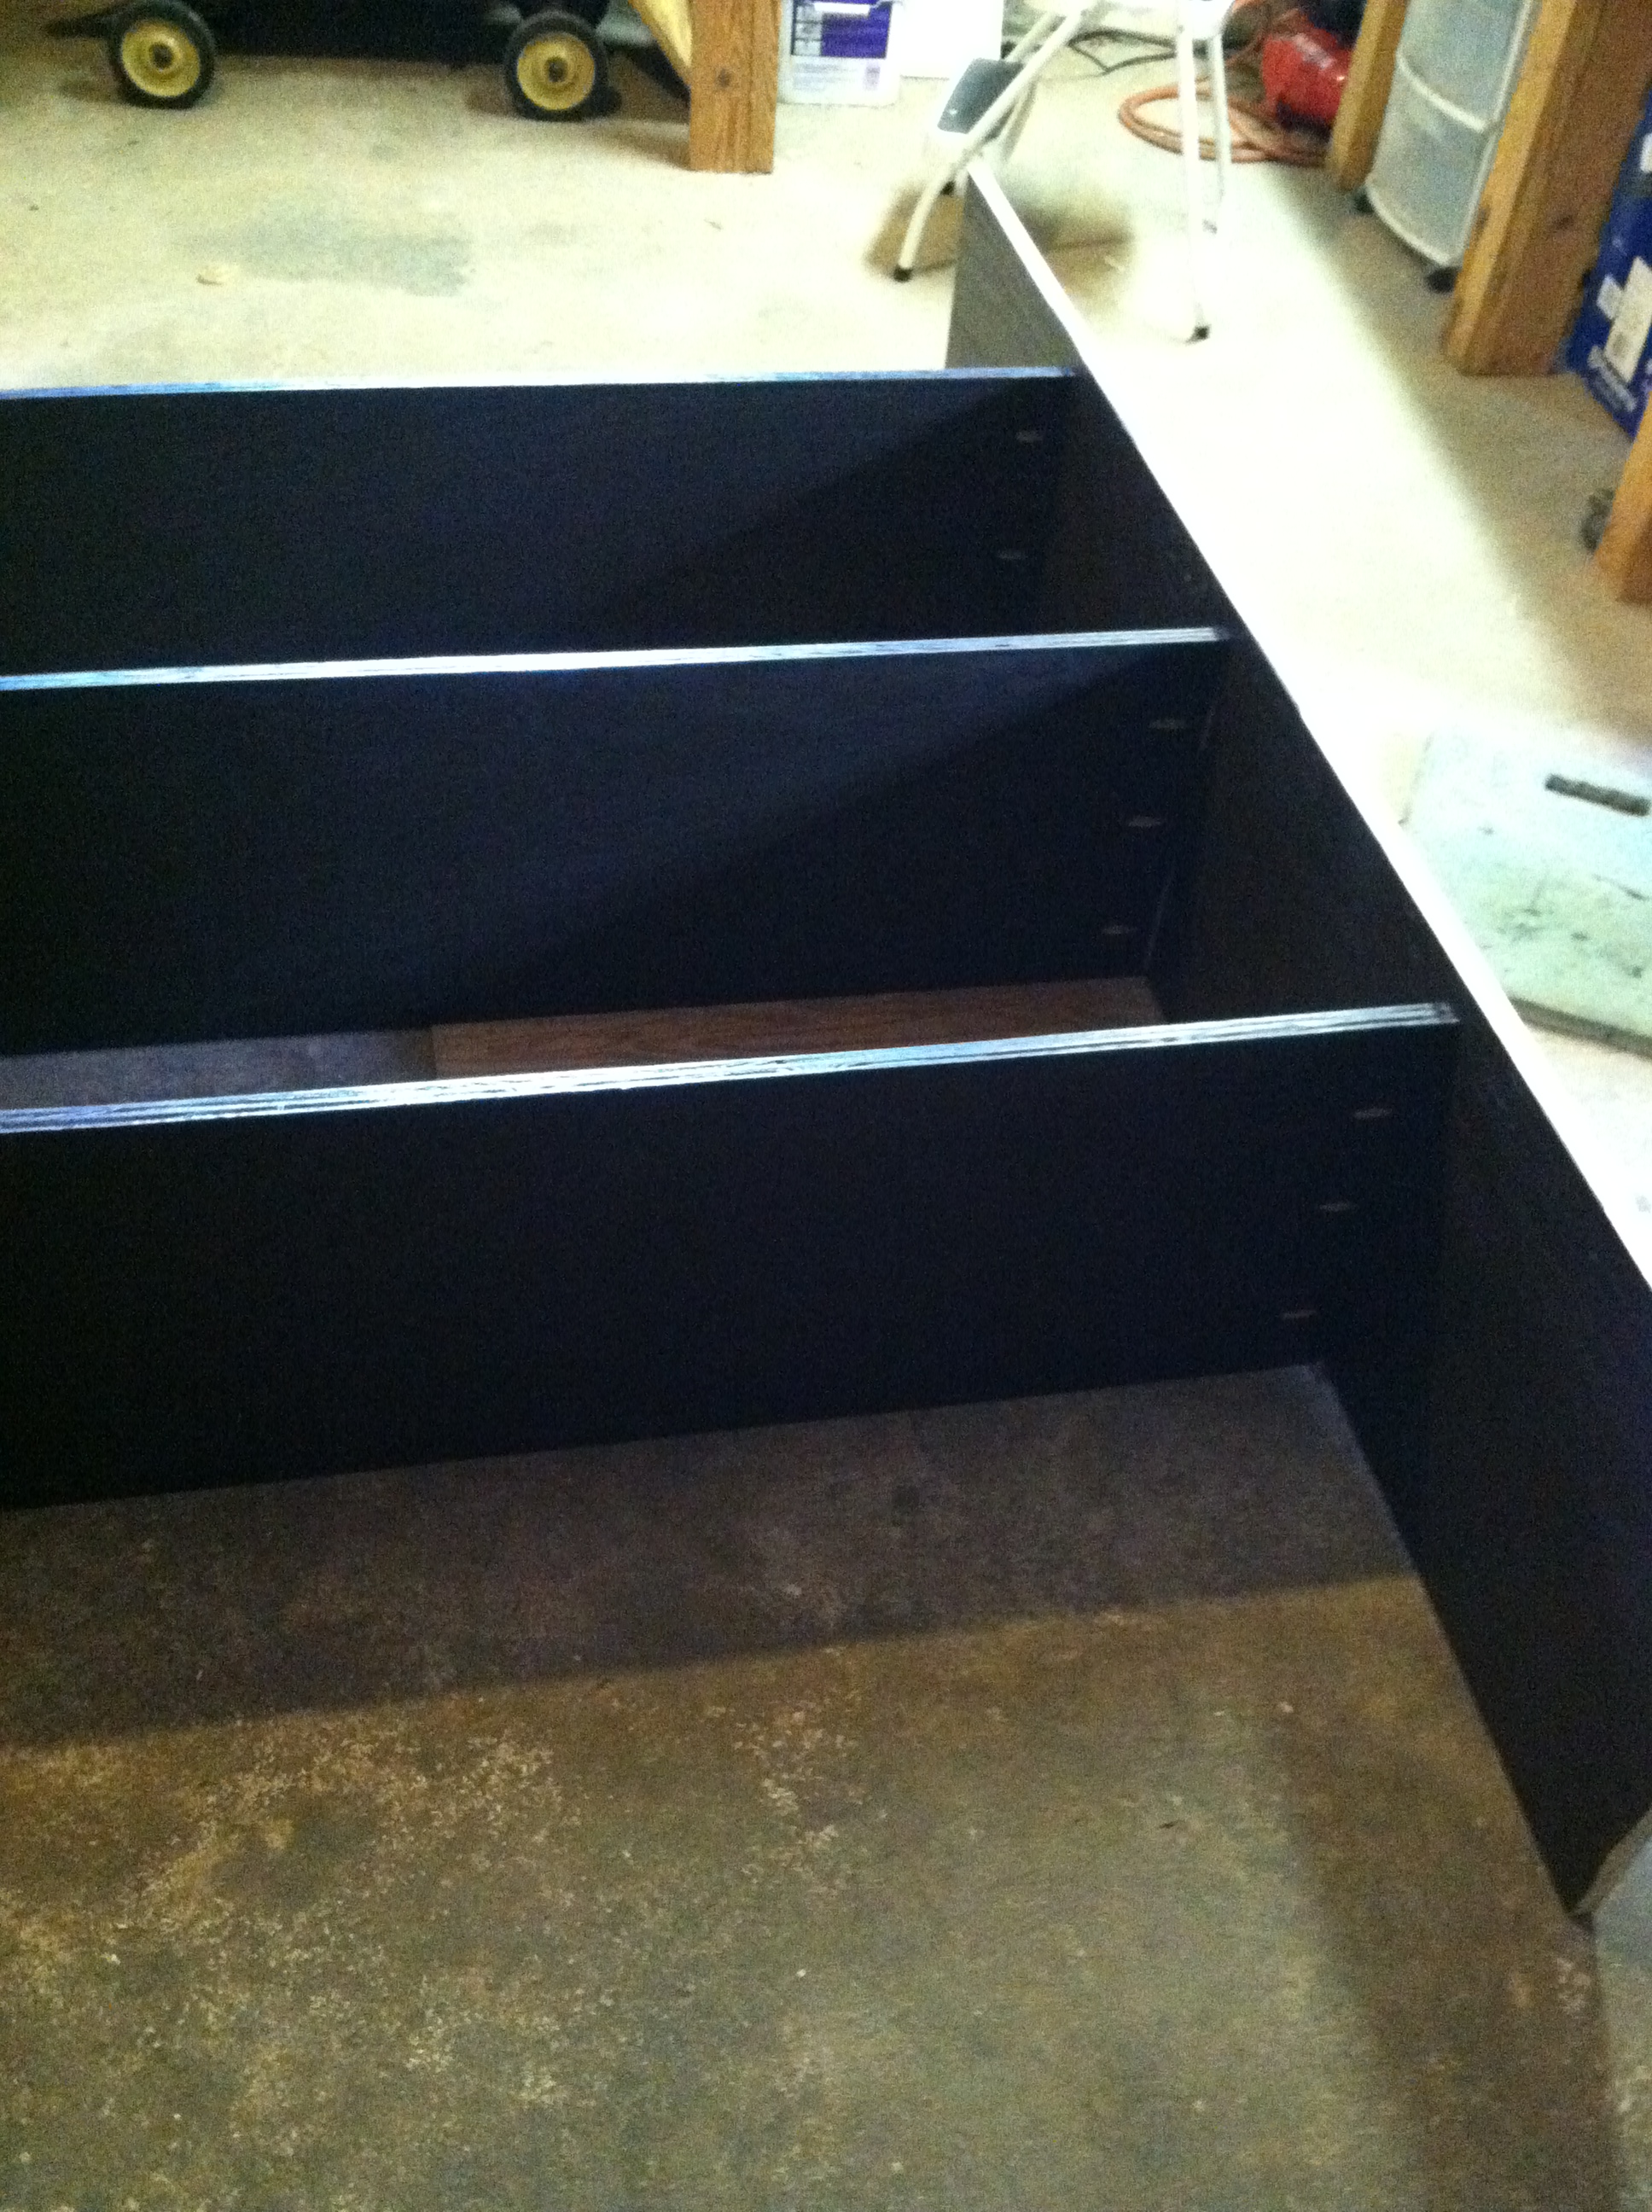
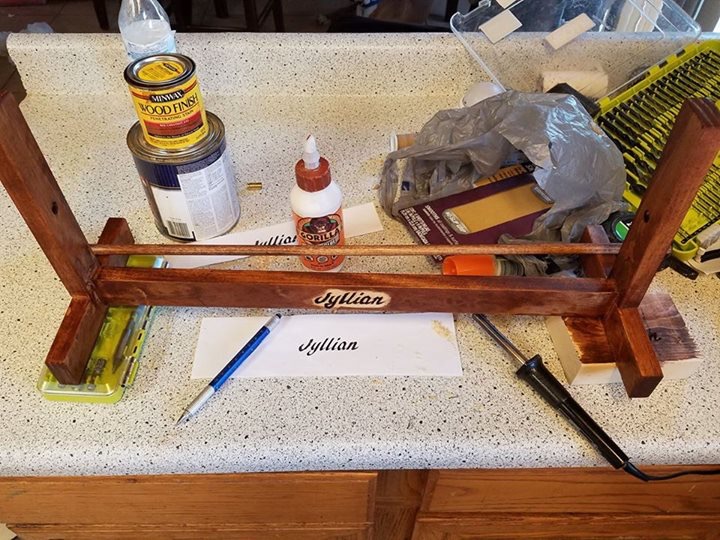
Wood Mail Sorter with Santa Box
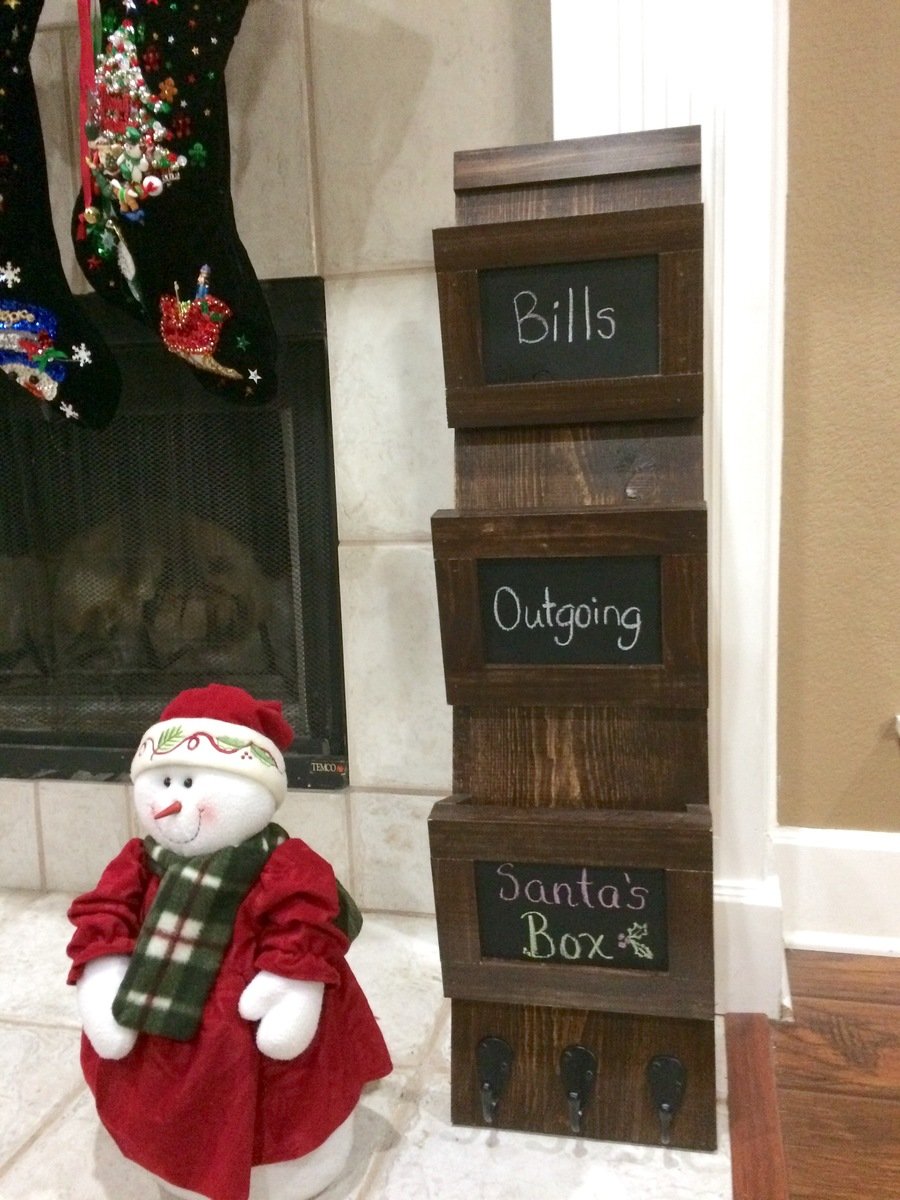
Great quick project. Made two so that I could give one as a gift. Used chalkboard paint so I could change box names. Made bottom box a Santa box for the Christmas season.
Built from Plan(s)
Estimated Time Investment
Afternoon Project (3-6 Hours)
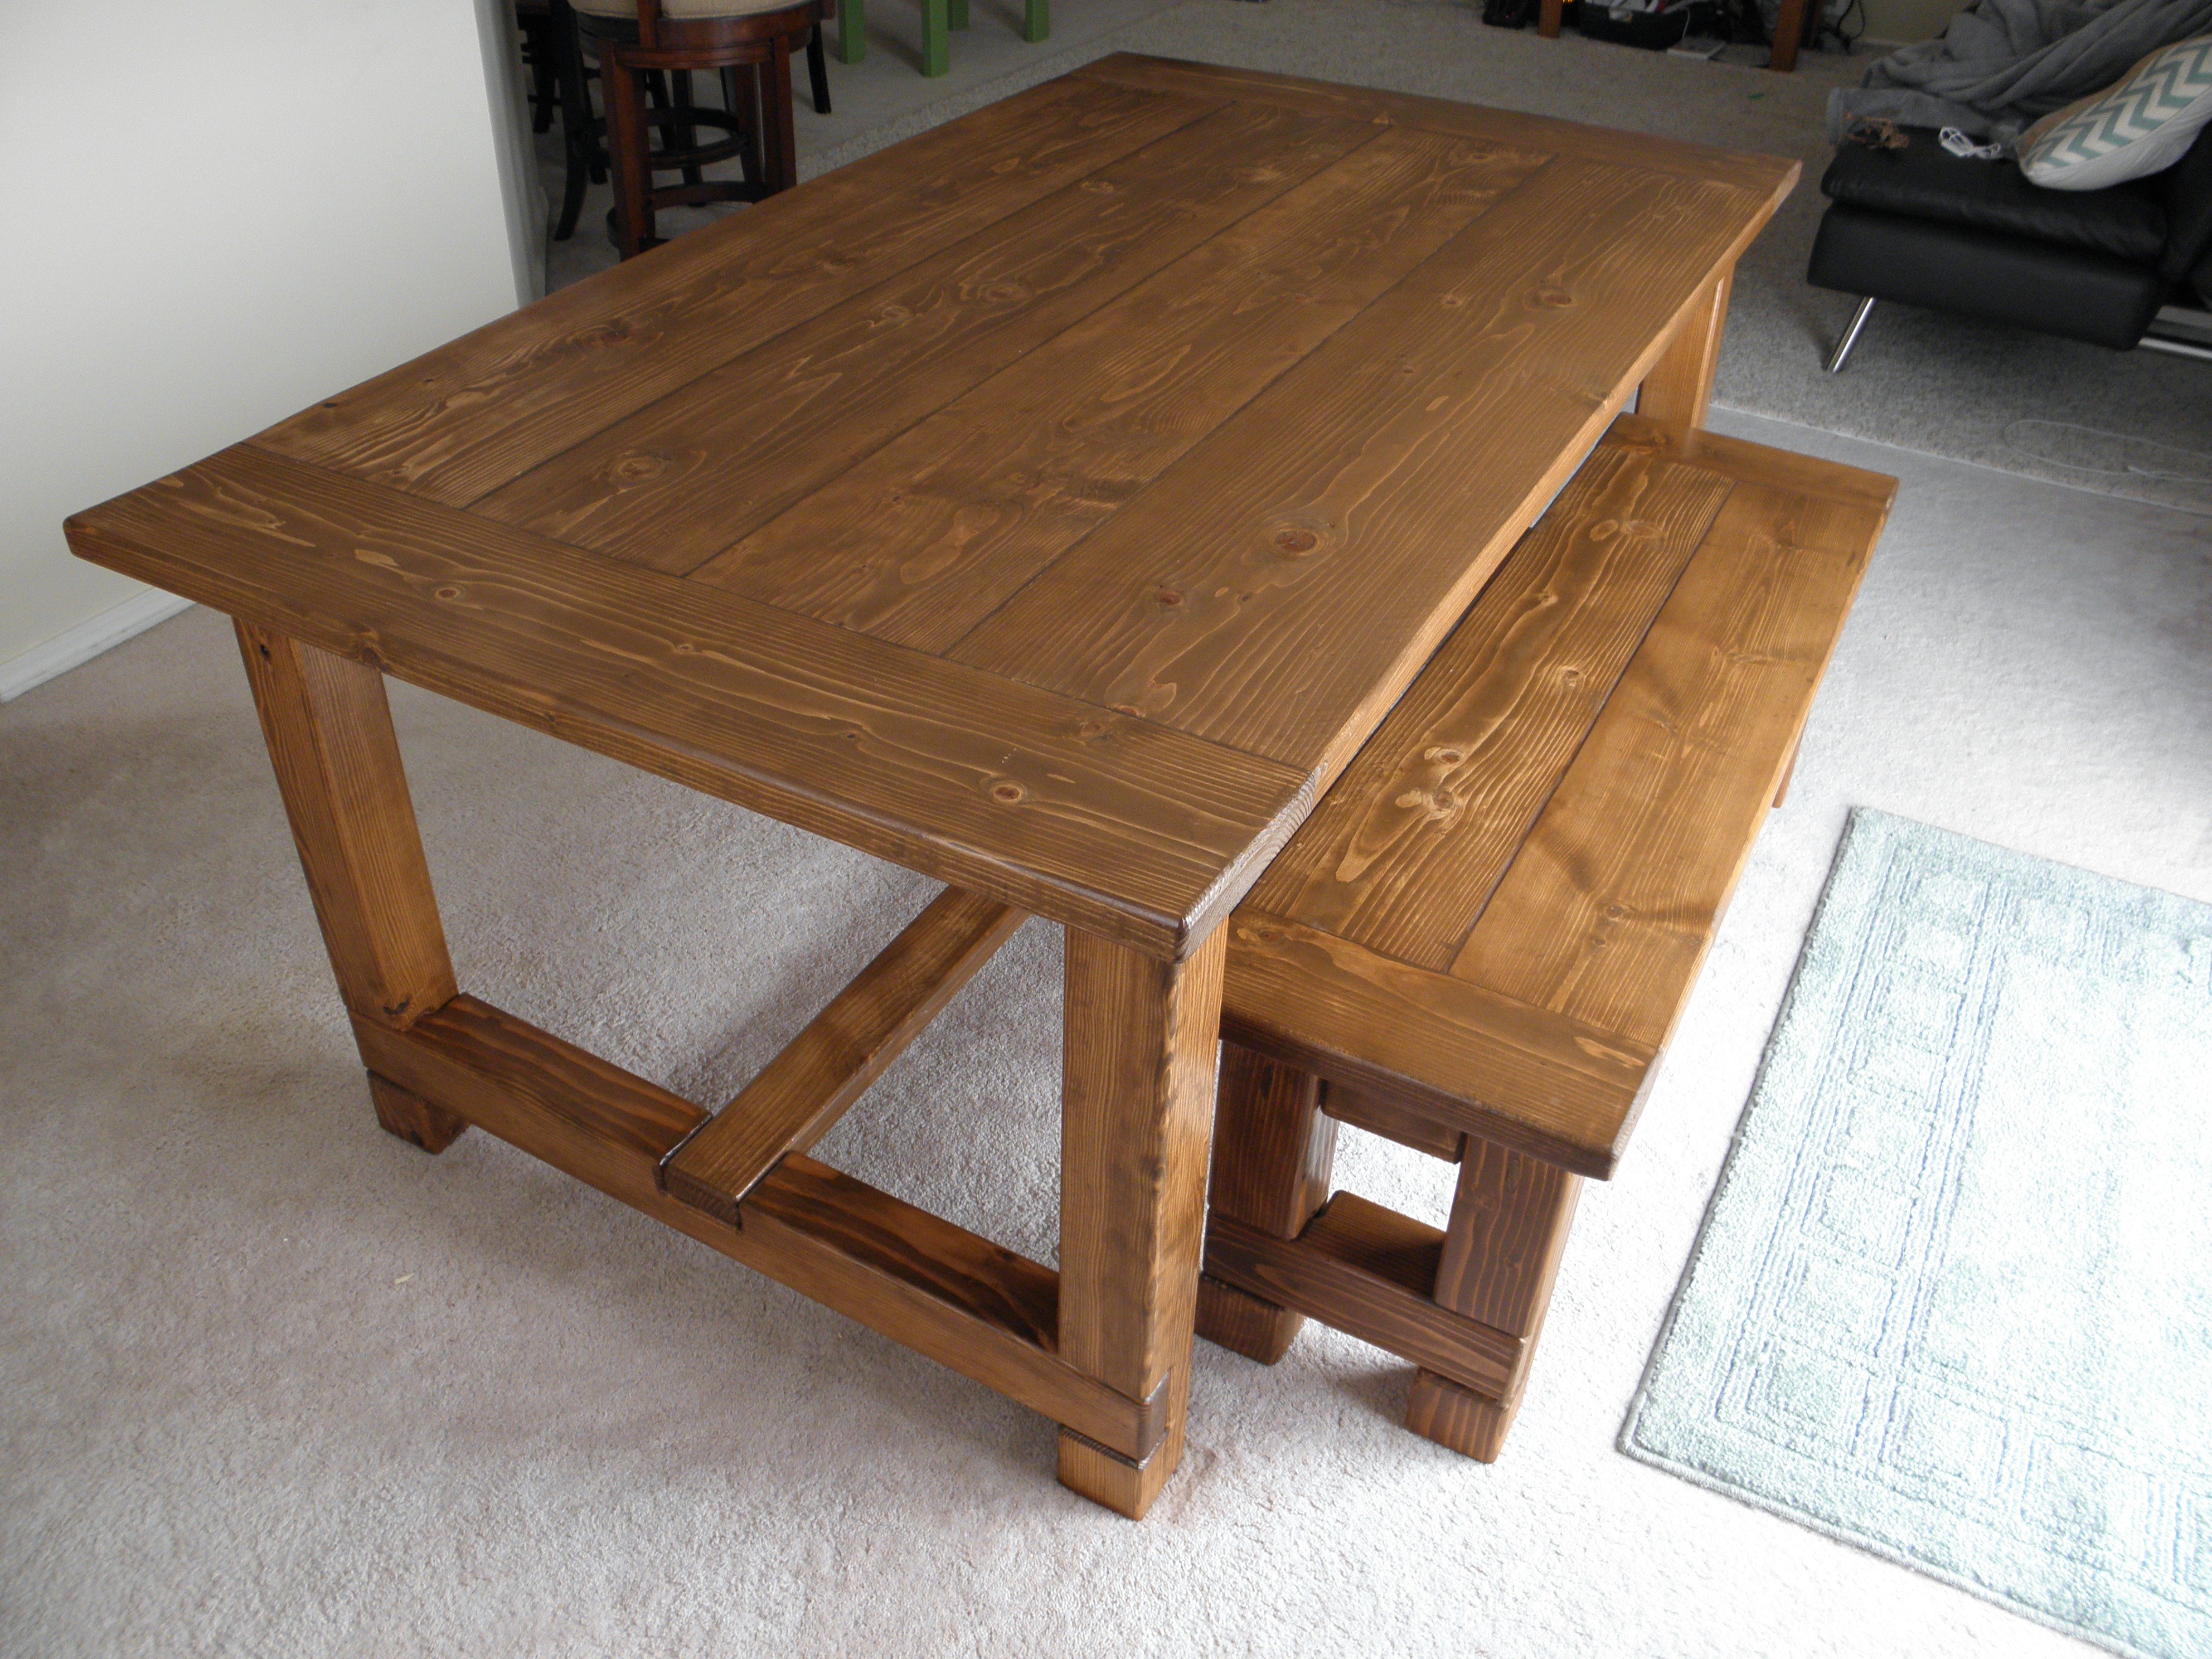
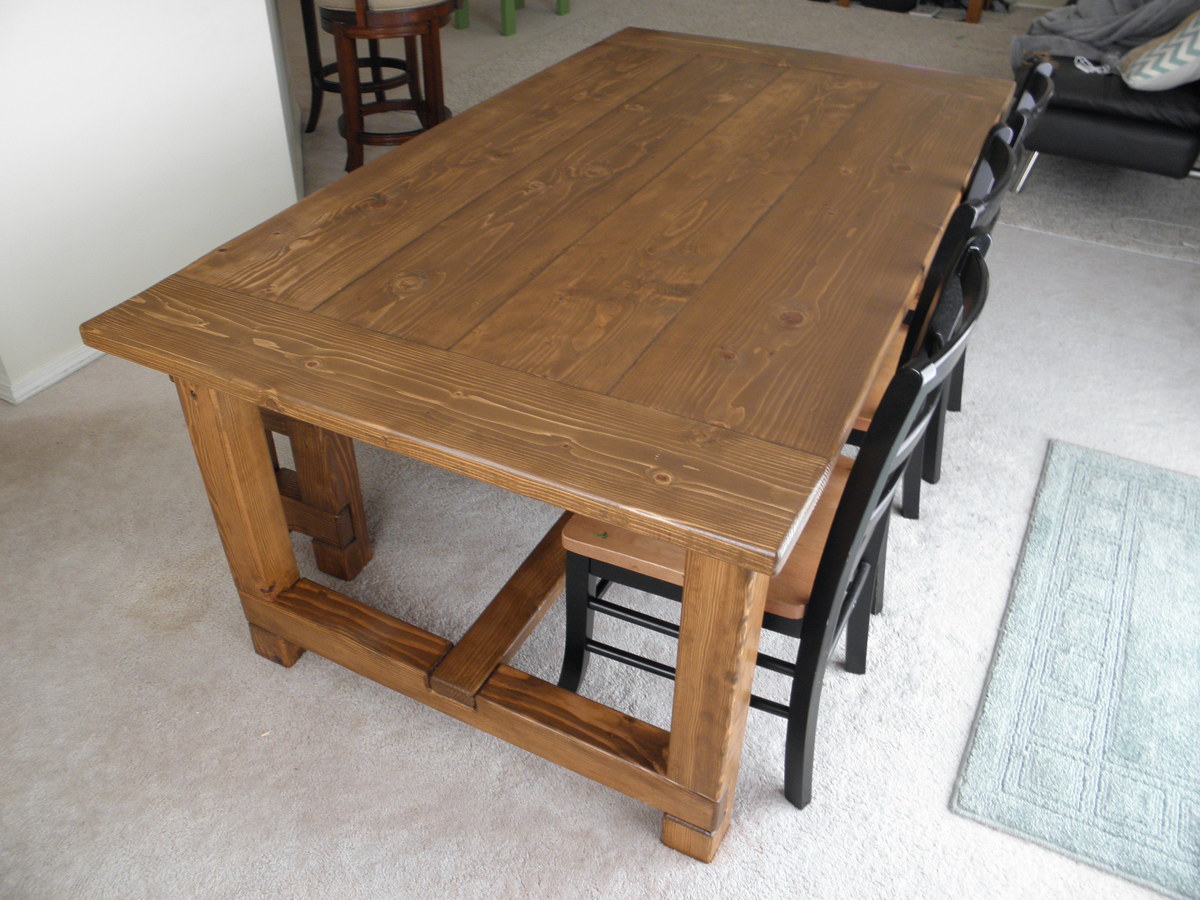
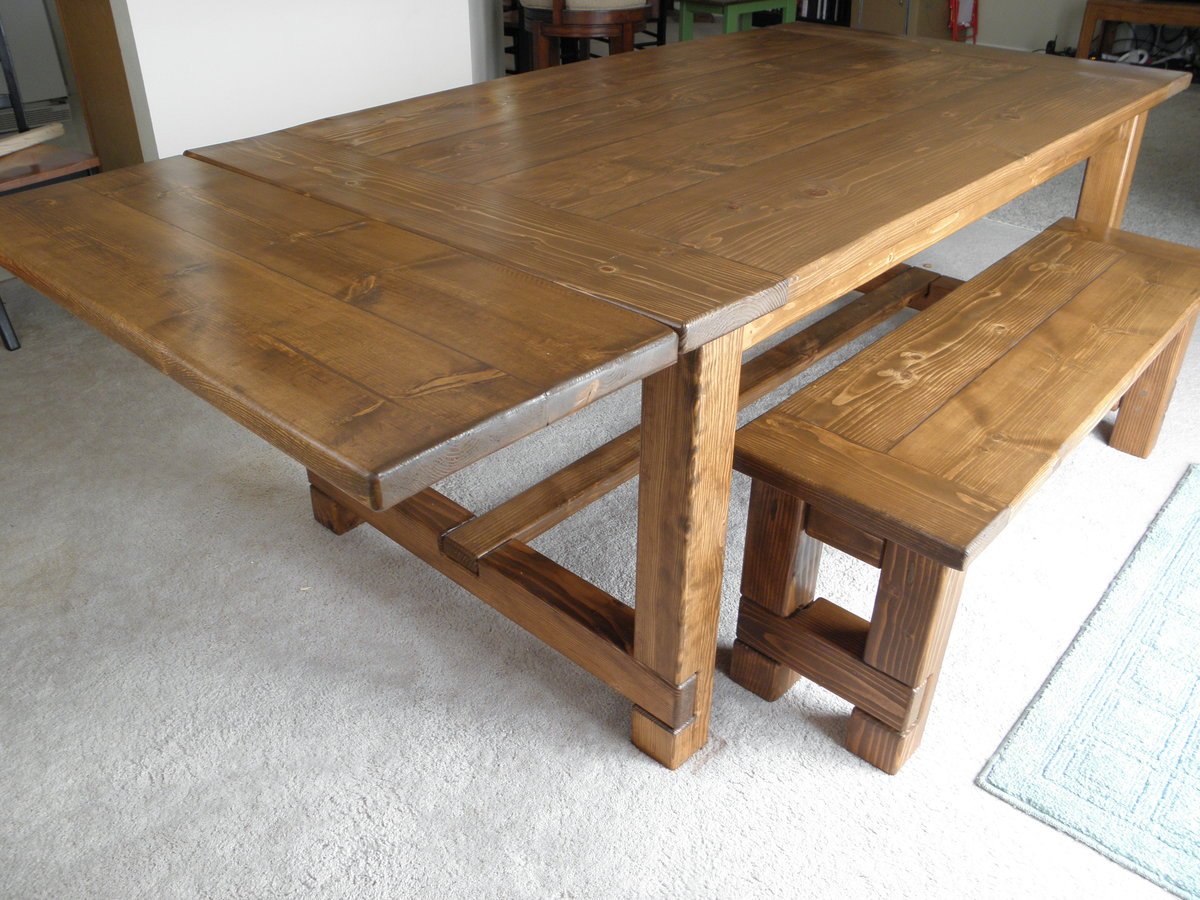
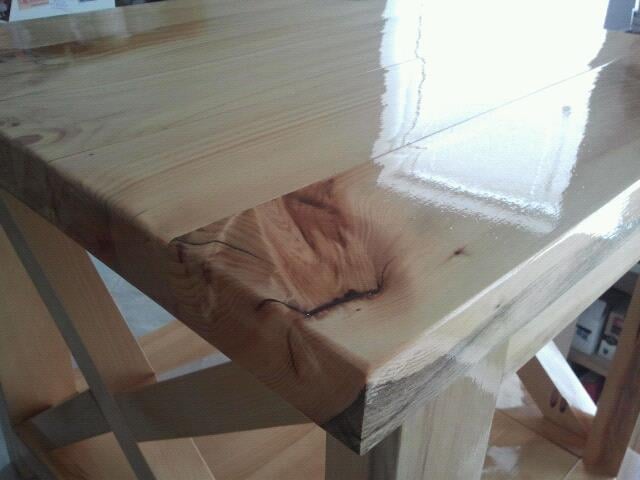
Finish Used
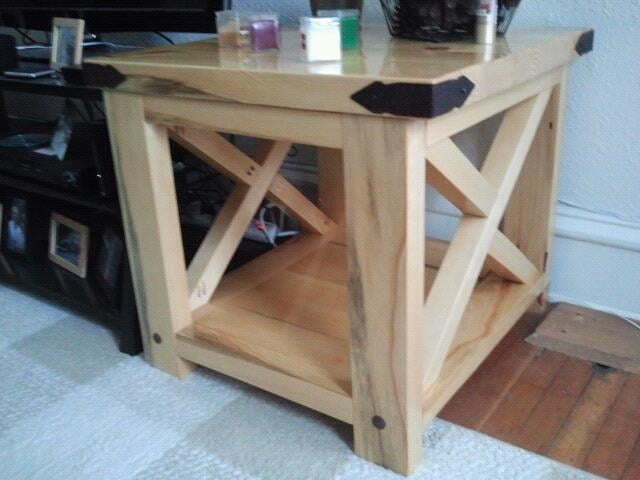
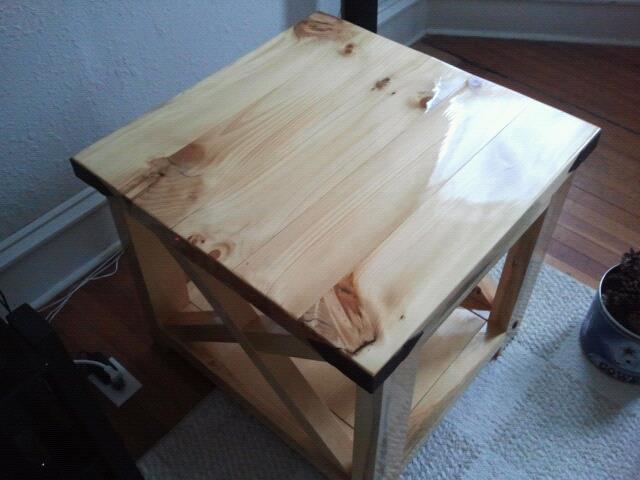
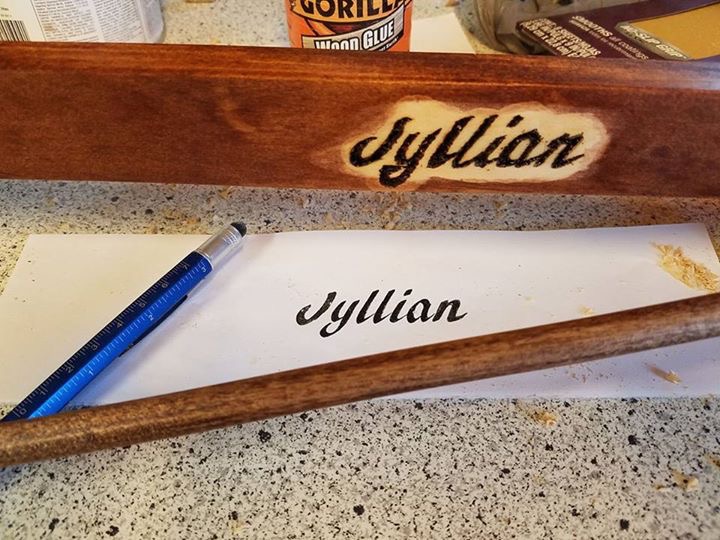
Used a dark walnut miniwax stain and a polyurethane varnish
Recommended Skill Level
Beginner