Wife's Kindergarten Classroom
Been a while since I had time to actually build anything worth posting about! My wife wanted some items for her Kindergarten classroom this year, so built several items, most inspired by the Farmhouse family.
Been a while since I had time to actually build anything worth posting about! My wife wanted some items for her Kindergarten classroom this year, so built several items, most inspired by the Farmhouse family.
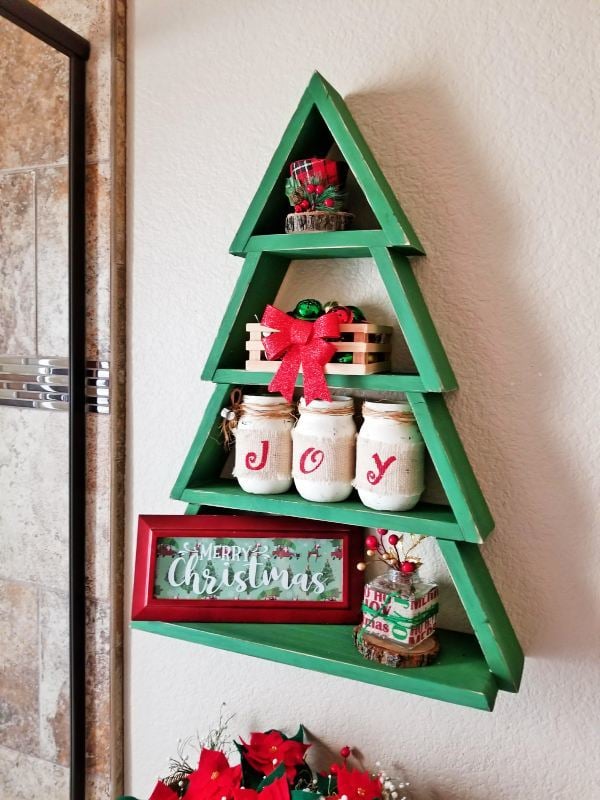
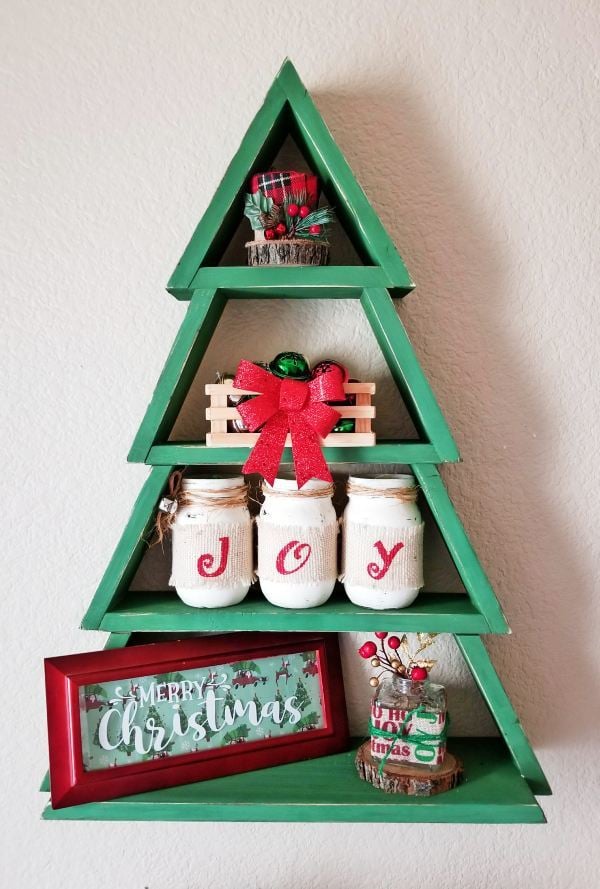
I made this easy and cheap Christmas tree wall shelf to add character to my guest bathroom. I went through all my wood stash and found enough wood to build this project with!
Make sure to pay attention to the long and short point directions in Ana's plans. Since I was hanging this above my toilet, I didn't need the hooks so I just omitted the bottom piece all together.
I ended up using wood glue and a nail gun to put everything together so it went really quickly.
I painted the whole tree with green chalk paint and distressed the edges with sandpaper. Hung it up with L brackets in a stud.
Fun and easy project! Thank you Ana!!
Mon, 11/05/2018 - 11:27
Super cute! I love the wider bottom shelf and the green paint!

First Dresser project using the plans on this site.
My wife is very happy with the result and so am I!
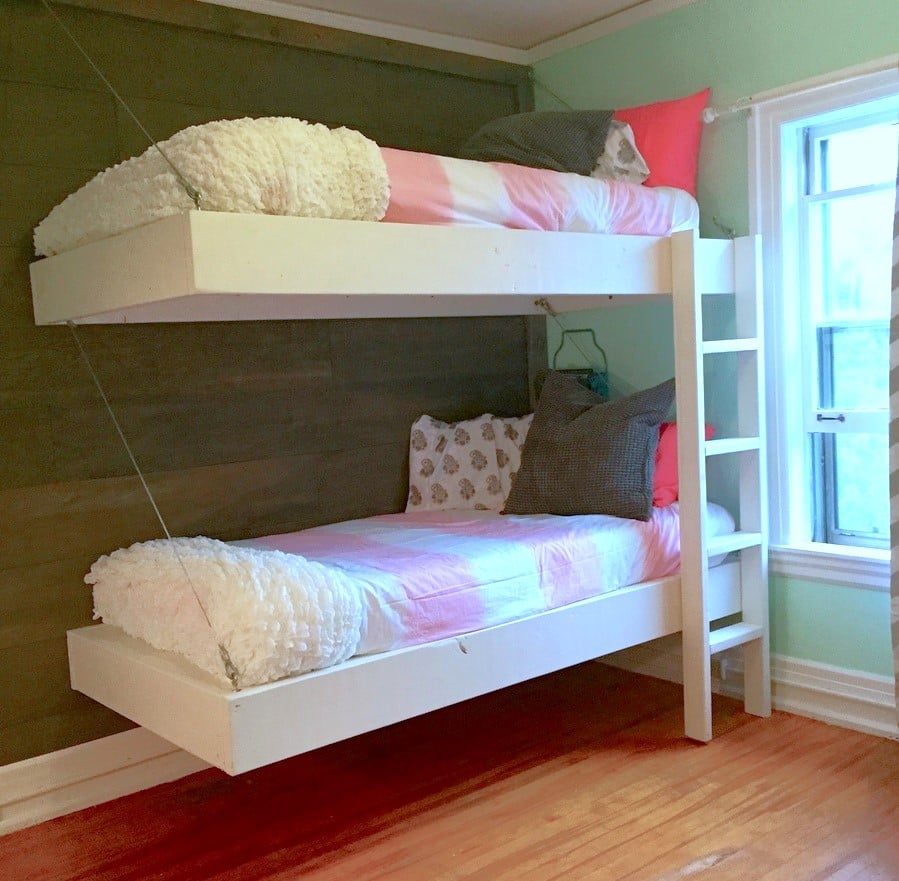
This little girls room needed a little happy birthday! I planked the wall with birch veneer, made simple box frames for the beds and desk, and attached them to walls with heavy duty cable. Then my friend added her designer touch, and made it cozy and girl CHIC!


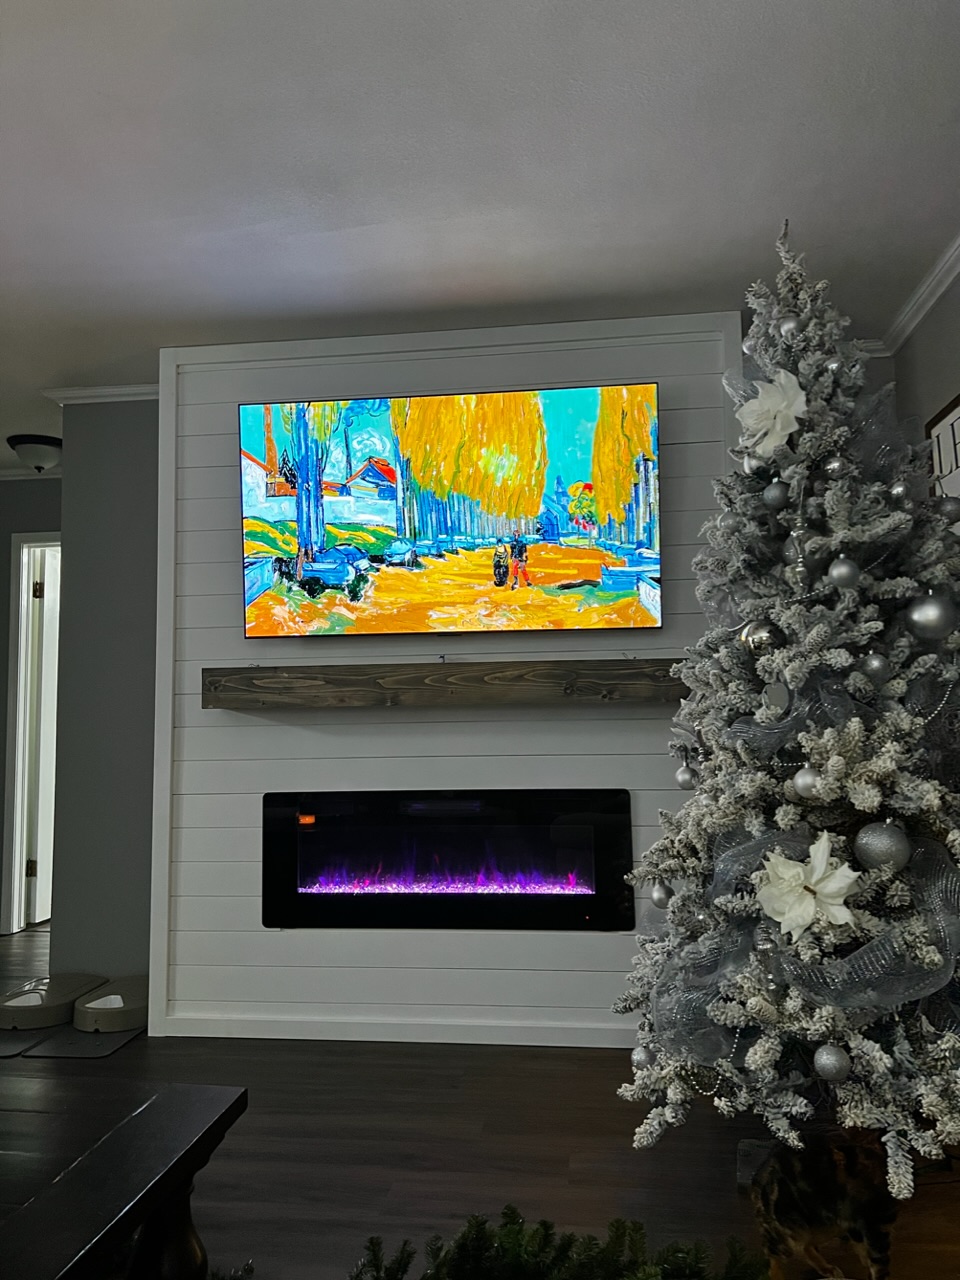
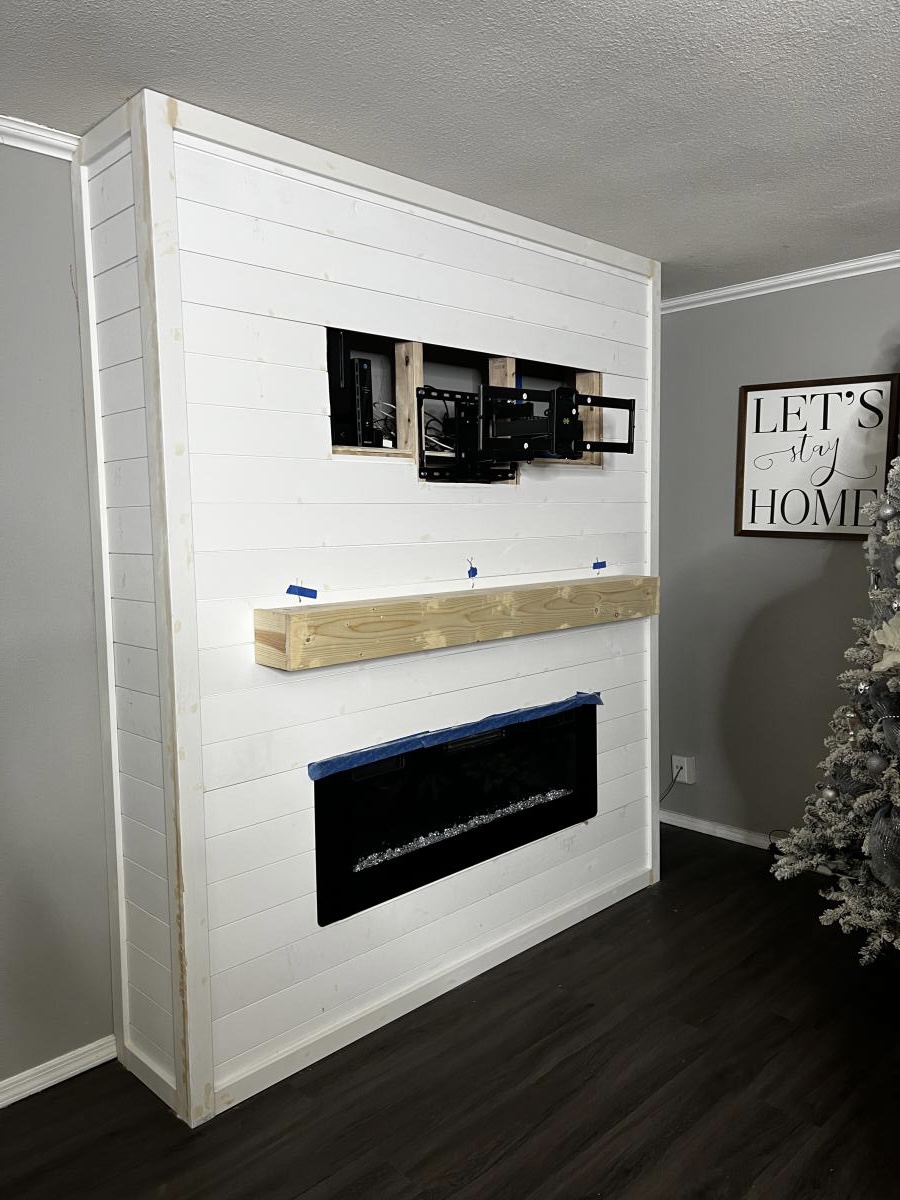
We did the Easiest Shiplap Fireplace in a weekend, thanks to Ana’s plans. I convinced my husband to help me build this by upgrading to a 65” tv and adjusting the dimensions. We also built a shelf behind the tv to hold our receiver and Xbox that is hidden when the tv is in place. Ana’s tutorial was amazingly and gave us the confidence to finally build something that’s been on our list for 2 years!

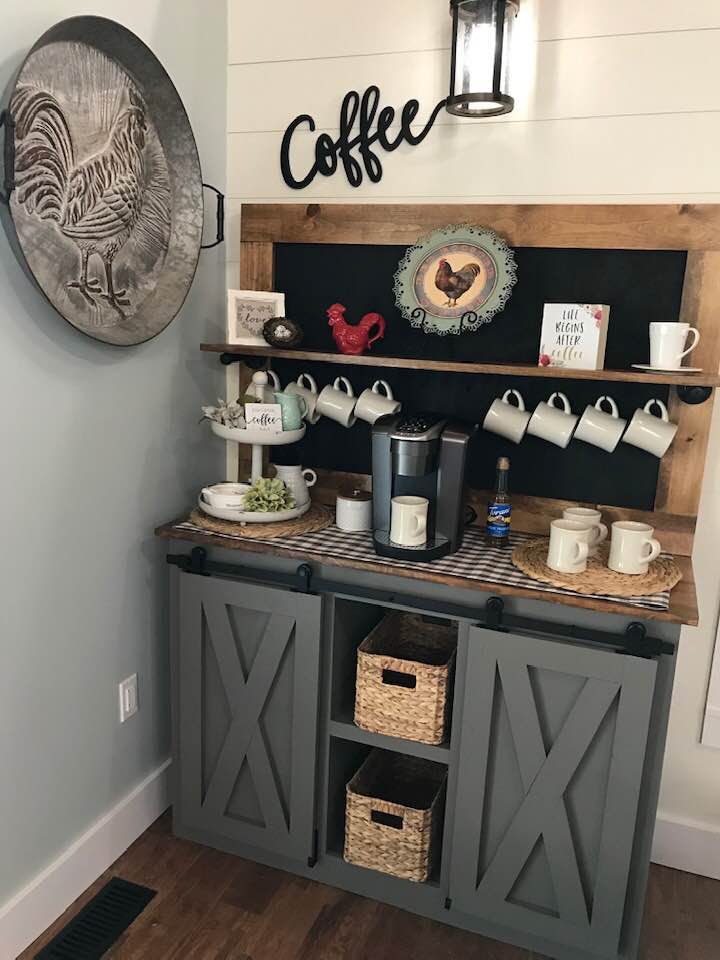
Modified Grady barndoor console into a coffee bar with chalkboard upper piece
Wed, 11/18/2020 - 19:01
This piece was built by my hisband Mo Coomer. Our little shop is called Rugged Cross Custom Designs. It states submitted by anonymous.
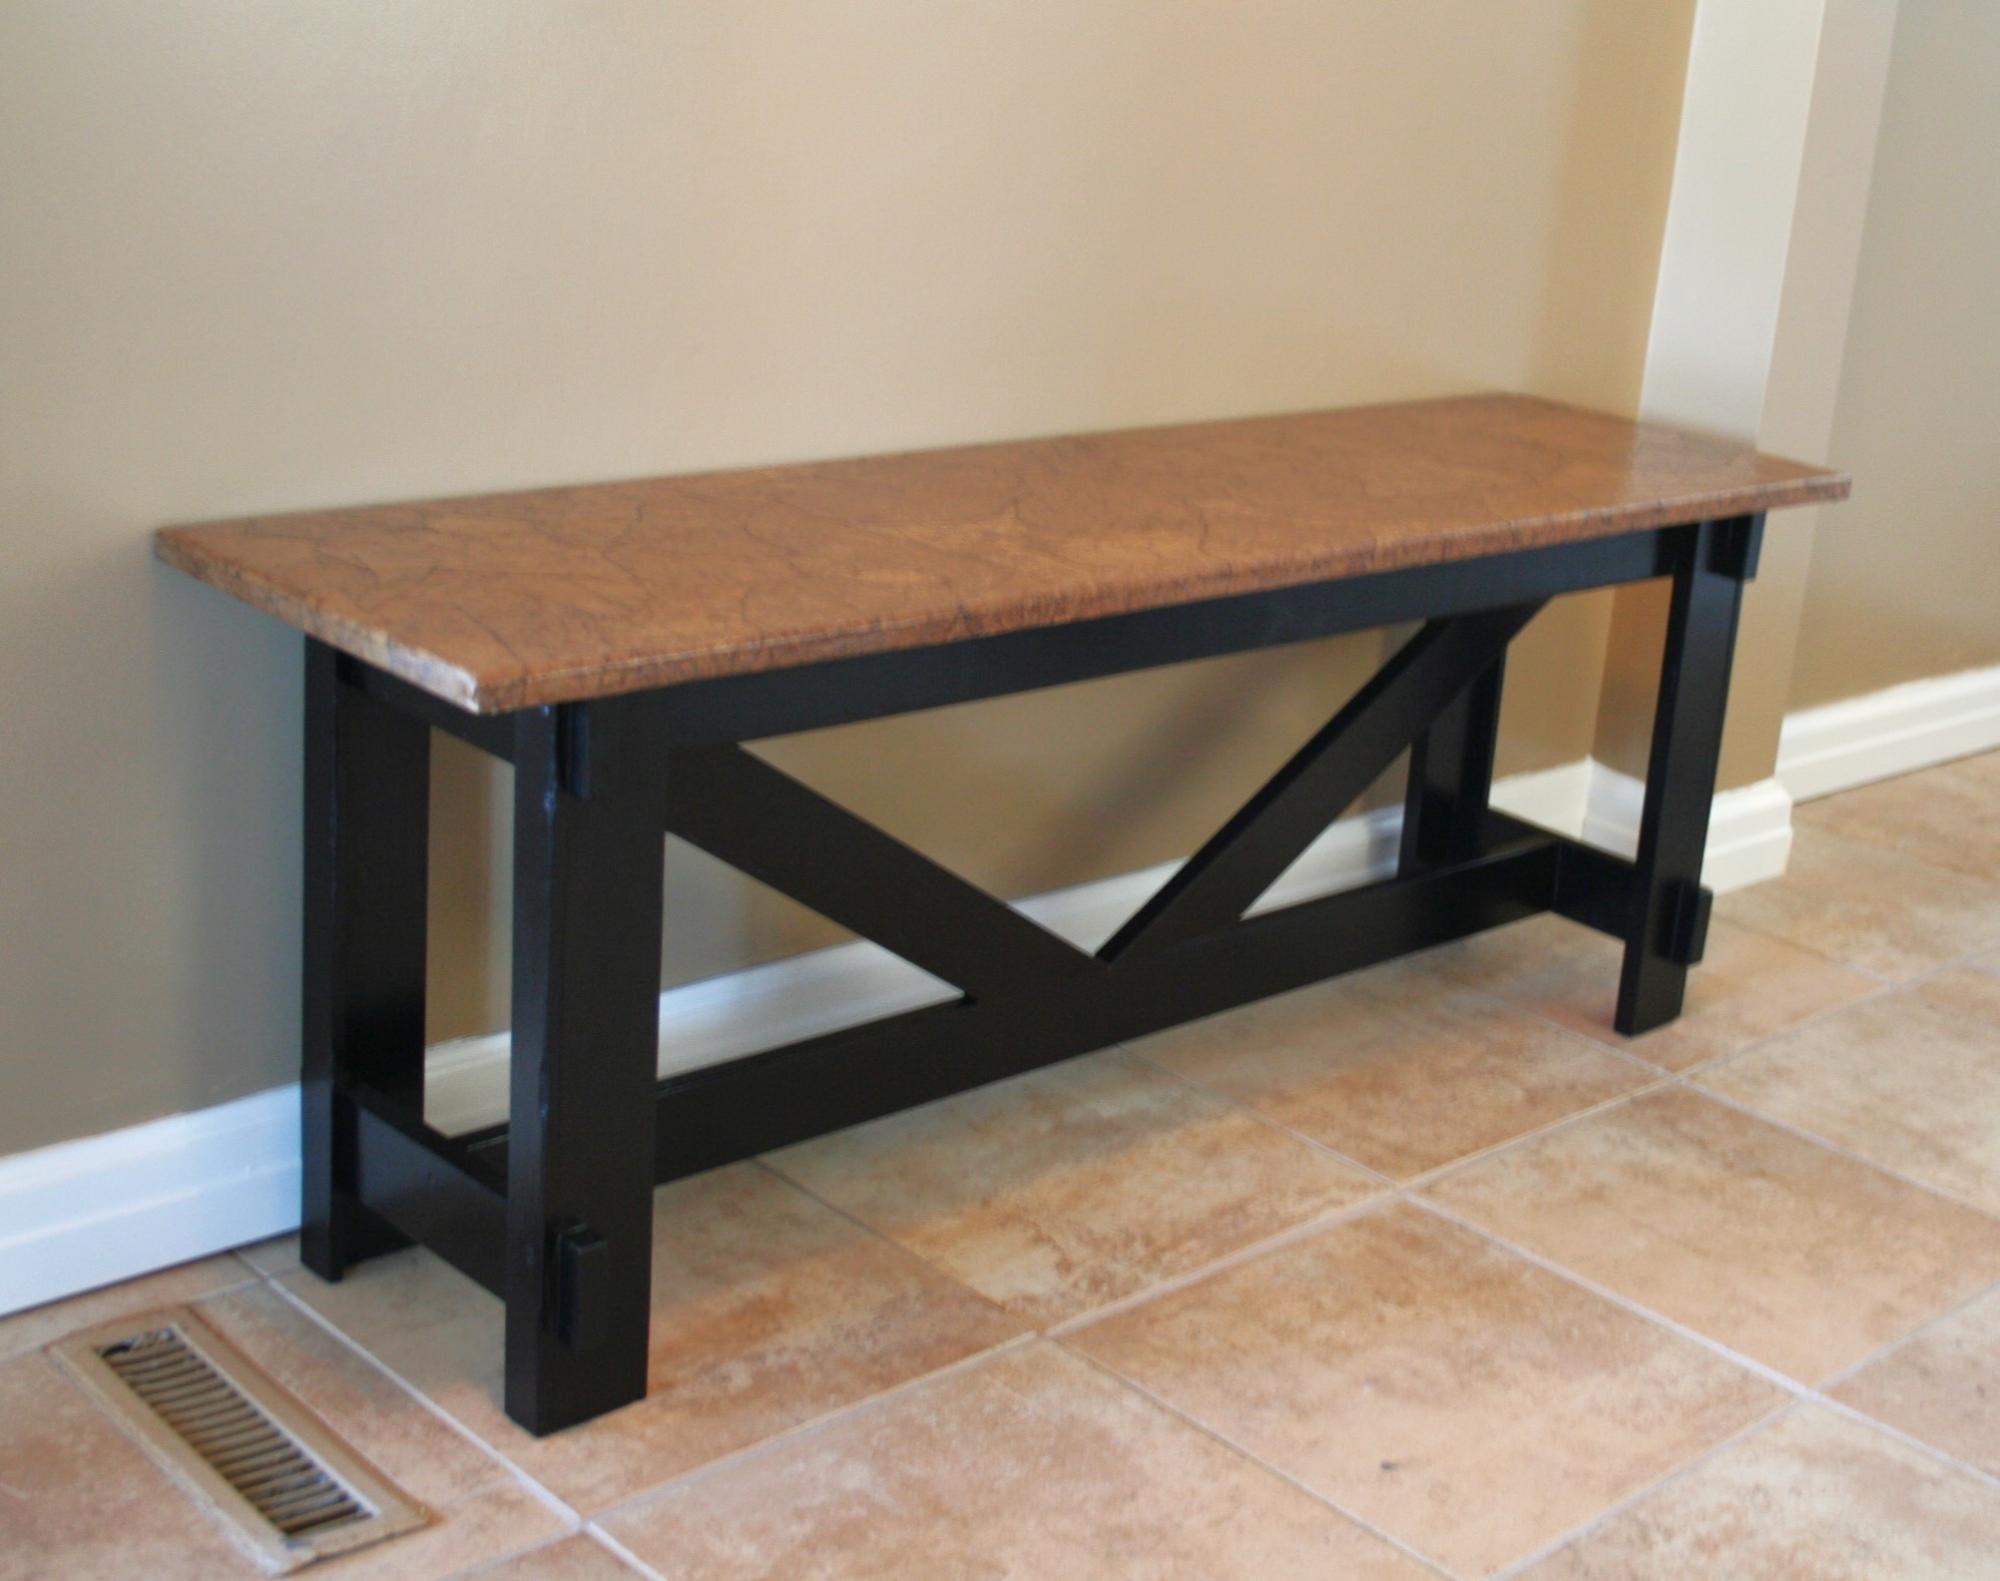
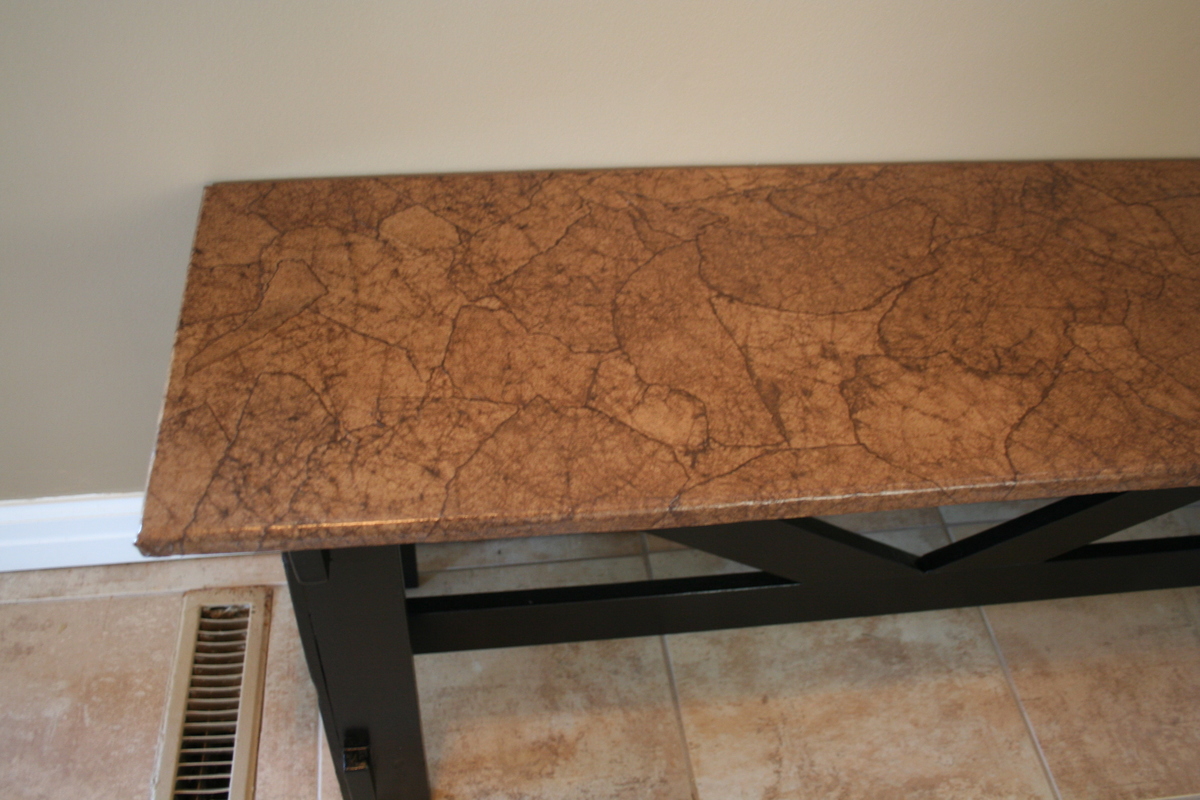
Thank you ana ... and all of you "braggers" ... I have a huge list of projects now, but this is the first one from your ideas. I had an old piece of 3/4 plywood left over from something else so that became the top .. and other sizes were adjusted as needed. I realize now that i should have taken pictures along the way ... it was pretty ugly before finish :) The top is brown paper bagged ... the best instructions out there are at http://lovelycraftyhome.com/2011/11/09/the-ultimate-brown-paper-floorin… ... it is truly almost magic how beautiful such simple ingredients and technique become (and cheap) Thanks again!
Mon, 03/26/2012 - 09:17
wow, this is awesome :) Can you send the measurments? My email is [email protected]
Mon, 03/26/2012 - 10:20
my finished dimensions ended up being 13 (W) x 48 (L) x 18 (H) ... found Ana's dimensions were very adjustable though ... the only trick was the cross braces ... and those i ended up having to hold in place and draw the cut lines .. my geometry failed me :)
from what i hear the "paper bagging" is quite durable .. there are reports all over the web of people who have had it in place on their floors for years with only occasional touchups with poly ... definitely time consuming with needing so many poly coats .. but they go quickly. i'm putting it on my stairs next ... have tile below, will be wood above .. and i'm too cheap to pay for hard wood stair tread!!
Wed, 03/28/2012 - 13:25
You did a wonderful job!!!! Mine is holding up just fine, my son practically does cartwheels on it everyday, no problem! Now, I'm about to start on my floors this week, cant' wait to see how it turns out!
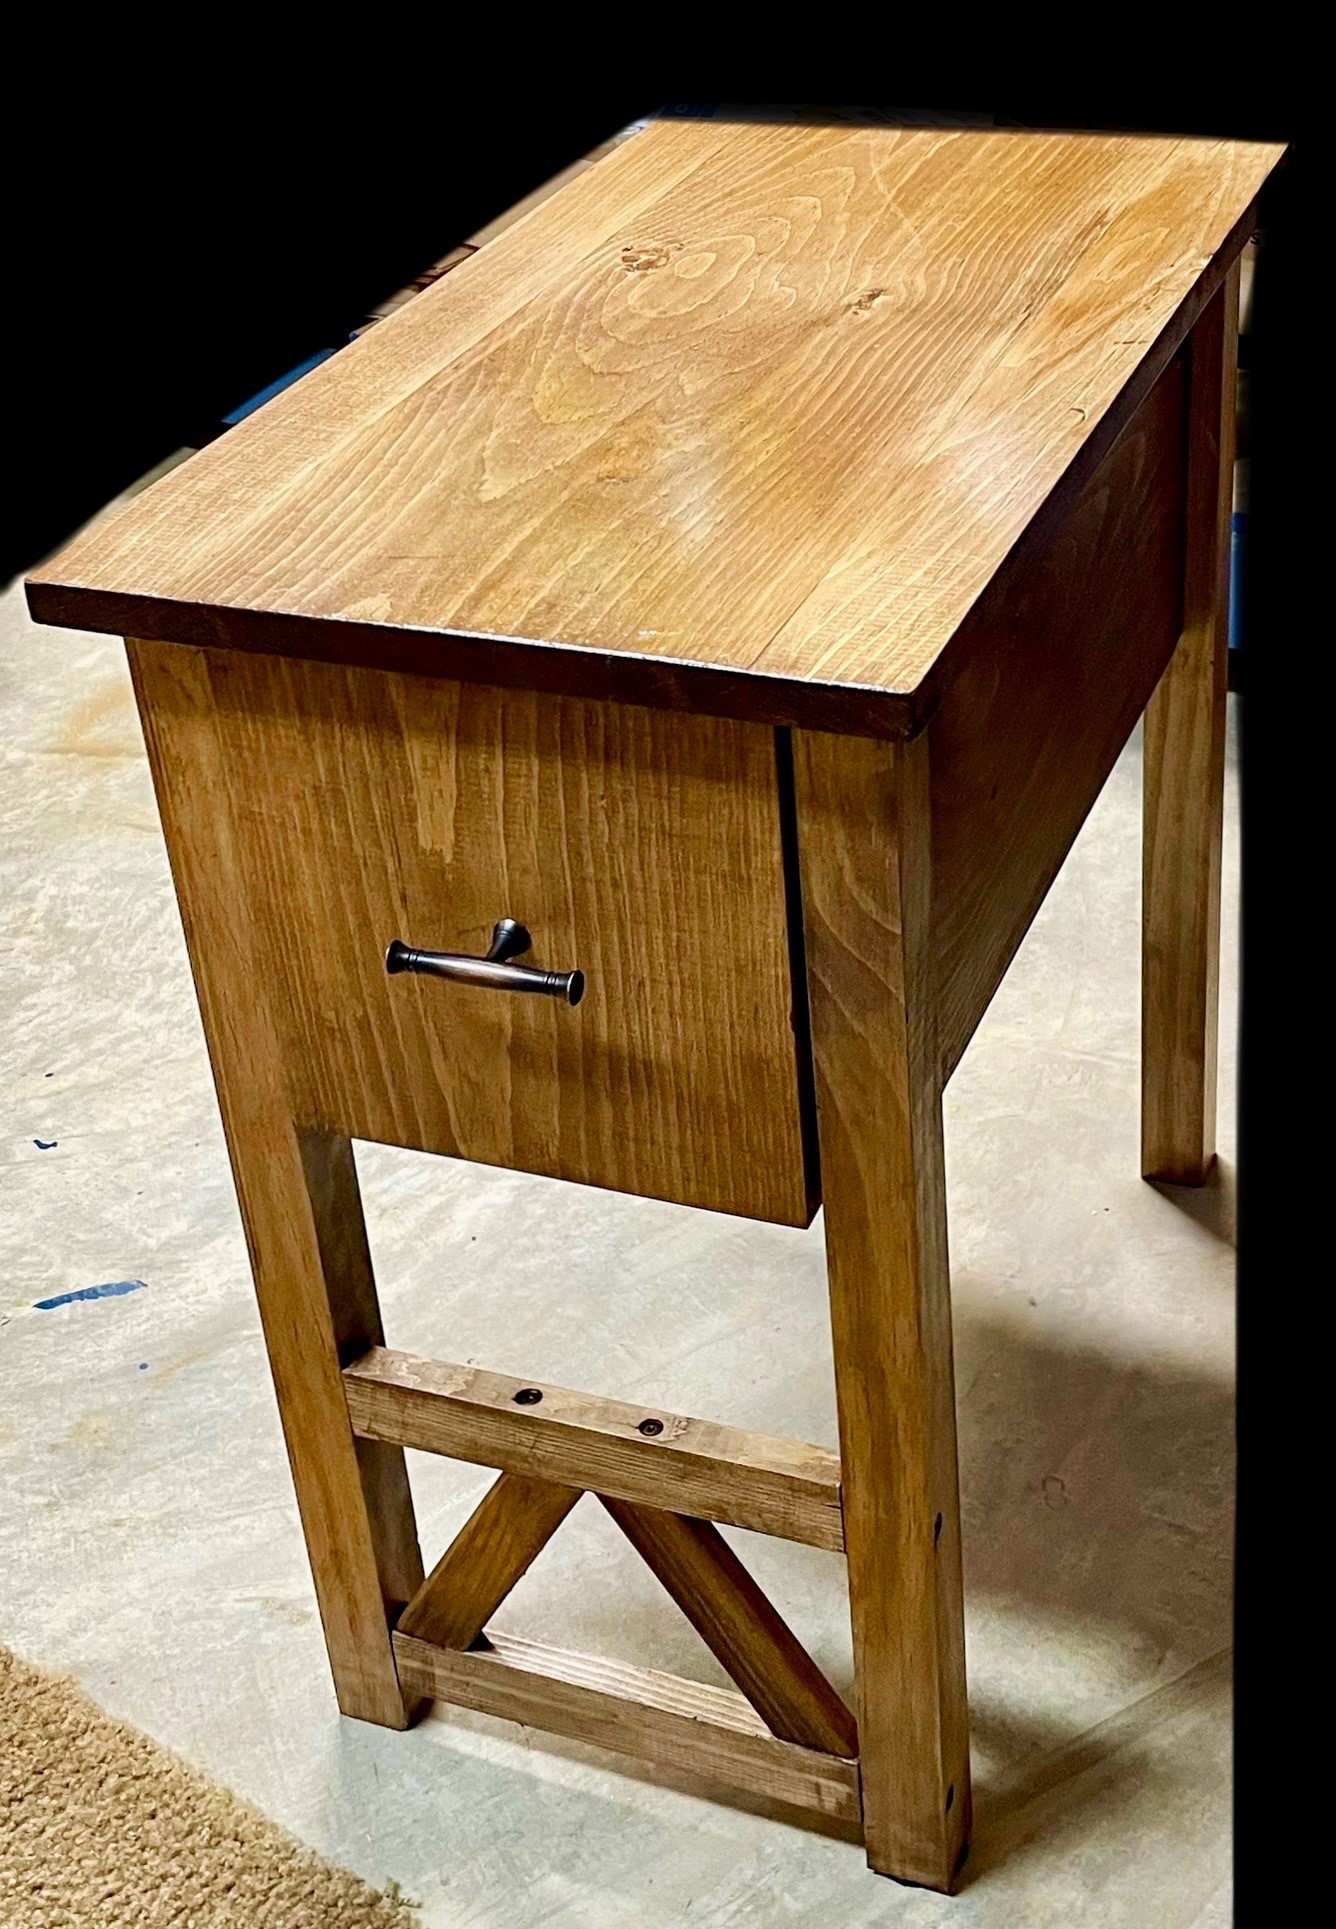
Made for daughter’s first apartment.
Rusty O.

I made one of these for my dining room table and my family liked it so much I made 2 more. The last one I made from a live edge piece of black locust and made the base out of black limba. The second one my daughter wanted a little wider so I used a 1X10 instead of a 1X8. A lot of fun to make and everyone really likes them.
Keith Ullrich of Windsor Woodworks


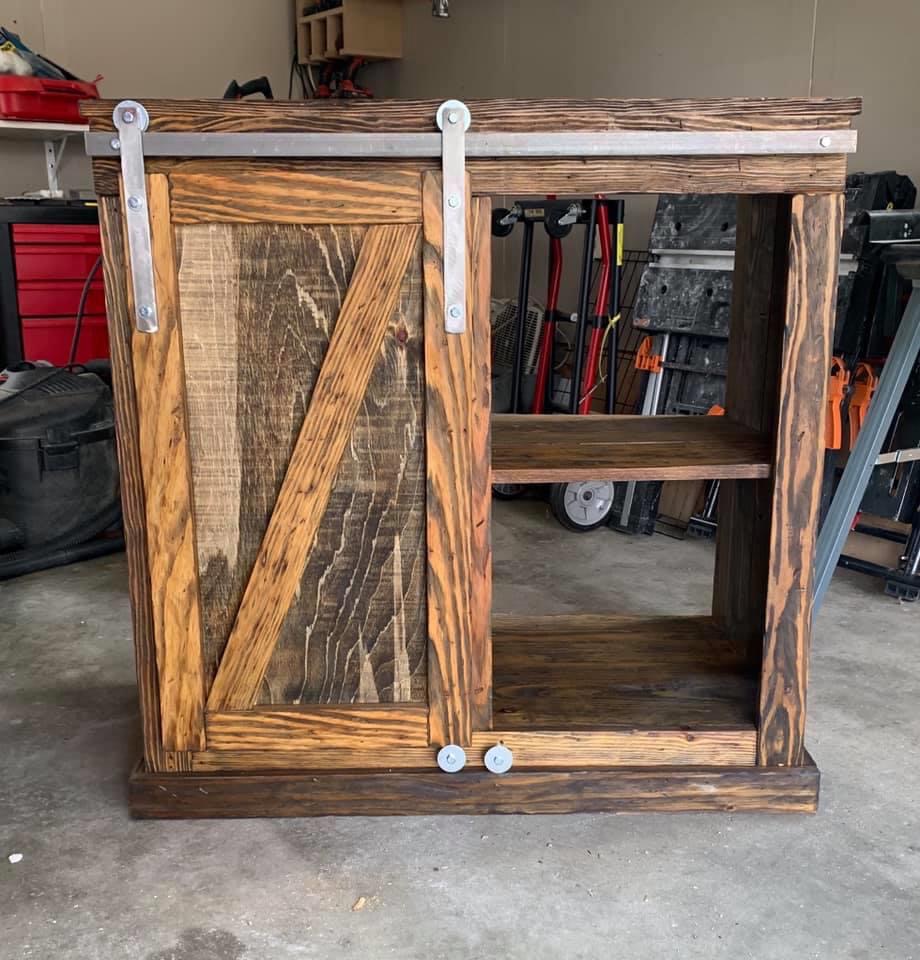
I used the plans for the mini frig/microwave cabinet. I modify the length and width because of the scrap wood I used. The wood I used was from our basement stairs that we retreaded. I used a cup wire brush on the wood to give it the rustic look. The barn door hardware was from Ana’s tutorial video (turned out great). First coat of stain was honey oak, I left it on for a couple of minute then wiped it off. Second coat was ebony, same technique as the first coat. Once the stained dried used a spray matte poly on the top, did 4 coats, sanding with a 800 grit between coats. Hope you’ll like it
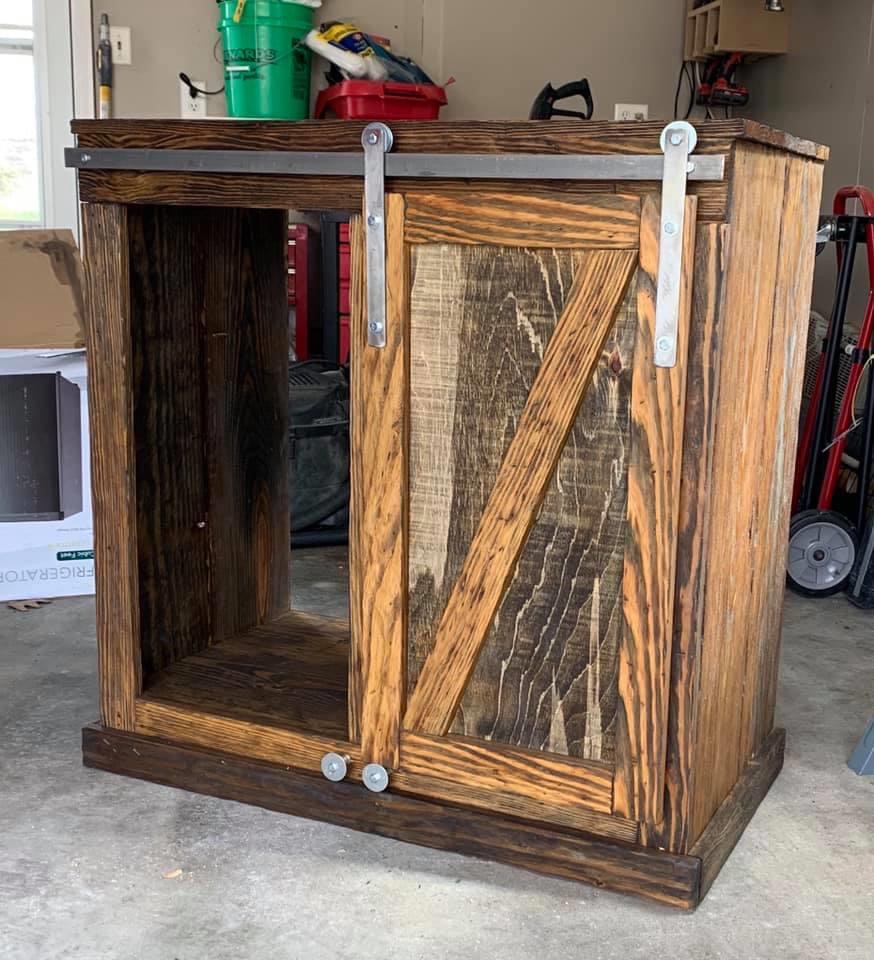
“She believed she could, so she did!” ~ R.S. Grey
Christmas fireplace of my dreams is now a reality!!
Really surprised myself with this project in the best way! It was a stretch of my skills, involved lots of critical thinking and modifications to fit my space. But I absolutely love how it turned out and it’s always a good day when you get to play with new tools!

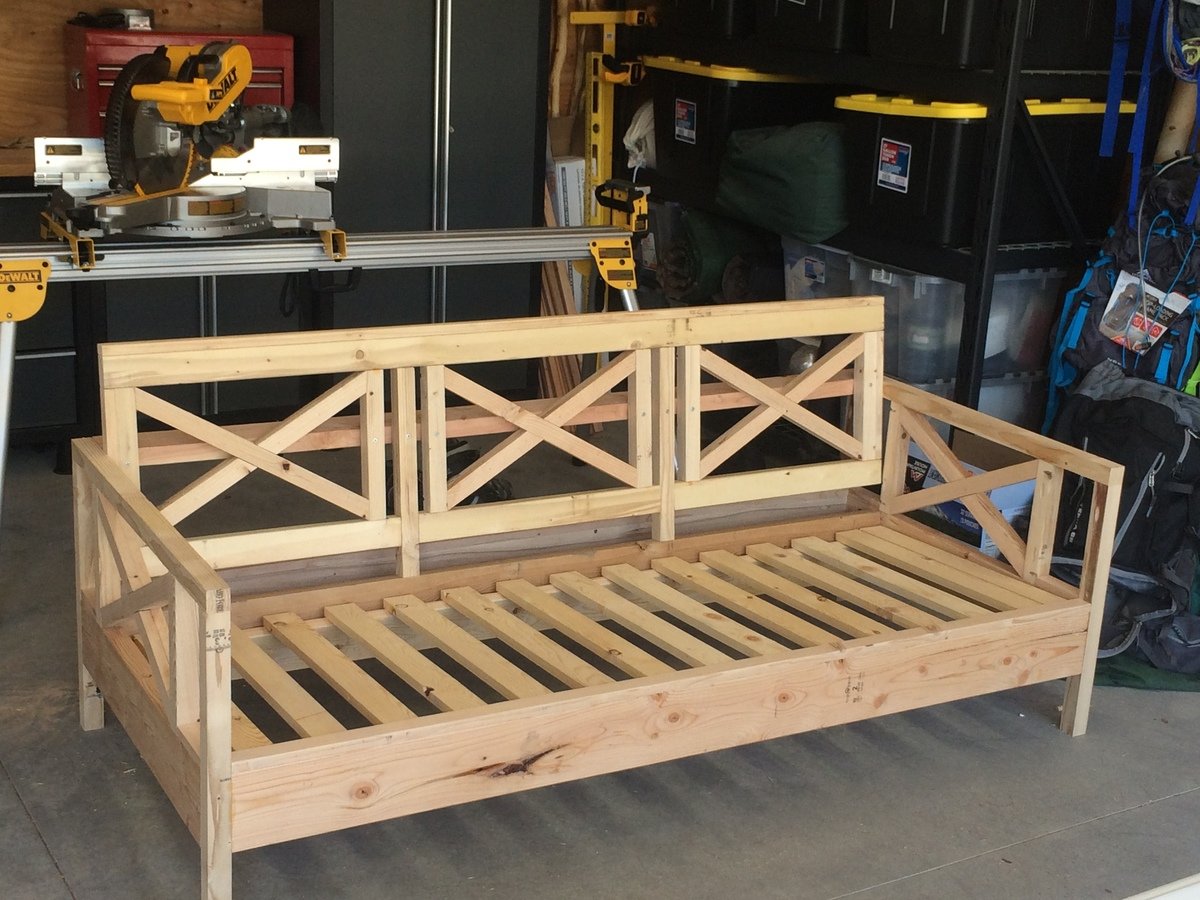
My wife loves the X pattern of the Weatherly Sofa, but wanted the tilted back from the Simple White Outdoor Sofa. This was our best of both worlds effort!
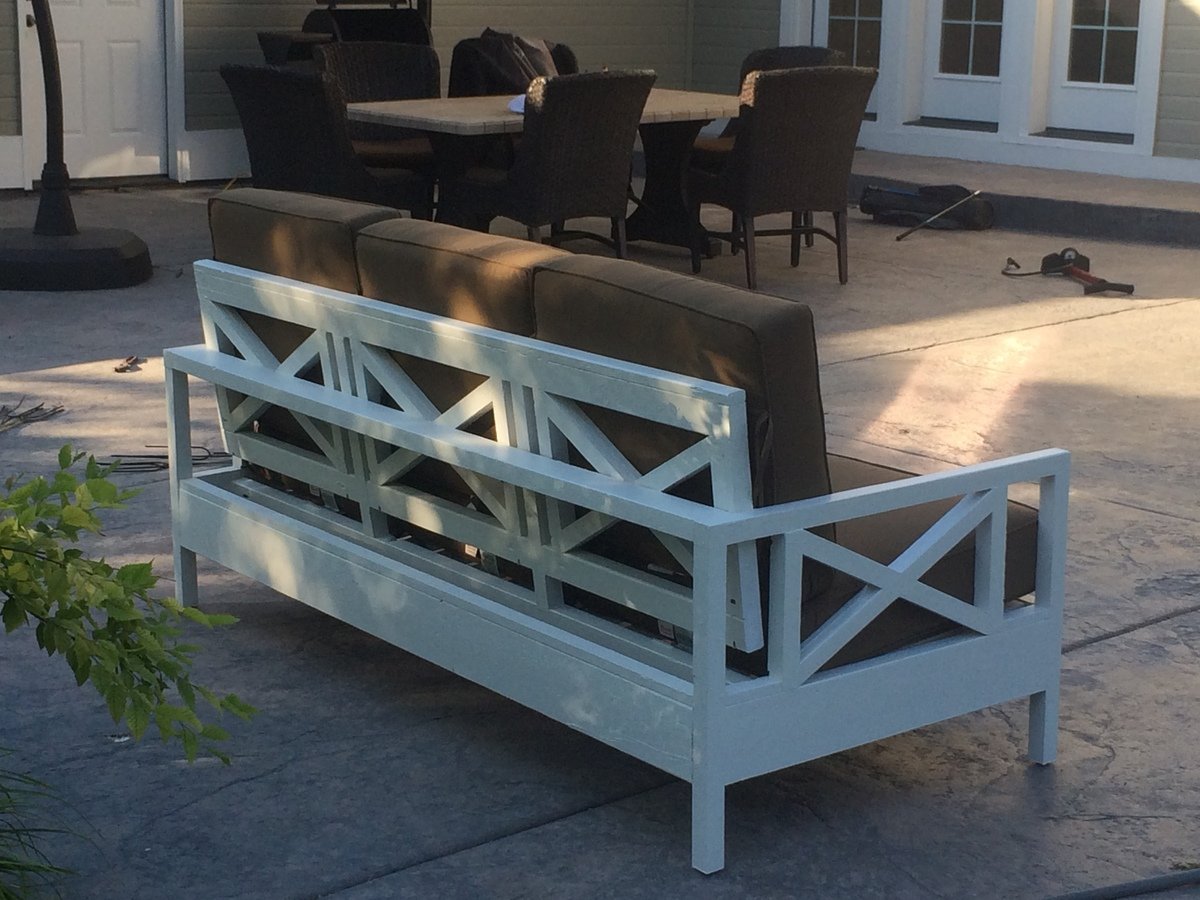
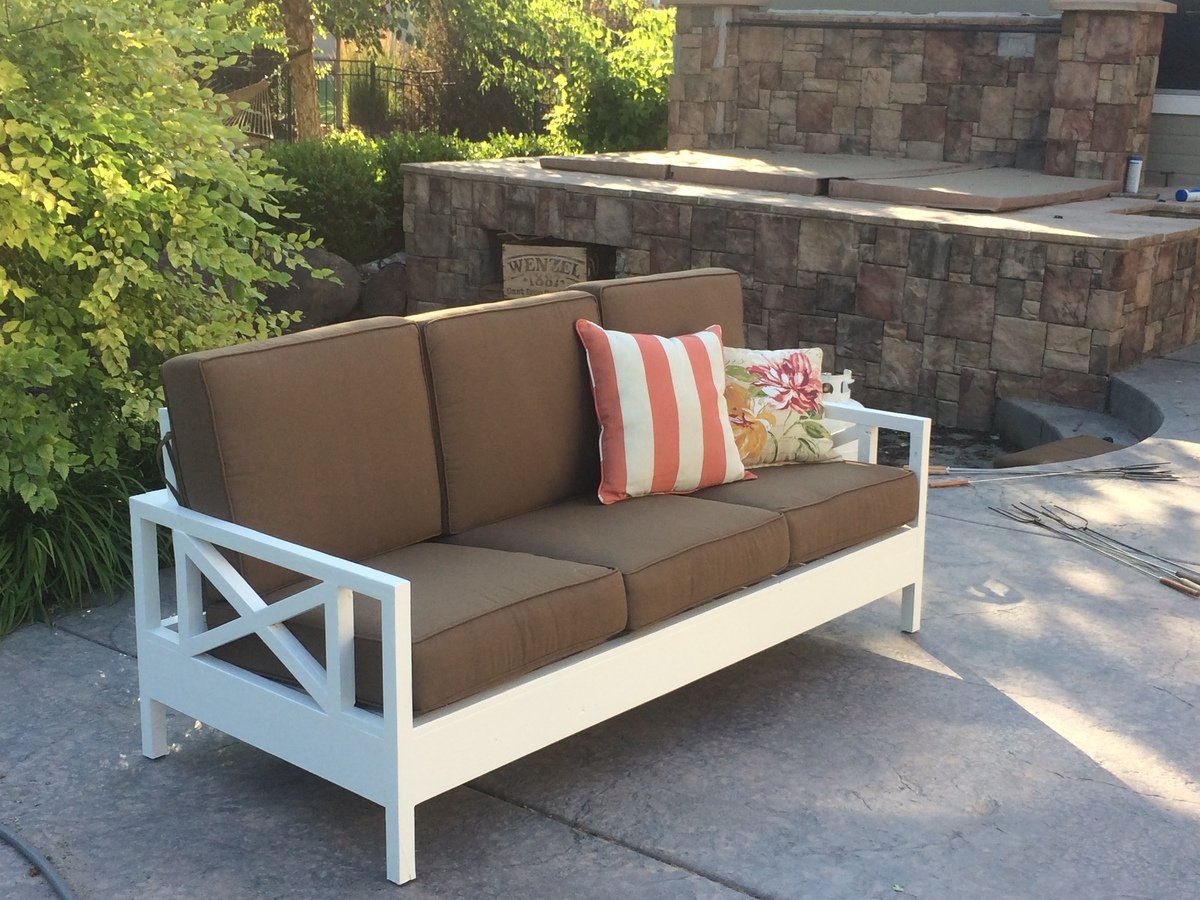
Tue, 06/11/2019 - 05:25
Can you share where you got your cushions please?
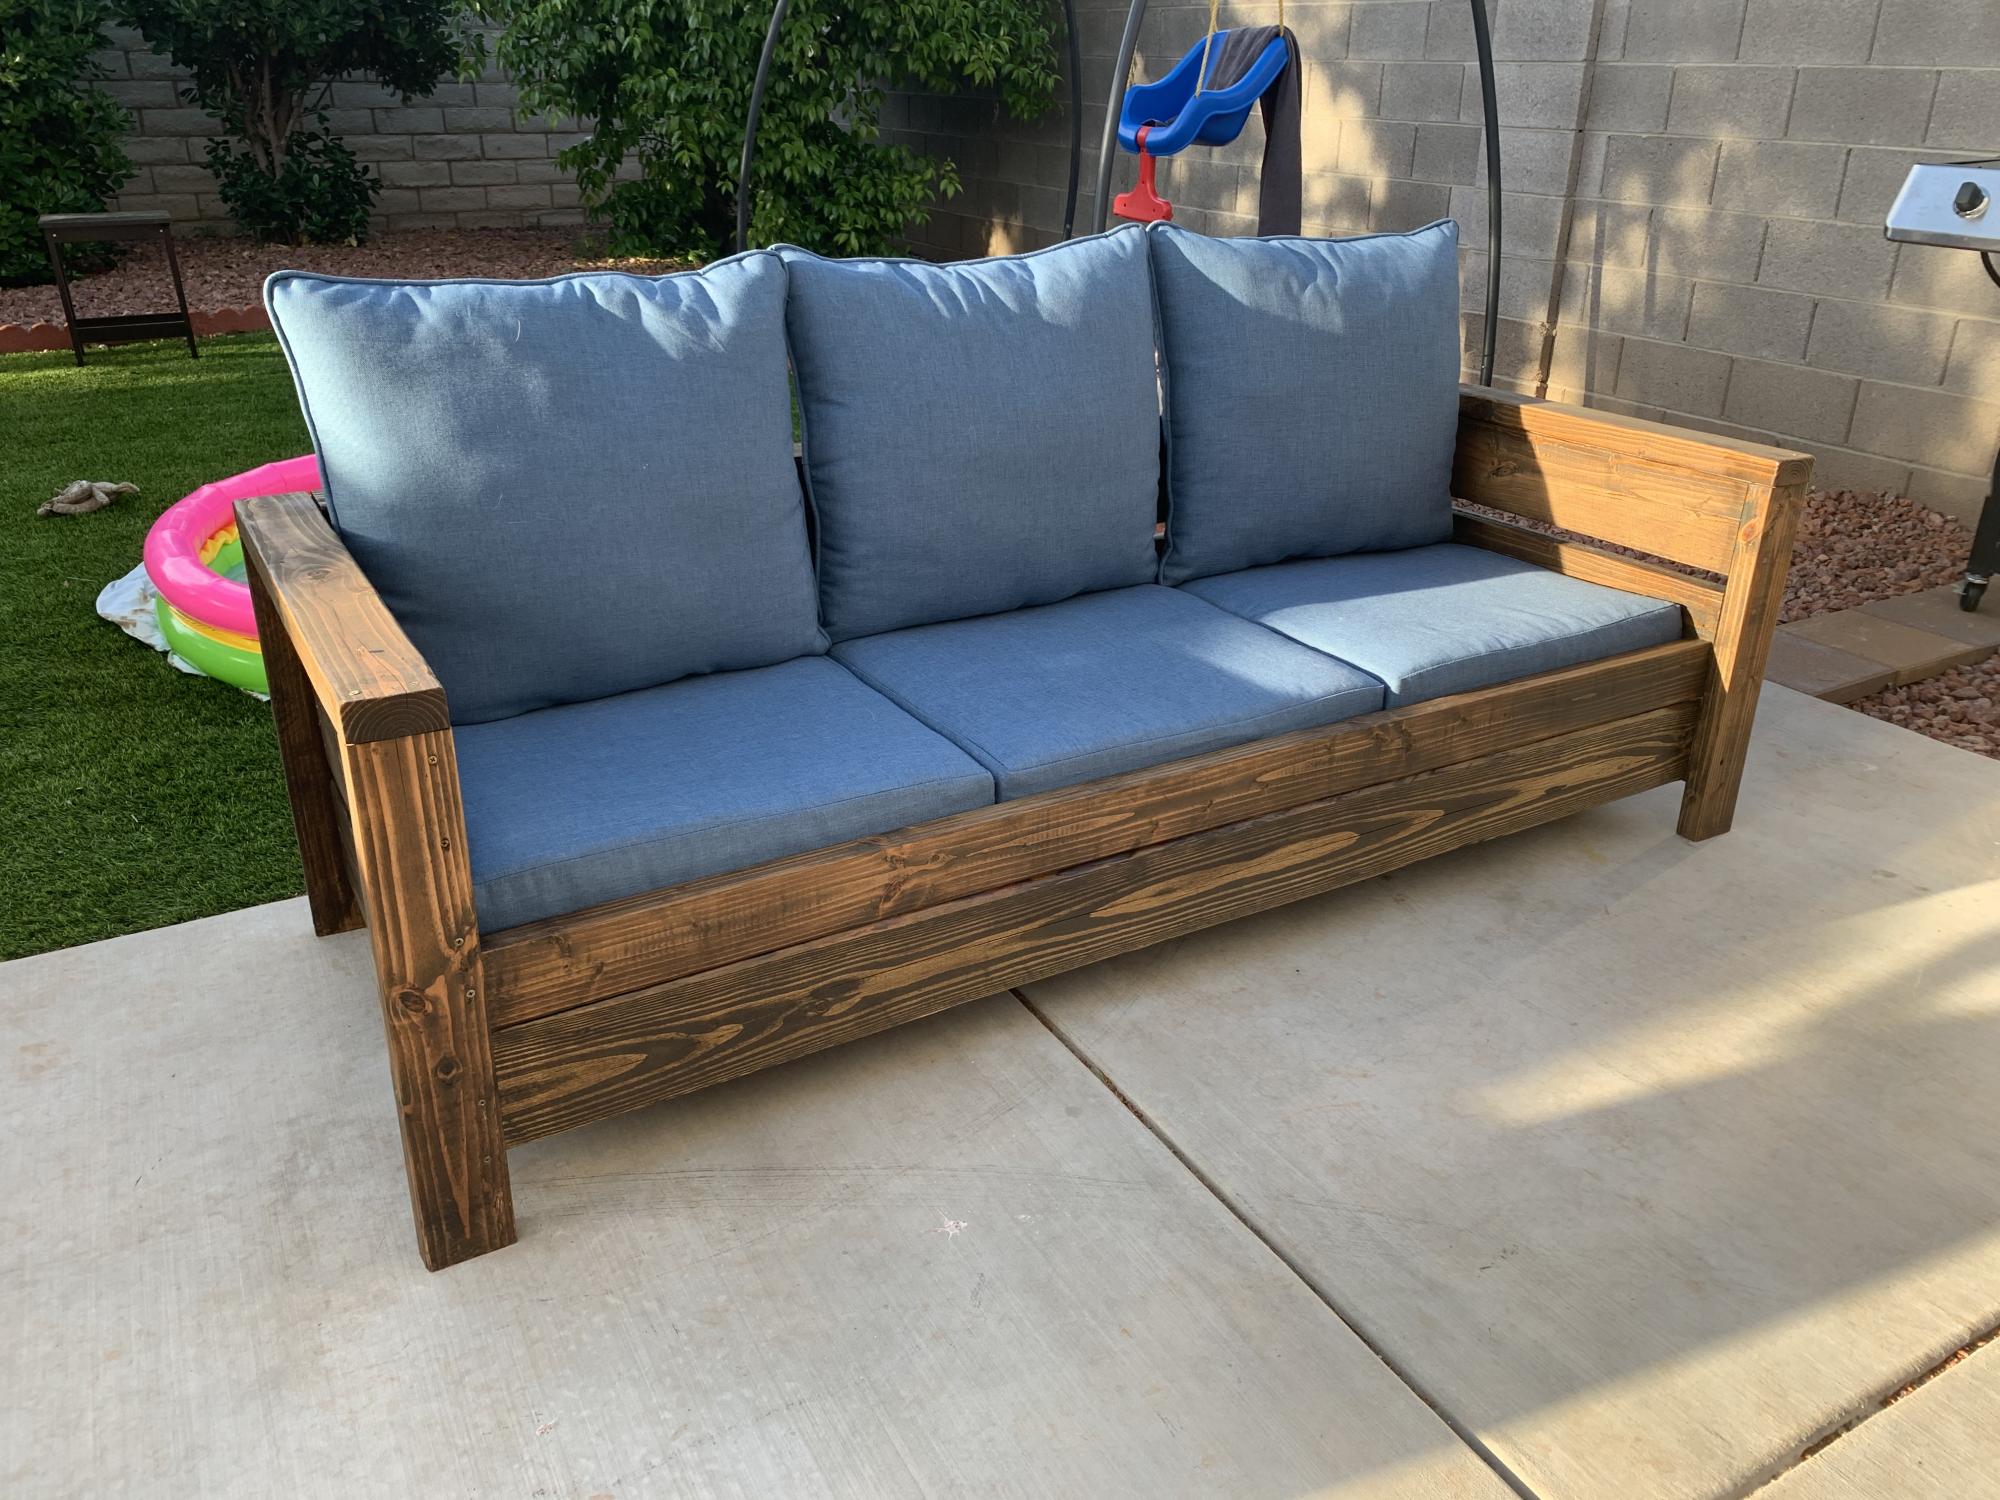
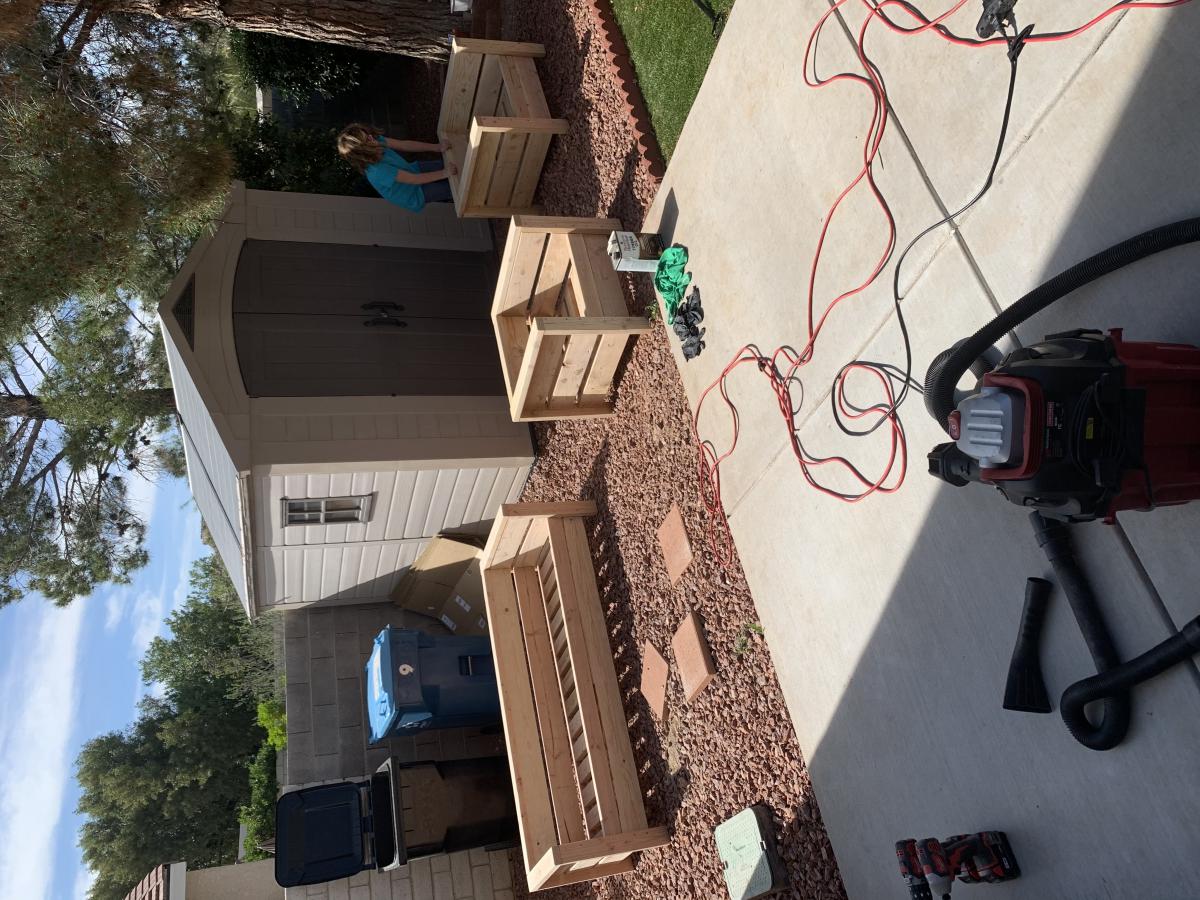
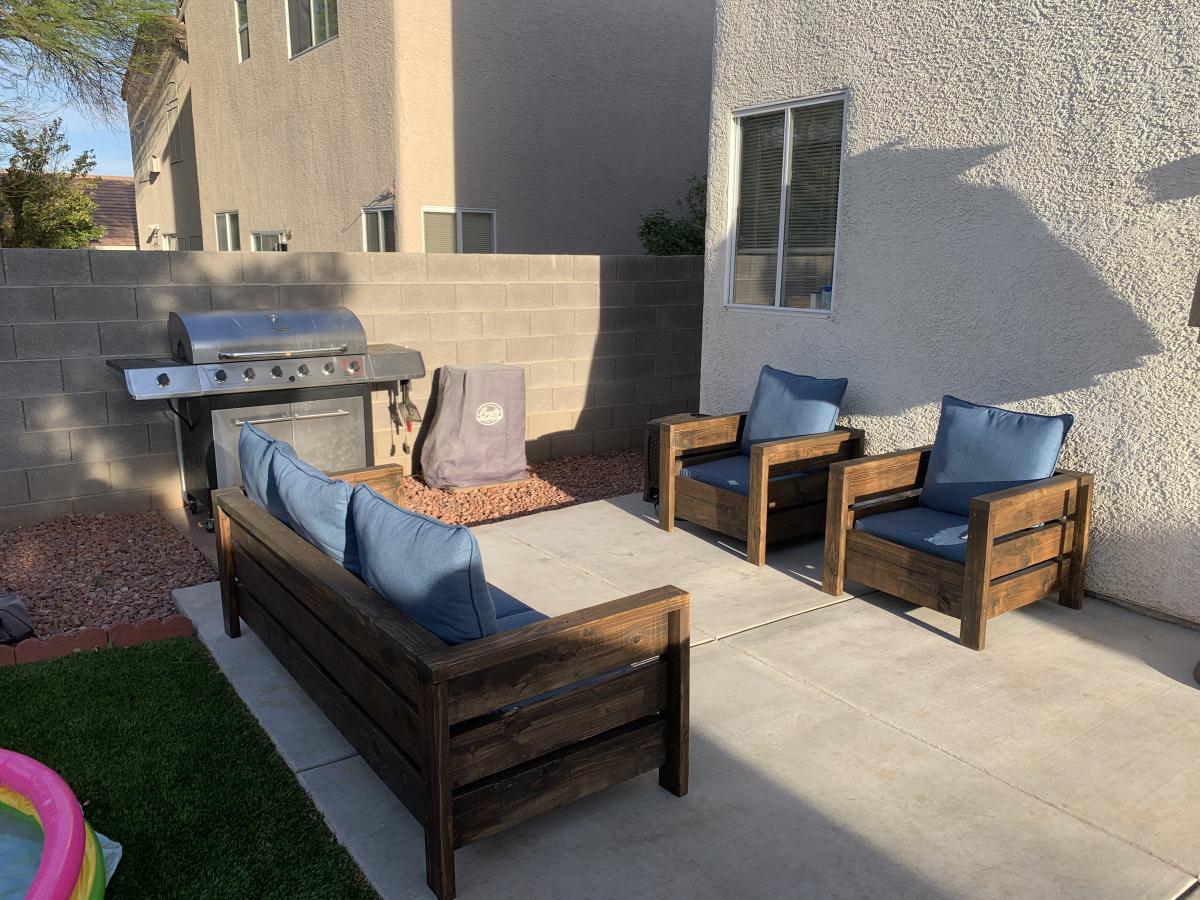
I used the Modern Outdoor Chair from 2x4s and 2x6s plans and slightly modified then to make a 3 seater couch. My cushions(most expensive part) were 24 in x 24 in and purchased from Lowes for $40 per seat. The couch is 79 inches in total length. I also dropped the seat down to the lower level to allow more room for my cushion backs to sit further down into the seat.
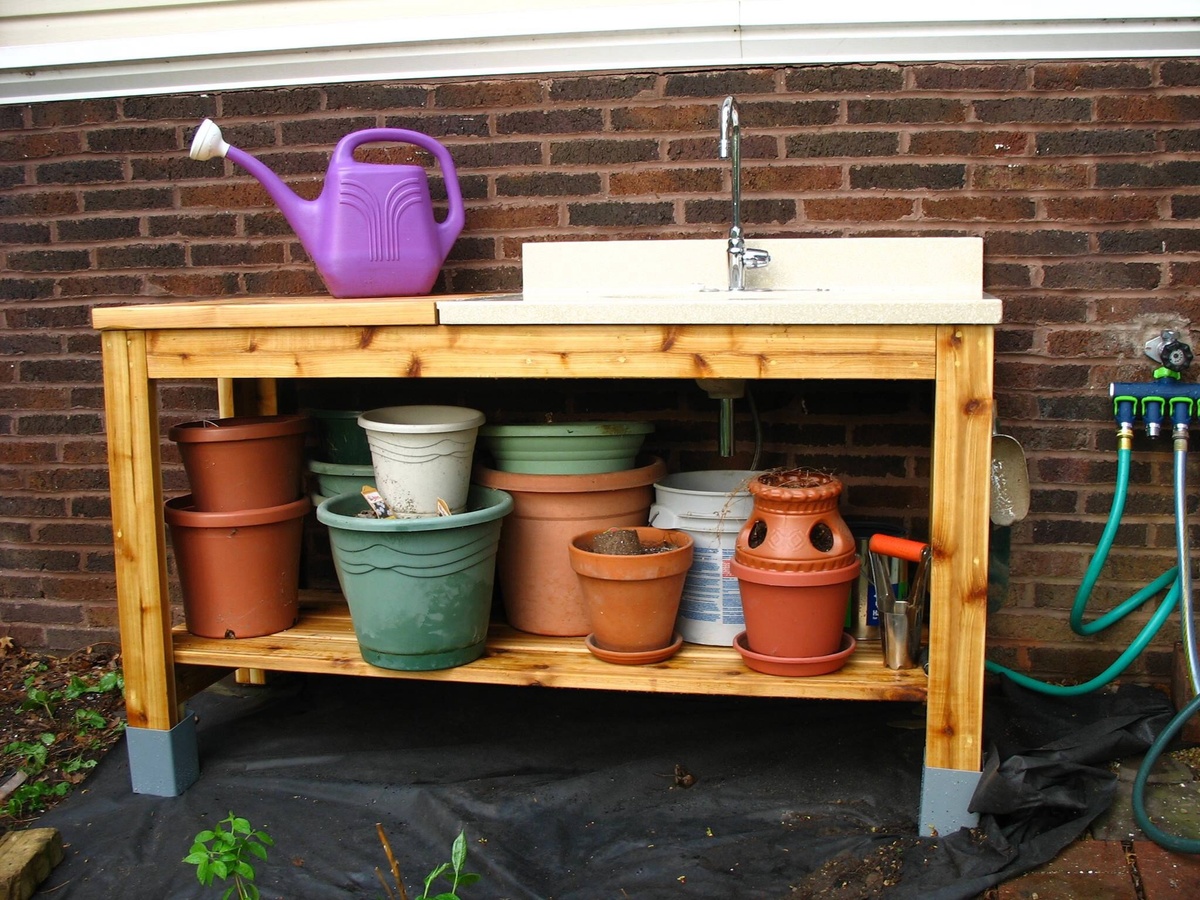
I adjusted the depth of the bench to accomodate a bath vanity top with sink (from the Habitat reStore). The width was adjusted to allow for 2 feet of workspace to the left of the sink. The overall height was adjusted to my wife's height. The front legs were made longer than the rear to account for the slope of the yard location.
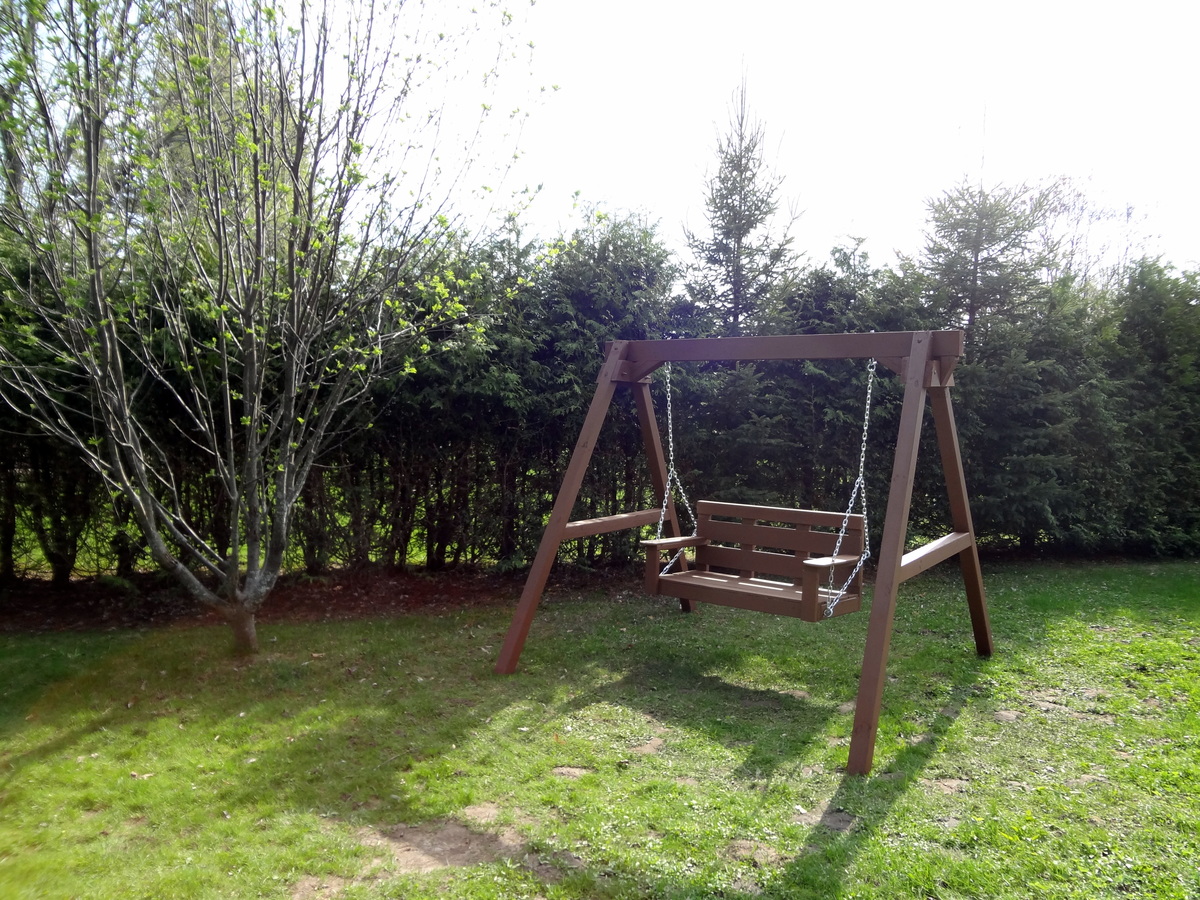
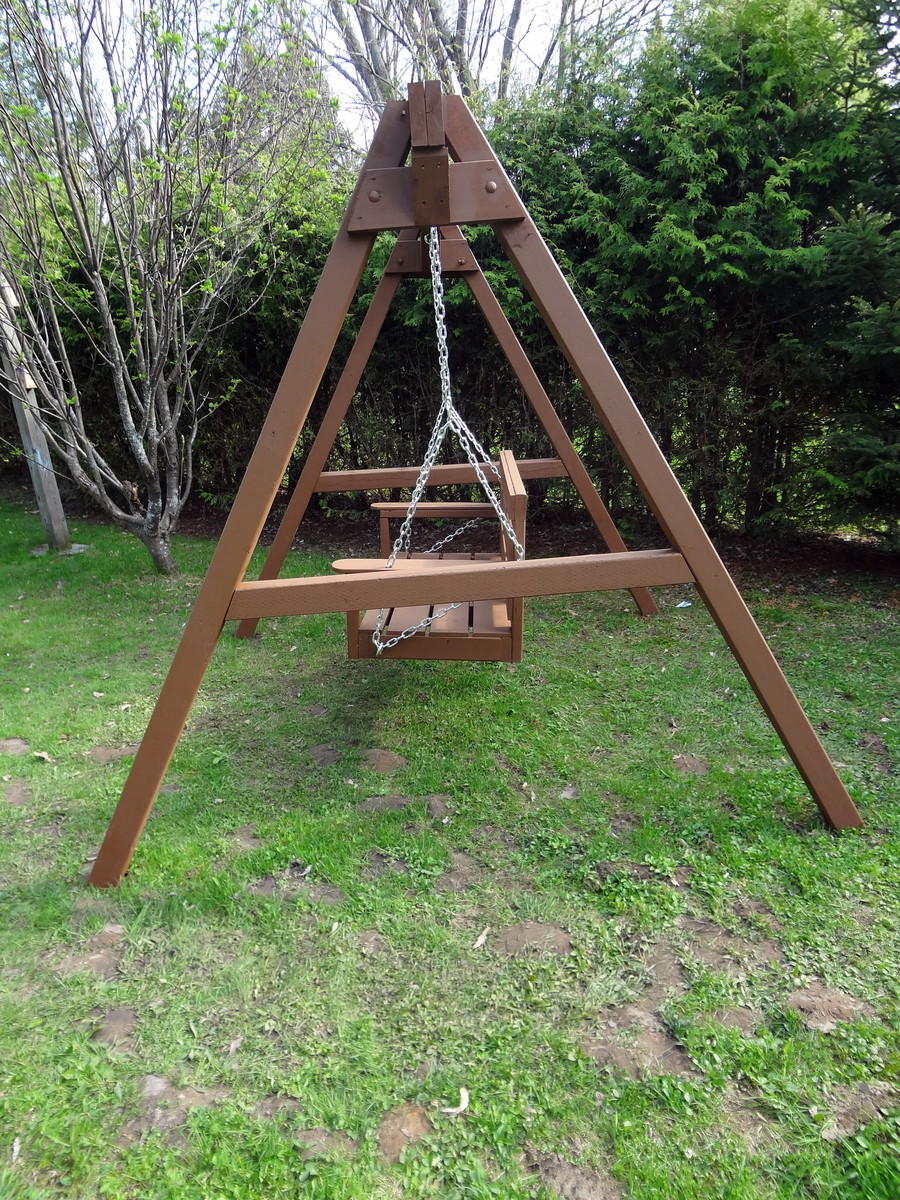
A great weekend project...the "love swing"! I used the plan from Ana for the swing seat and added two arm rests from left over 1x6, rounded them off and sanded.
I cobbled together an A-frame to hang everything, made from five 8 foot 4x4s and two 8 foot 2x6s laminated together for the stretcher. Assembled with 1/2" galvanized carriage bolts and hung with 1/4" chain.
Definitely going to want a good miter saw for the A-Frame angles (the top ones are a bit tricky to get everything lined up)
Love it! Thanks for another great plan Ana..and of course..Shanty2Chic!
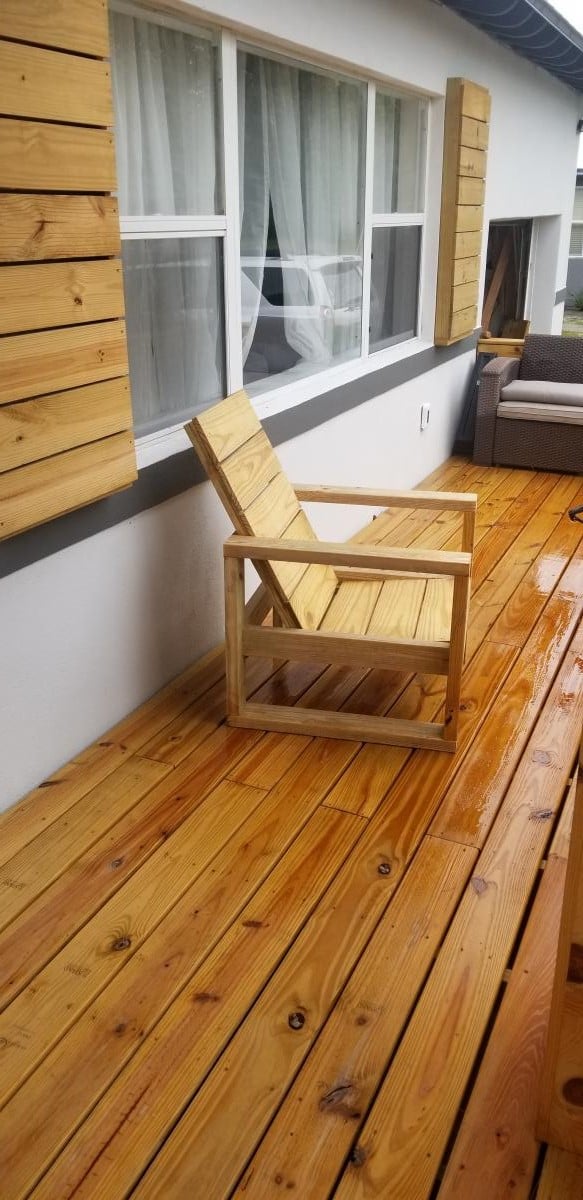
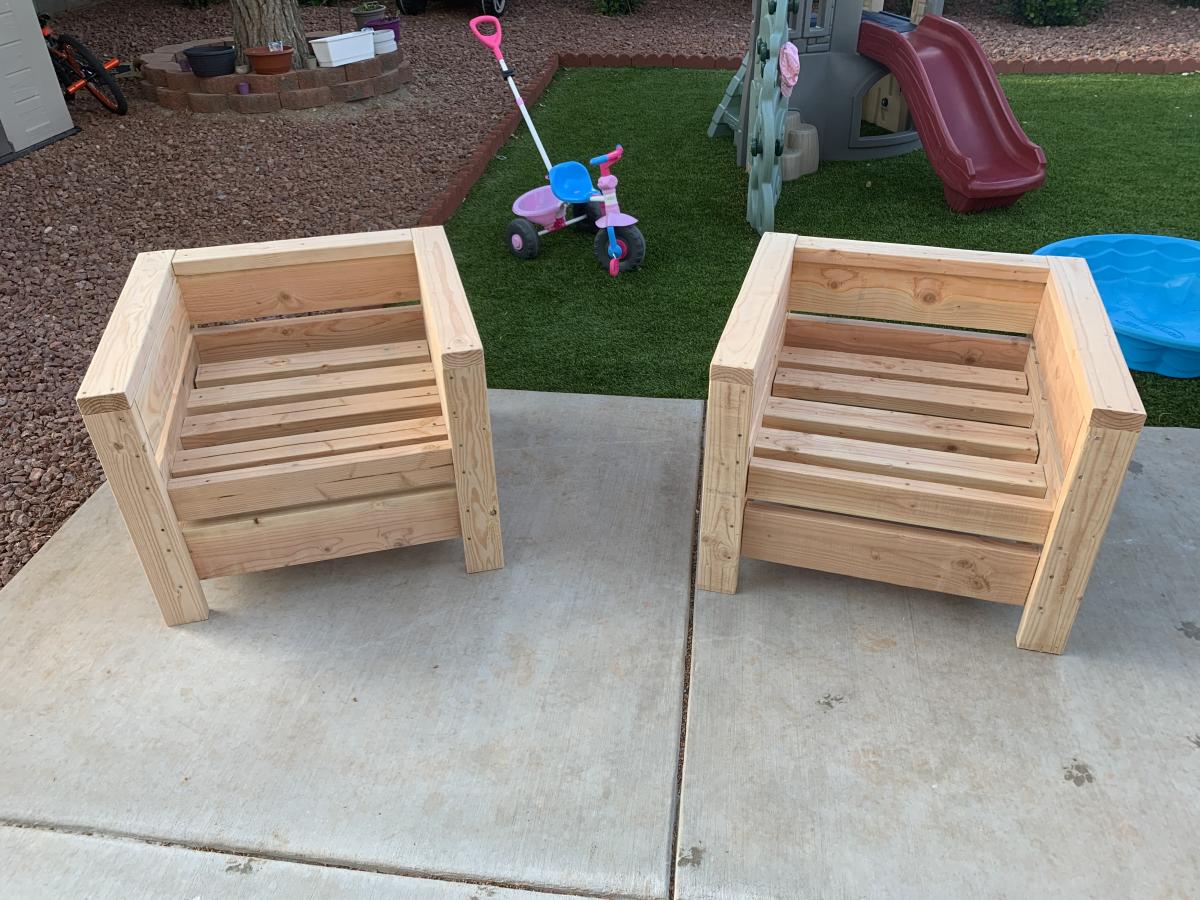
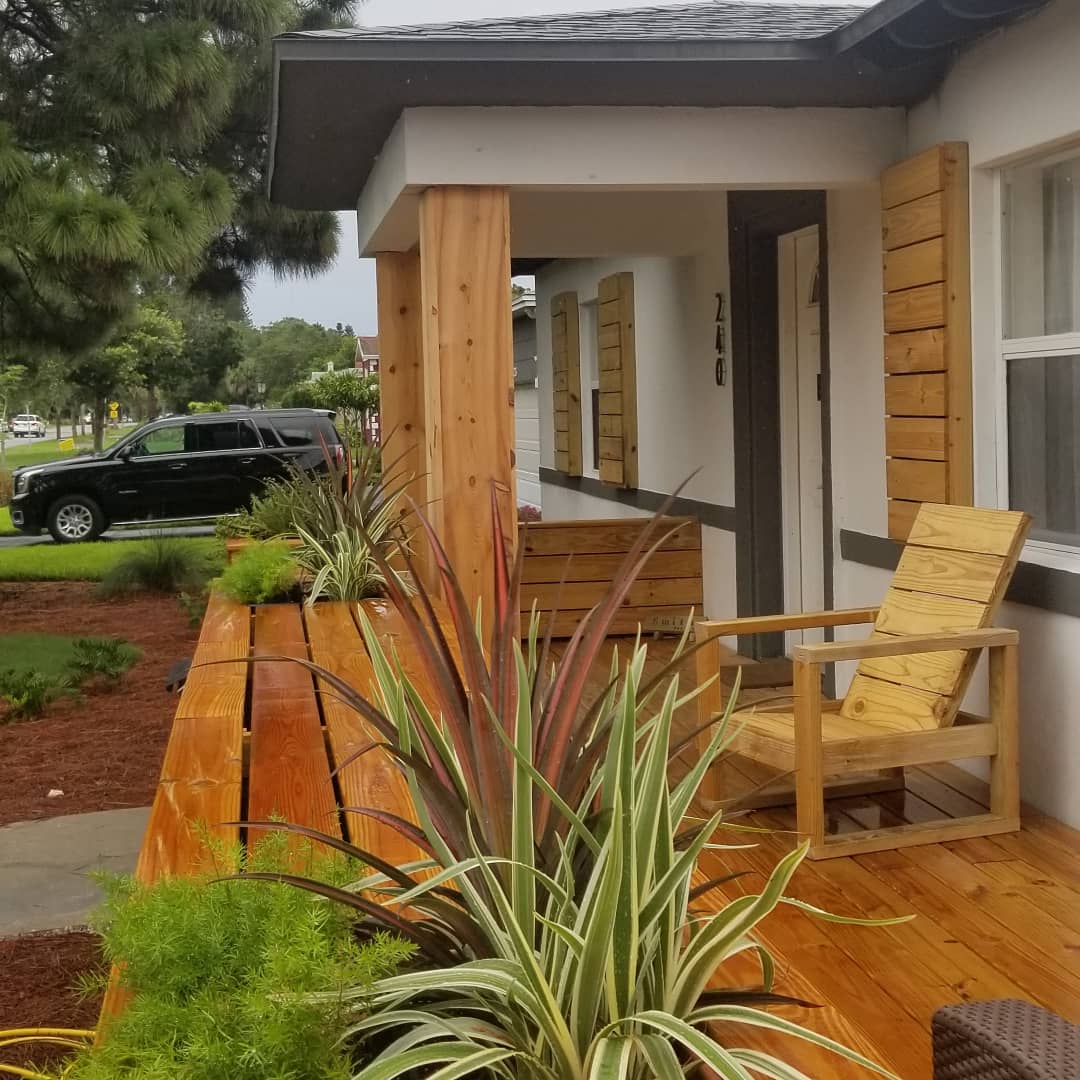
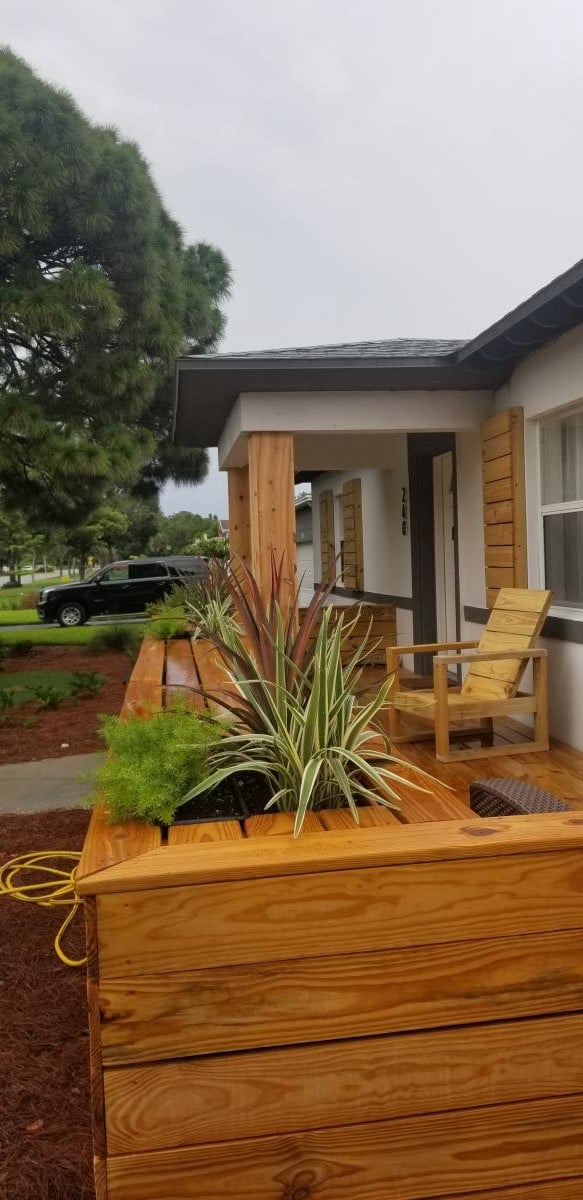
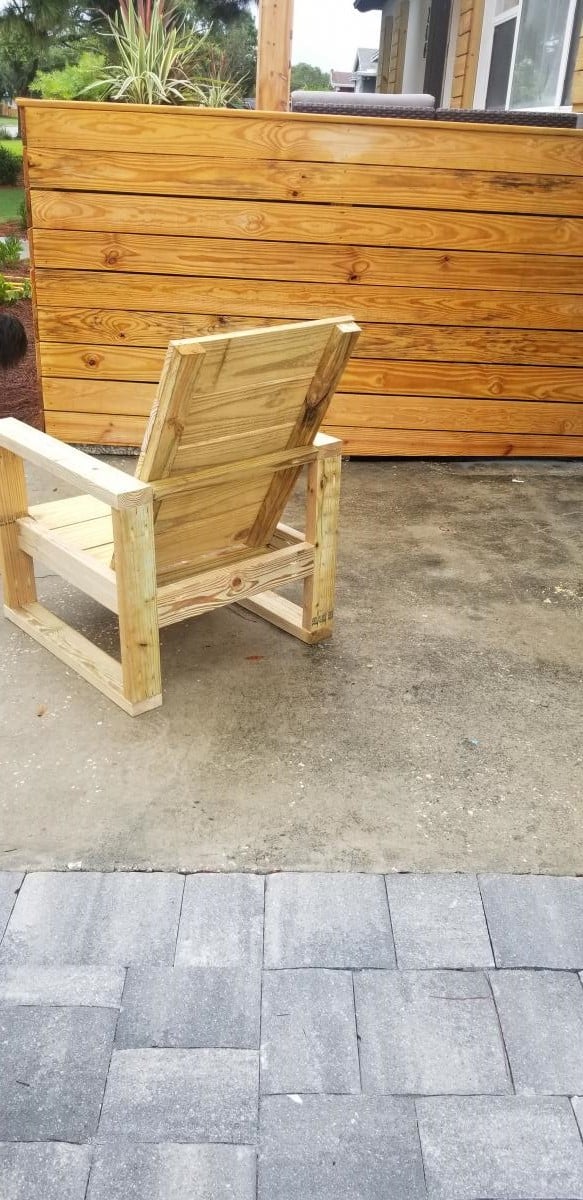
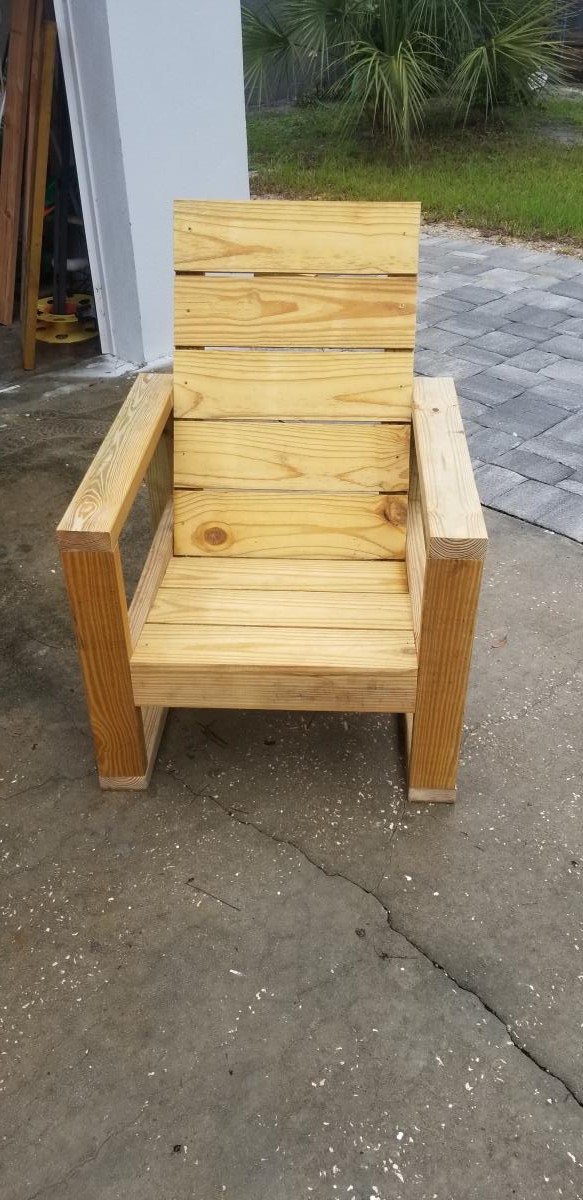
I built a set of these chairs based on Ana's simple modern outdoor chair. I wanted it to match my front porch which I built a few weeks ago. Thank you for the plans.
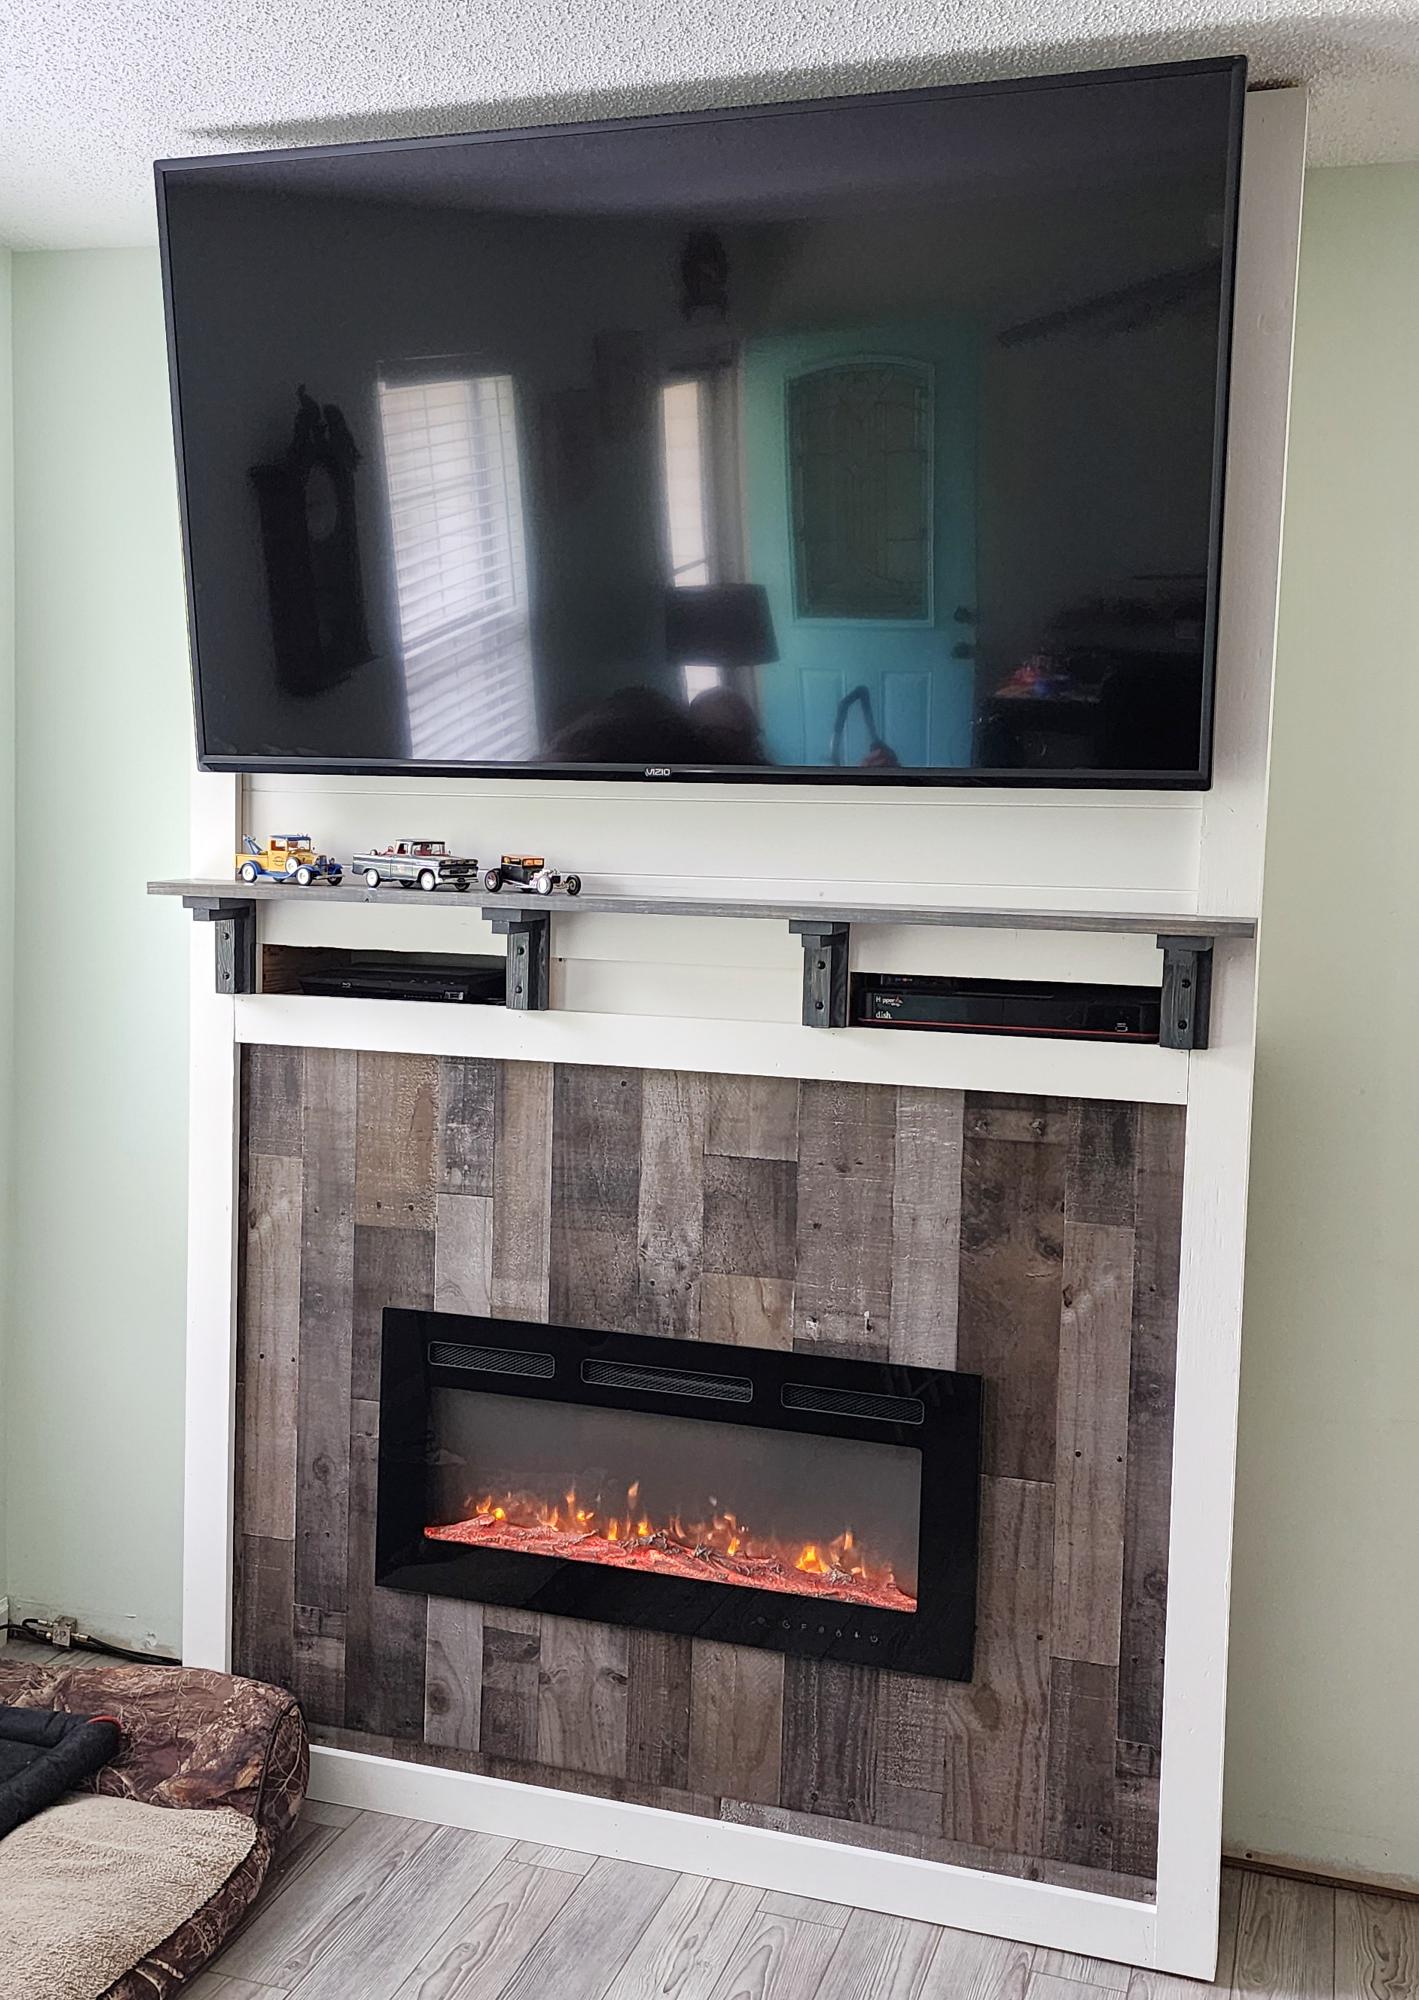
I wanted a tv/ fireplace for Christmas and my husband built this using your plans. I love it!
Joe Hall
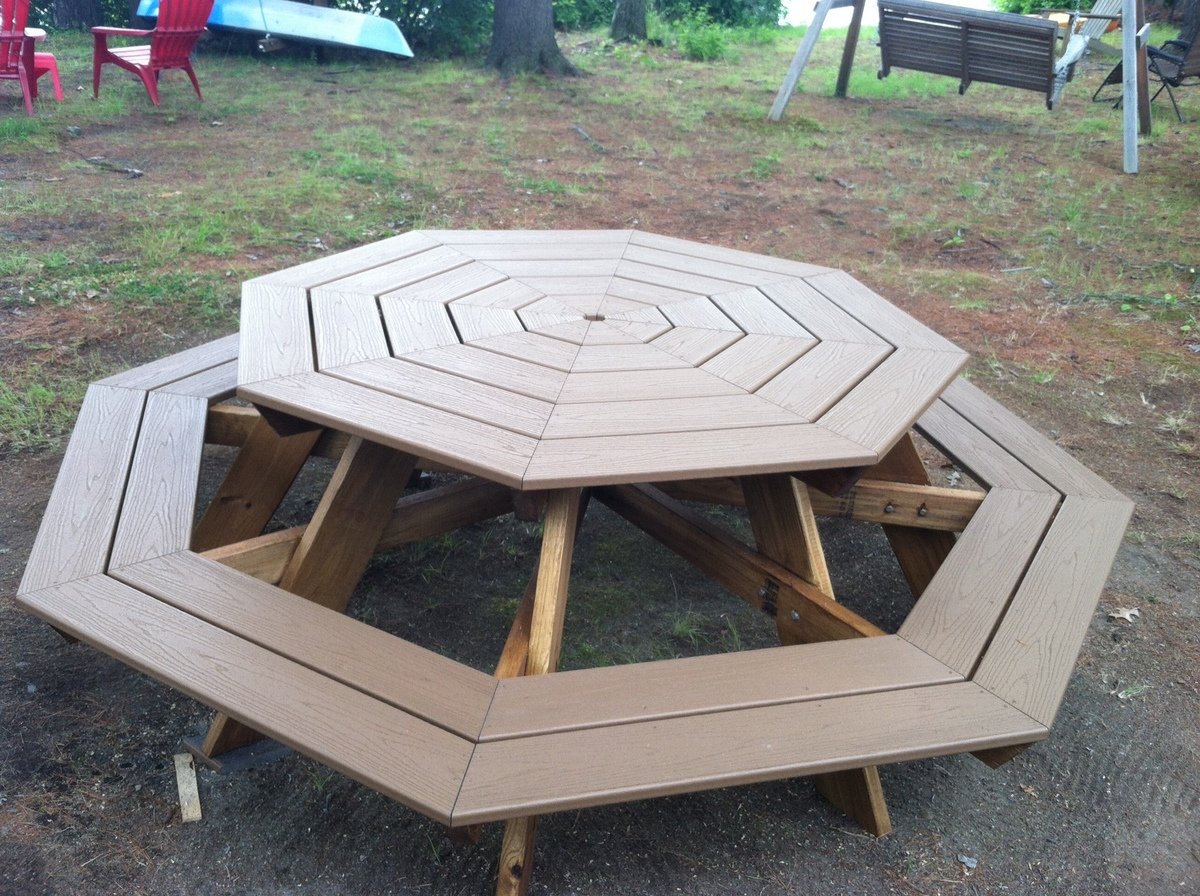
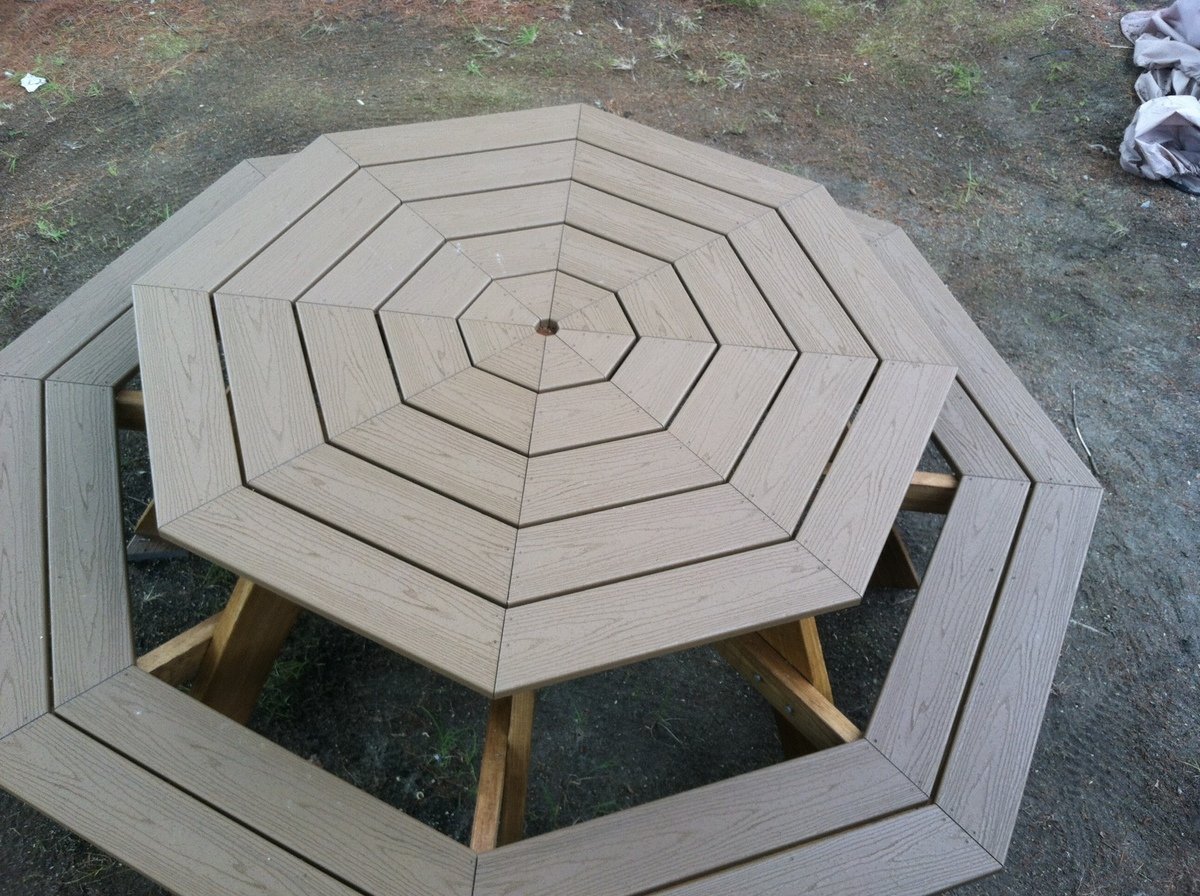
Living in a cottage on a lake during the summers, I needed a picnic table that would take care of a big family so I built the Octagonal picnic table on Ana's site, however with a twist.
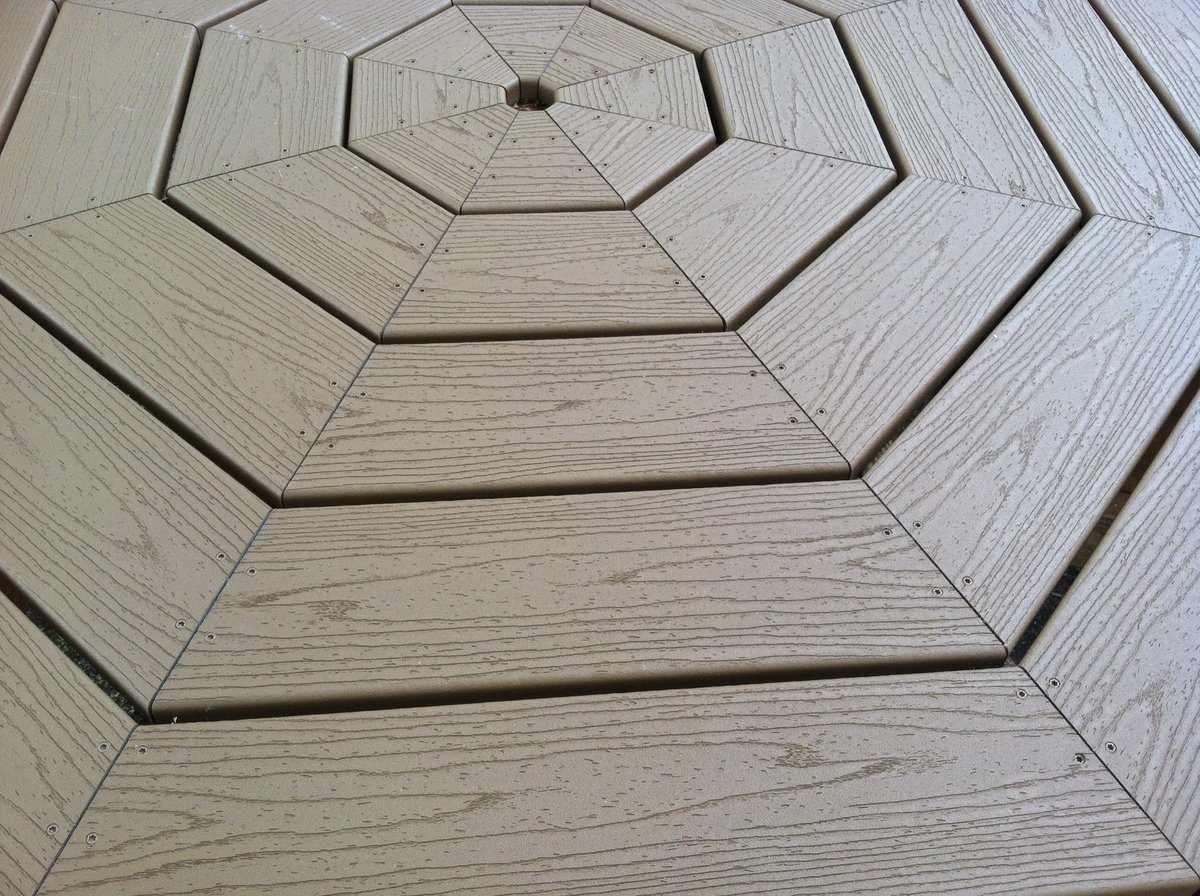
Since we are under a bunch of trees, I wanted to be able to scrub the table easily and not have to do any maintenance on it over the long term. So I built the top and the benches using Trex. Yes, it was more expensive but the result (if I do say so myself) was incredible.
Since Trex isn't as structural as 2 x 6's, I reinforced the seats using 2x4s laid horizontally underneath the seam of each of the two bench pieces. I also drove a few extra screws through the Trex benches along the 2 x 4's to further strengthen seating area.
Aesthetically, I didn't care for the 1/2 inch spacing for the table top and benches so I reduced it to 1/4 inch and cut the length of the Trex accordingly. I used decking screws that exactly matched the color of the Trex.
I did take the advice of one of the former builder's of this table and staggered the legs to make it easier to get in and out. That was a worth while suggestion.
The only 'warning' I was given about using Trex was that it could get 'hot' if in the sun for long periods during the day during the summer. This table is in the shade almost all the time, but having said that I have read that the Trex as decking gets no hotter than treated lumber stained the same color.
This is a great design at it was lots of fun to build.

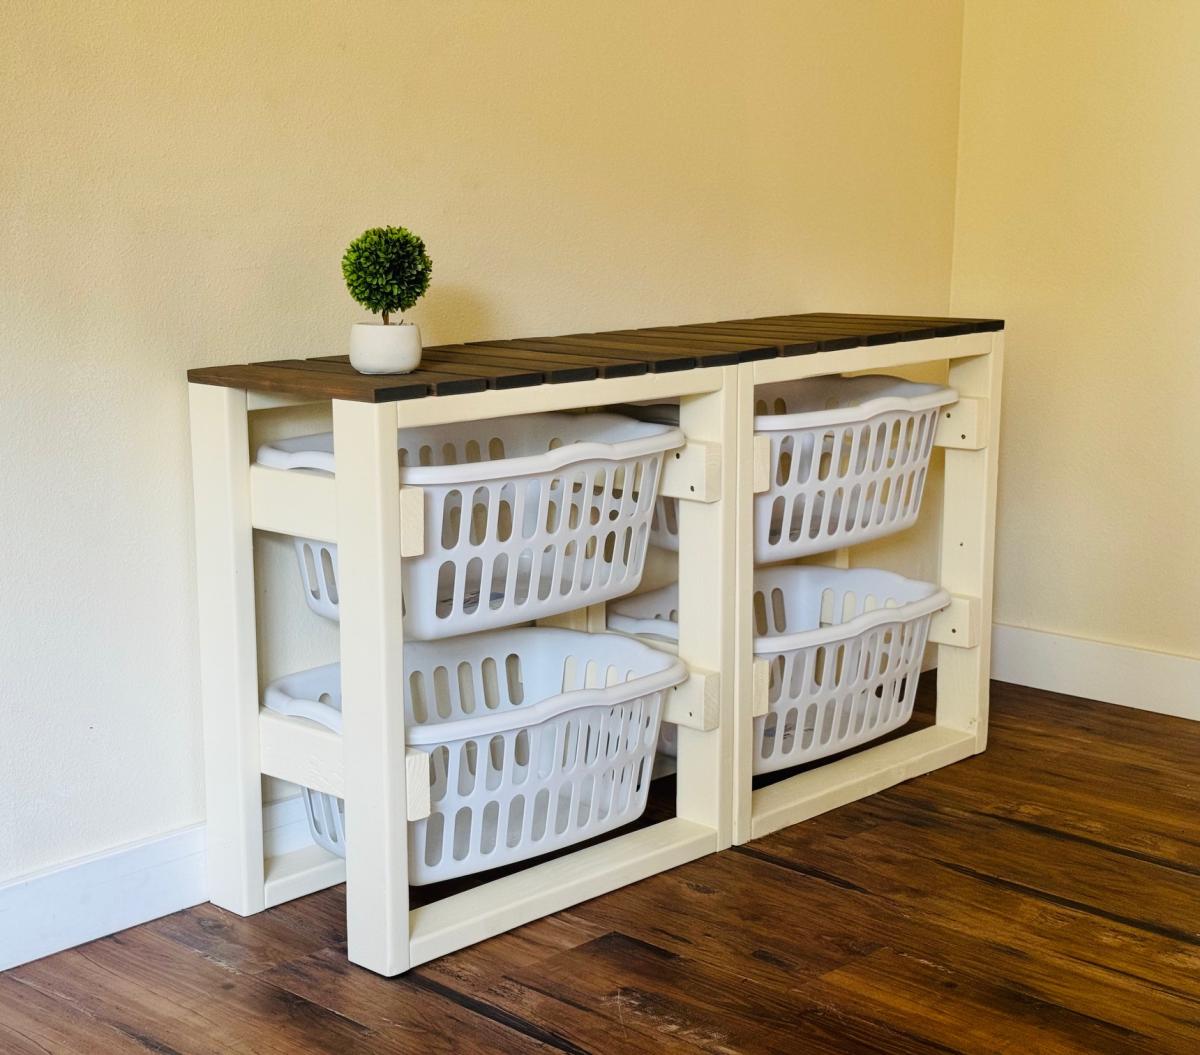
This is an easy build to get laundry baskets organized. I like that you can build multiple and stack them or put them side by side. The plan is easy to modify for different baskets or make it taller for a folding station.

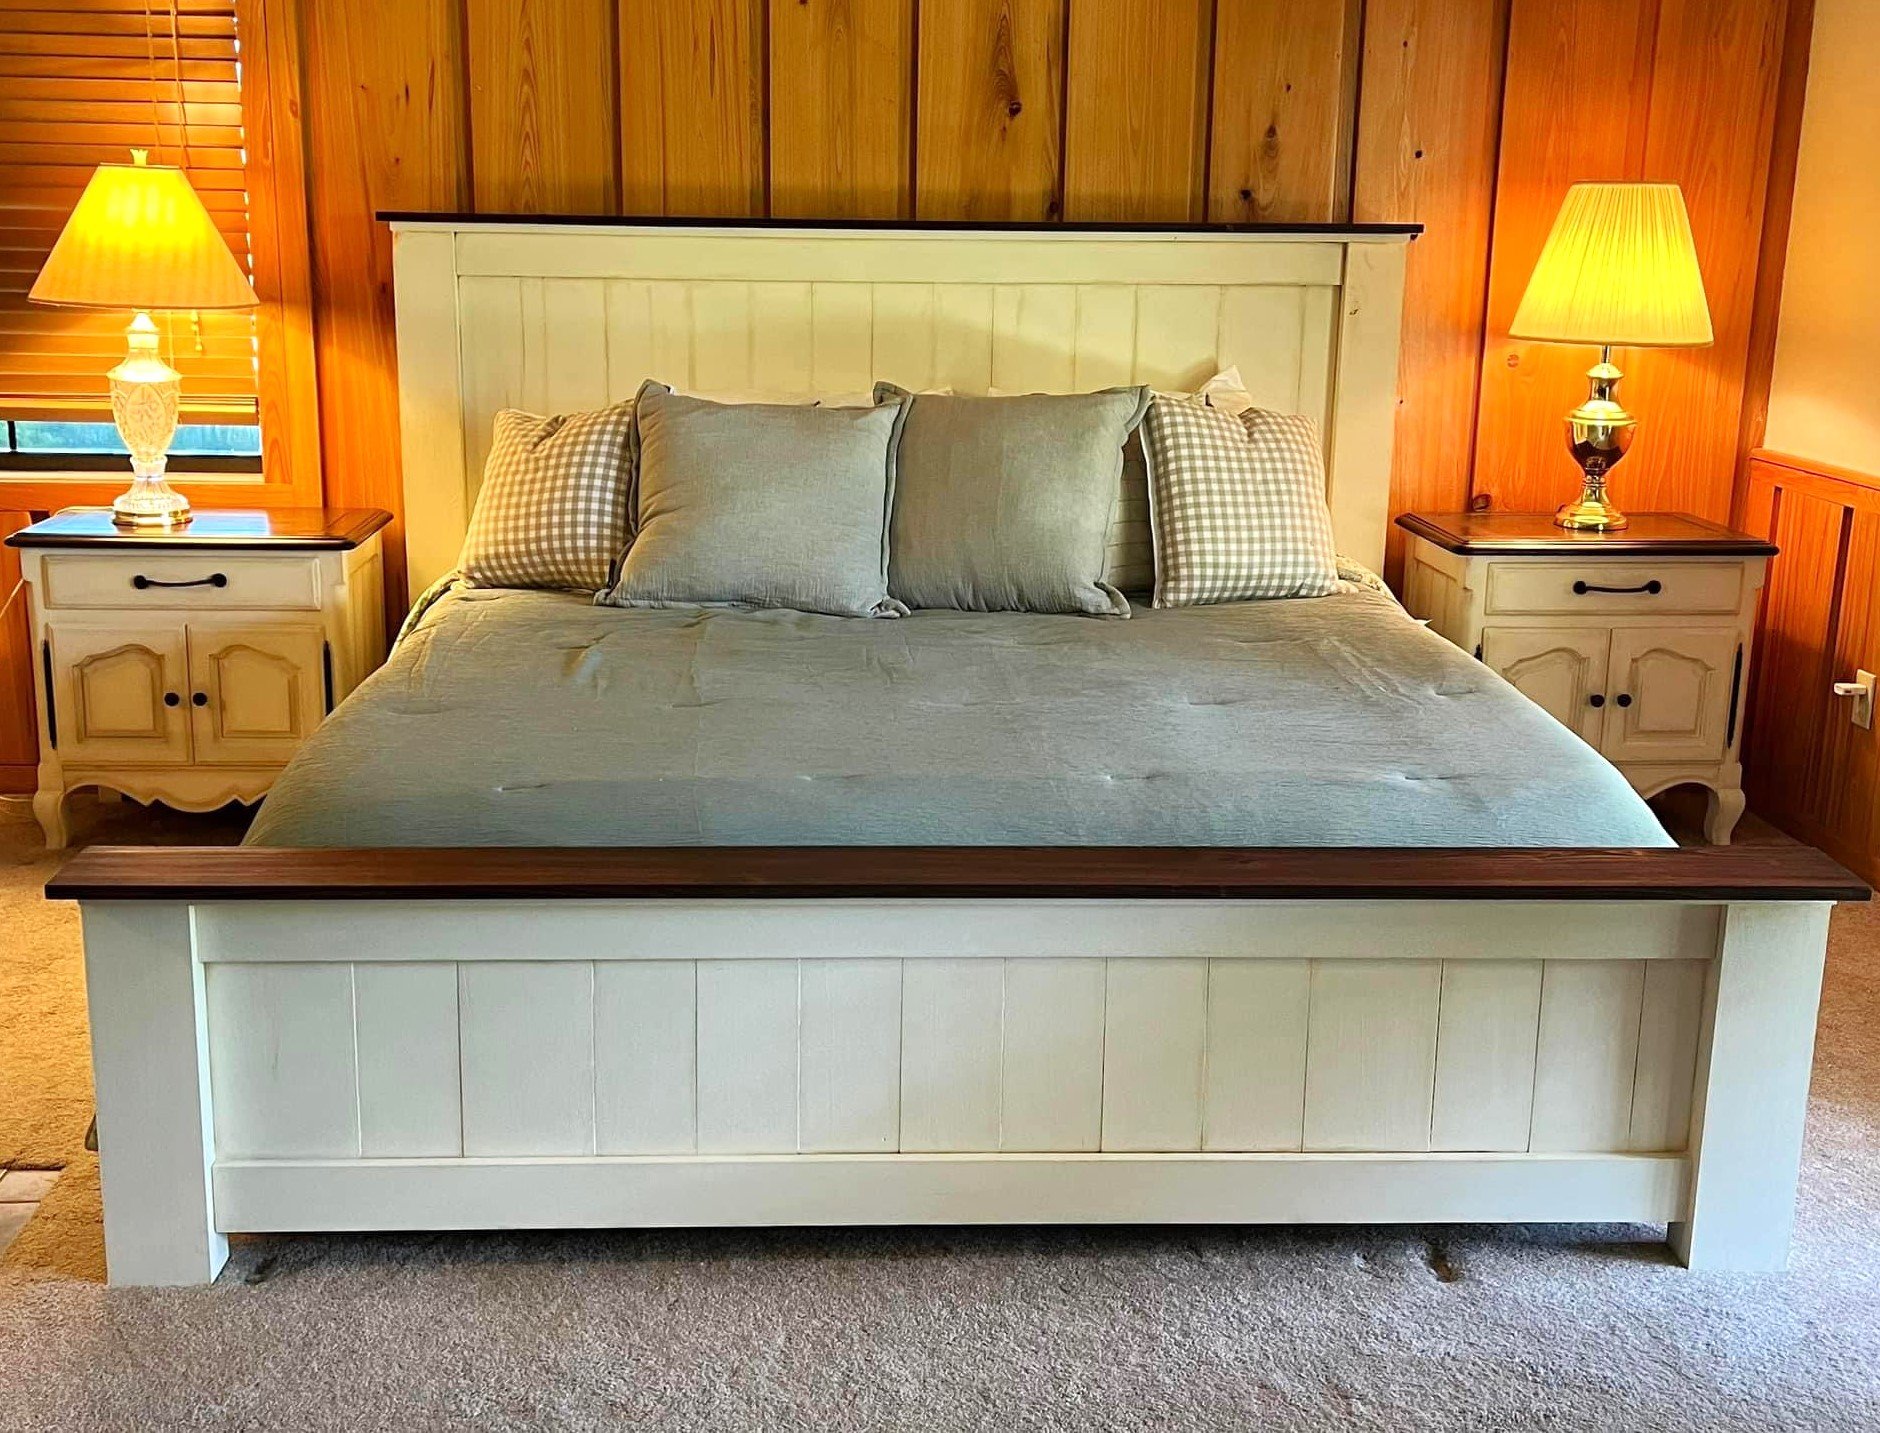
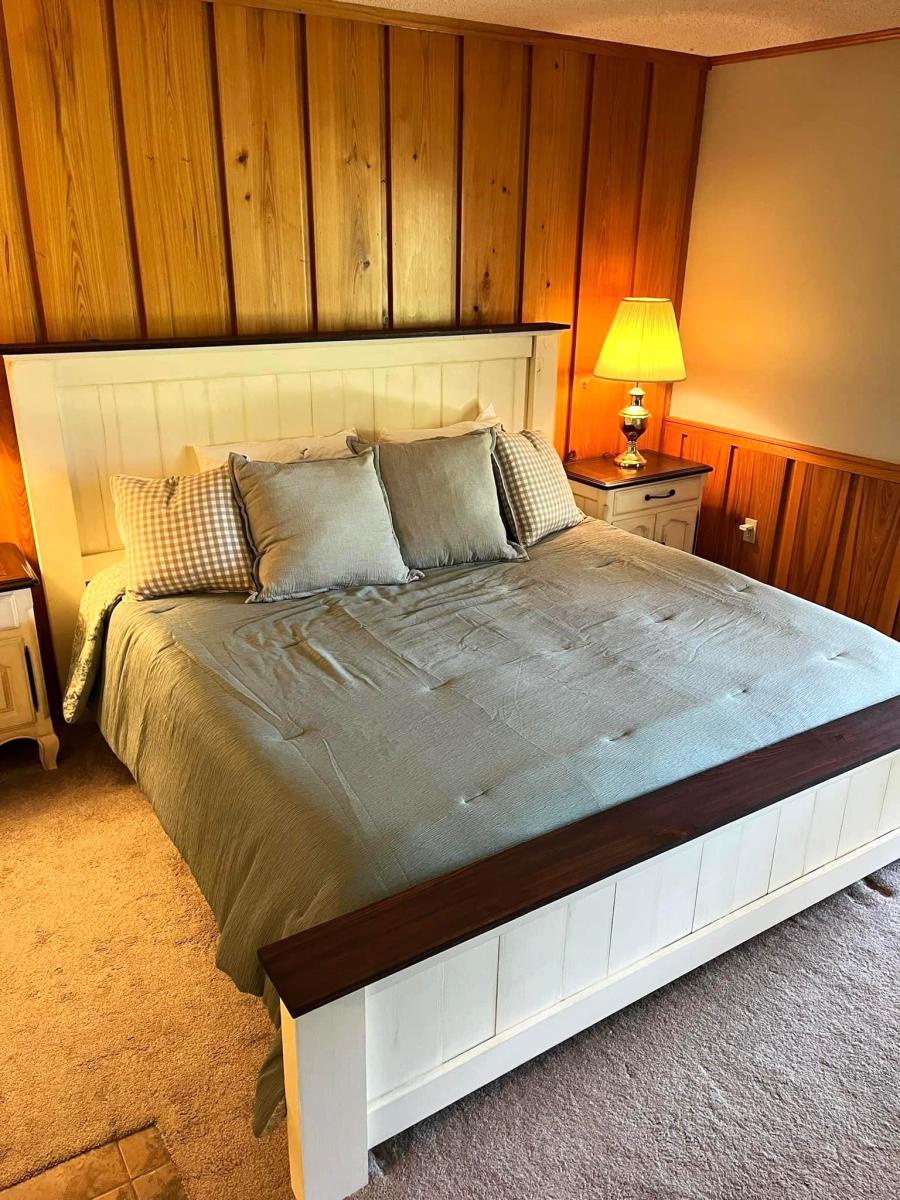
We built this using the Traditional Farm Style Bed plans. We used scrap cypress lumber that was cut and milled from and by family. We had to make some modifications because of differences in the milling sizes but I was so happy with the final outcome.
Ellen Girod
Comments
jkeyros
Sat, 06/29/2019 - 05:47
U-shaped table
I love this! Can you give me the plans and list of materials for constructing it?
morganbrittiany87
Sun, 06/30/2019 - 12:33
I am also a teacher and…
I am also a teacher and would love to build this desk for my reading class. Do you have plans?
swarner76
Mon, 07/01/2019 - 18:05
Classroom Table ❤️
I love this table for my classroom. Can you share the plans or the dimensions?
-Stephanie
heatheraddison
Sun, 07/07/2019 - 08:08
u shaped table
I would love the dimensions for this table as well!
buzzydoherty
Sun, 07/07/2019 - 09:46
Classroom Reading Table
I would love plans/dimensions for this! I was thinking I could also paint the top with wipe off board paint.
amandaforet
Sun, 07/07/2019 - 14:59
I would love to make one for…
I would love to make one for my classroom. Can you share the plans and materials list for this table?? Thanks!!
appstatekatie
Mon, 07/08/2019 - 19:11
Dimensions? Love the table
I am looking to make this for my fourth grade classroom - can you provide the dimensions you used? Thank you so much.
Ahwood17
Wed, 07/10/2019 - 11:59
Love this! I would love…
Love this!
I would love this for my classroom! Can you share the plans and materials.
Thank You!
sido17
Thu, 07/18/2019 - 15:27
Plans
I would love the dimensions or plans for this. Would love to make it for my classroom.
sarahmariehart…
Mon, 07/22/2019 - 18:25
Anyone have any luck with…
Anyone have any luck with figuring out the dimensions??
teriteach1
Thu, 07/25/2019 - 17:21
No. Have you? Please share.
No. Have you? Please share.
sarahmariehart…
Thu, 07/25/2019 - 18:26
No luck over here.
No luck over here.
teriteach1
Thu, 07/25/2019 - 17:20
Has anyone gotten the plans…
Has anyone gotten the plans for this table? I have contacted Ana White and tried other ways also. I would love for someone to share.
Thank you
Teri
dlee69
Tue, 07/30/2019 - 12:07
plans
Hello
Can I please get the plans to the u shape table?
Thanks
Linguine
Mon, 08/19/2019 - 12:09
kindergarten classroom desk
I am guessing the corner posts are 2 x 4s, the top is 2 x 10s. It looks like the width is 6’ (looking at the floor carpet tiles being 24” square). So 2 - 2 x 10s side by side for the main part of the desk top and 2 - 2 x10s perpendicular on each side of the chair. I guess the height is subject to choice and the length of each side would also be subject to choice or to the length of the 2 x 10s to be economical.
an educated guess would be 4 - 8’ 2x10s for the top and 6 - 6’ 2 x 4s for the legs?
Anyone else have any input here? Open to suggestions.....