Community Brag Posts
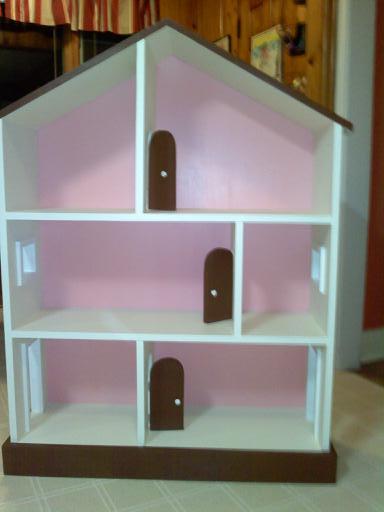
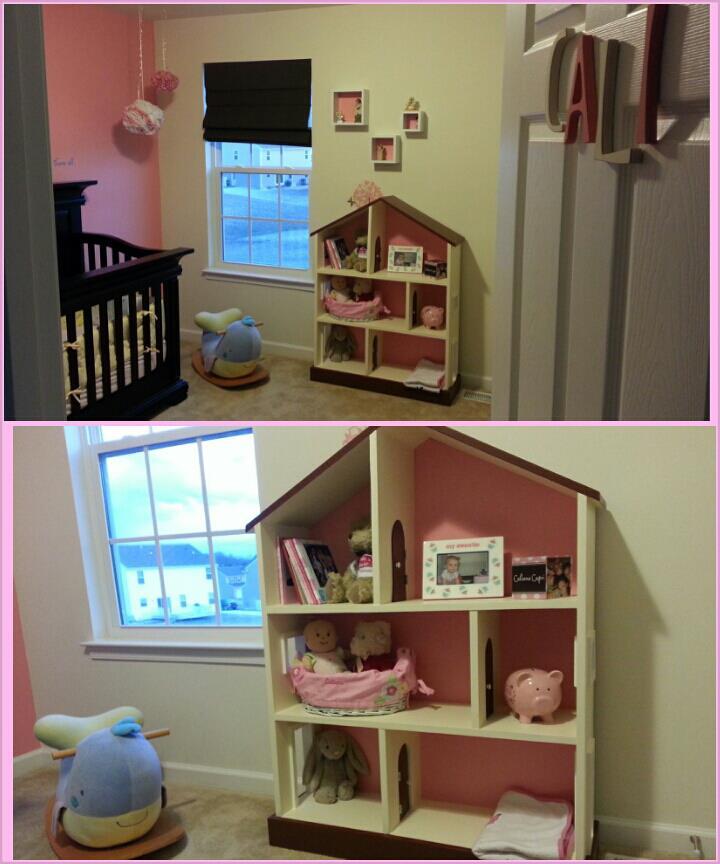
Mini Kentwood Bookshelf
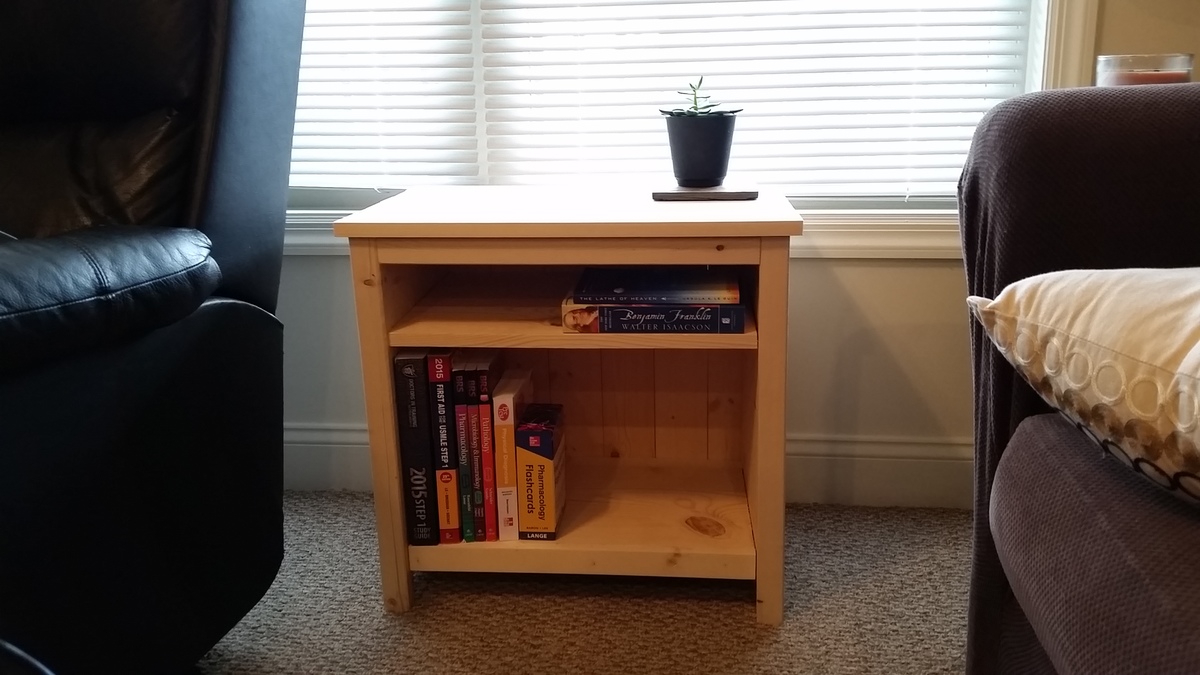
23" wide by 21 1/2" high by 15 1/4" deep
I needed a little bookshelf to fit under my window so I went with one full shelf (11 1/2") and a baby shelf (3 3/4" not including the area behind the top front lip - it's 5" from shelf to the bottom side of the top surface)
Now, to get around to putting on some stain...
Comments
Grandkids’ Play Table
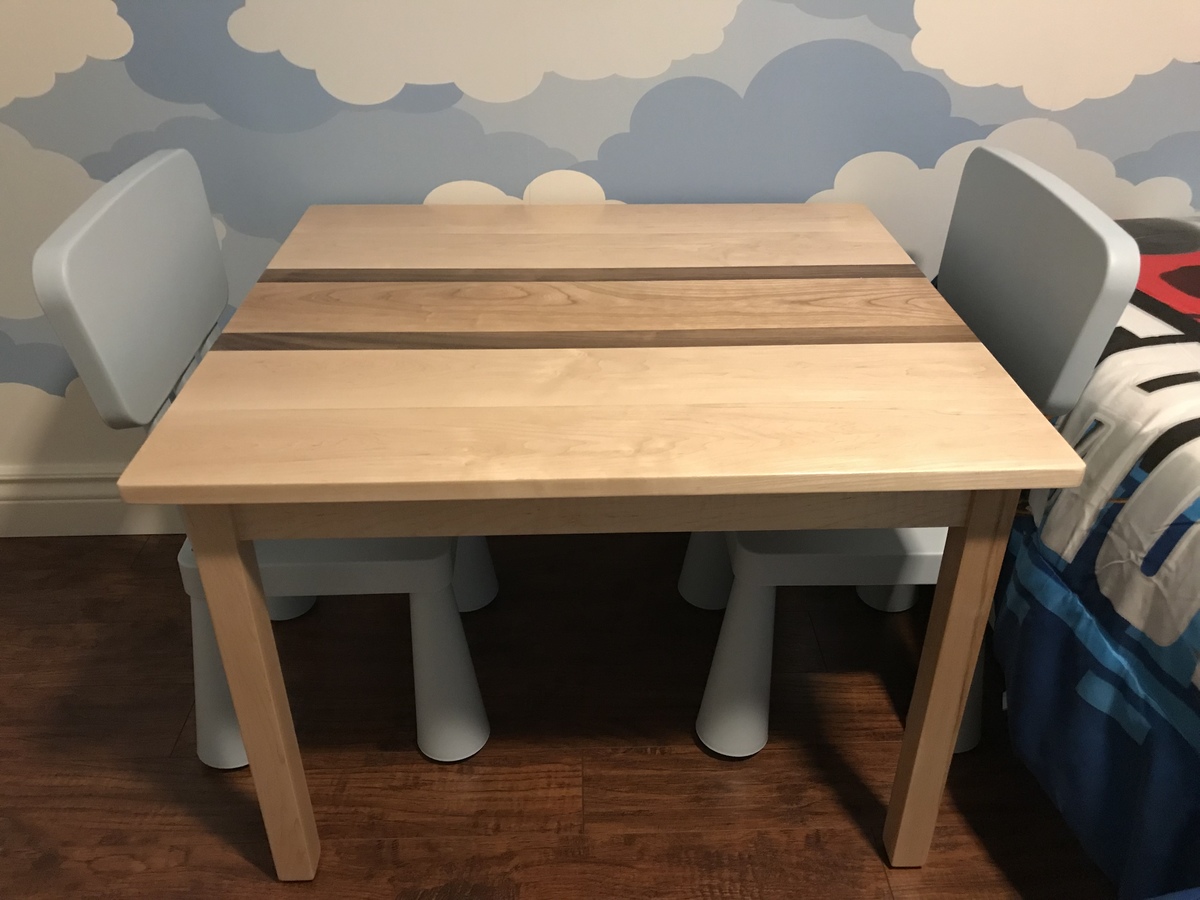
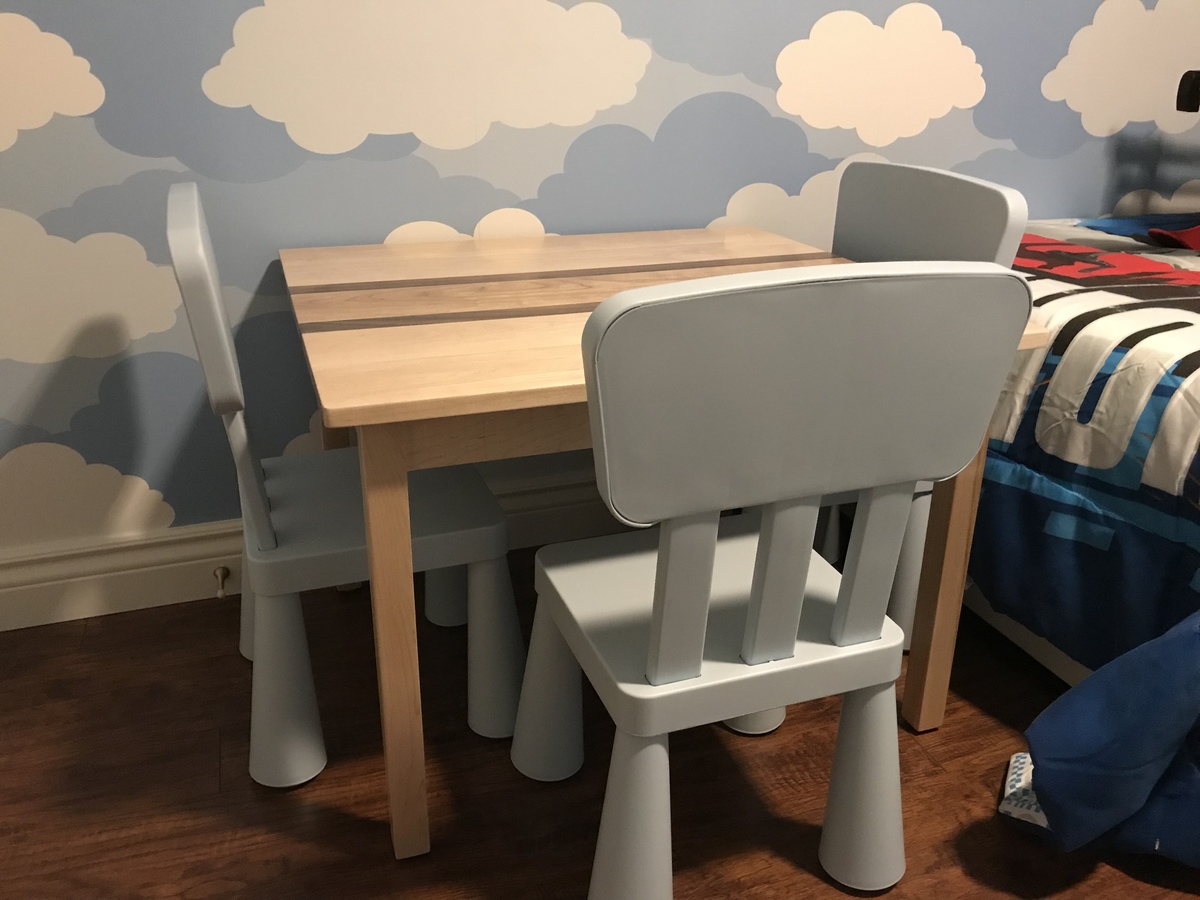
Plans were great, thank you. We made our table a little deeper to accommodate 3 to 4 little ones, and purchased some little chairs at IKEA.
Jade’s Christmas

I made this for my 4 year old Granddaughter, and the first time she sat down she said “it’s just my size.”
I made the desk two and a half inches shorter than the plans.
Comments
Farmhouse table and benches
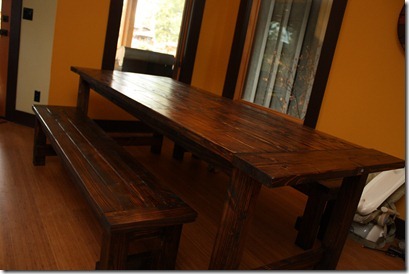
Took a couple of weekends to complete table and benches. As a sidenote, Orange was definitely the least expensive between the 2 box stores. They also had a much better selection of inexpensive wood. We made the table and benches for the same price we made our reclaimed wood king headboard (supplies purchased at blue).
A word to the wise: DO NOT CUT THE END, PERPENDICULAR PIECES OF WOOD FOR THE TOP UNTIL THE LONG, 2X4S ARE ATTACHED. Just cut it to fit at home. We found the cut list is a little off in that regard and had to get a little creative so we wouldn't have massive 2x4 overhang,as the 1x6 cut was too short for us. We just cut to fit when building the benches and found it was much easier!
Rustic X Console - The Schorr Thing
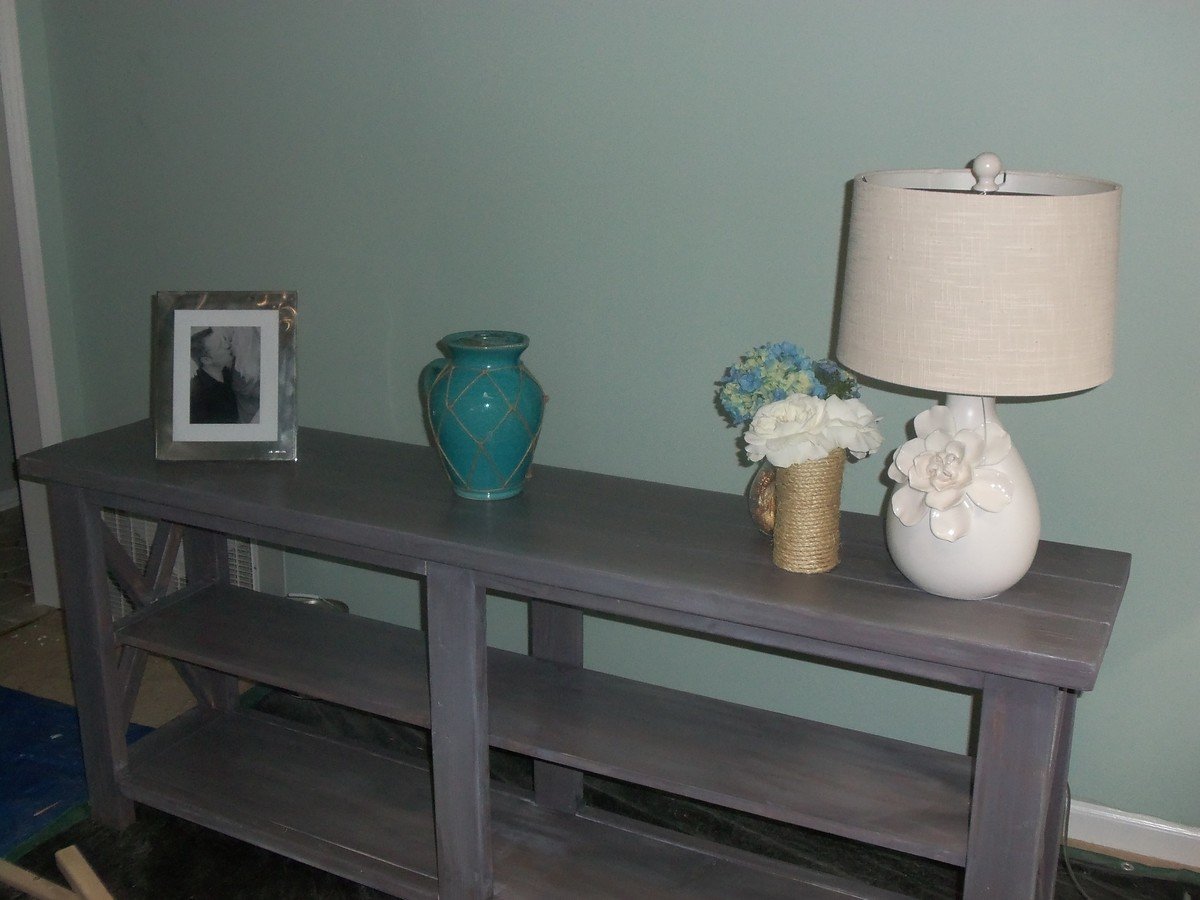
We followed the plans for this table that will sit behind our sofa in the main room. We've never really built furniture before, but this wasn't too difficult to make and I love how it looks. Plus it's super heavy and sturdy, so it will be perfect to store items and decor for the main room.
Comments
Fancy Jewelry Box
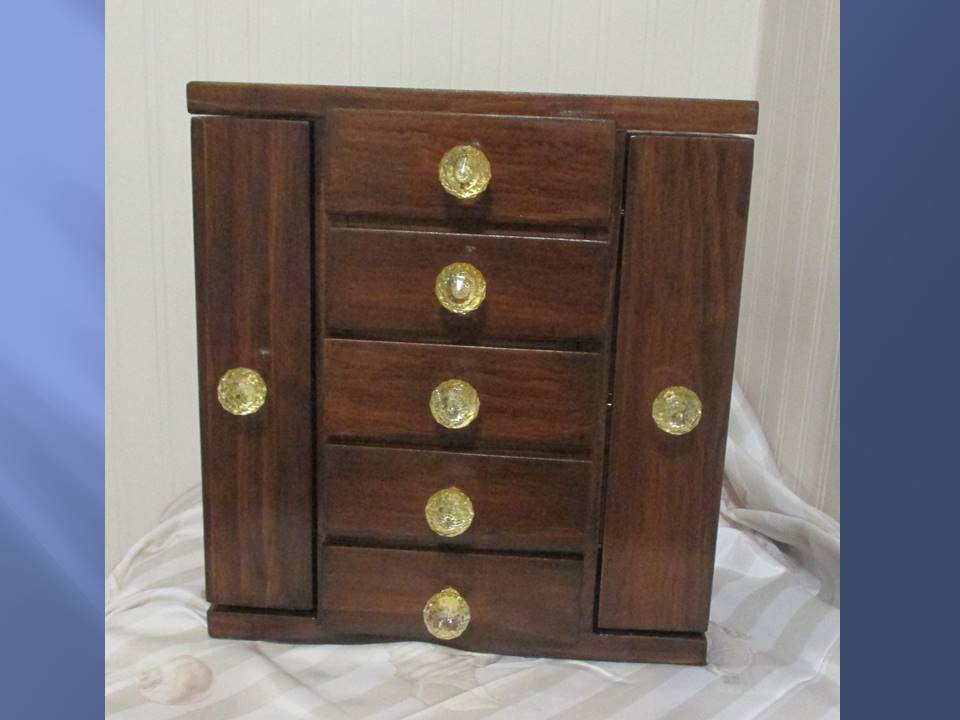
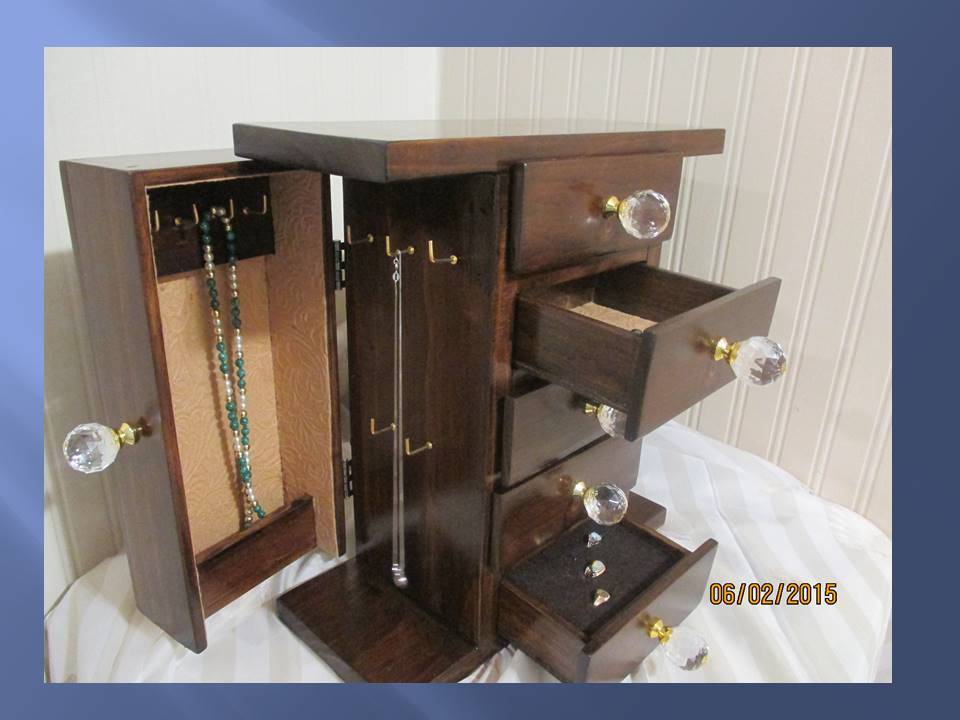
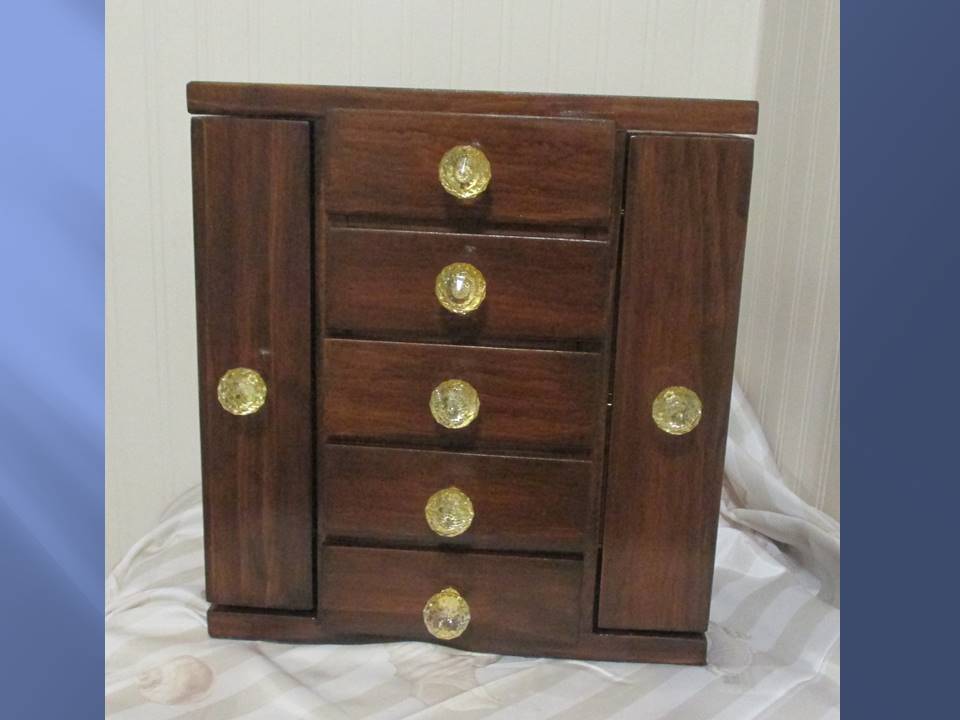
One of my friends at work is going to a new job, and this build is her going away gift. It is a variation of the Fancy Jewelry Box, with the following modifications:
Made from select pine, no plywood is visible on the outside on this build.
Slightly smaller, the box is made from 1x6, the back is a ½” x 5 ½” craft board, and the door outsides are 3/8” x 5 ½” craft boards.
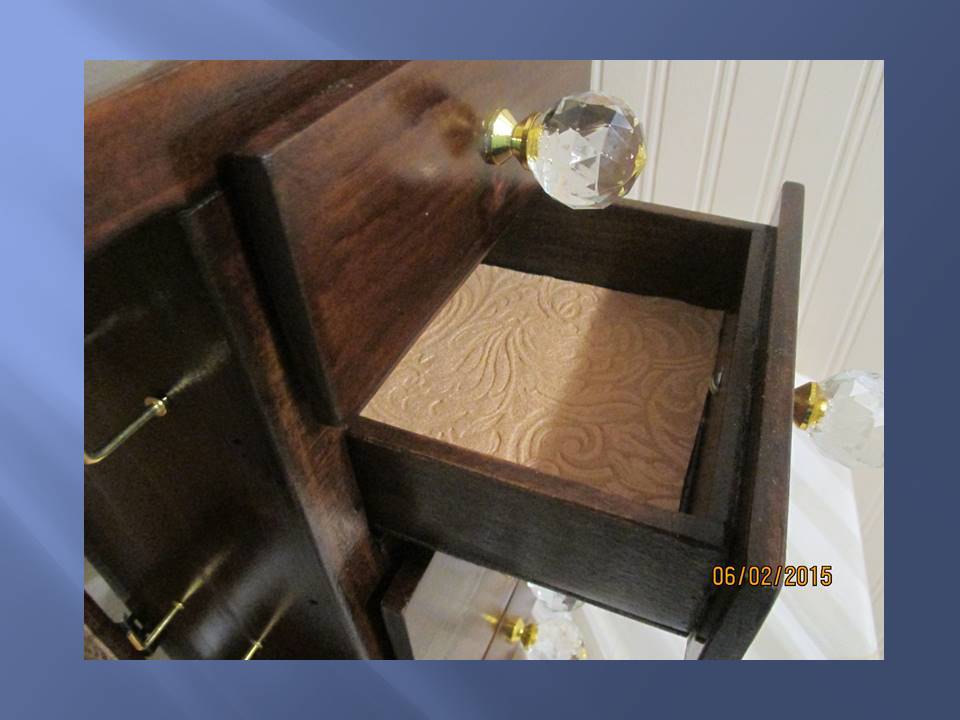
The drawer boxes are ¼” thick craft board and the doors and overlay drawer faces are 3/8” thick craft board.
Overall dimensions are 13” wide, 5 ½” deep, and 14 ¼” tall.
The select pine worked very well for the luxe stained finish I was trying to achieve.
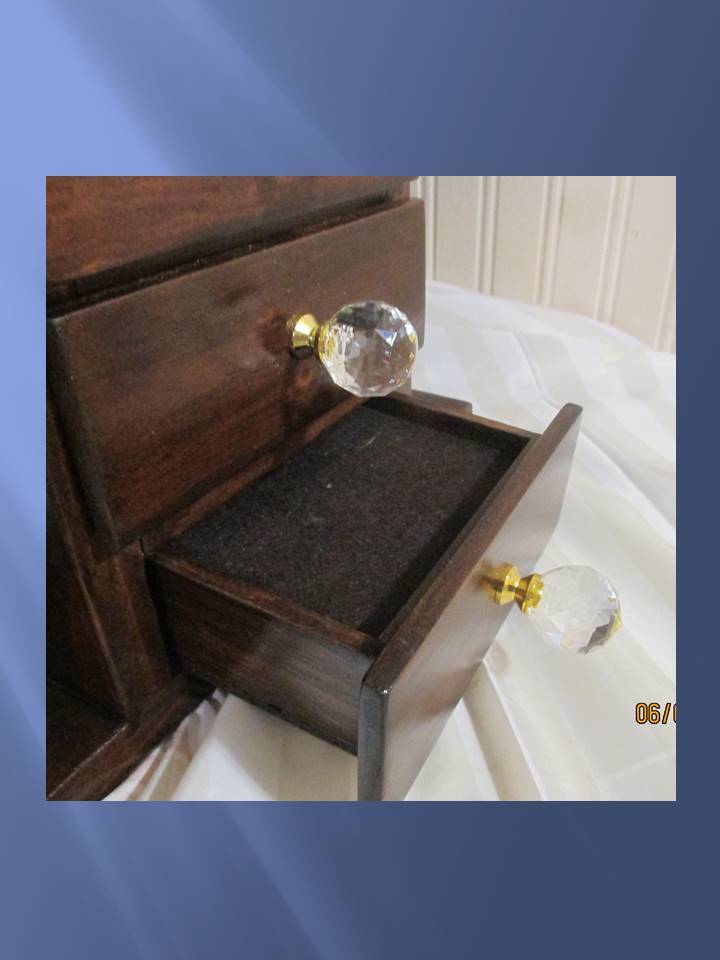
Used fancy knobs instead of wood knobs (also swapped out the included screws for shorter ones).
I really took my time on this to get everything just so. The project took about 15 hours in total, including the build, finishing, and decorations - - a bit at a time, spread out over the last couple of weeks.
I'm very happy to say the gift was a big hit!
Farmhouse style Queen bed
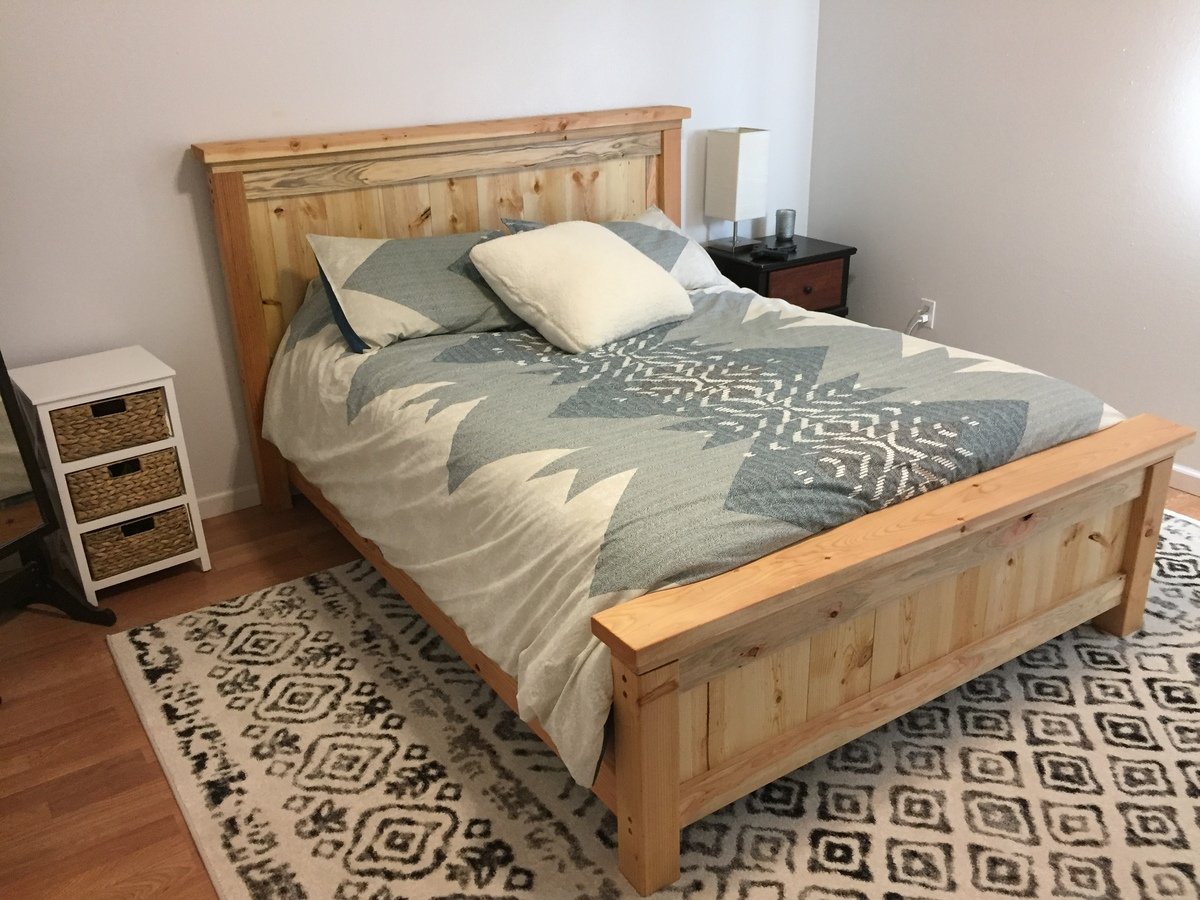
I built this bed frame with the general guidelines for the queen sized farmhouse bed. I adjusted some of the dimensions to better suit our layout.
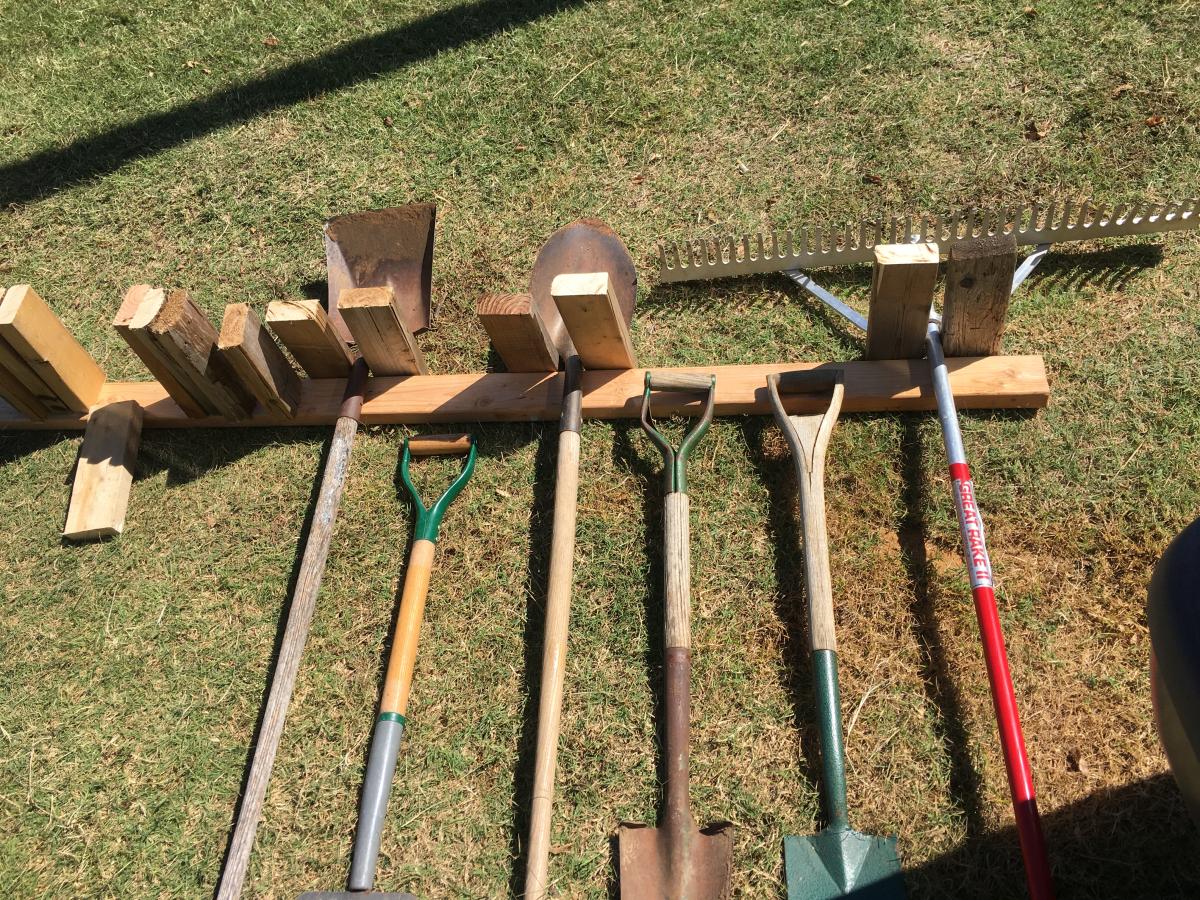
Only scraps
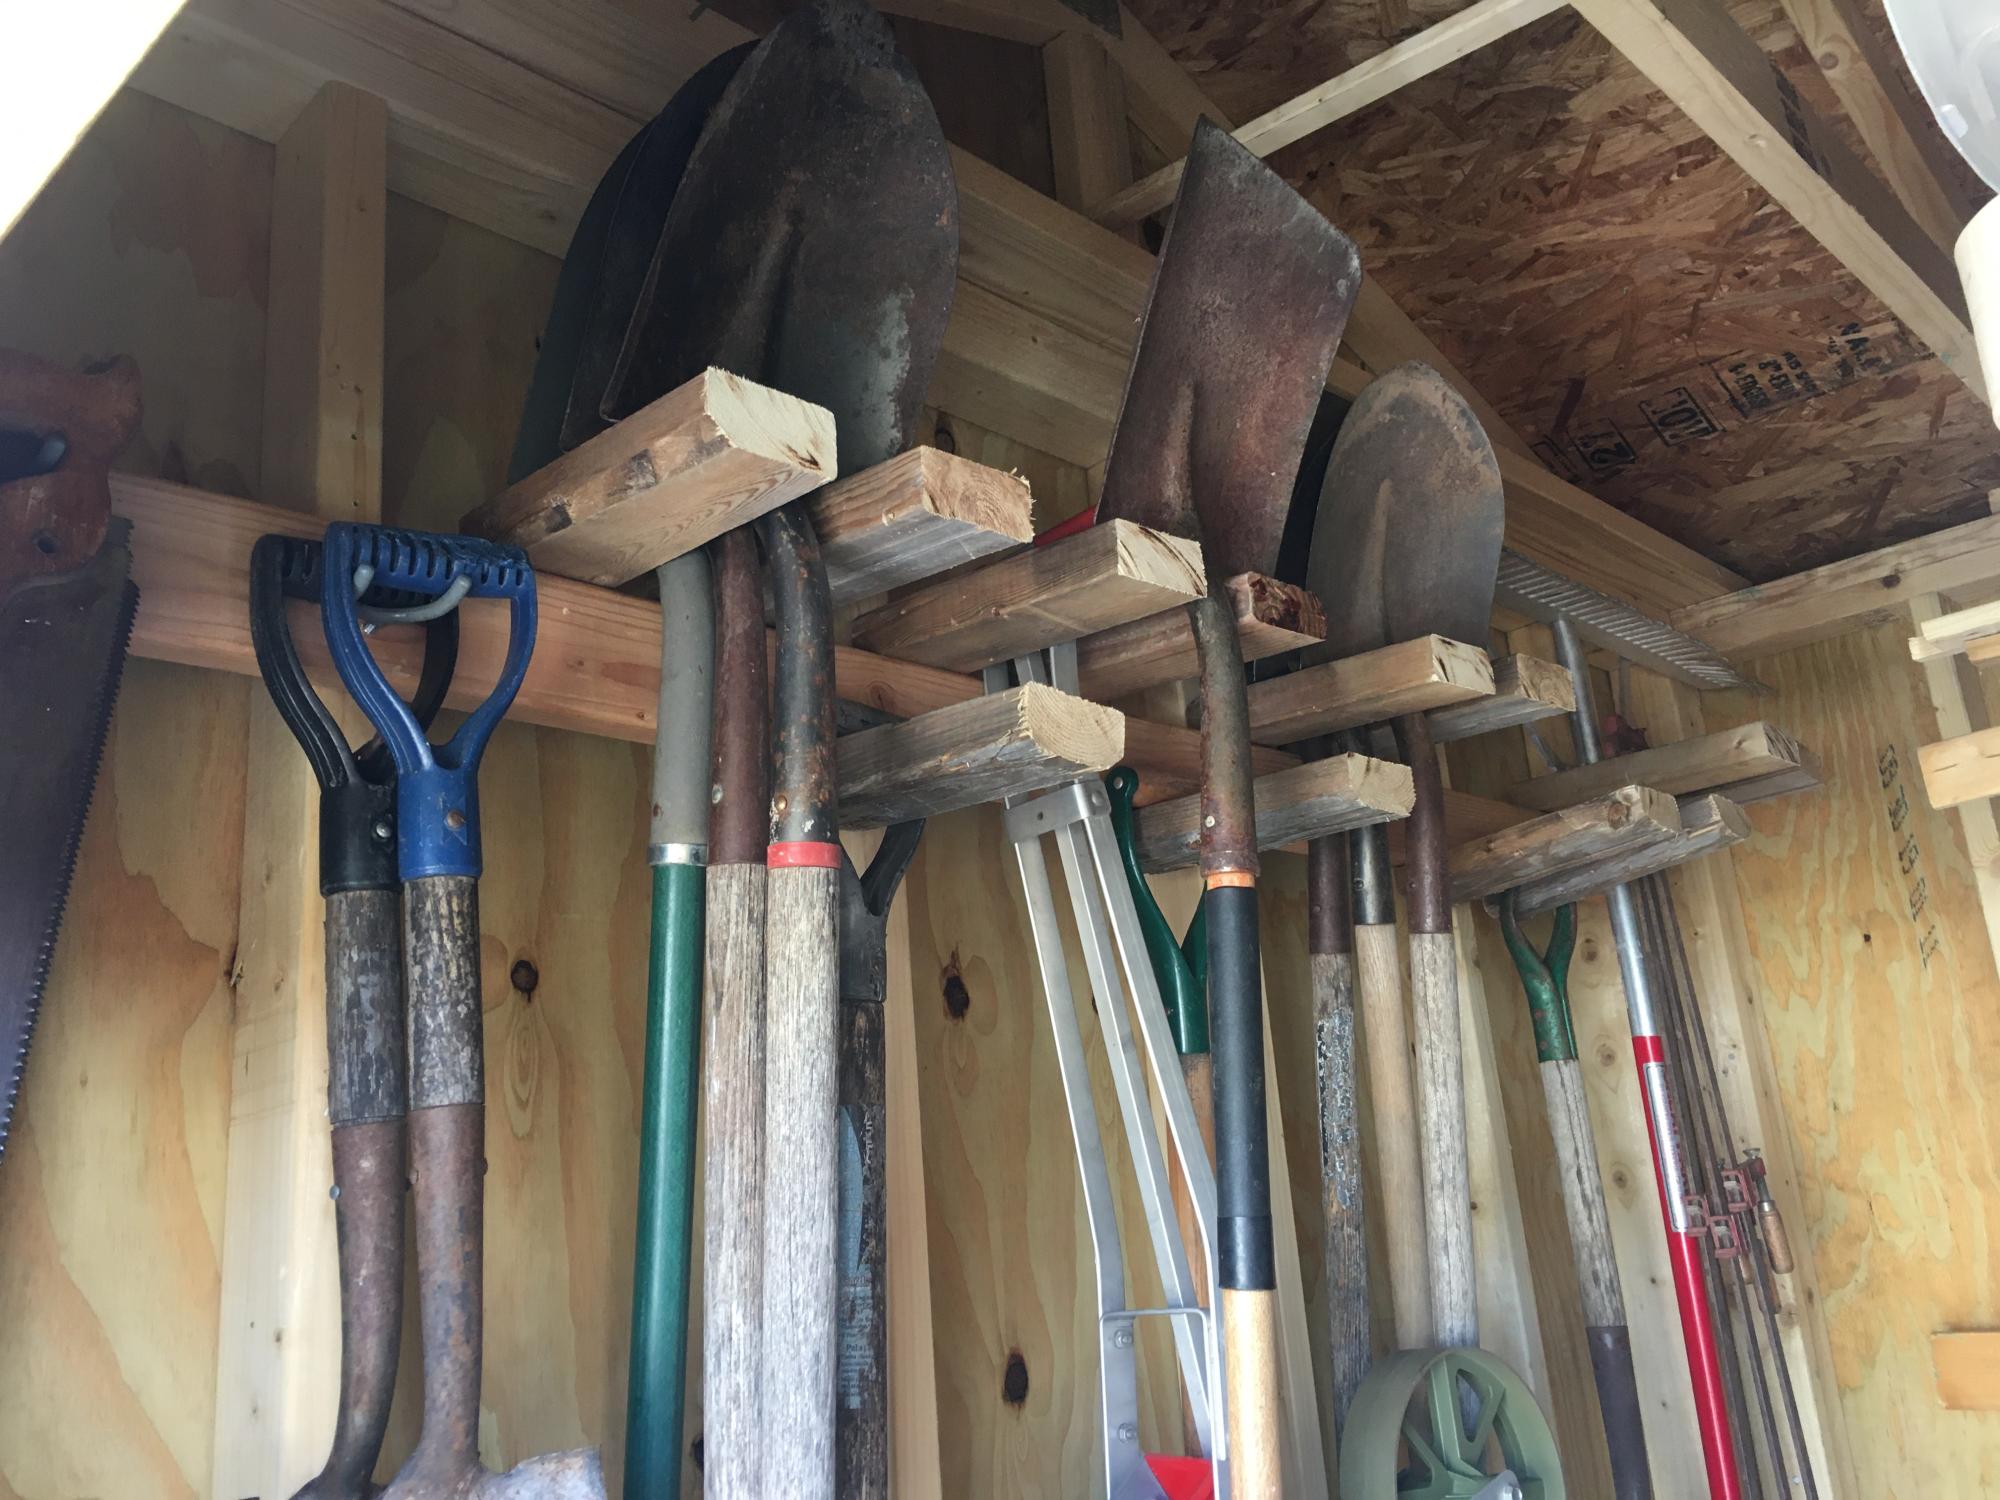
One of my favorite projects. I used lumber salvaged from my brothers house build and Screws I already had. It was super easy and customizing for my needs was a breeze.
Comments
Easter Caddy's
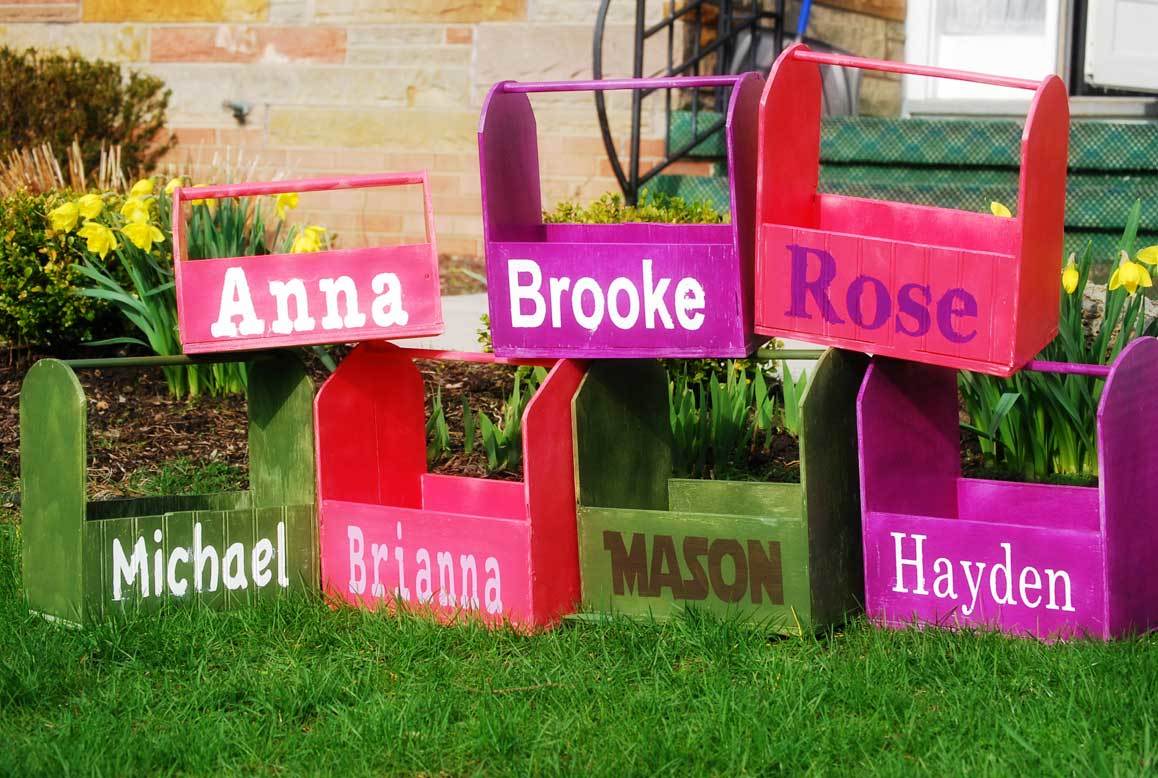
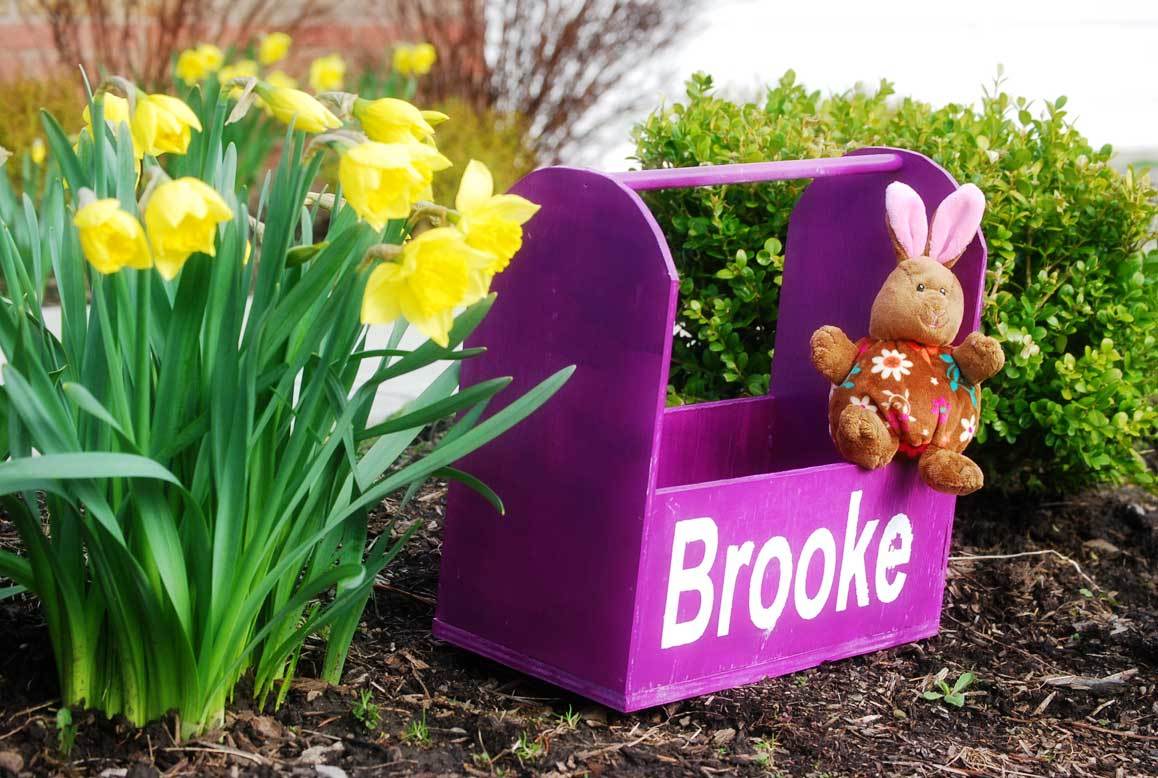
Ahhh Storage Caddy's - who can have enough of them!!! I wanted something special for the 7 kids that were coming of to my house (all under the age of 5!). So Friday I got building and painting - I think I got it all done in about 3-4 hours total. Once you get an assembly line going - it doesn't take too long. I am SO happy with how it turned out!!!! Be sure to check out my blog post for more pictures - I seriously couldn't stop taking pictures of these caddys!!!




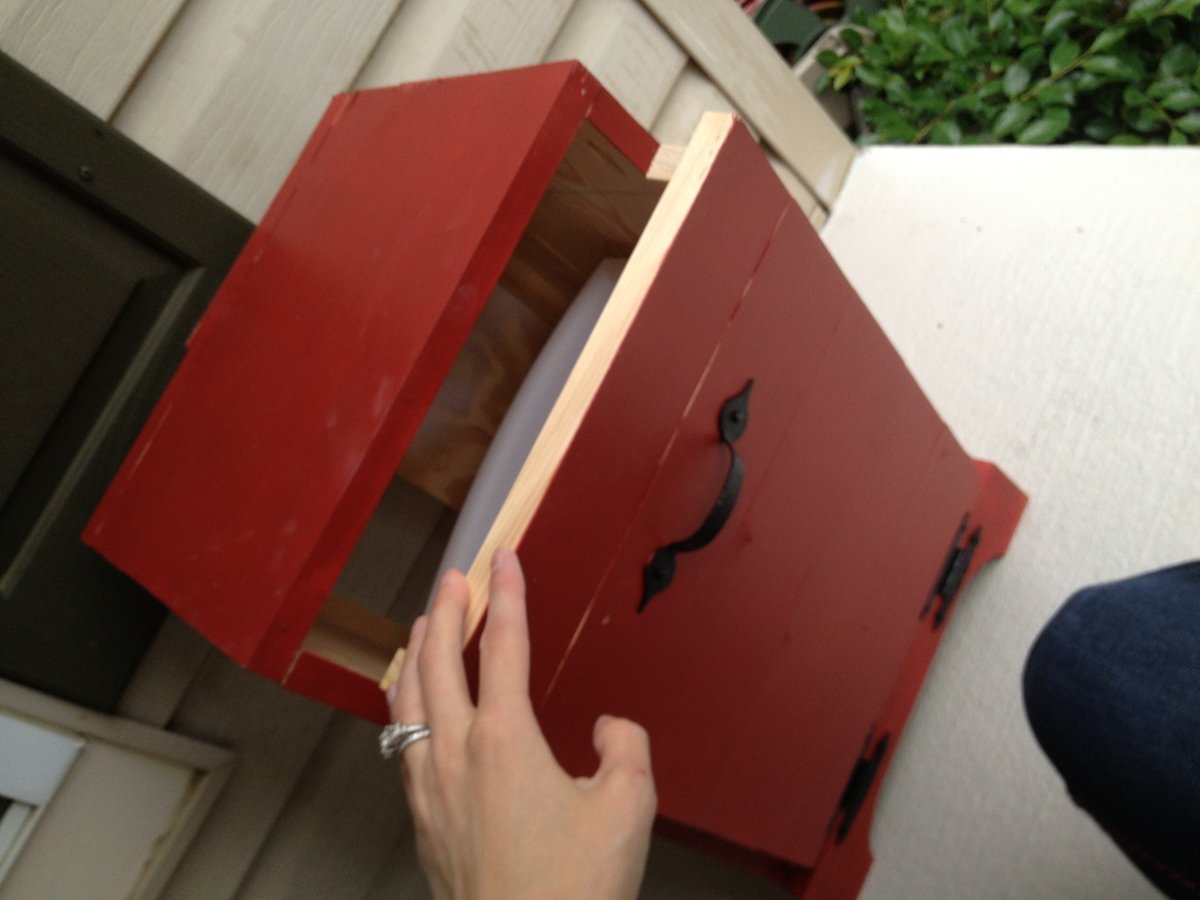
Trash Can (For the dogs!)
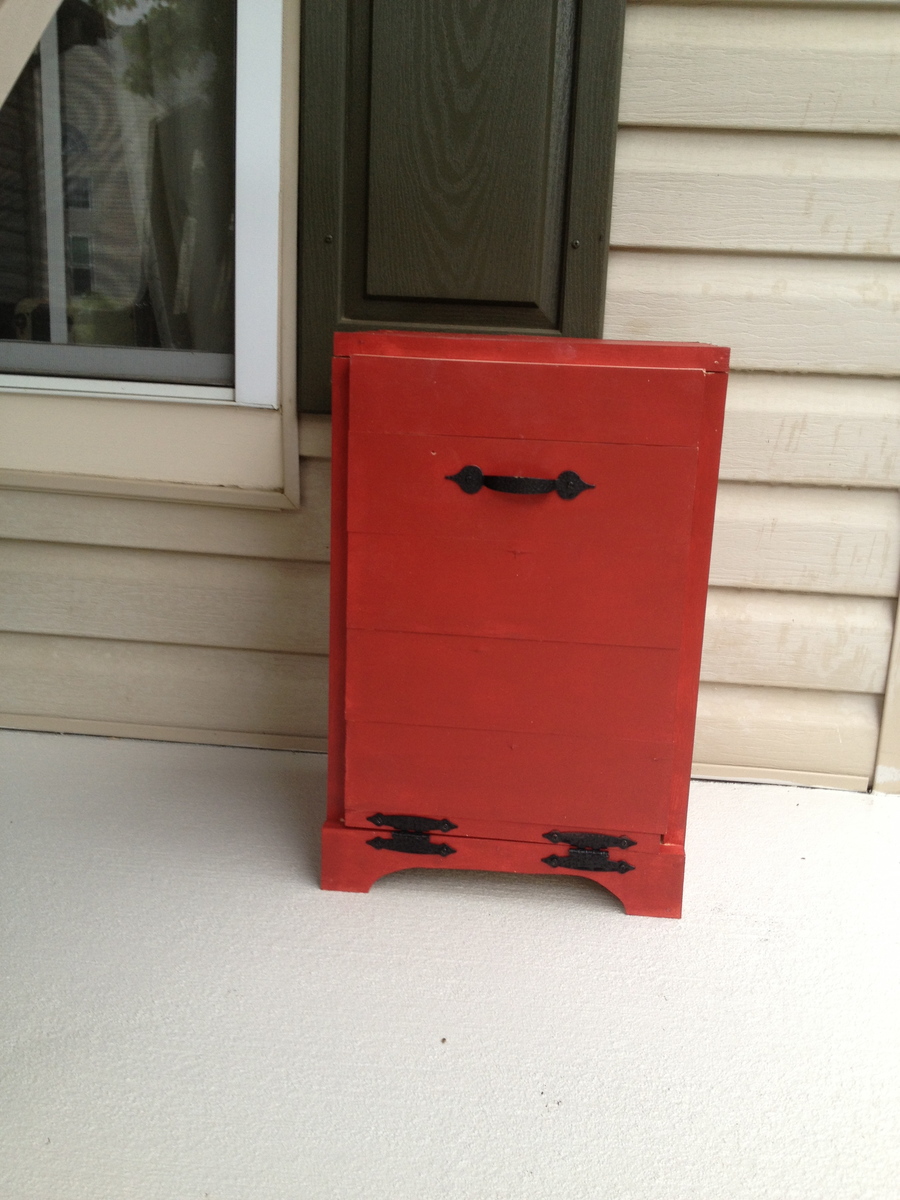
I made a smaller version of Ana's trash can for outdoor use. I used scrap wood that I joined with the Kreg Jig but I think it would have been easier to buy the size she recommends (but this was free!) We are always walking our dogs and then stuck with bags of poop and no where to put them. They end up in a pile near our door (GROSS.) so I built this to 'house' the dog poop until trash day. It's enclosed so there's no odor when you walk past it, and it looks much better on our front porch than poop bags. I painted it to match our front door so it looks like it 'belongs' up there. Ahhh, much better.
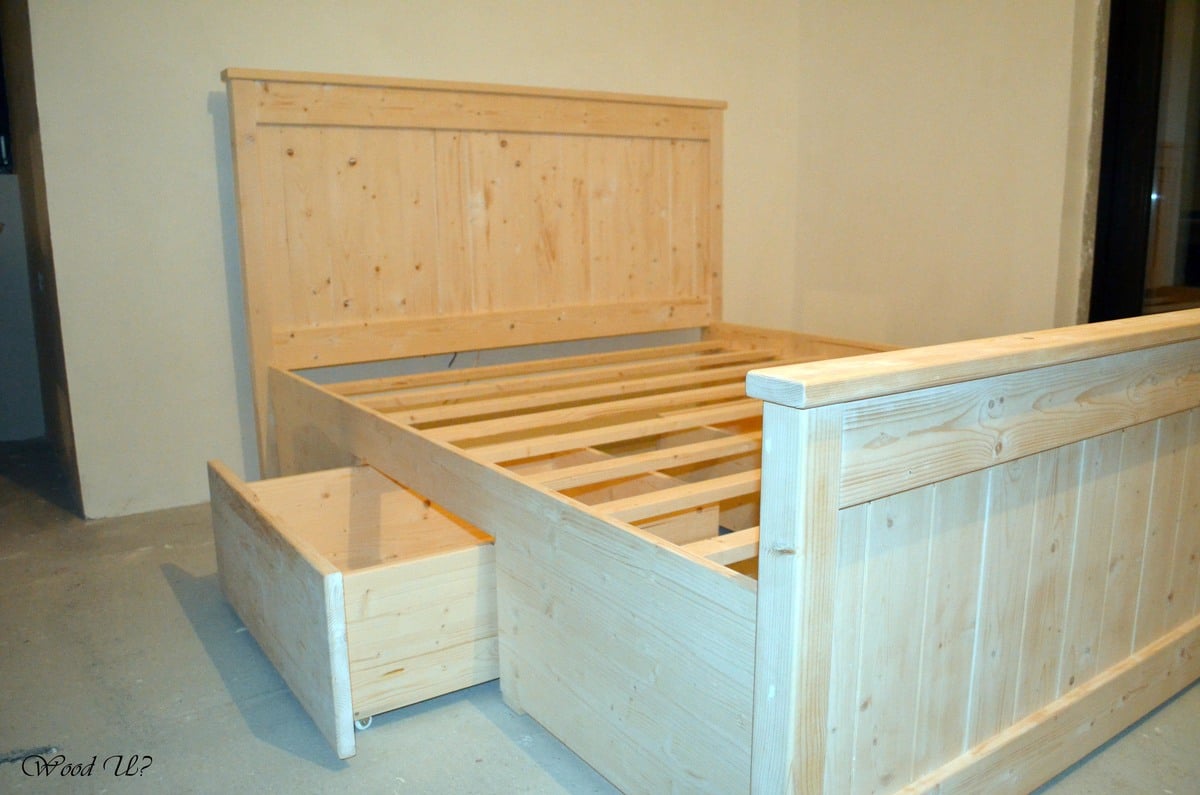
Rustic Bed
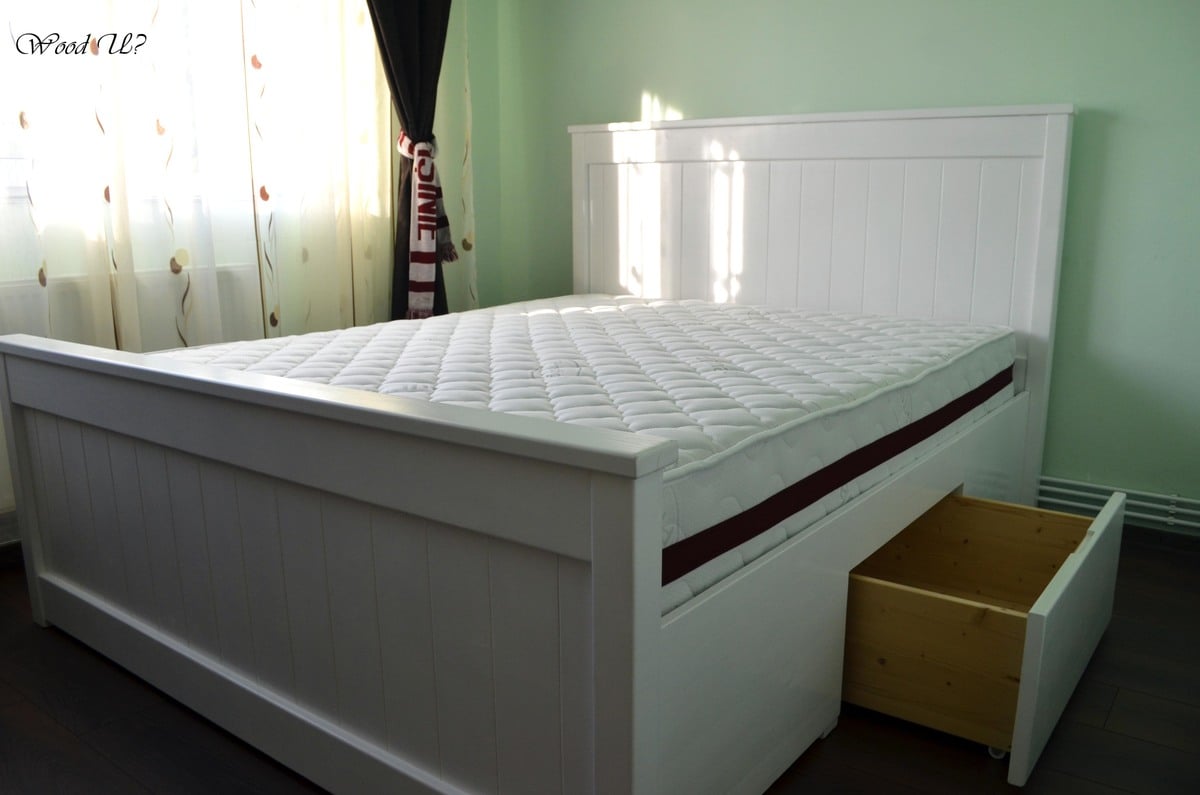
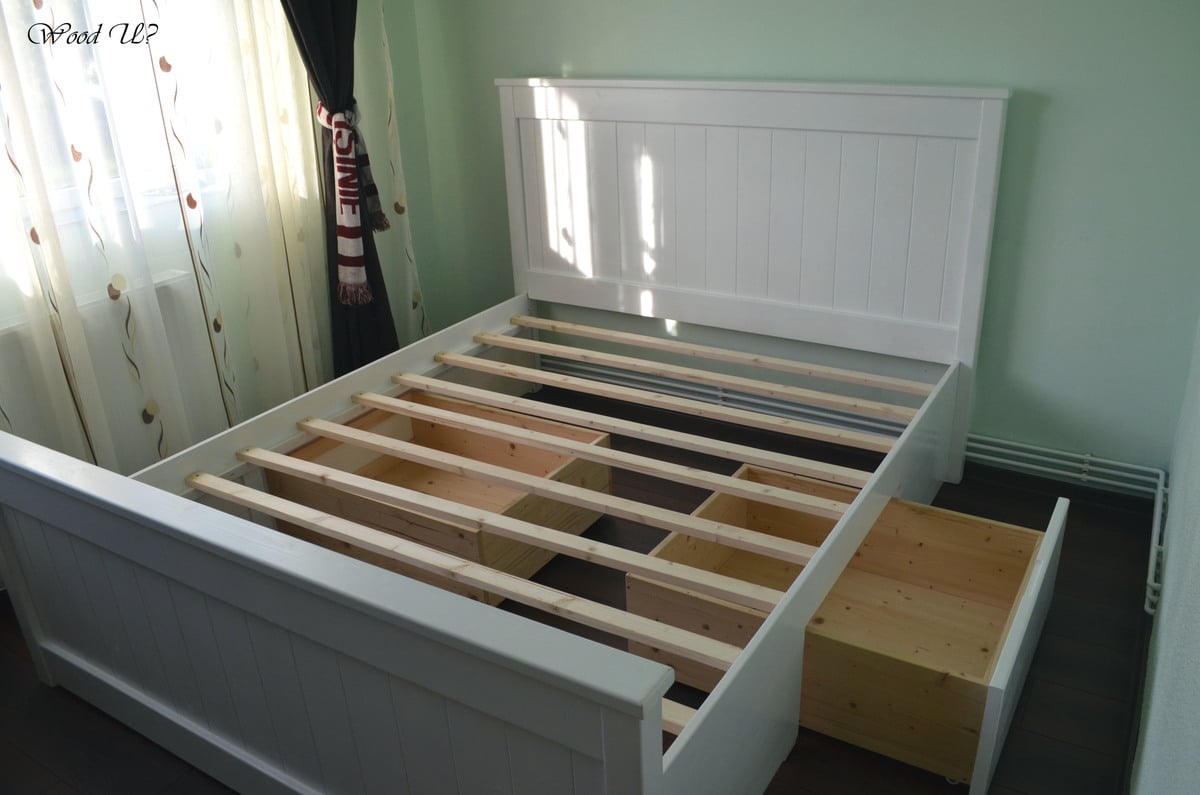
Farmhouse bed!!!
Comments
Garage Shelves
My new garage shelves. Not my first project, but I really liked the way they turned out. Used 1/2" plywood at 16" width. I attached the plywood with wood glue and 2" brad nails every 12 inches. I used an impact driver to screw the 2x4 into the wall and to attach the vertical legs. Saved a lot of time and wrist fatigue.
Rustic X desk
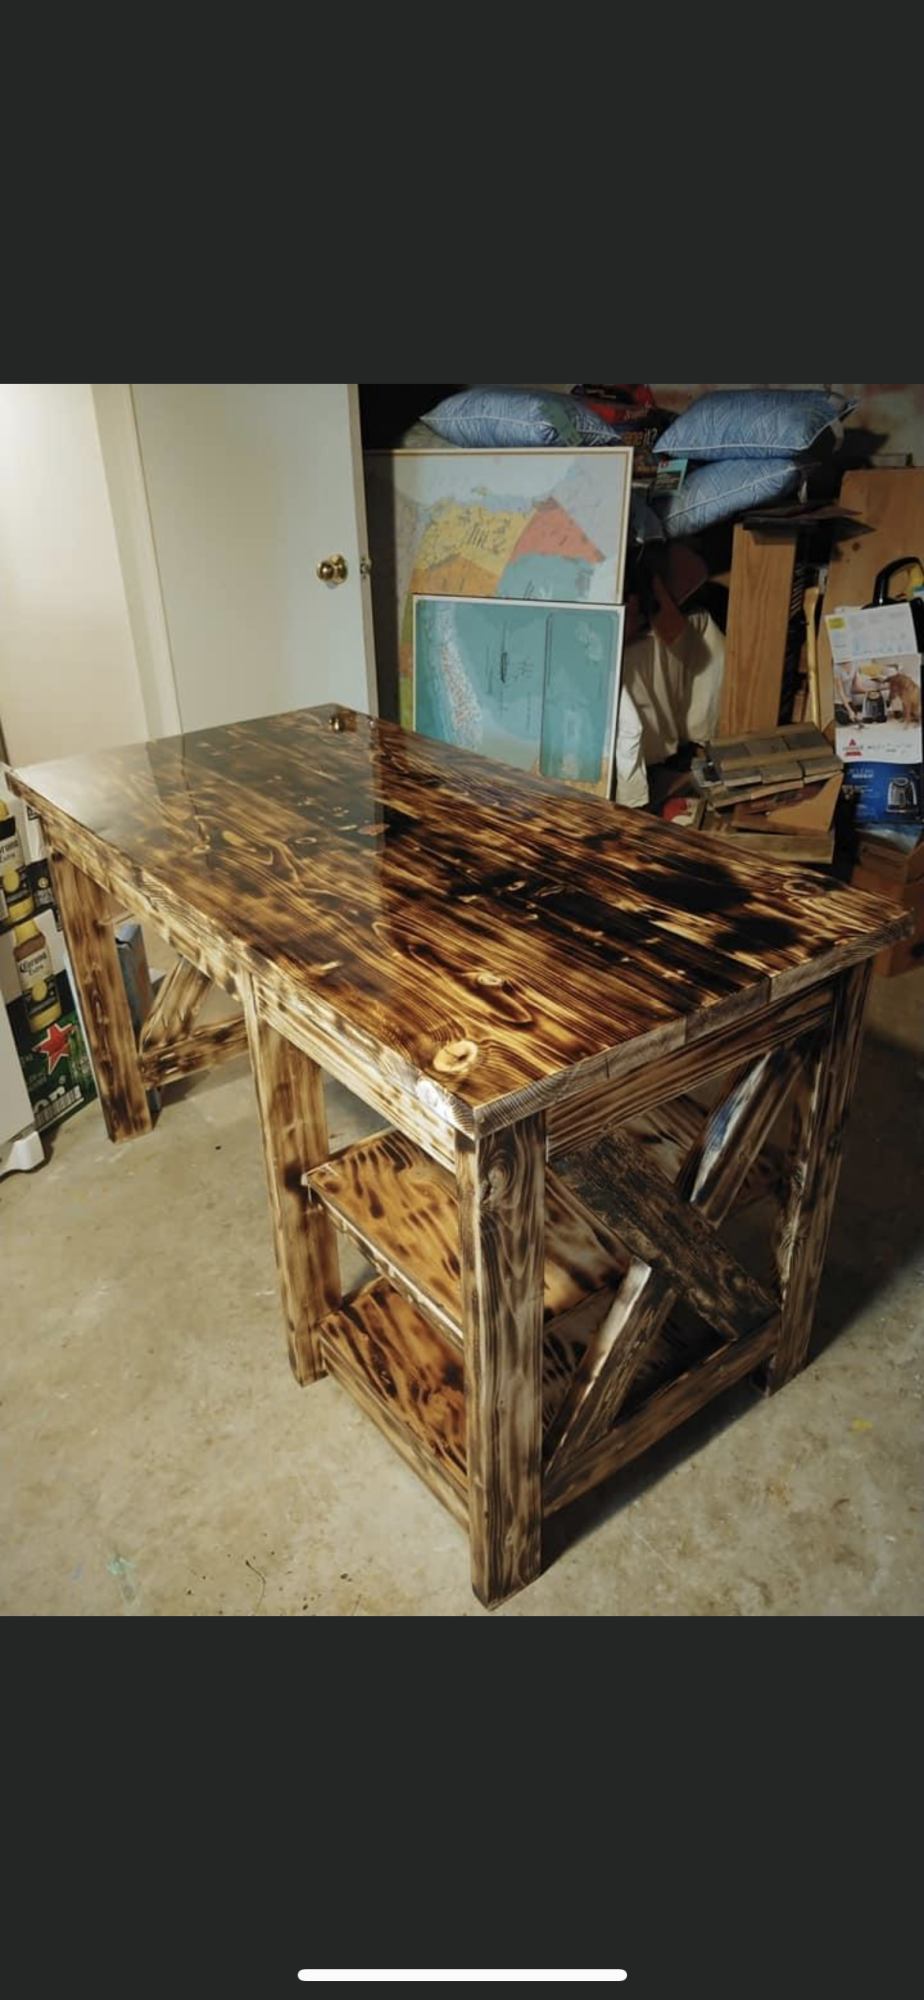
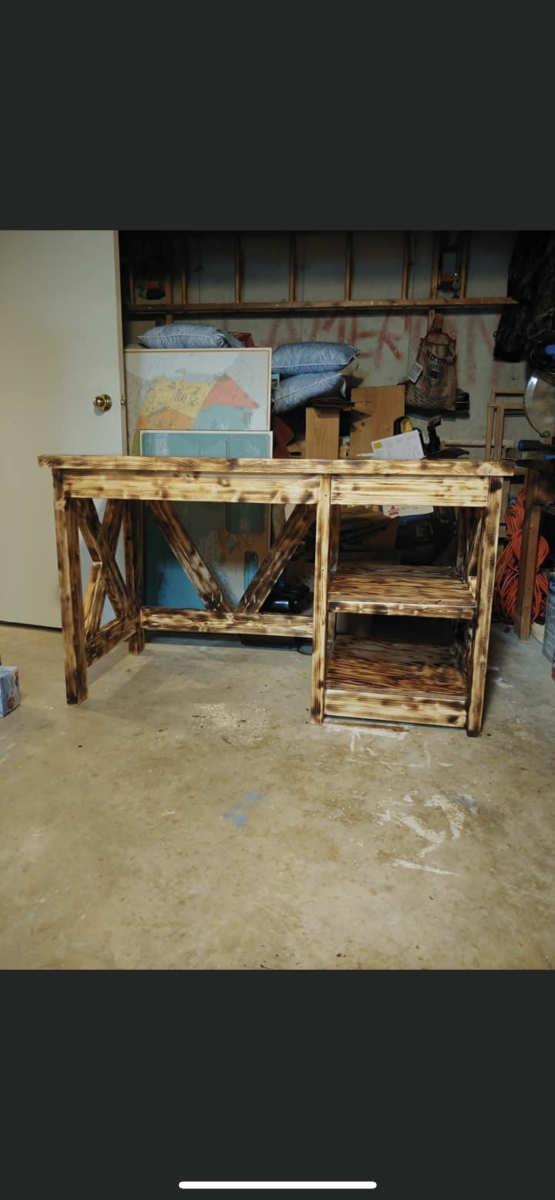
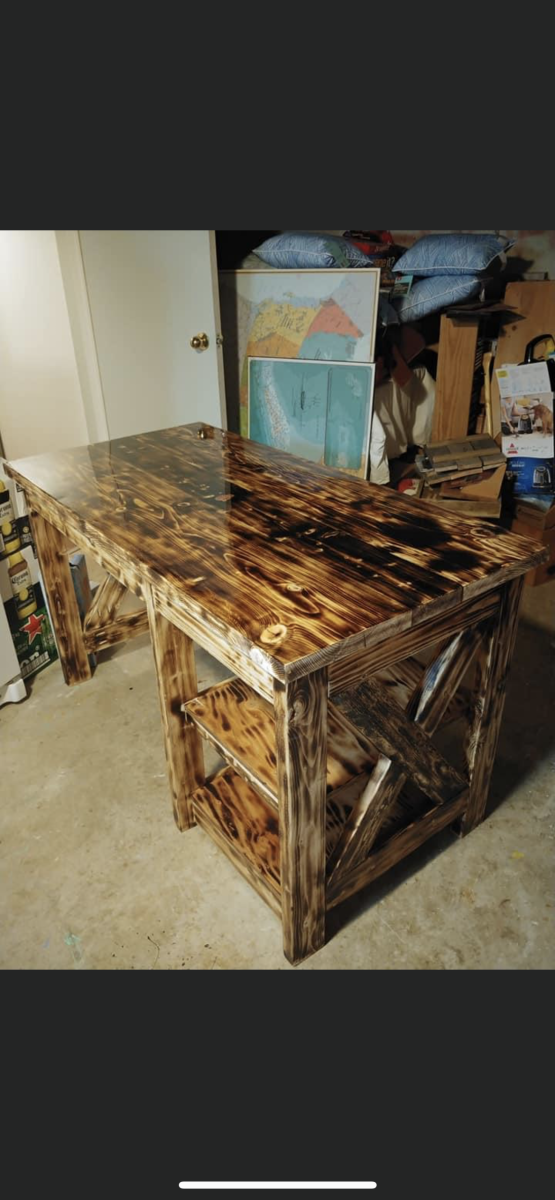
When my son graduated from the paramedic course in college I asked him what I could make for him. He said that he needed a desk. So I made one using your plan out of 2X4’s. I used my propane torch to lightly burn the wood, then I made a void and inserted, my Cap badge from when I was in the service and coated the top in epoxy . The rest of the desk has several coats of polyurethane

Comments
Easiest Upholstered Western Bench
The nailheads were finally restocked, and I finished the bench. Thanks for all the responses!
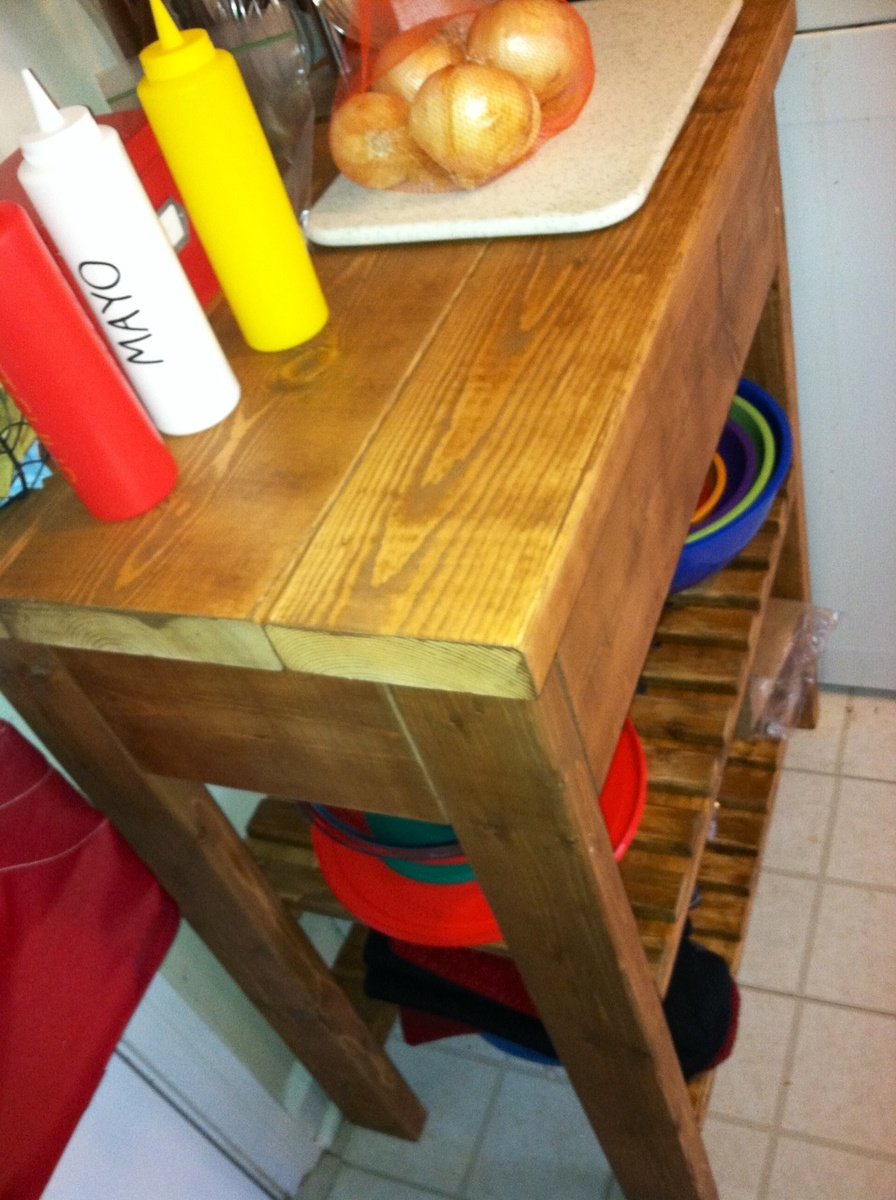
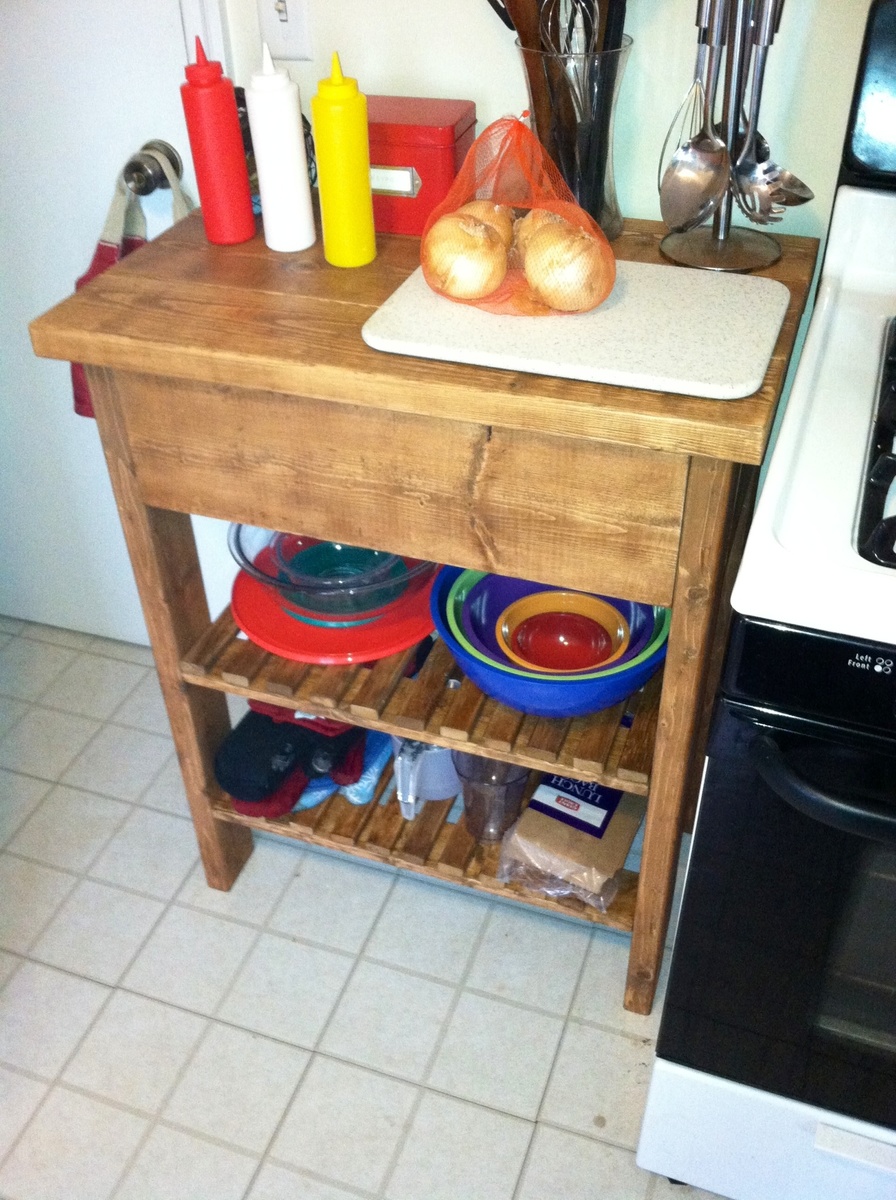
Easy Kitchen Island
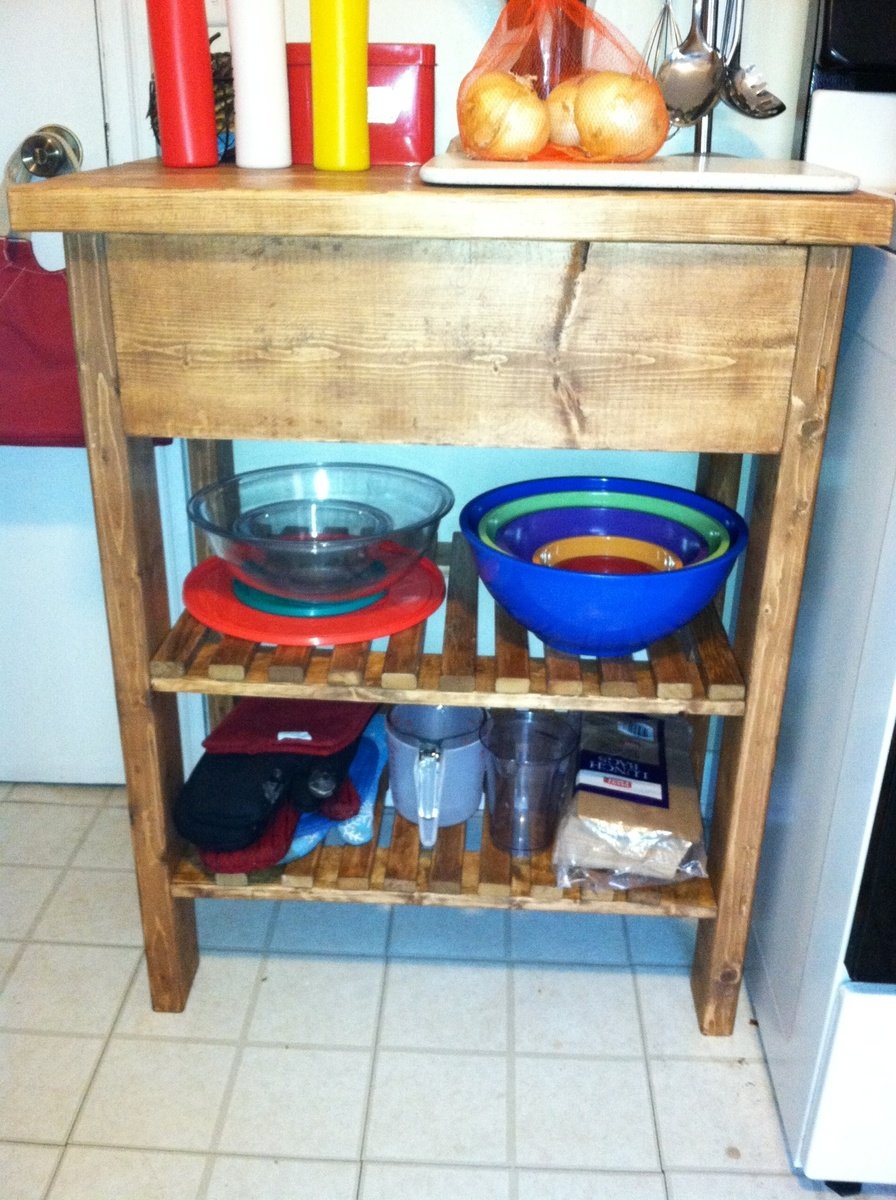
Had to adjust the measurements to fit the space I had to use it in my tiny kitchen but it turned out pretty well.
boys crib
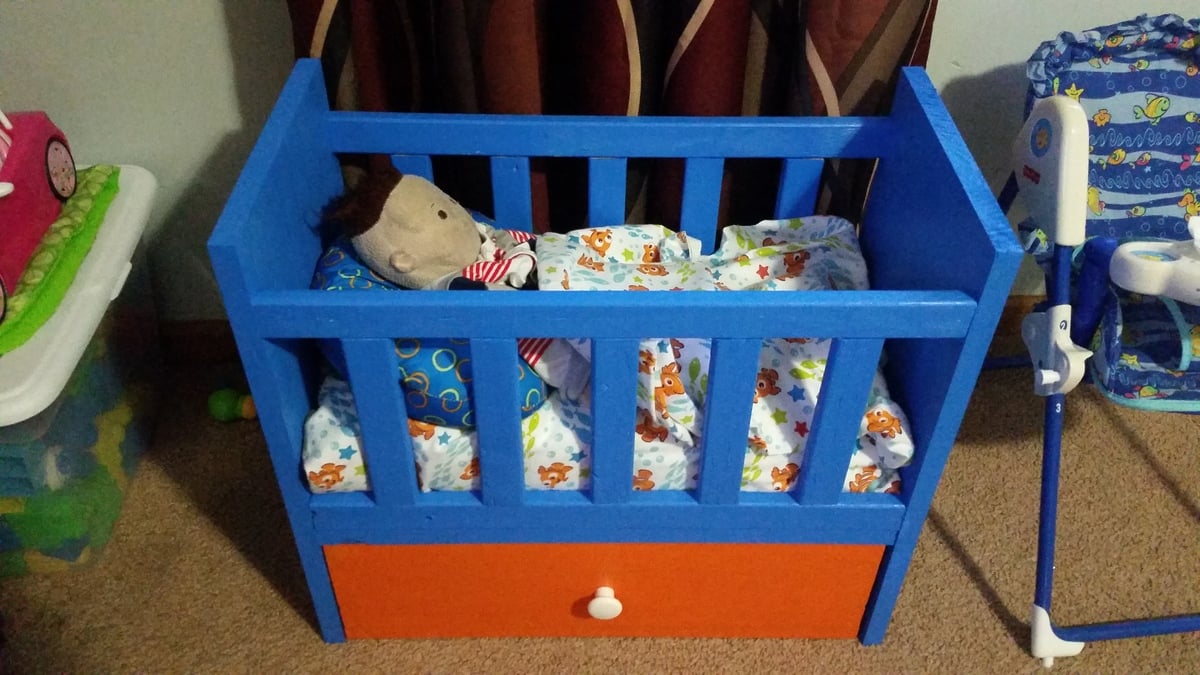
I've looked around for a crib for my son who is very manly, and also has a baby doll. All I could find were pink or purple or floral cribs which led me to the Internet in search of Plans to build my own. I found your site and love the crib that you built for Olivia. This is our manly version that my son and I completed today. Thank you!
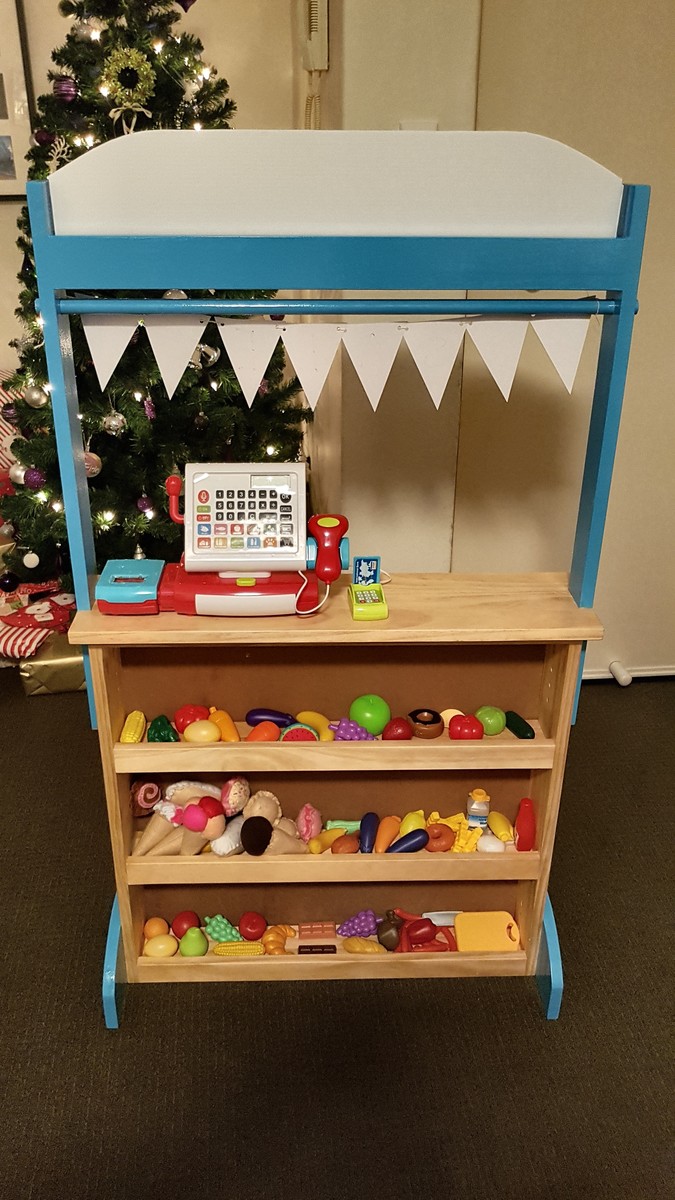
Kids shop
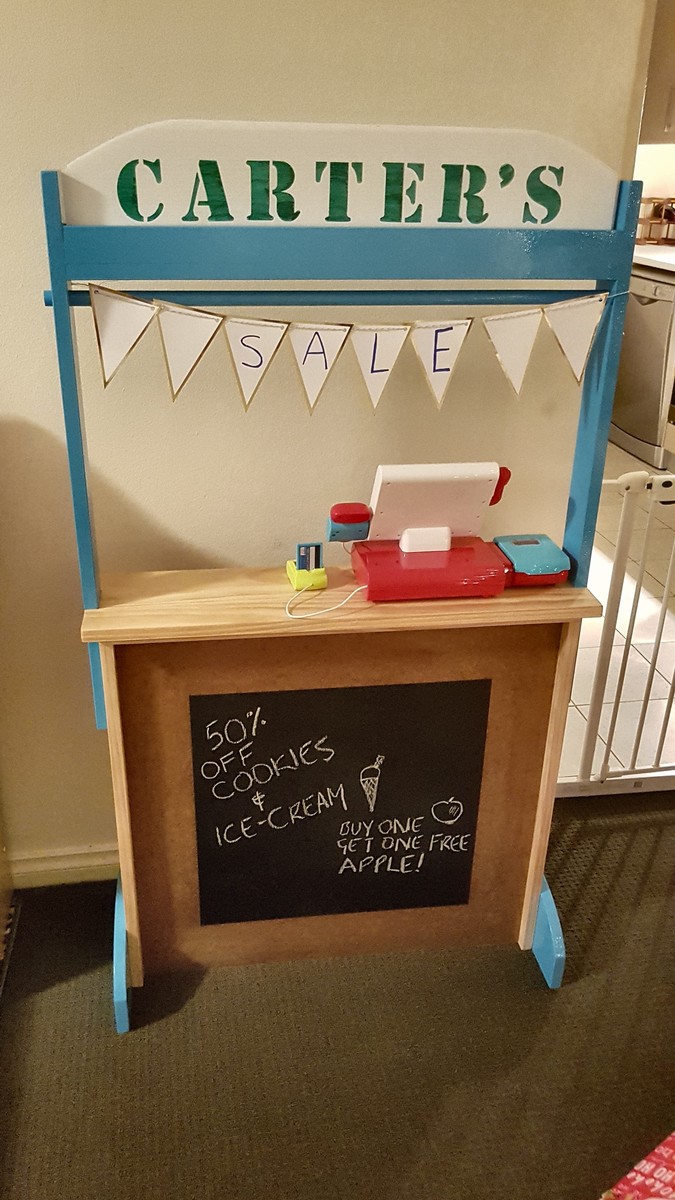
Really enjoyed this project, thanks for the great plans!
Comments
Wed, 01/03/2018 - 20:19
Really enjoyed this project
Really enjoyed this project and my boy loves the shop. Great plans, thank you!
King size Farm Bed
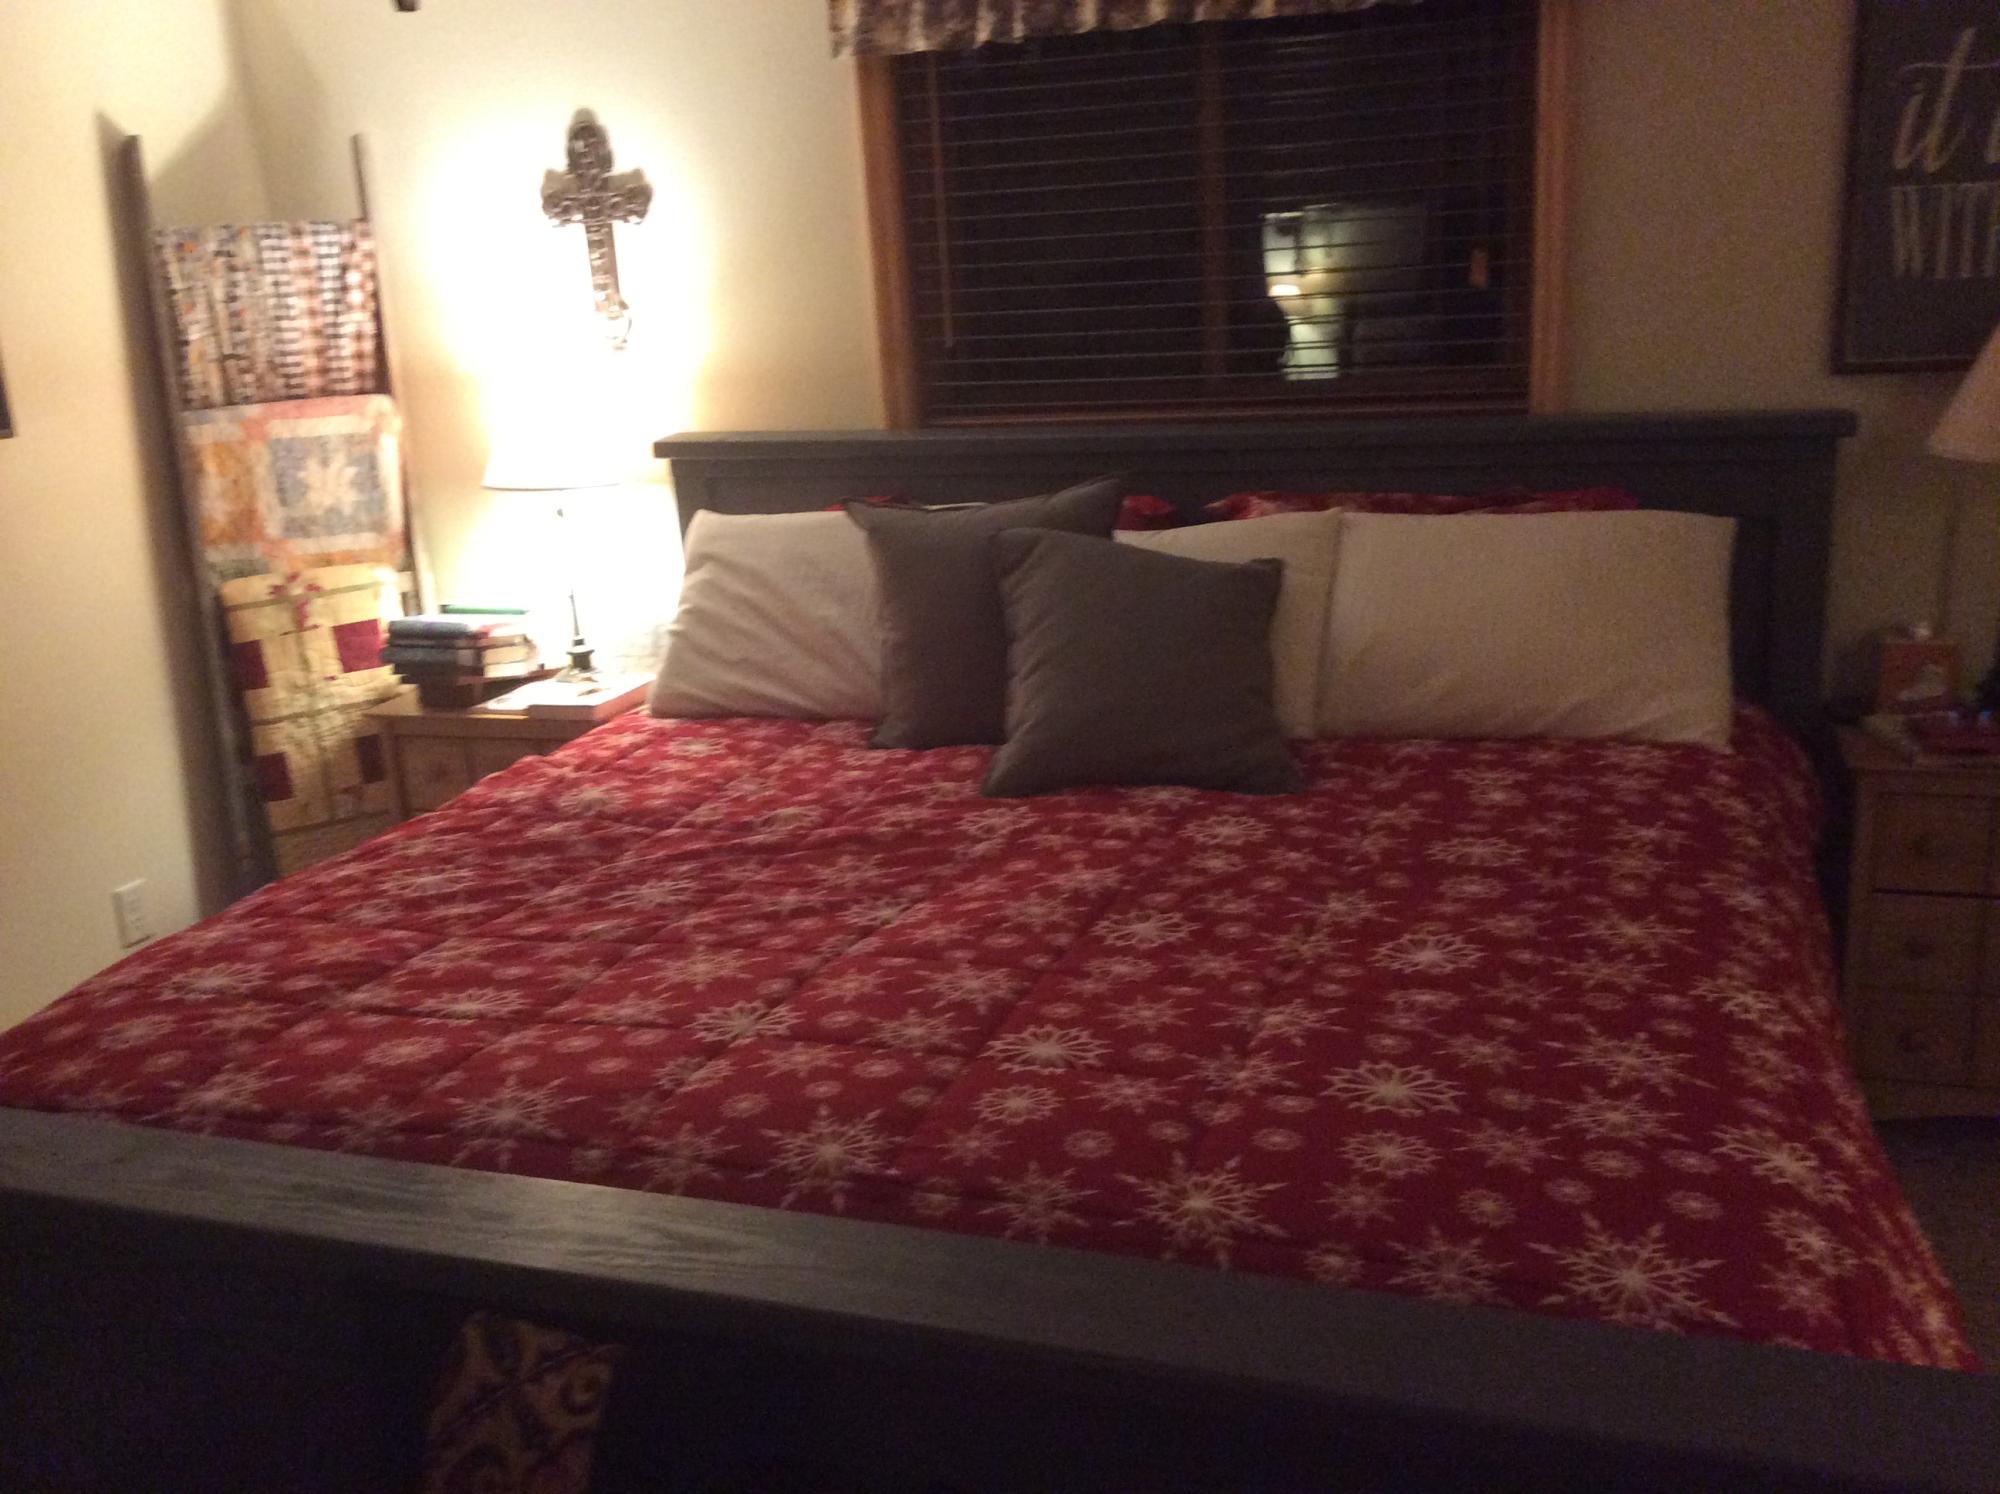
One of many Ana White projects my husband has tackled in the last several years...we painted it a grey stain...love it!
Comments
Clubhouse based on Ana's Plan

I used Ana's plan as a base.
I changed it from 8x8 to 8x12, made the 4x4x8's to 4x4x10' for a higher main platform and swing platform, and added a 12' long monkey bar set to the other side. Also, an 8' climbing wall and a plank walkway to accompany the two slides.
For the clubhouse, I used Hardiplank 4x8 sheets for the siding and an EZ-Framer kit for the structure itself.
The slides I purchased from Lowes, monkey bars from Amazon, and the swing frame braces from Amazon as well. The swing kits I got from ebay.


Big Ur (Sur) Table
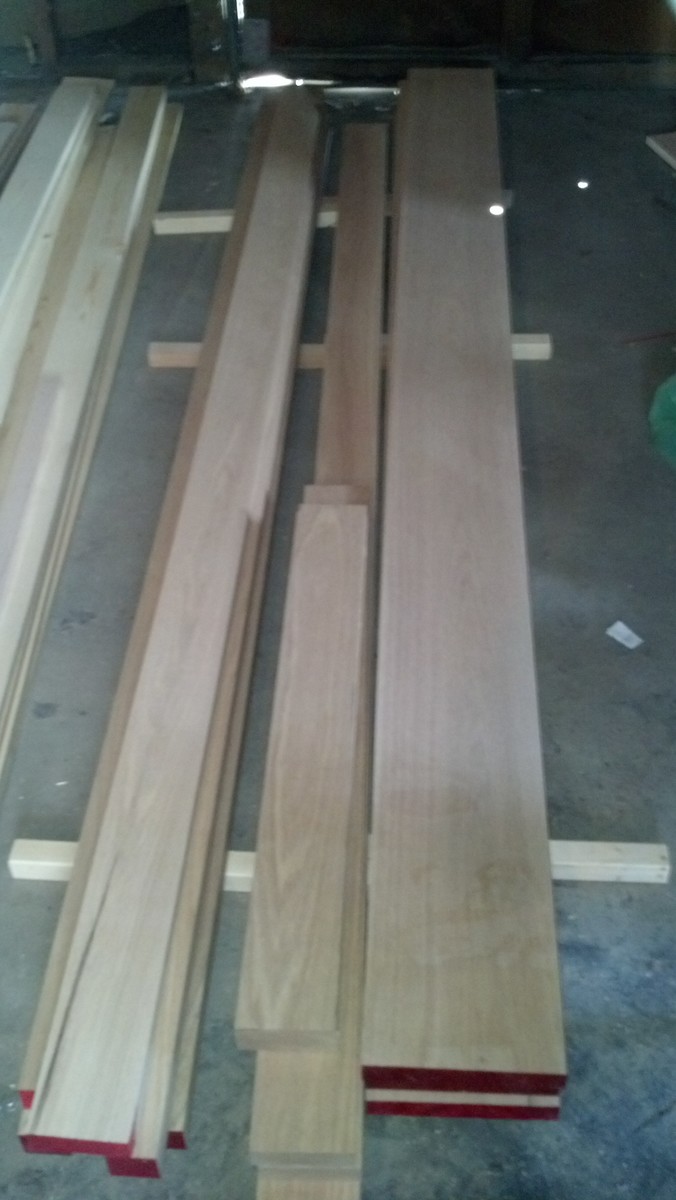
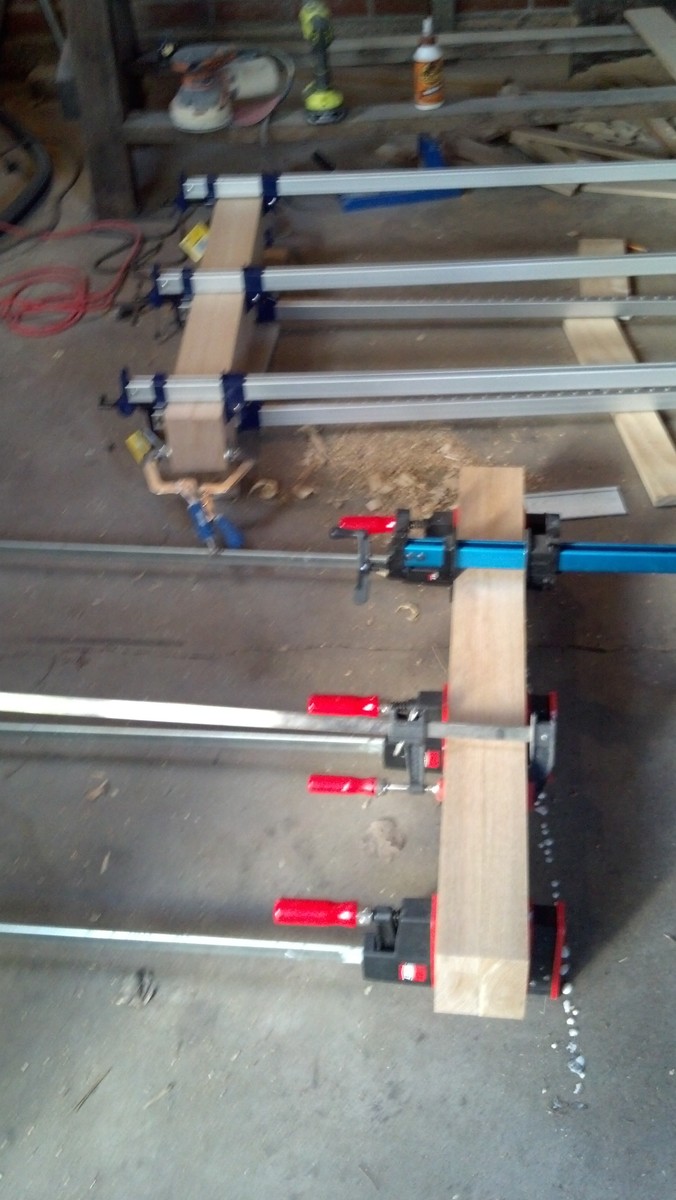
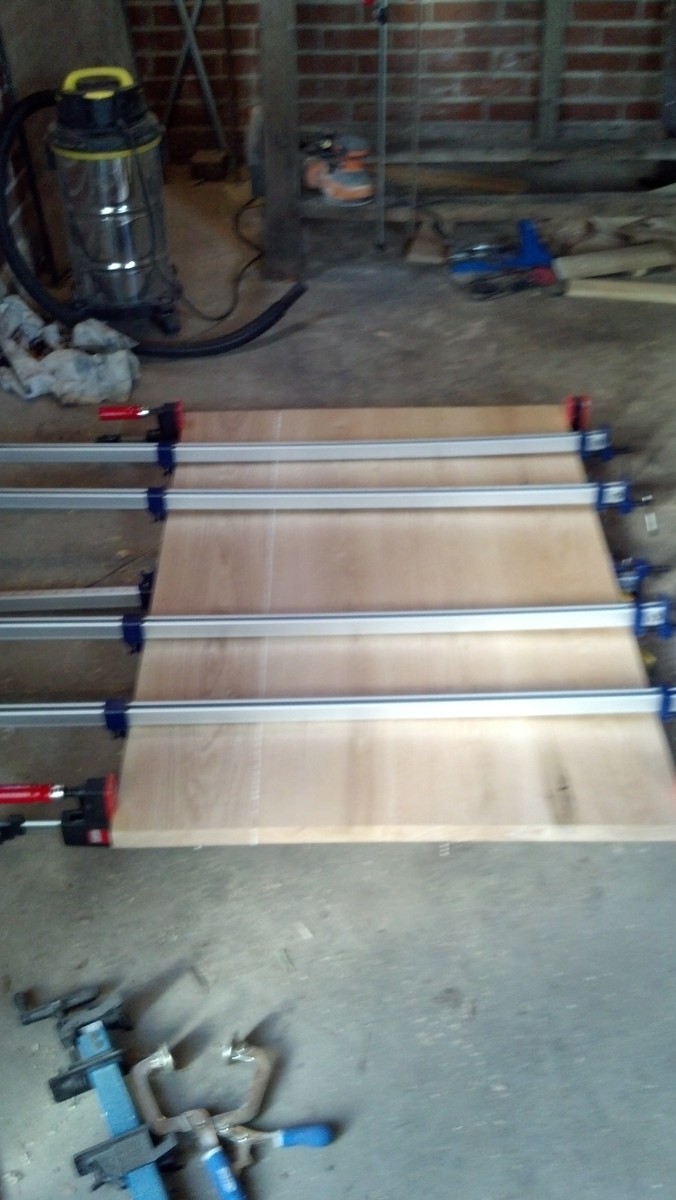
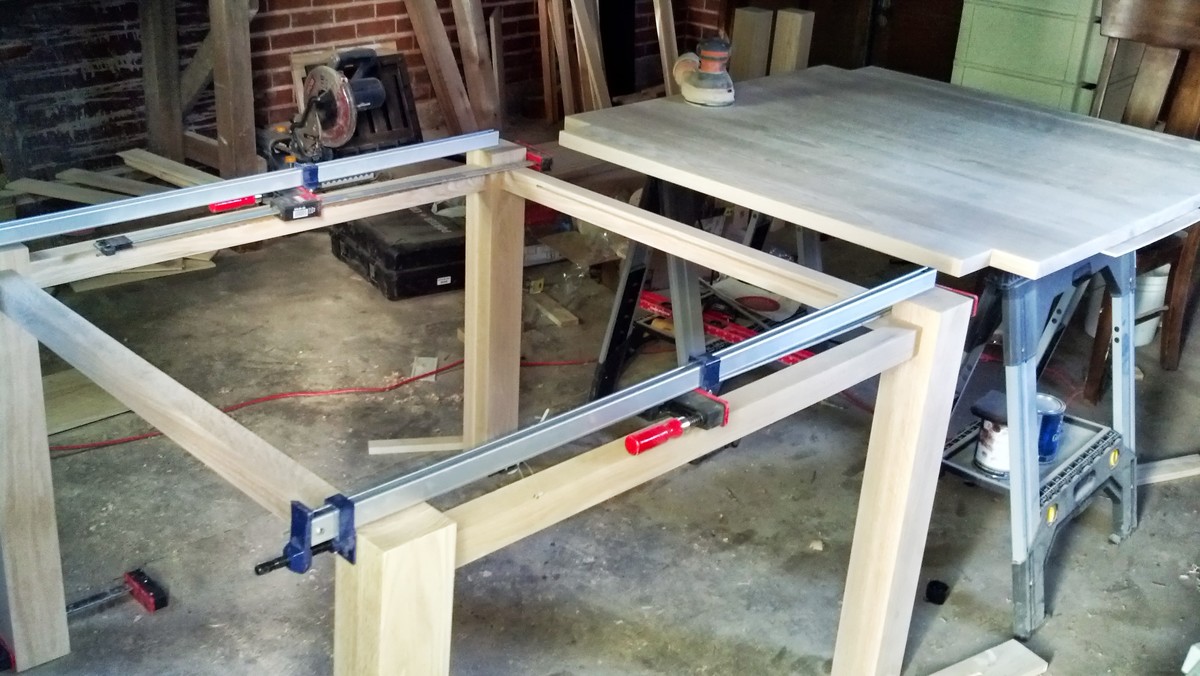
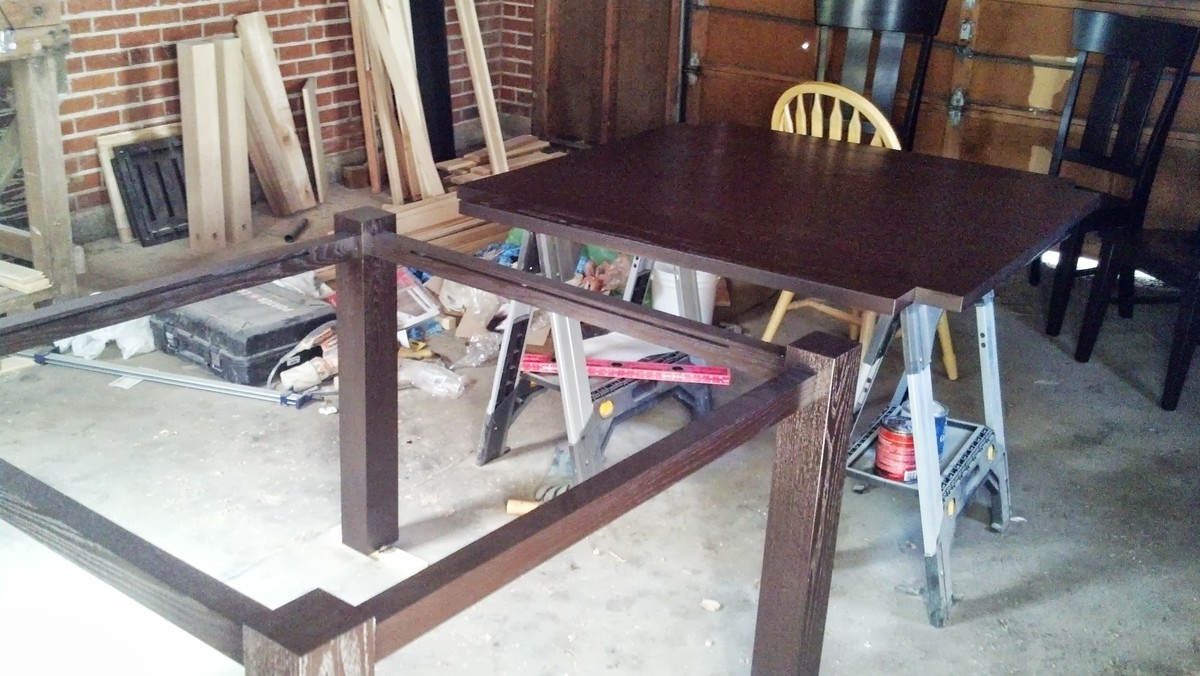
I love the C&B Big Sur dining tables and was excited to come across these plans. I tackled making a copy of the Big Sur dining table using Ana's plans as a starting point with some modifications and custom dimensions (4' x 4' x 31"). This was my first major woodworking project and I wanted it to be as nice and strong as possible so I tackled joining the rails of the frame to the legs with mortise and tenon joints. The main reason I did this was because I used 1 1/4 and 1 3/4 red oak for the entire table and I just wasn't convinced screws could handle the weight of the top on the frame. I also wanted to learn how to make those joints. I used my plunge router to cut both the mortises and the tenons and it worked out reasonably well. Now that I have a table saw I will be using that with a dado blade for tenons in the future. I sanded to 320 grit and finished with four coats of General Finishes Gel Stain in Java followed by four coats of Minwax spray on polyurethane. The last step was to apply paste wax using 0000 steel wool and then buff with a clean rag. I love the way this came out and am now planning on making a bar cabinet with wine bottle holders in the same style. The total cost of the table was on the higher end than I'm used to because the wood was pricey but it was still so much less than the C&B Big Sur price tag. I'm lucky that I have a hardwood lumber supplier just a few minutes down the road that does custom milling of 100's of different species.
