Community Brag Posts

Mother's Day Gift

Submitted by Bunlimited on Sun, 05/10/2020 - 10:12

My son and I made this quick for a gift. Thanks so much for the excellent plans. A couple modifications to use supplies on hand. Turned out great! Remember to fasten seat down before putting on arms.

Finish Used
White exterior paint and stained & varnished seat and back design. Used 1 x's intead of of 2 x 6's for seat.

Comments

Farmhouse Stair Railing

Submitted by Anonymous (not verified) on Wed, 01/03/2024 - 08:44

We built our house 5 years ago and I’ve disliked our stairs since then. They were never finished and were big and bulky compared to the rest of the house. These plans were the perfect fit. We switched the top 2x4 for an actual handrail, purchased from a big box store. We used pocket holes to install it and I couldn’t be happier. It’s now my favorite thing in the house. We plan on adding a loft and will use these plans for the railing.

@livingsmallerintheholler


i did it!!

Submitted by sueslager on Tue, 07/03/2012 - 12:22

Amazing what some basic lumber can make! Read the comments included with the instructions ... the 1 x 4 cut list was especially helpful. All told it was under $30 for a very comfortable sturdy Adi !! Some modifications I did for mine ... I used pocket screws to attach the seat slats and arm rests ... no splinters :) I found it easier to attache the middle back support loosely to the arm supports, then attach to the back slats in the correct position Paint was Clark & Kensington All-In-One from Ace in Fairfield Manor -- it's a beautiful watery green ... perfect!! Thanks Again Ana!!

Built from Plan(s)
Estimated Cost
$30
Estimated Time Investment
Day Project (6-9 Hours)
Finish Used
exterior satin paint
Recommended Skill Level
Intermediate
Seasonal And Holiday

20 second tidy up coffee table

Submitted by TLinskey on Sat, 04/19/2014 - 07:45

This project was simple as long as you follow directions. I had some problems with the finish but in the end it all worked out!

Estimated Cost
50
Estimated Time Investment
Afternoon Project (3-6 Hours)
Finish Used
Ipswich Pine Minwax followed by Dark Walnut
Recommended Skill Level
Beginner

Comments

Mantel Meets Mission

Submitted by Debbie440 on Tue, 07/19/2016 - 09:25

Didn't know what to do with the center open square.  I didn't want to use plywood, so I used 1x3 slats for a Mission style bed look.

I am not a fan of the unfinished, raw look of the two boards meeting on the sides of the headboard in this plan. So I filled with wood putty and sanded (a lot).

This headboard is very top heavy. I wish I would have tried using 1X4's instead of the 2X4's like I read someone else did.

Built from Plan(s)
Estimated Cost
$35 for lumber + molding and paint and basic building materials
Estimated Time Investment
Weekend Project (10-20 Hours)
Finish Used
Black Matte Paint with a Matte Top Coat. Stained and distressed top molding.
Recommended Skill Level
Beginner

Comments

Great Porch Chairs

I enjoyed making these outdoor chairs! I had to make two for when company is allowed to come by again. The plans were simple to follow, and making the cushions was a bit more of a challenge. I ended up having to use a mattress topper cut into 25"x25" squares. I found some great seat covers on Wayfair.

Estimated Cost
300.00
Estimated Time Investment
Day Project (6-9 Hours)
Finish Used
Minwax Polyshades, Pecan satin
Recommended Skill Level
Intermediate

Alex's Art Table & Chairs

Submitted by skane724 on Thu, 07/05/2012 - 21:28

I've never thought that I could build any piece of furniture.. then I found a blog called Shanty-2-Chic and it was two sisters who built any piece of furniture you could think of from Ana White's project plans. So this is my first brag and I'm soo thrilled at how they turned out. Of course it didn't run smoothly the entire time.. I had some bumps along the way (that meaning I had to rebuild a chair like twice to get it right). I really don't know much about different type of work tools and all the different size wood and nails... but I did it and I can't wait for my next project!!

I didn't list the time it took because I did a little here and there.. it took me a month or so to complete! I also didn't have a lot of the tools, so price would include cost of wood and tools. I also would like to mention I used the Kreg Jig to build and I love it and would totally recommend it!

Built from Plan(s)
Finish Used
I stained the top with dark walnut and layered it with a polyacyrlic gloss. The rest is a Rusteloum Painter's Touch White Paint. I still would like to get a sealer for the rest of the table.
Recommended Skill Level
Beginner

Comments

spiceylg

Fri, 07/06/2012 - 05:42

You did a great job, especially for a first project! Welcome to the community! You'll find it's addicting!!!

Cedar Patio Table w Hidden Coolers

Submitted by Goldy272 on Tue, 04/22/2014 - 08:04

We needed a new patio table for our deck and I loved this design. I made it out of cedar which worked beautifully and made a few small tweaks:

- Needed it longer and wider so added two more 2x4's to the middle and added 2x6 end caps (as another poster had done).
- I did not add the holes to the cooler covers for uniformity, they slide in and out very easily.
- I used 4x4's as the legs and constructed the table skirting around it. This is a very sturdy design.

Built some benches for seating and they worked out great.

Overall I loved this build and it was fairly simple. Stained with Penofin deck stain (red label) and a spar varnish for protection.

Hope you like it!

Estimated Cost
$320
Estimated Time Investment
Weekend Project (10-20 Hours)
Finish Used
Stained with Penofin deck stain (red label) and a spar varnish for protection.
Recommended Skill Level
Beginner

Comments

Goldy272

Thu, 04/24/2014 - 07:43

Thank you! Local lumber yard that had great stuff. I will say though that I had to get some additional pieces from Home Depot and their cedar is fairly nice too. Beware though, they don't have true 1x cedar (at least here in St. Louis) it's more like 1/2 inch think.

coleyld10

Tue, 07/08/2014 - 20:00

Really well done with the two-tone stain. What particular colors of Penofin did you use? I'm working on a similar build and would like to use your color combination.

jmilkeris

Mon, 05/04/2015 - 10:06

Do you happen to have your lumber list? I'm not the greatest with add ons, LOL! If you happen to have a step by step that's even better.
Thanks,
Jennifer

My Chicken Tractor

Submitted by Anonymous (not verified) on Fri, 07/22/2016 - 16:33

I used your plan to create a breeding pen for my little brother's millie fleur d'Uccle. I am using it as a 4H project. Thank you so much for the plans.

Built from Plan(s)
Estimated Time Investment
Week Long Project (20 Hours or More)
Recommended Skill Level
Beginner

Farmhouse Queen Pine Bed

Submitted by B.W.Martin on Tue, 05/12/2020 - 19:02

This bed is a modified version of the farmhouse queen. Instead of a footboard I allowed the side boards to continue around the foot of the bed. The frame was built to give support and also house the motor and other moving parts needed to lift and lower the head. In the linked text is a video of the bed with the head lifting and lowering on the mechanical base.

Built from Plan(s)
Estimated Cost
$200'ish
Estimated Time Investment
Day Project (6-9 Hours)
Finish Used
Minwax Polyurethane on the pine boards and black spray paint on letter and rope trim.
Recommended Skill Level
Intermediate

Tall Tommy Bookcase

I got a request to build a taller version of the Tommy Bookcase. The only changes I made to the plans were switching the sides to 60" tall and adding two additional 40" shelves. To save on the cost of buying several 1x12's, I used a sheet of PureBond birch plywood. I didn't want to mess with the Kreg plugs or seeing the holes, so I countersunk screws into the sides and used 3/8" plugs to hide them. For the bottom, I trimmed down a 1x4 to the right width then added 1/2" moulding to the top of it. At the last minute she decided to add beadboard, and I found two quarter sheets at Lowe's on clearance for less than $8. I finished all the rough edges with edge banding. I really like how it turned out! It's a very solid, sturdy bookcase, and for $80 it's a fraction of the cost of the half sized PB one!

Estimated Cost
$80
Estimated Time Investment
Day Project (6-9 Hours)
Finish Used
1 coat Rustoleum's Ultimate Stain in Golden Oak, three coats of spray poly then a rub-on finishing wax
Recommended Skill Level
Intermediate

Comments

Inquisitive

Wed, 03/13/2019 - 06:41

What size screws did you use and how many on each shelf?  If I use this to make a pantry that backs up to the wall and is fastened to the wall, do I need luan in the back for the strength of the shelves?  Could I put in cleats instead?


Modern Slat Top Outdoor Bench

Submitted by TxDork76 on Wed, 04/23/2014 - 20:59

This was a super easy and fun bench to make.

I ended up having enough 2x4 and 1x4 scraps for the legs and only had to pick up a a couple of 2x4s.

TIP: Others pointed said that you should paint slats before assembly... I highly recommend it as well. It was a bit of a pain trying to get between the slats to prime and paint though would likely be easier w/ a sprayer..

Finished it with some oops paint in a nice color and a 3 coats of spray urethane.

Great beginner project for sure. It may take a couple of days to finish but most of that time is spent waiting for paint/urethane to dry between coats :)

Estimated Time Investment
Day Project (6-9 Hours)
Finish Used
2 coats primer, 3 coats Exterior latex paint, 3 coats spray urathane
Recommended Skill Level
Starter Project

Our Pacific Northwest Privy

Submitted by Anonymous (not verified) on Mon, 07/25/2016 - 11:25

We have a small rustic cabin that needed a clean, functional outhouse.  We followed Ana's plans, but with a few modifications to include a Solar gray polycarbonate roof to let in light.  We also decided on cedar board & batten for the siding.   We look forward to many years of use. 

Built from Plan(s)
Estimated Cost
$800
Estimated Time Investment
Week Long Project (20 Hours or More)
Finish Used
Behr - Cedar naturaltone Weatherproofing. All boards were cut to size and then stained with 3 coats.
Recommended Skill Level
Advanced

Farmhouse Bed

Submitted by tylerdr on Mon, 07/09/2012 - 00:26

The only thing I did different was I pocket hole screwed each slat together before attaching the top and bottom trim. Took a little bit longer but that's just the way I did it. Not sure if it made it easier or sturdier or just took more time.

Built from Plan(s)
Estimated Cost
$100
Estimated Time Investment
Weekend Project (10-20 Hours)
Finish Used
Minwax Polyshades Mission Oaks Gloss 2x and Poly 2x.
Recommended Skill Level
Beginner

PLANKED WOOD SIDEBOARD

Submitted by tejendra on Sun, 04/27/2014 - 11:39

First of all , a big Thank you to Ana for her website and plans. This has become our favorite site since we discovered it a few weeks ago.It took us about a week to build this sideboard.

We had to modify the plans a little bit. We reduced the length from 84 inches to 60. It made us change all the sections, drawers etc. The width and height of the sideboard were kept the same as the plan.

One good thing we did was to cut the pieces on a miter saw. I guess this is the most important part of the project(after cutting them to correct dimensions). If your pieces are cut square and accurate, half of the battle is won. During assembly, we focused on keeping the joints square (Thanks to many brag posts mentioning its importance.). After that it kept building on little by little. Every evening we would advance a little.

The drawers and the doors were made as per the dimension and fit OK. We got stuck on the hinge installation. We did not know how and did not want to cut mortises etc. After about an hour of browsing the web and videos we discovered non-mortise hinges and that hurdles was crossed also.

We used pine for 1x2, 1x4, 2x4,and 2x6s. for bases and shelves , we used 3/4" plywood as given in the plan. for door paneling and the back of the sideboard we used 1/4 plywood.

We used minwax prestain and minwax oil based Red Mahogany stain. We had to apply three coats of the stain to bring somewhat uniformity across the whole sideboard. For topcoat, we used oil based polyurethane.

Final thoughts: Do your homework well. Go though your plans to build a correct mental image. You will build a beautiful piece of furniture which will be better than your imagination and hold a different meaning. Cant wait to build another beautiful piece.

Built from Plan(s)
Estimated Cost
$250
Estimated Time Investment
Week Long Project (20 Hours or More)
Finish Used
Pre stain: Minwax prestain. Stain: Minwax Oil Based Red Mahogany. Finish: Minwax oil based Polyurethane

We used one coat of the pre-stain. While staining we noticed that the stain was absorbed in varying strengths at different sections because of variation in wood quality. We did three coats of the stain to make it somewhat uniform.

After staining we did two coats of oil based Polyurethane.
Recommended Skill Level
Beginner

Comments

Triple Pedestal Farmhouse Table

Submitted by Anonymous (not verified) on Wed, 07/27/2016 - 13:07

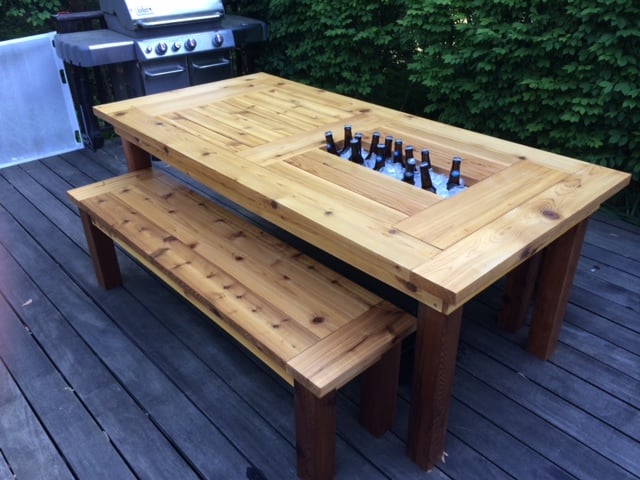
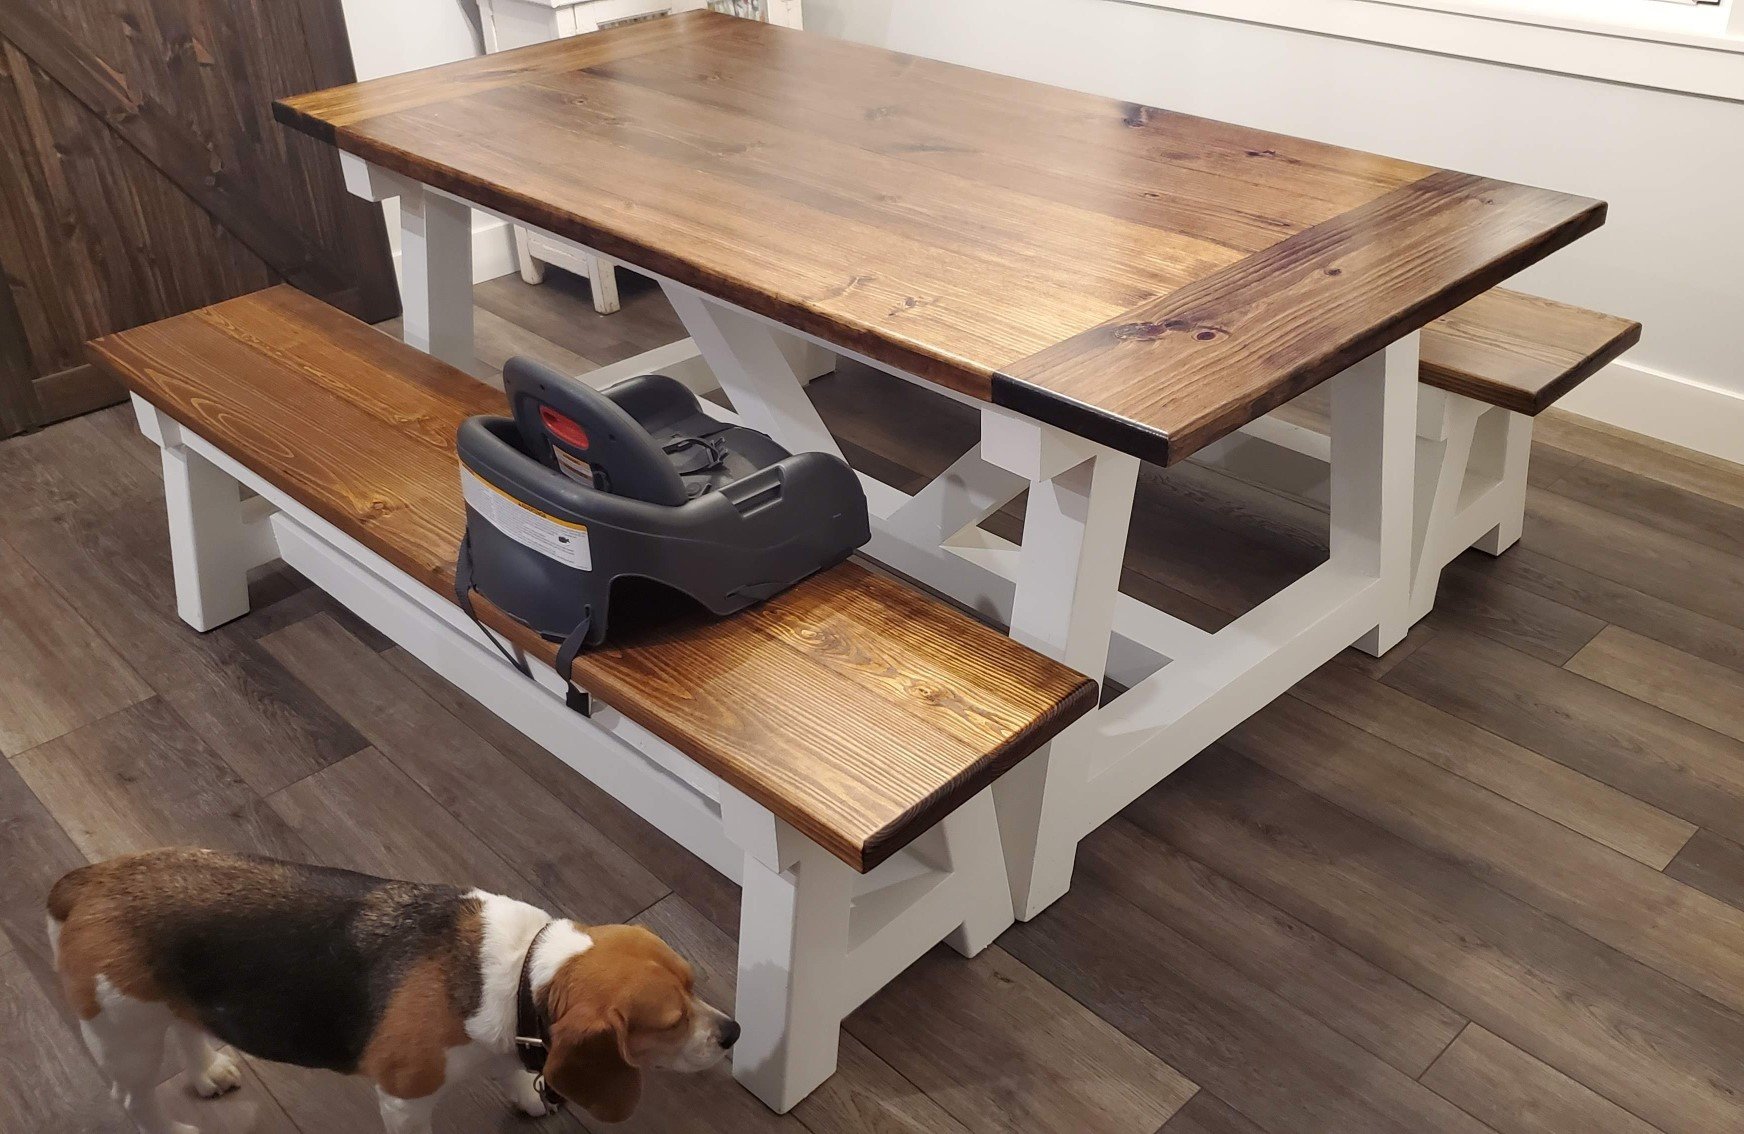
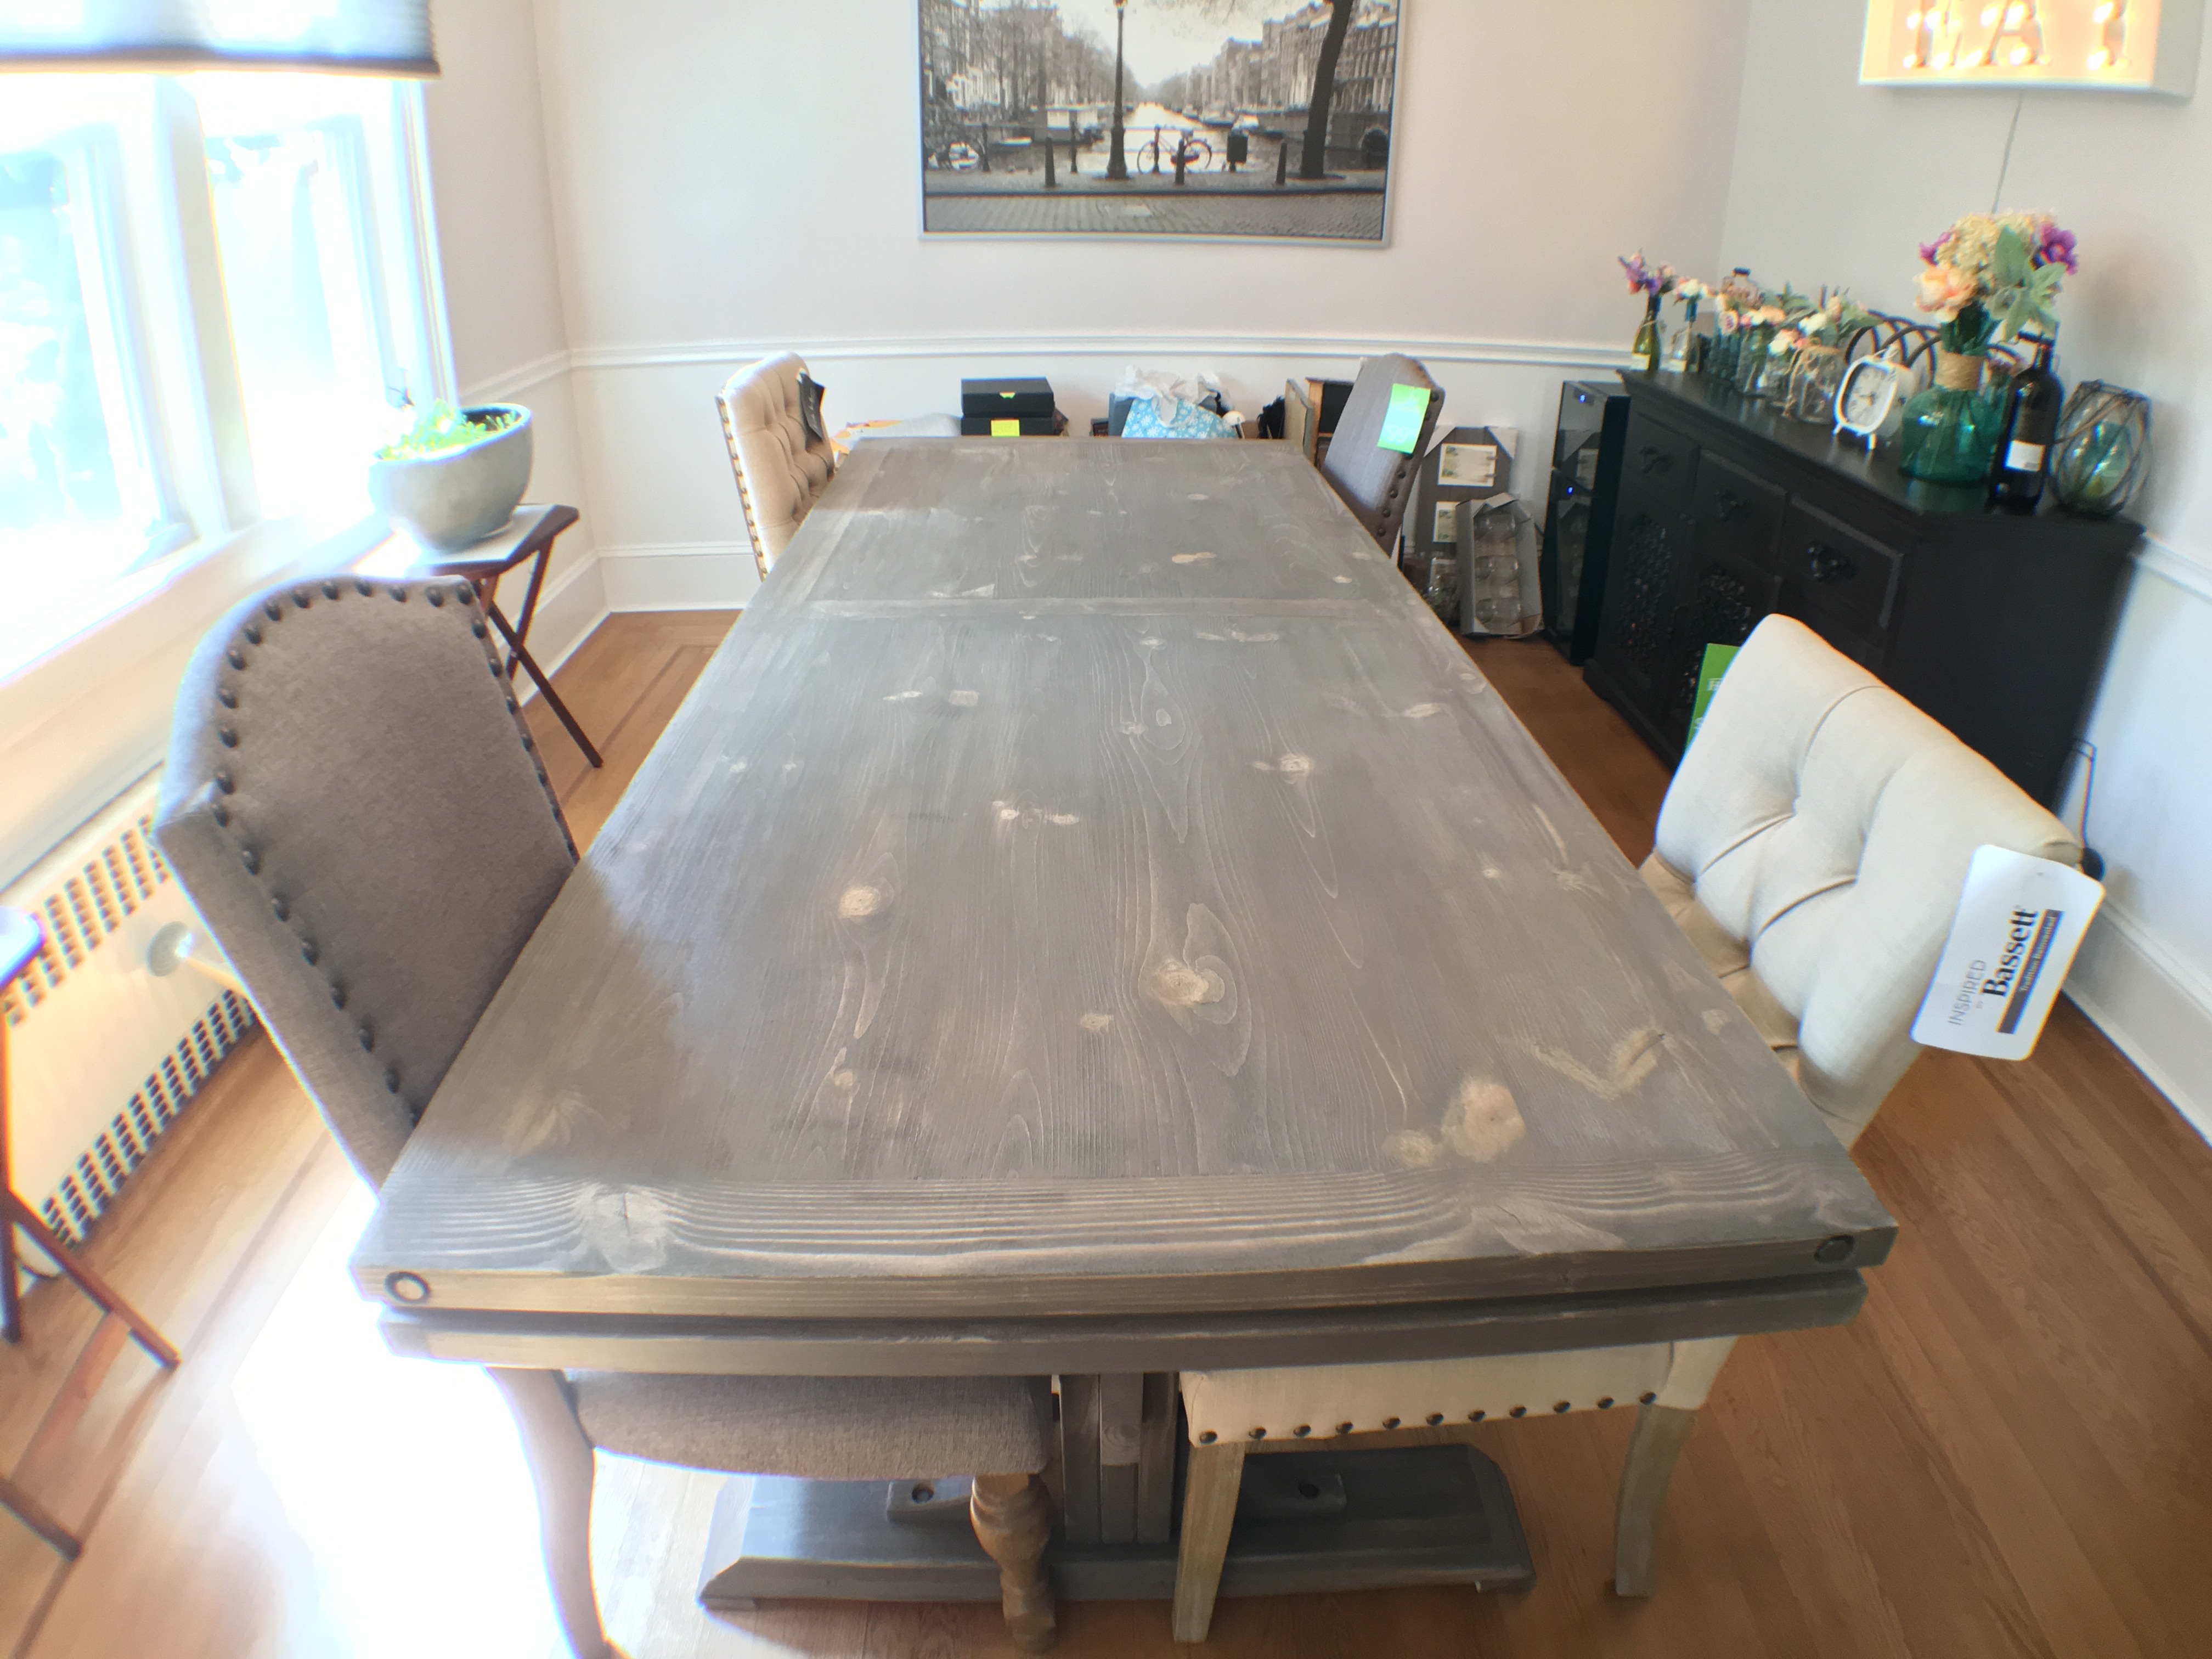
First, this table came out amazing because I started with amazing plans.  I went off the plans for a few minor tweaks and also added some accents that are not part of the original plans.


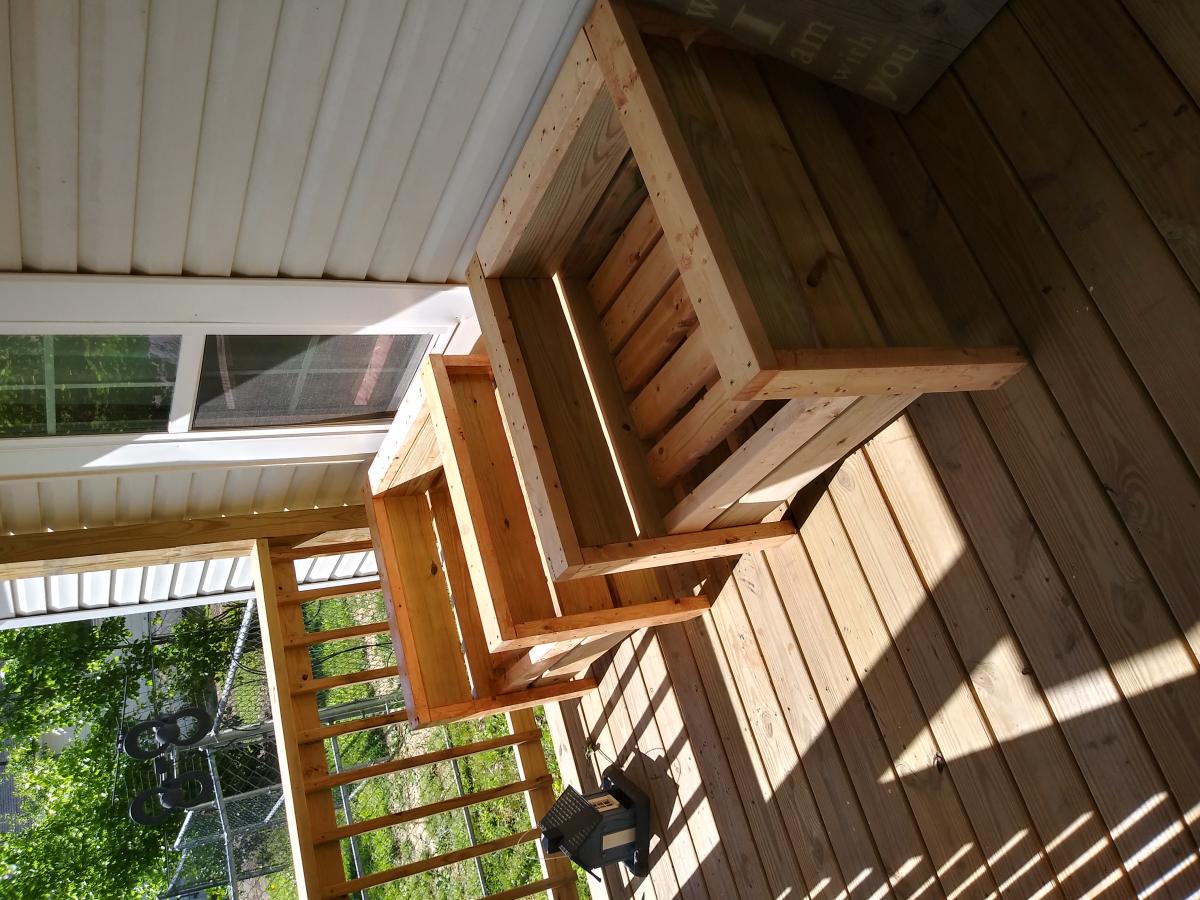
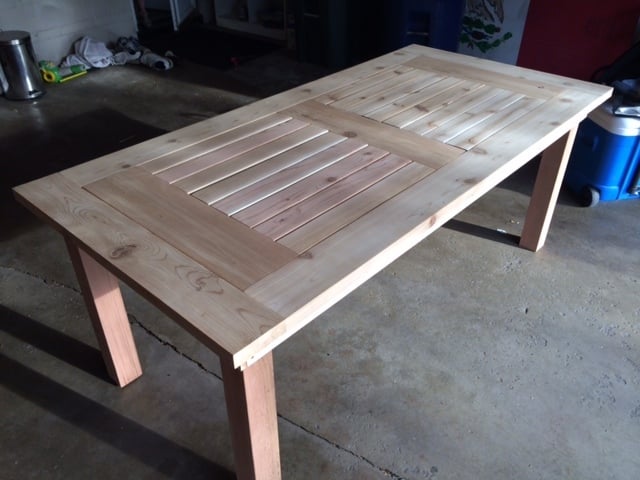
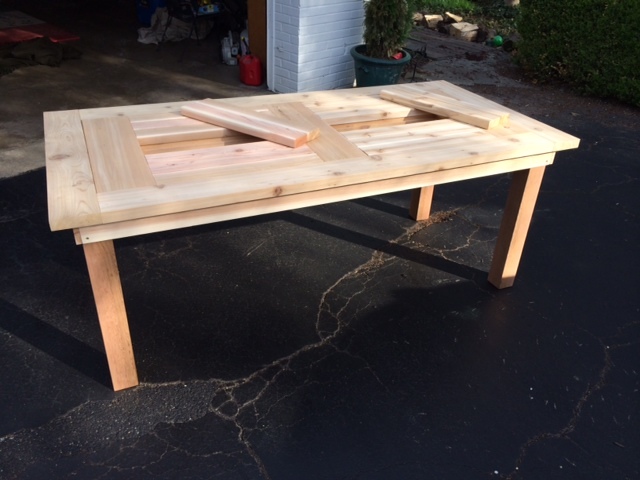
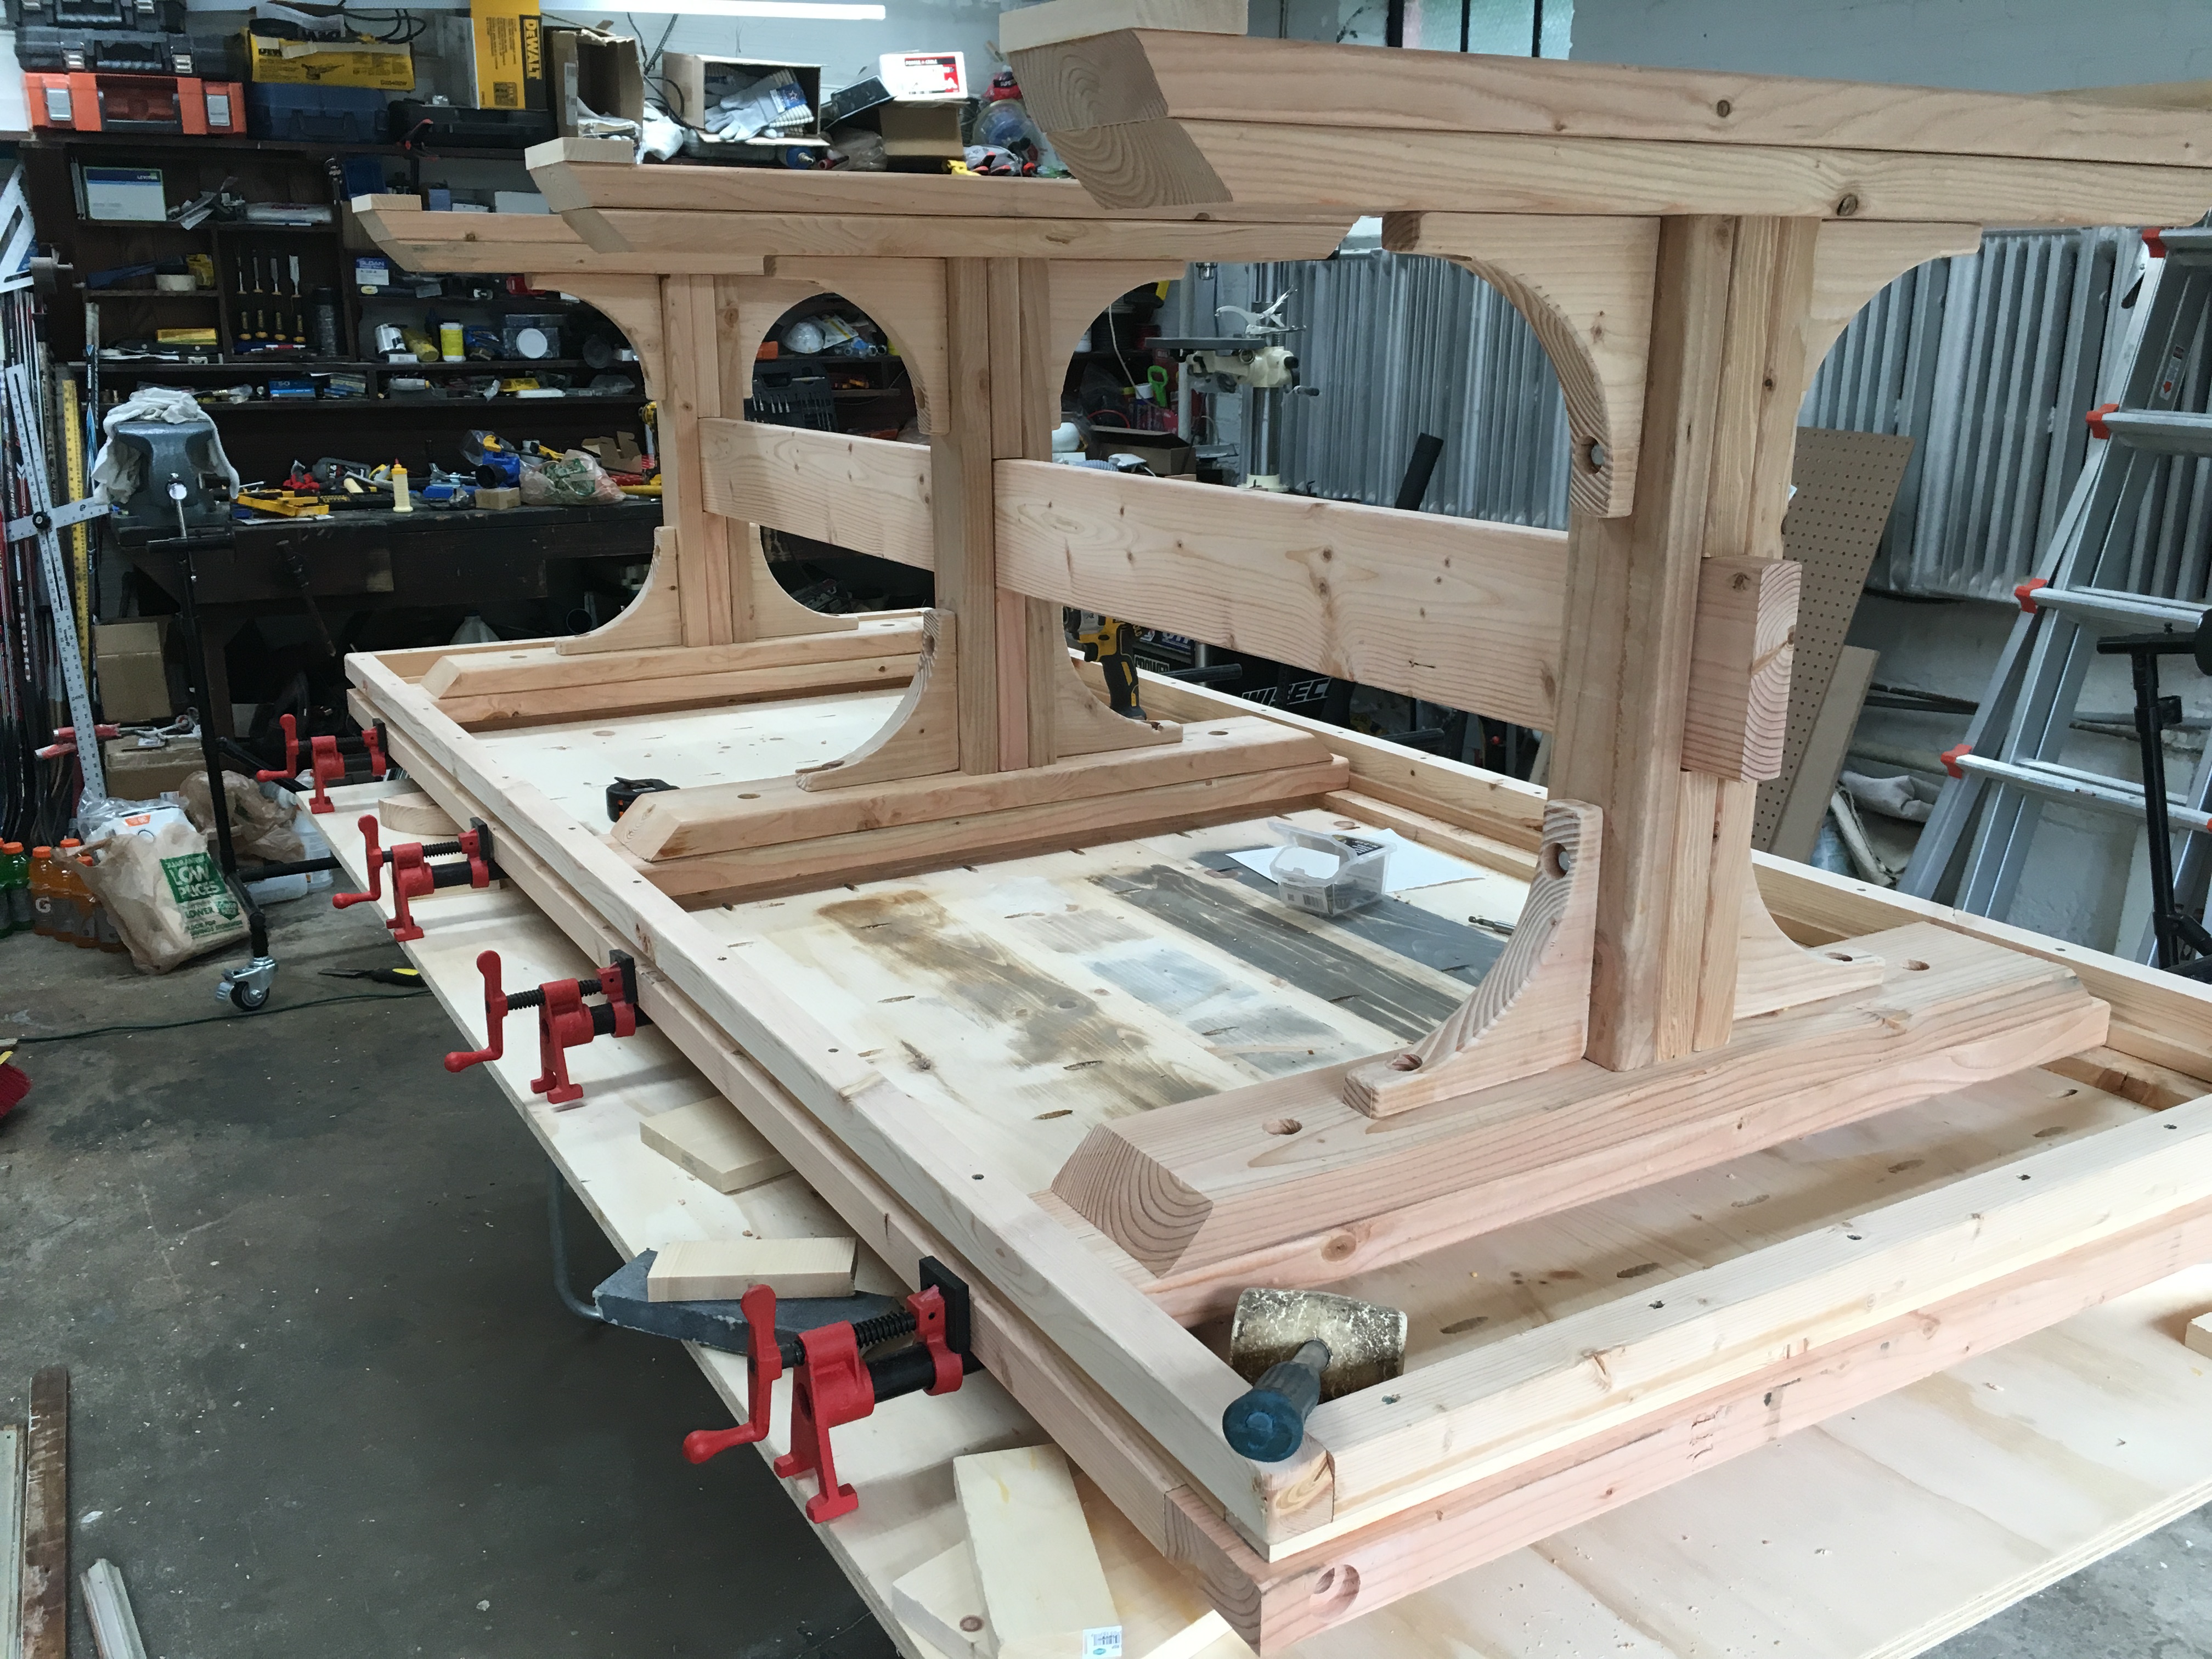
Our table is 100" long due to the size of the room.  This allowed me to keep the three pedestals and still have the table look appeasing to the eye.  Kept it at 40" wide and 30" high give or take a 1/4".


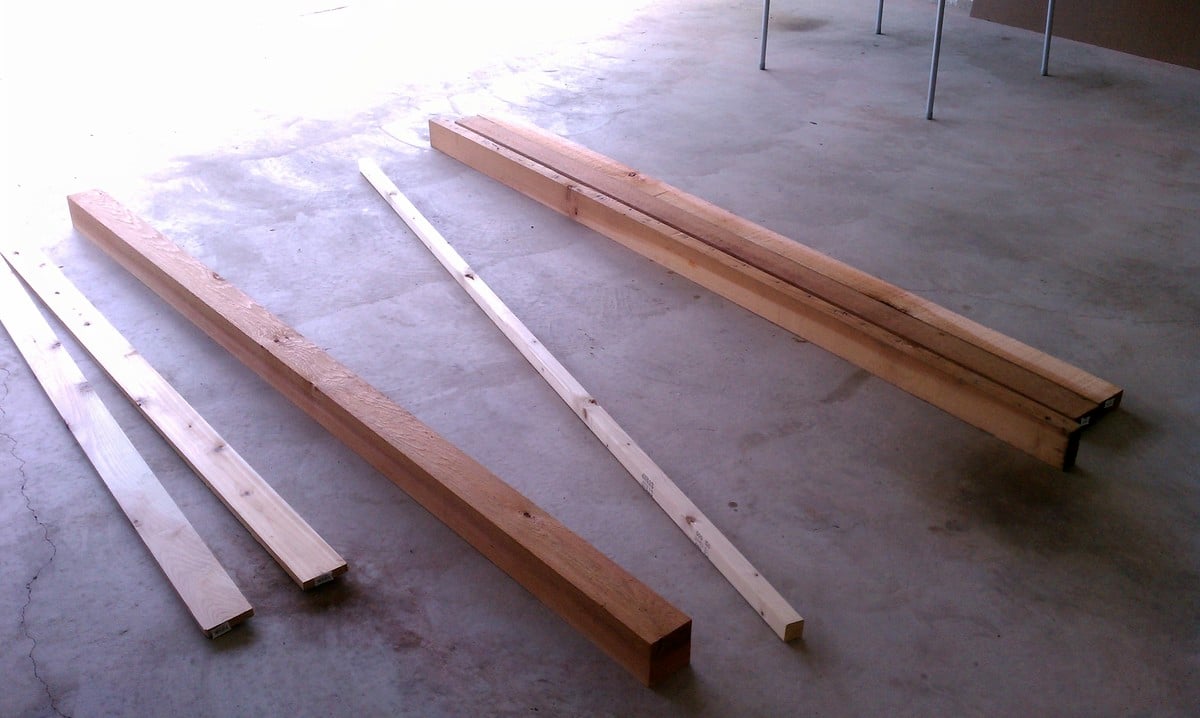
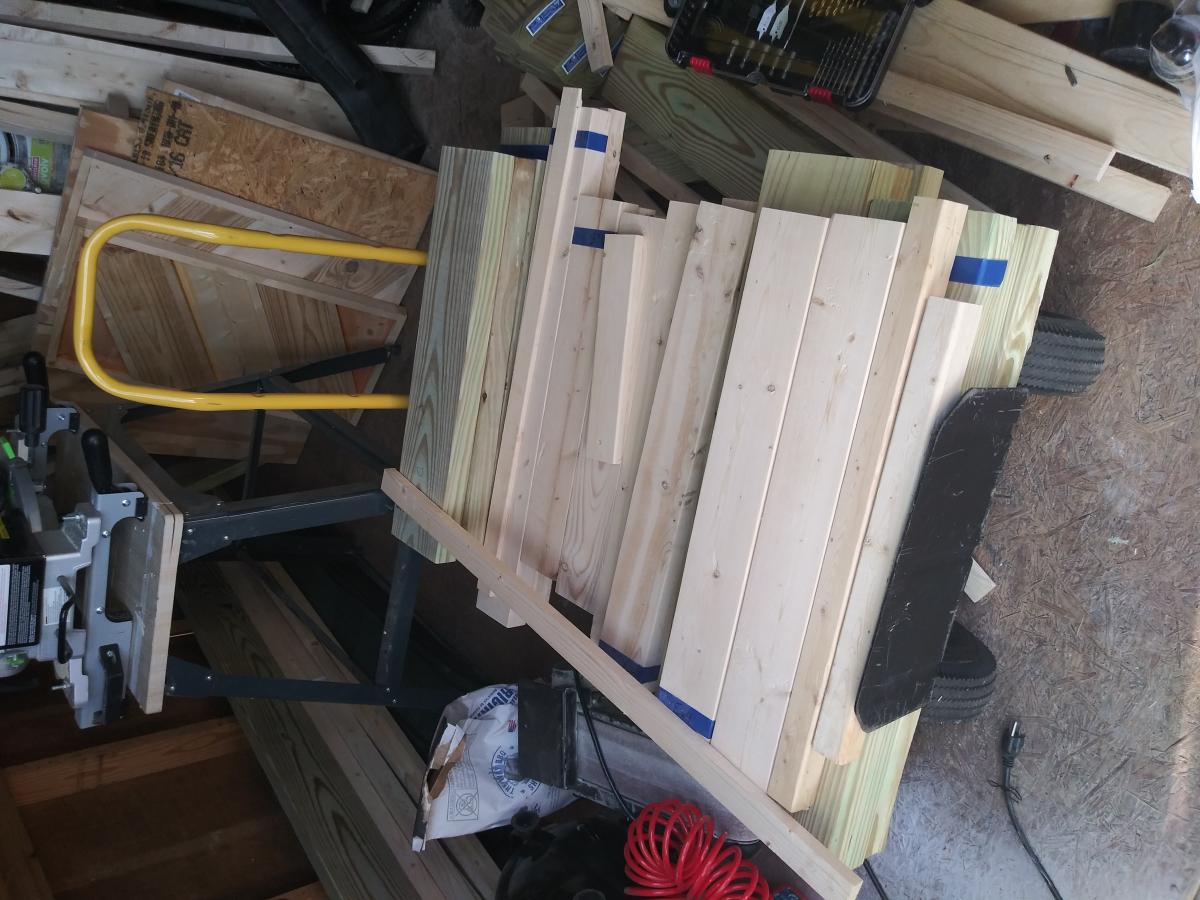
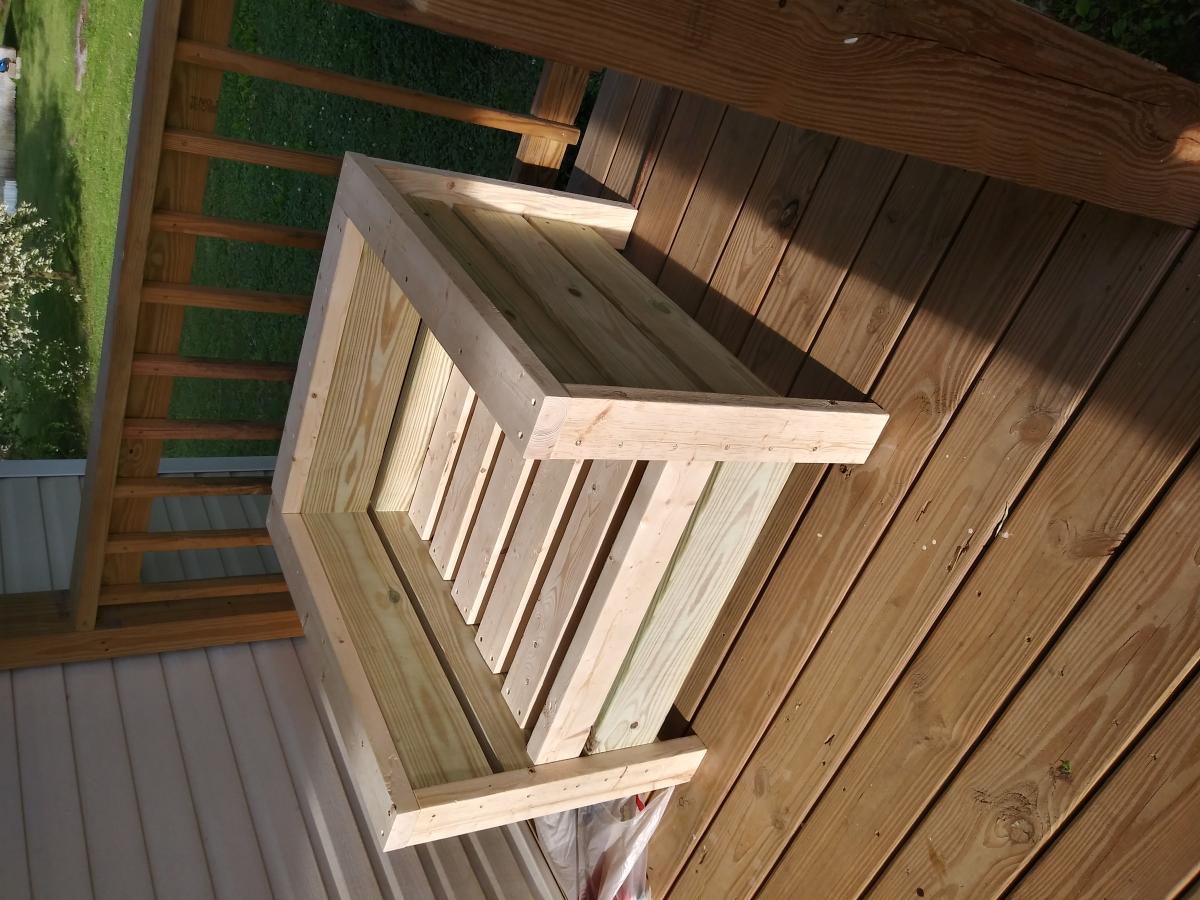
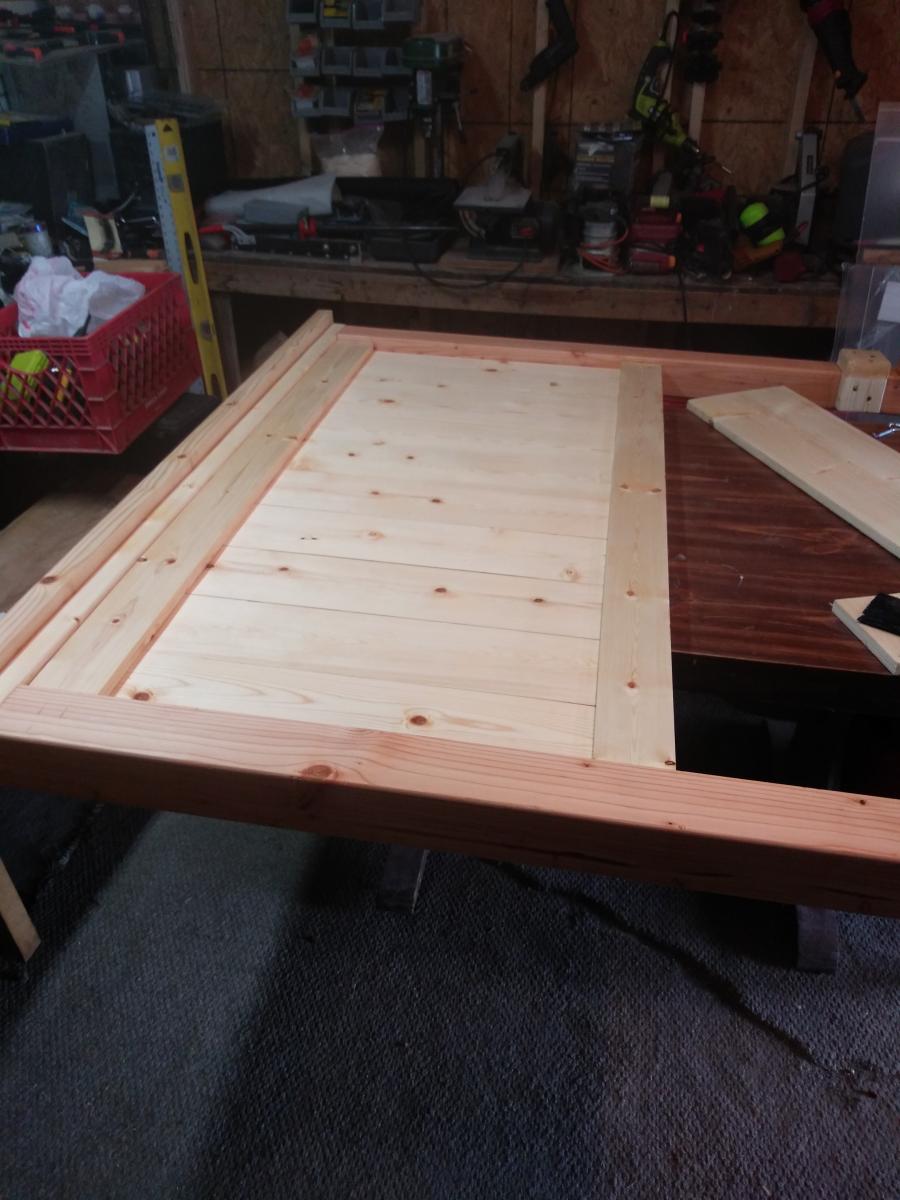
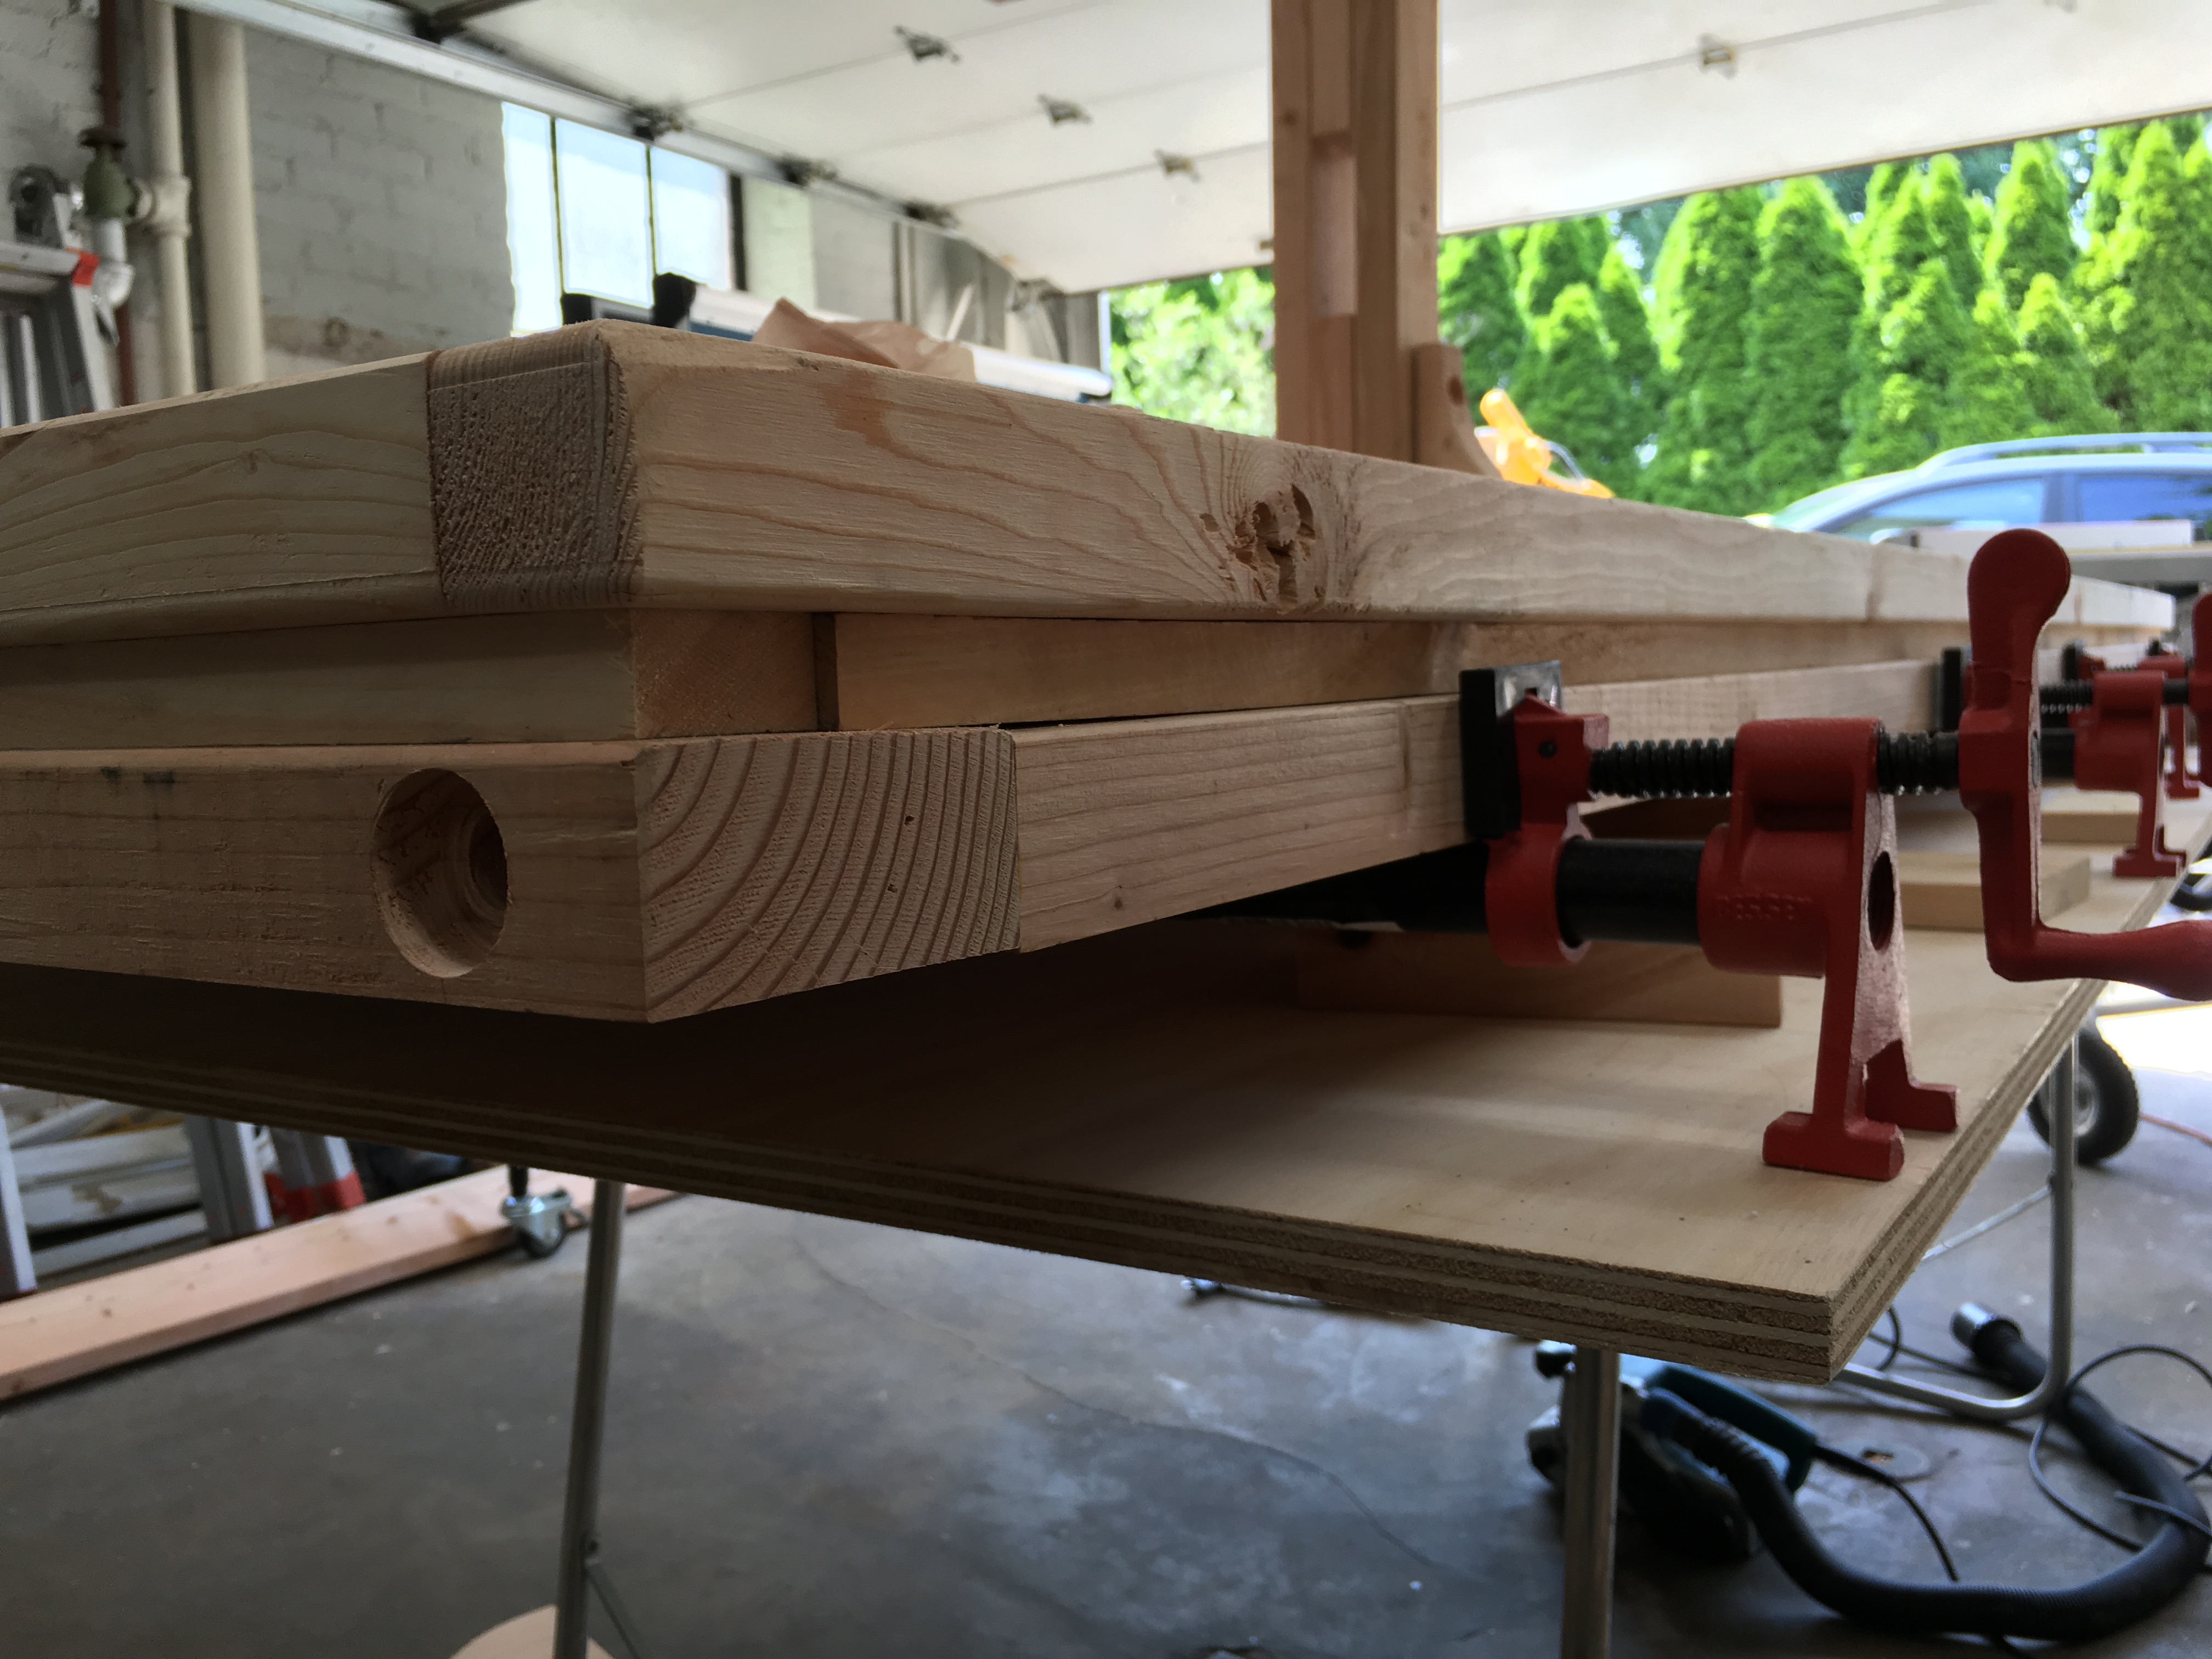
The two tweaks from the plans I can remember at this point are my long rails at the sides of the table do not extend the length of the table.  The two end pieces are 40" instead.  This is because I didn't buy long enough 2x4s and only realized this once I got to those cuts.  Not a big deal, I'm actually happy with the result.  The second tweak is no inner rounded edges.  2x4 lumber is rounded on all four edges.  Within the interior of the table, I wanted flush contact with all pieces.  Since cutting one edge off of a standard 2x4 would bring it to about 3.25" wide thus effecting the overall width of the table, I decided to rip down and plane a 4x4 then route the out edges to get that round edge back, but on one side.  


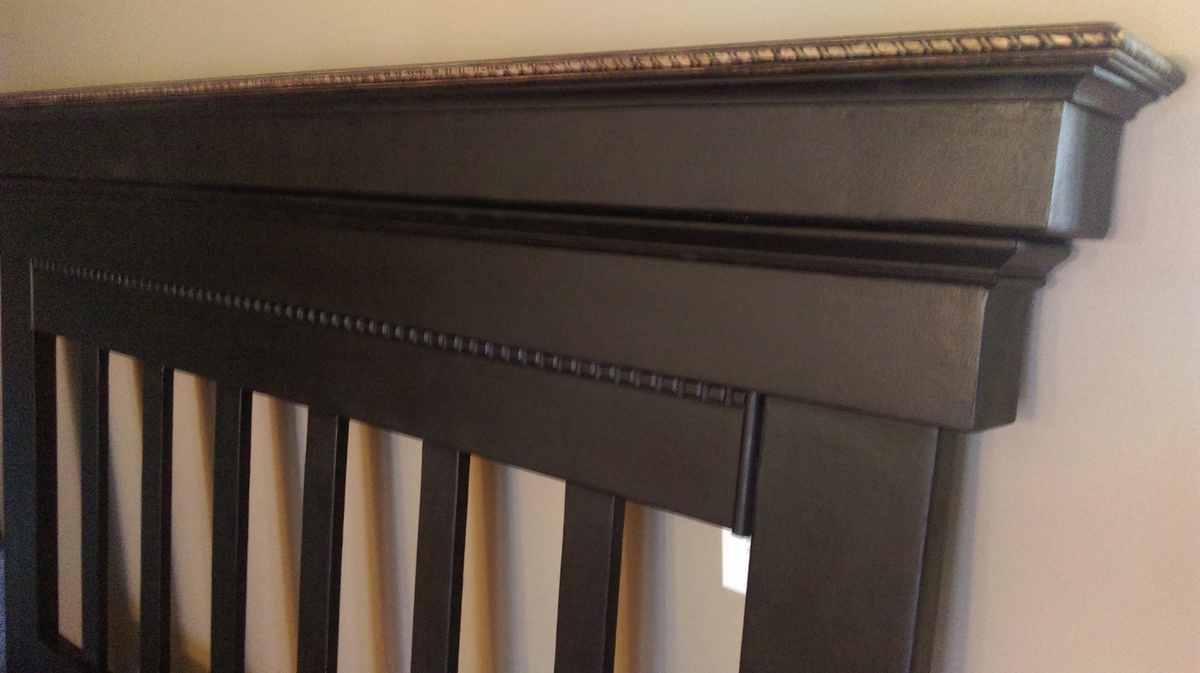
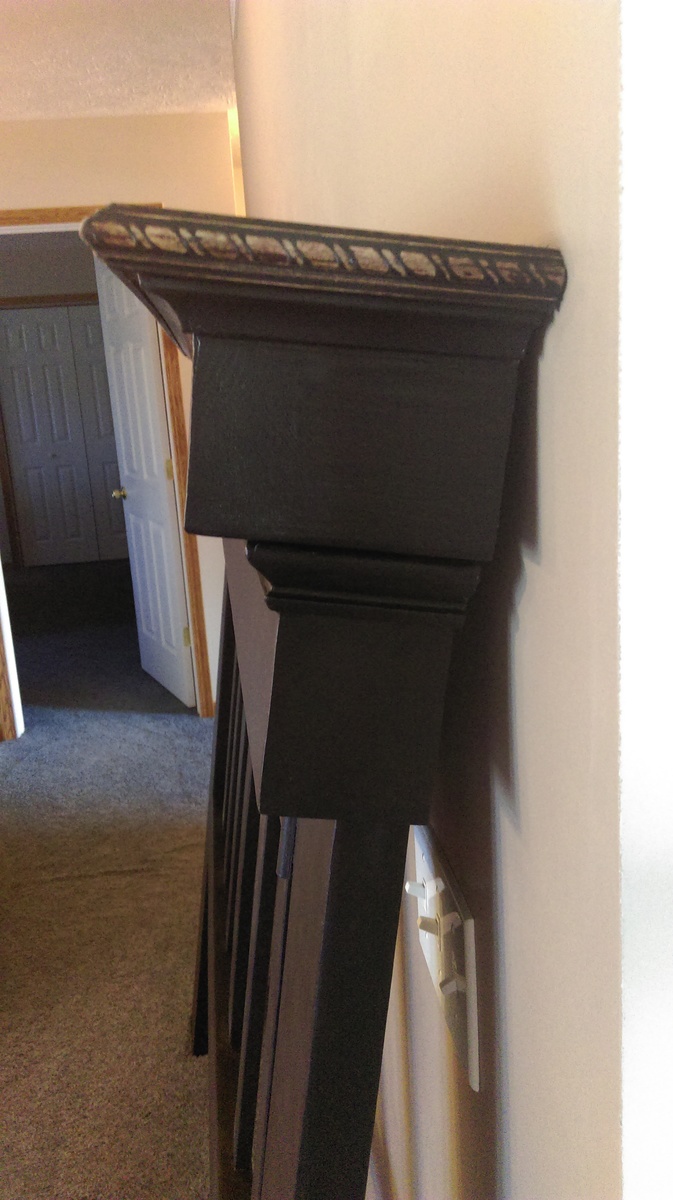
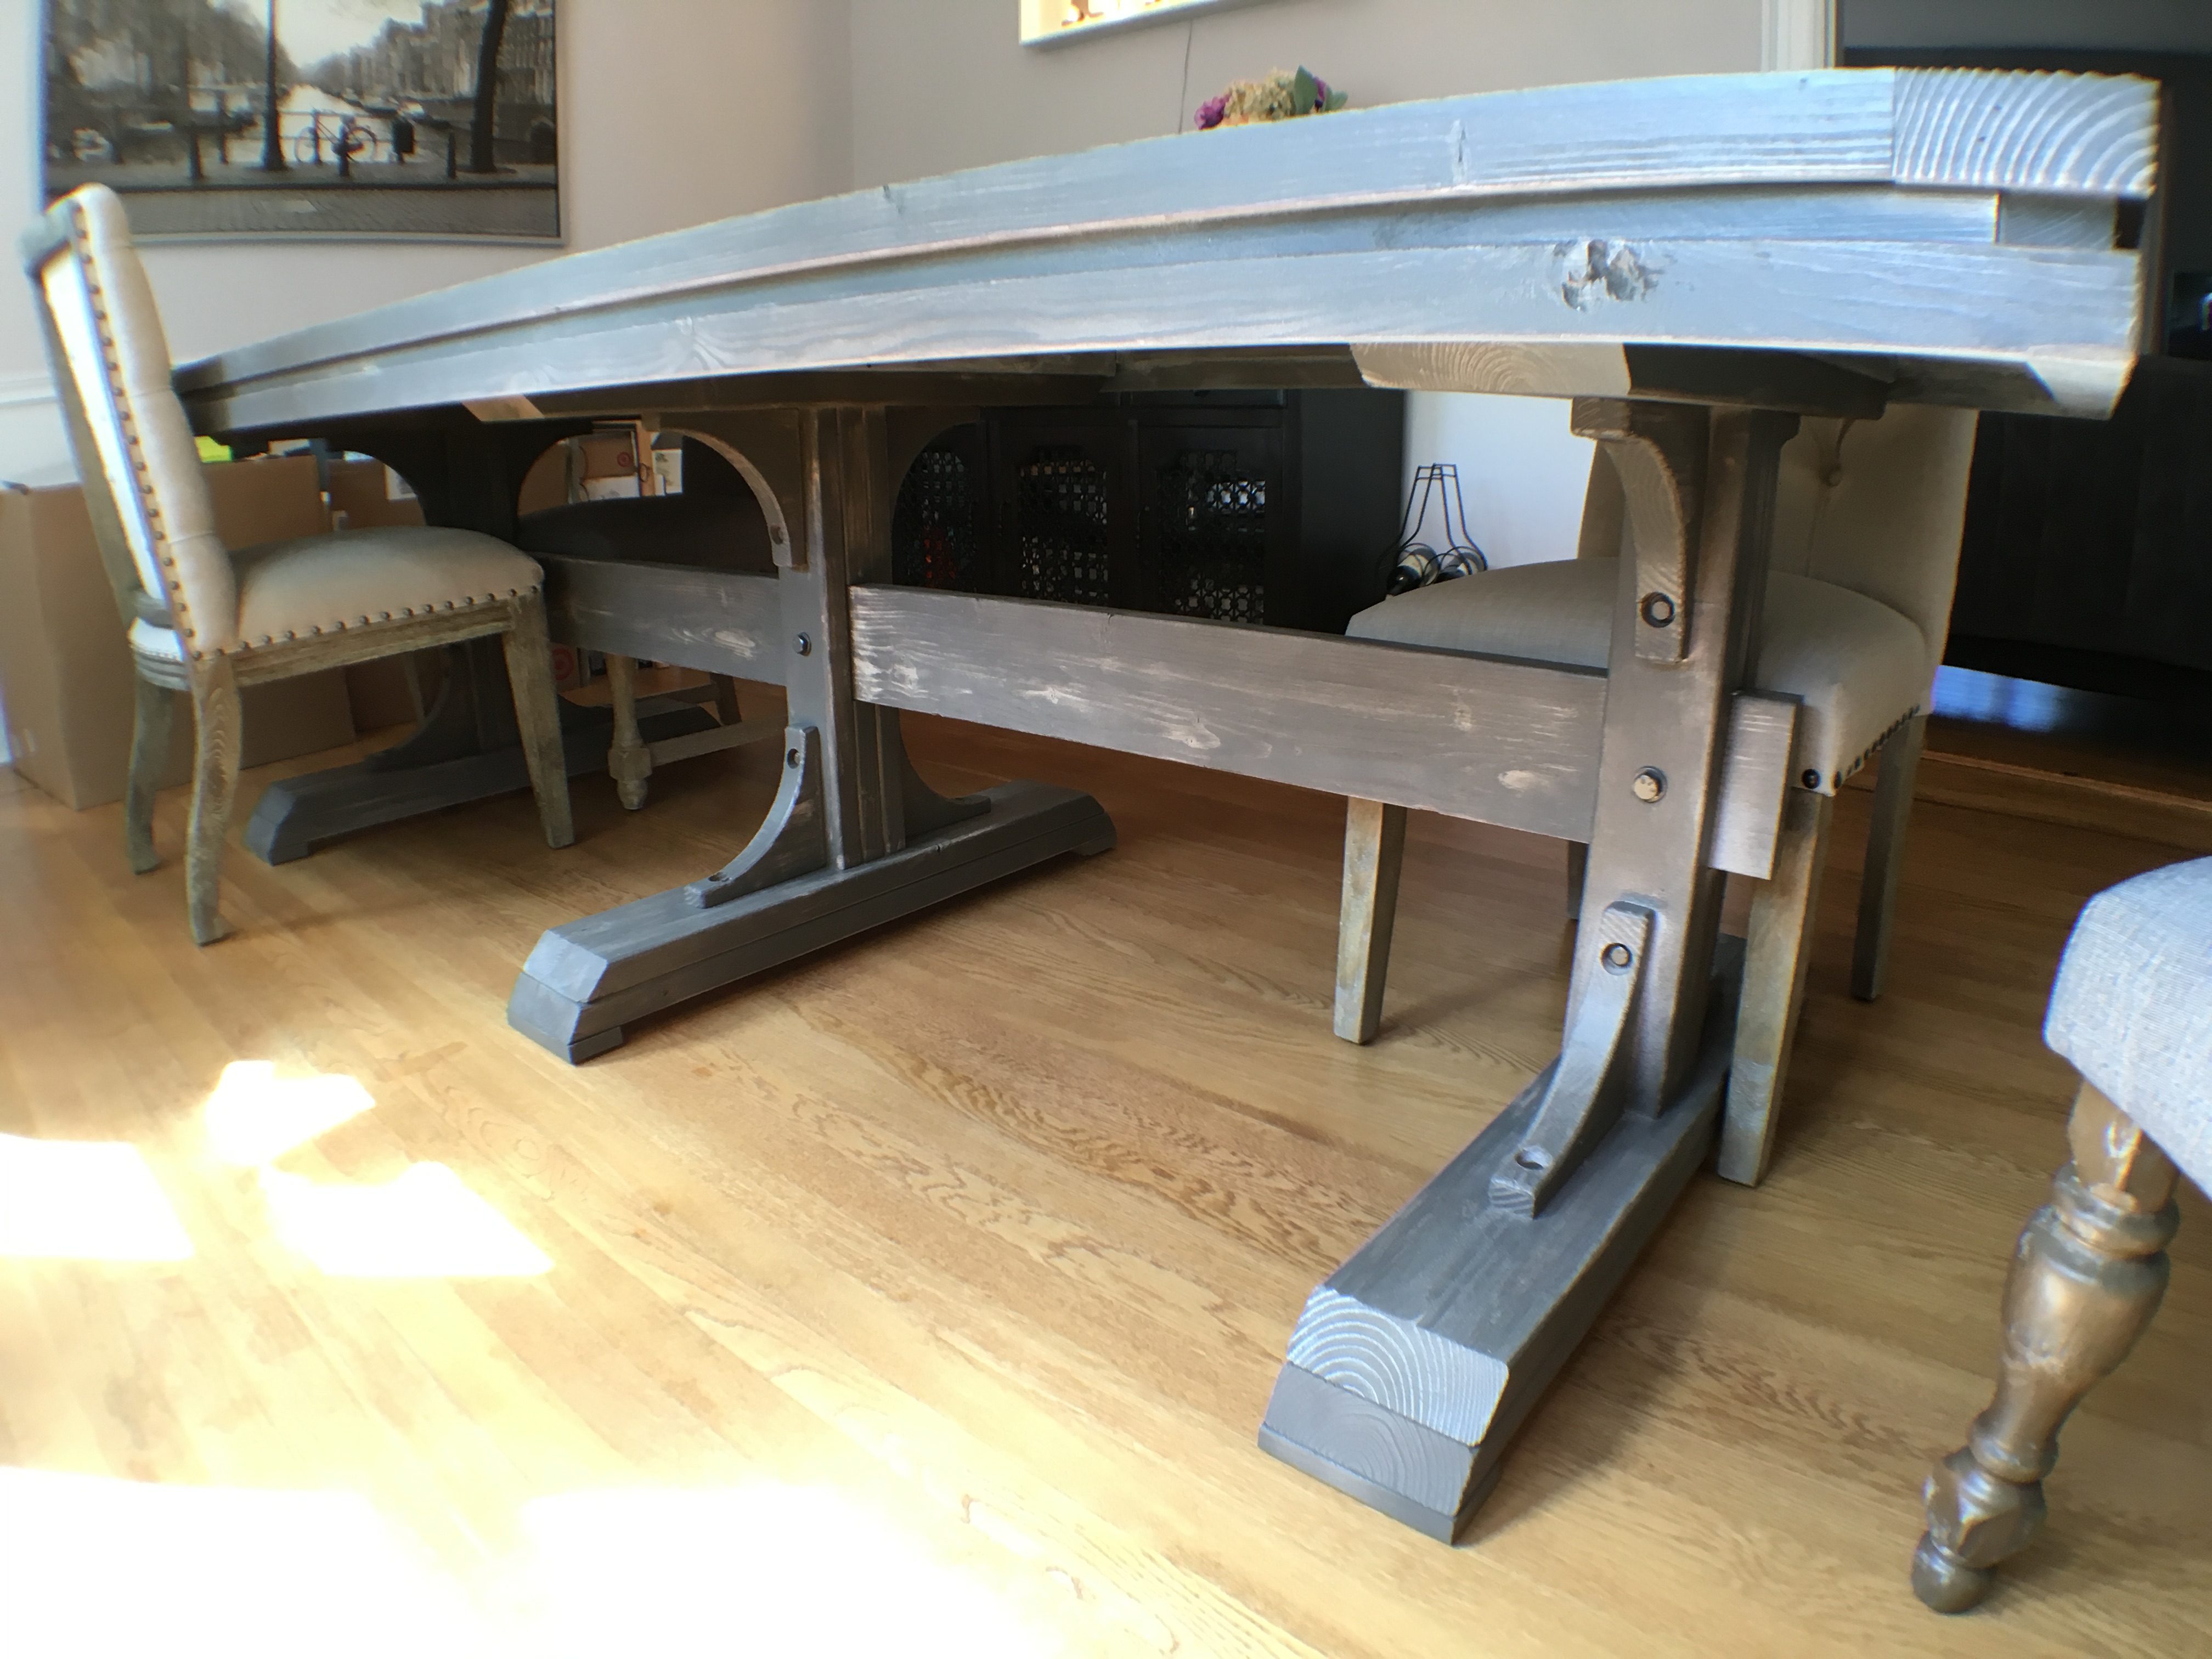
As for the the add-ons that the plans didn't call for...  For one, I added accent lag bolts spray painted to a similar color of the table at the four corners of the top and two on each leg kicker.  These bolts are for esthetics only.  The six bolts going through the legs into the 2x6 lock the 2x6 and the legs into place so they can't slide apart.


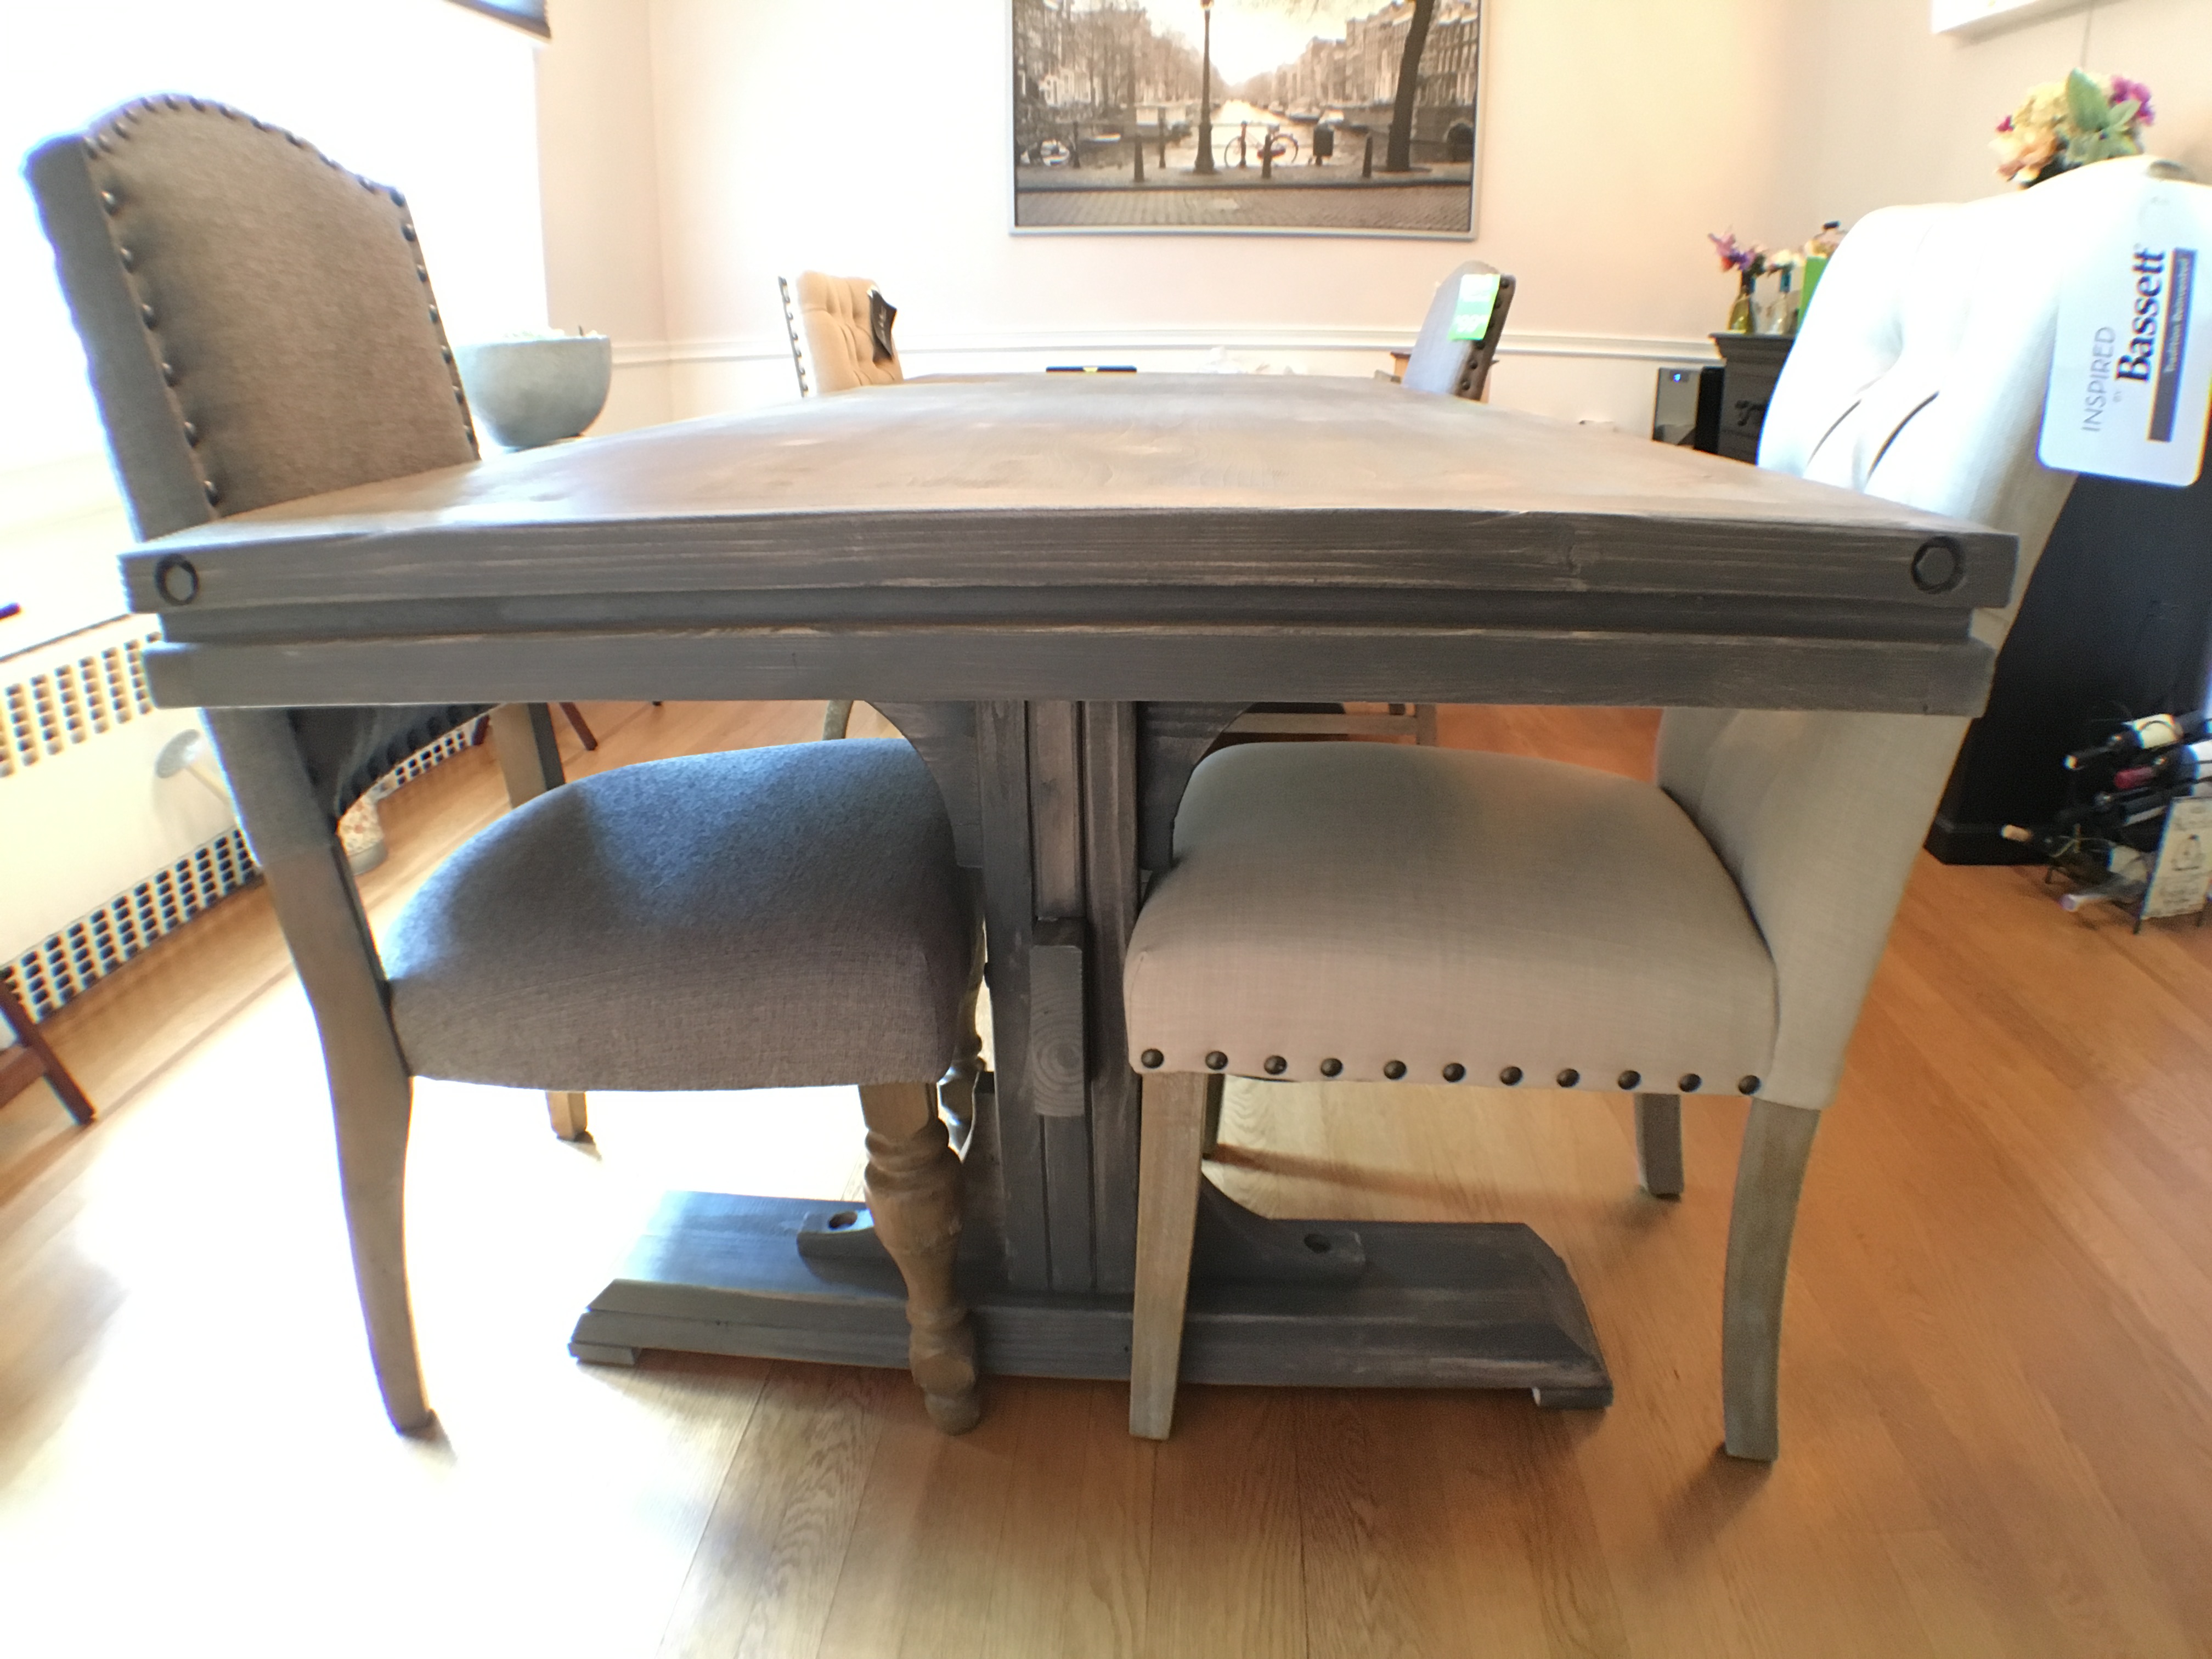
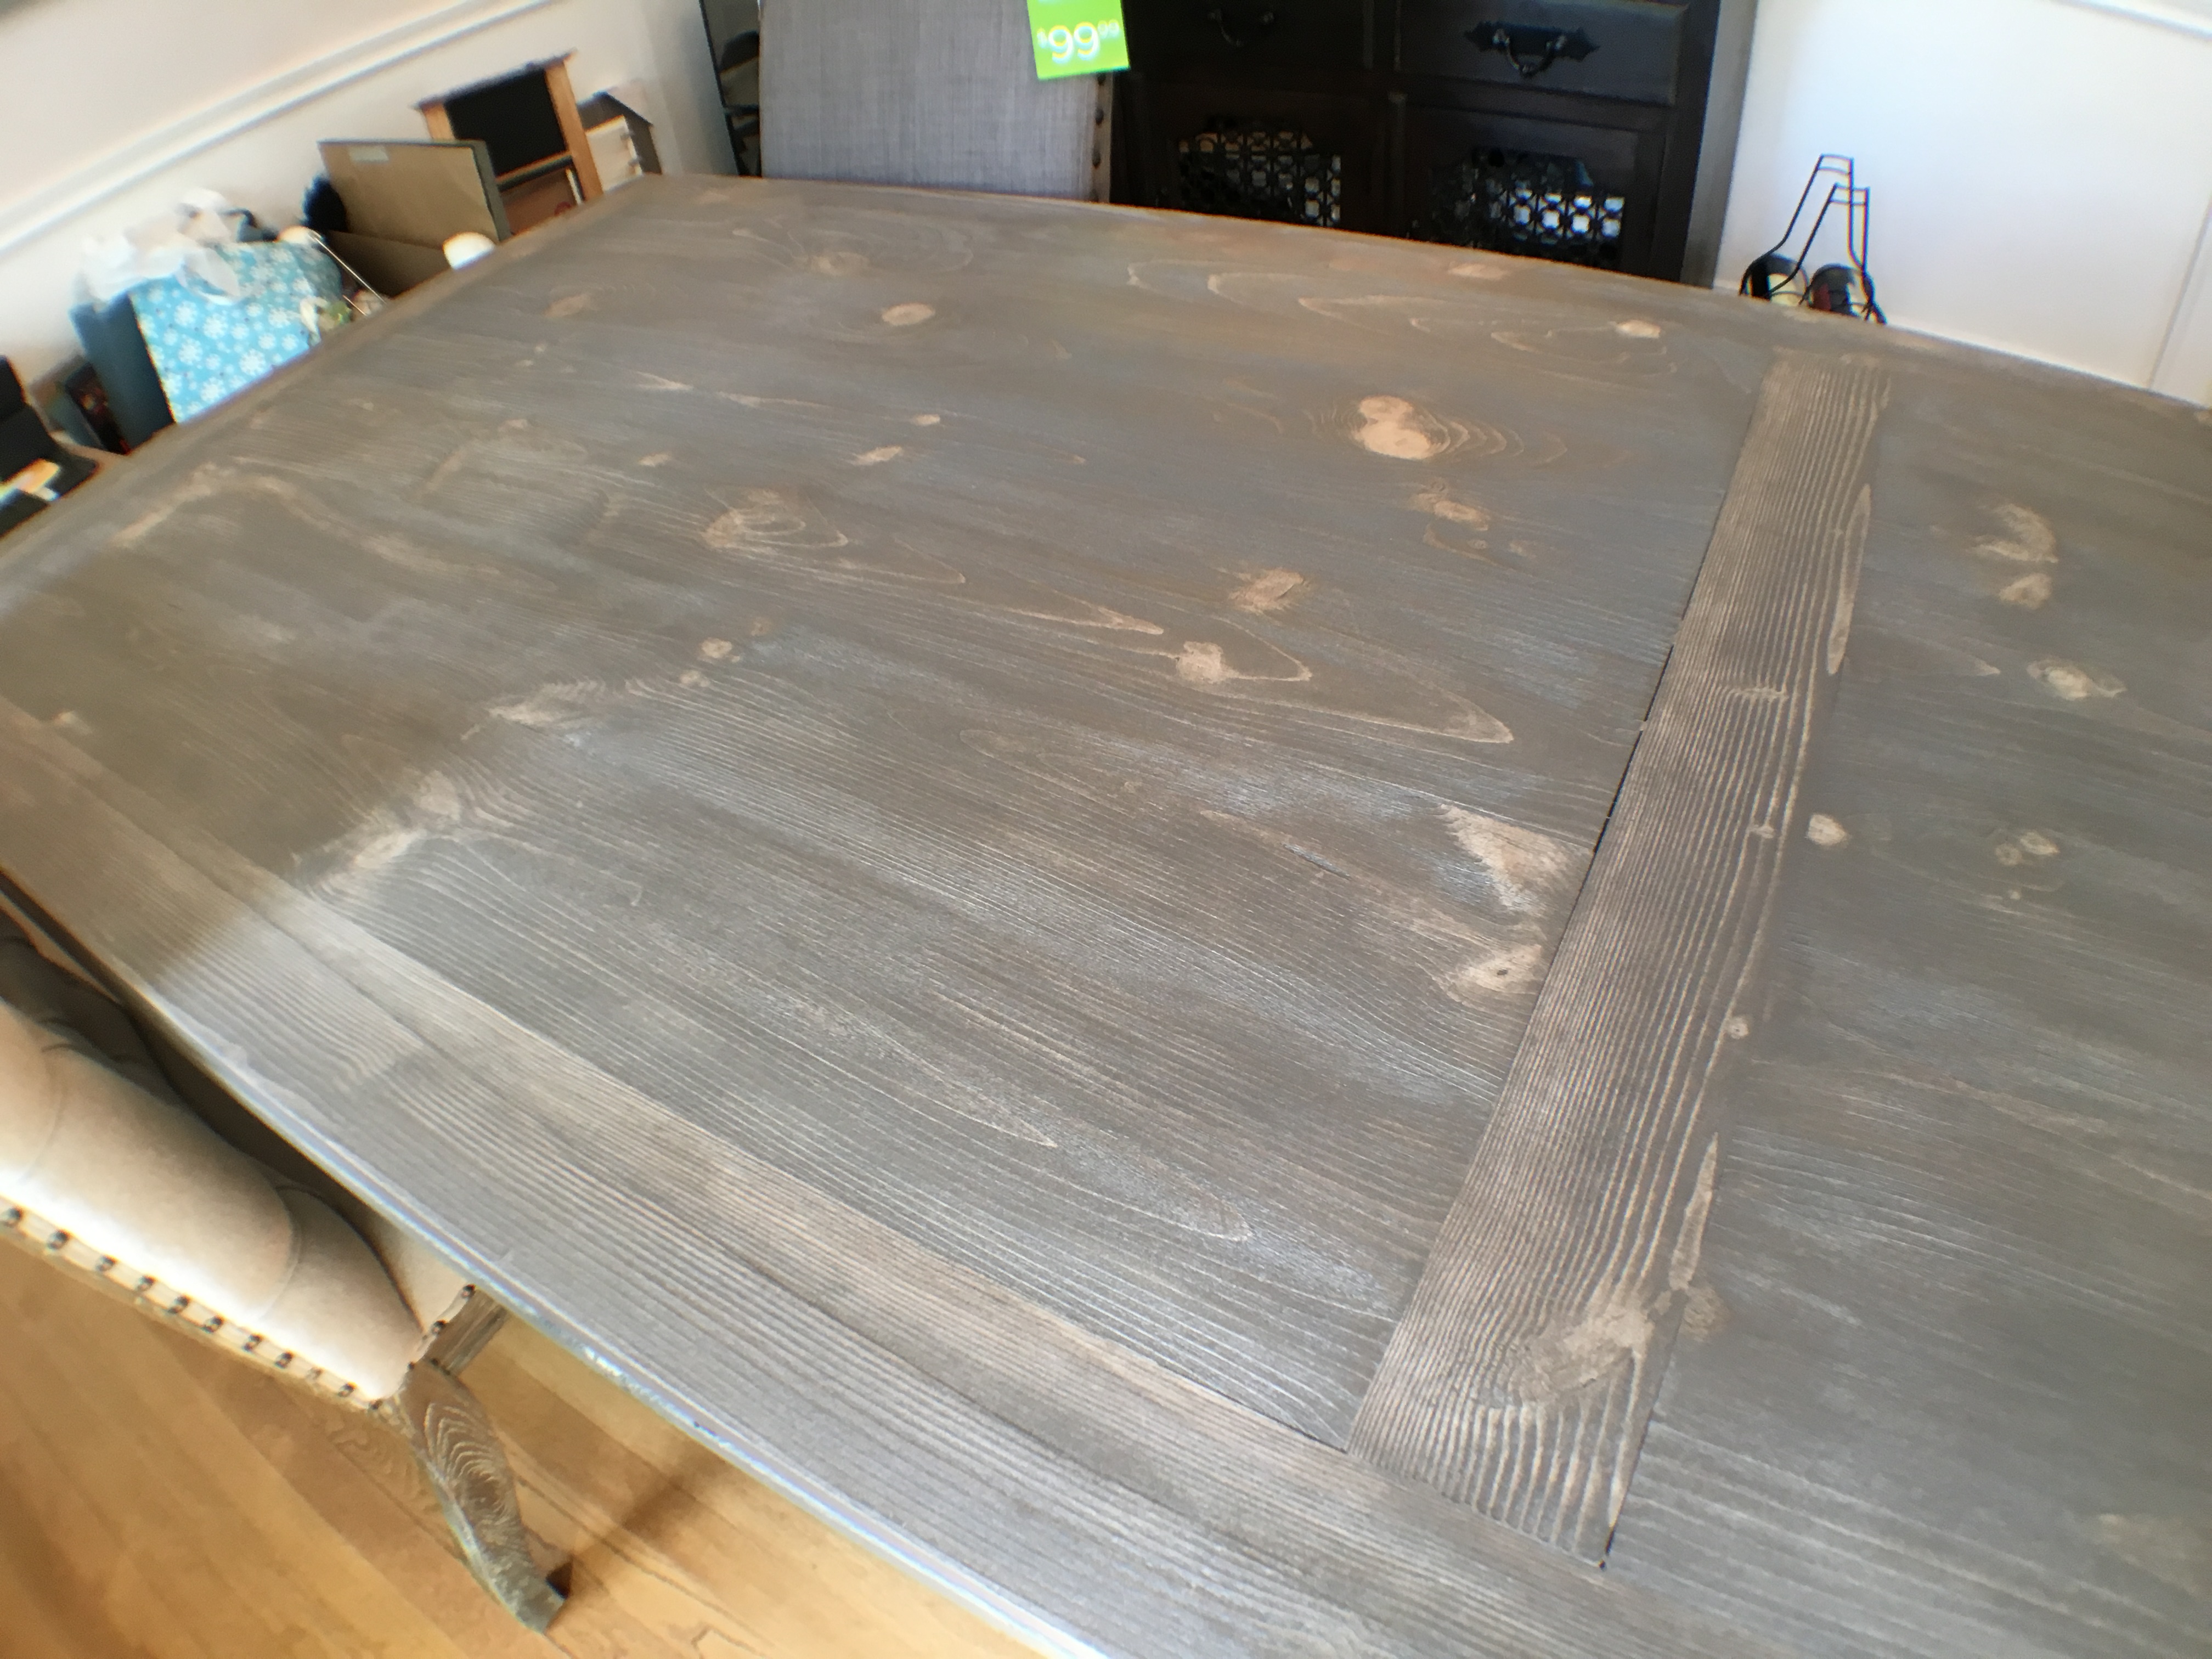
Lastly, I created wide wire wheel using a lag bolt and 5 5" brass fine wire wheels to give the table a distressed weathered look.  This is difficult to see in photos but in person looks really nice.  My favorite feature of the table.


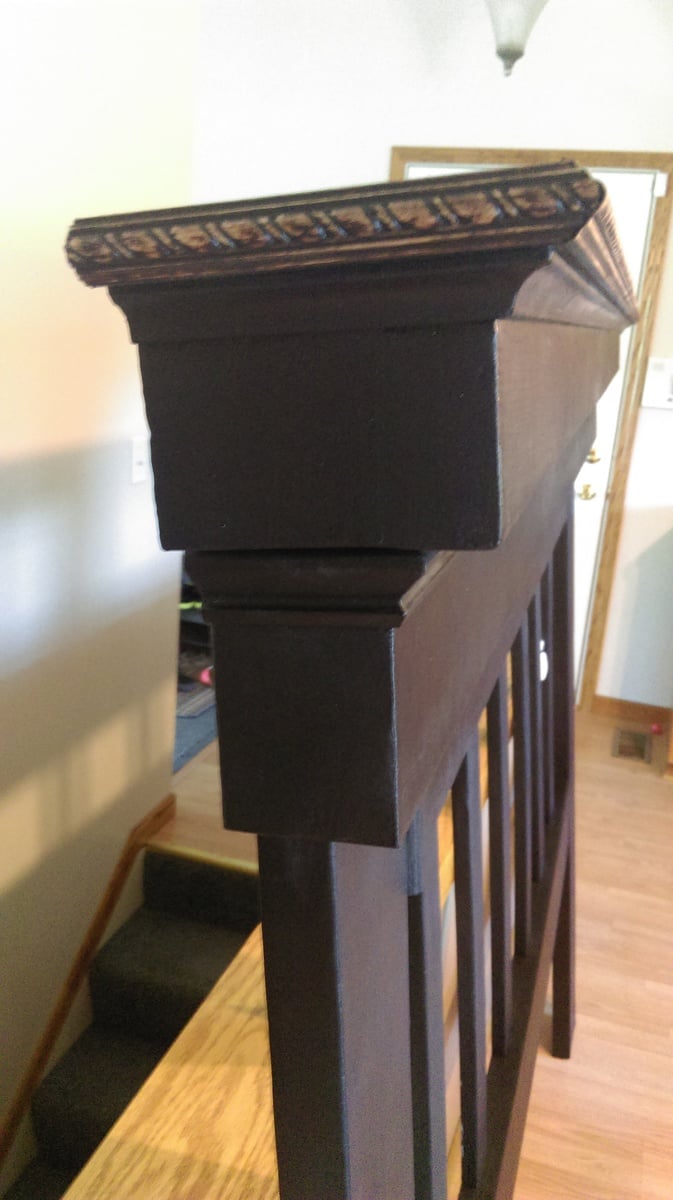
Lastly, I stained the table with White Wash Pickling.  As soon as I finished spraying and wiping, I went to the briarsmoke then vigorously wiped it away to bring out the white underneath, especially on the knotted areas.  


Overall, I couldn't be happier with the table.  I want to thank everyone who posted photos of their tables.  They were all an inspiration me and my build.  If you have any questions, please feel free to contact me any time!


Thank you,

Jerry

Estimated Cost
$200-250 not including tools and time
Estimated Time Investment
Weekend Project (10-20 Hours)
Finish Used
White Wash Pickling, Briarsmoke, Satin Poly
Recommended Skill Level
Beginner

Posted on Facebook, now have requests to build for others

Submitted by Doig on Mon, 05/18/2020 - 20:28

started with outdoor sofa, and ending making 4 chairs, loveseat, and 2 coffee tables

Estimated Time Investment
An Hour or Two (0-2 Hours)
Finish Used
Austrailian Timber Oil (Jarrah Brown)

Comments

Doig

Mon, 05/18/2020 - 20:29

Love the look, posted on Facebook and had requests to build for others. Made my Mother - in-law 2 chairs and a coffee table for her birthday.

rustic coffee table

I wanted a coffee table with a rustic look...without the weight of 2x boards, so I modified this plan a bit and used 1x's instead. It makes it much easier to move around when I need to vacuum up dog hair or anything tracked in on the kiddos' shoes! lol

Built from Plan(s)
Estimated Time Investment
An Hour or Two (0-2 Hours)
Recommended Skill Level
Beginner
Back