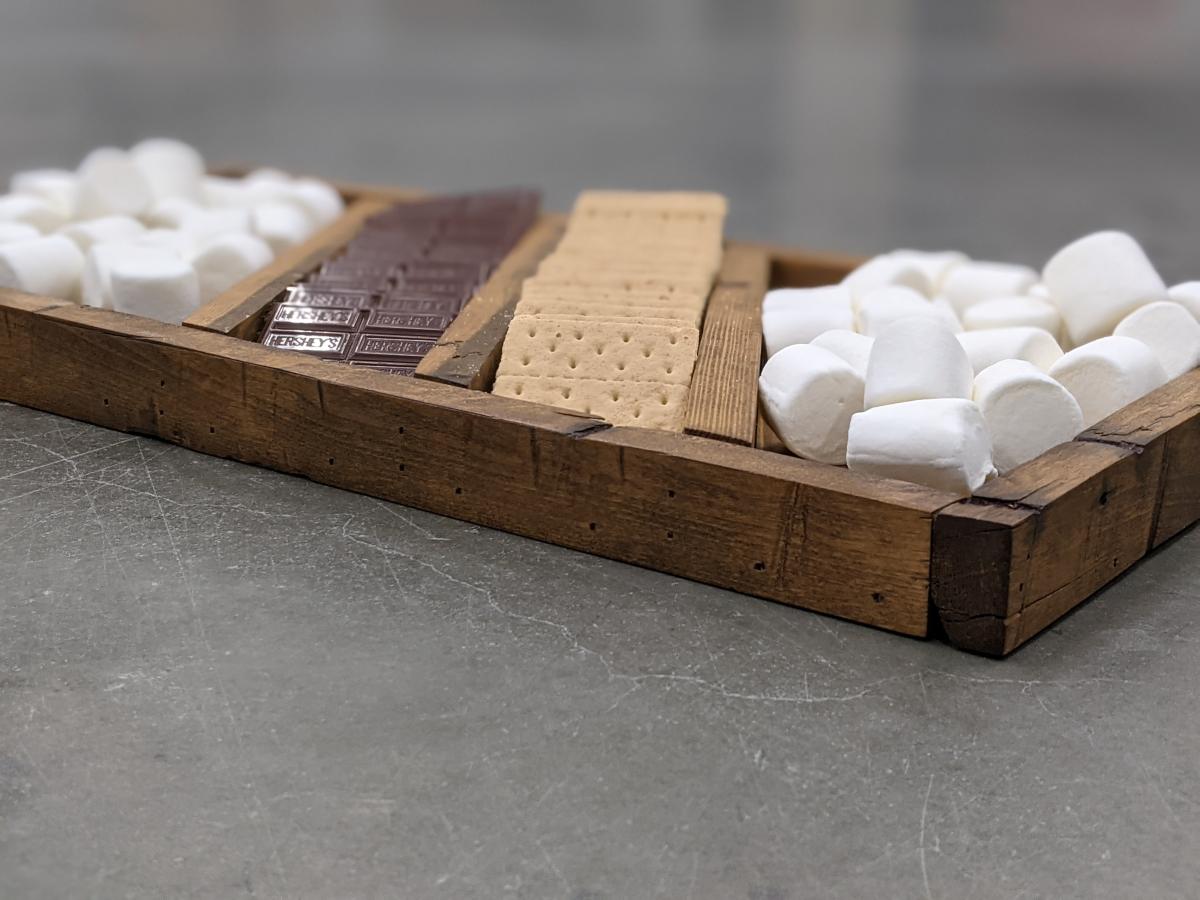
S'mores Charcuterie Board
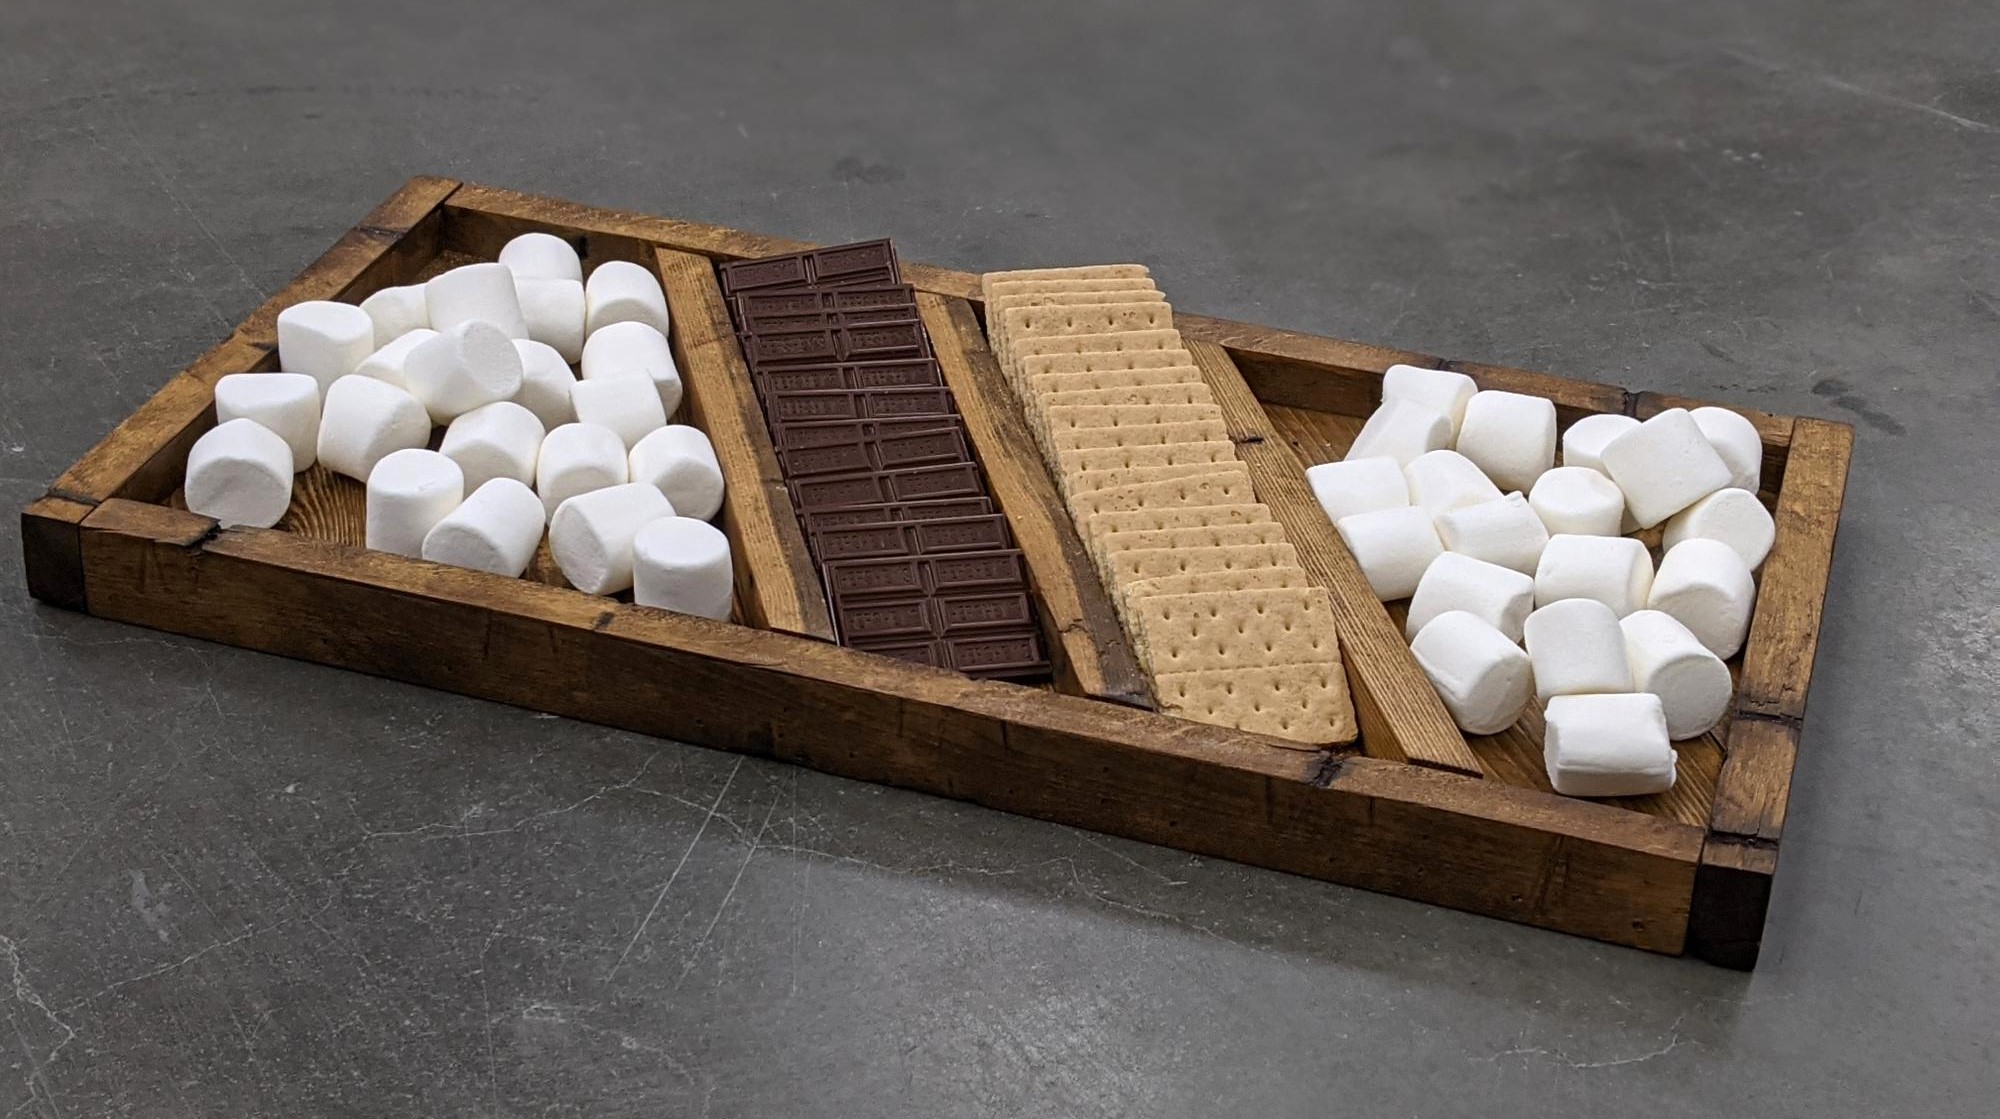
I took the Charcuterie board and turned it into a S'mores board. Have given them away to neighbors as gifts and they love them.
Built from Plan(s)
I took the Charcuterie board and turned it into a S'mores board. Have given them away to neighbors as gifts and they love them.
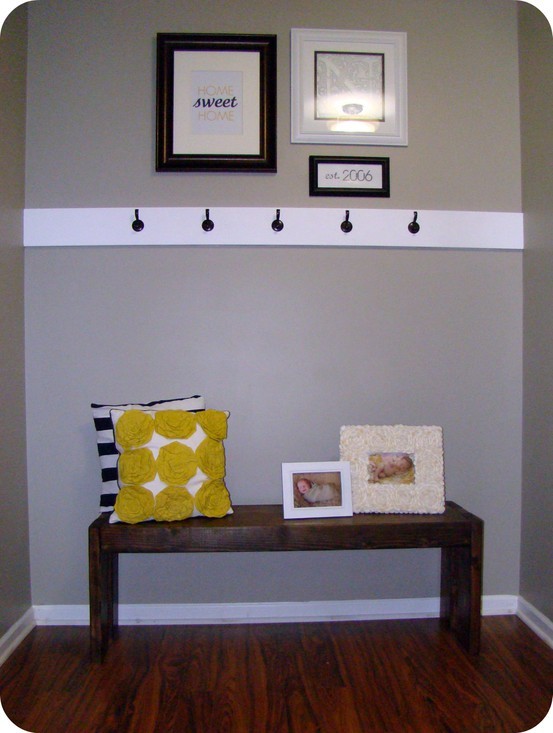
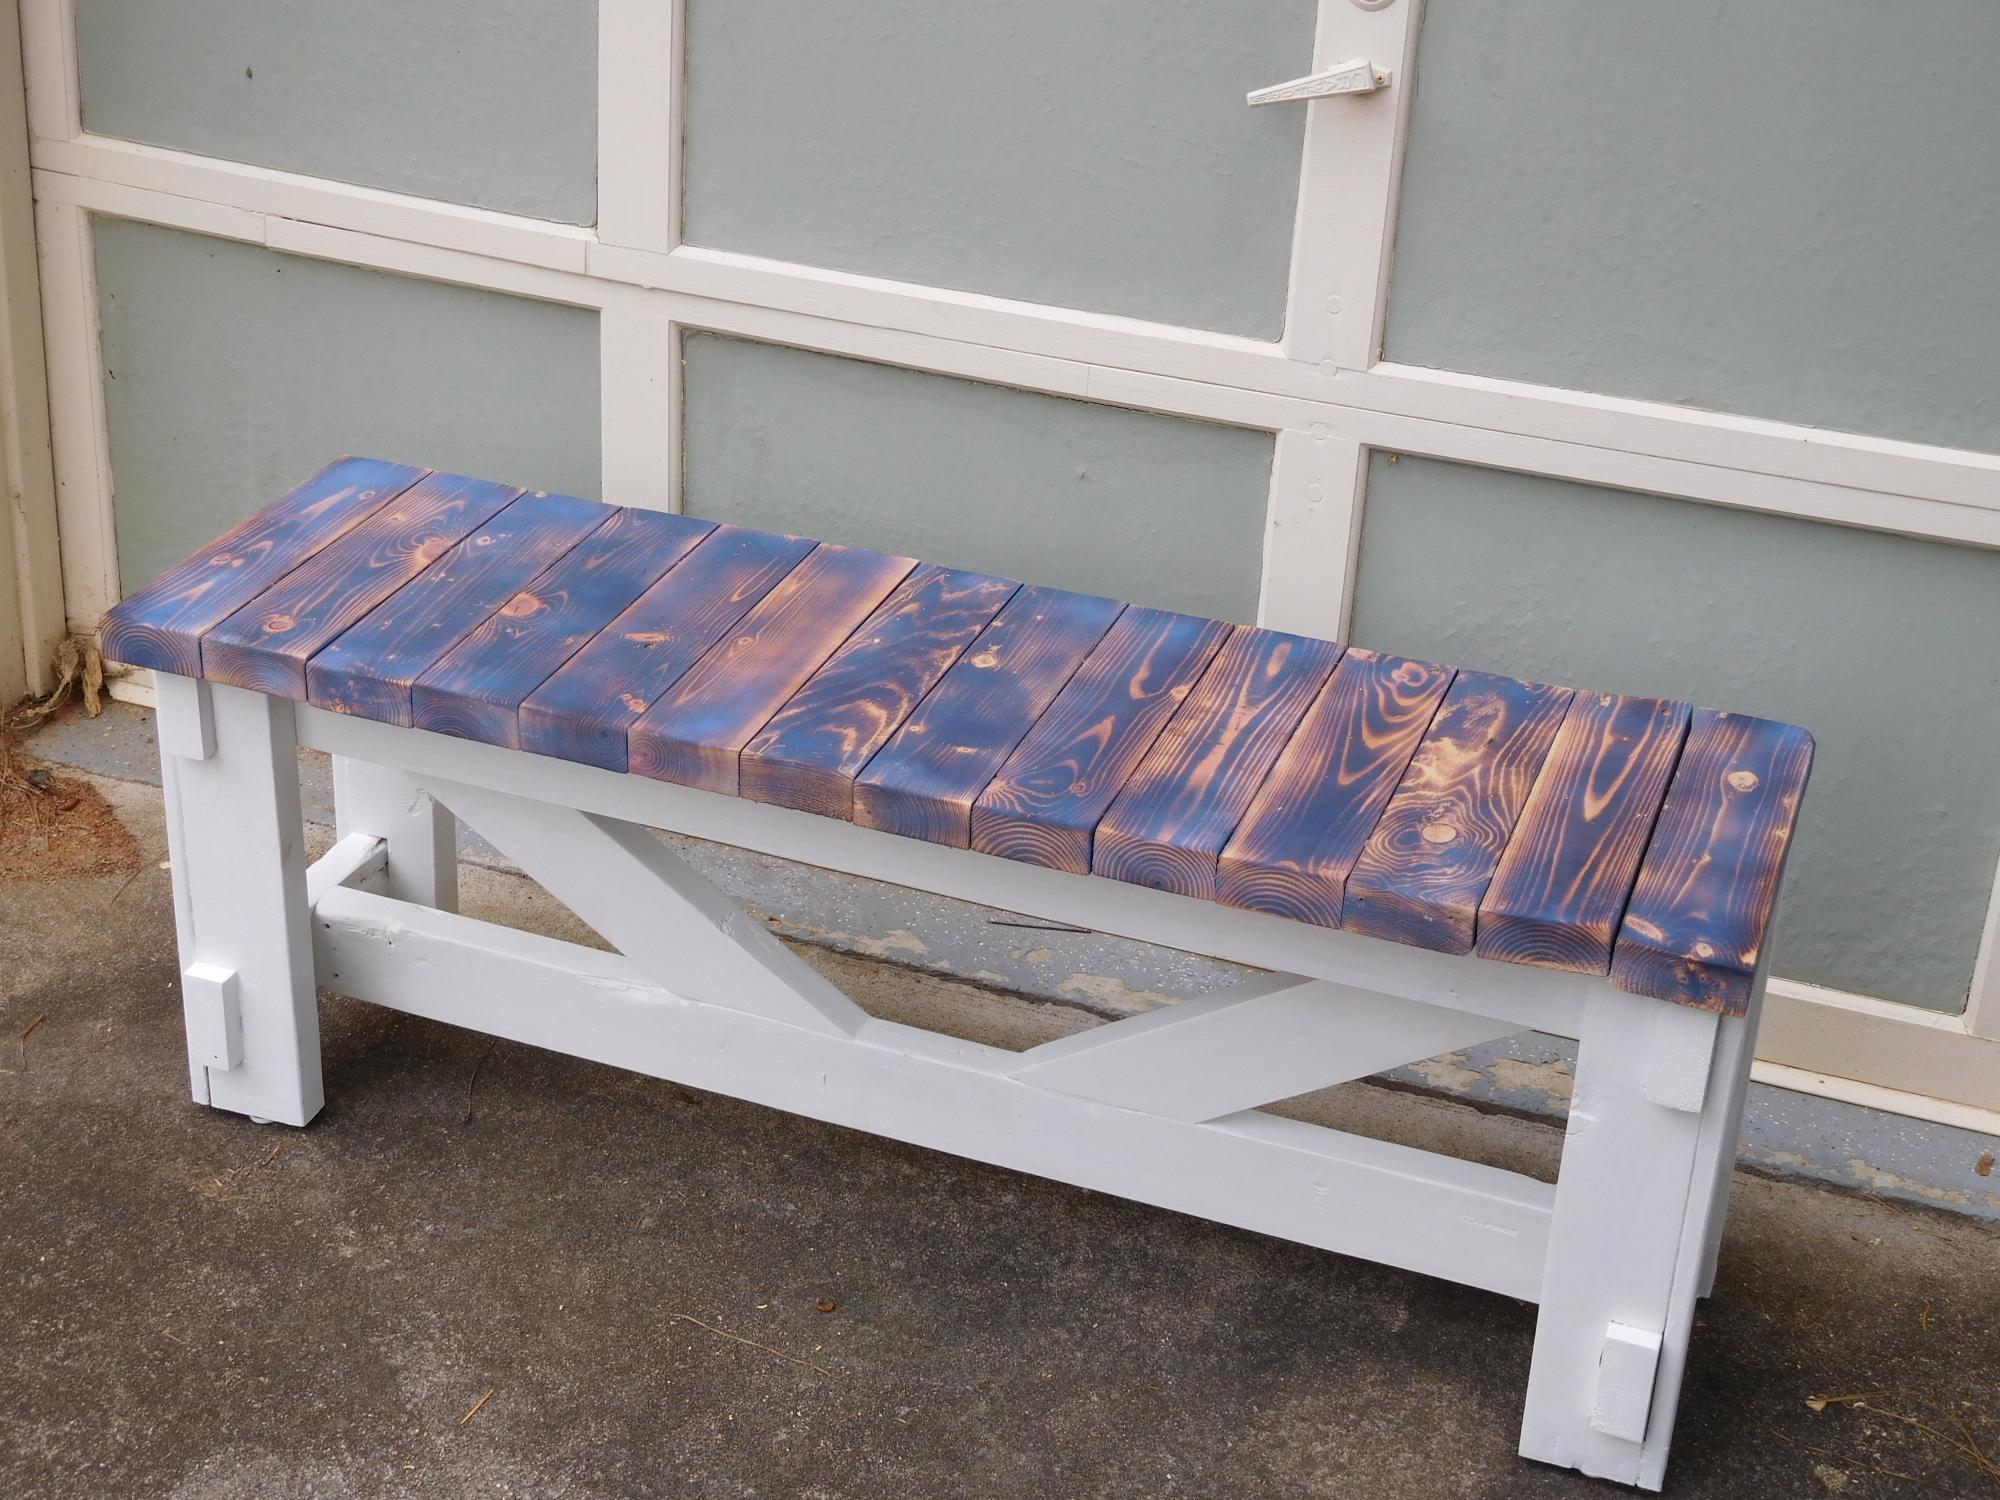
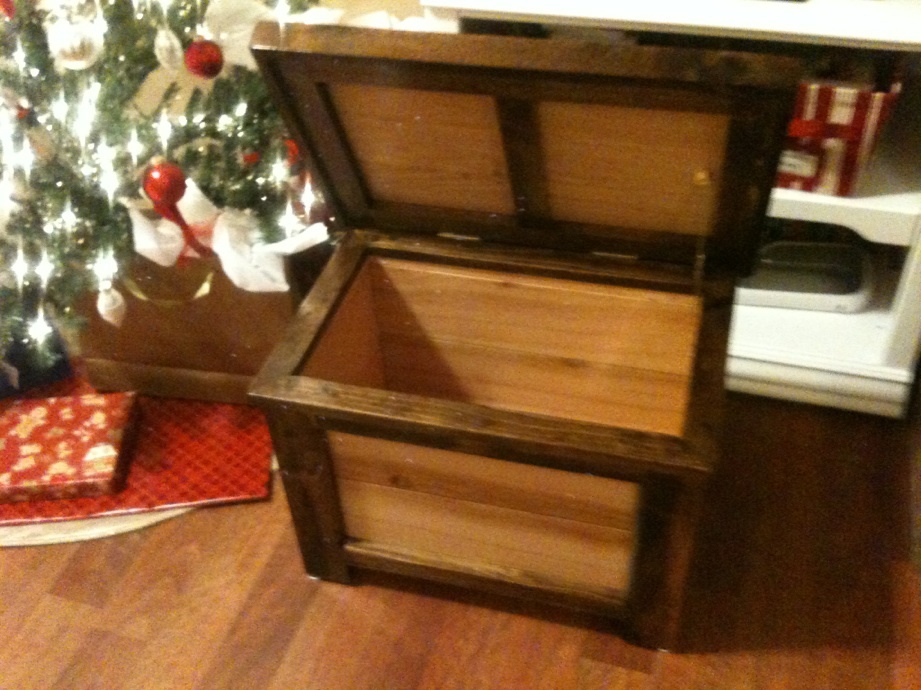
I was looking to make my foyer a bit more kid friendly while still being coze and practical. I came across the modern farm bench plans, and I knew it was the perfect fit!
I have done a few other plans, but all with help. This project I started around 9 pm (after bedtime) one night, and by 11:30, it was completely built and stained. My son was climbing all over it by the next morning :)
I love it - I think it adds the perfect bit of rustic charm to my foyer, while still giving my little guy a sturdy spot to get his shoes/coat on. I have since added baskets underneath for winter storage.
This will definitely not be my last build! Thanks Ana!
Took 4- Hours to complete and cost about $140 in materials. Used pine boards and kreg jig.

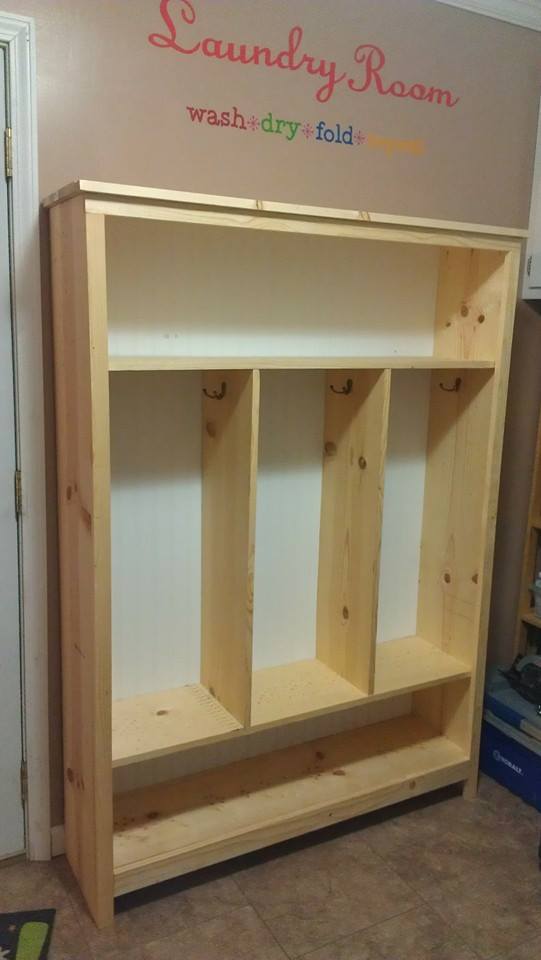
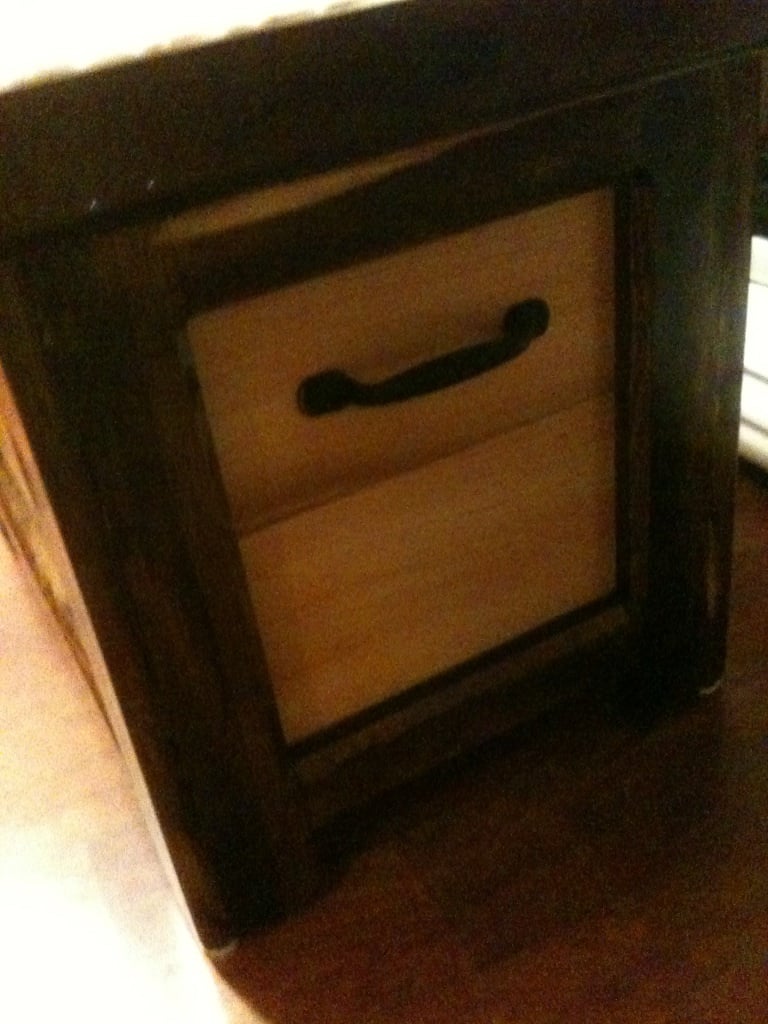
I made a sliding mirror cabinet for each of my 5 girls as Christmas gifts this year. I added a stencled back and provided lots of hooks for hanging jewlery and varied shelf distance for hairs sprays, lotions and nail polishes. They love them and filled them full. Thanks so much for the great idea and plans.
I made this bench using reclaimed 2x4's. I made a video of the project.
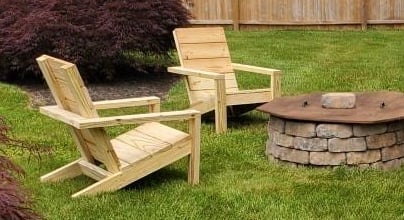
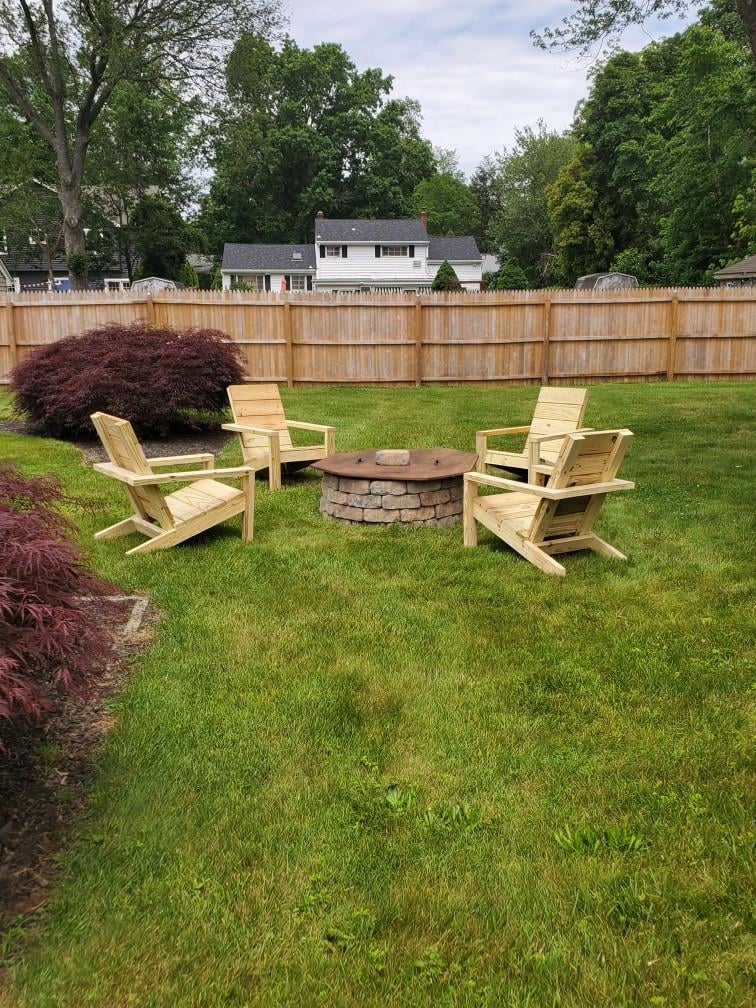
My husband built this Adirondack chairs. They are so comfortable.
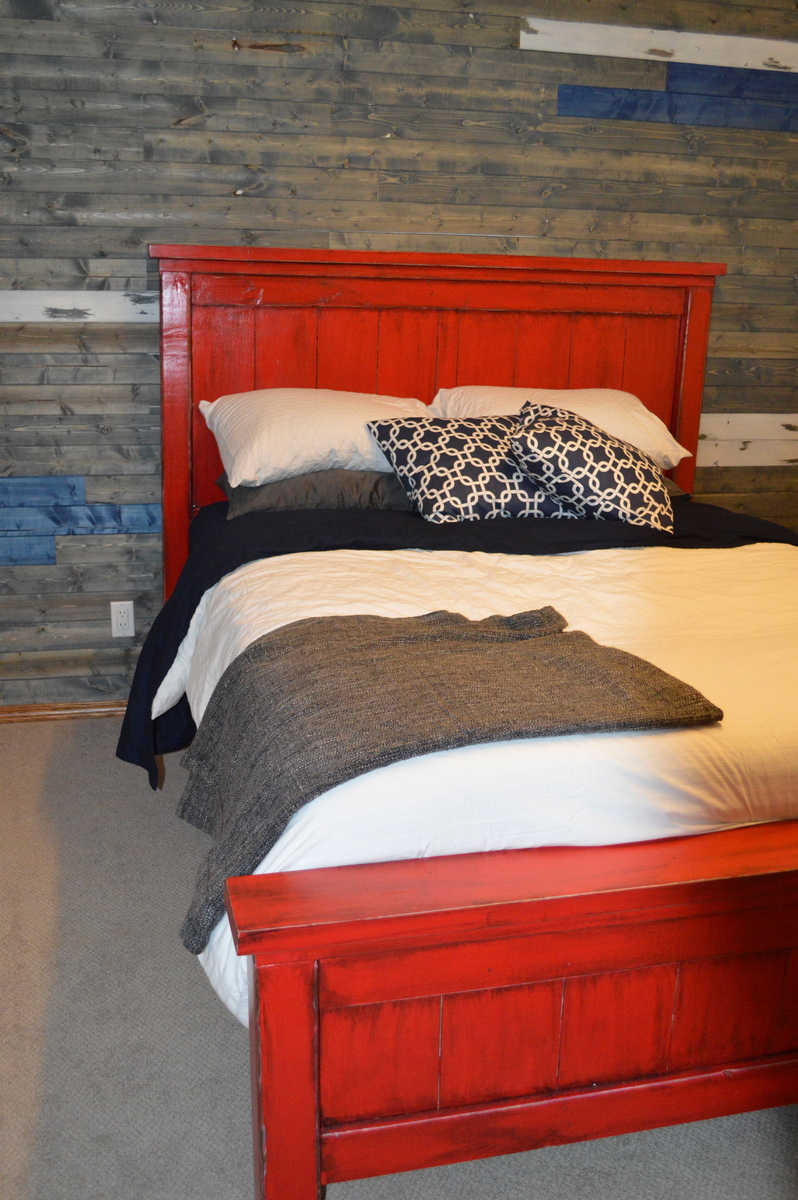
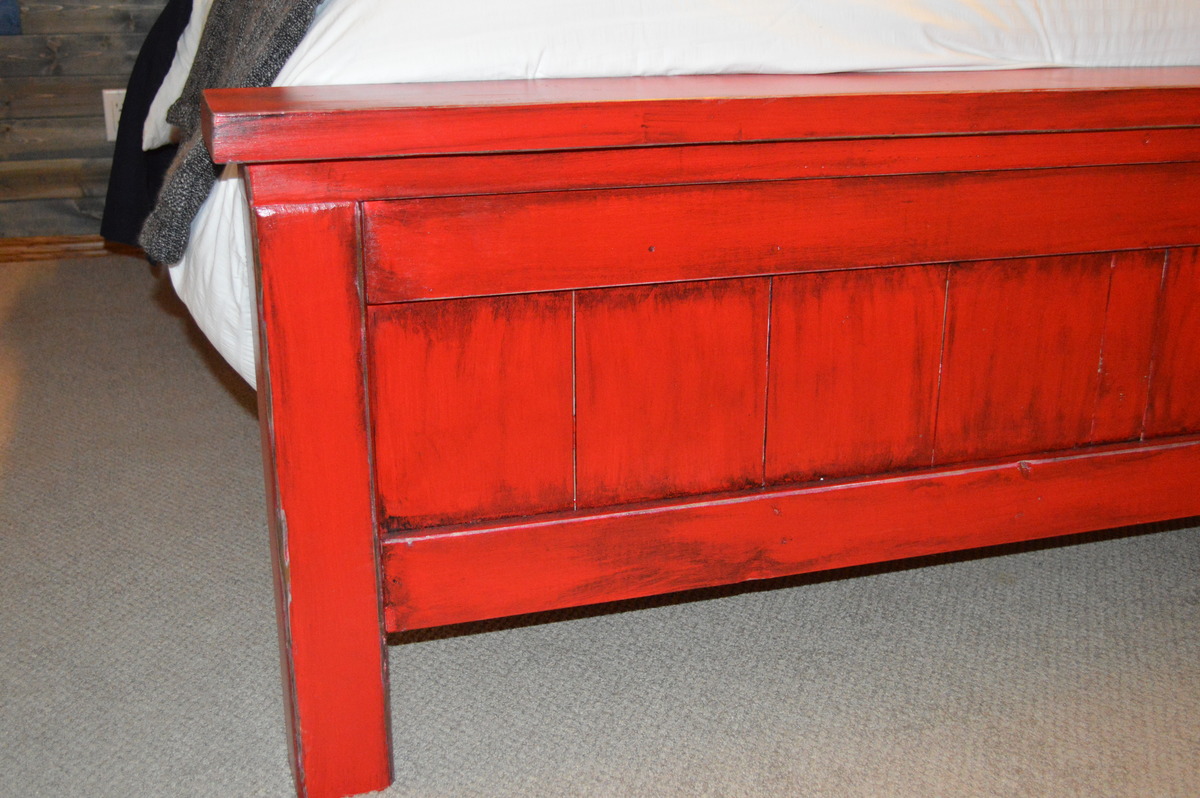
We loved the first farmhouse bed we built so much, that we decided to build another one for our guest bed. We loved the red paint, and weren't too sure how to accent it, so we went with a planked feature wall. Just need to build some night stands and hang some pictures and our guest room should be complete!
Sat, 11/02/2013 - 22:15
Love the bed and the wall!! Where did you find your plank wood??
Sun, 11/03/2013 - 19:22
We didn't have any old distressed wood, so we bought pine tongue and groove from the hardware store and stained them ourselves. Then we just used a nail gun to attach them to the studs on the wall. It was surprisingly easy to do, just a bit time consuming. And nerve wrecking, we figured it would look either really good, or just awful! W are very pleased with how it turned out!
I love how this fits our space. I shrunk the measurements to help use up some of the scrap fence board pieces I had left over. Holding up to the pounding of a 2 year old and his legos pretty well.

This was a fun project which took me way too long, because we moved to a new house in the middle of it.
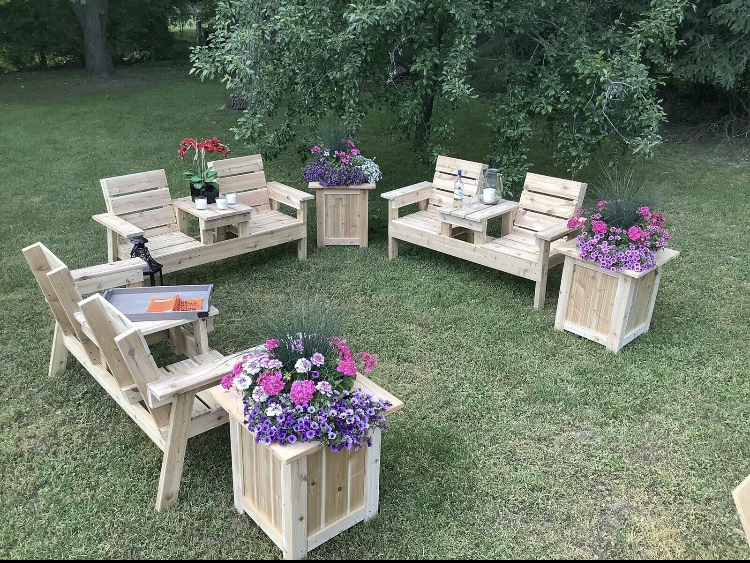
Custom cedar patio furniture
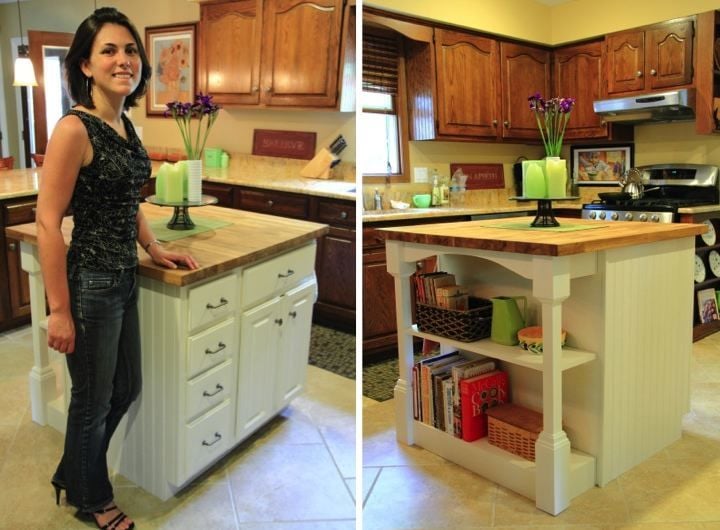
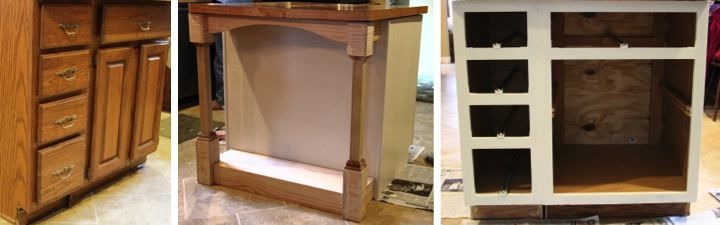
I made this kitchen island for my mom last year by repurposing two cabinets and building a bookcase for the back.
For details: http://www.homeandawaywithlisa.com/blog/2011/11/28/kitchen-island-for-m…
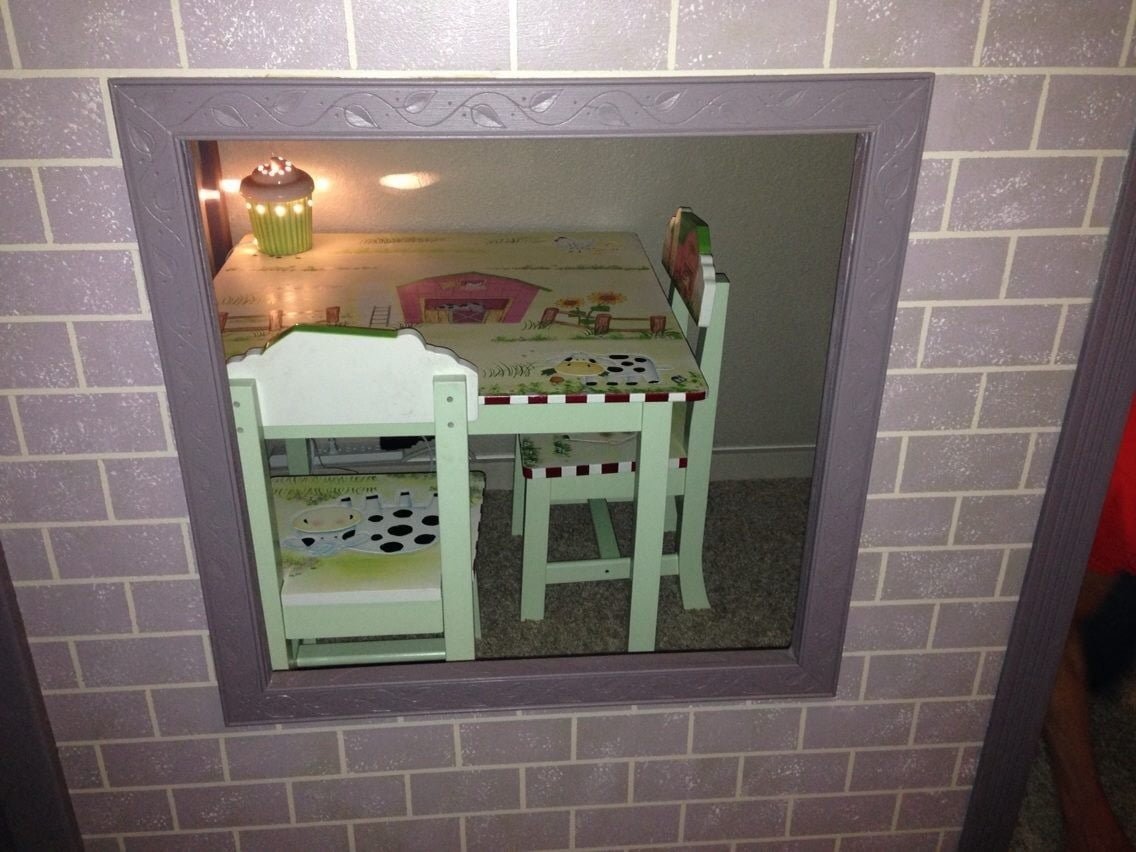
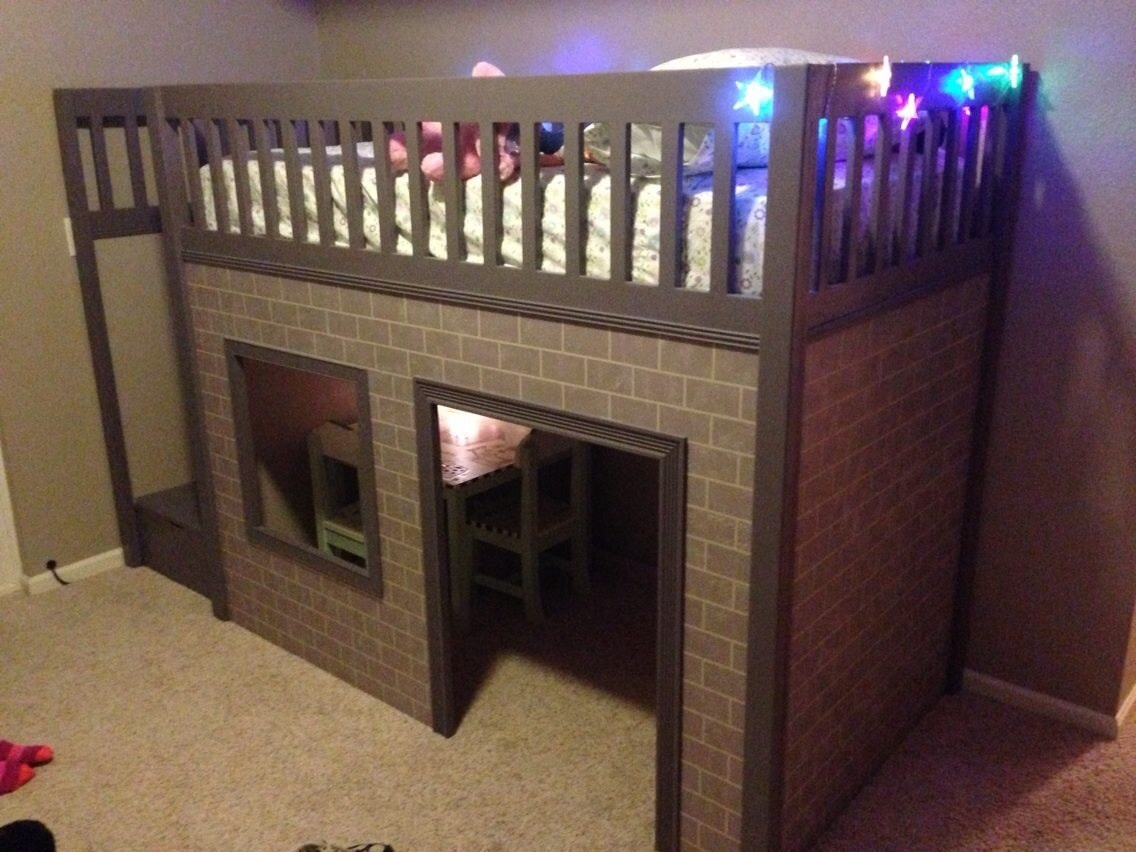
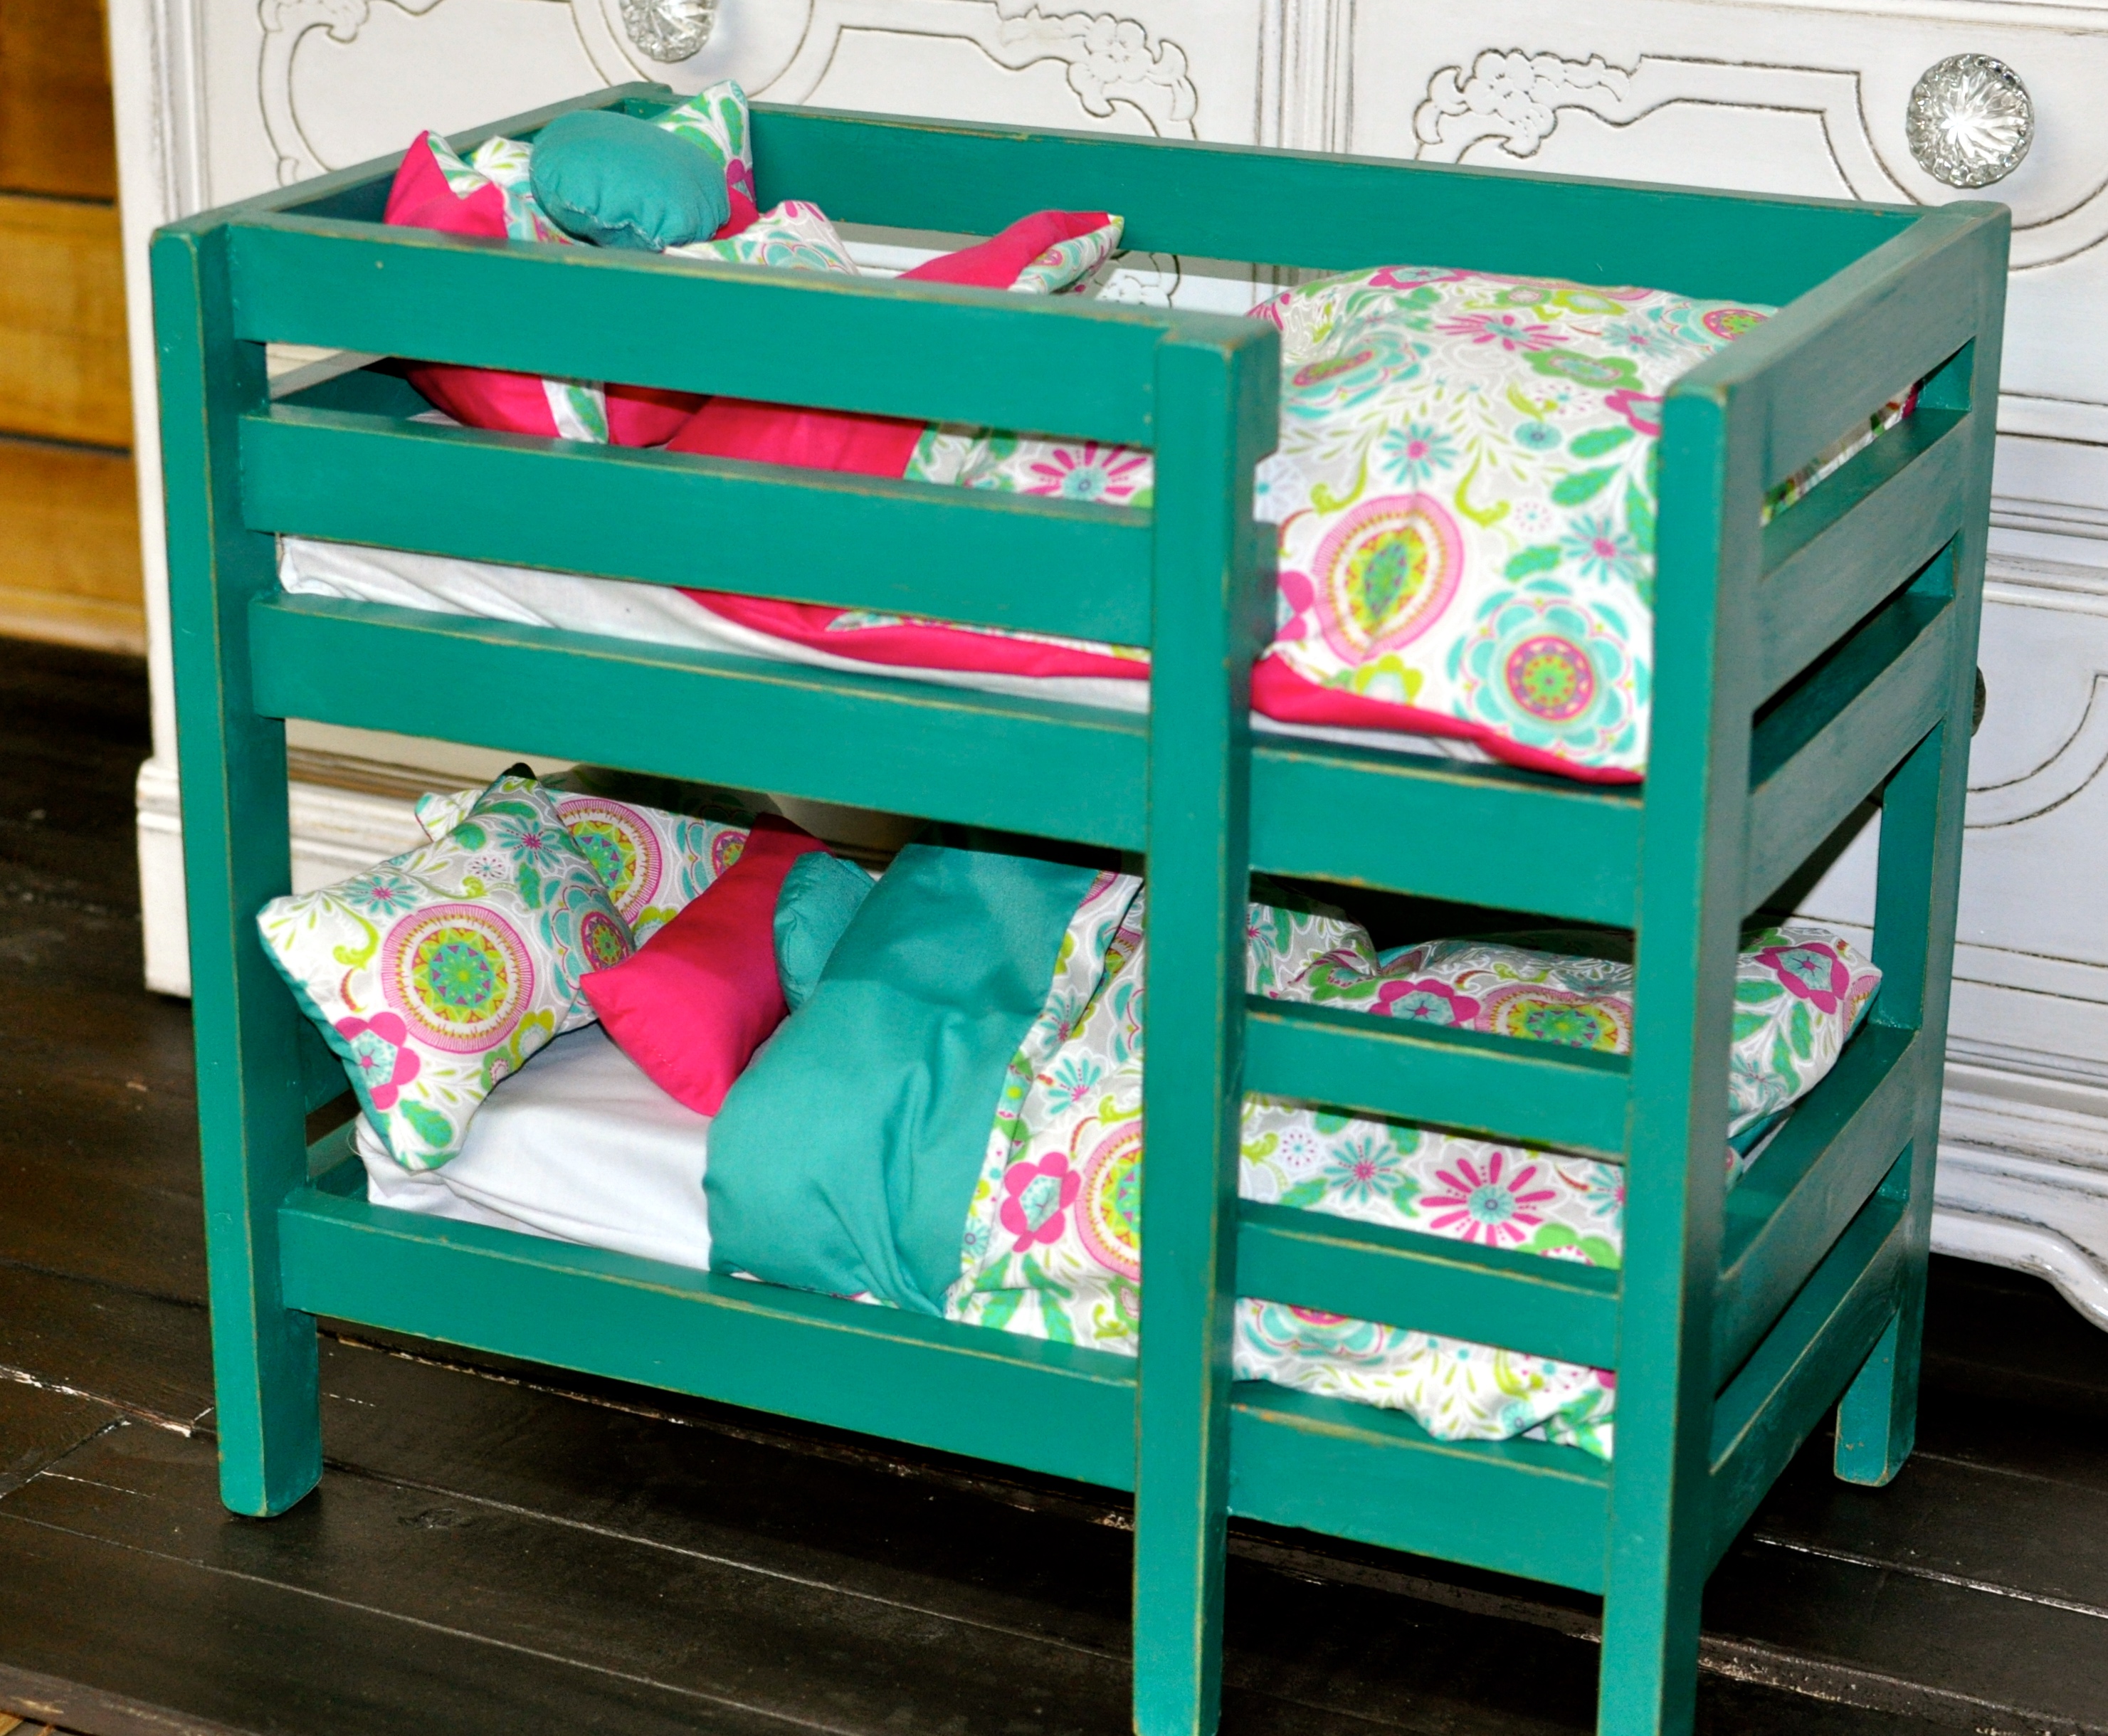
My granddaughter is so in love with her loft bed! She feels so special, and she is! Thanks for such wonderful plans.


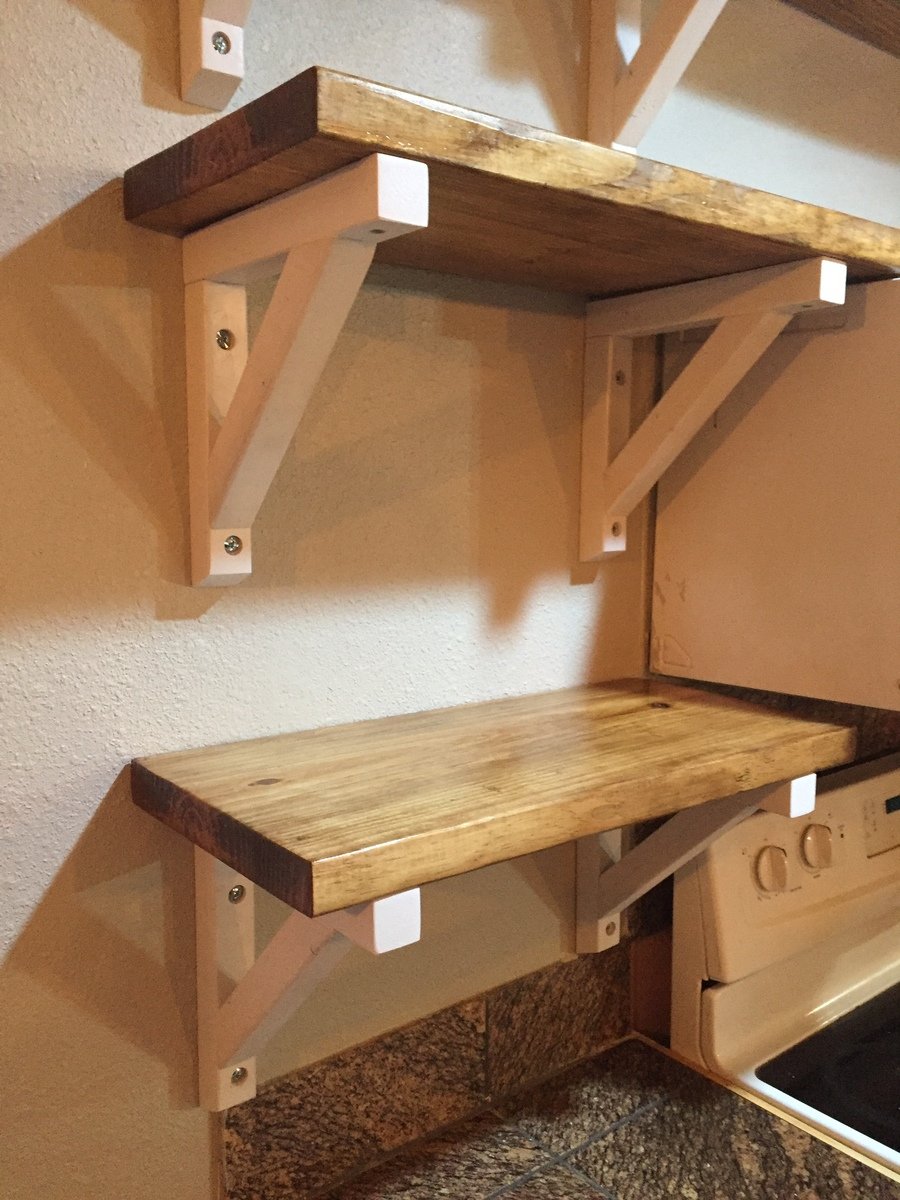
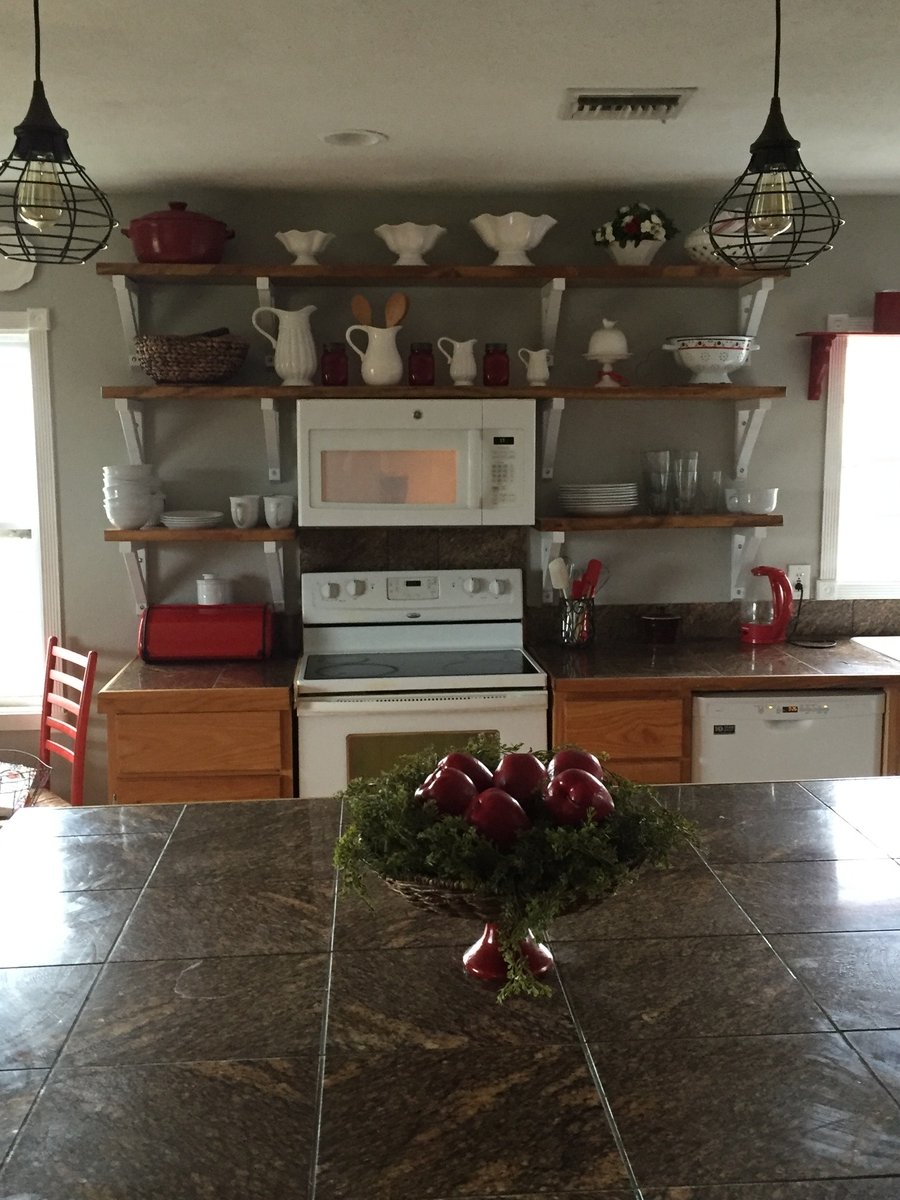
We tweaked a few things, to make the brackets more personalized. We changed the measurements to suit our space, added a decorative bevel to the bottom of the brackets, and used 2x12's for the shelves. We love the warm open feel these shelves give to our farmhouse kitchen! Thanks, Ana, for providing so much help and inspiration!
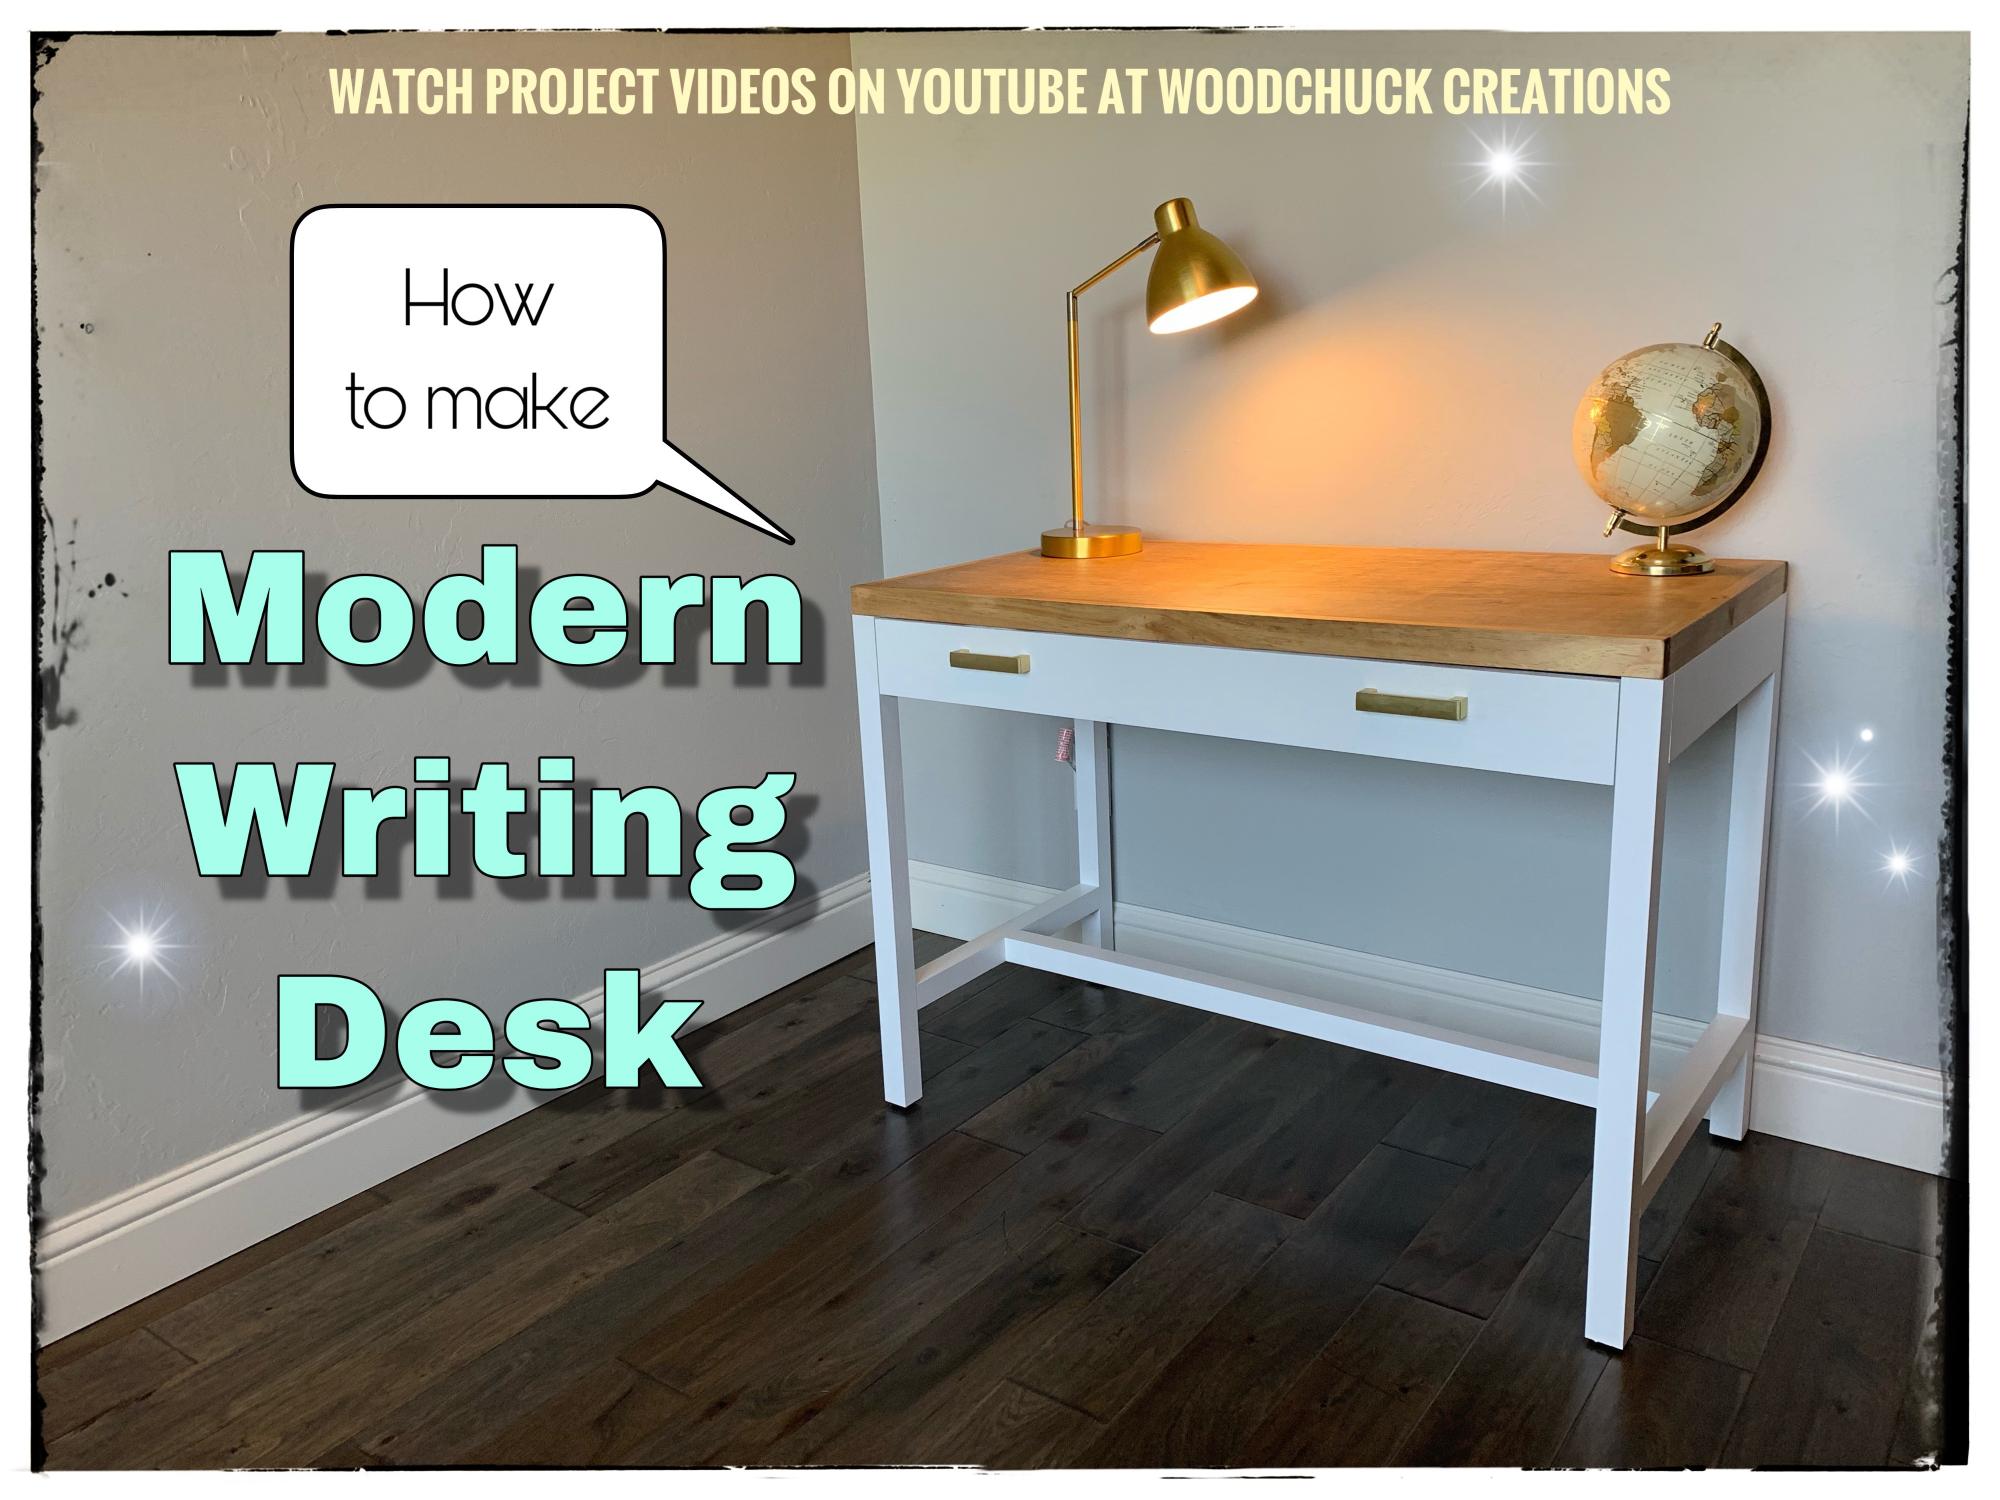
Love making this simple writing desk for my daughter!

Thu, 06/20/2019 - 14:37
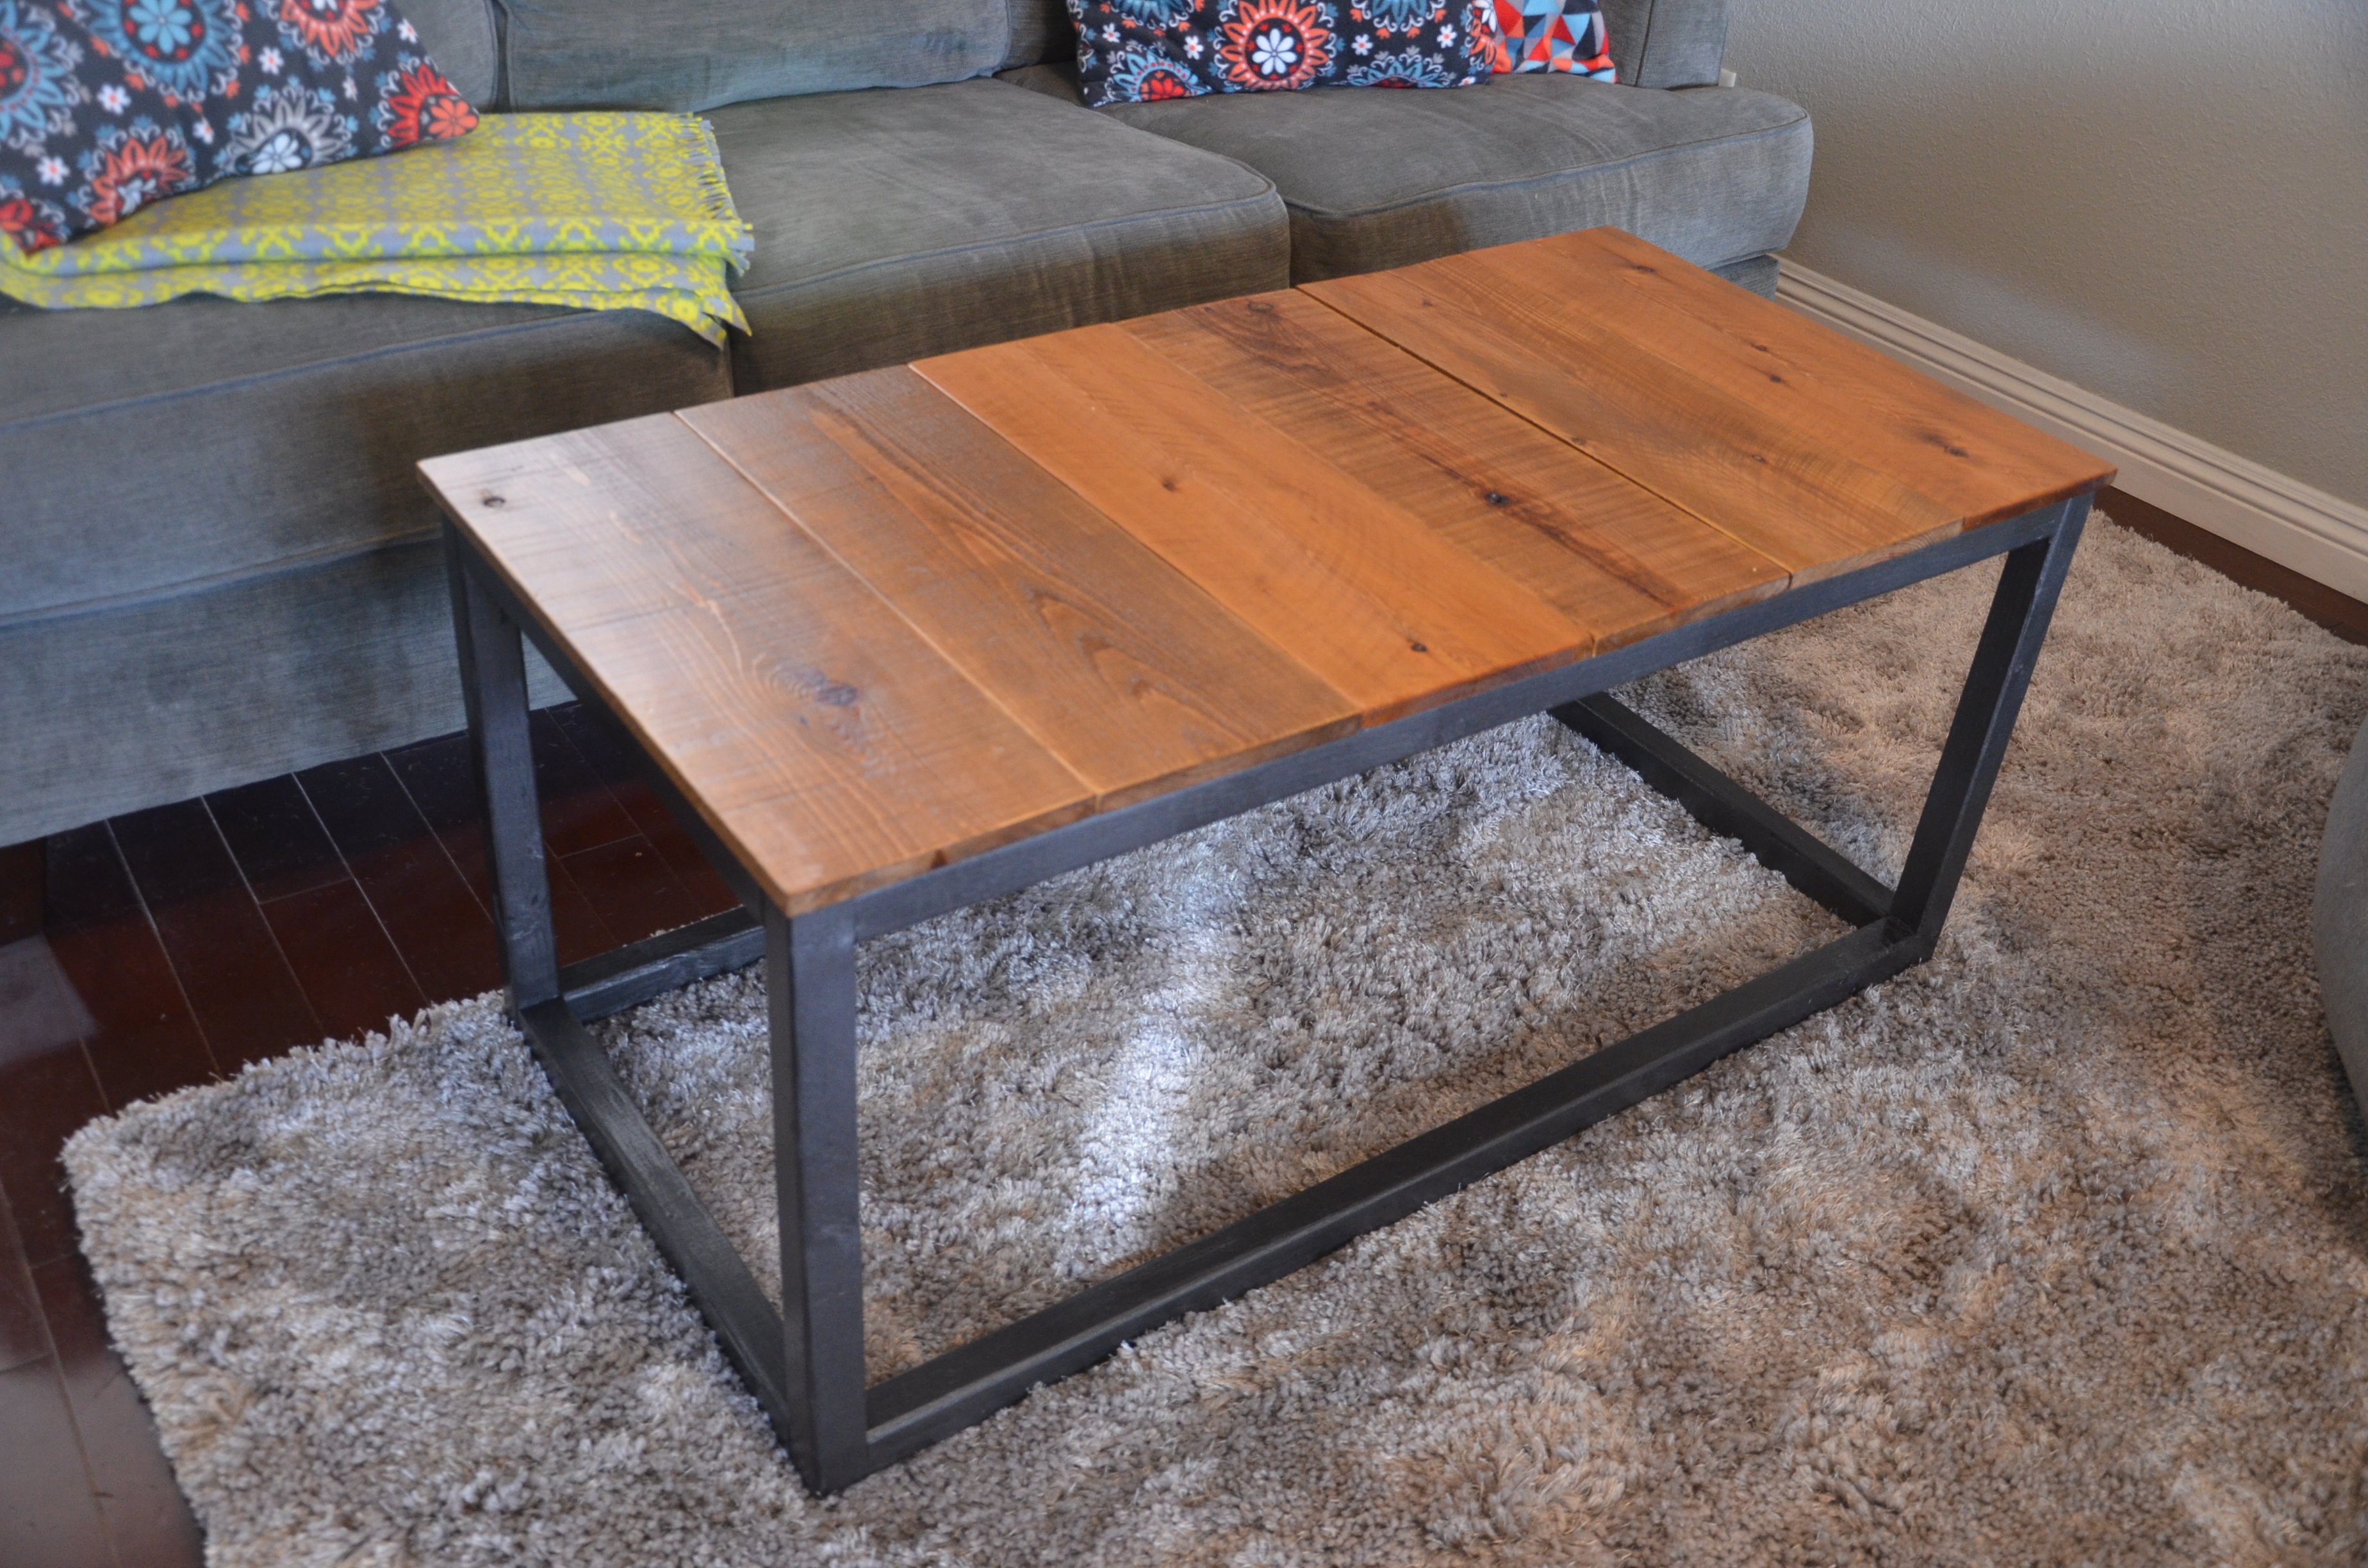
Turned out amazing! Love the wood top. Thank you for linking over too, it's much appreciated!
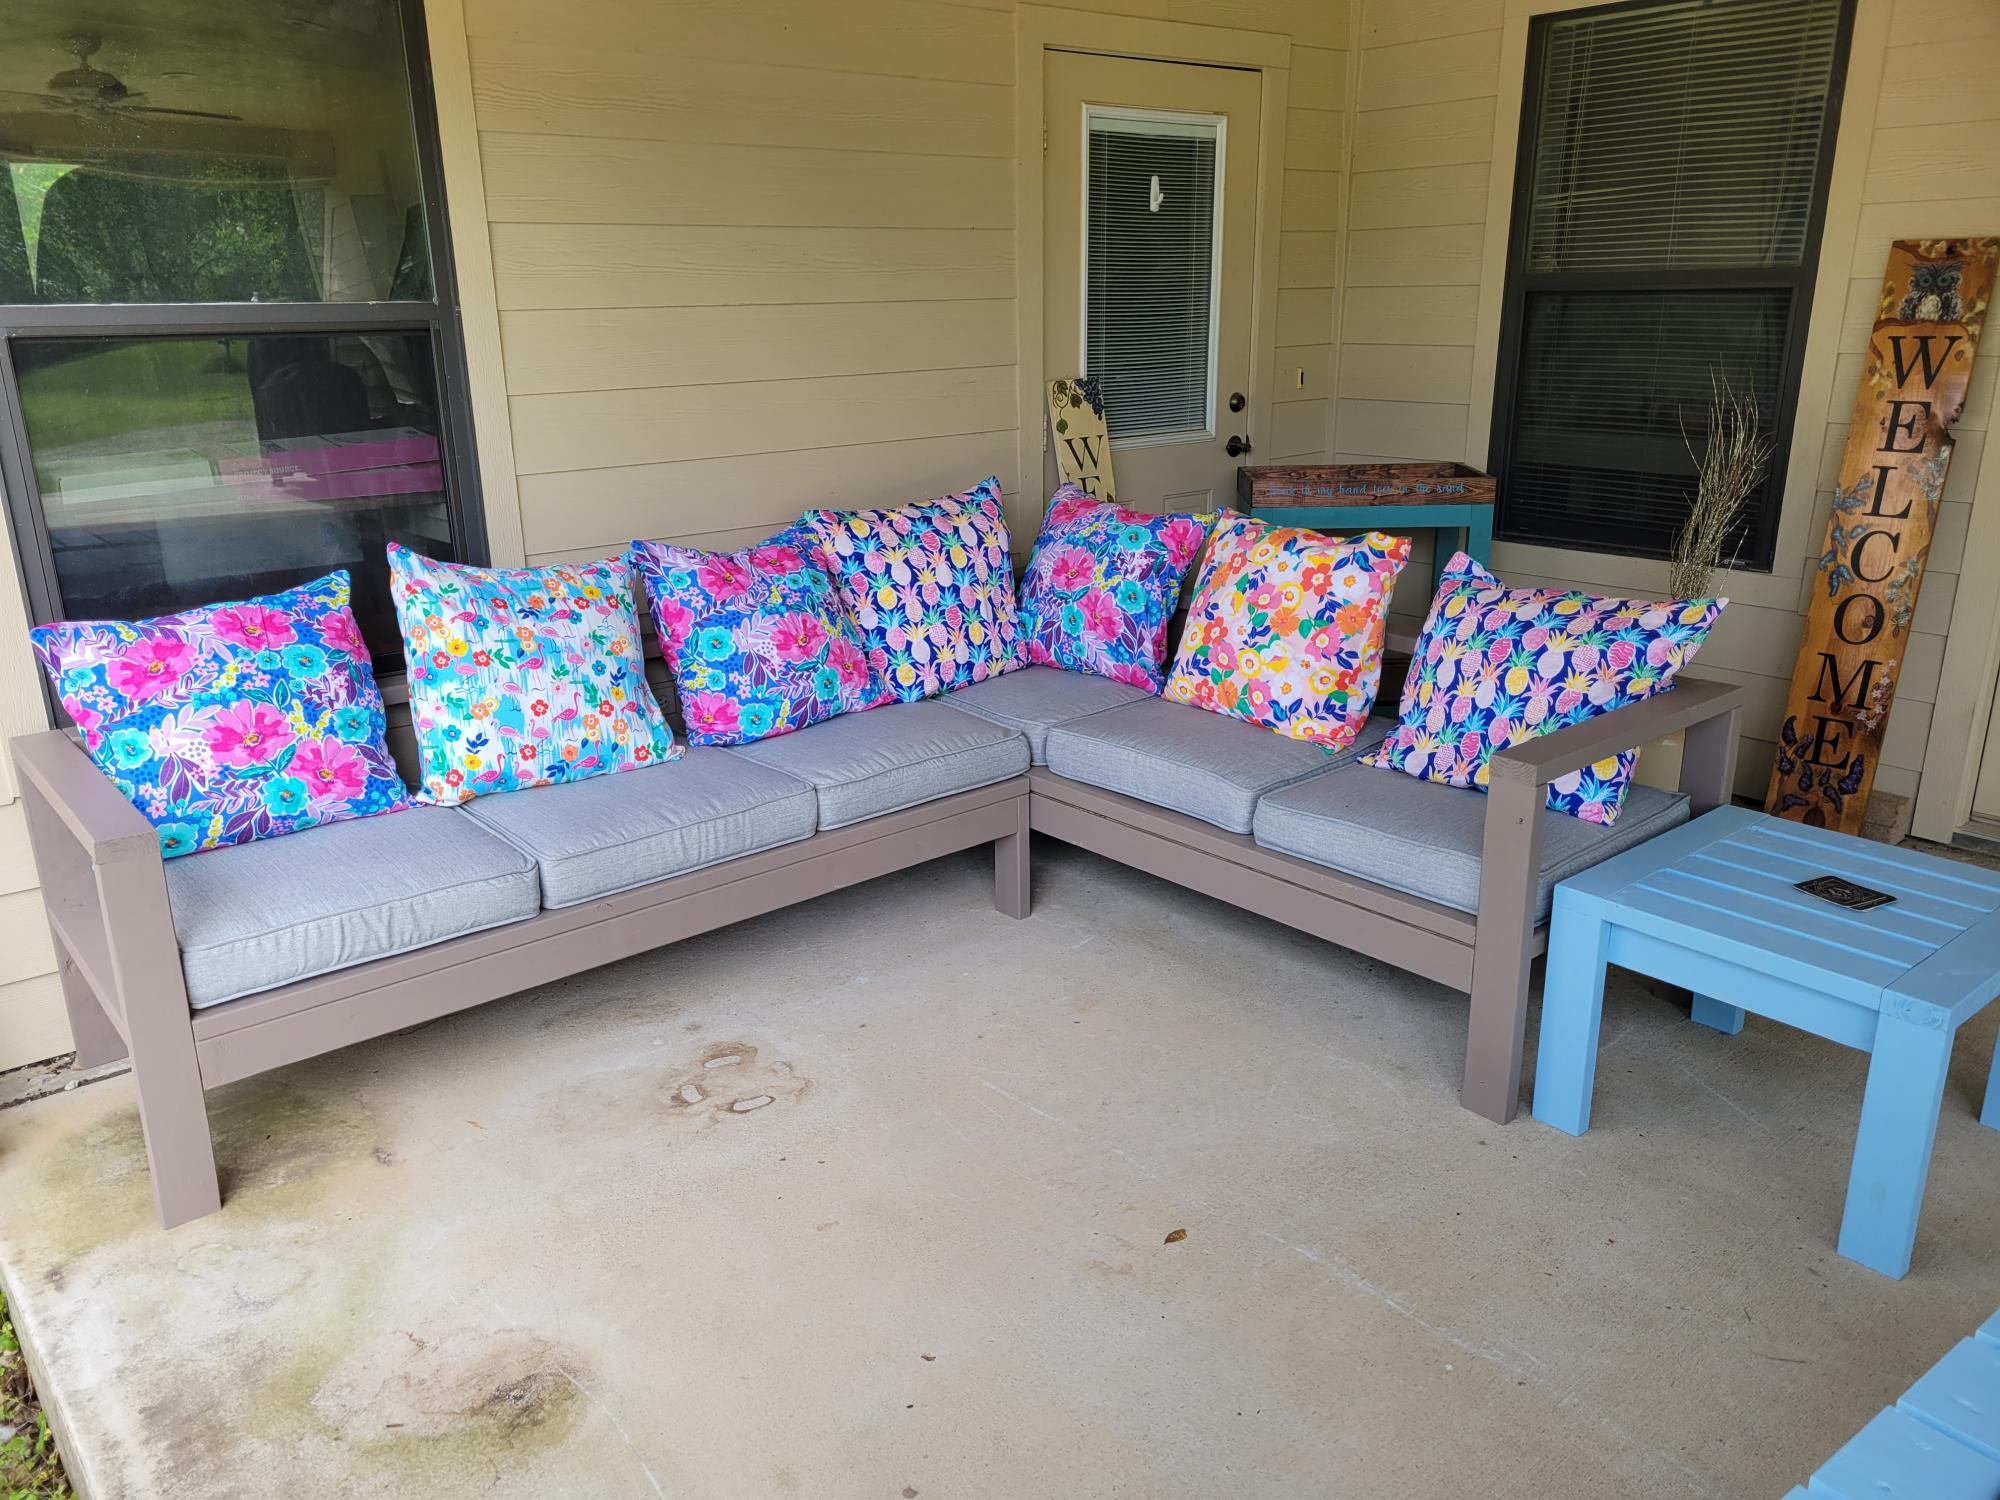
my husband and I used your plans for the sectional, end tables and chairs I made the pillows thanks so much for the designs we love them

Mon, 04/03/2023 - 20:12
Fantasic job, thank you so much for sharing your lovely space!
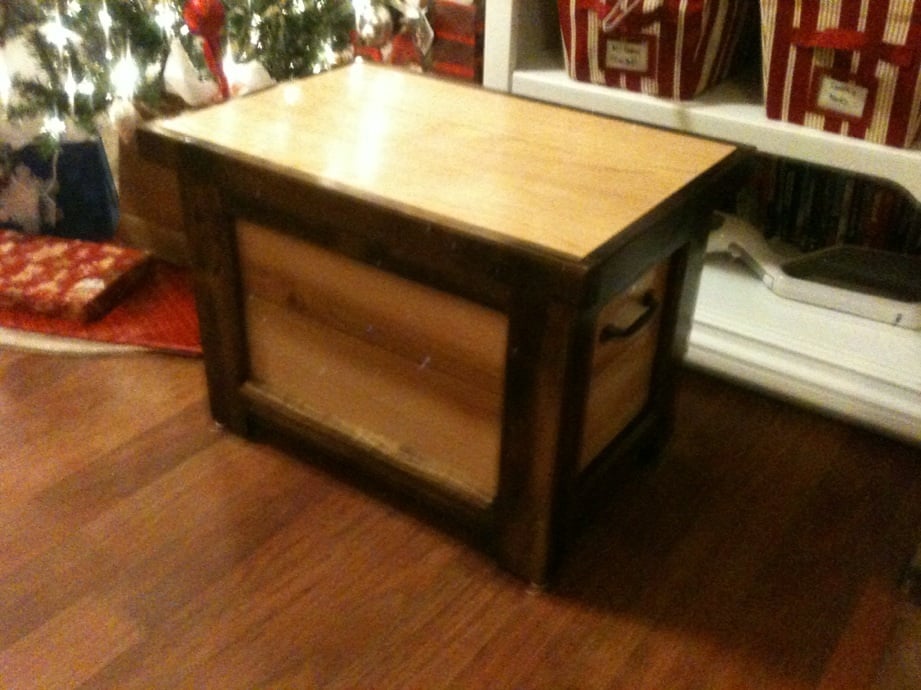
My husband built this for his grandma as a Christmas present. The frame is made of white pine and then the slats are cedar.
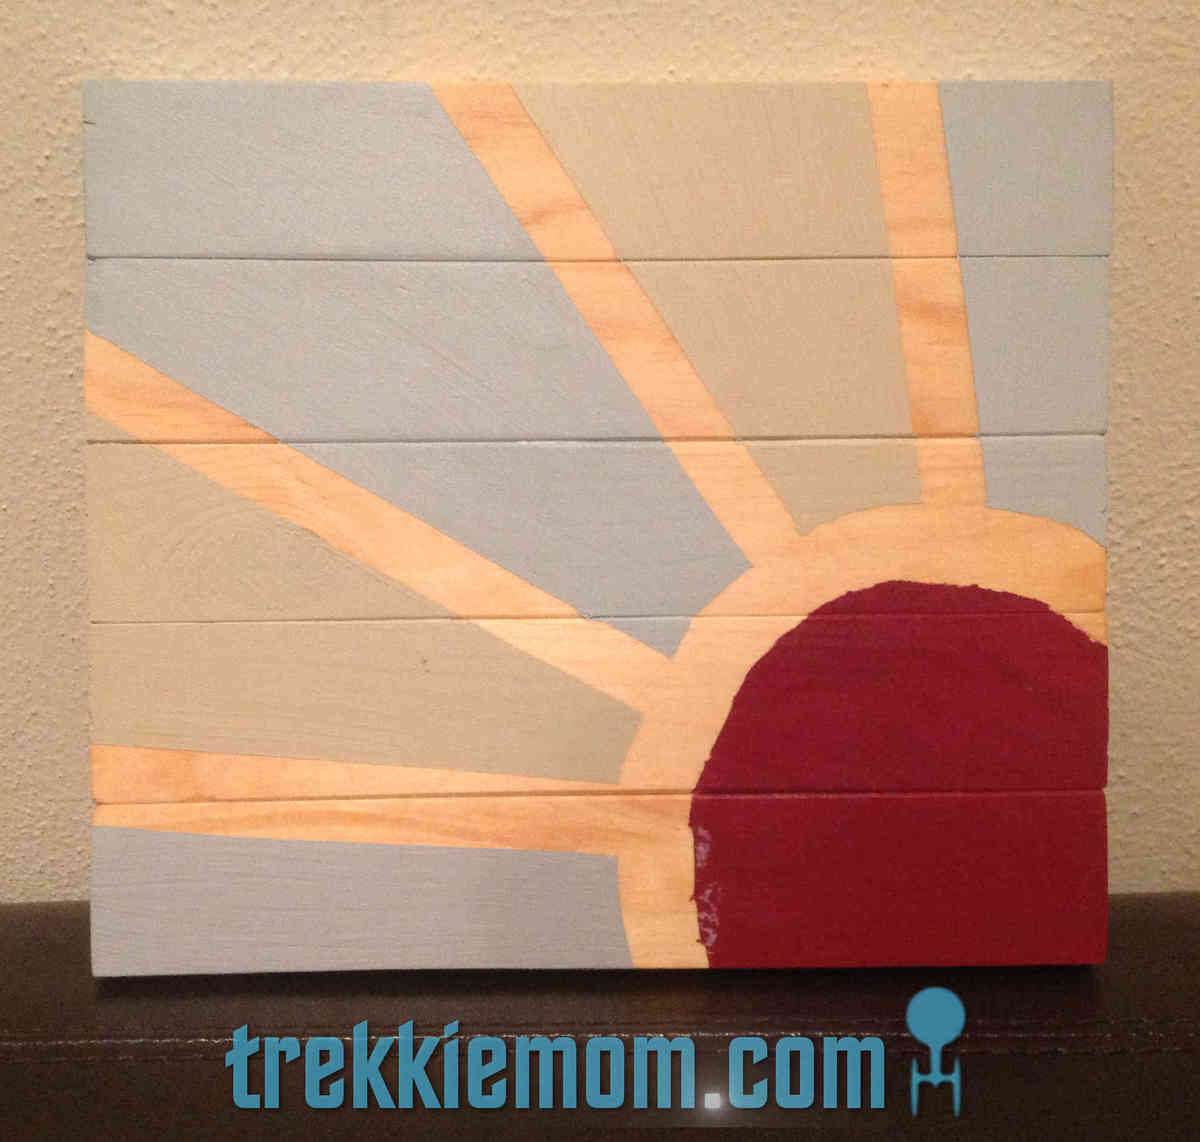
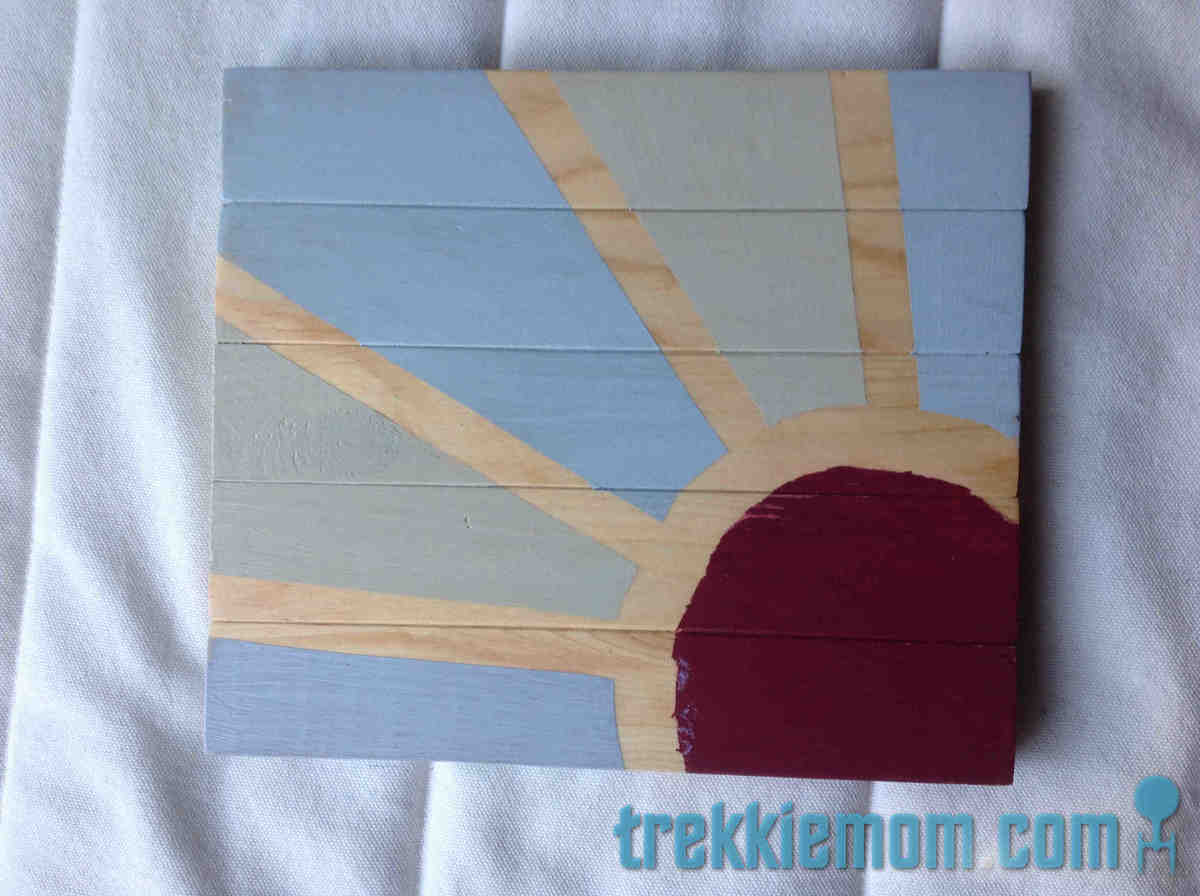
I used wood glue and scrap 1 x 2s (yellow pine). Cutting the 1 x 2s, 9 inches long (there are 5), I sanded them and then glued them together with wood glue, leaving them clamped together overnight. The following evening, I stained the piece with a light wood stain for the rays. The next night, I used painter's tape to create my version of the sun, so that my son, who wanted to paint it, didn't feel pressure to stay in drawn pencil lines with a paint brush. My son picked out the colors and where to paint them from my Lowes oops paint collection. After the paint dried, I sanded very lightly to give it a bit of an aged feel before applying 2 coats of Polyurethane to seal it, lightly sanding between coats. A self leveling picture hanger finished it off. The finished product was not too much bigger than my IPad.
I was inspired by two other bloggers' bigger projects.
http://www.iammommahearmeroar.net/2013/10/how-to-create-giant-art-for-g…
http://www.inspiredbycharm.com/2012/01/from-wood-to-wall-the-making-of-…
I like a bit of the sun on the wall.
This was easily made from the plans on Ana White's website. I spent about $20 total on the bed and $7 on the fabric. I had the foam from another project. I could have spent less on the wood, but I opted to buy the sanded pine boards for they are much straighter! Thanks for the plans....it saved me about $150 that I can now spend on more projects!


I have enjoyed my miter saw cart for years. My sweet hubby gifted me with a table saw but I was nervous to use it without support for large pieces of wood and needed better storage. So... I modified my cart by adding a back leaf and making the shelf adjustable with two sets of cleats for the height of both saws.

Fri, 04/24/2020 - 07:11
How do you make the new supports for the outer folding leaf?
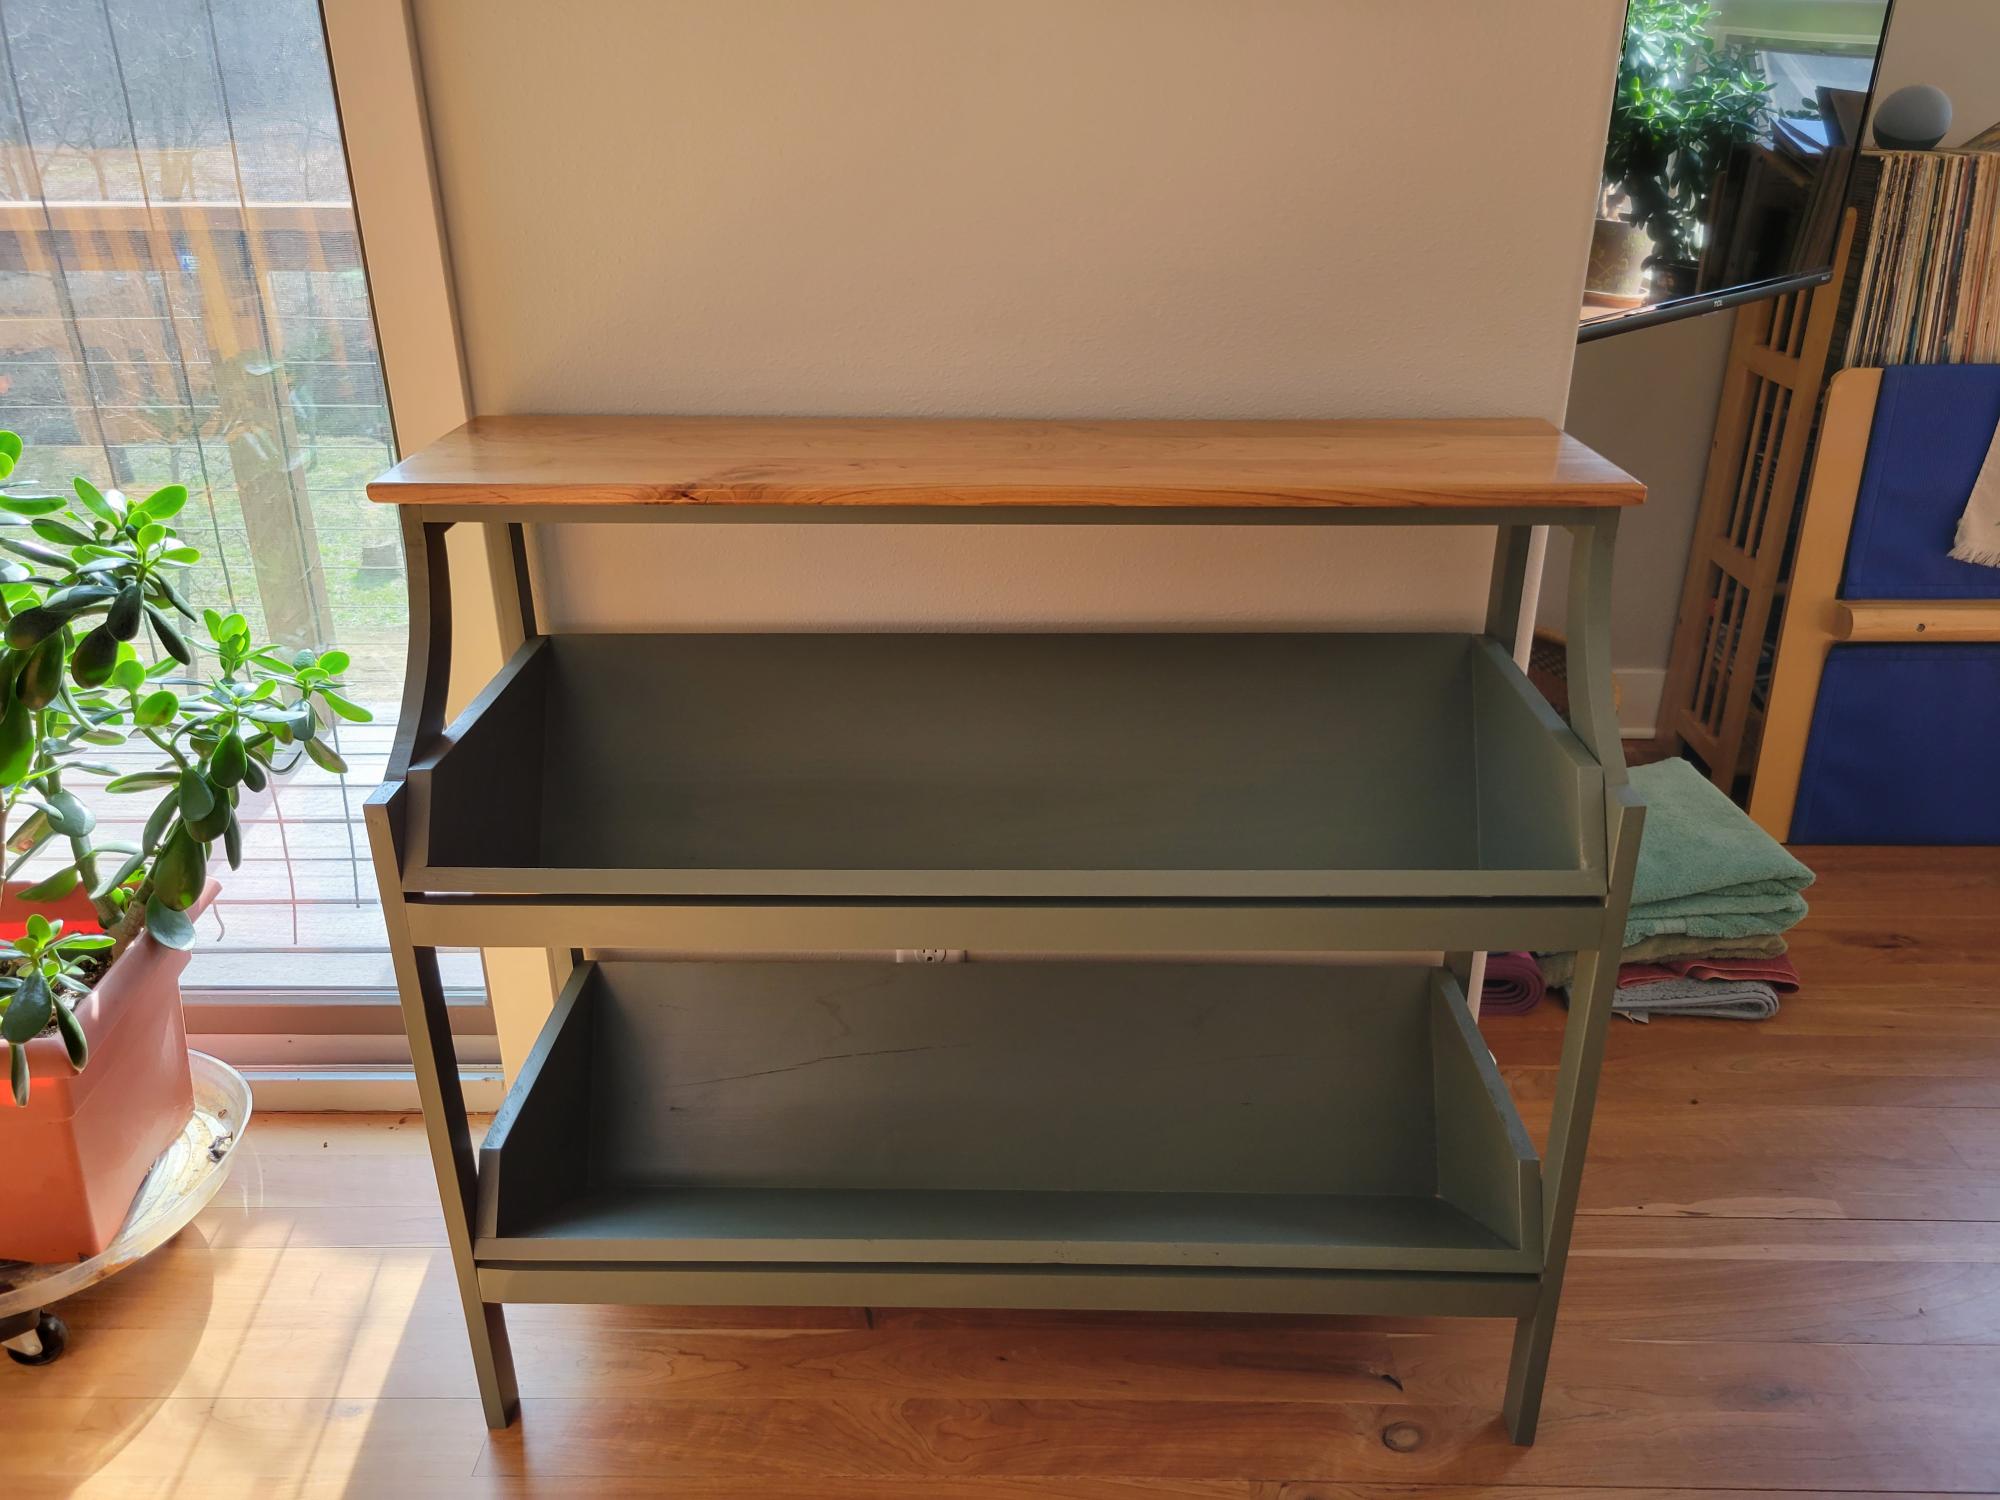
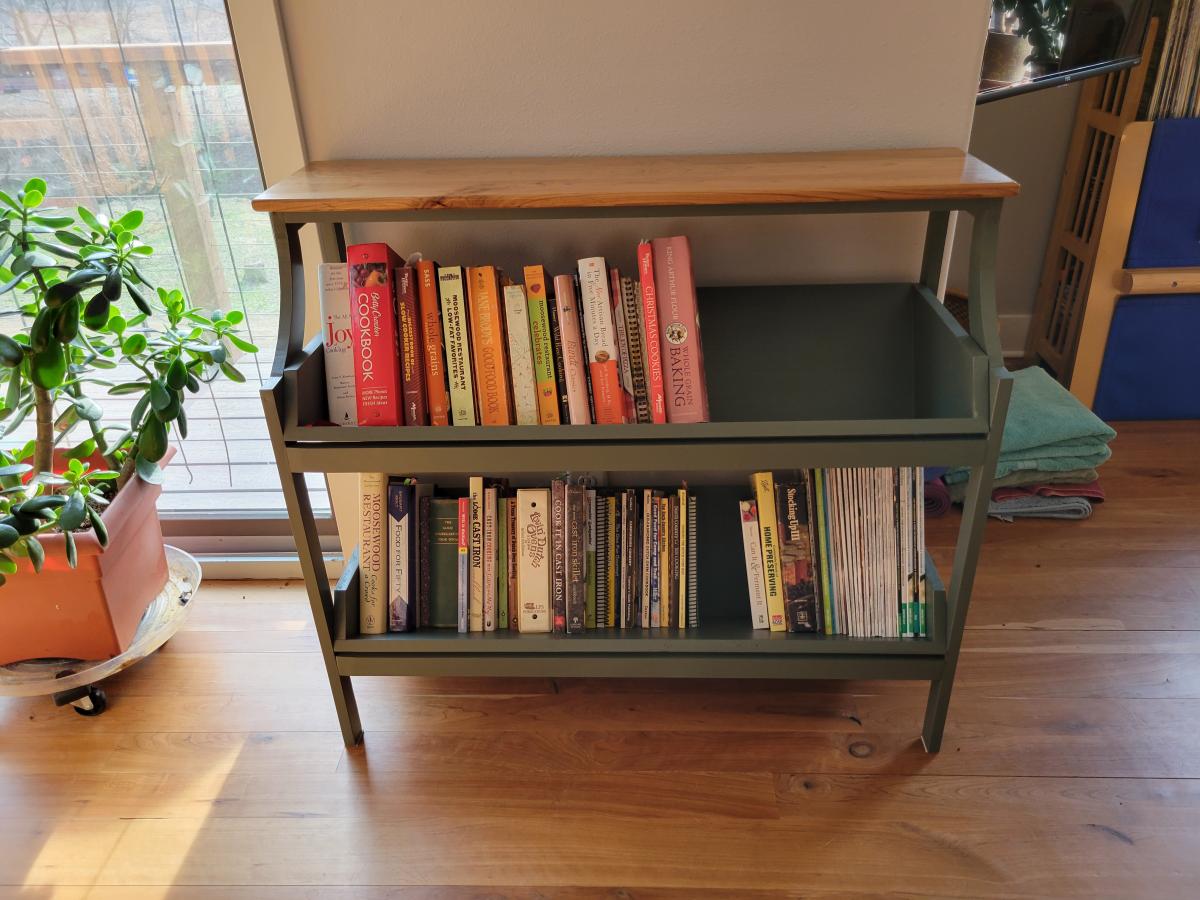
We needed storage for all of our cookbooks, so I built this from your Library Console Table plan. I painted it to match our kitchen cabinets and added a cherry top to match our floors. I re-used some shelving boards we had to make the boxes, so they now have a new life! Thanks for the plan!
Sun, 04/09/2023 - 18:14
Love this in the kitchen, and the color choice is so pretty! Thanks for sharing.
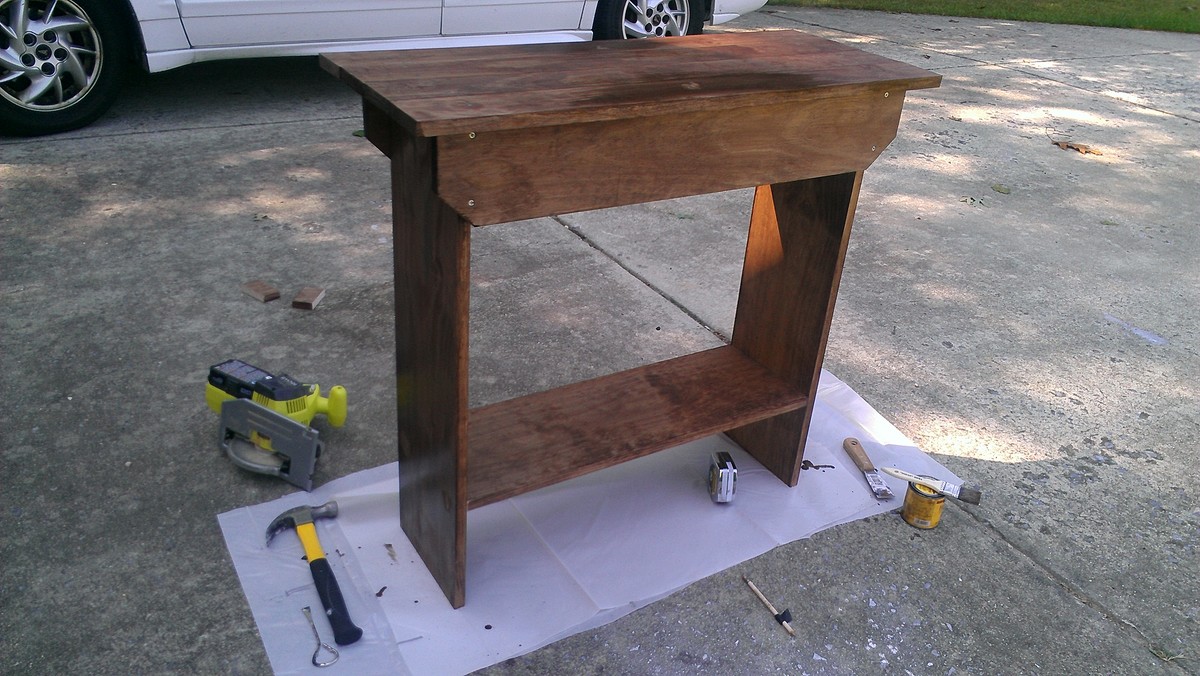
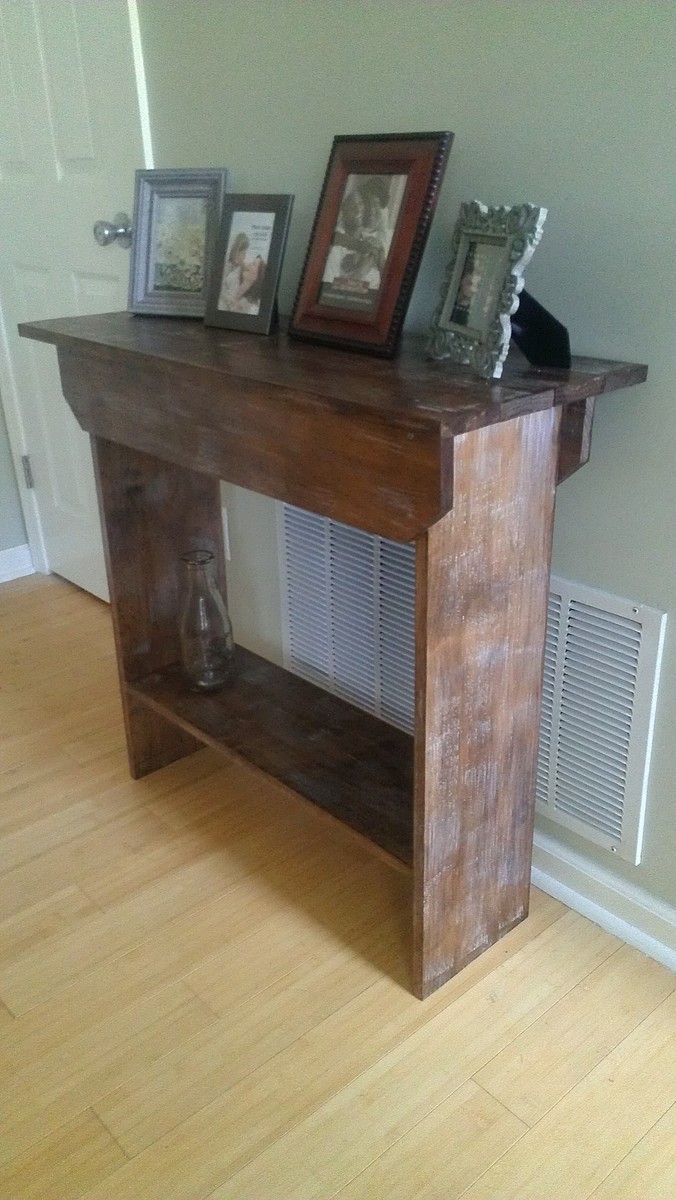
Used the reclaimed wood bench top plans for this project to make it a console table. This was very easy to alter. Rather than cutting out a triangle at the bottom, I left it uncut. I squared off the top edges too in addition to placing the boards longways instead of small pieces like a bench.
The finish I made it look rustic painting VERY lightly white one and instantly wiping it off for the rustic effect.
Pretty good for my first project every!


Comments
Ana White Admin
Mon, 03/13/2023 - 15:22
Smore's Charcuterie!
Love this idea, such a fun gift! Thank you for sharing.