My perfect endtable
I built this using a combination of Ana-Whites plans and JenWoodhouse alterations.
I made my tables to fit my sofa so they are only 20" tall.
I built this using a combination of Ana-Whites plans and JenWoodhouse alterations.
I made my tables to fit my sofa so they are only 20" tall.
I made hits for my daughters classroom. Very easy build. The pictures aren't the best, they are cell phone pictures. We were in a hurry to get it done for open house.
Made a farmhouse table for some friends after looking at several posts on here. Calling this the Zebra table.
2x4 sofa with 1 arm sectional.
When my wife told me that our son needed a new bed, I saw that as an opportunity to buy some new tools. After selecting which bed to build from your site, I spent a few hours over the weekend making the loft bed with stairs. Our son loves it! The only thing left to do is decide on a paint color.
I built two of these pegboard organizers for my boys to hang in their rooms. The magnetic chalkboard allows them to write fun messages or doodle, plus they can hang pictures on it with magnets. The pegboard helps keep their smaller toys organized and the hooks keep their hats from being scattered all over the house.
So this is my first post of one of my projects, and super excited to share! I have to say this is one of the most rewarding projects I have ever done. First time Dad and so excited to meet her! My wife is now 35 weeks. I have built many furniture projects in the past but I will admit this one intimidated me more than anything. There are so many safety regulations on cribs and so many stories and blogs online about child safety it made my head spin. I almost let the fear get the best of me and just bought a crib.....but the DIY in me said NO, and here it is! After it is all said and done I couldn't be more happy and a proud Father at the same time! I am still working on finishing this project, so I will add more pics as they come along. We will be painting it a light gray color and top coating with a water based polycrylic. This is made to be convertable, and will also become a Full size bed. Thank you Ana White and other users for inspring us all!
Tue, 12/26/2017 - 18:34
Do you have any more pictures of the constrction? How did you join the sides?
Sun, 12/31/2017 - 09:26
I would love to make something similar for my first grandson, Clayton. Can you share more pictures with me? Thanks.
my email is [email protected]
Tue, 02/27/2018 - 12:02
This crib is terrific and just what I am looking to build for my son and daughter in law. Do you have any dimensions or even rough plans you could share? I will certainly work ast sketching m own but if you have something you are willing to share it would serve as a great starting point.
Thanks so much,
Mark
Sun, 06/23/2019 - 08:46
Did you happen to get any plans or dimensions for this project?
Wed, 02/28/2018 - 06:37
My wife and I are going to be first time grandparents in the spring and have been asked by our son and daughter-in-law to build a crib - one just like the one you built. I think it wil be a fun project. Could you share any dimensions, drawings or other pictures rom your build? You can reach me at my email address: [email protected].
Thanks,
Mark
Sun, 06/23/2019 - 08:47
Where you able to get any plans or list of supplies for this project?
Fri, 07/03/2020 - 08:08
Did anyone ever get additional details or photos? Would really appreciate anything! Have our first coming in about 20 weeks and want to make something awesome like this for him!
I built these a couple of weeks ago - very easy. I did not have a pocket hole jig so I added a 26" 2x4 to attach the pieces behind the back-rest. I don't think is makes it look bad, and it adds some weight which is nice.
I have built 6 so far - 4 for myself and 2 that I gave to friends. the first couple took a while to get the process sorted out but after that they came together in about 30-45 minutes per chair. I did make a couple of mistakes in the cutting initially (forgot to cut angles so I wasted a lot of wood), and then of course the additional piece of 2x4 added to the price.
I love how this table turned out. The plans were simple and easy to follow. I chose to distress the table to give it some character i found a great video on youtube for different distressing techniques here http://www.youtube.com/watch?v=4Iotye7dvAQ For the finish i used the tea and vingegar method then to make it darker i rubbed on a little oil based stain and finished it with polyurethane.
Sun, 12/02/2012 - 19:05
It is probobly best to use both the tea and the vinegar because when they are both used together on the wood they create some kind of reaction giving you the color that you want. It is also a good idea to experiment on some scrap wood first to get the color right. Im not sure if you have read this article or not but it gives the full step by step on this kind of finish I hope this helps. http://thefriendlyhome.blogspot.ca/2012/07/how-to-oxidize-wood.html
Fri, 03/22/2013 - 09:56
I plan on making this table within the next couple of weeks and I hope mine turns out half as good as yours! You did an absolutely brilliant job!
Sun, 10/27/2013 - 05:20
Love this table!! What oil based stain did you use on the spruce after the tea and vinegar method?
Sat, 09/20/2014 - 18:49
Hello! I am hoping someone can help. I cannot figure out the x's. I have a miter saw, miter box, square, any tool you would think to use and I have also tried tracing. I cannot do the x's can some one plllleaase tell me or show me how they figured this out?
This was my first ever project! I built the skyscraper bookcase and then built a second one, only modifying it to make a locker style cabinet for backpacks!
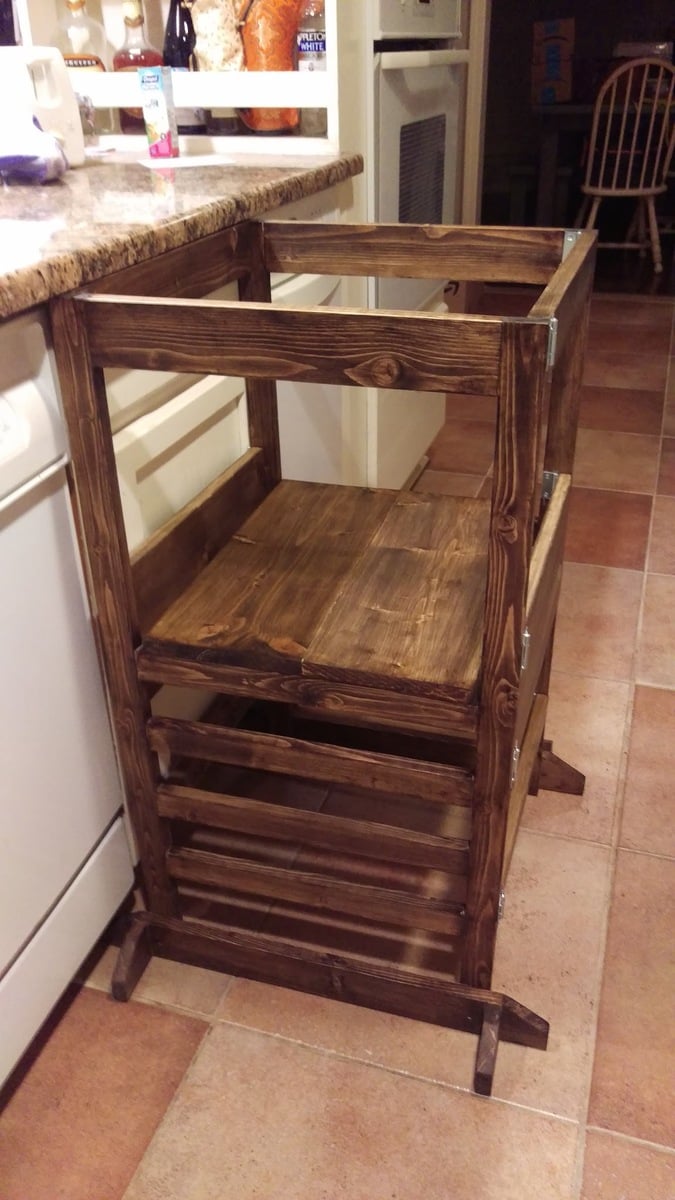
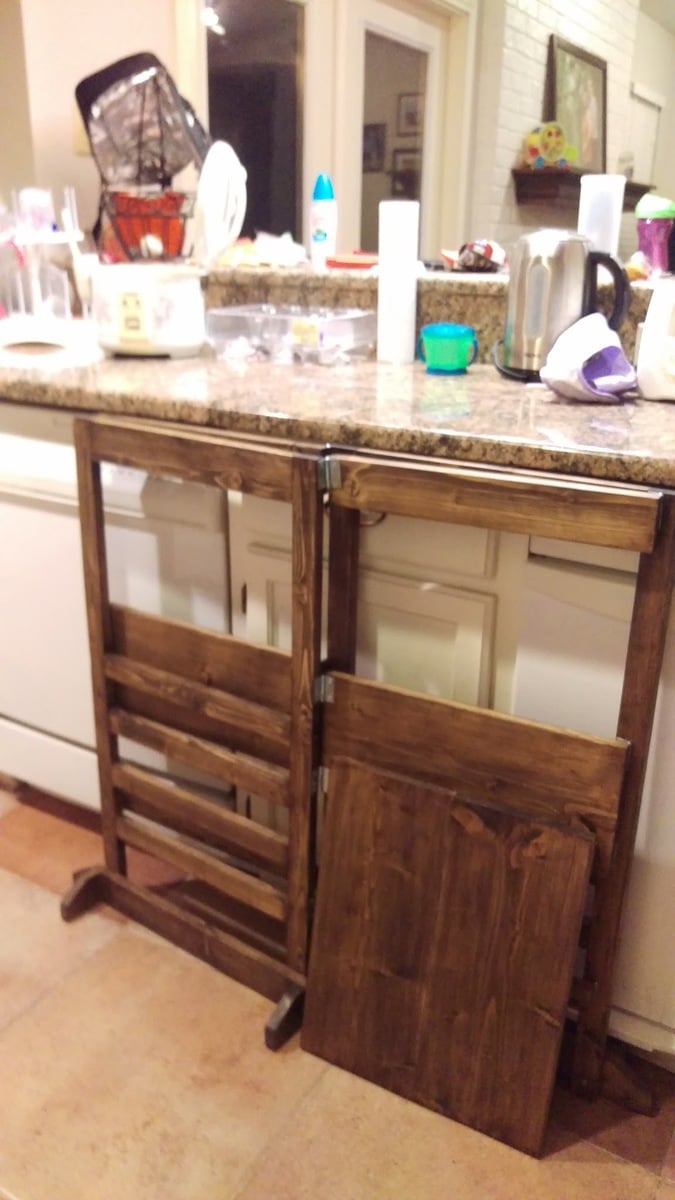
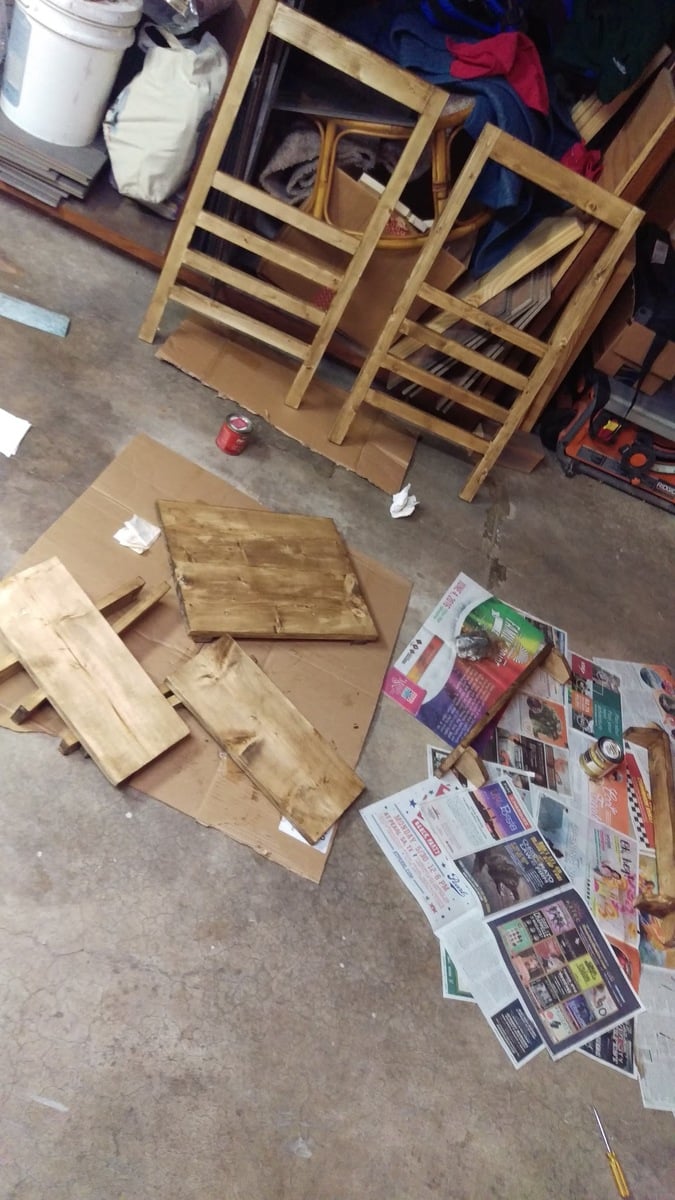
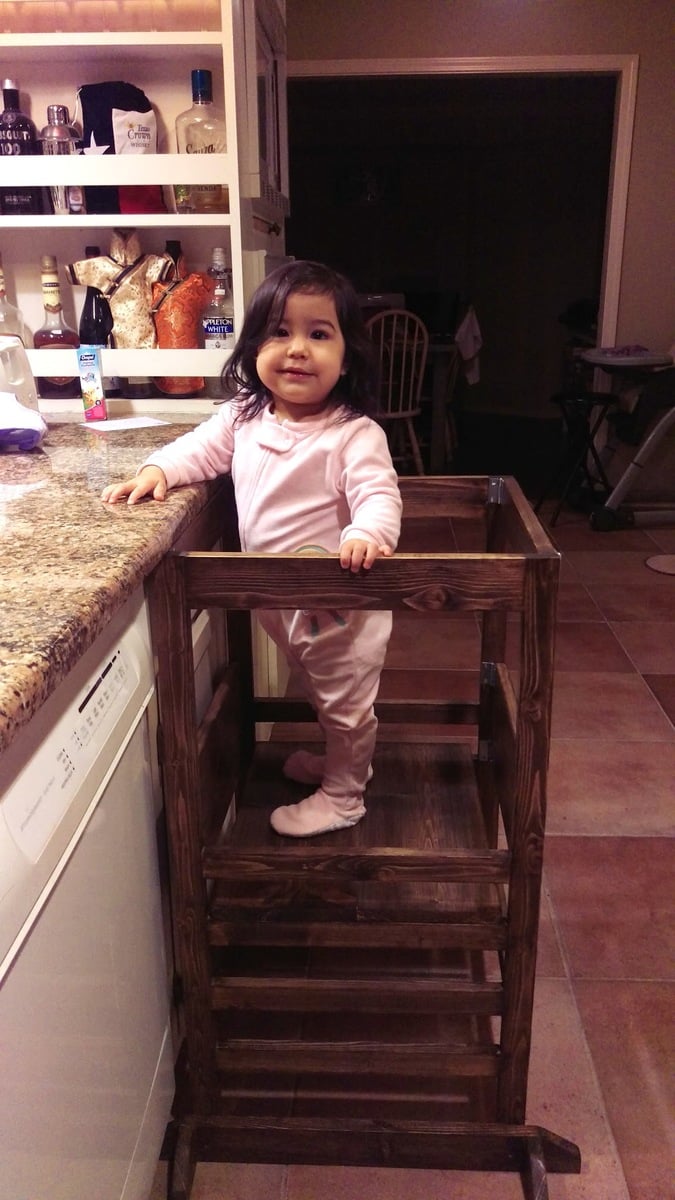
So glad I found these plans! I couldn't bring myself to spend $200 on the commercial ones. I built this for my 17-month old daughter since she always wants to be in the kitchen with me but always ends up under-foot. This gives her a safe place to be contained and up high so she can see what I'm doing. I don't have a jigsaw so no curved top or anti-tip feet for us but I wanted it straight anyway so that it would slide neatly under the counter over-hang. I did round off the ends of the anti-tip with the sander. I also shortened the height to 34 inches; all other measurements are as instructed.
I had to do my cutting in the garage during naptime since she always has to be where I am. Same with the drilling. So this project spanned several days but altogether did not take too long at all. I used 2-1/2'' screws instead of attempting pocket screws - I have a mini Kreg jig but after reading the comments and other people's pictures, I decided I didn't want to risk splitting the wood and having to make another trip to Lowe's with the toddler.
I assembled the ladder-rung sides & platform pieces then gave everything a once-over with my orbital sander before handing it over to my husband for staining (he enjoys it - it gives me a headache). After 3 coats, he did a final "sand" with fine steel wool which left a super smooth surface. I finished the assembly with the 1-1/2 narrow hinges - USE CLAMPS!
First time I have ever attempted something like this. Made this table for my wife's birthday. Mistakes were made. Lessons were learned.
Fun build. Every pic looks like an optical illusion though 😂
Rockowoodworks
Build straight from Ana's plans. Very easy and quick to build. I spent a little longer sanding it a lot. I then just stained it and put two coats of urethane on it.
Super excited for my new media cabinet! I painted my cupboard doors white and added L brackets on the inside of the doors for support. I had never worked with crown molding before so this was a great starter project on how to cut crown. My cost was kept down by using supplies such as paint and hardware that I already had.
I have built several garden boxes and was lugging my gardening tools back and forth from the garage every day. I found myself with some spare wood and a tall, skinny pallet that I'd gotten from my work when a new conference room TV was delivered several months ago that I'd been trying to find a use for. So I decided to build a potting bench and found the one on Ana White's website and thought I could use what I had to build it. And it worked! I cut the pallet in half that I used to make the back wall and had a small piece of it leftover that just so happened to slide in between the two pallets walls. So I added some leftover scraps and made it into a small shelf for things like twine and plant markers. I couldn't be happier with how it turned out and how it looks in my garden! Looking forward to building more of Ana's projects!
This was mine and my wife's very first woodworking project. Overall, it wasn't bad at all. I thoroughly enjoyed the actual process of cutting the wood and putting everything together. As far as the painting goes, I'd much rather just go on to another woodworking project, but I have to say that all the hard work paid off. Anna's plans helped tremendously. I tweaked slightly just because we wanted our center piece to be a little taller and slightly more narrow. We also added two shelves on each side, for a total of four. For our small reach-in closet, this was by far the best way to go about everything. We definitely have much more room and overall it is a much better use of the space.
I threw in a "before" picture just for fun.
We also just finished the Farmhouse Queen Bed that Anna has plans for, and we will be putting up a brag post on it very shortly.
I needed this to be a little taller, so I added another drawer. Other than that, all the other dimensions were the same. I built it in one weekend, but the finishing took about 5 days (for drying time between coats). I was trying to match a baby bed (expresso) so I stained it dark. I also used plywood on the sides, top and drawer fronts instead of pine boards. It really turned out great and matched the bed perfectly.
Mon, 08/04/2014 - 08:52
This turned out so nice, and the finish looks exceptional.
Mon, 08/04/2014 - 08:52
This turned out so nice, and the finish looks exceptional.
In reply to Finish by sharshar1960
Mon, 08/04/2014 - 11:43
No, I didn't alternate. I needed the base color to be a deeper brown so it took 3 coats of English Chestnut. Then 2 coats of Ebony over the English Chestnut, to get the black, layered look. I put each coat on, then wiped it off after a few minutes. On the last layer of Ebony, I only lightly removed the stain. The brown shows through in some areas which is exactly what the bed had. I used the oil-based Minwax.
Sat, 12/06/2014 - 18:40
I used Minwax poly (in the can), satin finish. I brushed it on with a foam brush.
Wed, 10/21/2015 - 11:44
can you comment on the stain with sandeply. did you use sanding sealer?
i have read many a comment on issues with staining sandeply but yours looks awesome.
i like the approach.
Thu, 08/08/2019 - 19:48
hi where is the plan for the taller version of this - looks great!!
I modified it slightly by leaving off the trim around the perimeter. I also shortened the table to 84" which then only required 2 legs for a custom fit for the mom space. The finish was distressed to conceal heavy use (more like spills :-D) from kids which turned out to be a home run with moms
Check out some tips during my build @ charitybuilds
Made the planter boxes. Very easy and the stain makes them look great.
Bruce Gay
Comments
lacey27
Thu, 09/27/2012 - 19:13
good job
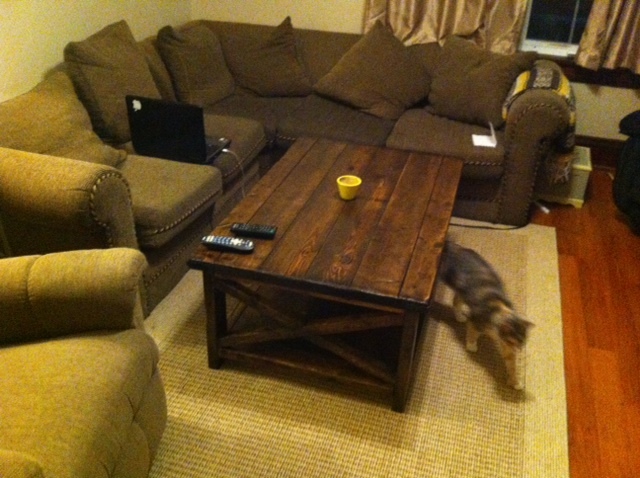
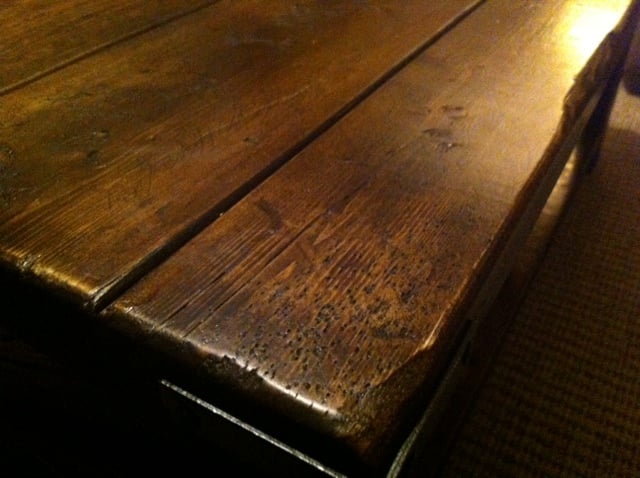
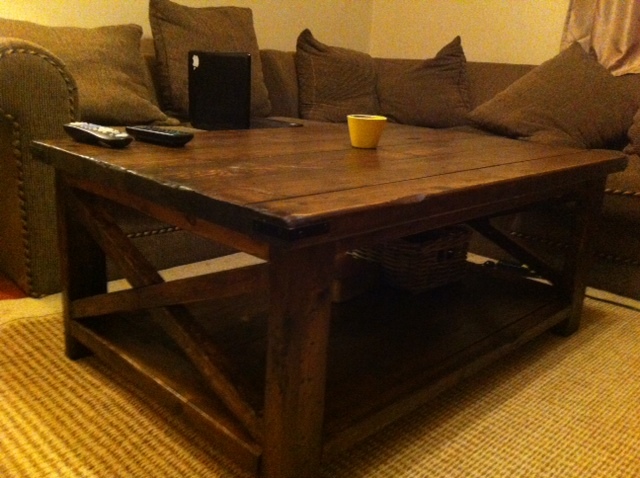
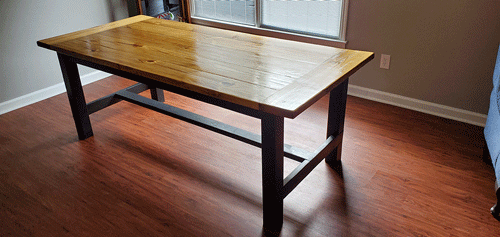
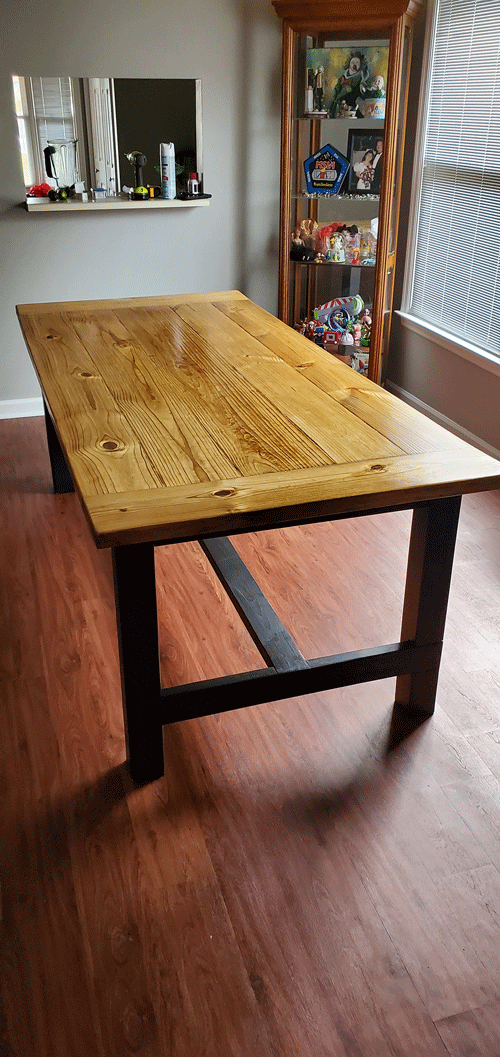
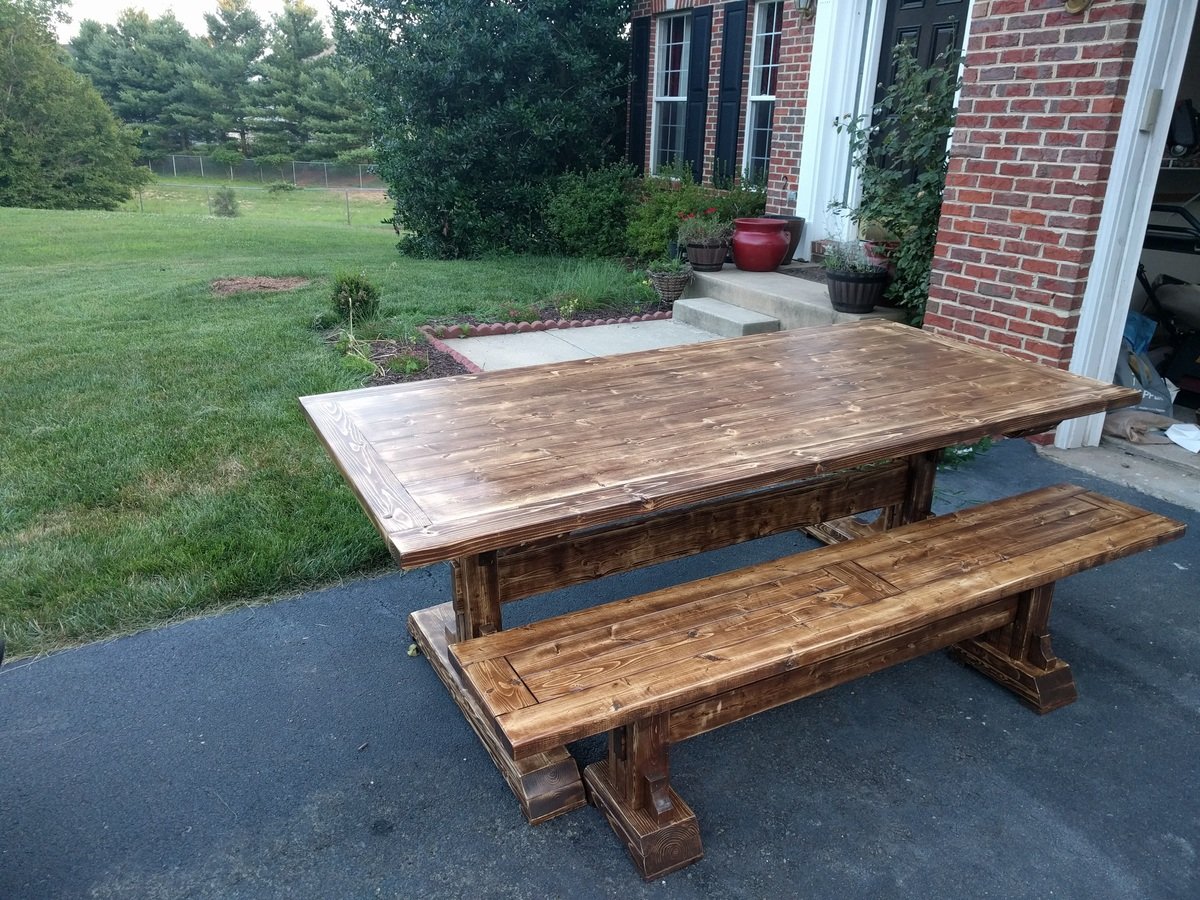
This table is on my to-do list for whenever I get a new couch