Community Brag Posts

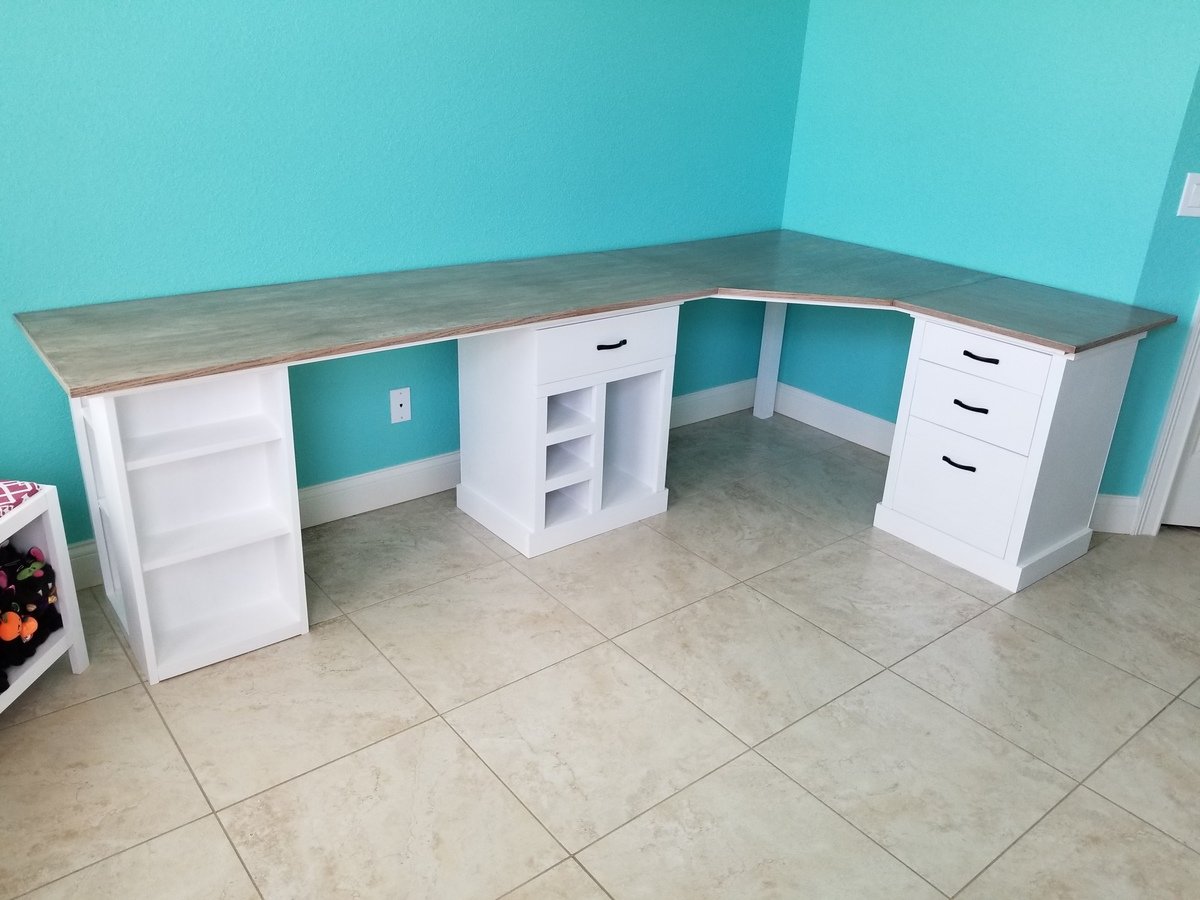
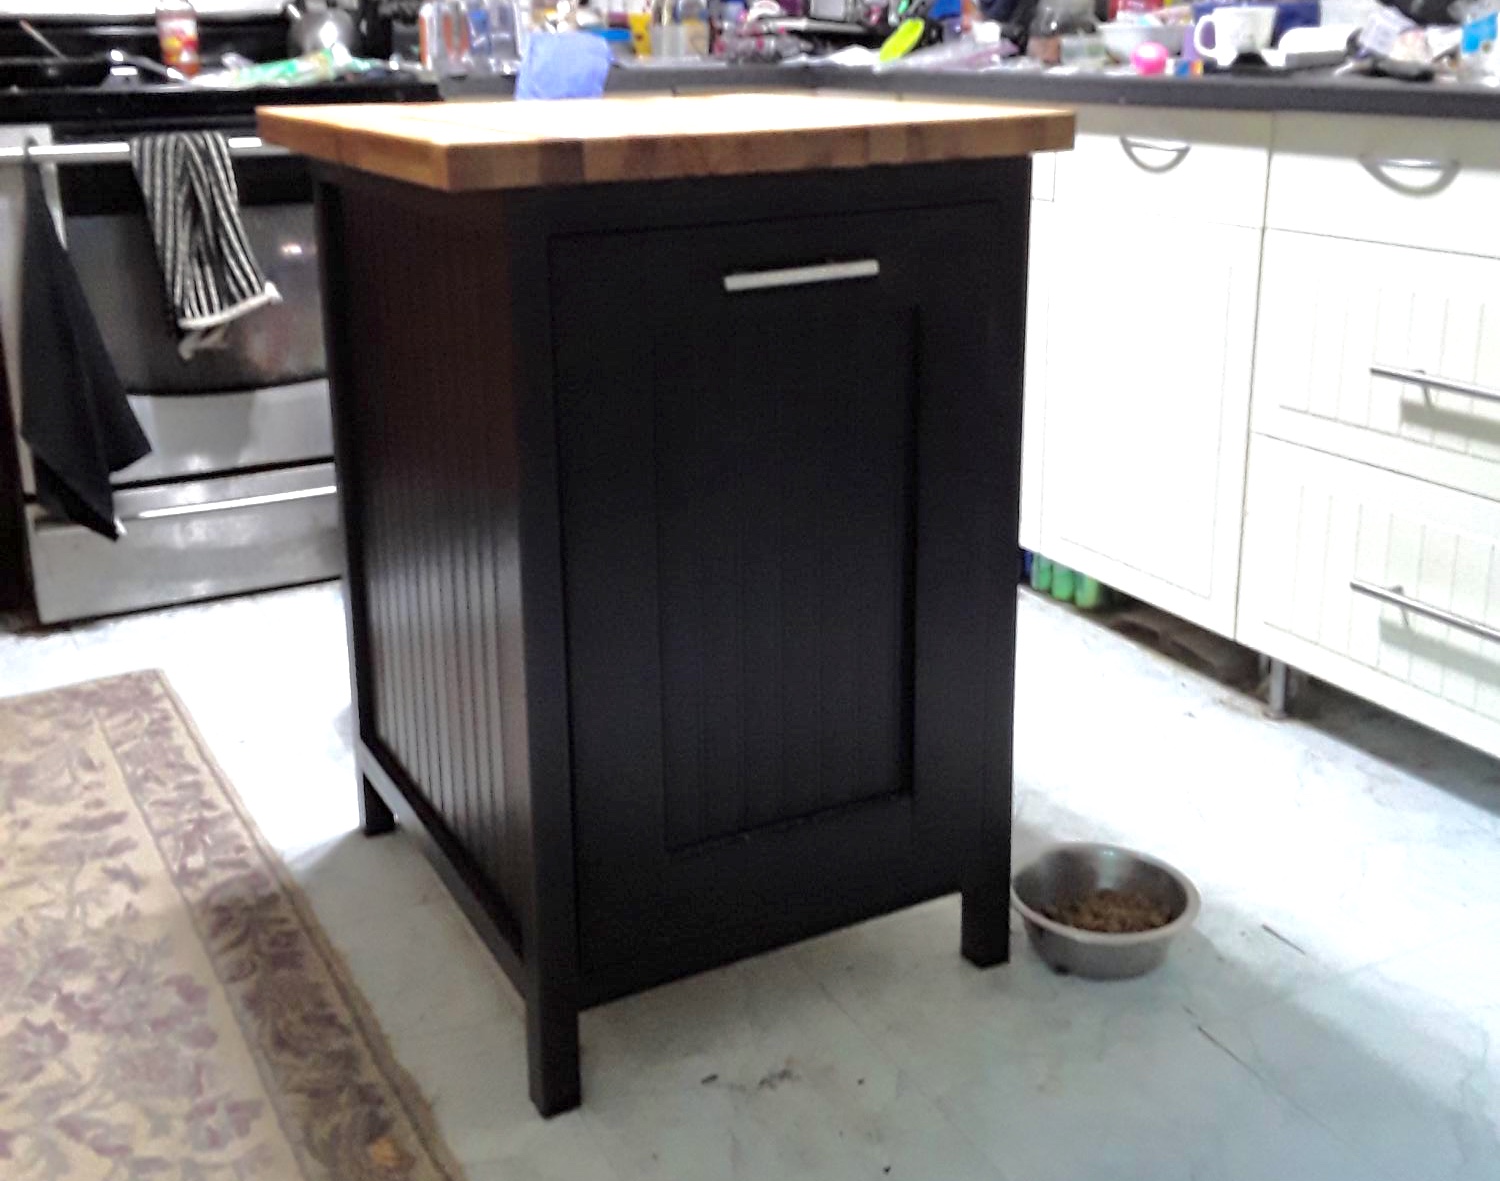
Modular Corner Office and Craft Desk

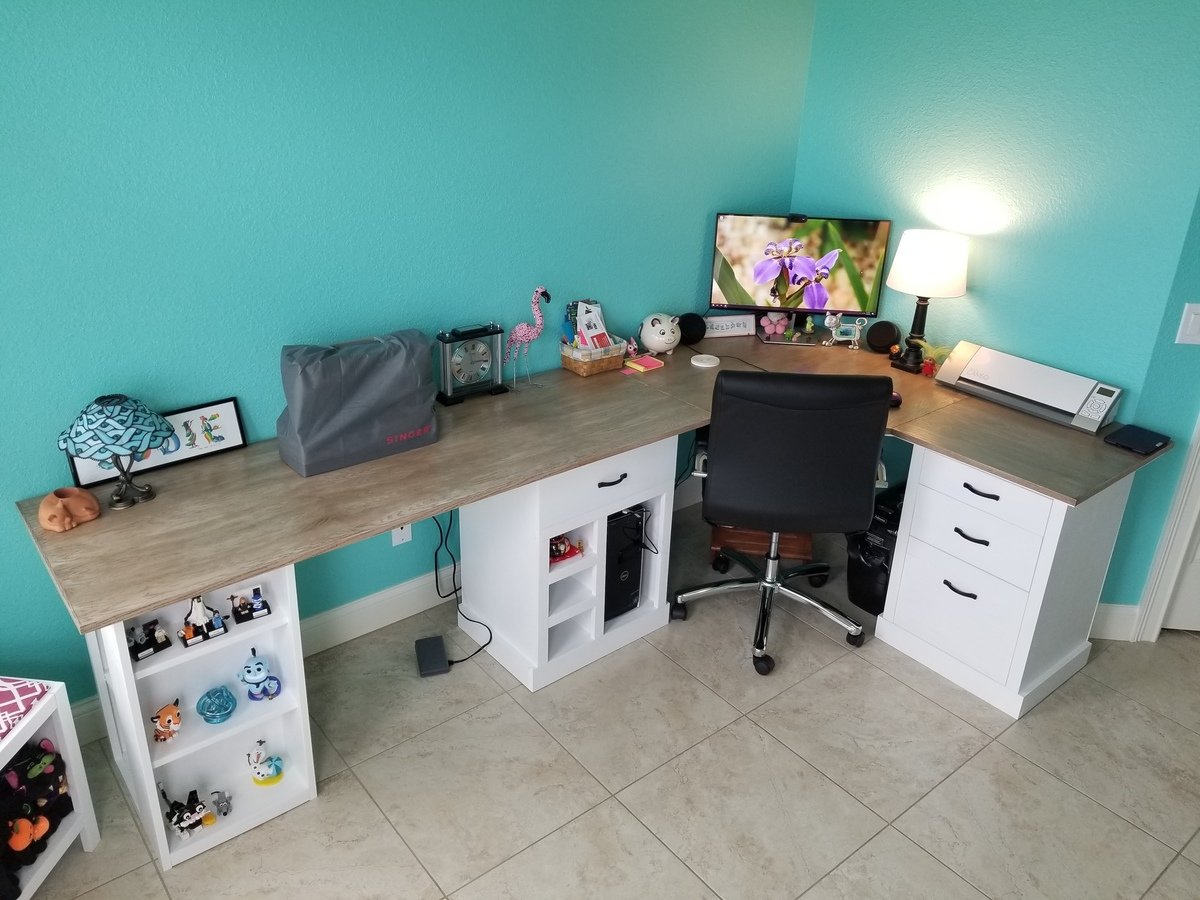
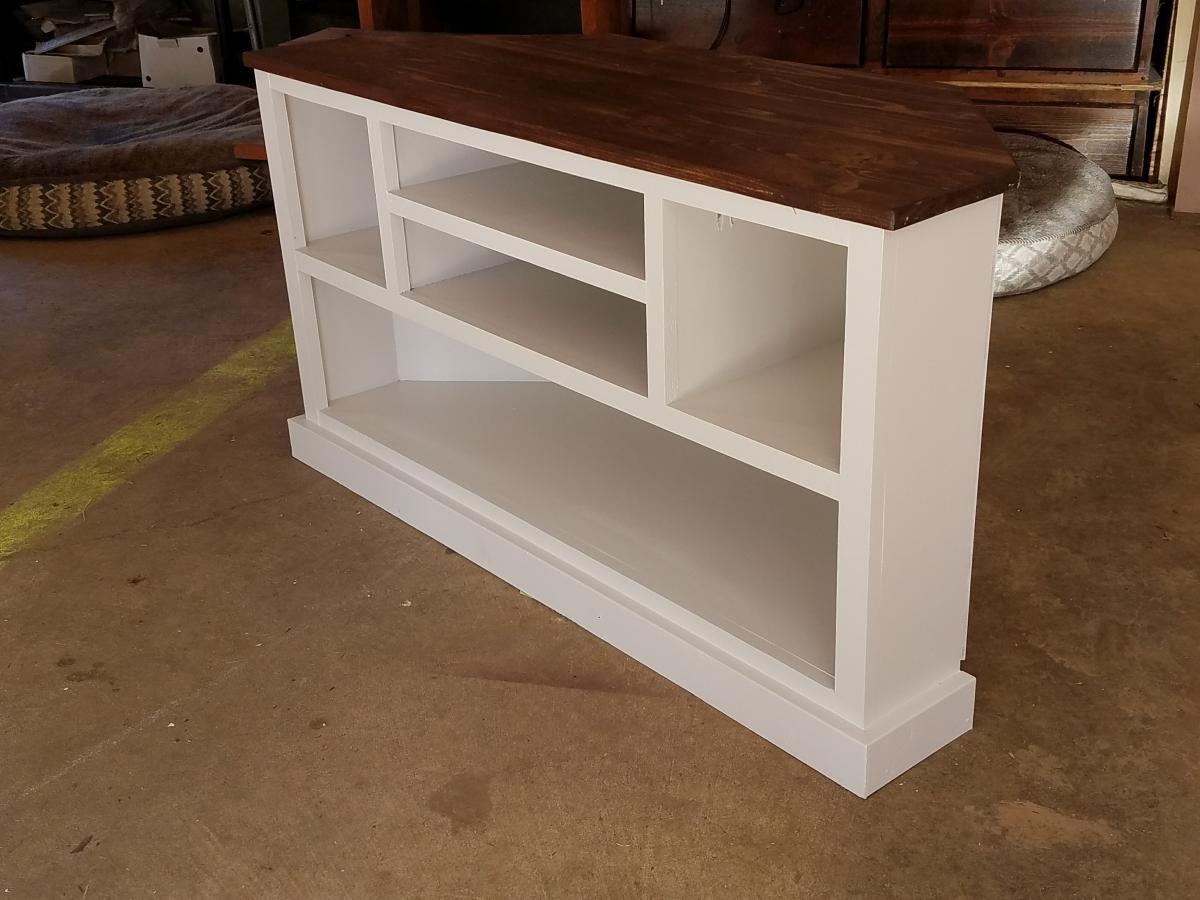
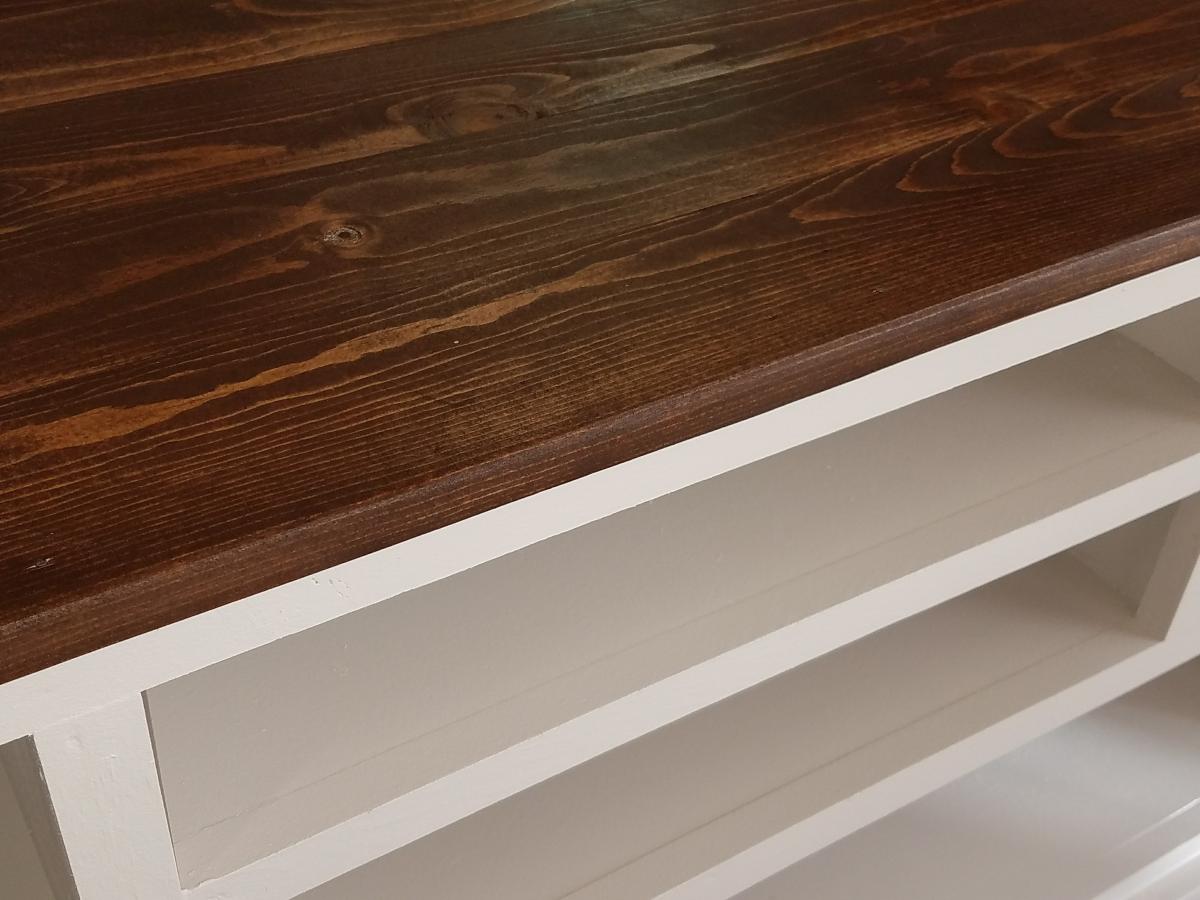
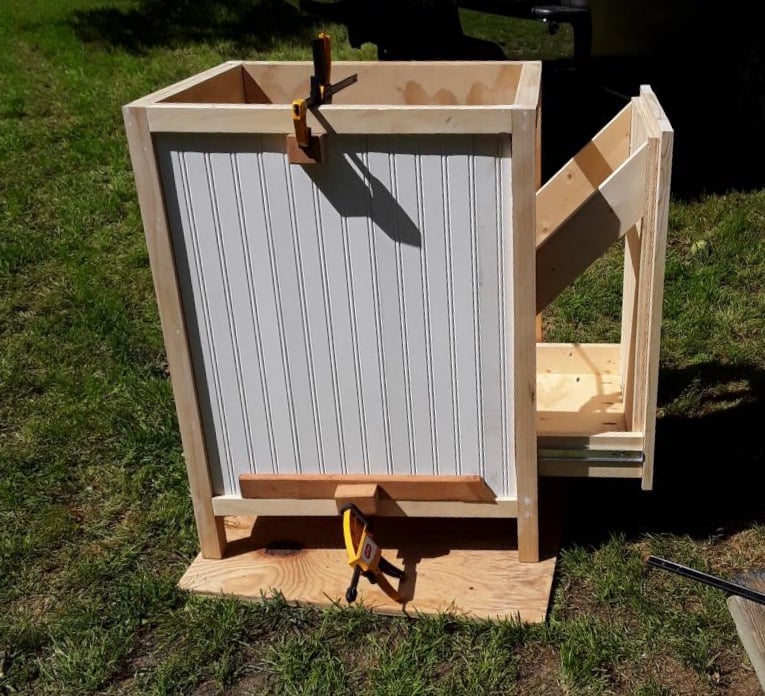
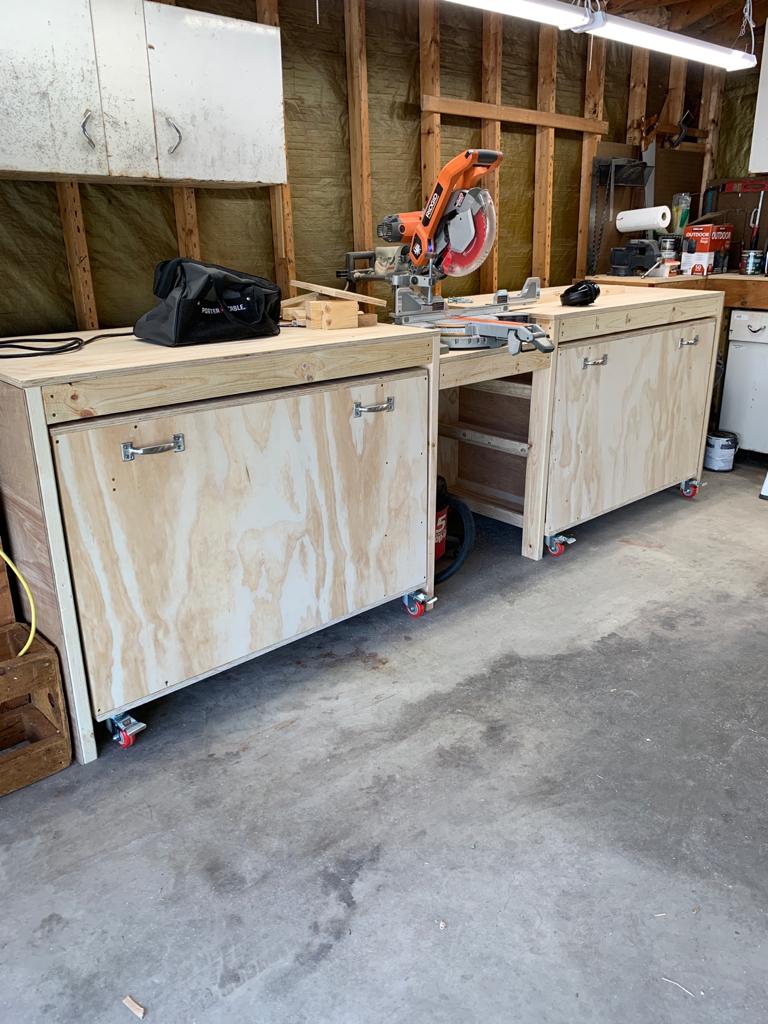
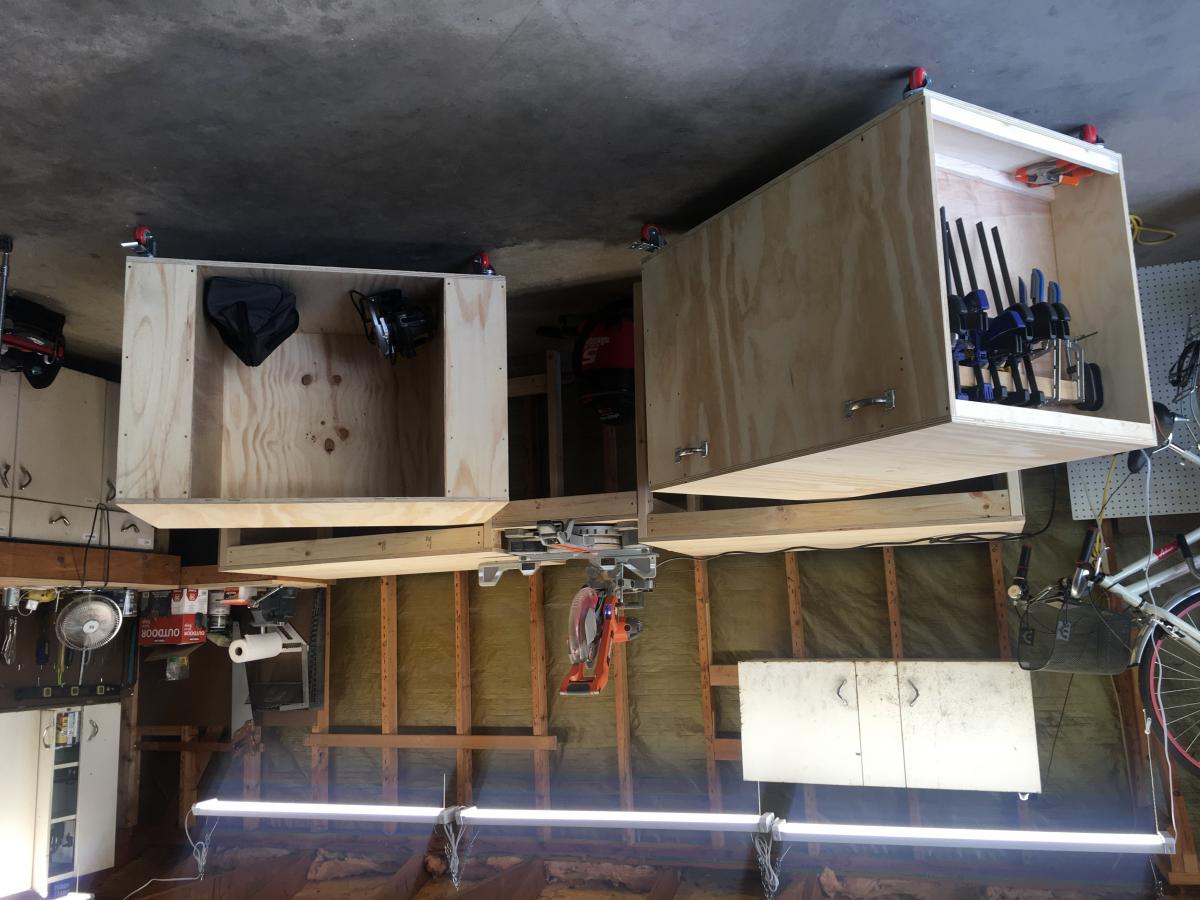
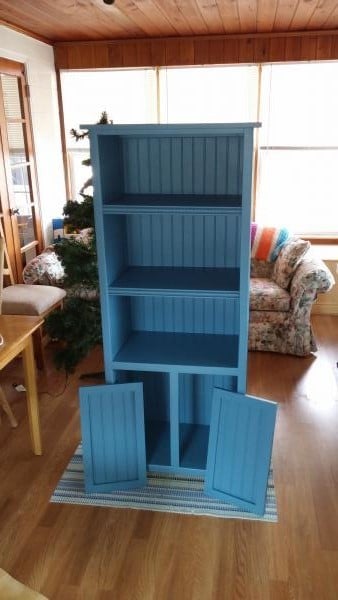
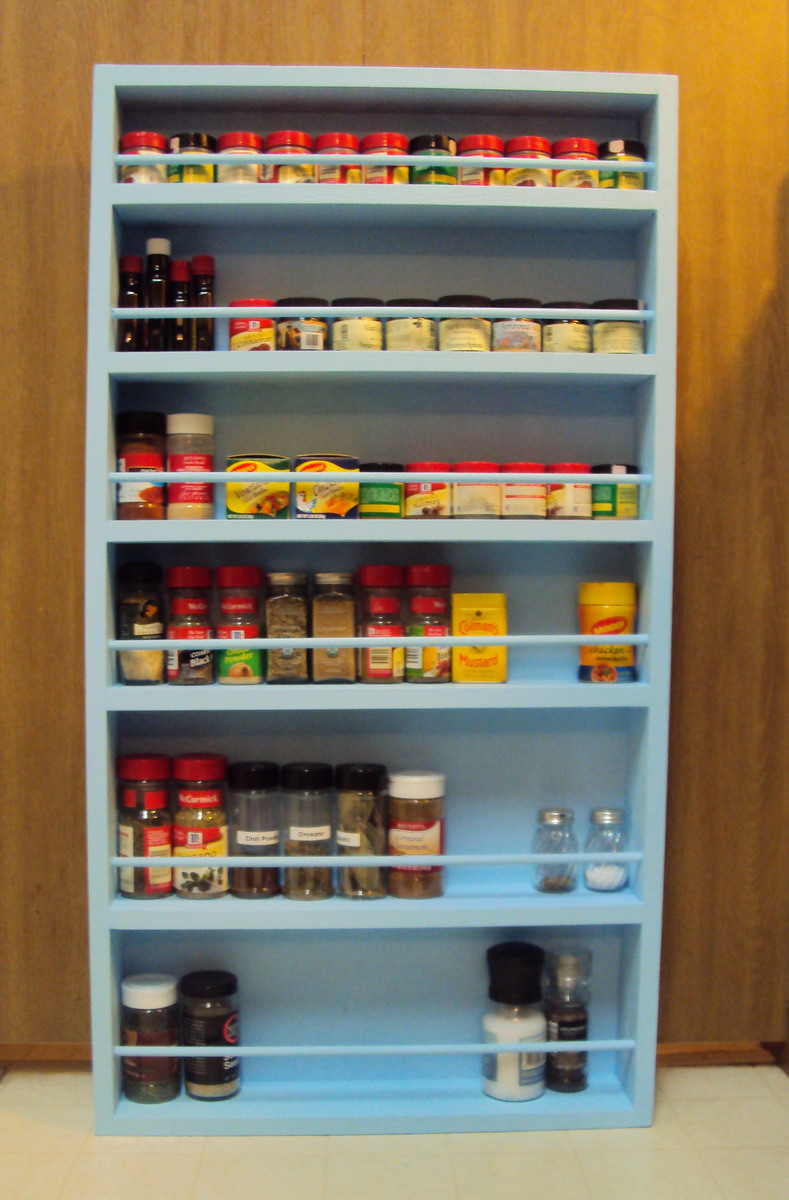
I started creating the furniture for my new craft room by making the Easy Three Cube Benches I found here.  I modified them so that my cats could lay on top and look out the windows.  The cube benches gave me the confidence to design a printer stand.  Using Ana White's technique of "build the box" and then add the rest, I designed a custom printer stand I am so very proud of!  After the printer stand, I moved on to the final piece that would complete my craft room, a modular desk with plenty of workspace to complete any craft I want.  I modified each module a little to keep with the theme design of the room.  I created three modules.  The last one being a bookcase that is a modification of the Modern Craft Table bases.  I used better quality Oak plywood for the desk top, and good pine and whiteboard plywood for the modules.

Estimated Cost
$500
Estimated Time Investment
Week Long Project (20 Hours or More)
Finish Used
For the modules I used Valspar Furniture Paint in ultra white. For the desk top I used Minwax Simply White stain and then Minwax Dark Walnut over that to create the "driftwood" style look. I sealed the desktop with about 5 coats of Minwax wipe-on poly.
Recommended Skill Level
Intermediate

Comments

melkaye

Wed, 02/19/2020 - 13:53

Could you tell me the measurements for the top? I absolutely love your table! 

sukheeso

Wed, 04/07/2021 - 14:07

Hi! This is very similar to what I'm hoping to make. I was wondering what the length of the left side of the desk was?
Thank you!

2x4 Sectional , table, and chairs

Submitted by Anonymous (not verified) on Fri, 04/14/2023 - 04:57

Your easy to follow 2x4 proje ts turned out amazing. My outdoor set is complete. The chairs, also, came from your plans. I built all of it by myself in one weekend. Thank you

Comments

Redwood Farmhouse Table and Bench

Submitted by nkukona on Mon, 07/22/2019 - 05:35

Farmhouse Table and Bench. Made from all redwood. Table is all new wood, and half the bench was from reclaimed redwood. Used Danish Oil and Spar Urethane to finish the tops, and paint to finish the legs.   

Estimated Cost
Not sure, but redwood cost a lot more than pine. Maybe $400 or so.
Estimated Time Investment
Week Long Project (20 Hours or More)
Recommended Skill Level
Beginner

Comments

From Logs to Famhouse Table

Submitted by Anonymous (not verified) on Sun, 10/13/2019 - 18:45

So this DIY Farmhouse Style Table has been on my “make it” list for a while now. And what better time to make it than now, since we just got a saw mill. Check out the blog link below to read all about it.

Built from Plan(s)
Estimated Time Investment
Weekend Project (10-20 Hours)
Finish Used
Minwax Early American Stain
Minwax Polycrylic Clear Sealer
Recommended Skill Level
Intermediate
Seasonal And Holiday

Mario Castle Bunk

Submitted by jlholmes80 on Wed, 01/01/2014 - 00:30

So my son needed a bunk bed and we came upon the sweet pea bed. It was too girly for him so we decided to go with a theme that would be timeless, something he wouldn't mind having when he is 18 (or older, he is 10 now). What is better than Mario! (We are a house full of gamers, my 17 year old is super jealous of this bed lol). The build was fairly easy and the plans were straight forward enough, the time consuming part was the painting (without all the painting we could have probably build this in a long weekend). We changed a few things, like not arching the top windows, adding the 4 inch 2x4 squares to the top to give the castle look and stairs are made to look like stairs from the side so we stepped out the banister instead of angling it.

Estimated Cost
500
Estimated Time Investment
Week Long Project (20 Hours or More)
Finish Used
Paint colors were all Behr paint+ primer (mostly eggshell or flat):
New Brick, Black, Polar Bear White, Green Crush, Green Acres, Lemon Zest, Windjammer, and French Silver. Some of the colors (like pinkish tone on the stairs) we created on our own mixing the New Brick and the Polar Bear.

Polyurethane. I mixed regular oil based polyurethane (gloss) with mineral spirits (50/50) and wiped it on. It was remarkably simple and gave it a nice seal/finish. Last coat I used Satin Polyurethane because I didn't want the gloss finish. I opted not to sand between coats because this is a kids bed and I wasn't looking for that "perfect" finish, just wanted some added protection.
Recommended Skill Level
Intermediate

Comments

Mrswhetstone1

Wed, 01/01/2014 - 06:11

This is the coolest bed I have ever seen! I wish I could make this for my youngest. I could probably build it, but I 'm pretty sure it would go downhill when I started painting it. You did an amazing job and your son is a very lucky boy!

jlholmes80

Wed, 01/01/2014 - 16:10

You can totally do it! I am a horrible painter (I'm too impatient) and you can't tell with this because of how forgiving the design ends up being. There is so much going on it's hard to pinpoint the mistakes. :)

jlholmes80

Wed, 01/01/2014 - 16:07

Thanks so much! This was the first thing we ever built (although my husband did a lot of building stuff in his youth we have never done anything together and I was a total beginner) so we are very happy with it. :D I appreciate all the kind words.

amercpina

Fri, 05/03/2019 - 22:00

We are super excited to build this for our 9 year old son. To make this a Full size bed am I correct in thinking that I only need to alter the side panels by adding 15inches? I am paranoid about building it and the mattress not fitting. Thanks so much!

Bathroom Vanity I did for my mom Based on the Momplex vanity

I remodeled the main floor bathroom for my parents. My mom had seen a vanity she like at a home center. Then she thought about doing an open vanity. Then I showed her the one Ana did for the Momplex (48" Turned Leg Vanity). and she loved it. This is what we came up with.

It has bead board panels on the ends and the doors. V-grove planks for the bottom shelf.

The top is made from 100 year old ship lap siding from my brother house. The sink is hand hammered copper with a venetian bronze faucet.

Built from Plan(s)
Estimated Time Investment
Week Long Project (20 Hours or More)
Finish Used
The vanity was finished using Rust-o-leum Ultimate wood stain in summer oak with several coats of a marine varnish to protect it in the bathroom. The top was only finished in the marine varnish.
Recommended Skill Level
Intermediate

Comments

Corner Media Console

Submitted by craw4dz on Thu, 02/27/2020 - 10:39

We had just moved into our new house and were using an end table for our TV stand I just didn't like it.  I found this and modified it so it's shorter and fits in our room better.  I also opted to not put doors on it and use it to display items instead.  This was a relatively easy build and I'm learning new things with every build I make.  It took about 2 days to complete not including filling holes/paint/stain.  I love it, it looks so great in our room and I am planning on building end tables to match as well as replacing our buffet with movies in it to match also.  Thanks for the easy-to-follow plans!

Built from Plan(s)
Estimated Cost
$45
Estimated Time Investment
Weekend Project (10-20 Hours)
Finish Used
Whatever white paint I had on hand (haha) and Varathane Kona with a satin poly for the top.
Recommended Skill Level
Beginner

Miter Saw Cart

Submitted by Rennie82 on Fri, 05/18/2012 - 12:12

Coped the design almost to the "T." I loved this design because I only have a small shed to work out of and this stand for my miter saw was much needed.

The major difference between the original and my design are the folding arms. I was working within a very small budget and couldn't afford the fancy folding arms so I was able to do a little creative thinking and decided to go with a removable piece of 1x3 that is wedged under the arms with a block installed on the "leaf" and the main table. I used the old pythagorean theorem to figure out how to make it a level 45 degrees. With a little playing around I have both arms completely level and the stand is perfect!! I am excited to get some other projects on the way now that I have somewhere other than the ground to work with my miter saw.

I didn't use any pocket holes, but am picking up a Kreg jig set from someone this upcoming week and am looking forward to putting that into some use on my next projects!

Built from Plan(s)
Estimated Cost
30 bucks or so
Estimated Time Investment
Afternoon Project (3-6 Hours)
Finish Used
None
Recommended Skill Level
Beginner

Comments

stephanier (not verified)

Fri, 05/18/2012 - 19:04

I would like to see a close up too if possible. I am wanting to make the saw cart plus two more carts with the middle flush with the top so I can push the two together to use for a workbench. How much weight do you think your sides can hold the way you set them up?

In reply to by stephanier (not verified)

Rennie82

Sun, 05/20/2012 - 11:28

I honestly am not too sure how much weight it would hold. I havent seen any bowing or pushing yet. I have used this so far to cut a piece of 4x4 12ft long made of cedar for my next project and didnt have any problems. I think if I need more weight holding strength, I think I would just change out the 1x3 and maybe use a 2x4 in there. I am also not a 100% sure how much weight the hinge can hold, maybe someone else reading these posts can be a little more helpful as far as that goes.

Outdoor Garbage Can Shed

Submitted by Anonymous (not verified) on Fri, 12/08/2023 - 08:45

Chose the small firewood shed project as a "template" if you will .. built this to house our garbage cans and eventually put a gate on it to "help deter" the Florida black bears (we do multiple things to keep them at bay) but this will also just be a nicer looking way to keep the cans outside.

I modified the floor since the firewood shed had a floor that was suitable for, well, firewood but not so much for rolling garbage cans. Had to leave the one slat off the back for the depth of the can which I didn't completely account for in the beginning. Overall, still need to paint it and water seal it but happy with how it turned out.

Built from Plan(s)

King Farmhouse Bed

Submitted by jhavinga on Thu, 05/22/2014 - 16:31

Second project ive completed from Ana White, and I am very happy with how this bed turned out! The only thing I would fix would be the finish, I wanted it a bit whiter. not so creamy. Otherwise very quick and easy fun project to do. =)

Estimated Cost
$300
Estimated Time Investment
Day Project (6-9 Hours)
Finish Used
1 coat of a basic latex white paint.
Then I sanded down just so raised grains would become exposed.
1 coat of dark walnut stain (wipe on with cloth)
Done.
Recommended Skill Level
Starter Project

Comments

jhavinga

Thu, 05/22/2014 - 16:34

Thank you for sharing all of these awesome projects. I was always hesitant when it came to wood, but now I cant seem to stop!

jhavinga

Wed, 06/11/2014 - 13:43

(You can do all this before or after your project is put together or not.)
Be sure to do a test piece before hand so you can see exactly what your getting :)

The first step I did once the head board and foot board were put together, was to sand any sharp edges or corners. I liked mine rounded and worn looking. I did not sand anything else.

Second step is to paint 1 even coat of a basic white latex paint.

Third step is to sand away some white paint. because we didnt sand it before hand the grains in the wood will be very bumpy. so the paint on the grains will sand off while the paint lower than the grain will remain. makes sense? hopefully i explained that right!

Fourth step is to now wipe on the stain of your choice. I went with Dark walnut. It stains the paint a bit bringing the white to a gray/brown tone. and stains the wood dark walnut so the grain patterns show up dark.

Let me know if you have any other questions and good luck!

jbogan15

Thu, 01/29/2015 - 07:49

What grit of sand paper did you use to sand off the white paint? and did you sand it by hand? Also, for the dark walnut stain, did you wipe off immediately or leave it on for a bit before wiping? Beautiful bed, I want to achieve this look!

In reply to by jbogan15

jhavinga

Fri, 02/06/2015 - 09:15

Hi jbogan15, thank you!
For sanding I used a palm sander with 120 grit to get the job done a bit quicker, than went over lightly with 220. When staining I actually just dipped a rag in the stain and would wipe the stain on. =)

Good luck!
Justin

kosborn

Fri, 01/27/2017 - 11:05

Love this look! Exactly what I am trying to achieve...A few questions about the side rails. How high did you connect them to the 4x4 posts and exactly how did you connect them? Did you use brackets or screw right into the posts? Thank You!

barkleyl

Thu, 09/05/2019 - 15:07

I have seen several beds from Anna White. I was wondering if the frame require a box spring mattress or not. If not, are the beds lower than what a traditional mattress and box springs are. Thanks ! 

Floating Bedside Table

I’ve been in need of a bed side table in my room for quite some time now. I need storage for things like my keys, wallet, the remote, as well as other little items that seem to get kicked around and lost. I figured it would also be nice to have a place to keep my alarm clock, I’m guessing it will be a lot more convenient to hit the snooze button in the morning if the clock is closer to me.

Estimated Time Investment
Day Project (6-9 Hours)
Recommended Skill Level
Intermediate

Small kitchen island with slide out double trash cans

This was a mommy do during work furlough. Wasn't too hard. I have minimal experience with saws, but with hubby help, we got it done. Some of the instructions didn't make sense, but but we were able to figure them out or change them to work. I used bead board on the front and sides that we added over the existing sides. I used a manufactured butcher block that had to be cut down. Looks great and now my trashcans don't walk around the kitchen when the dogs play. The downside, the dog bowls slide under the island. If you have to cut down butcher block, make sure you have the proper blade.

Estimated Cost
$200.00 because of the manufactured butcher block.
Estimated Time Investment
Weekend Project (10-20 Hours)
Finish Used
Black cabinet paint
Recommended Skill Level
Beginner

Ultimate roll away workbench

Submitted by maker4510 on Sat, 08/01/2020 - 05:22

NINE MONTH UPDATE: After using the bench for almost nine months, we’ve made some changes. The first is that our table saw, a Dewalt 7491 didn’t fit in the way the plans called for because of the fence. We ended up cutting down and rebuilding the table to make a platform for the saw, then we built three “tables” around it to leave a gap for the fence operation. We also added a curved piece that can be removed to access the riving knife lever.

The other change we made was to take out the clamp storage that was in one of the cart ends. When we rolled the cart in and out, the clamps would catch and fall off. We put in another shelf instead.

Otherwise, we love the bench. Having the two rolling carts that we can reposition based on where we need a table extension is great. The miter saw stand works perfectly, and our dust collection setup rolls right underneath. We’re also in the process of building a router table that fits in the removable bench room area.

ALSO, sorry for the upside down/sideways pics. It won’t let me remove or fix them.

We made the ultimate roll away workbench with very few changes. Added the clamp hanger on one end as pictured. We didn’t add the shelf under the miter saw, as well be putting a dust collection cart.

We absolutely love the cart.M, now to save up for a table saw. The only change I would like is that I wish the side shelves were a little deeper, more like 10” instead of 8”, so more tools would fit.

Estimated Cost
380
Estimated Time Investment
Weekend Project (10-20 Hours)
Finish Used
None
Recommended Skill Level
Beginner

Indoor Playground Set

Submitted by Anonymous (not verified) on Fri, 02/10/2017 - 11:56

This playroom set was inspired by the plans you posted.  I was forced to make some significant modifications due to the fact that our bonus/playroom has angled ceilings.  We have a rock climbing wall, ladder, crawl tunnel with windows, trapeze bar, monkey bars, miniature baskeball goal and a slide.  My boys are 6, 3 and 19 months and they love it!  Thanks for the inspiration.


Jim and Caroline Sparrow

Estimated Cost
$1250
Estimated Time Investment
Week Long Project (20 Hours or More)
Finish Used
Behr Paint on bottom and Minwax Stain on top
Recommended Skill Level
Advanced

Comments

Bunk Beds for a Small Room

Our bedrooms are 9' x 9' so when our girls needed to move in together, we needed a bunk bed that would be short enough to fit under the fan, have a place for drinks, books, an alarm, and tissues, and also have a place where our youngest could have a dark sleeping space while older sister stays up later.

We're not going to be in this setup for long, so I used common board to keep the cost down as much as possible. The whole bed cost about $200, but I would suggest staying away from common board. It was really warped and couldn't be sanded smooth. We ended up going with a dark, thick paint to cover the wood imperfections. To deal with the warped wood, I made an outline of each end of the bed with painter's tape on the garage floor and used weights to hold the wood where it was suppose to be. I also modified the plans to make the bottom bunk a bit shorter and made the whole thing only 3 inches off the ground. All put together the bed is very sturdy and everything lined up well.

I used some scrap wood to make the holders for drinks and tissues and a holder for the iPod and speakers. These just rest over the railing, so we can move them around if need be. The book racks are Ikea hacks....they're just spice racks painted to match the bed. The curtains are just hung on a 1" dowel set into the same cups that closet rods are put up with. I also added some flower knobs from Target so that the girls can hang a robe when it's cooler outside.

Thanks for the plans Ana! My girls LOVE this bed!

Built from Plan(s)
Estimated Cost
$200
Estimated Time Investment
Week Long Project (20 Hours or More)
Finish Used
Paint and polyurethane coat.
Recommended Skill Level
Intermediate

Comments

Full Storage Bed

I built Ana's Full Storage Bed.  This was fairly easy to build and it is a perfect bed for a child's room.  I LOVE the added storage!  You can see the plans for the crates I built to fit at our blog http://www.shanty-2-chic.com/2011/03/crates-for-storage-bed.html 

Built from Plan(s)
Estimated Cost
$120
Estimated Time Investment
Day Project (6-9 Hours)
Finish Used
Minwax Dark Walnut Stain and Minwax Polycrylic Gloss
Recommended Skill Level
Intermediate

Bunk Beds for 4 to 6

Submitted by Judianne on Thu, 07/02/2015 - 10:32

We used the Build a Simple Bed plan and the Bunk Bed from Simple Bed. I modified the plans to build a double bunk bed. We needed a way to fit up to 6 small children in a long, narrow room. Although we haven't built the trundle beds yet, each bunk will also have a trundle bed. The kids especially love their "privacy" curtains!

Built from Plan(s)
Estimated Cost
Under $300
Estimated Time Investment
Weekend Project (10-20 Hours)
Finish Used
paint
Recommended Skill Level
Beginner

Channing Bookcase

Submitted by plumbguy on Mon, 12/07/2015 - 14:40

I'm a better plumber than a carpenter.

Built from Plan(s)
Estimated Time Investment
Weekend Project (10-20 Hours)
Finish Used
Paint & Poly
Recommended Skill Level
Beginner

Charcuterie Board

Submitted by Anonymous (not verified) on Wed, 12/28/2022 - 15:27

Made a this for my step-daughter and her husband for Christmas. Love your projects, and am learning to do everything on my own which is so empowering thank you for sharing and encouraging all us girls we can do it!

Comments

Spice Rack

Submitted by set42 on Thu, 10/03/2013 - 10:37

My husband and I worked together to build this spice rack with the plan from ana-white.com. The instructions were very clear and easy to follow.

As you can see from the photo, we haven't hung it on the wall just yet. We have a narrow galley kitchen in an apartment, and I won't be able to get a good photo of it once it's hung.

Thank you, Ana, for inspiring us! We have picked out several more plans to build.

Sarah Hughes

Recommended Skill Level
Beginner