Community Brag Posts
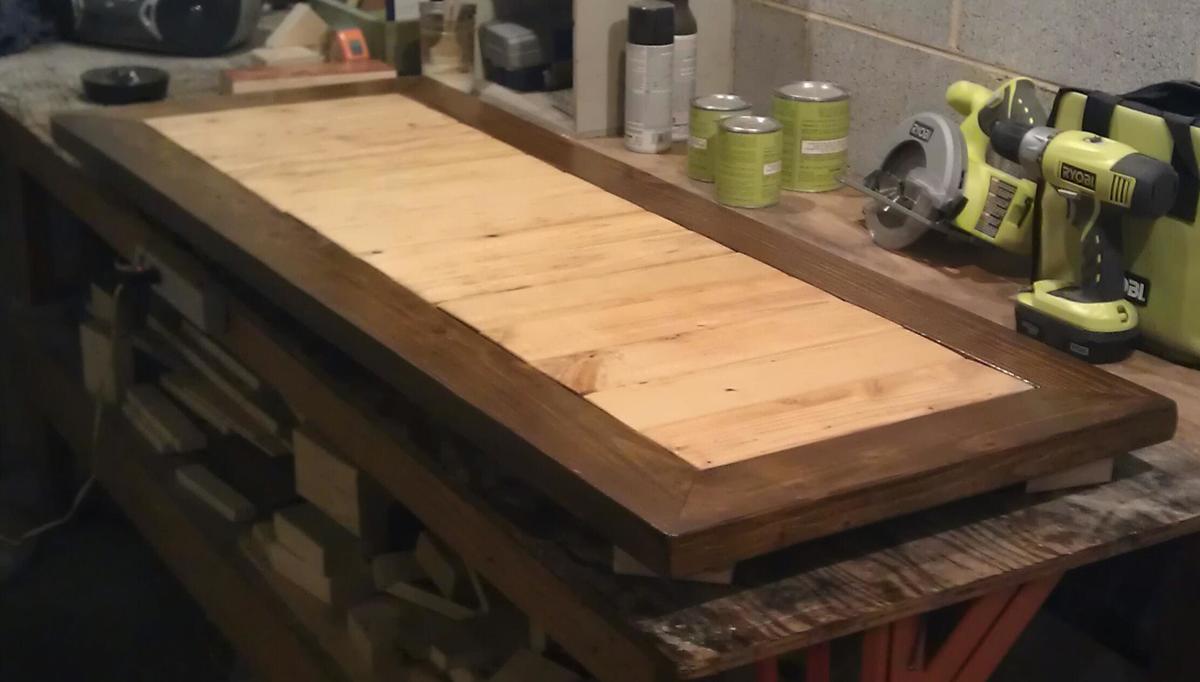
$30.00 DIY 2x4 Console Table
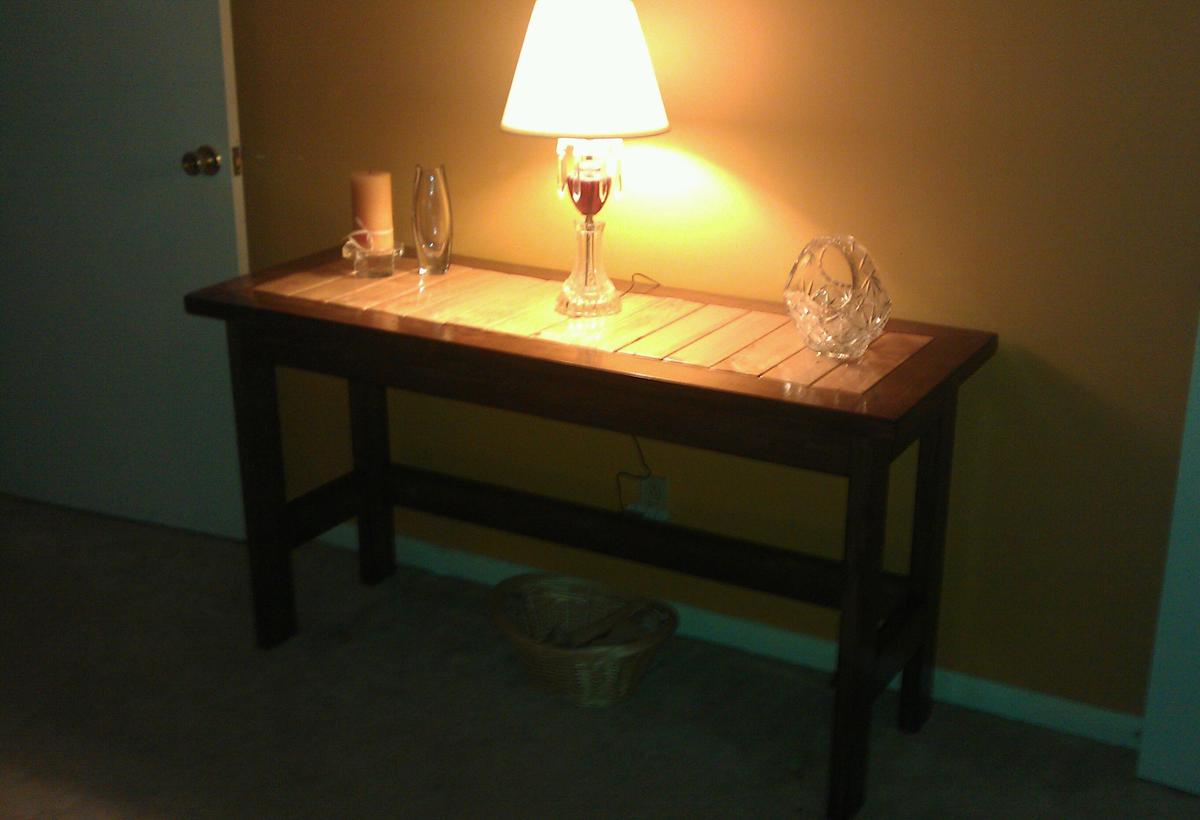
I modified the plans like another brag poster did. How I built this is explained on my site. Thank you so much to the other poster for the inspiration!! And of course, thank you to Ana White for this amazing site!
Built from Plan(s)
Estimated Cost
30.00
Estimated Time Investment
Weekend Project (10-20 Hours)
Finish Used
Cabot's Stain + Sealer in "Aged Leather". 2 coats of stain and a few coats of poly.
Recommended Skill Level
Beginner
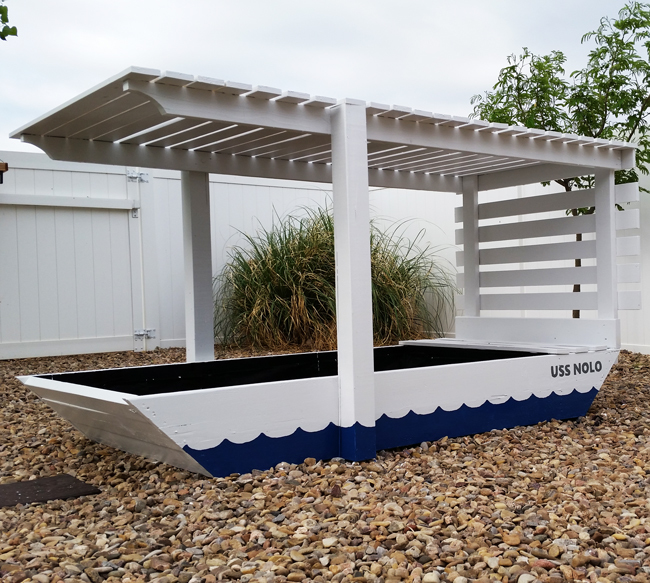
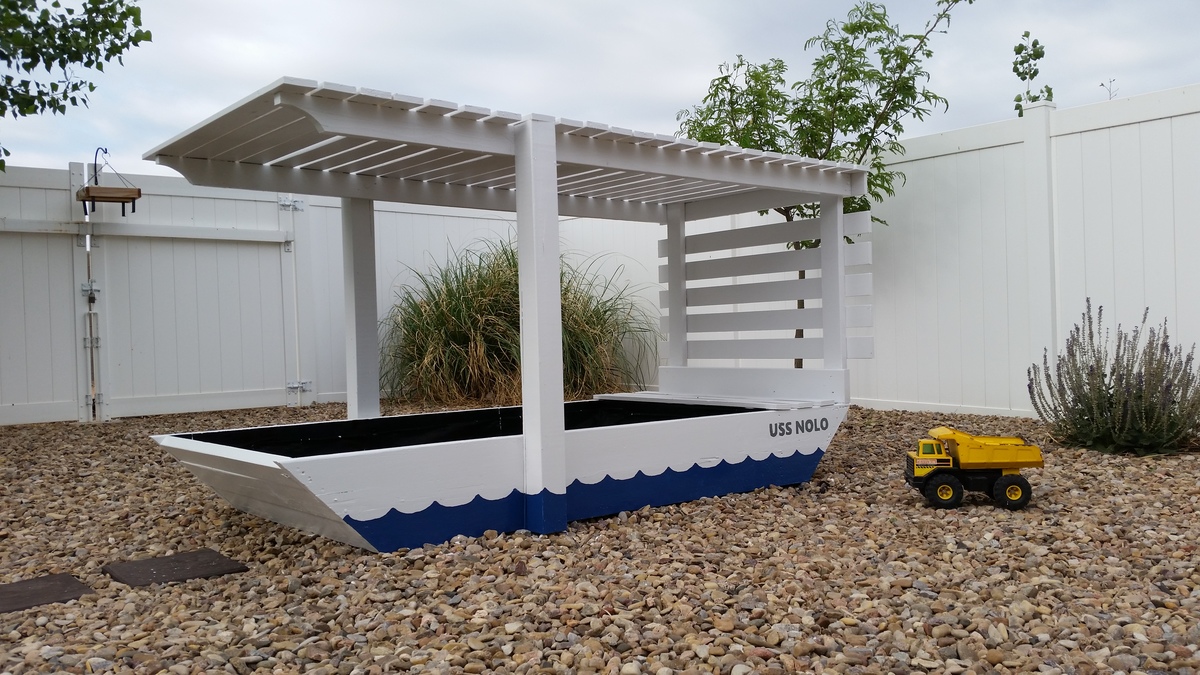
Thanks for the plans!

Ana, thanks for the plans! I modified mine to have more of a roof to give my son more play space and added a toybox at the "back" of the boat. Still need to pick up sand but has turned out great so far! I think it will be the starting point for a full playset.
Built from Plan(s)
Estimated Cost
225$
Estimated Time Investment
Weekend Project (10-20 Hours)
Finish Used
Outdoor oil-based enamel
Recommended Skill Level
Beginner
Comments

Tue, 06/05/2018 - 14:37
Amazing Ship Sandbox!
Thanks so much for sharing, what a great job and fun design! I love it!
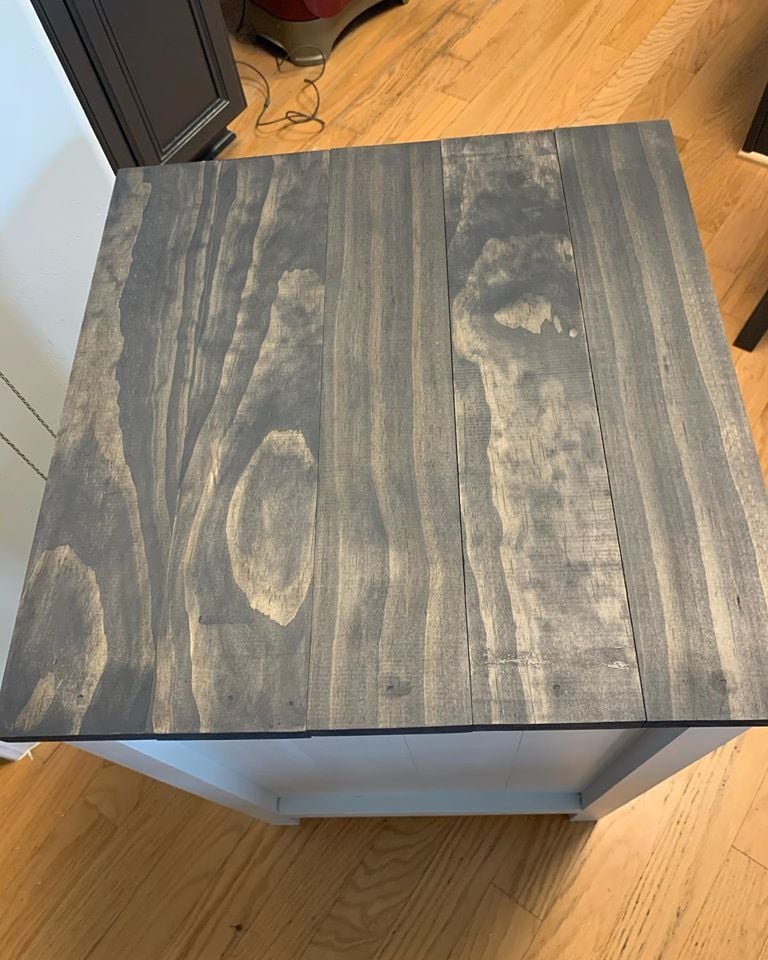
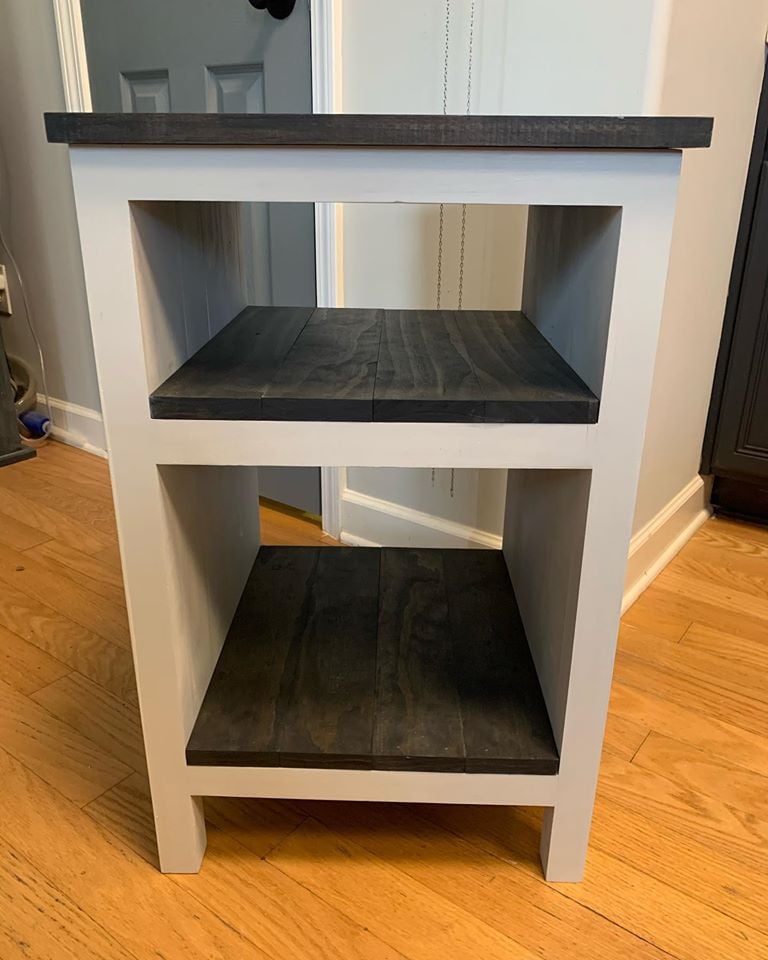
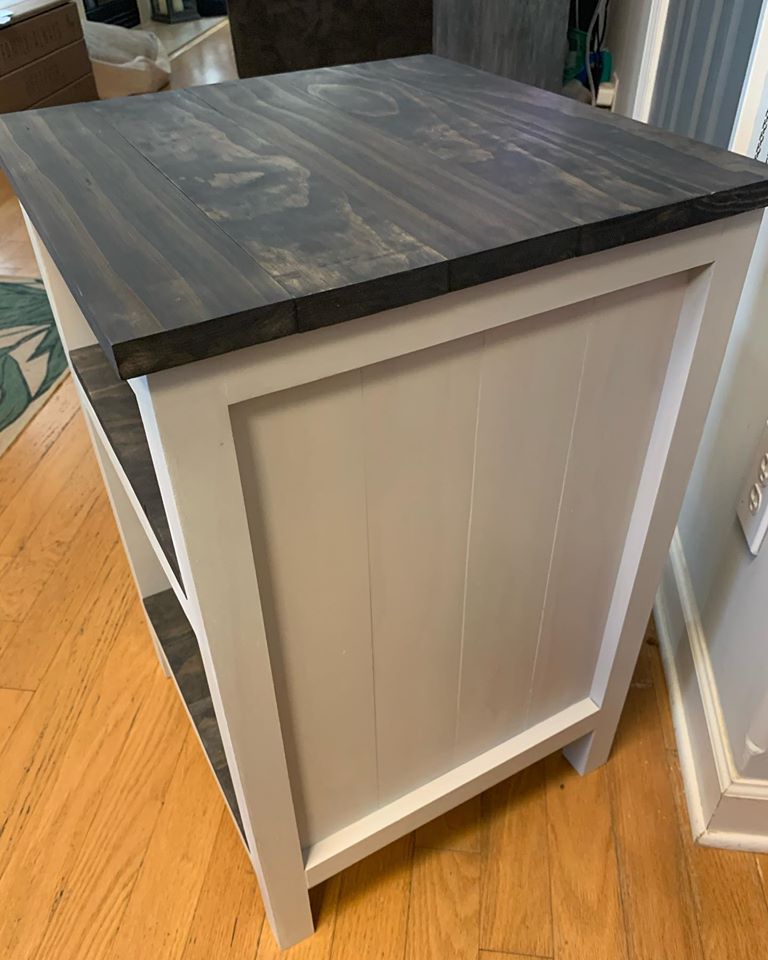
Planked Wood Bedside Table with Shelves
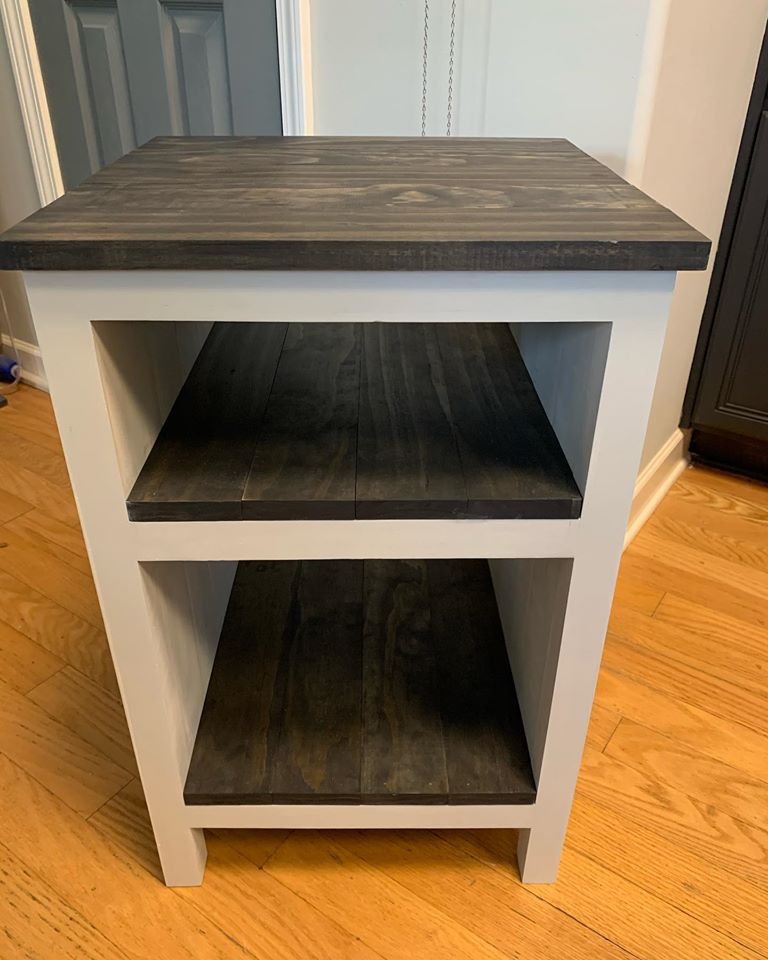
I was looking for a small piece to make as my 1st work of furniture. My husband passed away 8 months ago. He has EVERY tool imaginable. I learned how to use his saws, and my favorite - pocket hole jig!! I started small with the floating shelves. Then I decided to branch out. I love Ana White's plans and find them very easy to understand. I made some mistakes but learned from them! Love how this table turned out. Going to add some rustic hinges. Can't wait for my next project!
Built from Plan(s)
Estimated Cost
$50 - 60
Estimated Time Investment
Day Project (6-9 Hours)
Finish Used
General Finishes Carbon Gray on the top and Shelves
Fusion Mineral Lamp White on the body
Fusion Mineral Lamp White on the body
Recommended Skill Level
Beginner
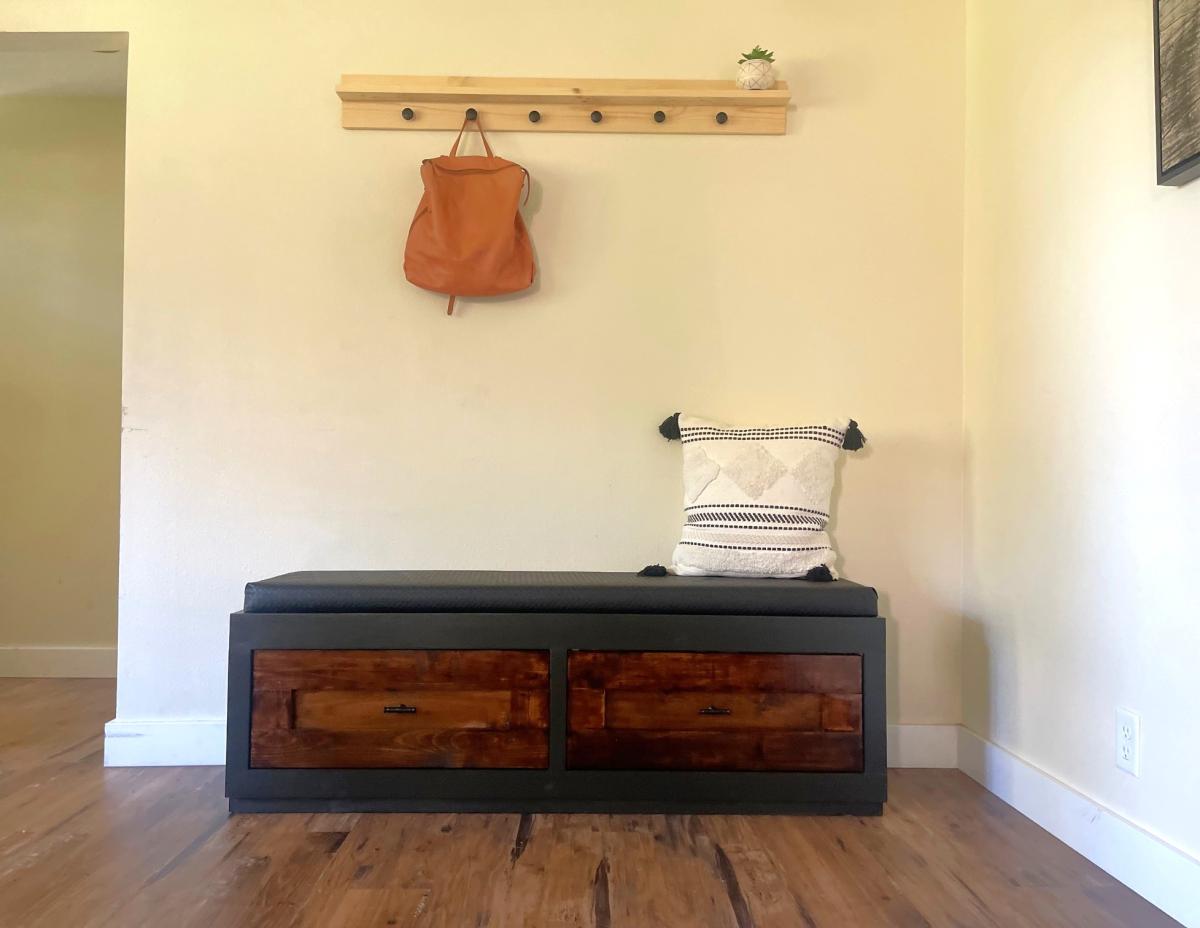
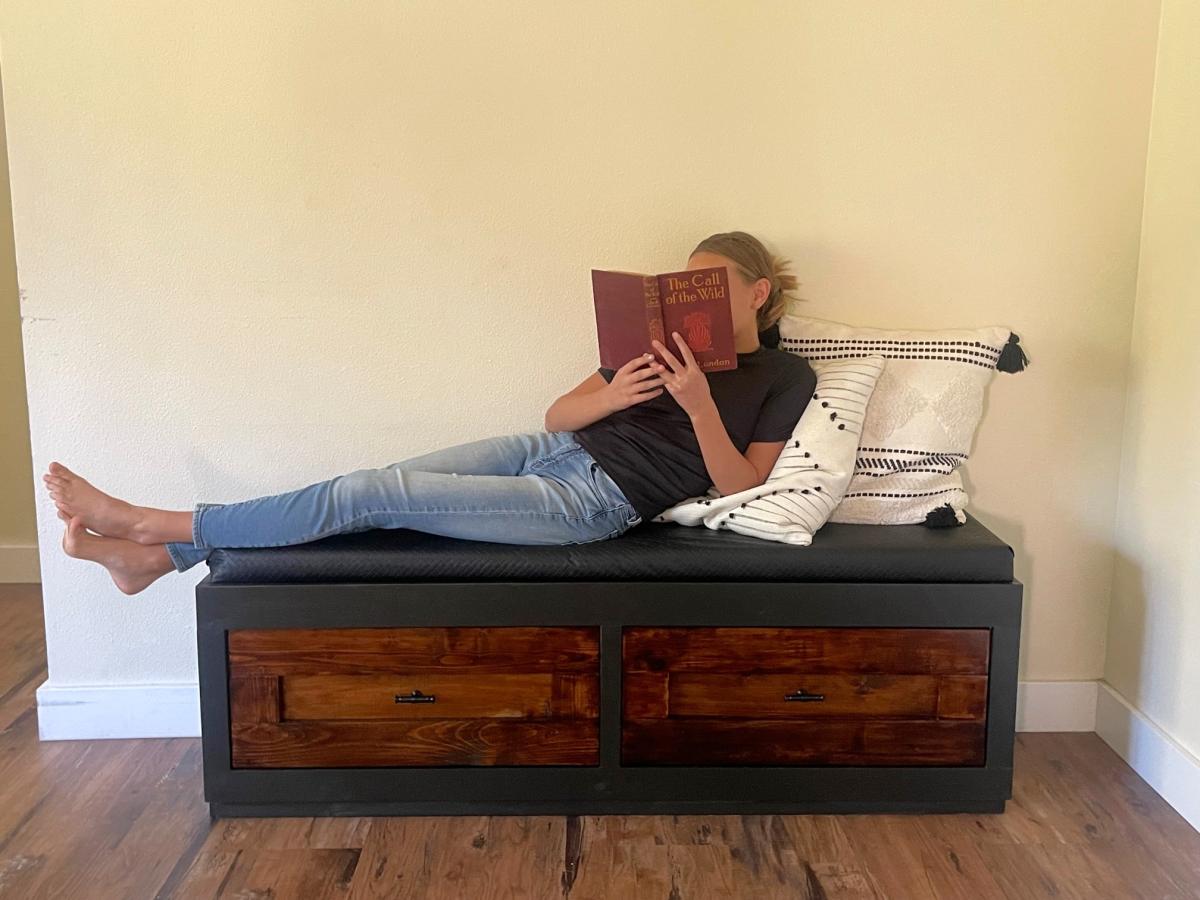
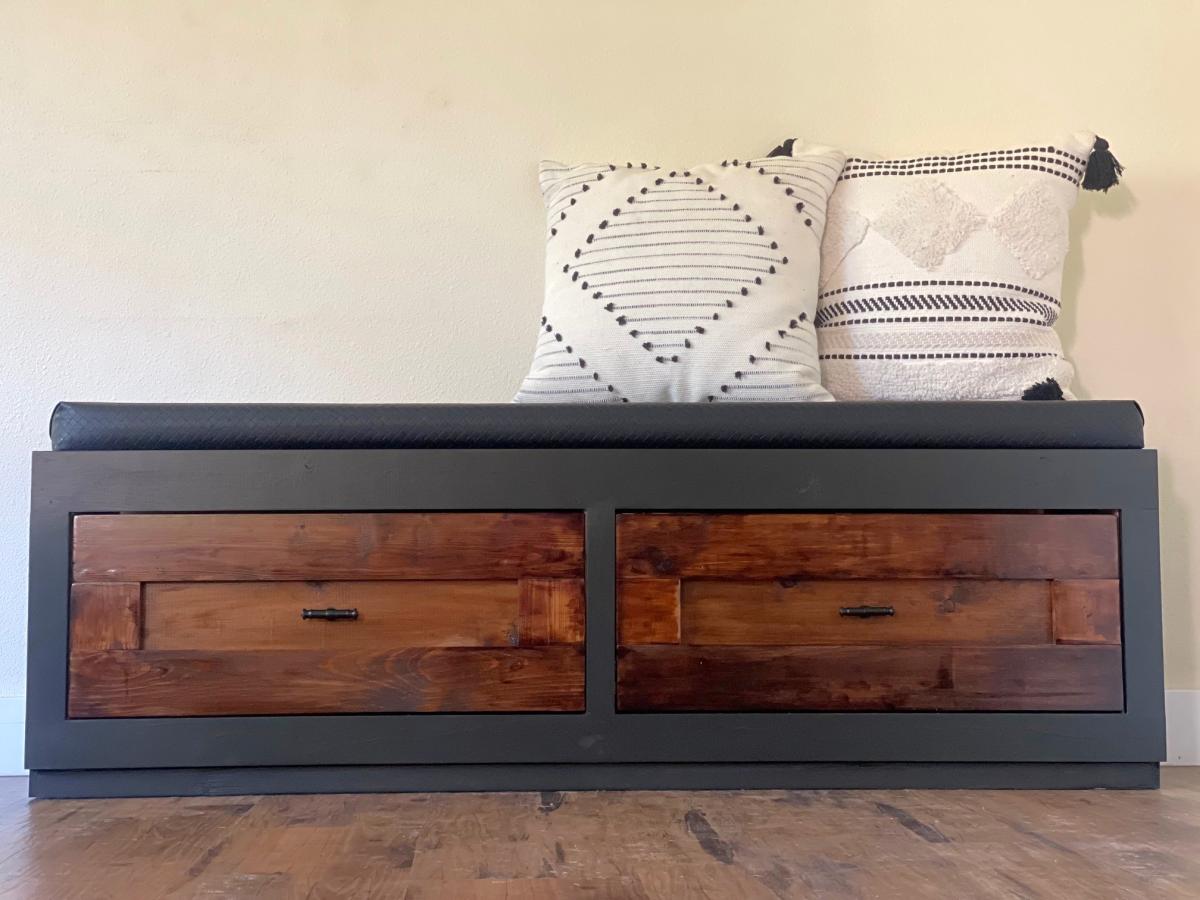
Drawer Bench with DIY Cushion
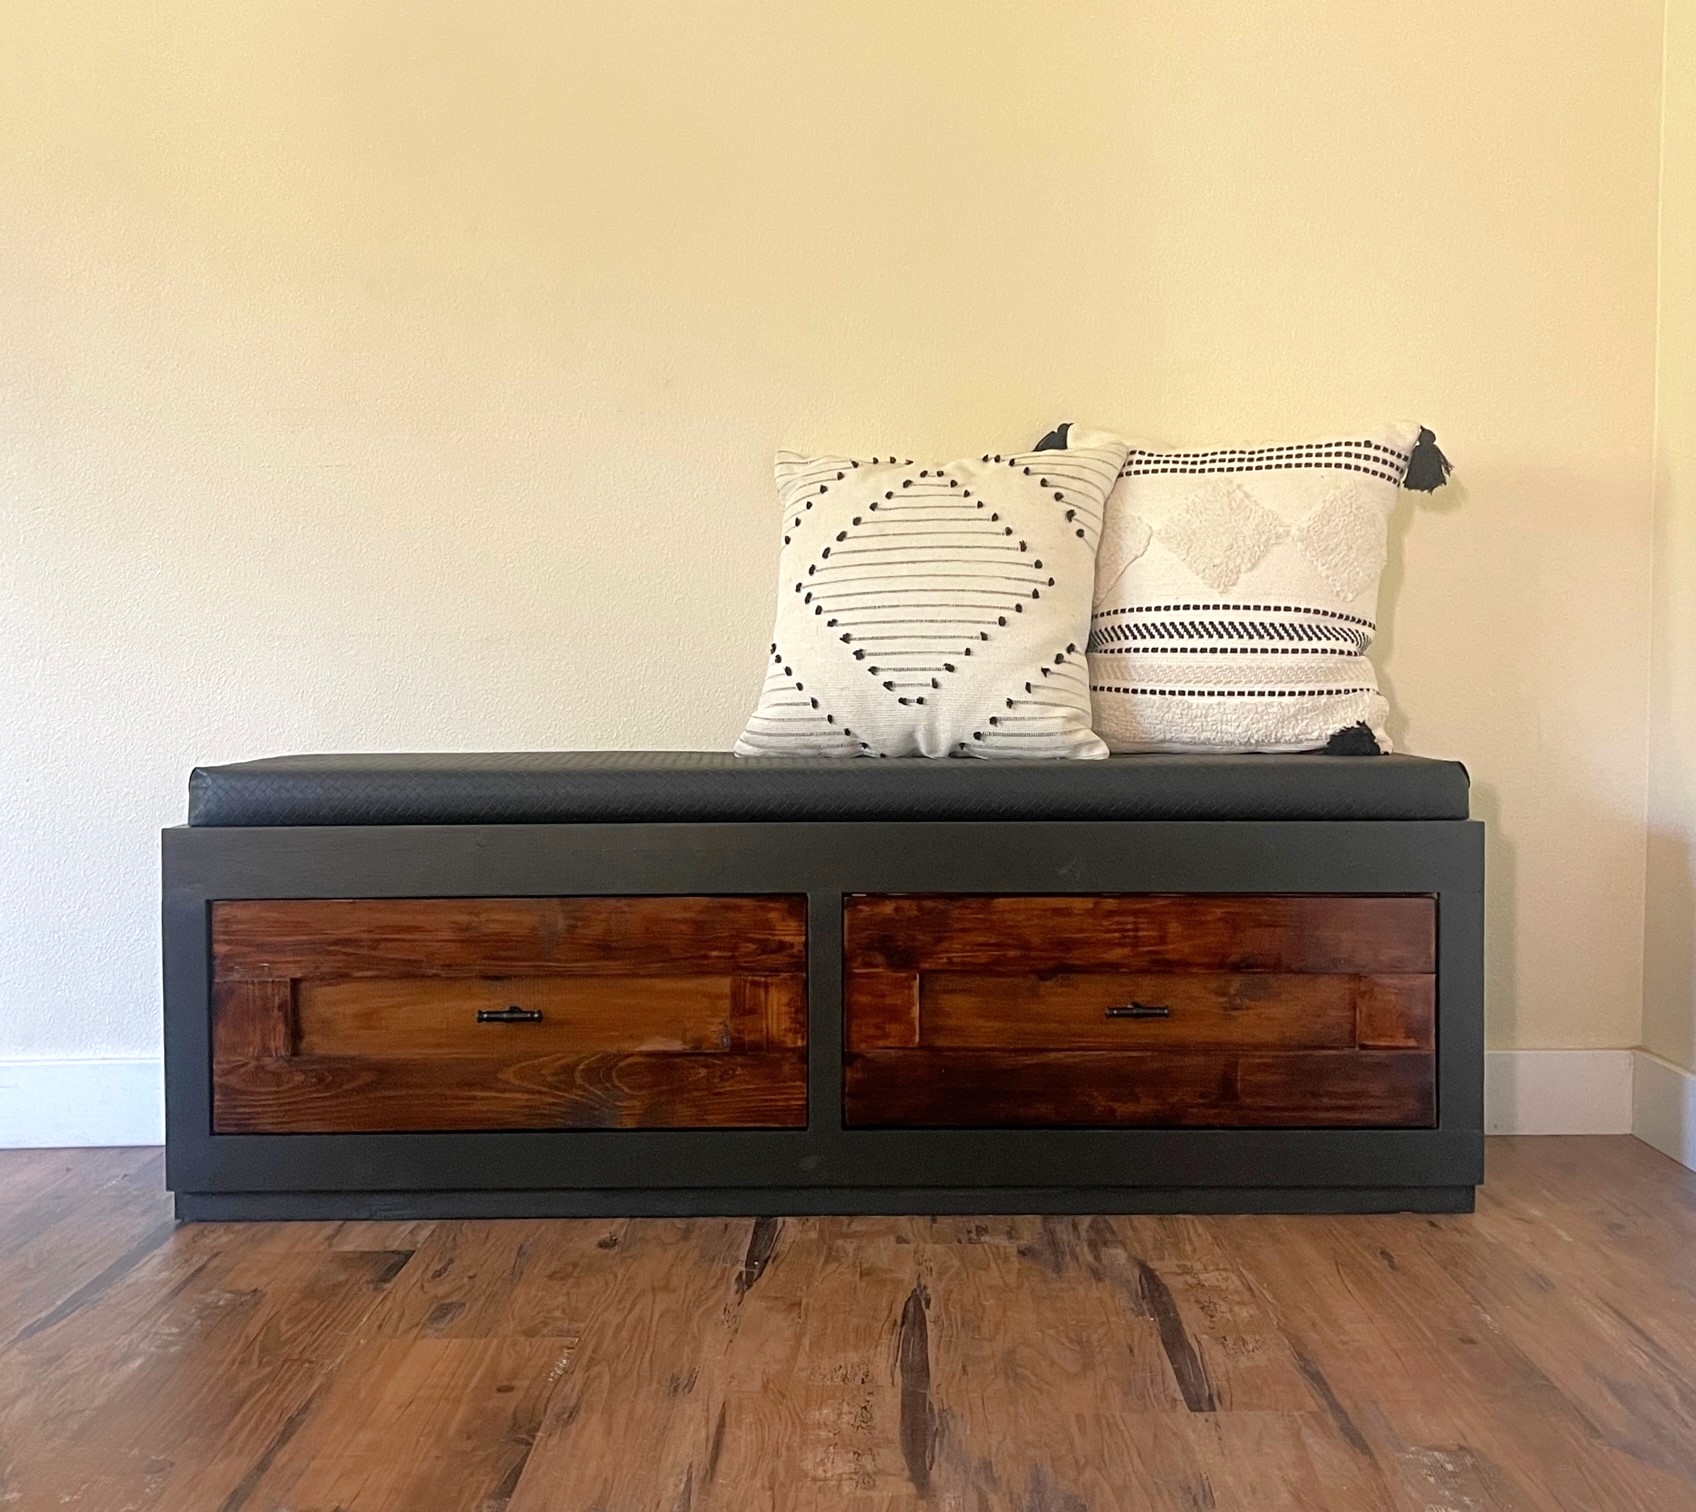
My mom asked for a drawer bench. I haven't been very successful with drawers so I accepted the challenge. It turned out really good, now I want to build more drawer projects! To top it off, I decided to try my hand at building the cushion too, since it was custom sized. There are several good tutorials online for no sew options. The cushion only took about 1/2 hour to put together.I got fabric that is easily cleanable and wipeable. I'm excited to surprise my mom with her new bench!
Built from Plan(s)
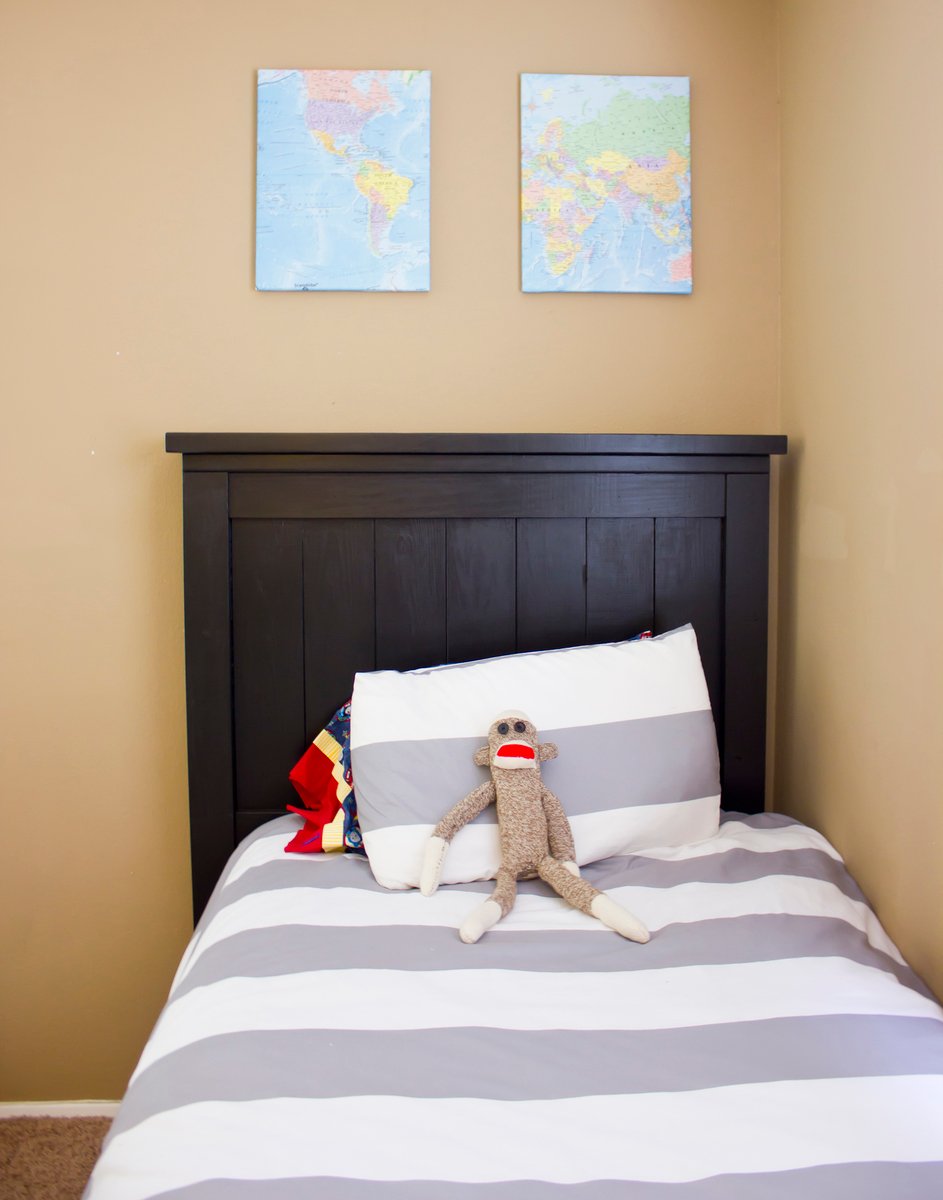
Twin Farmhouse bed for a room to grow in!
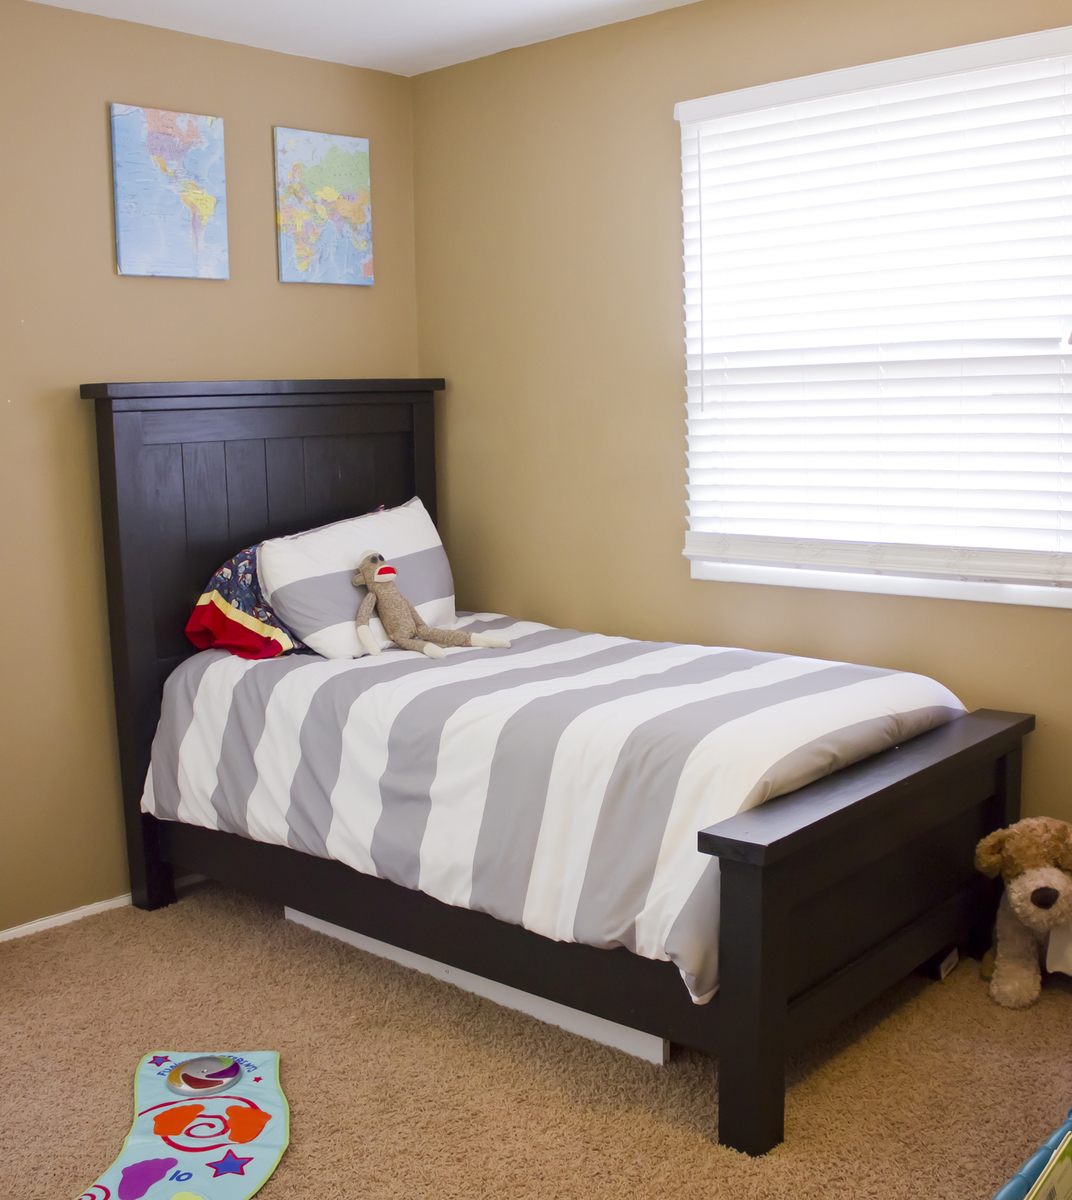
I saw this on the site, and I knew it would be perfect for my soon to be 4 year old boy's room. I wanted something that would be strong (hellloooo 4 year old boy!!) and not too "babyish" to last him through several years of preference changes and growth. This was not too difficult at all! Though I slightly modified some of the construction to make it easier to break down. I ended up using a box spring with a mattress, instead of slats to save a bit of money. (We got the box spring and mattress for free from a relative.)
I made this out of pine, and bought everything from Home Depot. Total cost for everything (including paint, sandpaper, wood glue, etc) was about $160! We are loving it!
Built from Plan(s)
Estimated Cost
$160
Estimated Time Investment
Weekend Project (10-20 Hours)
Finish Used
Behr Primer and Paint in 1, satin finish, color "Beluga"
Recommended Skill Level
Beginner
Comments
Thu, 05/03/2012 - 23:09
Check out our take on it too!
Hi,
I love what you have done here. We have just finished our first build and am about to start on another for our oldest girl. Check out our blog, its the latest entry on this page.
Love it.
Thanks,
Shane
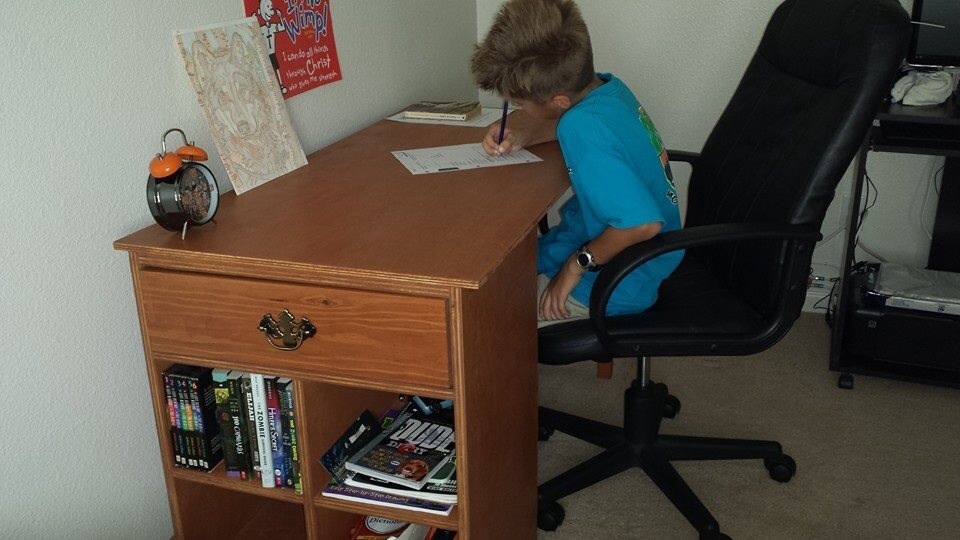
Schoolhouse project table desk
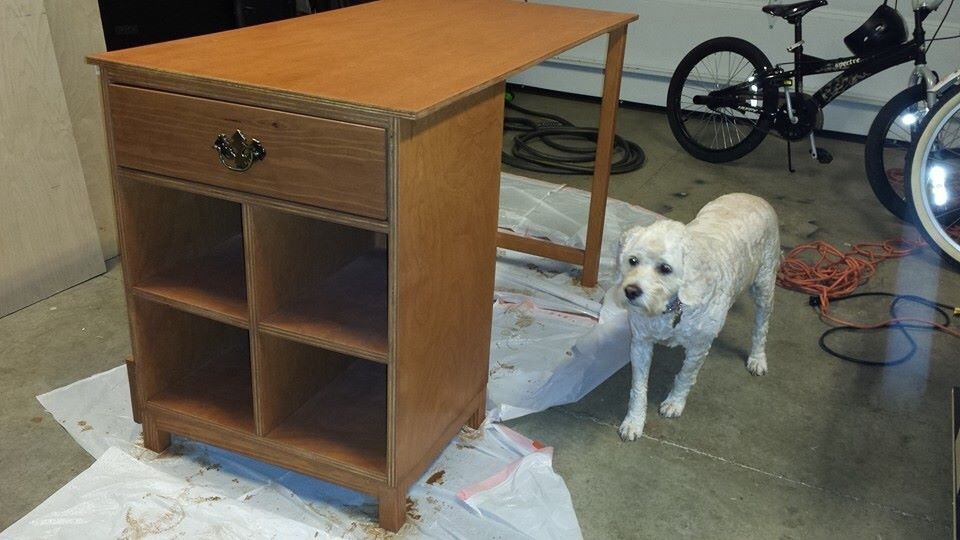
This was my first project. I didn't even know how to use a drill. With the help of my husband I learned quickly. Everything came together rather well and making the cuts was fairly simple. I used a table saw instead of a skill saw which made the bigger cuts not quite straight. I will have to invest in one of those. Two problems I ran into was not having enough clamps. I had the one that came with the kreg jig but having another would have made it simpler when attaching the legs. I had to go out and get the right angle clamp for the jig and that was a lot simpler but will still purchase another clamp for the future. The other problem I faced was the table legs were not sturdy enough so we added a support post to the back of the desk you can see in the picture. I also made the mistake of purchasing wood filler the same color as the stain. So I have darker areas. Haha. It was great learning experience. And my ten year old is very happy with his desk.
Built from Plan(s)
Estimated Cost
$100 we live in hawaii lumber costs more
Estimated Time Investment
Weekend Project (10-20 Hours)
Finish Used
Ipswich pine 3 coats. Followed instructions on staining the bunk bed
Recommended Skill Level
Beginner
Comments
Sun, 02/16/2014 - 18:15
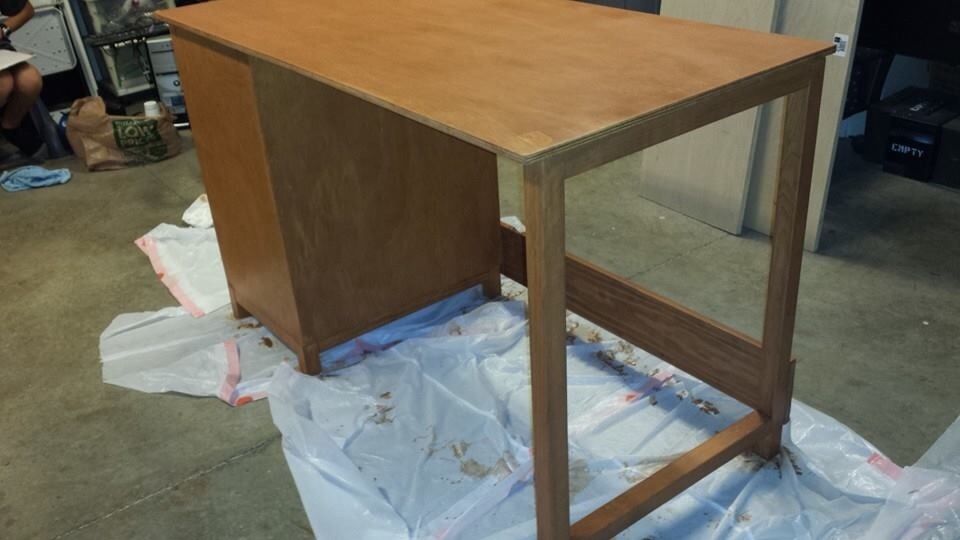
Desk top
We also didn't know how to attach the top. The plans don't give instructions for that and we had to figure that out on our own. We ended up doing pocket holes which takes away from the looks of it. But you can't notice it unless you look for it.
Loft Bed With Stairs
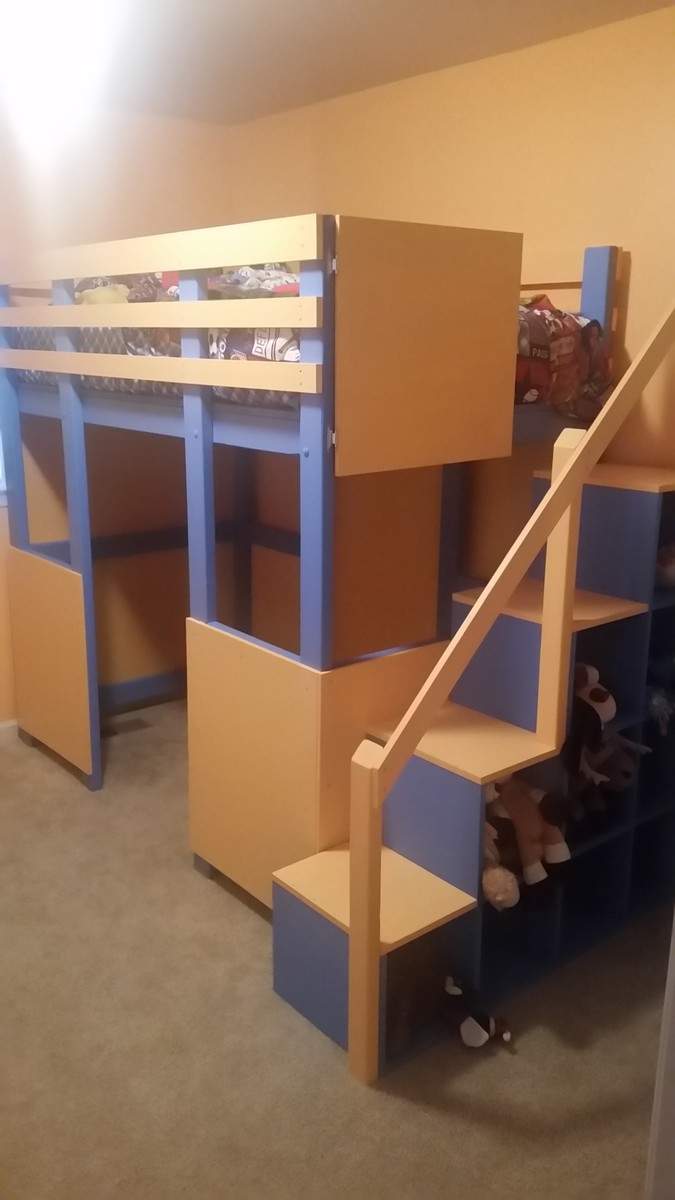
I built this for my 3 year old so I made stairs to replace the ladder.
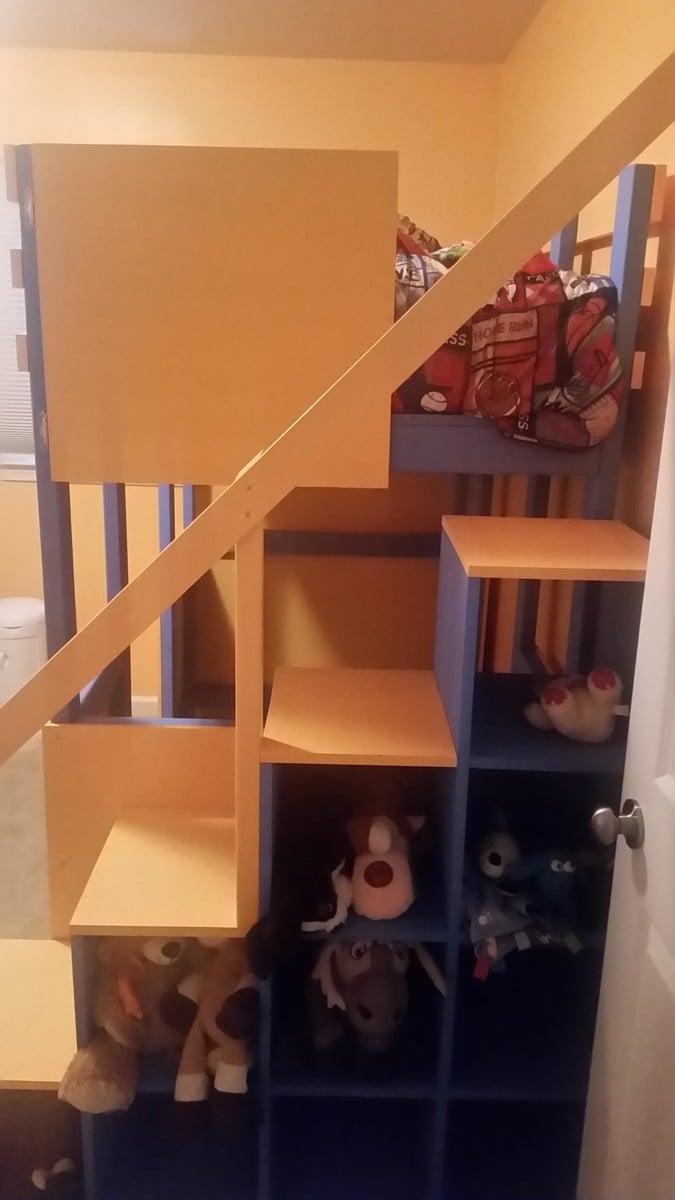
Built from Plan(s)
Estimated Cost
250
Estimated Time Investment
Week Long Project (20 Hours or More)
Recommended Skill Level
Intermediate
Comments

Farmhouse Pedestal Table and Barn Door Console with Drawers
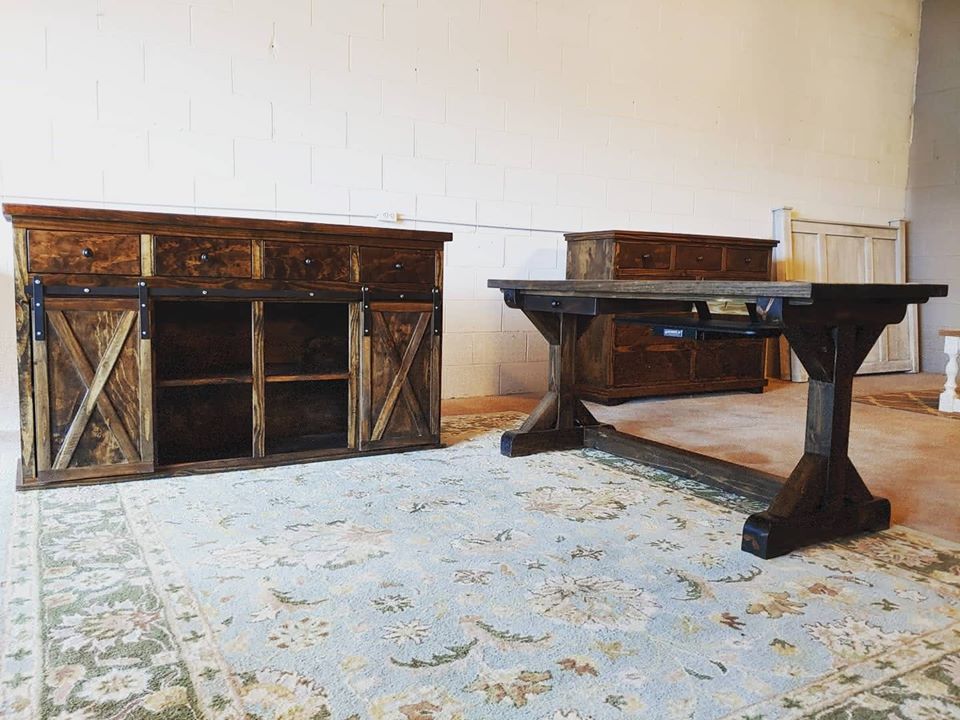
Built by Whitney Walters and shared on FB
Built from Plan(s)
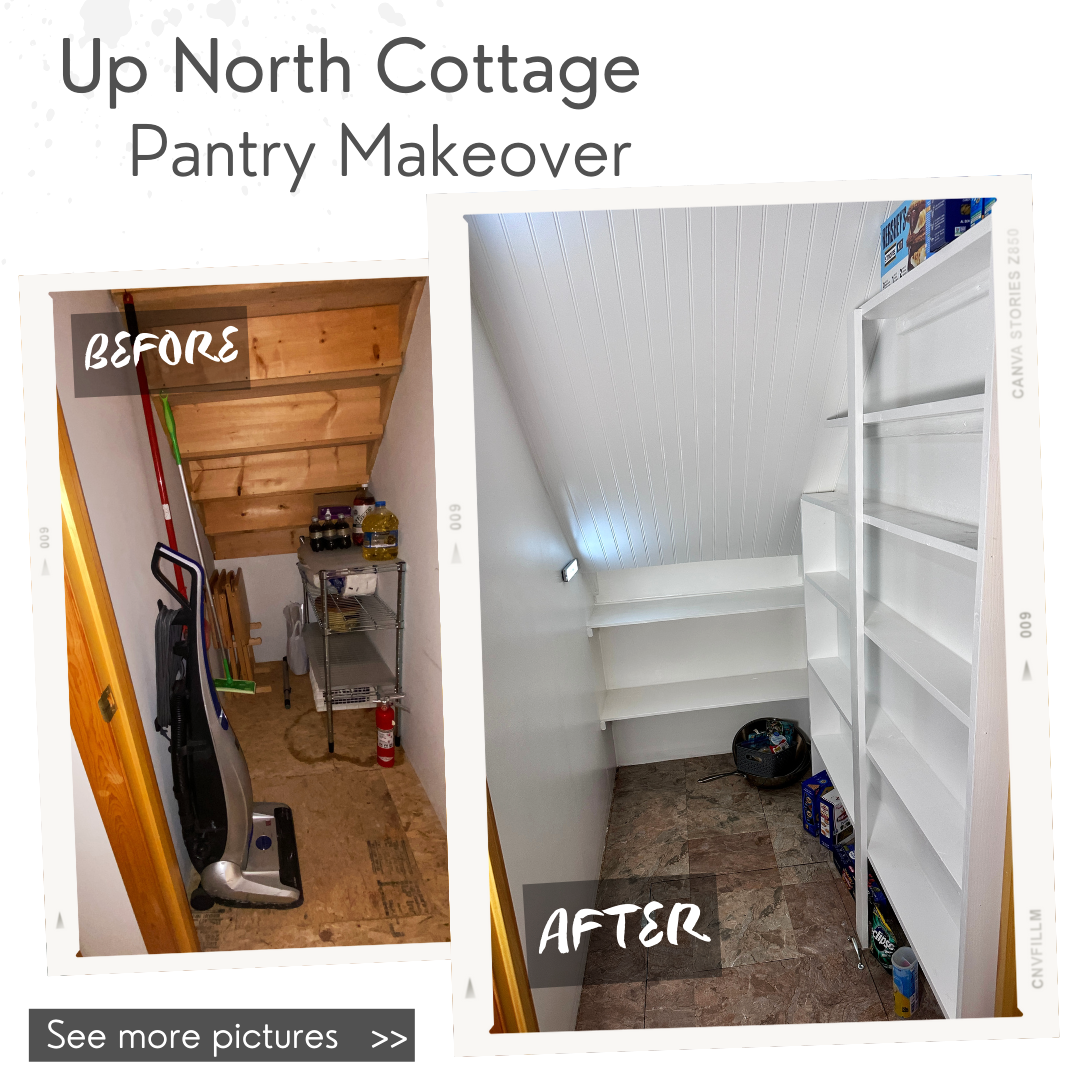
Under Stair Pantry
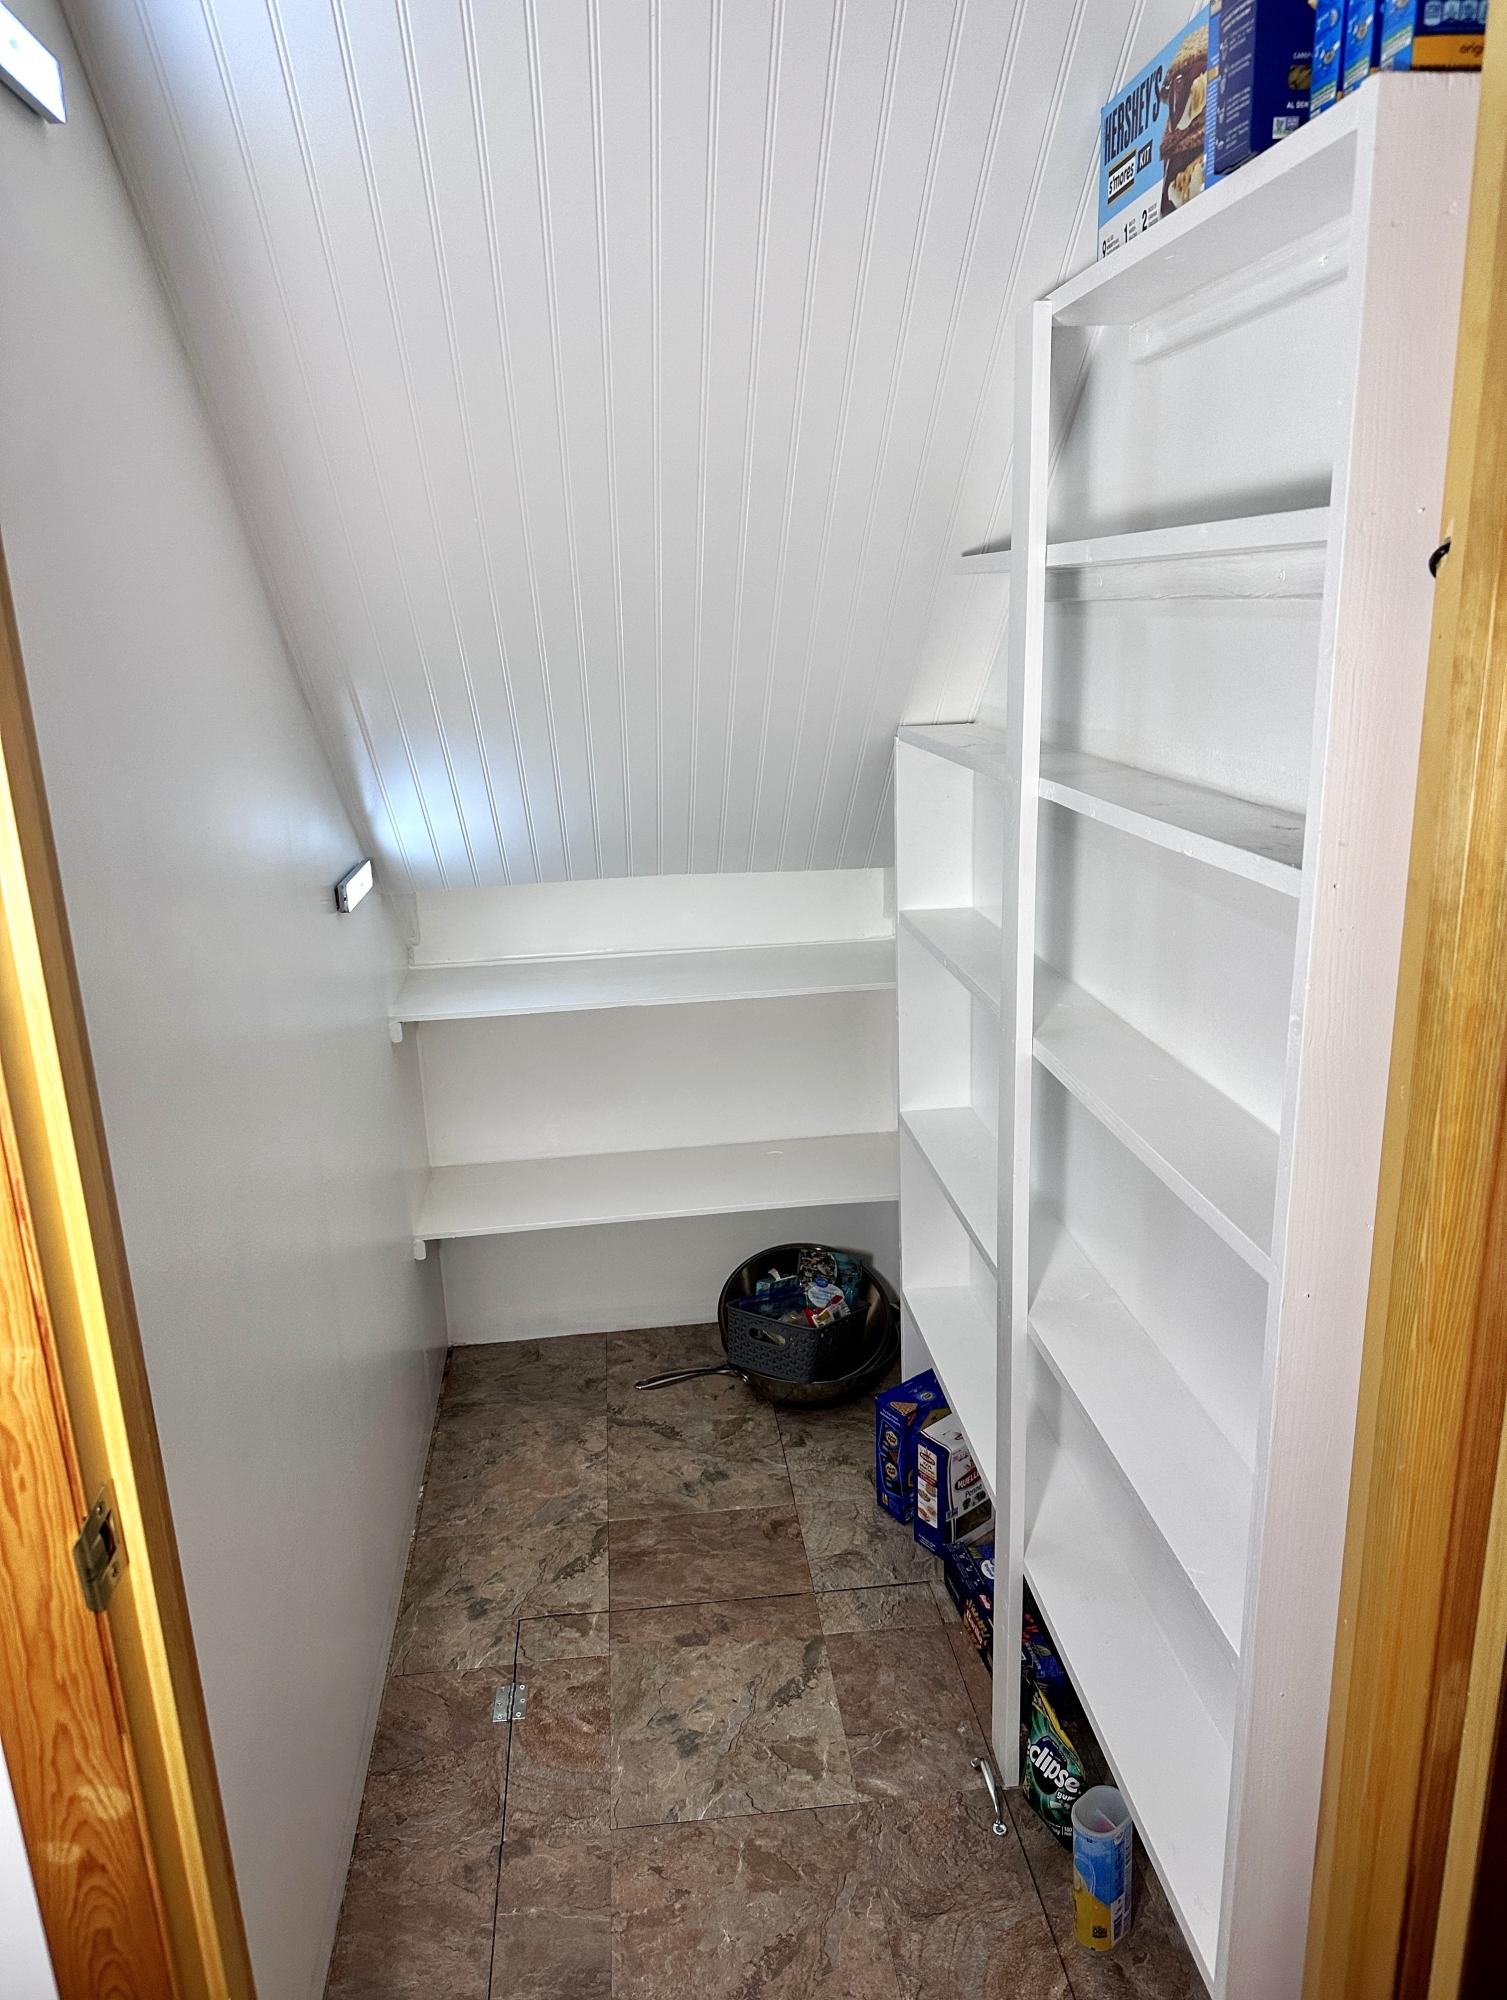
Our tiny cottage pantry is complete! We followed Ana-White's 2x4 Storage Shelving modified to fit.
Materials:
Paint: Behr Whisper White
Vinyl tile: Armstrong Terracotta Clay
Ceiling: Beadboard
Plans: Ana-White 2x4 Storage Shelving (modified)
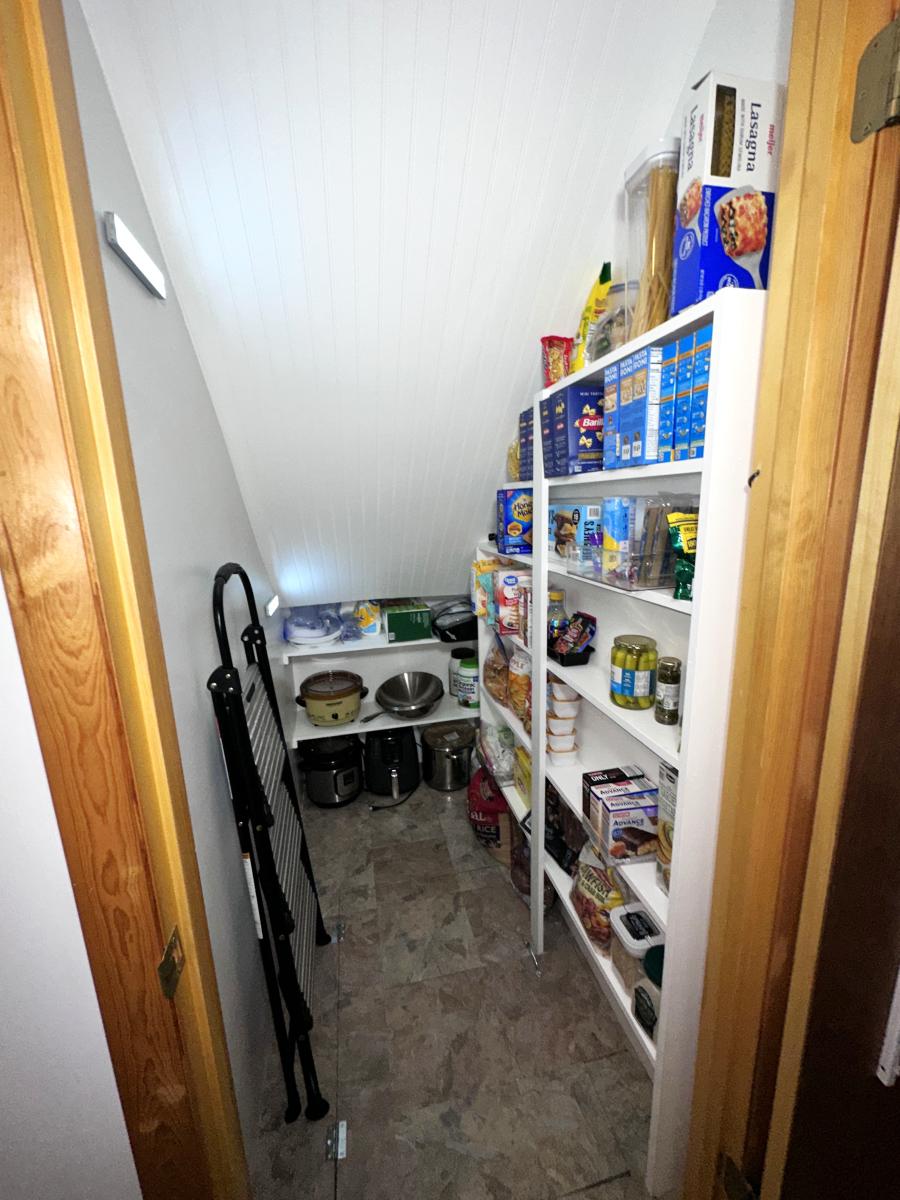
Built from Plan(s)
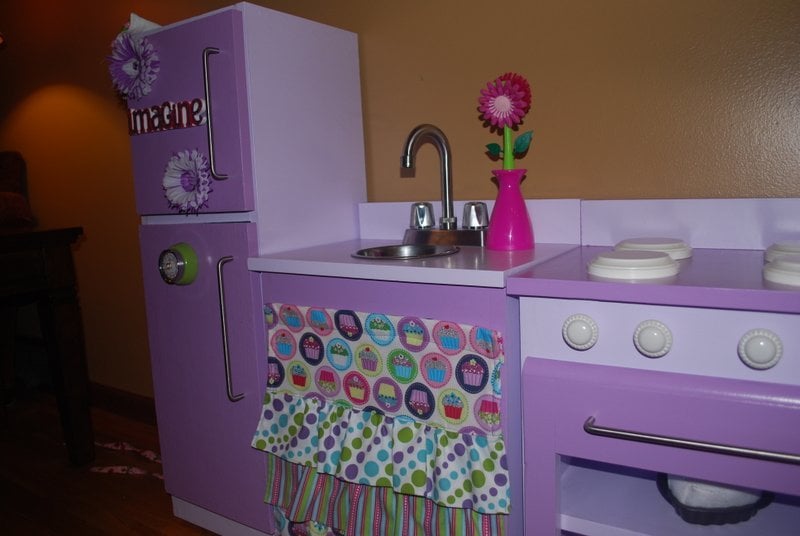
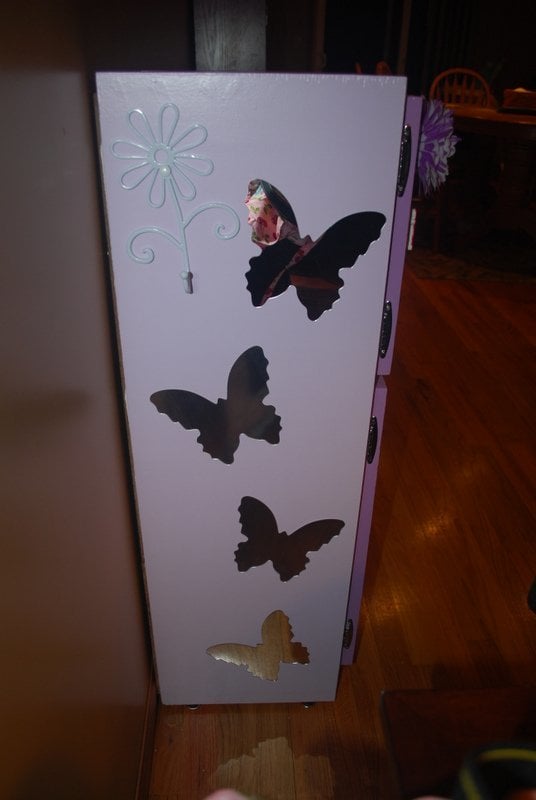
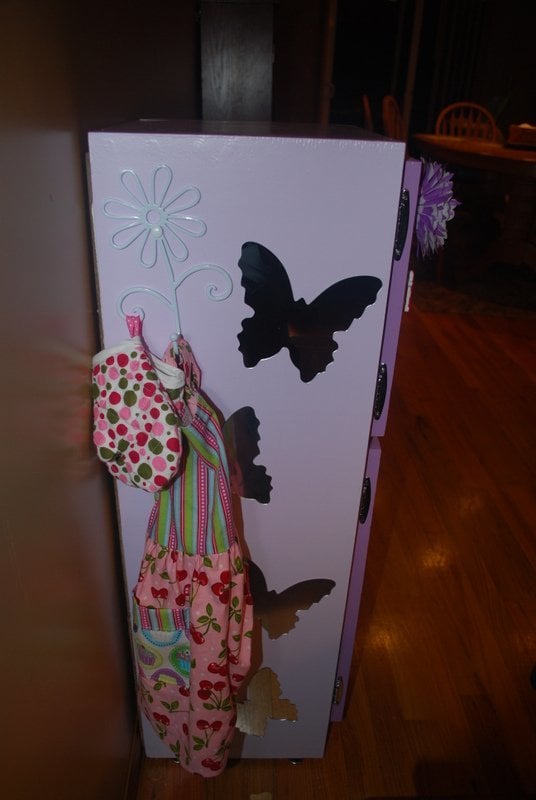
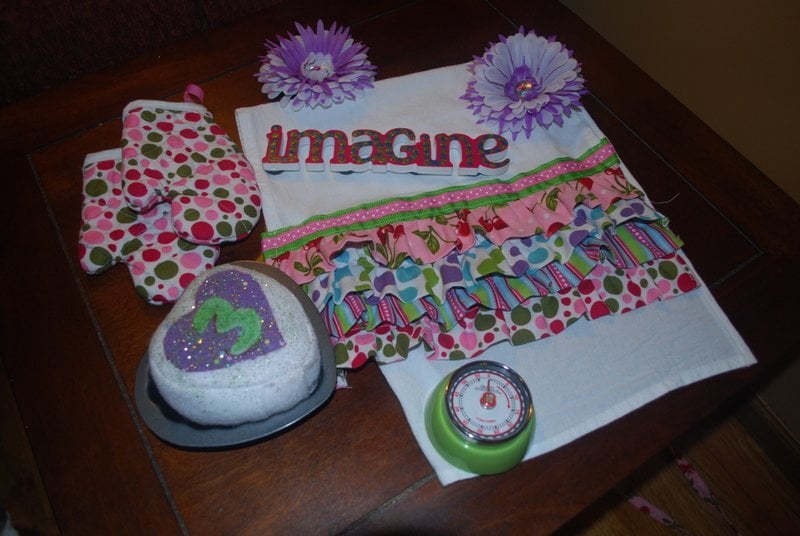
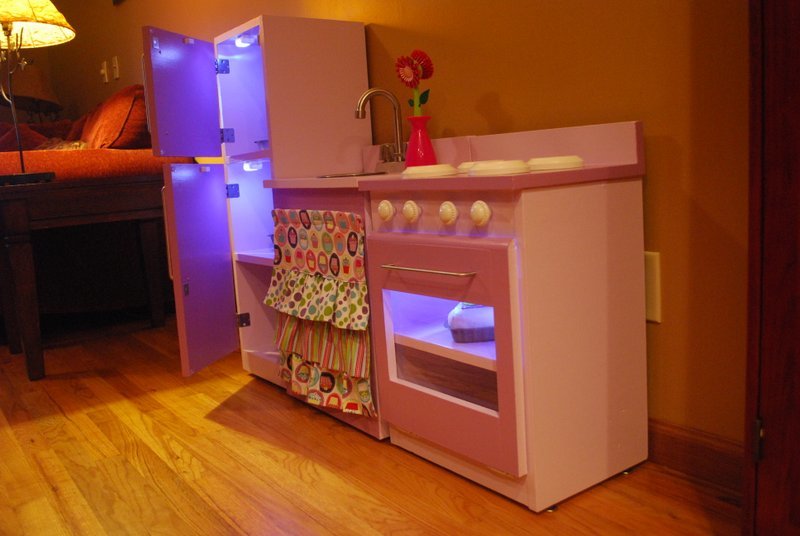
Birthday Play Kitchen
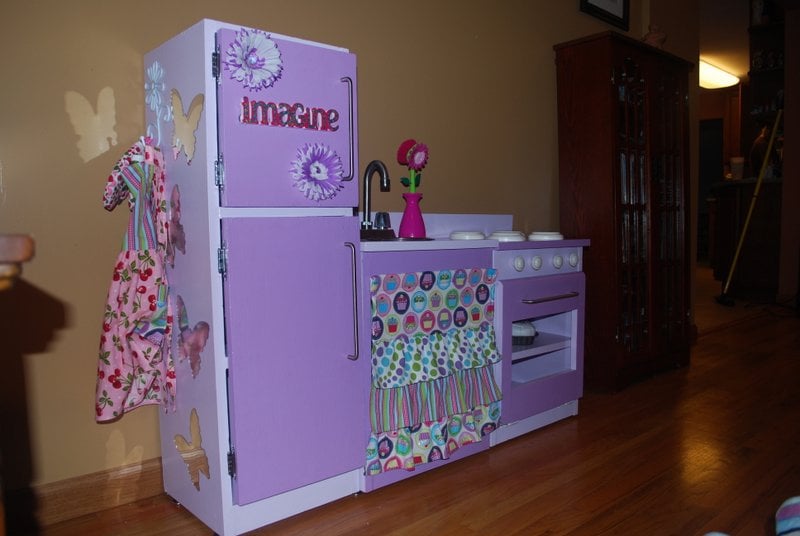
What do you want for your birthday? 'A purple kitchen'....
That's how it all started. My husband and I had no previous woodworking experience and we managed to build these guys.
The devil was in the details here! Building these didn't really take that long, It was the finishing and accessorizing.
Thank God that I know how to sew/craft. I loved the ruffle curtain from crafting chicks so I made that. The apron and oven mitts were made from the same set of fabrics. I ordered the butterfly stick on mirrors on line....they didn't stick that well so we added double stick tape. The front of the fridge is magnetic primed. The flower magnets I made and the imagine was a primed wood precut from Michaels that I painted. Stove burners are plaques for wood burning. Stove knobs, brush, and flower hook all from Hobby Lobby. Bar faucet from ebay and the sink is just a bowl.
The lights were my husbands idea....the fridge lights are magnetic drawer lights that come on when the door is opened and off when closed - just like a real fridge! The oven light is a push button LED light.
My baby was thrilled to receive this. While I loved the PB kitchens, I really think this was much better because it gave my husband and I something to work on together and it was priceless to hear my girl tell everyone that Mommy and Daddy MADE that kitchen just for her!
Built from Plan(s)
Estimated Cost
$150-$200 Probably could have done it cheaper if we didn't add a lot of the extras.
Estimated Time Investment
Week Long Project (20 Hours or More)
Finish Used
2 coats of primer, 2 coats of behr paint, and 3 coats of polyacrylic. The backs are pre primed bead board that we painted white. Magnetic primer on the front of the fridge. Burners are painted with a soft white acrylic and then polyacrylic.
Recommended Skill Level
Beginner
Comments

Sat, 05/05/2012 - 19:27
Love it!! You and your
Love it!! You and your husband did a great job! Really love the light ideas.
Thu, 11/29/2012 - 13:11
Love the color scheme and
Love the color scheme and will be doing similar on the one I am working on now thanks to your posts!! How did you cut the stove door?
Wed, 12/12/2012 - 18:13
Do you have a plan for this,
Do you have a plan for this, or know where I can find one? I would love to make this for my toddler girls.
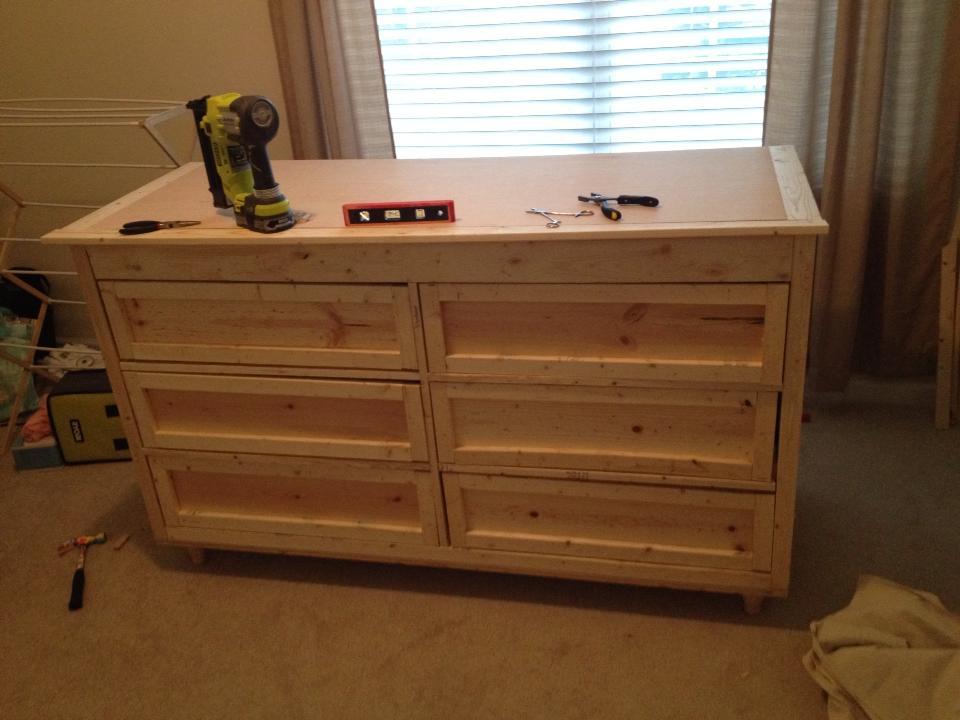
Madison Dresser
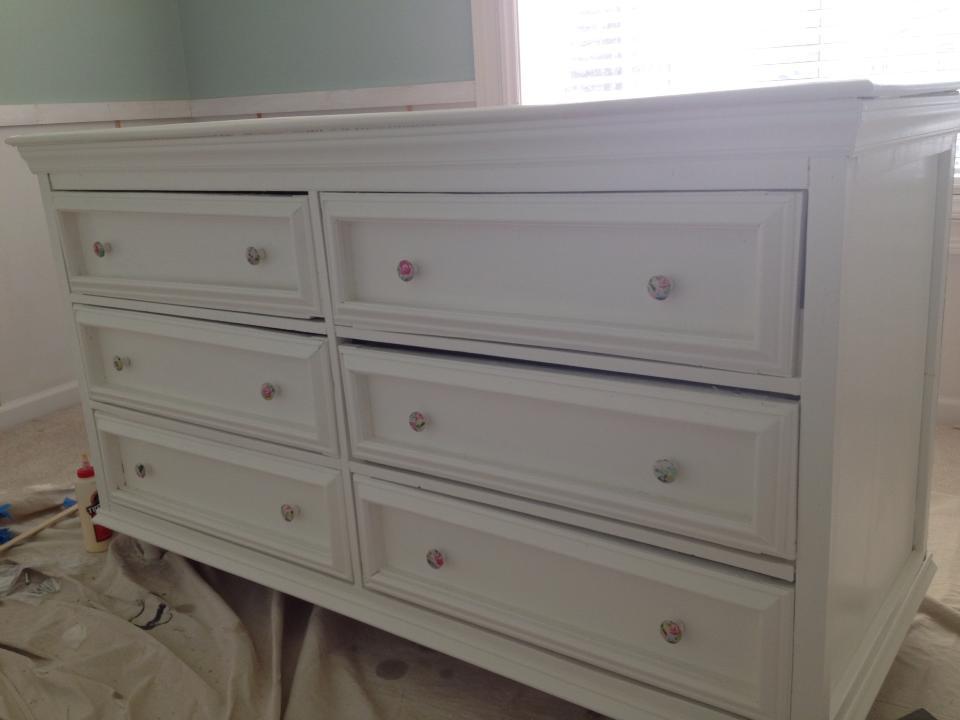
This was my most ambitious project yet - and I did it during my 2nd trimester of my first pregnancy! I knew I wanted a dresser that would double as a changing table & fell in love with the Madison as soon as I saw it. This is no small project - those drawers were certainly a learning experience! Wish I'd paid more attention to the 1x2s (& sprung for top pine to try to get a straighter frame). We're happy with how it's turned out & can't wait to start using it for our daughter when she arrives in May!
Built from Plan(s)
Estimated Time Investment
Week Long Project (20 Hours or More)
Finish Used
Copied the original at Old Paint Design & used Valspar's Polar White (2 coats, semi-gloss) after a coat of primer. Hand brushed the whole thing.
Recommended Skill Level
Intermediate
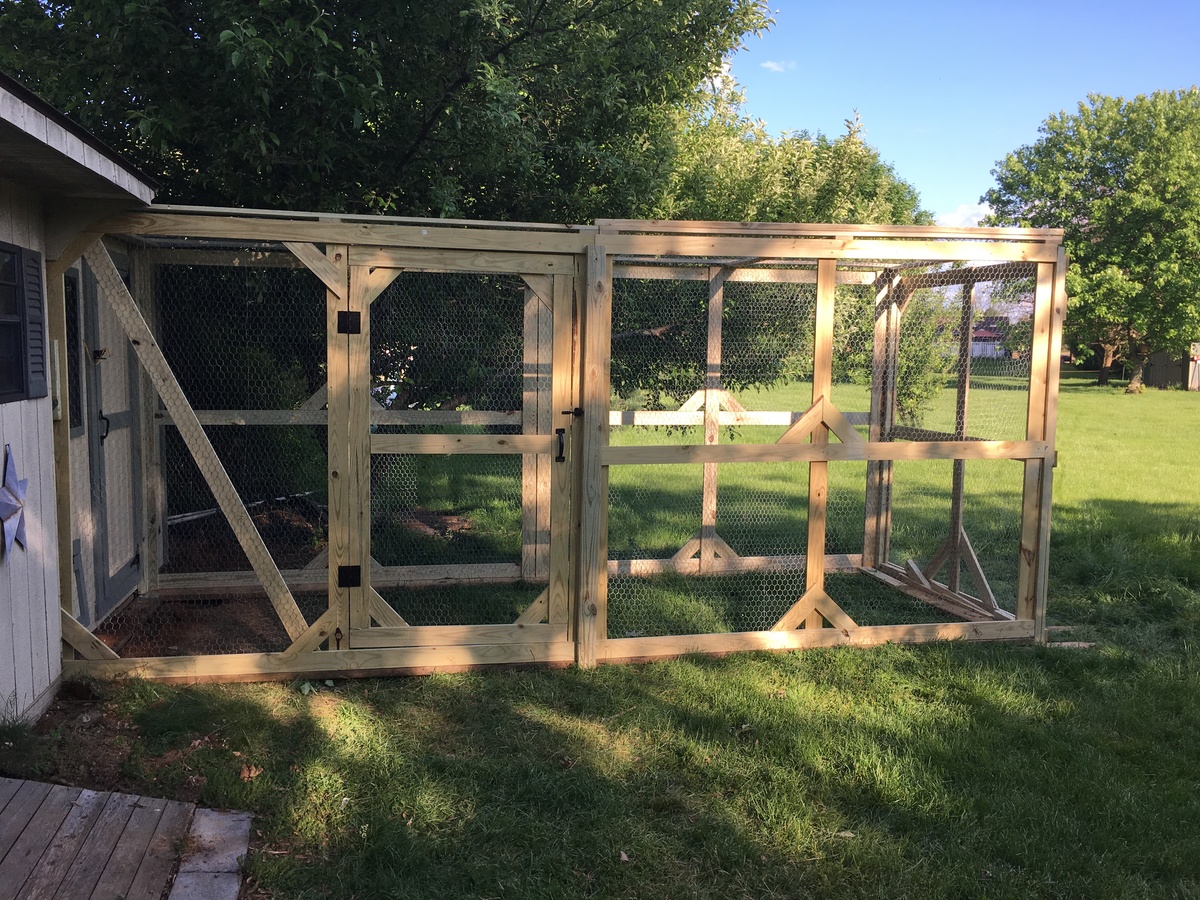
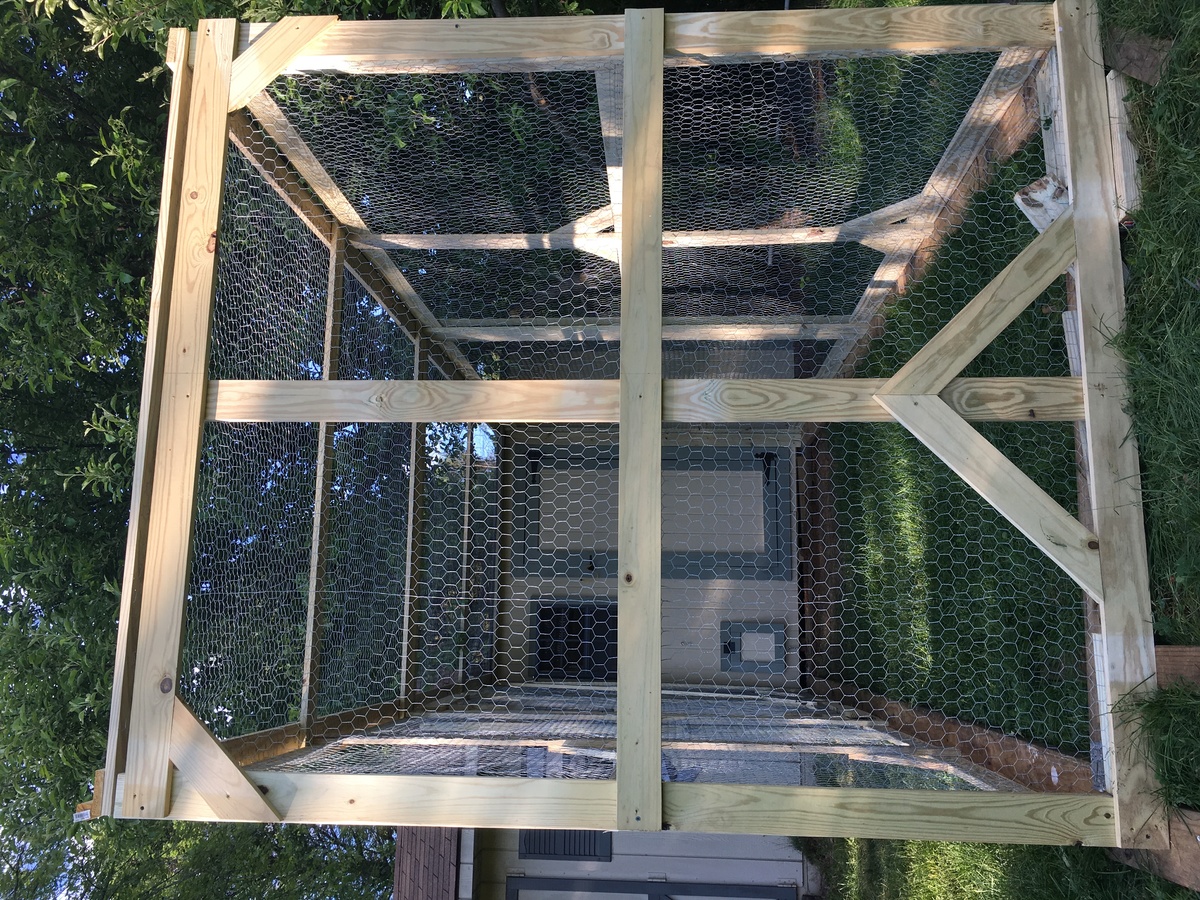
Chicken run
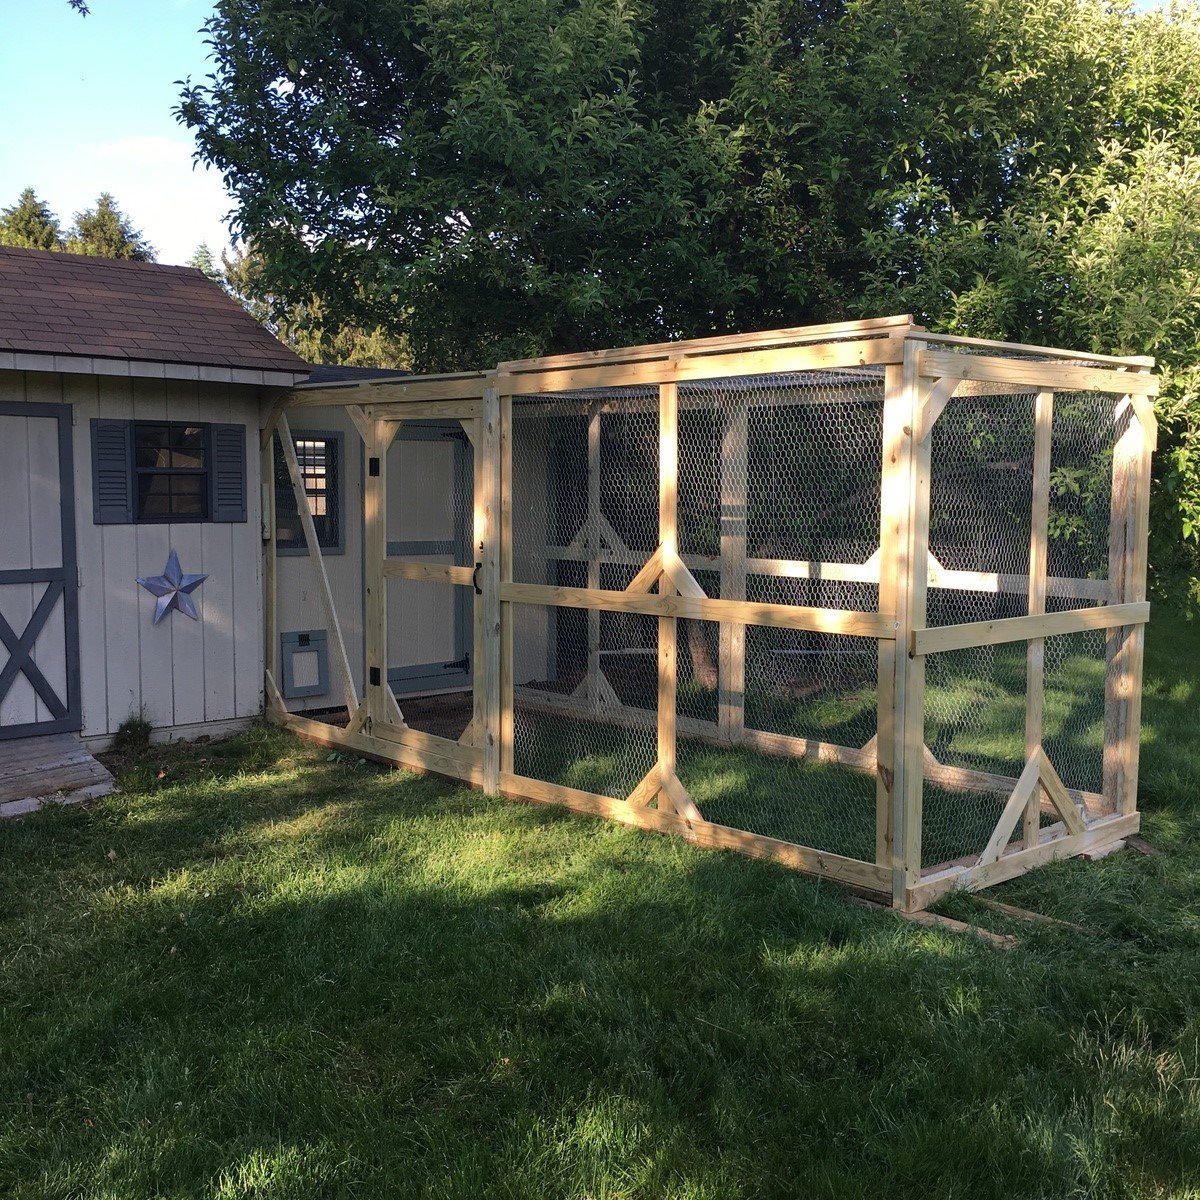
Or use the same plans with the exception of I extended the height so I could actually walk into the run fairly simple to assemble I would strongly recommend an air compressor staple gun or you'll end up with four arms like Popeye
Built from Plan(s)
Estimated Cost
$250-$300
Estimated Time Investment
Weekend Project (10-20 Hours)
Recommended Skill Level
Beginner
Bunk Beds with Trundle Bed for American Girl
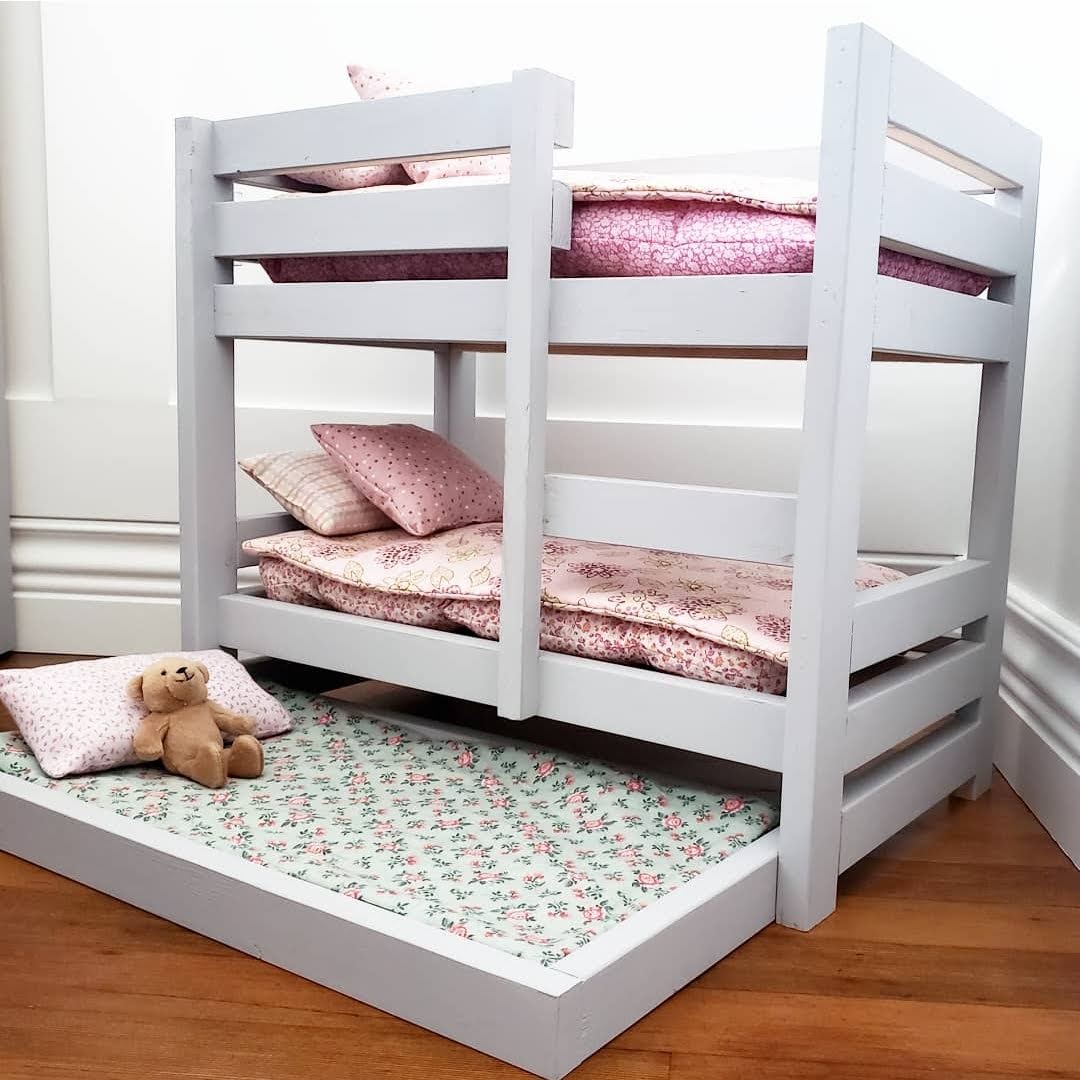
Followed Ana White's Doll Bunk Beds for American Girl and added a Trundle Bed using a few small modifications. Ana's plans were easy to follow and I was able to complete this in an afternoon.
Built from Plan(s)
Estimated Cost
Free - used scrap materials
Estimated Time Investment
An Hour or Two (0-2 Hours)
Finish Used
Rustoleum Aged Gray Chalk Paint
Recommended Skill Level
Beginner
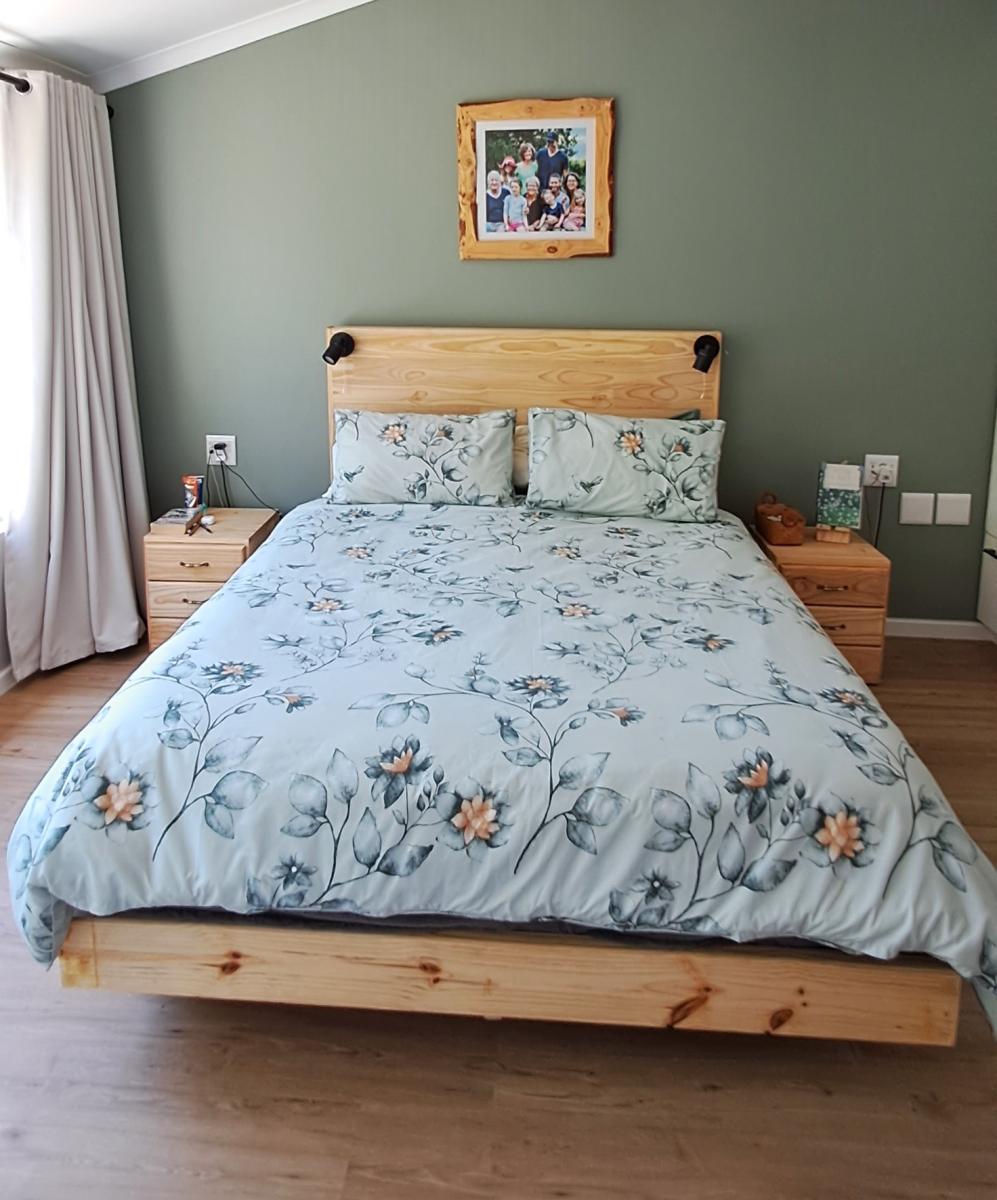
Midcentury Inspired Bed
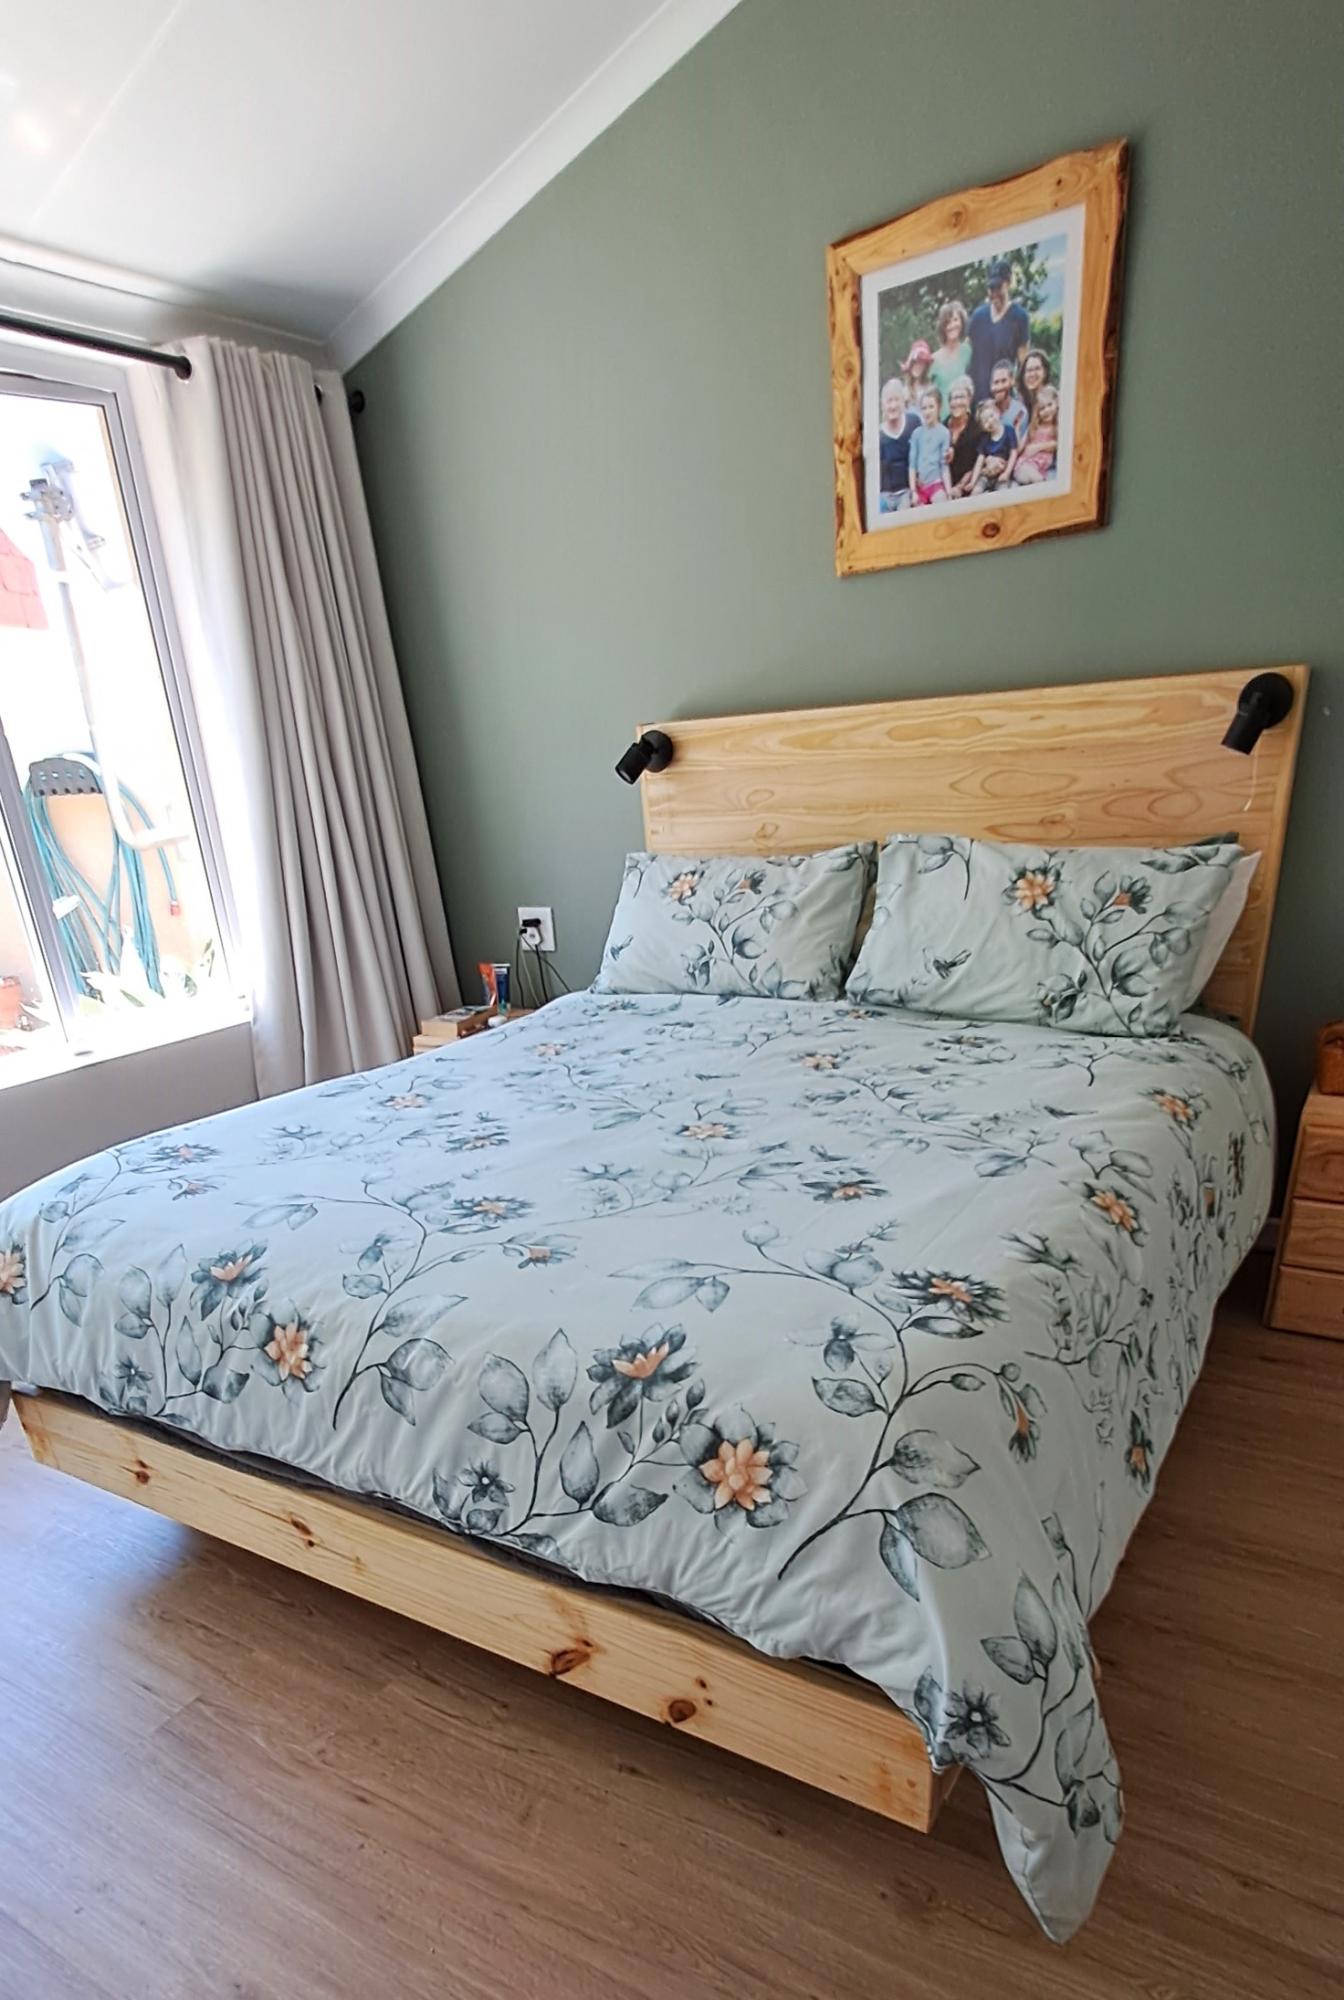
My Midcentury Farmhouse Bed. Finished at last. Managed to convert your imperial measurements to metric.
Brian
Johannesburg, RSA
Built from Plan(s)
Comments
Mon, 10/16/2023 - 10:53
Nice Mid Century Vibe!
Thank you for sharing your beautiful build, it looks great!
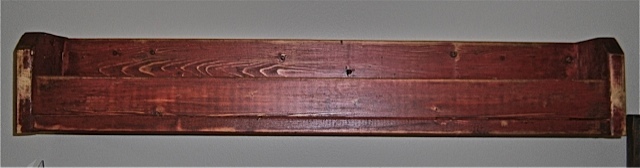
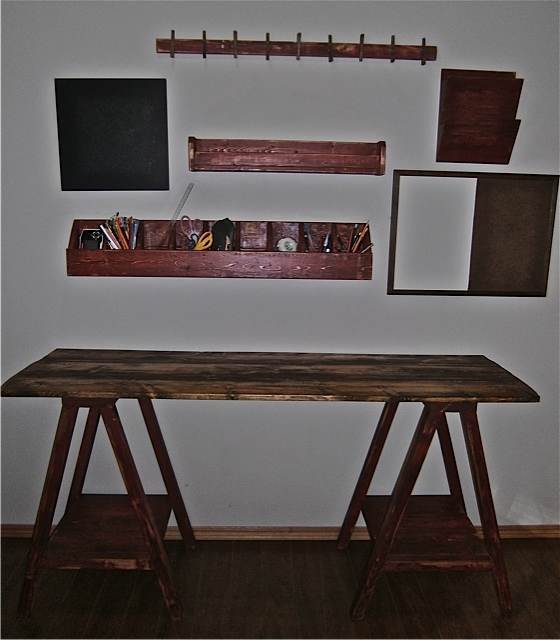
Ten Dollar Ledges

My husband made these for our God son's 1st birthday gift. He loves them so much. We can't wait to make these for our daughter's nursery as well. These are so easy & beautiful to make.
Built from Plan(s)
Estimated Cost
$50
Estimated Time Investment
An Hour or Two (0-2 Hours)
Finish Used
We used black flat spray paint which which is the longest part of the project, waiting for the paint to dry.
Recommended Skill Level
Starter Project
My very FIRST build!! LOVE IT!!

My husband is deployed and I just decided to start building, to keep my mind busy. I built this table & benches, sanded, stained it & had it in my nook in just 6 days!!! I worked on it every night when the kids went to bed. Thank you Ana White!! :) I will be using this site quite a bit to keep me busy!
Built from Plan(s)
Estimated Cost
$140
Estimated Time Investment
Week Long Project (20 Hours or More)
Recommended Skill Level
Beginner
Comments
Tue, 02/25/2014 - 00:56
your very welcome
Thank you for the idea, i am definitetly going to use your design on a future project of mine.
Tue, 02/25/2014 - 00:56
your very welcome
Thank you for the idea, i am definitetly going to use your design on a future project of mine.
Mini Farmhouse Bedside Tables
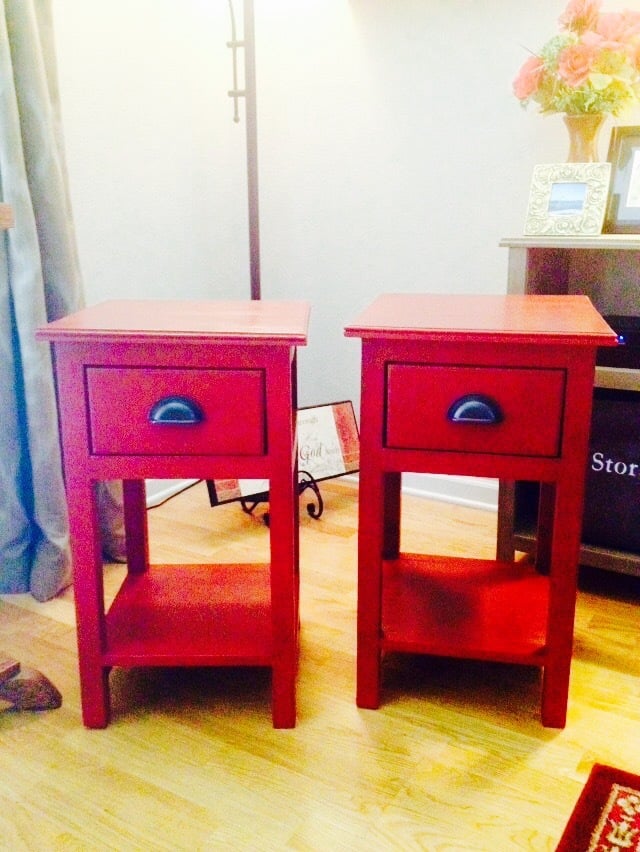
. They were made exactly according to the above referenced plans.
Built from Plan(s)
Estimated Cost
$30 each table.
Estimated Time Investment
Day Project (6-9 Hours)
Finish Used
These tables were sprayed with a flat brown, then with a flat dark red. Then they were finished with a hand wax of minwax dark.
Recommended Skill Level
Intermediate
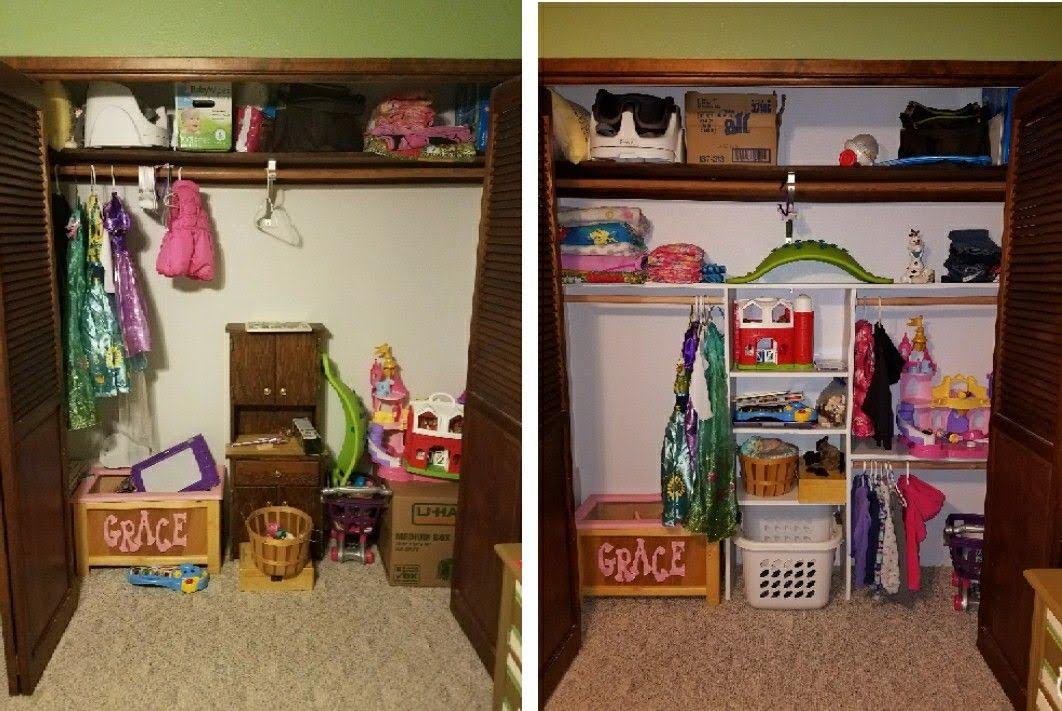
Kiddo Closet Organizer
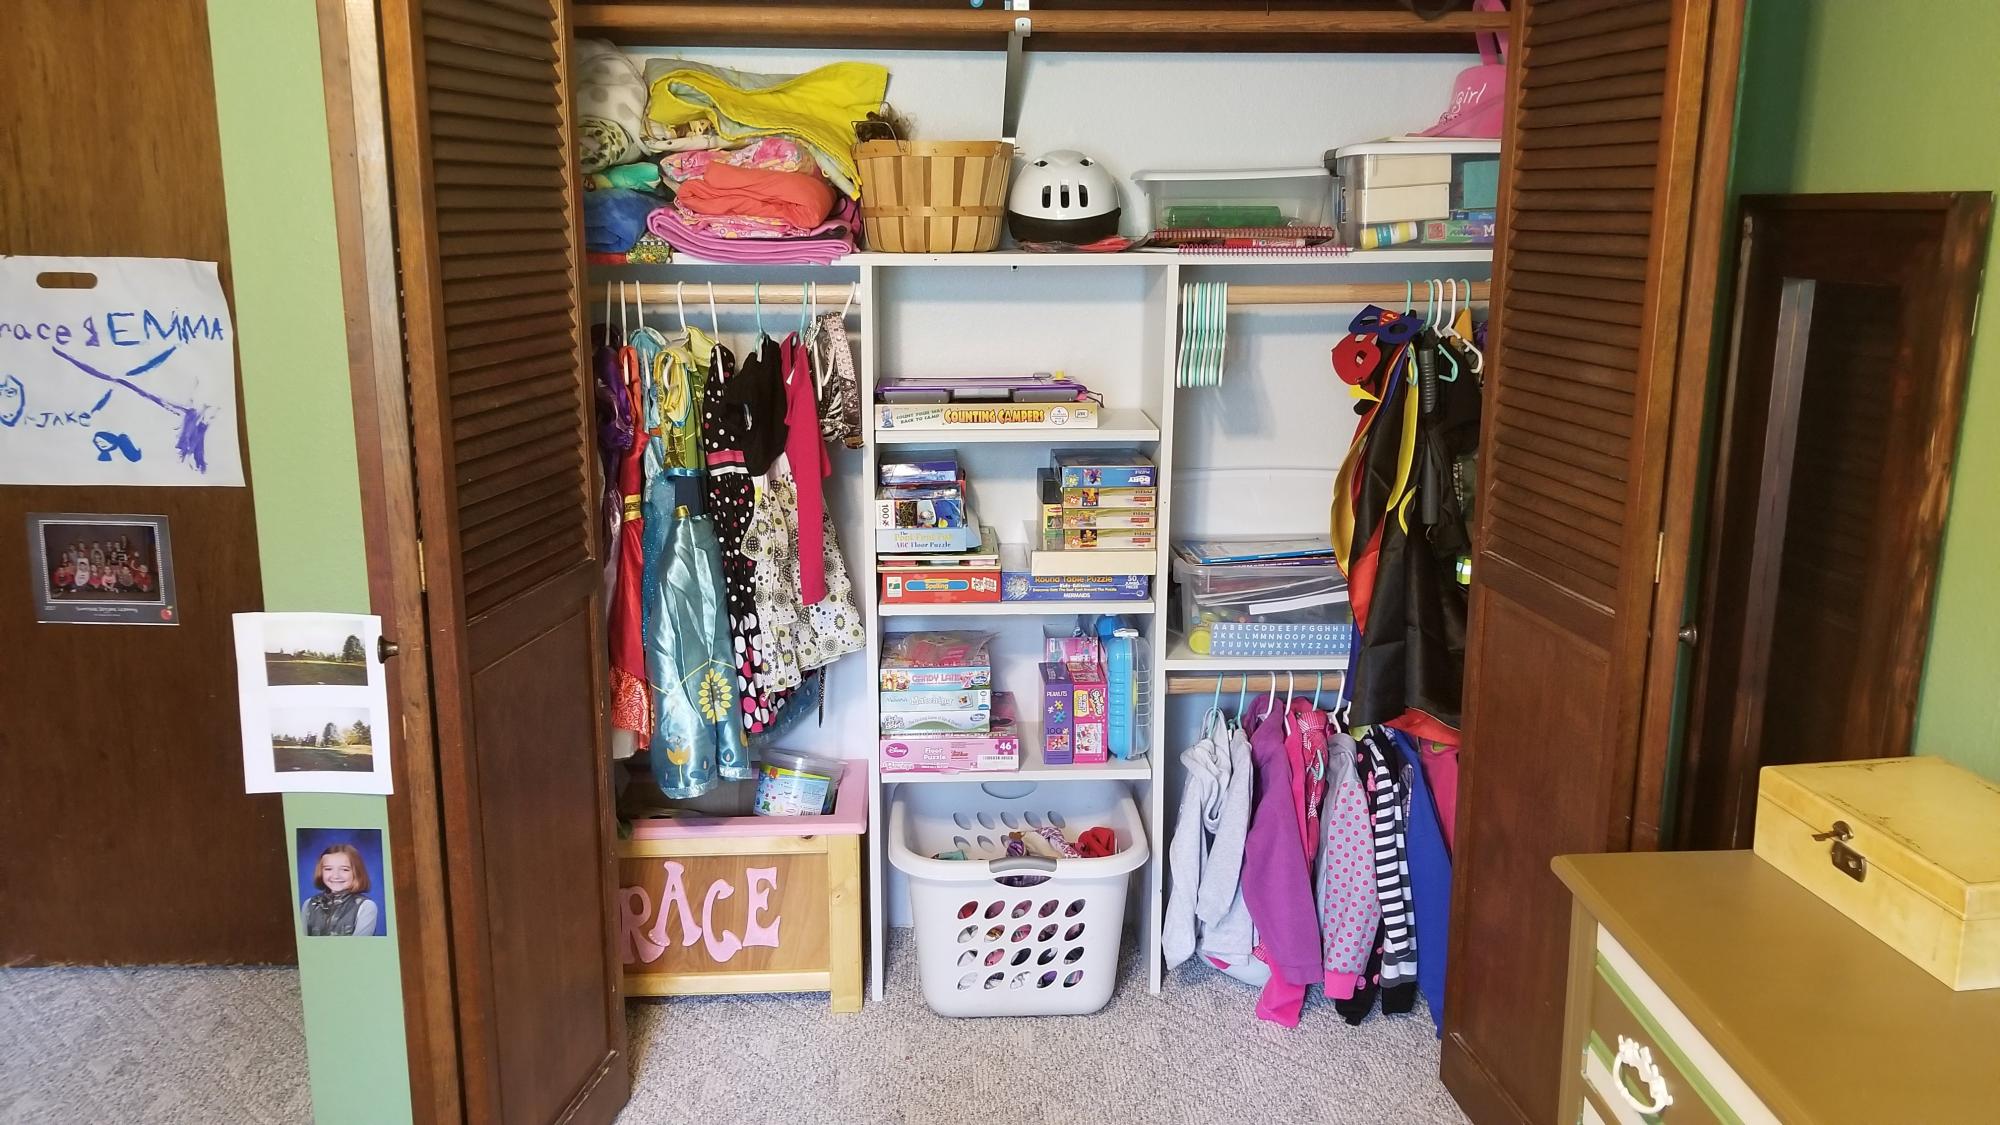
My daughter's closet was a nightmare and helter-skelter with a lot of wasted space after we moved into our house. So I decided one day I was done with the mess and built this to suit her needs. I used 3/4 plywood, closet rods cut to size, and adjustable shelving. When she's bigger, I can pull the shelves out if needed for taller closet hanging but for now this works pretty good. She's kept it pretty clean 3 years later.
Built from Plan(s)
Estimated Cost
$65
Estimated Time Investment
Day Project (6-9 Hours)
Finish Used
Basic white paint
Recommended Skill Level
Beginner

Simple Adirondack Chair
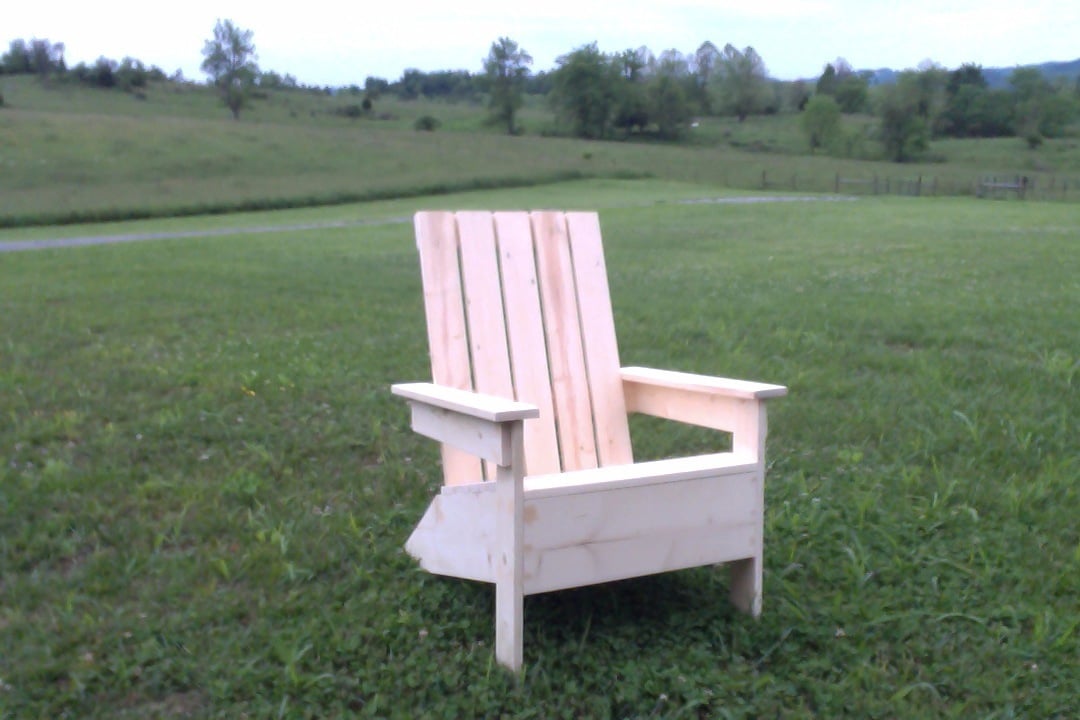
This was the second (larger) type project my husband has completed and I got to help this time! We made this for the loving ladies in our lives for Mother's Day. This one is his mom's and we didn't finish it because we don't know if she'll want to stain or just paint it. It was relatively easy!
Built from Plan(s)
Estimated Cost
25-30
Estimated Time Investment
Afternoon Project (3-6 Hours)
Finish Used
Not completed yet! We are making two for ourselves so I will upload those when we get them finished.
Recommended Skill Level
Beginner