Community Brag Posts


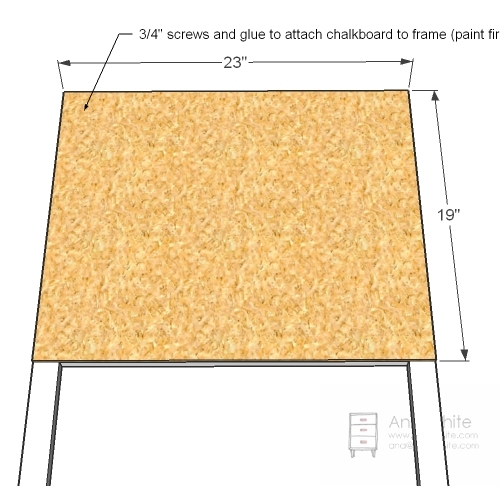
Desk
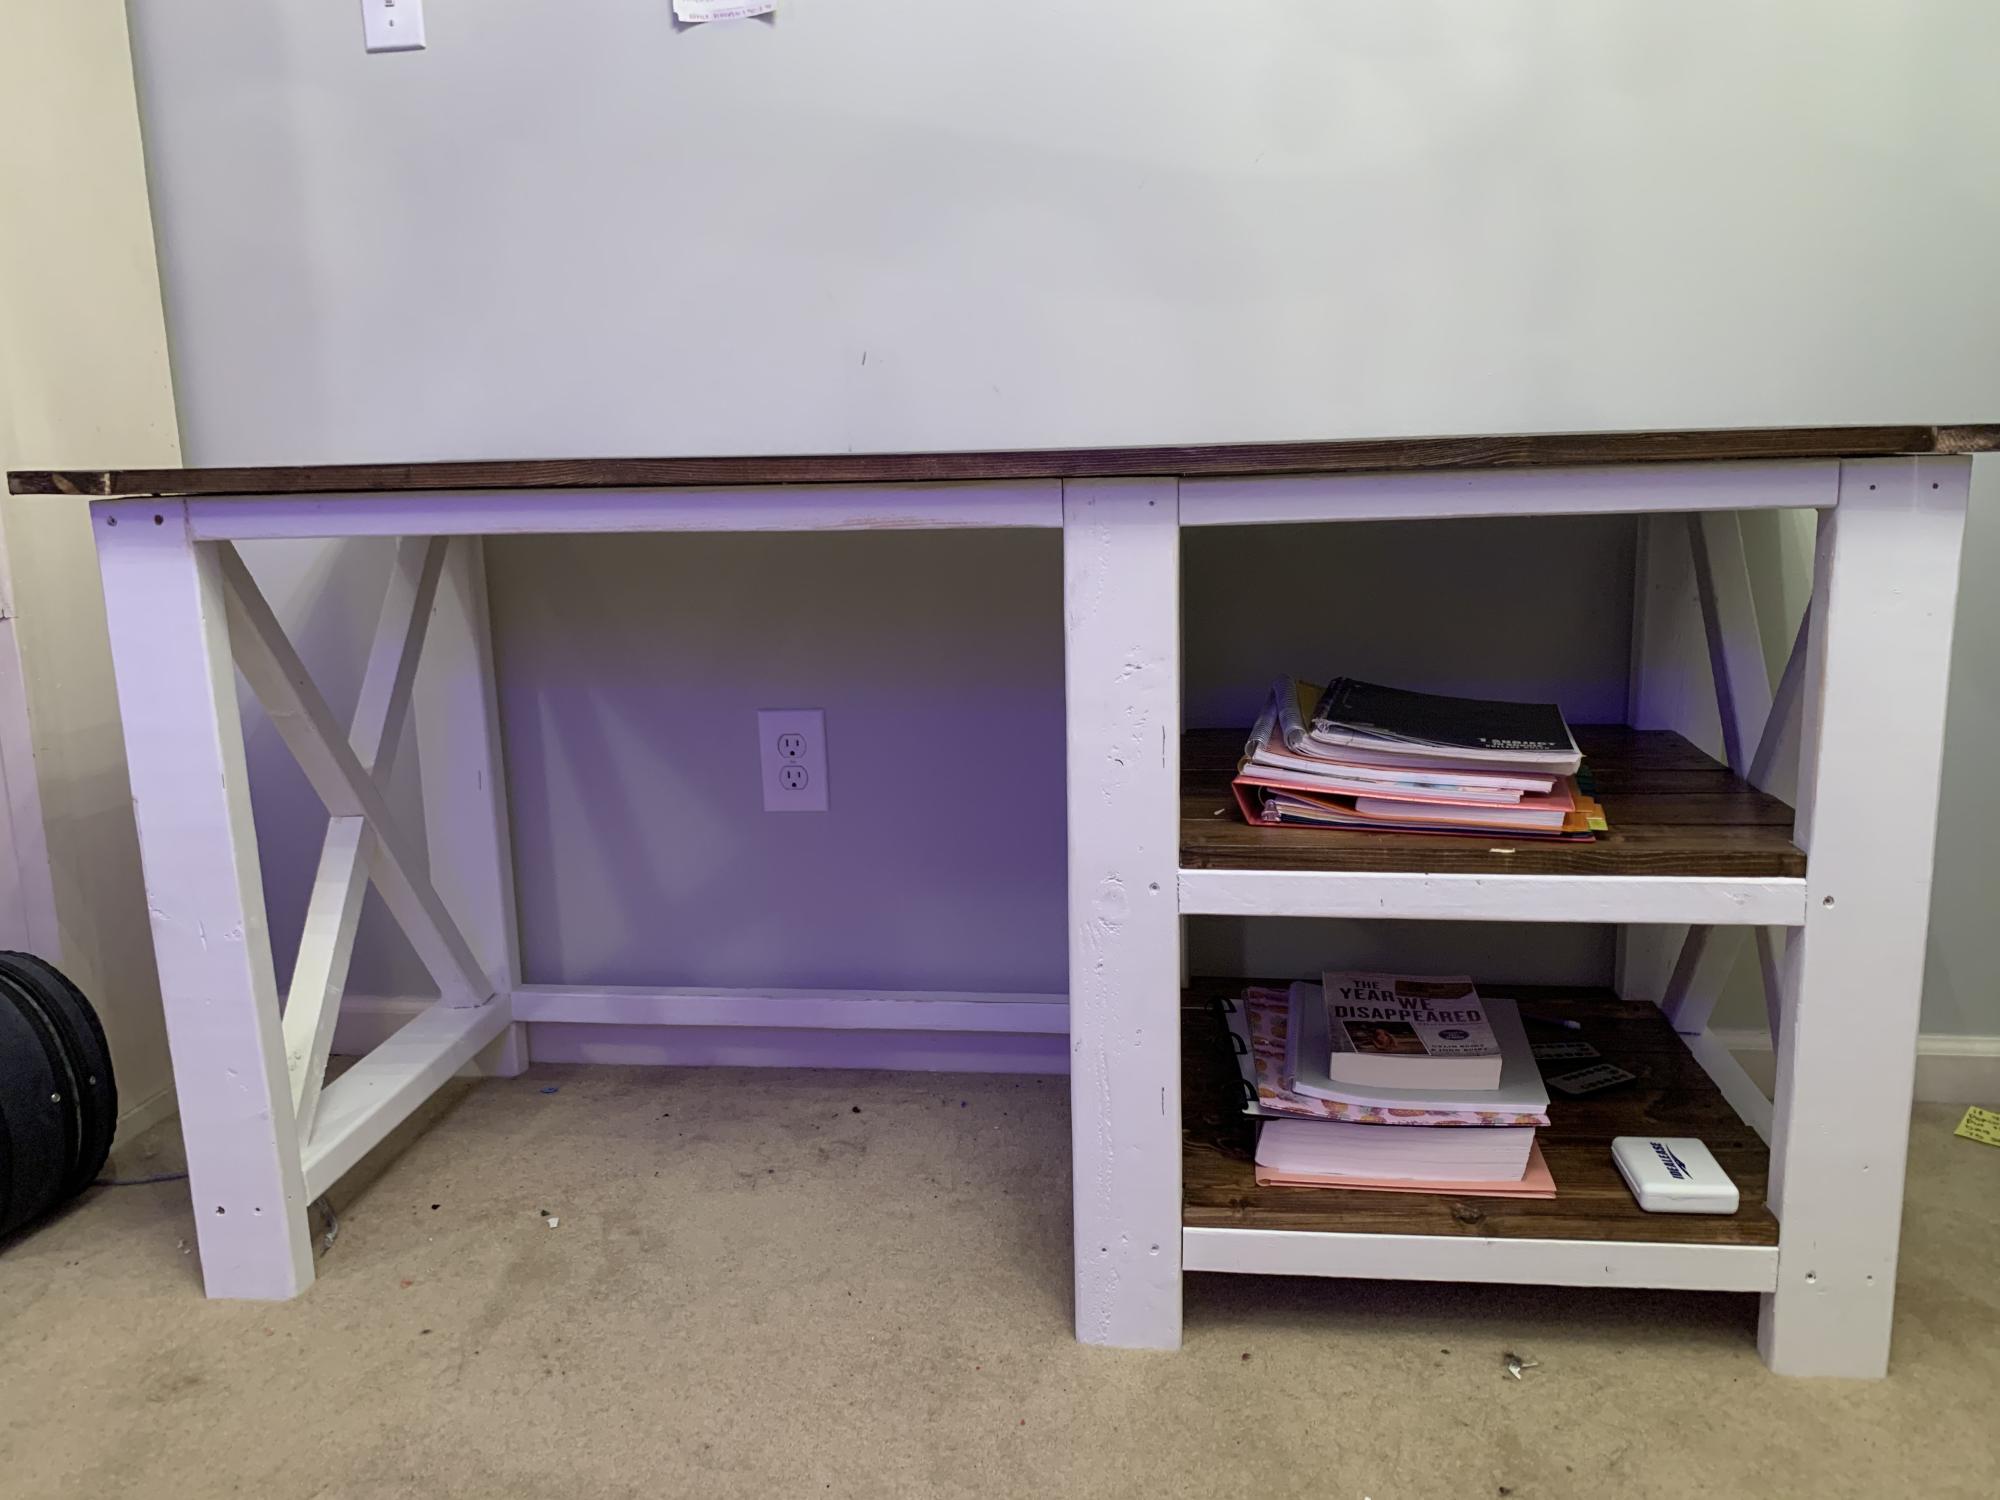
During the transition to online school, I built this for my daughter. Works great. Obviously needs some finish work, but she wanted to use it right away. lol
Built from Plan(s)
Comments
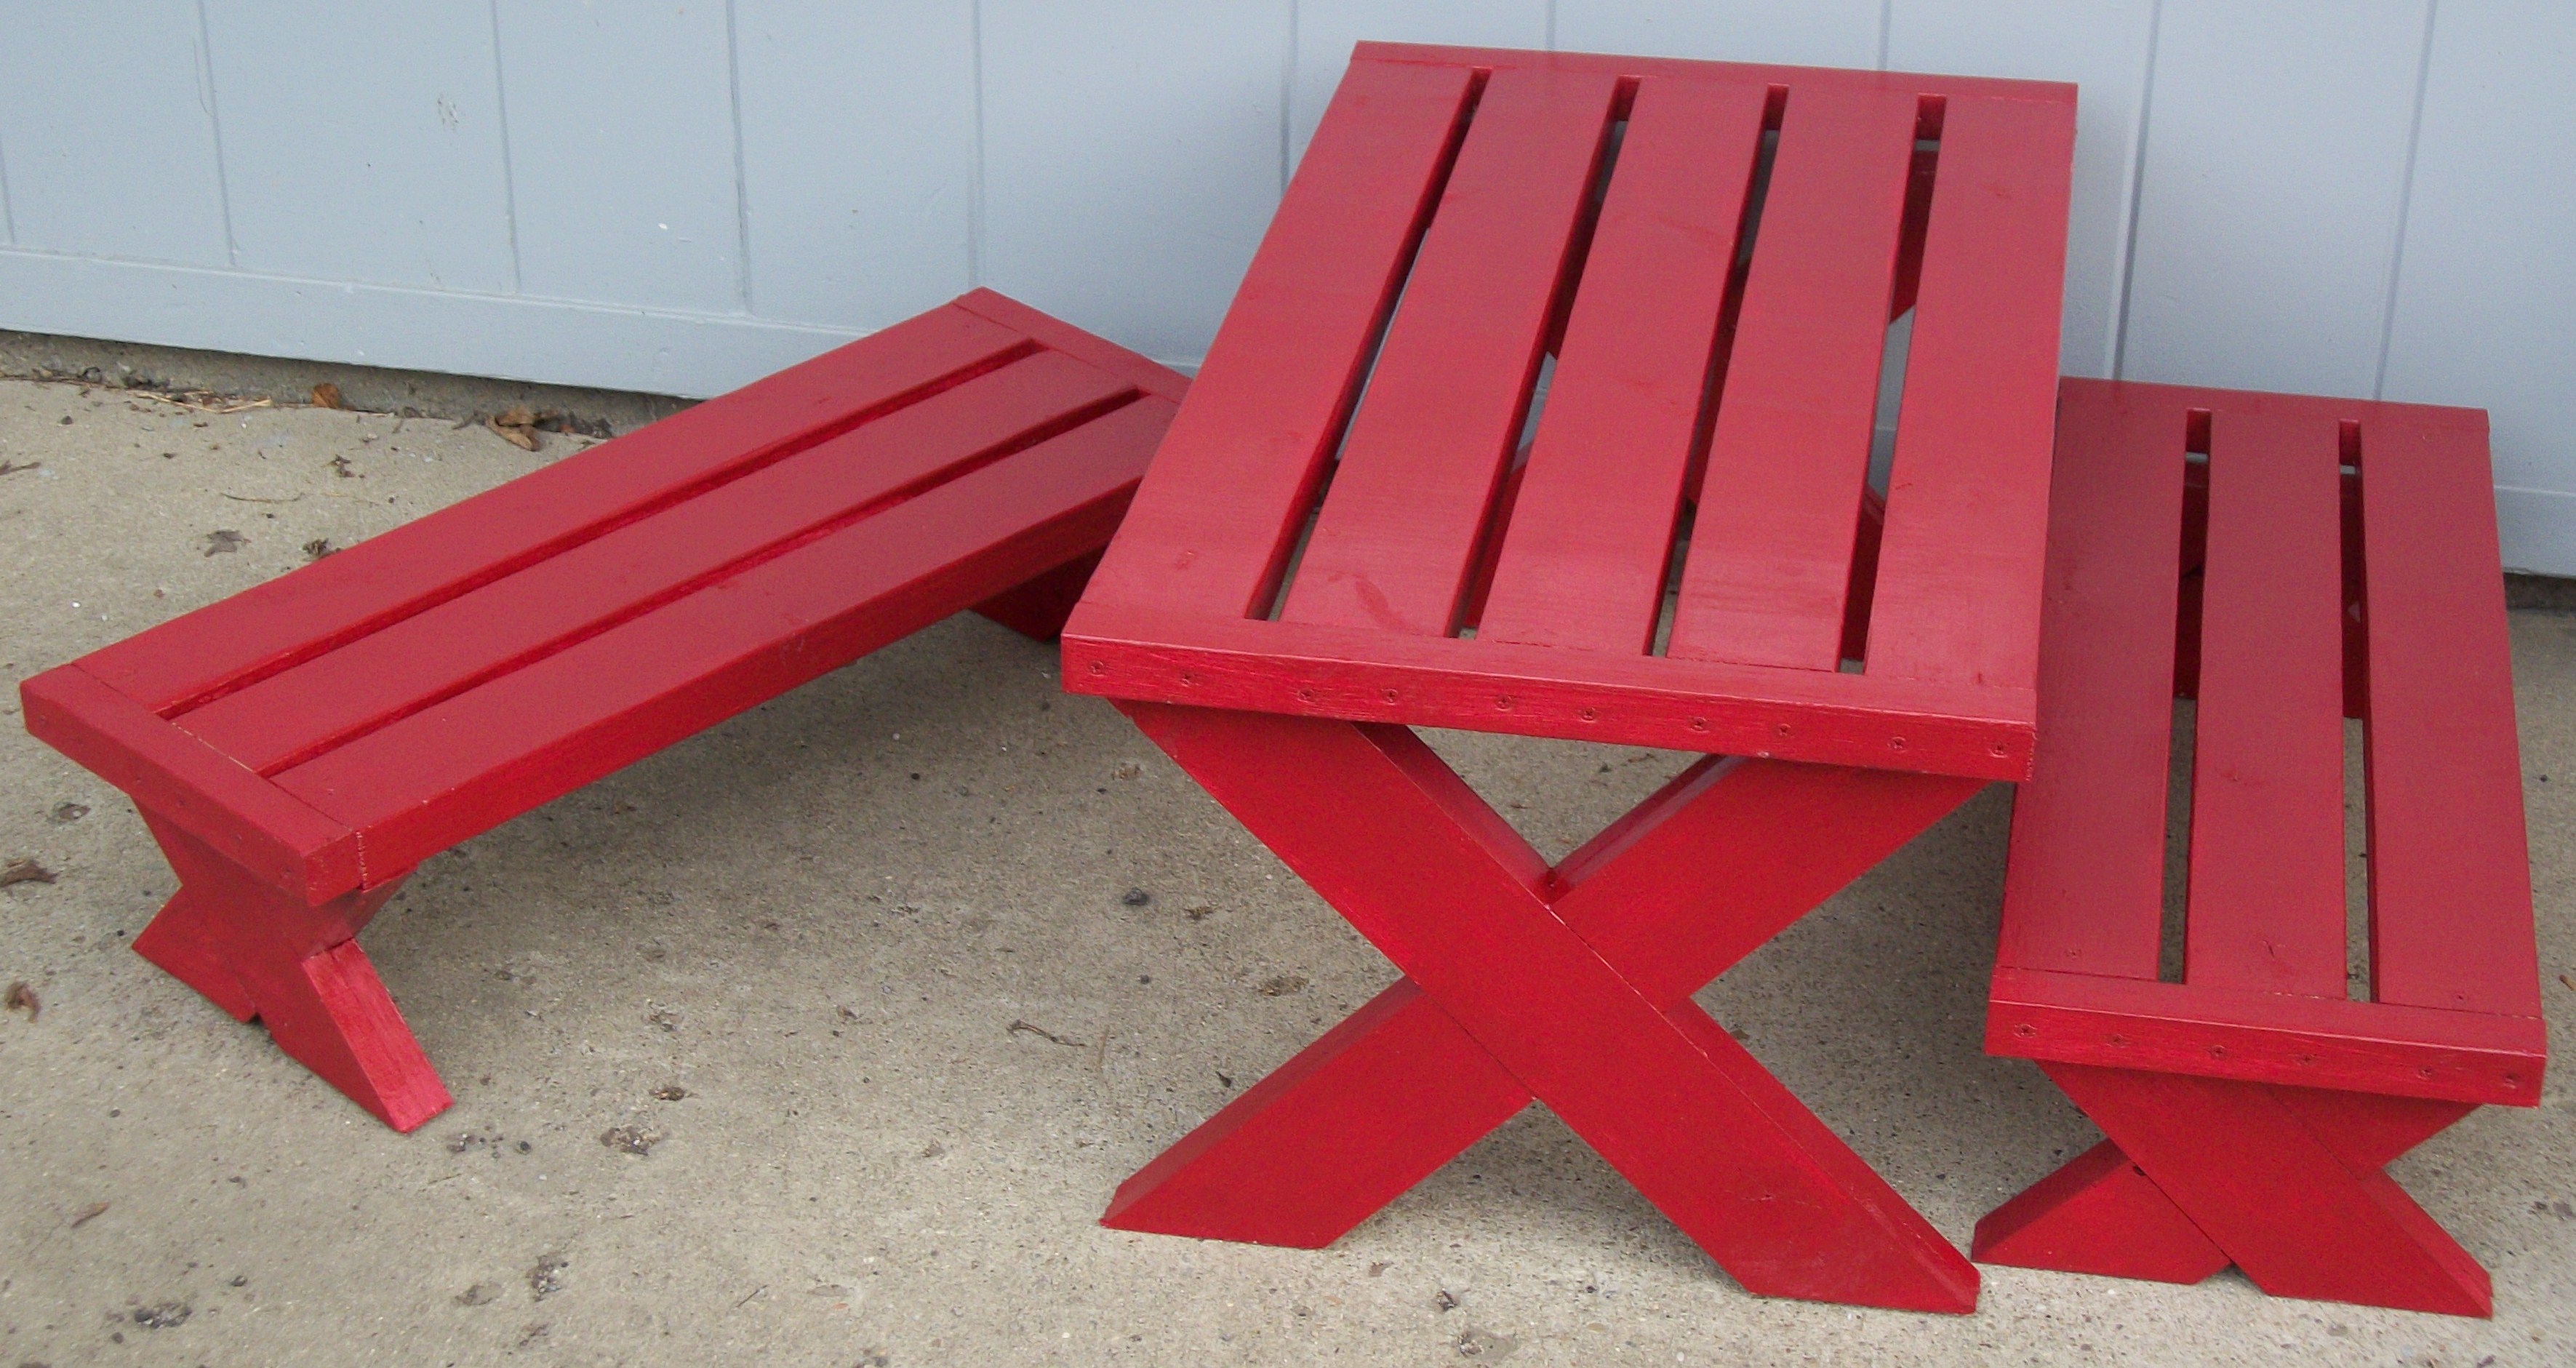
Build a modern childs picnic table or x benches
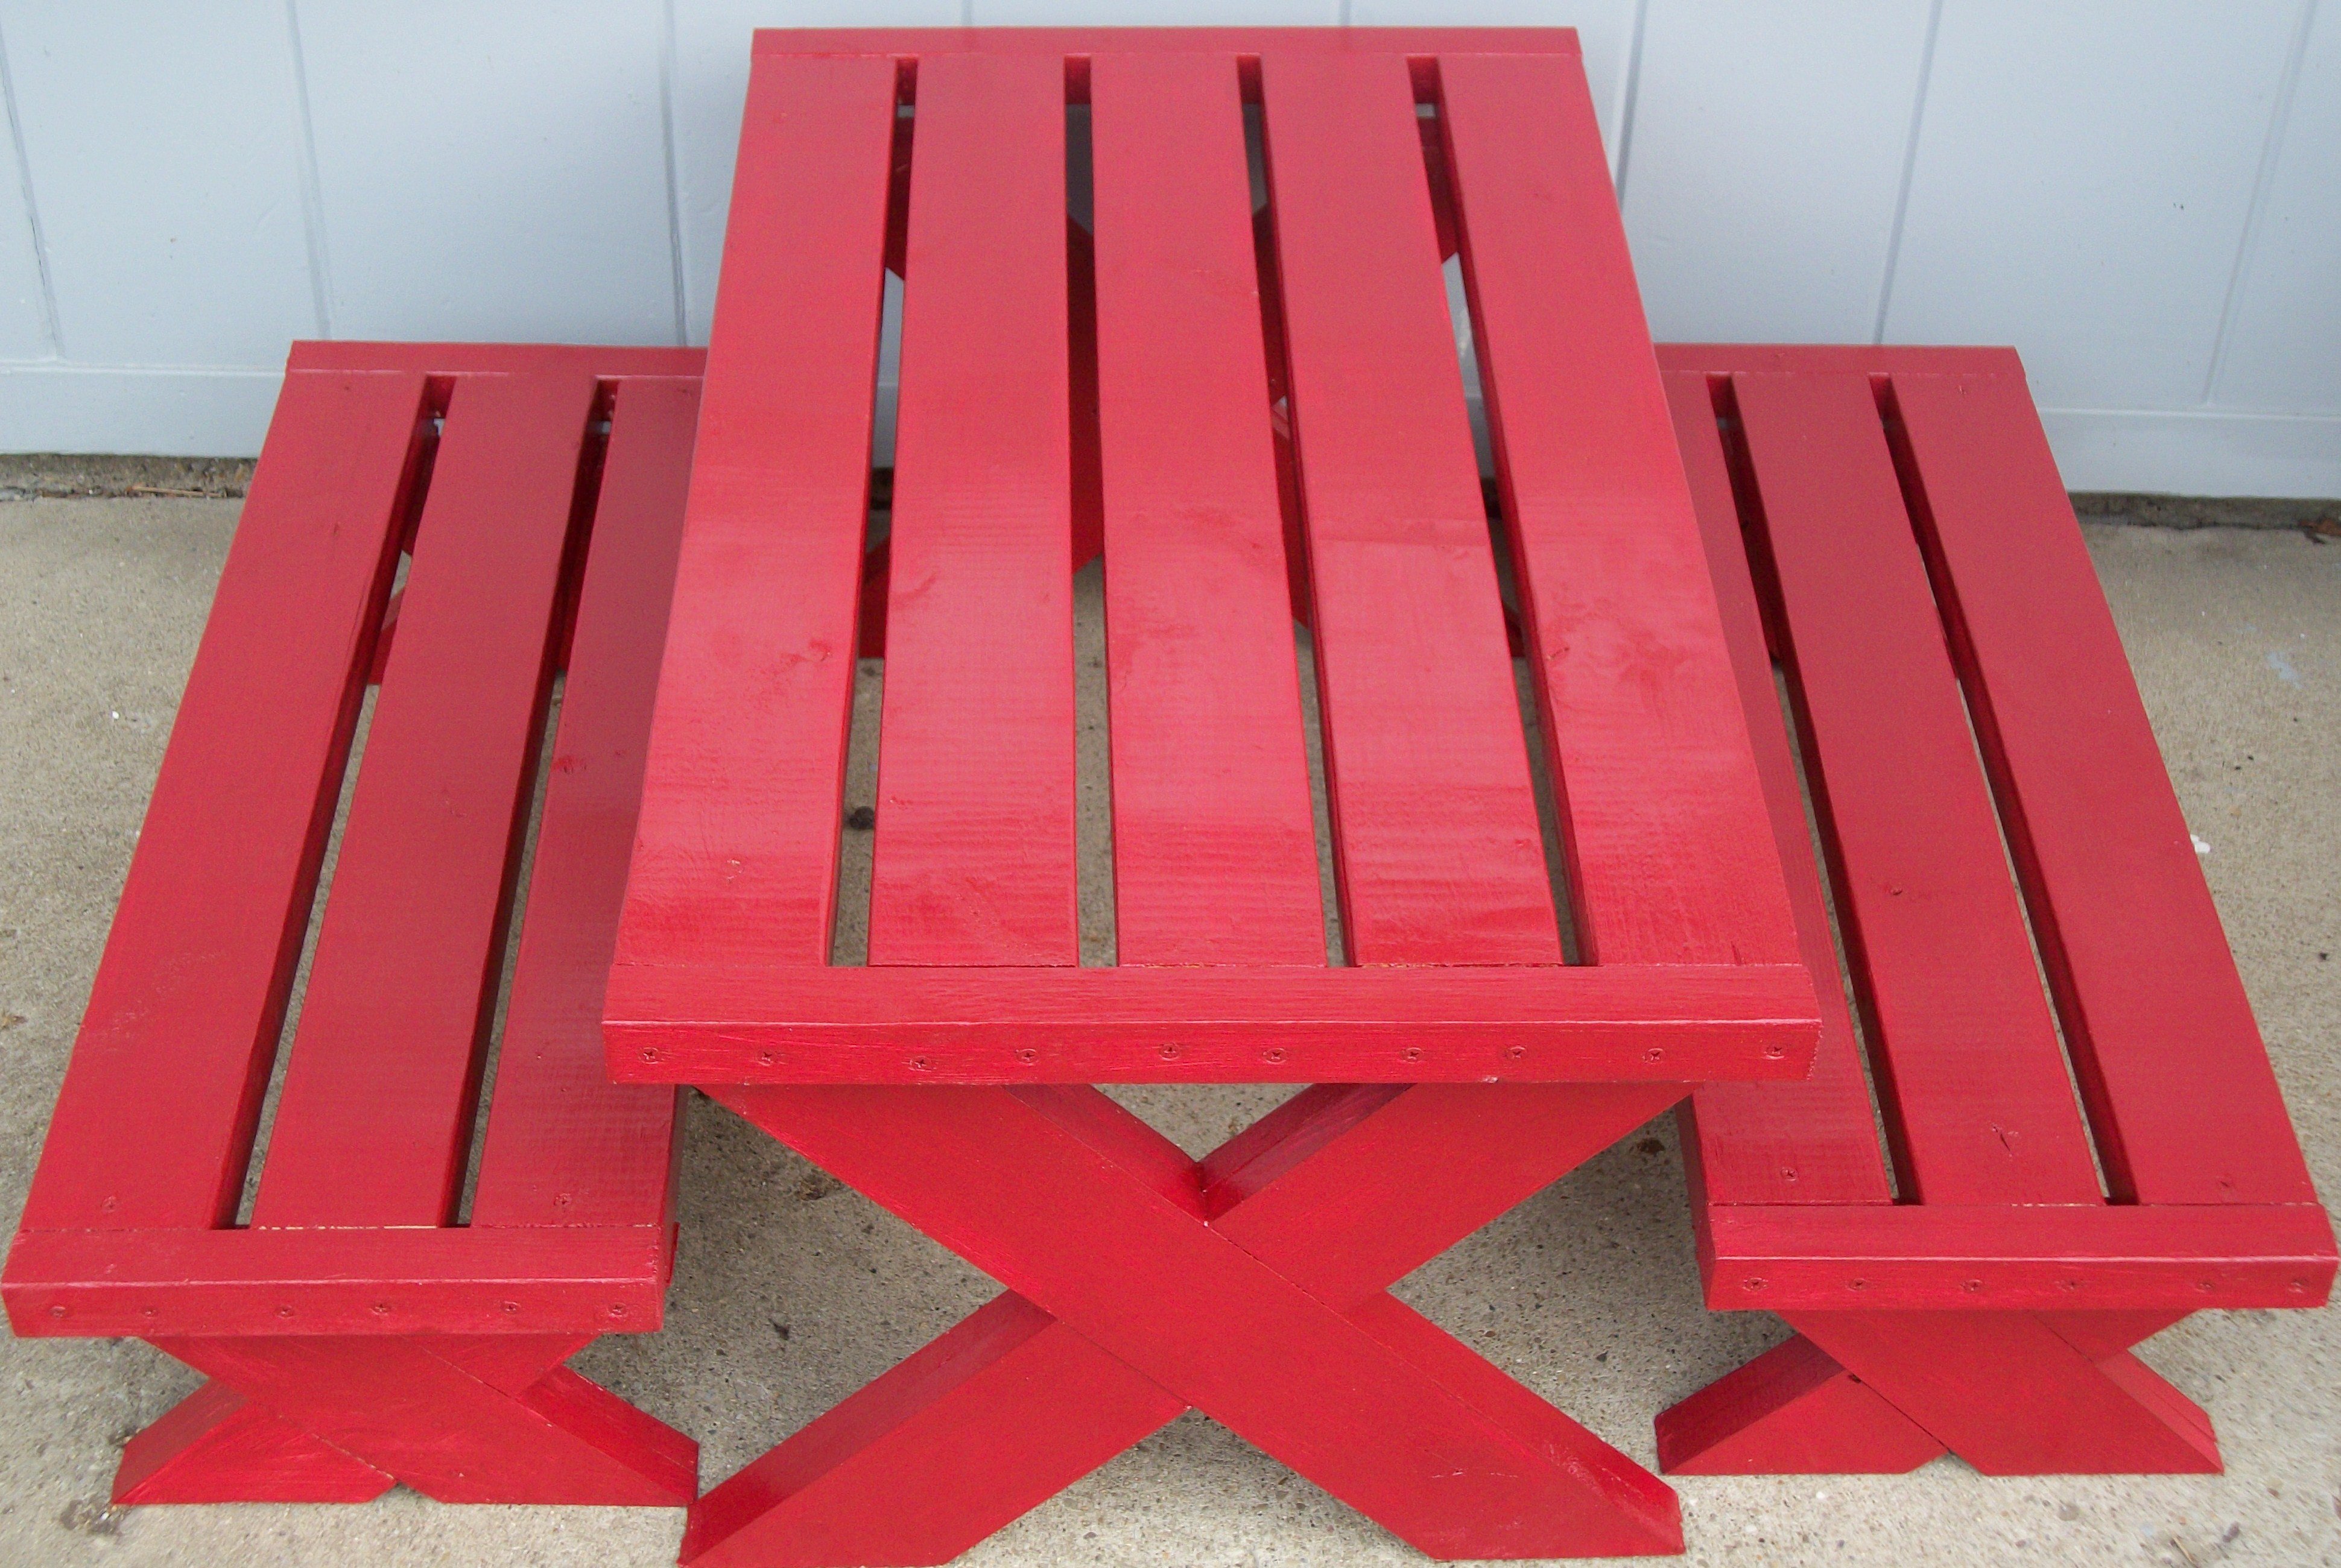
This was little tougher for me being new to wood working. But I like the look a lot better.
Built from Plan(s)
Estimated Cost
20-25 dollars
Estimated Time Investment
Day Project (6-9 Hours)
Finish Used
water-proof red paint
Recommended Skill Level
Beginner
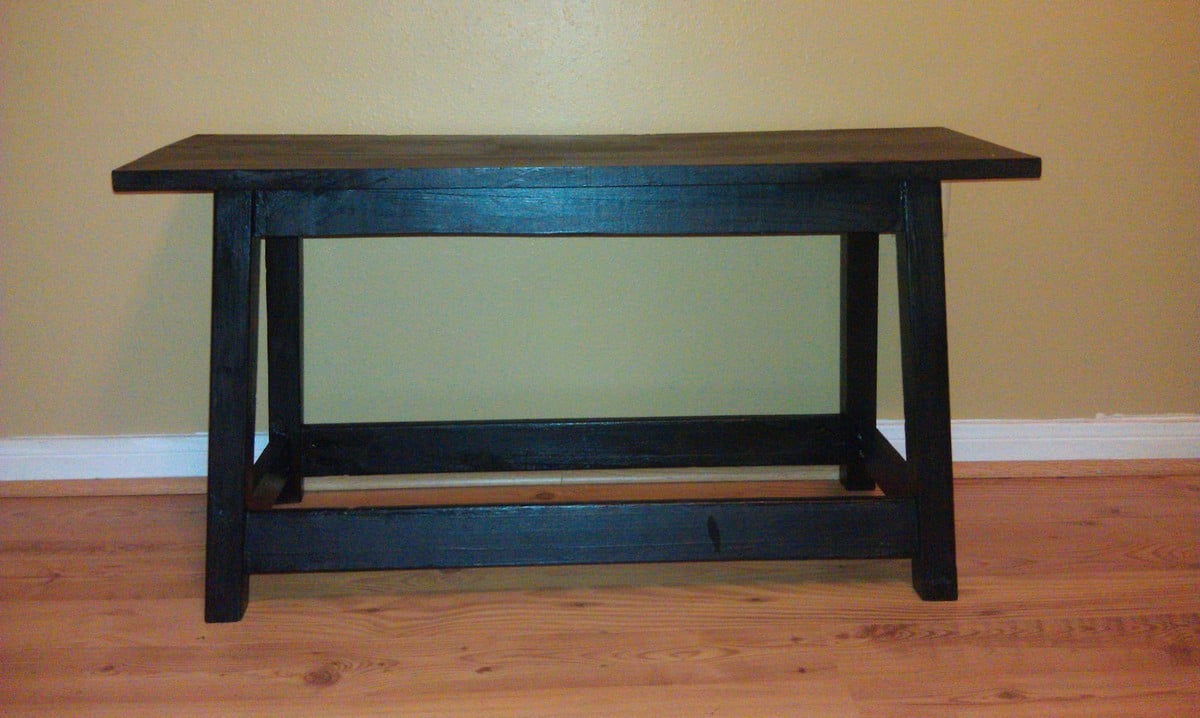
Simple Trestle Table

Built this from lumber from a daybed that I tore apart. Total cost was about $10 for the pieces for the top. Built in a small apartment with a Kreg jug and some clamps on the kitchen floor. The top is not completely even but close. Was fun to build and I am very happy with how it turned out, thanks Ana!

Estimated Cost
10
Estimated Time Investment
Afternoon Project (3-6 Hours)
Finish Used
Painted with tea, let dry, then paint with vinegar and steel wool solution, sand and shellac.
Recommended Skill Level
Starter Project
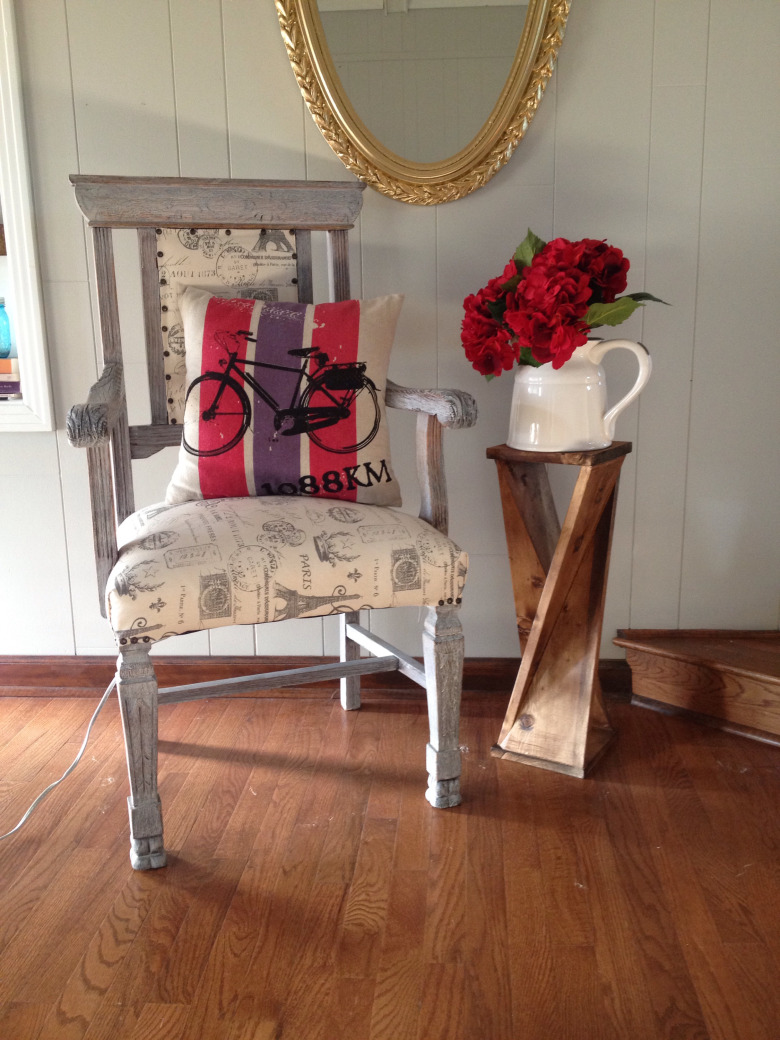
Twisted End Table
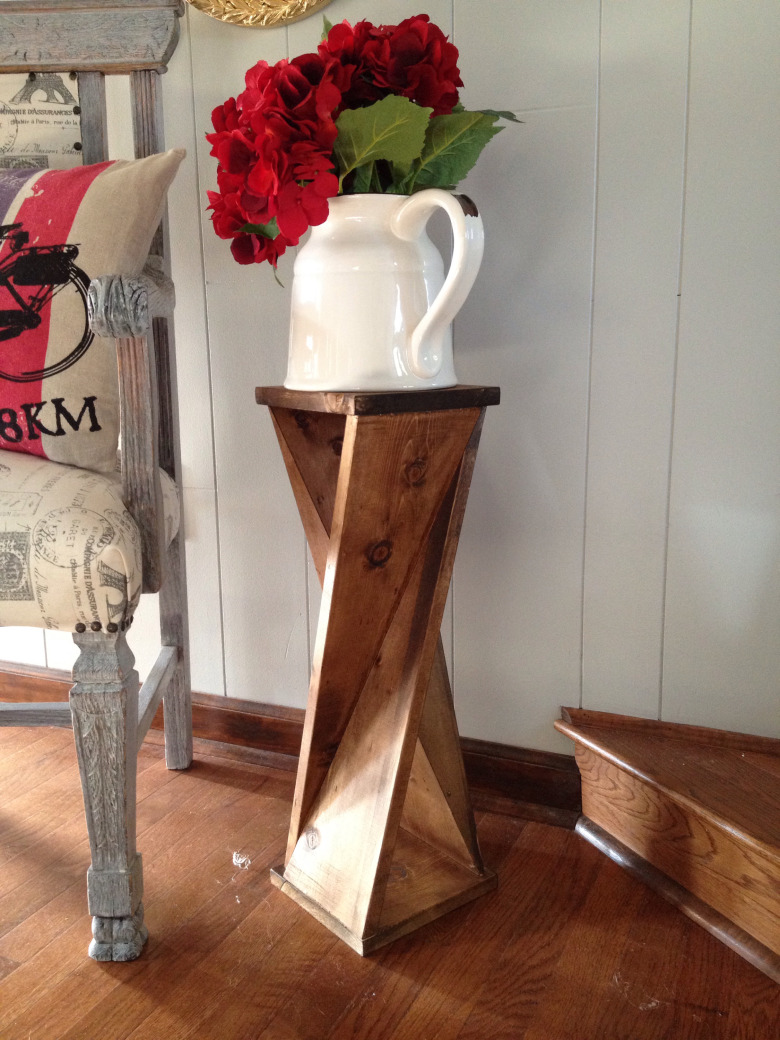
I made this twisted end table for my #oneboardchallenge project. It was a learning experience and I'm honestly surprised that it turned out as well as it did! There are so many good #oneboardchallenge projects being submitted, I don't know if mine will get lost among the crowd. Either way, it wont get lost around my house :) It is a good conversation piece!
Estimated Time Investment
Afternoon Project (3-6 Hours)
Recommended Skill Level
Intermediate
Comments

Mon, 10/26/2020 - 01:40
Twisted table plan
Are the plans for this on your site?
As a new wood worker I am very appreciative of your site and plans. It's my go to source for ideas.
Thanks
$25 2x4 Hall Tree
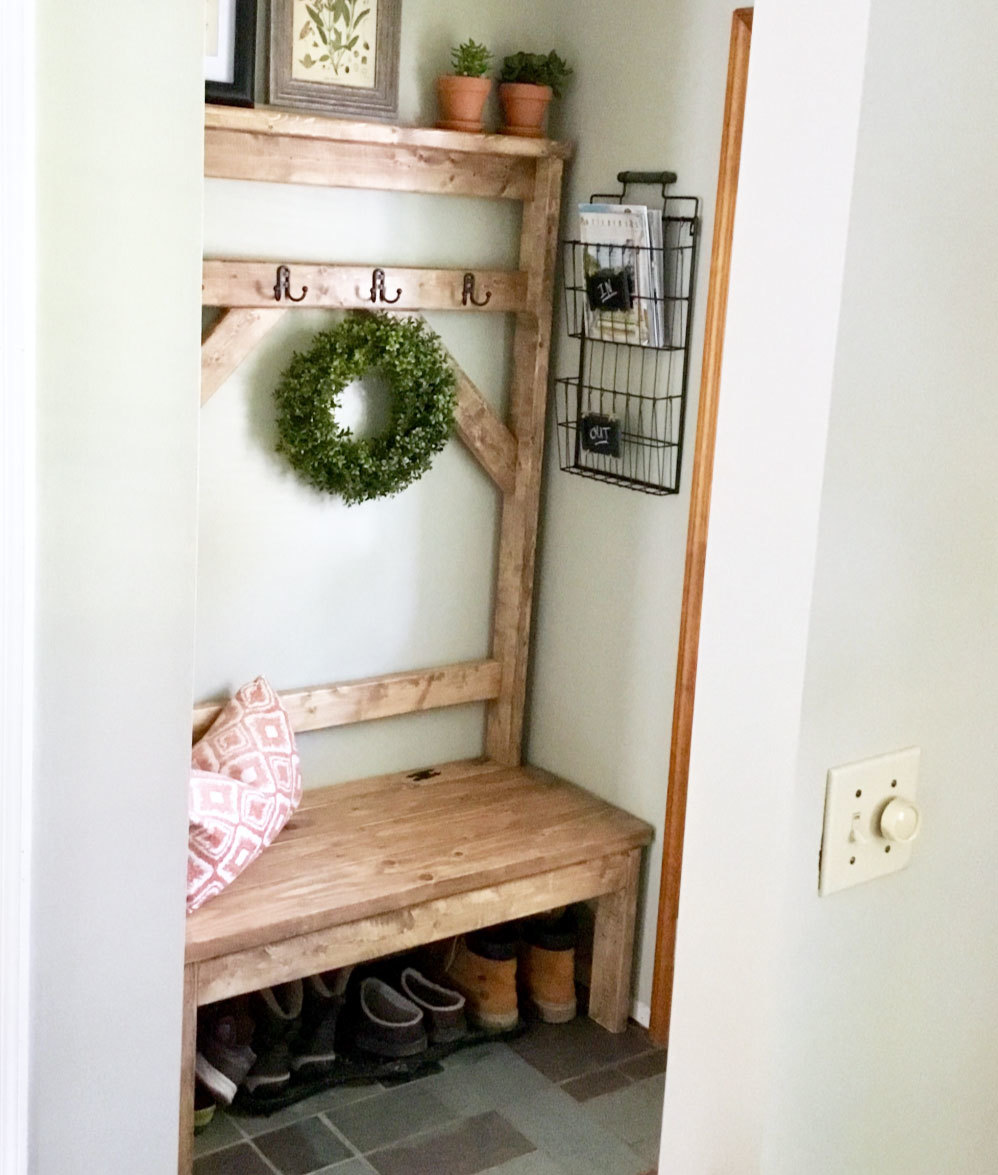
Our small entryway was in need of some sort of bench or coat rack. Since the space is on the smaller side, I was looking for plans that were simple and would not overwhelm the area of the house. When I came searching for plans on Ana White’s website, these plans were JUST posted! It was meant to be! This was my second build ever. Very simple and straight forward. I used Special Walnut for the stain and a satin polyurethane for the top coat.
Built from Plan(s)
Estimated Cost
$25
Estimated Time Investment
Afternoon Project (3-6 Hours)
Finish Used
Special Walnut & satin polyurethane
Recommended Skill Level
Beginner
Chaise Lounge
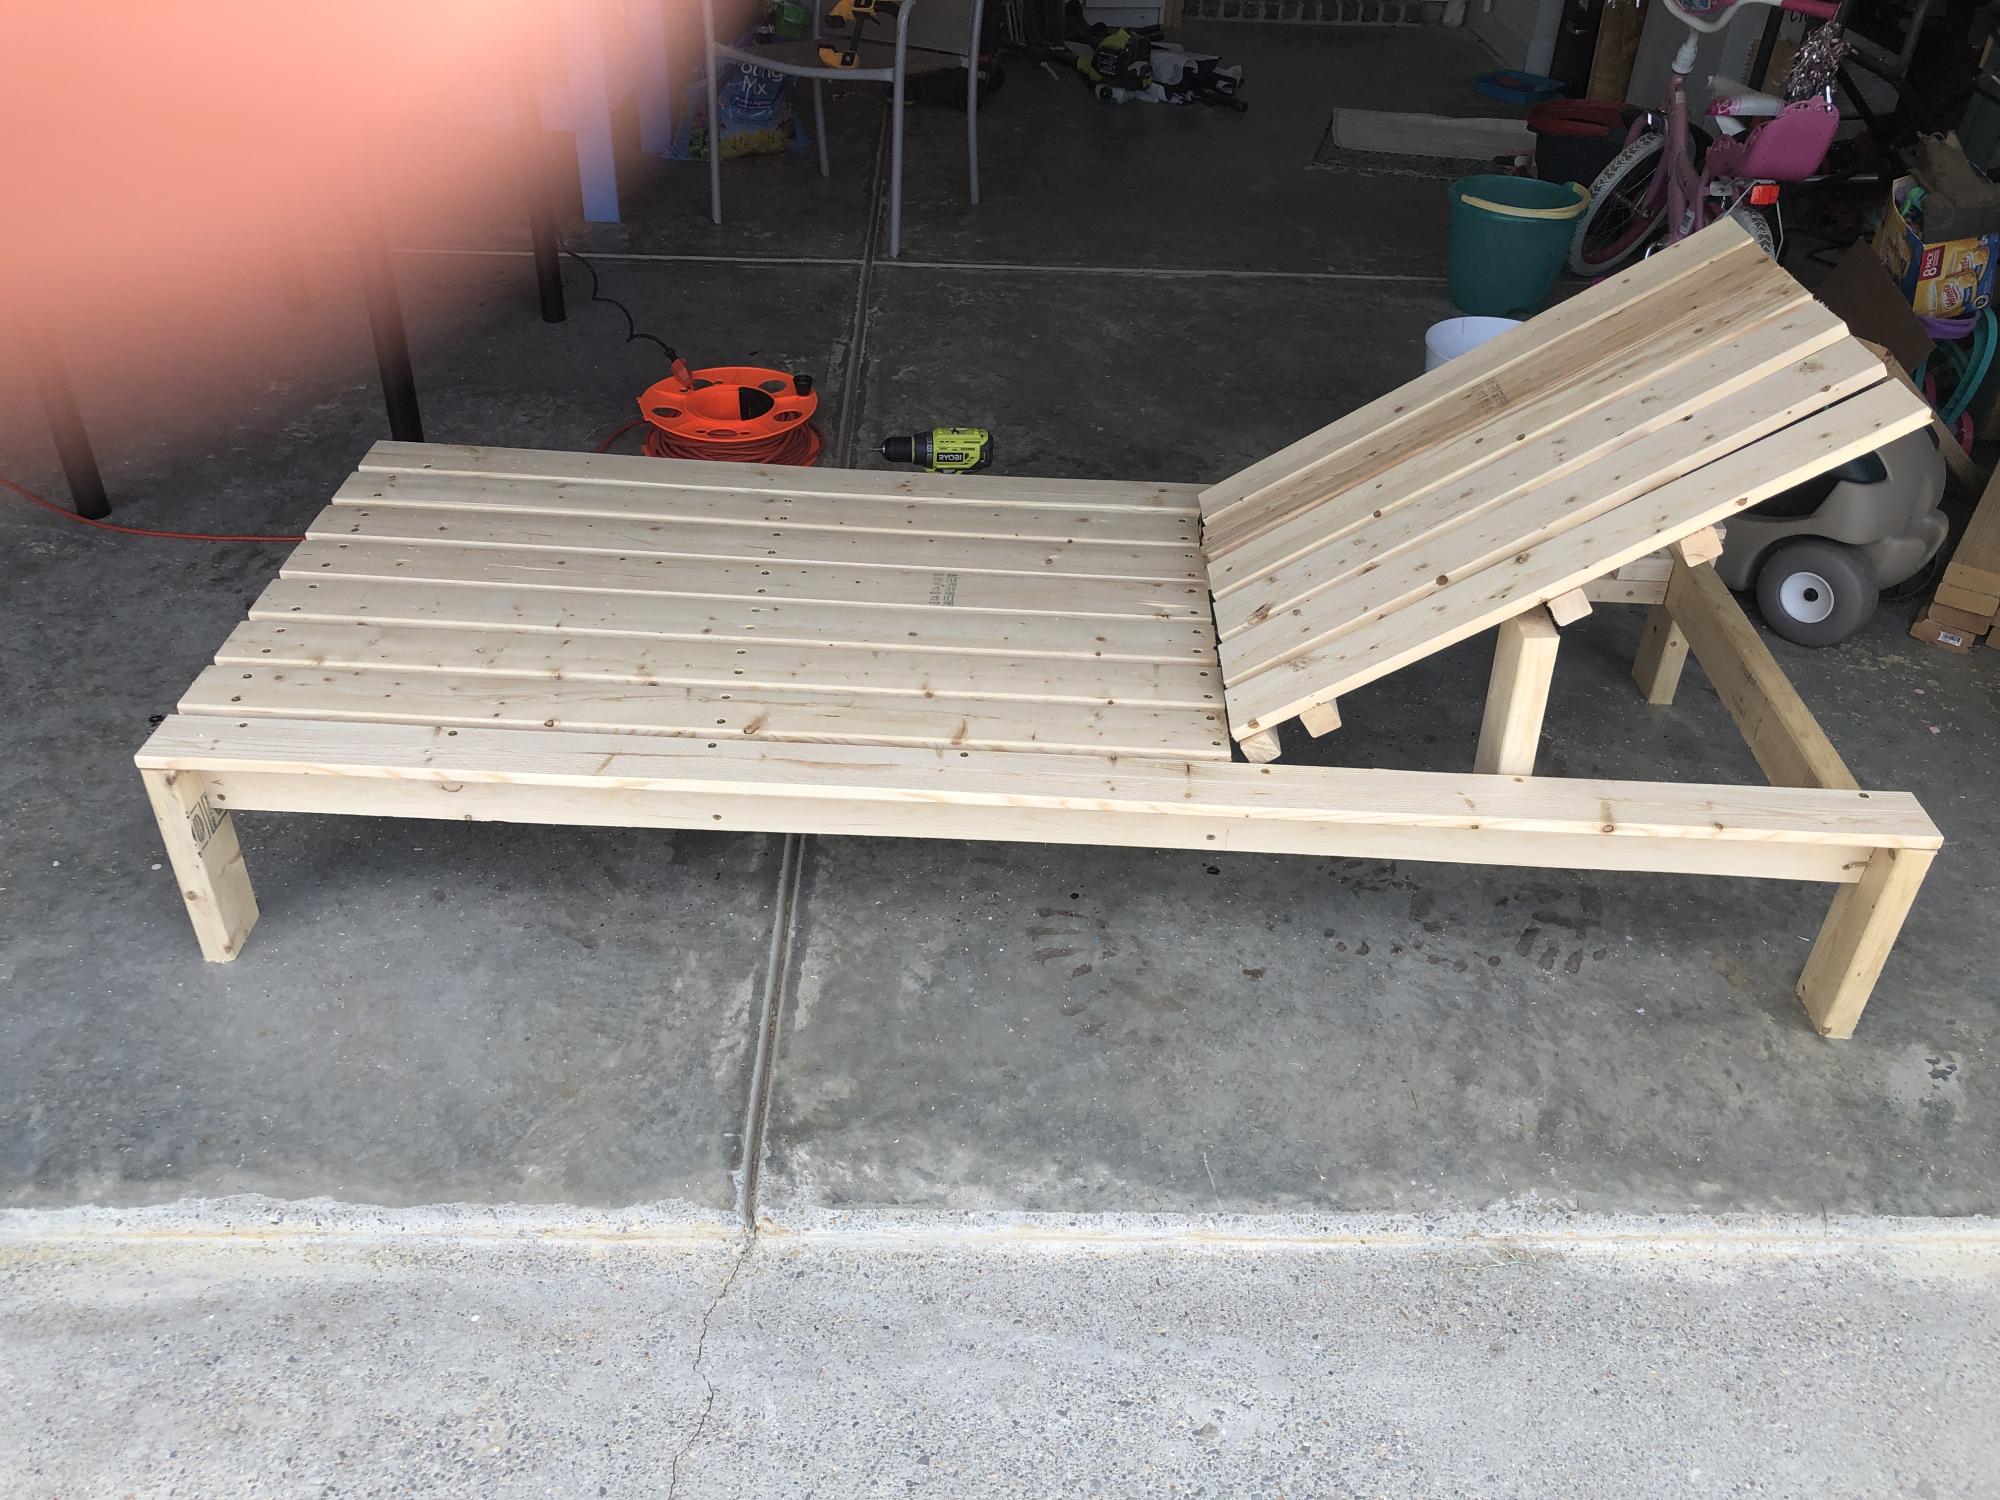
I built this chaise lounge for my daughter from your plans. She will paint it tomorrow. Thanks!!!
Built from Plan(s)
Comments
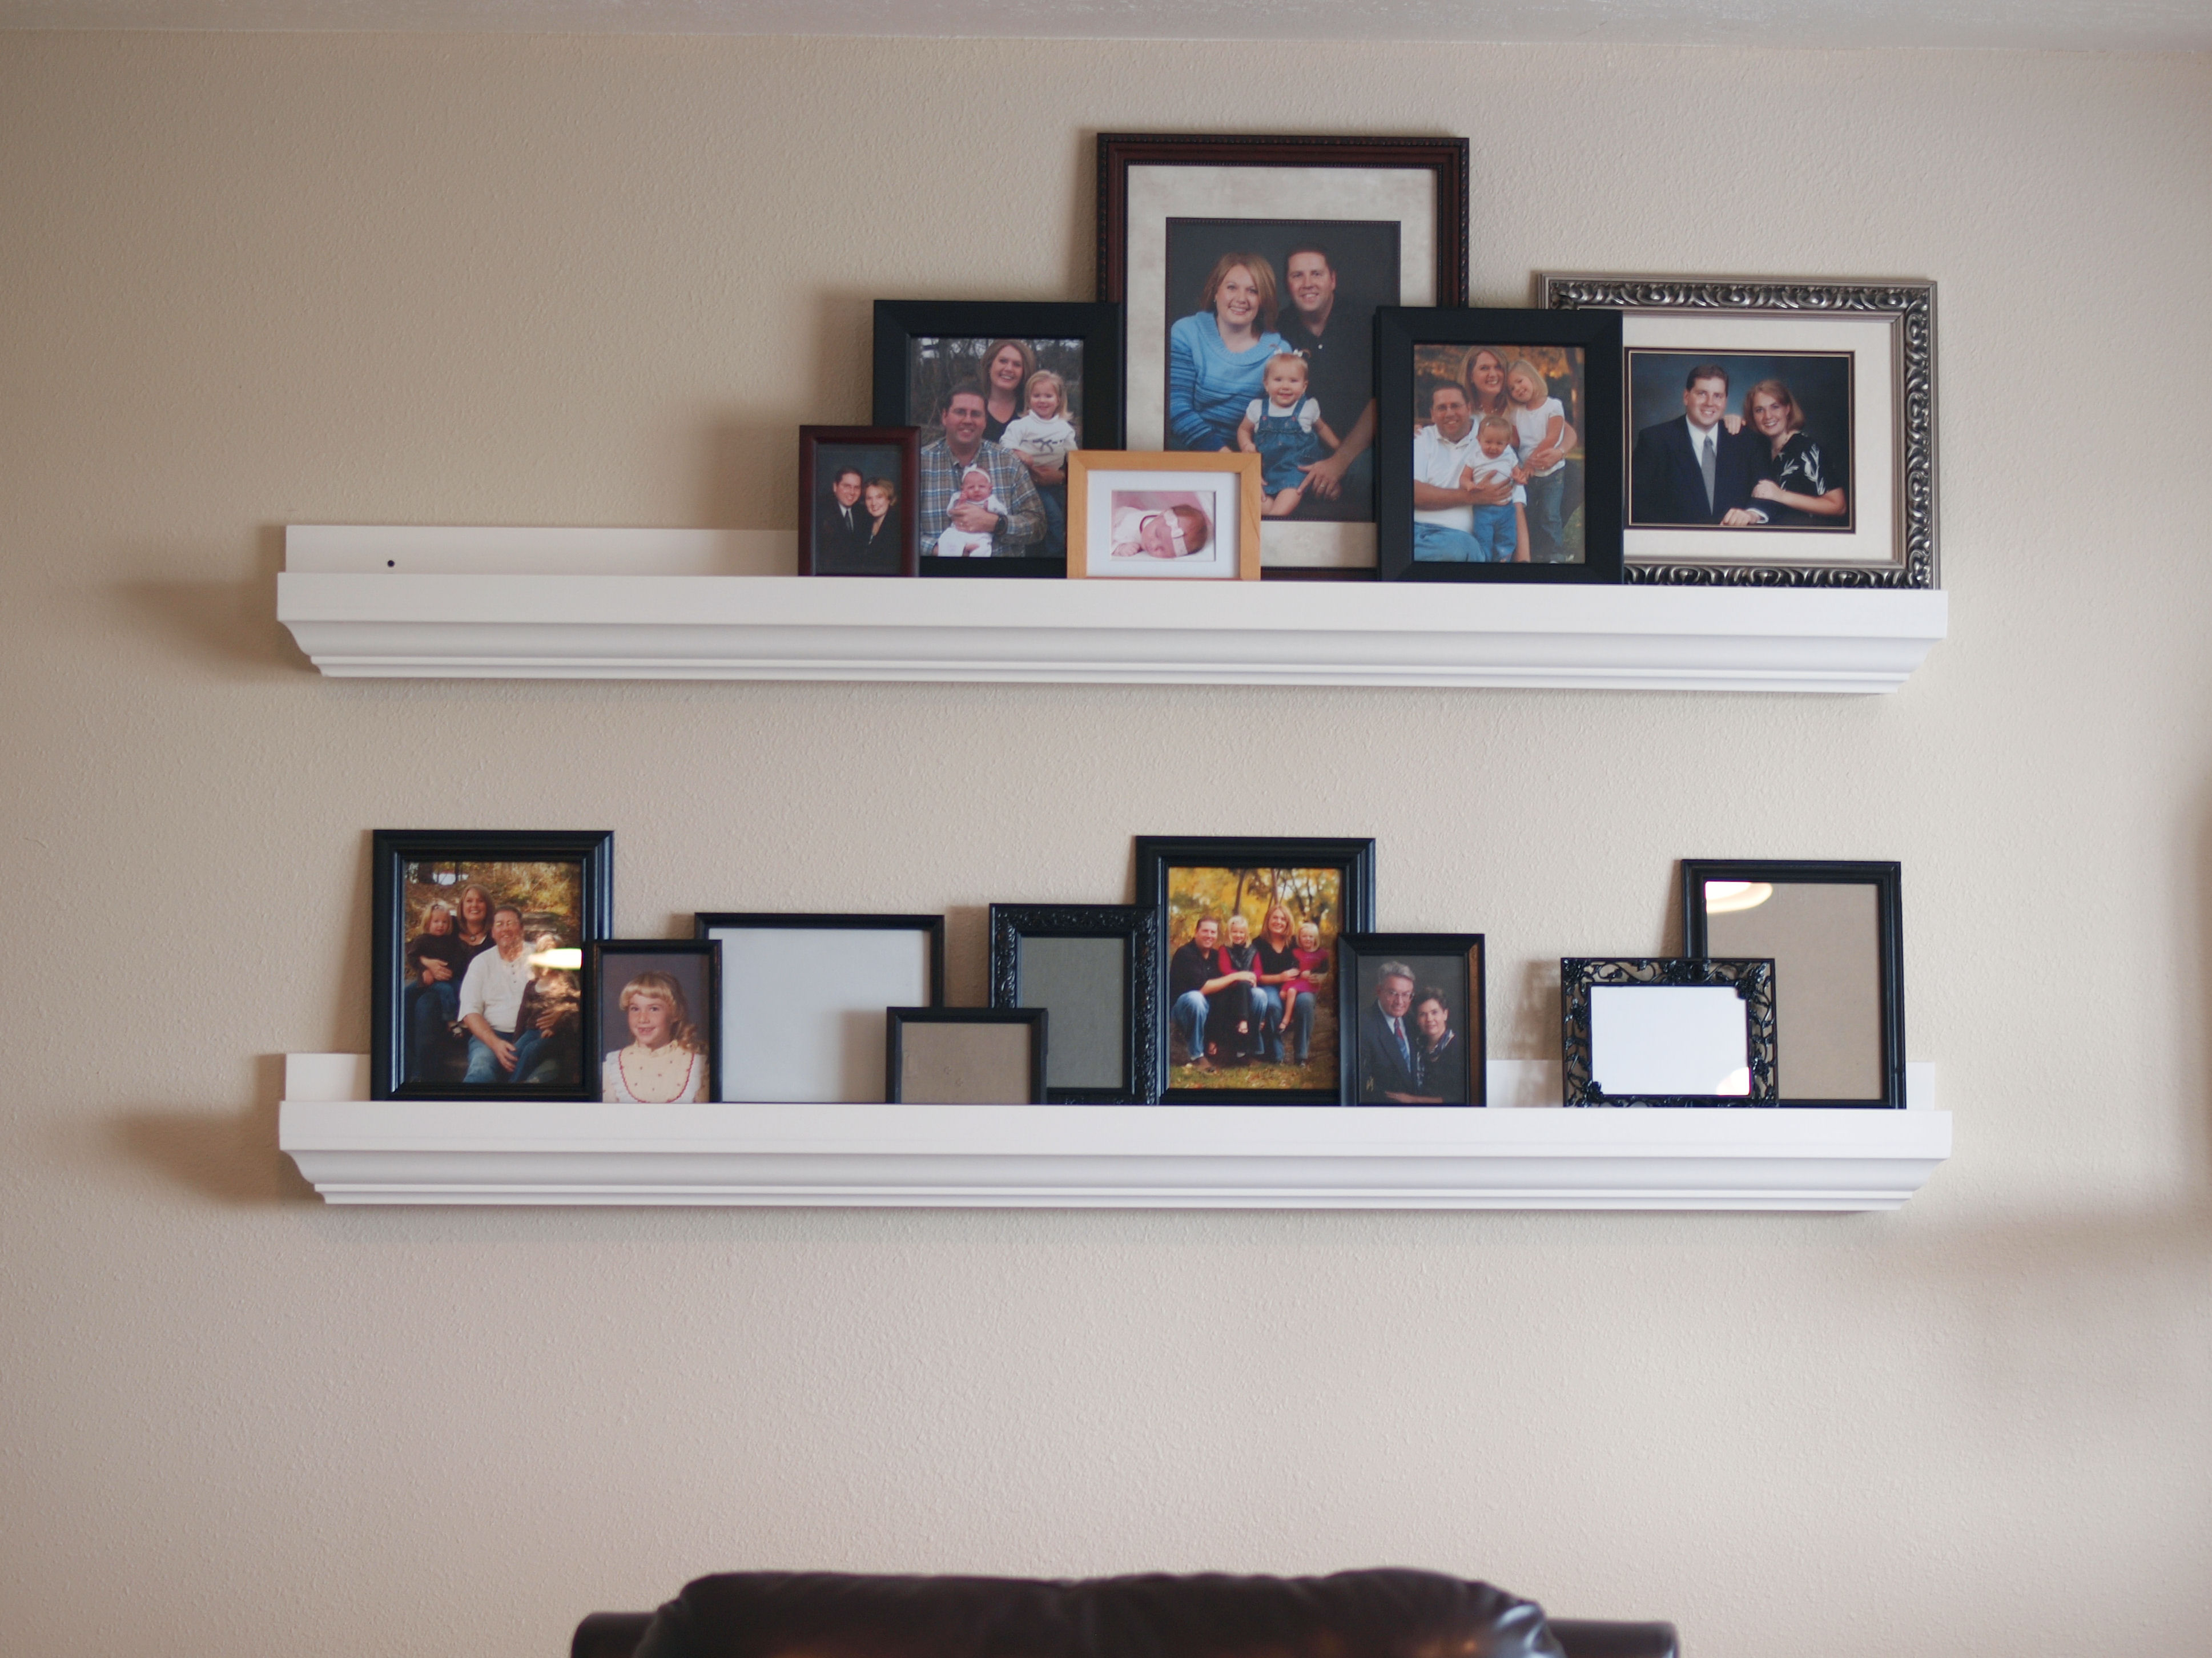
Ten Dollar Ledges Fancied Up
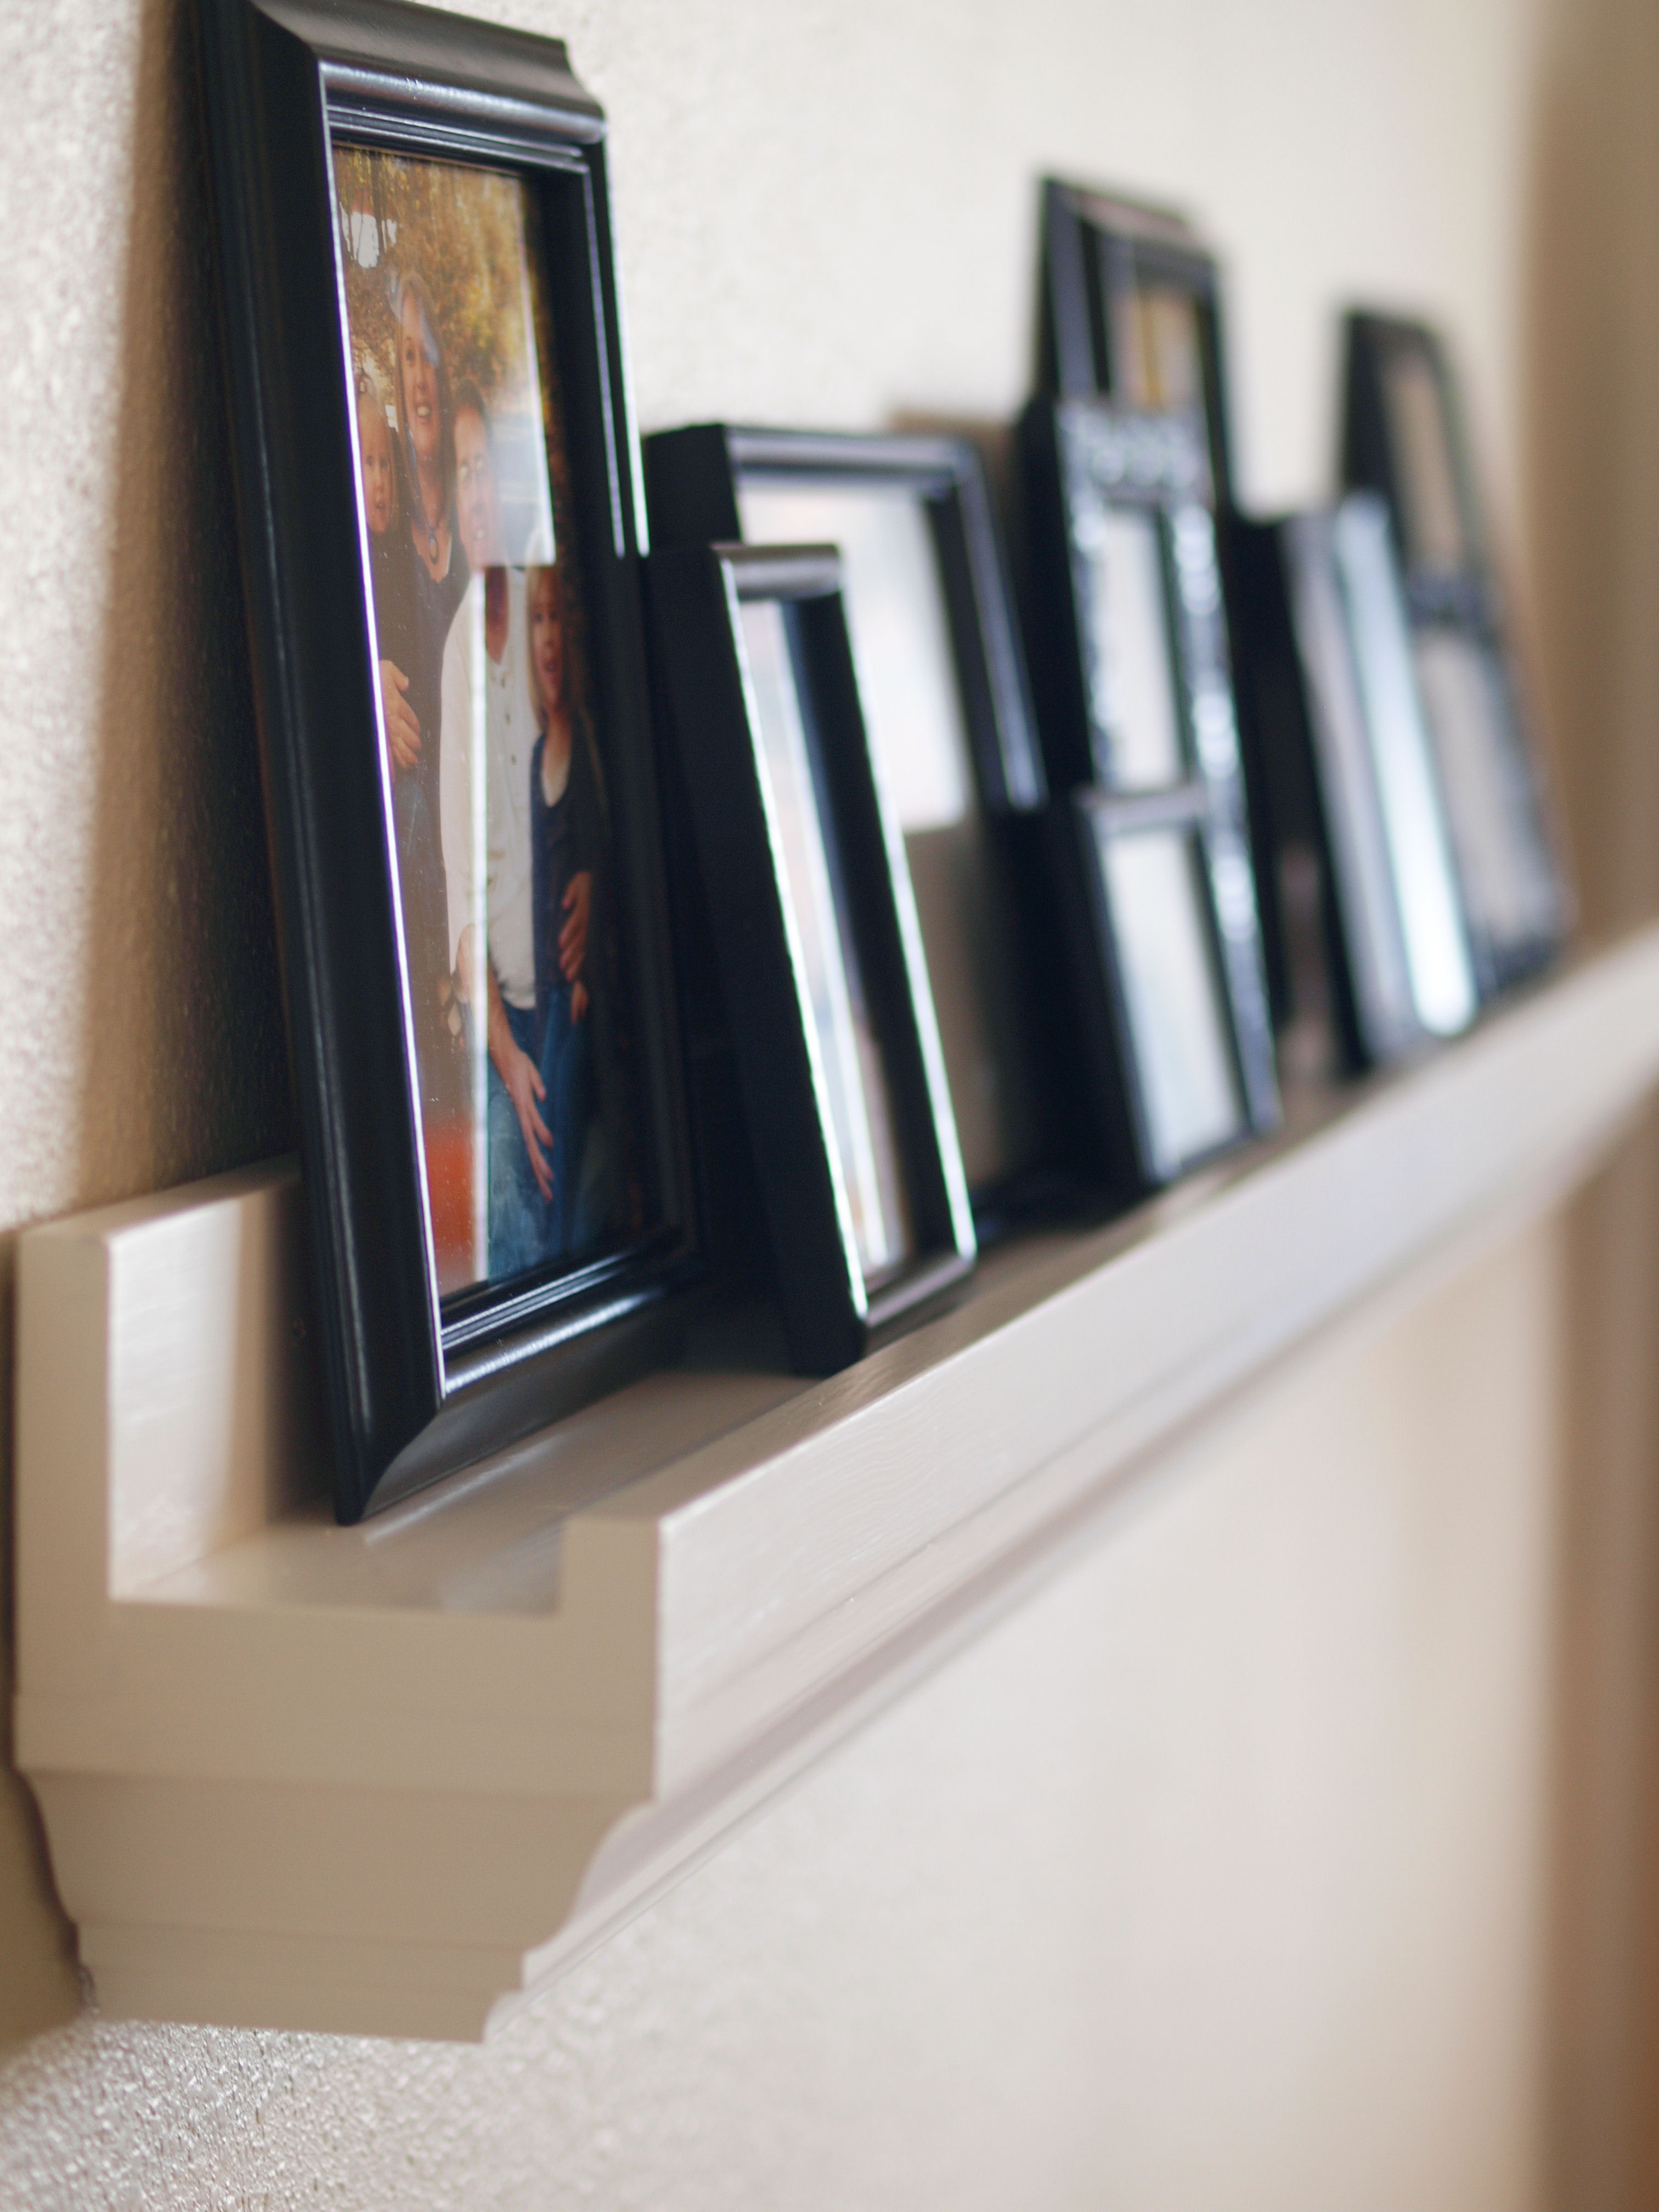
I added crown molding to the bottom of my ten dollar ledges to add a little fancier look.
Built from Plan(s)
Estimated Time Investment
An Hour or Two (0-2 Hours)
Finish Used
White Paint
Recommended Skill Level
Intermediate
Comments

Sat, 07/30/2011 - 00:35
Love that touch! Maybe this
Love that touch! Maybe this is what mine need before I install them!

Sat, 07/30/2011 - 08:18
Very classy looking! Just
Very classy looking! Just what I was looking for in my home office. Thanks!

Mon, 08/01/2011 - 11:58
What an awesome ledge
Such a great touch with the moulding.
Thanks for sharing.
Tue, 09/20/2011 - 19:54
Beautiful!!!
This looks great! What a wonderful idea! I have a question, Other than the moulding on the bottom, did you follow the plans exactly (Like used the same dimensional boards Ana said to use)? Just asking because yours came out looking so much better than mine (which very well could be the paint job and moulding fooling my eyes into thinking the other boards look smaller, lol)
Great job and thank you for sharing!
Wed, 09/21/2011 - 10:16
I did use the same size
I did use the same size boards that Anna said they just might be a different length.
In reply to I did use the same size by Becky Darrington (not verified)
Wed, 09/21/2011 - 10:47
Thank you!
Thank you!

Wed, 02/15/2012 - 11:23
love love love
This is great as I am a photographer and love to switch up my photos often. Saves the walls from holes and is just a great idea! I also did not see all the instructions but will have my husband duplicate.
Wed, 04/11/2012 - 15:07
Great Looking Ledges!
This is great. I made the ledge and plan on adding the crown molding. How exactly did you hang them?
Tue, 07/17/2012 - 13:11
LOVE LOVE LOVE
I have high ceilings. I have been trying to figure out what to put at some of the windows to dress them up a bit. I think I may add them to the den area. Photos would be out of the reach of all the grandchildren, but photographs could been seen without cluttering tables.
Sat, 09/08/2012 - 09:00
1x3 v/s 1x4
Has anyone tried using a 1x3 for the back instead of a 1x4? Can anyone think of any reason it would not work?
Also thinking of making it deeper since the crown molding will provide extra support. I want to add more depth so that I can install a power strip under shelf, behind molding so that I can turn it into a charging station. Any thoughts on this? Would love to hear other opinions on this before I start building and then realize the problems that may exist in my plans.
Tue, 03/05/2013 - 10:12
It looks like your ledge is
It looks like your ledge is narrower than the one in the plans. Did you use a 1 x 4 for the base?
Thu, 09/15/2016 - 18:54
Molding
I feel so stupid... I have never used any sort of molding before. How do you use it? I went to lowes tonight and I don't know where you get the edge piece. My husband (who doesn't build things except for computers) says he thinks you just use part of the long strip and cut at a 45° angle. Is that how?
then what do you use for the bottom portion to cover the gap?
Sat, 08/12/2017 - 10:50
Moulding for ledges
I found Ana's site a few years ago and have been dreaming about things I want to build for just as long. I'm finally ready to get started, and I thought these ledges would be a great way to start. I love the moulding on the bottom, but I have no idea what combination of pieces to use to get this look or what sizes of moulding to use with the 1x4 and 1x2 boards. Can somebody help me?
Tue, 08/15/2017 - 13:21
Sandy - take the picture to
Sandy - take the picture to any lumber molding department ad start trying combinations.
The original pic was using some crown molding, but a fancy baseboard or other molding would look good too.
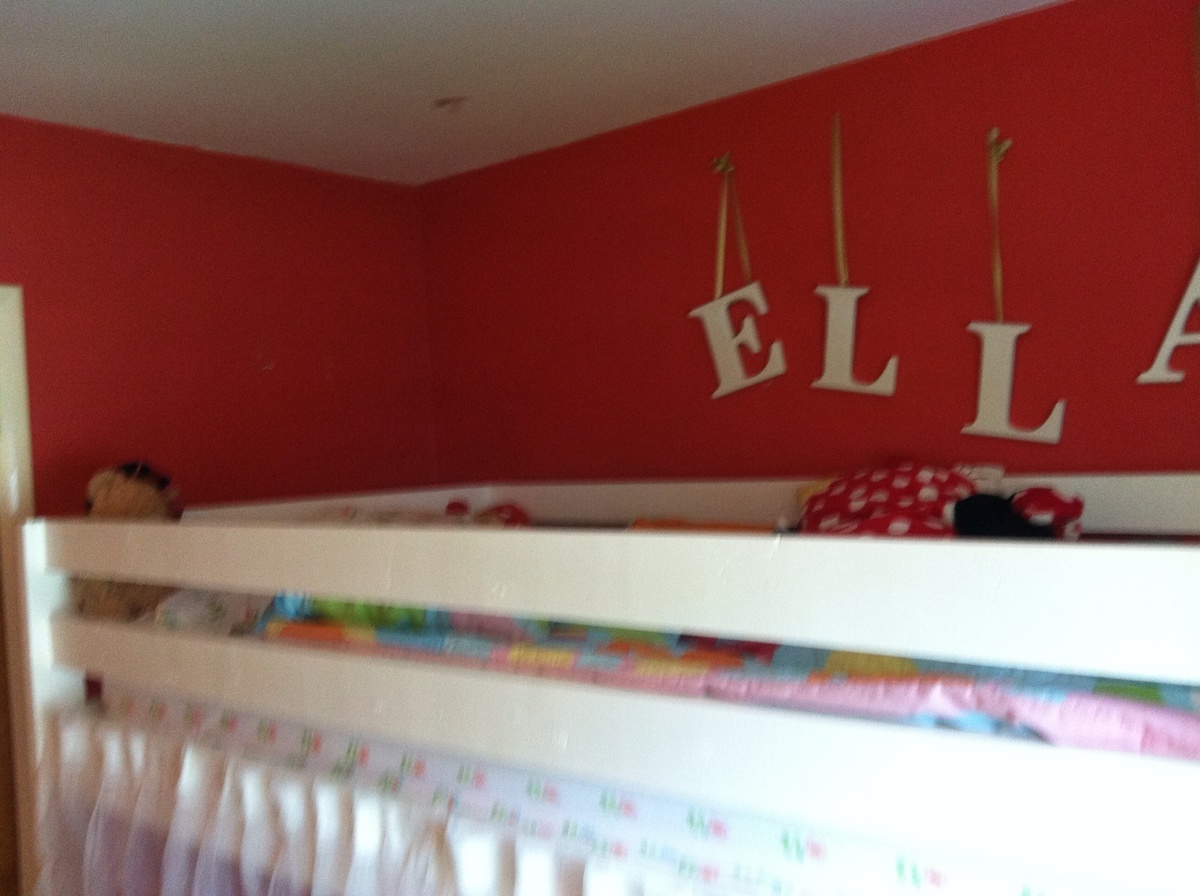
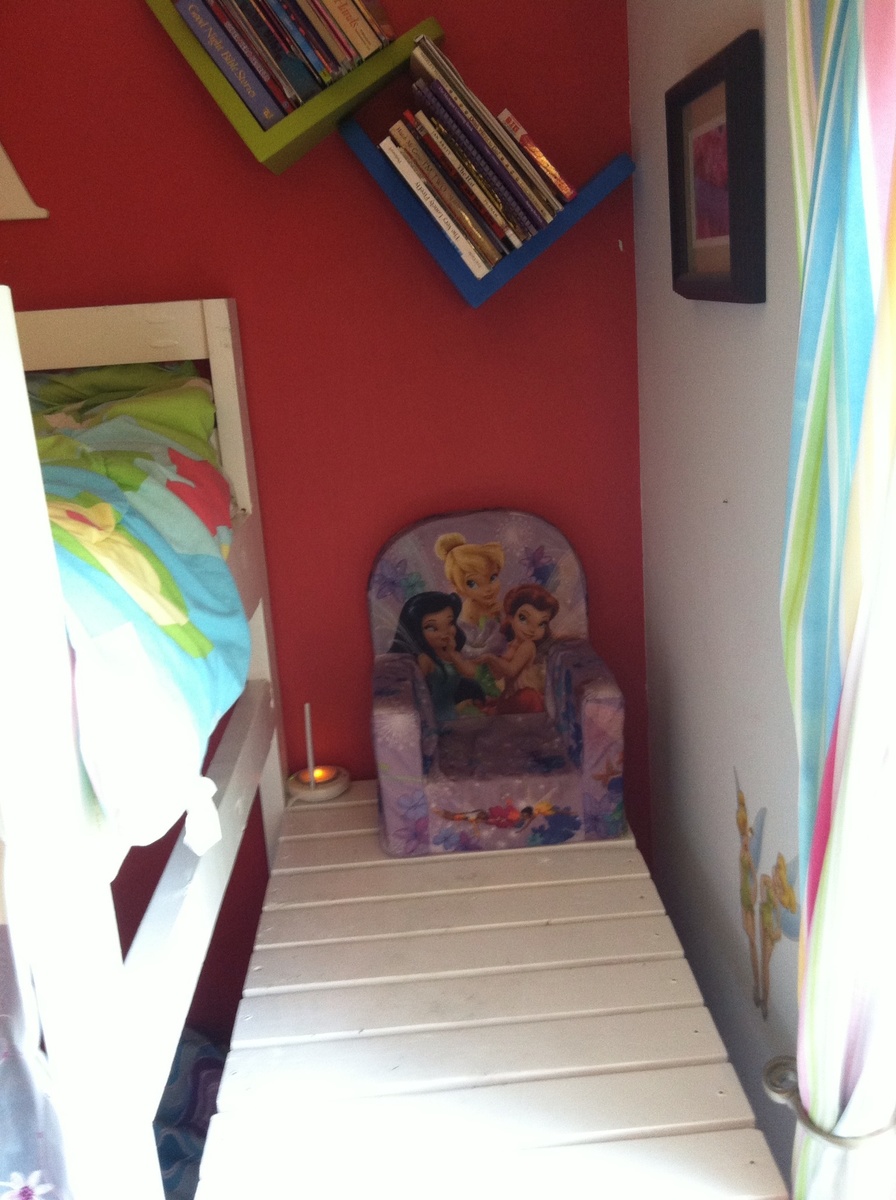
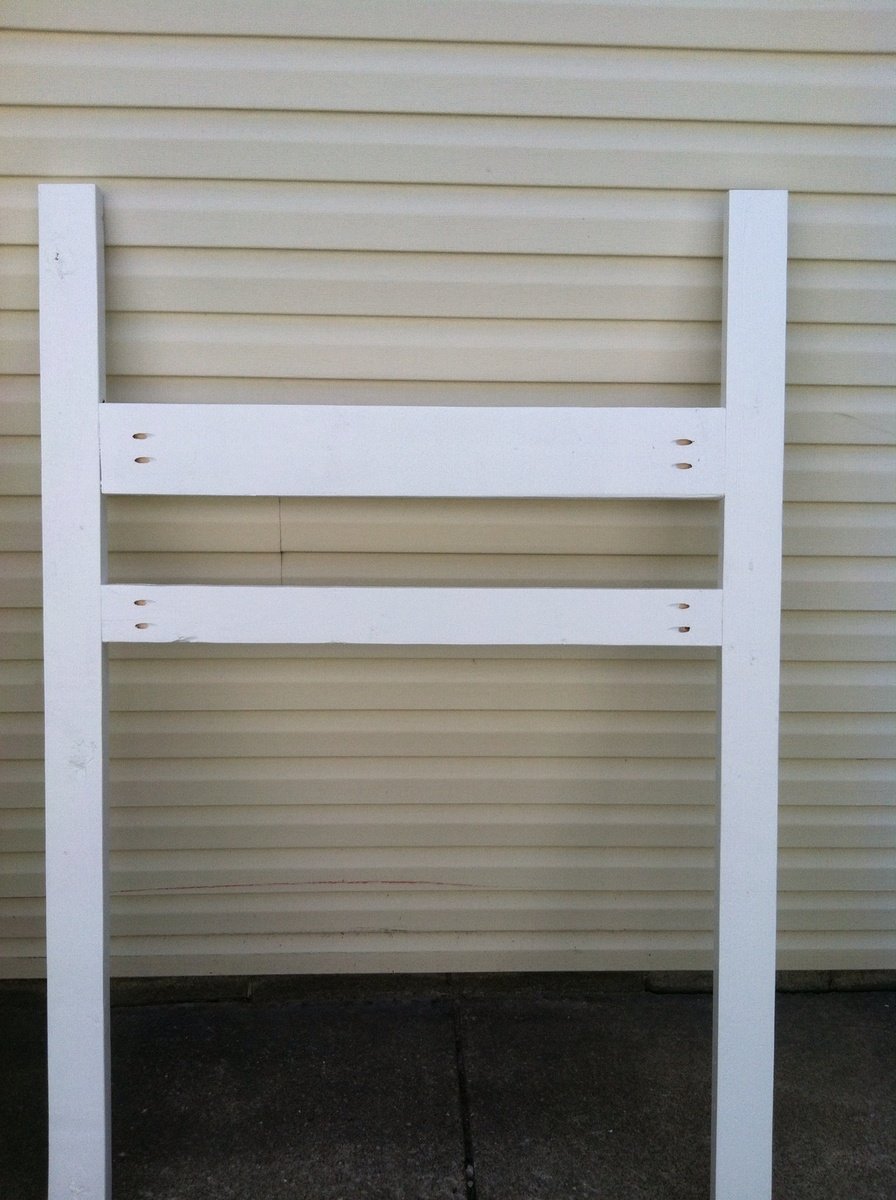
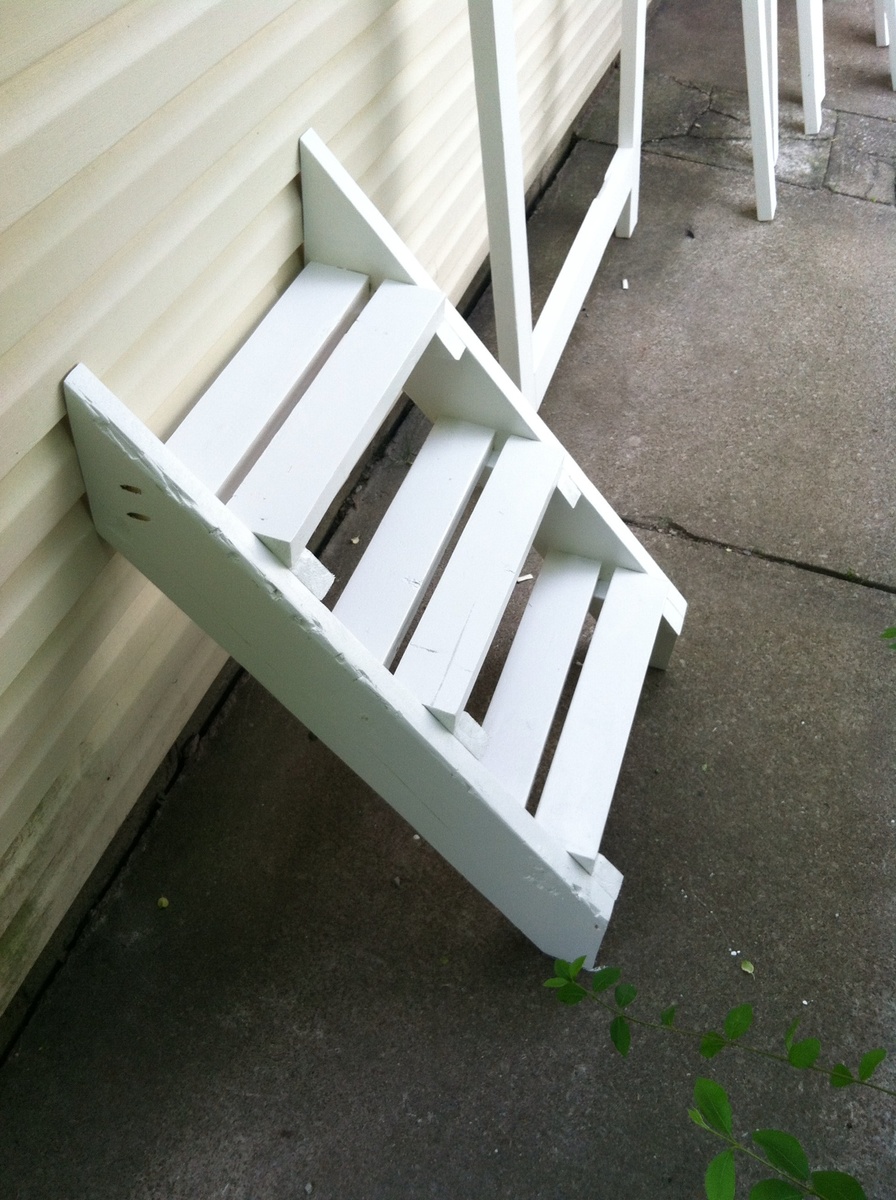
Camp loft bed
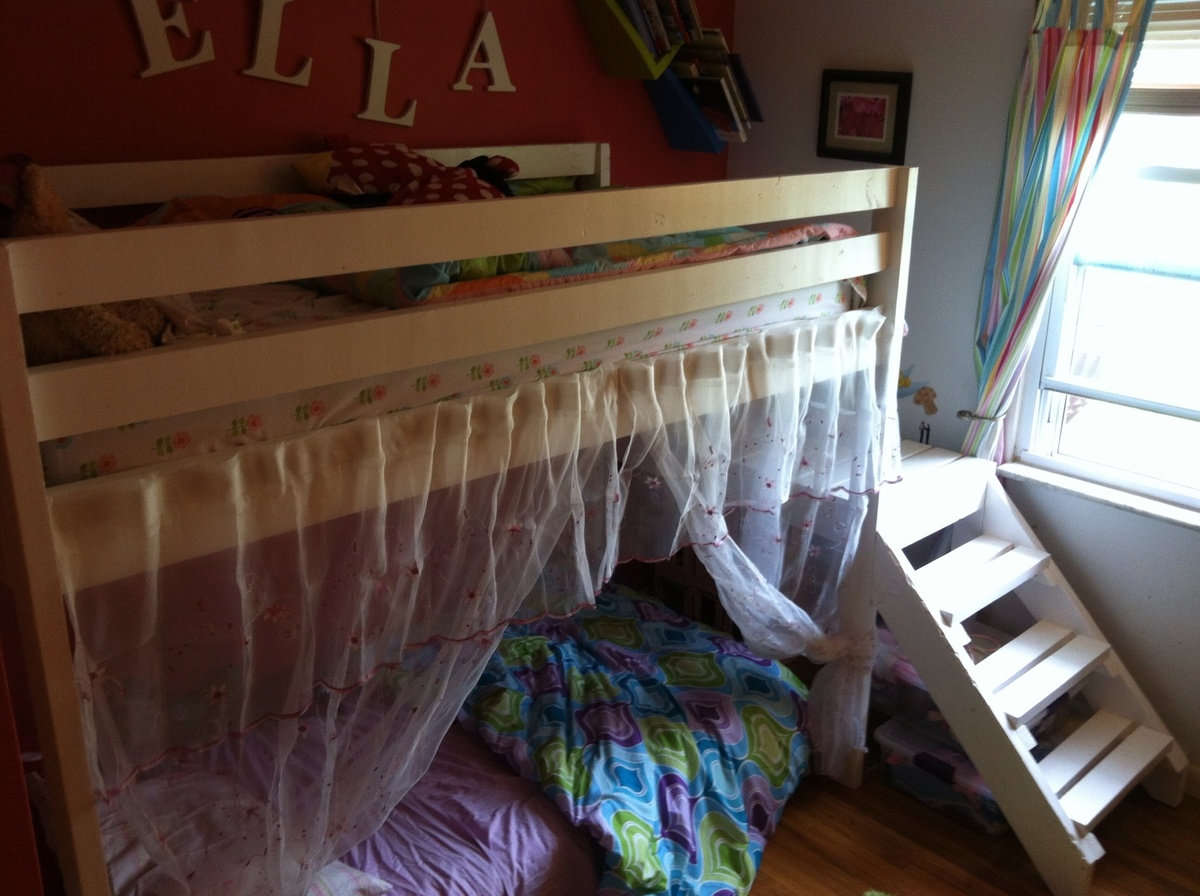
My first build... Not perfect but it has led me down a new path... Thank you soooo much Ana! More to come and a plan of my own in the works!
Built from Plan(s)
Estimated Cost
$100
Estimated Time Investment
Weekend Project (10-20 Hours)
Finish Used
Semi gloss white paint
Recommended Skill Level
Beginner
Rustic X Coffee Table Brag

Rustic X Coffee Table Brag! Thank you so much for the plans Ana! Keep building everyone :)
Built from Plan(s)
Estimated Cost
$80.00
Estimated Time Investment
Day Project (6-9 Hours)
Finish Used
Steel Wool & Vinegar Mixture
Recommended Skill Level
Beginner
Comments
Sat, 10/10/2015 - 18:59
Steel wool dilution rate
Did you use any tea before you used the steel wool? What was your steel wool and vinegar mixture rate? I really like the color of this! Thanks!
Console to vanity
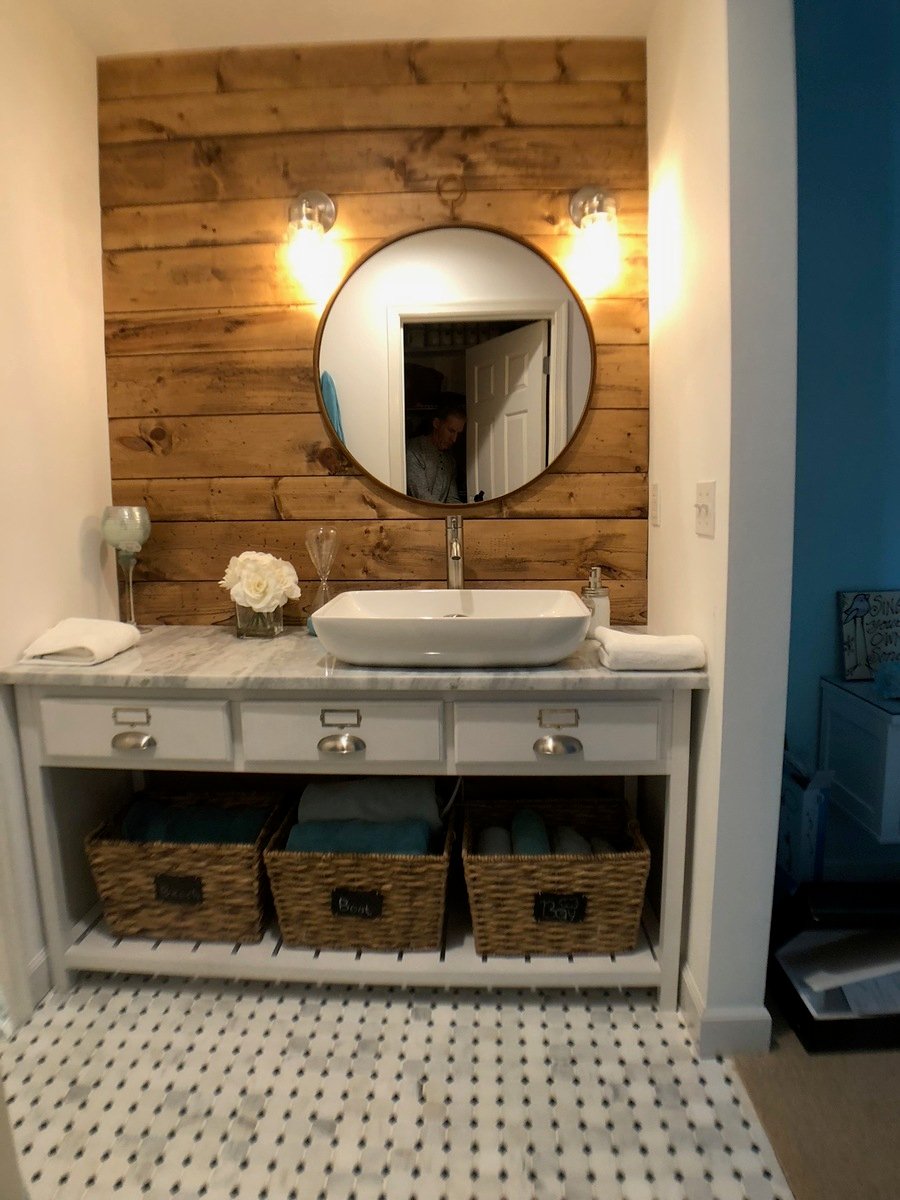
This vanity is an amalgamation of a few ideas I found online. I used the Reclaimed Wood Console Table as a guide to pull it all together. All three drawers are functional. The plumbing falls directly between the center and right drawer, and the drawers are mounted on bottom center glides.
Built from Plan(s)
Estimated Cost
$125
Estimated Time Investment
Weekend Project (10-20 Hours)
Finish Used
semigloss white paint
Recommended Skill Level
Intermediate
Well loved outdoor sofa
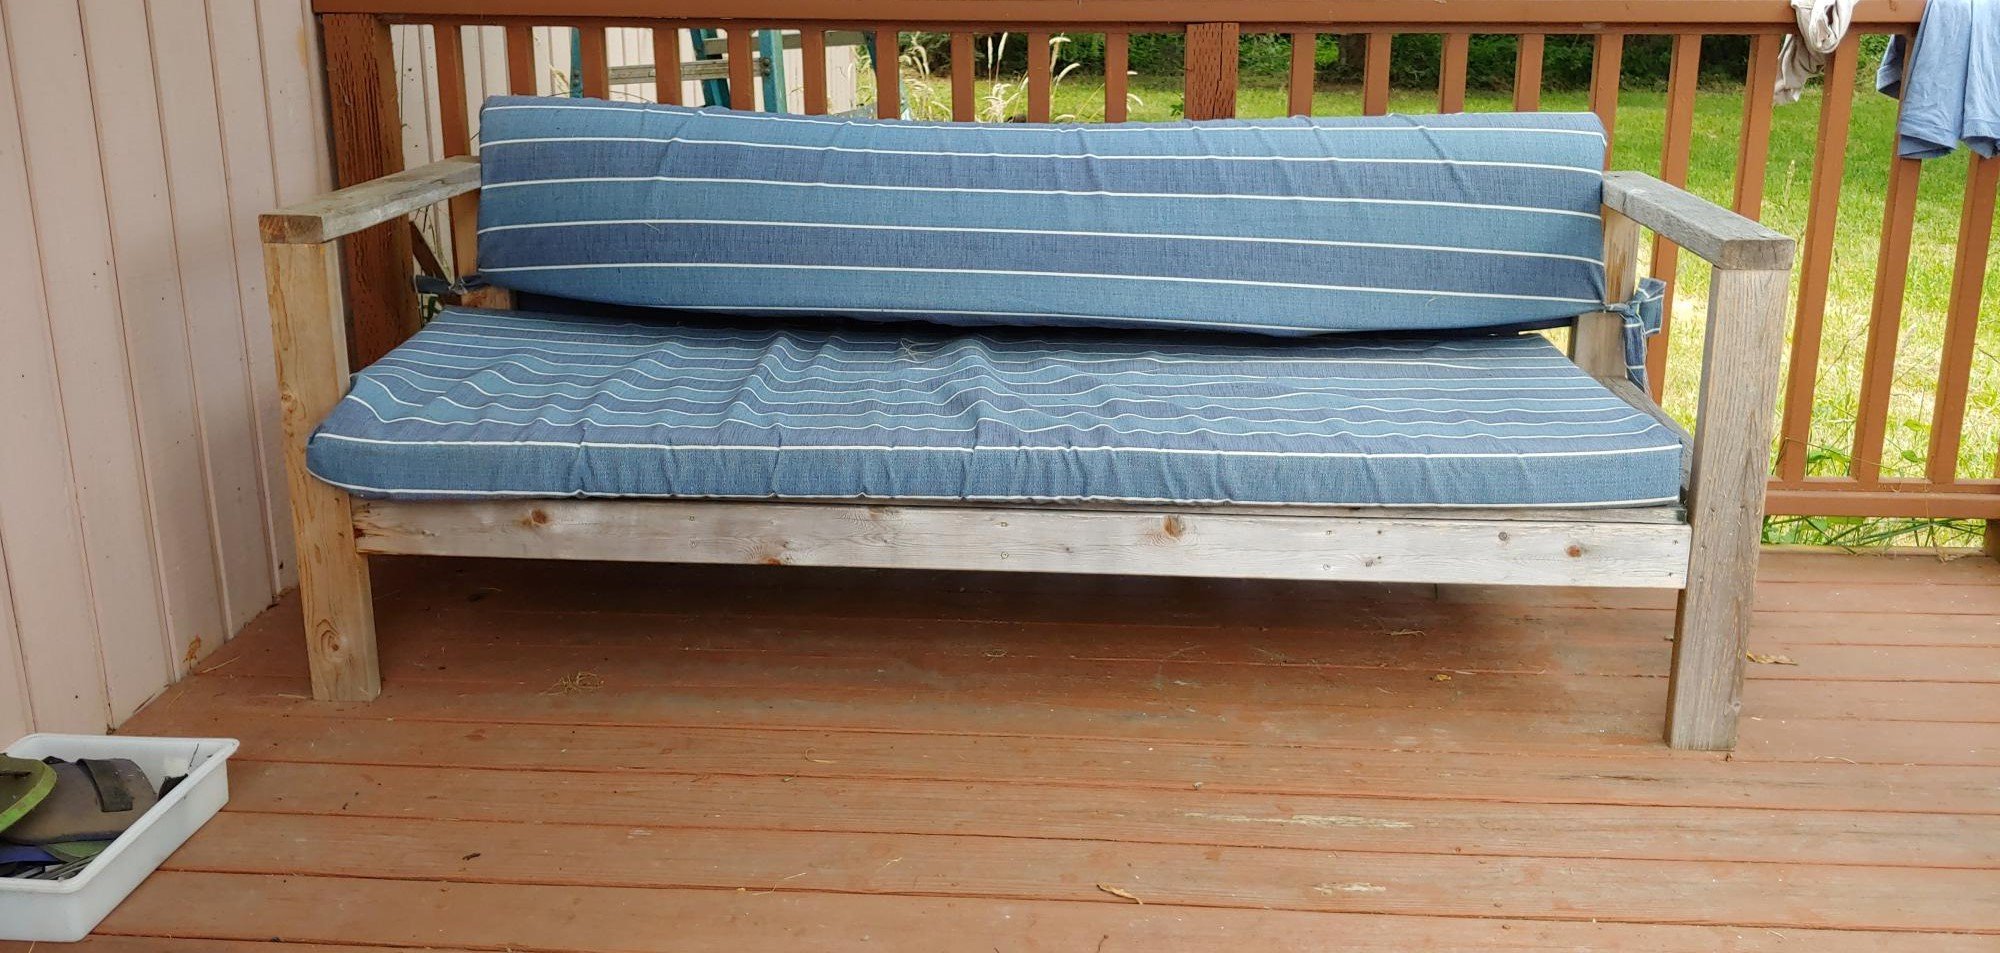
This sofa has been in constant use for three years. Sturdy and comfortable, we have to compete with the cats for a nap or rest. Even on the winter, when we remove the cushoins, it gets used as a bench or a kitty hiding place while they wait to come in.
Built from Plan(s)
Comments
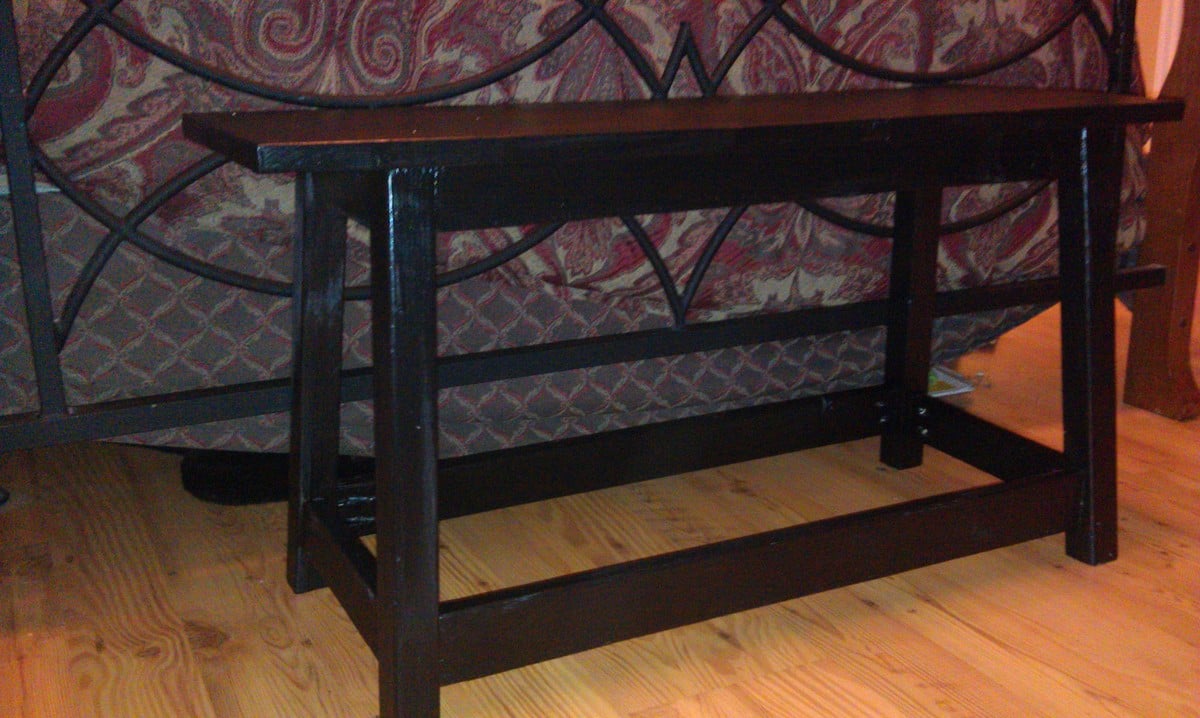
Bench
I built this based on the rustic x bench. While I had previously built the x bench, I really had a hard time with that darned X! So I just added bottom pieces to this and called it a day. This will be put at the foot of the bed and will most certainly help me sleep better! How? Ah yes, no more hubby sitting on the edge of the bed at 4:30a.m. to put on his boots!
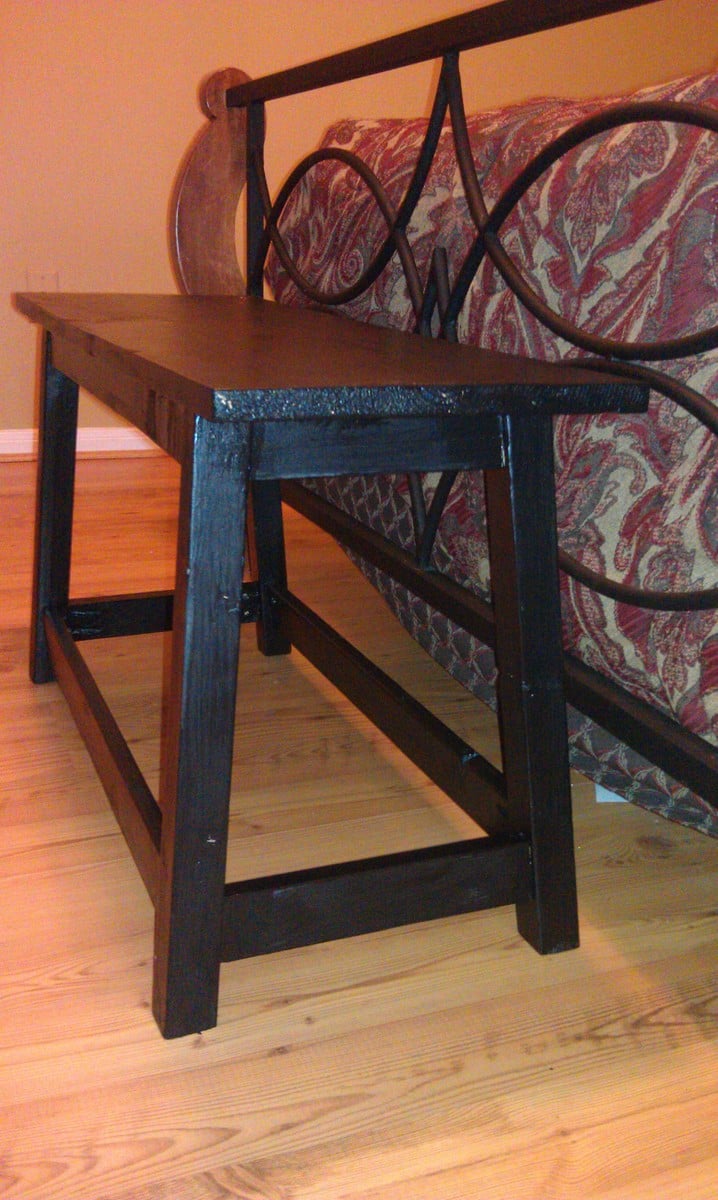
Built from Plan(s)
Estimated Cost
Free...all made from leftovers and reclaimed wood
Estimated Time Investment
An Hour or Two (0-2 Hours)
Recommended Skill Level
Beginner
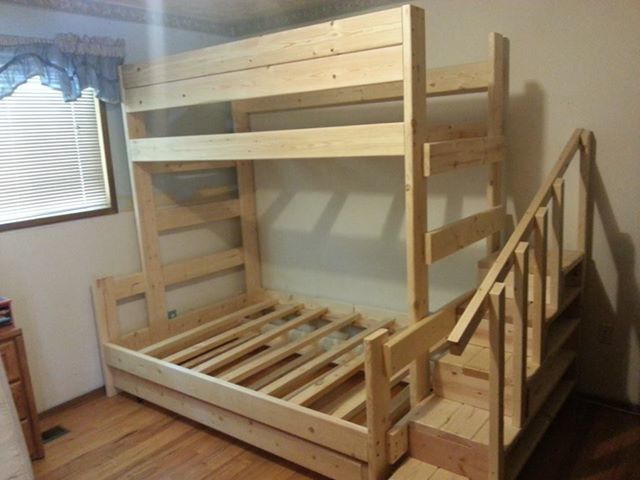
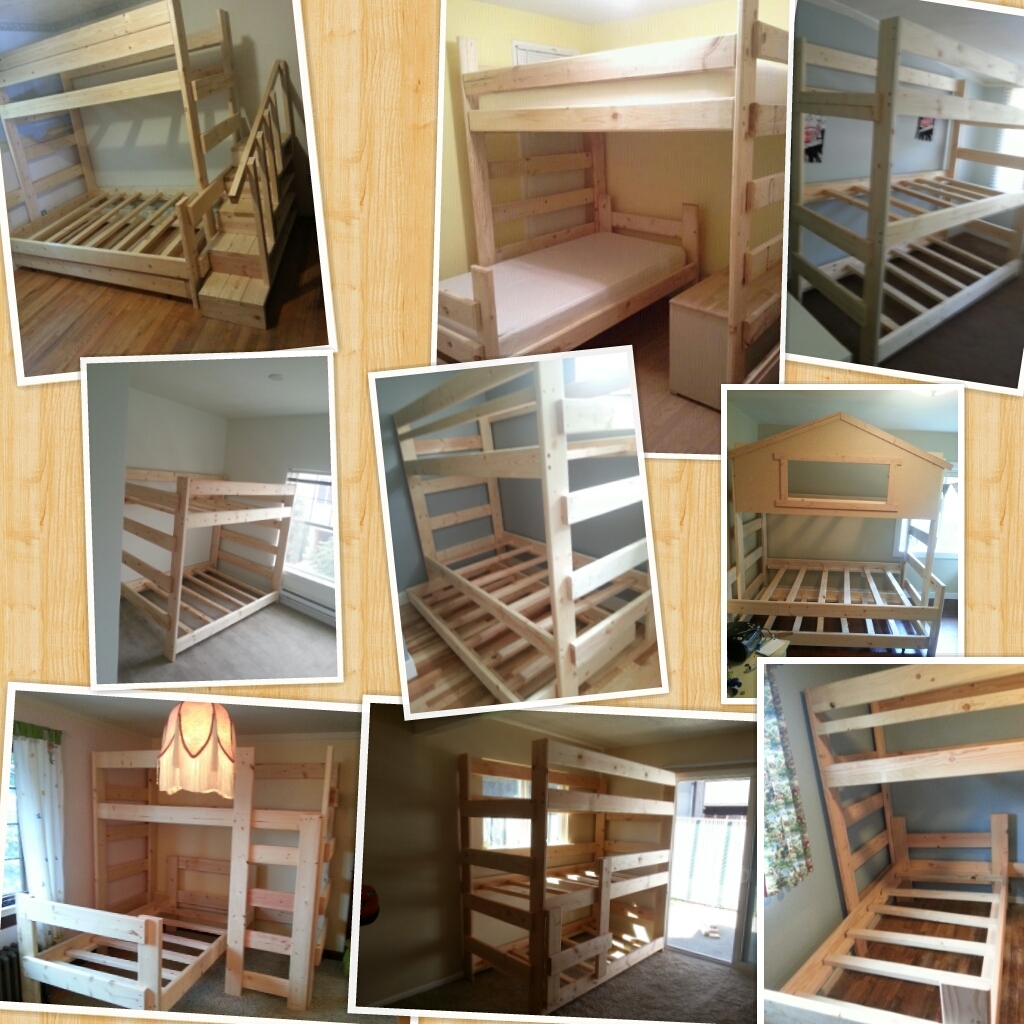
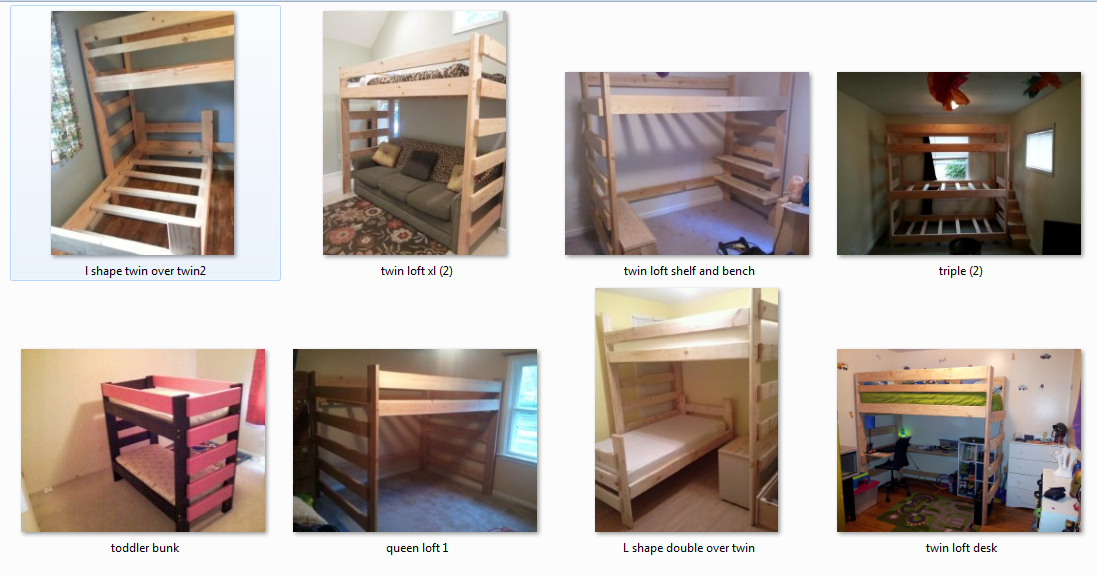
Dream.works Custom Bunk beds and Lofts

Bunk bed and Loft design and manf.
i build triple bunks,special needs beds,toddler,king bunk beds and lofts, you name it i build it with my heavy duty 2x6 design and affordable prices.
check out the site http://www.dreamworksbunkbeds.com
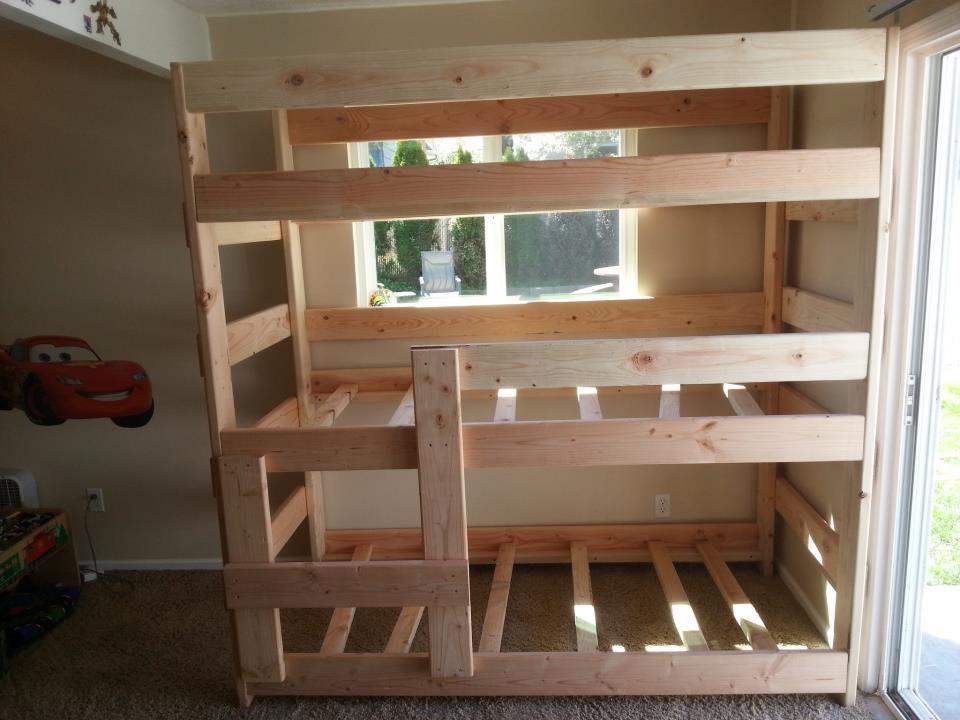
Estimated Time Investment
Afternoon Project (3-6 Hours)
Recommended Skill Level
Intermediate
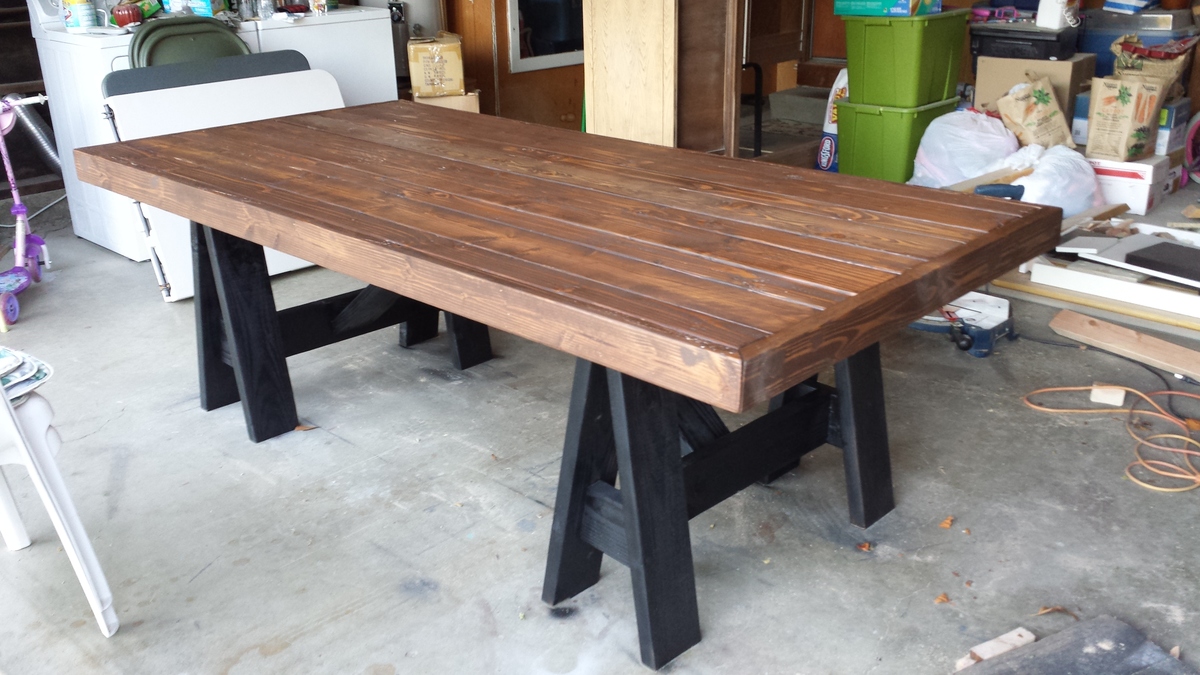
For a co worker...
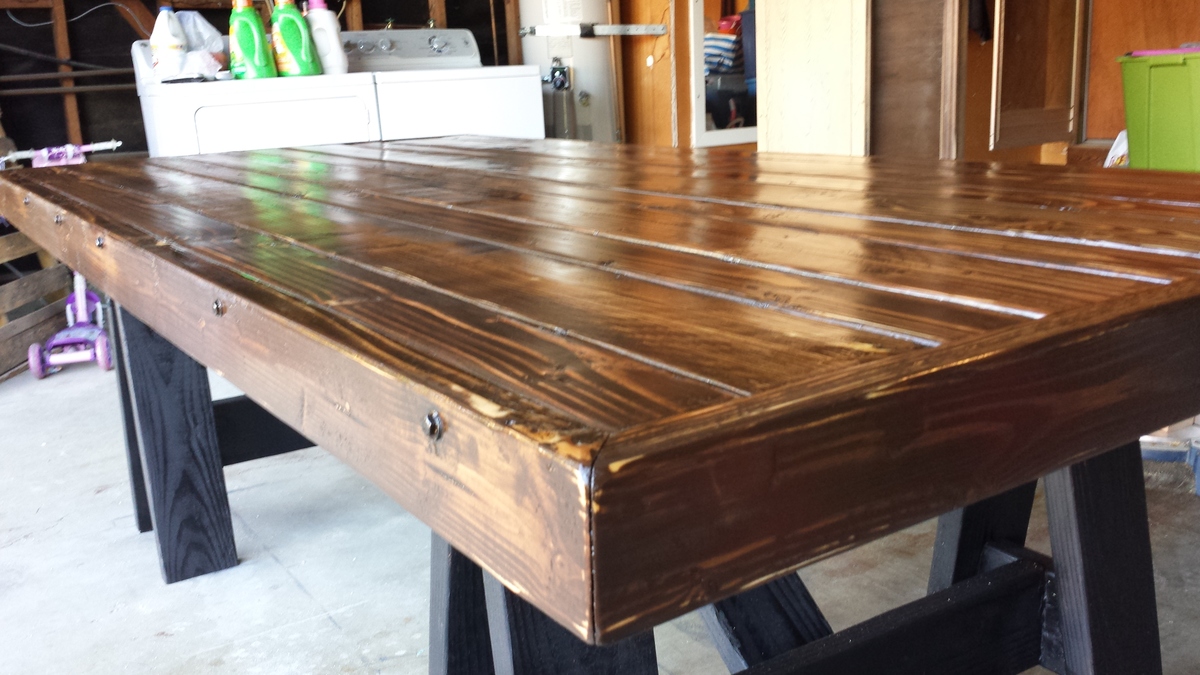
A co worker reeeeally wanted this and asked me to build it. It is only my second build.

Built from Plan(s)
Estimated Cost
150-200
Finish Used
Varathane Spar Varnish in satin, Varathane Dark Walnut
Recommended Skill Level
Beginner
Doll House

I made this with oak plywood and used a straight edge and paper knife to score it to look like planks and a chisel to vary board lengths and stained it. This is the first house I made like this. I made second house like this after a house fire destroyed the first one. My people were well pleased with both of them. I will put lights in the next one.


Estimated Cost
$75.00
Estimated Time Investment
Weekend Project (10-20 Hours)
Recommended Skill Level
Intermediate
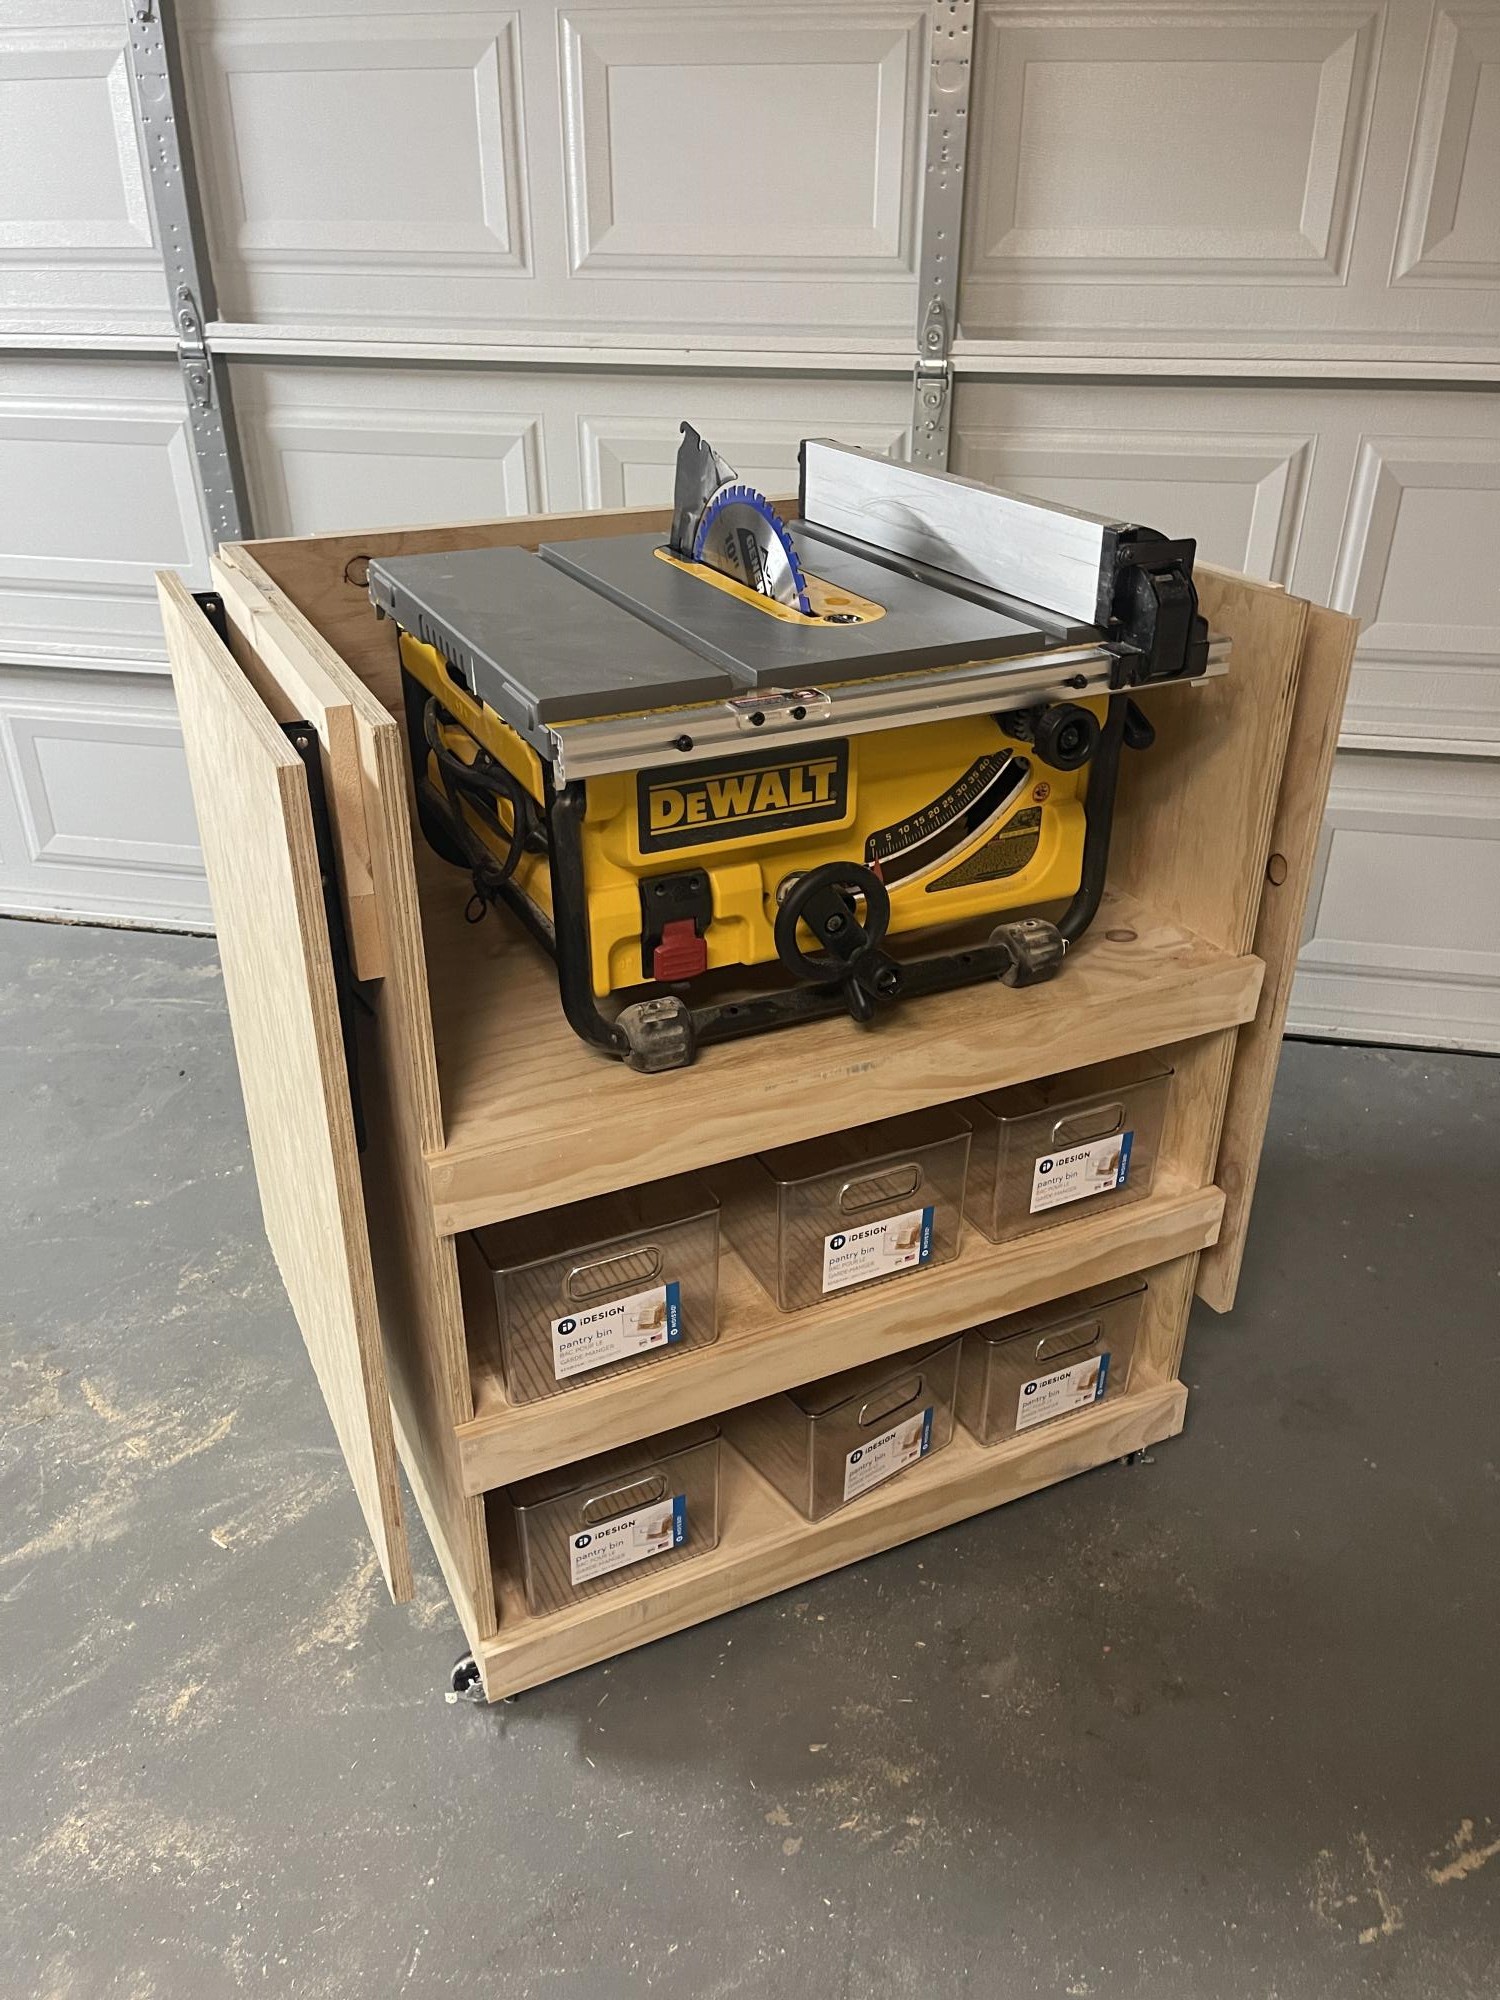
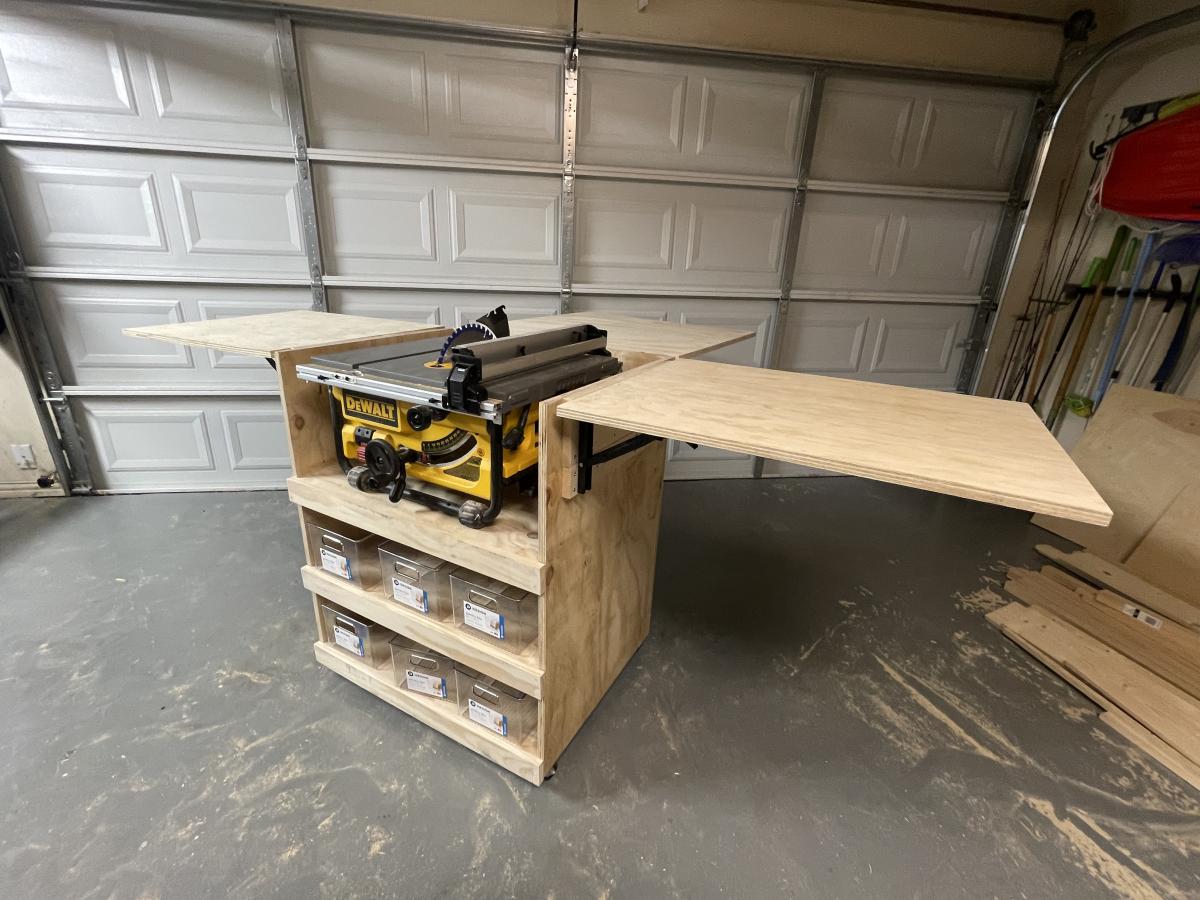
Table saw table
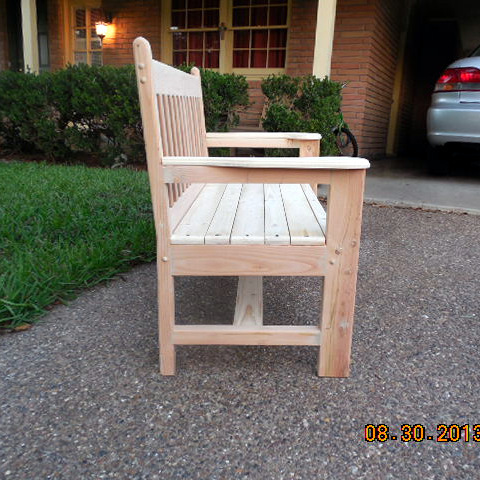
Just A Bench
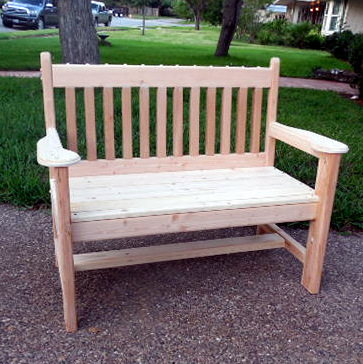
I had a request from a friend to build her a bench, preferably one with a back on it. The plans for the Woven Back Bench were perfect. But as you can see in the picture I moved away from the plans a little bit. The woven back is beautiful but I was sure it would become frustrating to get it right so I went with the vertical posts. It worked out well.
It is not visible in the picture but I added a cross-member to the middle of the seat to give it more strength and stability.
I avoided pocket holes to hold the back together by using the Kreg drill and drilling vertically down about 3/4 the way and inserting 2" pocket hole screws and then capping them off. The caps are visible in the picture. I did the same from the bottom of the back.
In a couple of places that called for 2x2s I used re-sawed 2x4s that I think added strength to the bench. I only used pocket holes where they would not be directly visible. Also I used a router to soften many of the edges and to add interest to the arms.
Built from Plan(s)
Estimated Cost
$50 not including primer or paint
Estimated Time Investment
Weekend Project (10-20 Hours)
Finish Used
The finish will be applied by the recipient but I am recommending that she prime and paint. Once a year she should check for any rotting.
Recommended Skill Level
Intermediate
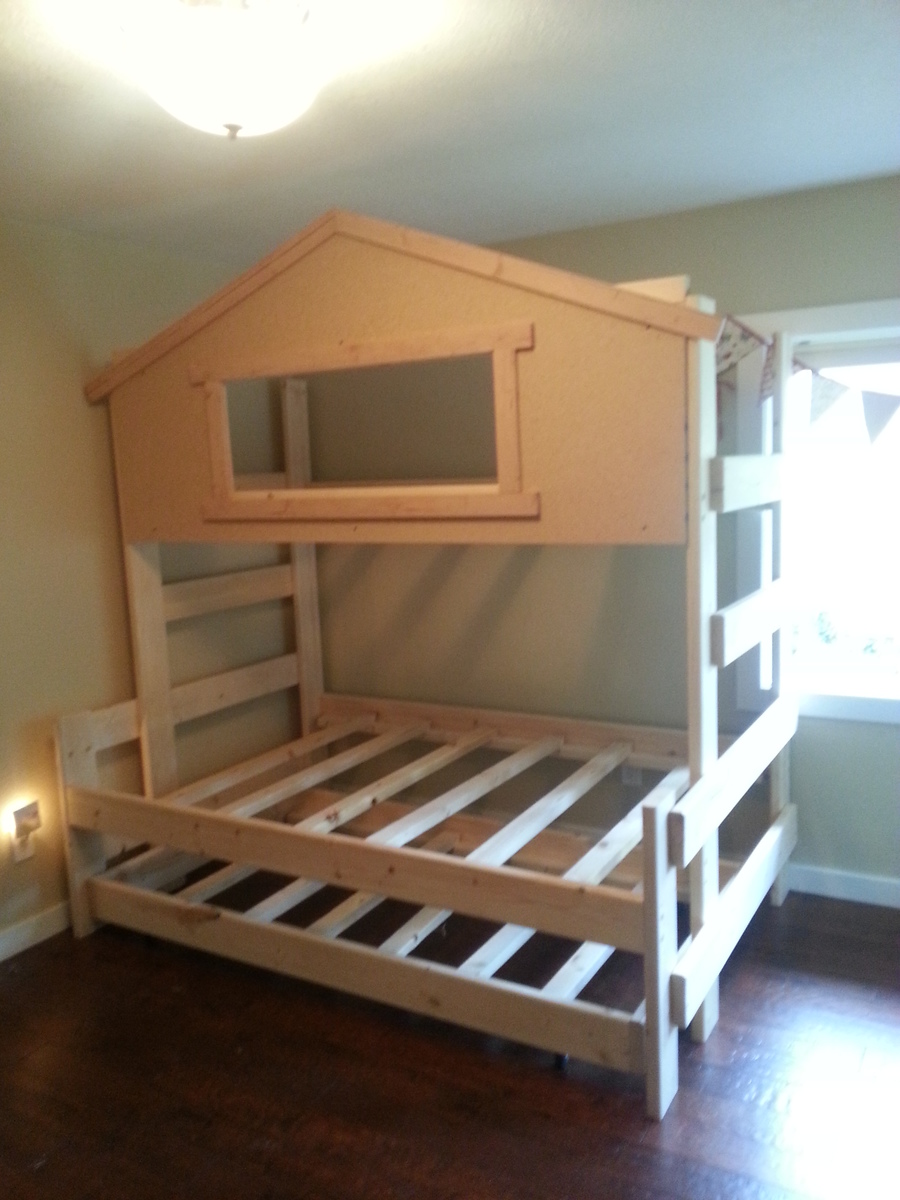
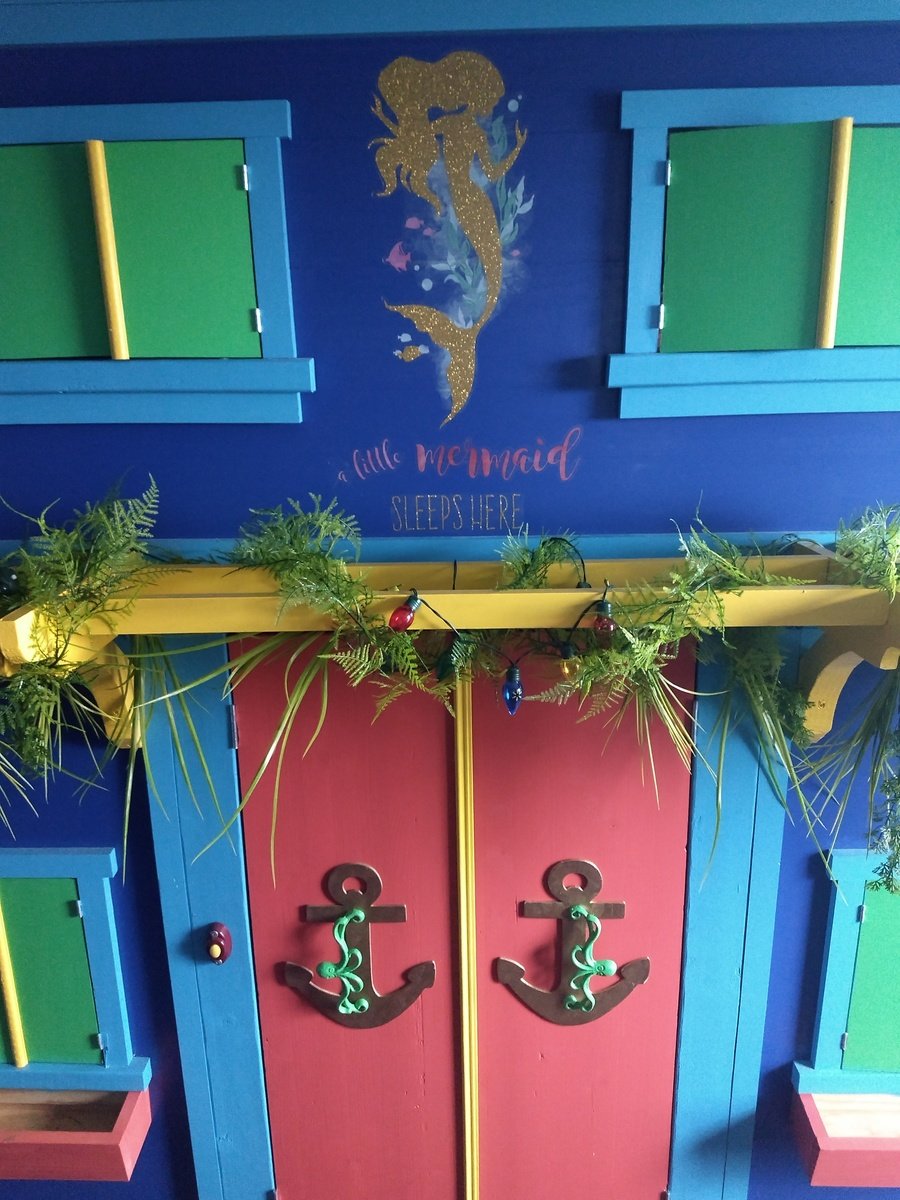
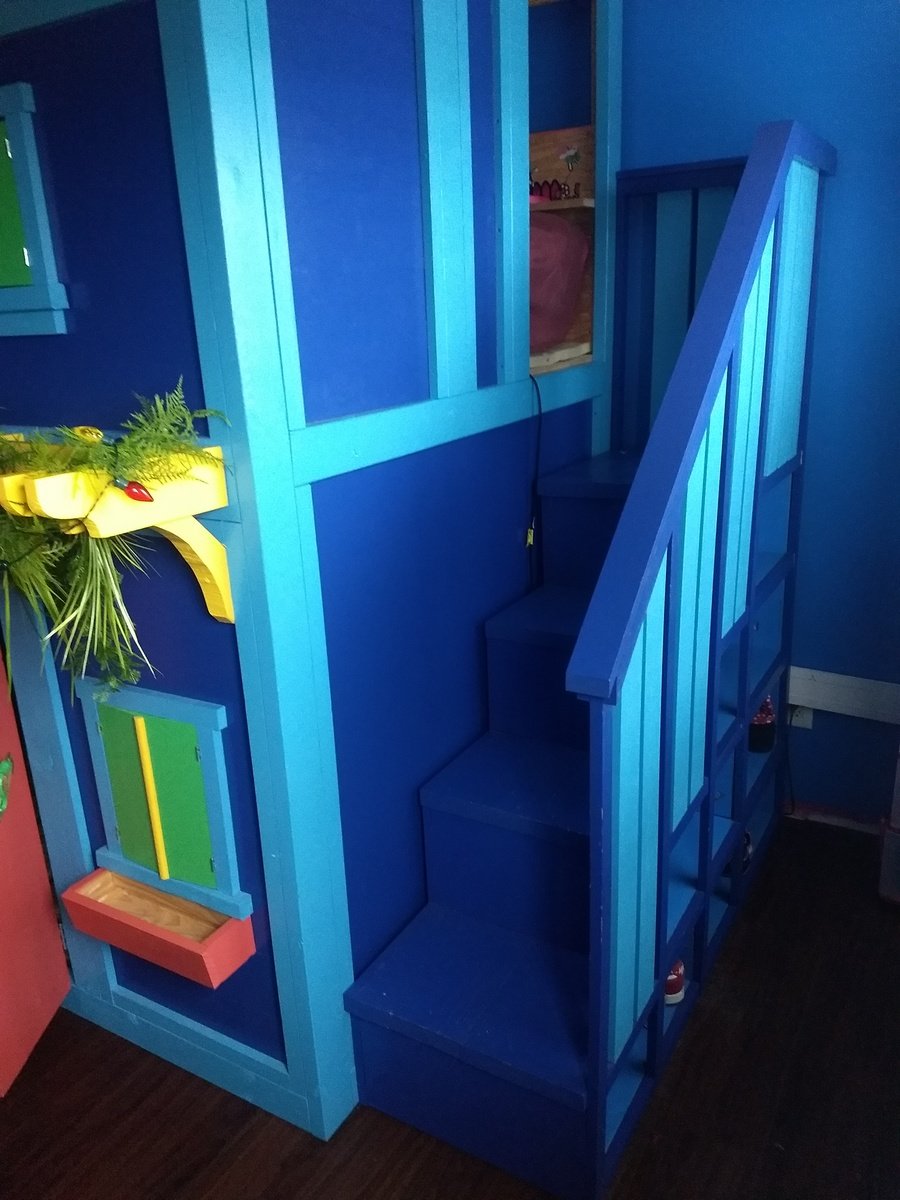
Ocean/Mermaid themed full size version of Sweet Pea Bunkbed
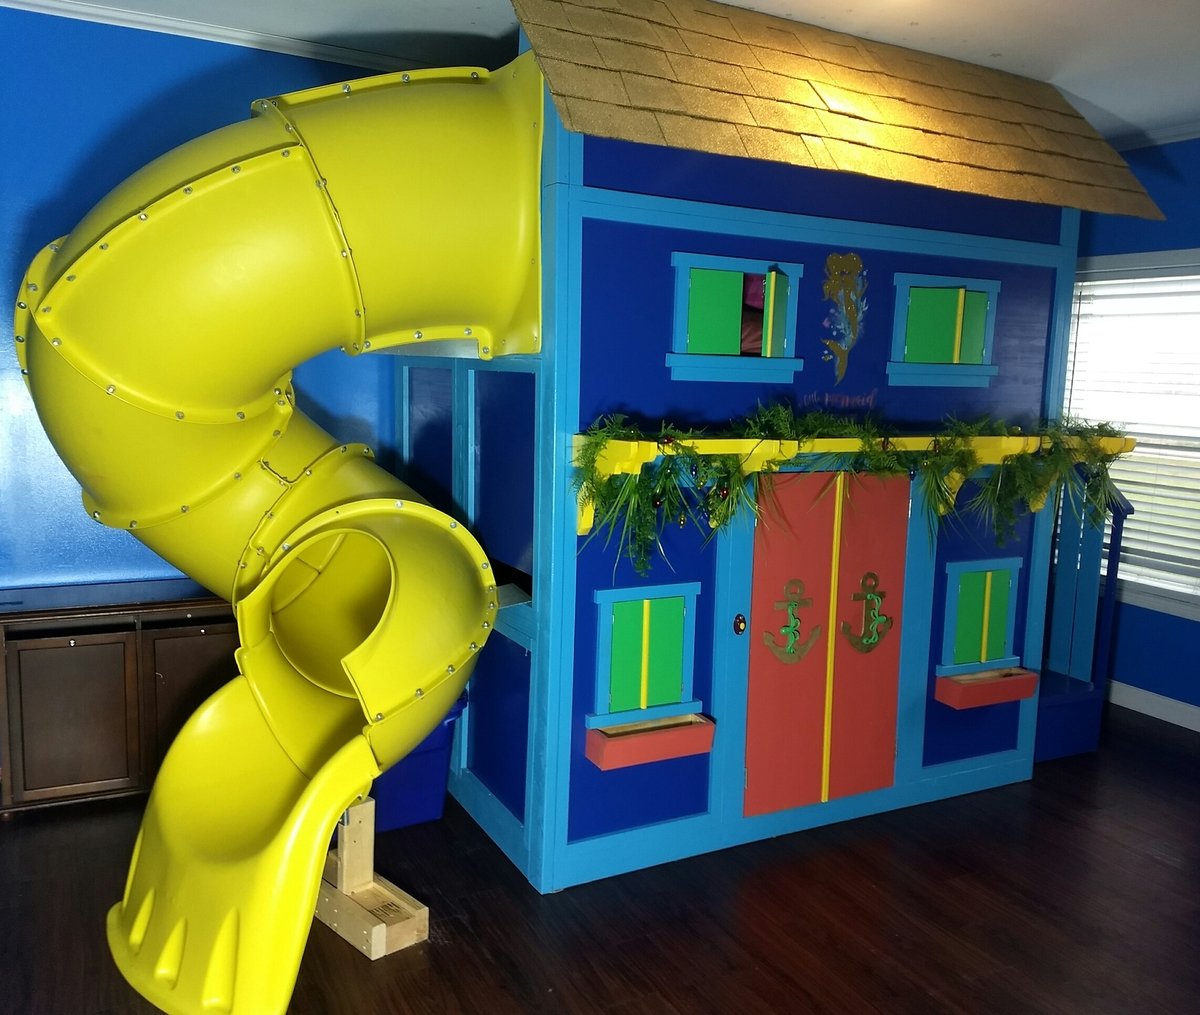
This is a ocean/mermaid version of the sweet pea bunk bed. I had to add an additional section above the original plans in order to accommodate for the slide. I also forwent the bottom storage and opted to just put a bigger door, which allowed more headroom inside and the ability to put both a mattress and box spring on the bottom bunk. I used real shingles and painted them gold. The slide came from Home Depot. The octopus door handes I got off of Etsy for about $5 each. I found a doorbell on an old plastic outdoor house set laying around. I added some seaweed from Joann Fabrics. The steps are made out of 2x6 boards vs 1x boards. I also changed the plans so both beds are full size instead of twin size. The top bunk has so much support...it was tested with 600 lbs up there and held up fine!
Built from Plan(s)
Estimated Time Investment
Week Long Project (20 Hours or More)
Recommended Skill Level
Intermediate
Comments
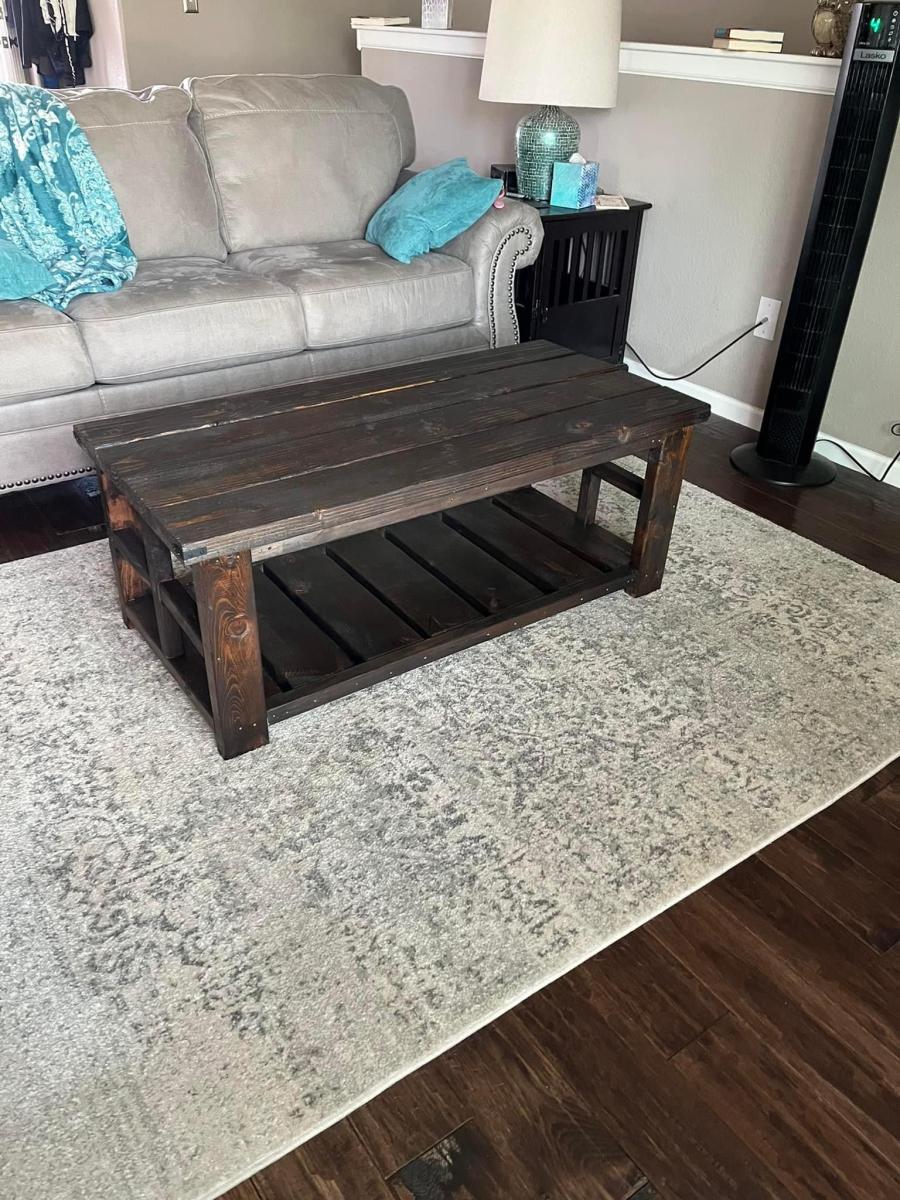
Farm house table
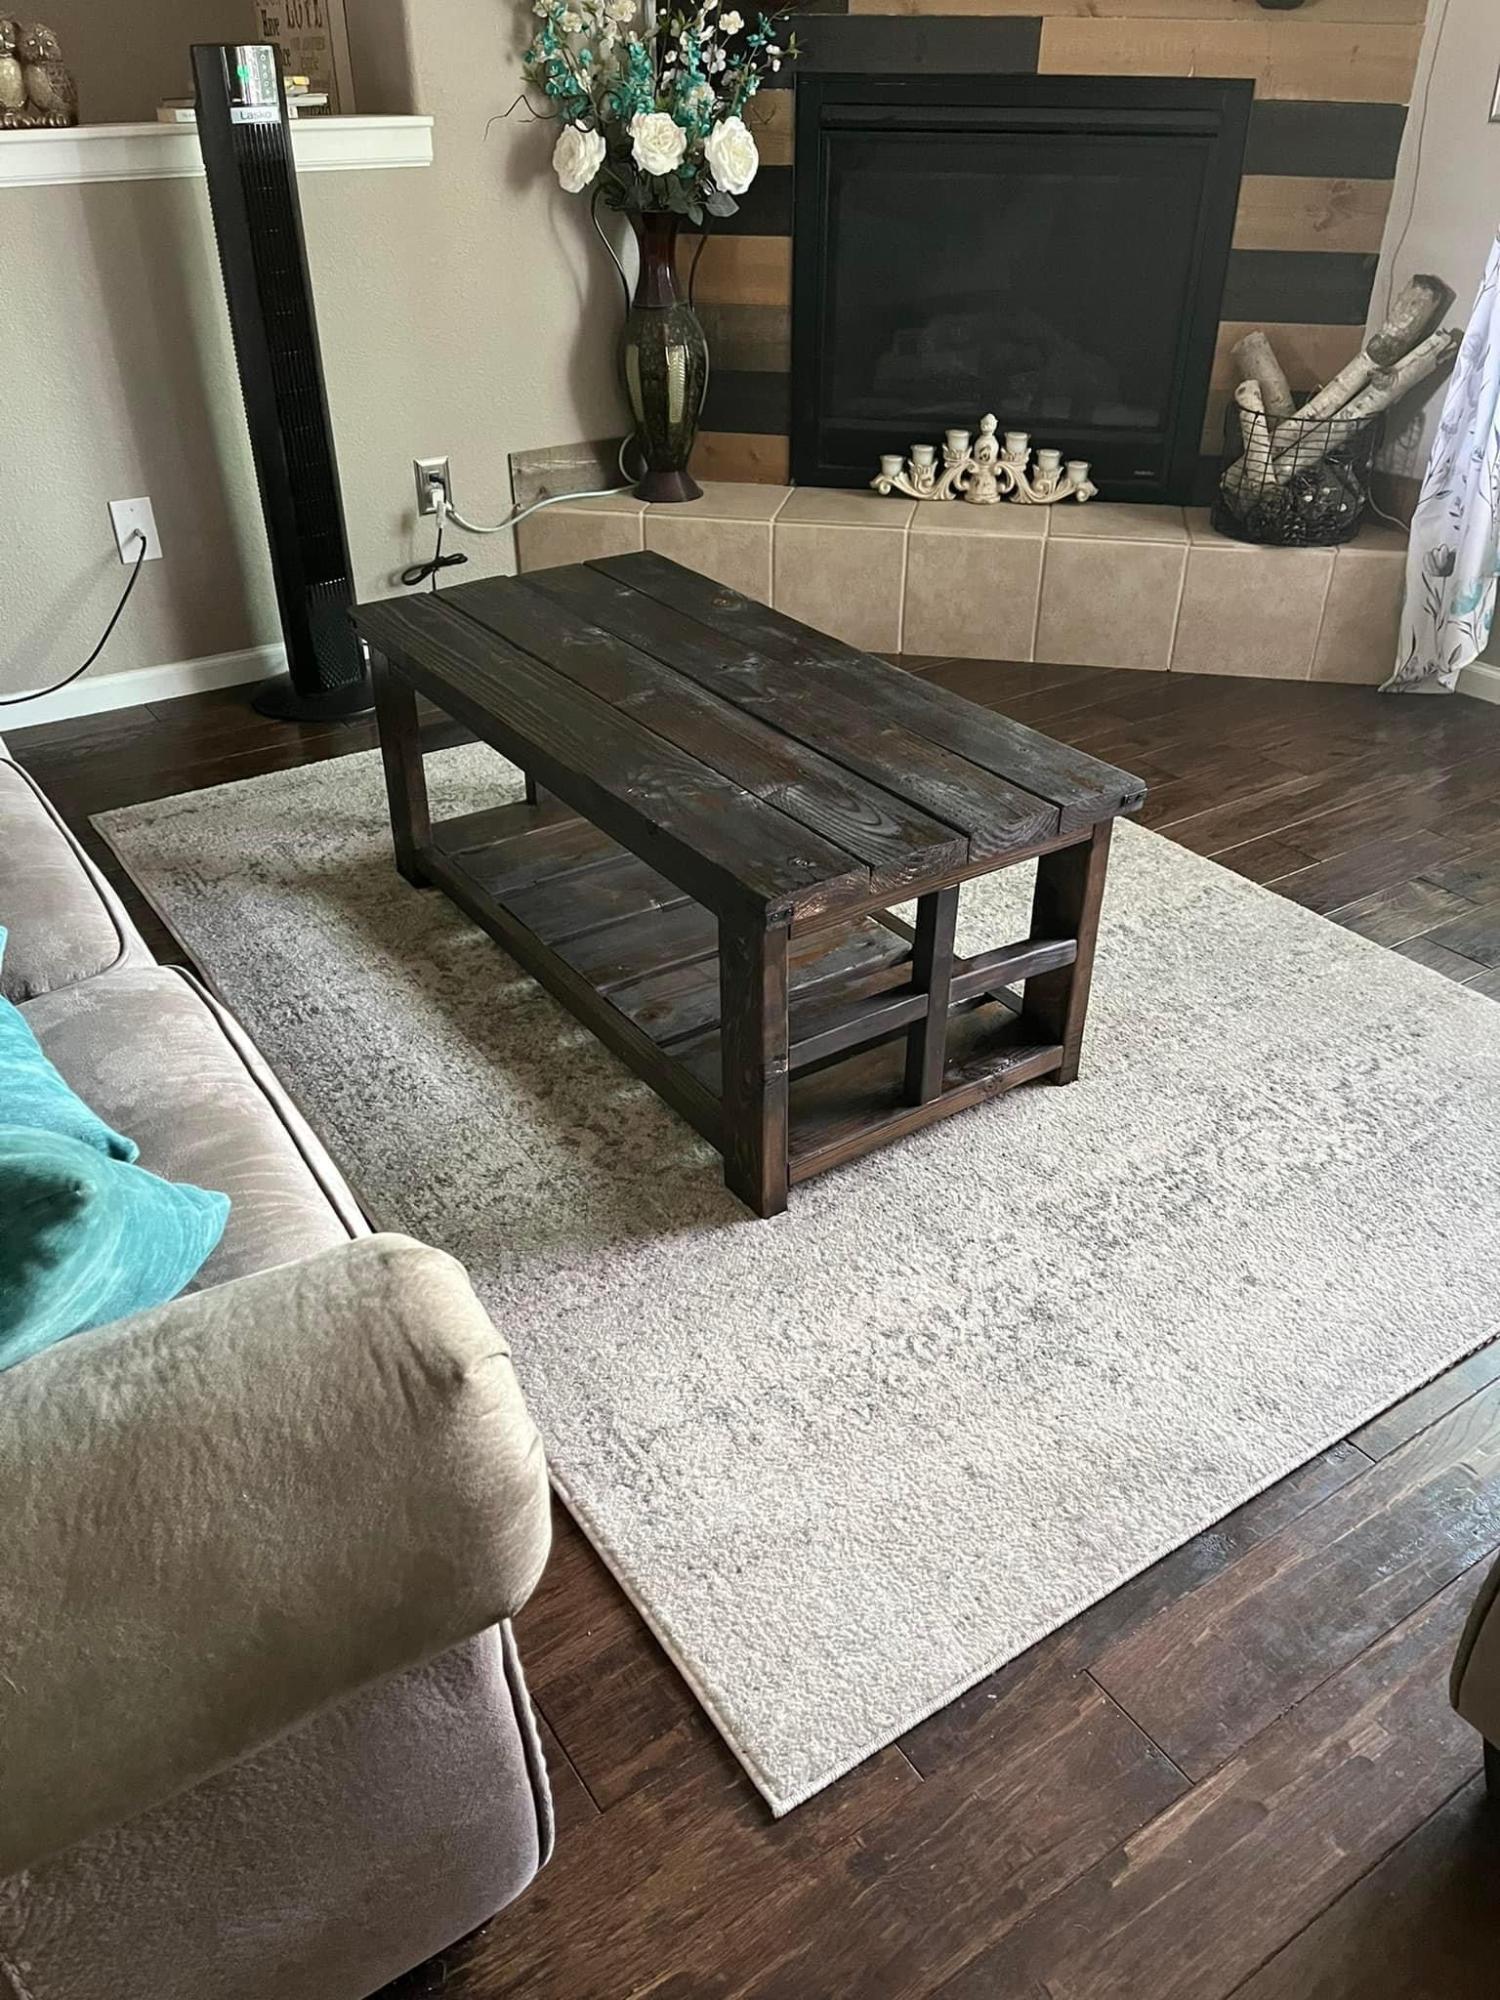
Decided paying $600 for a coffee table was ridiculous so my wife said build this then. I read the comments on this and went with picture frame ends, wife is happy and that means I am as well! Also drilled holes first just to ensure no splitting of the wood.
Built from Plan(s)
Comments
Farmhouse Bed and One happy Boy ;)
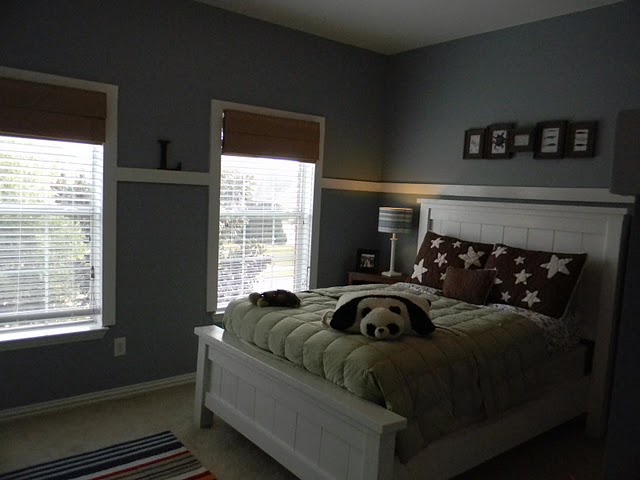
My Hubby and I worked really hard on building this bed, your plans are wonderful ;)
Built from Plan(s)
Estimated Time Investment
Weekend Project (10-20 Hours)
Finish Used
White semigloss after priming
Recommended Skill Level
Beginner
Comments

Tue, 08/09/2011 - 22:14
Just gorgeous, and thank you!
Just gorgeous, and thank you! Thanks so much for sharing!
Comments
Ana White
Sun, 10/14/2018 - 13:51
What a fantastic first piece!
What a fantastic first piece! I love the size, it is just right for your space!