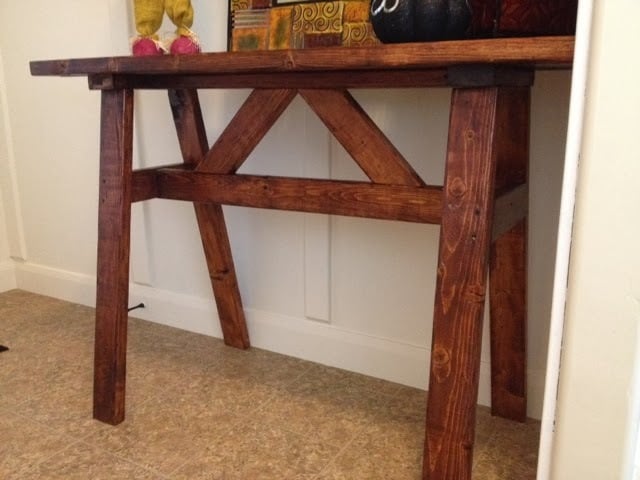
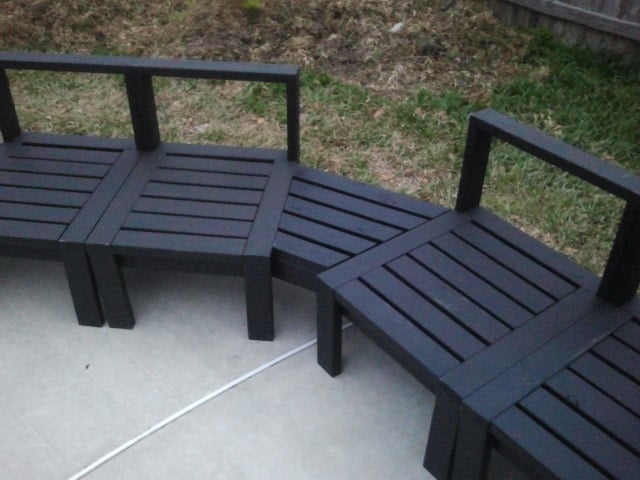
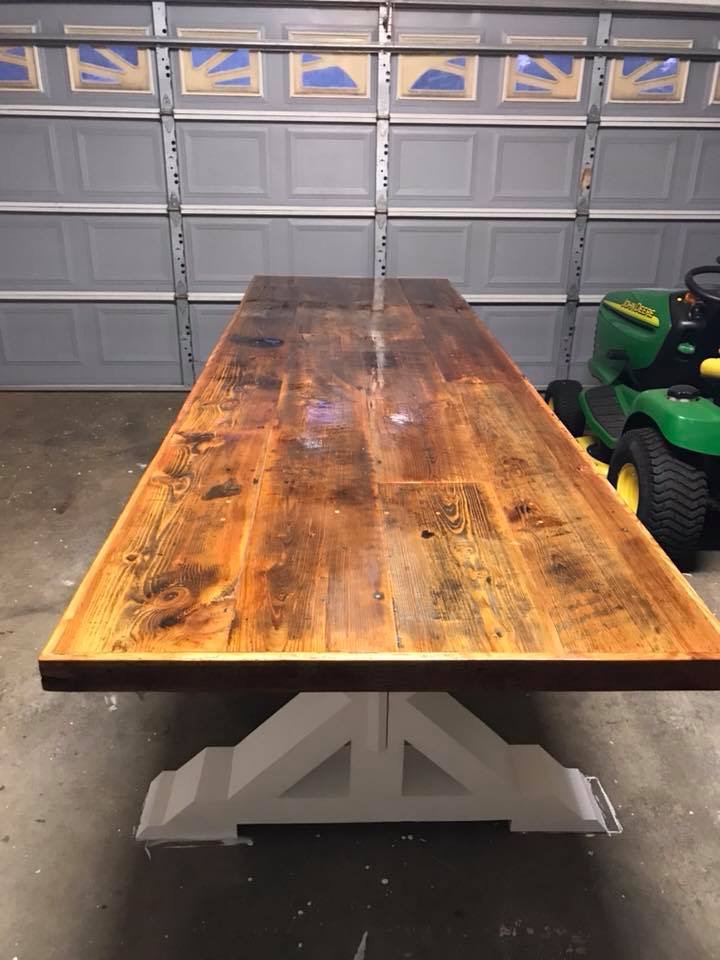
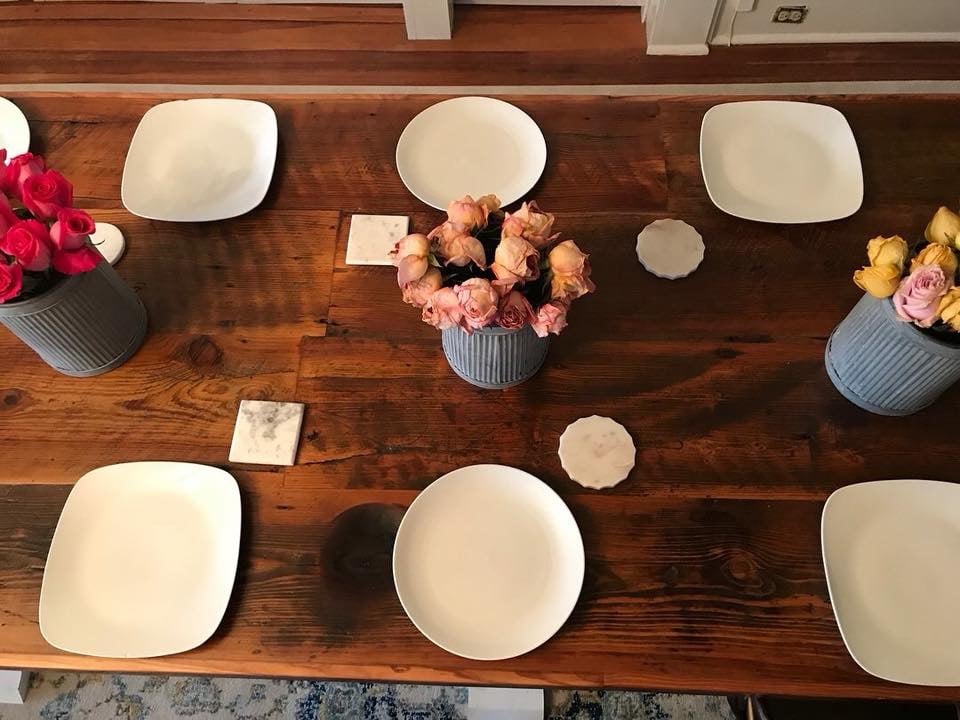
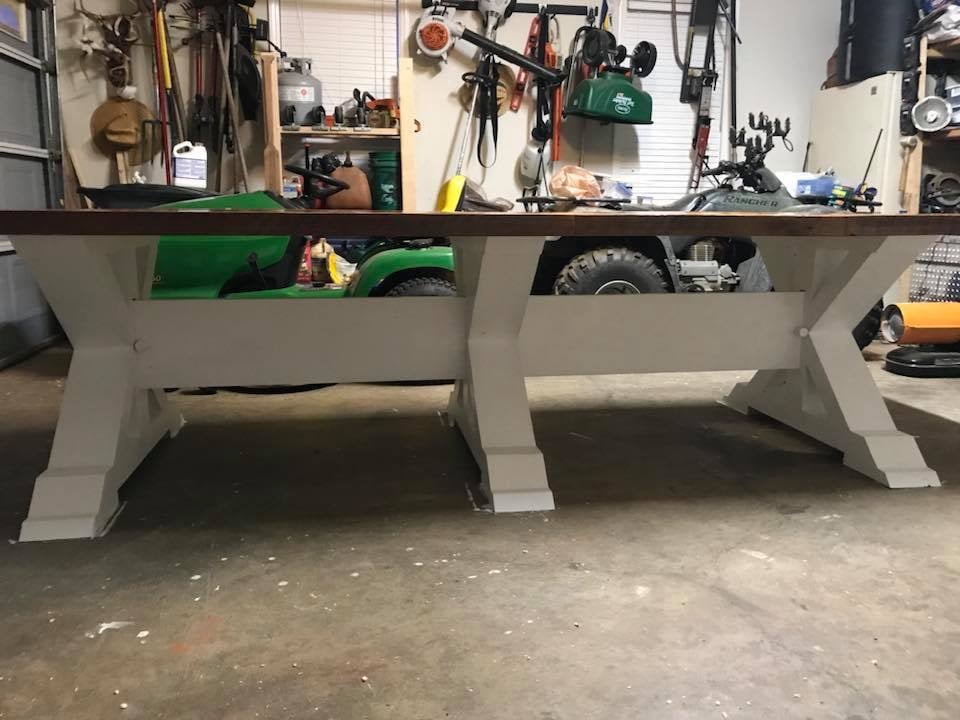
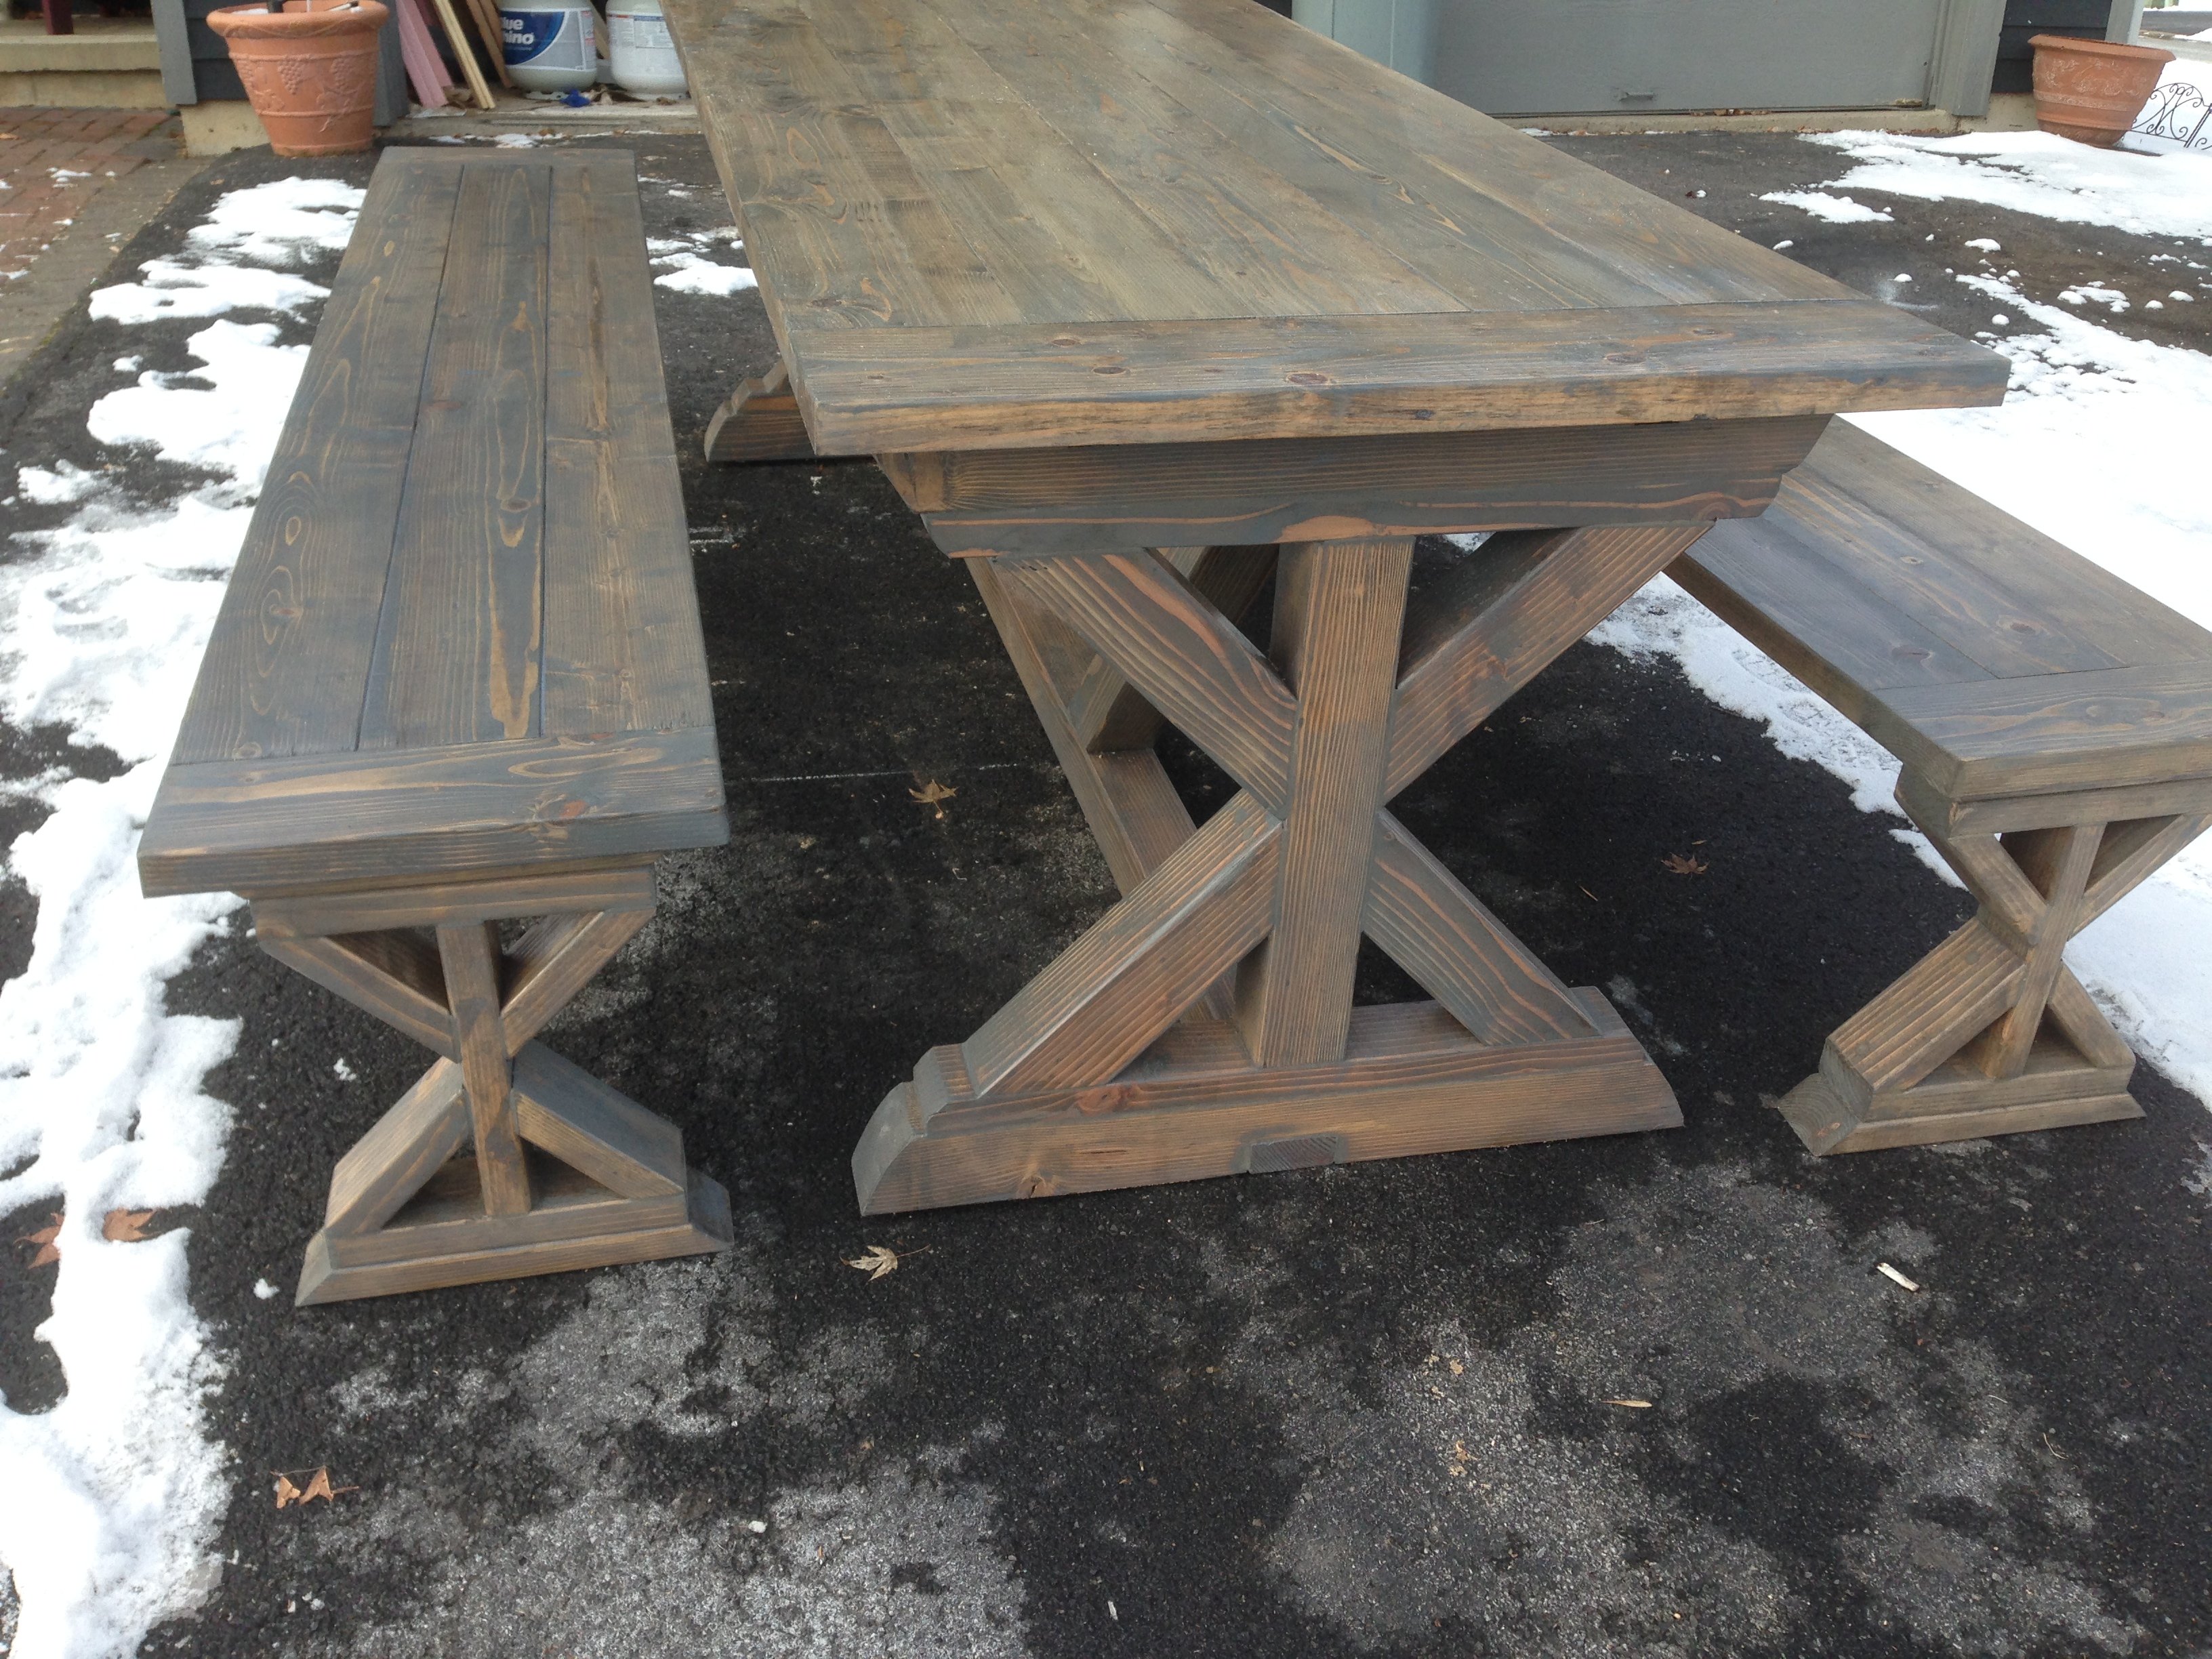
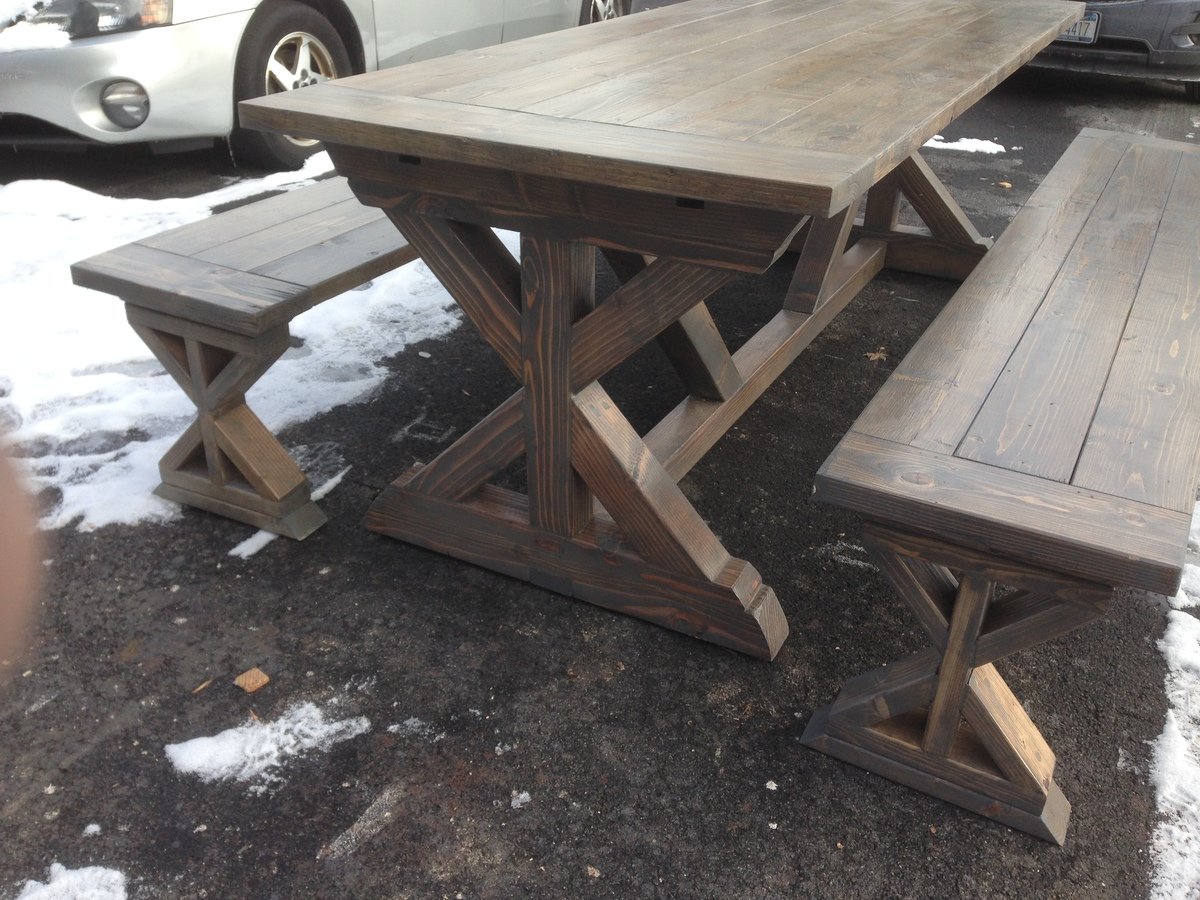
Farmhouse bench
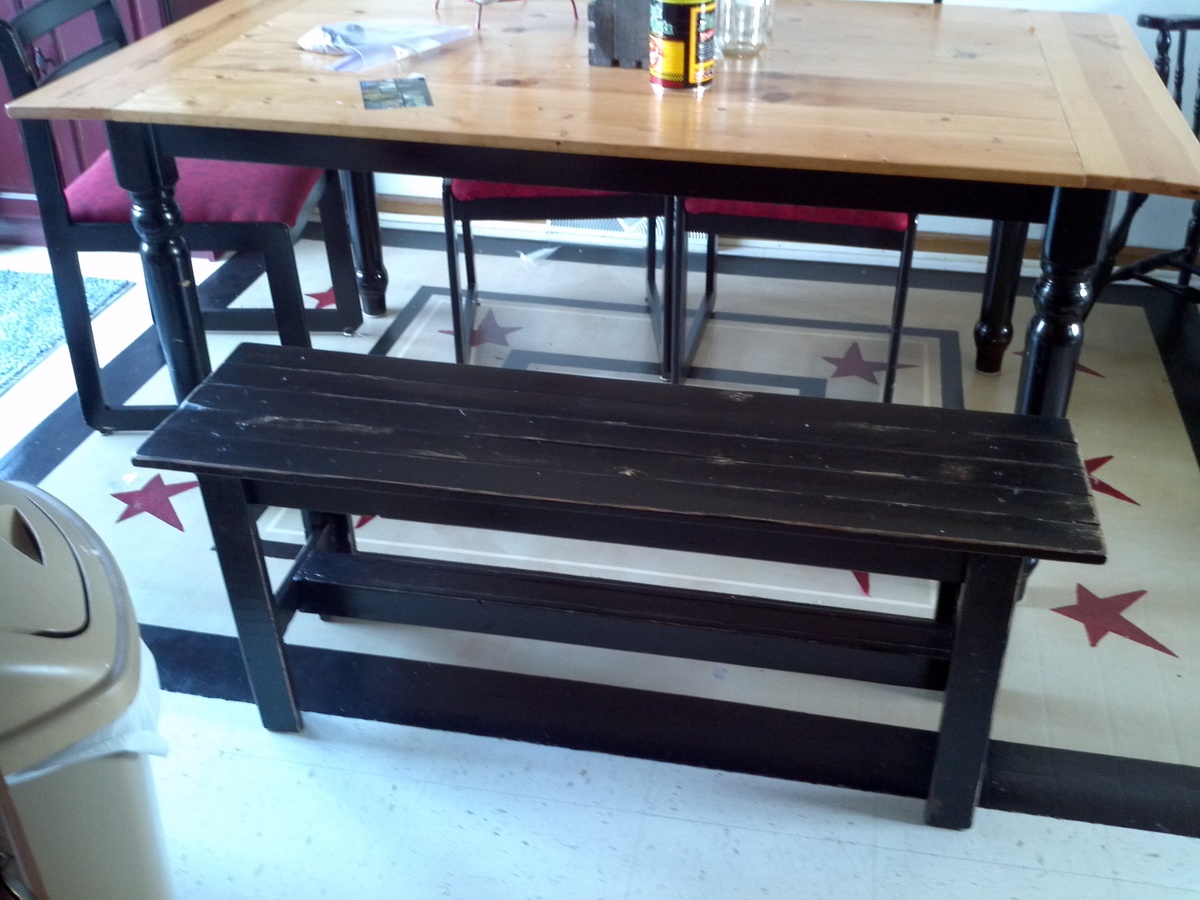
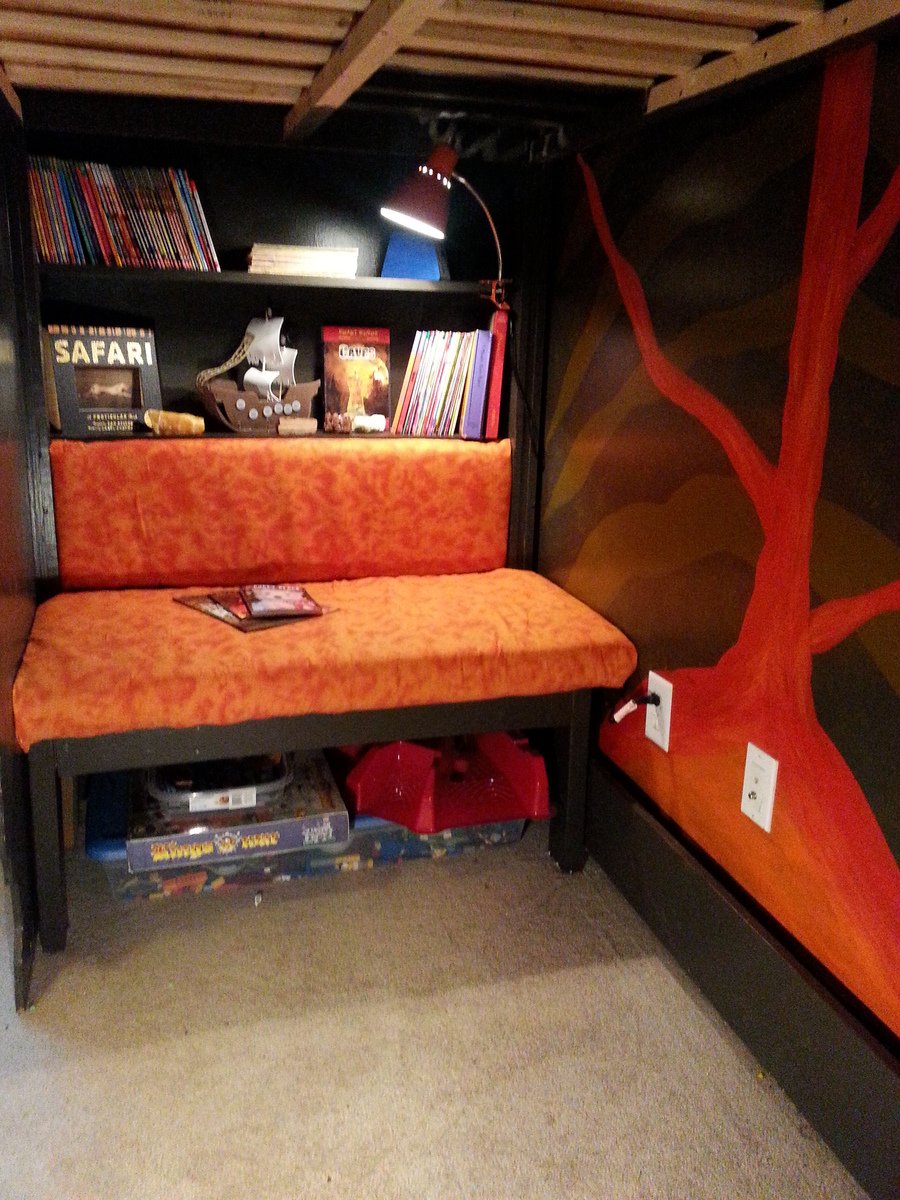
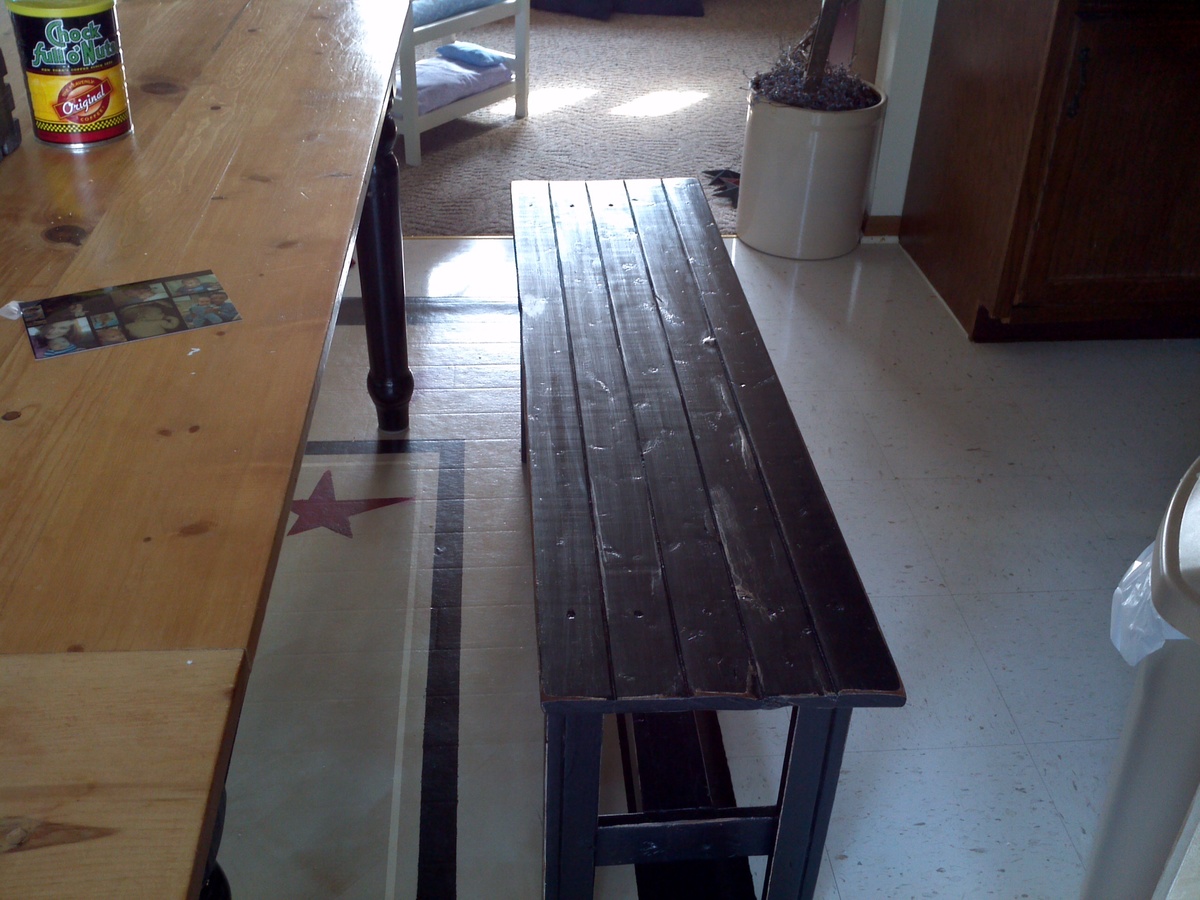
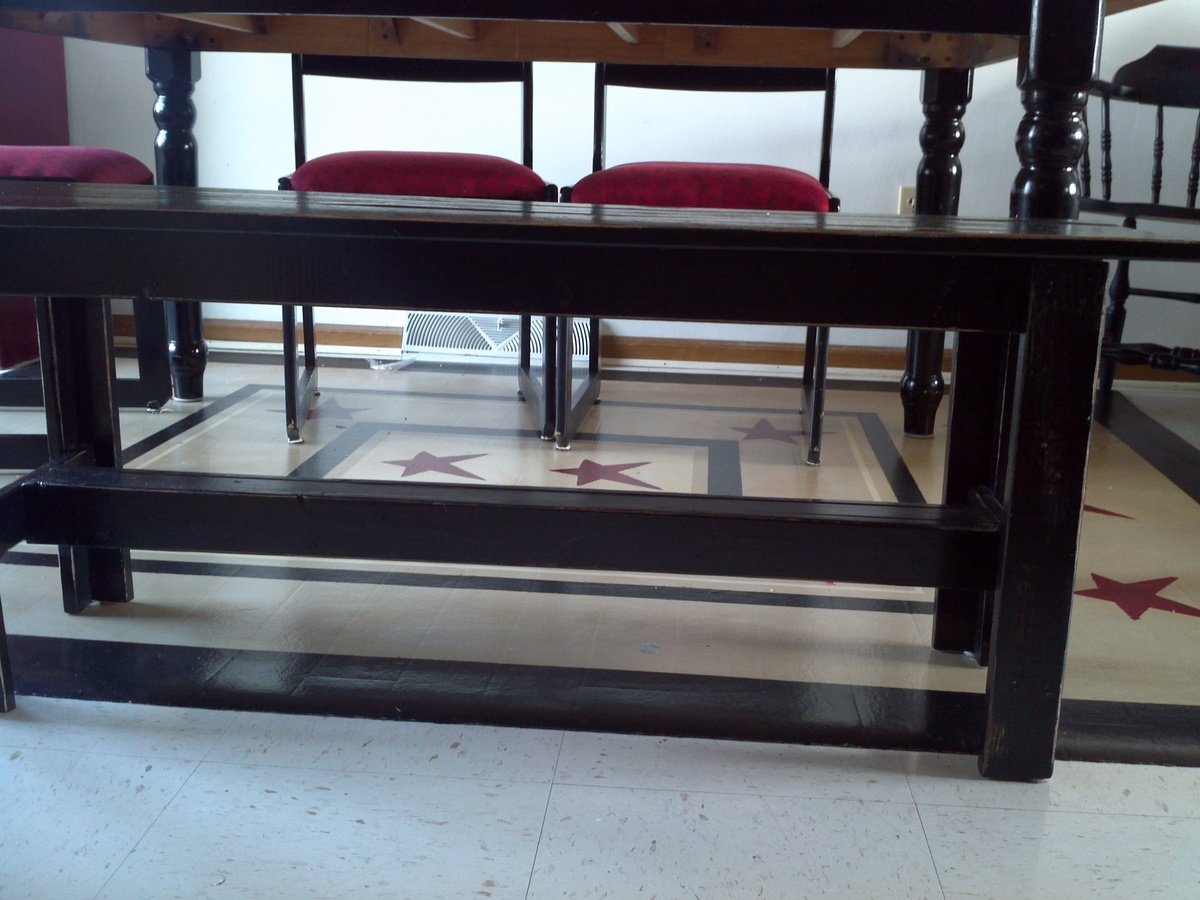
I took Anna's Narrow Farmhouse table and downsized it to make a bench for my kitchen table. For the bench top, I used what I had on hand to make a comfortable seat.
Built from Plan(s)
Estimated Cost
$10 plus scraps
Estimated Time Investment
Afternoon Project (3-6 Hours)
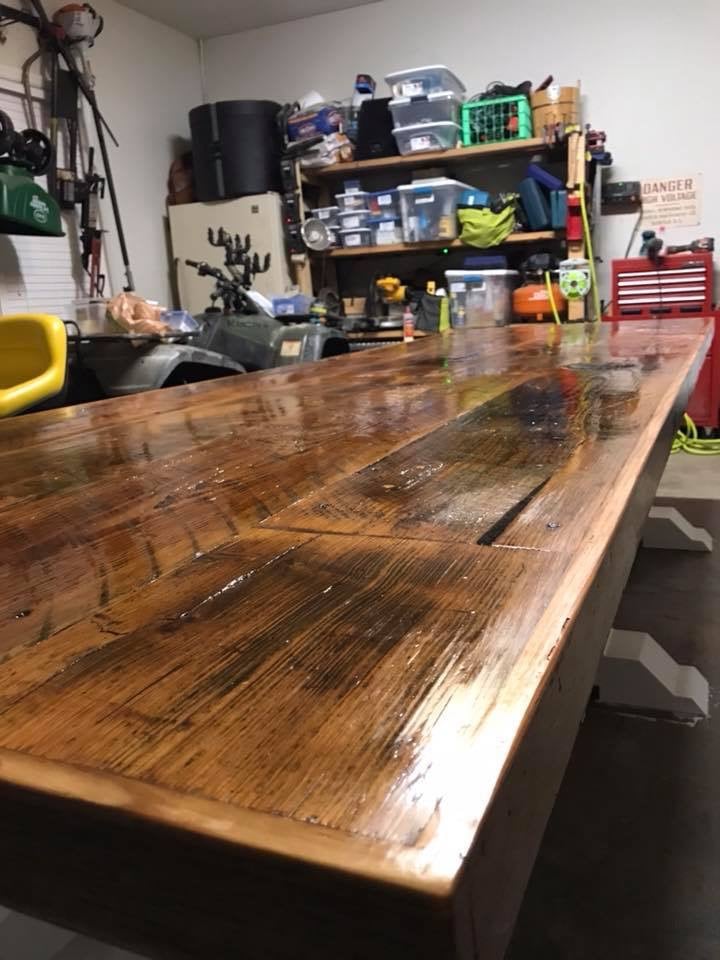
Finish Used
I bought rough looking 1x3 furring strips - the cheap ones! I wanted a primitive well worn look. After putting the bench together, I beat up the boards with nails, a hammer, my drill - whatever was handy. I then painted it solid black, let dry, sanded lots of bare spots, wiped clean of dust, stained sanded spots lightly with some stain I had on hand (no name left on the label), then poly'd the whole thing (since it will need lots of cleaning.
Recommended Skill Level
Starter Project