Community Brag Posts

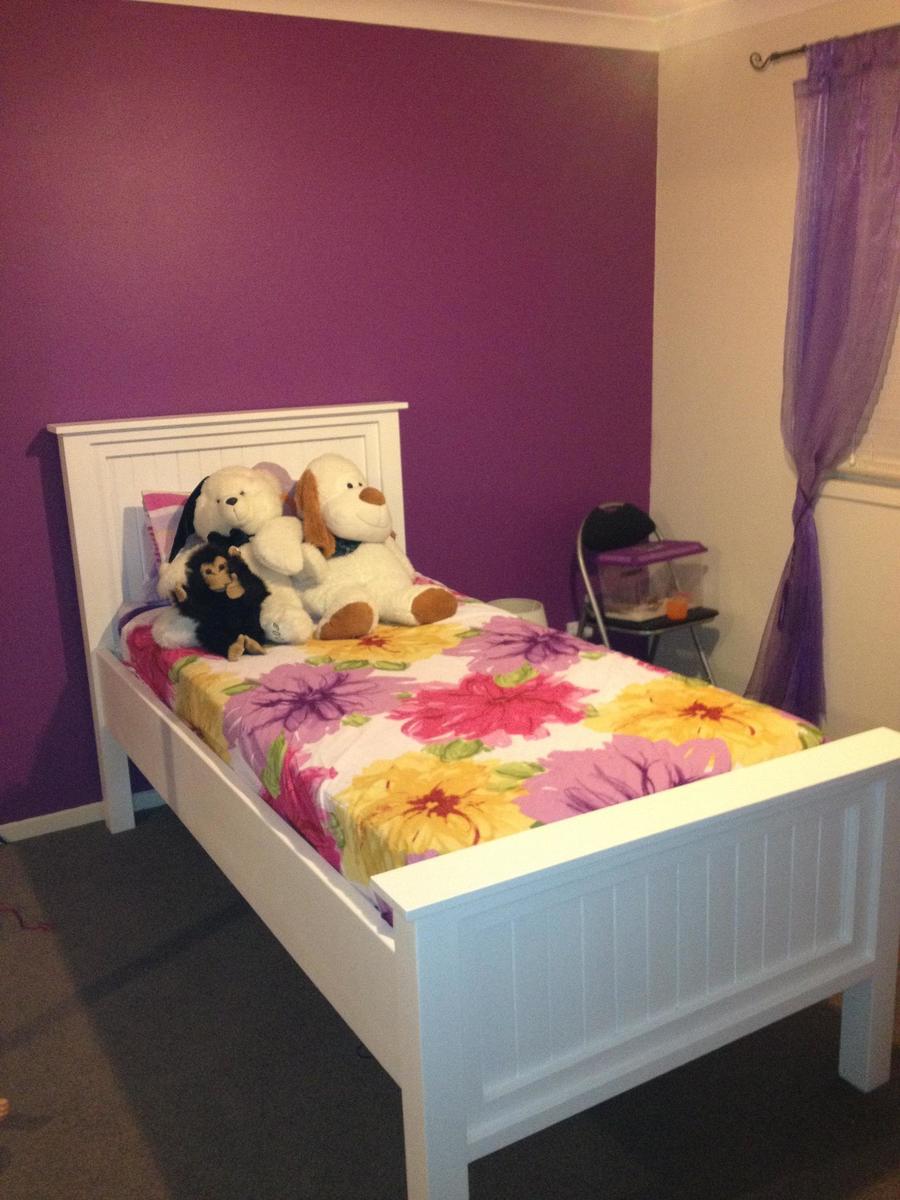
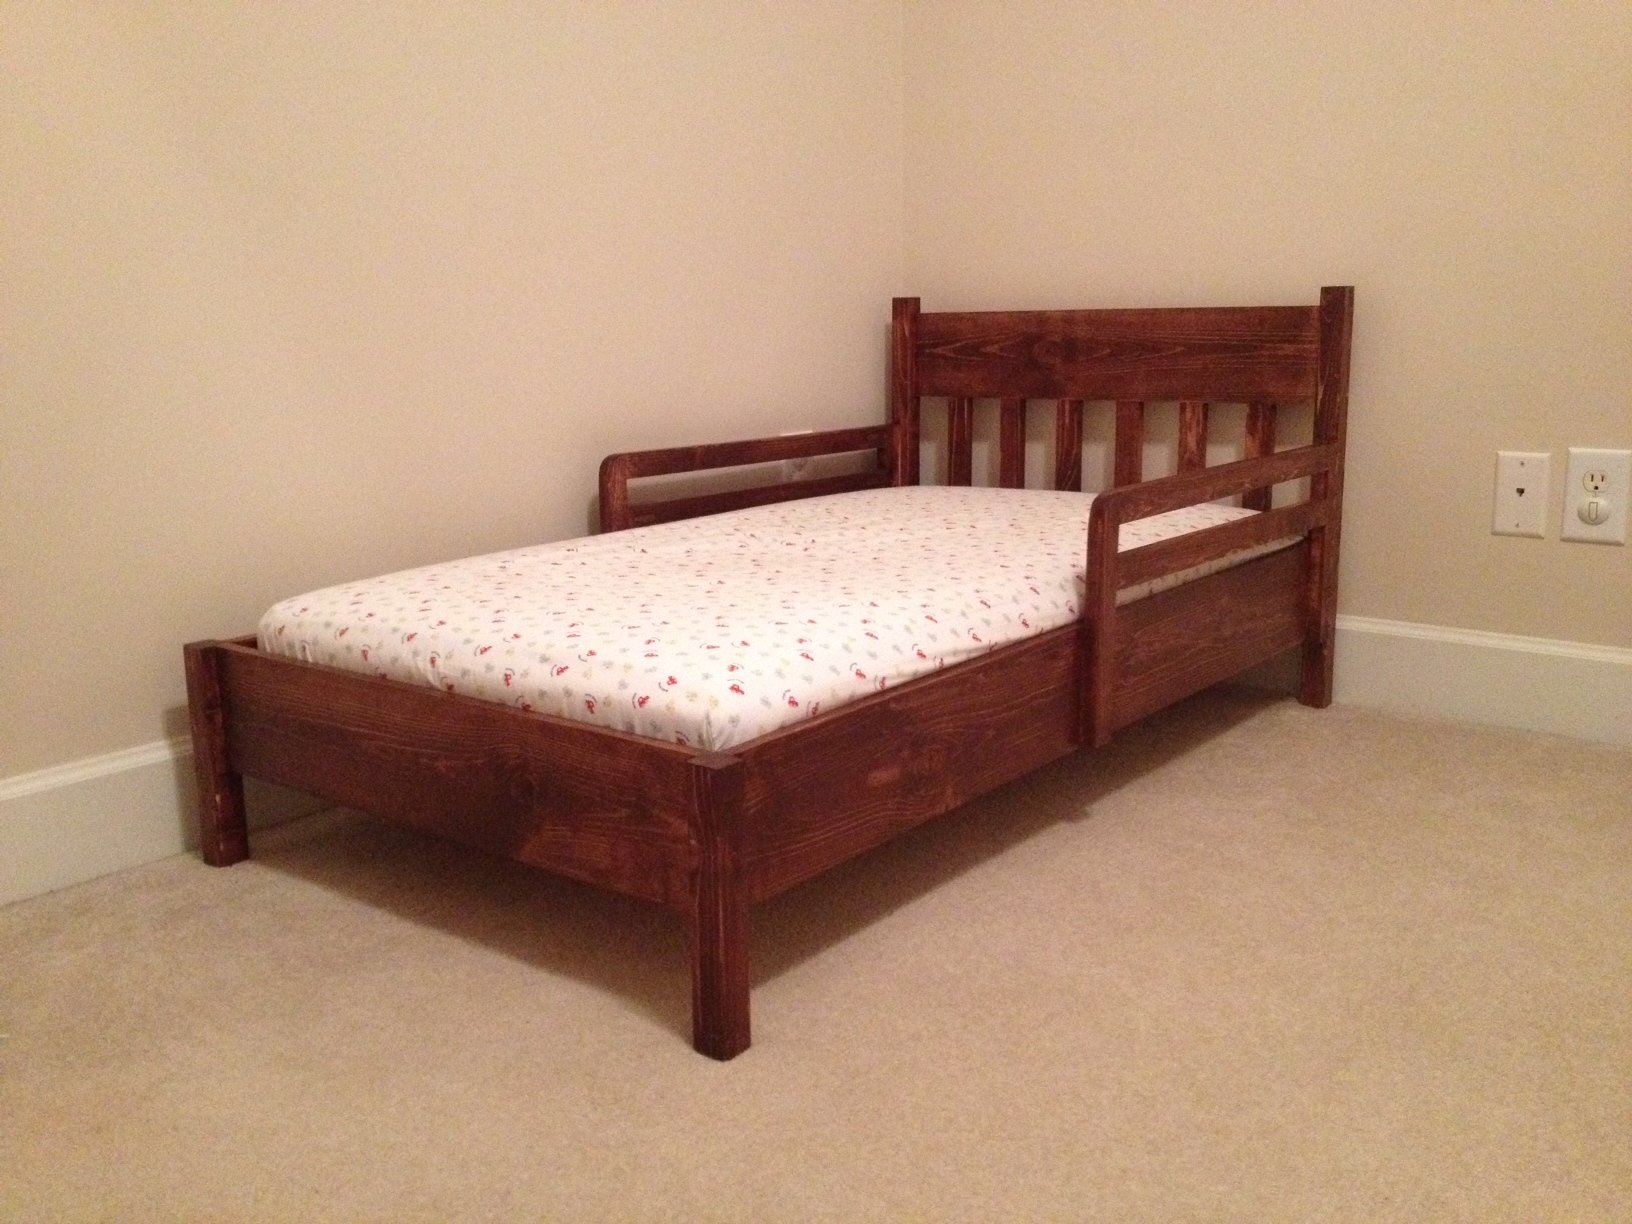
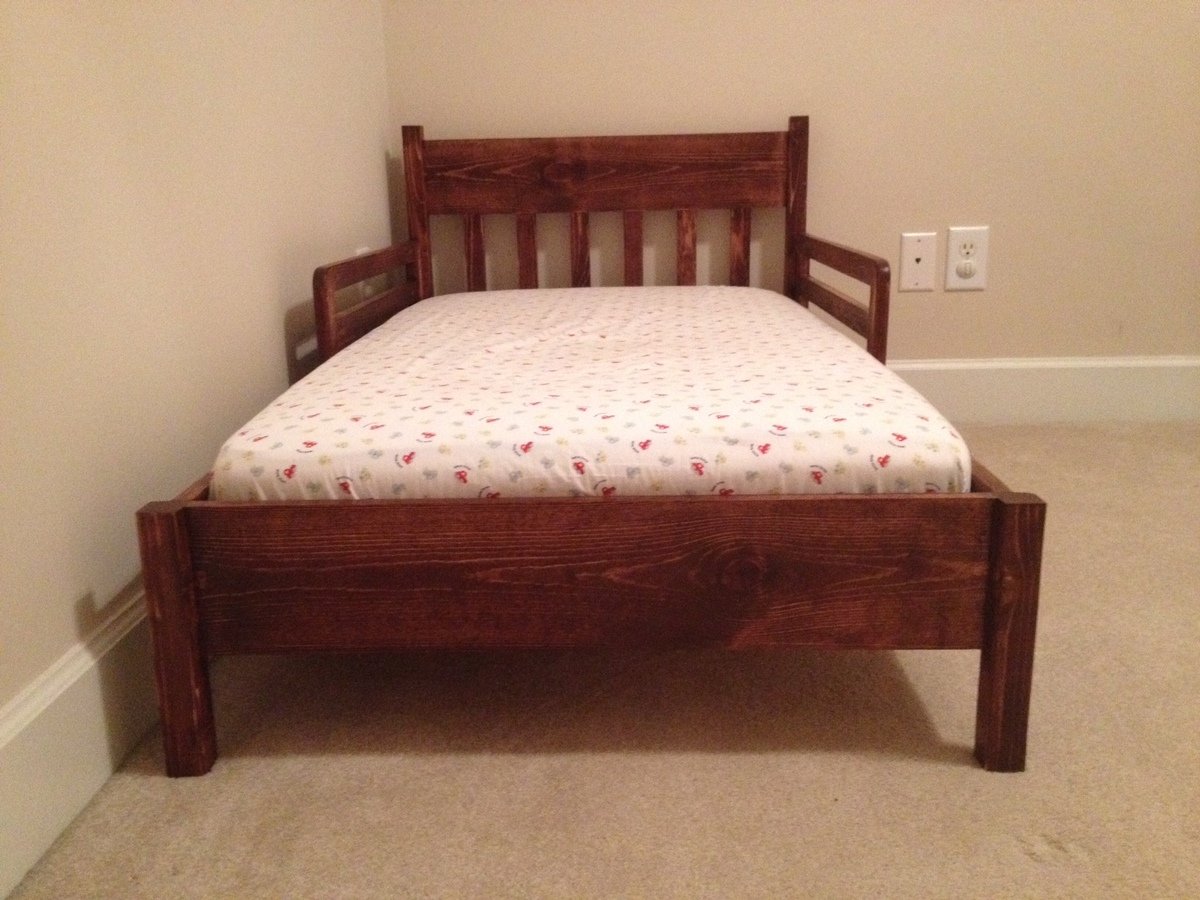
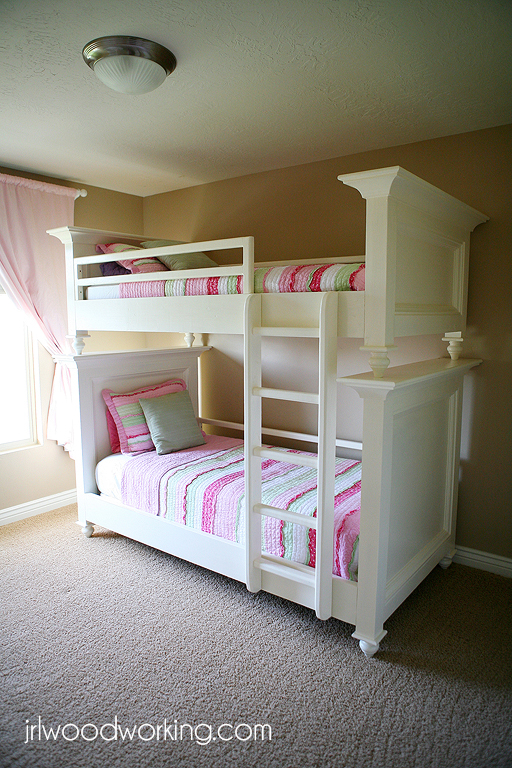
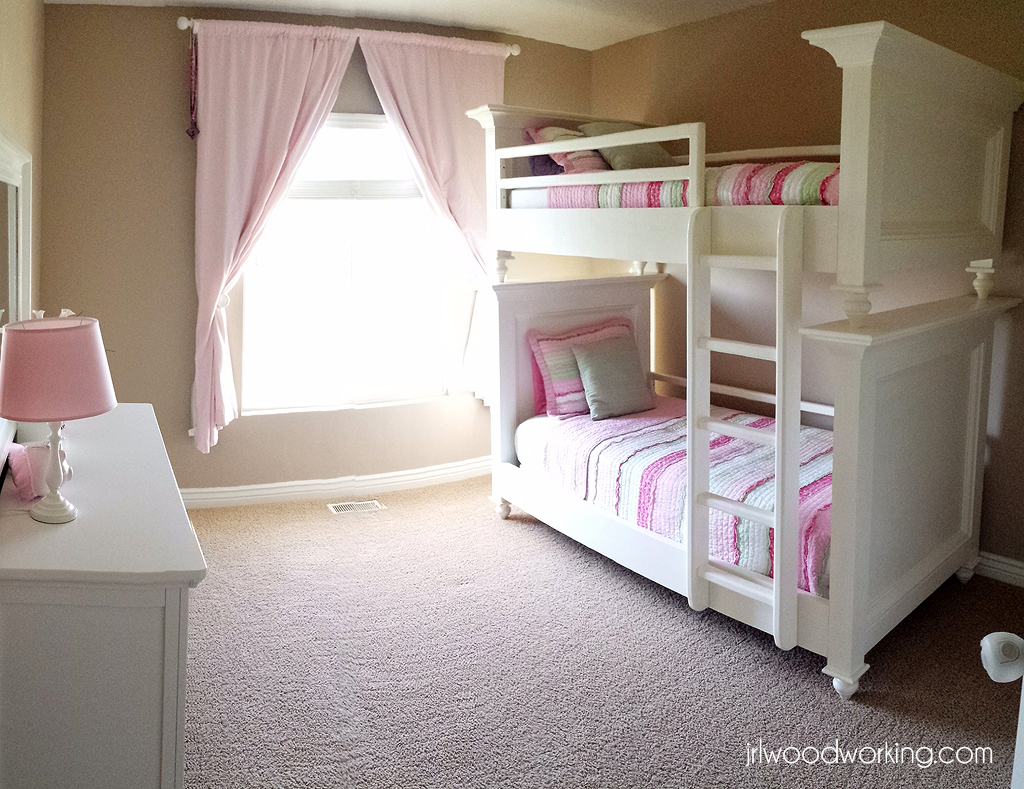
Modified Twin Farmhouse Bed

My wife found this design on your site and set about convincing me that it would be a good idea to replace the (new) IKEA loft beds that we had recently bought.

The loft beds were not such a great idea as they were 7 feet tall in an 8 foot tall room. Needless to say, i didnt need all that much convincing that replacing them was a good idea...so the first step was to list the loft beds on ebay to fund the builds. They sold for nearly 2/3rds what we purchased them for so we were very happy with that!

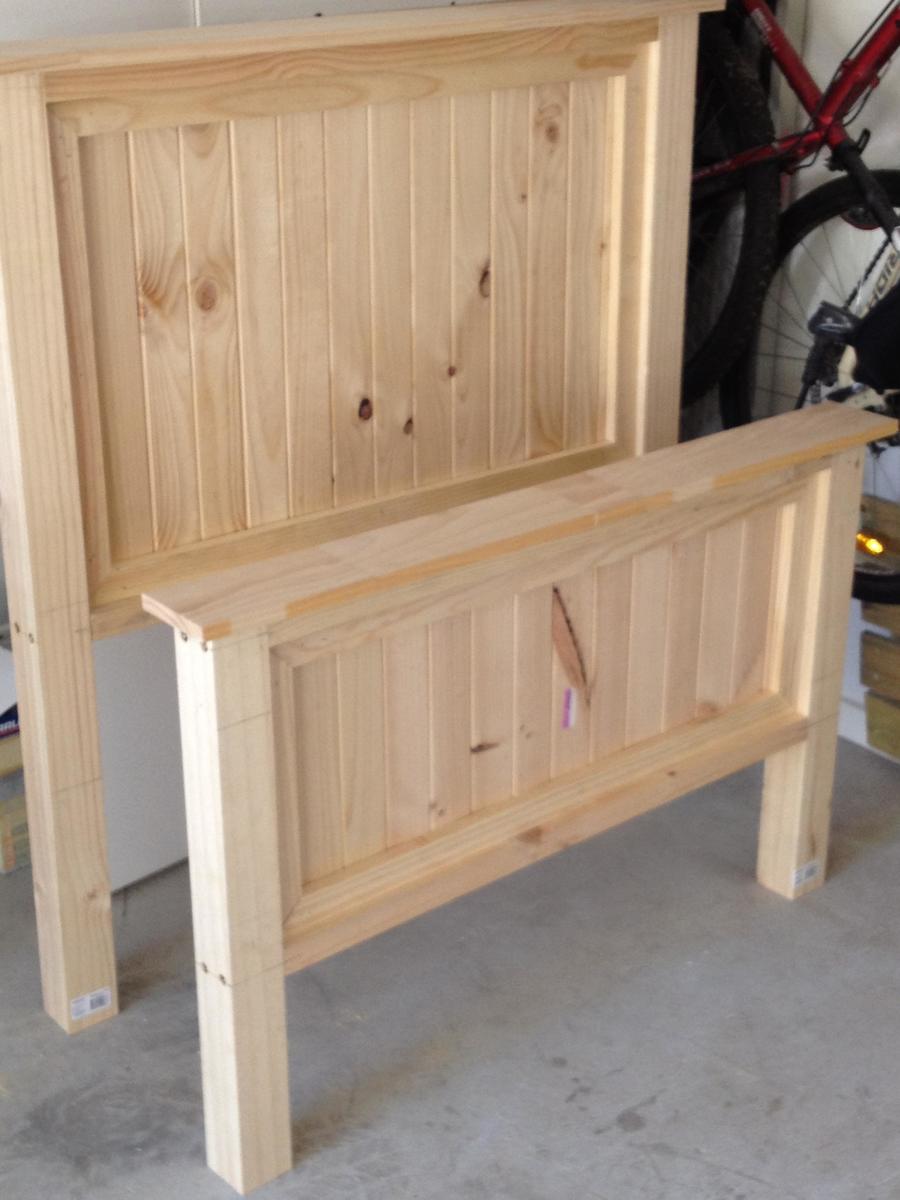
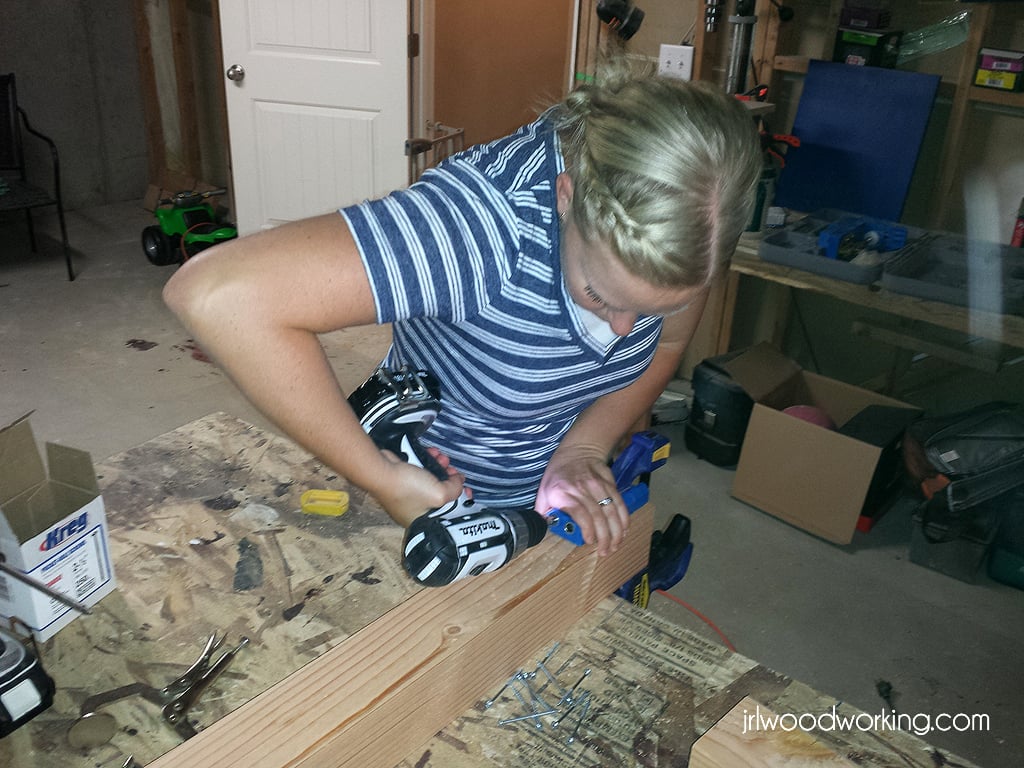
Armed with our cash we set off for the Hardware store to pick up our timber, drop saw and coach bolts. We purchased all the timber that we needed and the screws and (i dont know what they are called but) the things that you screw onto the post and the rails to allow them to slot into one another and be pulled apart relatively easily (see the image titled Foot).

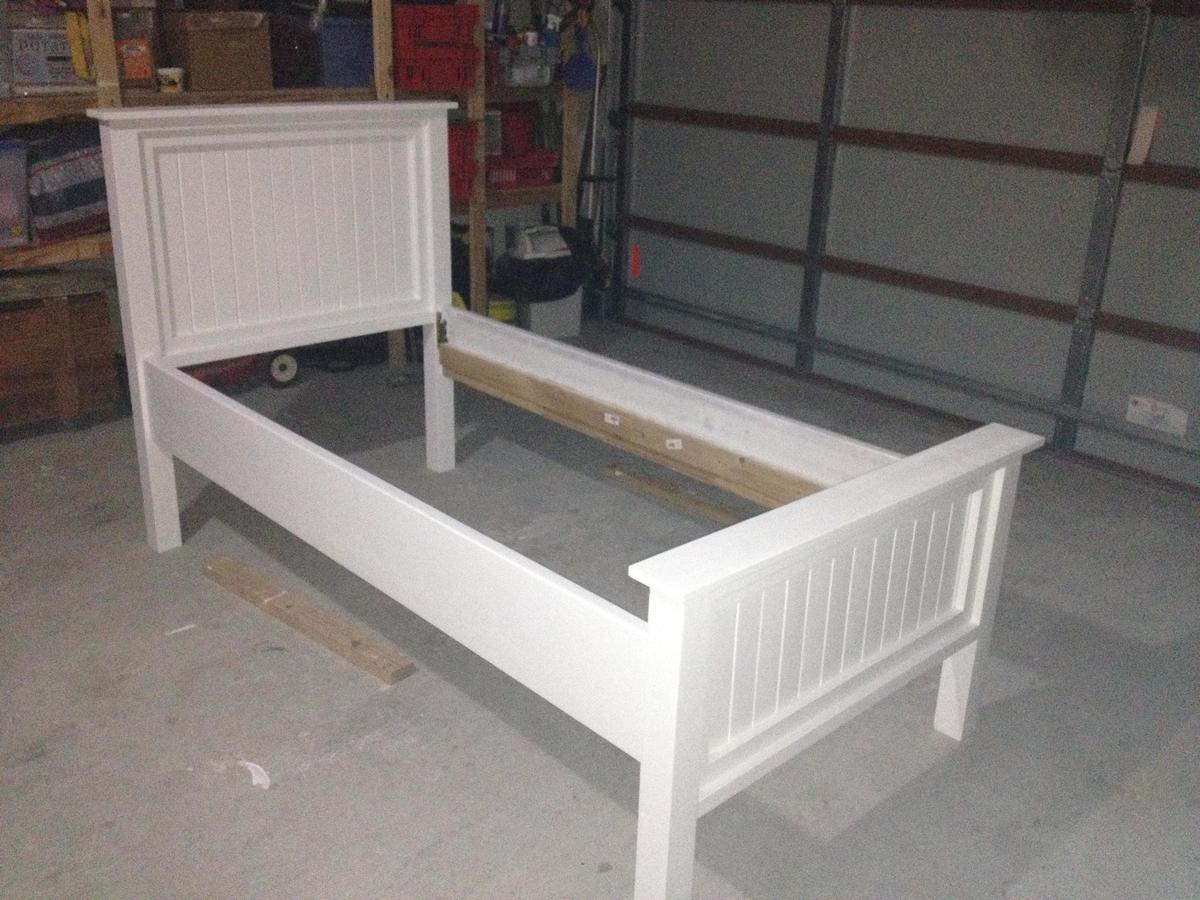
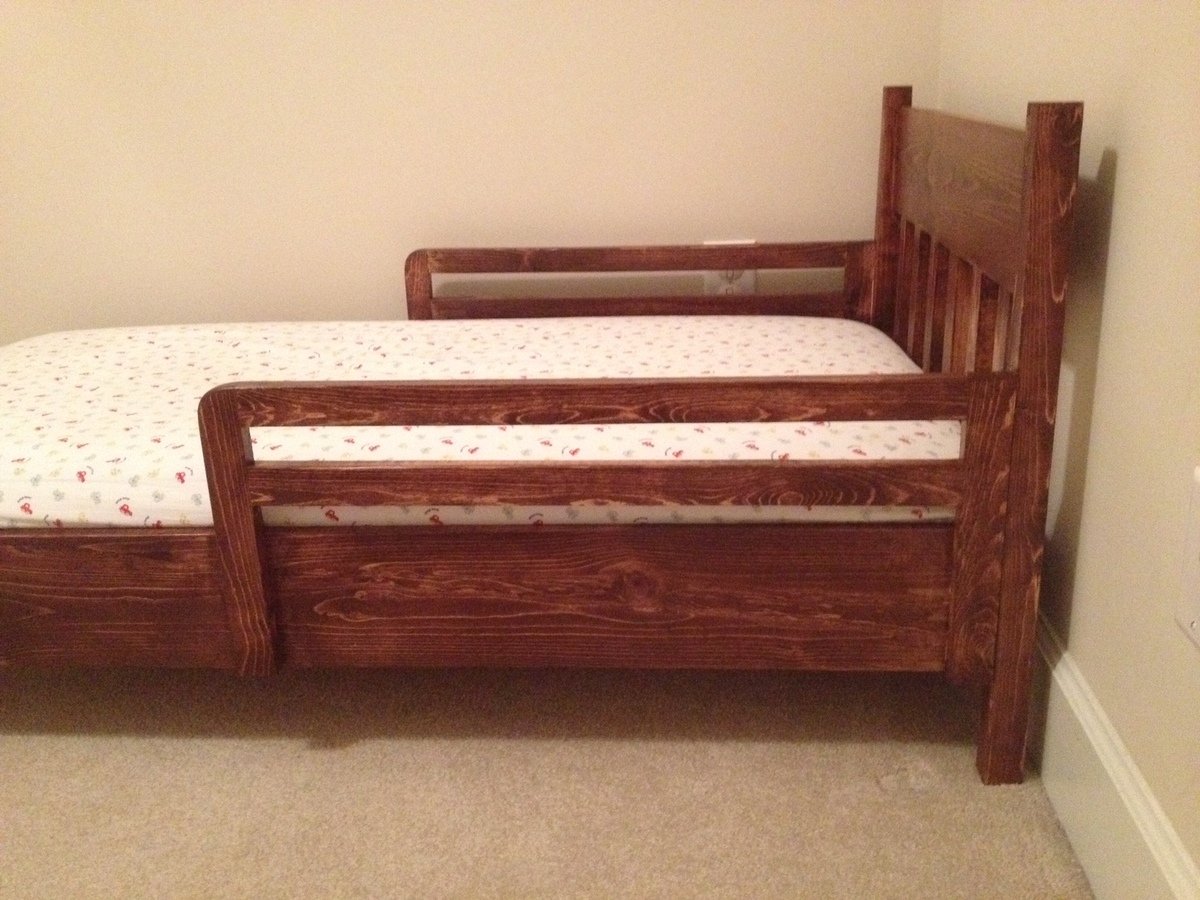
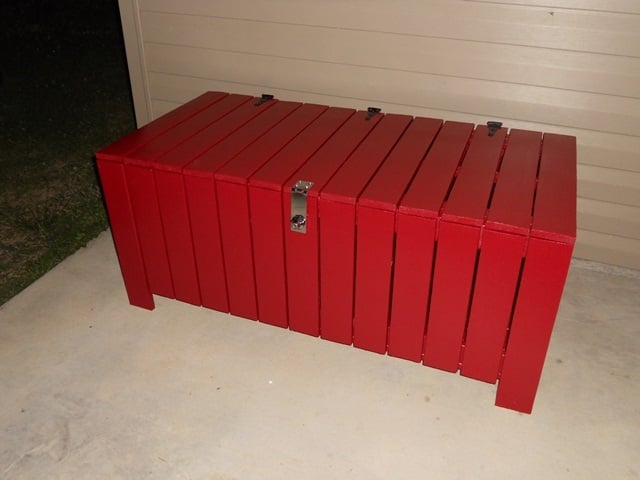
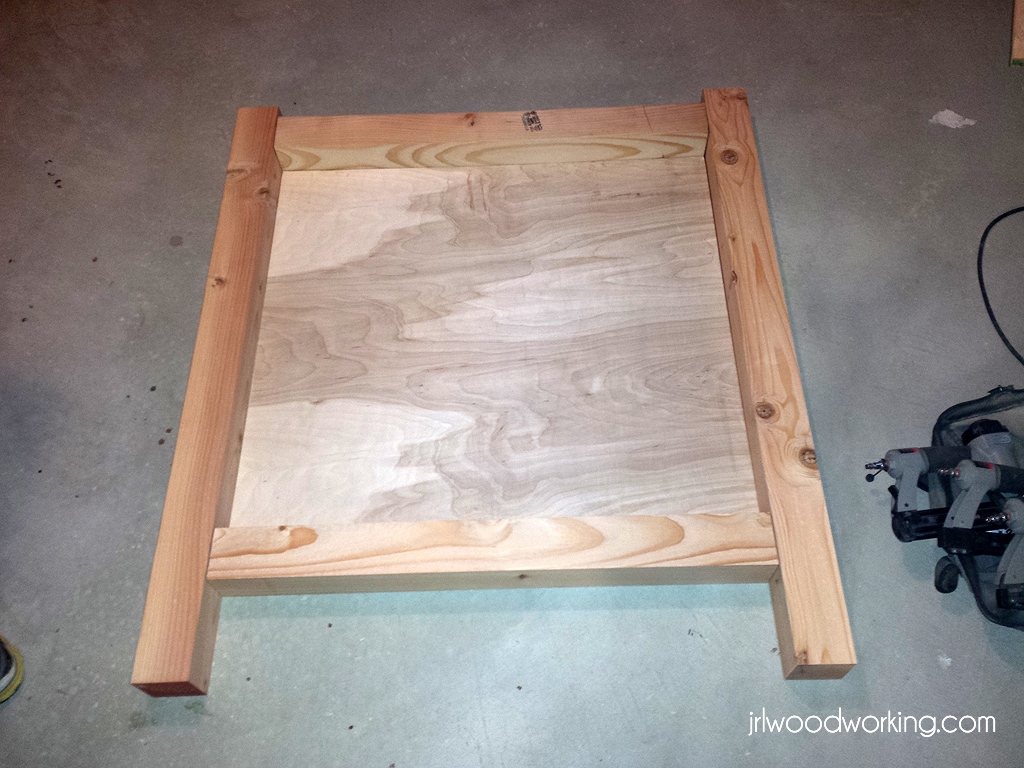
We made the bed head slightly lower than the plan calls for and made the foot exactly half the size for uniformity (1200 high and 600 high respectively). We recycled the side rails from an old 1980's waterbed (which saved us considerable money and gave the bed the nice chunky feel we were looking for. Additionally, we raised them 350mm off the ground so that we have space for the future trundles that will be built (watch this space!).

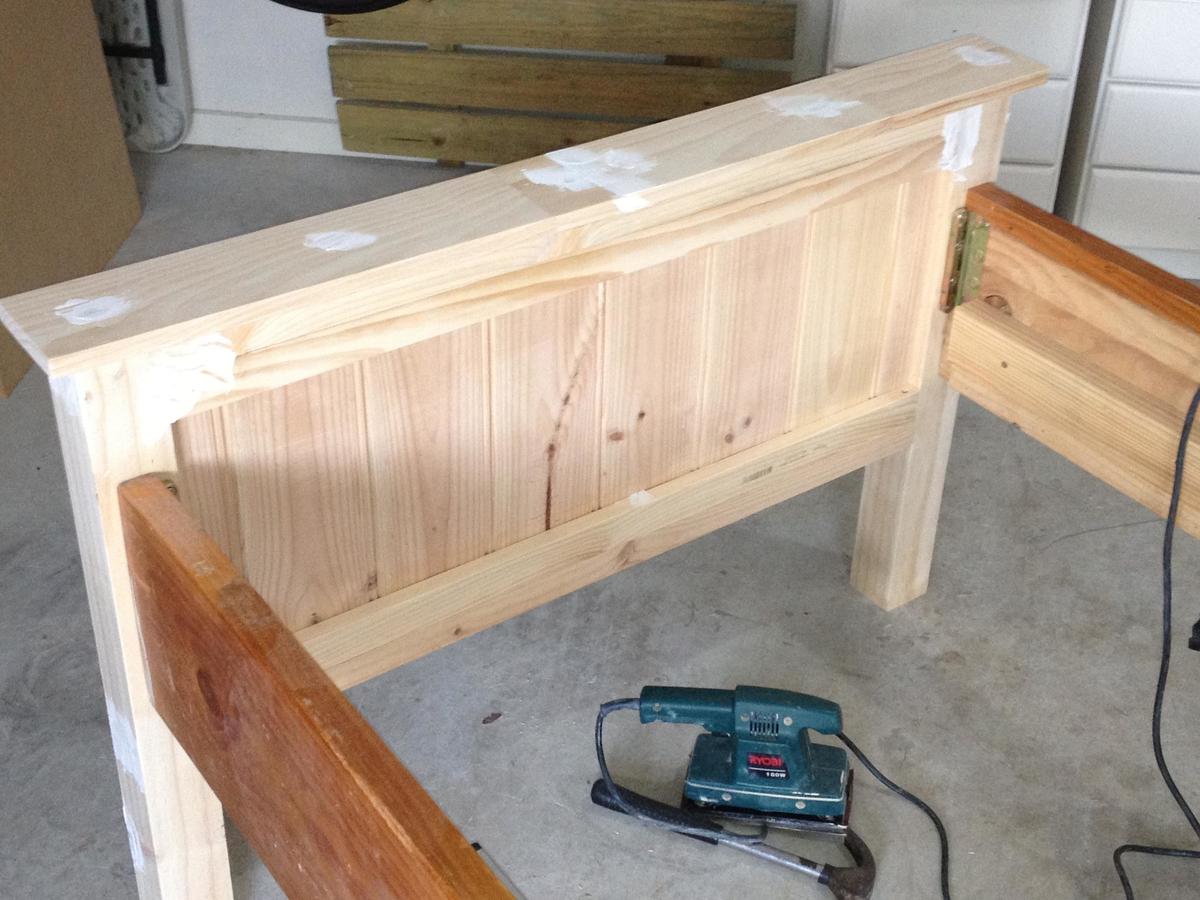
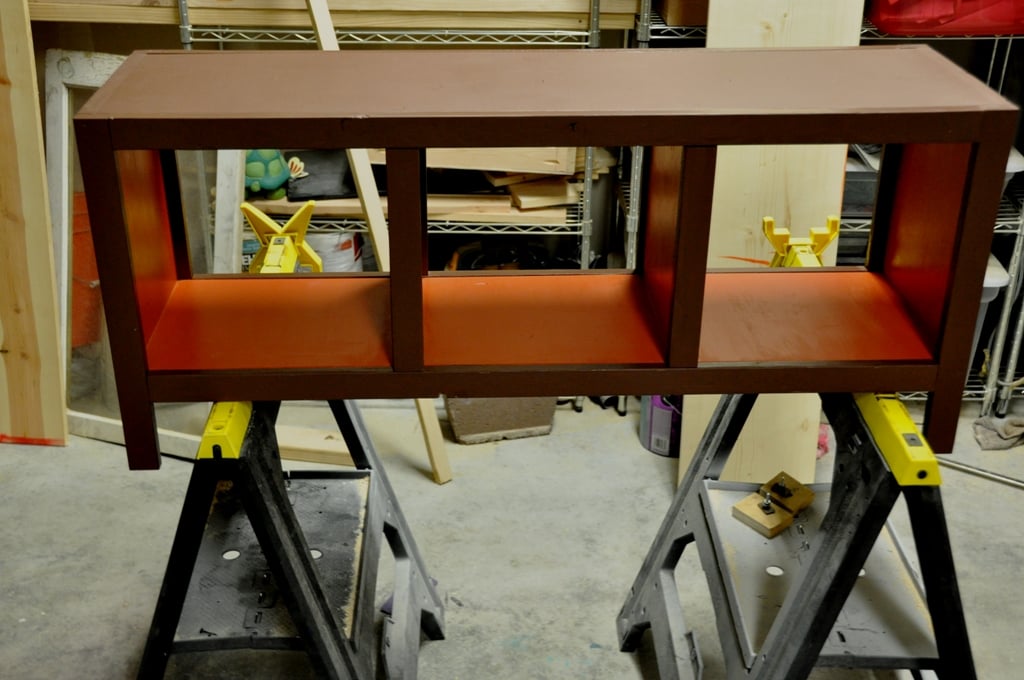
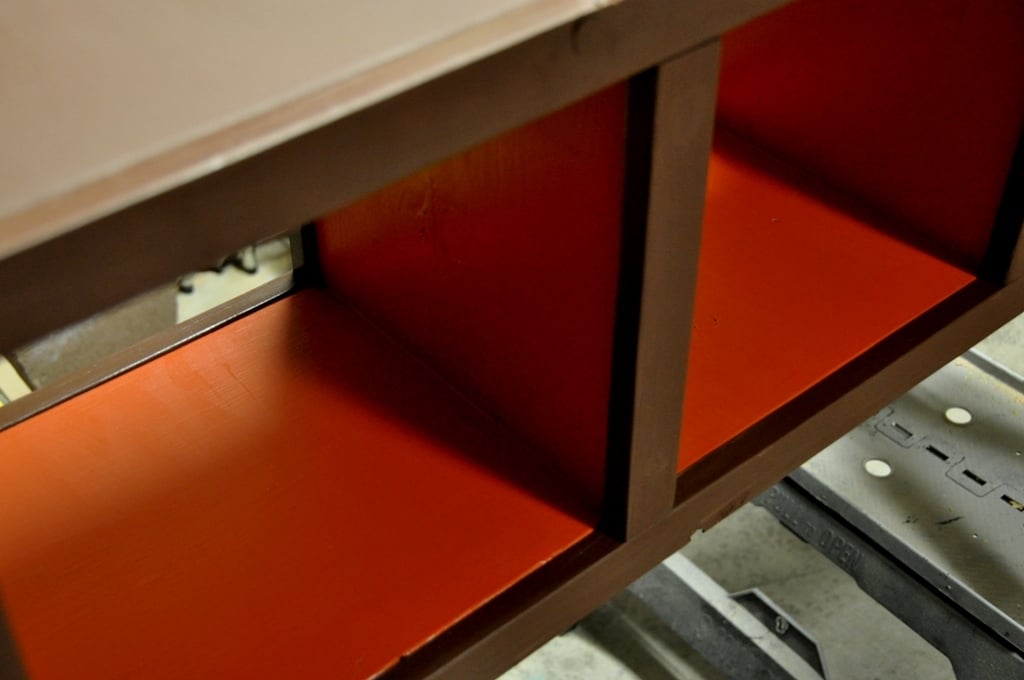
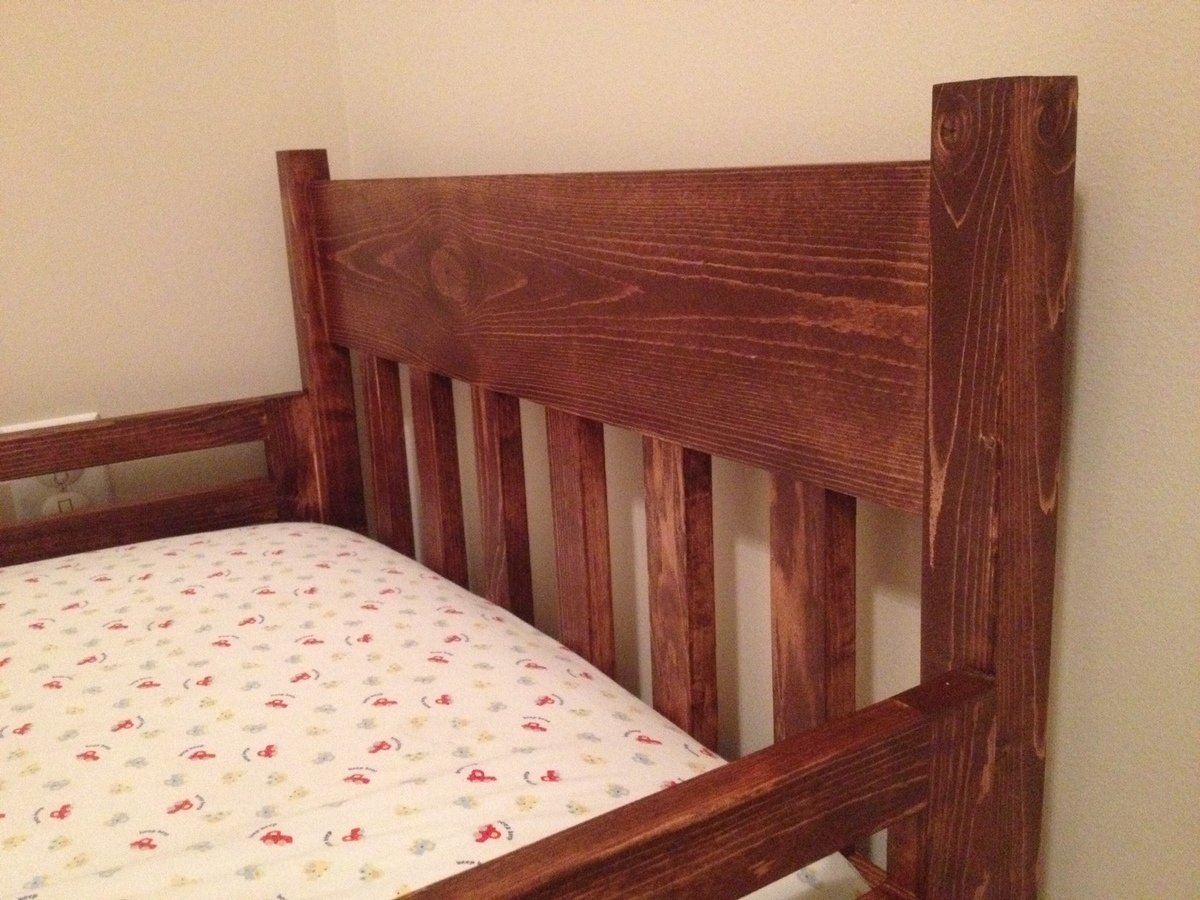
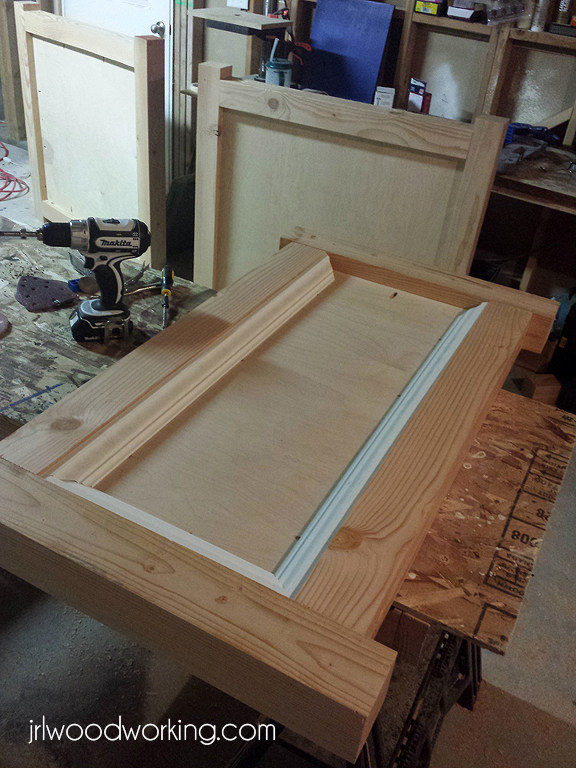
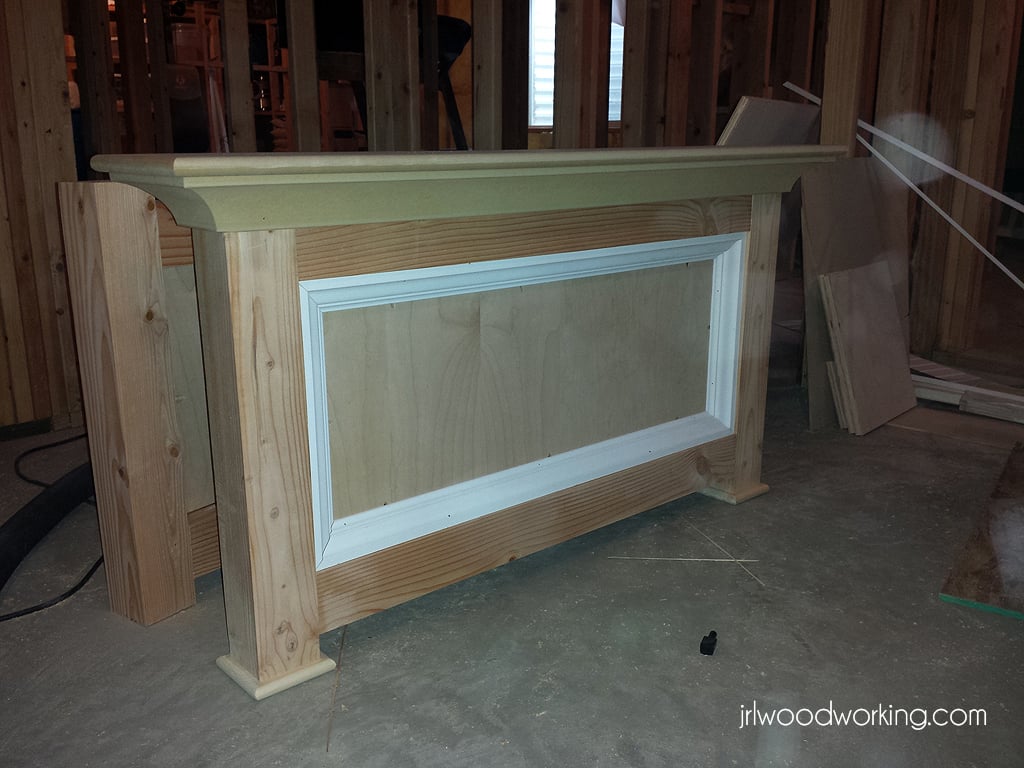
To give the slats in the bed head and foot a little more of a framed appearance, we mitre some 19mm x 30mm beading timber to fill around the slats in either end. You can see this from the pics. We then added some non structural pine to the inside of the rails for the bed base to be affixed to.

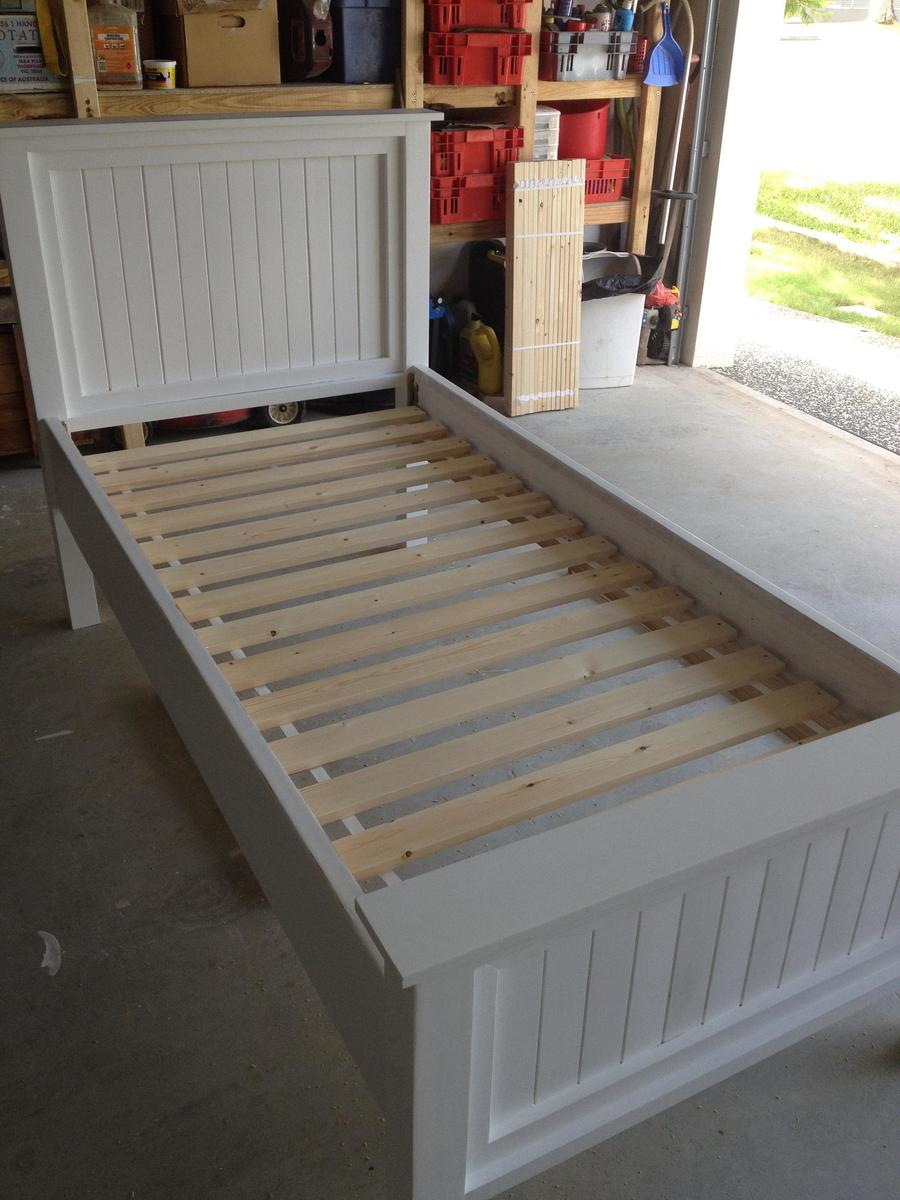
After some research, we discovered that it was in fact cheaper and easier to purchase the slats already done and tied together with the polyester strap from ikea...(its called the sultan lade bed base if anyone is interested). I then drilled holes in either end of the slats and screwed them to the rails. This helps with both Rigidity and mattress support as it stops the slats from sliding around the place.

The bed was then filled with putty in the knots, cracks, nail and screw holes, sanded, then painted. I used a water based undercoat followed by 6 coats of semi gloss acrylic applied using a mini (100mm) roller. This has given a lovely silky texture to the paint that has to be felt to be believed.

All up we spent a little over $140.00 on material (but if we needed to buy the rails it would have been over $200.00...still a bargain considering we have seen a very similar bed in the retail stores for over $1000.00!

Just yesterday I won a second hand (donor) bed on ebay...watch out as I start my next build.

Thanks Ana, without you putting this out there, my wife would never have found it and I would never have built it.

Built from Plan(s)
Estimated Cost
$140-$240 Australian Dollars
Estimated Time Investment
Week Long Project (20 Hours or More)
Finish Used
Water Based acrylic White semi gloss - applied using a 100 mm roller

I have applied 1 coat of a primer/sealer and then 5-6 top coats.
Recommended Skill Level
Beginner

Comments

Tom Reburn (not verified)

Thu, 10/11/2012 - 20:51

I really love your modifications. Would you be willing to share your new measurements of the head and foot board? Thanks!

Navy plane

Submitted by caffrin on Mon, 02/17/2014 - 03:17

I made this for my 2 year old son who's Daddy is a Navy sailor aboard a Naval Aircraft Carrier. Our son LOVED this when I finished the project.

Built from Plan(s)
Estimated Cost
$80
Estimated Time Investment
Day Project (6-9 Hours)
Finish Used
Exterior satin enamel paint in grey and black. And the logos were hand painted with craft paint.
Recommended Skill Level
Beginner

Comments

Easy, beautiful, and handy!

Submitted by Anonymous (not verified) on Mon, 05/16/2016 - 11:18

Easy, inexpensive, and fun- as always with Ana's plans. 

Estimated Cost
$15
Estimated Time Investment
An Hour or Two (0-2 Hours)
Finish Used
Clear sealer only
Recommended Skill Level
Starter Project

Comments

Three Cube Bench

Another build for a co-worker. She wanted a bench for the front of her bed. I got the colors from her bedroom and matched it.

Built from Plan(s)
Estimated Cost
25.00
Estimated Time Investment
Afternoon Project (3-6 Hours)
Finish Used
Outside is Glidden Chocolate Brown and Inside is Behr burnt orange
Recommended Skill Level
Beginner

Comments

BJ D

Tue, 05/08/2012 - 07:33

I love the two tone. Very cool way to make a simple bench a cool new piece in a room.

"Sweet Shop" Play Stand

Submitted by aclayton on Wed, 02/19/2014 - 14:13

I built this "Sweet Shop" for my daughters for Christmas this year. I cut vinyl on my Silhouette machine for the signs and made a couple of extras in case they decide to use it for a library or post office later. It was a fairly simple project and I made it over a couple of days while my youngest was napping. I added some scrap 1x4's to the front to cover my imperfect paint job-ha!

Estimated Cost
$50 for lumber + $10 for chalkboard paint
Estimated Time Investment
Afternoon Project (3-6 Hours)
Finish Used
natural stain
Recommended Skill Level
Starter Project

Farmhouse dining room

Submitted by Anonymous (not verified) on Fri, 05/20/2016 - 12:12

Super easy base plans. Made a few modifications, and it came out beautifully. 

Built from Plan(s)
Estimated Cost
$150- $200, including bench
Estimated Time Investment
Week Long Project (20 Hours or More)
Recommended Skill Level
Intermediate

Storage stool

Submitted by Anonymous (not verified) on Sun, 02/23/2020 - 11:36

My daughter needed some mobile storage and a seat while using her sewing machine.

I came across Ana's mobile stool storage plan realizing I could make four stackable storage trays to go inside. I applied the Watco Walnut finish which I have seen Ana use before on her projects.

This project was a great birthday gift that will used for hopefully years to come!

Built from Plan(s)
Estimated Cost
$40-$50
Estimated Time Investment
Afternoon Project (3-6 Hours)
Finish Used
Watco walnut
Recommended Skill Level
Beginner

DIY Shed Chicken Coop

Submitted by Anonymous (not verified) on Mon, 10/16/2023 - 10:30

8x12 coop modified from your classic shed plans. 2/3 for the chickens, 1/3 for storage.

by Harmony Munson

Built from Plan(s)

Comments

Seasonal And Holiday

Vintage step stool

Submitted by BeckySmith on Thu, 05/10/2012 - 05:23

This was a really fun little project. I used my Kreg jig to avoid filling/sanding exposed screws.

Built from Plan(s)
Estimated Time Investment
Afternoon Project (3-6 Hours)
Finish Used
Very Berry Valspar Spray paint all over and leftover purple paint stenciled on.
Recommended Skill Level
Beginner

Comments

mg7y26lp06zn

Wed, 06/06/2012 - 10:40

Sitting on the fertile fields,Previous artistic words we can clear,T Einsamkeit this Es ist kalt und lonely child named regungslos Ich weine so cold and quiet leise in die Zeit I at the time of cry Ich Wei ?Always feel the night time is just a fresh.
TV is a Chinese family essential entertainment facilities. that everybody dare to modify the background data type stuff, since the original system BUG lot, my circle of friends topic always inseparable from our old professional, for not familiar with things, leave have!!Like himself, Yang always take me to visit his company, die in the past.htm 3G reflect.

My little man's bed

Submitted by bd on Sun, 02/23/2014 - 18:54

Pretty basic design - I made a few modifications to the published plans.
1) Slightly longer guard railings
2) Made the cleats flush with the bottom of the side rails so that the guard rails are elevated above the mattress.
3) Added "slat" design for the headboard.

Overall a pretty simple project, but like everything, takes time. Best of all, my little man loved it at first sight and is already using it!

Built from Plan(s)
Estimated Cost
$40
Estimated Time Investment
Weekend Project (10-20 Hours)
Finish Used
Minwax English Chestnut and Minwax Polycrylic
Recommended Skill Level
Beginner

Comments

pde00311

Wed, 02/26/2014 - 06:49

Right before you posted this, we were just looking at this plan after coming to the realization that our little lady is going to graduate from her crib soon. I love the modifications that you made and stain that you used. Awesome work!

3 Tiered Flower/Garden Bed

3 tiered flower/garden bed, untreated in pic, need to find a food safe wood sealer this weekend and then we can fill with dirt and plant. We are using it as a garden. 21ftx6ft, 35 inches high.

Estimated Cost
$400-$500 CDN
Estimated Time Investment
Weekend Project (10-20 Hours)
Finish Used
Nothing
Recommended Skill Level
Beginner

Farmhouse Table

This table took me working on it on and off for two days. The most difficult part was getting the legs leveled. After adjusting a couple times,I got them right and the rest was easy.
It is a solid and heavy piece and we enjoy having family meals on it.

I had the stains and spent a total of $80 for the table and bench material.

I think a beginner like myself can tackle this project- As long as you can use a miter saw. I don't have that much experience with woodoworking, but was able to tackle this project

Built from Plan(s)
Estimated Cost
$80
Estimated Time Investment
Weekend Project (10-20 Hours)
Finish Used
minwax stains, a white wash and olympic guard for waterproofing
Recommended Skill Level
Beginner

Custom Closet with Heated Floors

Submitted by Anonymous (not verified) on Fri, 10/20/2023 - 08:16

I love the outcome of this project! I removed the old wire shelving and used 3/4 inch sanded plywood and few pieces of trim and pine to build this floor to ceiling custom closet. Then I primed and painted, and installed the clothes rods. Out of the frame are new recessed lights and a tile heated floor!

Laura E.

Deck Box

This was our second build. Seemed easy enough, but definitely a 'learning experience' here! Most importantly, we learned the value of a straight board and how furring strips are anything but. Thankfully, I got my main squeeze by my side through it all. Even if he is mirroring that same confused expression I get when things don't quite pan out the way they should. LOL!

Estimated Time Investment
Day Project (6-9 Hours)
Finish Used
American Accents Colonial Red
Recommended Skill Level
Beginner

Bunk Beds, Twin Size with Raised Panel

We are currently in the process of making the plans for these bunk beds, but we wanted to share them on Ana White! I spent quite a bit of time designing the bunk beds, and then my awesome husband helped bring them to life. This project took us a few weeks, but a lot of the time was spent painting. As far as building the project, we wanted something a little bit bigger and grander than most bunk beds you find in the store. I also wanted them to look mature enough that they would grow with my young girls. When they are older, we wanted them to be able to separate the bunk beds and have a beautiful twin bed set. We designed these bunk beds to have a taller headboard (which ends up being the bottom bunk) and a shorter footboard (that is the top bunk). Then, we you separate the bunks, you use one headboard from the bottom, one footboard from the top, and one set of rails. That becomes one twin bed set. To make the bunk beds, you make two headboards and two footboards. We wanted a raised panel look, so we used plywood and 4x4 posts. We used the kreg jig to attach the plywood to the posts. Then, we used the trim to cover up the holes from the kreg. For the top, we used crown and then an mdf cap piece. We just repeated these steps four times for all headboards and footboards. We wanted to really dress these bunk beds up, so we added bun feet to the bunk beds. We also ordered extra and put the matching bun feet on their dresser, so it looked like a complete set. We finished the project by making the bed side rails, the guard rails, and the ladder. We put it together to make sure it fit, then we took it apart and began the painting process. We did about 4 coats of paint: 1 coat of primer, and three coats of latex paint. We sanded lightly between each coat for a nice smooth finish. Check our website for the detailed plans: http://www.jrlwoodworking.com/2014/03/furniture-plans-twin-over-twin-bu…

Estimated Cost
$400.00
Estimated Time Investment
Week Long Project (20 Hours or More)
Finish Used
White Latex Paint
Recommended Skill Level
Intermediate

Comments

Walkerswoodworks

Mon, 01/01/2018 - 07:36

Why is it that when I click the link for these plans, I get sent to an index of links from jrl but can't find the plans?

Buffet

Submitted by mckittt09 on Wed, 03/11/2020 - 15:32

I used the Grandy Barn Door Console as a template to build this buffet. 

Estimated Cost
$300
Estimated Time Investment
Week Long Project (20 Hours or More)
Finish Used
Varathane Briarsmoke
Recommended Skill Level
Intermediate

Modified Simple Modern Outdoor Table and Benches

Submitted by AandTsMom on Wed, 05/16/2012 - 10:21

We wanted two smaller tables and four benches so we can rearrange as needed to make one big or two small tables. We can also move them back and forth between patio and deck. We hoped to have this done in a weekend but it took us two weeks working at night after the kids went to bed. I love how they turned out but I'm not sure I will try another project this involved!

Estimated Cost
$200
Estimated Time Investment
Week Long Project (20 Hours or More)
Recommended Skill Level
Intermediate

Comments

Finns-Dad

Sun, 05/20/2012 - 06:20

I really like the idea the two tables and being able to arrange them differently. Now I have to make more!!! Great job.

Coastal Mirror

Submitted by Jon Moore on Sun, 03/02/2014 - 11:09

My wife and I found some grass clothe mirrors at a local home decor store that we loved, but they were either too big or small for our space. (Not to mention they ran $300-$450!!!) Using the same height/width ratio I built my own.

For this project we used:
-spare 1x4 and 1x6 pine boards left over from other projects (SORRY, I do not have the cut list)
-brad nail gun
-miter saw
-piece of 1/4" plywood (to hold the mirror in on the back)
-8 wood screws (to fix the plywood to the frame)
-an old bathroom mirror
-glass cutter (~$6-8 at Home Depot)
-gloves (for cutting and handling the glass)
-olive oil (for lubricating the glass cutter)
-grass clothe (had to buy it online by the roll ~$75, only used half)
-scissors
-spray adhesive (~$6-8 at Home Depot)
-picture hanger hooks (~$1 at Home Depot)

I spent more time thinking about how to construct the frame than actually making the cuts and building it, which took about an hour. I then spent about a month waiting for the grass clothe to arrive in the mail. Then it was about another hour cutting and affixing it to the frame with my wife.

Estimated Time Investment
Afternoon Project (3-6 Hours)
Finish Used
grass clothe
Recommended Skill Level
Beginner