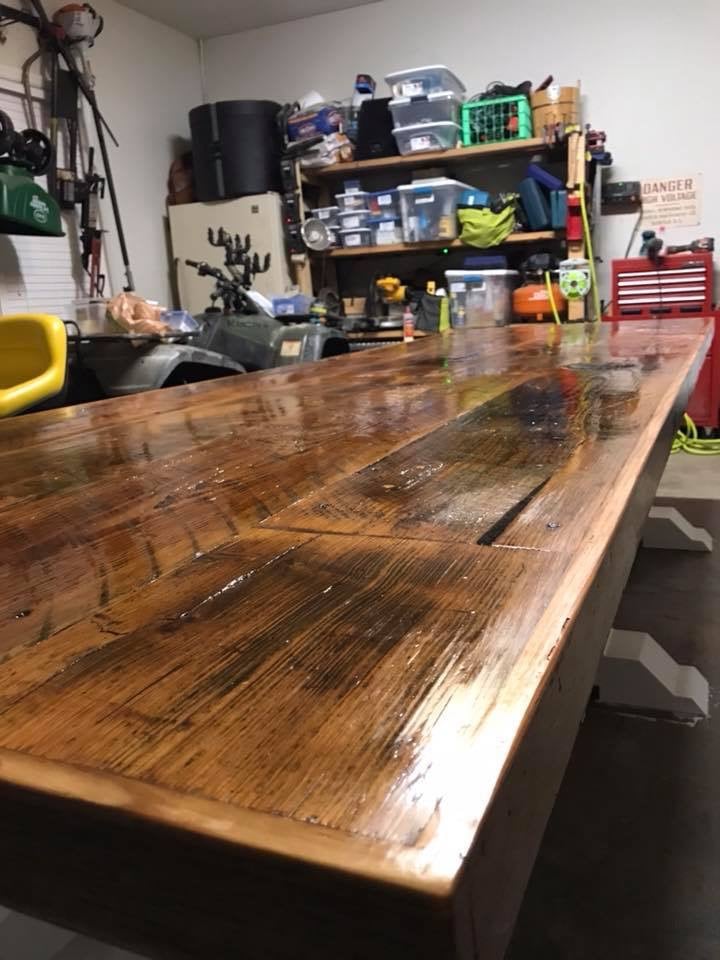
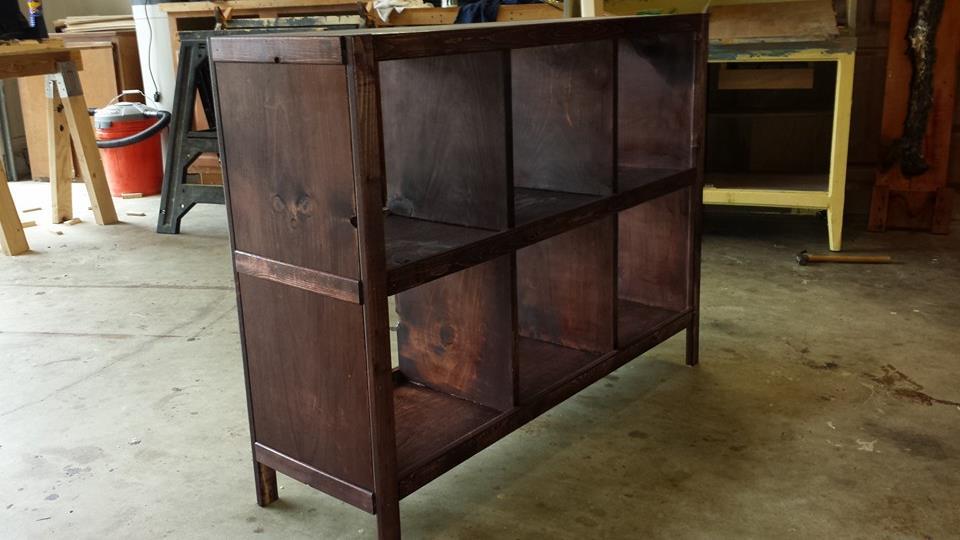
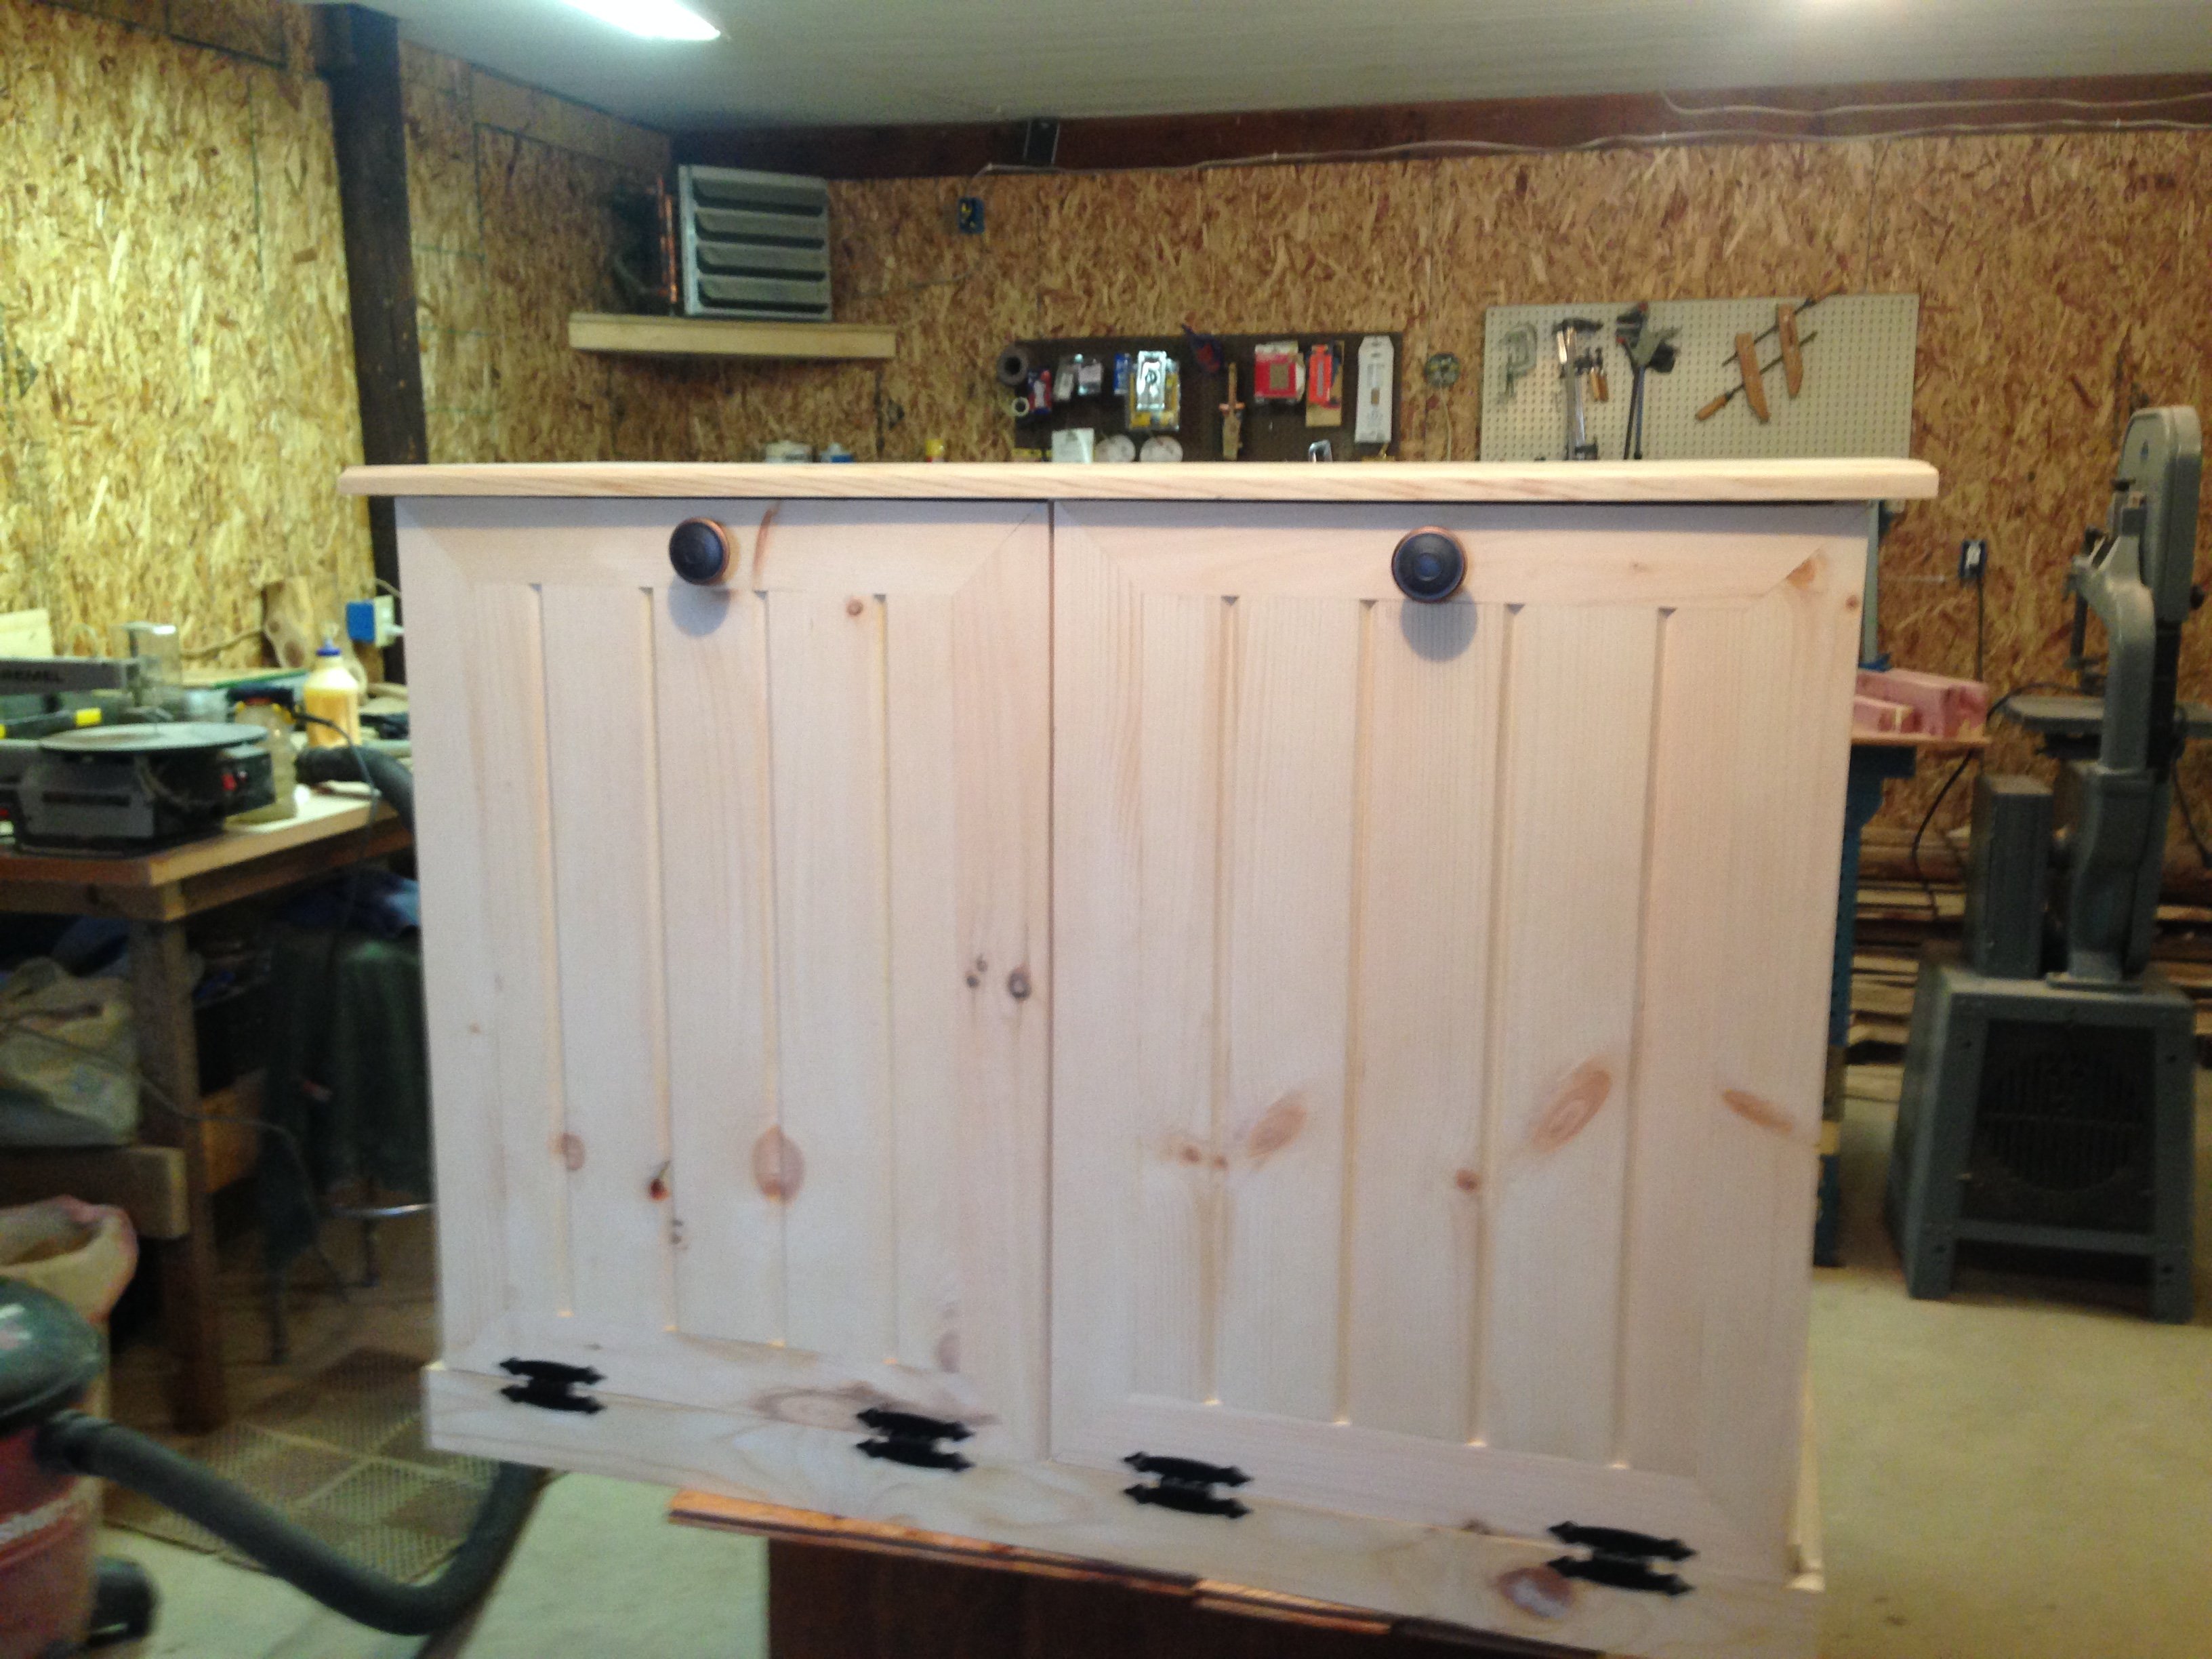
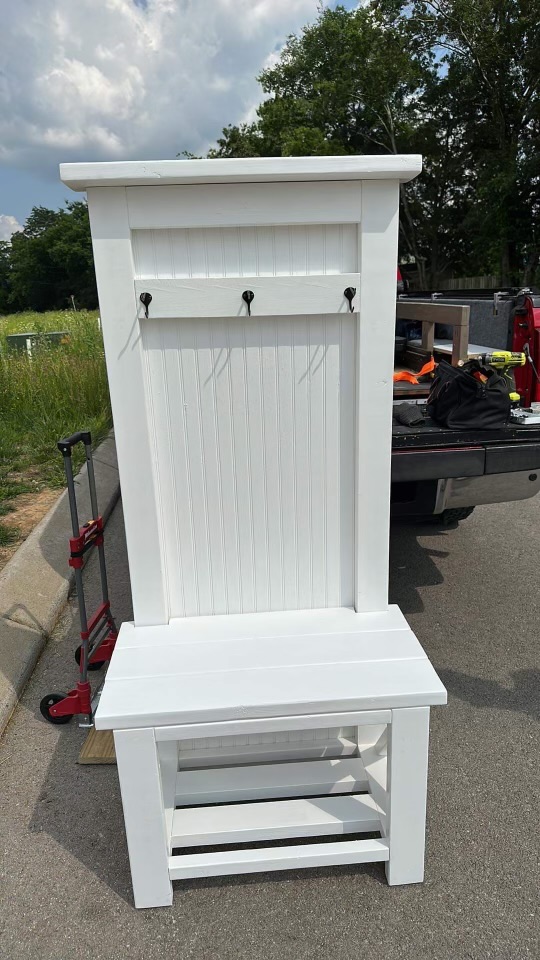
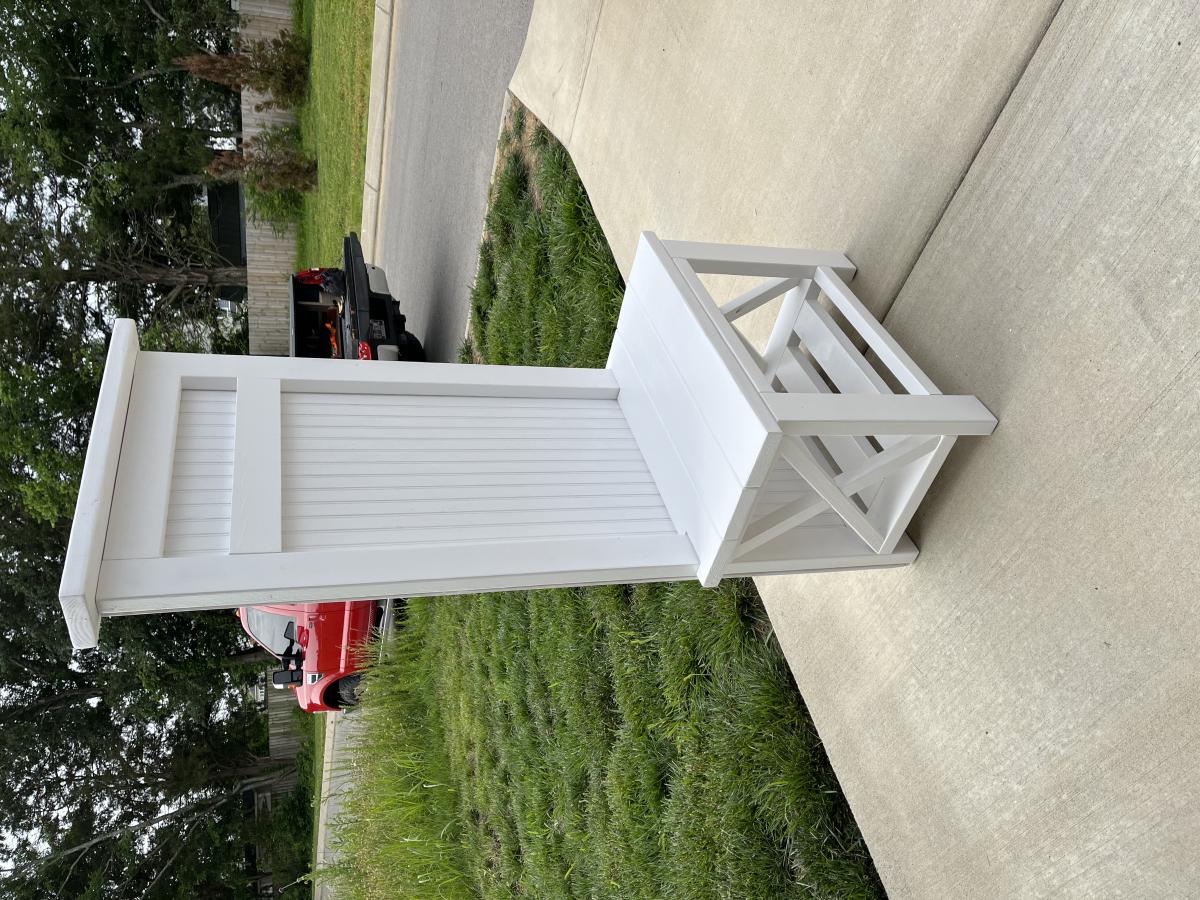
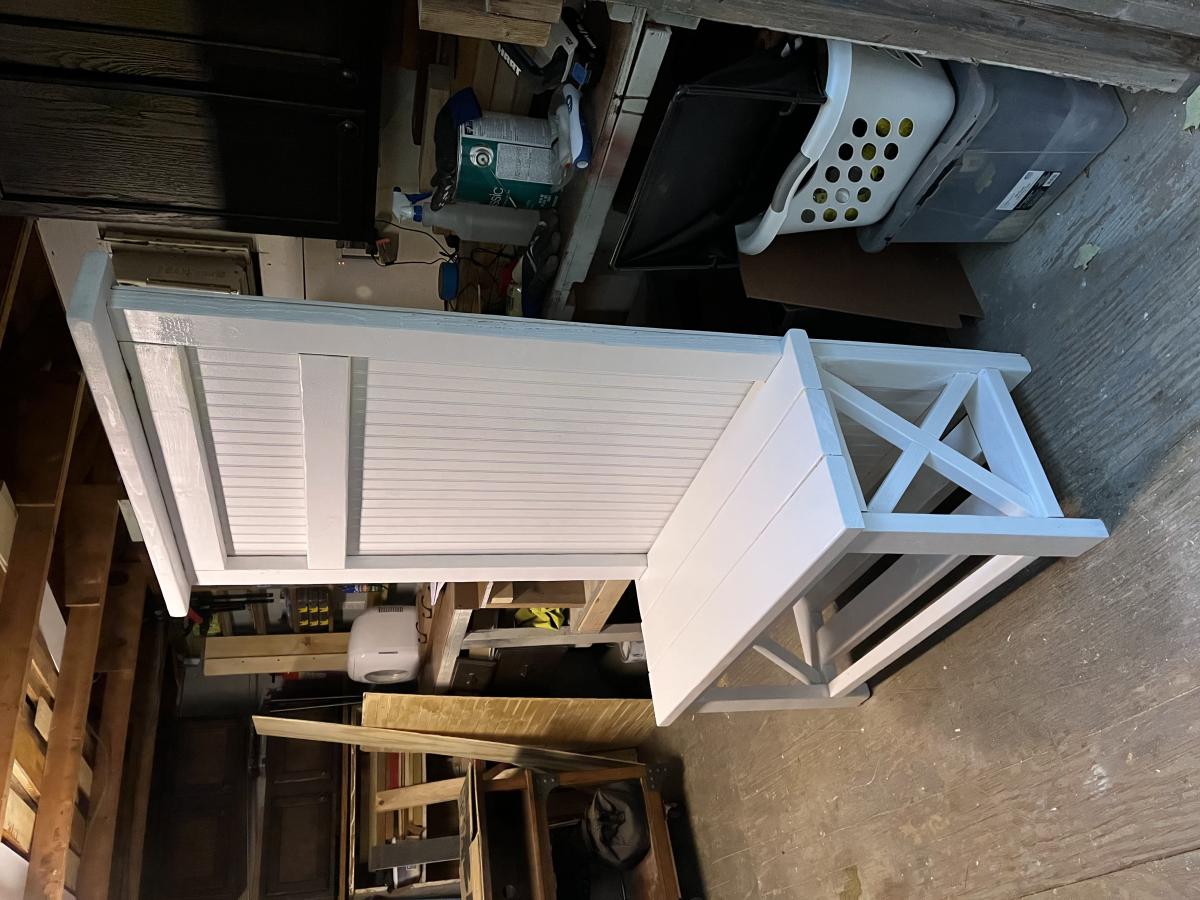
Home for the Fridge
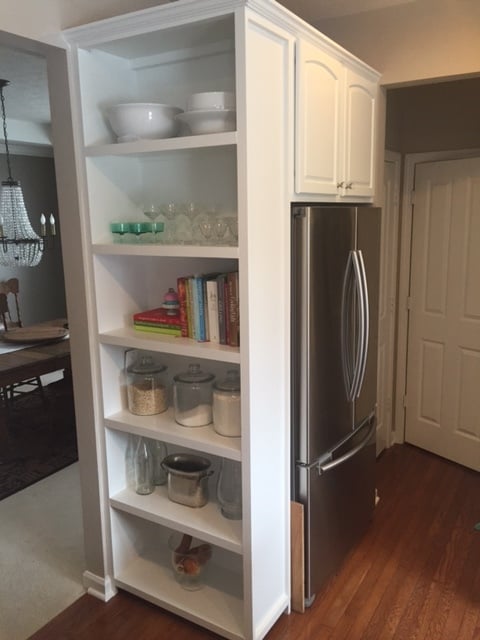
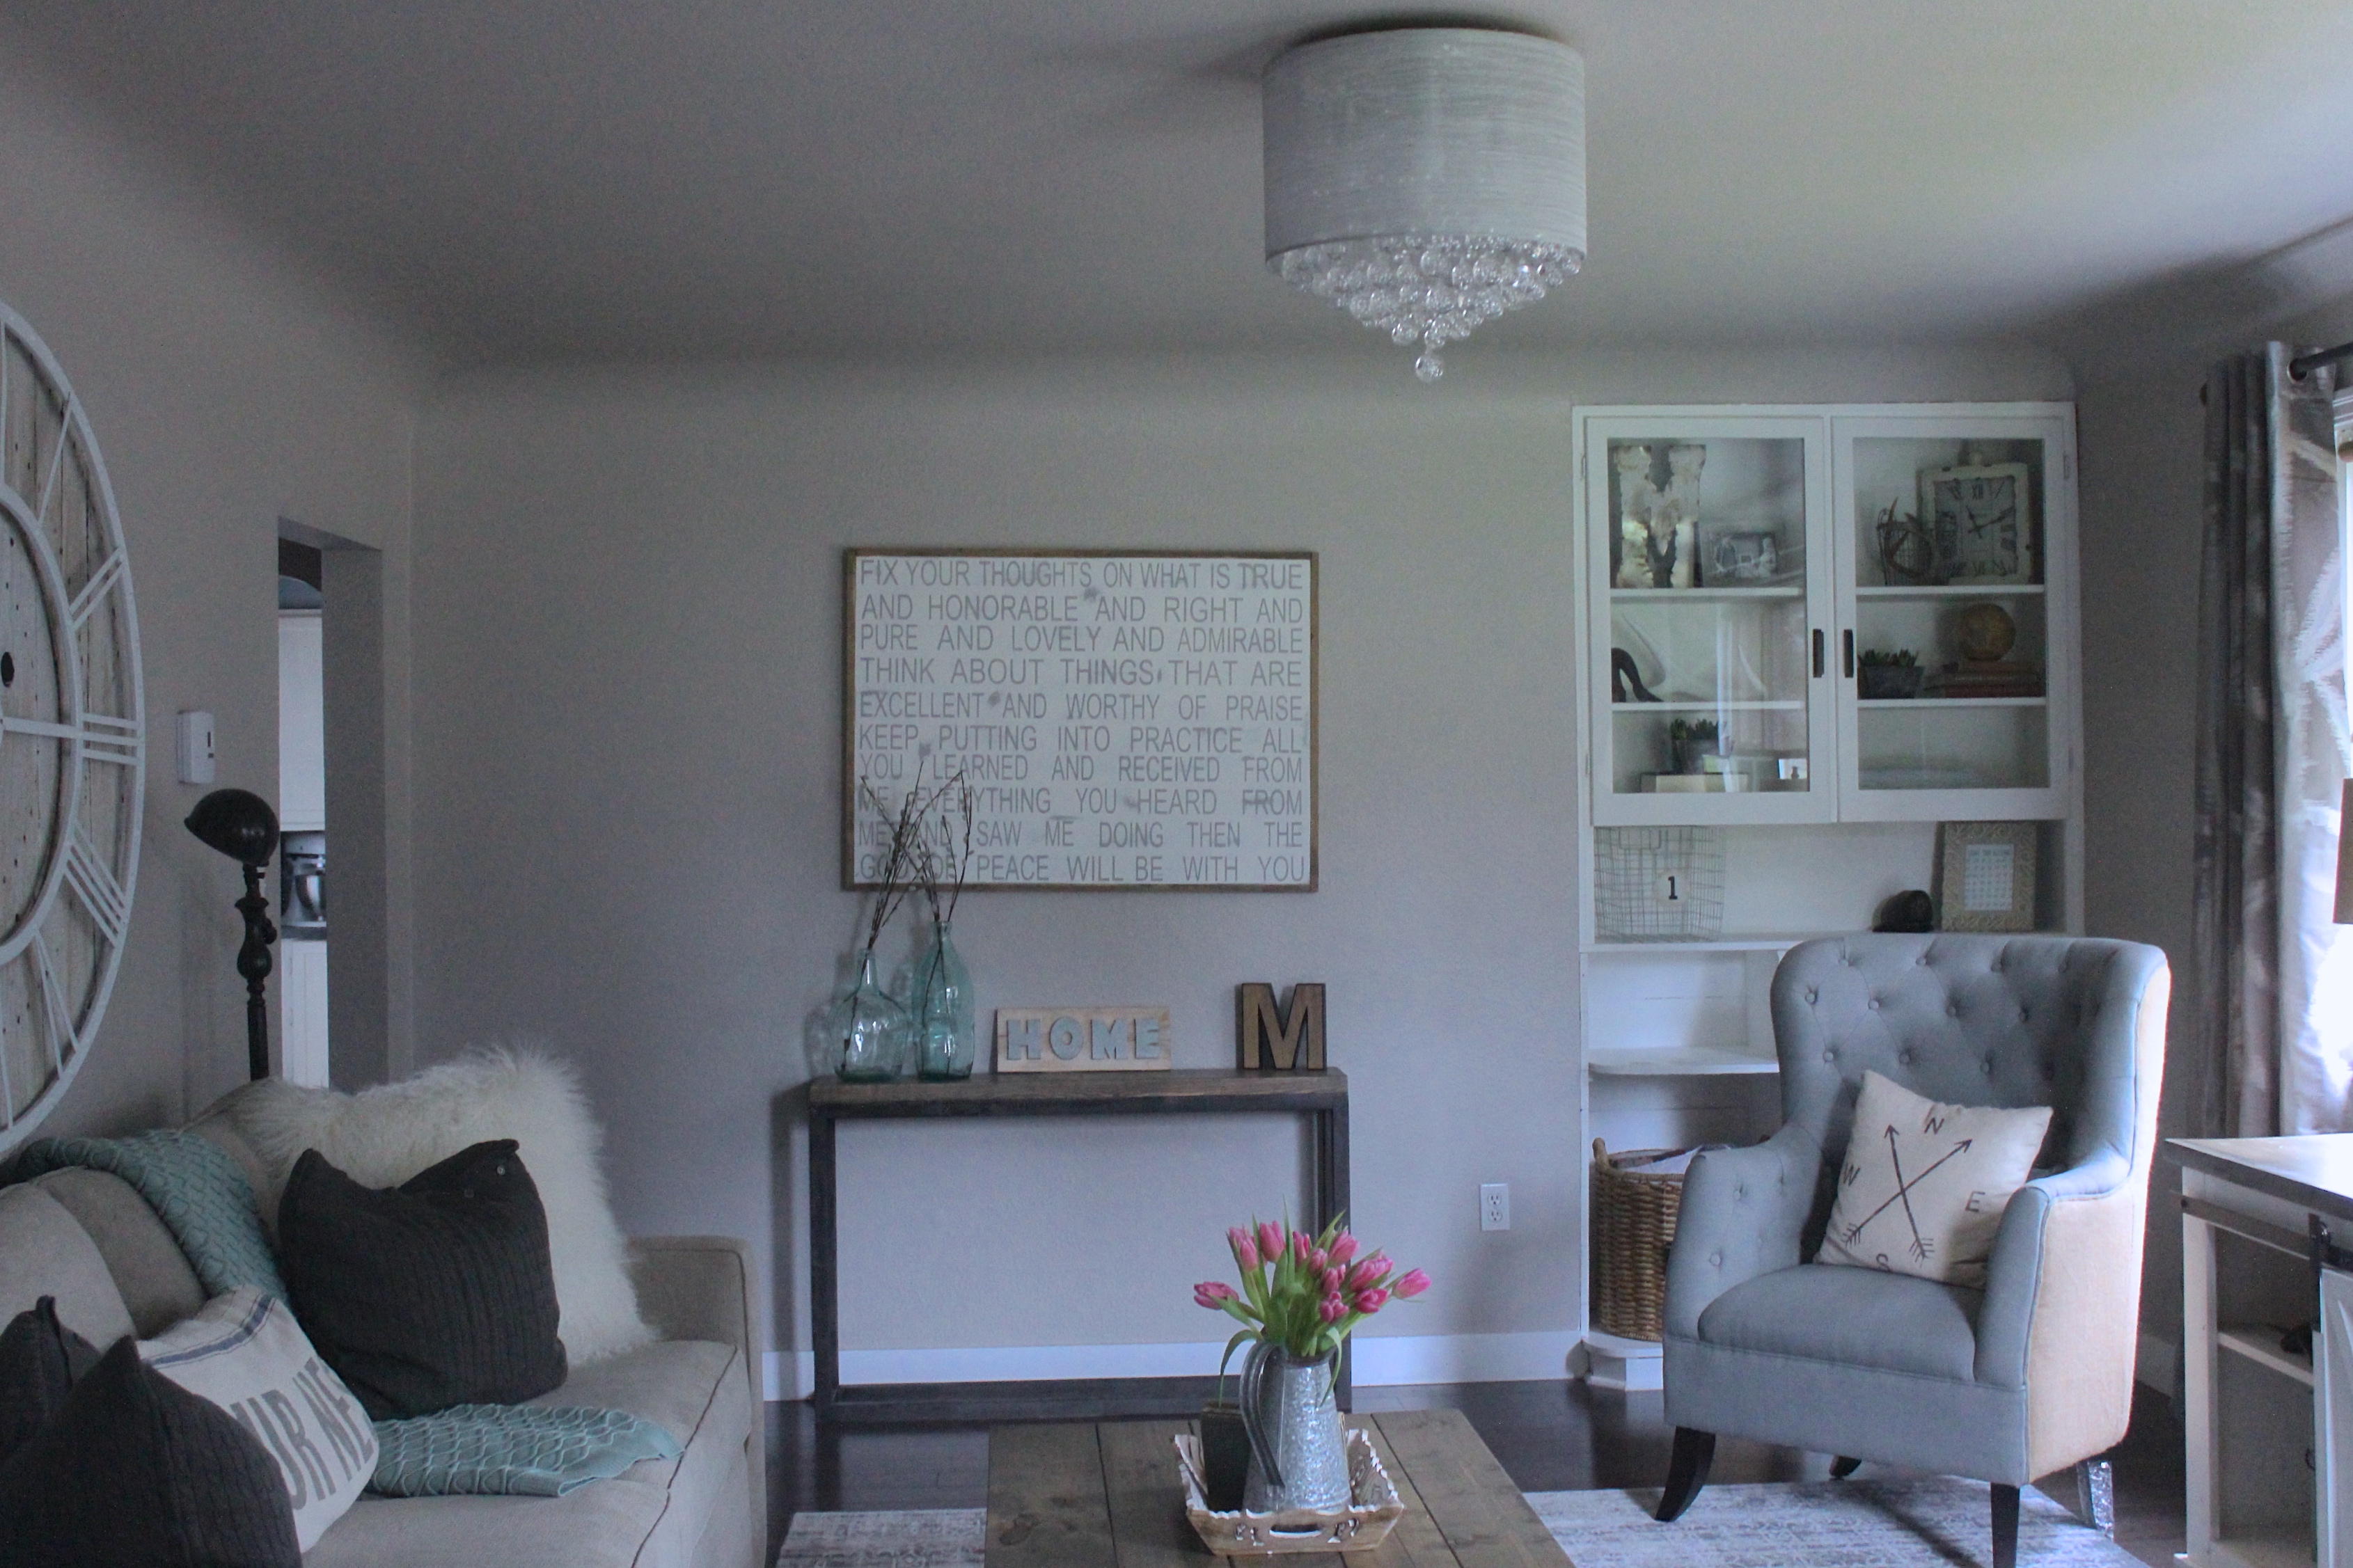
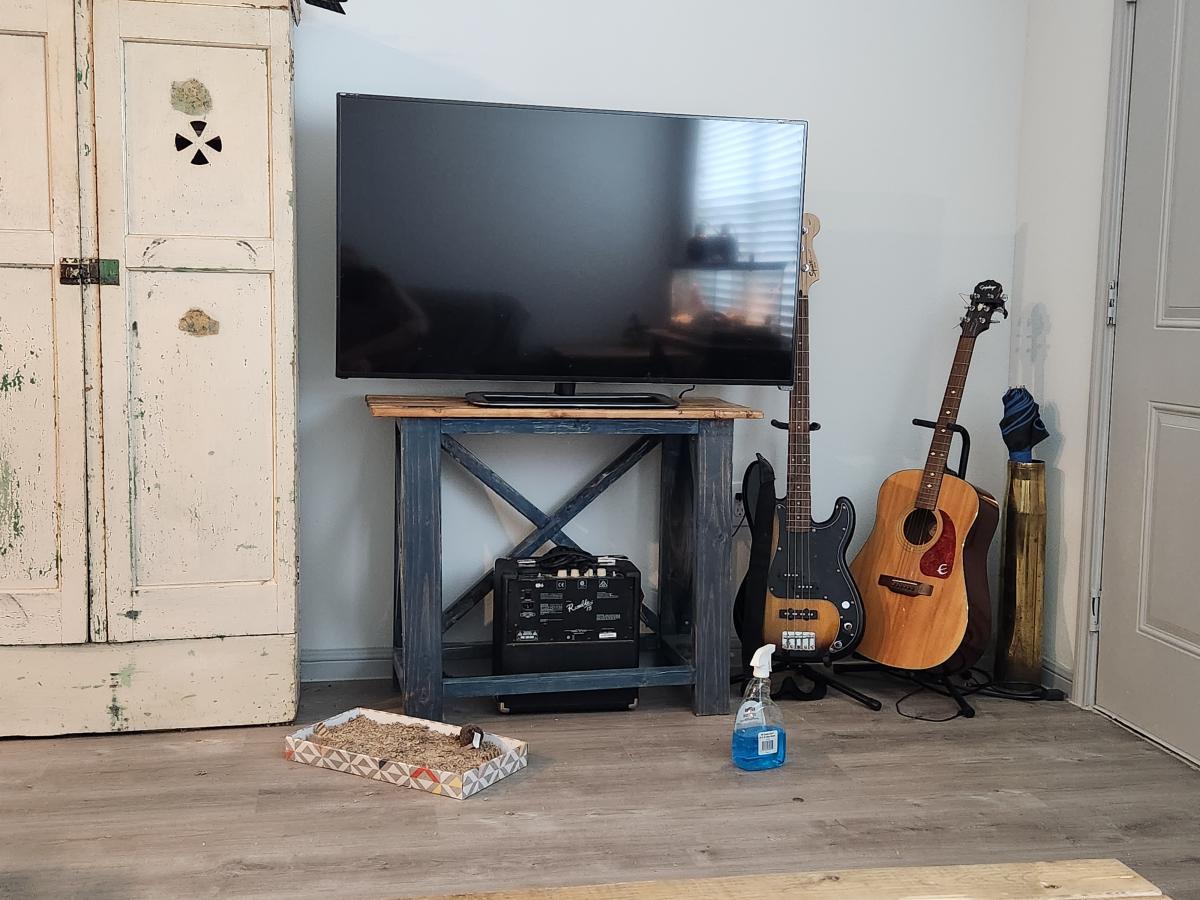
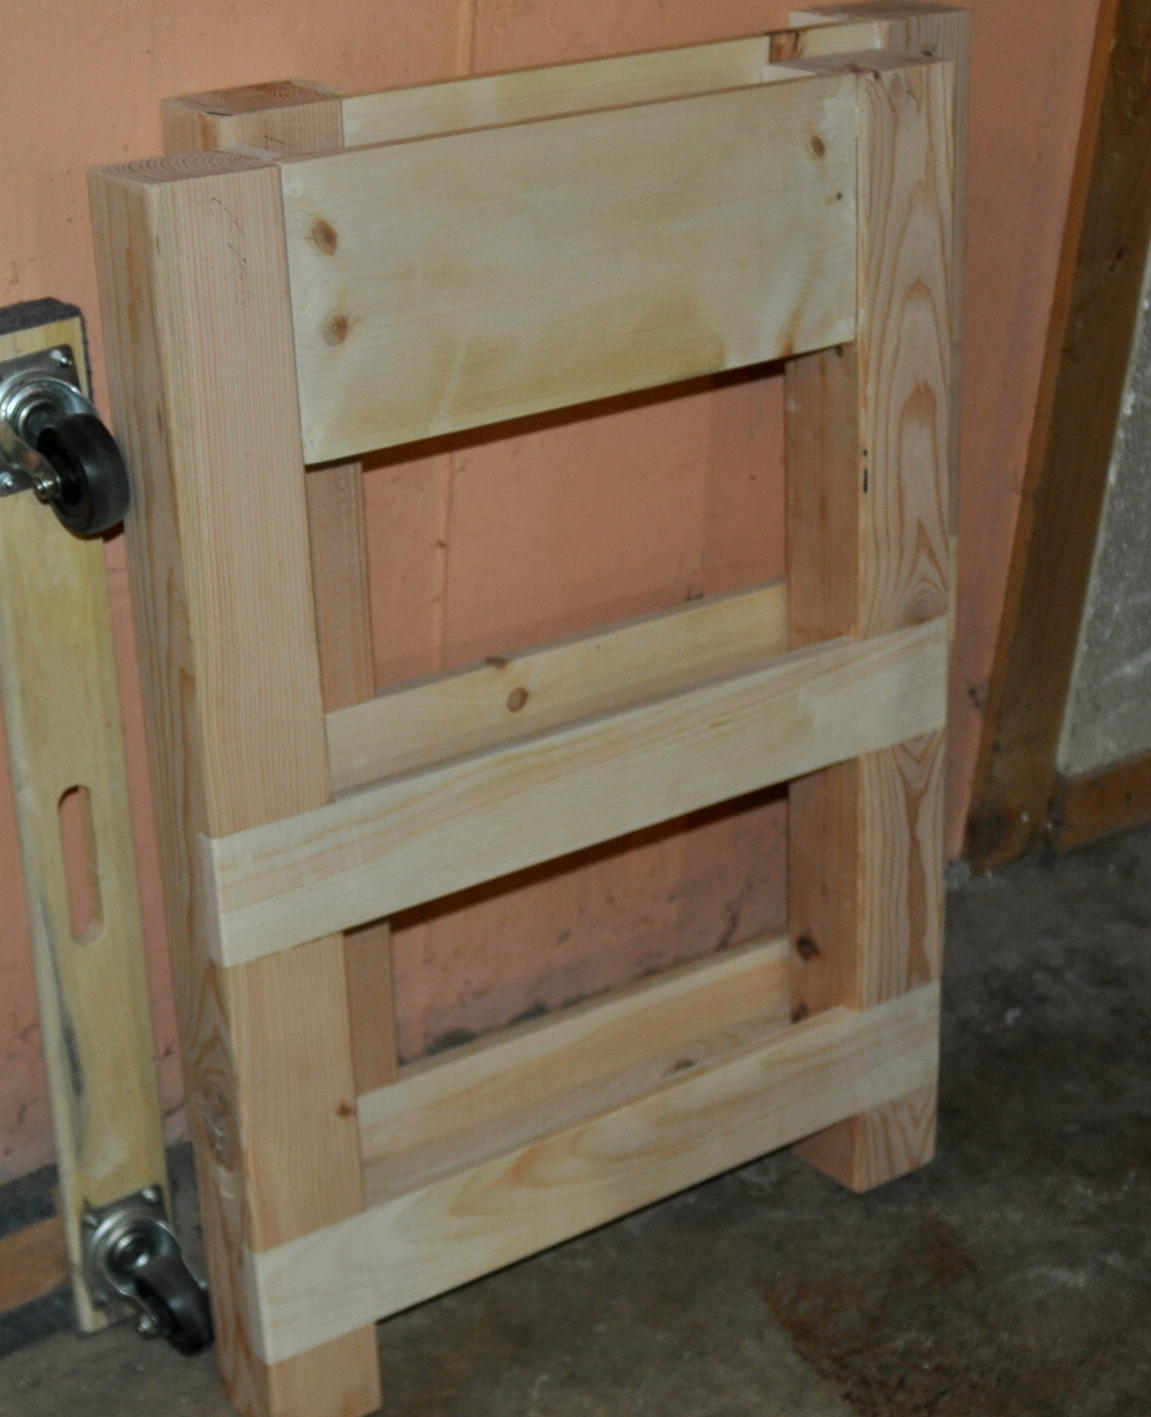
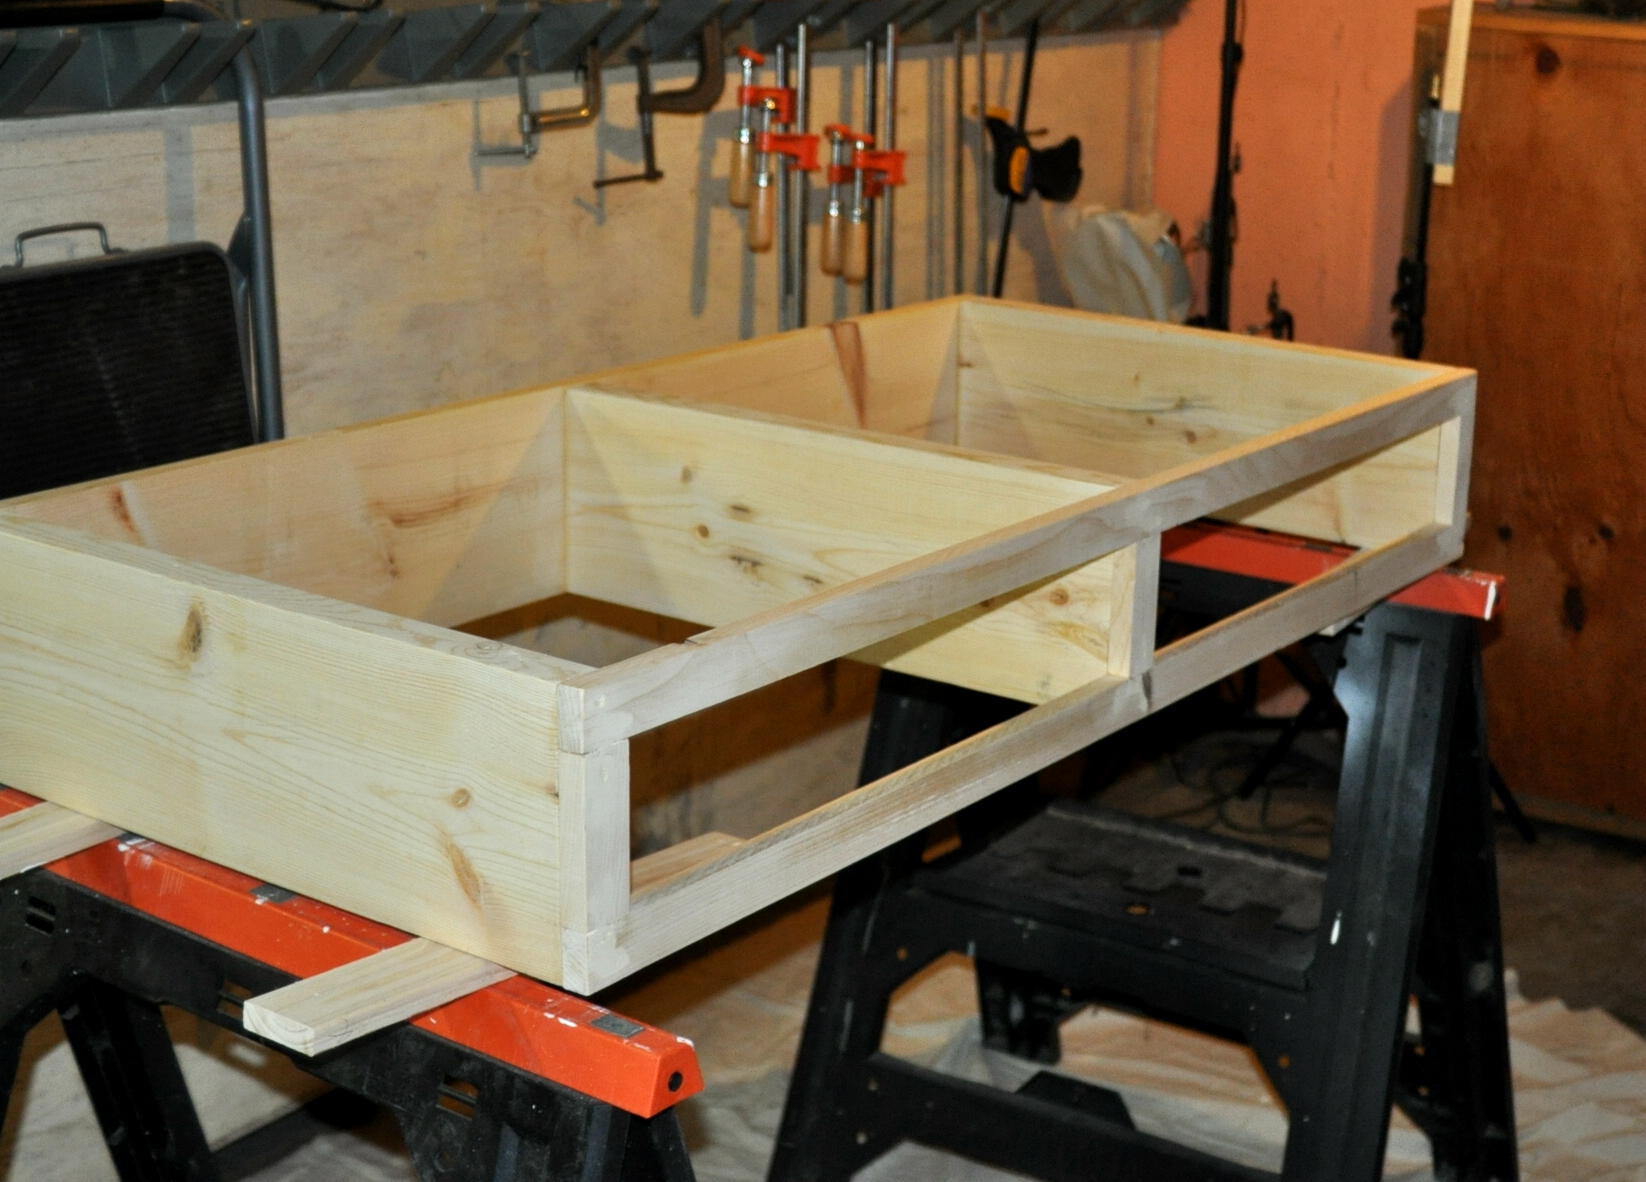
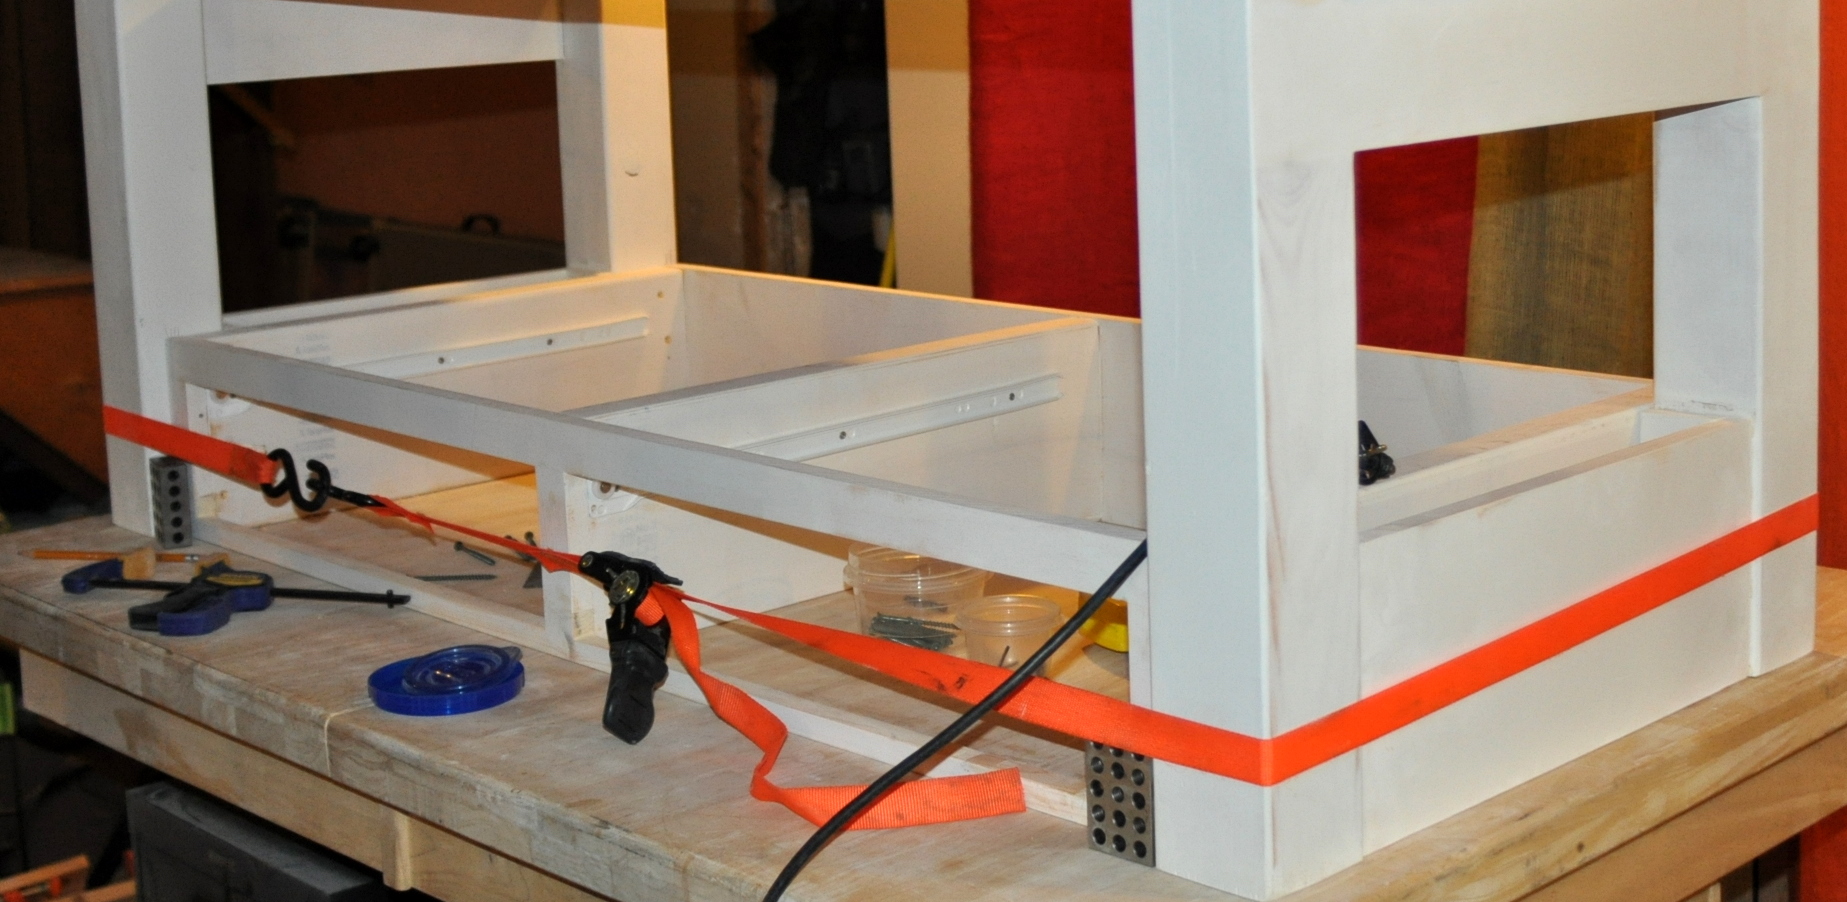
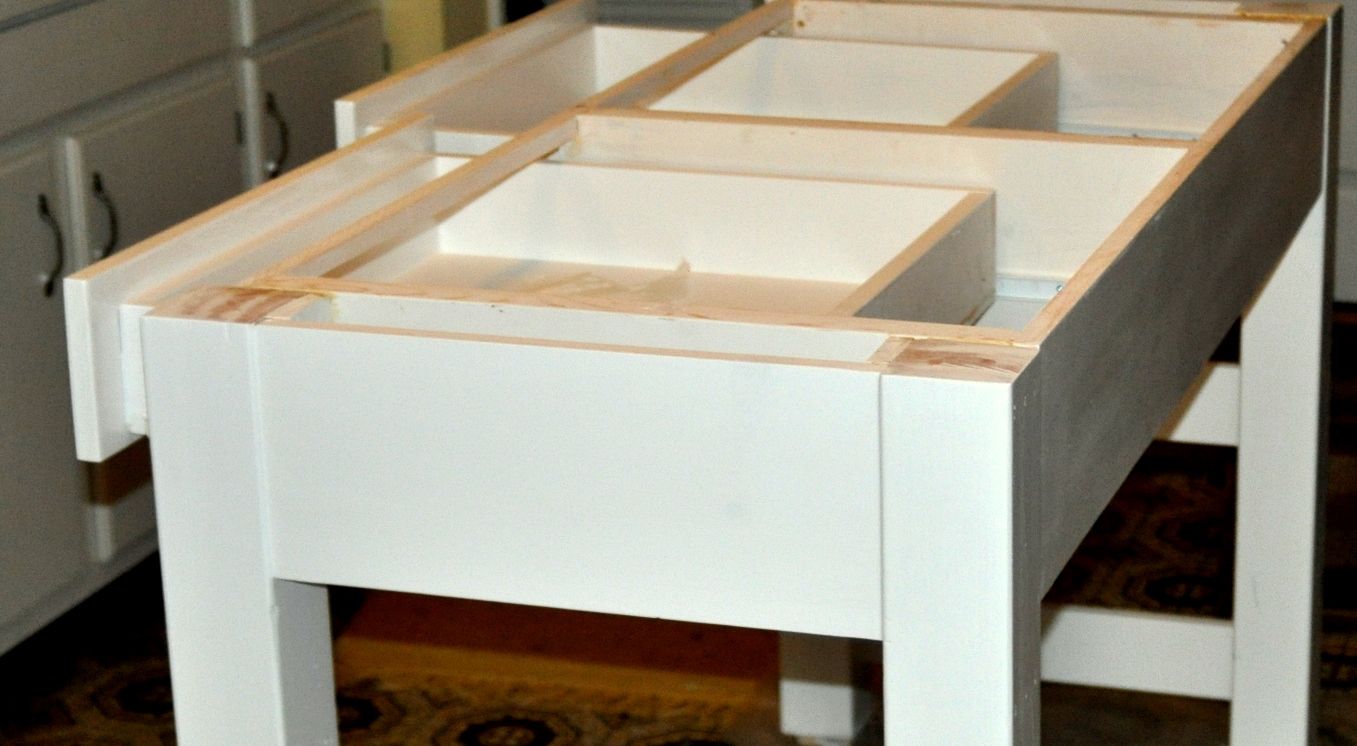
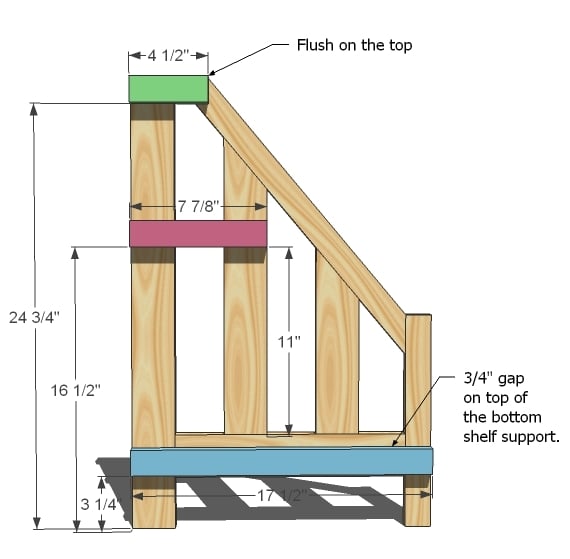
I used this plan to build this cabinet space around the fridge. Before this was built, we just had a small dinky counter space and the overhead cabinet. I had to make a few minor adjustments in order for it to fit in the space.
Built from Plan(s)
Estimated Cost
$200
Estimated Time Investment
Week Long Project (20 Hours or More)
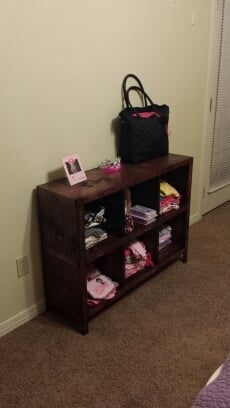
Finish Used
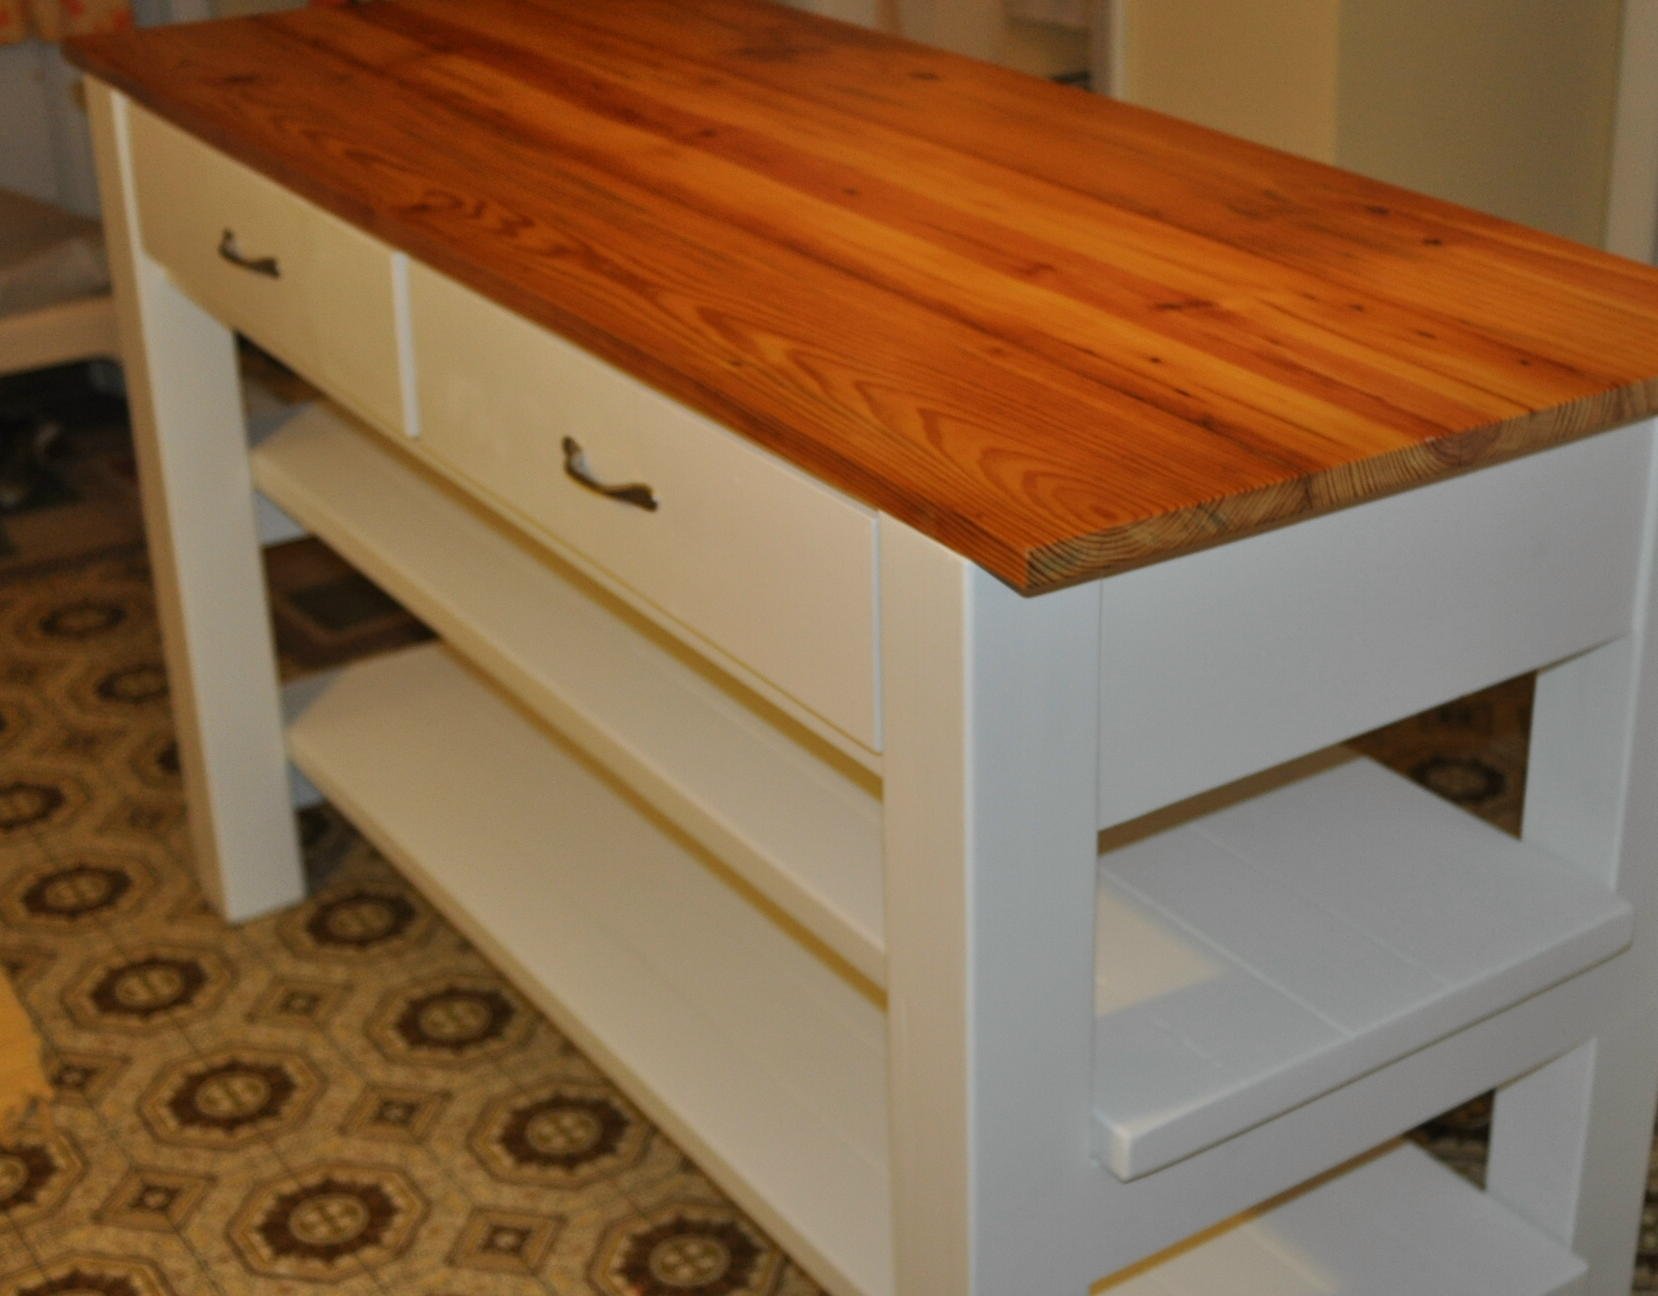
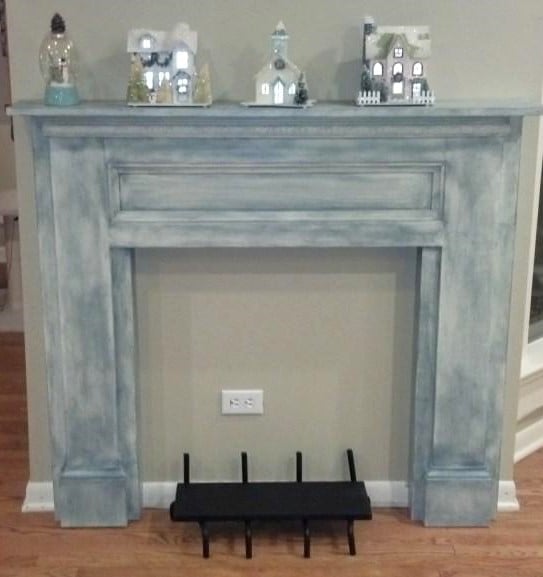
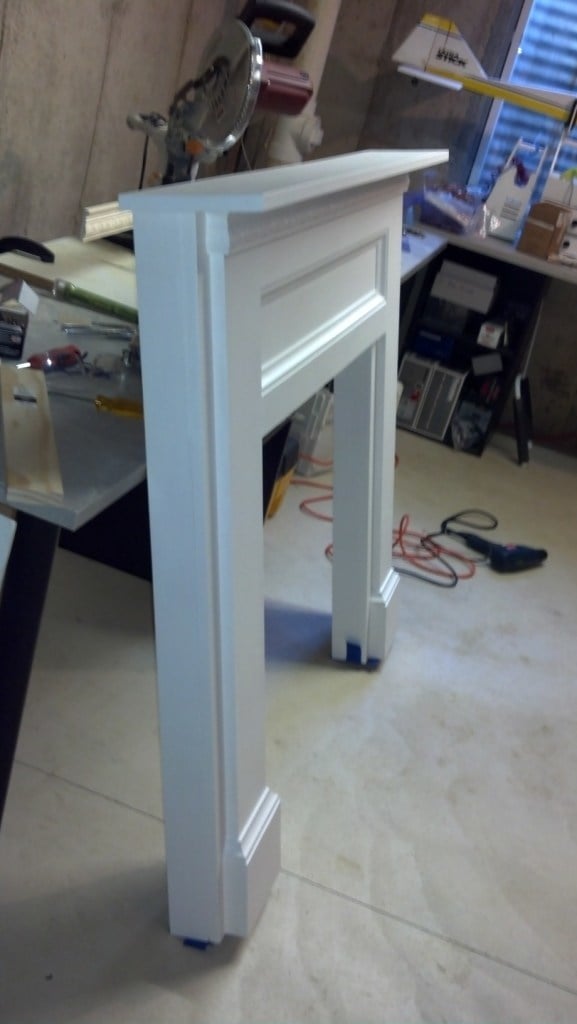
sanded, primed, and painted - Sherwin Williams Pure White.
Recommended Skill Level
Intermediate


Comments
Heatherdee
Sun, 02/14/2016 - 09:20
Great use of space
That looks great!
Ana White Admin
Thu, 02/18/2021 - 14:31
What a fantastic idea!
Love this, thank you for sharing!
Ana White Admin
Thu, 02/18/2021 - 14:31
What a fantastic idea!
Love this, thank you for sharing!
01Rocky
Fri, 08/05/2022 - 08:38
This is awesome. I love the…
This is awesome. I love the utilization of space. Is this a shelf that you built ? How deep are the shelves?