Outdoor sectional
I changed the plans a bit and added backs to the chairs. I've never used a saw or a drill before, but I am thrilled with how easy this was to do. I love the end result!
I found cushions to go with the furniture at Target.
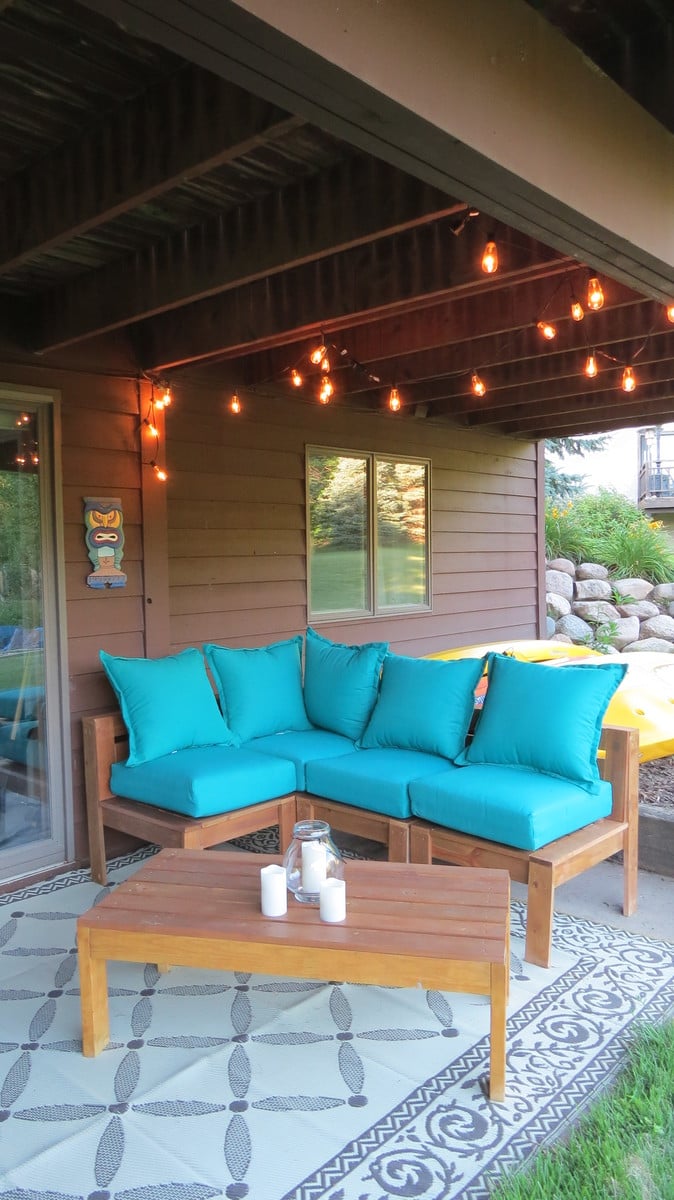
I changed the plans a bit and added backs to the chairs. I've never used a saw or a drill before, but I am thrilled with how easy this was to do. I love the end result!
I found cushions to go with the furniture at Target.

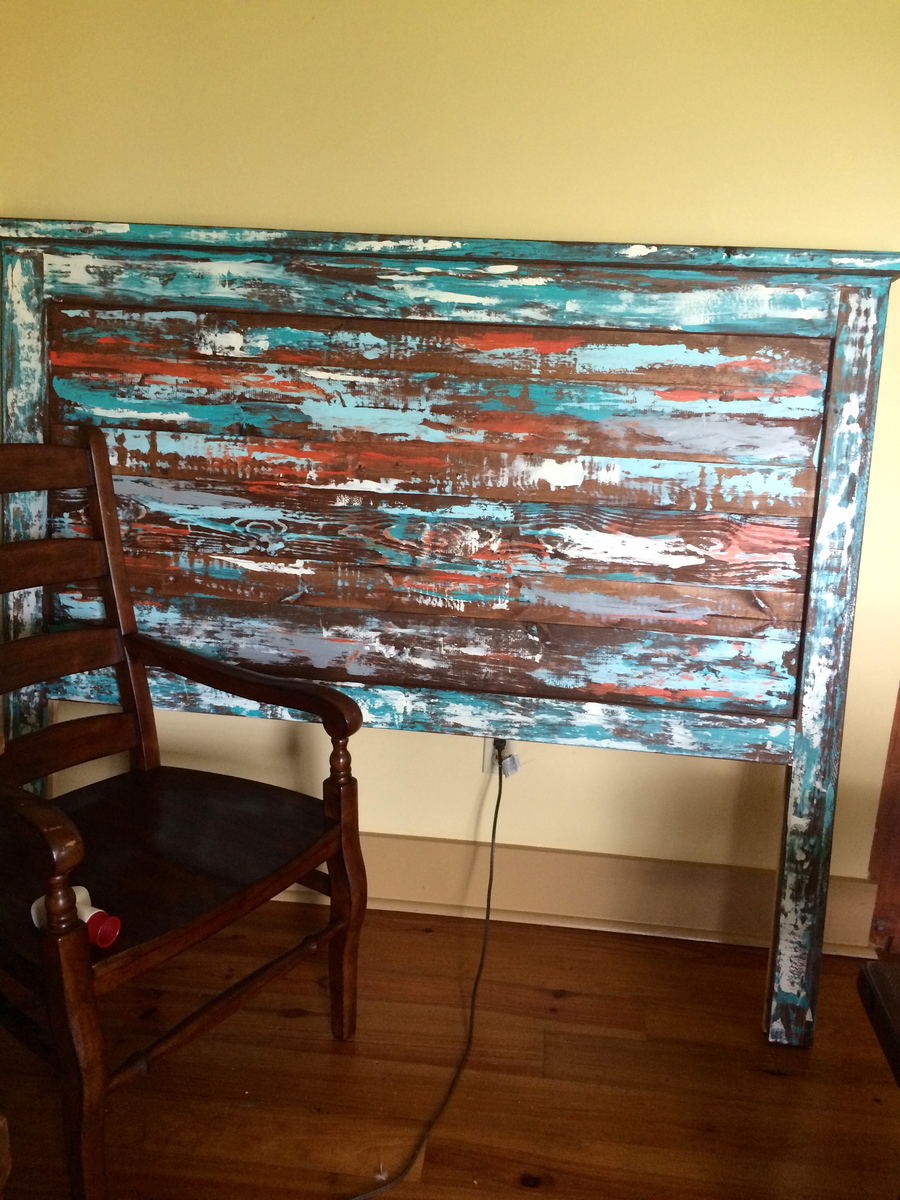
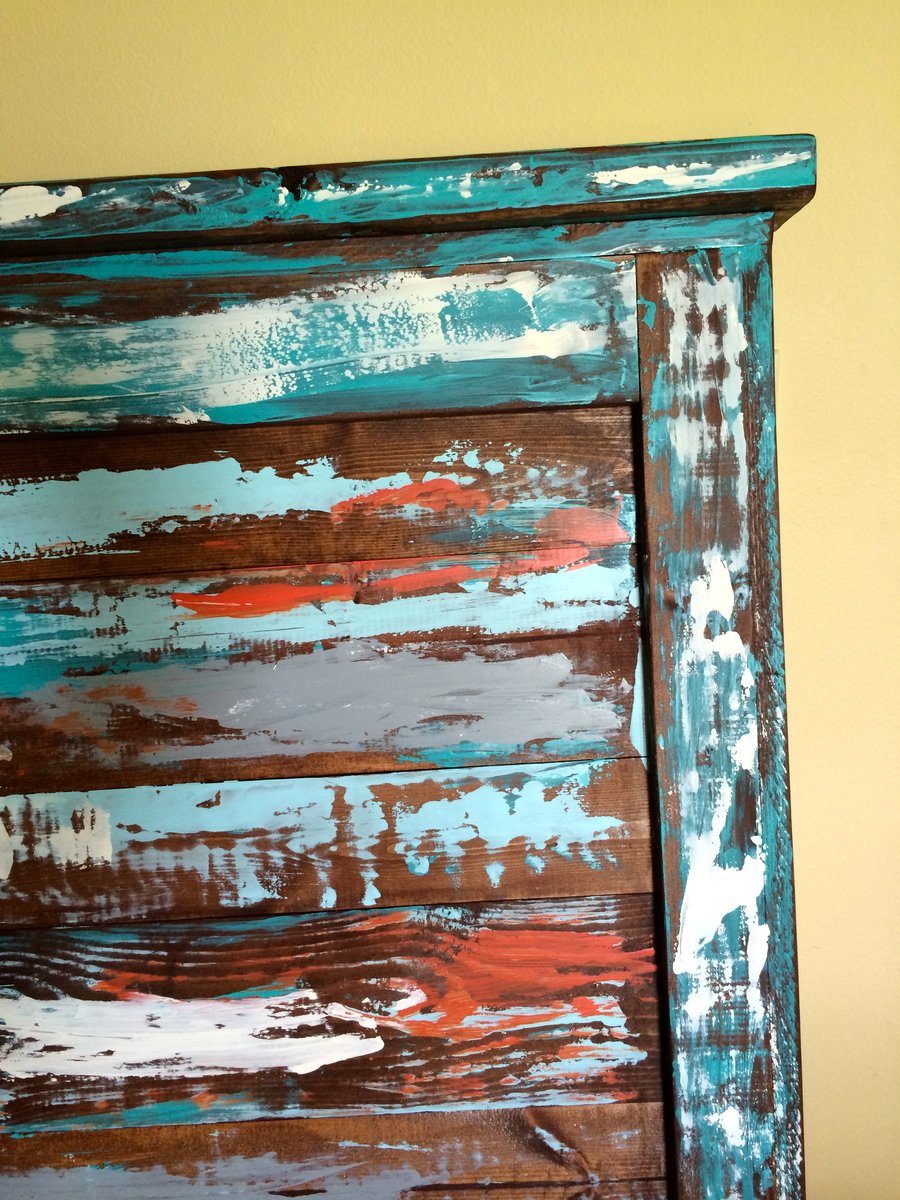
I copied the boat wood painting technique using the colors of my daughters room and it turned out wonderful. It really is as easy as it looks on the tutorial! You can see more of my stuff on anexceptionalife.com
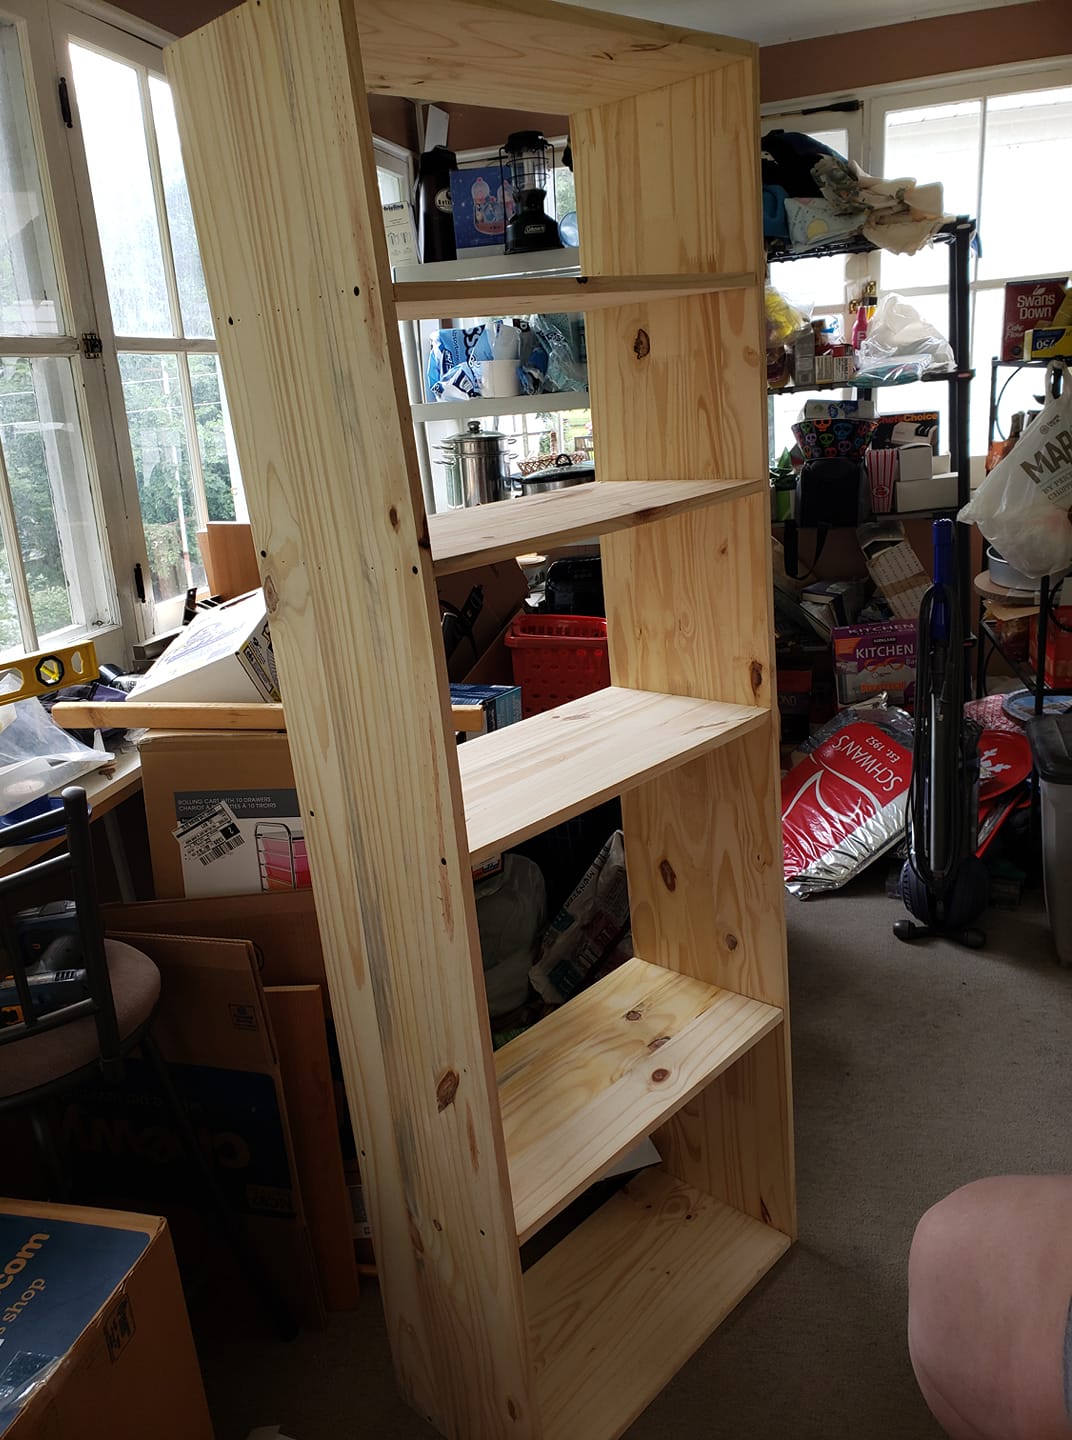
A quick pantry idea using 4 - 1x12x6'. 2 for sides 2 cut into 24" shelves. Start with basic box and then fill in shelves where you need them. Used 4" 2x4 scraps for feet. Put together with screws and nails will eventually add back panels to keep it square.
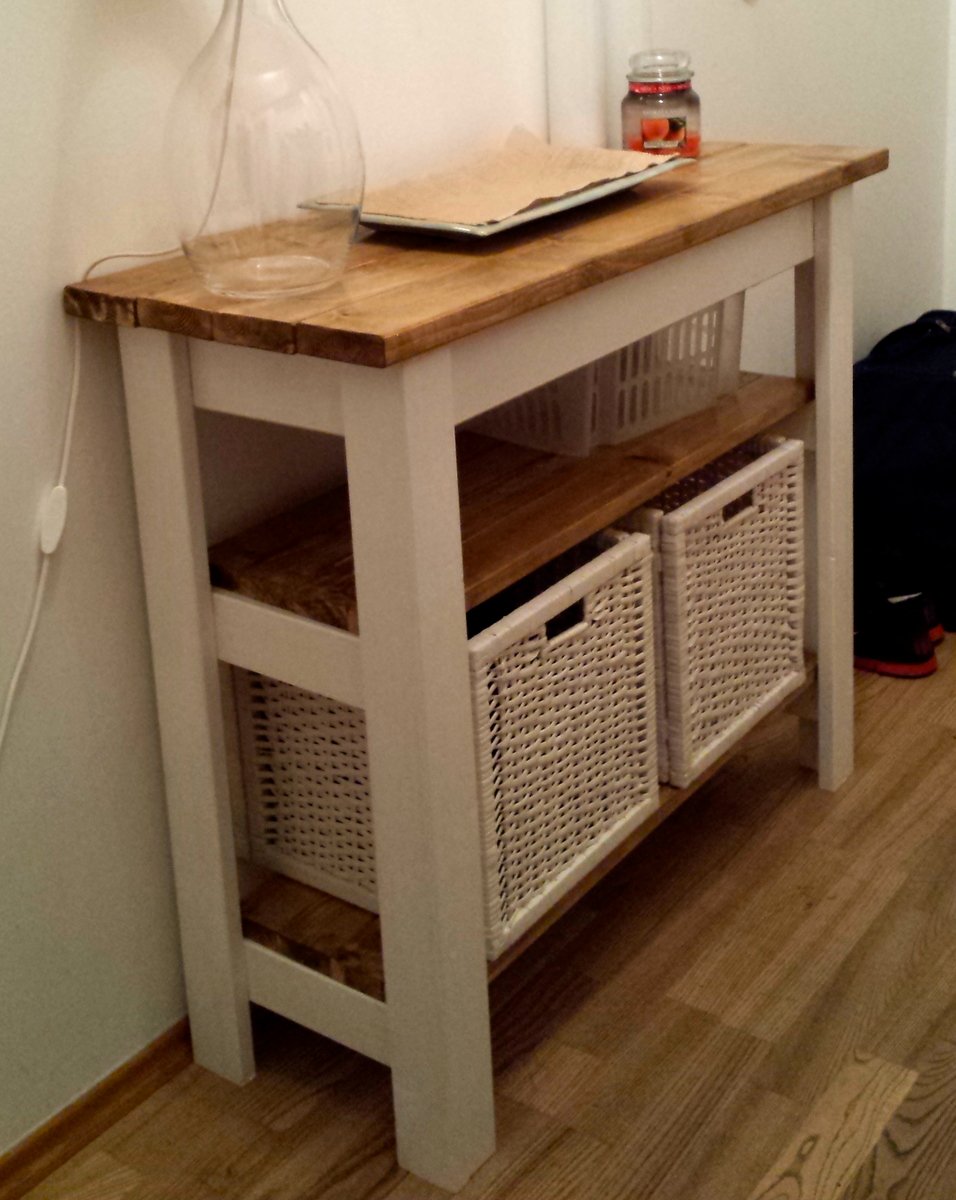
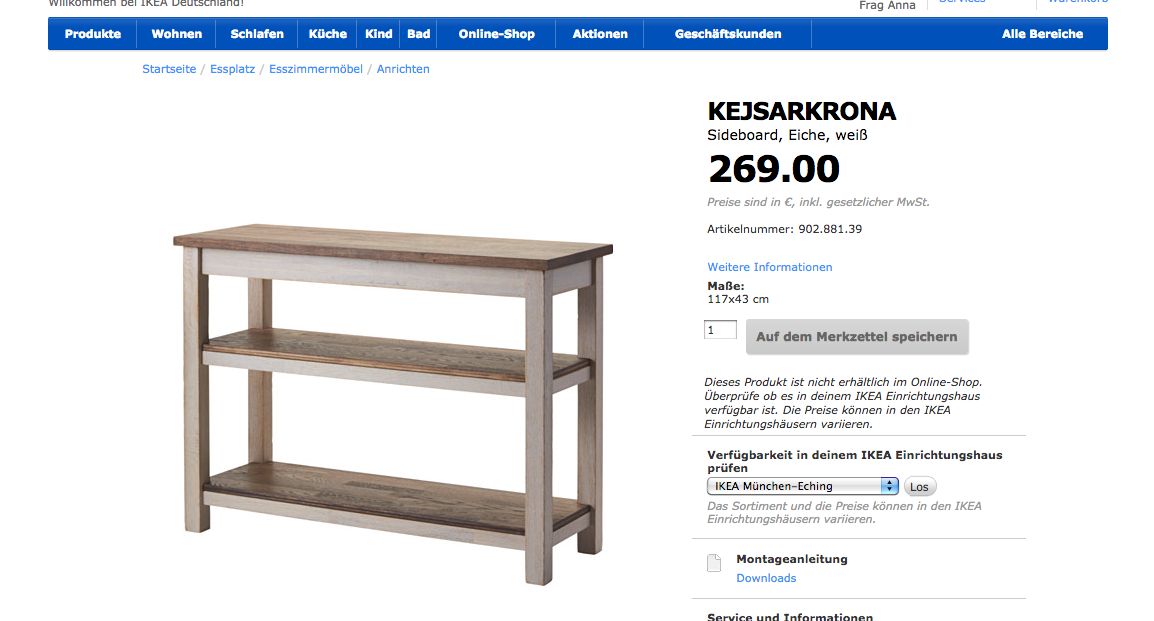
I wanted to find a perfect entryway table and looked EVERYWHERE for one that fit what I had made up in my head - then I finally thought - duh, I'll just make it. So I did! And I ADORE it. To top it off, 4 months later, Ikea came out with the exact project I had made (colors and all) for more than double what it cost to make it!
Mon, 01/26/2015 - 08:08
Just wanted to say I much prefer your table, it has great dimensions to it. I hope you're chuffed with the result. :)
Tue, 09/29/2015 - 02:05
To top it off, 4 months later, Ikea came out with the exact project
Knock down! Made me smile there! Our of curiosity - did you design your table as a flat pack furniture unit (which came to my mind as you mentioned Ikea and most of Ikea's furnishing requires flat pack assembly) and if yes is it a dismantable piece of furniture? Is taking it apart would be harder than putting it together?
Cheers,
Barth
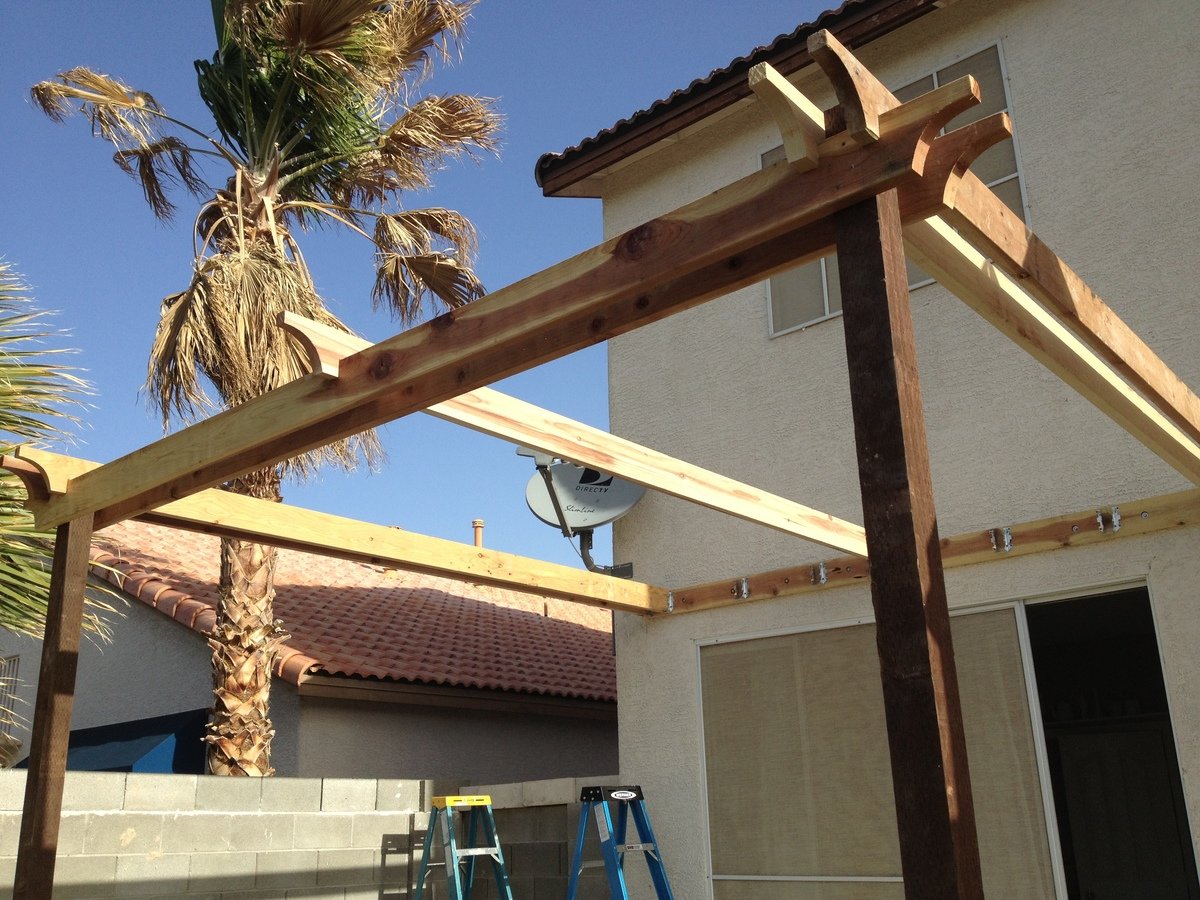
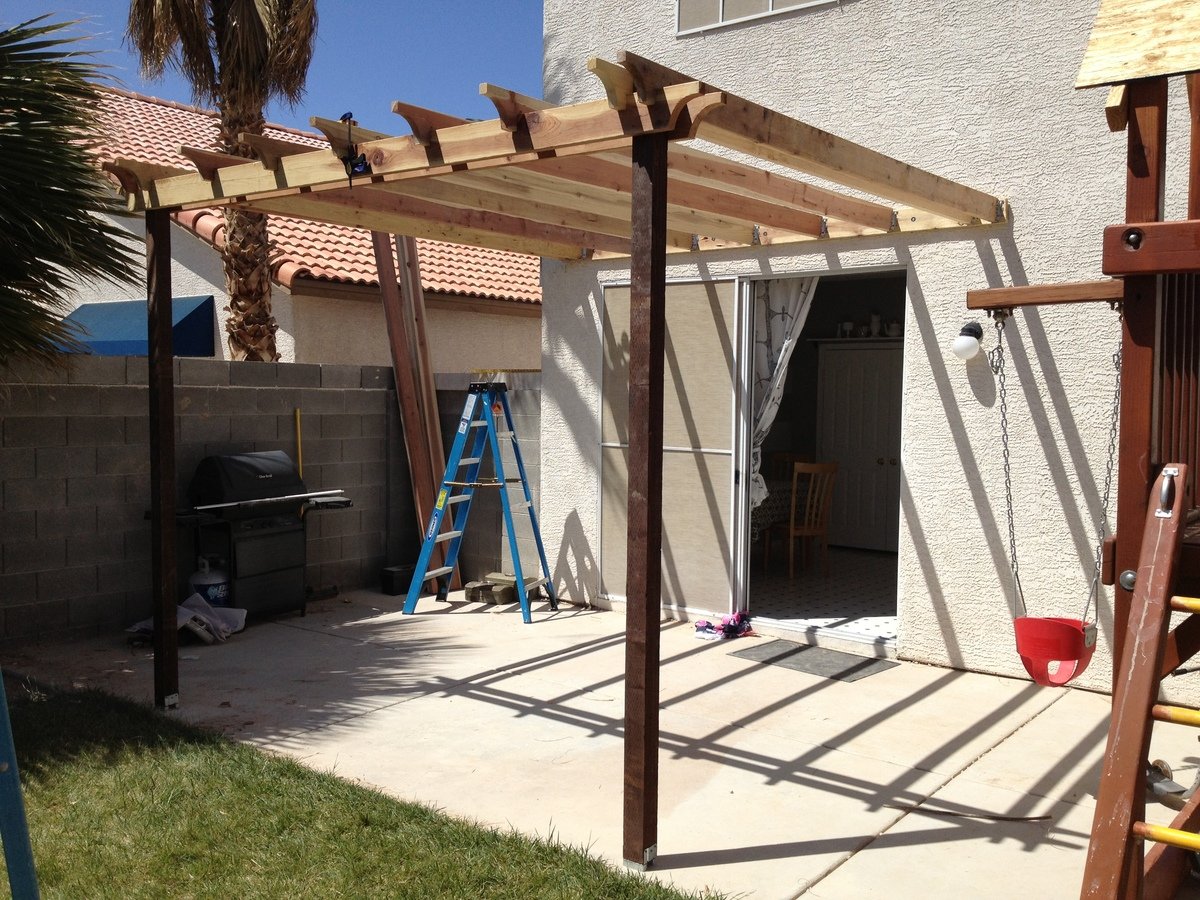
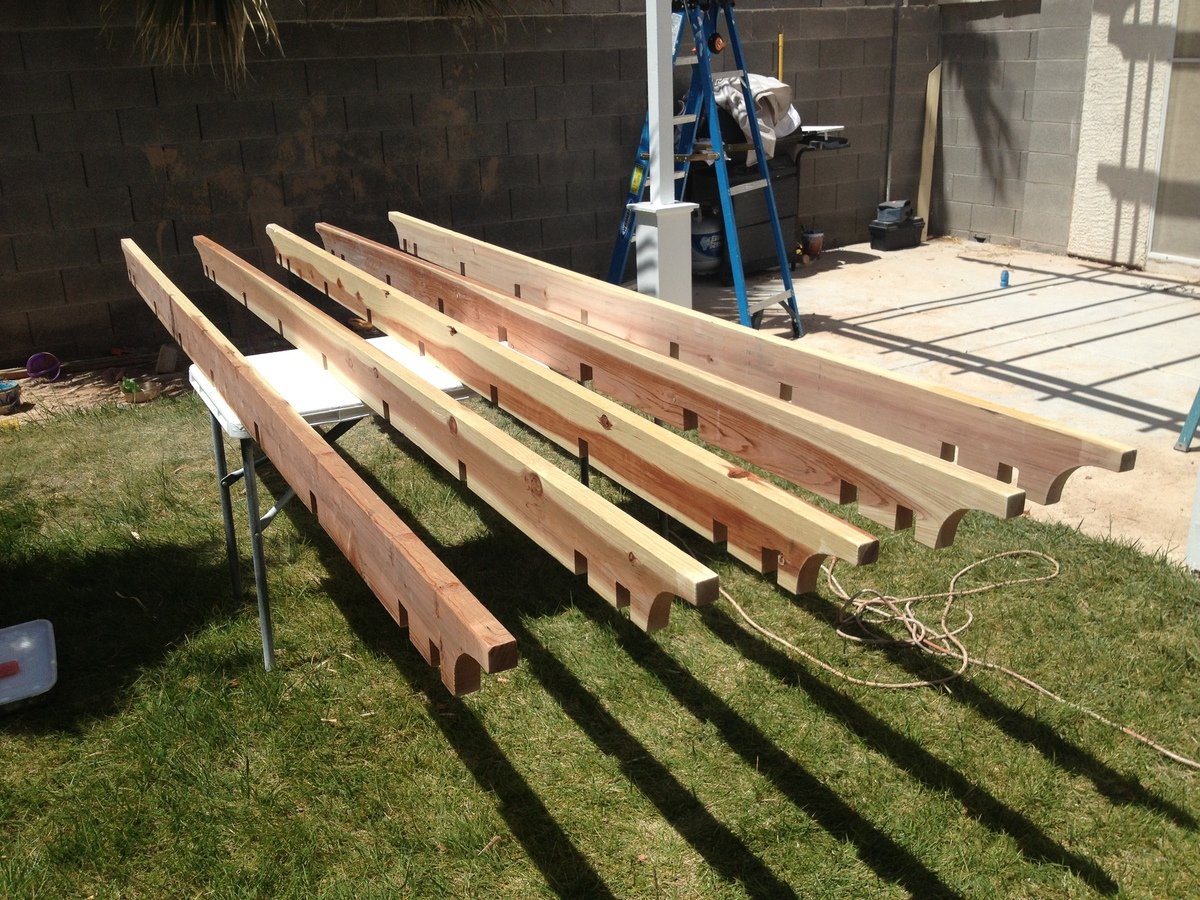
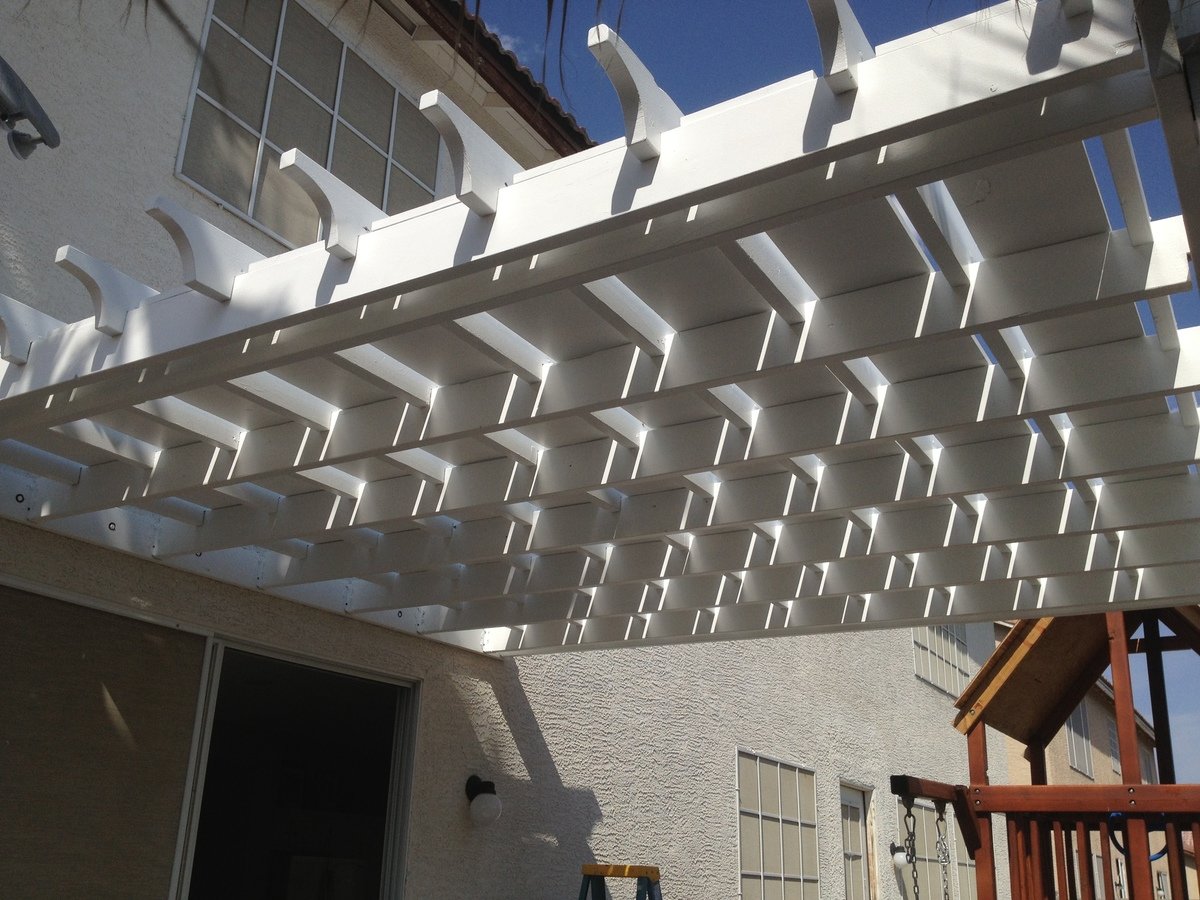
Instead of building a free-standing, 4-poster Pergola, I attached one side directly to the house. There are various Pergola design types and shapes. Simply Google for "pergola" images and decide which design you like best, or combine design ideas together (as I did).
Couple things to consider:
A: Is your Pergola more for decorative purposes or actual shade?
My design was more for actual shade (but with a decorative design), which is why I added the 1in x 12in x 12ft Pine boards between the cross beams at the very end (last picture). If your design is more for decorative purposes, you can space out your support beams and cross beams wider (using less wood and money).
You can also choose to use 2x4s as your support beams with 2x2 cross beams on top (essentially furring strips) either close together or spaced farther apart. This would also reduce the overall cost of your Pergola and make it much lighter as well. I chose to use all 2x6s for both support beams and cross beams.
B: What path does the sun follow across the sky over your Pergola?
If the sun passes directly over your Pergola and you want a lot of shade, you'll obviously need to consider this in your design (i.e., more cross beams that are close together).
C: Do you want your support beams and cross beams to inter-lock (by cutting square notches and assembling them like linking logs), or simply stacked on top of each other? (Again, Googling for Pergola images will help you see the differences in designs.)
I chose to interlock all of my beams by cutting notches and fitting them together. Obviously more time consuming to measure each notch, cut, and chisel them but the stability of inter-locking beams should hold up a little better in the strong winds of Las Vegas.
HOW TO (abbreviated)
Overall Pergola Dimensions: 10ft Height, 12x12ft
Tip: Paint or stain all your wood prior to assembly. Much easier. You can always touch-up scuffs and scrapes after it's built.
1. 2x6x12 installed directly onto the house (thru the stucco into the studs) using 3/8in. x 5in. lag screws. (Tip: Seal the top edge of the 2x6x12 that's against the stucco so water doesn't run behind it and down into the lag screw holes.)
2. Install the 2x6 Double Shear Hangers (as many as you need for your design)
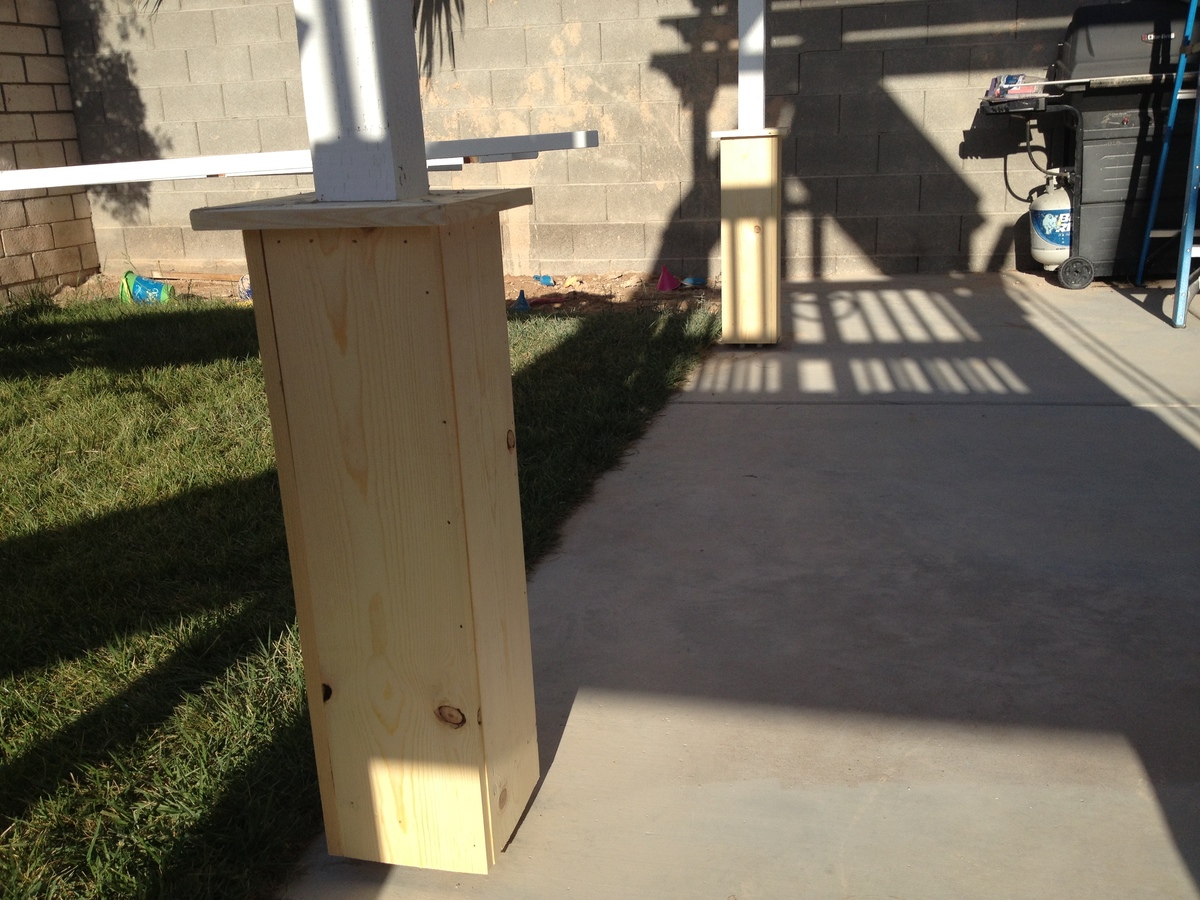
3. 4x4 post anchors secured directly into the cement patio using Tapcon 3/16 in. x 2-3/4 in.cement anchor screws.
4. 4x4x10ft posts screwed on top of the anchors. Ensure level on all sides (use a partner to help hold the posts).
5. Attach the front and side 2x6 beams to the 2 posts (again, use a partner to help hold posts while you're up on the ladder screwing your beams to the posts)
6. Attach the remaining 2x6 support beams.
7. Attach the 2x6 cross beams on top (whether you inter-lock them by cutting notches or simply resting them on top, be sure to toe-nail screw them in with 2in exterior screws).
8. Lay 1x12x12ft pine boards on top in between the cross beams and secure with 2in exterior wood screws.
9. Construct the post bases ("sleeves" or "leggings") which greatly adds to the look, as outlined in the "Weatherly Pergola" plans.
10. Touch-up paint / stain any areas you need.
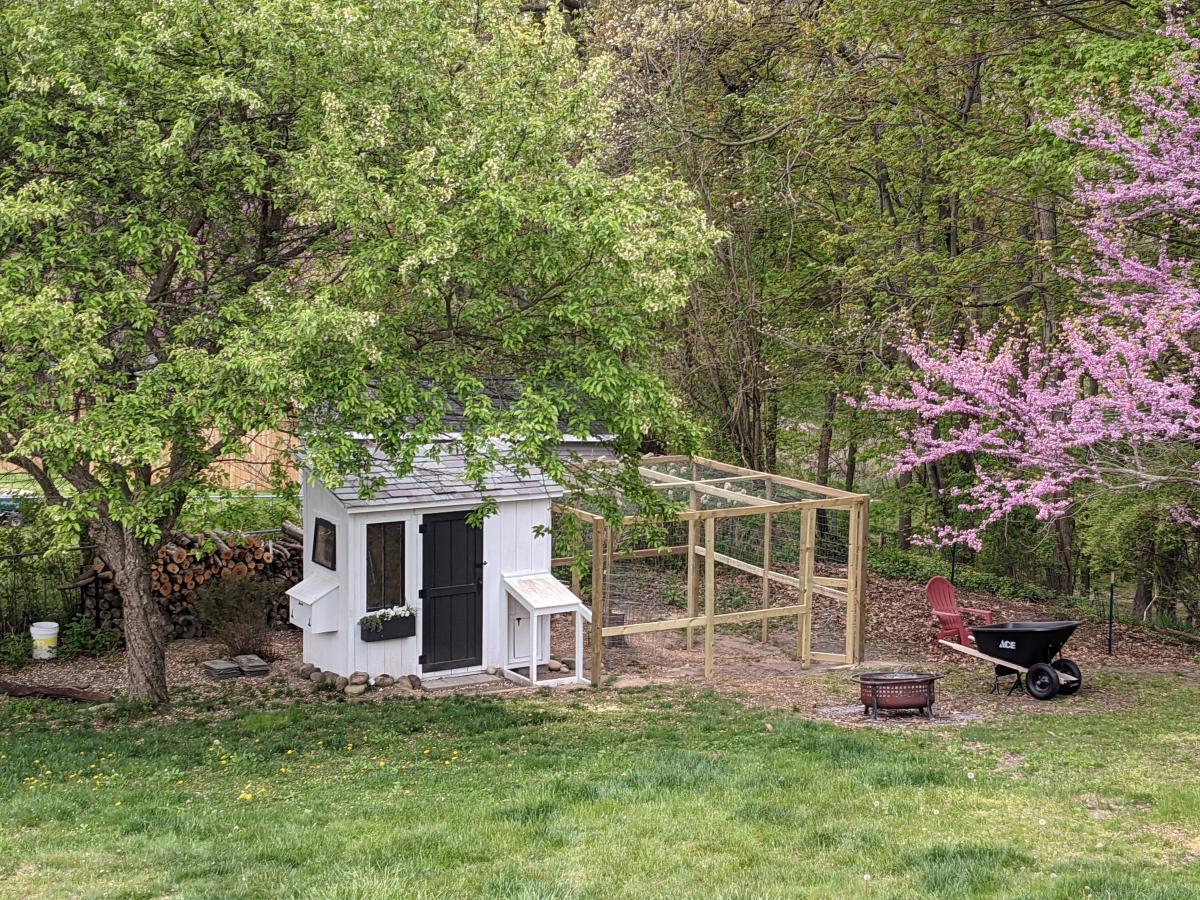
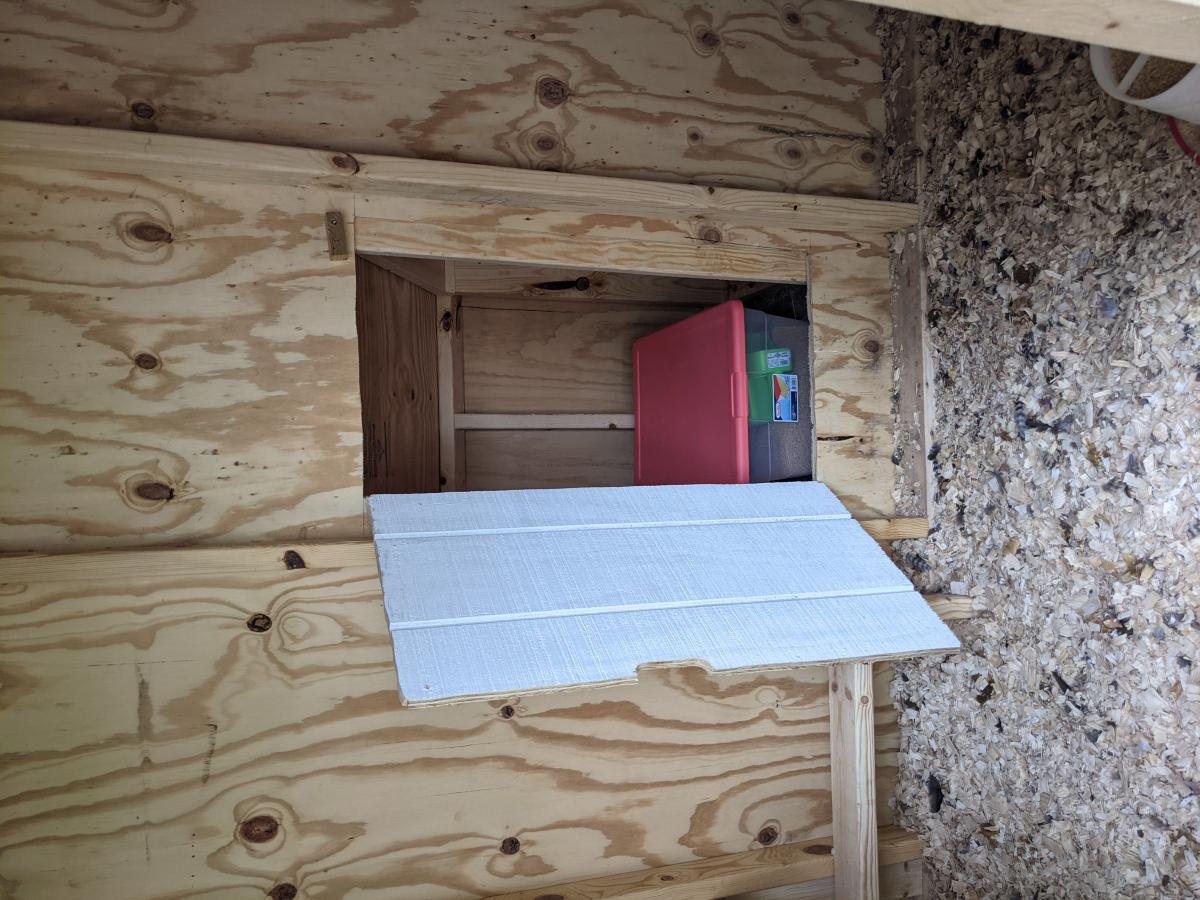
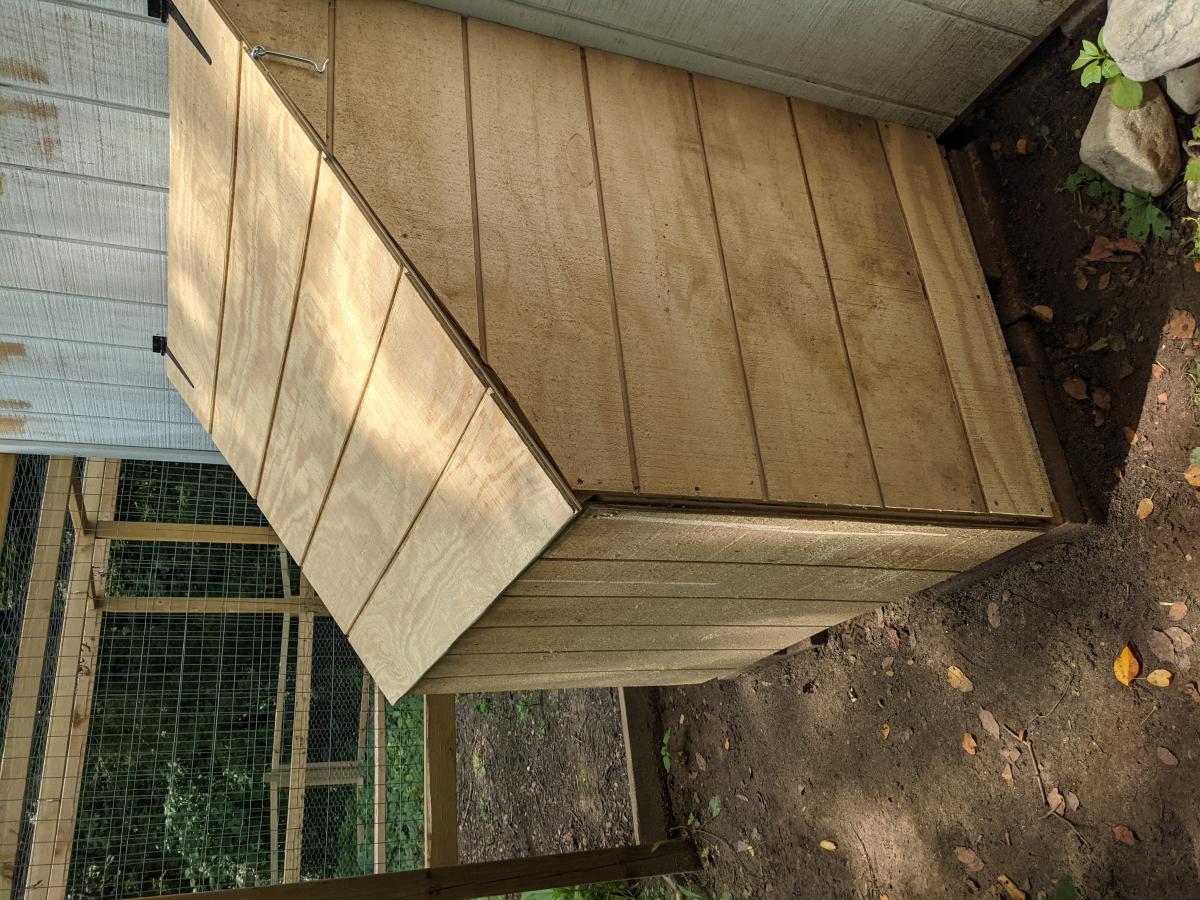
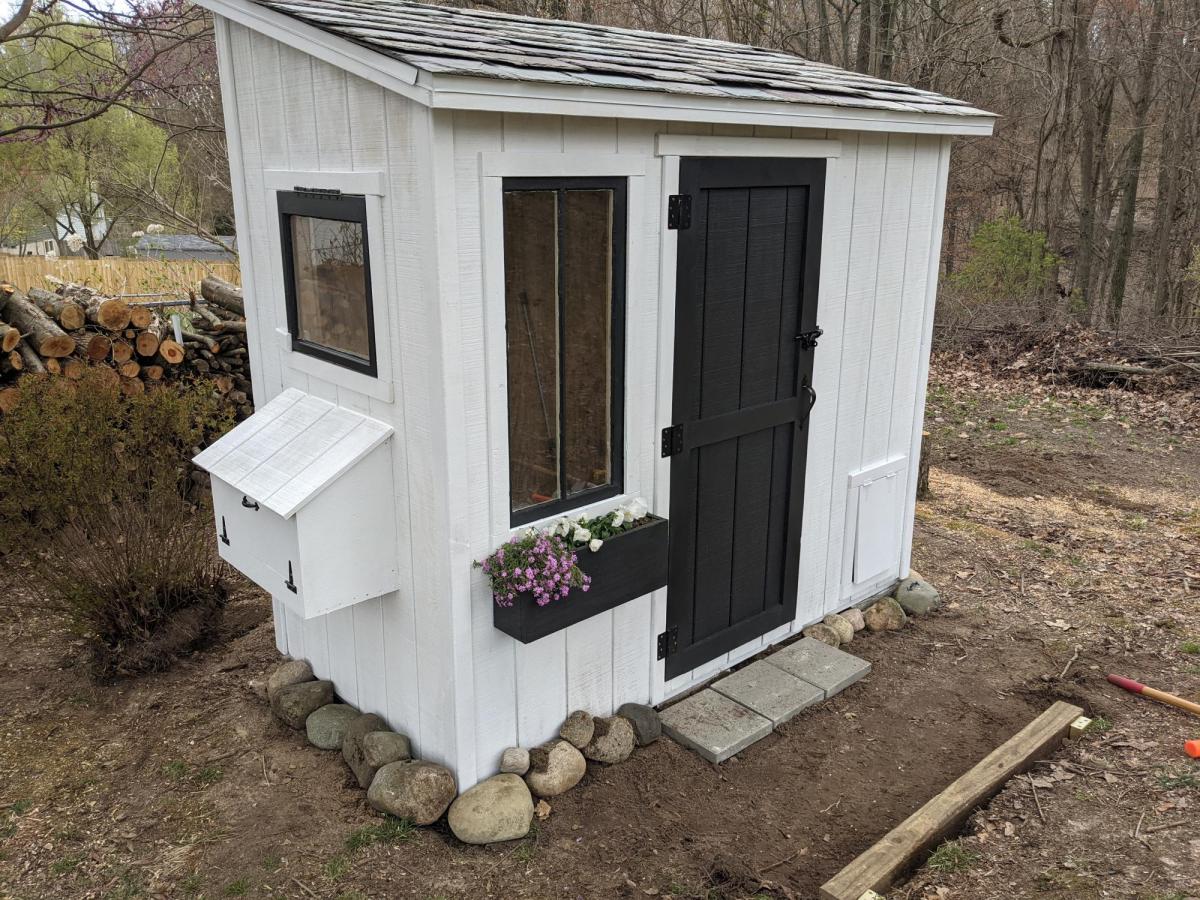
I followed the Shed Coop Plans to make this chicken coop and designed my own run. Because I wanted to view the chickens coming in and out of the coop, I moved the chicken door to the front and built a little covered area to shelter the coop door so I did not have to have the entire run extend over the front. I also made the access to the layer boxes be accessible from the front rather than the top so that my kids could more easily access the egg boxes. I thought these were great plans to follow and easy to adapt to fit what I wanted in a coop. I also ended up adding a lean-to storage on the back with an inside access so I could easily refill their feed.
My daughter helped me build this enclosure. We used Ana's chicken run plan, but just made it taller so we could walk in easily. We added an overhang to store food and pellets under, for the supports we used Ana's easy shelves angle support plan, and finally we used the playhouse base plan for the base of turkeys house. All plans used are linked below. We ran the chicken wire out under the structure and still need to bring in some large rocks or pavers, but so far no issues with predators. Turkey was getting too big to fit in the smaller coop, so we decided to have fun with his house and used cedar fence pickets and some treated 2x4's, built a box and jig sawed the shape of a turkey. As you can see in the first photo the ladder for turkey wasn't big enough, all the other chickens were in his house, lol. So I beefed up the ladder and he happily can put himself up at night now:) Overall a super successful project, I wasn't sure what to do with the top and just at that point, the neighbor walked over and offered the metal, talk about a huge win and the perfect solution! We attached the run to the previous smaller structure and now they have so much more room and are laying like crazy:) Finally, I think this would make a great dog kennel as well...

We had a good time building this table. We made it smaller (6 feet) than the original plans, and also changed up the breadboard a little bit. We are a military family so made it so it assembles/disassembles with carriage bolts instead of screws. Hopefully that helps it hold up over time with frequent moves.
Varythane golden oak stain on the top and rustoleum charcoal chalk paint for the base. Sanded lightly and a light touch of the paint on the tabletop to create a distressed look.


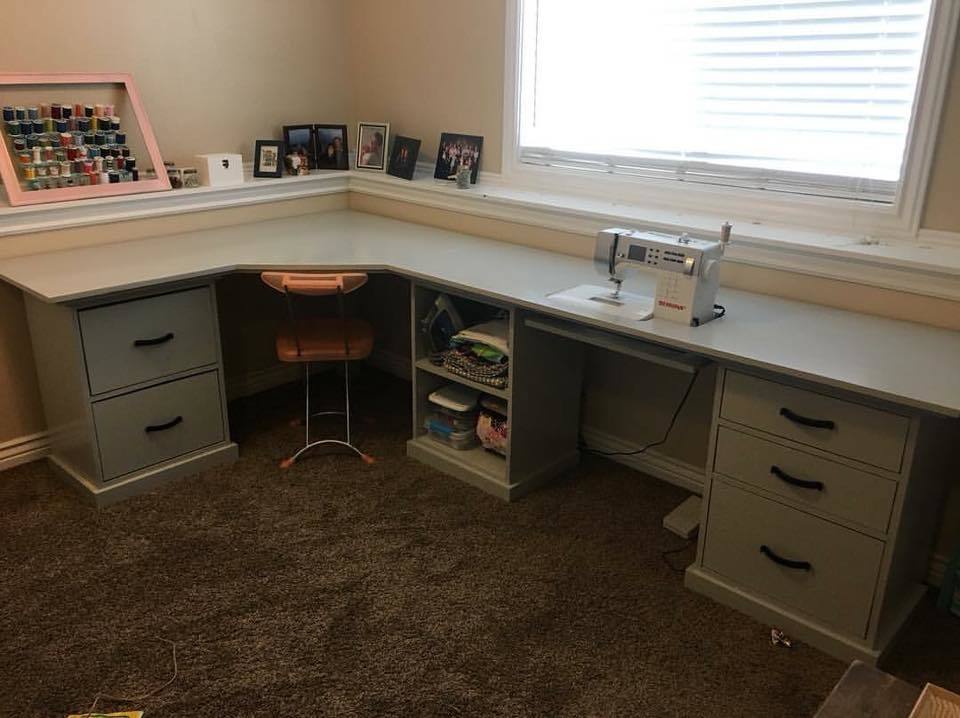
We made this sewing/craft table by combining plans from the modular office. It was a big job but SO worth it! We love your plans and use them all the time!
Submitted by Candace Ann Williams
I made this table and chairs for my 1 year old nephew. He is still a little small for it but the table and chairs are both very sturdy. The table top is a one piece, 24 x 36 ,edge glued pine board. I used the one piece table top as an alternative to screwing the 3 boards together. I followed the plans for the table for the most part. As for the chairs, I followed the plan to build the seat base. For the legs of the chairs I took advise from carongirls' table and chair brag post and used 2x2's. I used 1x3's to stiffen the chair legs. I also lengthened the table legs and chair legs by 2 inches.
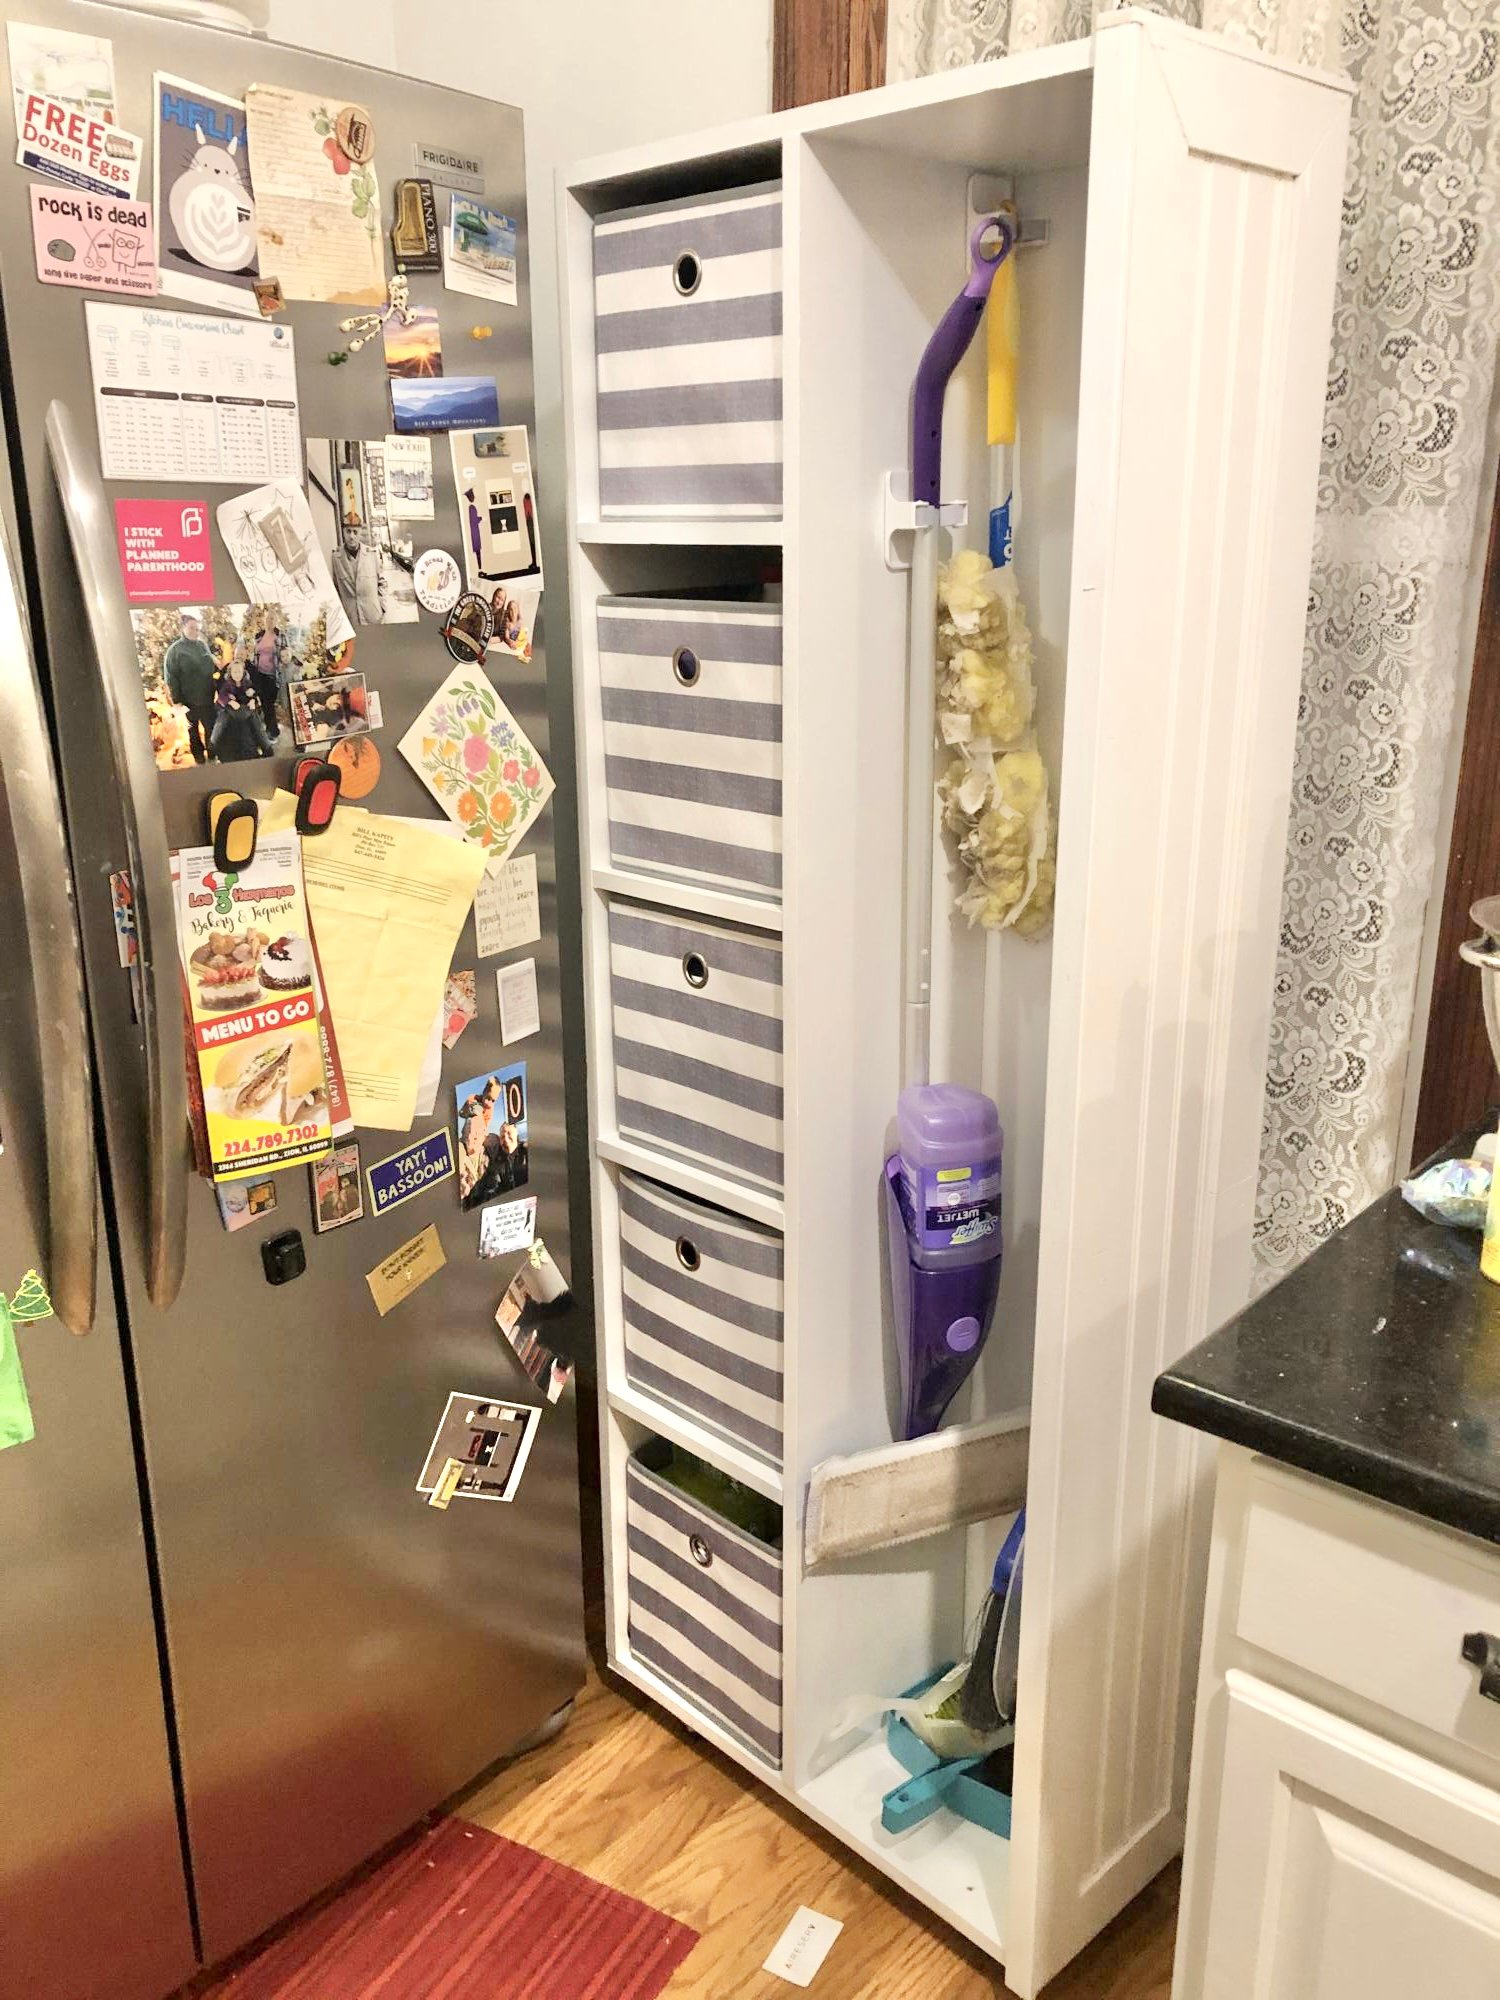
We needed to fill an empty space next to our refrigerator but it required custom cabinets, which were too expensive. So instead, I designed a rolling cabinet to fit the space. I used the Shelf Help website to create the design with the correct dimensions, as well as order the wood that was needed.
This was my very first carpentry project and through some trial and error, I was able to make this cool cabinet that houses all of our kitchen supplies, enabling us to tear out an original (junky) storage closet to make room for shelving (I’ll be designing and making those, too!). We added a vertical drawer pull (not pictured), and it works great!
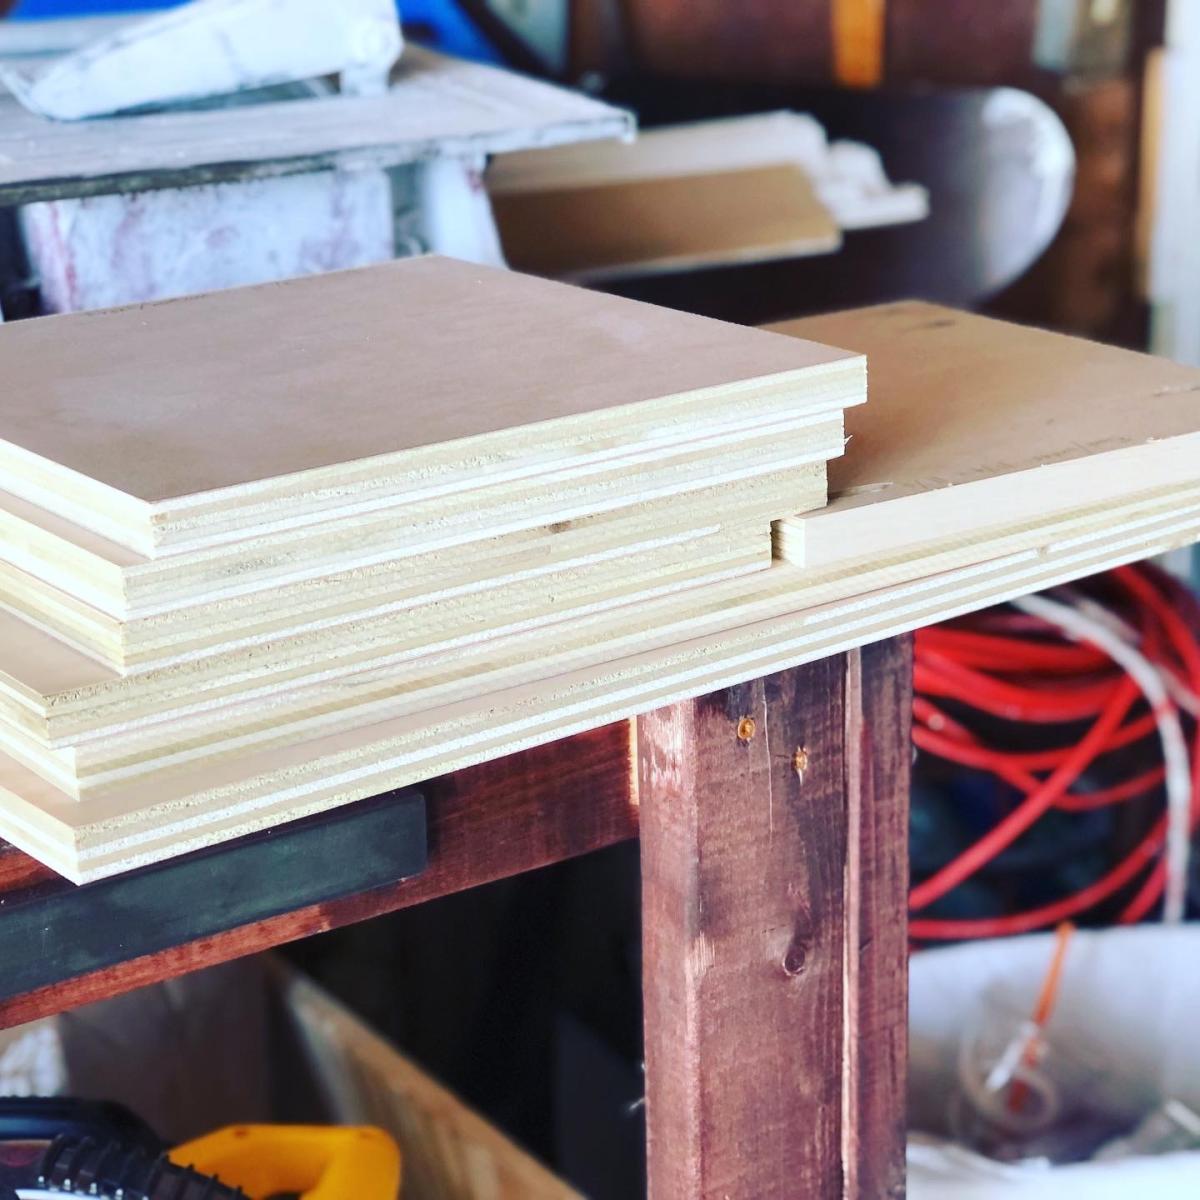
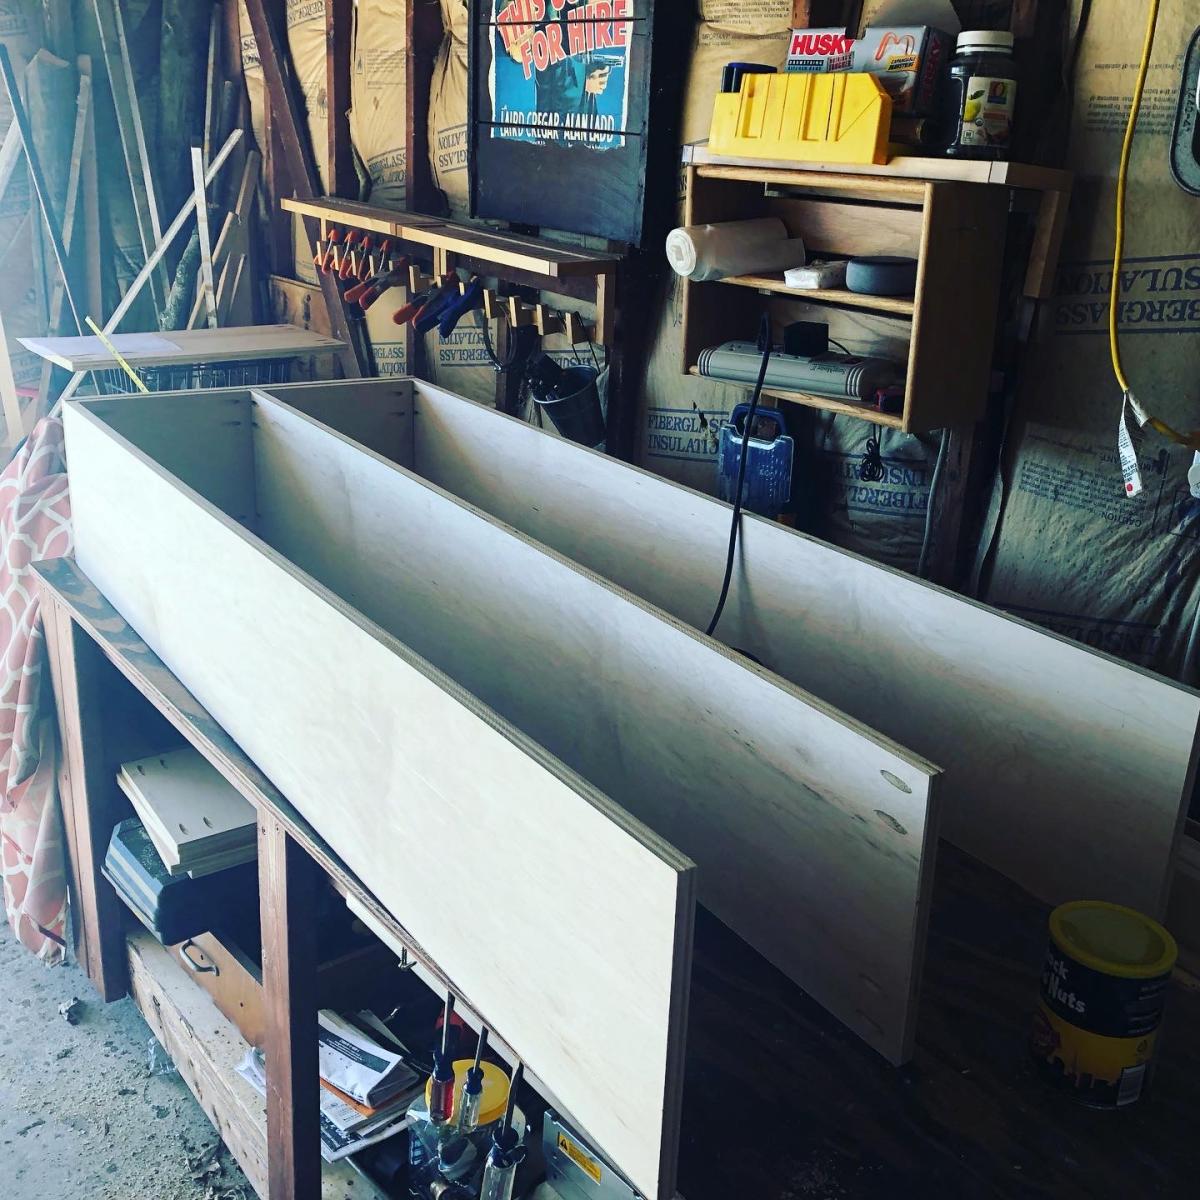
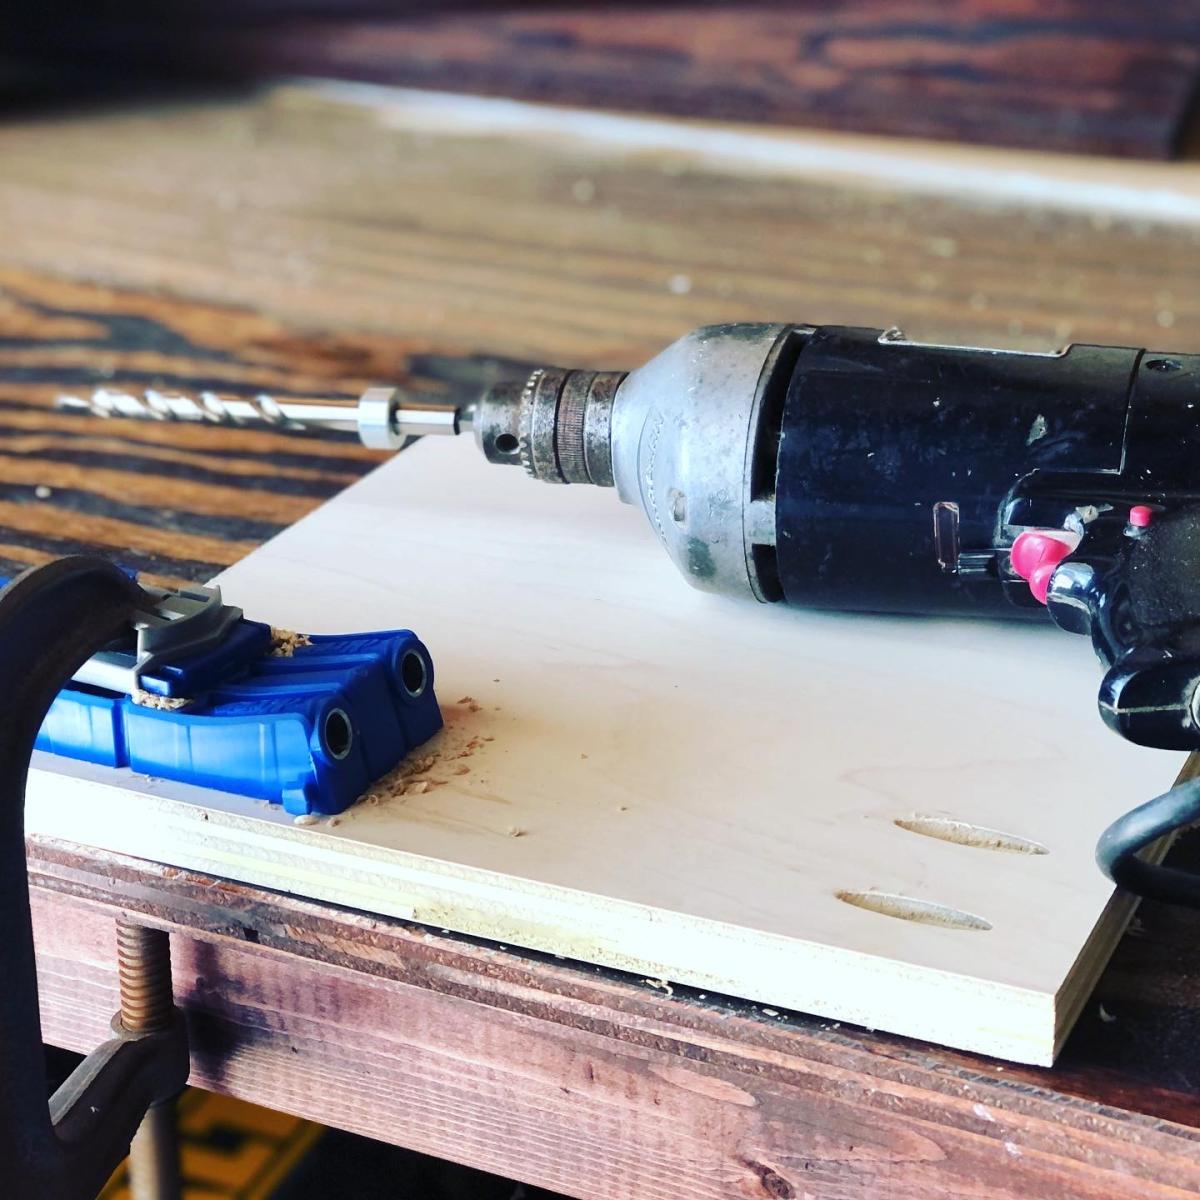

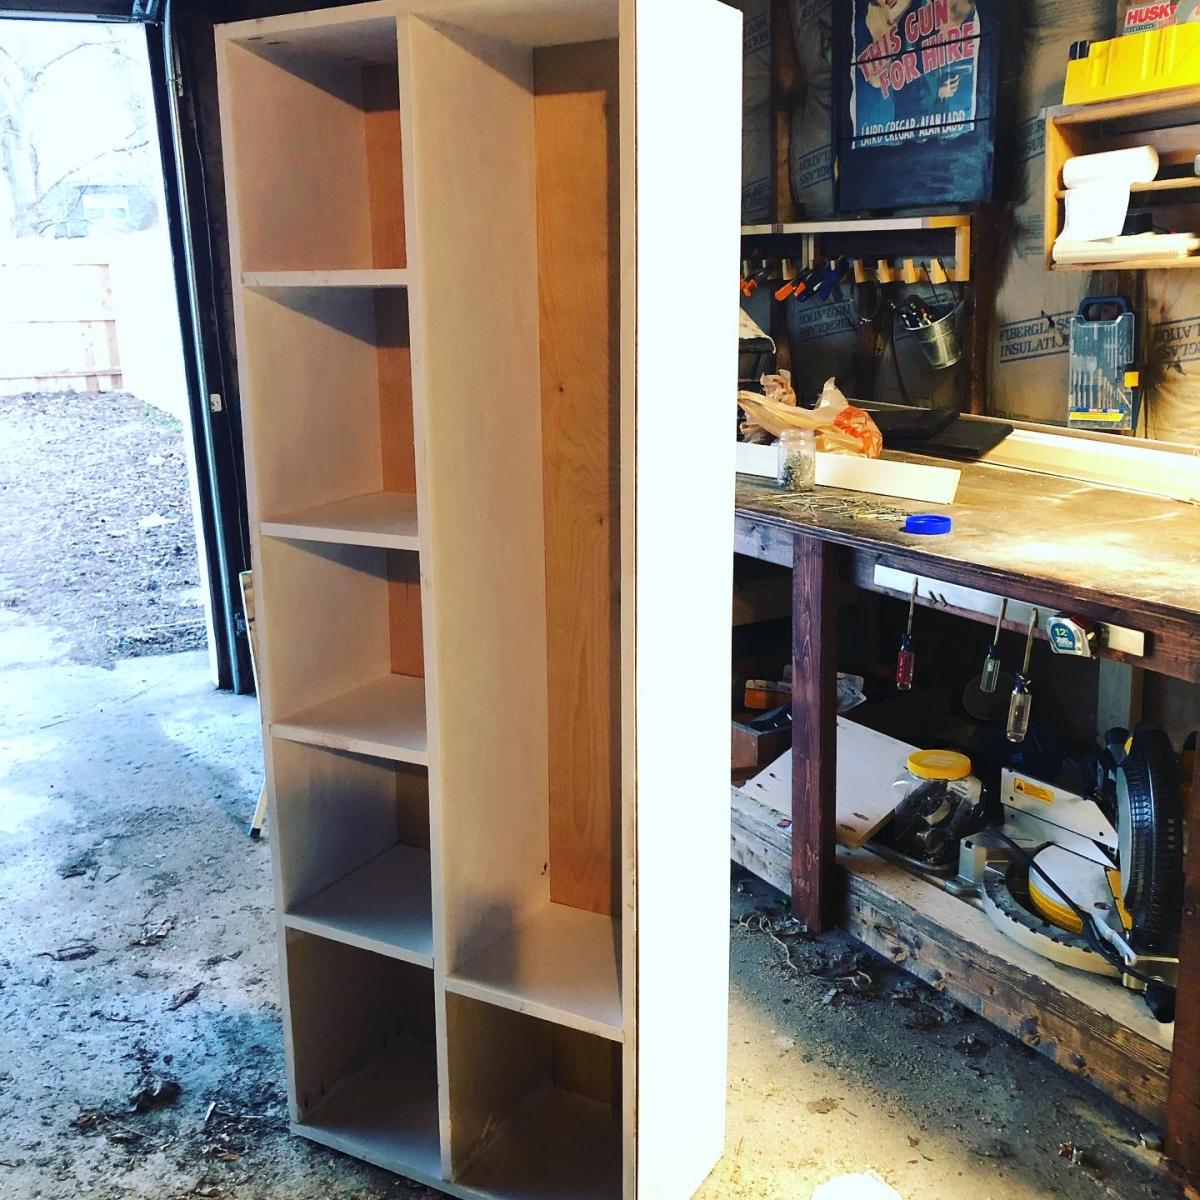

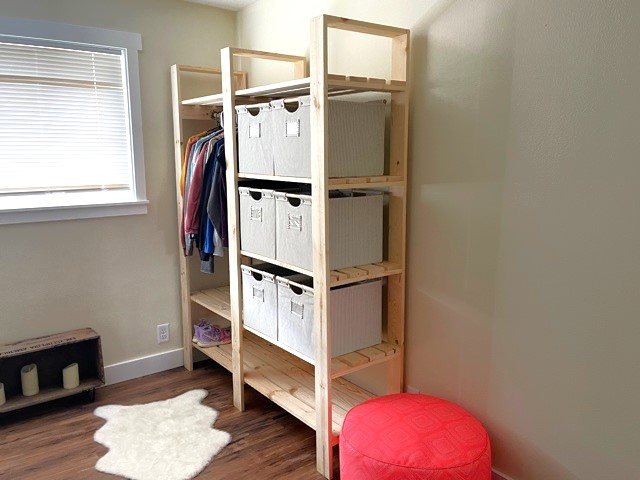
My daughter's room didn't have a closet, so I built one. This only took a couple of hours to build. I found the bins on Amazon and built to fit. It's 60" wide 18" D and 75" tall. I love this plan, it's super easy to modify the size and configuration!


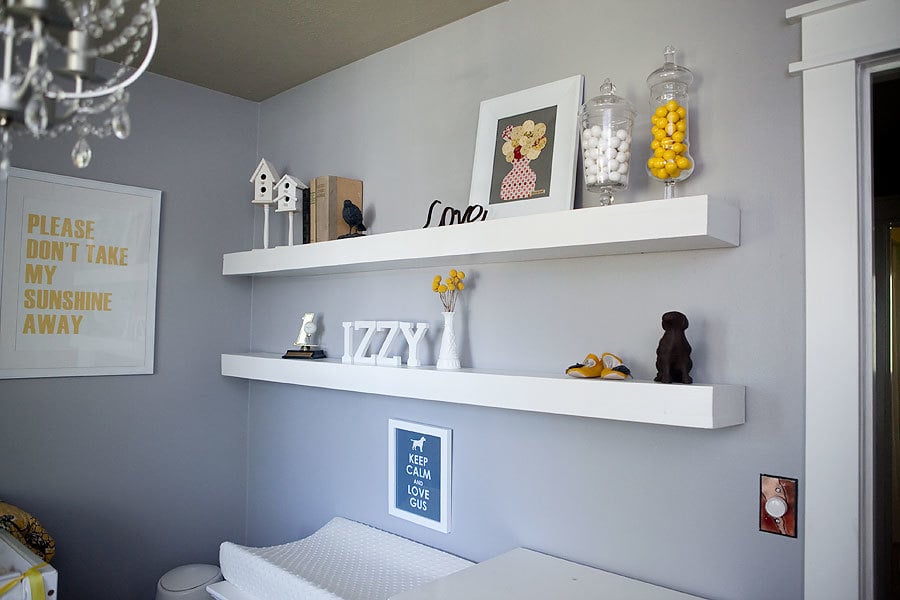
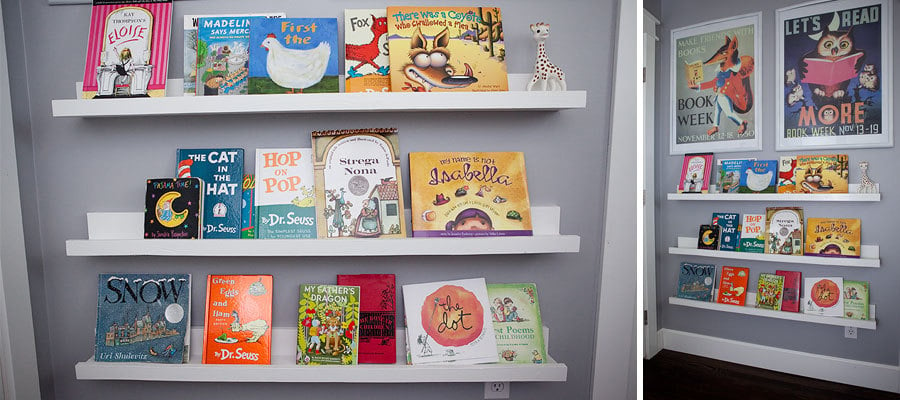
I used Ana's plans to build floating shelves and the ledge shelves for my nursery.
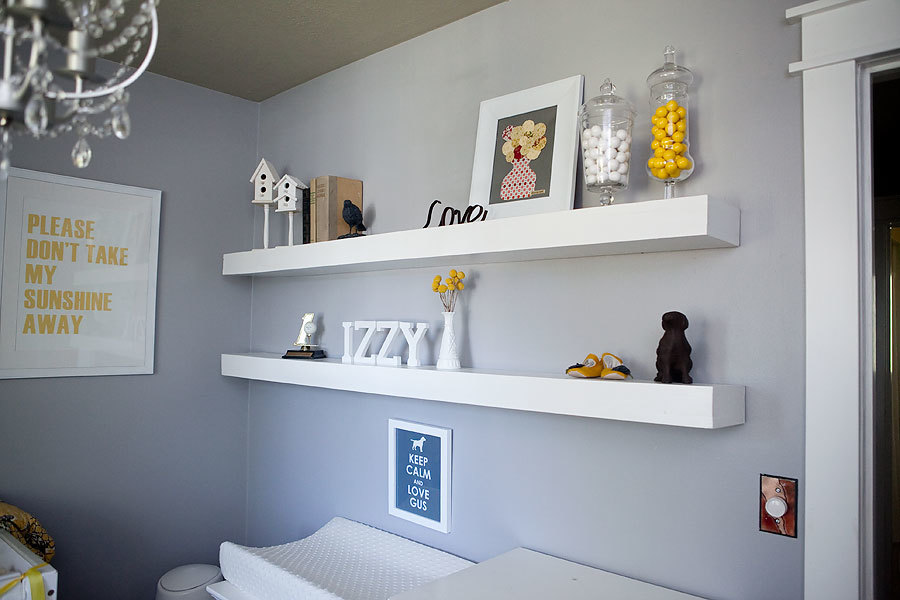
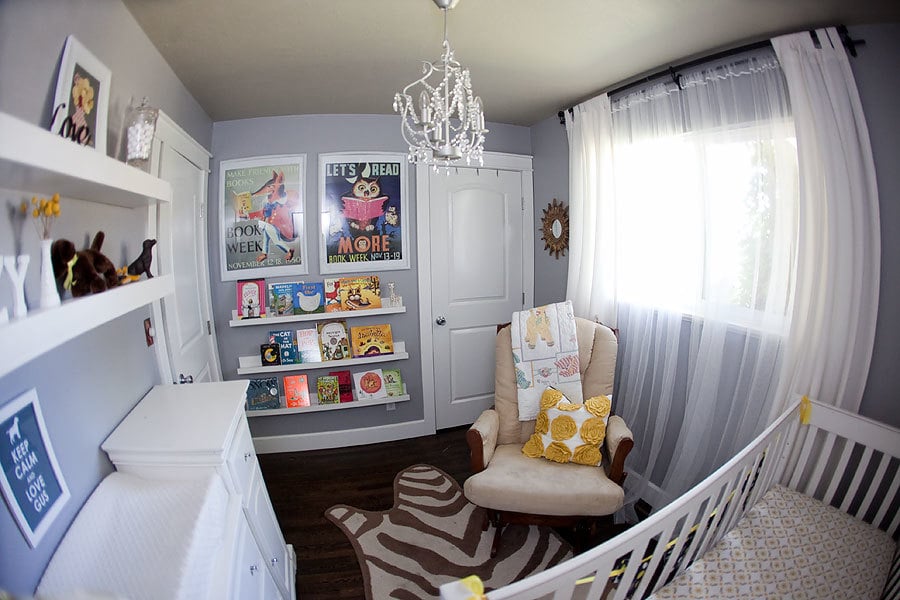
Sun, 07/24/2011 - 09:03
It looks great! Also, where did you find the vintage reading week posters? I'd LOVE to know! Thanks!
Tue, 07/26/2011 - 08:10
What a beautiful nursery!! Nice job on the shelves!

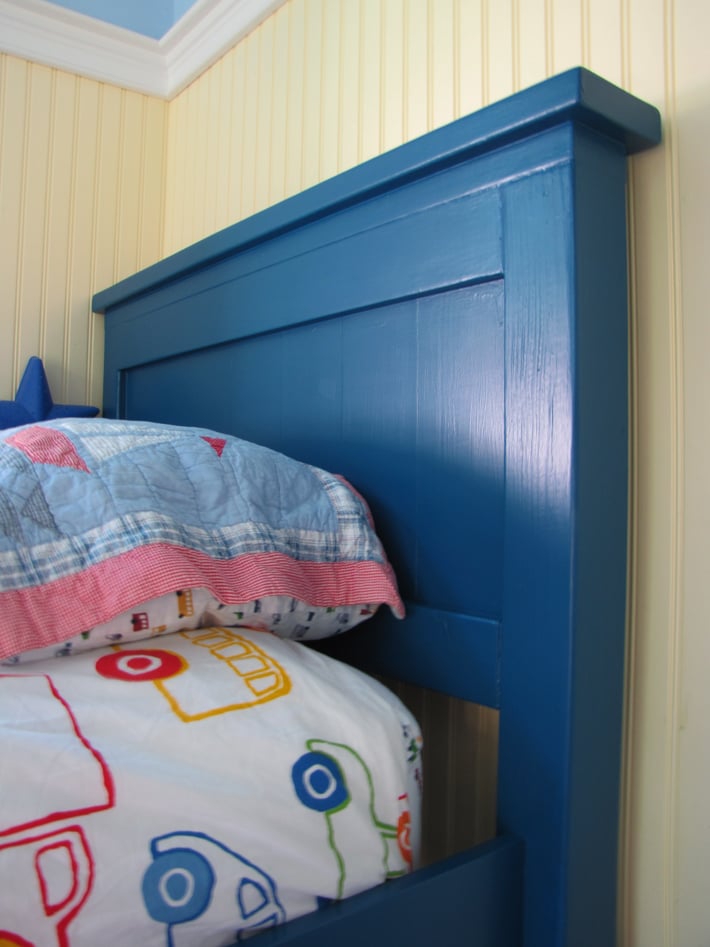
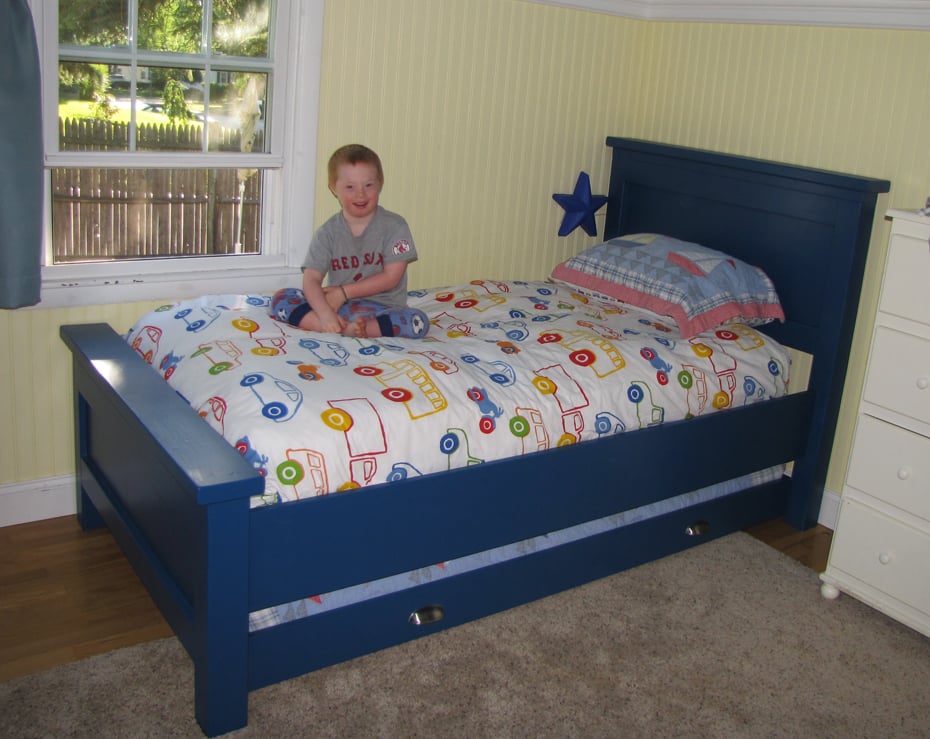
We had the Upside-Down bed from IKEA for our little guy, but my husband continued to complain on how he had to "crawl" into the bed. Okay, scrap that. No problem. I just searched Ana's plans for a nice bed I could make. And add a trundle. There you go.
I did modify the height of the headboard, as I plan on moving Jack to an upstairs bedrooms that has slanted walls. I wanted this bed to fit in any configuration, so I had to take 10" off the headboard. Also, due to the impending moving, I wanted the bed to easily be taken apart. So I attached the side rails with surface mounted keyhold brackets from Rockler Woodworking. They work great.
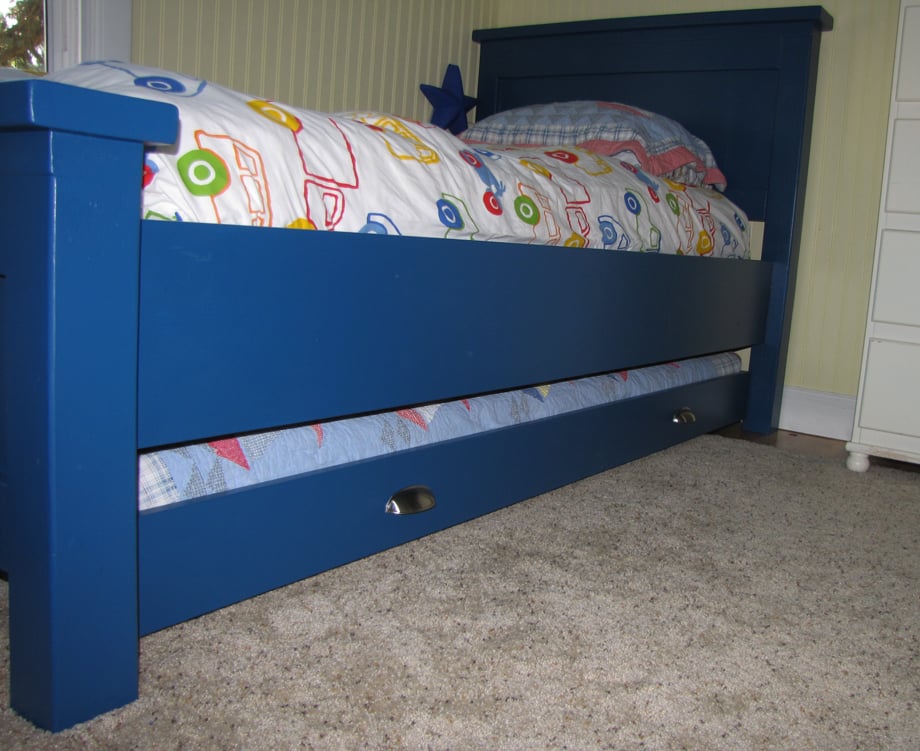
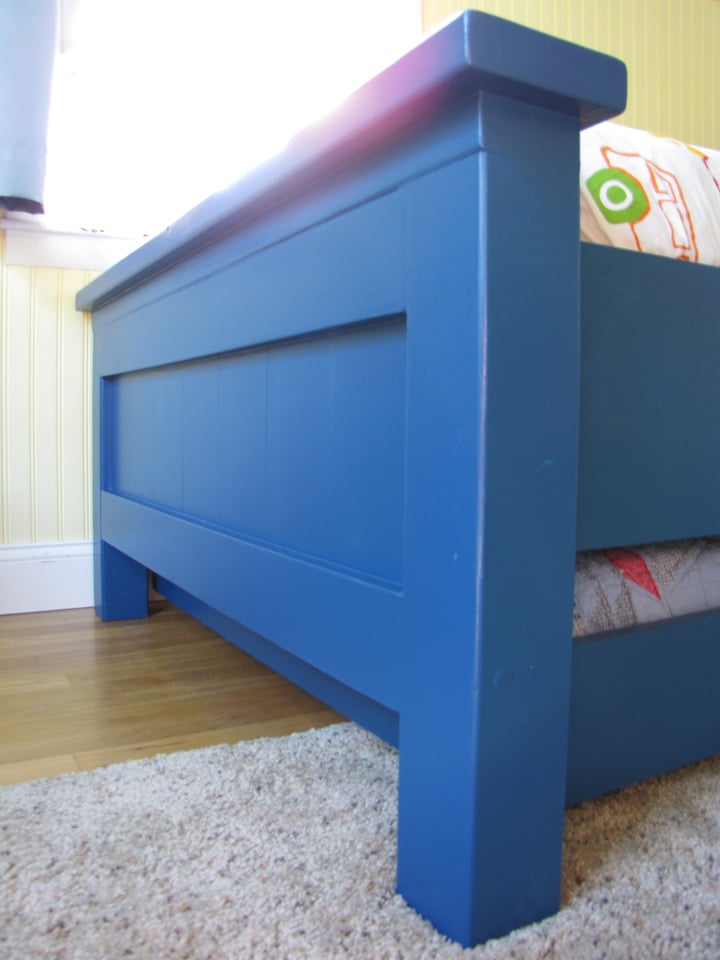
Sun, 08/21/2011 - 21:36
This looks so incredible! You did a fantastic job and I love love love this bedding. My boys would go crazy over it!
Mon, 08/29/2011 - 07:51
Great job! I am hoping to make two of these for my boys and would love to have the trundles. Could you give the specs on that? Thanks!
Wed, 08/31/2011 - 17:42
The specs will be different depending on the size mattress you have -- what I mean by size is height. I just used a foam mattress that was only 5 inches high. I wanted the mattress to fit bigger than the sides of the trundle, so I might have made it just 4 inches high (not including the wheels underneath). I made sure I had about 1.5" of clearance total between the headboard and footboard to move the trundle in and out.
Just make sure you take into account how thick your mattress is, the widths of your boards and the height of your wheels. Give yourself a little room for bedding and you should be all set.
Mon, 11/21/2011 - 10:06
The bed looks awesome! The hubby and I are gonna attempt to make one just like it (with the shorter headboard as well). I also have a 5 inch mattress for the trundle. The questions I have are: 1) How much space did you leave between the floor and the bottom of the trundle? 2)What is the distance between the floor and the bottom of the side rail? 3) did you use the 1x10 for your side rail? (we are going to be using a 1x8 instead). 4) Did you order your casters from Rockler as well, or find them at a home improvement store?
Thanks so much, in advance!
Wed, 11/23/2011 - 11:58
1. The sides of the trundle are not flush with the bottom. The bottom (that the bed rests on) is about 2" higher than the side rails. This allows room for the wheels and about an 3/4: between the floor and the side rails. This measurement will all depend on the size of the casters you get and how much room you have beneath your bed for the trundle.
2. As mentioned above, there is about 3/4" between side rail and bottom of floor. Like I said before, it's total preference and how much room you have to work with.
3. I did use a 1X10, mainly because I like the look of the wide board.
4. I got the casters from HD or Lowes (can't remember).
Hope this helps!
Sun, 01/29/2012 - 23:15
I love this and am going to make for my sons bed but I didn't see what you used to attach the sides to the base...unless I just didn't see it. :-) Did you use "L" brackets?
Sun, 03/25/2012 - 12:30
Hi, I was just wondering how you adjust the cleats when you are using the rockler brackets? I plan on using 2 x 8 for the siderails so there isn't enough room to fit the bracket and cleat along the edge. Did you have to shorten your cleat by just a little bit?
Fri, 08/17/2012 - 23:32
I was wondering if you could tell me how many inches the gap is from the bed to wall (where you have the bed horizontal against the wall)? Just trying to get an idea; my daughter is young and don't want her falling between the gap at night :) Thanks ahead of time!
In reply to Gap From Bed To Wall... by KAD050209 (not verified)
Wed, 09/05/2012 - 20:16
The gap is about 3.25". I remember one of the first nights that Jack slept in his bed he fell in the gap. I wasn't expecting that at all. We just stuffed the extra bed pillows in there at night. We don't even remember to do it anymore and he's never fallen in again.
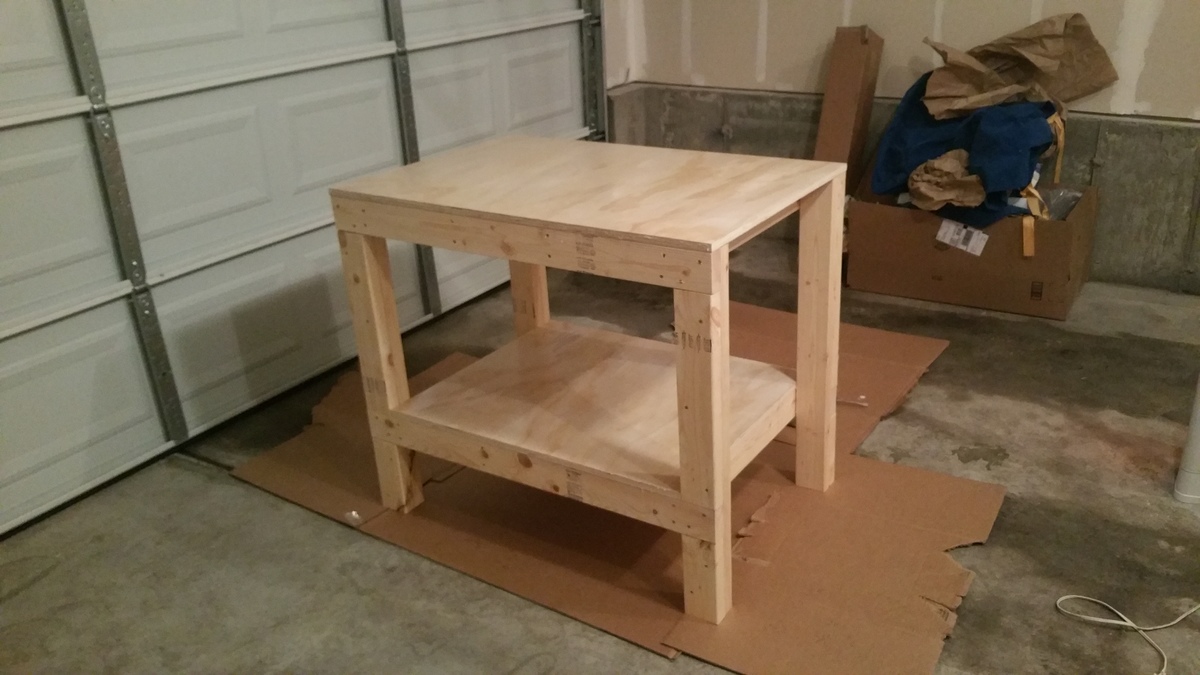
Easy project. I needed this bench a bit smaller due to space constraints so this is 28" x 42". I kept the height the same and finished the surfaces with some thick polyurethane. It should be noted my cost was a bit higher due to buying a sanded plywood, coated self-tapping screws and a more expensive polyurethane. I also went a bit slow on this project and it took about 2.5 hours including application of the single coat of poly.
Sat, 12/19/2015 - 09:10
Very nice job and great looking workbench! Thanks so much for taking the time to share!
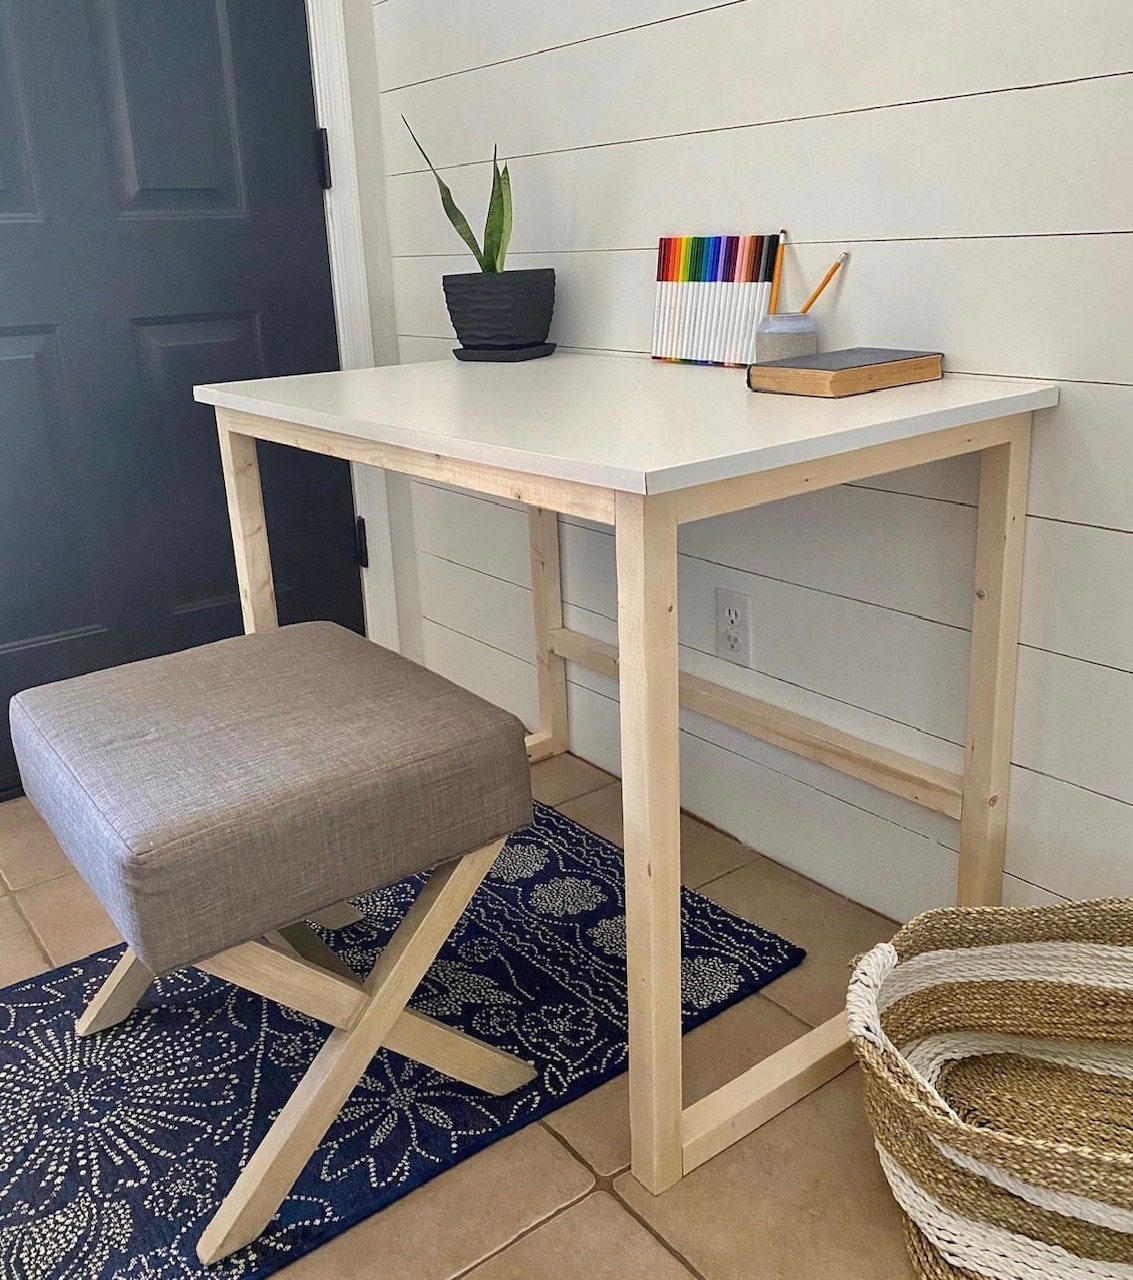
"I built these from @anawhitediy plans online. Love how they came out. Super cute style too. I've been selling them online to support my DIY habit." Monica
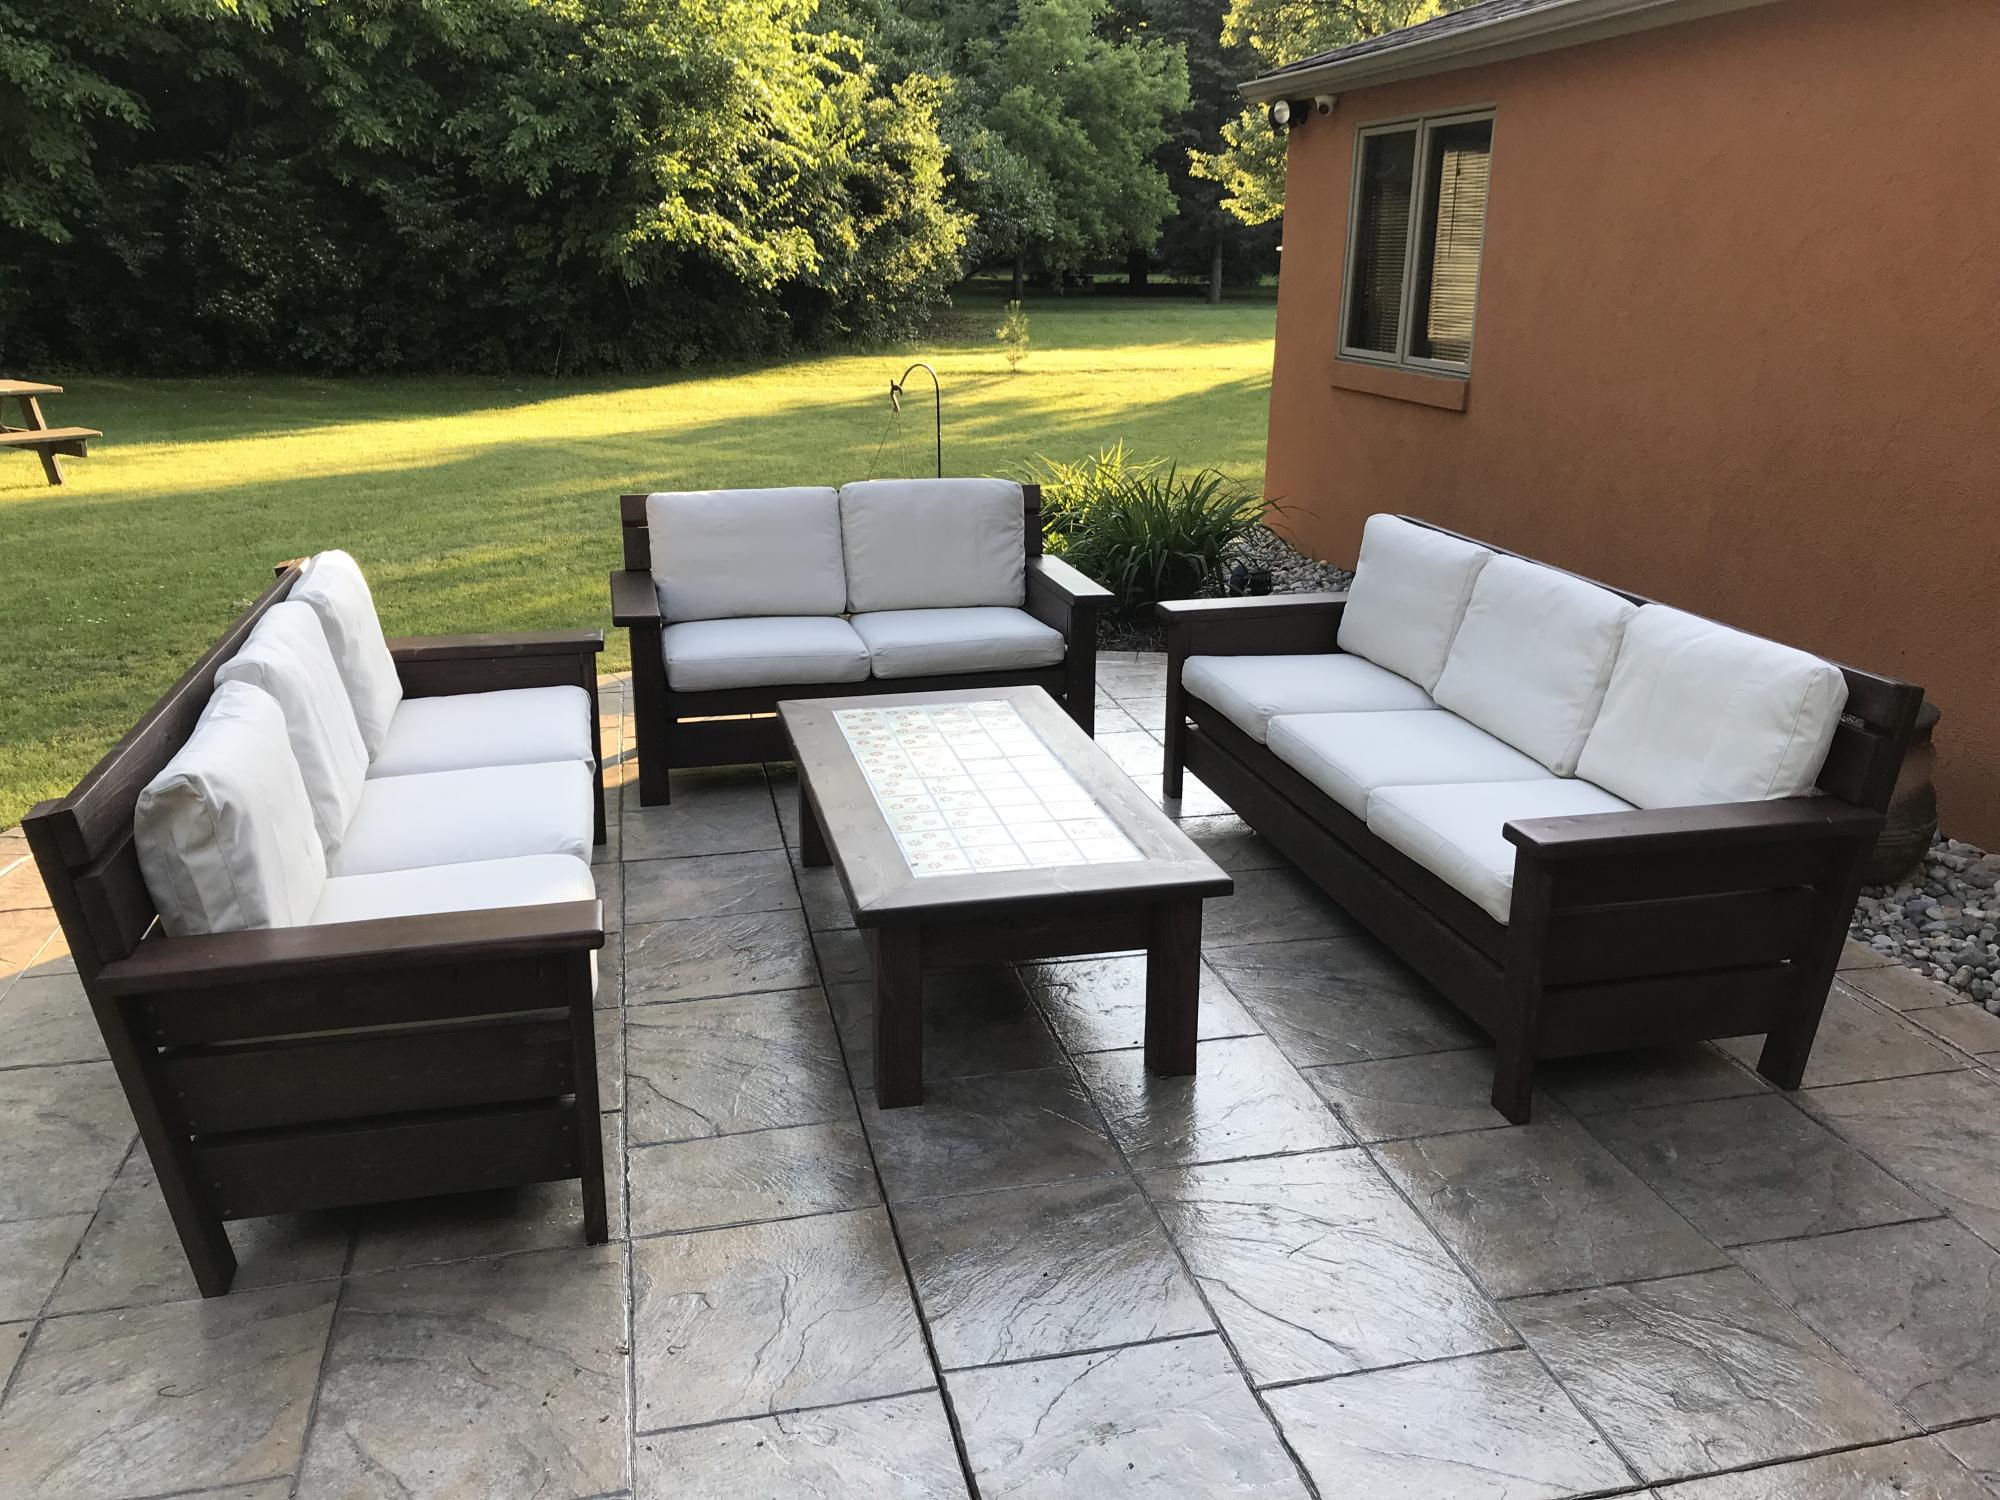
I created two sofas, a love seat and a table by modifying the modern chair. I added a back extension, tipped the back back 10 degrees, and angled the seat platform down a few degrees. Considered doing Adirondack arms, but my wife preferred the rectangular shape. The table is a variation of the 2x4 patio table (base construction similar), but we substituted pine 4x4 legs for the 2x4s, and implemented a 2x6 "picture frame" around Mexican tile on top.
I used pocket screws to attach the arms to the sides, and also to hide screws on the table "picture frame".
All-in-all, I would say this is an elegant-looking patio set that should last quite a while. Very solid, very heavy to move around (my only complaint).
We plan to add some colorful throw pillows.


Wed, 05/13/2020 - 06:38
Like the changes!
What is the angle of the chair/sofa back 110 degrees?
Thanks
In reply to Angle of back? by KeithMatthews
Wed, 05/13/2020 - 06:39
Oops just saw it at the top, sorry.
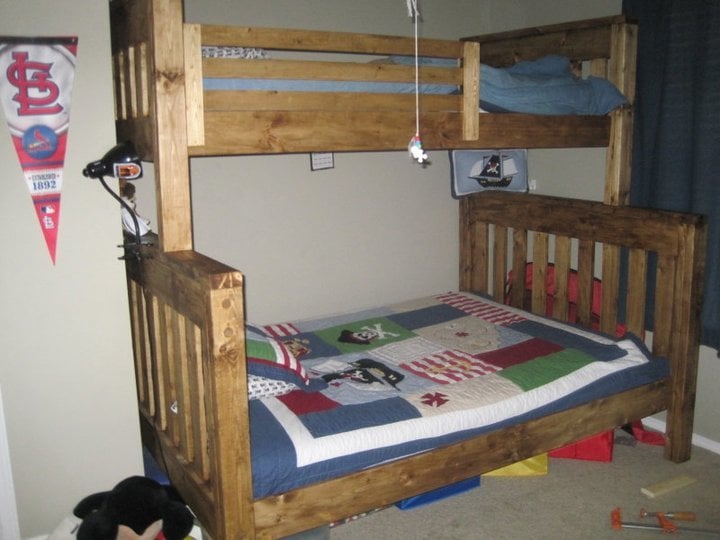
Ok, to start off with I am a guy and I love to build things, but I'm not some techincally savvy dude. I need simple plans and this was an awesome build! I love it, my kids love it, and most importantly my wife loves it. As others have said, It is BIG. but small things I did saved some space. For instance I cut the 3" off of the tops of the headboards to save 6" of linear space. Little things went wrong along the way, but they always do... finished in about 4 days workings sporadically. I've got about 350$ in it, and couldnt be more pleased. I will definately build more things from your plans. IF anyone is thinking of building it DO IT! Definatley need the KREG Jig. I should have bought that thing a long time ago. would have made several projects easier.
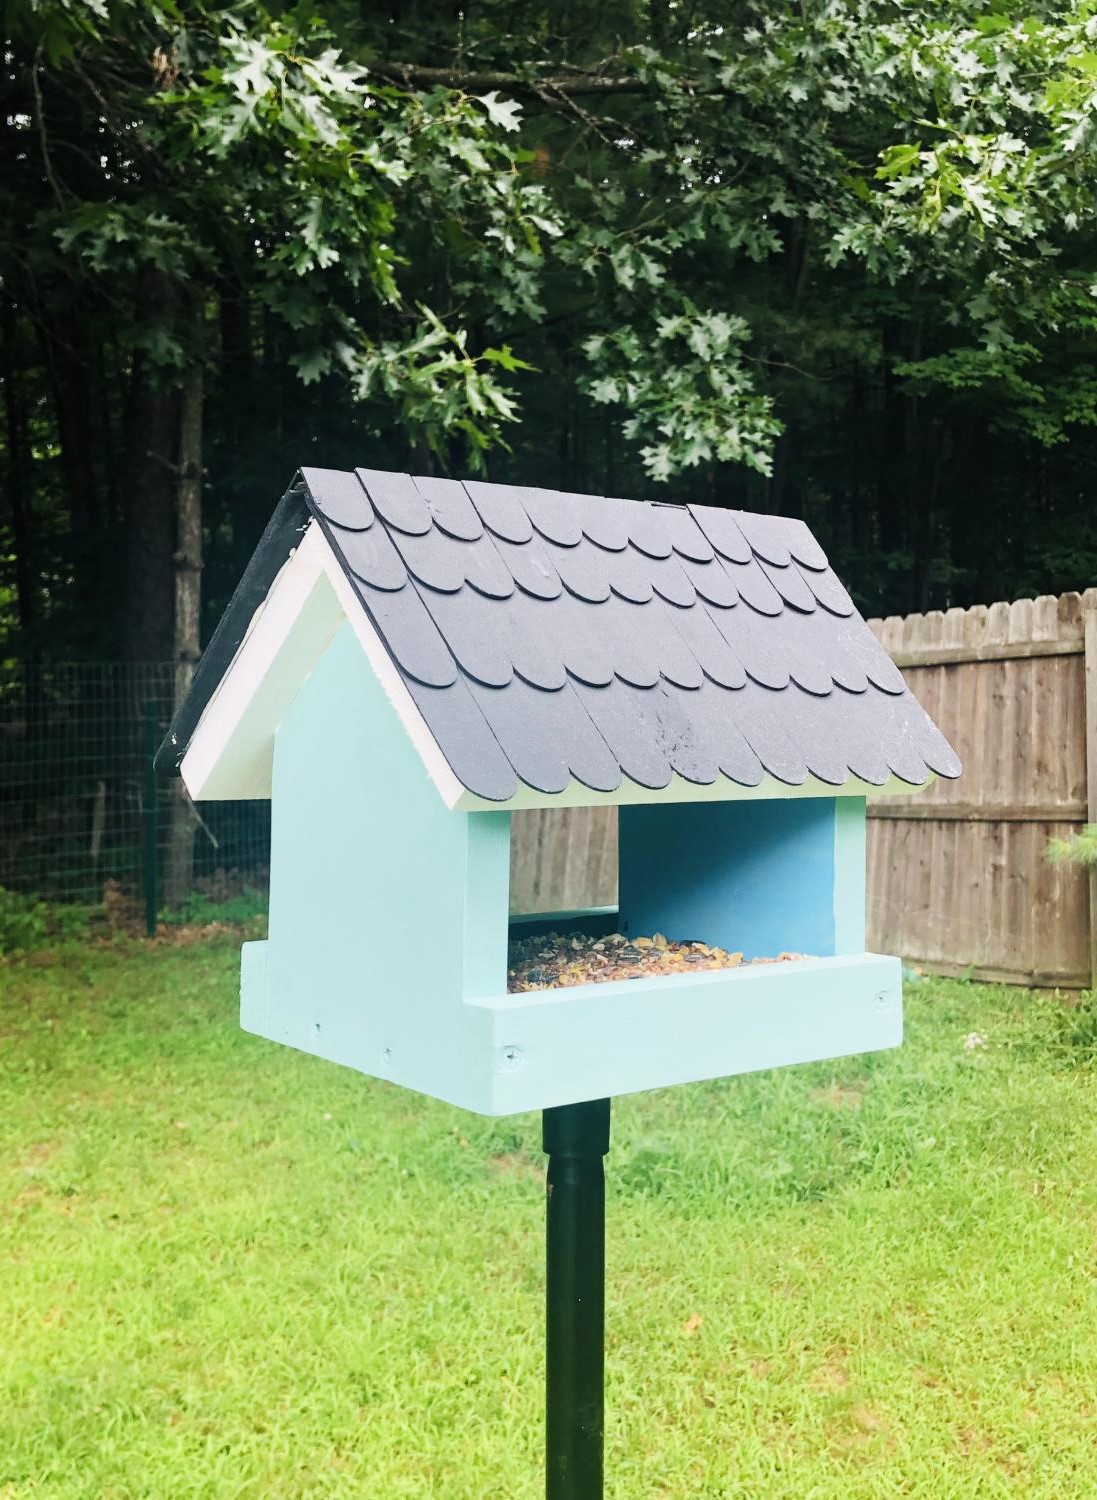
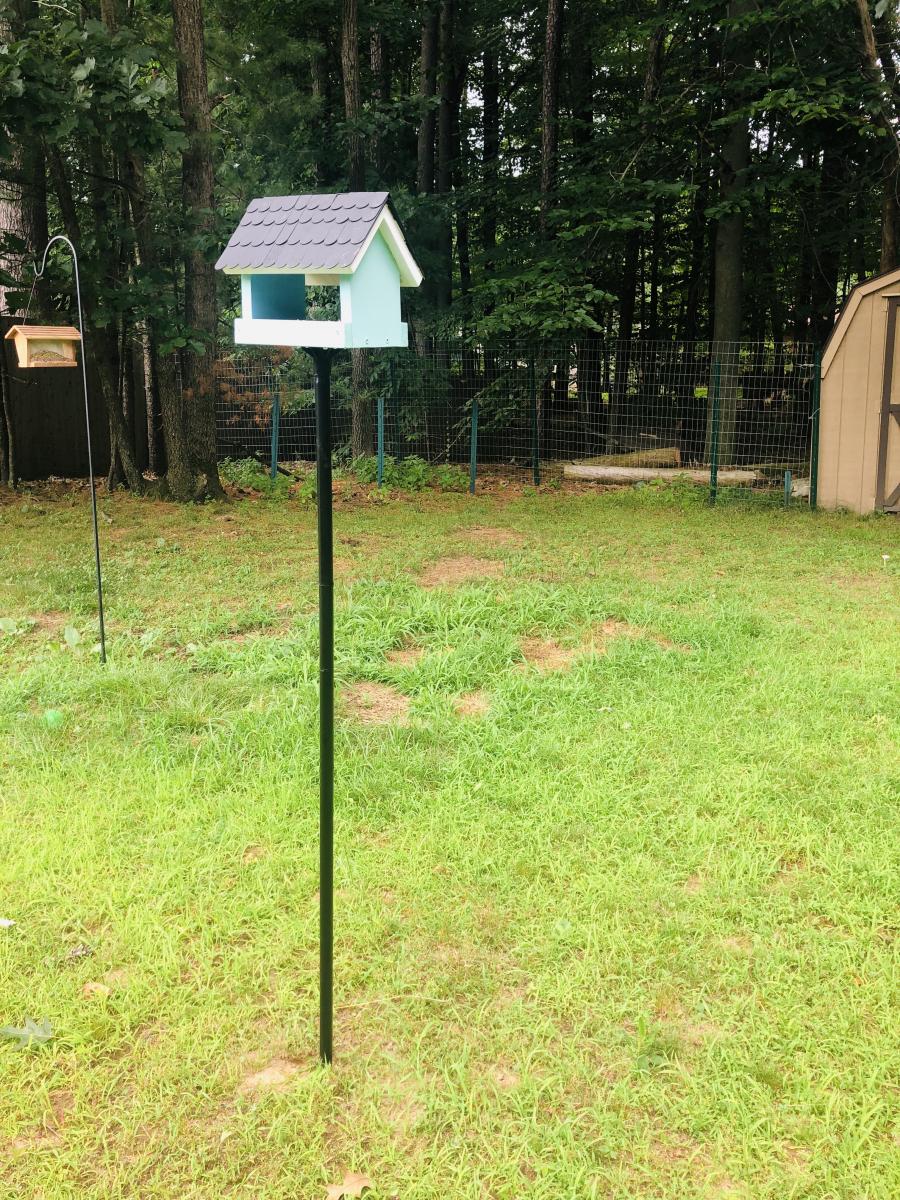
Took some liberties on this one. Used paint stirrer sticks for the roof.
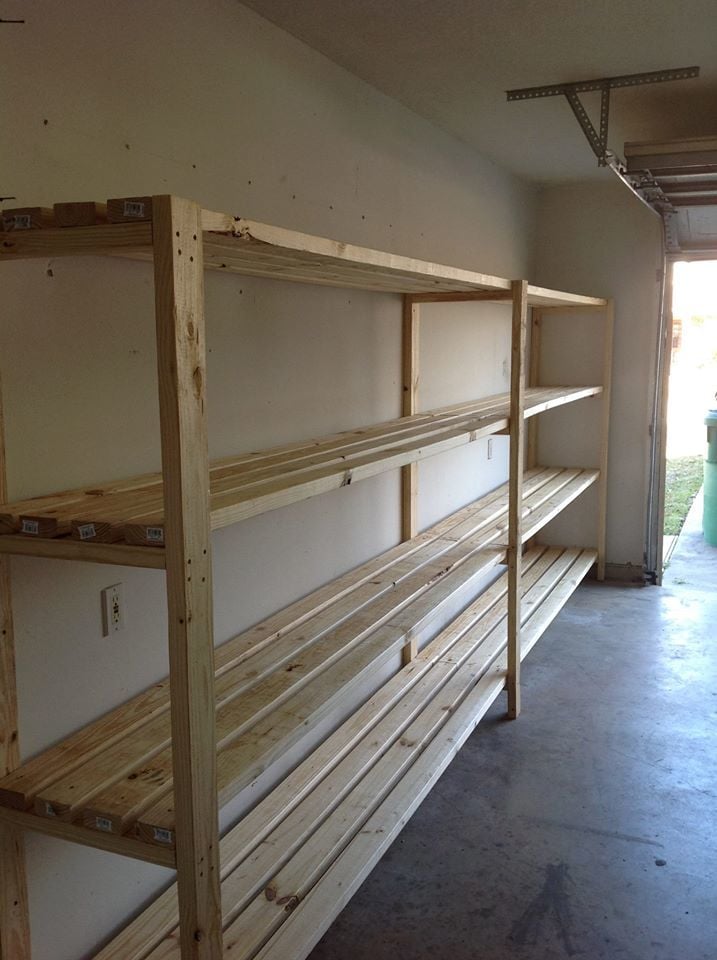
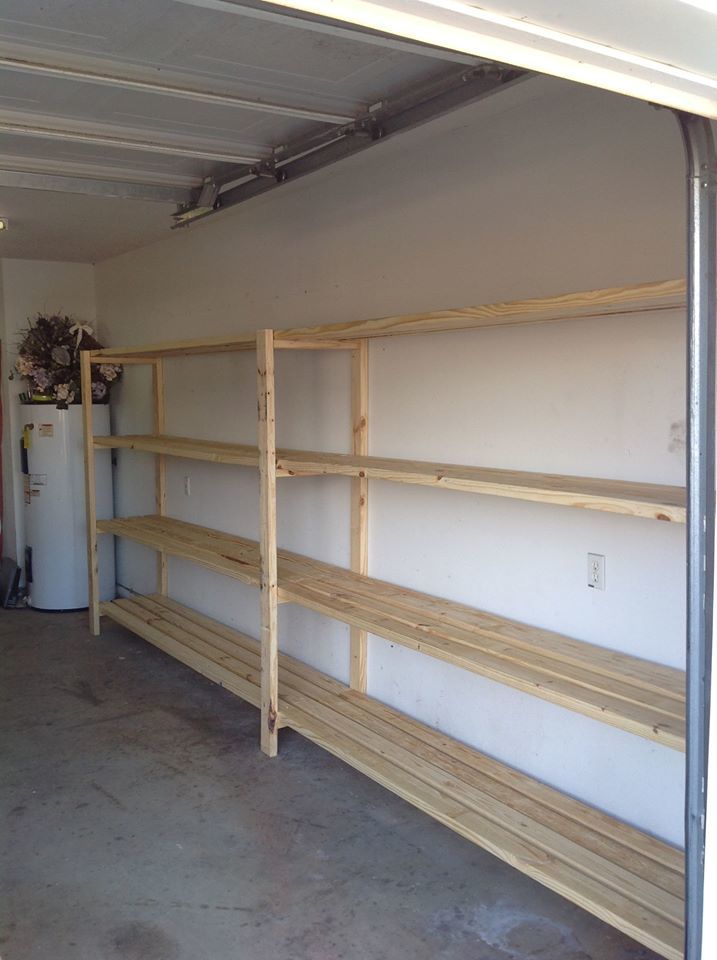
Thank you for the plans! Love the shelves!
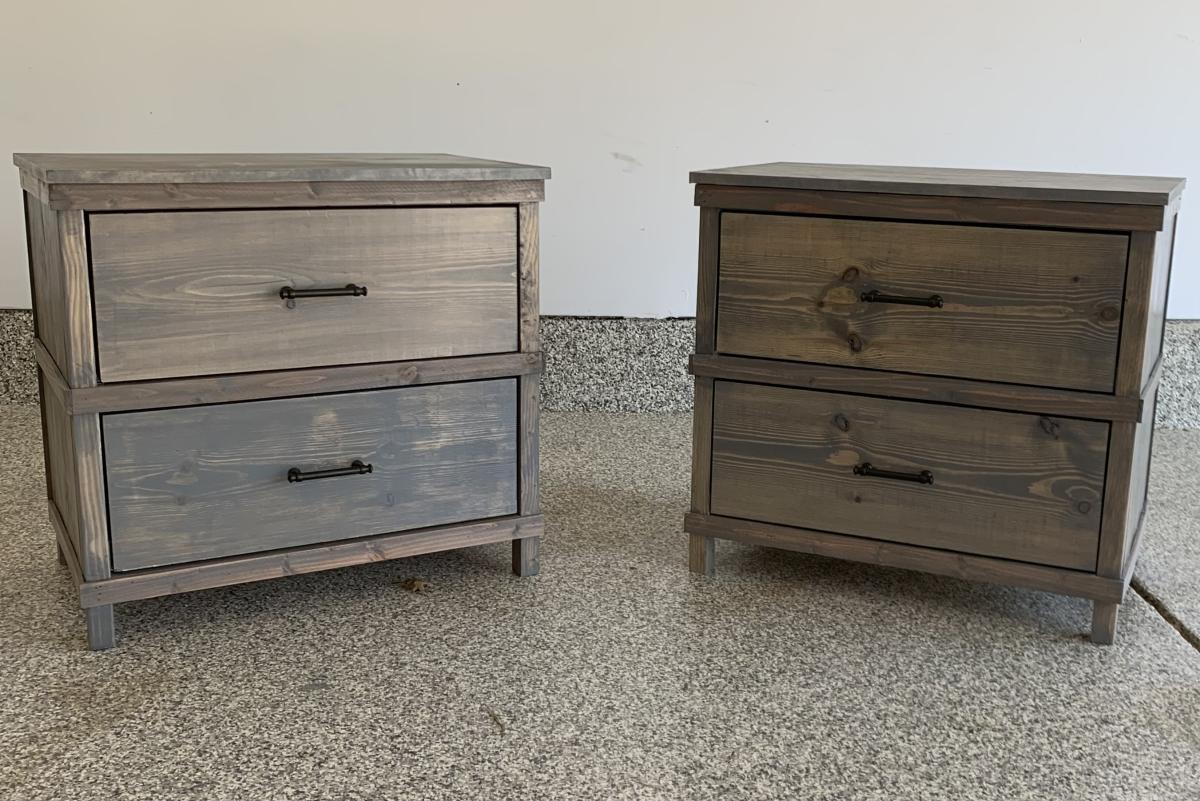
Fun and rewarding projects to finish. Took me way too long to finish, but 2 sever TBIs will do that to a person. Made a few modifications to the original King and nightstand plans but worked out fine. Thanks for these plans Ana!